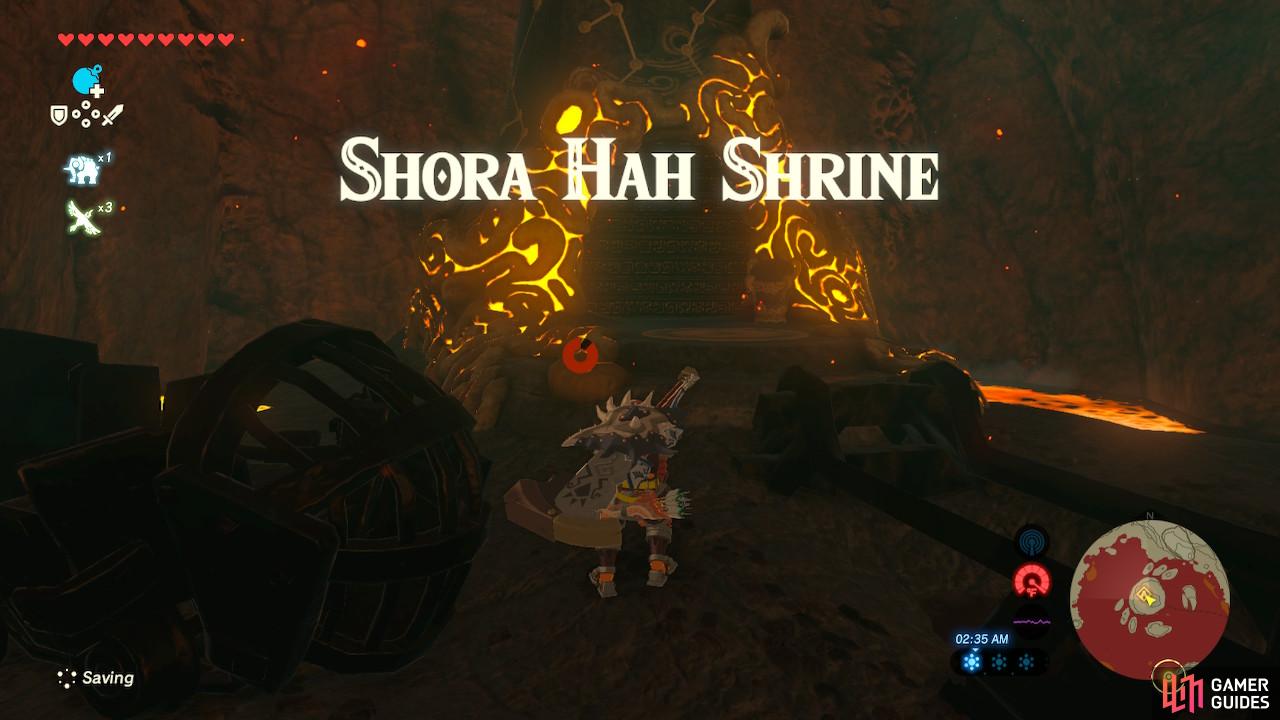
This Shrine is tucked in a lava lake to the northwest of Death Mountain’s summit
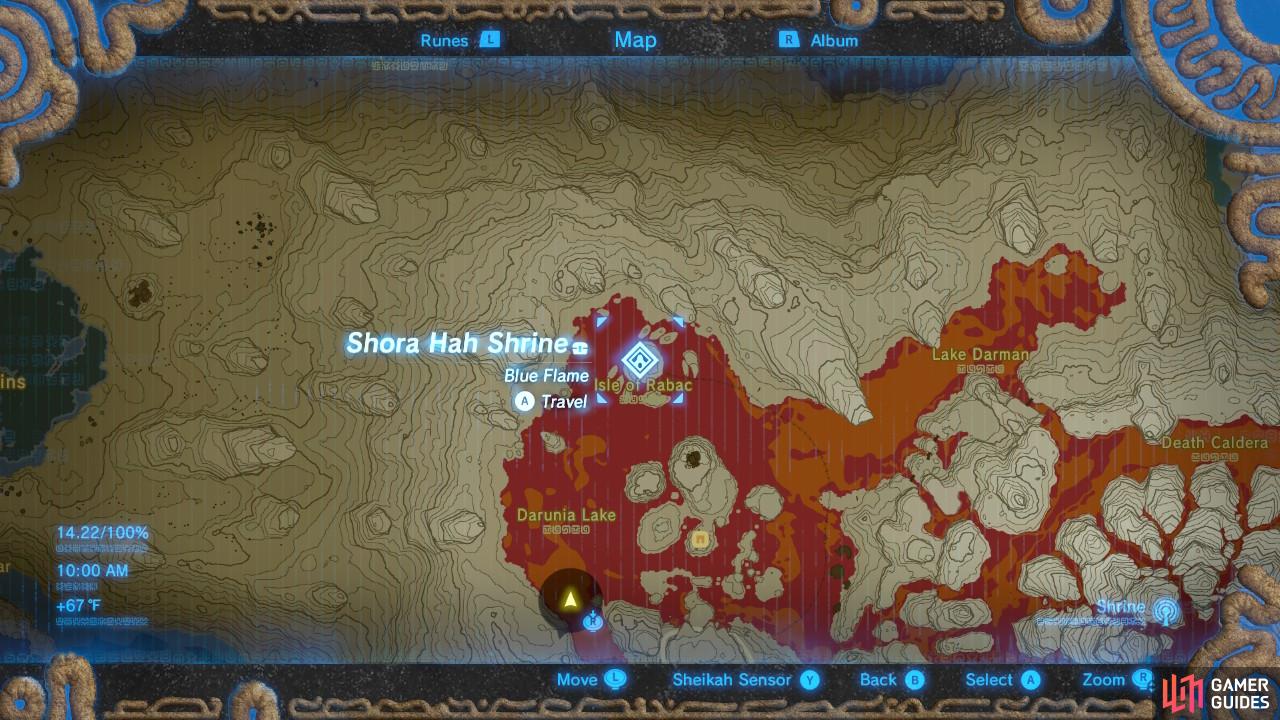
Here is the specific location of Shora Hah Shrine. It is reachable via Paraglider
Shora Hah Shrine
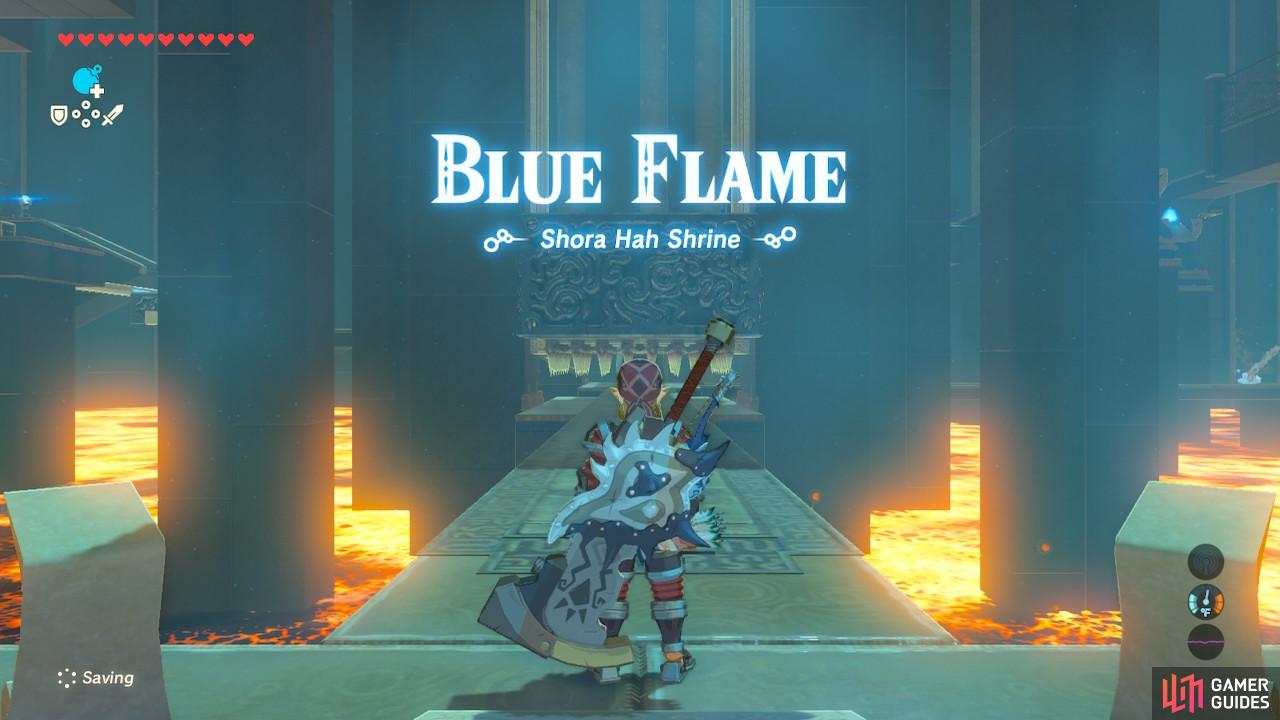
Heads up, this shrine is long (no seriously, it took us almost as time as a Divine Beast) and you need a Torch. You will also want a very healthy amount of arrows. You will be shooting arrows on fire at a lot of torches. Set aside a healthy chunk of time for yourself and let’s dig into what this shrine has to offer.
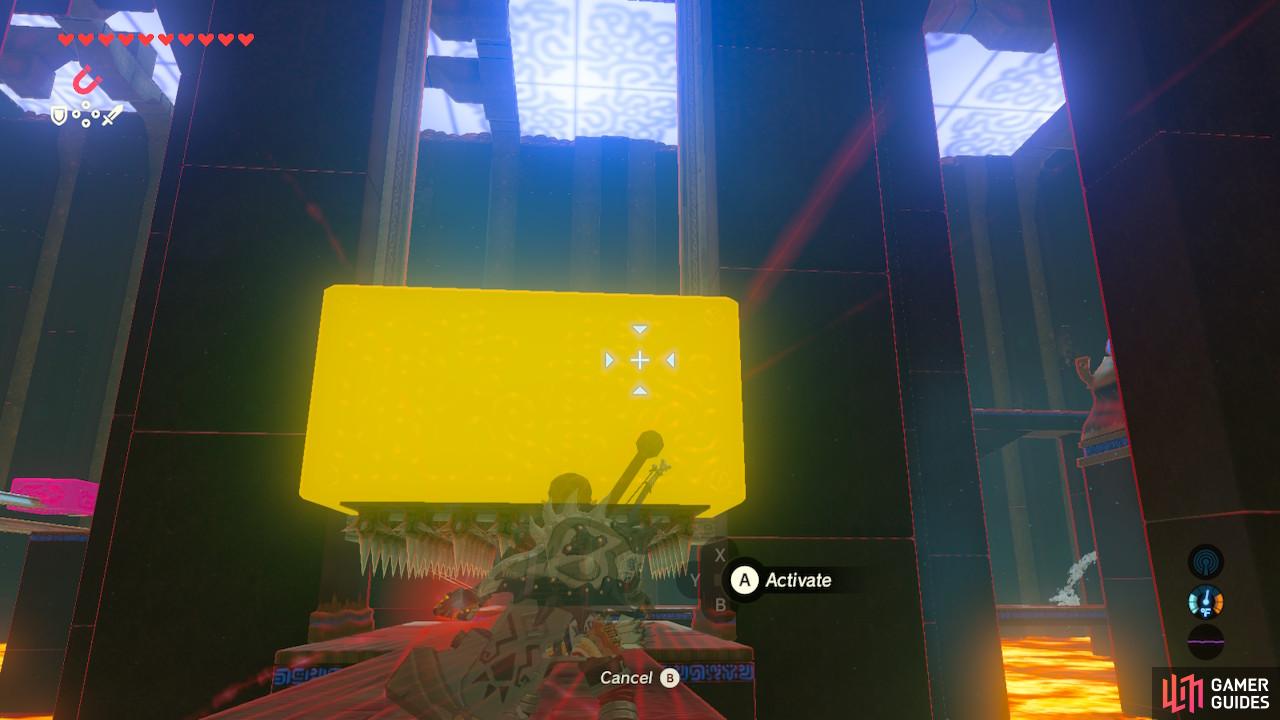
You will want to continue to keep it lifted as you walk under it
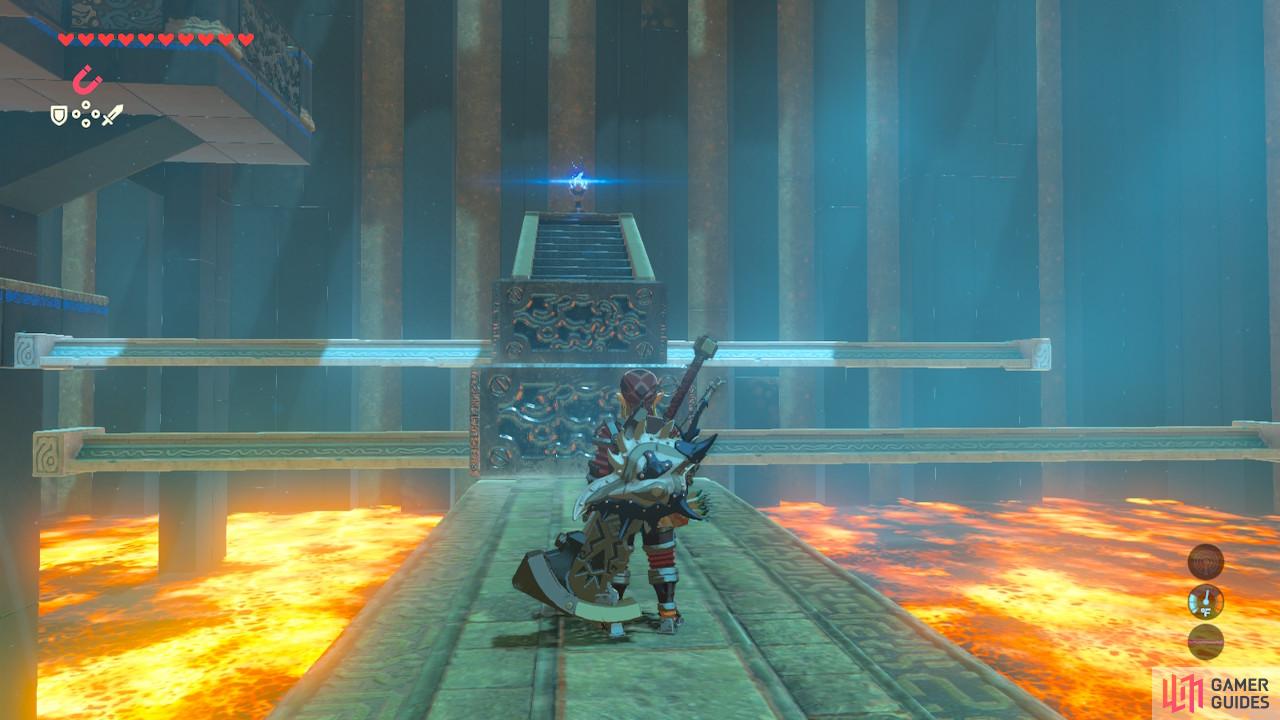
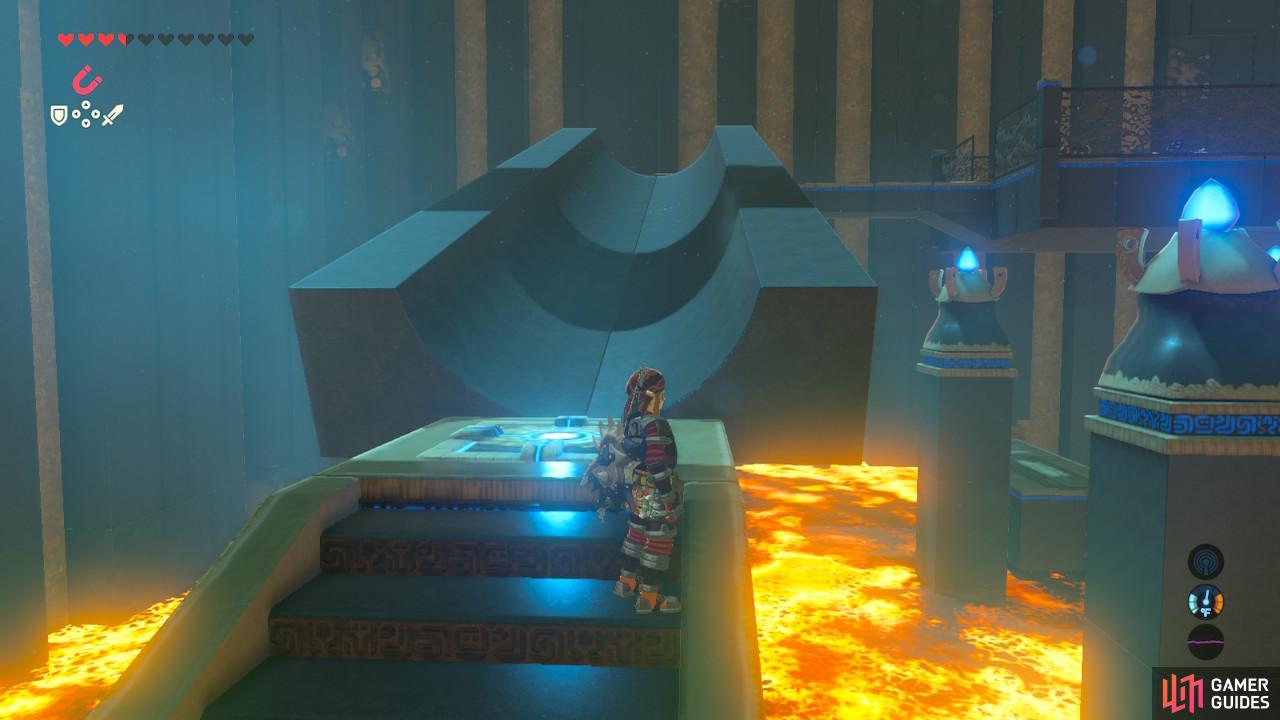
These metal blocks are arranged on a rail
Use Magnesis to lift the spiky platform and hold it in place as you walk underneath it into the main chamber of the shrine. Turn left and arrange the metal blocks into a staircase again using Magnesis.
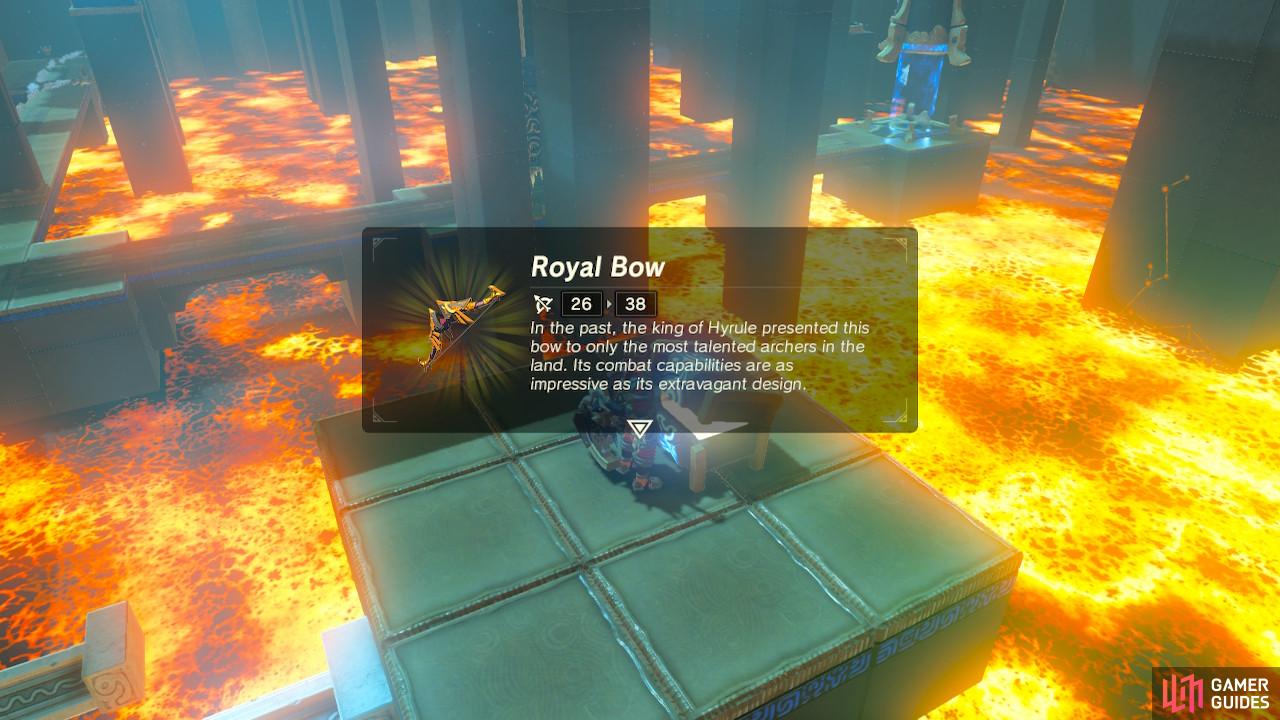
The Royal Bow is a super good bow
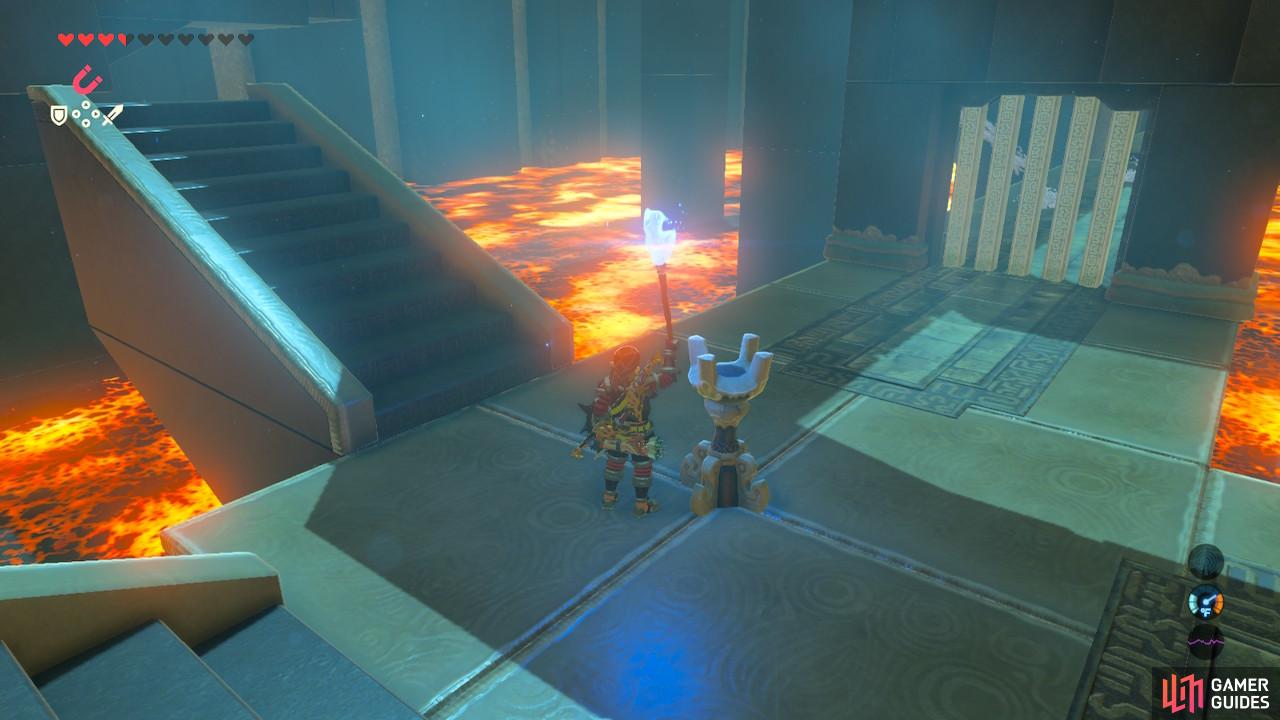
You will want to take the flame from the top of the staircase for this torch
Go up the staircase, and then Paraglide to the nearby chest for a Royal Bow. AFter that, Paraglide to the bottom of the stairs, and ascend the staircase again. Light the torch at the top of the staircase and use that torch to light the unlit torch in the main open chamber.
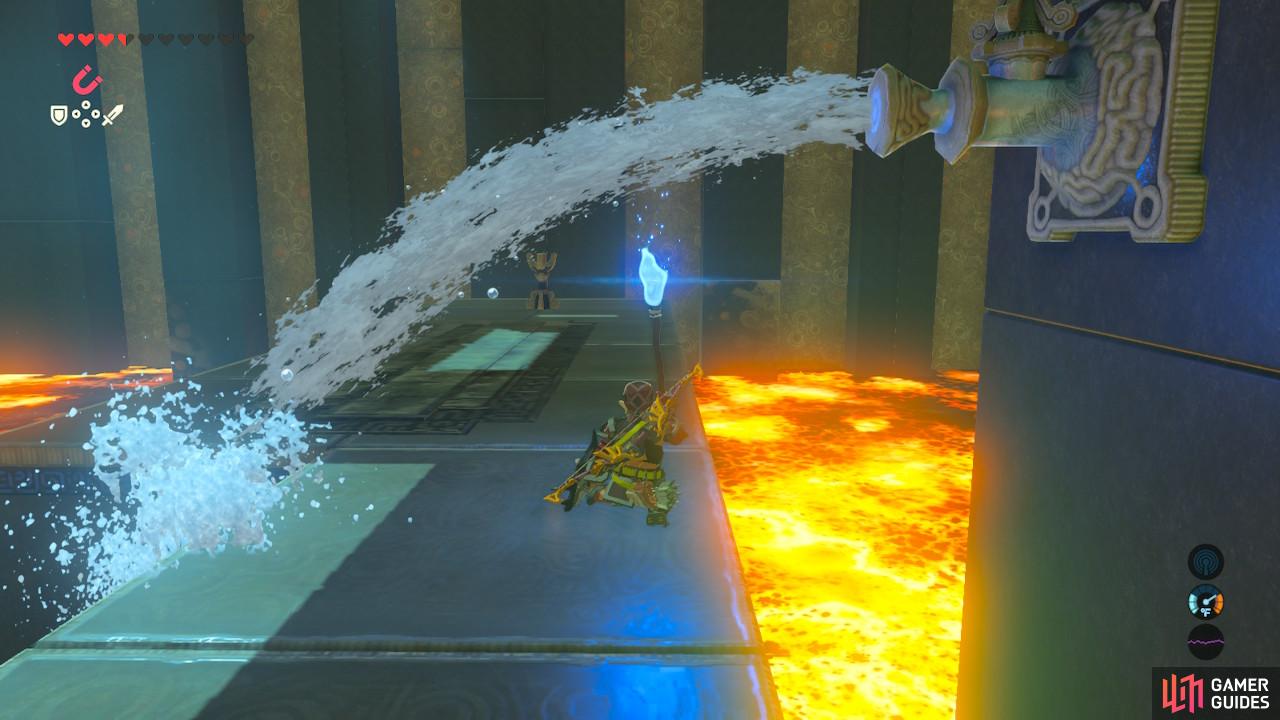
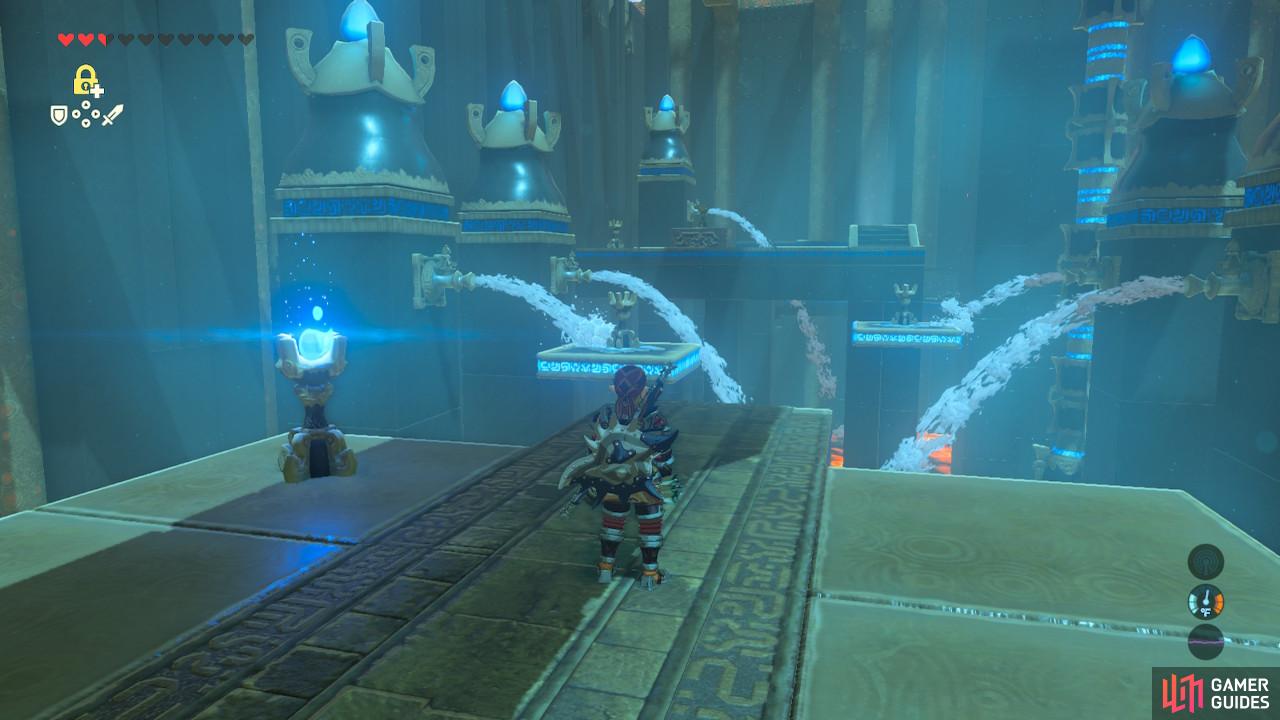
Continue through the hallway with a lit torch and dodge around the water spouts so they don’t put your fire out. For the last water spout, crouch down by pushing down the left analog stick and creep underneath the highest point of the spout.
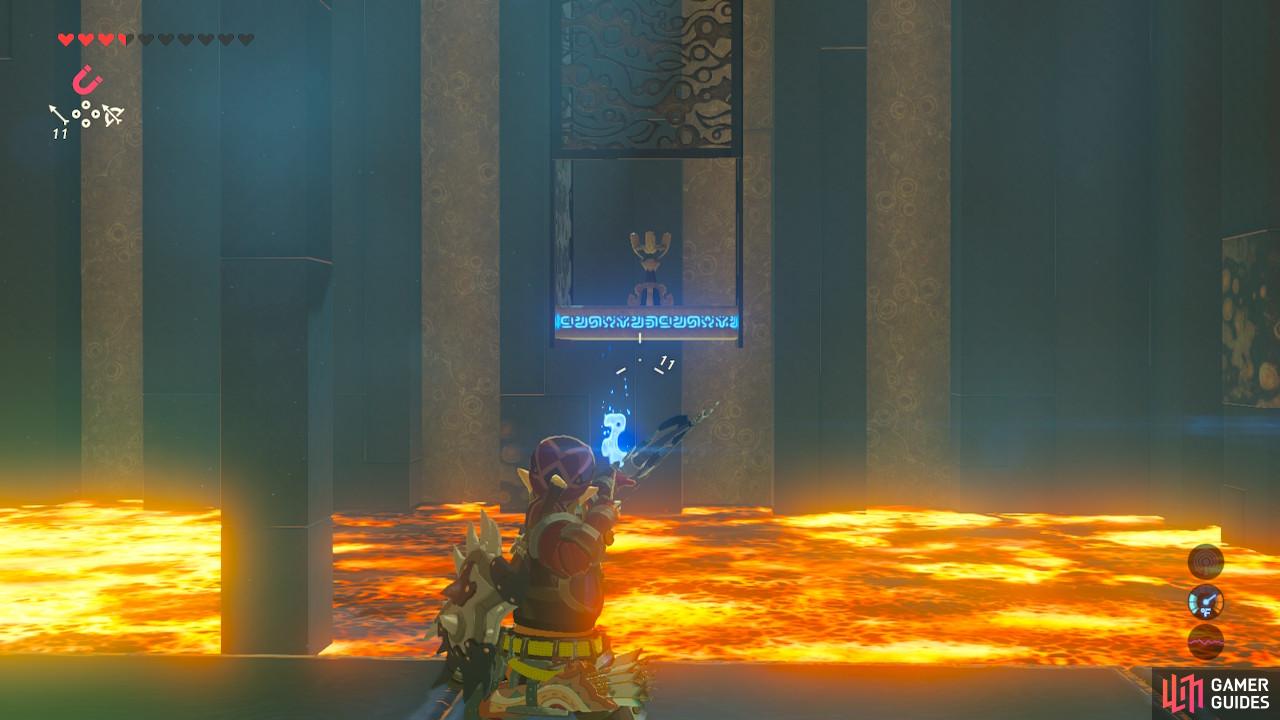
Light the torch at the end of this hallway and a platform to your left will now move up and down. Light an arrow on fire and shoot the torch on this platform when it is at its lowest point. Stairs will appear.
Return through the main chamber and step on the switch, with Magnesis prepared. Deploy Magnesis as soon as you can to grab the spikey ball that will roll towards you. Throw it away into the magma, it existed only to try and kill you.
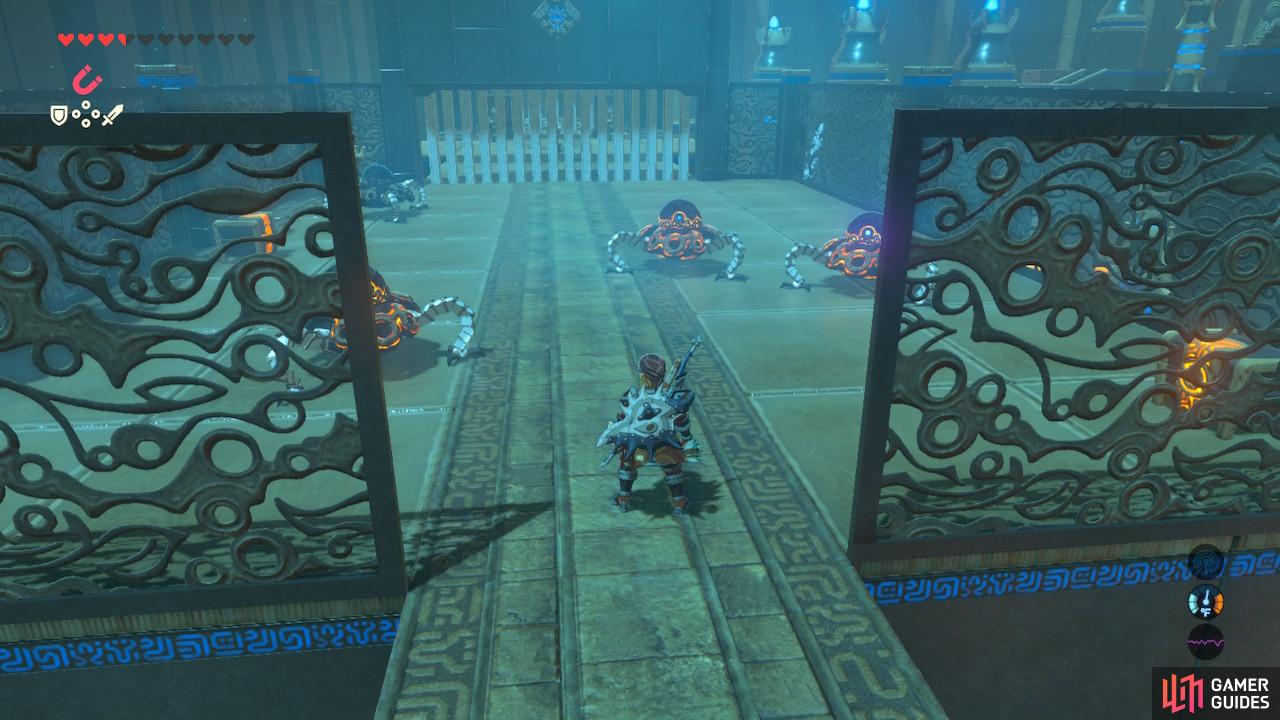
Defeat the four Guardian Scouts up ahead and open the chests for a Giant Ancient Core and a Great Flameblade. Light the torch ahead to open up the gate. Grab fire from the torch on the moving platform to save time.
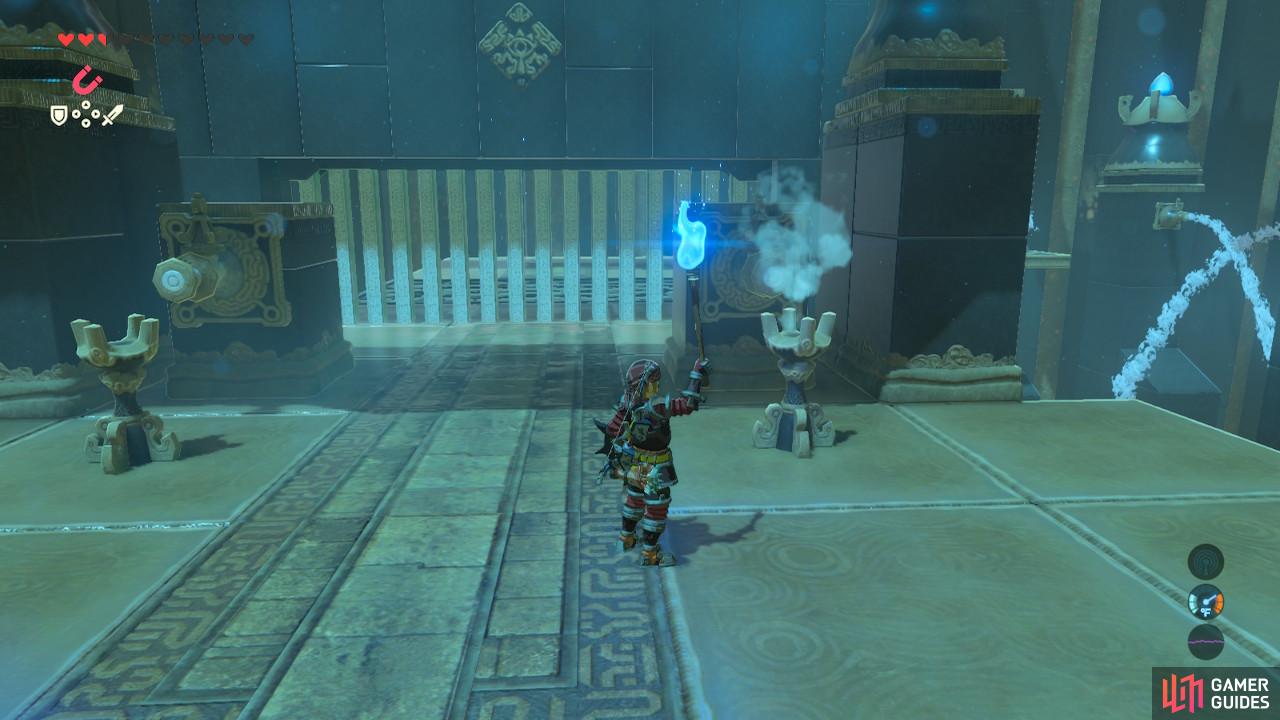
Light the torch in the middle of the next room. If you try to light the two torches behind it, a water spout will immediately shoot out, extinguishing the flame. Instead, use Stasis on one of the water spouts. Either oe is fine. Then light your torch and light the torch in front of the spout that is frozen. As quickly as you can go light the other torch. Before the spouts can spit water, the puzzle will be solved.
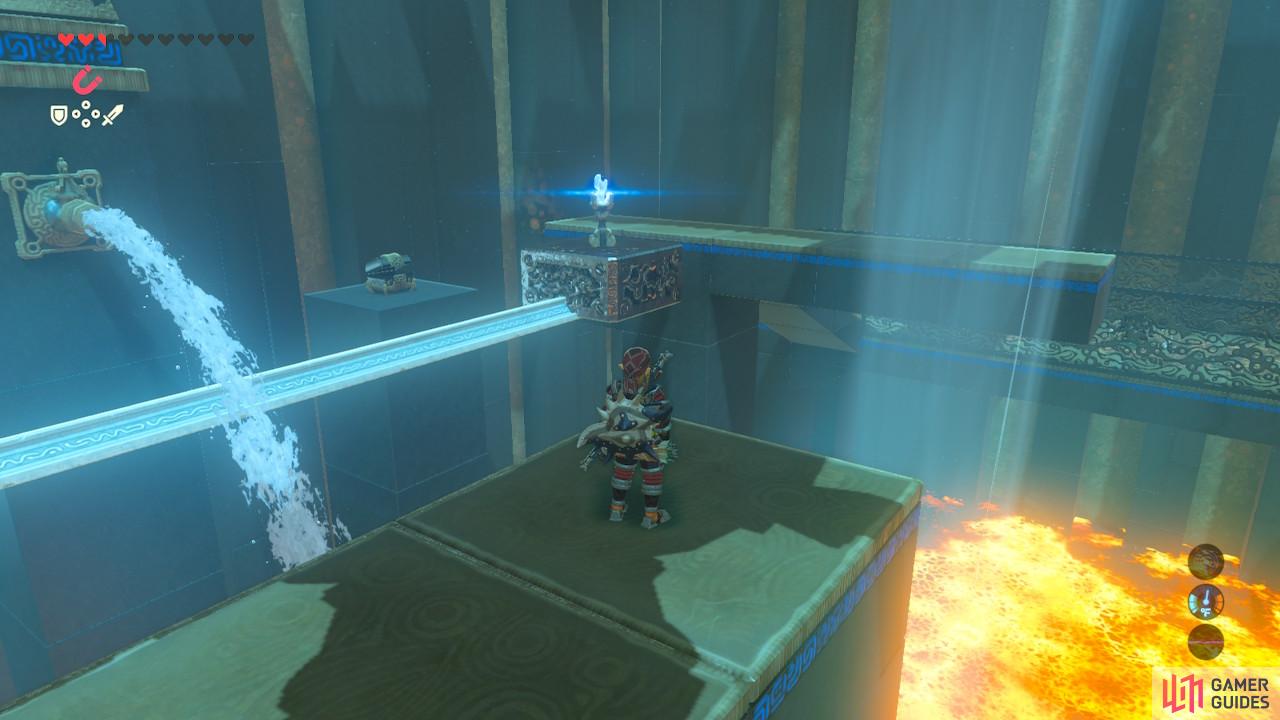
Continue forward and light the lone torch here. Light an arrow on fire and shoot the two torches in the moving platforms ahead of you when they are aligned so you can light them both at once. Also, if you can, shoot an arrow on fire at a torch in the distance to the left.

Now, Paraglide across the updrafts to cross this gap that you were shooting over. Use the geyser up ahead to Paraglide to a nearby treasure chest where you can claim a silver Rupee.

The treasure chest you see is right behind you if you flip the camera around
Get to it by using the updrafts
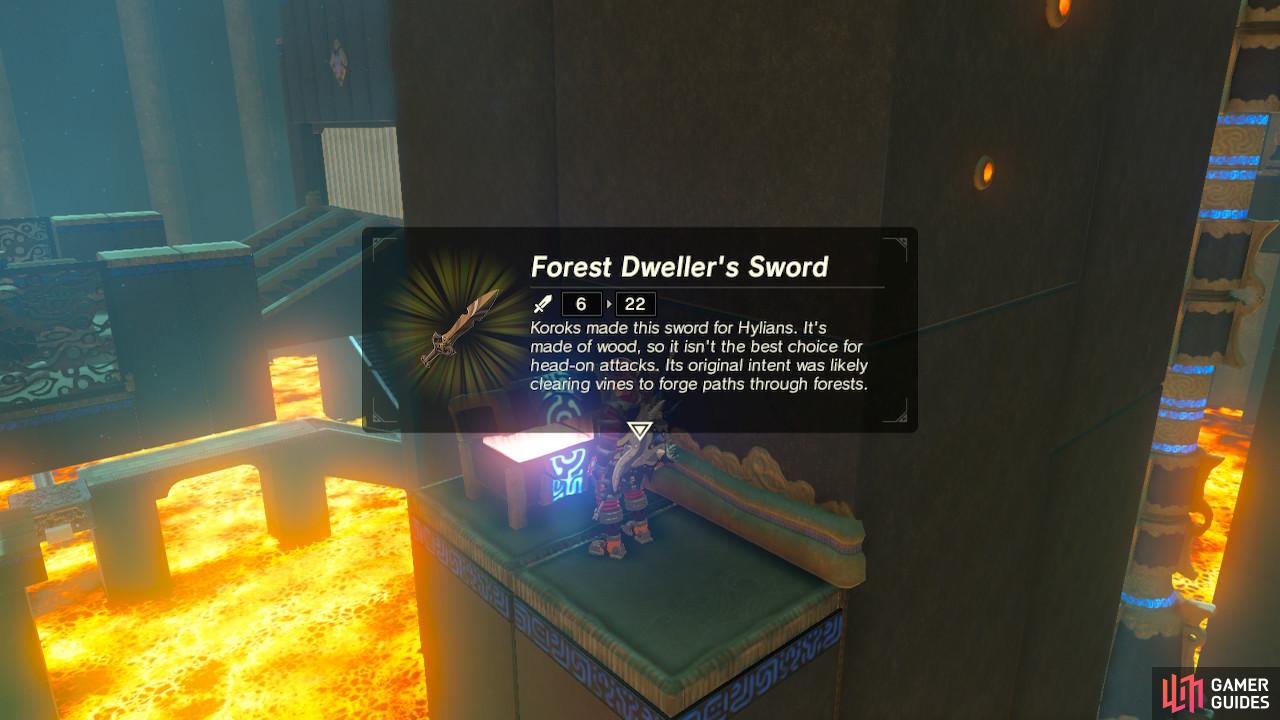
Another chest is across from you. Paraglide towards the updraft, then use it to clear the rest of the distance and reach the ledge. Pop open the chest for a Forest Dweller’s Sword.
Paraglide back to the lower platform and use the already lit torch you shot at earlier to light up an arrow. Move the metal platform away from the water using Magnesis and light the torch on top of it. Make sure the metal block the torch is on is all the way on the rail’s opposite side so that it is touching the next platform.
Paraglide over to said next platform. Below you are three Guardian Scouts. You can cheese this fight by shooting a burning arrow into the vines below them, killing them all. Now you can proceed safely through, picking up their parts and drops. Don’t forget to open up the treasure chest for 10 Ice Arrows.
Go and collect some fire from the previous torch on the metal platform (this is why you want it to be touching the platform, so you can walk to it) and bring it down to the lone torch. Light that one so that if you fail the next puzzle you do not have to go back up the stairs for fire again.
(1 of 3) Light this torch here in case you fail at the final puzzle so you can grab more fire easily
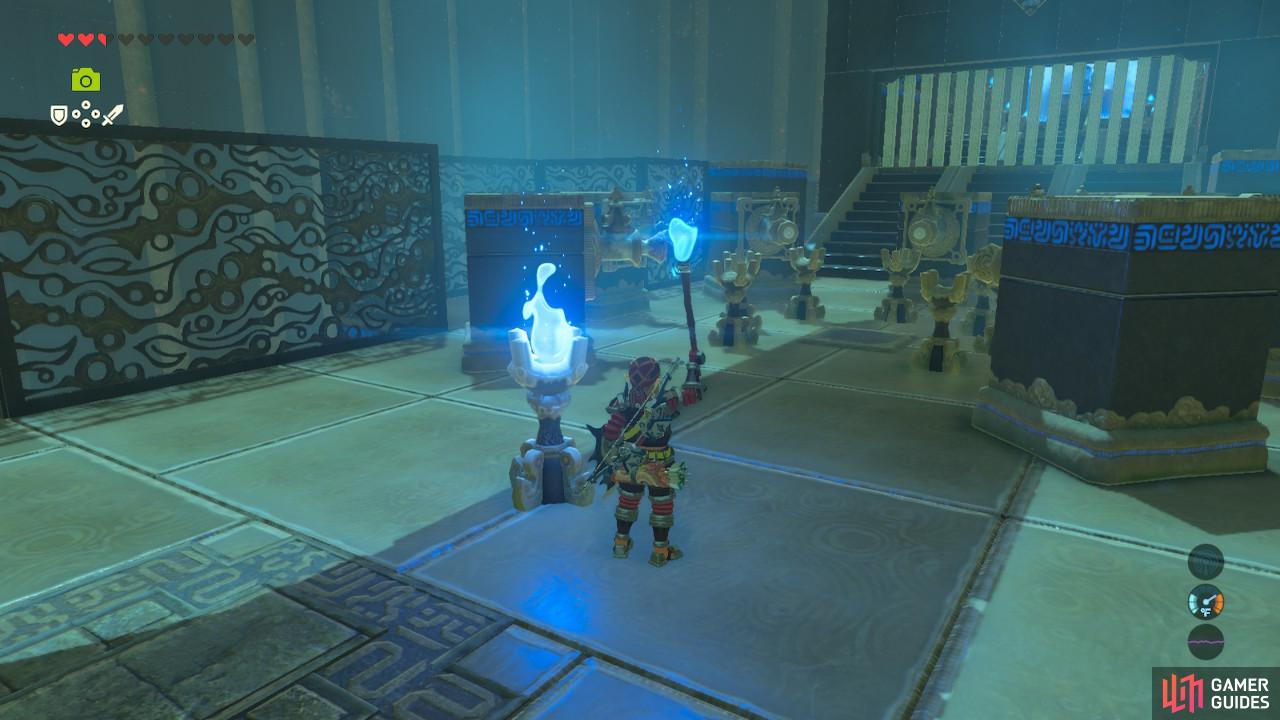
The final puzzle has several torches arranged in a circle with water spouts behind them. You will need to light them all at once. Stand in the center and use a charged attack. You will then spin in a circle, lighting every single torch at once and opening the gate. You can now claim your Spirit Orb. Phew! Almost feels like you deserve two.
No Comments