
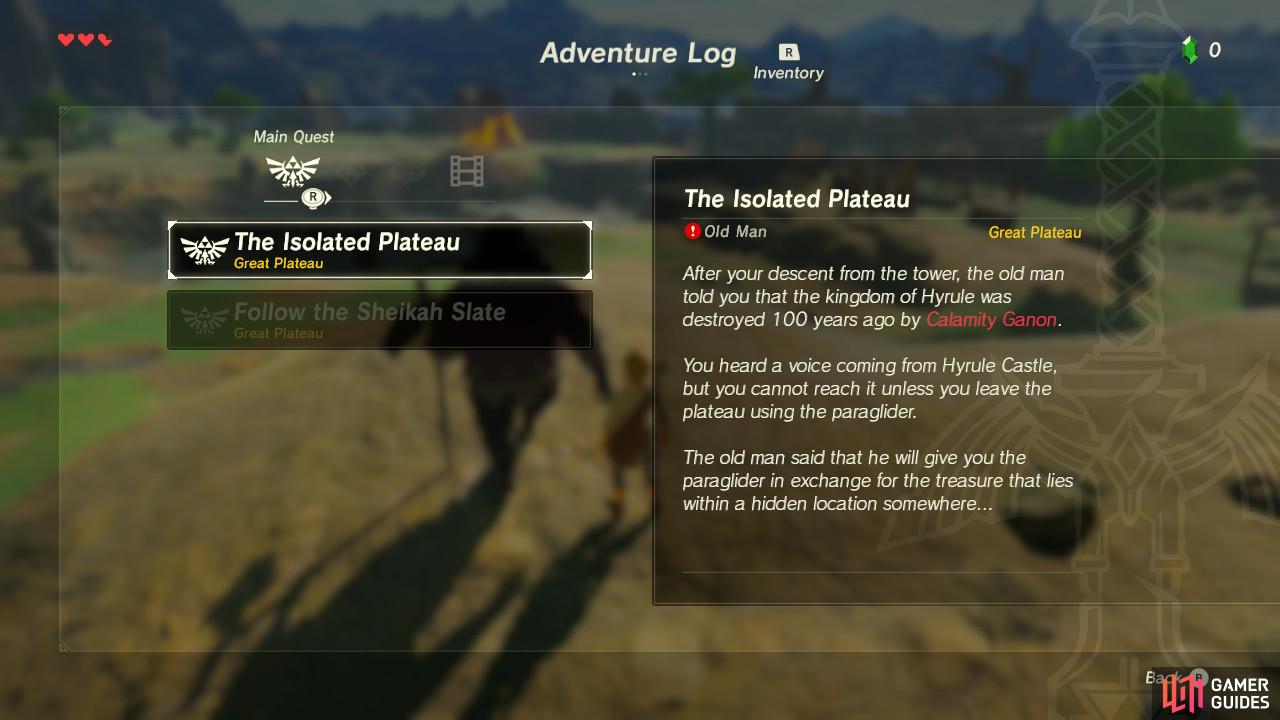
Main Quest: The Isolated Plateau
To get the Paraglider, the old man strikes a bargain with you: Go into the nearby glowing structure and find the treasure within. You don’t have much of a choice in the matter so let’s go and check it out.
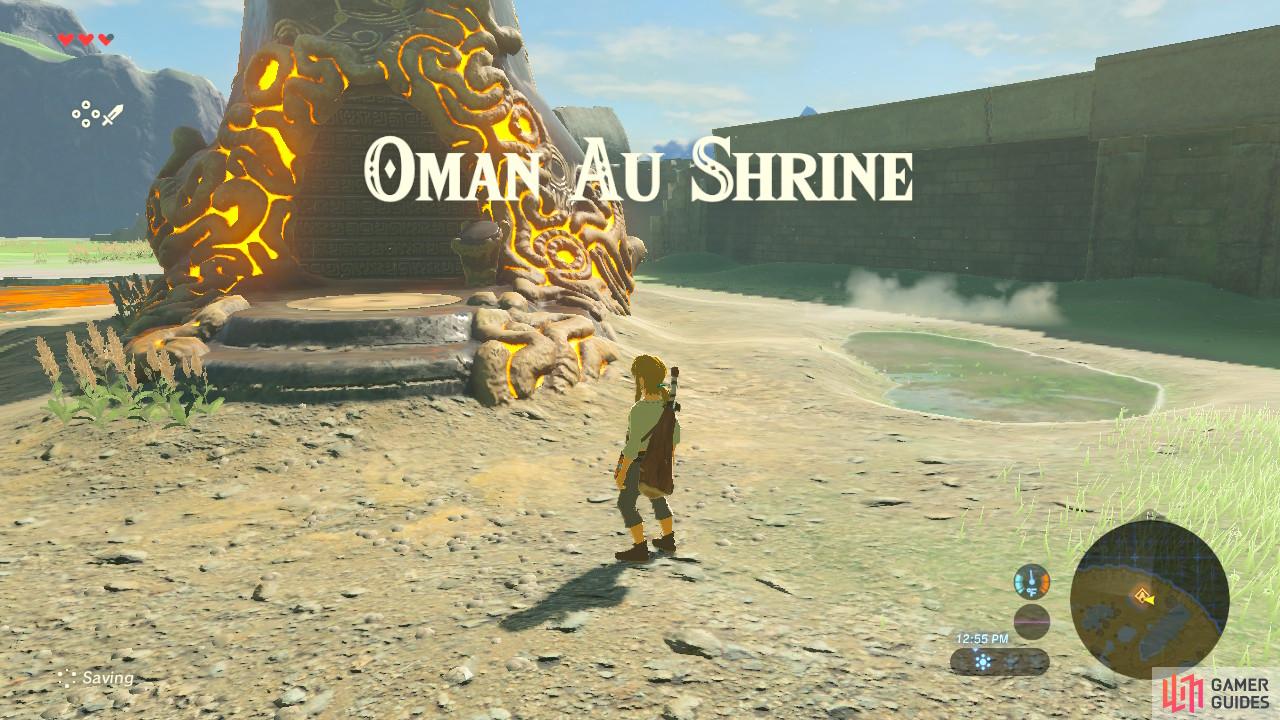
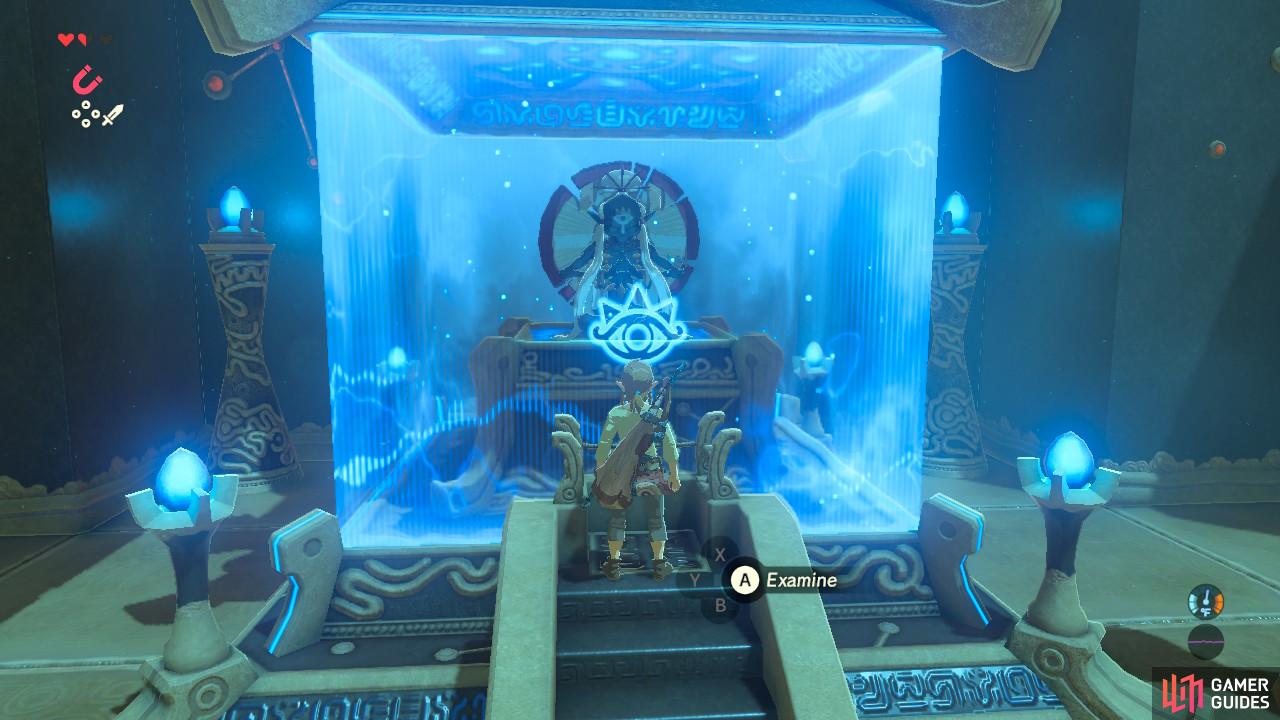
This is the first shrine of the game
All shrines will have the exact same pedestal at the entrance.
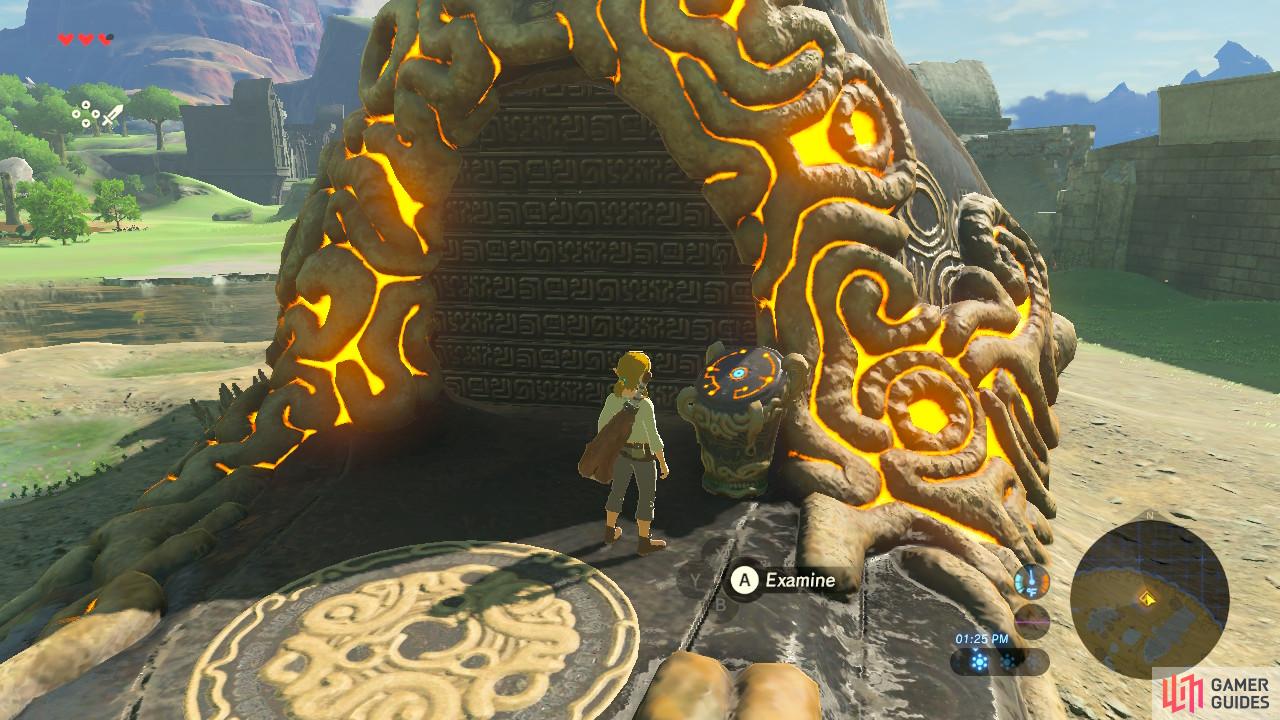
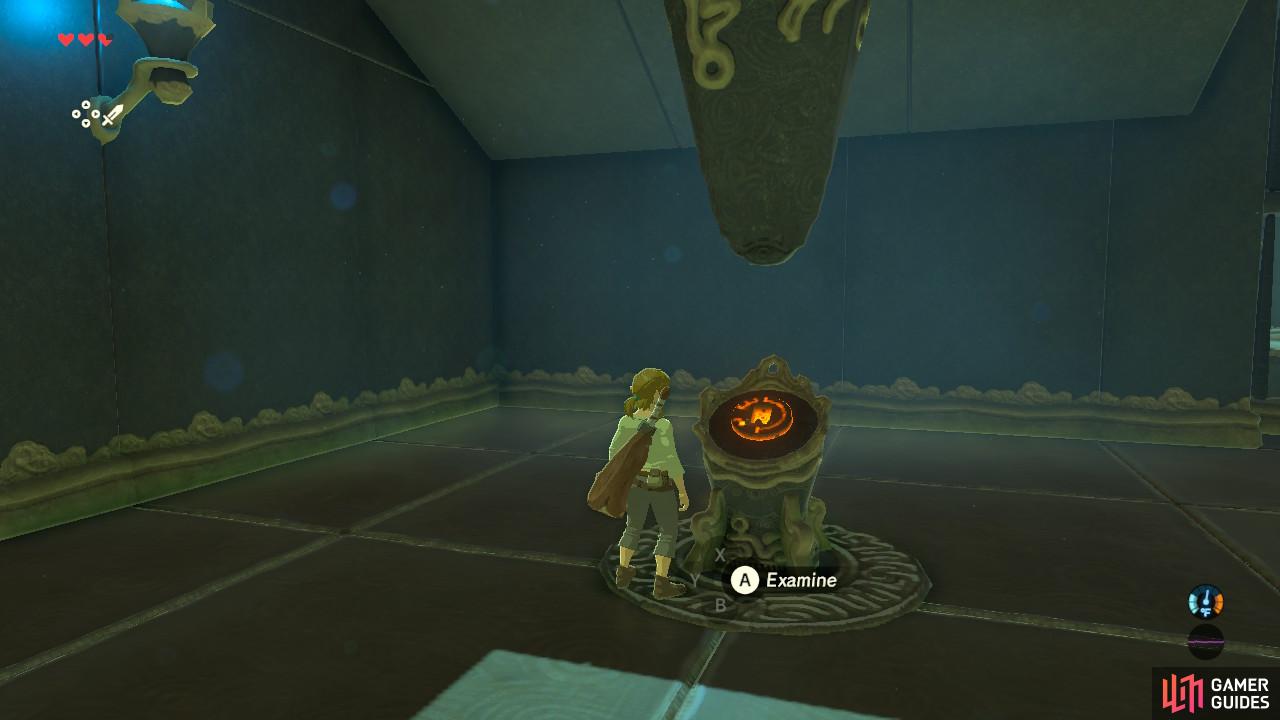
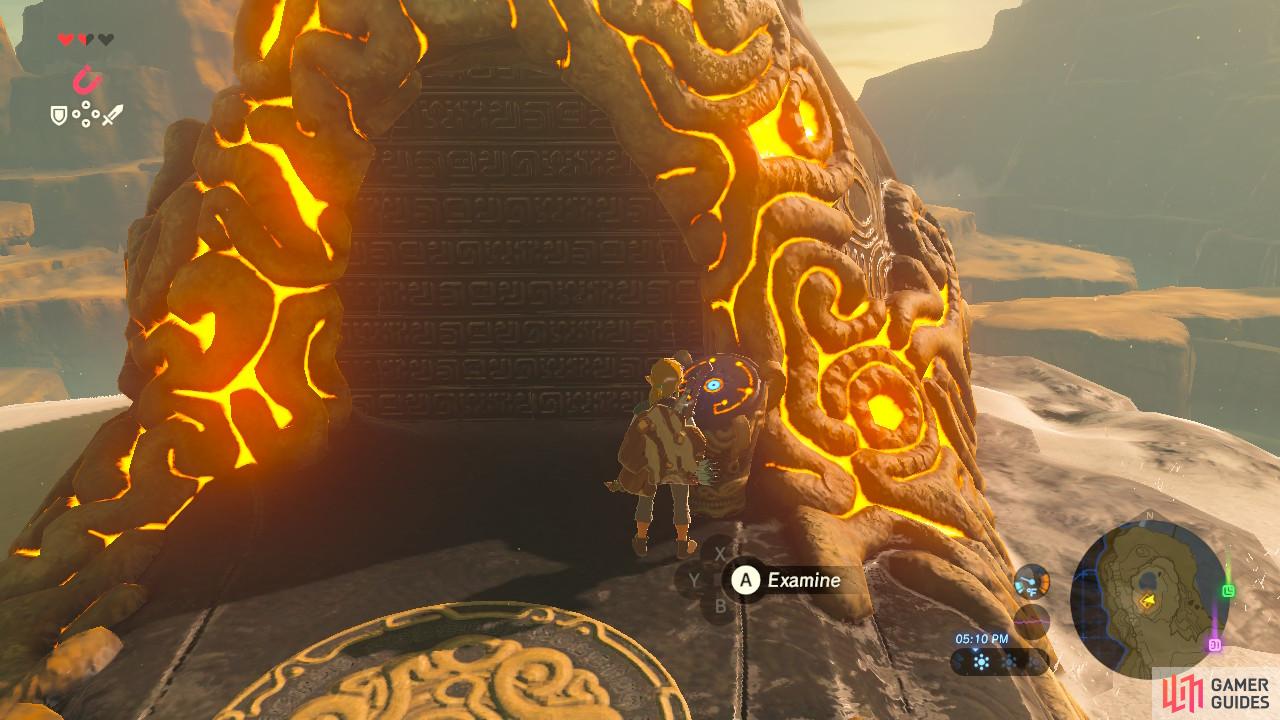
As soon as you reach the shrine, you will see a pedestal. You know the drill. Examine it with your Sheikah Slate to gain access and enter by stepping onto the glowing blue circle on the floor next to you.
Oman Au Shrine: Magnesis Trial
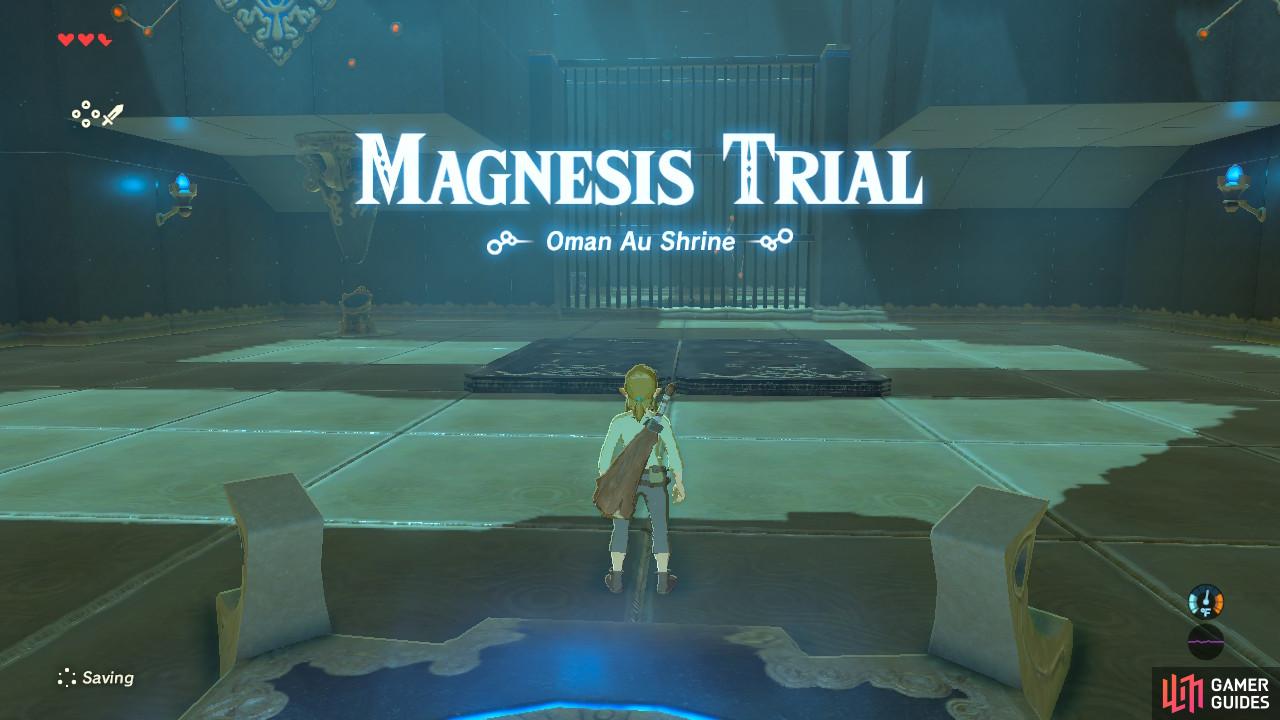
Welcome to your first shrine trial! Shrines are a very big part of this game. They are like miniature dungeons containing compact puzzles. Let’s get started with this one.
If there’s a pedestal there’s bound to be something important
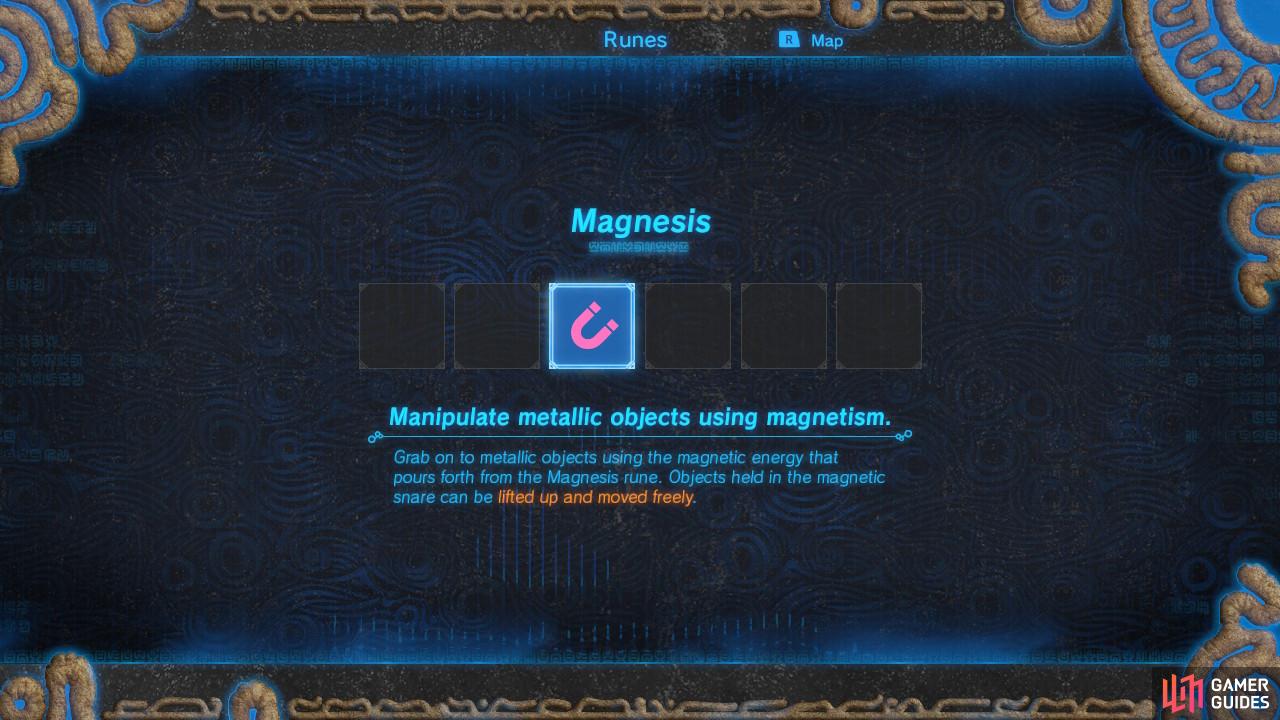
Magnesis will be the first of a few powers your Sheikah Slate will acquire.
There is a pedestal at the far end of the chamber to the left. Examine it and your Sheikah Slate will earn a new power: Magnesis.
To use Magnesis, simply press the L shoulder button. Then use the right analog stick to select your item. Magnesis only works on objects made of metal, and said objects will be tinted pink. Once your cursor moves over it, the object will be highlighted in yellow. You can then use the right analog stick to move the object around. Use the up and down buttons on the left directional pad to push the object away from you or pull it closer, respectively. Once you’ve messed around with Magnesis some, let’s start clearing this Shrine to see what the treasure is!
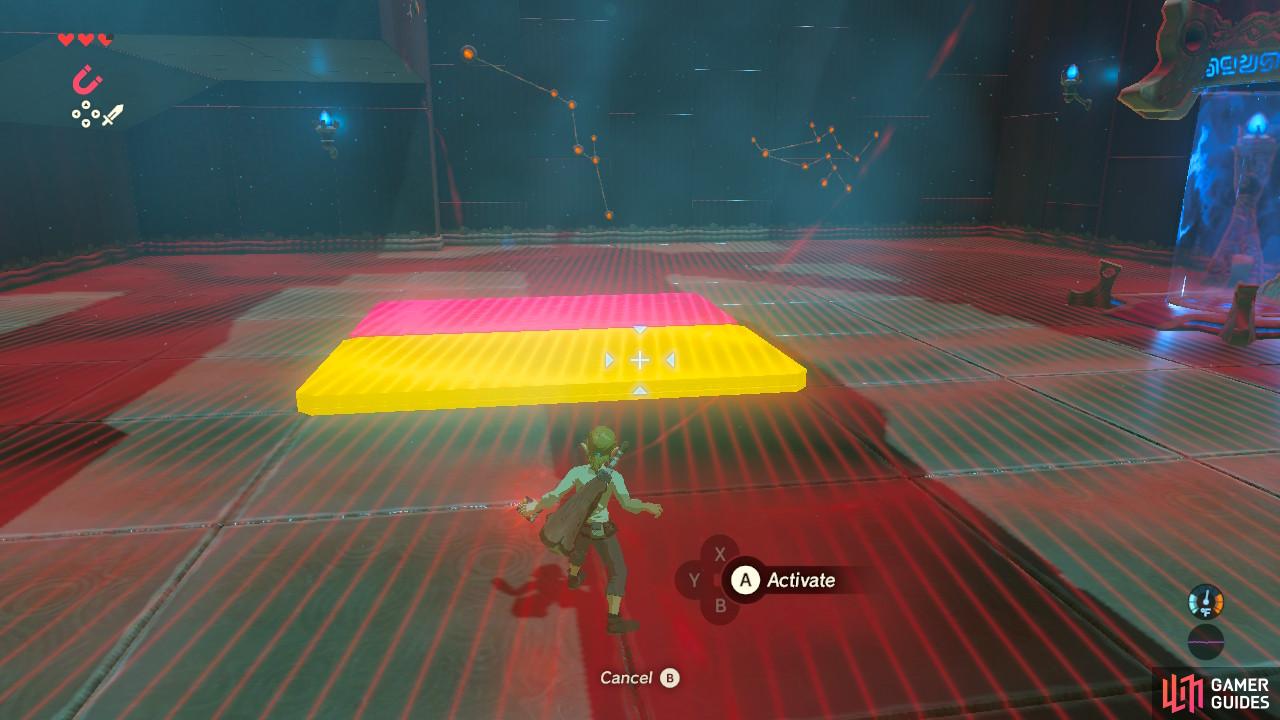
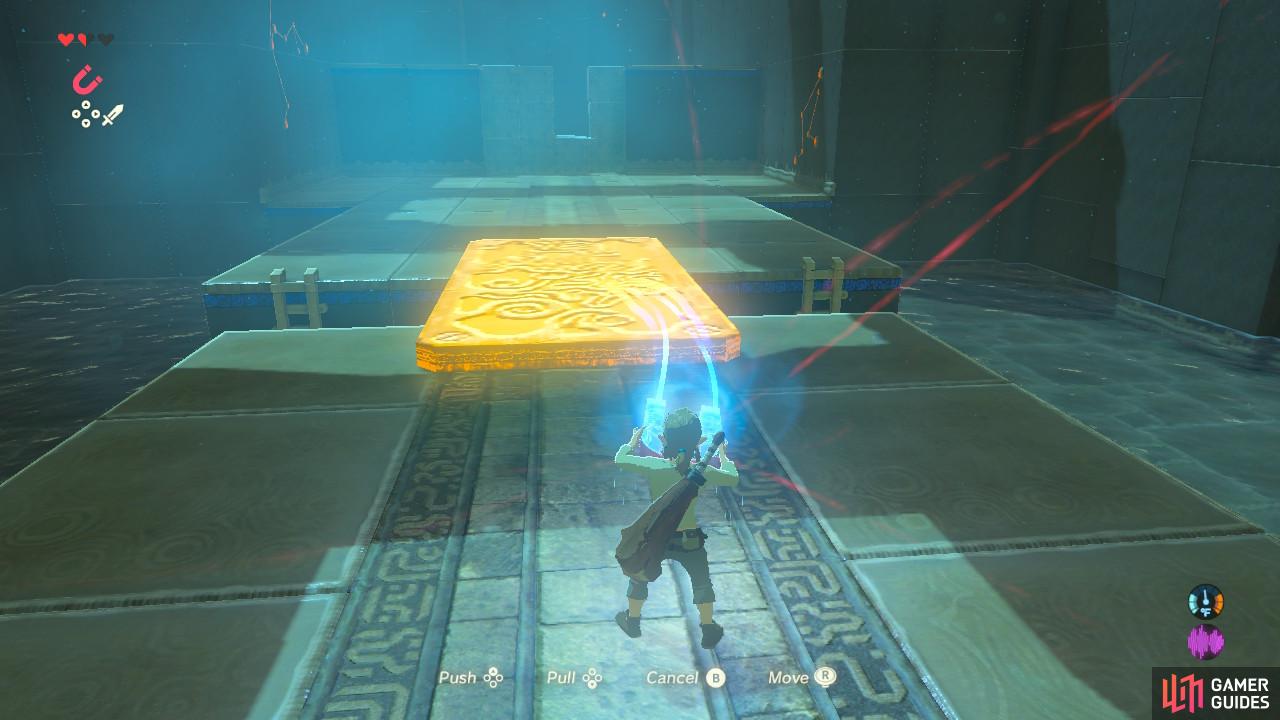
Use Magnesis to lift up one of the metal planks
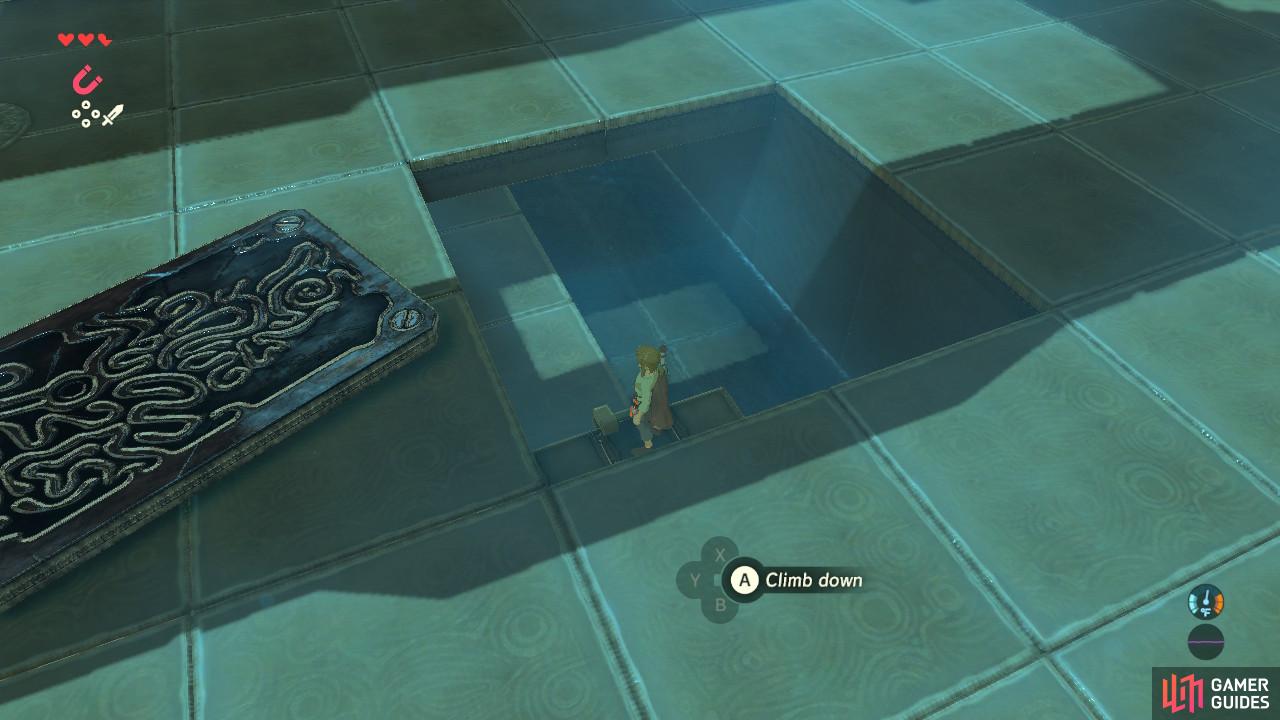
and you will see a hidden hallway that will lead you deeper into the Shrine.
Once you’ve activated Magnesis you will see that the two metal slabs on the floor can be moved. Go ahead and pick them up and put them to the side to reveal a new hallway beneath you. Drop down into it.
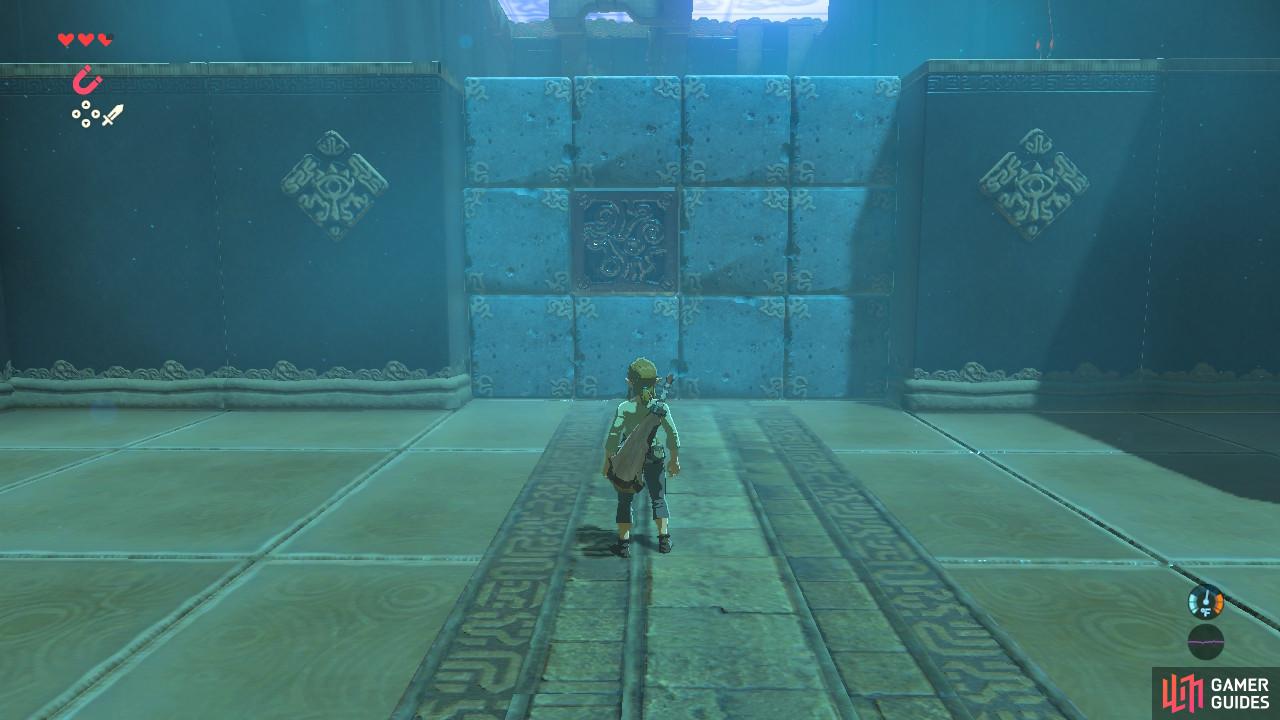
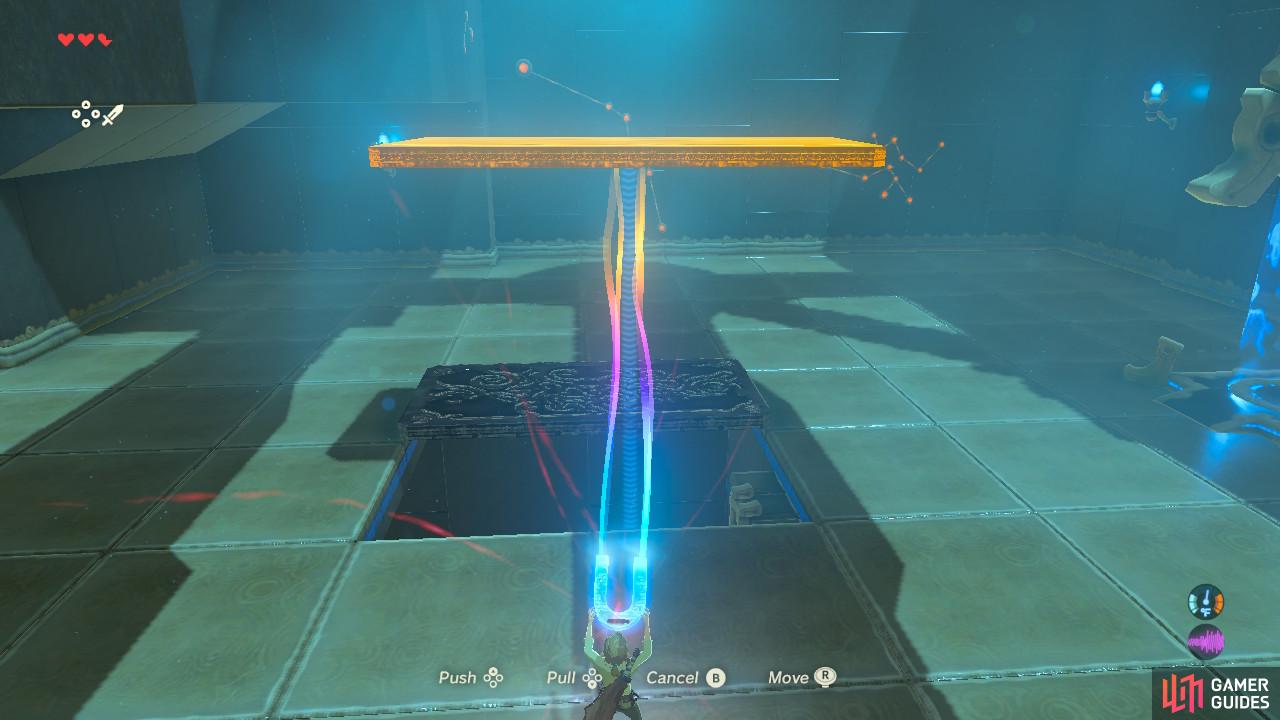
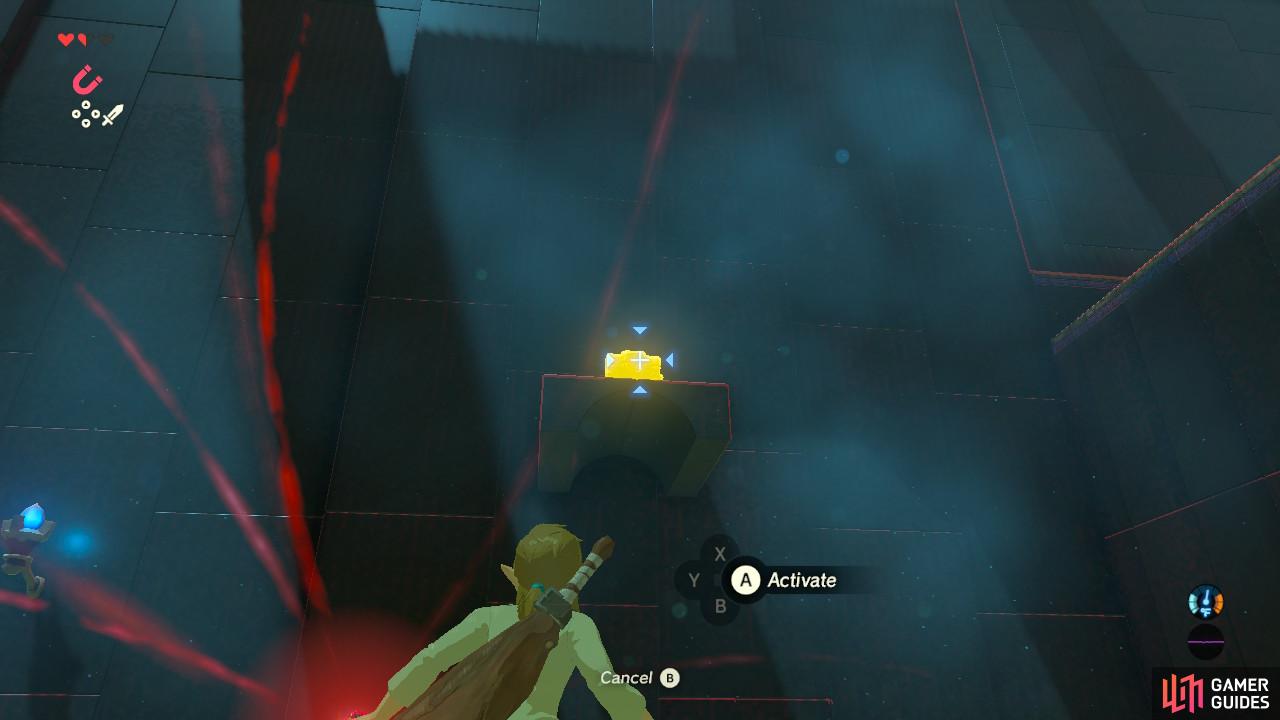
The conspicuously different stone can be pulled away using Magnesis
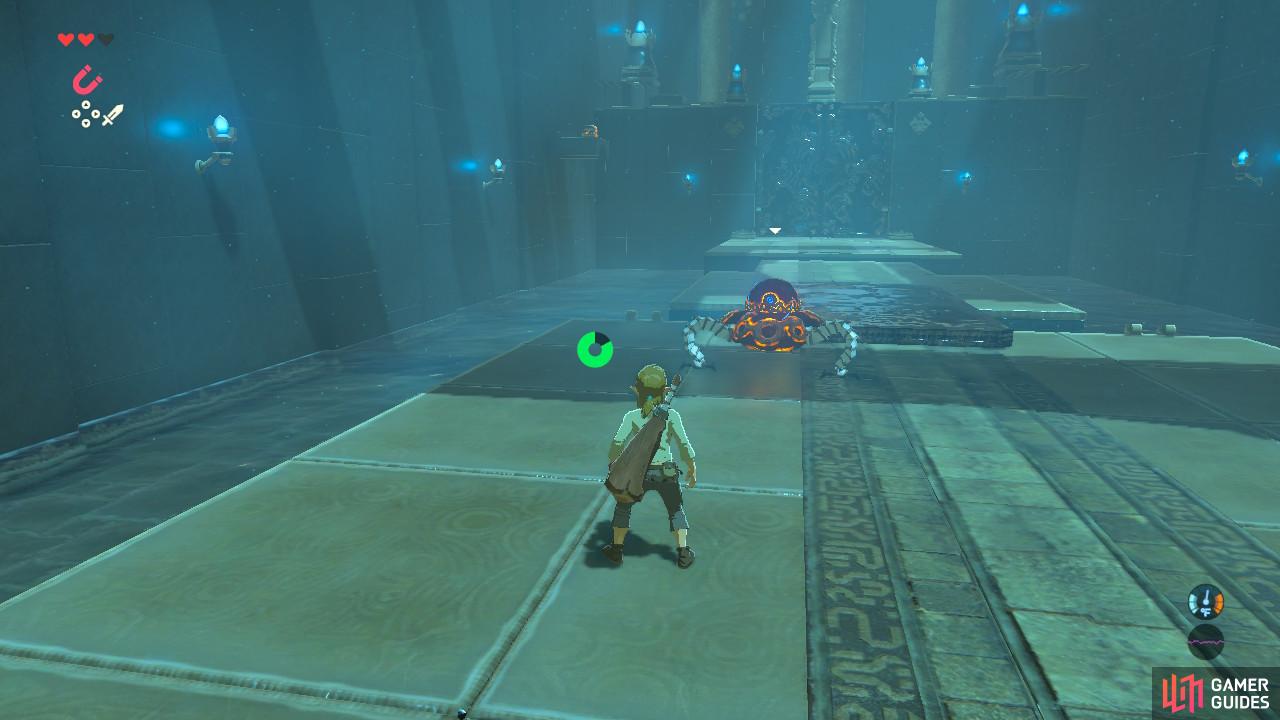
The Guardian Scout has very little health so beat at it with what you have.
Drop down the hole and use Magnesis again to pull a metal block out of a wall of stone blocks. The wall will collapse, allowing you to climb up and over the wall. Behind the wall is an enemy that you will have to defeat: a Guardian Scout.
It may look intimidating but its only attack is a homing missile. Use whatever weapon you have in your arsenal to beat it down (such as a Bokoblin Club), as it has very little health. Don’t forget to pick up what it drops when you defeat it! Materials like Ancient Screw may seem to have little use now but you will want them for later.
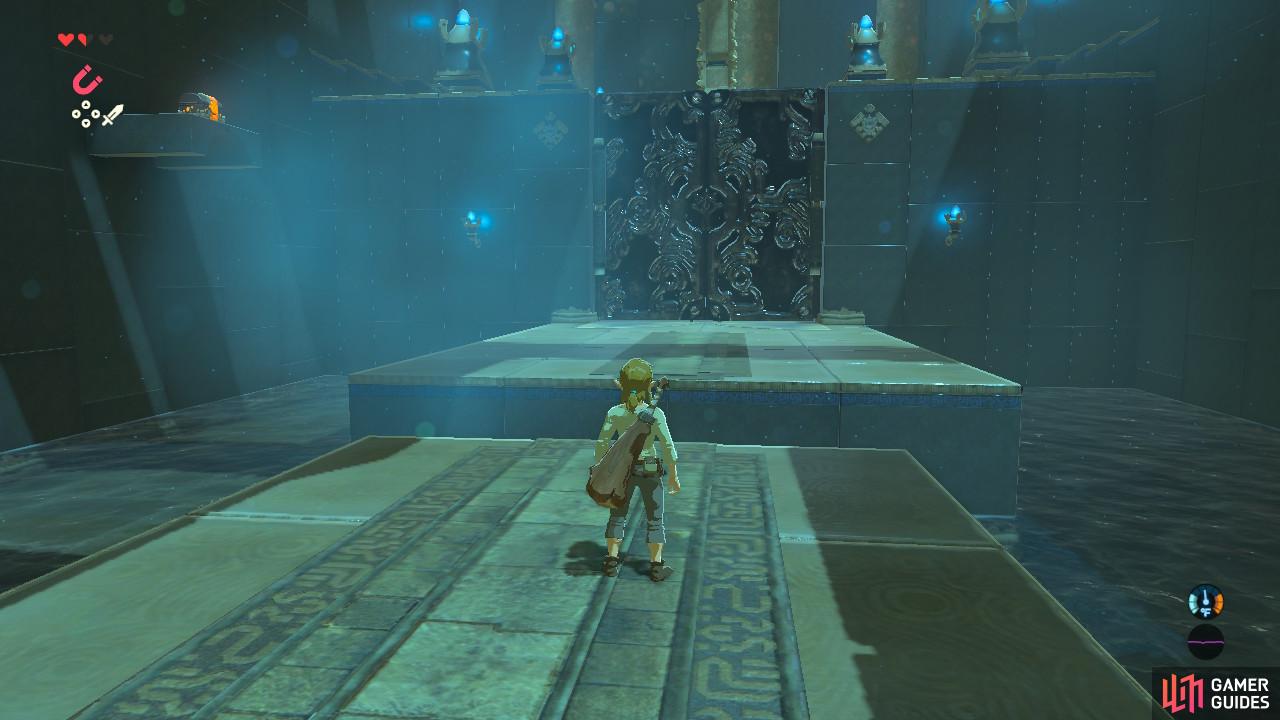
No bridge?
No problem!
Cross the metal slab bridge in front of you to get to the next stone platform. There will not be another bridge to get you to the next platform. To solve this conundrum, use Magnesis again to move that metal slab over and create one.
Definitely make sure you grab this treasure chest
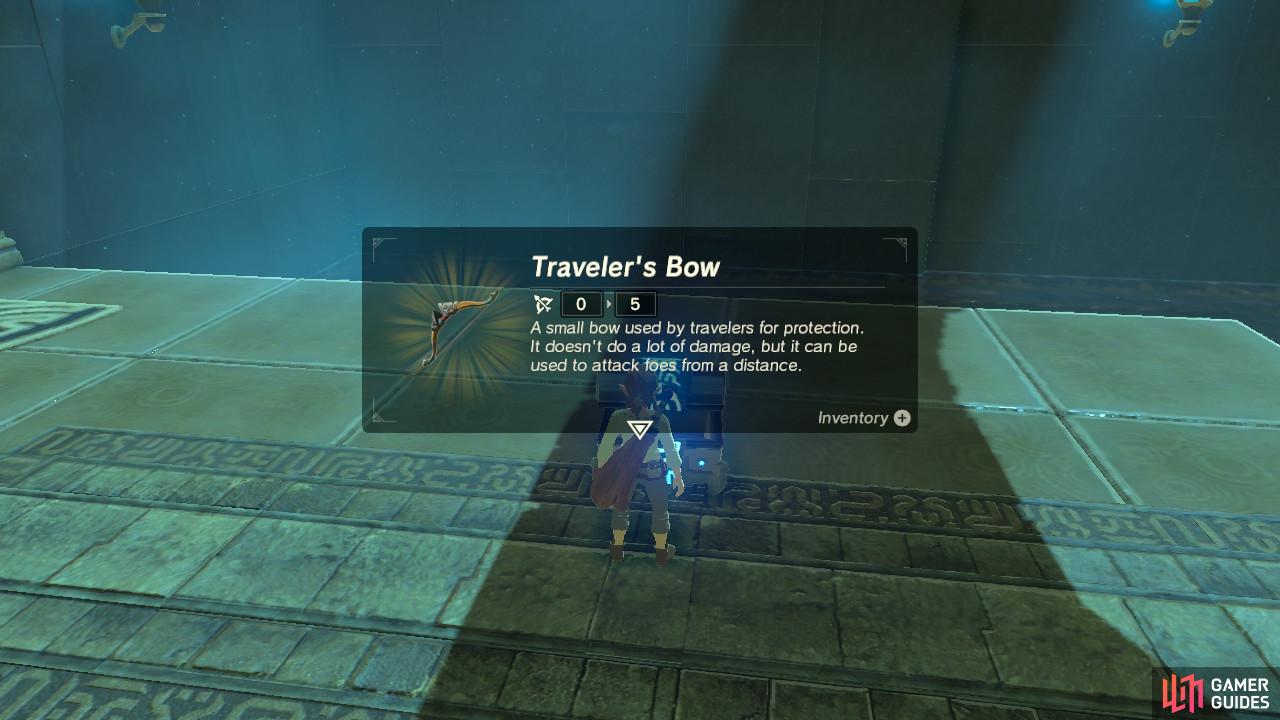
because the Bow is going to be one of your most necessary weapons.
As you arrive at the final platform and behold two giant metal doors, look to your left. A treasure chest awaits your plundering and it’s made of metal. Use your Magnesis to grab the treasure chest and then pull it closer to you. Open it up and you will obtain the Traveler’s Bow. Bows and arrows are invaluable to this game so don’t miss it! The Traveler’s Bow itself is not very powerful compared to what you can get later, but for the early game hold onto it.
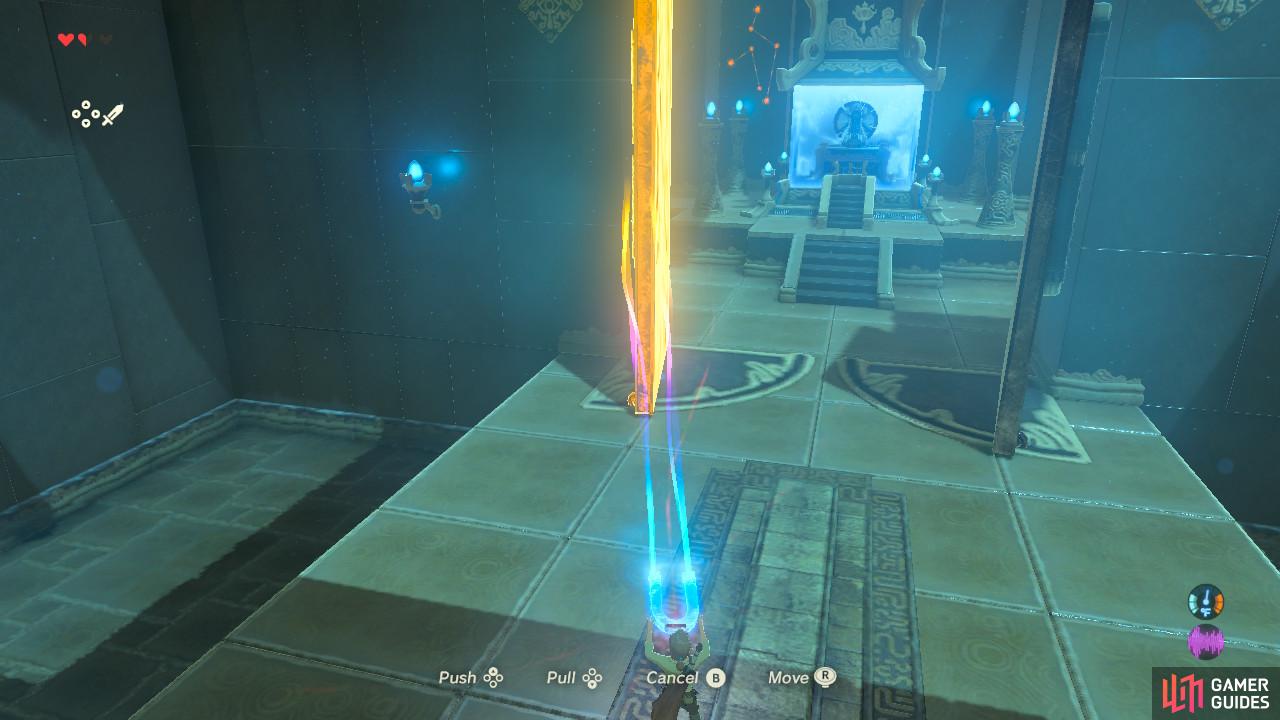
Once you have pulled open the doors
this chamber will always mark the end of a Shrine’s trial.
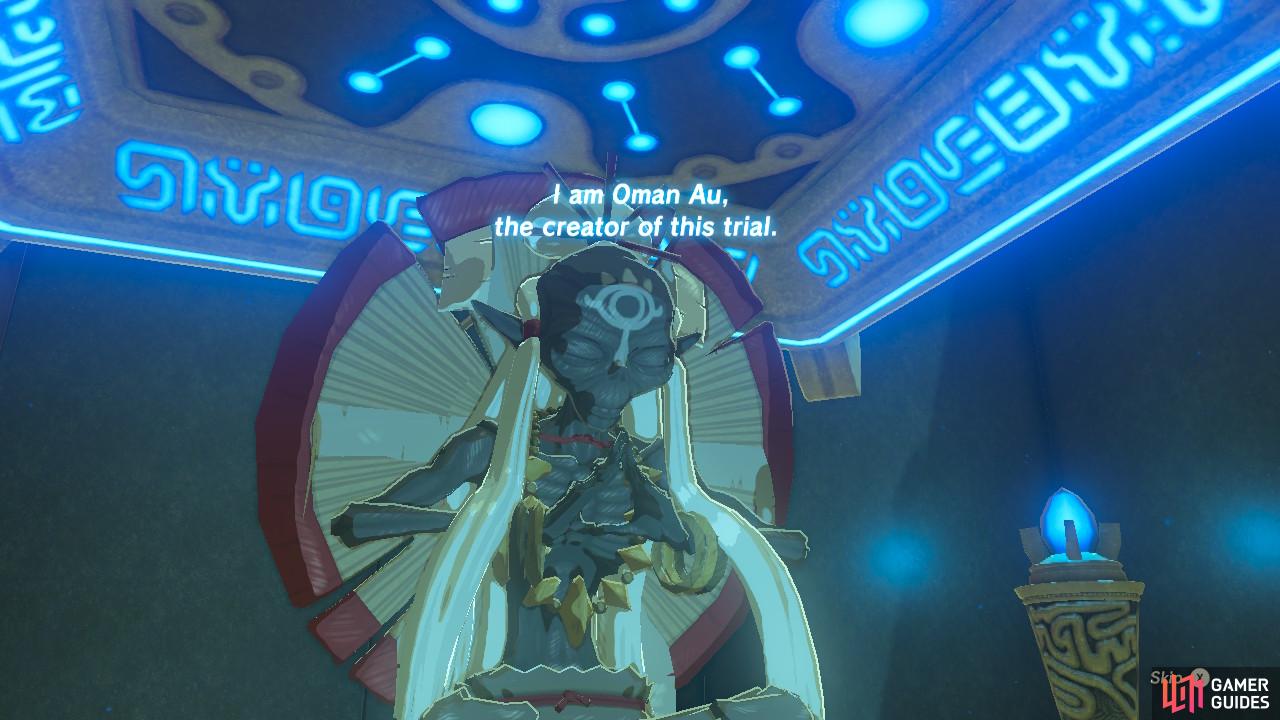
After you have pocketed your new bow, use Magnesis once more to pull open the double doors. You will have finally reached your destination. Examine the blue veil in front of you to initiate a strange cutscene.
Congratulations! You have completed your first Shrine
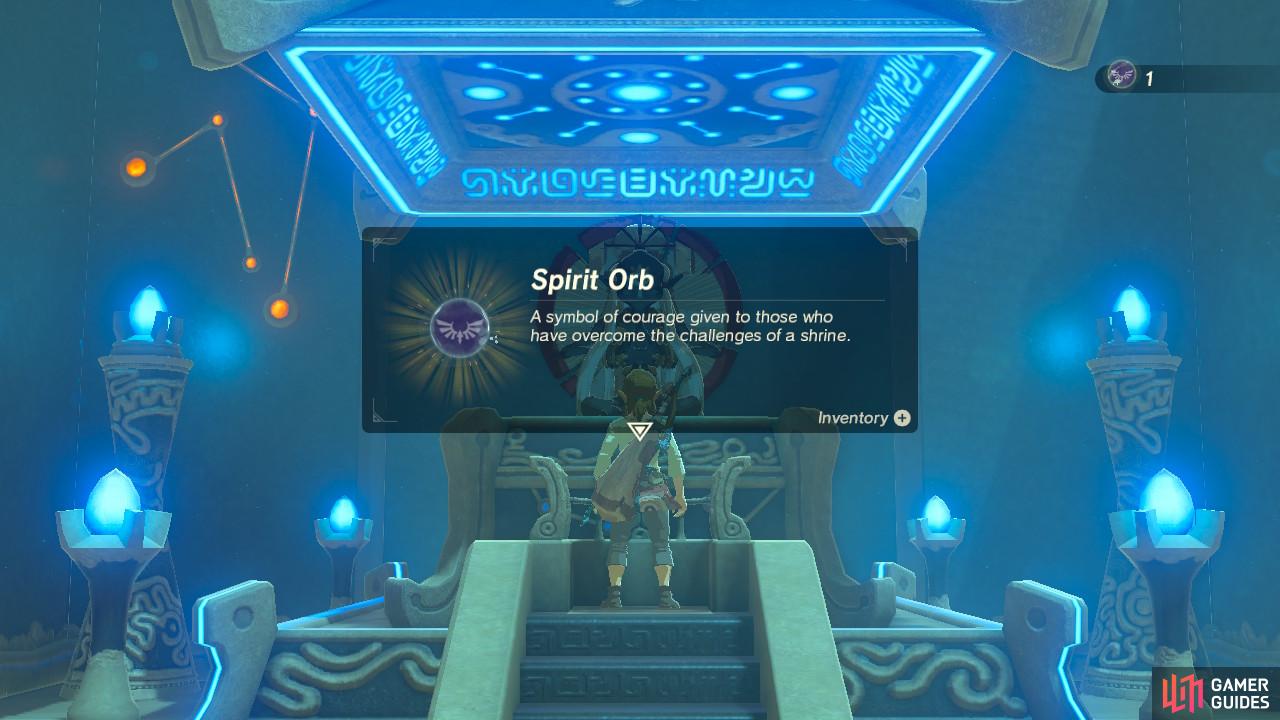
These Spirit Orbs will come in handy later.
As your reward for completing the shrine, you will obtain a Spirit Orb. This must be the “treasure” the Old Man was talking about. After receiving the Orb, the game will automatically save your file. You will also be warped back out of the Shrine will full health if you lost any hearts along the way.
The old man will greet you once more and congratulate you on a job well done. Paraglider yet? It seems not. There are three more shrines in the Great Plateau and you need to get the Spirit Orbs from all of them. The Old Man will invite you to fast travel back to the Great Plateau Tower. Once you have discovered any Tower or Shrine, it will become a fast travel point. This makes traveling around Hyrule convenient!
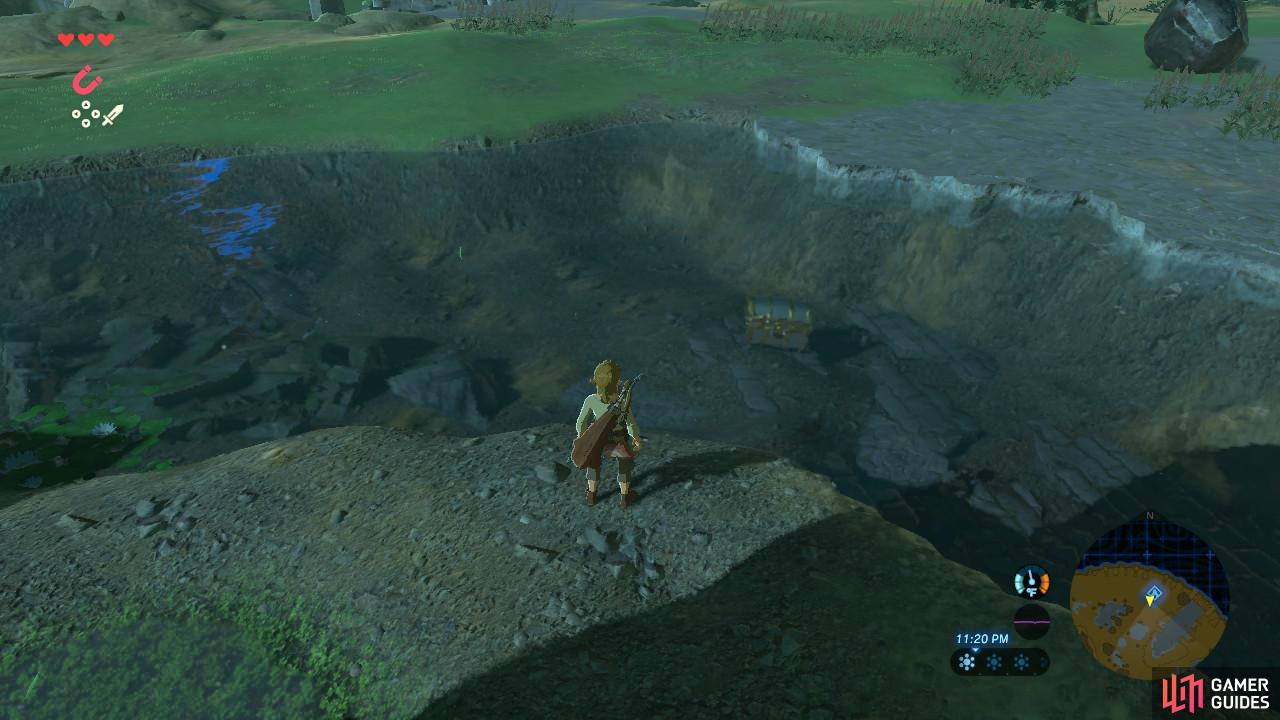
You will be able to see the treasure chests from the surface of the water.
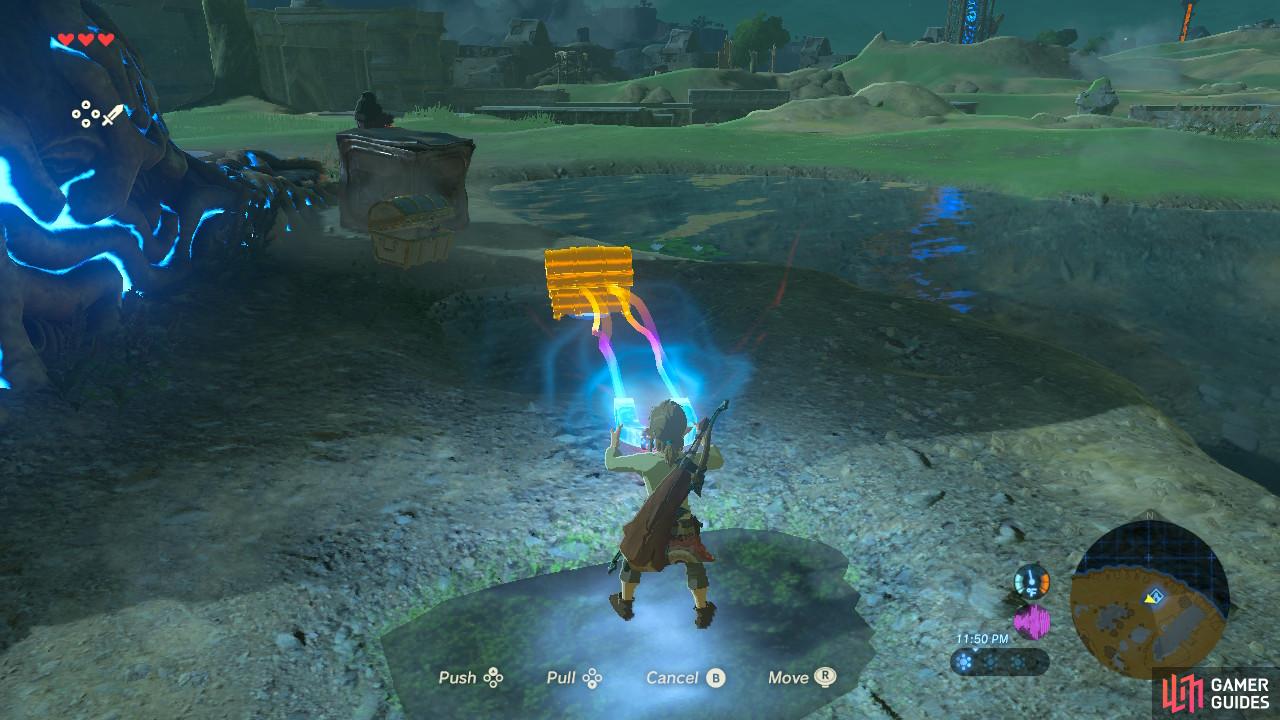
But since you can’t swim down there, use Magnesis to yank them up.
Let’s go and find the other three shrines so we can get that Paraglider and get off this Plateau! First, let’s follow the Old Man’s advice and fast travel to the Great Plateau Tower.
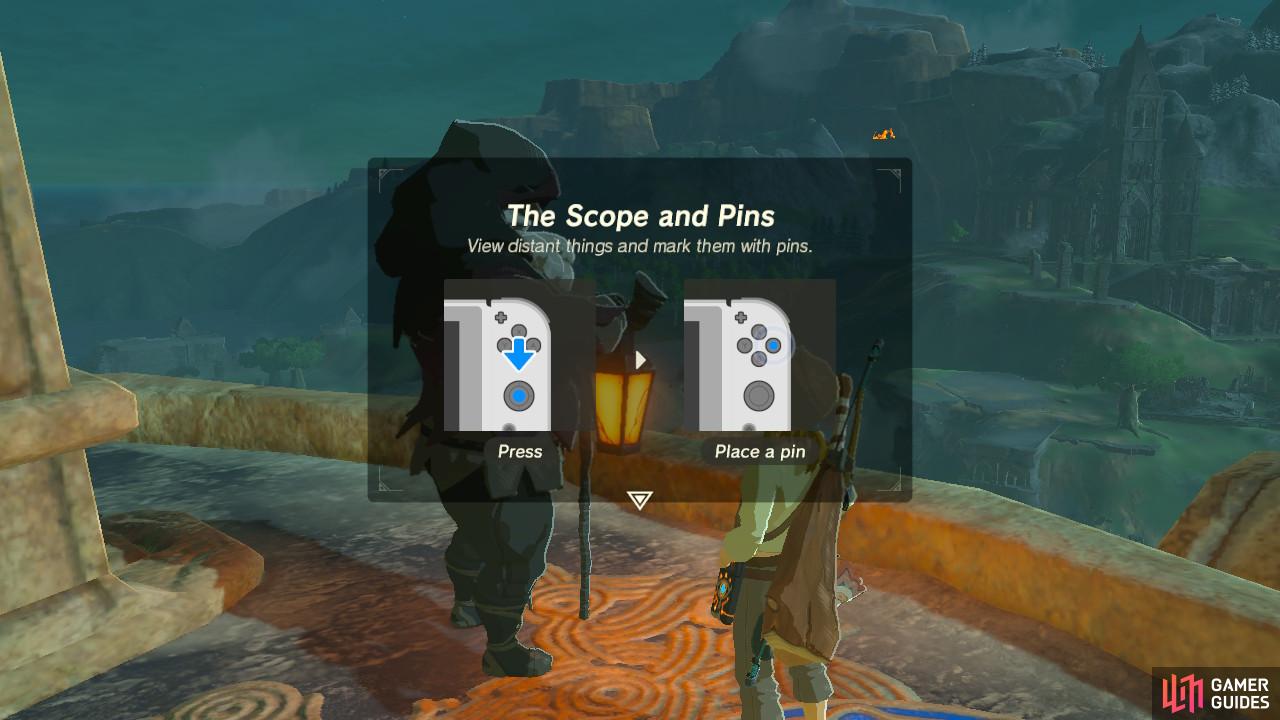
The Sheikah Slate can act as a telescope, allowing you to pinpoint far out locations to travel to.
It can immediately discern the object you are wanting to pin, thus letting you mark your map accurately.
Once on top of the Tower, the Old Man will start the tutorial on using map pins. Press down on the right analog stick and you will be able to use the Sheikah Slate like a telescope of sorts. Scope out the Plateau for all the shrines. You can see them by their distinct orange glow. Once your cursor is on top of one, press [A] and a pin will be placed on the map right where the shrine is! In this way you can pin the three remaining shrines.
The pins will also be marked on your mini-map and the map on your Sheikah Slate. Handy!
Now that your map is all nice and colorful, let’s get going to the next shrine.
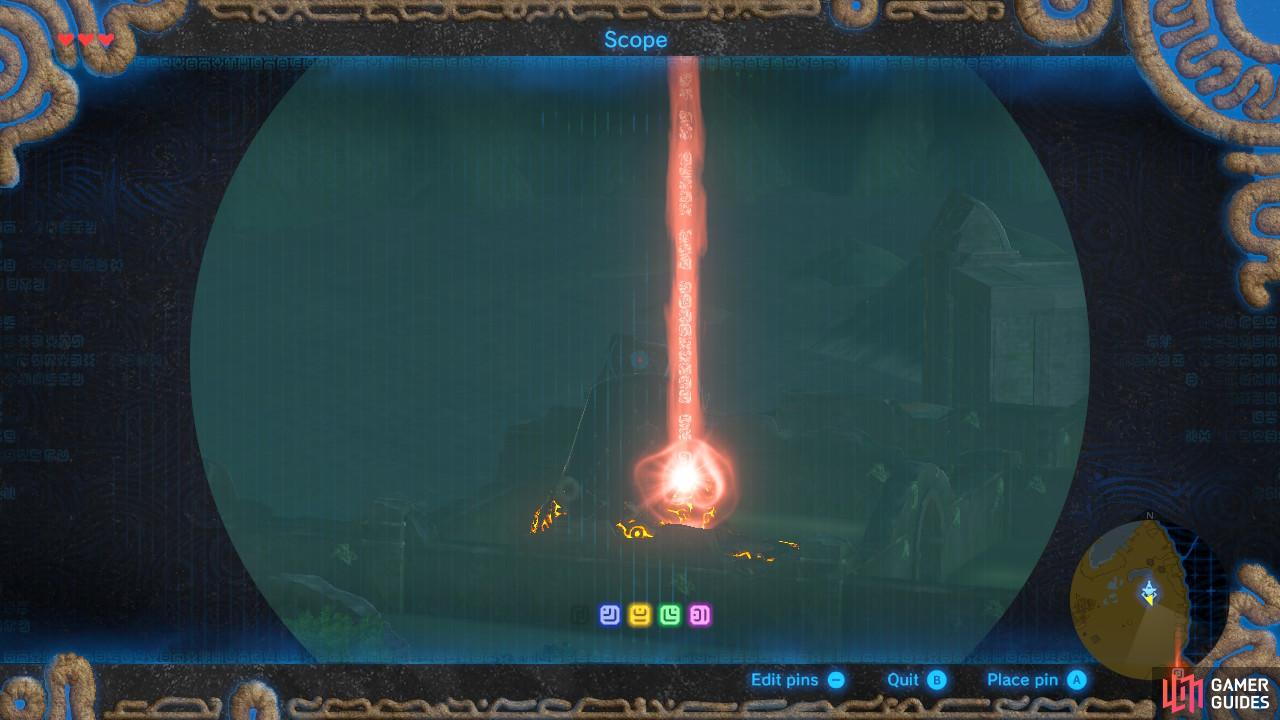
Shrines are easy to pick out from the vast landscape since they all glow like this
But make sure you watch out for Guardians! They have a telltale theme song that plays when they detect you.
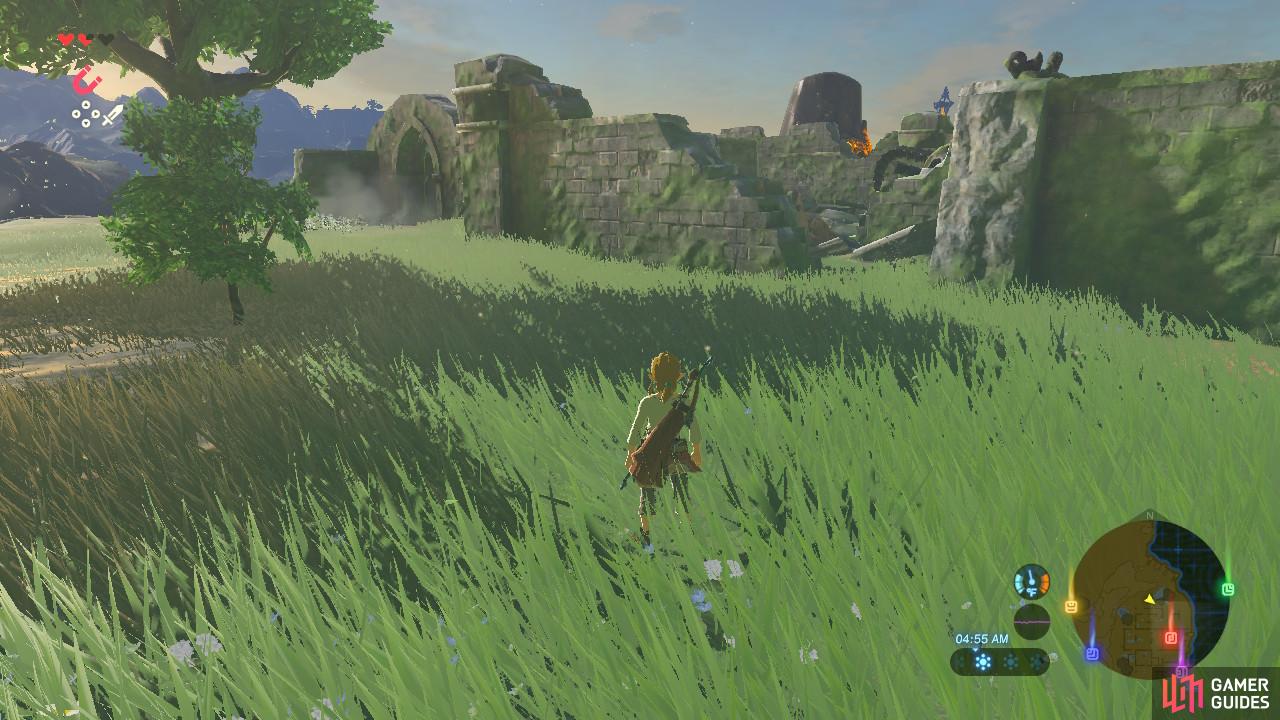
So let’s head southeast to our second shrine. You can probably see the telltale orange glow from outside the ruin’s walls, so start making your way through the area…and you will encounter an unnerving cutscene.
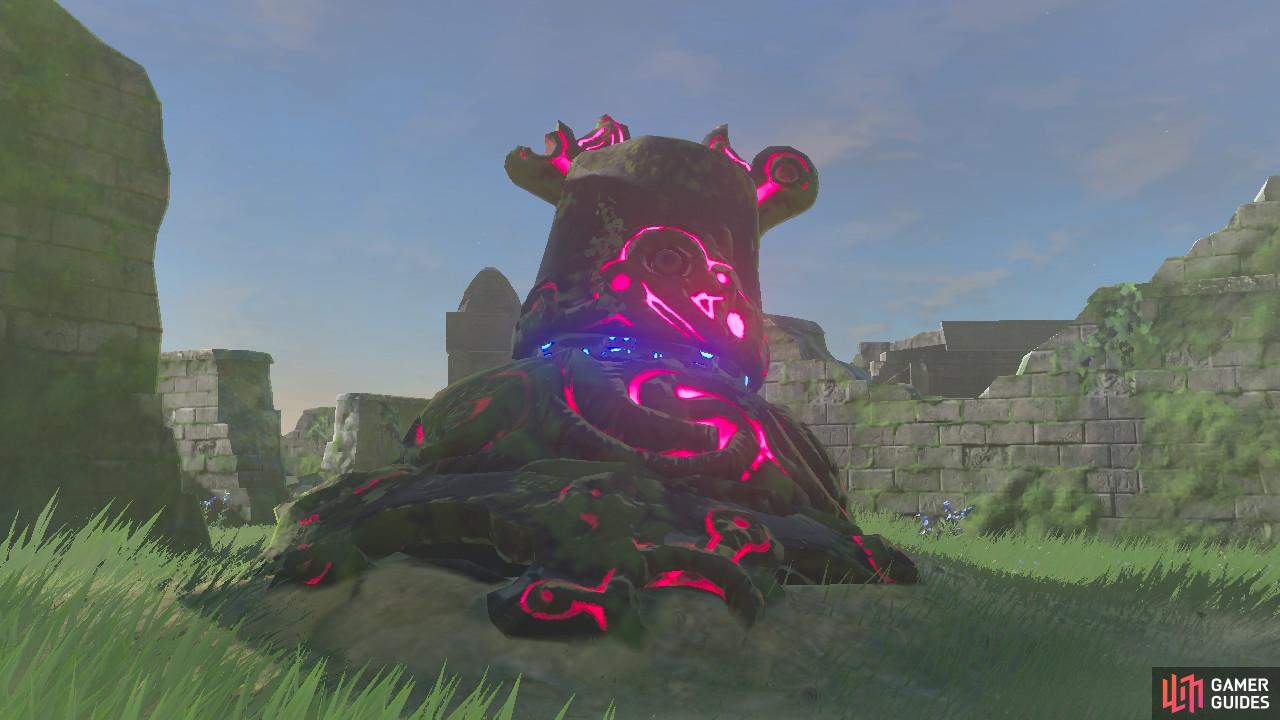
These enemies are called Guardians. Some can walk and others are fixed to the ground, like this one. For now, you can do nothing to defeat them. Their homing laser will smash you for six hearts of damage - six hearts we also don’t happen to have right now. Consider them your instant-kill enemies in this stage of the game and run! You might have to climb over a wall to get to the Shrine so manage your stamina carefully. Their laser cannot penetrate walls so you are safe once you are over.
Ja Baij Shrine: Bomb Trial

The shrine and its surrounding area is a safe zone from any Guardians
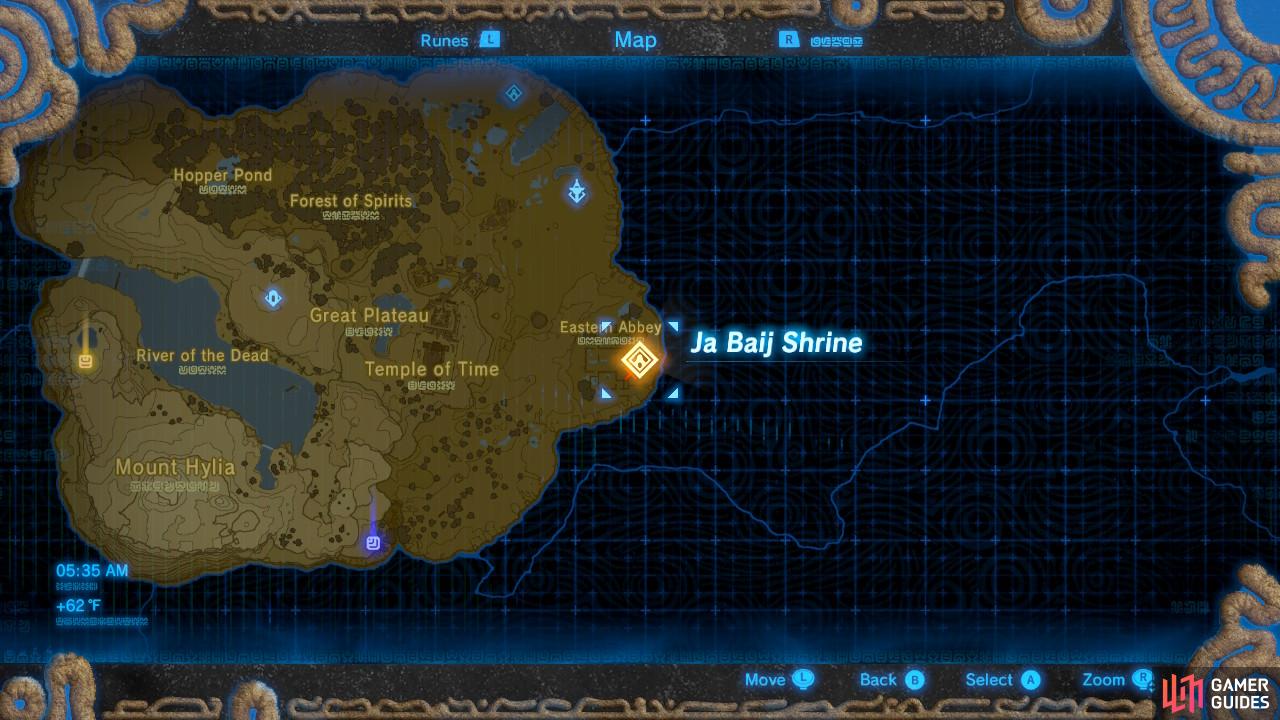
Here is the location of the Ja Baij Shrine according to your Sheikah Slate.
As usual, activate the pedestal so that you can enter the Shrine.
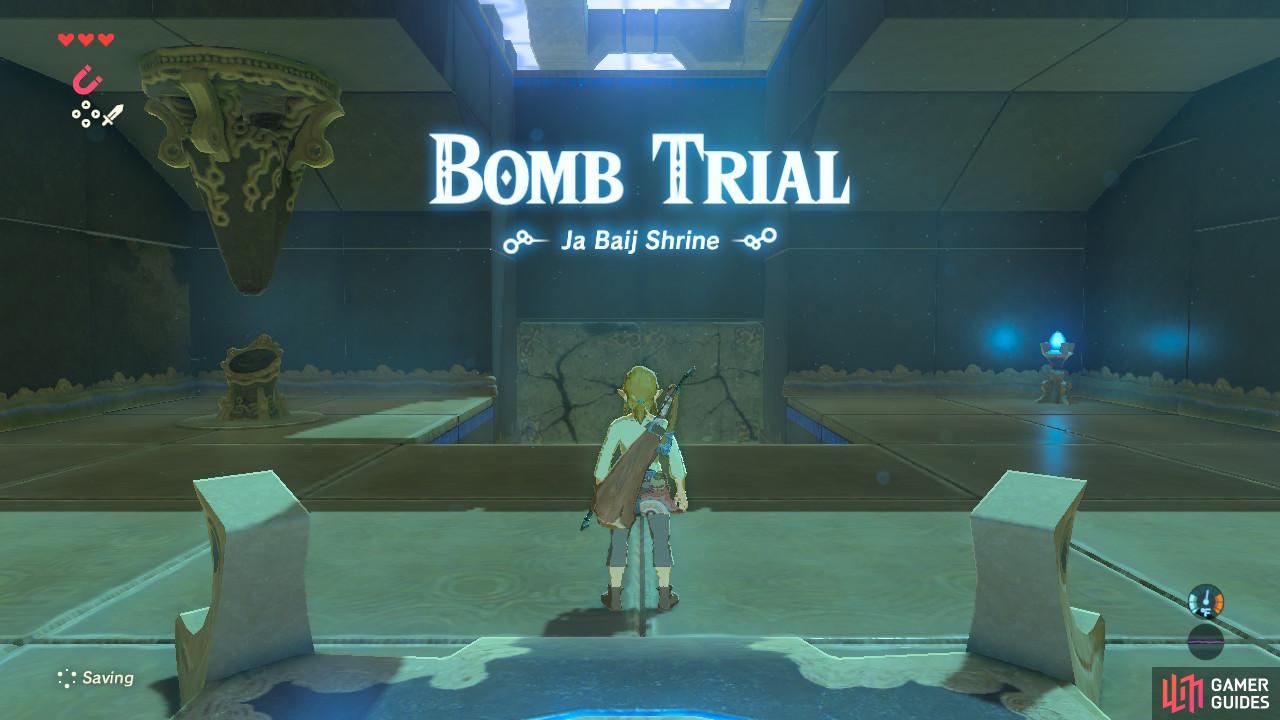
As you can probably tell by the Trial name, this Shrine involves setting off a ton of explosions. The first room of this Shrine will play out similarly to the Magnesis Trial from before.
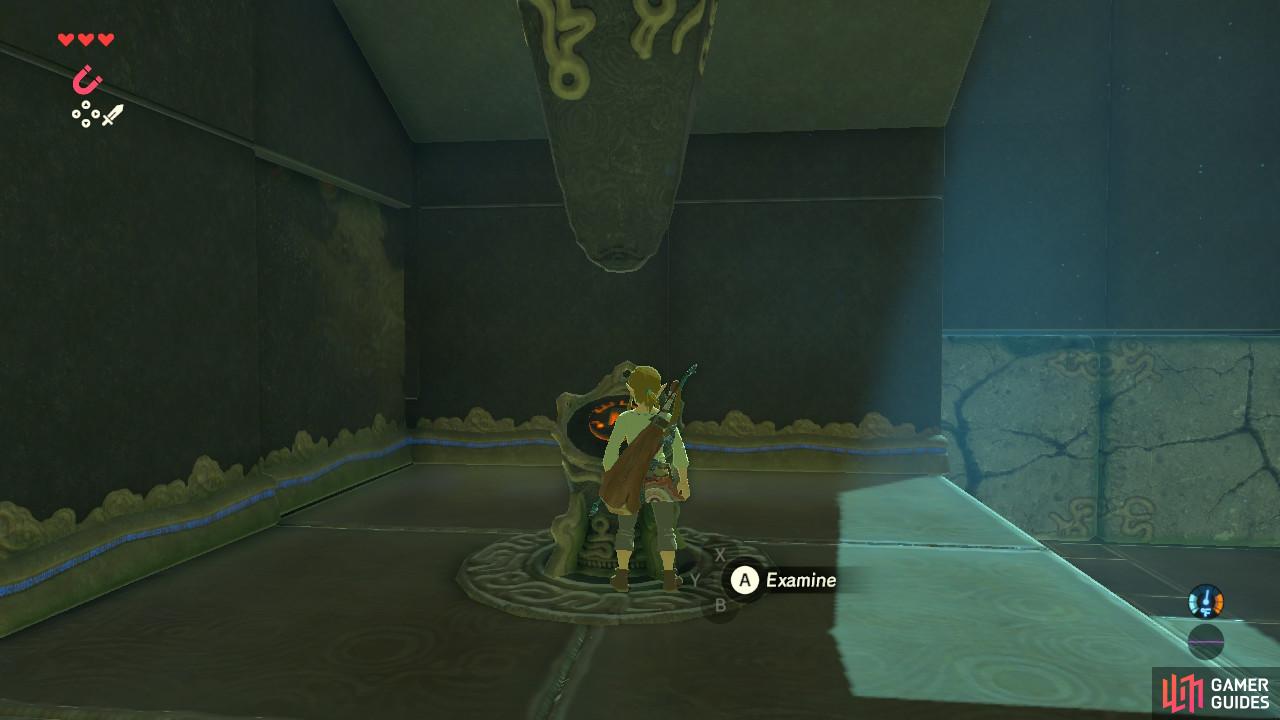
As usual you will need to activate the pedestal.
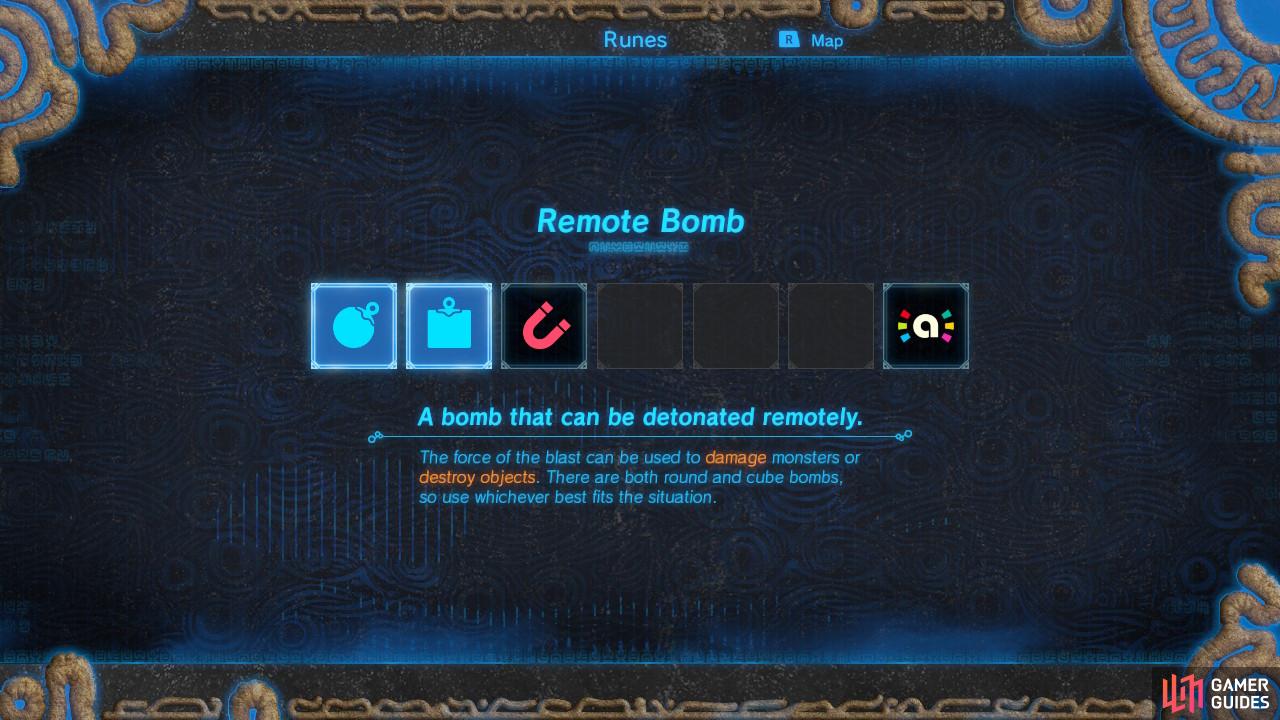
You will be able to create two types of bombs, spherical and cube!
As usual you will need to inspect the pedestal, and you will earn what is a strong contender for the best Sheikah Slate power, and definitely the most fun! Now you can create and detonate Cube or Spherical Bombs! Cube Bombs are good for when you don’t want the bomb to move, and Spherical Bombs are best to throw and are good all-purpose bombs.
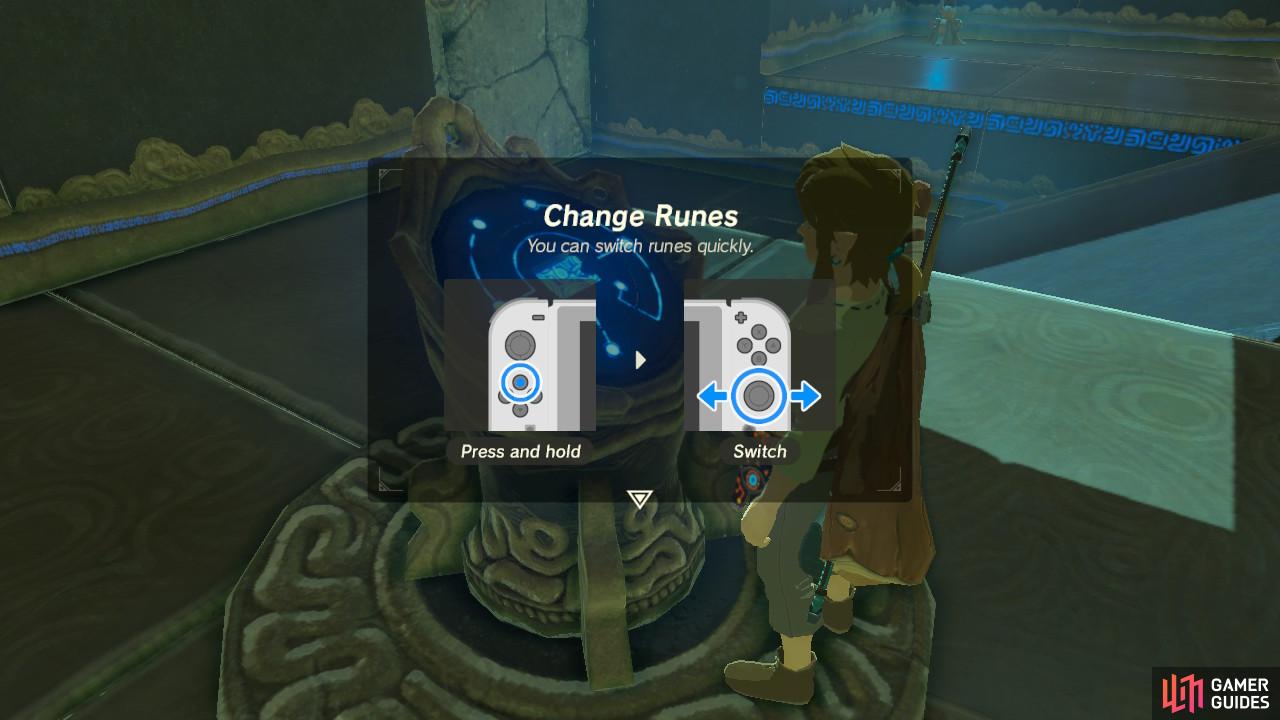
The game will give you a brief tutorial on using Bombs
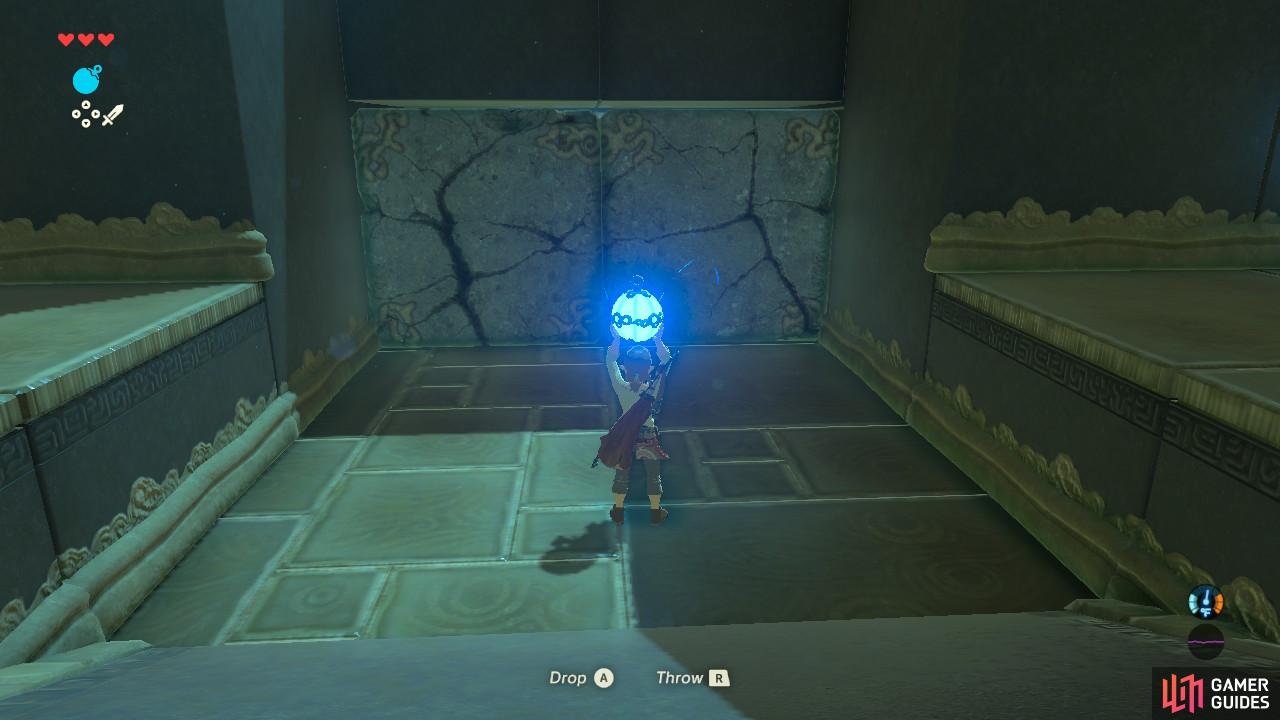
Cracked walls like these are your cue that you can blow them up to reveal what they hide!
Once you have the Bomb power selected, press the L shoulder button to create a Bomb. Drop it with A or throw it with R shoulder button, and then press L shoulder to detonate it whenever you want. Since this is tied to your Sheikah Slate, you will have to wait for a short cooldown period, but now you have unlimited Bombs. Awesome!
Use a Bomb to blast away the cracked wall in front of you. Be sure to stay a fair distance away, since if you’re caught in the blast you will sustain heavy damage and could potentially die (don’t say I didn’t warn you).

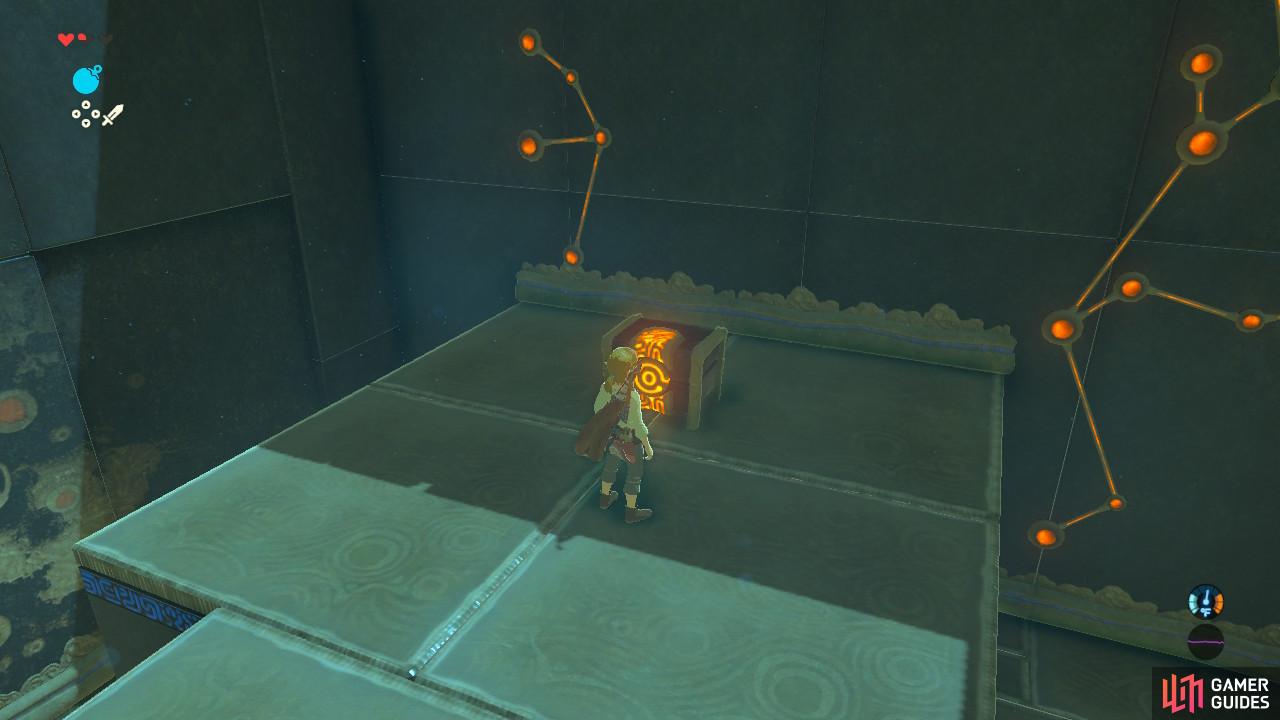
Shrines will often have a treasure chest off the beaten path so it’s worth your while to explore
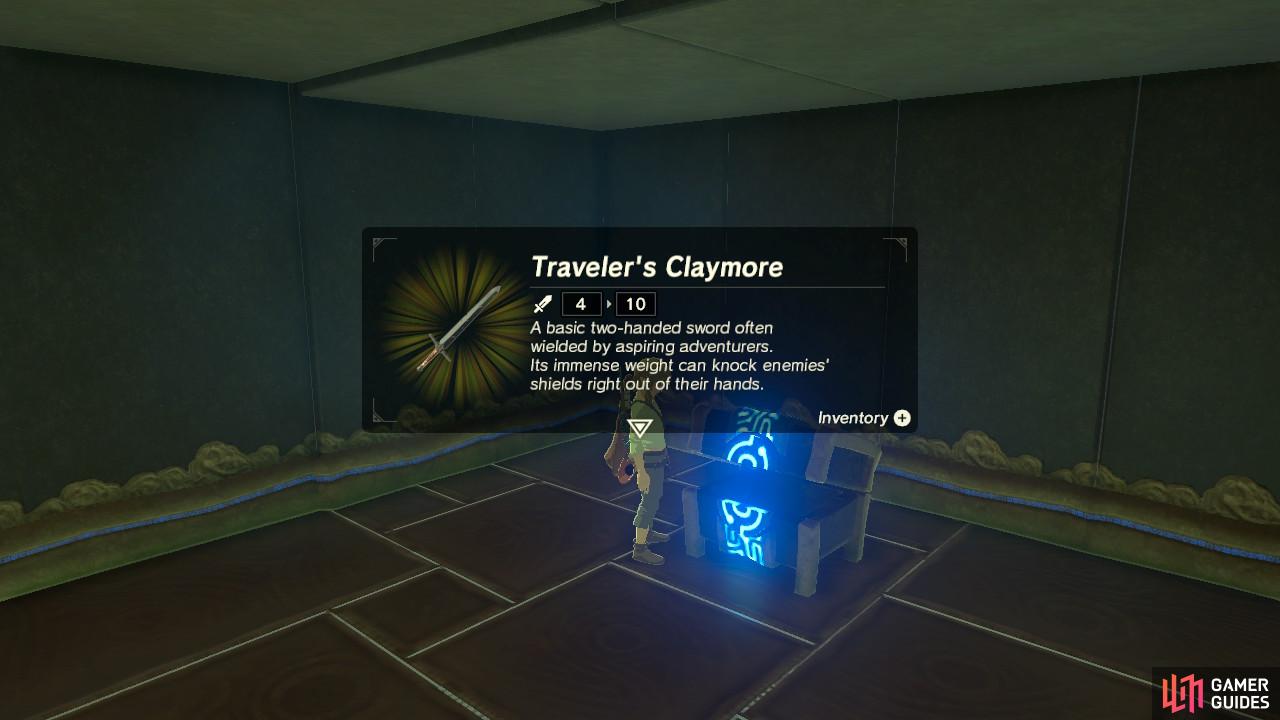
This is a fairly basic sword that will come in handy for when enemies get a bit bulkier.
Up ahead is a fork. Go to the right and Bomb the wall to reveal a Treasure Chest. Open it to grab a Traveler’s Claymore, a great starting sword. How useful. Don’t waste it on the red Bokoblins though. Save it for when you can finally leave the Great Plateau.
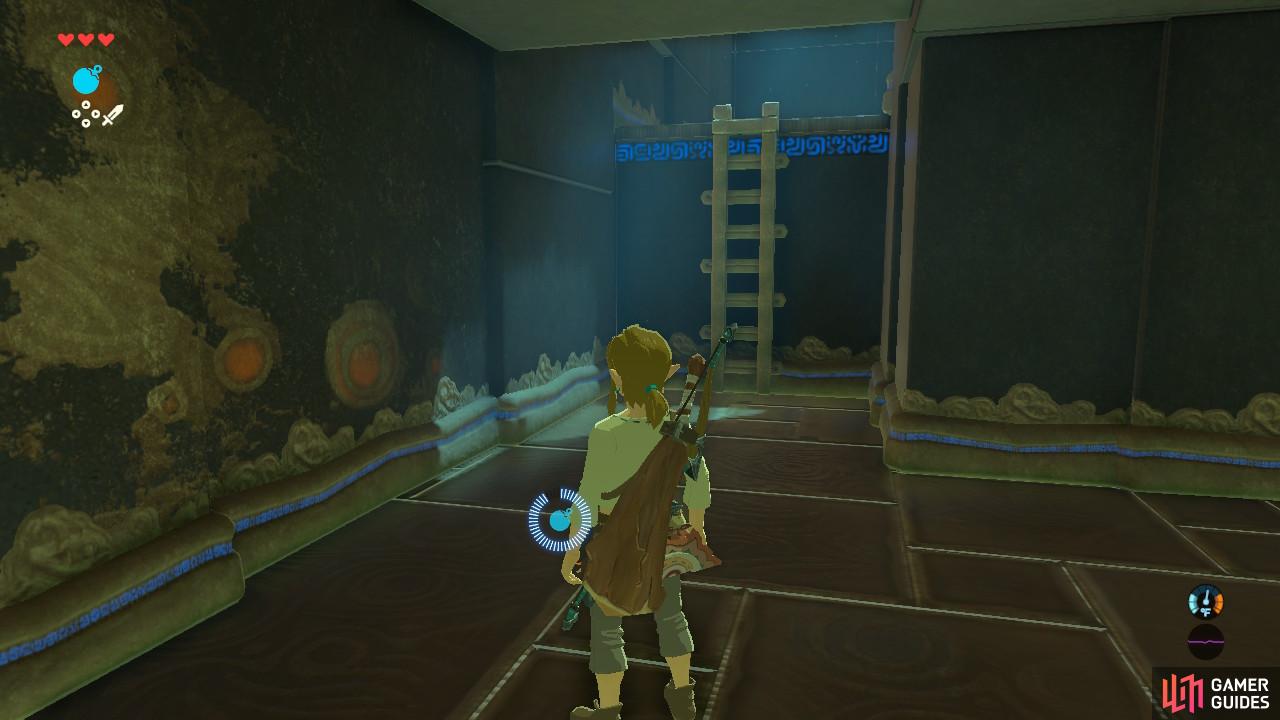
Just a small transition hall to get through
A moving platform, straight out of Mario!
Go to the left side of the fork to proceed with the trial and climb the ladder. There will be a platform that floats back and forth. Ride it across and you will arrive in another chamber.
Don’t worry, these machines won’t hurt your health
Don’t forget to grab the second treasure chest in this trial!
This room is filled with all sorts of weird contraptions that pop in and out on timed intervals. Two of them appear to be bouncing a ball back and forth. This is meant to show you what these machines can do. They will launch anything in front of them a fixed distance away, including Bombs and you.
Start with the leftmost machine and stand in front of the block. The block will launch you into the air onto a platform with another Treasure Chest. Open it and grab the Amber. Drop down onto the floor and go back up the stairs to return to the start of the room.
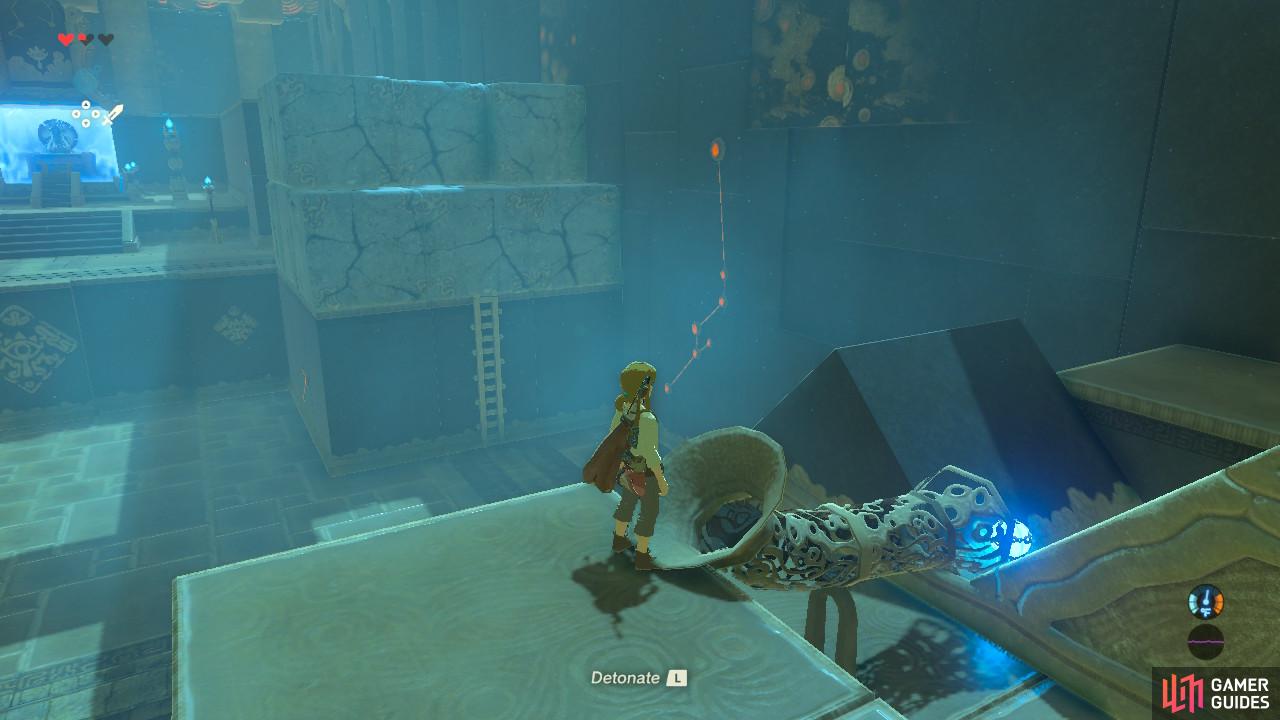
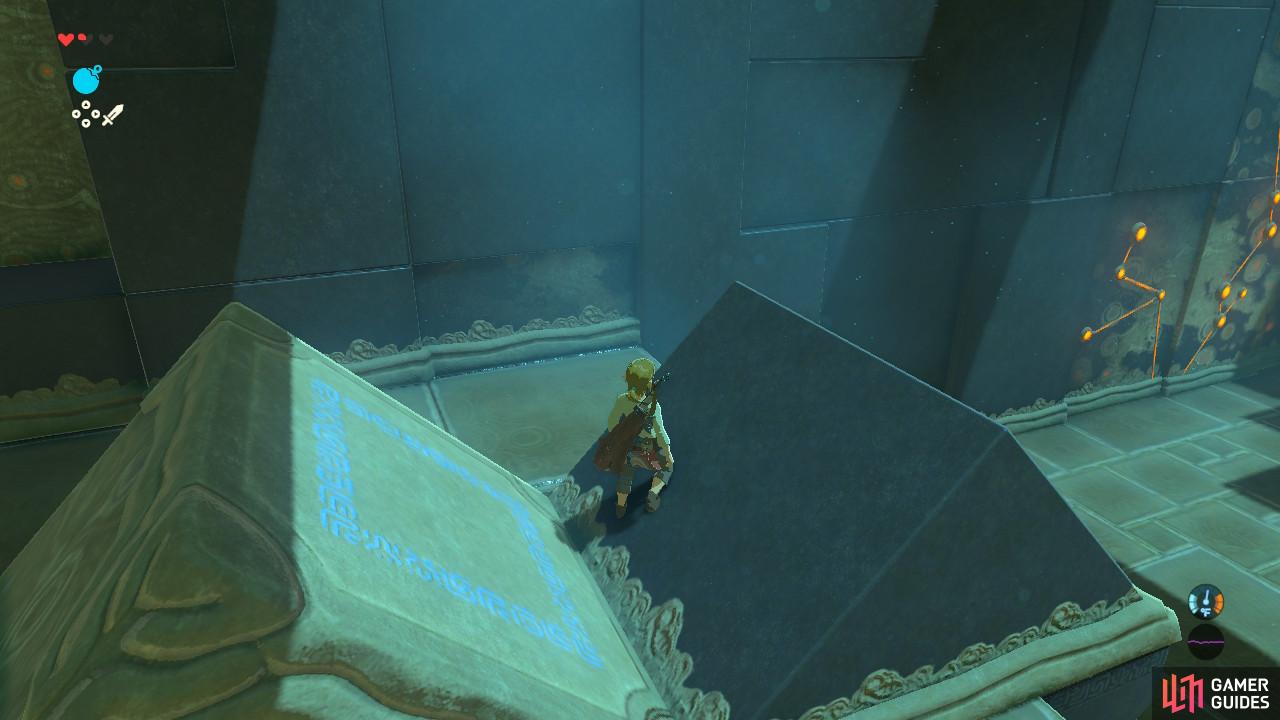
A spherical Bomb will be best for this particular task
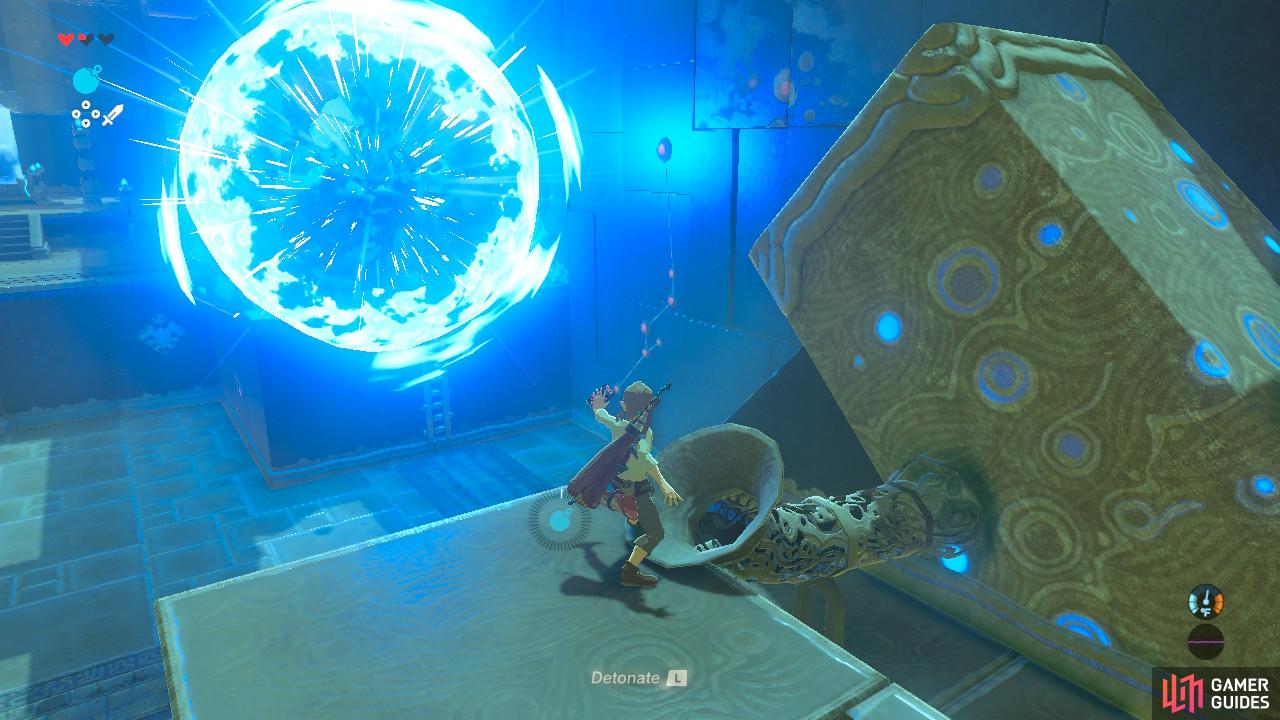
Make sure you detonate the Bomb in mid-air at the right time!
Now go to the rightmost machine and climb the short staircase to stand on the platform next to it. There is a short pipe connecting it and the machine. When the machine is at rest, drop a Bomb down the pipe. The machine will then launch the Bomb into the air towards a cracked wall in the distance. Detonate the Bomb to blow up the stone wall, making the platform accessible.
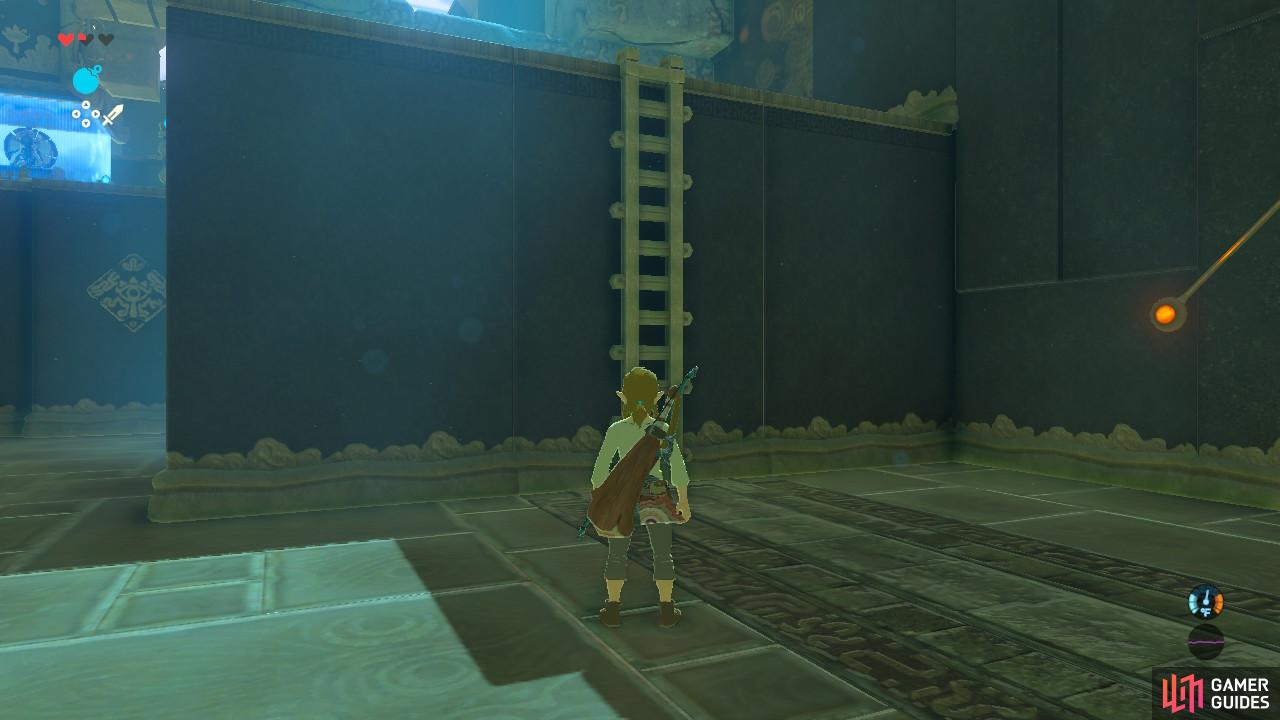
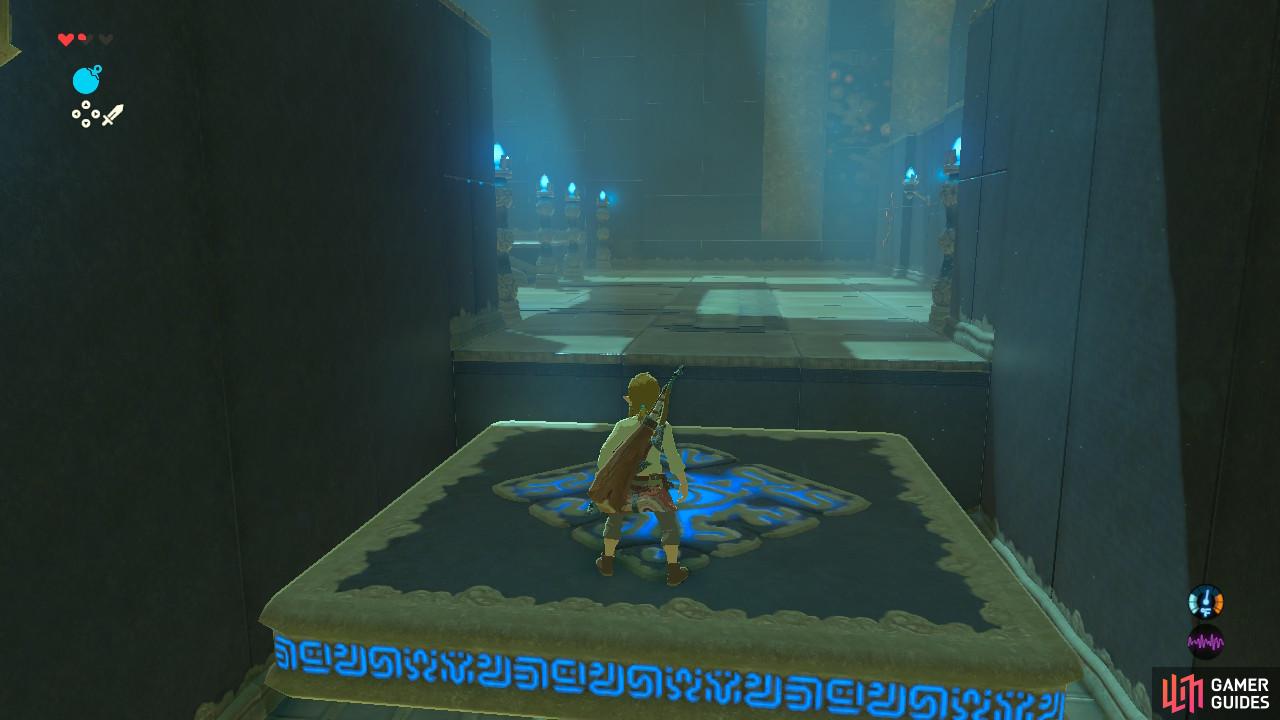
We’re almost to the end!
Head over to the characteristic blue area to finish up the trial.
Go back down the stairs and then climb up the ladder to get onto the platform. Put a Bomb in front of the second cracked wall and you will finally reach the end of the trial.
Examine the blue veil and after the cutscene (you can skip by pressing X), you will receive your second Spirit Orb and be automatically taken back to the entrance of the shrine.
There shouldn’t be any Guardians to bother you. If you run into any, book it.
You can continue out of the ruins by Bombing the cracked wall right in front of the shrine. Run past any Guardians that might try to laser you. The next shrine on our list is to our southwest, so let’s begin to head in that direction. On the way we will also take a short detour to pick up some useful items! Again, you can tackle the Shrines in any order you want, and any detours mentioned are totally optional.
The Old Man’s House and the Warm Doublet
This detour is entirely optional but will make the next two Shrines much easier to access. It will also take us to a place filled with gathering points, a Bokoblin camp to raid, some useful treasure chests, and a cooking pot! So it definitely will be worth it to drop by.
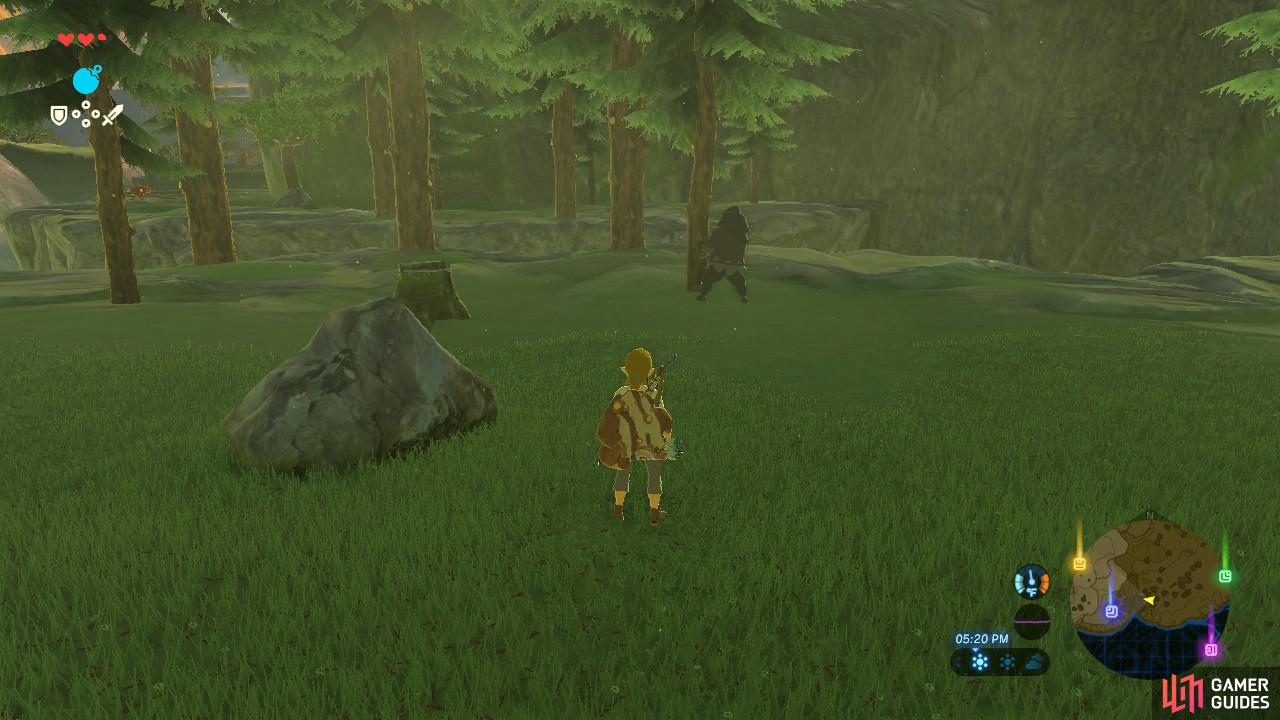
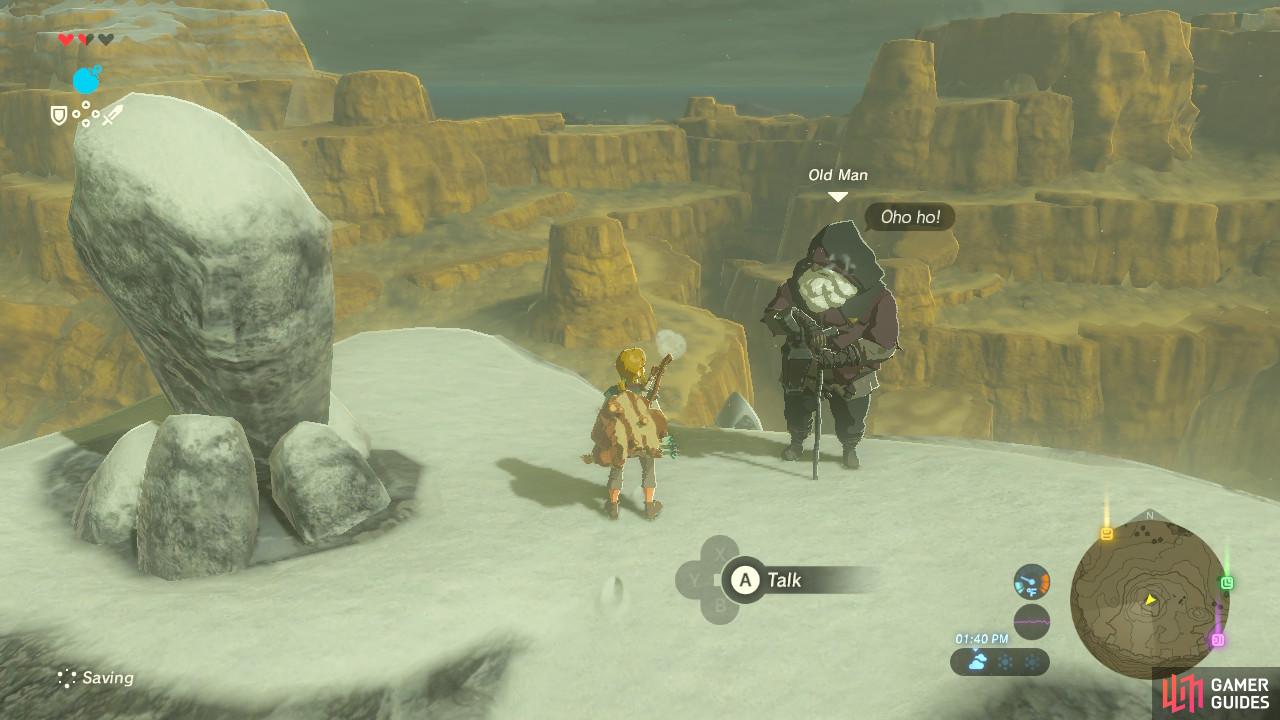
Must be hard for the Old Man to have to cut trees down with his bad back
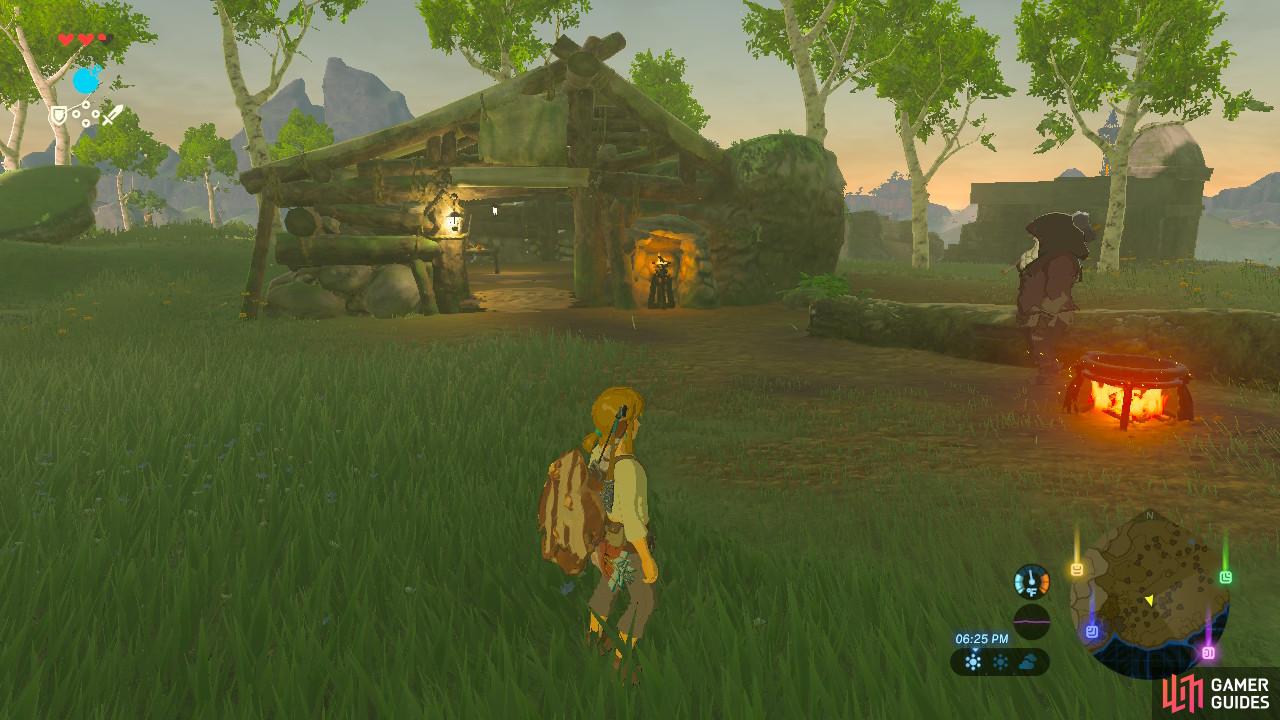
Stop by his house for some free stuff!
The old man might be around cutting at trees. If you talk to him, he will tell you how you can cut down trees to make firewood, which is a very useful tip. After that, he will walk back to his house, which you can loot for all sorts of goodies. Go inside to grab ingredients like peppers.
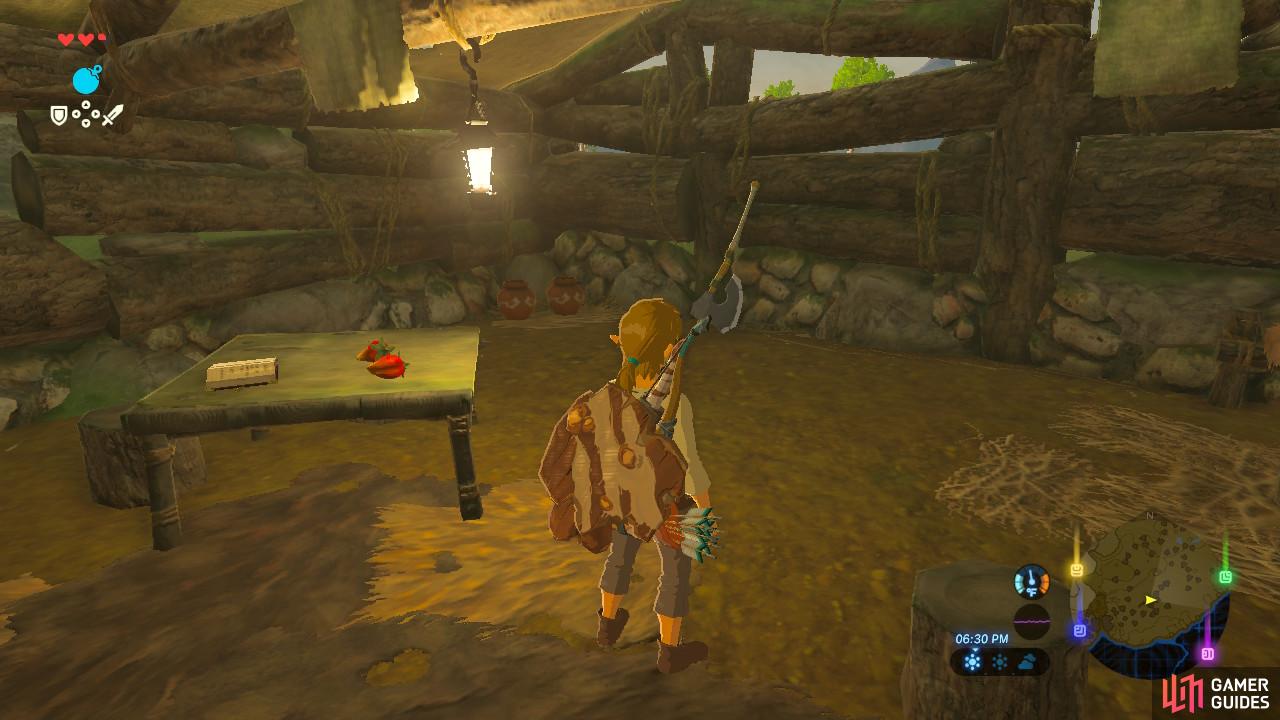
Everything inside is free for grabs.
The Old Man’s Diary is sitting on a table by the peppers. Read it for a few starter recipes plus a hint that he might give you a Warm Doublet if you can help him remember a certain combination of food.
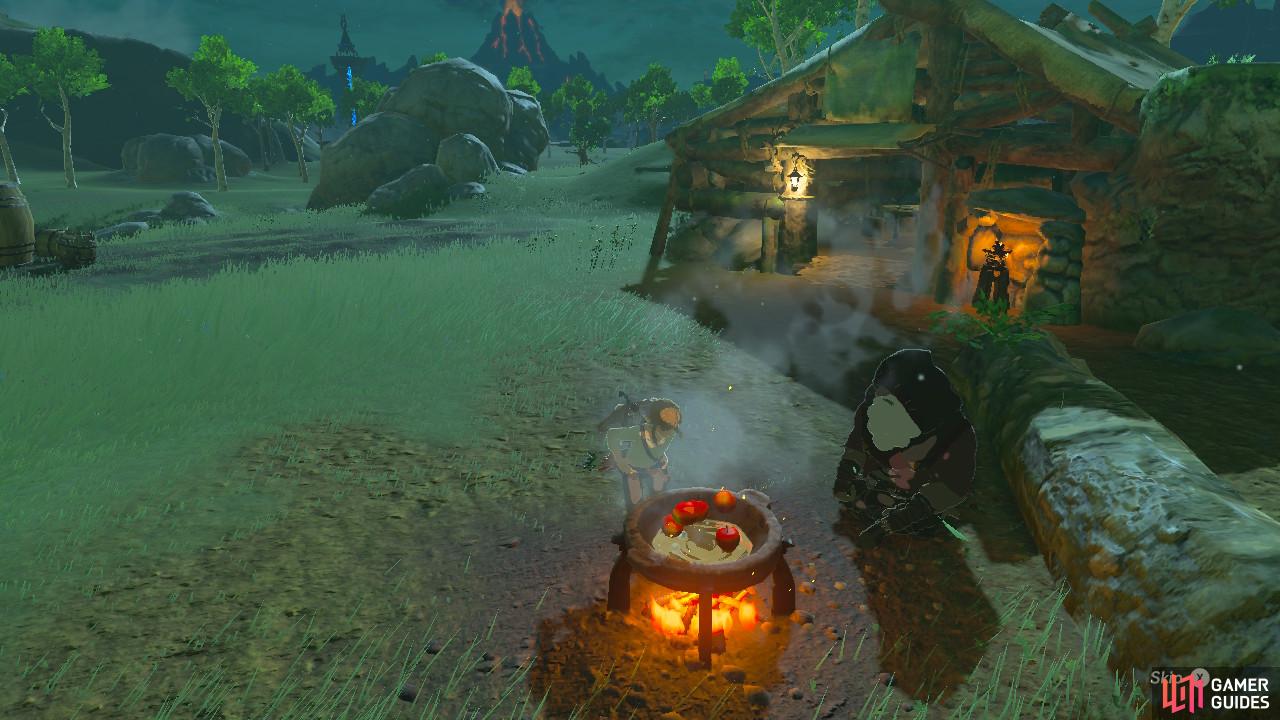
Just throw your stuff into the pot
Don’t you wish cooking in real life were this easy?
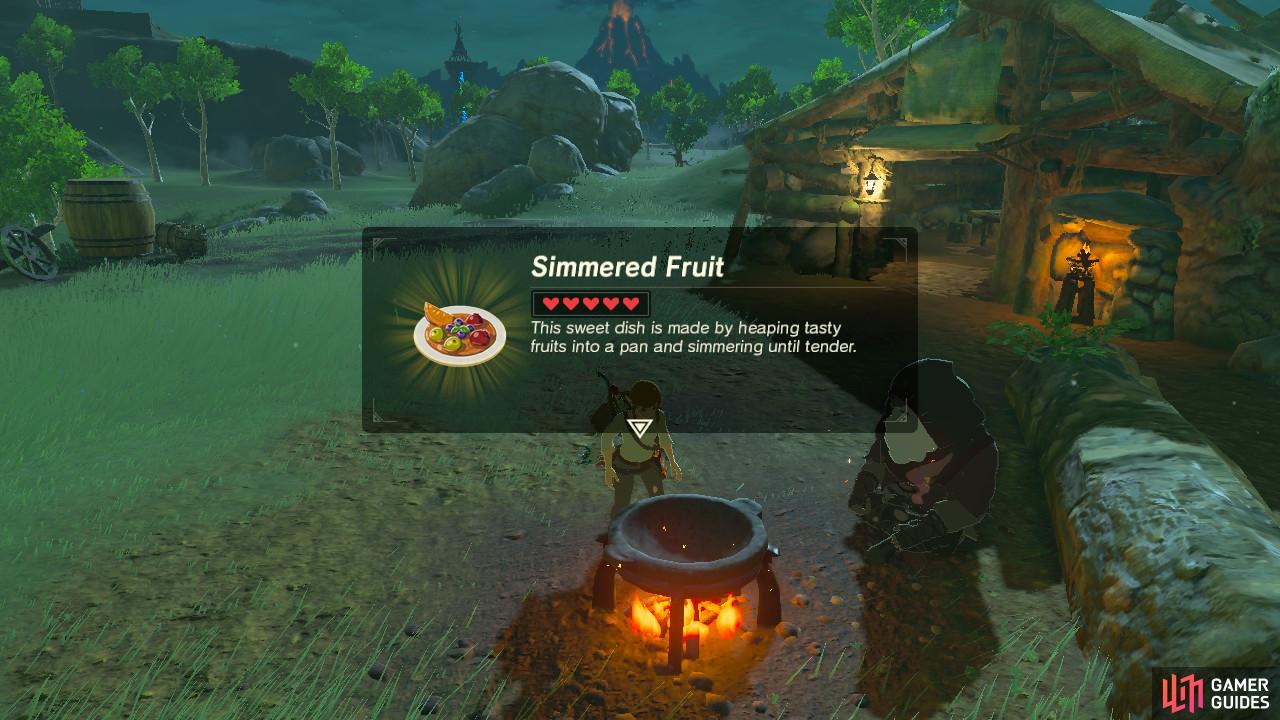
If you go back outside you will also see a fire and a Cooking Pot. All of those ingredients like mushrooms and apples will come in handy now. Cook them in all sorts of combinations and ratios to create some awesome healing items that will help you on your quest.
The next two shrines are located near Mount Hylia, a mountain in the Great Plateau with cold weather. Without any sort of protection, you will gradually lose health until you die, so it’s highly recommended that you take the time to grab the Warm Doublet now. There are three ways to get the Warm Doublet:

Use your Bombs to kill the fish
Show your recipe to the Old Man.
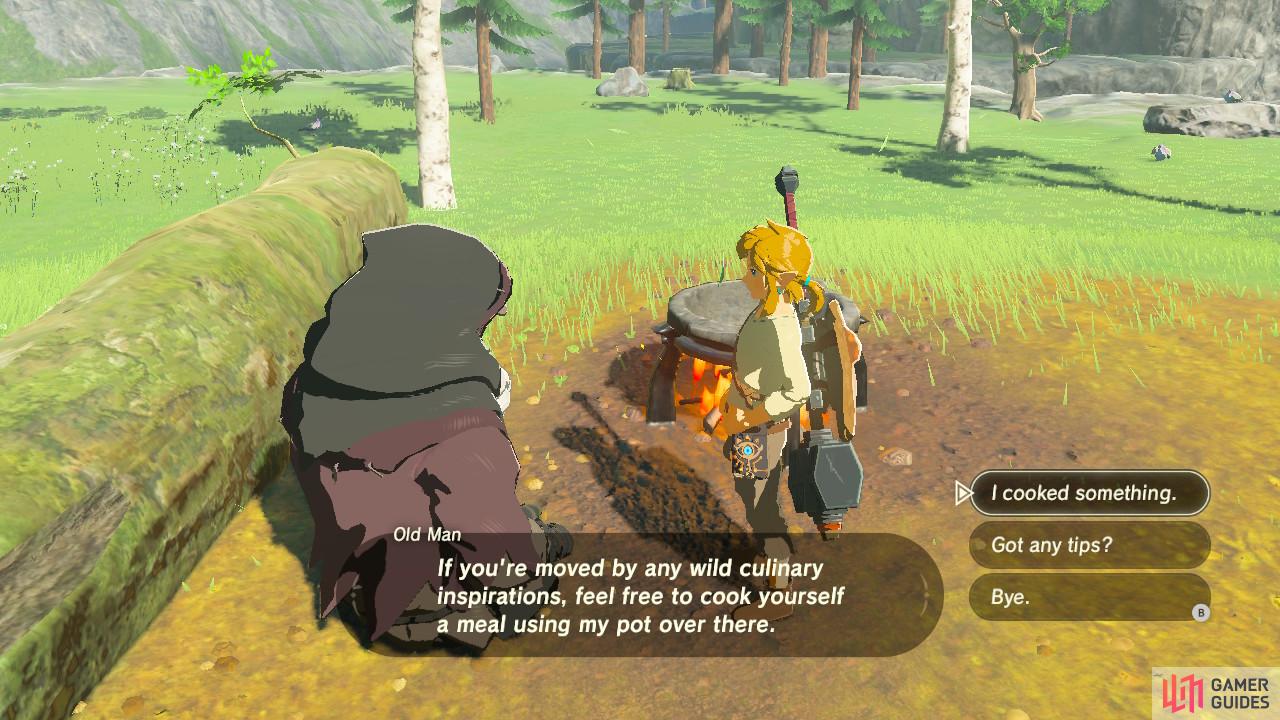
The first method involves helping the Old Man. Go to any pond in the Great Plateau with fish swimming in it. Those are Hyrule Bass, the missing ingredient for the Old Man’s recipe. Use the Sheikah Slate’s Bomb power to kill all the fish without using resources. Cook the fish with raw meat and pepper and then talk to the Old Man and tell him you cooked something.
If you choose to brave the cold, take a detour and climb up to the summit of Mount Hylia. The Old Man will Paraglide in and give you the Warm Doublet for free.
Finally, if you have completed The Isolated Plateau you can return to the Old Man’s house and you will find he has left the Warm Doublet there for you to take. Or you can buy one at Hateno Village later in the game for 80 Rupees.
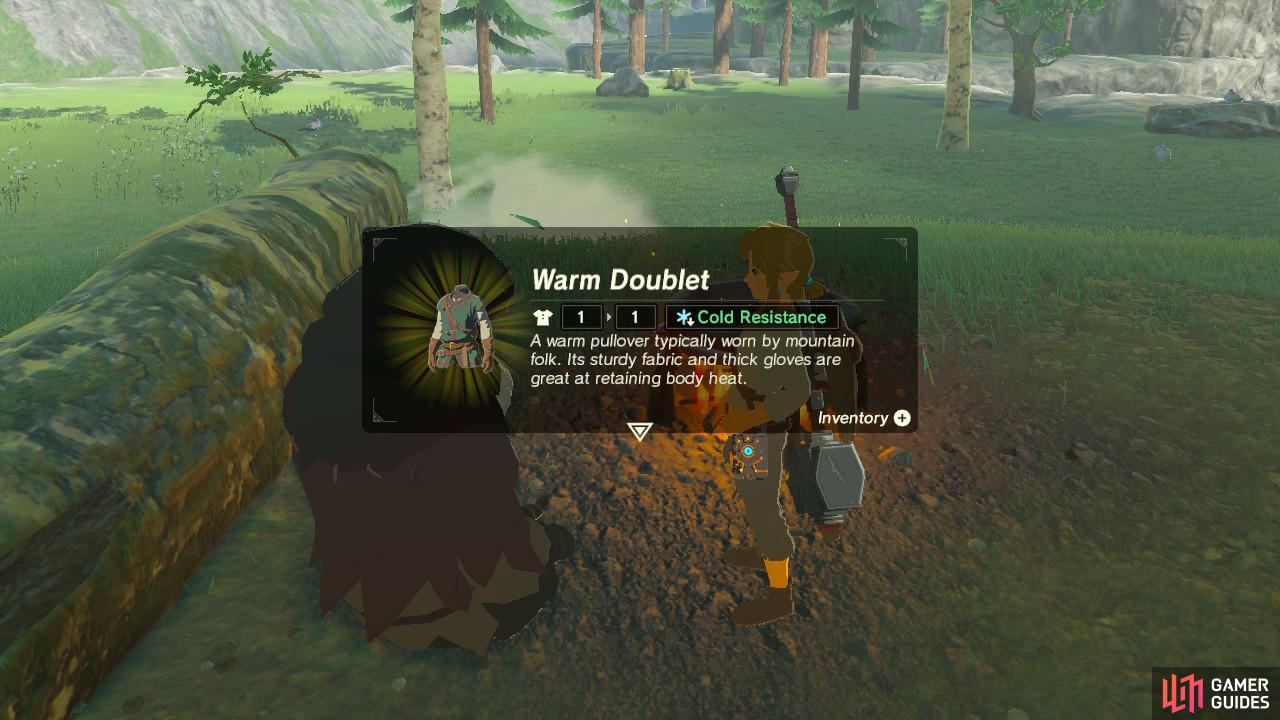
If you choose to obtain the Warm Doublet through the first method, the Old Man will give it to you right then and there at his cooking pot. Equip it instead of your Worn Shirt and you are now impervious to the cold! It’s a shame the Warm Doublet provides no additional defense but at least it can keep you…well, warm.
The Bokoblin Camp and Fire Arrows

If not all the Bokoblins are wiped out, the treasure chest will be inaccessible
Honey, when cooked with other ingredients, gives you food that heals a lot of hearts!
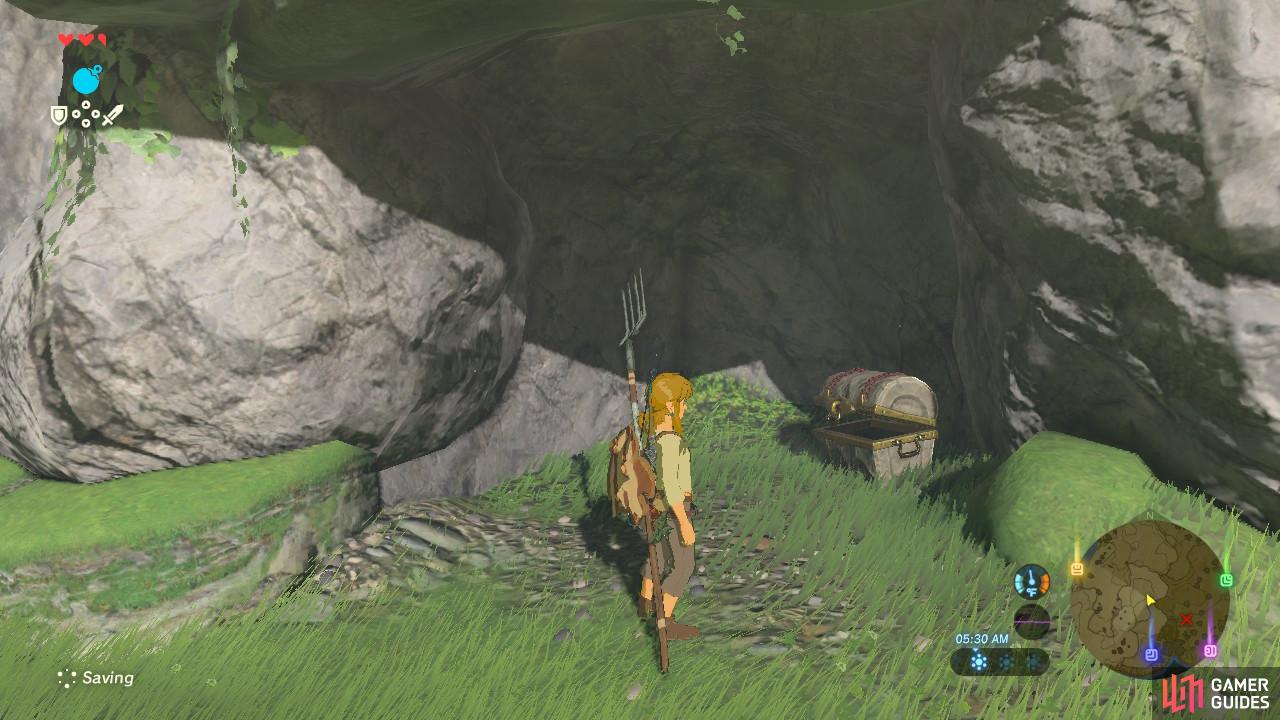
Now that we have the Warm Doublet, let’s take one final detour. There is a Bokoblin camp nearby. If you wipe them out, you will notice that a treasure chest previously locked will unlock itself for you. Bokoblin camps with a treasure chest in tow are well worth raiding so that you can claim their goodies. The treasure chest will contain a Throwing Spear. These treasure chests will respawn every Blood Moon.
Additionally make sure you bomb the wooden fence behind the camp and you can collect important cooking items like Honey, plus a stash of very valuable Bomb Arrows. Don’t waste these for now.
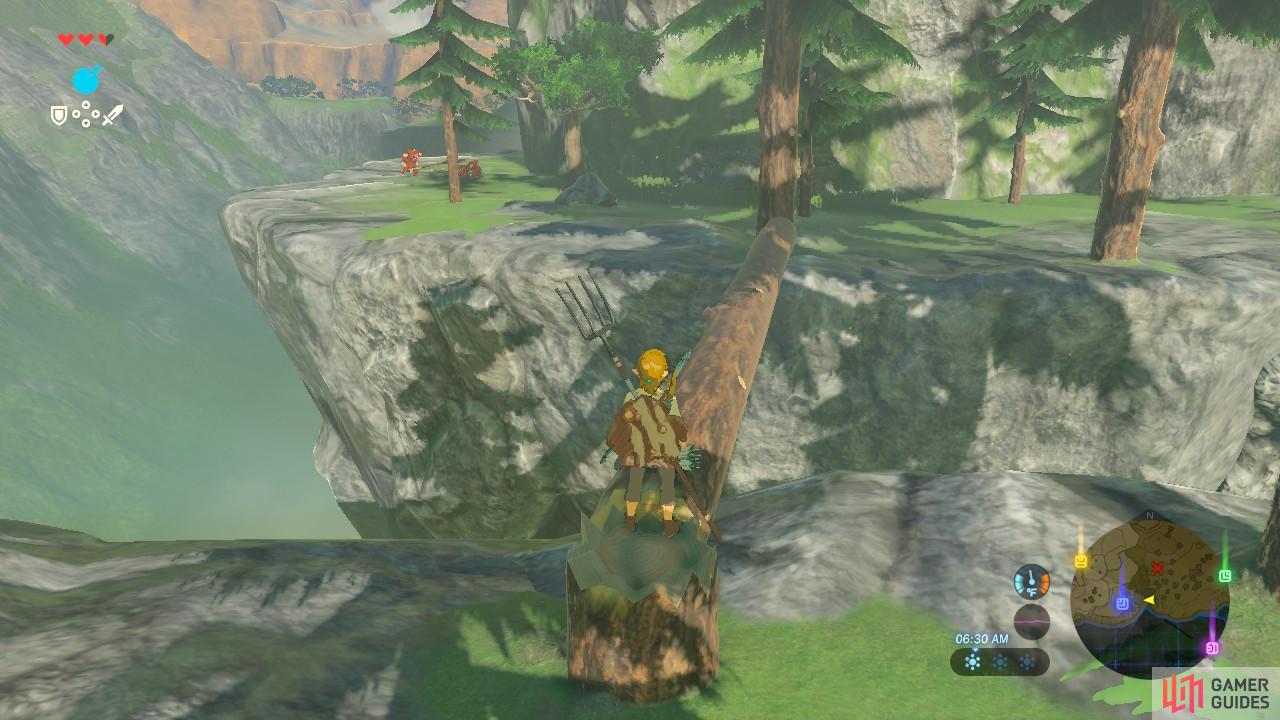
Be careful as you walk across
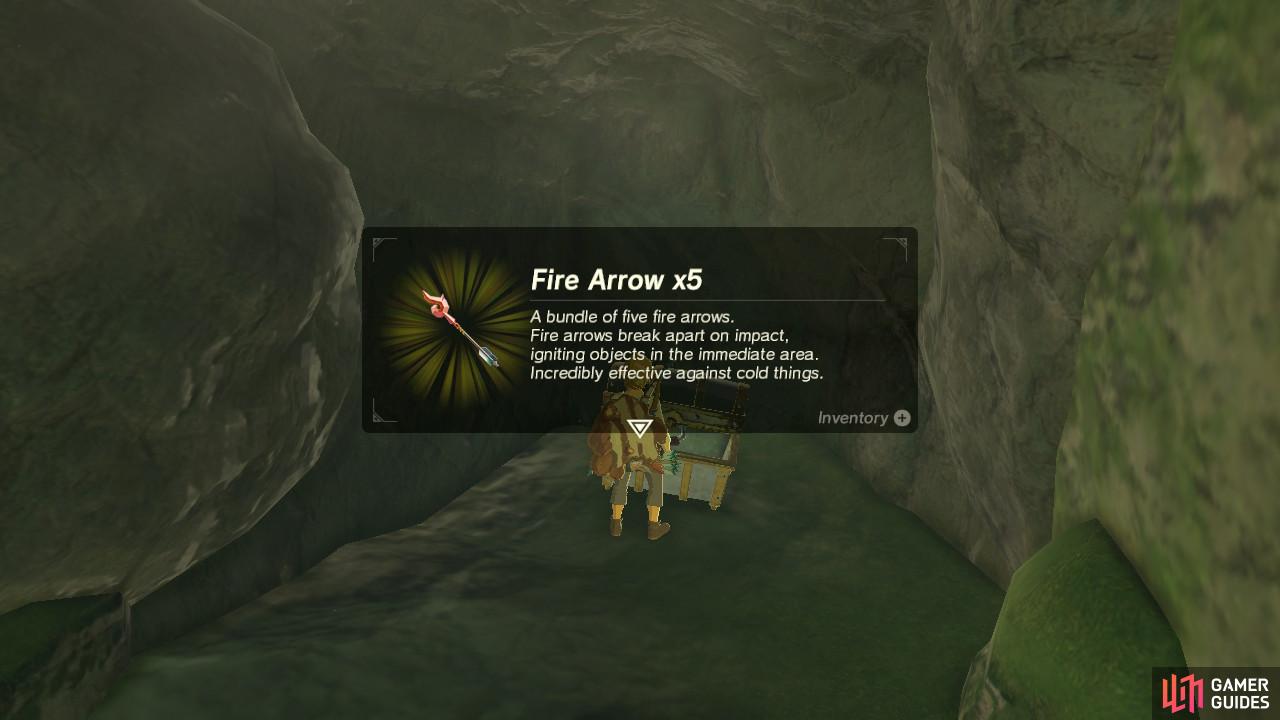
Save these for later, don’t waste them now.
This will be the last stop before we continue on our quest Cross the chasm west of the Old Man’s house by cutting down a tree and crossing it like a bridge. Kill any Bokoblins nearby that try to chase you and then Bomb the nearby cracked wall to discover Fire Arrows. Stash them for later.
You can also stay warm with fire!
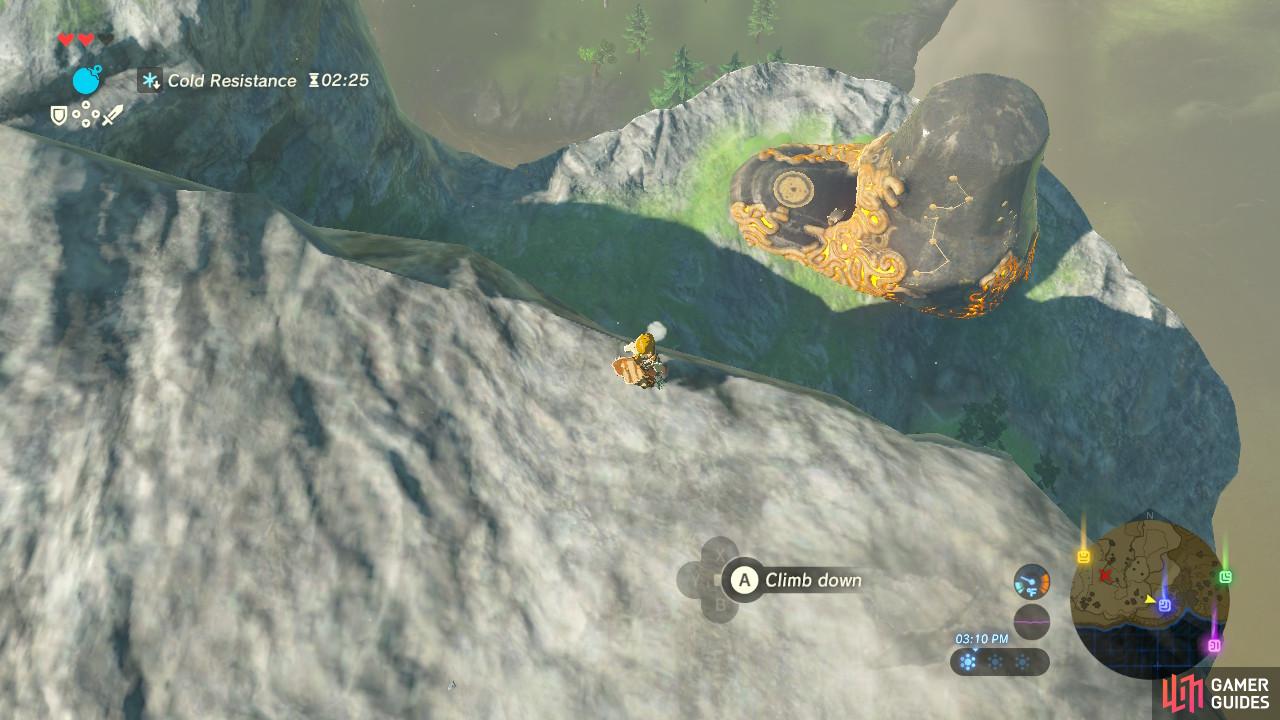
Climb down carefully to the shrine. Do not fall.
To get to the next shrine on the map you will have go to northsince you do not have enough stamina to climb the cliffs to get directly there. You will know when you have arrived at Mount Hylia. The weather immediately becomes very cold and snowy, and the background music will change.
Besides wearing the Warm Doublet, there’s a few other ways to ward yourself from the cold:
- Cook food that will give you cold-immune effects. The duration of protection depends on how much food you cook but if you have some peppers you can make it from shrine to shrine (or the summit of Mount Hylia) and live to tell the tale.
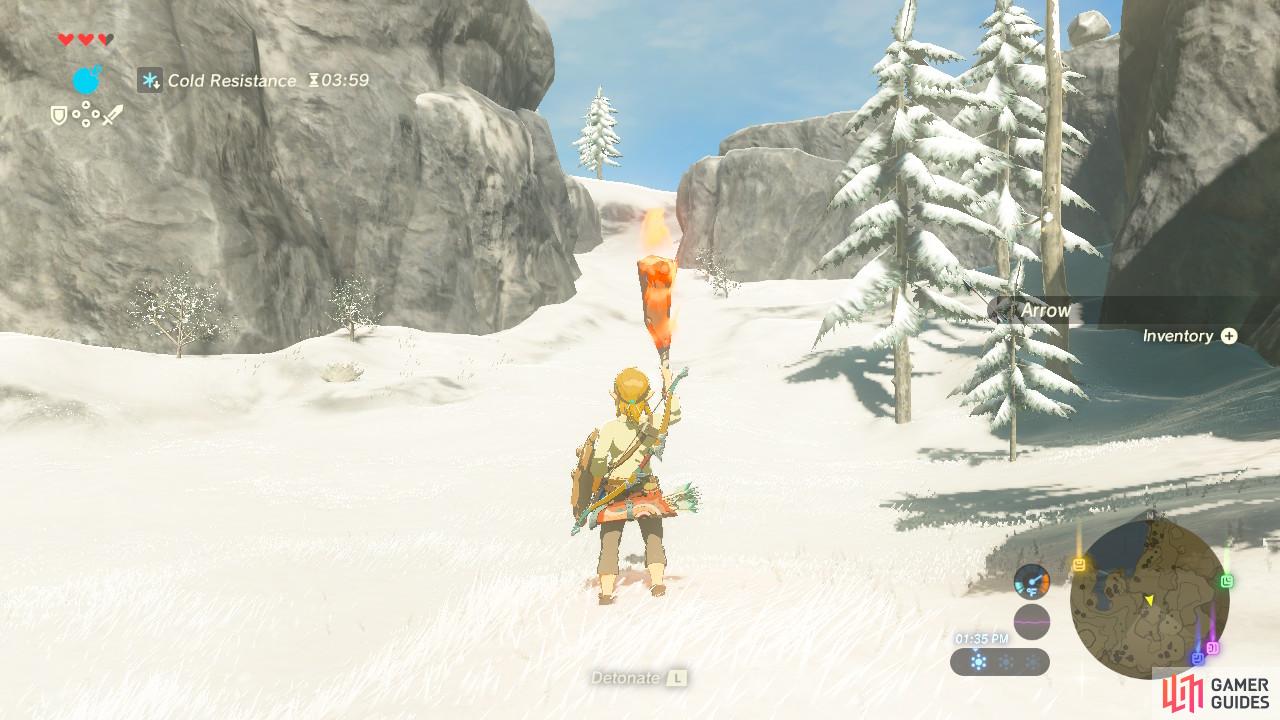
- Hold fire. You can light a wooden weapon like a club on fire and then just walk through the cold holding it up in the air. Just be careful. If you run into enemies or you put away your weapon the effect will disappear! Your walking speed is also slowed.
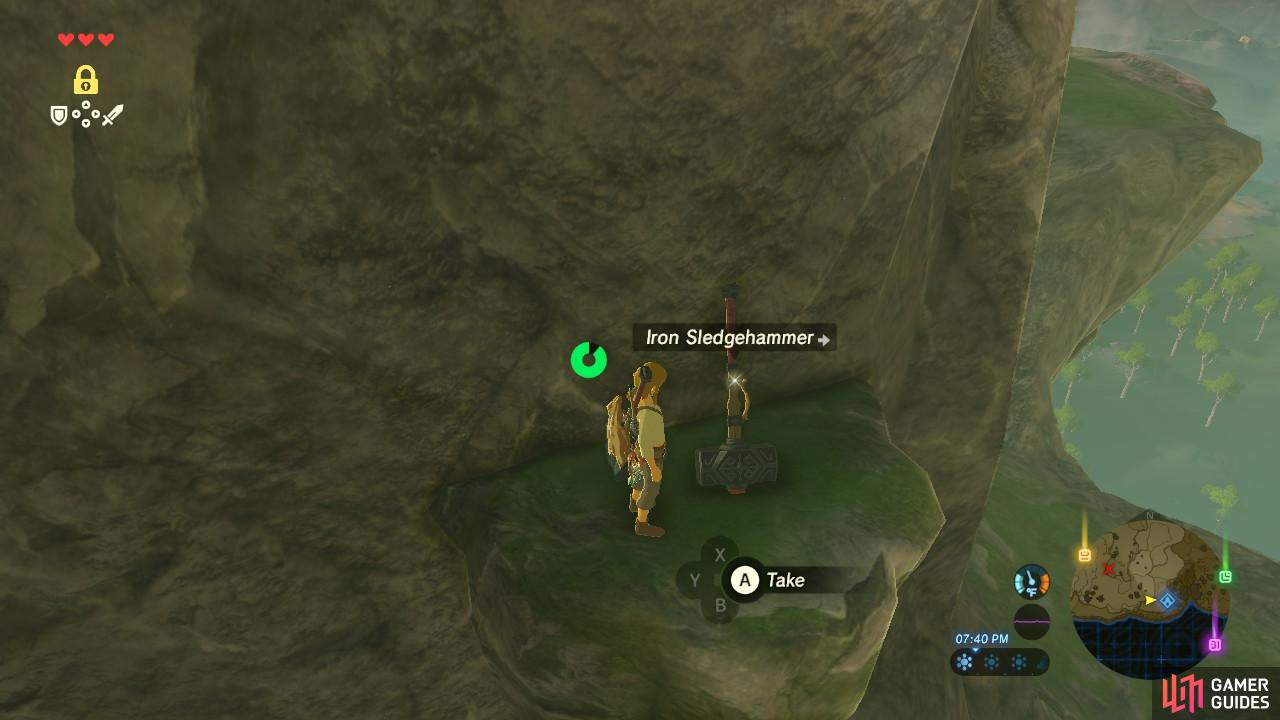
We actually didn’t notice this until after we completed the trial so don’t miss it!
The Owa Daim Shrine is located on an isolated ledge so you will have to climb down to get to it. Stop by one of the ledges to pick up an Iron Sledgehammer. It is a slow weapon but has high durability and power.
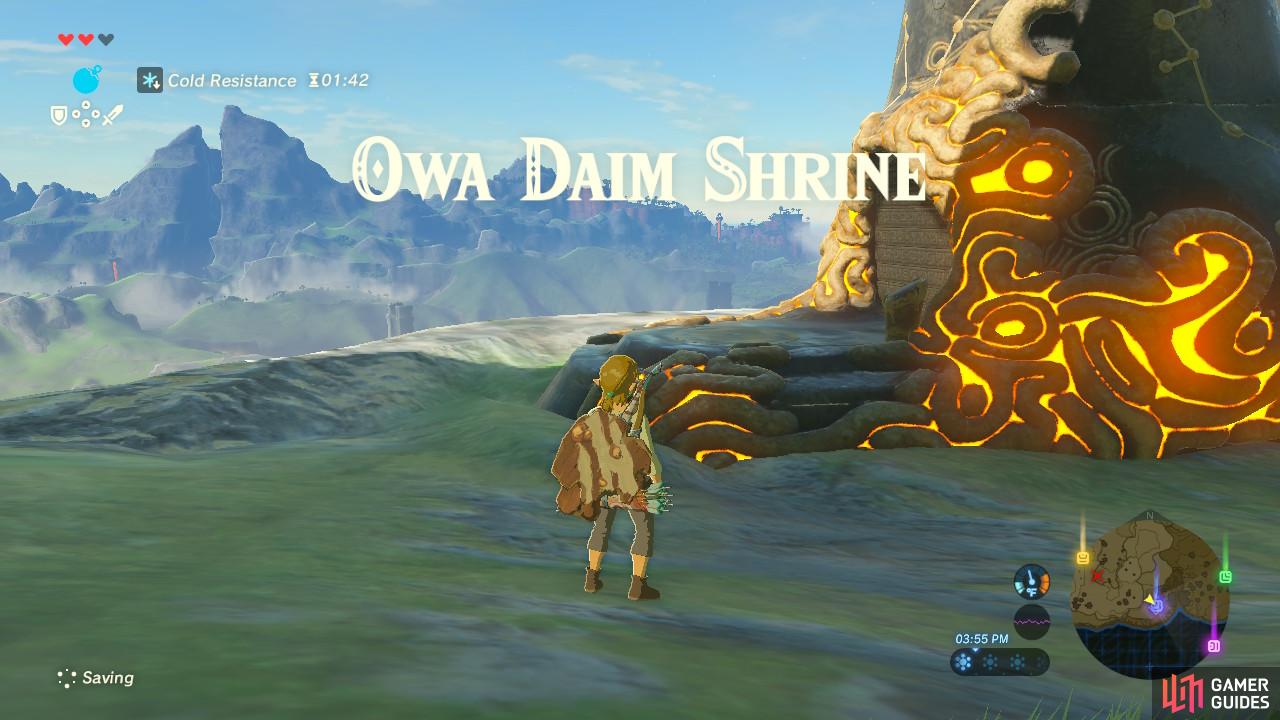
Owa Daim Shrine: Stasis Trial
Who decided to put this shrine here?
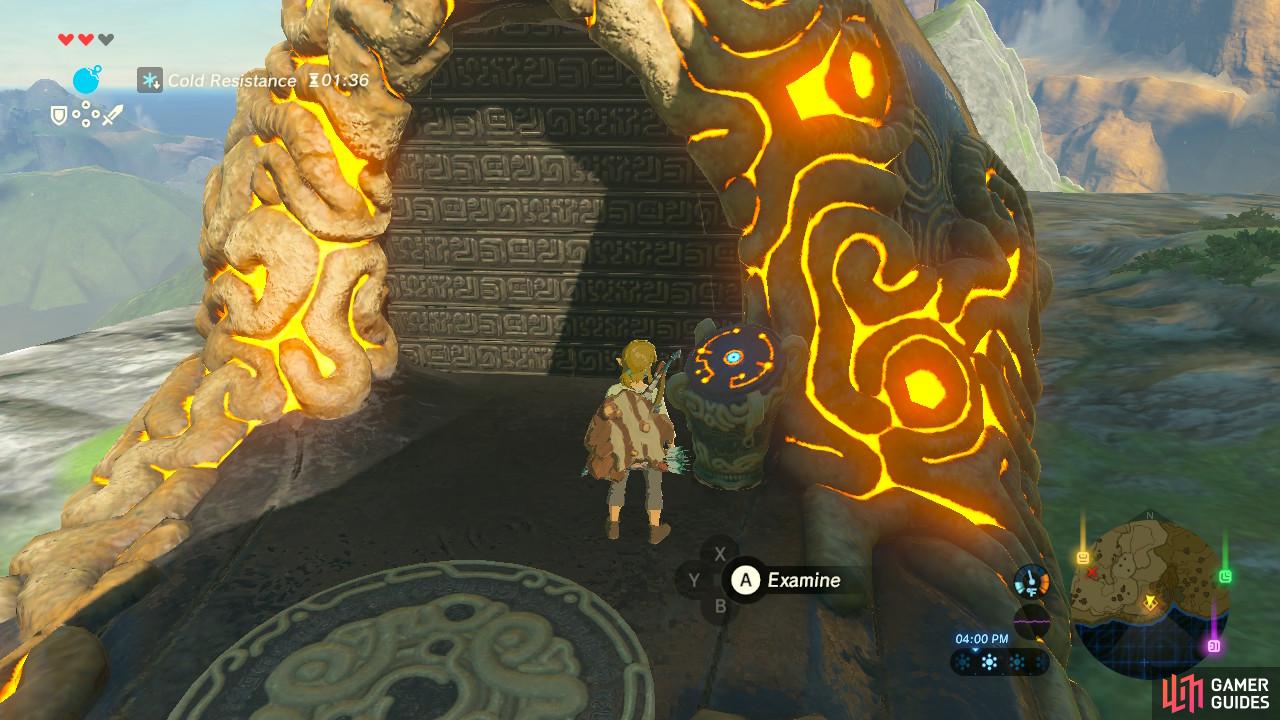
Oh well, time for a new trial!
When you have finally made your way safely down the cliff, you will arrive at the oddly placed Owa Daim Shrine. Place your Sheikah Slate on the pedestal to begin the trial.
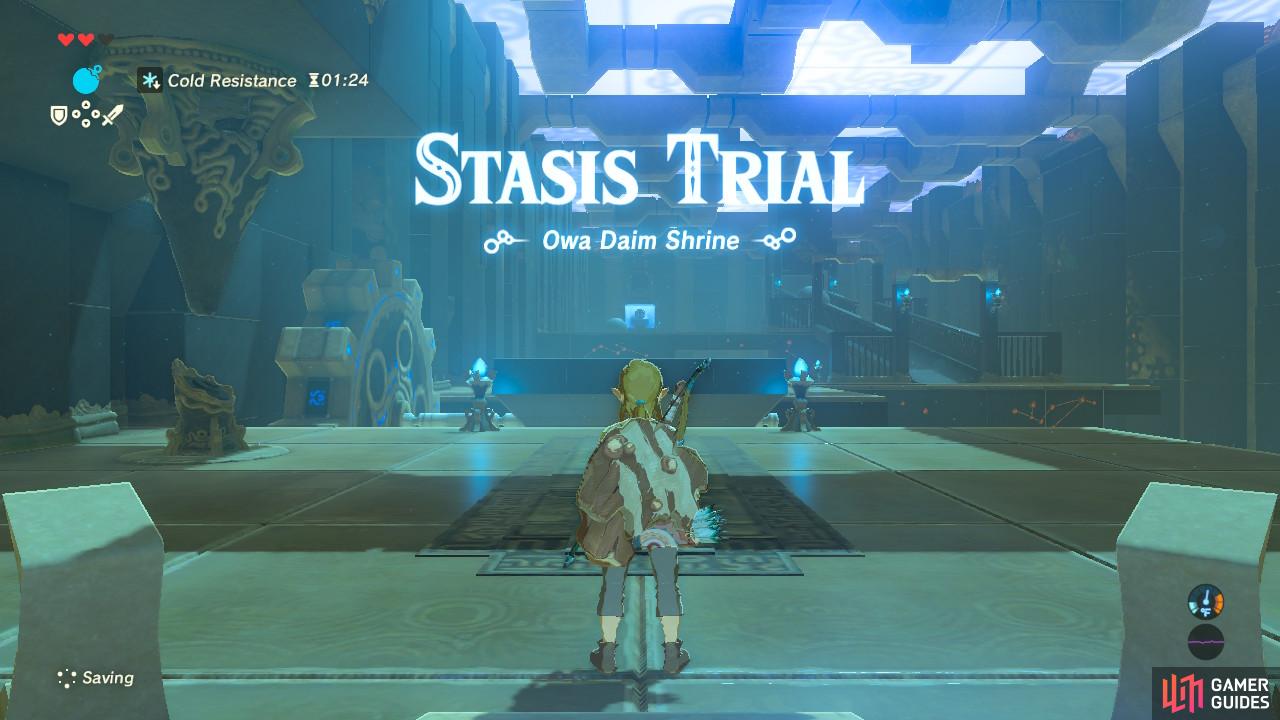
This trial will present to you a fairly unique, new power.
As usual you will need to inspect the nearby pedestal because yet another power awaits you: Stasis. Stasis will let you control an object’s time. Sound confusing or odd? You have an opportunity to try it out right in front of you.
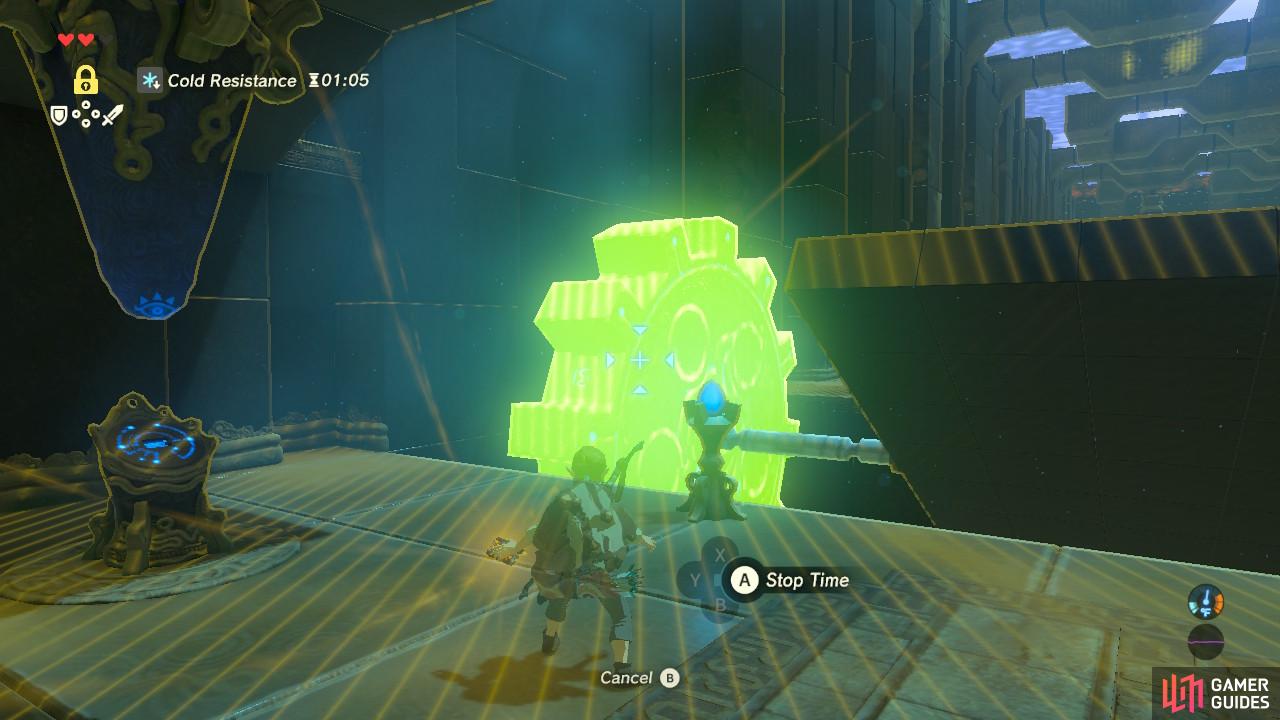
Aim your Stasis cursor at that gear
Freeze it at the right time!
To see how it works, try using Stasis on the gear that is responsible for turning the rotating platform. Try to freeze the gear right as the platform is horizontal. The gear’s “time” is now frozen, enabling you to walk across the platform to the next stage of the shrine. After a short period of time, the gear will “catch up” all of its time and resume as normal.
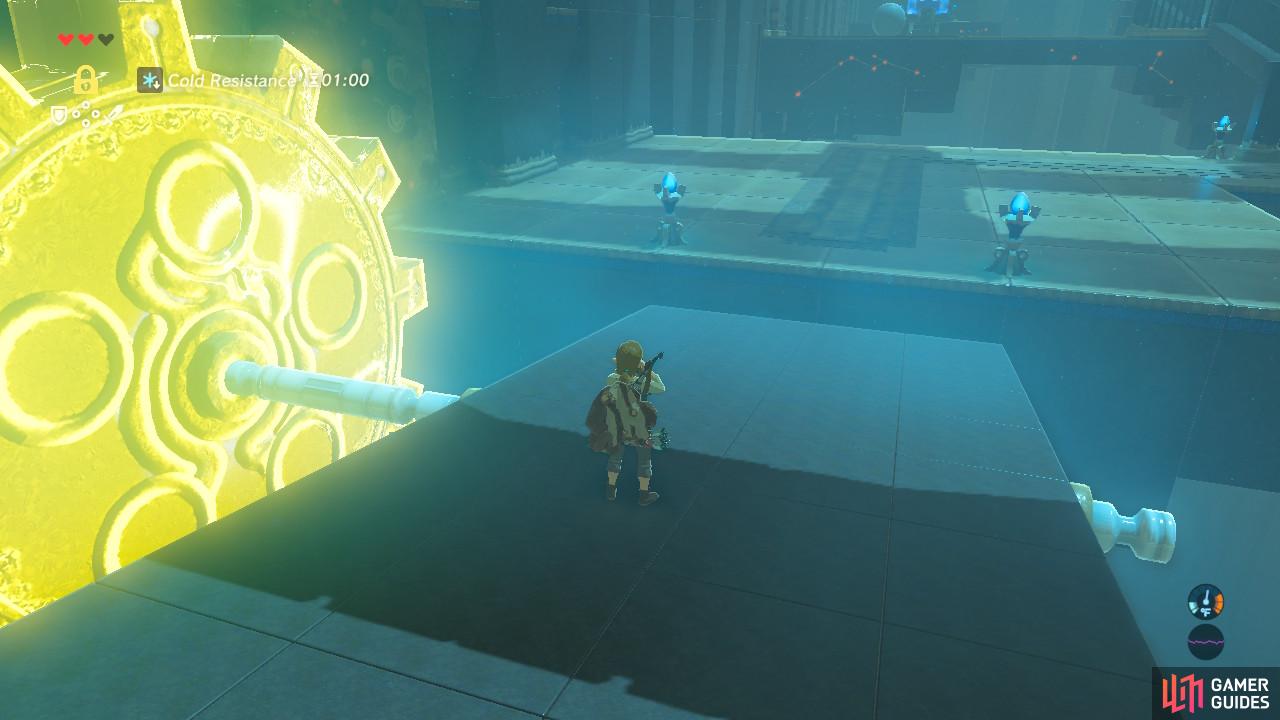
You won’t be able to make it up the ramp in time before another ball is dropped down
Freeze it before it falls off the ledge.
Ahead of you, a ramp seems to have a ball constantly rolling down it. If you try and run, you’ll get squashed. Right as the ball is about to roll off the edge, freeze it again with Stasis. During this time, no new balls will be dropped since this ball is still here. Run up the ramp and then go to your right to the small protruding ledge to restore your stamina.
Another treasure chest awaits us!
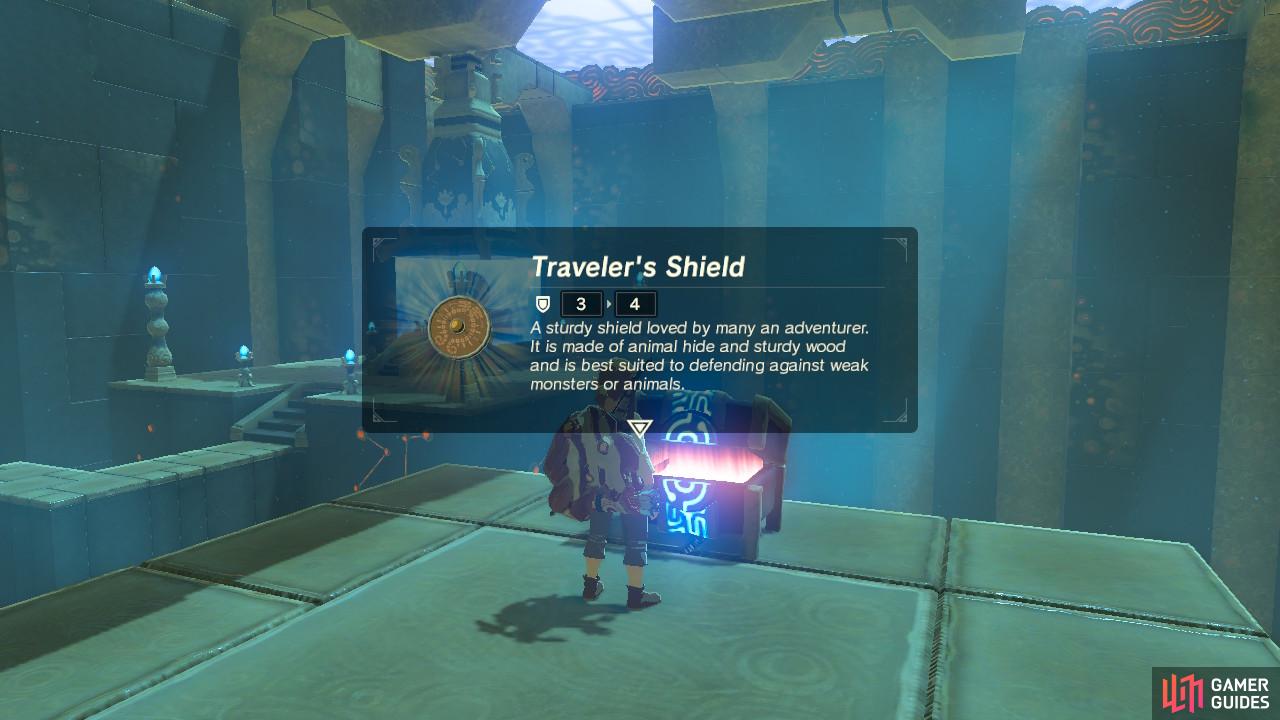
Shields are very important in this game.
Ahead of you is another short ramp, and at the end of it is this shrine’s treasure chest. Pop it open for a Traveler’s Shield. Shields are invaluable, allowing you to safely fight and parry with your enemies, so equip it if you don’t have a shield already. If you already have something like a Pot Lid or a Bokoblin Shield, this shield is more durable.
Here is yet another free Iron Sledgehammer!
Time to see yet another way Stasis can be used.
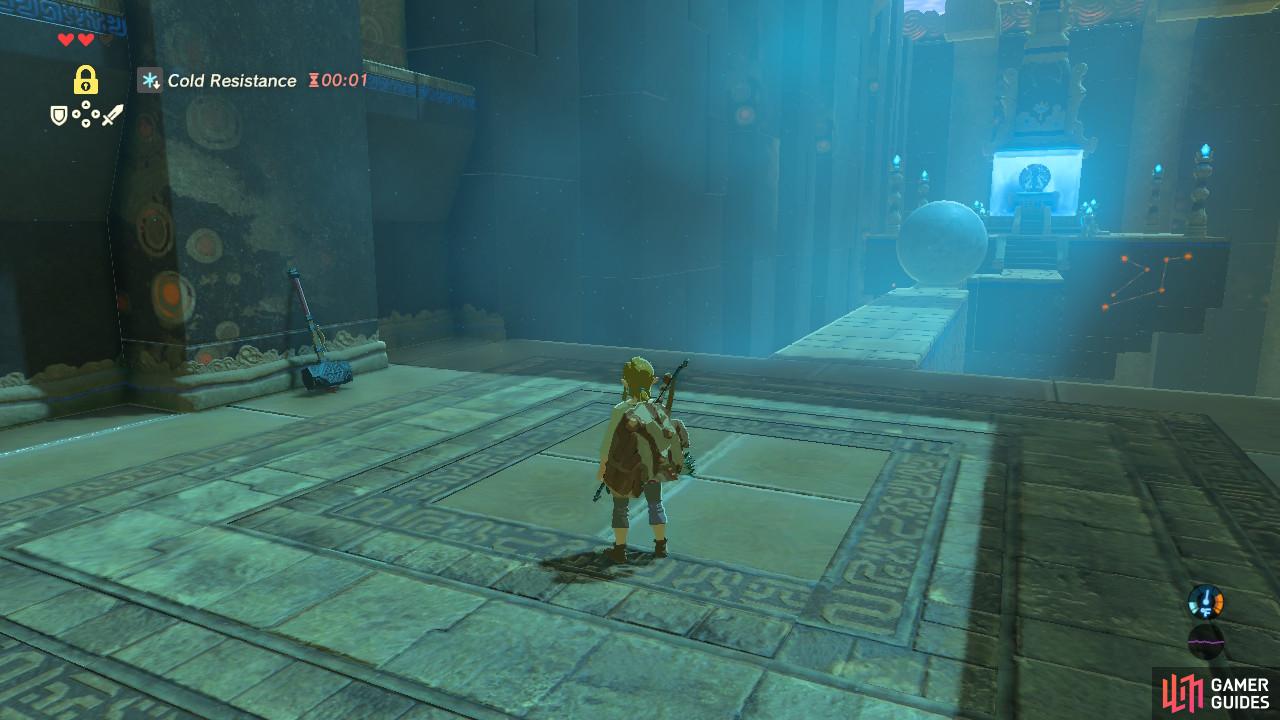
Go back down the ramp that led you to the treasure chest and continue forward. You will see an Iron Sledgehammer leaning against a wall. Go ahead and grab it, especially if you do not already have one.
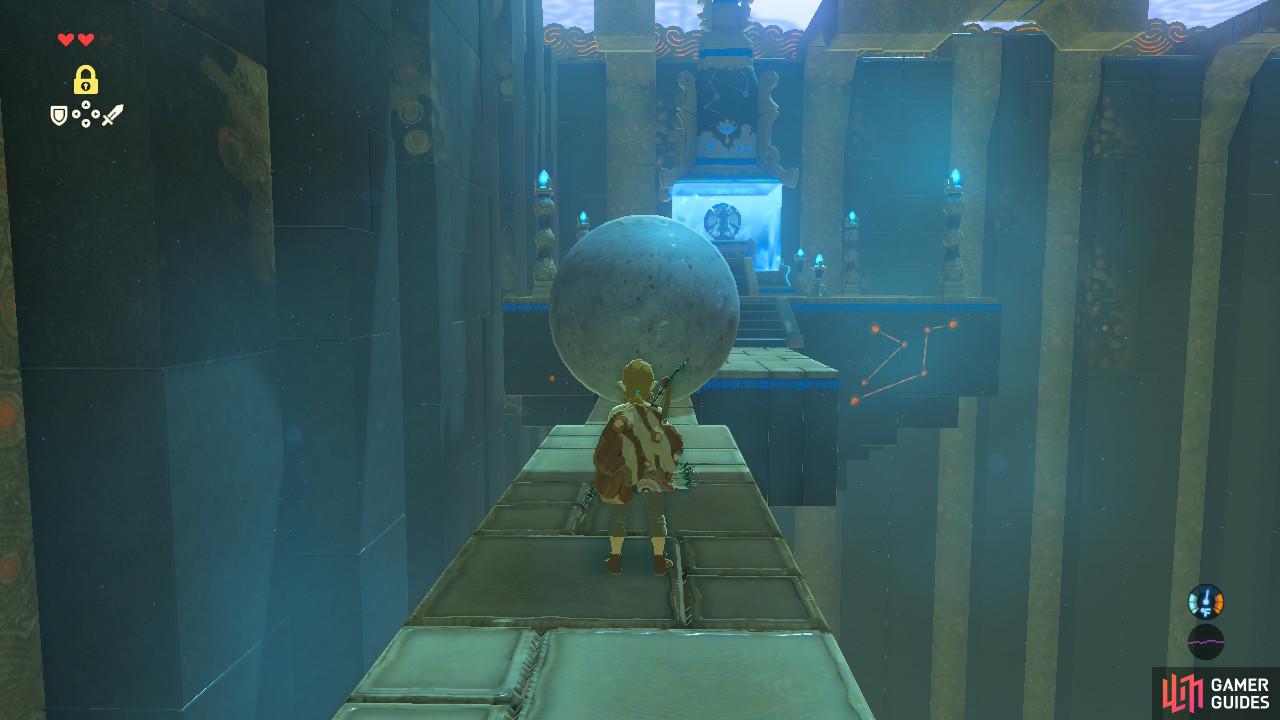
In front of you is a lone ball. Here is where you get to see the awesome part of Stasis.
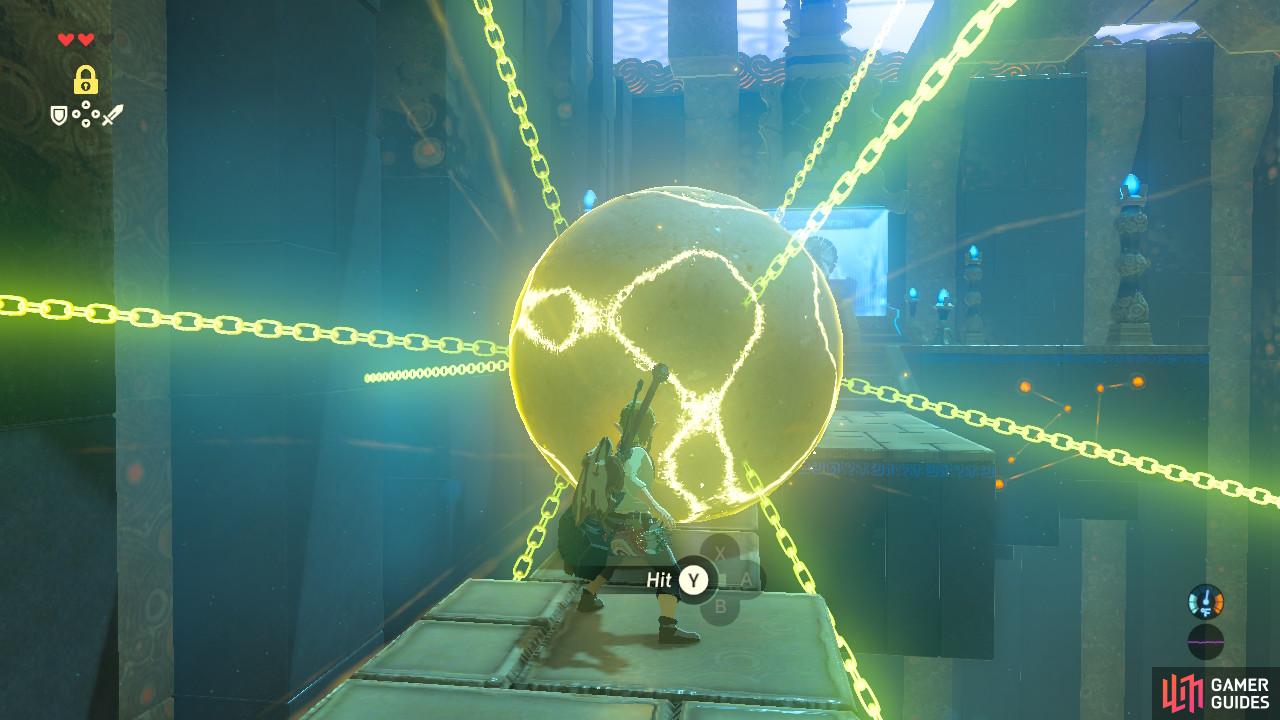
Freeze…
and hit!
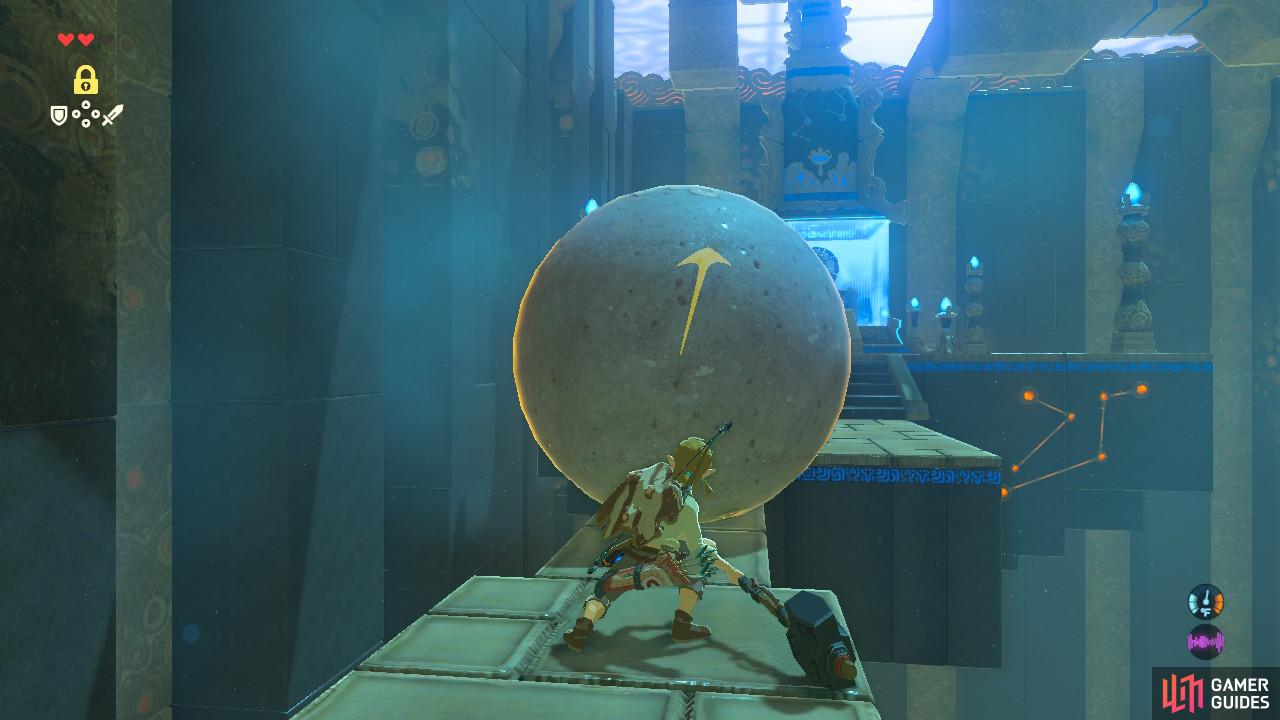
Freeze the ball using Stasis and begin to hit it with the Iron Sledgehammer. Wack at it as hard as you can! An arrow will appear that will grow longer. That means you’re doing it right.
Once Stasis ends, the ball will be sent flying through the air because of all of its stored energy, freeing up the path for you to go forward. You can use this technique on any sort of heavy object Stasis can affect.
The last stretch of the shrine will lead you to the monk, indicating that the trial is finished. Inspect the blue veil and claim your Spirit Orb.
Once you are back outside, you will want to climb up back the way you came and begin to make your way north to the last shrine.
Mount Hylia Summit
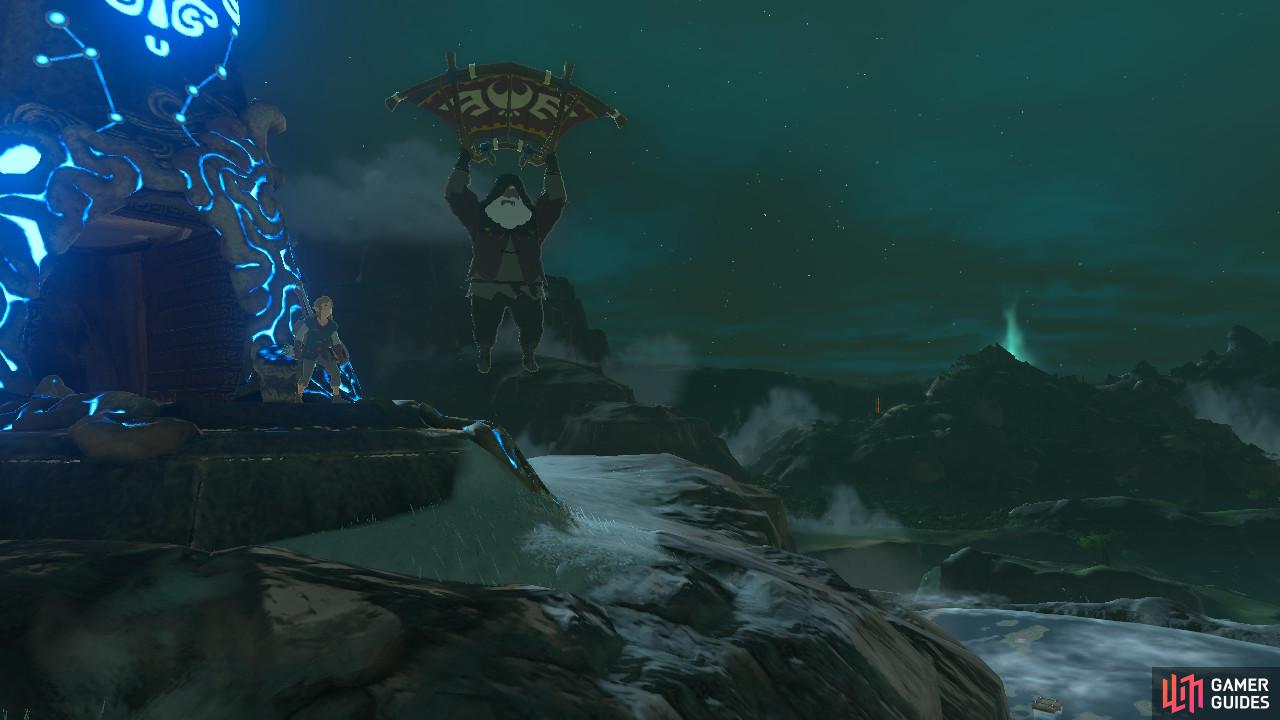
If you haven’t gotten the Warm Doublet, here is another opportunity
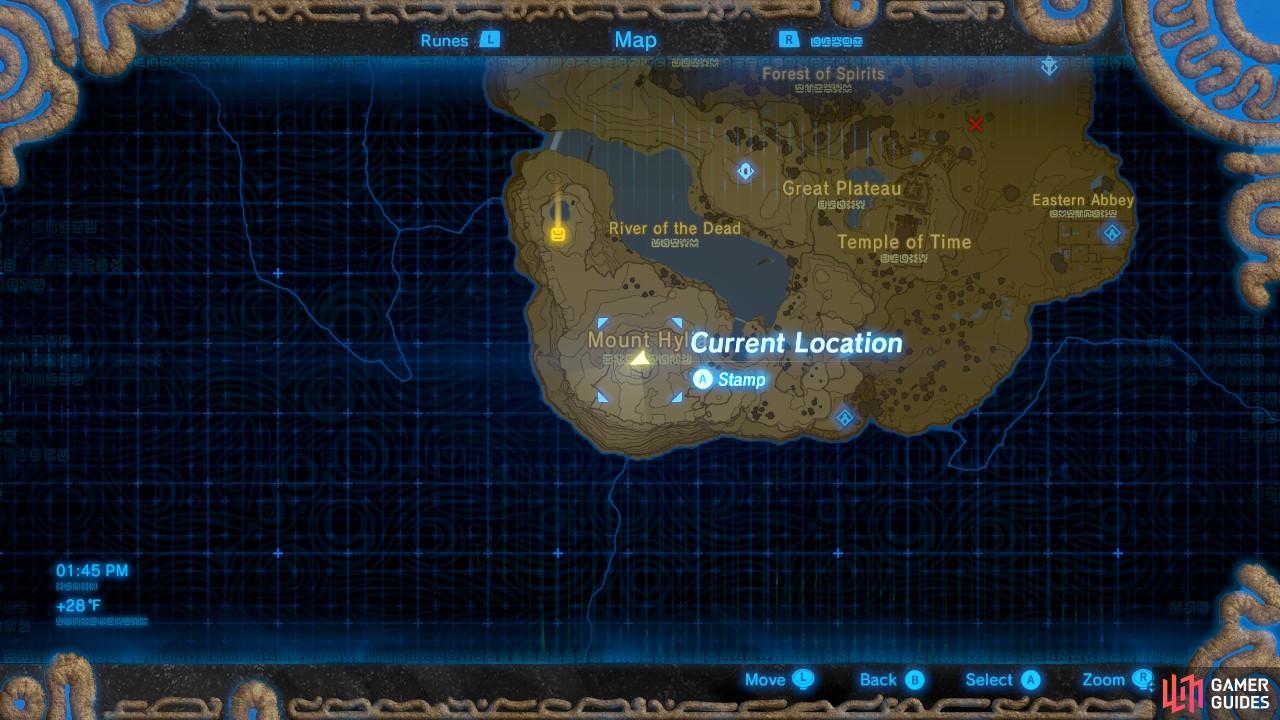
The summit is located here on the map
On the way, you will pass Mount Hylia’s summit. Feel free to climb up if you want. Even if you have already claimed the Warm Doublet, the Old Man will still be up there to chat and you can enjoy one heck of a view.
The last shrine is beyond a small pond. Do not swim through the pond, go carefully around it on the narrow strip of land.
Keh Namut Shrine: Cryonis Trial
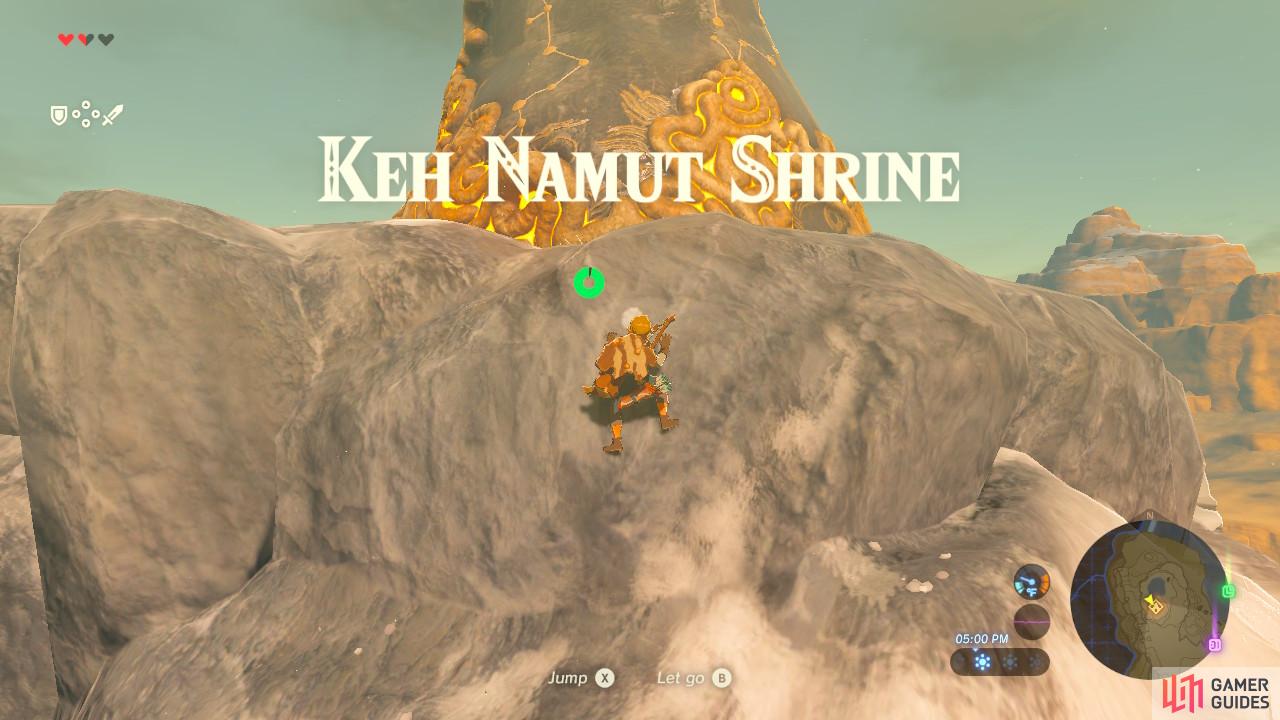
The last shrine we will be doing
so let’s get started and finish this quest!
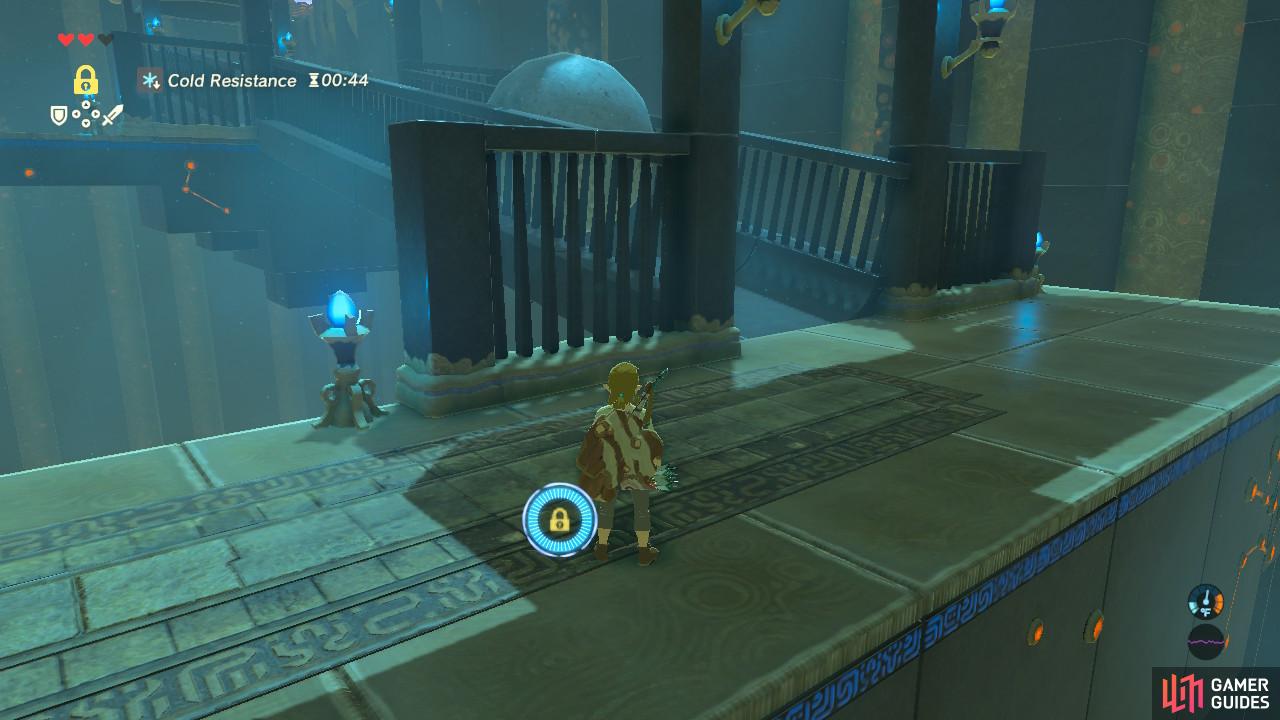
Once you have safely made your way around the pond and across the narrow path, activate the pedestal and enter.
The final power we will be receiving will be a huge help once you find yourself having to cross large bodies of water without enough stamina or break points to swim.
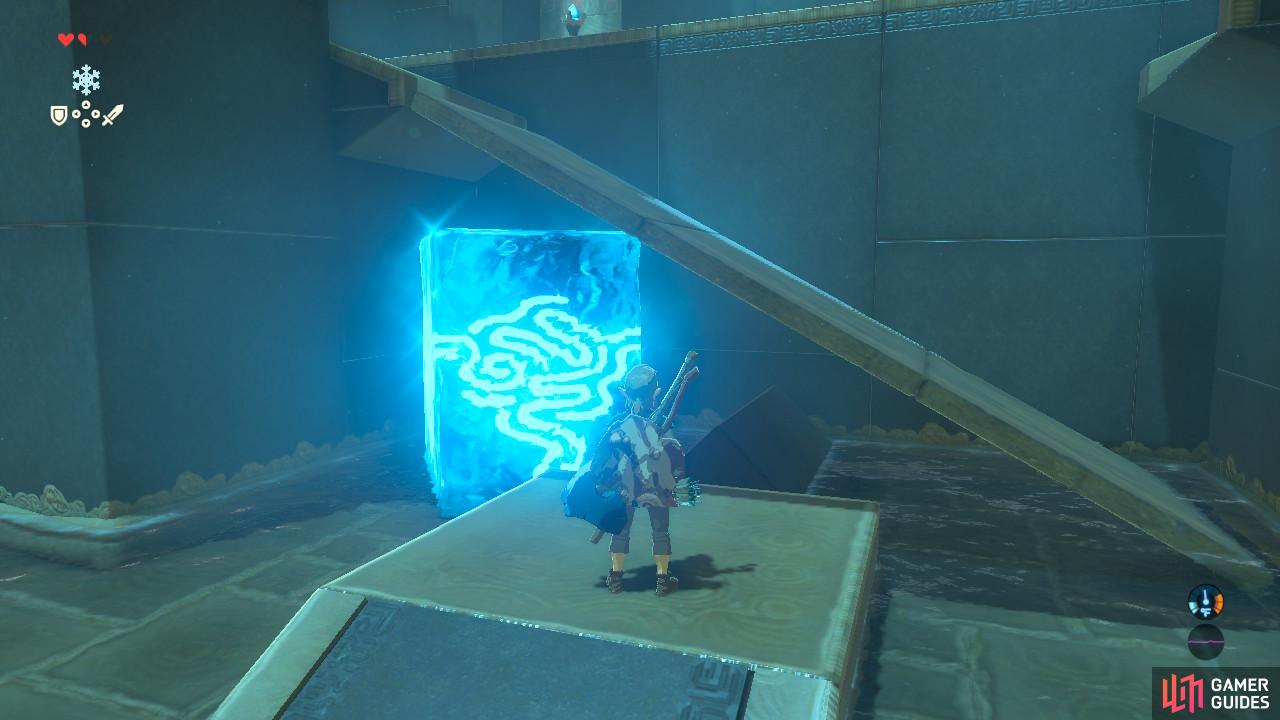
Once inside, you will earn the Cryonis power for your Sheikah Slate. Cryonis lets you create ice blocks out of water, which you can then climb. You can even create multiple ice blocks, letting you create your own stepping stones. Swimming is quite the chore in this game so Cryonis is a welcomed addition.
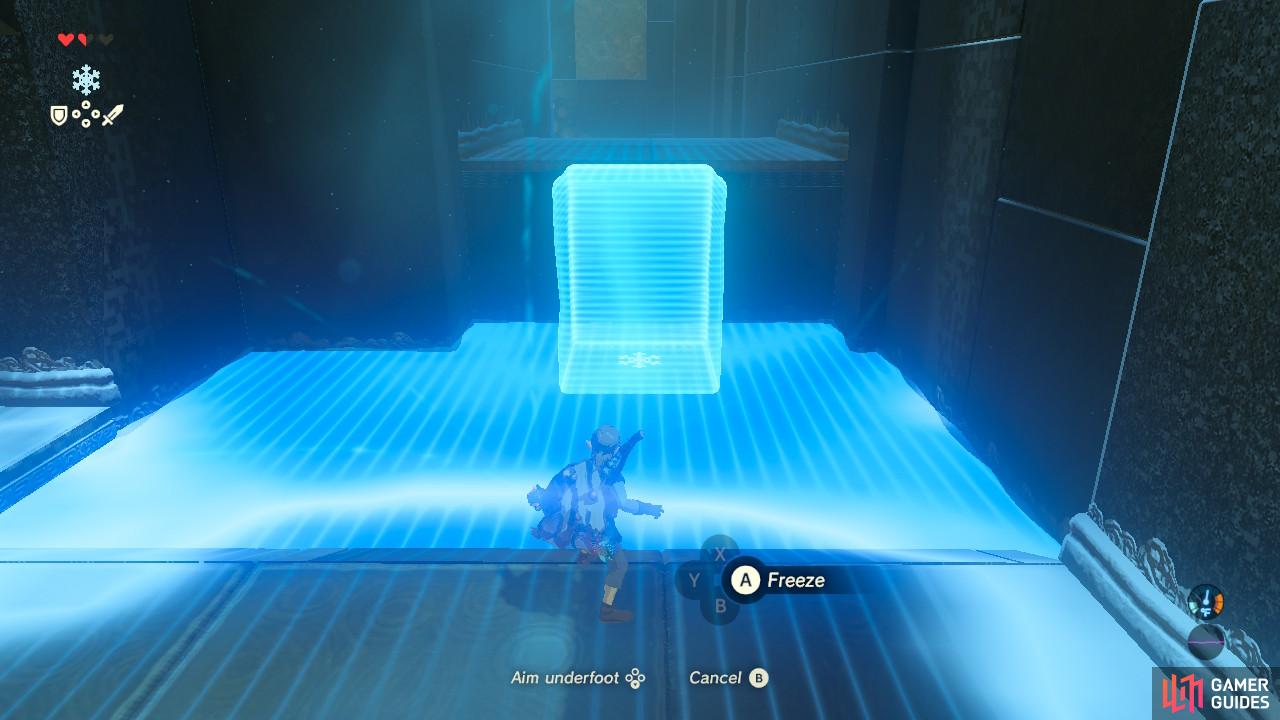
If the holographic ice cube shows its full height, you are allowed to put an ice cube there
And yes, they are climbable!
Press the L shoulder button to pick out where you want to create your ice block. Press [A] to make your block and use it to climb up to the next platform.
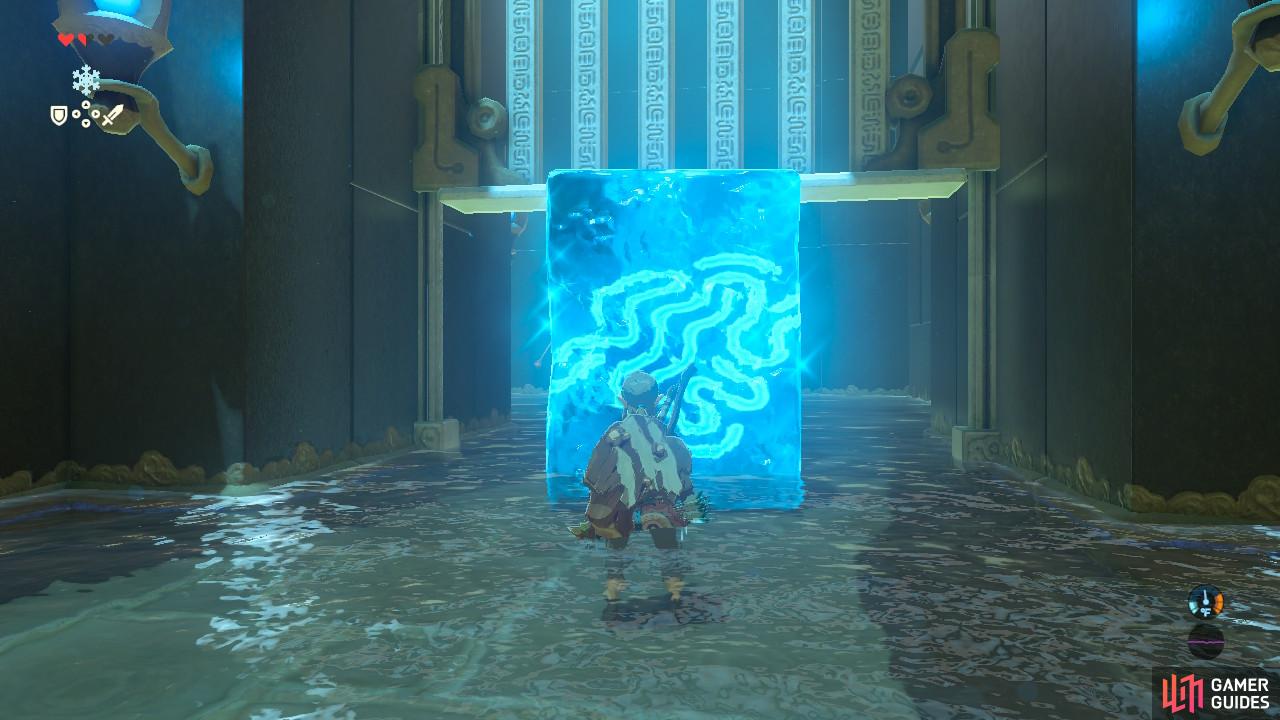
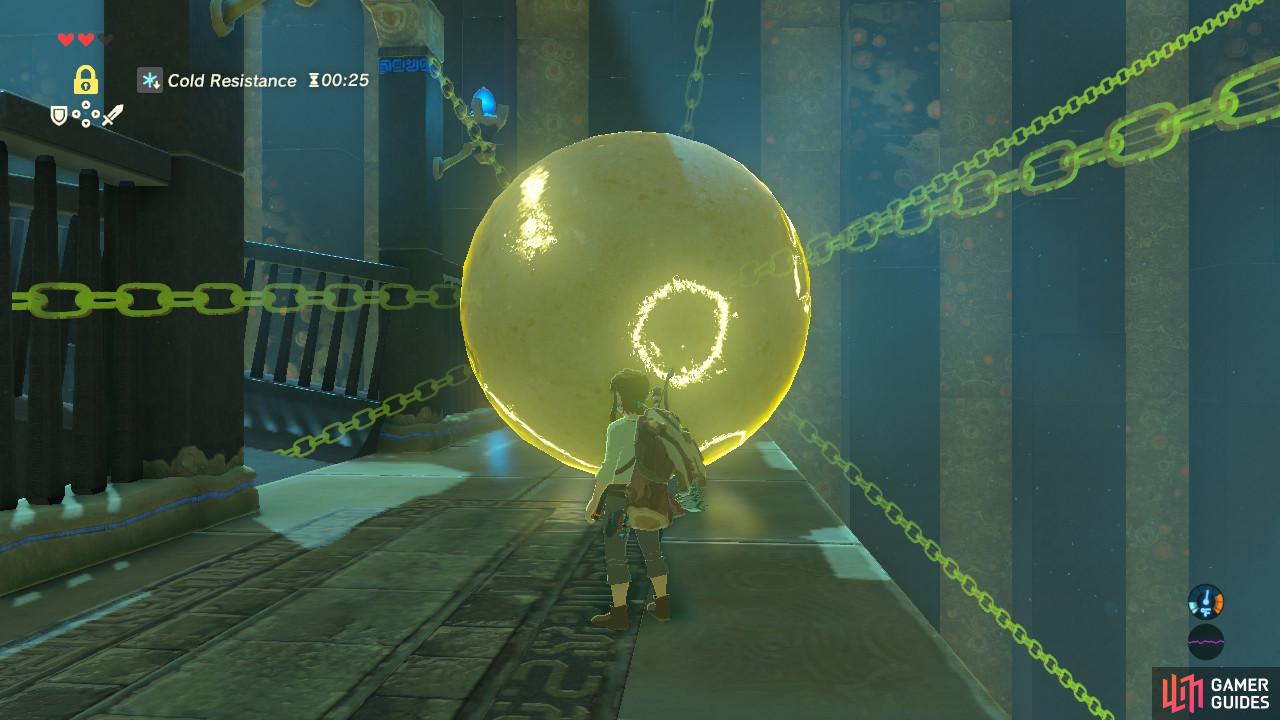
You can slip right under now
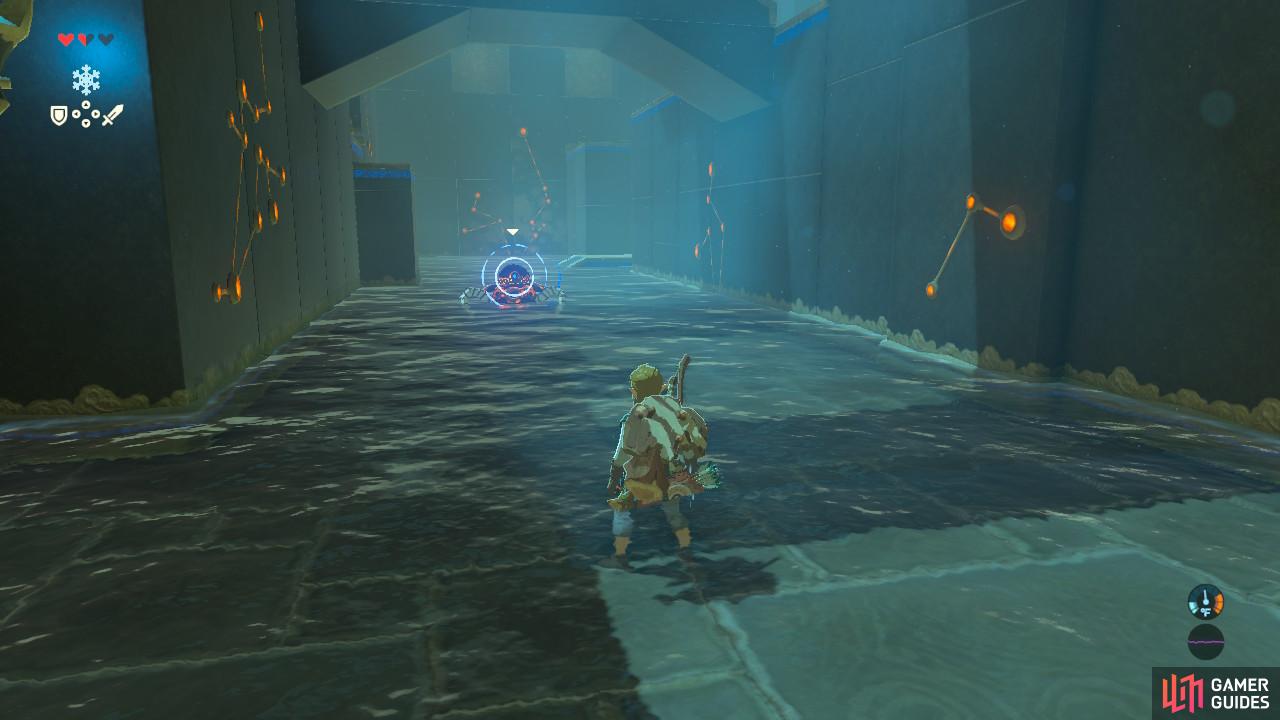
Don’t get hit by their homing missile, and don’t forget to collect their dropped parts afterwards.
As you go forward you will be stopped by a gate above another body of water. Look carefully and you will see there is a gap between the gate and the water. Create an ice block right underneath it to lift the gate up, and walk under the gate to continue. You will be stopped by another Guardian Scout. As with before, it doesn’t have much health and only has one attack.
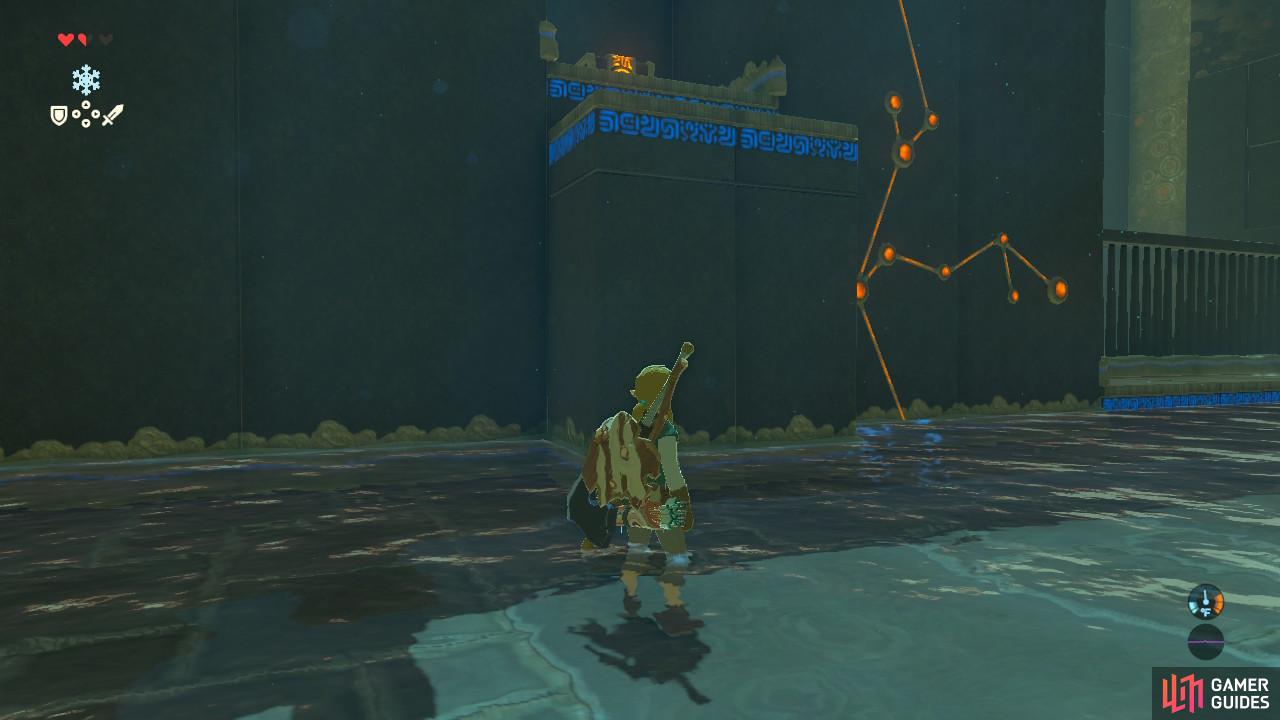
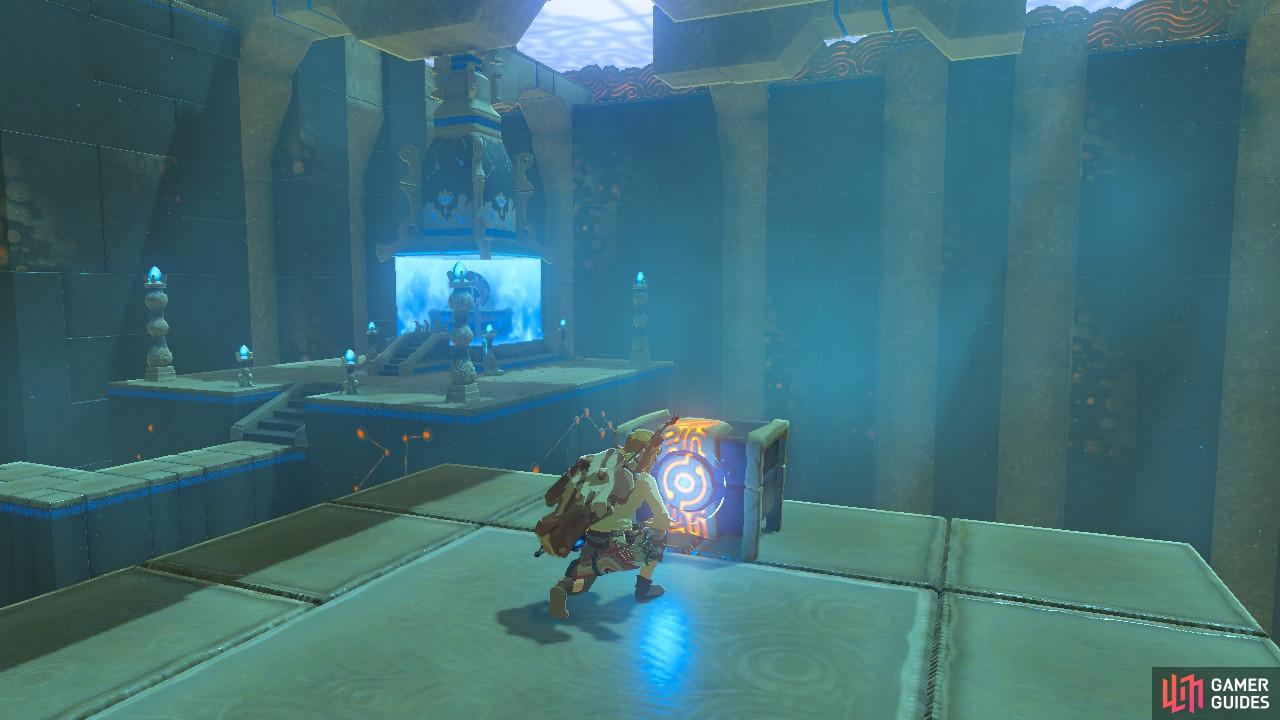
Create an ice block to close the gap
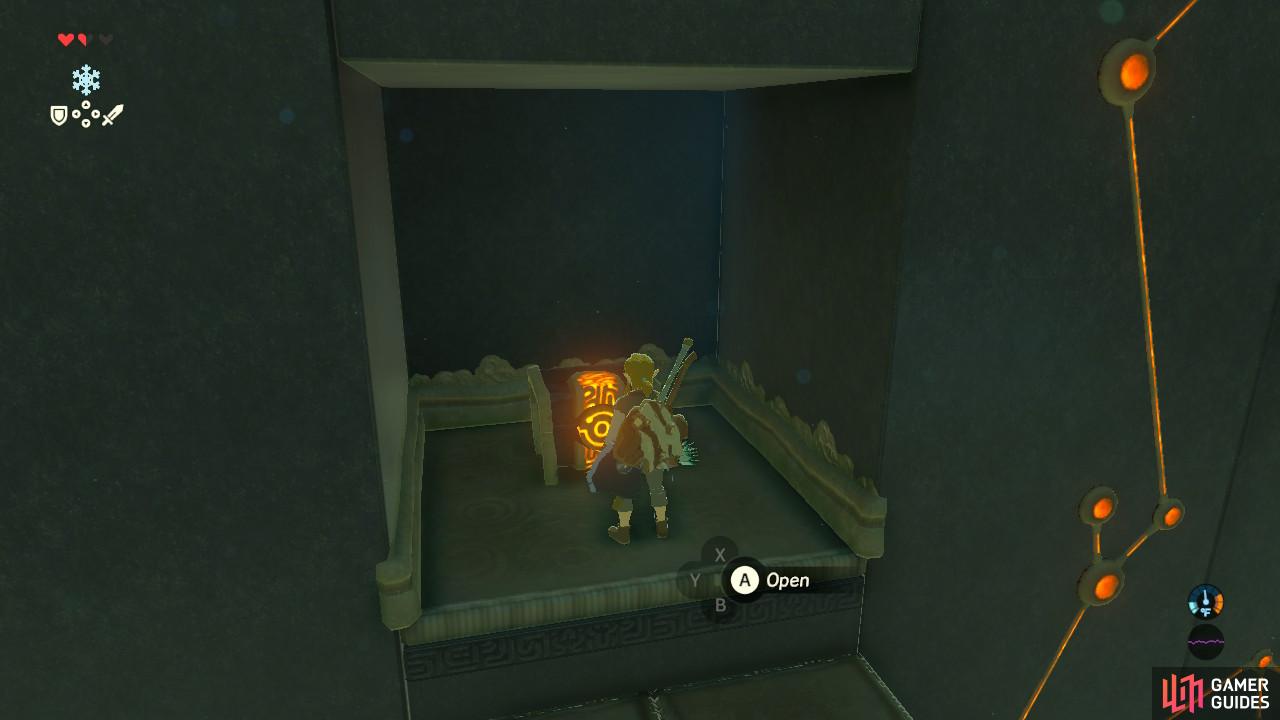
Then grab your loot and let’s keep going
Once you’ve made your way down the hallway, look to your left to see the telltale glow of a treasure chest. Use Cryonis to make a block and then climb up it to get to the platform. The treasure chest will give you a Traveler’s Spear.
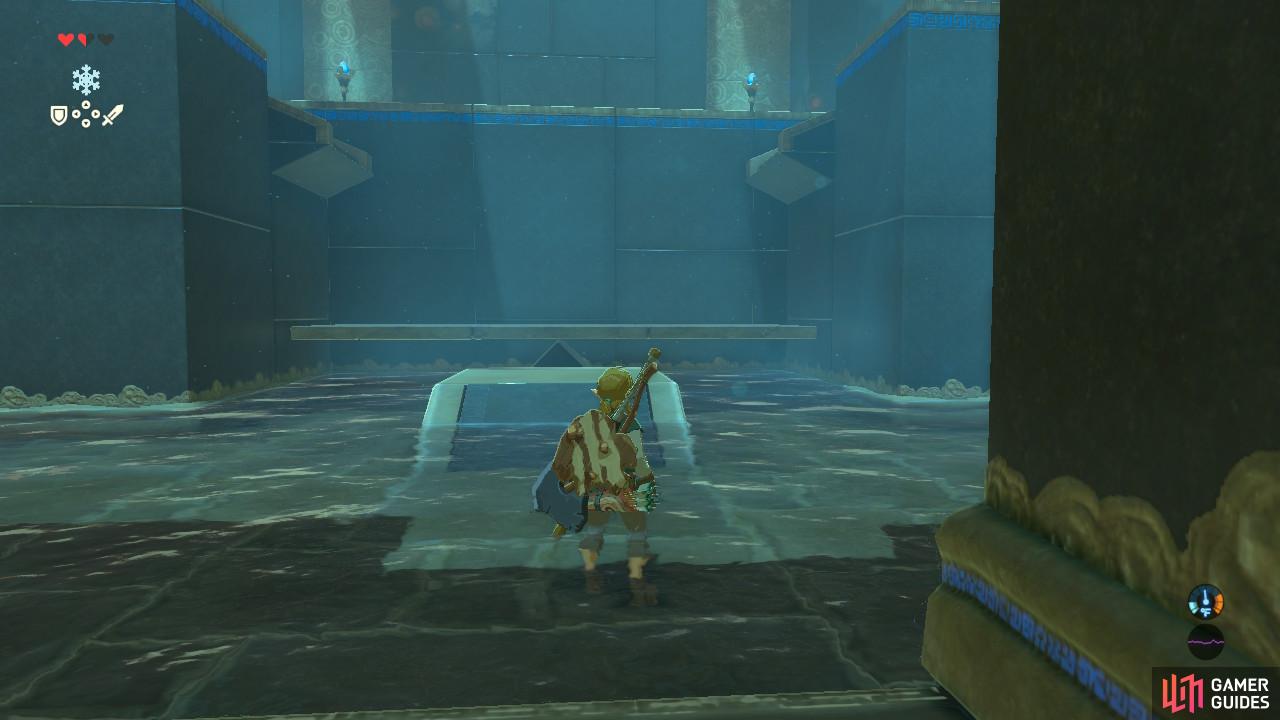
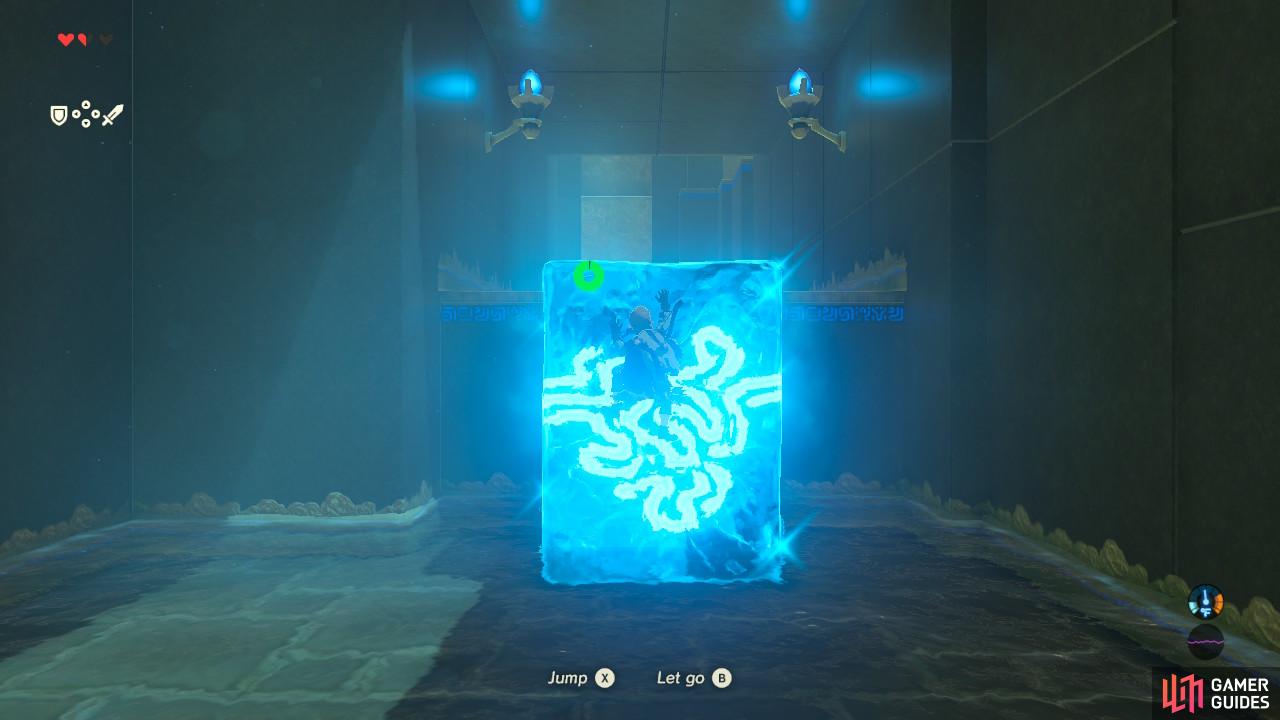
As you can see, there is currently no way to get up there
But with some clever Cryonis now you can advance forward
The next chamber of this shrine has what looks like a see-saw. To scale the wall, you will need to use Cryonis to make an ice block that will lift up the plank. So make an ice block and put it under the left or right side of the plank. You will then be able to walk up it like no big deal!
Make your way to the right and you will meet with the Keh Namut monk and claim your final Spirit Orb.
The Old Man’s Final Task
At this point it feels like he is taunting you with the paraglider
But sure, one more job, we can handle it
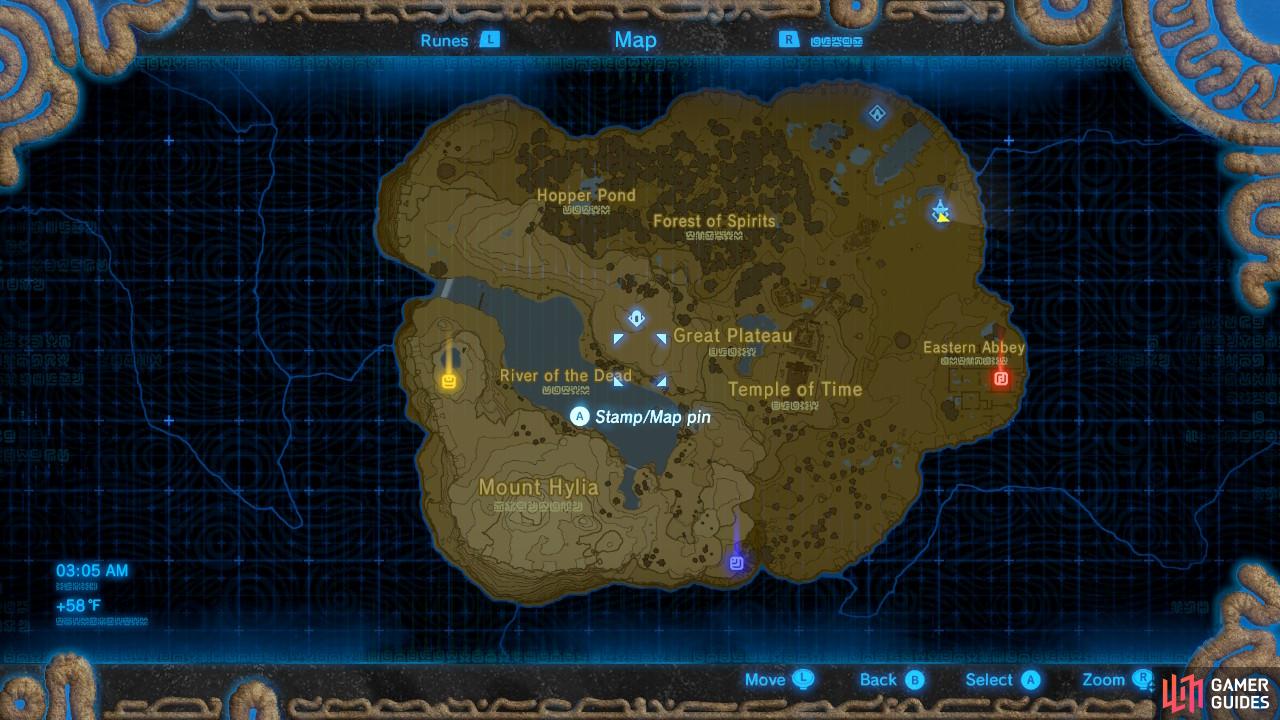
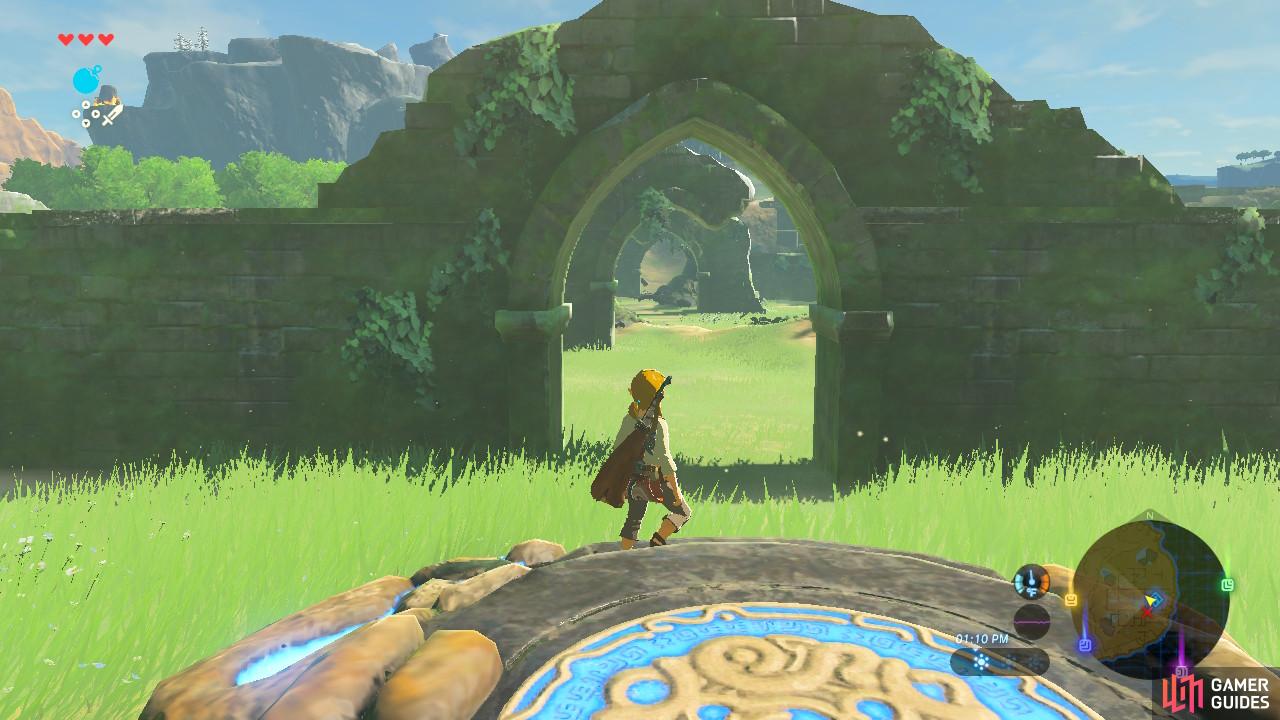
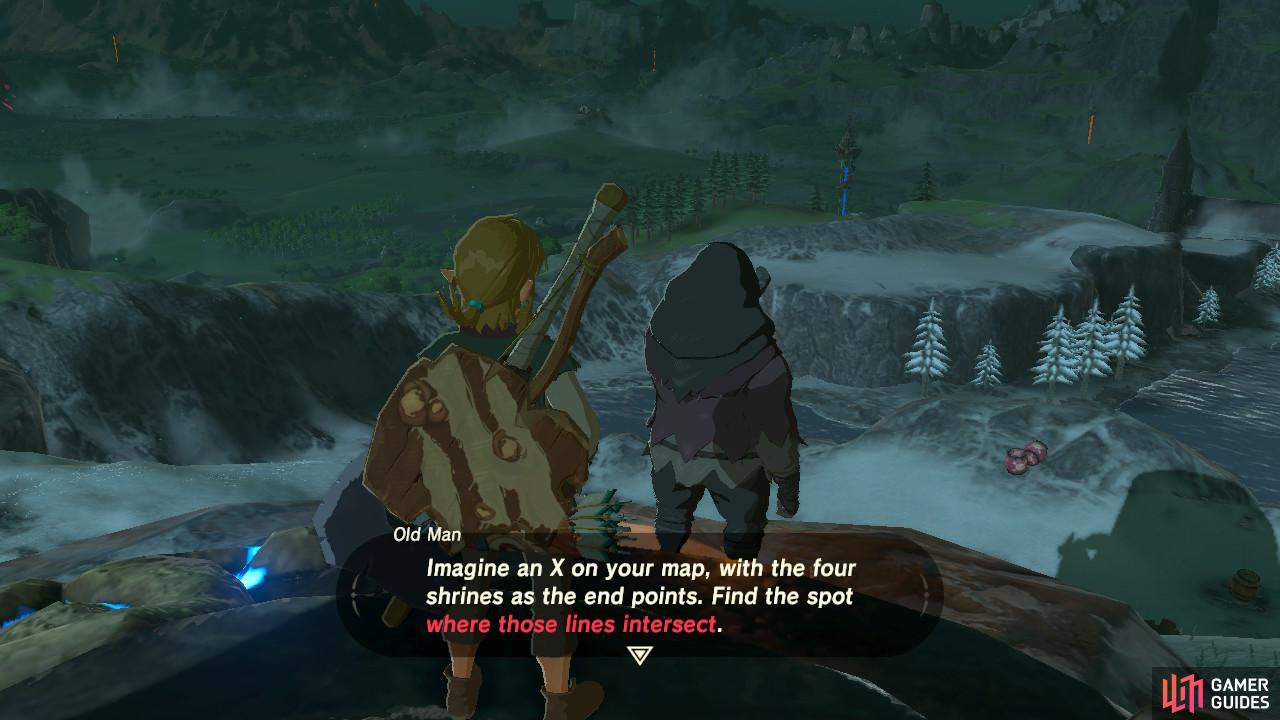
After you have obtained all four Spirit Orbs, the Old Man will meet you outside whatever shrine you completed. It seems there is one last thing you have to do before the Paraglider is yours. Don’t worry, this is for real the last thing you need to do. You have to meet him at where the “Shrines intersect” on the map of the Great Plateau.
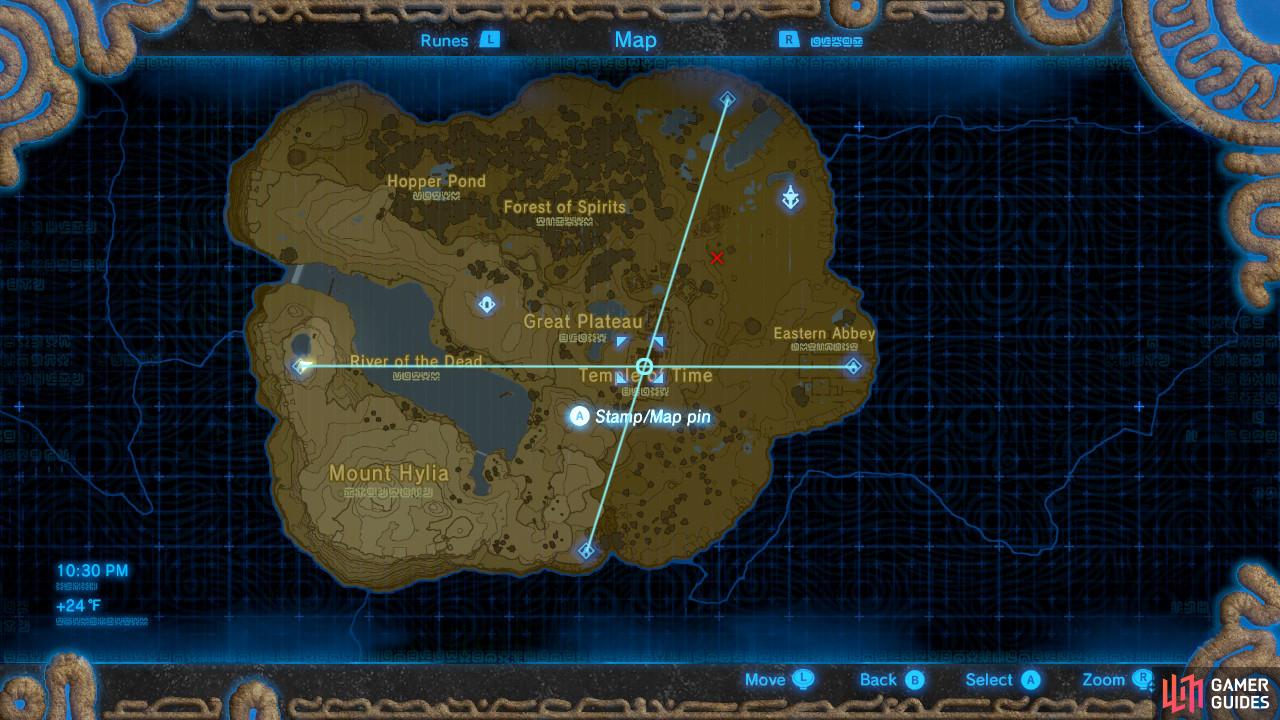
The lines were drawn in for the purposes of this guide. They won’t appear on the Sheikah Slate.
As the picture above shows, the location he is talking about is the Temple of Time. If you stopped by to chat with the Old Man at the very beginning of the game, you will remember it. The Temple of Time is an extremely large cathedral structure that is near the Shrine of Resurrection. You can’t miss it.
The Temple of Time
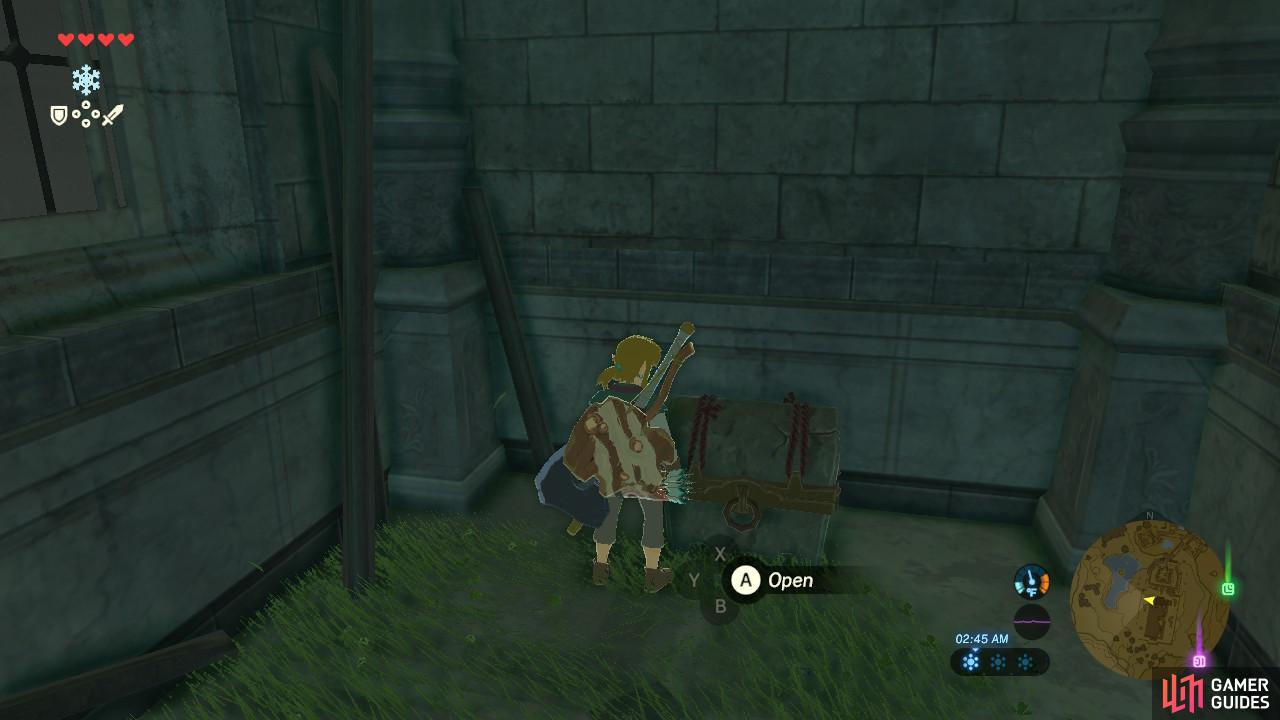
Treasure chests like these are easily missable and are everywhere.

Welcome to the Temple of Time. Or, what’s left of it, anyways
There are quite a few treasure chests and goodies scattered around the Temple of Time, so feel free to scavenge them out if you haven’t already.
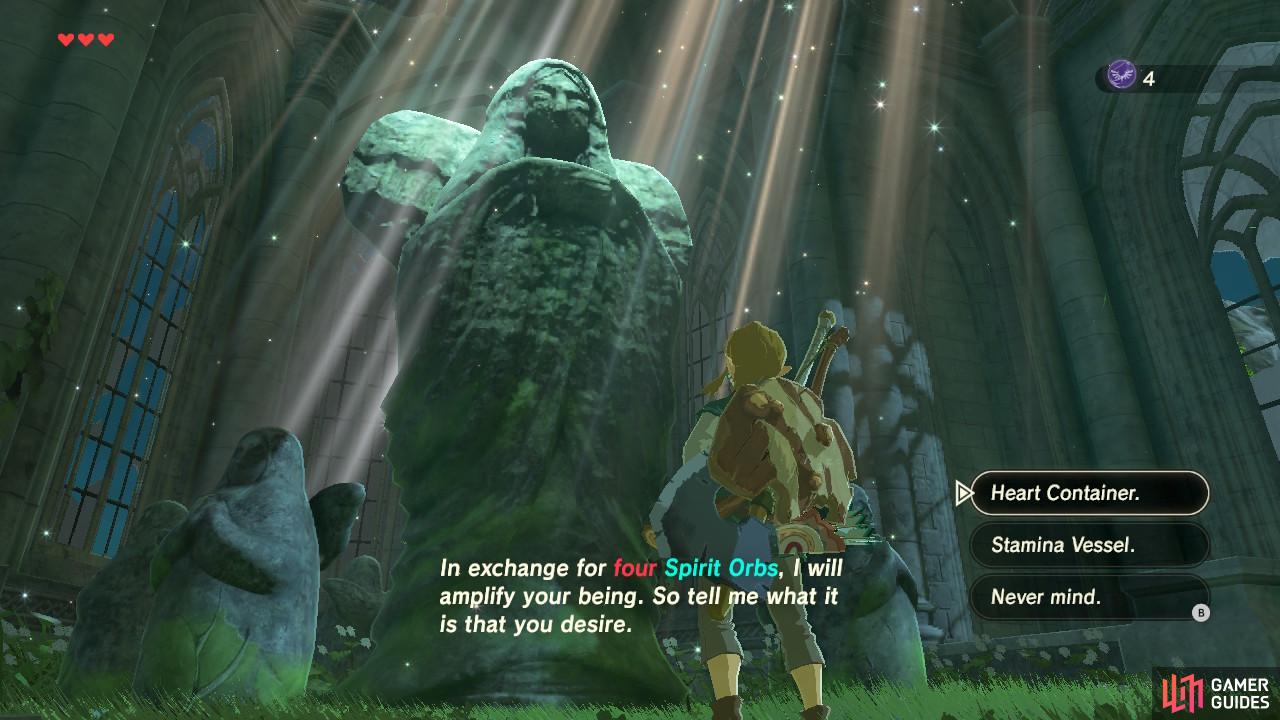
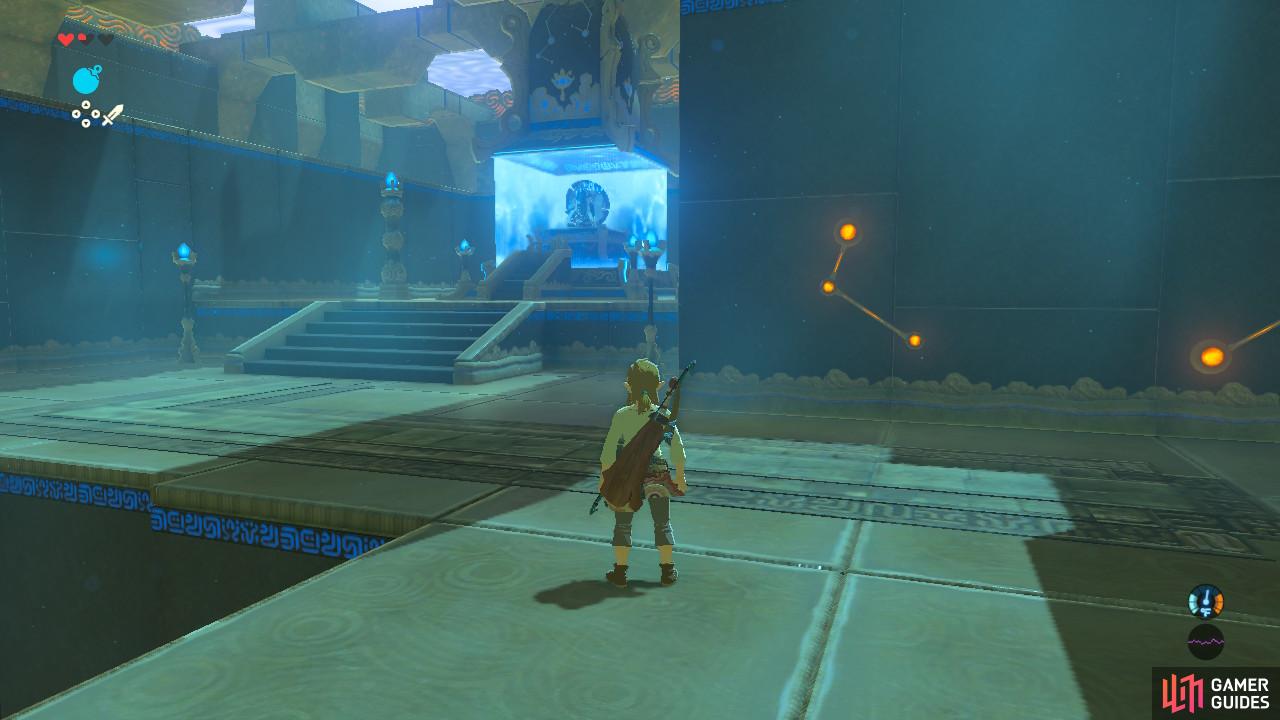
Pray to the Goddess
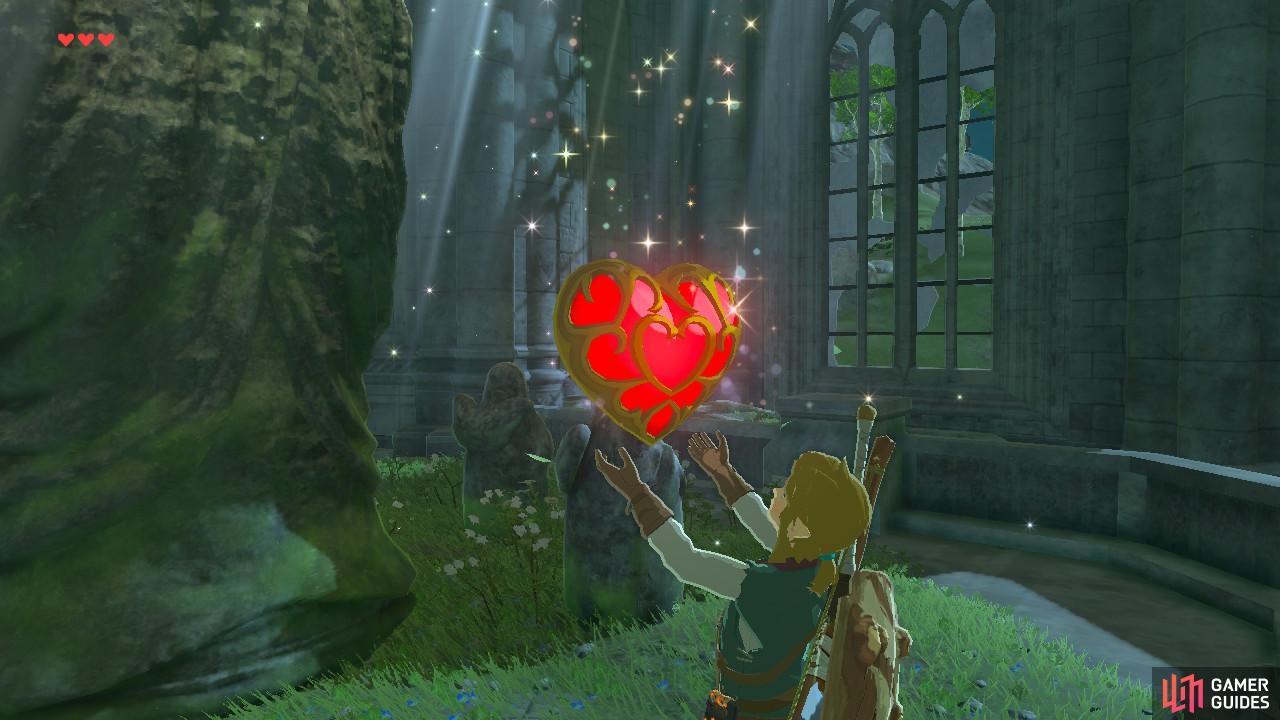
and receive a welcome blessing.
But more importantly, if you go into the Temple, you will see a statue of a praying goddess. This is the Goddess Statue and will reveal to you the importance of your Spirit Orbs.
If you select the Pray option in front of the statue, you can exchange Spirit Orbs for one more heart container or an additional 1/4th of a stamina wheel. This is how you can gain more health and stamina, totally customizable by you. It is optional, but I recommend you go ahead and give yourself an extra heart or quarter-wheel of stamina as it will come in handy once you leave the Great Plateau.
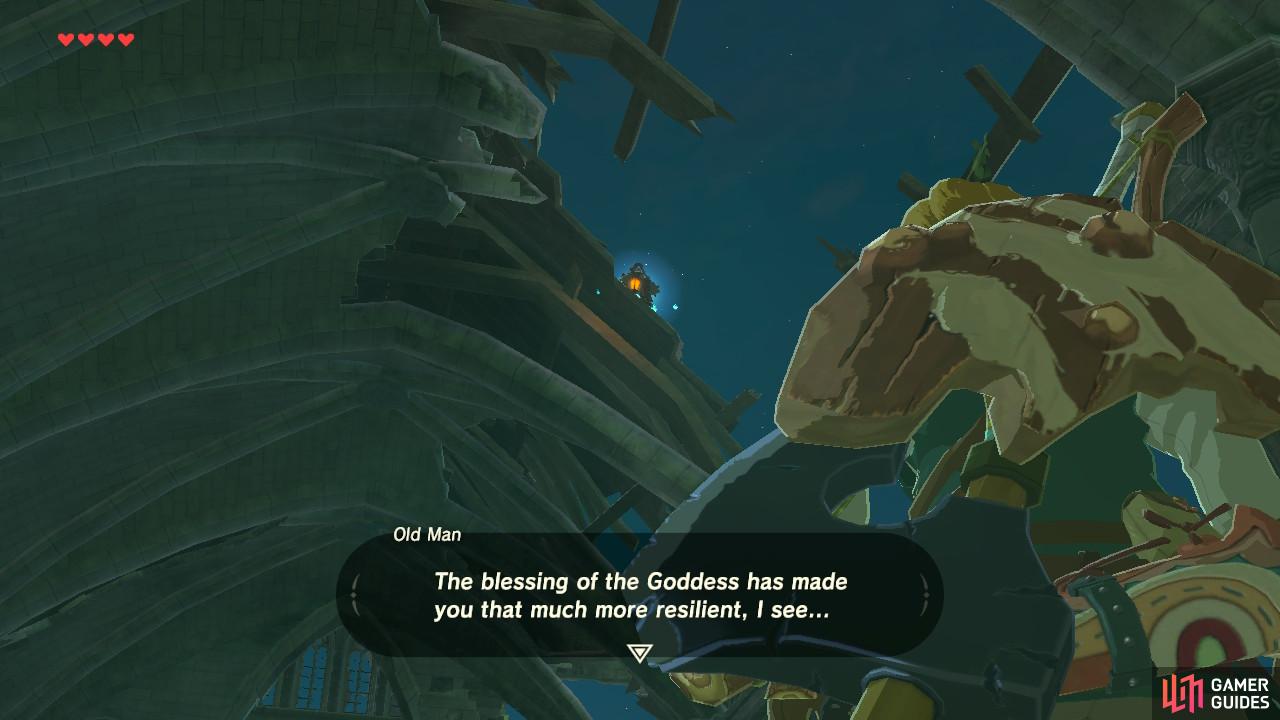
Having him call out to you helps with figuring out where he went
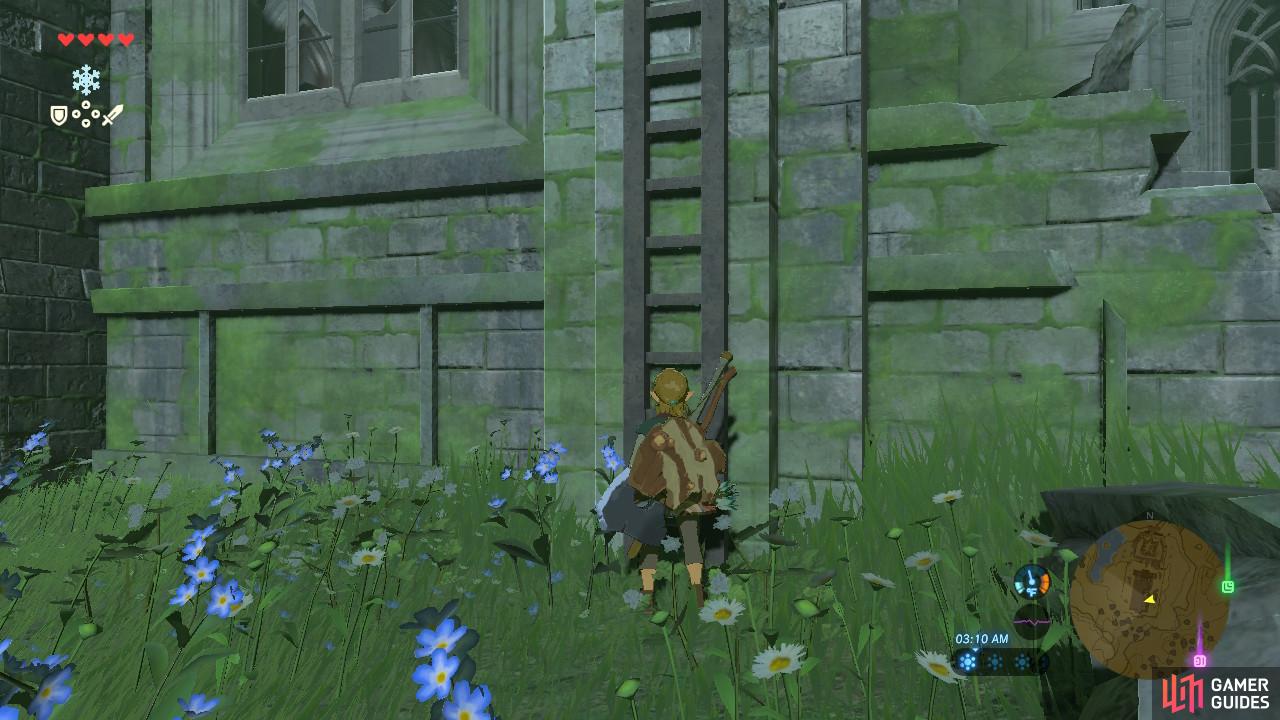
The walls are probably too tall for your stamina so use this ladder instead.
Should you choose to exchange your Spirit Orbs, the Old Man will call out to you from the top of the Temple. Go outside the building and you will find a ladder that lets you get to the rooftop without using stamina. It will be difficult to get up to the top on stamina at this point in the game, so the ladder sure is convenient.
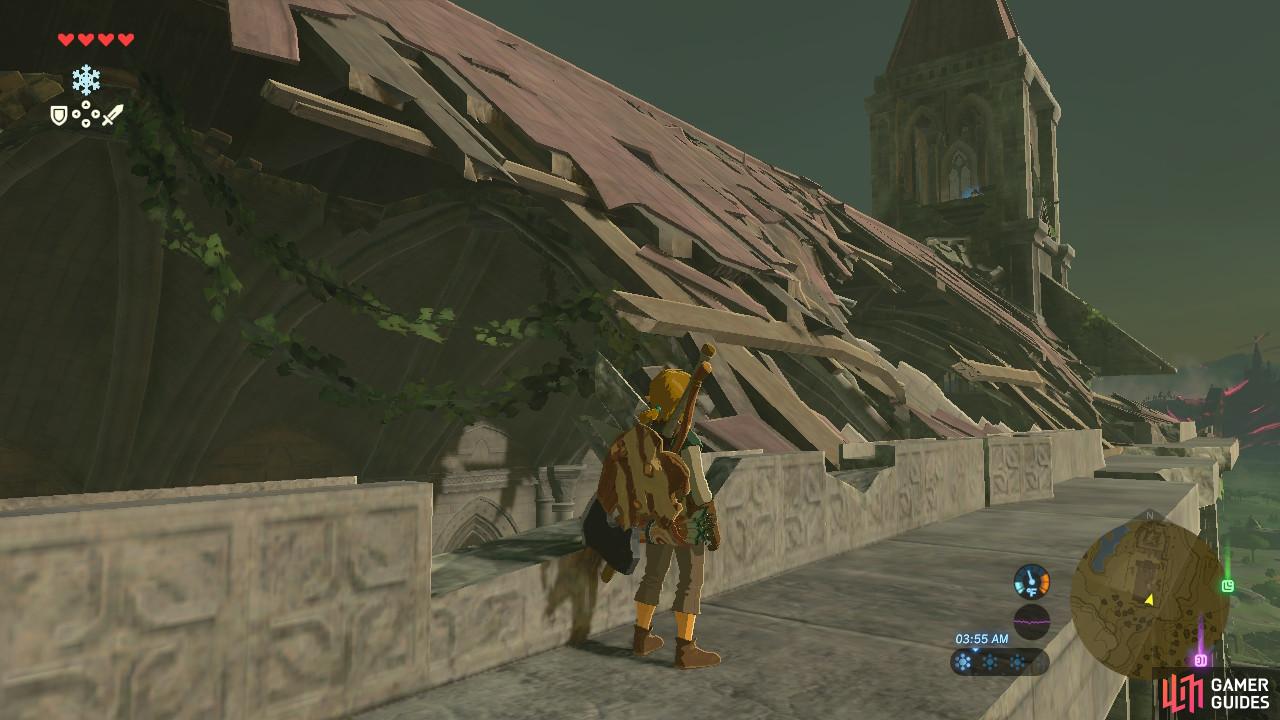
Run carefully along the rooftop so as not to fall into the holes
I knew it, the Old Man was definitely suspicious!
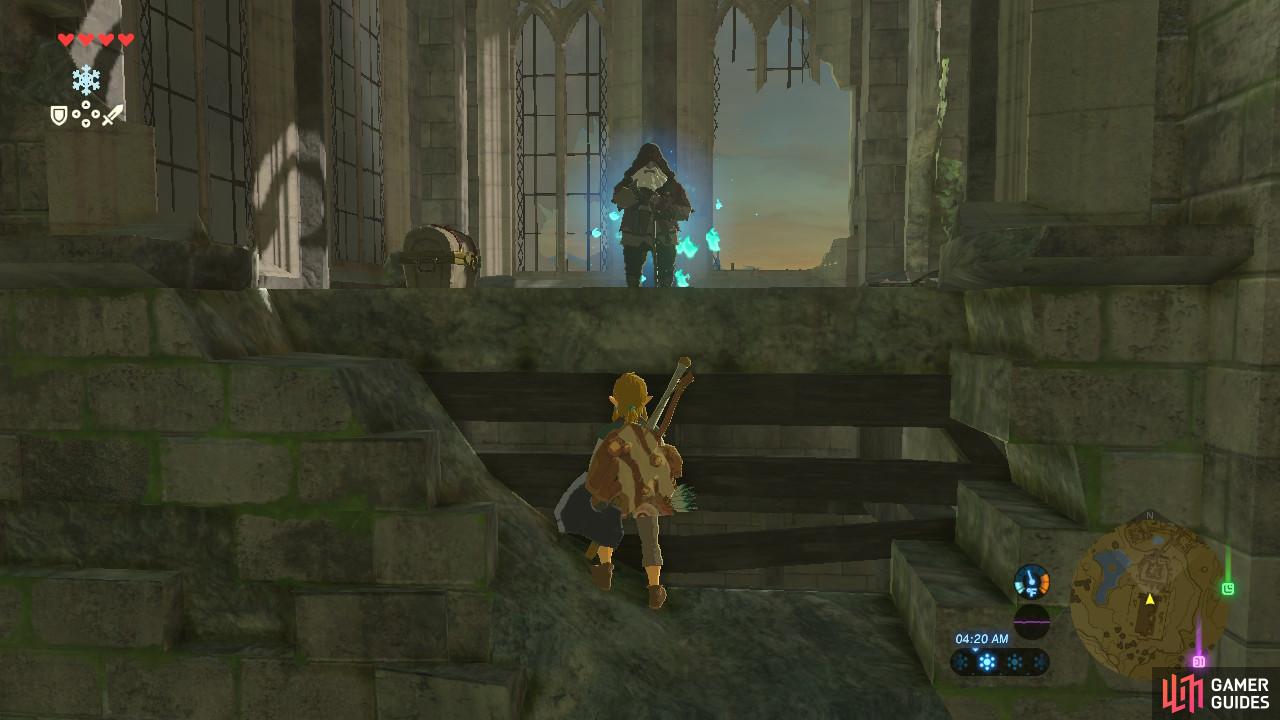
Run along the rooftop and you will see the Old Man standing in the belltower and looking even more suspicious than usual. Enjoy the cutscene.
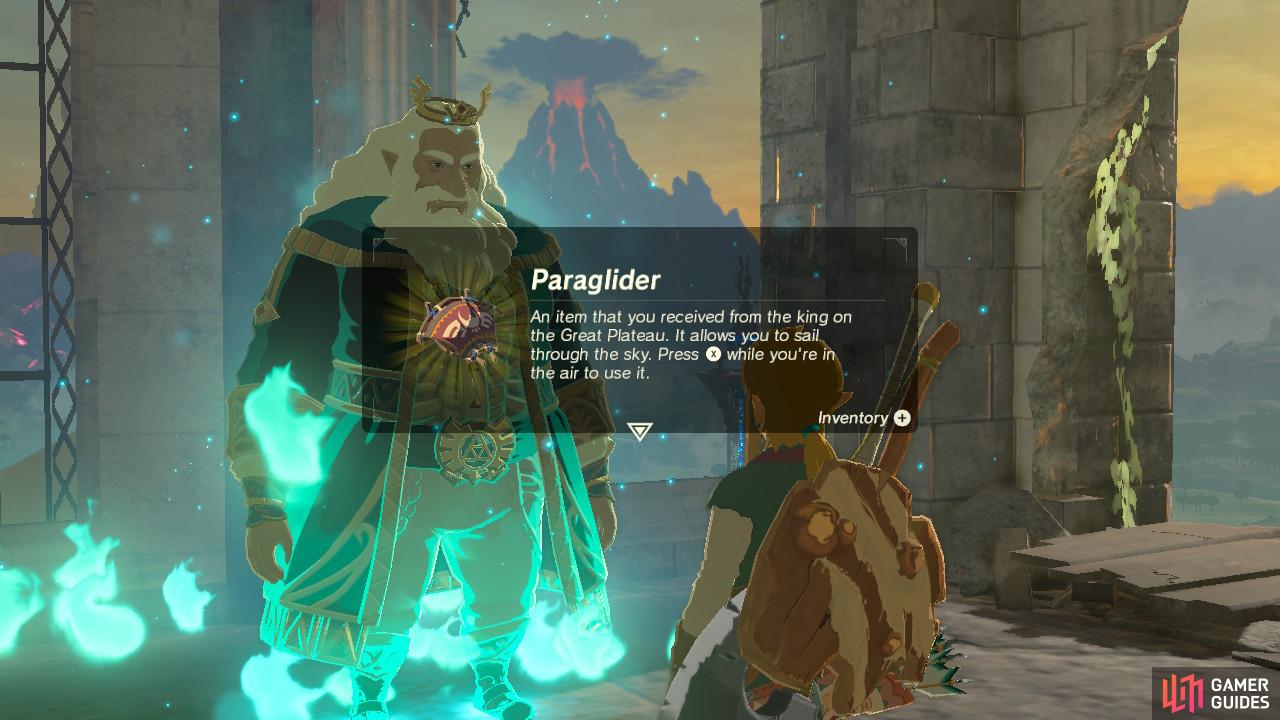
After the cutscene concludes, you will have learned a lot more about the story and what happened, and you will finally earn the Paraglider! That took a while. At this point, you will also be given two new Main Quests.
The first one, Destroy Ganon, is a very simple quest. Go to the Hyrule Castle and destroy Calamity Ganon. But as the Old Man (or should we say, King Hyrule) said, to do so right now is a really bad idea. So instead, we will be progressing through the story with the next Main Quest: Seek Out Impa in Kakariko Village.
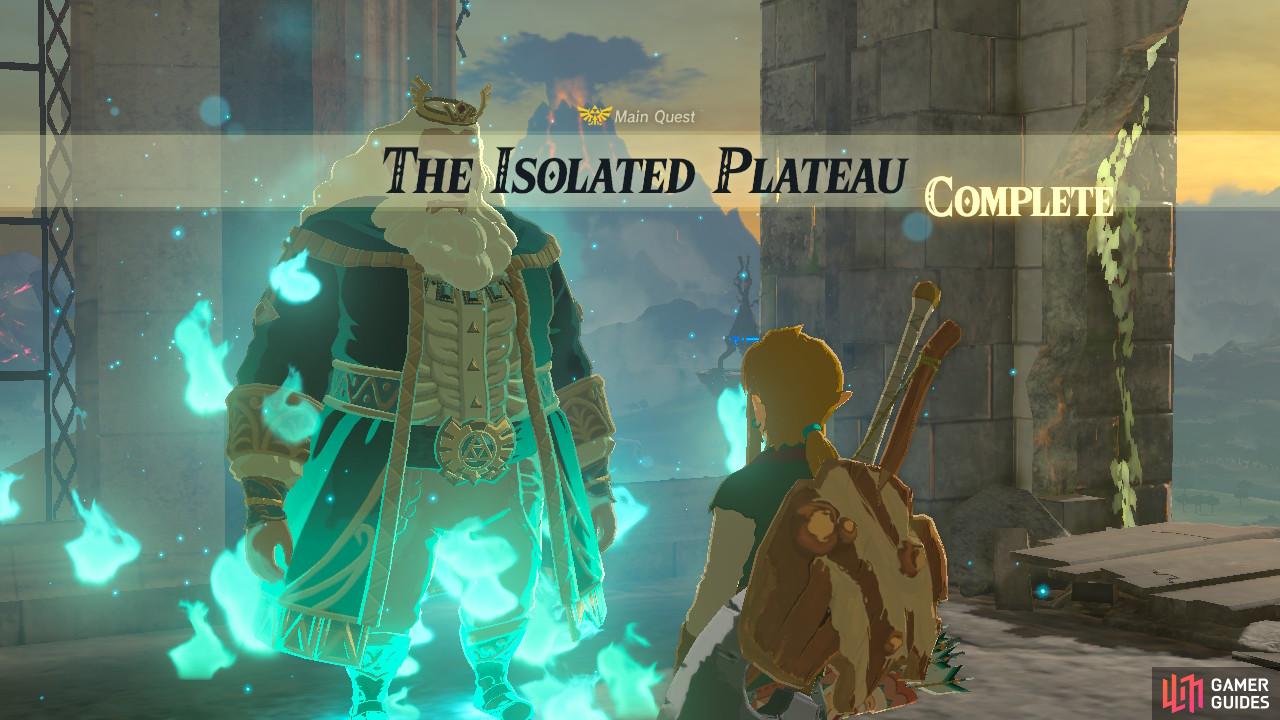
At long last, we have completed The Isolated Plateau. It is time to leave this desolate land of memories behind and journey into what will truly be a vast, open world.
No Comments