Main Quest: Destroy Ganon
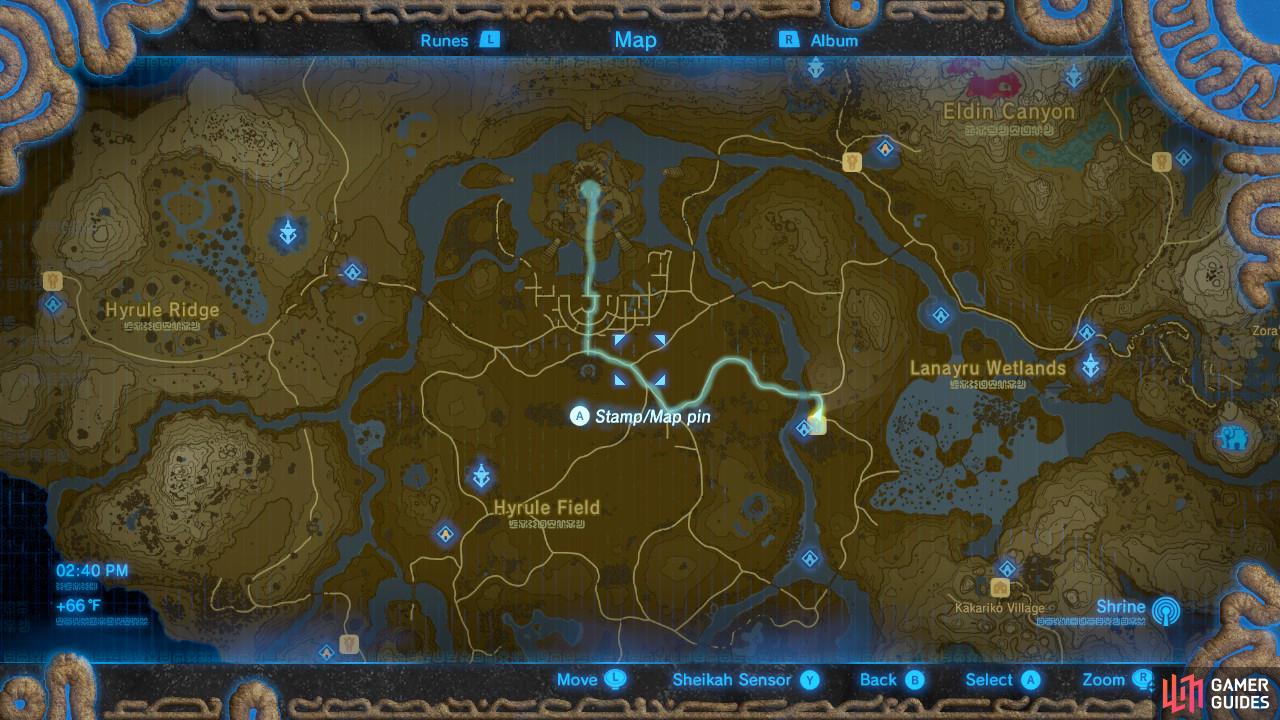
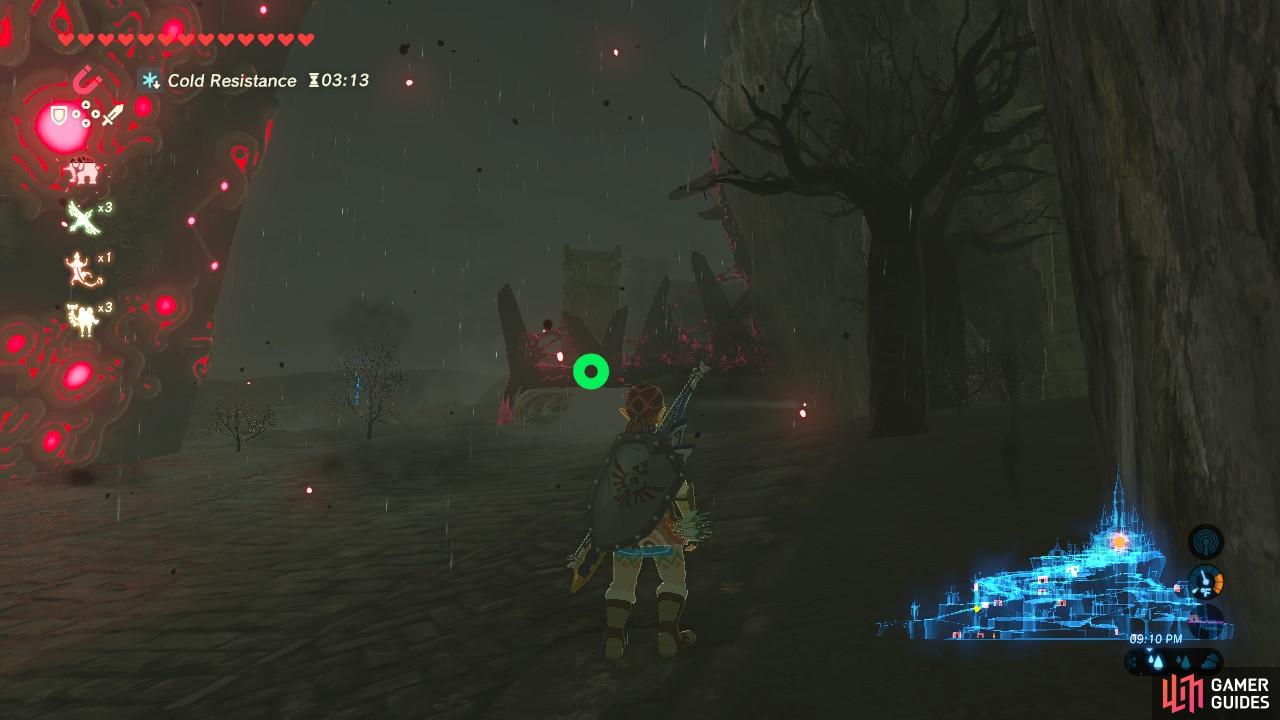
It is time for the final fight! First, we need to actually get to Hyrule Castle. It can be very difficult due to all of the Guardians swarming around the area, but the fastest way to approach is either from Wasteland Stable or Central Tower (of course you can approach it from a million different ways) as that will let you get straight to the town ruin’s Central Square and open the gates to Hyrule Castle. If you desire a safer way with less Guardians, approach from the north from the Woodland Tower. Or, get crazy and find some way to exploit the physics engine. It’s totally up to you.
We approached from Wasteland Stable and traveled along the footpath towards the castle following the path highlighted in the image above. If you are journeying at night, beware that spawning skeletons can become a huge nuisance if you are in the middle of sparring a Guardian.
Hyrule Castle Town Ruins
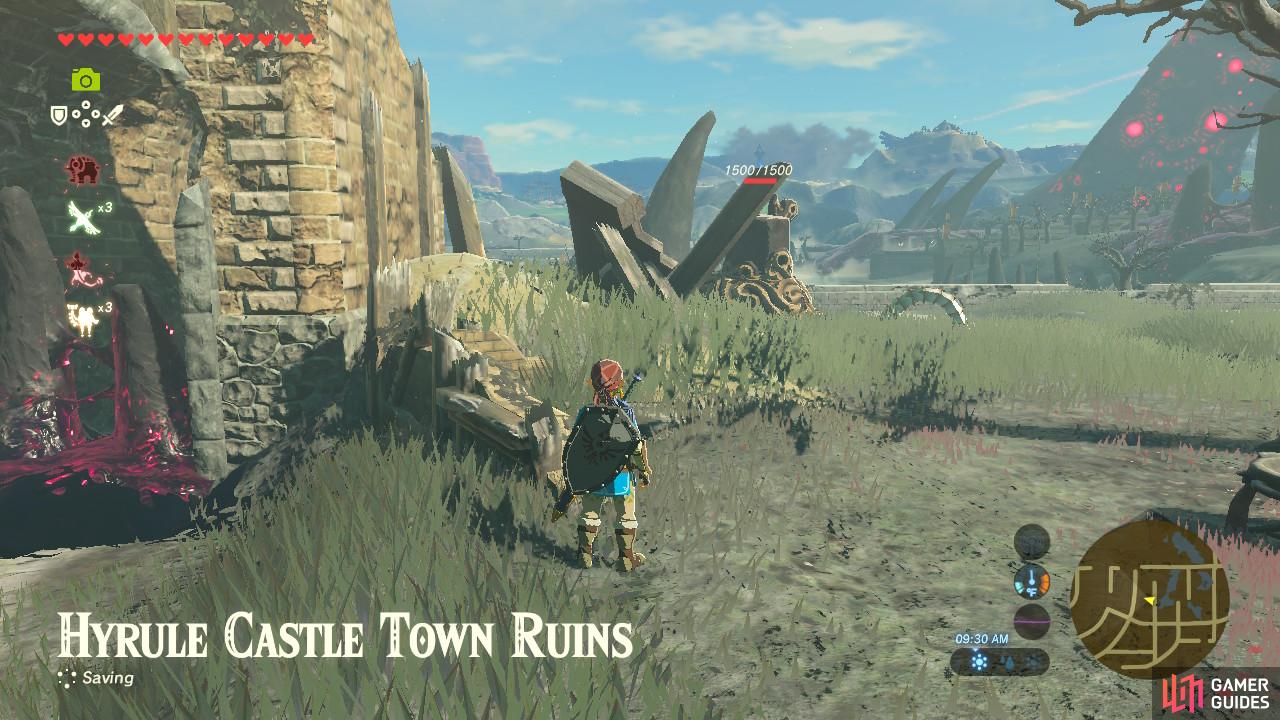
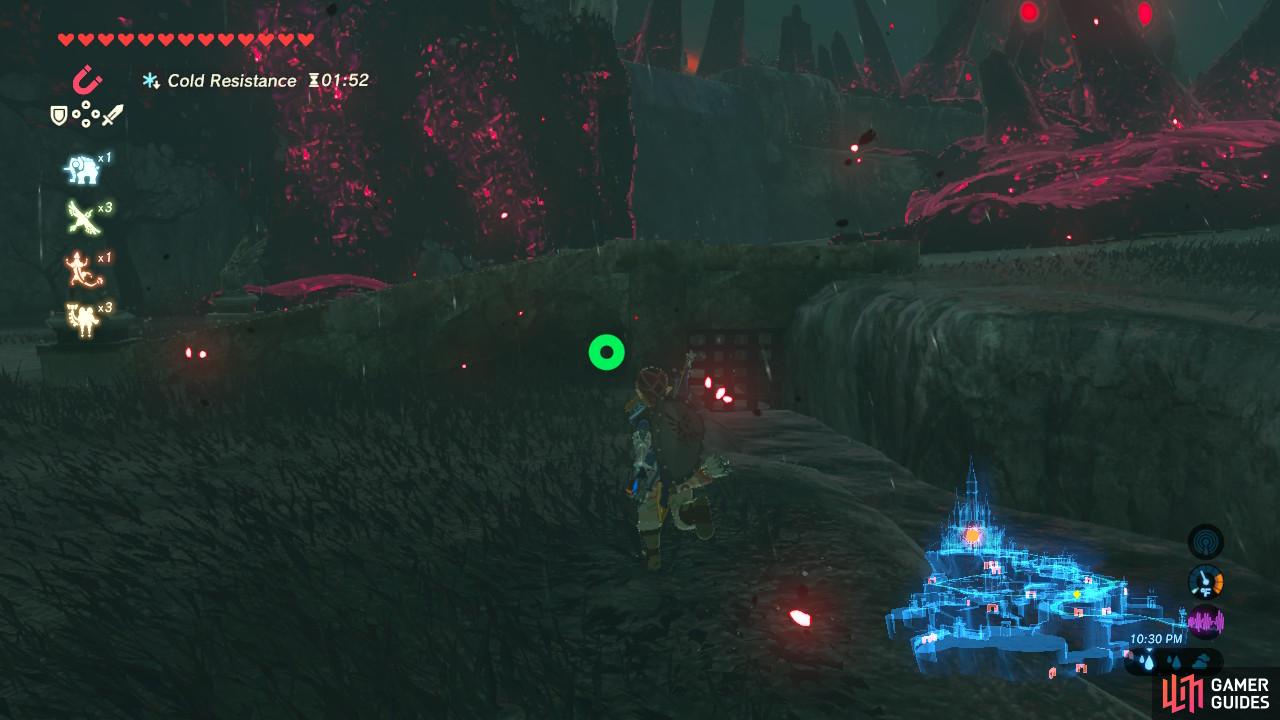
Hyrule Castle is surrounded by what used to be a lively town. Now it is in ruins and is swarmed by guardians and Ganon goop. If you see any eyes feel free to destroy them so that you can unblock all the stairs leading up to the Central Square.
There are Guardian Stalkers distributed fairly evenly around the ruins. They seem like they are stationary since they are resting on the ground, but once you get close they will stand up and start trying to shoot at you.
Central Square
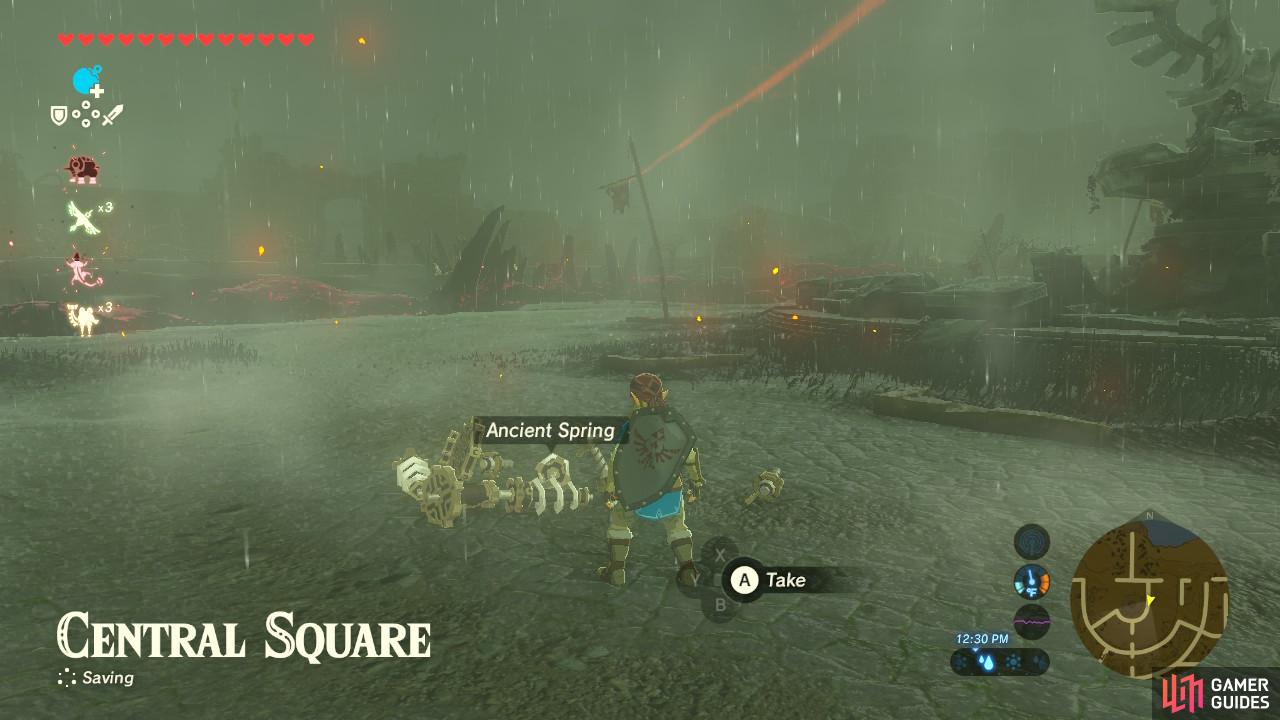
Central Square is marked by a broken fountain. From here, it’s a straight shot to the castle.
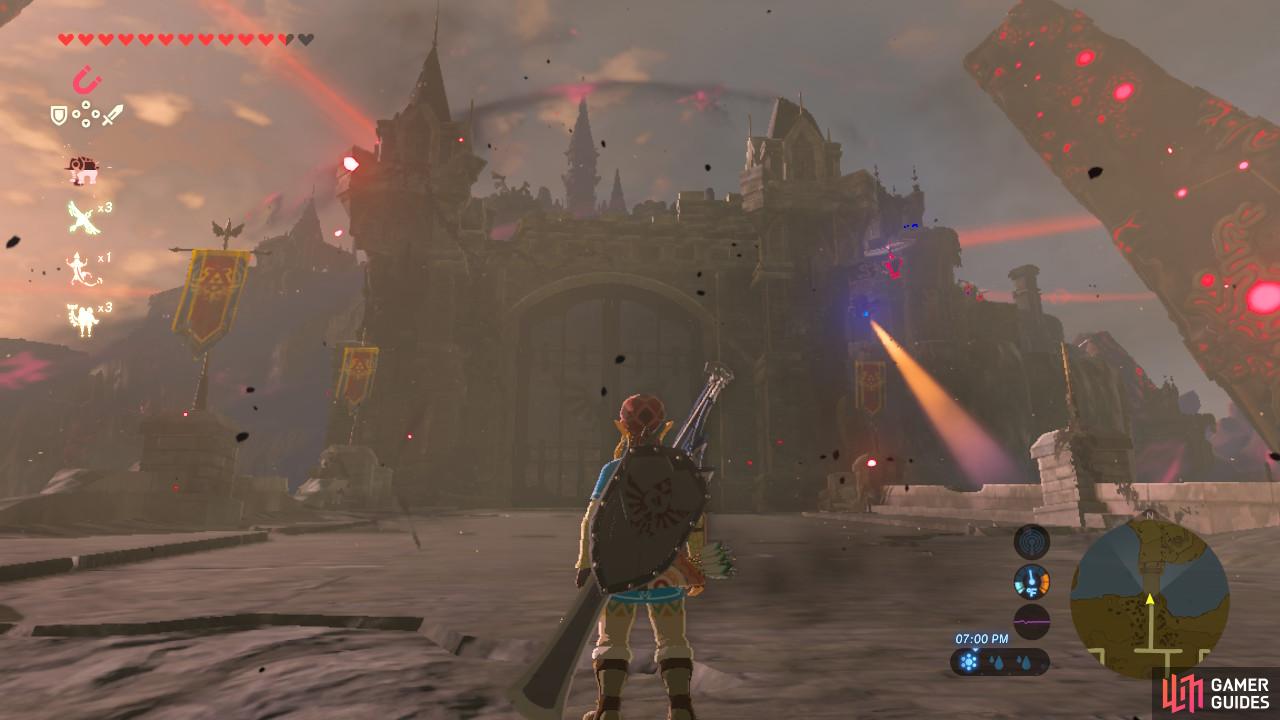
These are the main gates to Hyrule Castle. Avoid the Guardian Scouts
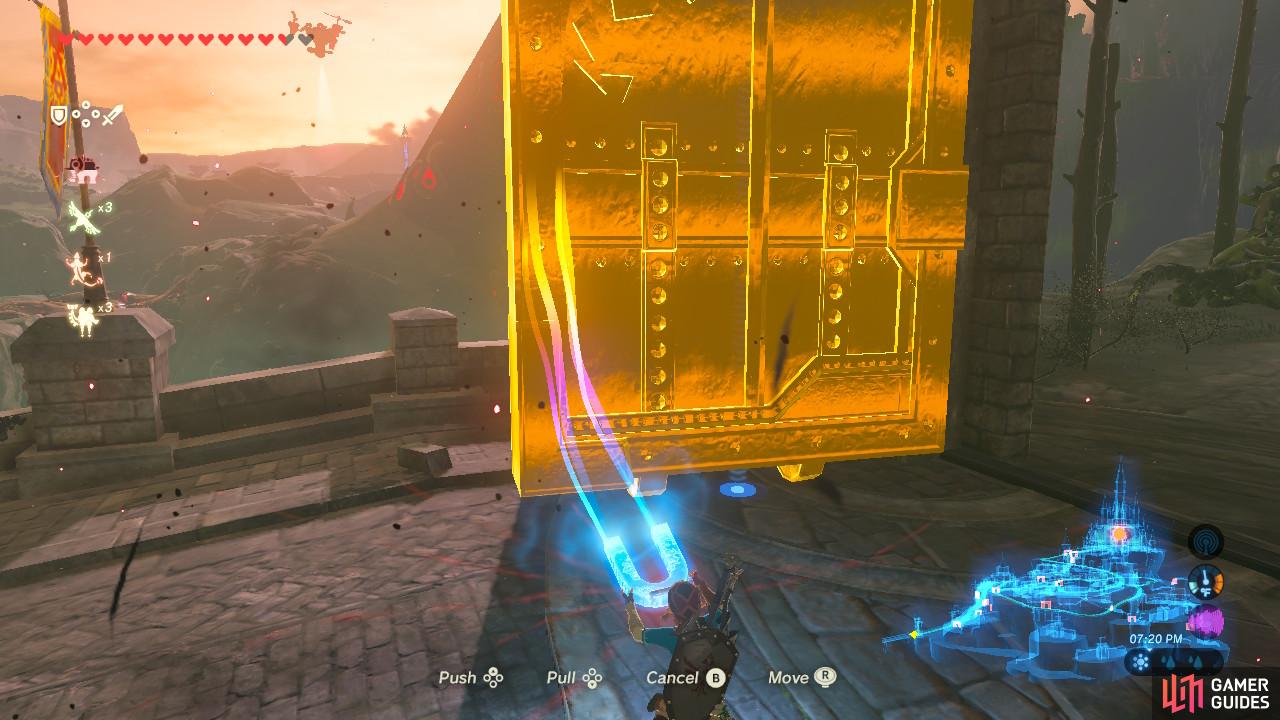
Pull open the gate with Magnesis and make sure you do so quickly
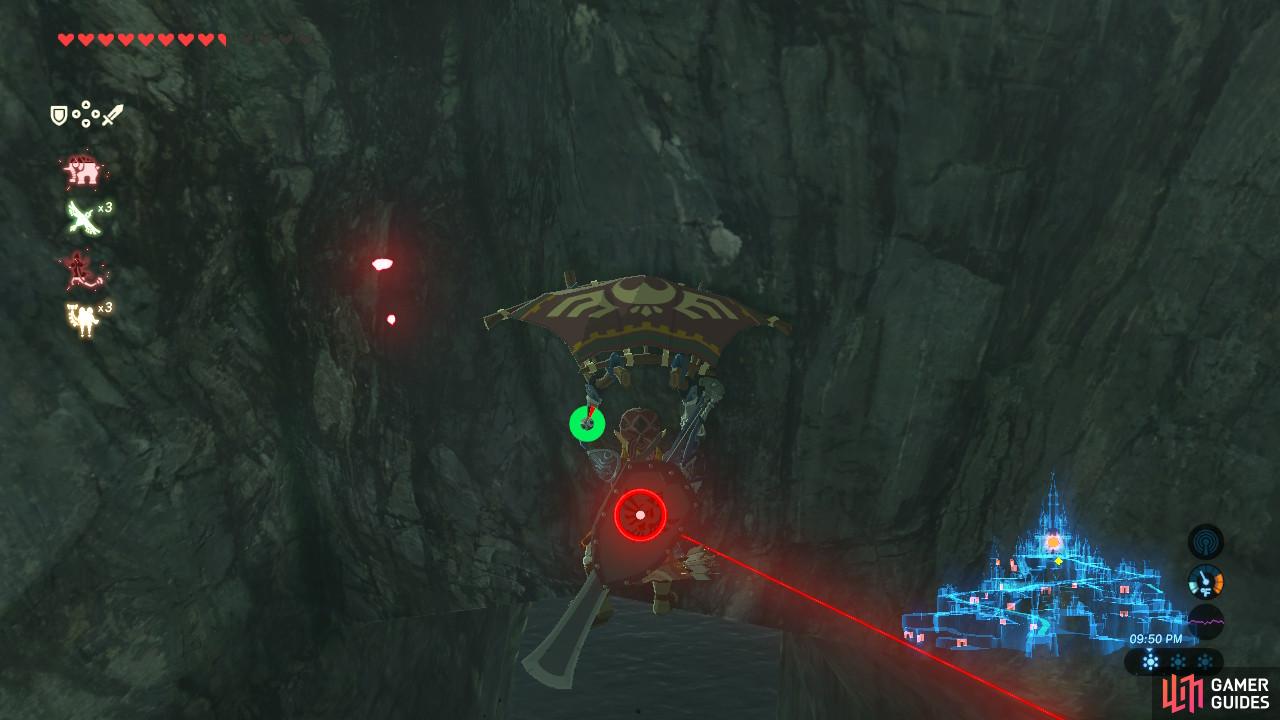
There are Guardian Scouts that constantly patrol along the bridge leading up to the gates. Run down the bridge weaving around their spotlights (or shoot them with Ancient Arrows if you have any to spare) and as you get close to the gate, you will witness a cutscene showcasing Calamity Ganon. You will also see the golden light that is Zelda.
Open up the gates using Magnesis to gain access to the final dungeon of the game, Hyrule Castle.
Hyrule Castle
The Hyrule Castle dungeon is extremely elaborate and complex, with many side activities, enemies, and side content to be found within. However, if your goal is merely to destroy Ganon, there is a way to bypass all of the dangers that come with the castle and get straight to the Sanctum where Ganon awaits us.
The waterfall is to your right. To go up it you will need to drop down to where the water is below the path
Then ride up the waterfall
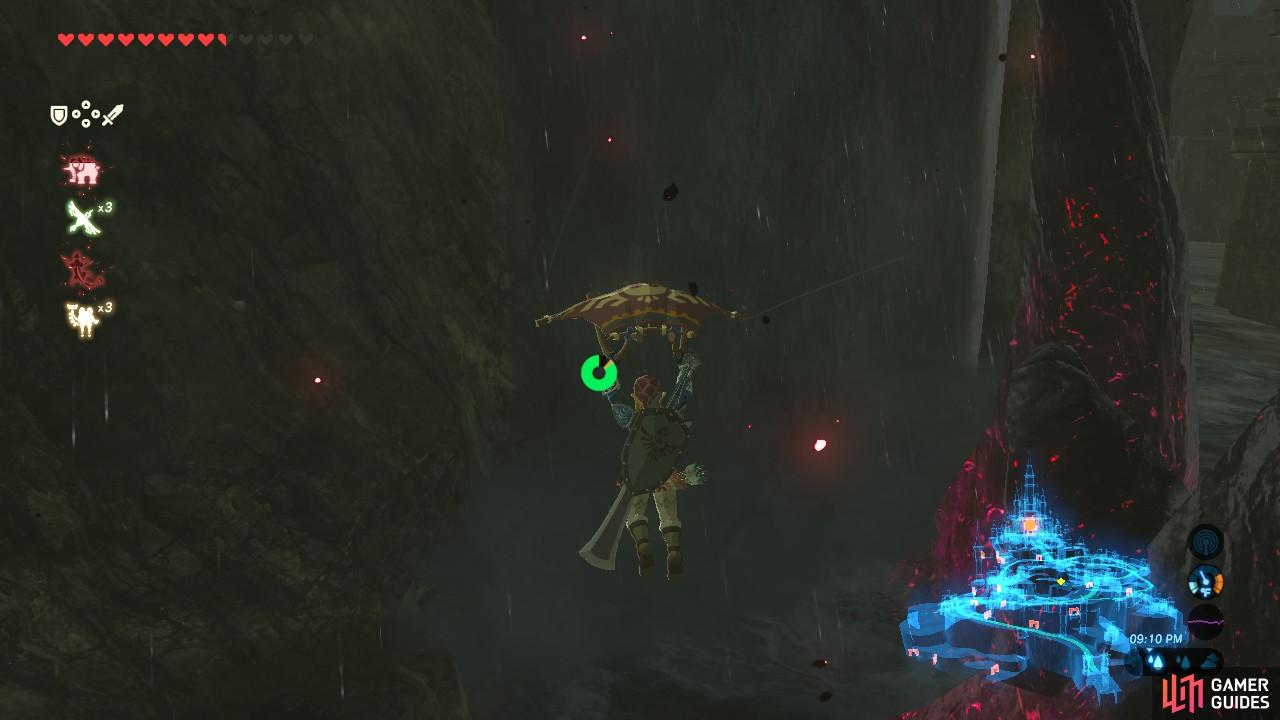
As you run up the path, avoiding or defeating the stationary Guardian on the left side, you will find a waterfall. Equip your Zora Armor and ride up the waterfall.
Follow the river to your right to the next waterfall
Paraglide straight forward into this waterfall and drop down into the water so you can ride up it
Paraglide down and follow the river up to the next waterfall. Avoid or defeat the Guardian to your far left, and then ride up the waterfall. Paraglide straight forward into the next waterfall. Do not waver left or right.
Paraglide towards the rocks so you can climb up them
You have now arrived at the top and you avoided most of the danger
Ride up that waterfall and you will finally Paraglide above what looks like a natural tunnel formation. Climb up the rocks and you will now stand on a path leading you straight into the Sanctum. There are more Guardian Scouts flying around the path so weave around their spotlights.
Sanctum
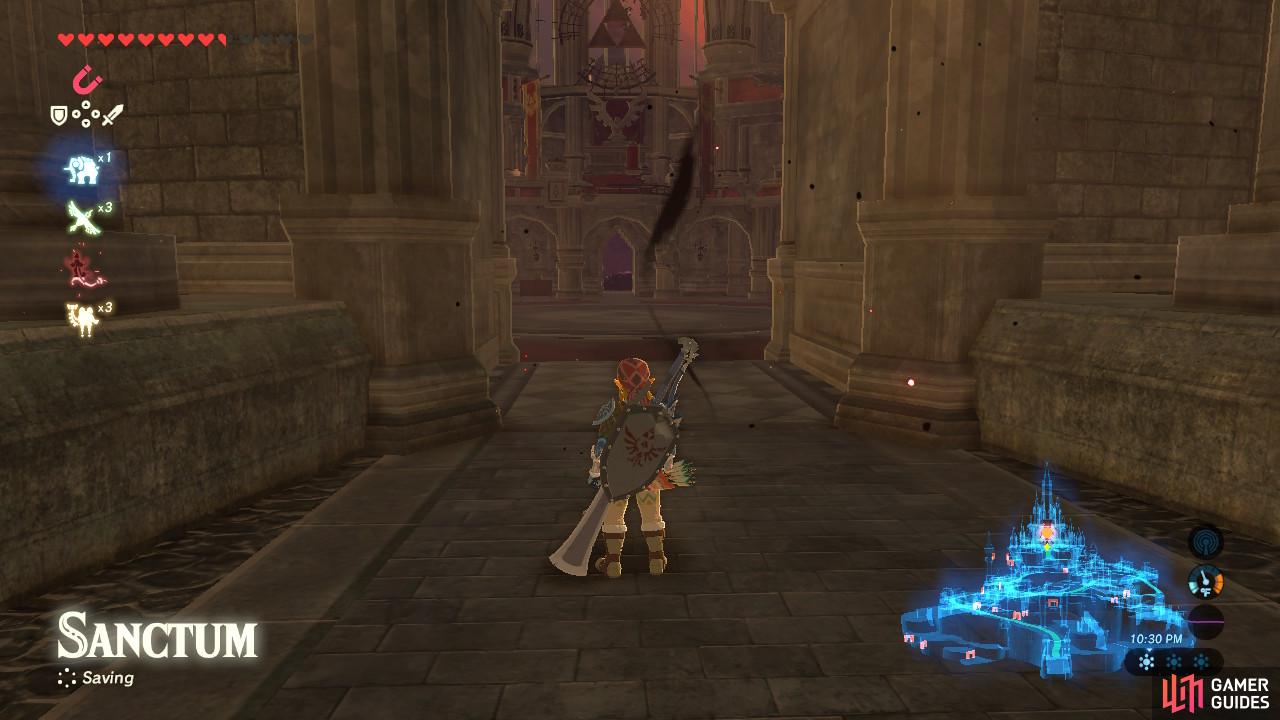
If any of your Champion abilities are on recharge, especially Mipha’s Grace and Daruk’s Protection, consider waiting in front of the Sanctum for everything to recharge.
For those curious, our initial loadout for the boss fight included the Master Sword, a Savage Lynel Bow, and a Knight’s Shield. The Master Sword will be at 60 power when fighting Ganon and the Savage Lynel Bow can fire three arrows but only consume one. We had a grand total of thirteen hearts and one wheel of stamina.
Calamity Ganon
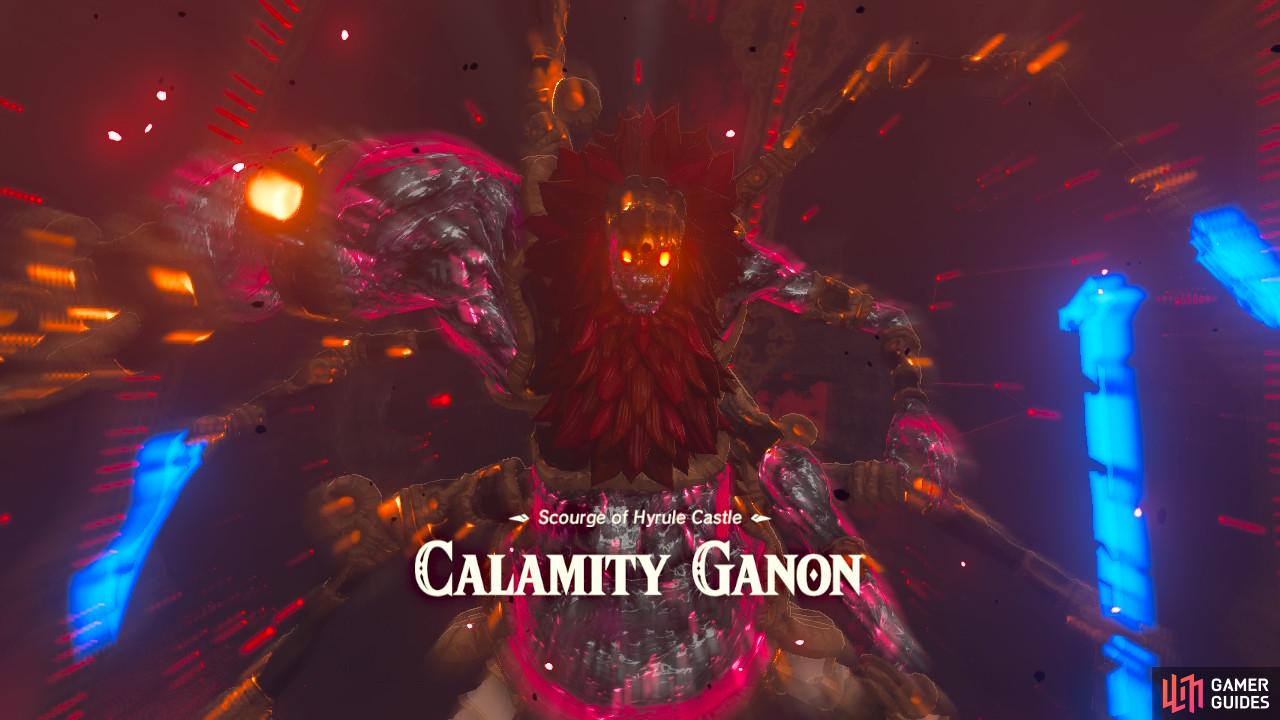
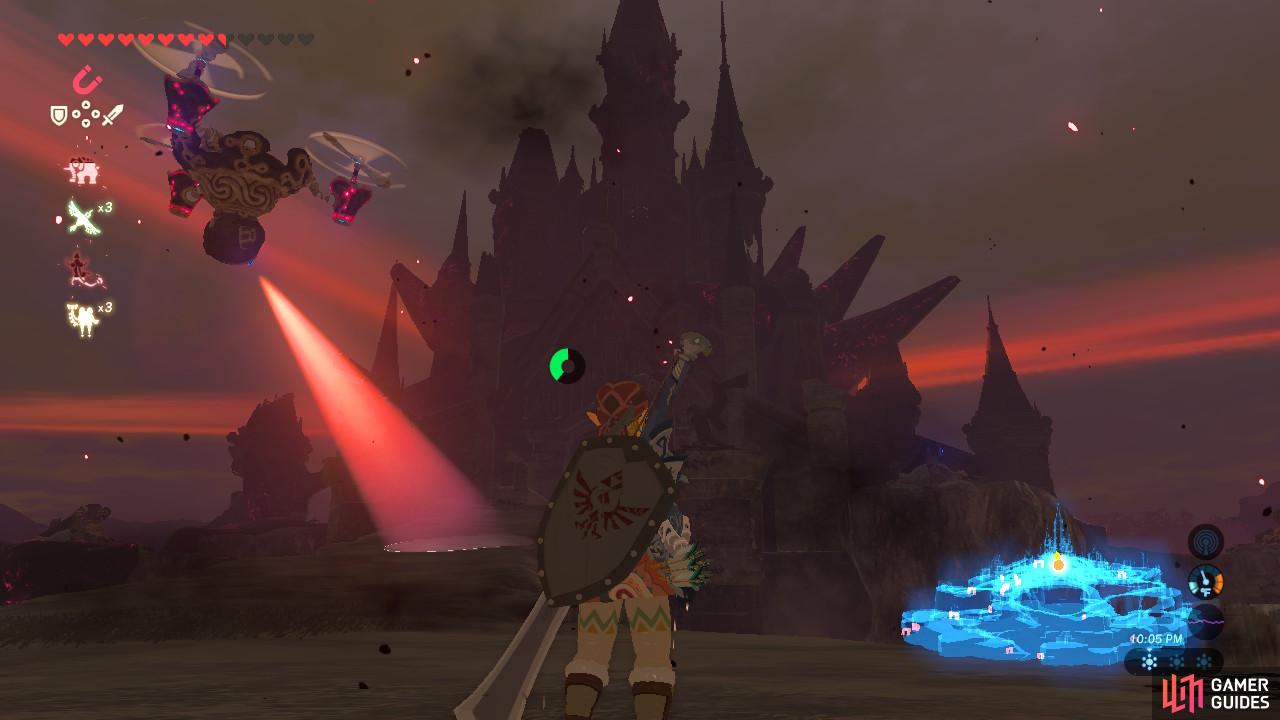
Walk forward and trigger the cutscene. Conveniently enough, Zelda’s power will run out at this moment, releasing Ganon from its cocoon-like seal. At this point the four Divine Beasts, if they are freed, will also ready their attack. This will cause the boss fight to start with Calamity Ganon at half health.
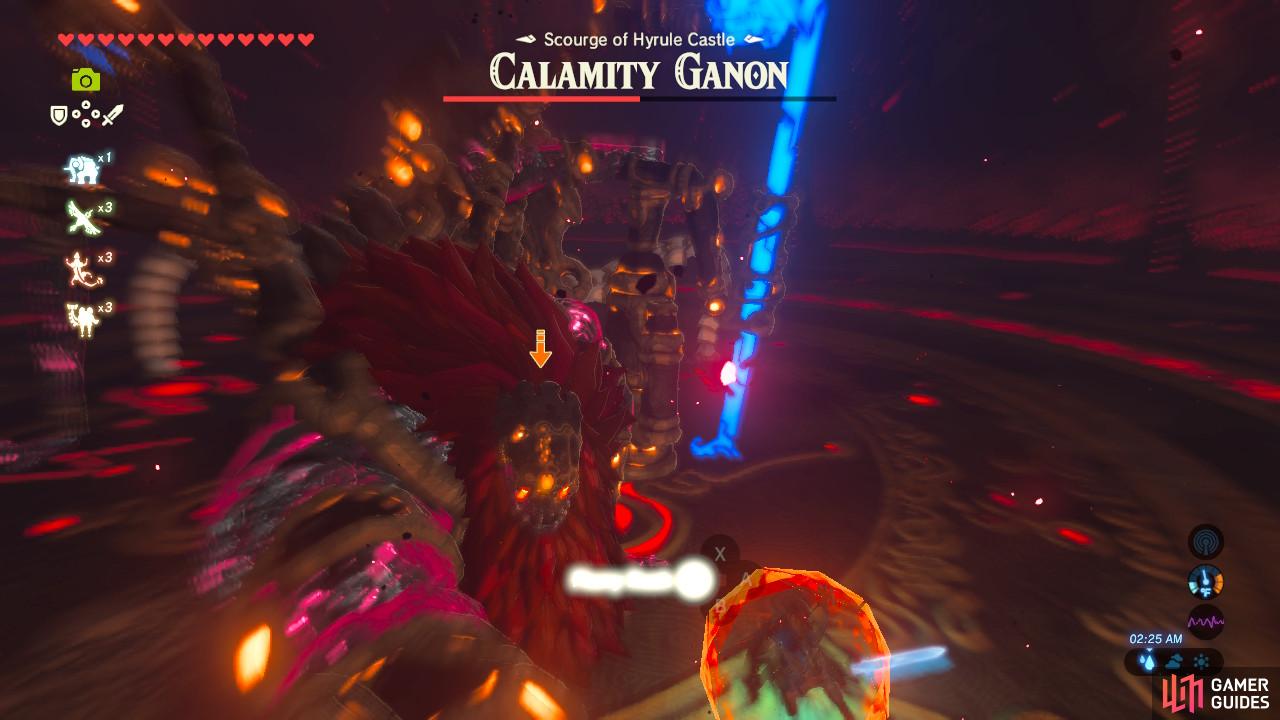
As intimidating as it seems, you can activate Flurry Rush!
Calamity Ganon’s fiery sword sweep will leave behind updrafts
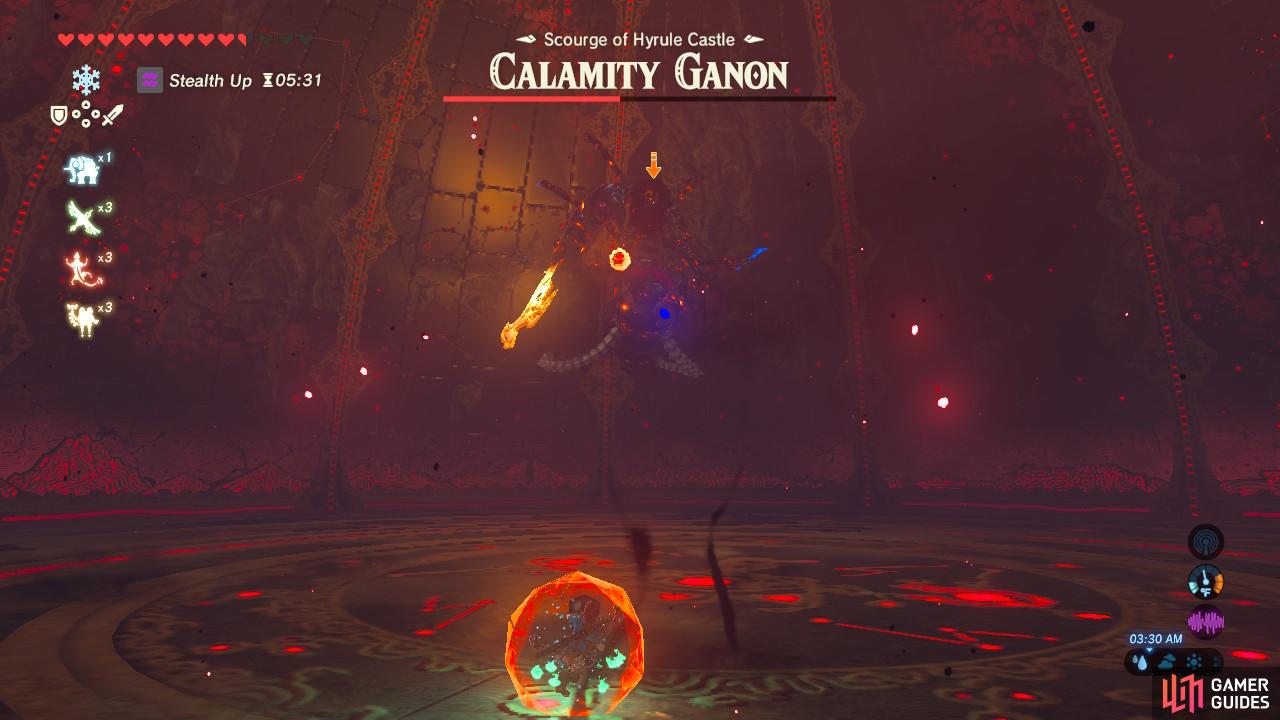
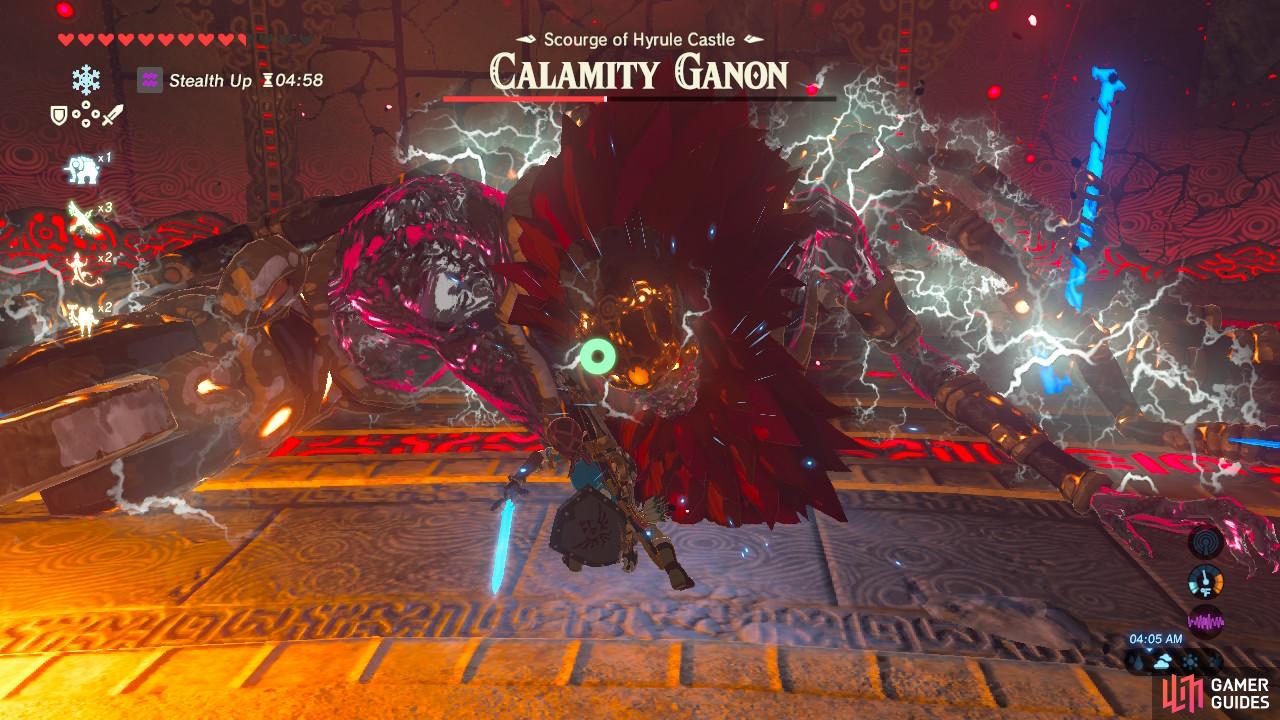
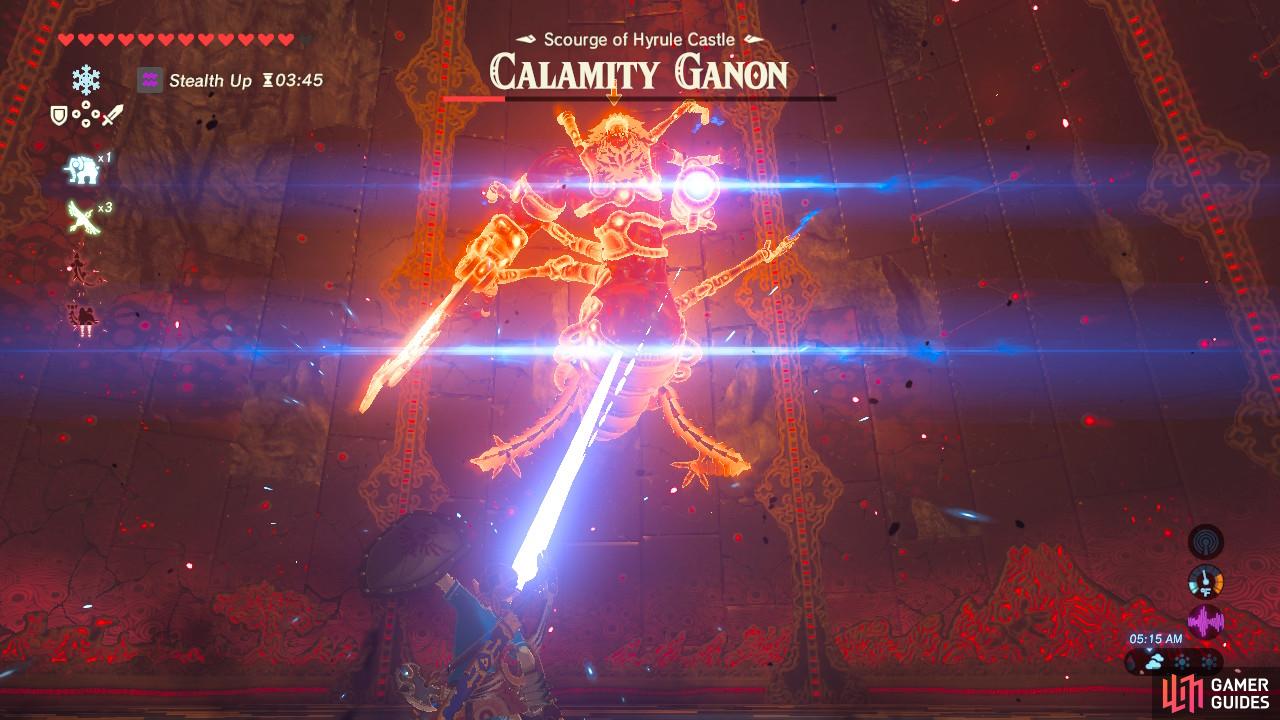
Calamity Ganon’s attacks are all inspired by the Divine Beasts and their respective Blight Ganons. So if you have fought them before, they will feel rather familiar to you. First off, Calamity Ganon’s main broadsword is lit on fire and it will swing it at you similar to how Fireblight Ganon will. Calamity Ganon can either swing it across or swing it up and then crash it down. The fire will create updrafts you can ride up if you wish to shoot arrows from the sky.
Don’t be deceived by how slow and small the fireball is
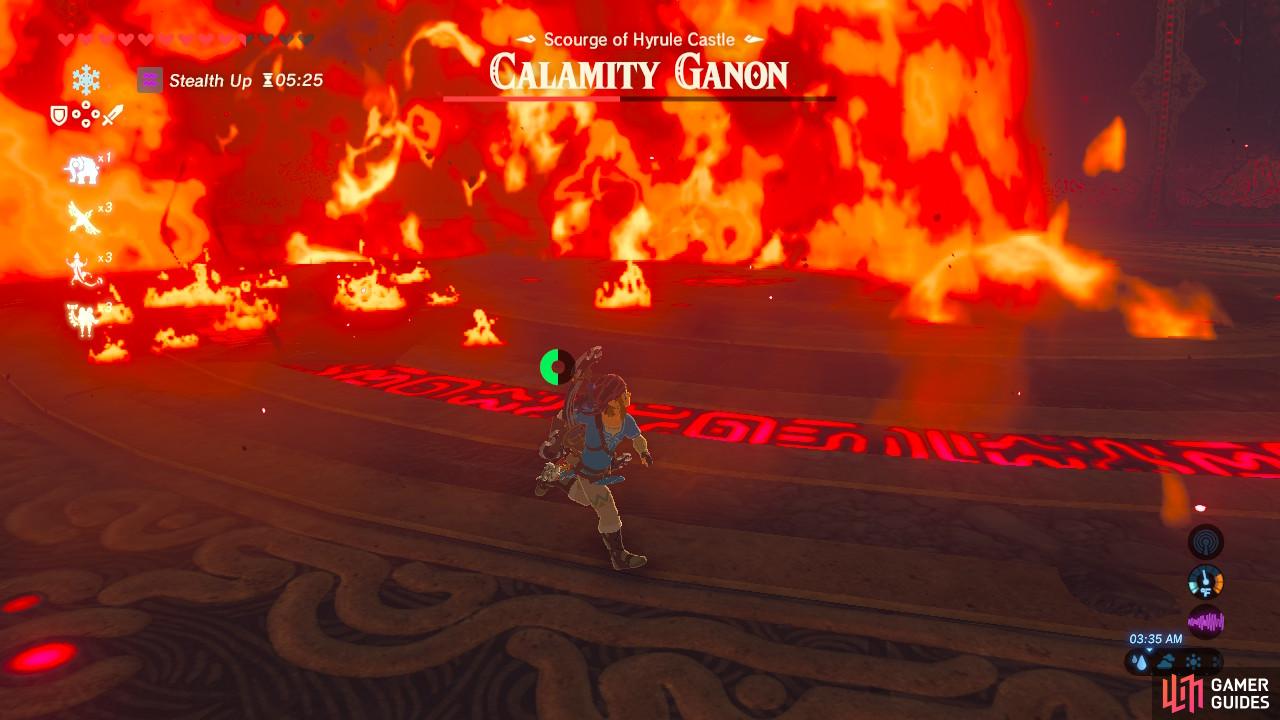
Its range of explosion is not a joke
Also similar to Fireblight Ganon, Calamity Ganon will send a slow-moving fireball after you. The fireball will track you for a short while and then explode in a huge radius, inflicting damage on you if you are caught in the blast. Dodge it by continually running away from it.
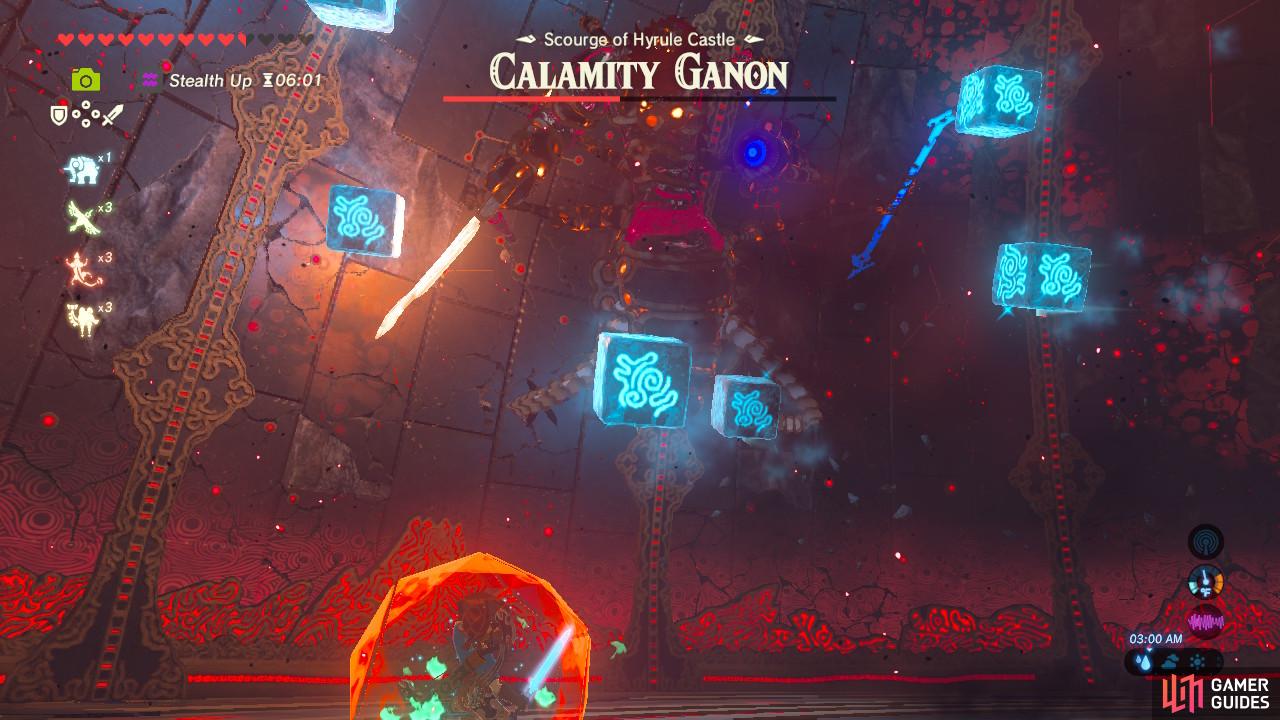
Calamity Ganon can also climb onto the wall and create a series of ice blocks that it will send your way. They move fairly slowly and so are easy to dodge or destroy with Cryonis, just like when you fought Waterblight Ganon.
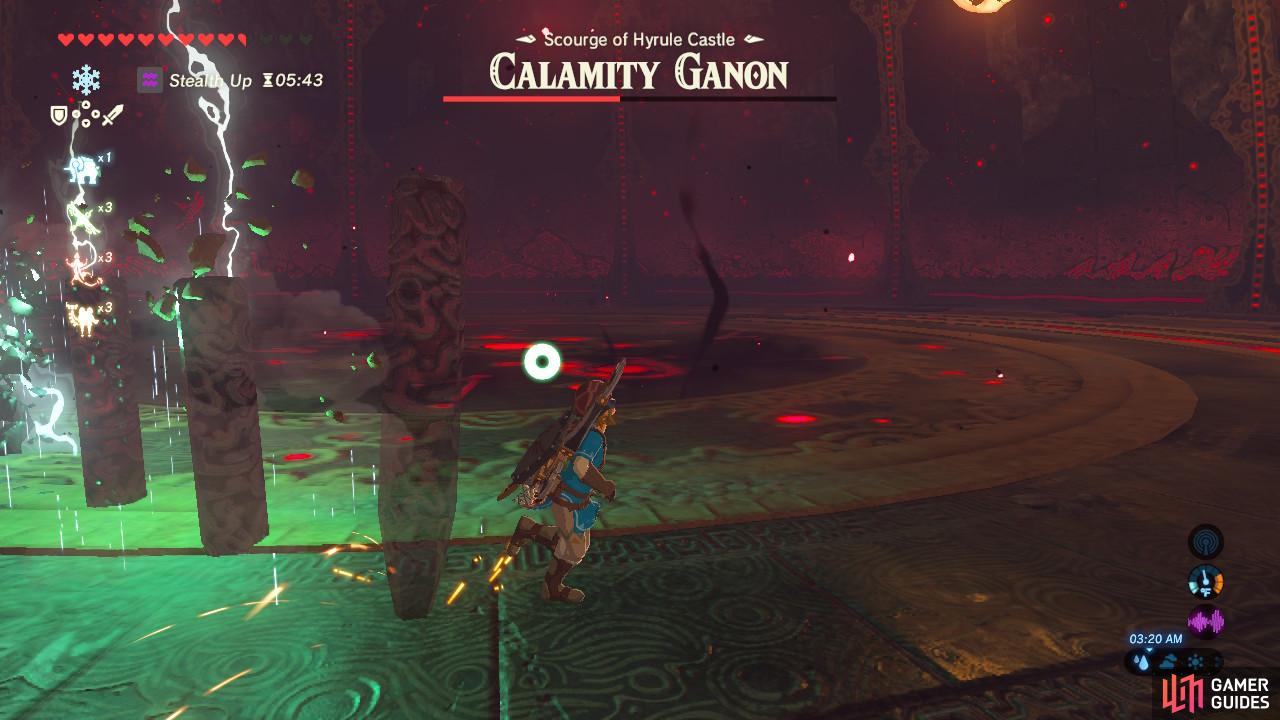
Inspired by Thunderblight Ganon, Calamity Ganon will send metal rods into the ground and then charge them with lightning to try and hit you. Unlike Thunderblight Ganon, however, you have no obligation to use Magnesis on the metal rods. Simply dodge them and Calamity Ganon will move on to its next attack.
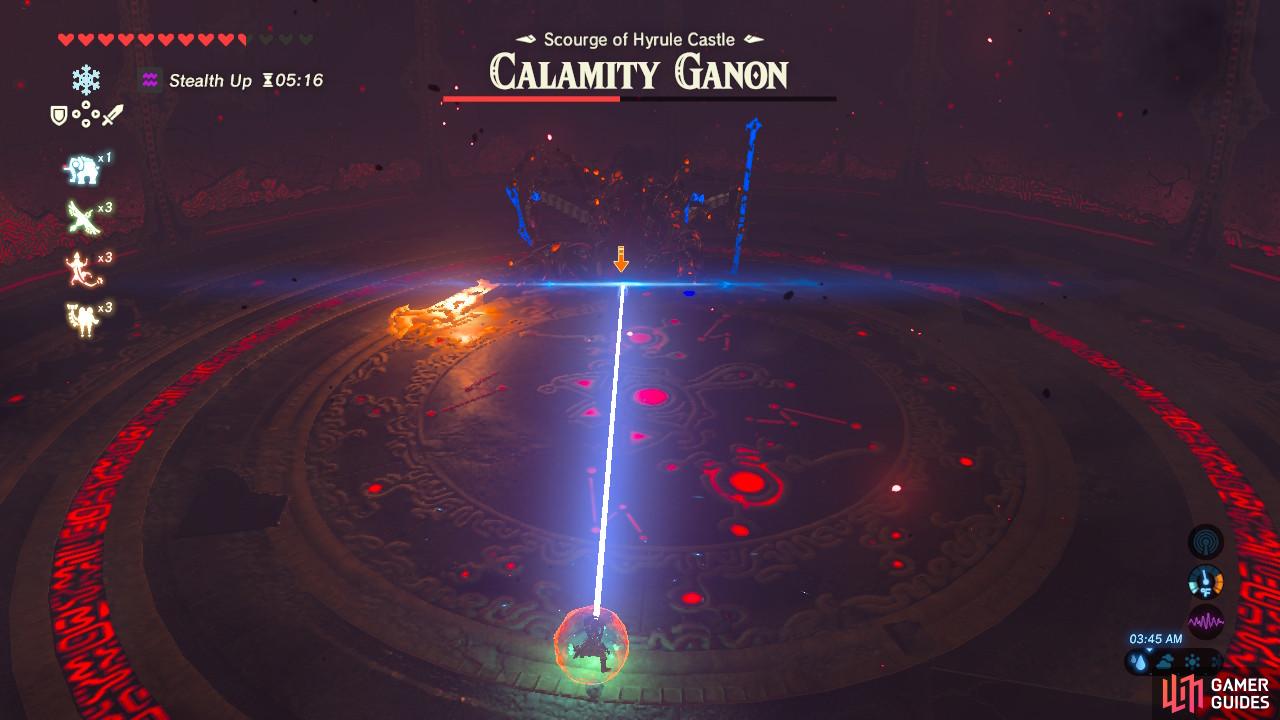
Finally, Calamity Ganon will shoot a laser at you just like a Guardian does. It does not need to be at any health threshold to do so. Dodge, block, or parry the laser. If you successfully parry the laser, you can stun Calamity Ganon for a bit.
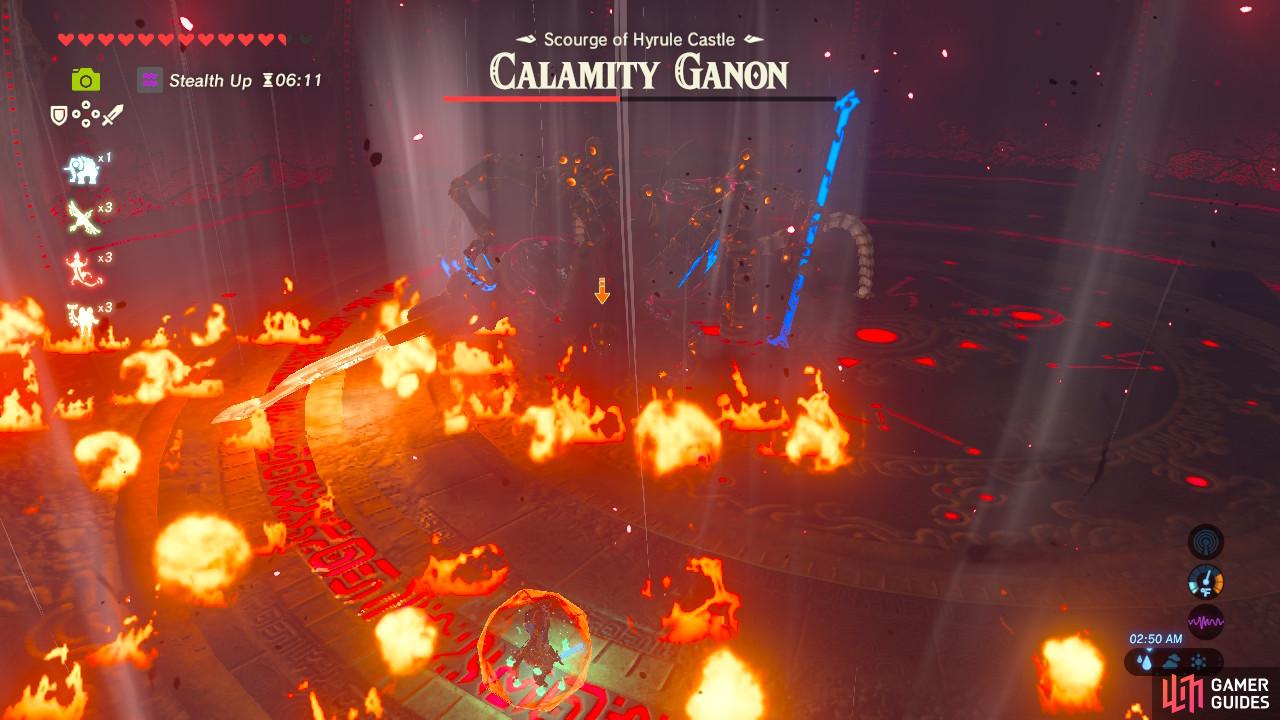
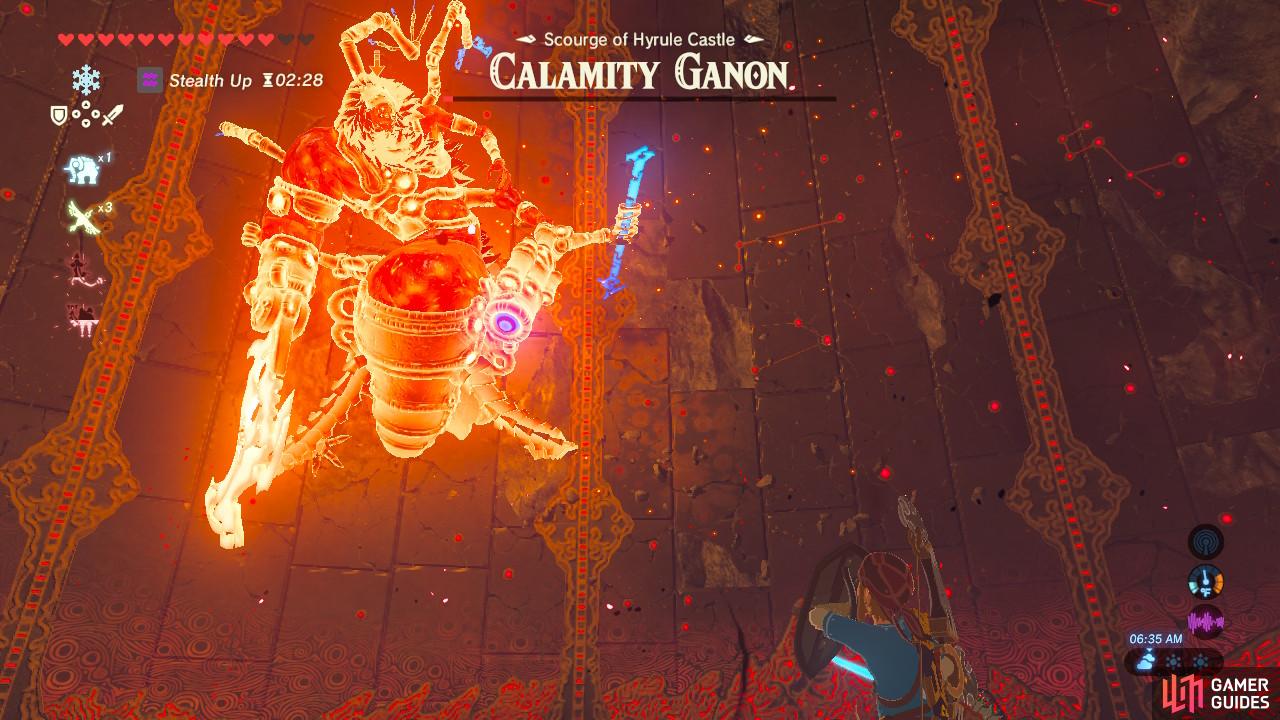
During the first phase of this fight, the best way to fight Calamity Ganon and rapidly bring down its health is to use Urbosa’s Fury if you have it. Urbosa’s Fury will stun Calamity Ganon for a prolonged amount of time, letting you heap on the damage to its head.
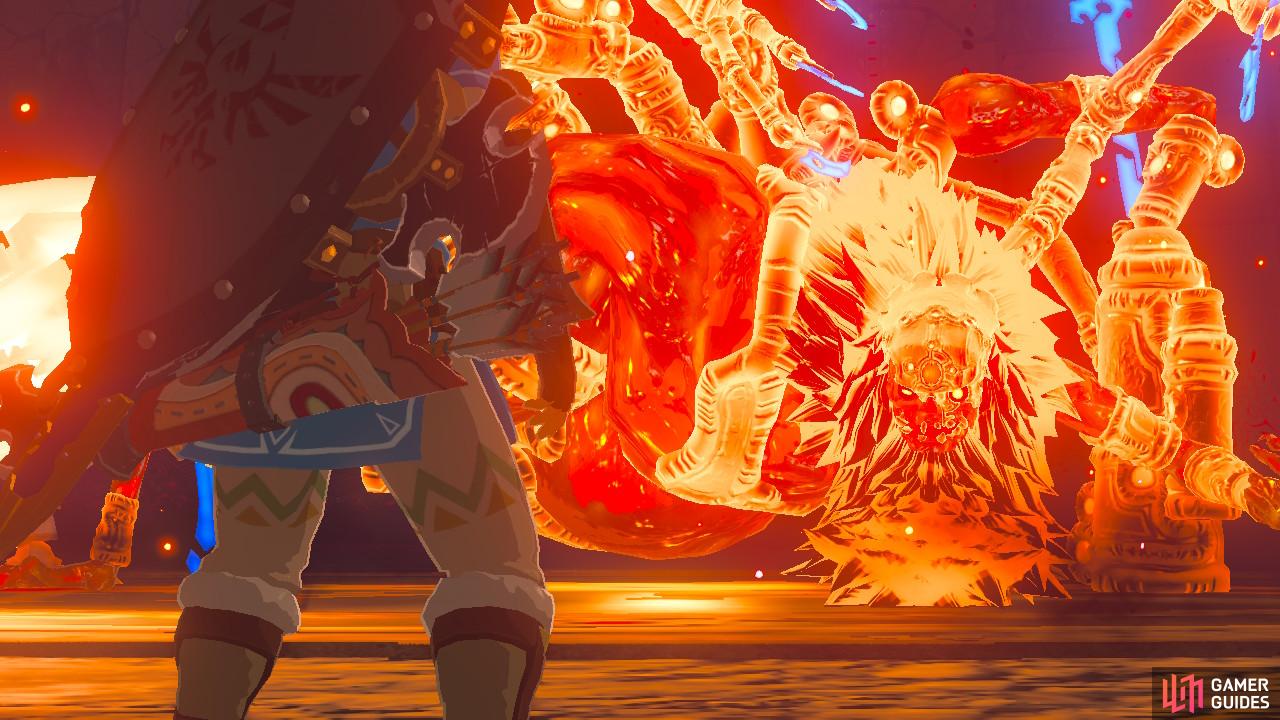
You can also shoot it with arrows if you stocked up on arrows. Finally, any part of Calamity Ganon can take damage, not just the head. If you cannot reach the head, feel free to instead hit the little Guardian-esque leggies on the sides of Calamity Ganon’s body.
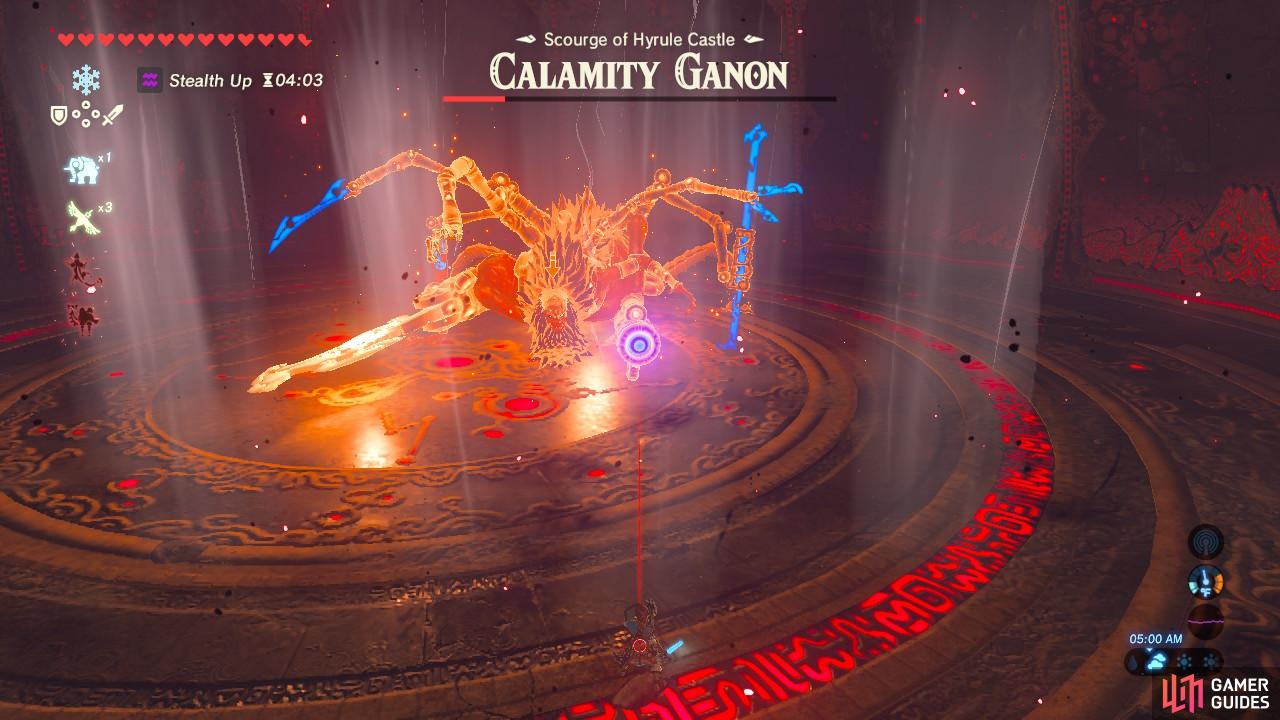
Calamity Ganon: Phase Two
Once Calamity Ganon has lost half of its health, it will move into the second phase. If Calamity Ganon started at full health, then phase two starts at half health. And if the fight started with Calamity Ganon at half health, then phase two starts at a quarter health.
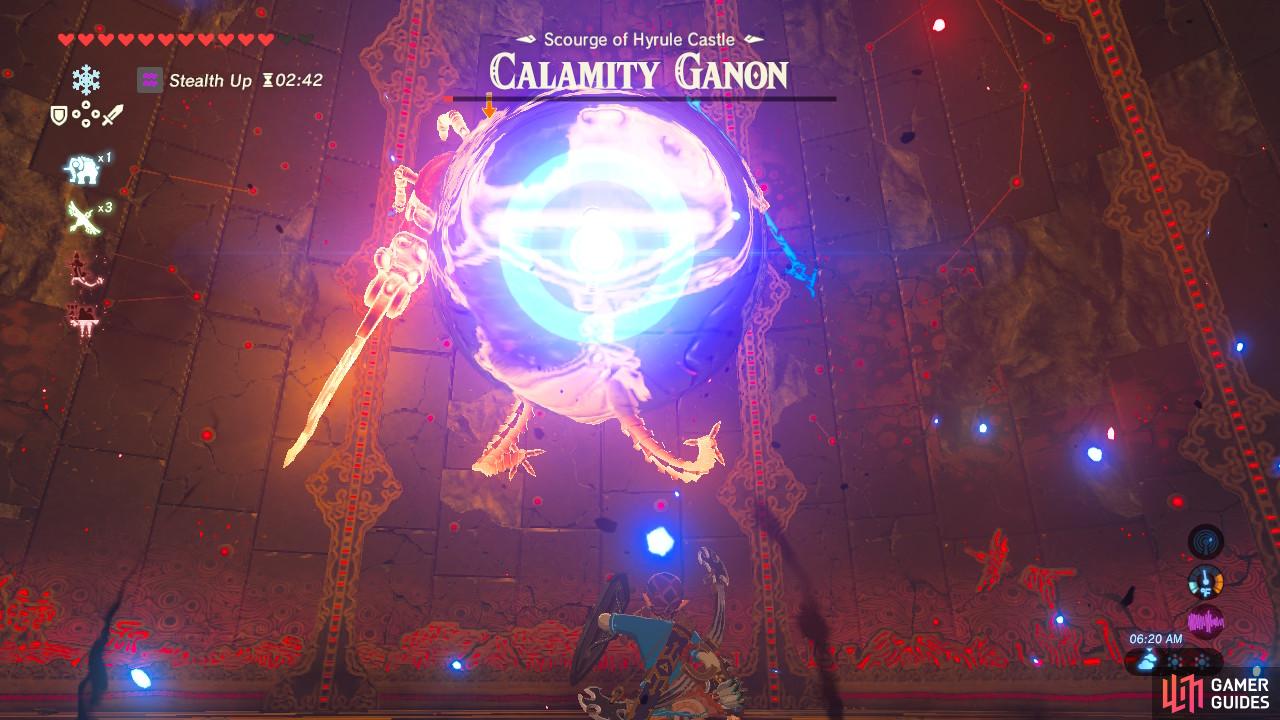
The laser will now come from Calamity Ganon’s gun
Shoot it back with your shield
Ganon will temporarily become invincible and wind up to fire a laser at you. You can parry it with your shield just like when fighting a Guardian. This will reflect the laser, deal damage, and stun it temporarily. If you still have it available or enabled, Daruk’s Protection will autoreflect it if you miss. You can also perfect dodge any of its melee attacks and you’ll be able to hit through its shield upon performing a Flurry Rush.
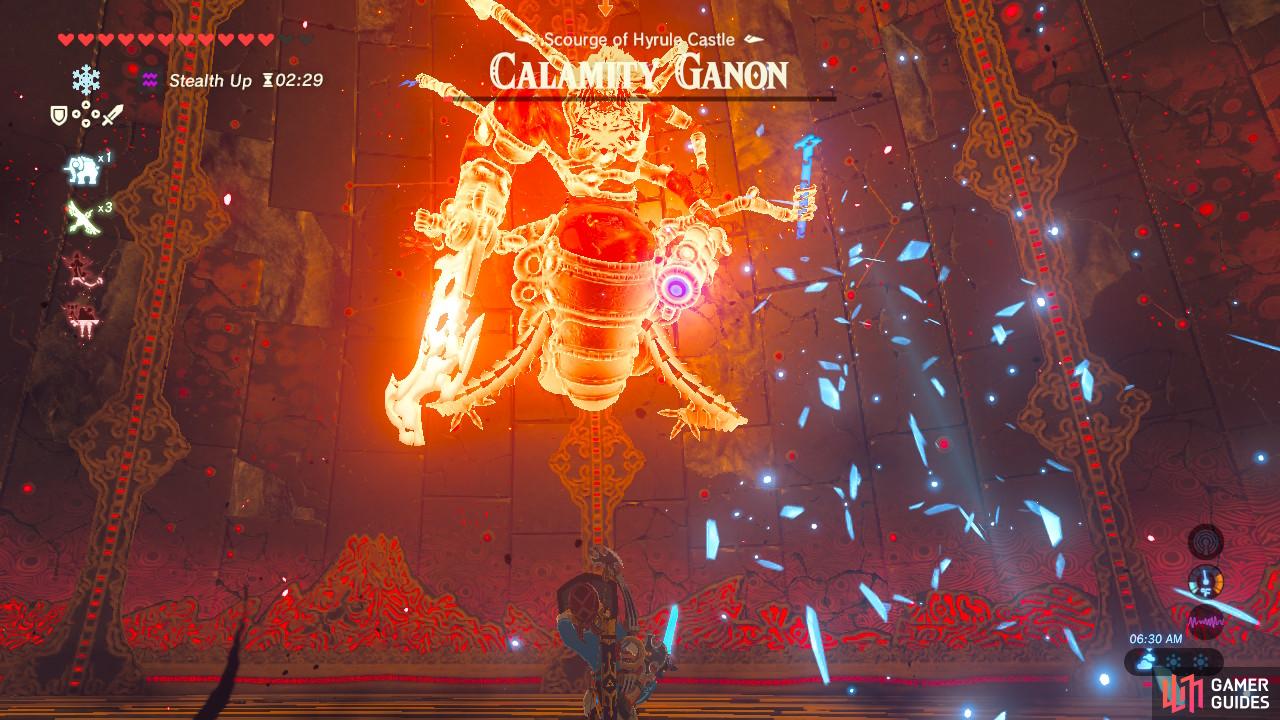
Then Calamity Ganon will put up the shield again and you will rinse and repeat. Calamity Ganon has a few new attacks it will pull out for you during the second phase.
It will point its gun at you on the wall as it positions itself to shoot
Inspired by Windblight Ganon, Calamity Ganon will use its gun to fire several successive shots of bullets at you. Keep your shield up and don’t stop moving to the side and you should avoid getting hit.
Calamity Ganon will wind up to throw a trident at you
A few seconds after it hits the floor it will shatter and disappear
Similar to Waterblight Ganon, Calamity Ganon will create a blue trident and throw it at you into the ground. Finally, Calamity Ganon will continue to use its fiery broadsword to whack you. Again, once the shield is down you can attack Calamity Ganon in all kinds of different ways, or you can stick to hitting its head with the Master Sword.
Once Calamity Ganon is defeated enjoy the (rather nasty) cutscene. It’s not over yet, though…
Dark Beast Ganon
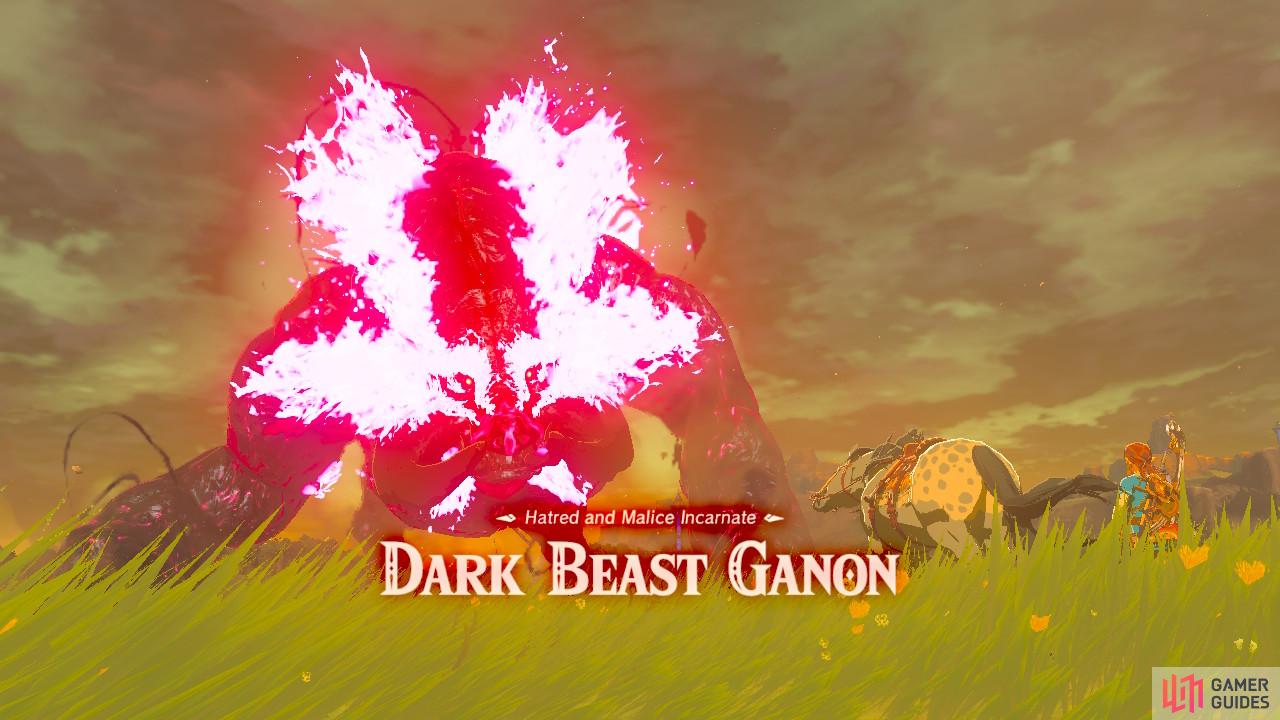
This is Ganon’s final form. No reincarnations, no second chances. Not for it, and not for you. Zelda will explicitly be able to aid you during this fight, and she will constantly talk to you to help you do the right thing. As a result, this final fight is surprisingly straightforward.
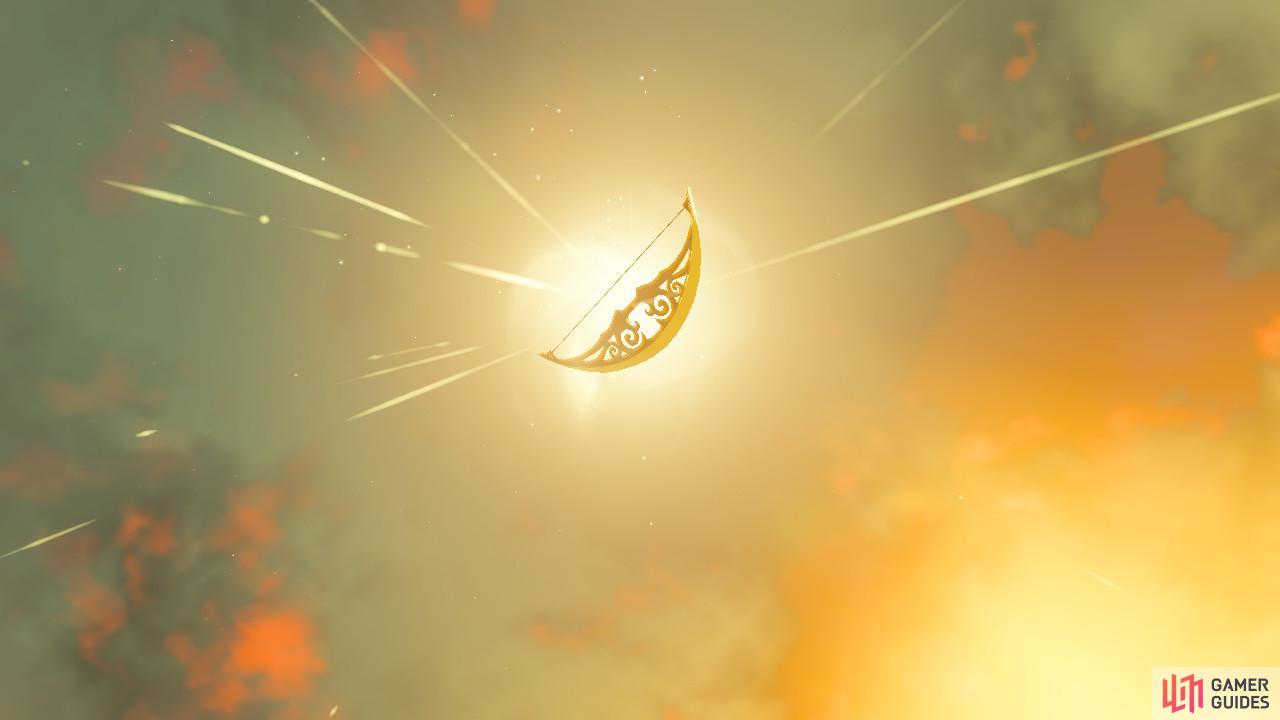
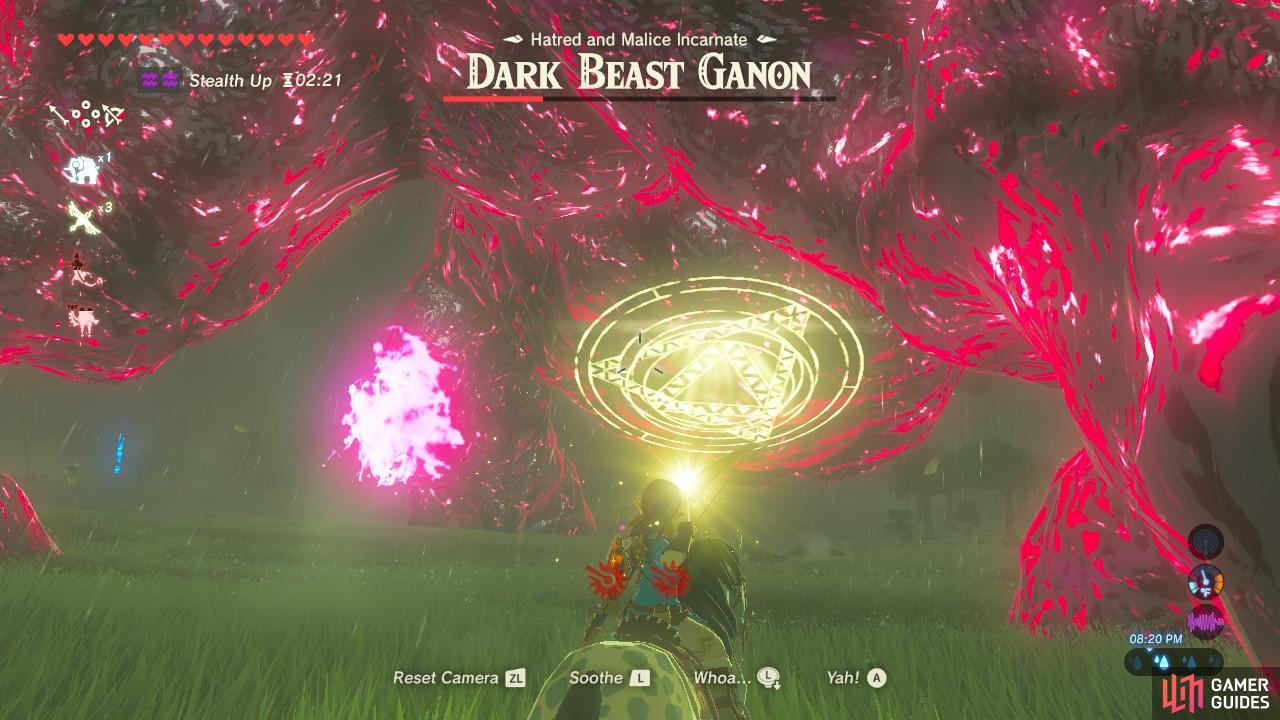
Zelda will gift this to you
Make sure you actually pick it up
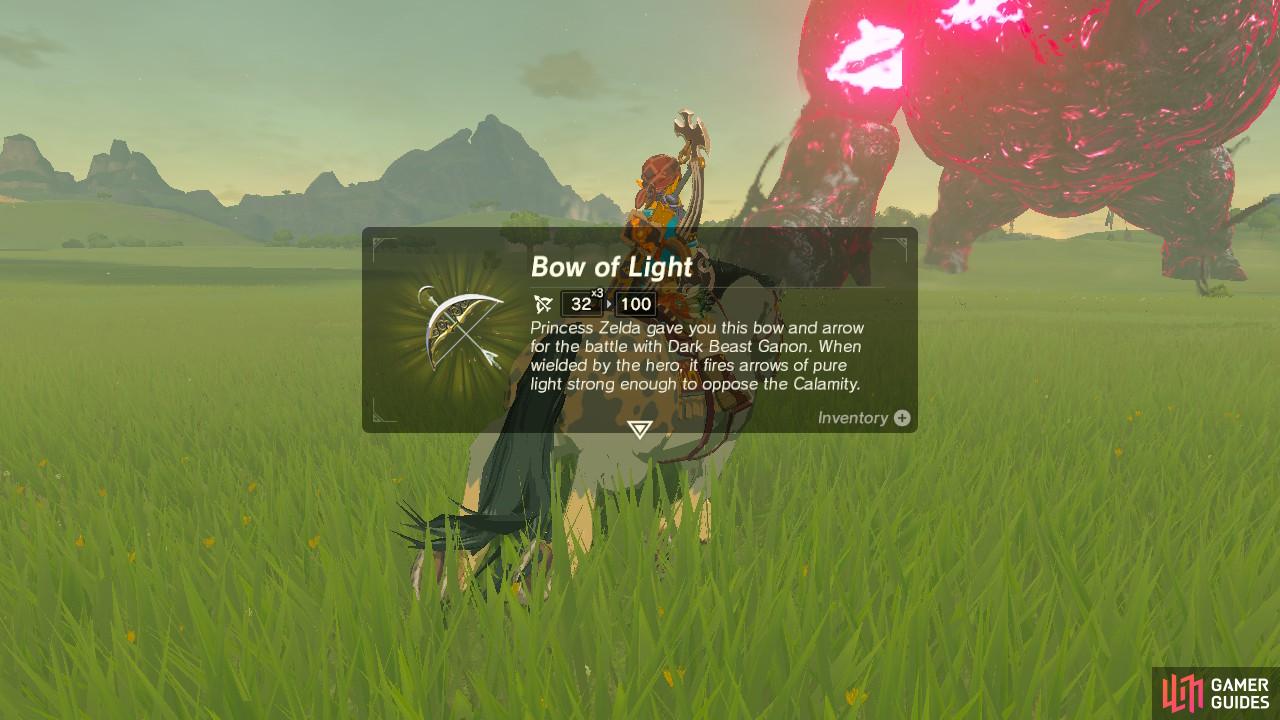
Zelda will gift you the Bow of Light so be sure to grab it where it is floating in the air. Or take a picture of it first for your Compedium if you’re feeling brave. Equip it. The Bow of Light has infinite arrows since it uses, well, light. Additionally it will shoot three arrows of light at once. You really have nothing to lose.
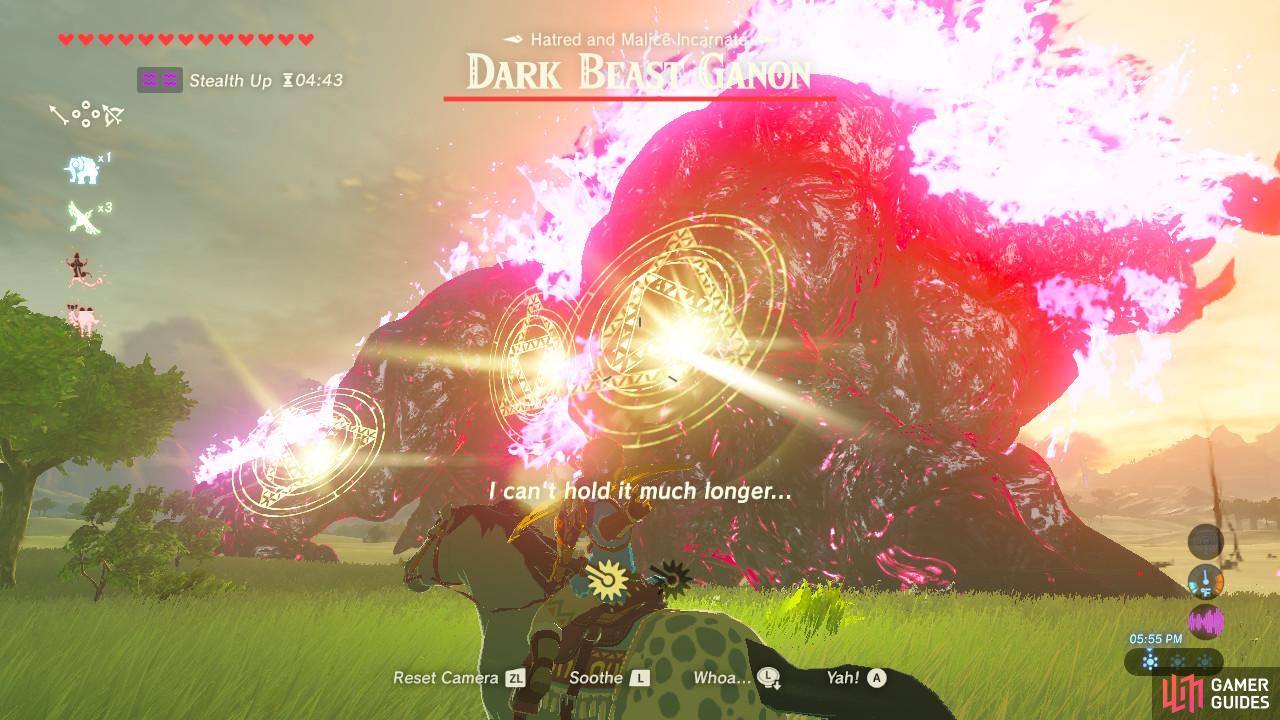
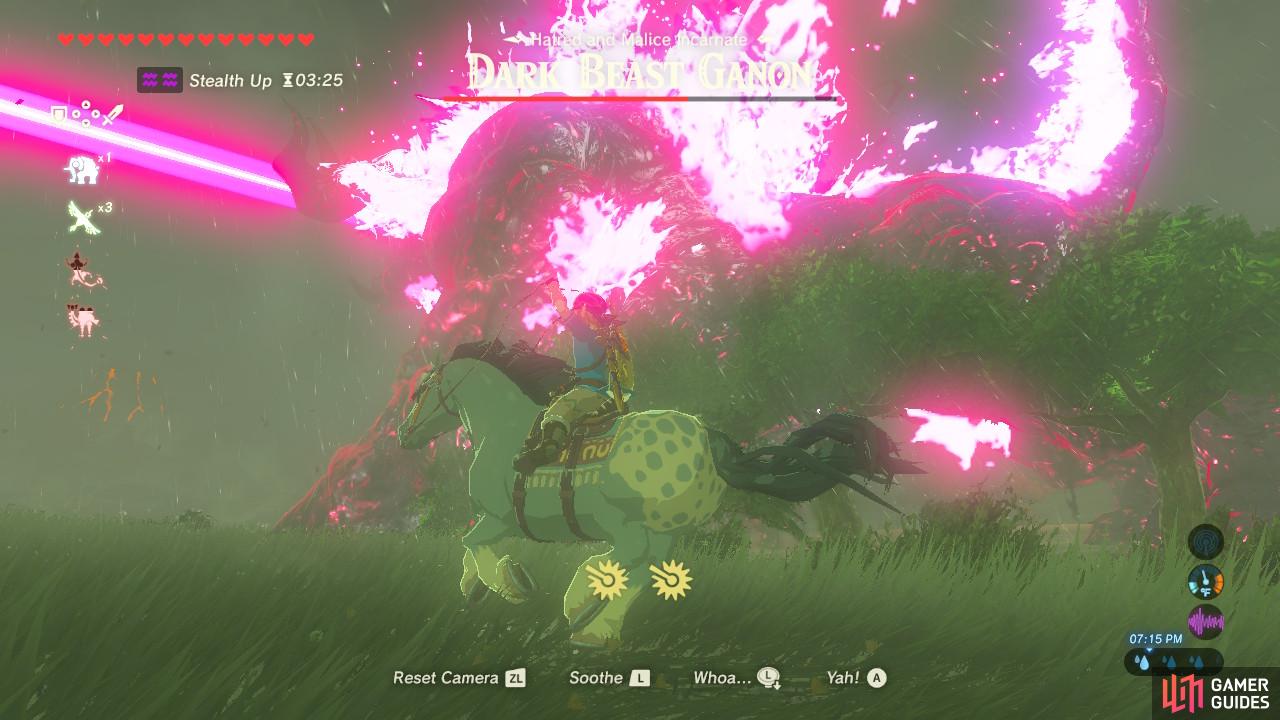
Zelda will try her best to restrain Ganon and open up weaknesses all over its body. These weak points will be marked by a glowing yellow mark. You can’t miss it. As you ride upon your horse, aim for those spots. You will frequently have to push your horse to its limit to keep up, so manage your dashes carefully.
Shoot each and every glowing mark you see. Each time you make a hit, Ganon’s health bar will drop considerably. The second to last mark will appear on Ganon’s chest underneath its body, so weave carefully between its legs to avoid getting stomped.
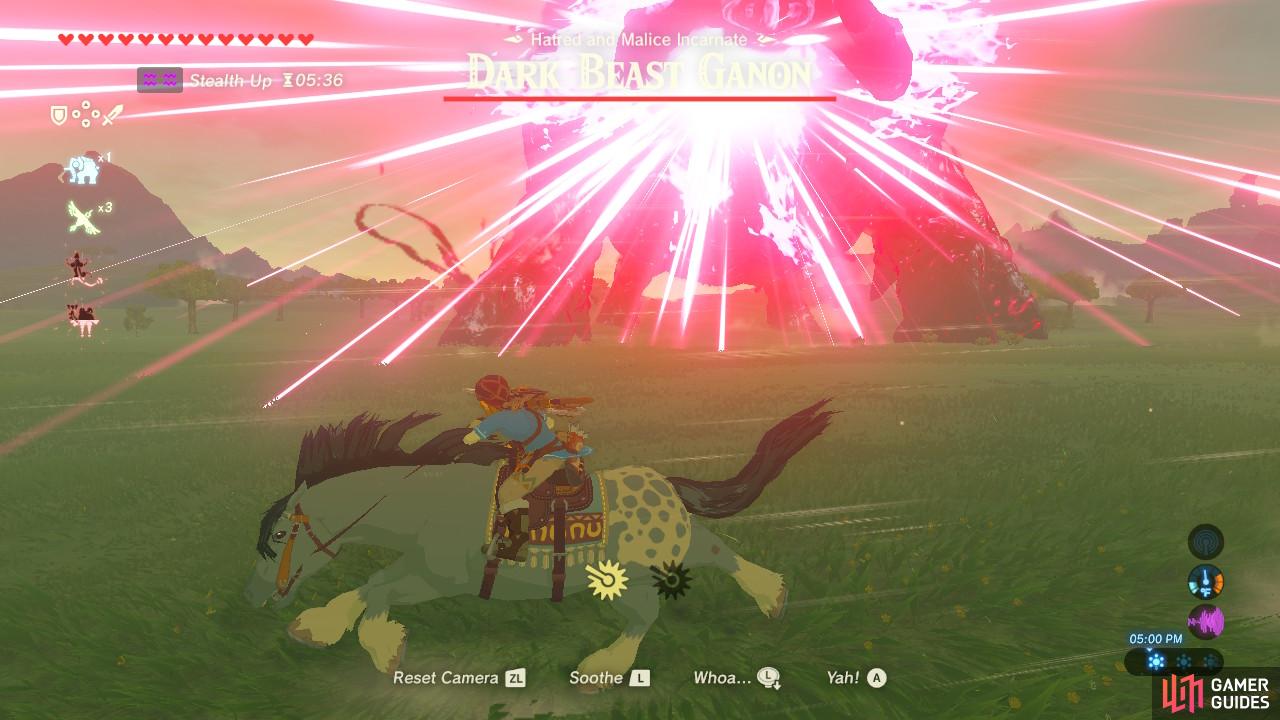
This is a sign that Dark Beast Ganon is readying to attack
But as you can see it can only go in one direction
Dark Beast Ganon only has one attack: a supercharged laser that it will fire out in front of it and then sweep up. As long as you are not facing Ganon head-on, you are almost guaranteed to be safe. Since the weak points will be all along Ganon’s sides, there is no reason right now for you to ever face Ganon head-on. Do not worry about its laser attack and focus on hitting those weak spots.

Finally, the last weak point will open up on Dark Beast Ganon’s forehead. You will see it as a glowing crack in its forehead that exposes a third eye. You must shoot this eye to finish the fight once and for all, but you cannot reach it from the ground.
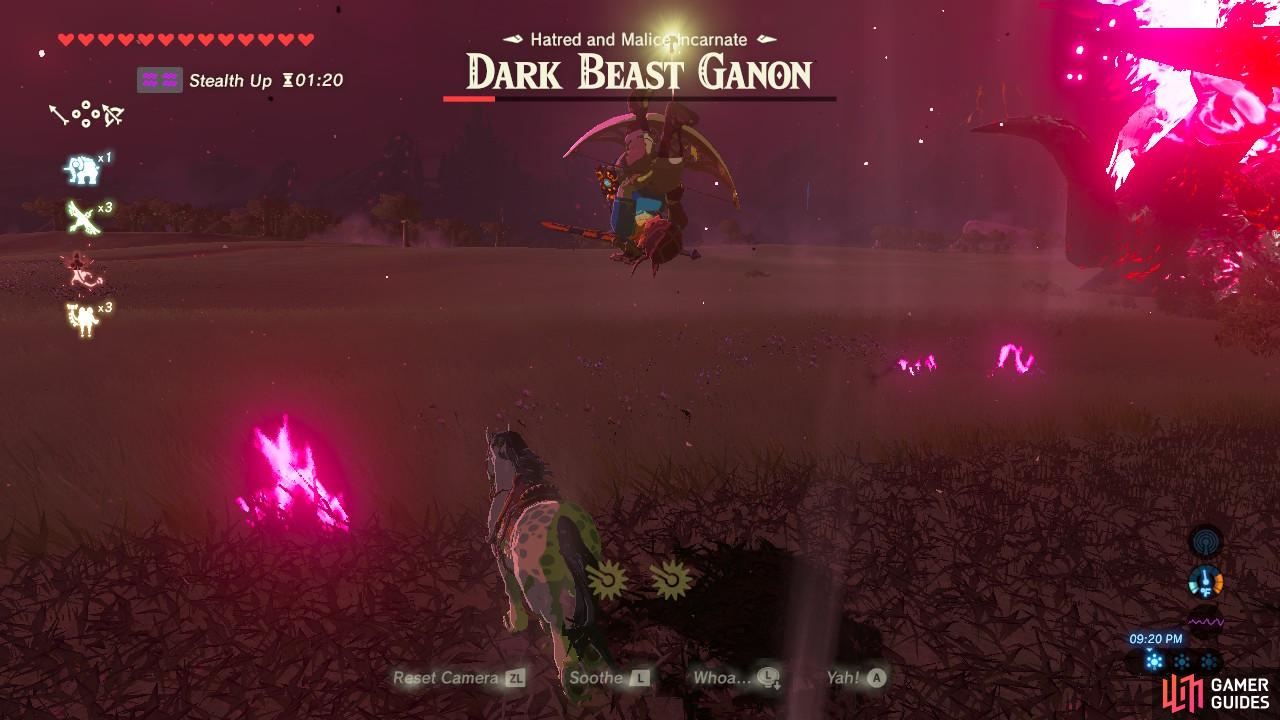
Ride the updraft as soon as you are able to
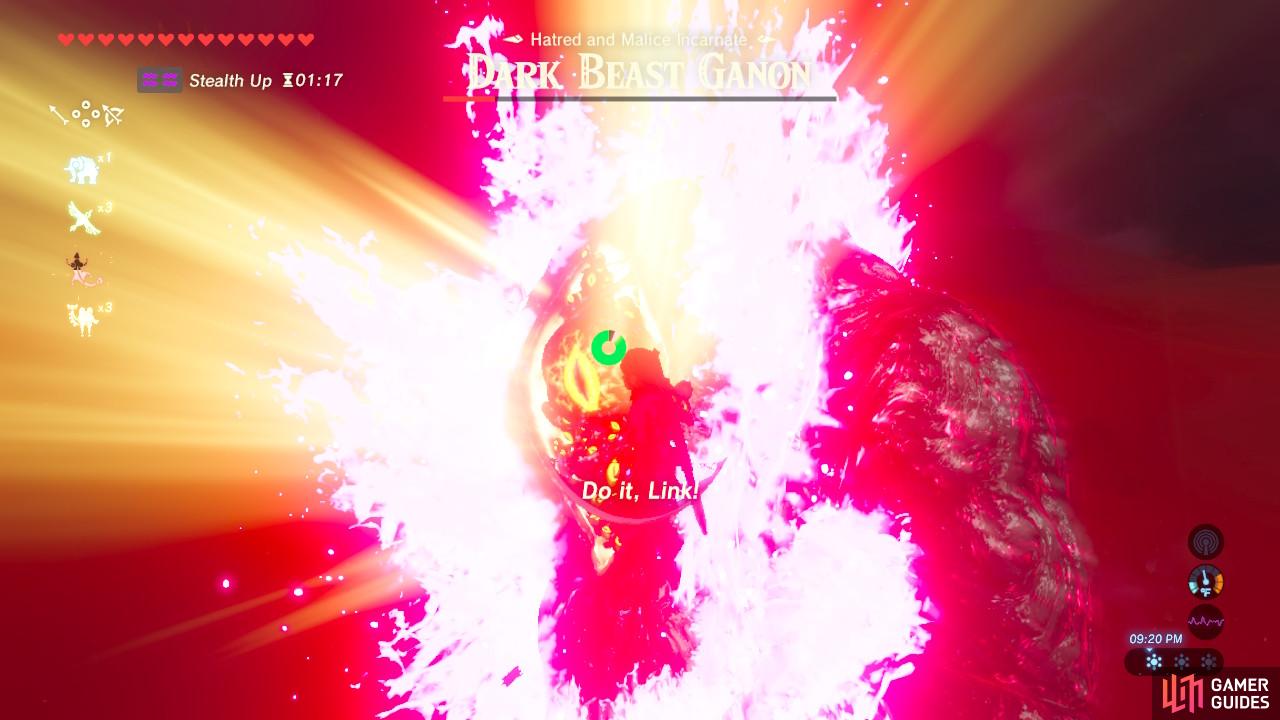
Make this last shot count!
When Dark Beast Ganon fires its laser, it will create an updraft all around the front of it. Jump off your horse and right this updraft up using your Paraglider. Now you can clearly see the third eye of Ganon. Aim carefully with the Bow of Light and Dark Beast Ganon will be defeated. Enjoy the cutscene and the credits roll.
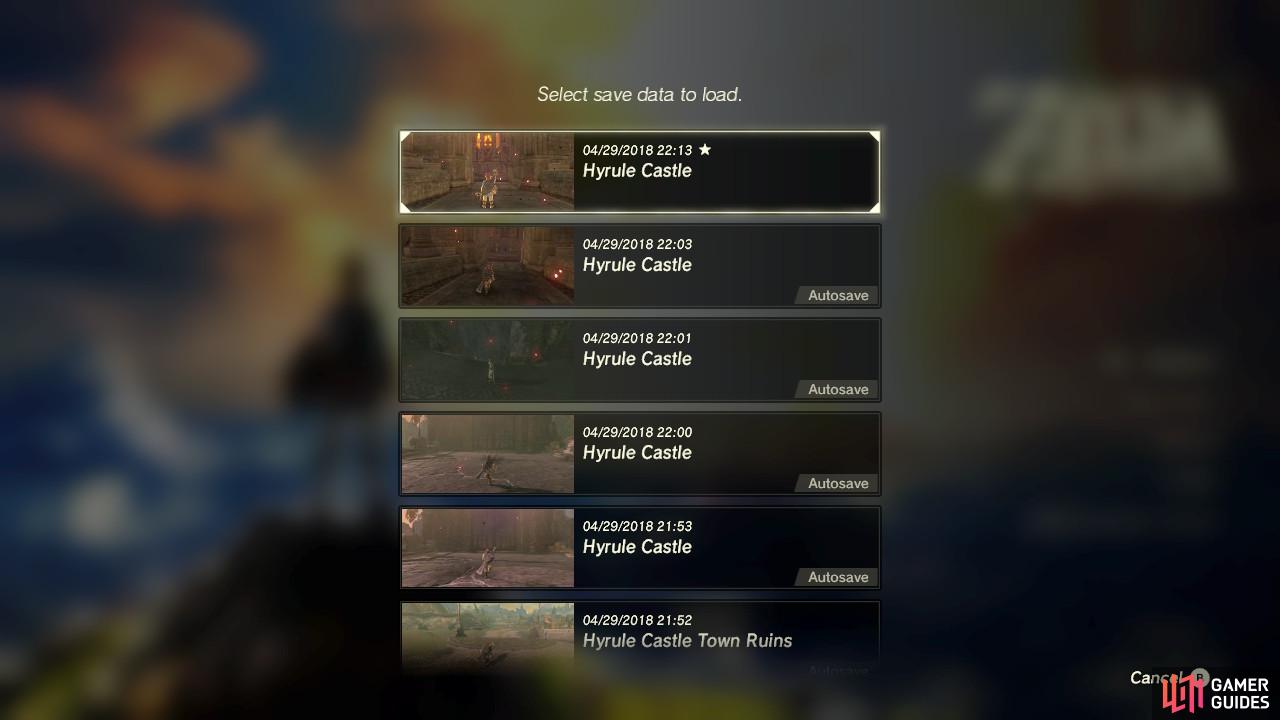
Unfortunately when you boot your save file back up, you will be back where you last saved. But if you look at your save file in your System menu, you will see a star next to your file to commemorate that you have beaten the game at least once.
Congratulations on completing the main story! But of course, there is so much more to do. There are sidequests, Shrines, Korok Seeds, and all sorts of minigames to enjoy. So why not stick around for a while and see what else there is?
No Comments