
This page details all the floating platforms found in the Lanayru region when playing Master Mode.
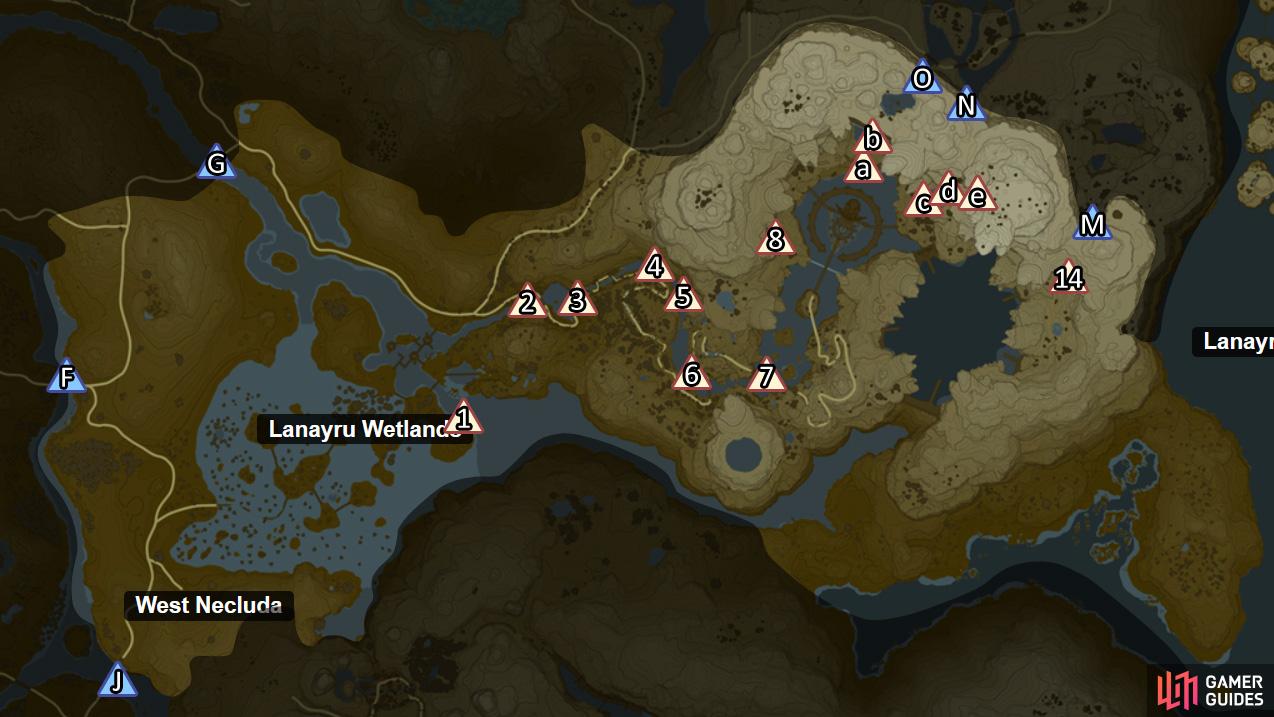
Locations of the floating platforms in the Lanayru region.
To simplify things, we’ve split the platforms into two categories. The first are those that are well within the boundaries of the Lanayru region. Meanwhile the second are those that border another region. Platforms in the second category will also be listed in the other region’s section.
Within Lanayru
Group 1
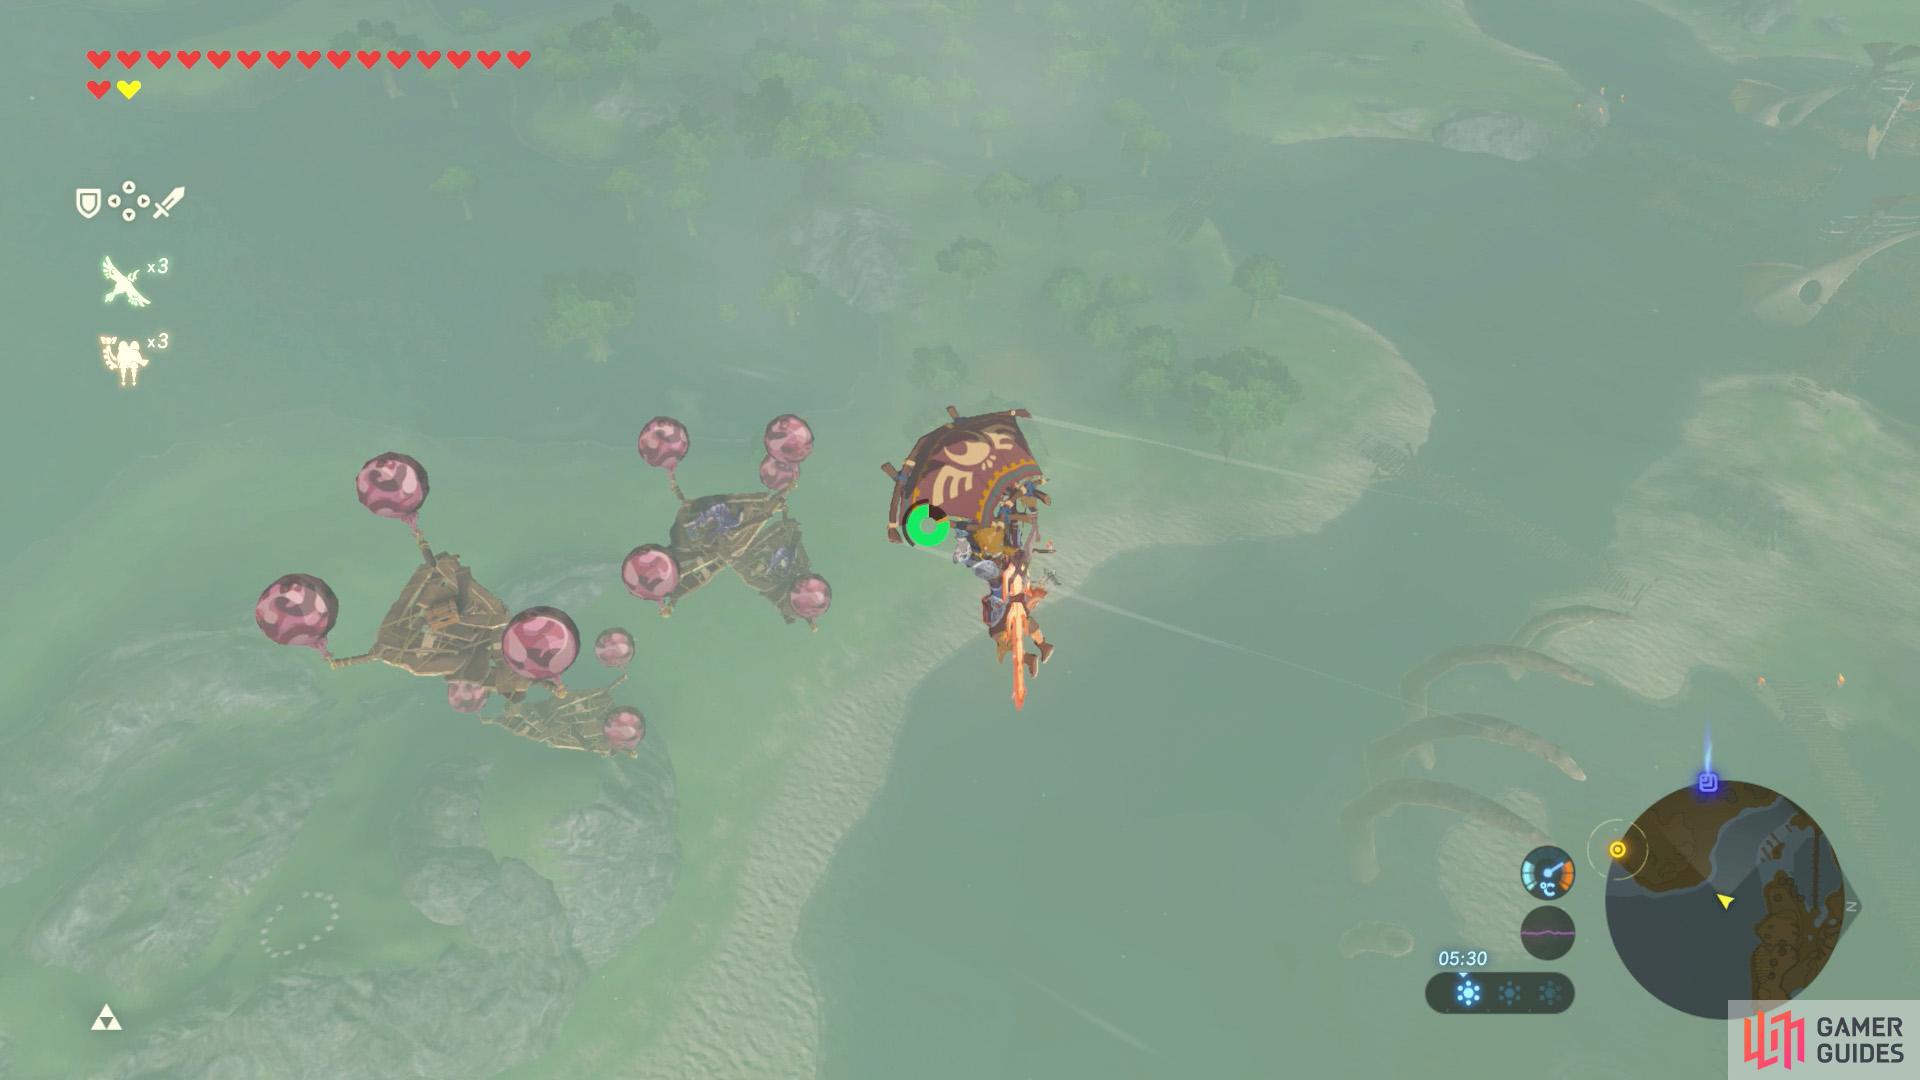
You might not see them at first, but you can glide to these platforms from Lanayru Tower.
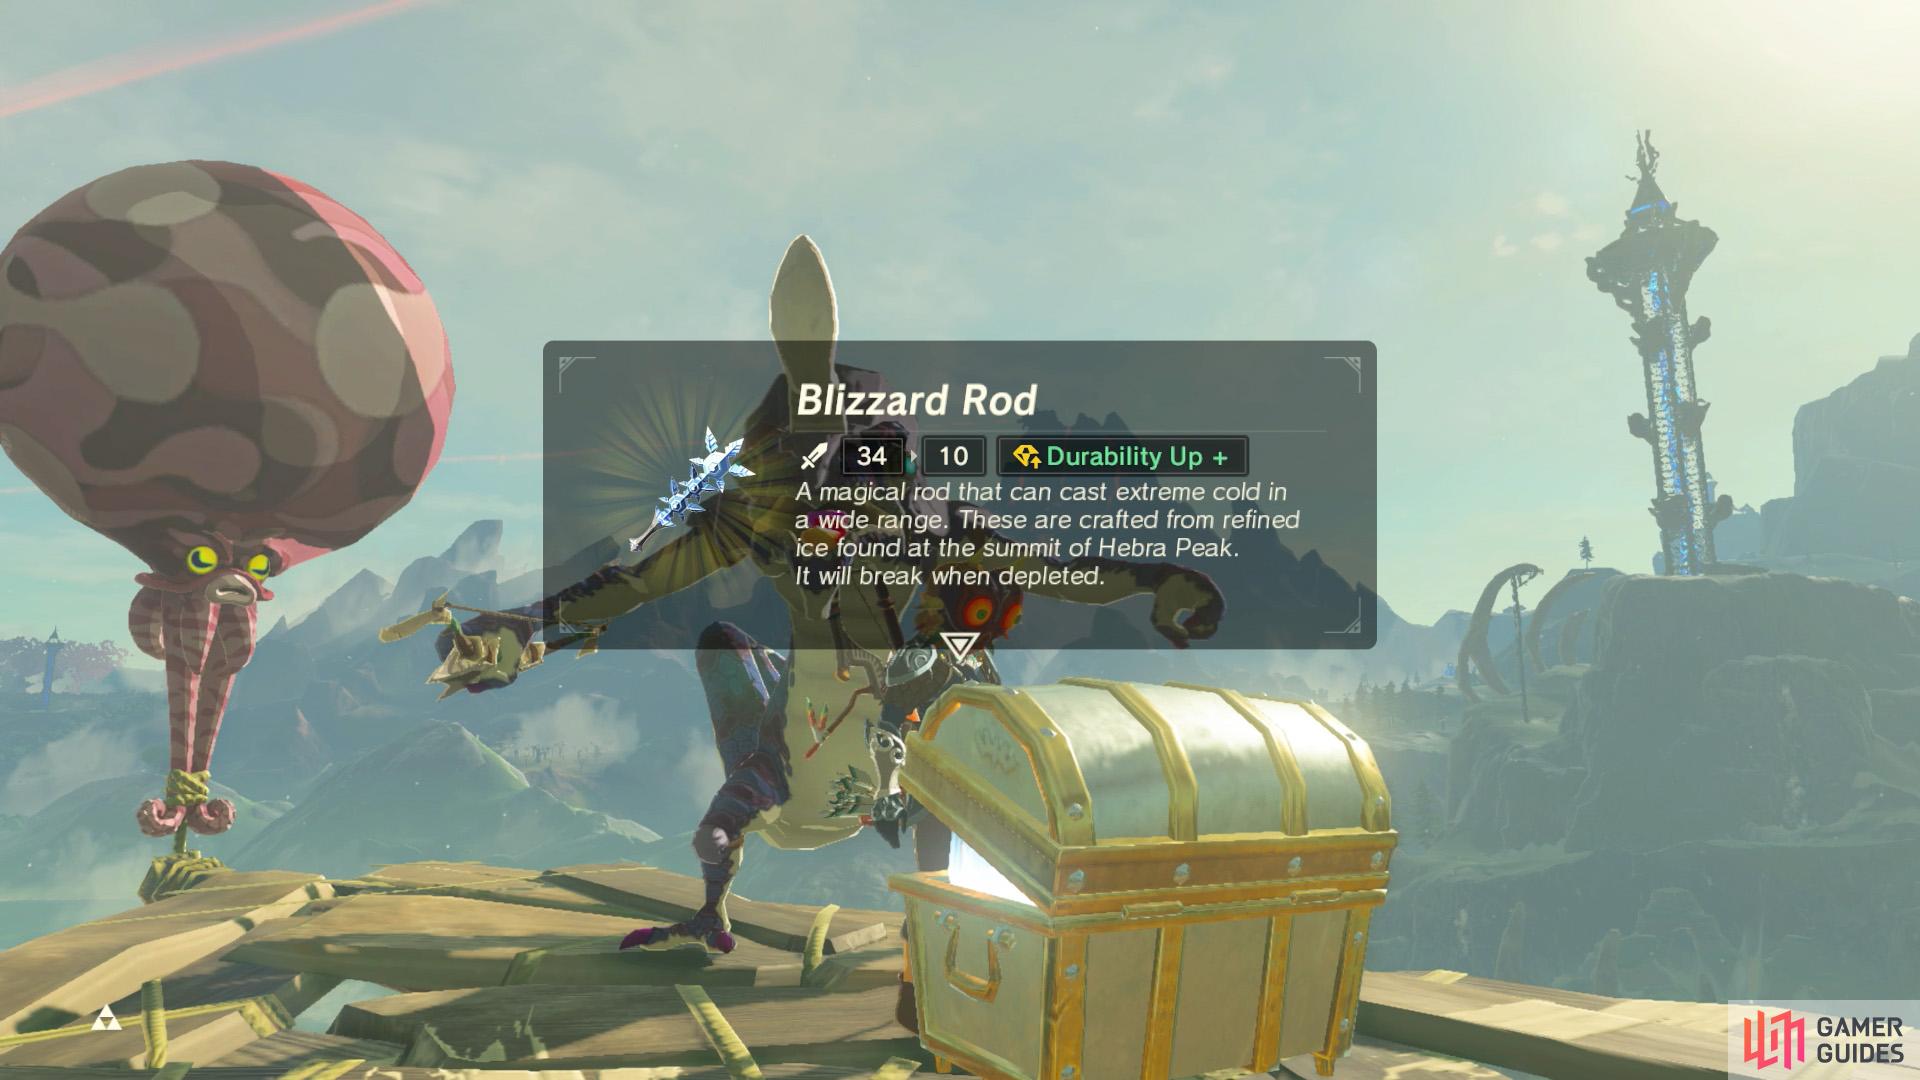
Look forward to an Ice/Blizzard Rod and Ruby.
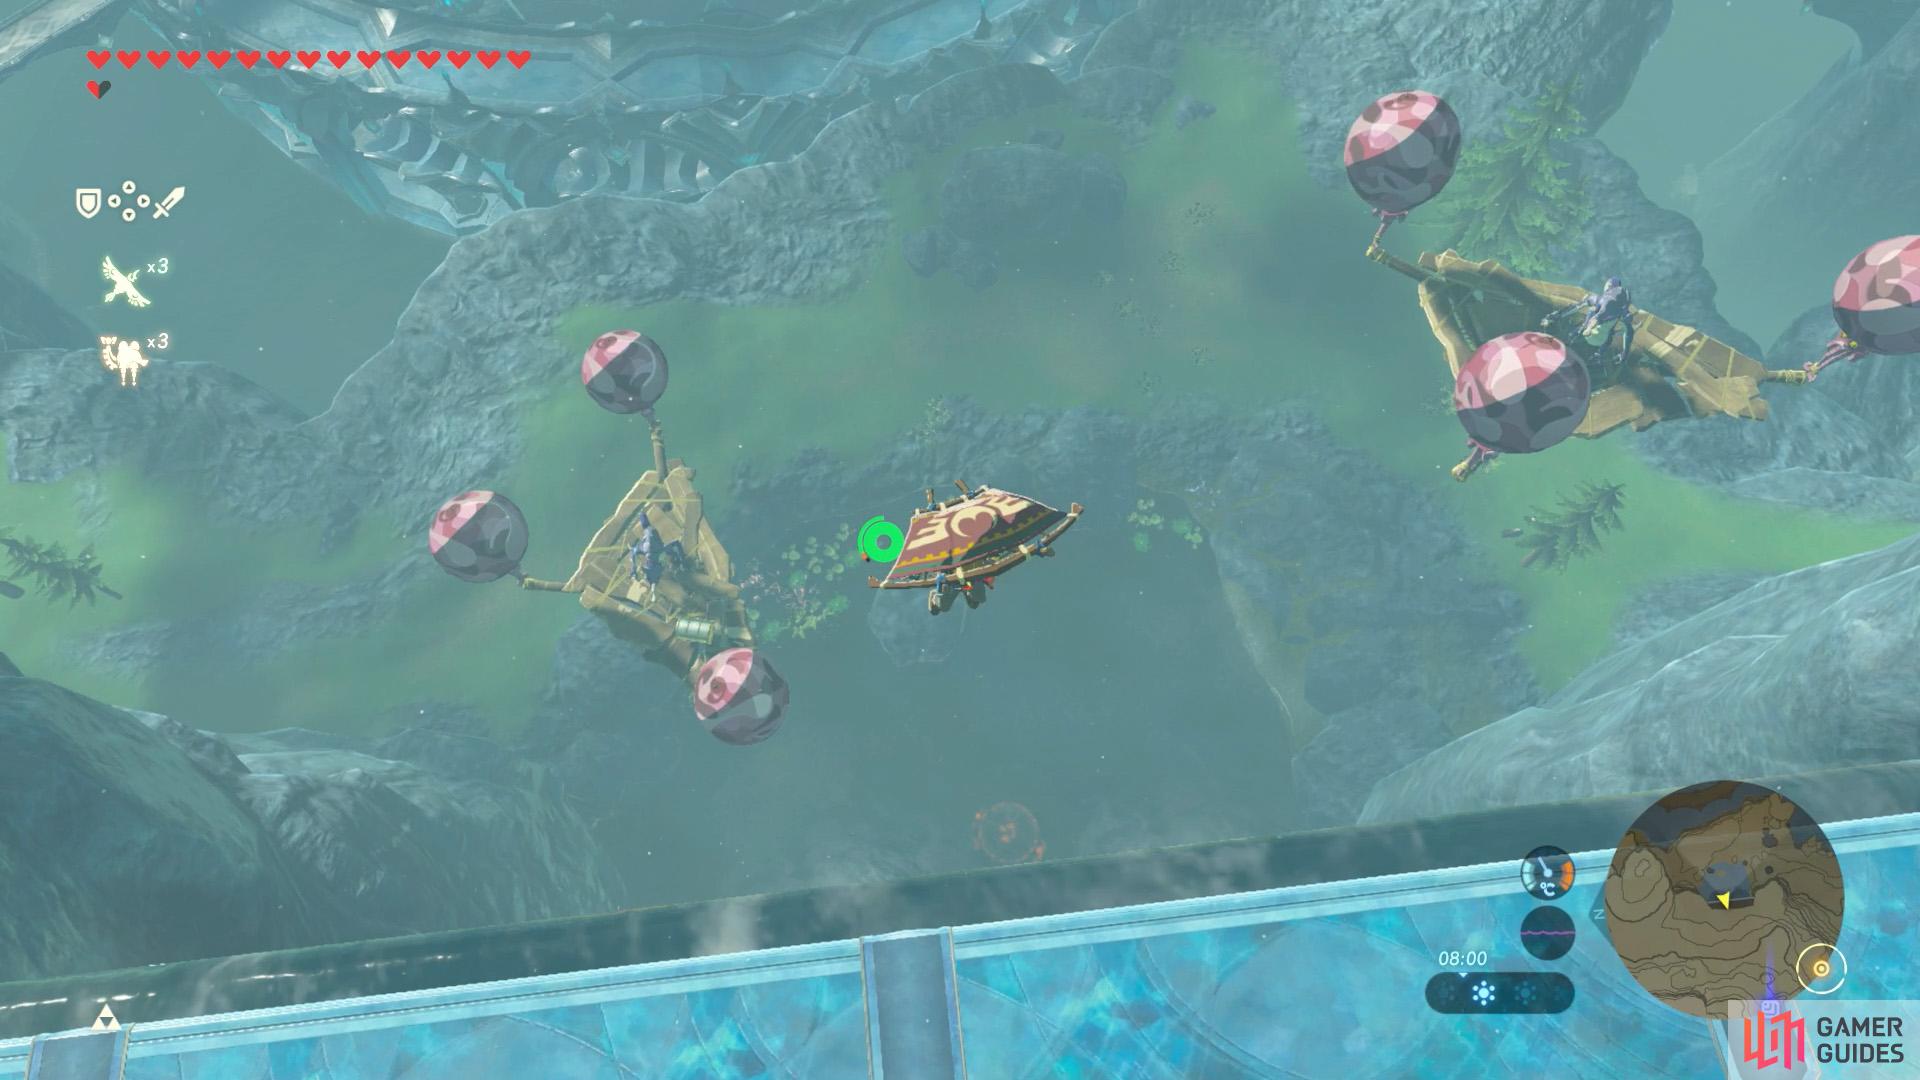
Towards the north-east corner of Lanayru Wetlands, there are 4 floating platforms high above Kincean Island. The two platforms nearer the north-west are occupied by Lizalfos archers. The two higher platforms have a metal chest with an Ice Rod and a wooden chest with a Ruby.
You can glide south-west from atop Lanayru Tower; note that the platforms may not be visible straightaway due to the draw-distance.
Group 2
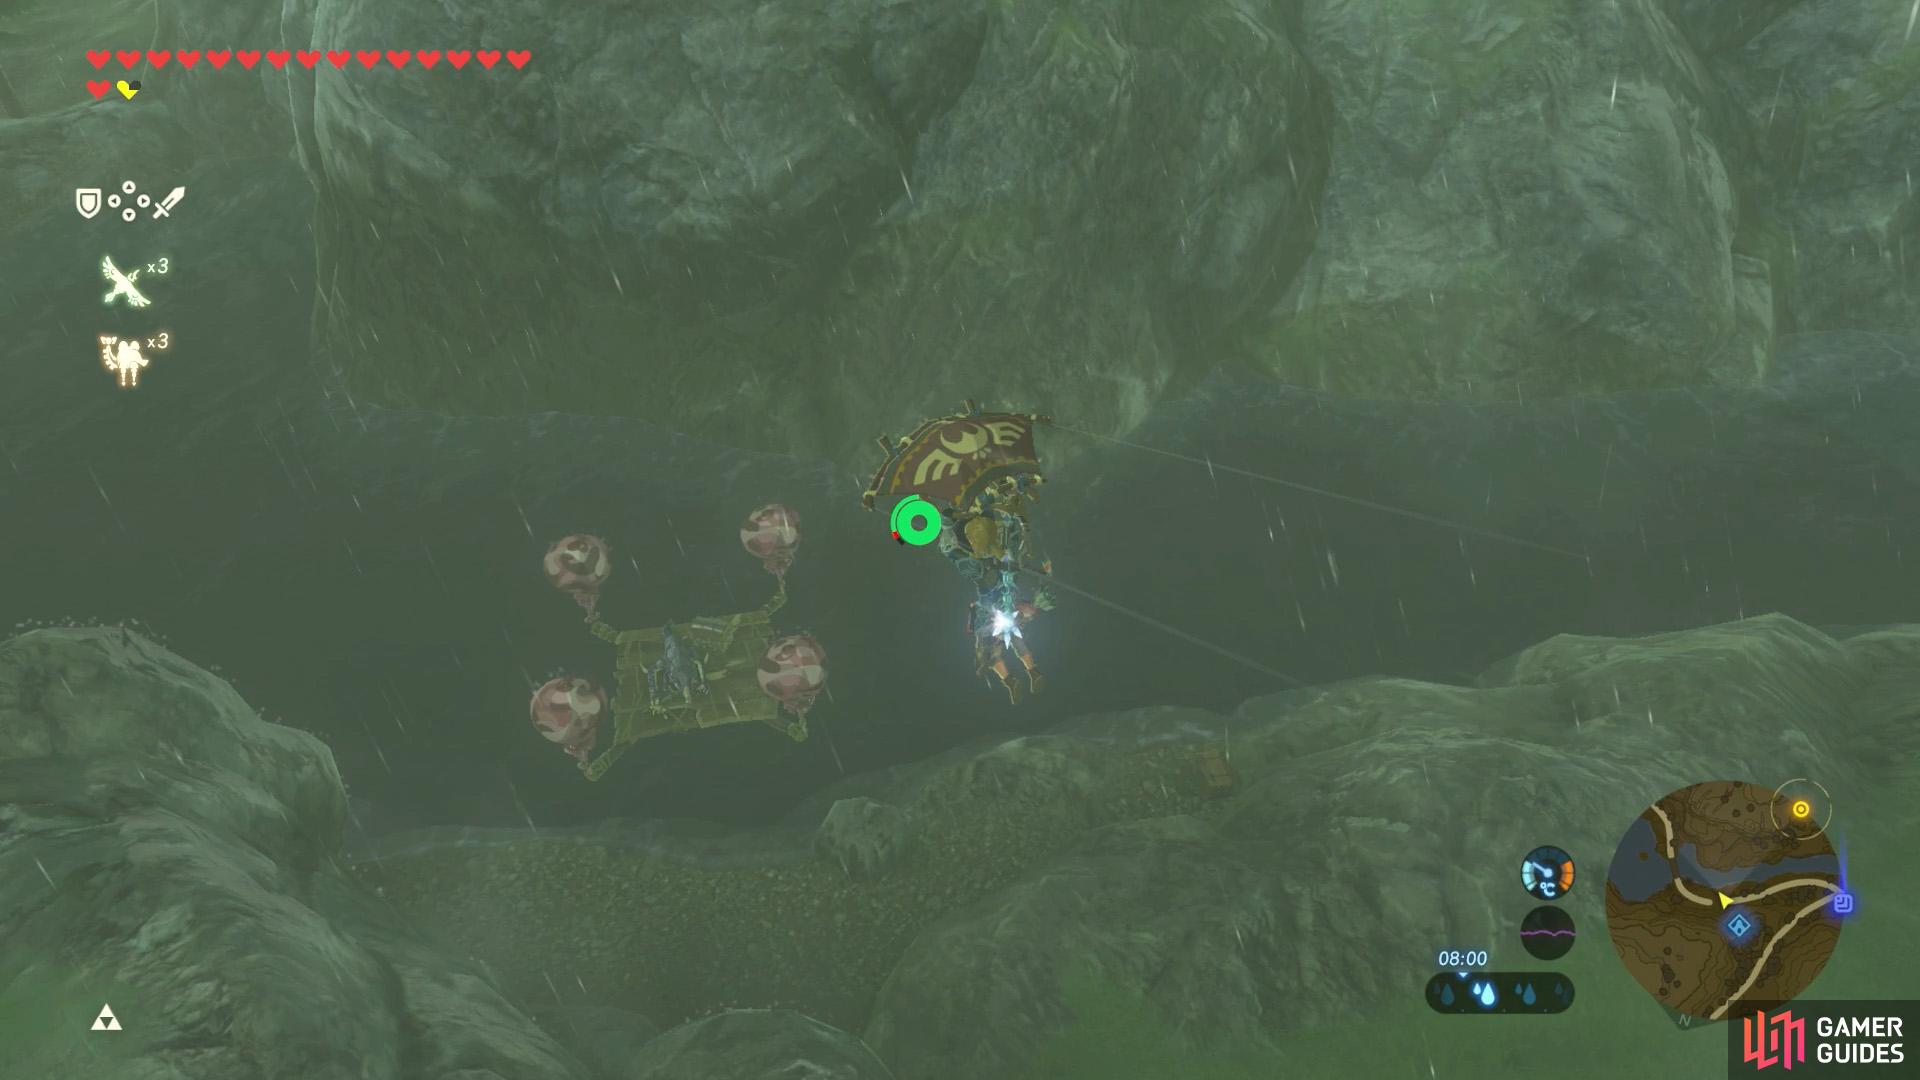
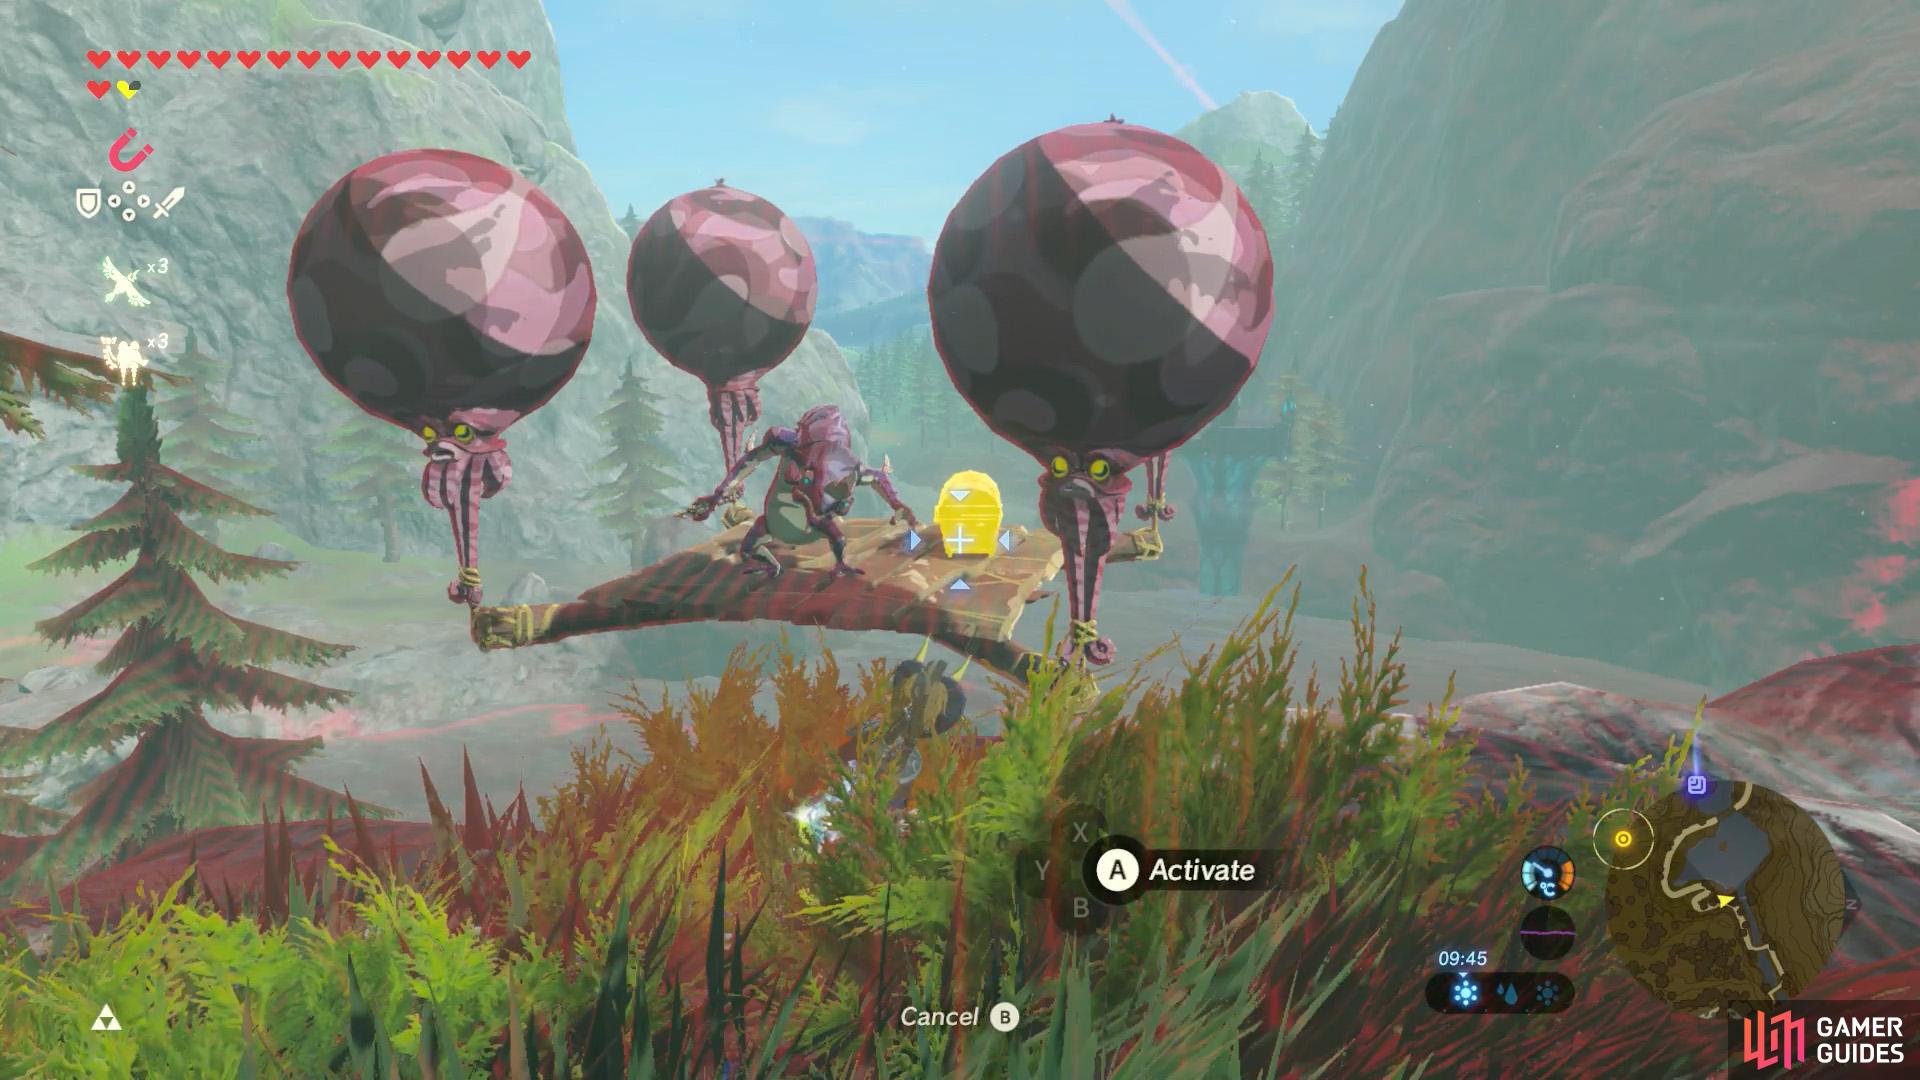
Here’s the first of many platforms floating above Zora River.
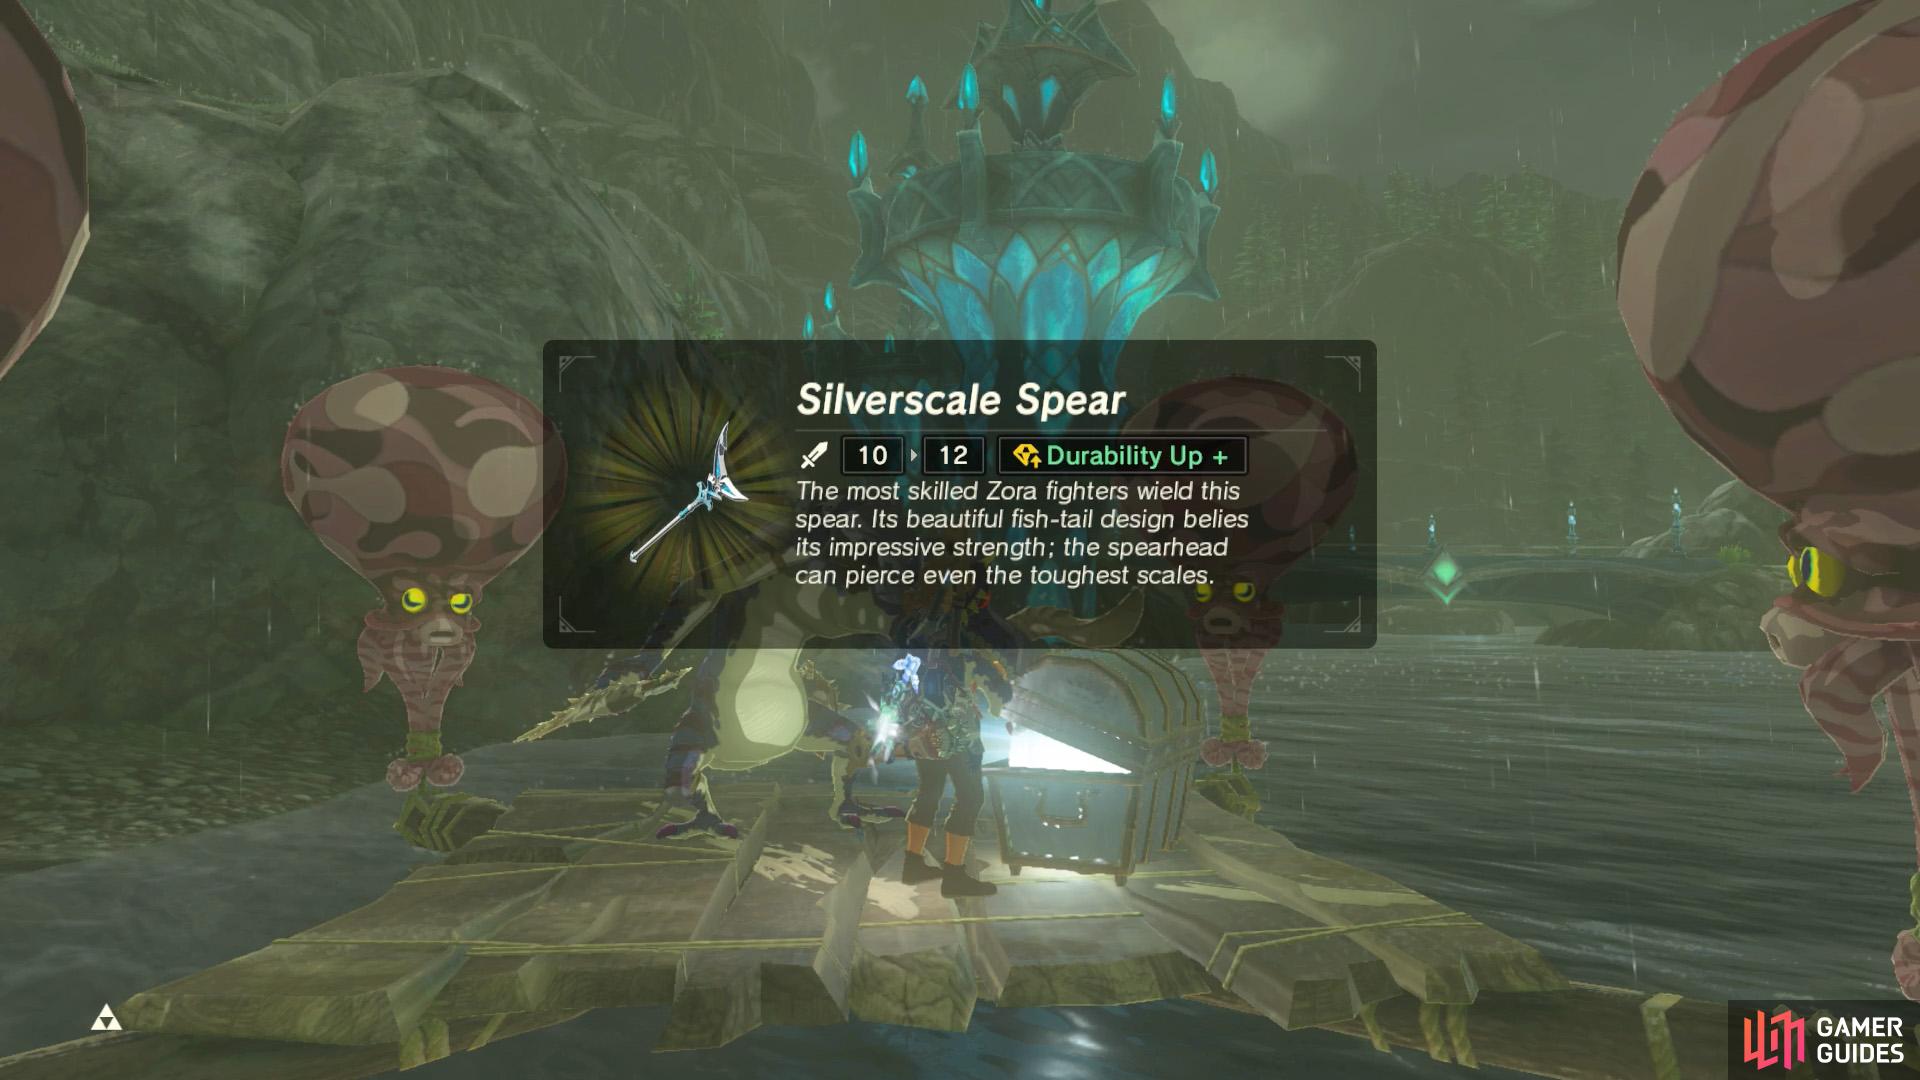
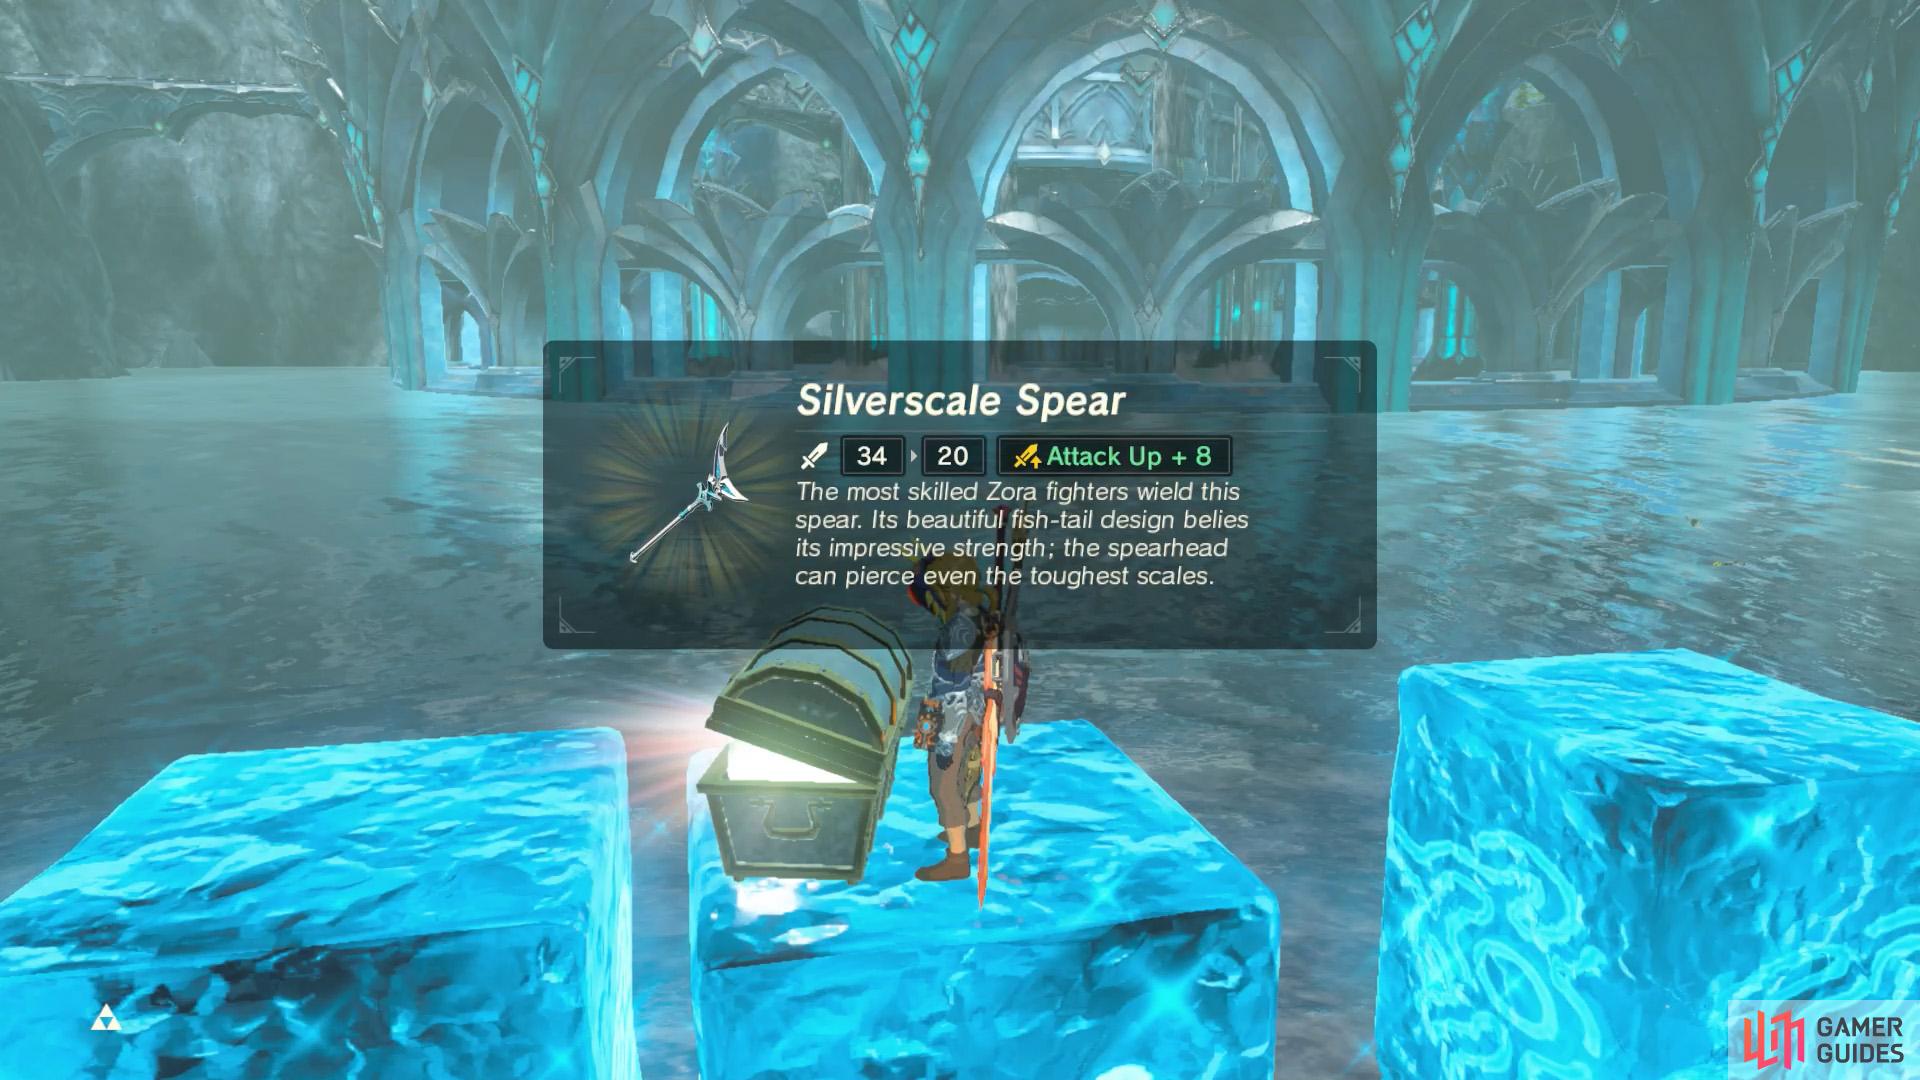
The chest here has a shiny spear.
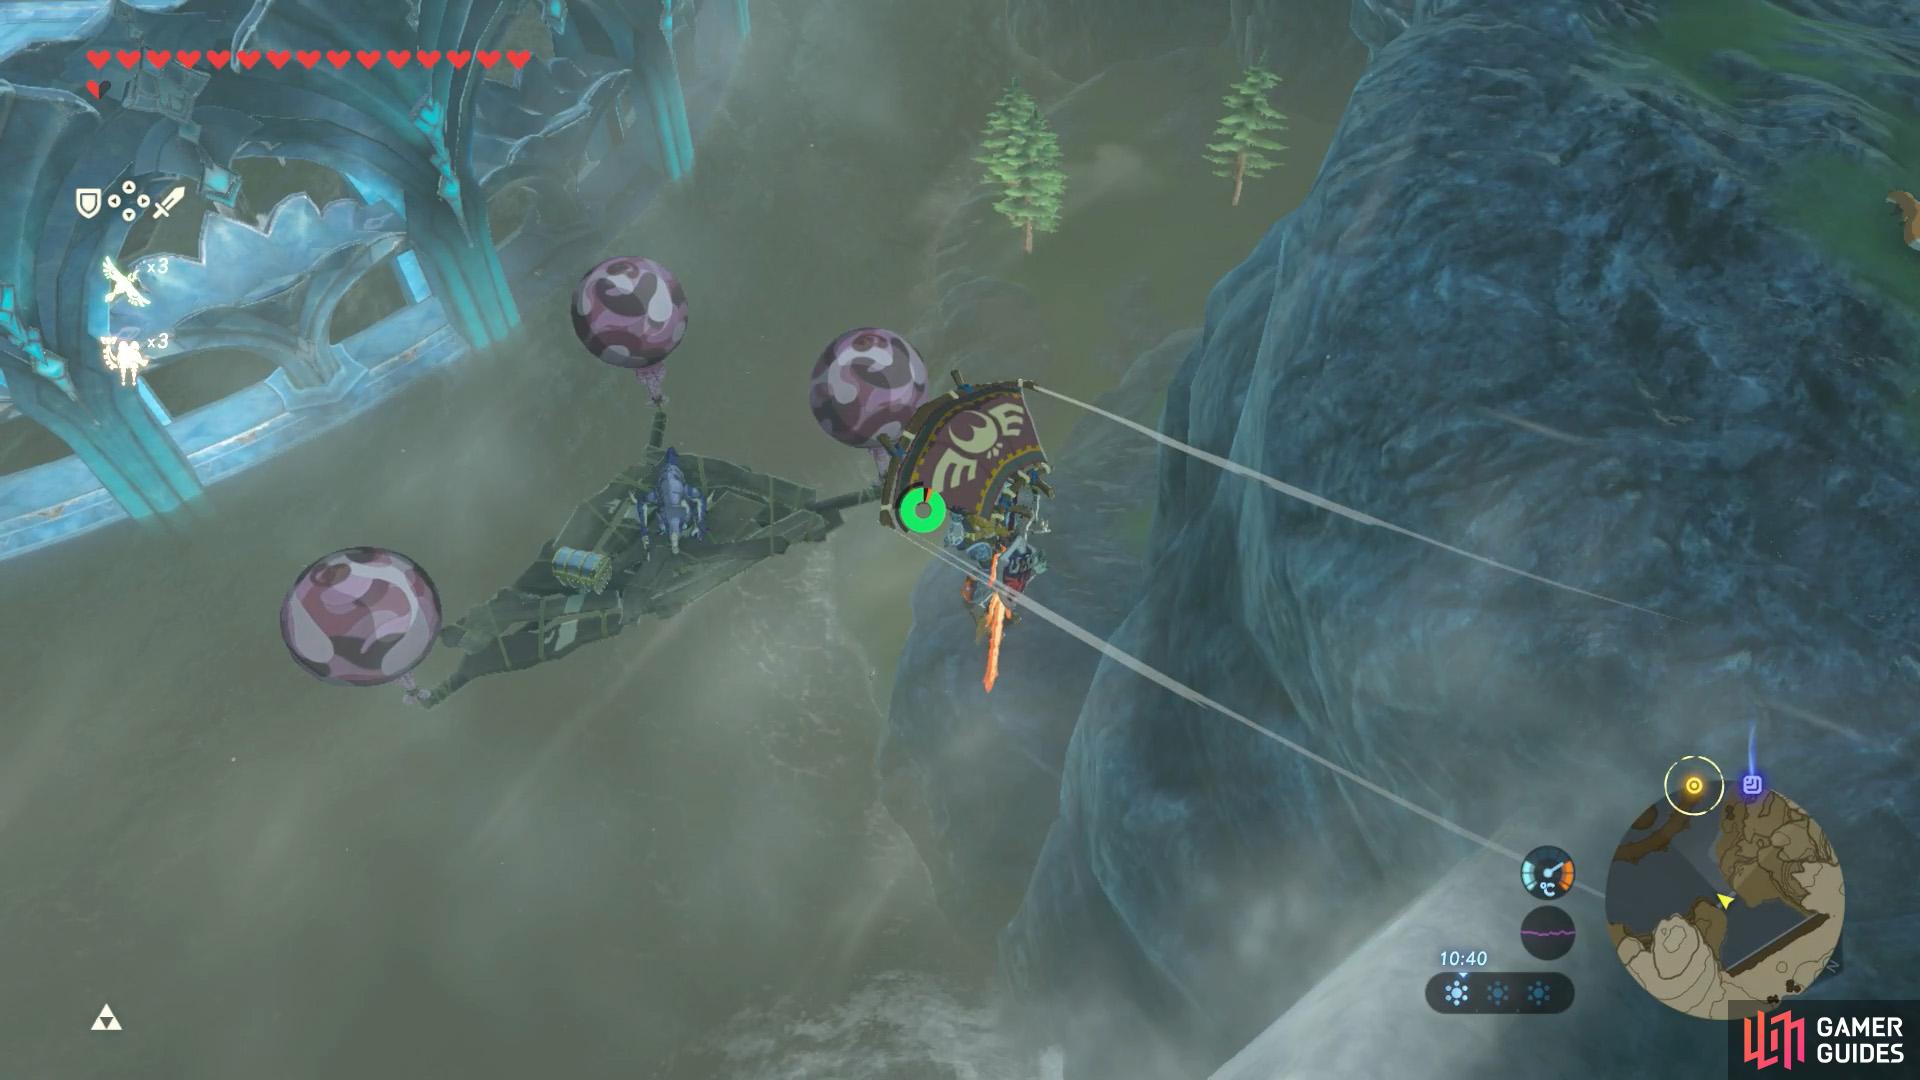
North from Lanayru Tower, there’s a single platform in the middle of Zora River, west from Inogo Bridge and opposite the Soh Kofi Shrine. This platform is manned by a Lizalfos archer–soon to be a common sight. The chest here contains a Silverscale Spear.
The platform is initially touching the water, so you can swim over or glide down from close by. If the platform floats up and you shoot it down, keep in mind that Lizalfos can swim.
Group 3
Why not use the lazy method when it’s available to you?
This chest also contains a spear.
East from the previous group, there’s another lone platform north-west from Tabahl Woods, next to the slope going up. There’s another Lizalfos archer here and a chest with a Zora Spear. You can use Magnesis to pull in the chest.
Group 4
Here’s another Magnesis opportunity, but you’ll need to be close to the edge…
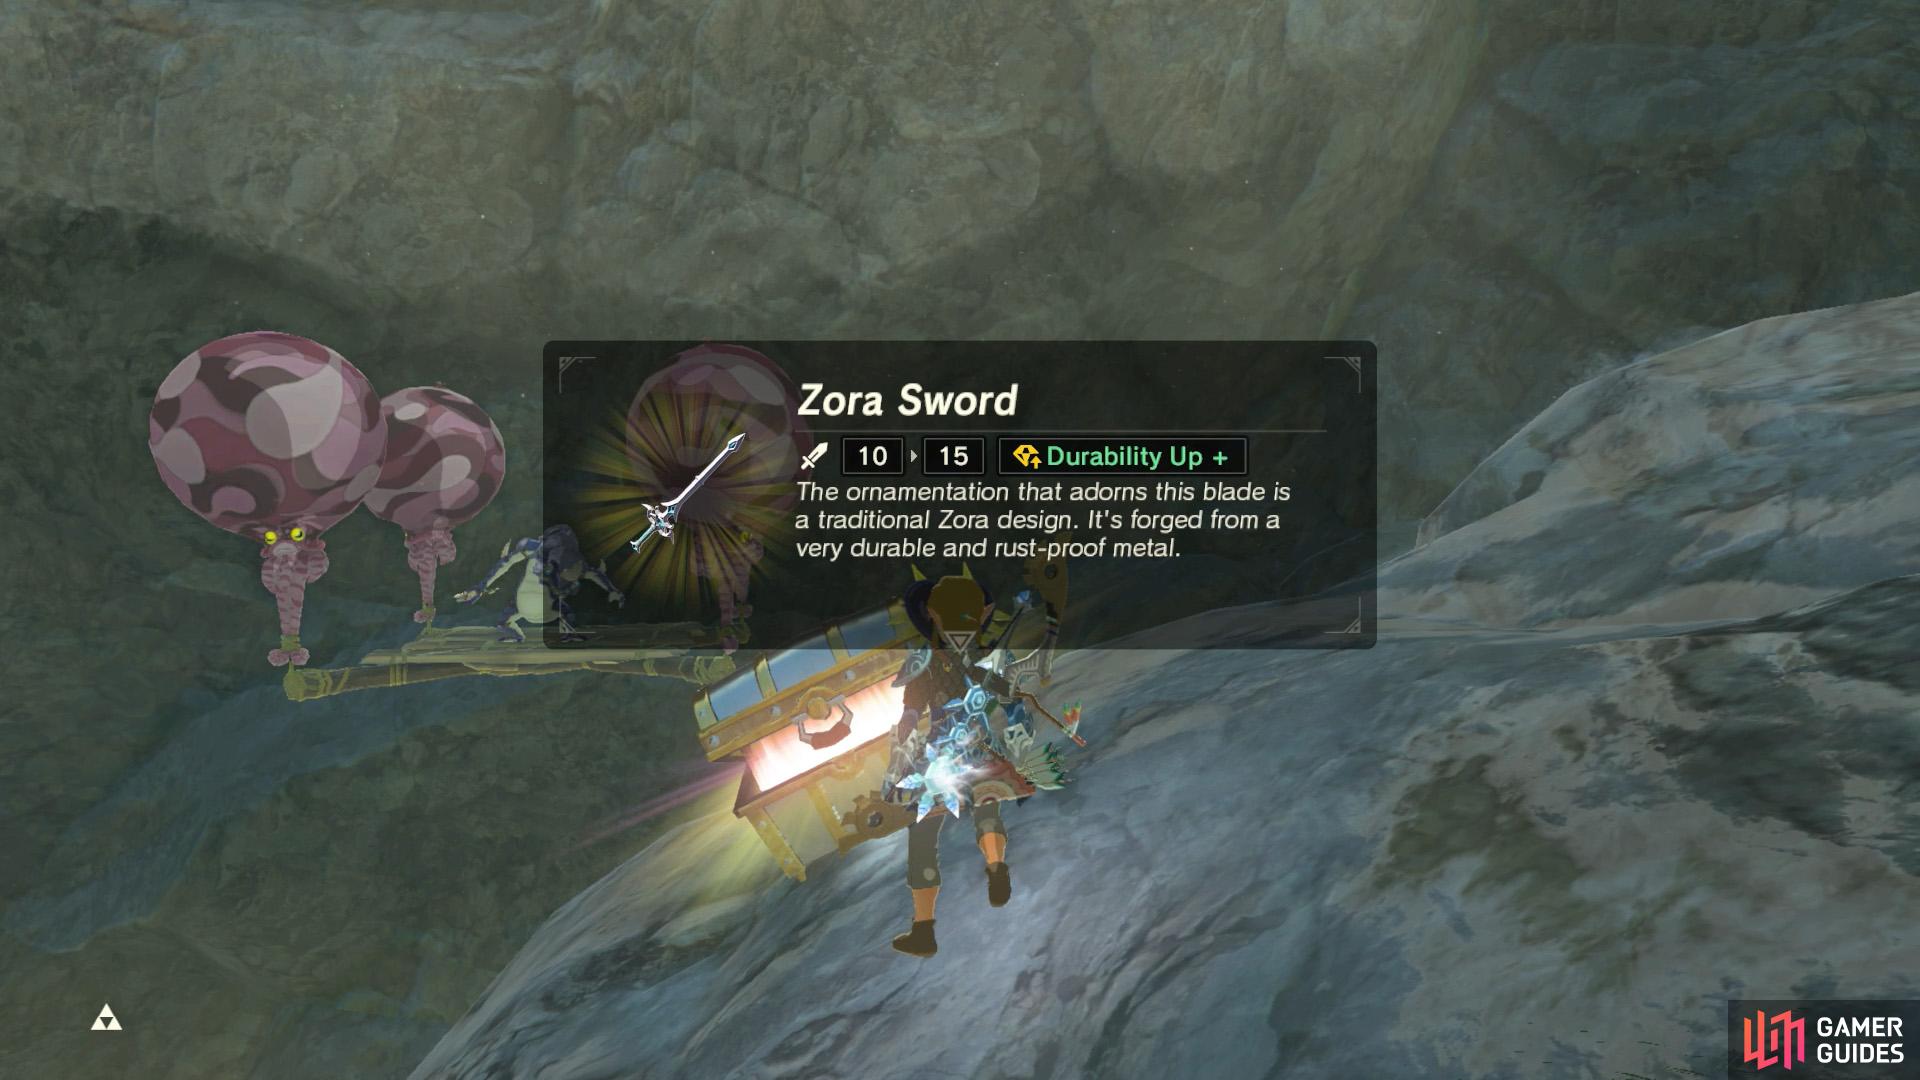
Your reward is a Zora Sword.
Further east/north-east from Group 3, there’s another platform hovering above Zora River, just before the road starts bending towards the south. This one’s also guarded by a Lizalfos archer. The chest next to it contains a Zora Sword.
The platform is almost level with the road and not too far away. If you stand by the edge of the road, you can just about reach the chest with Magnesis.
Group 5
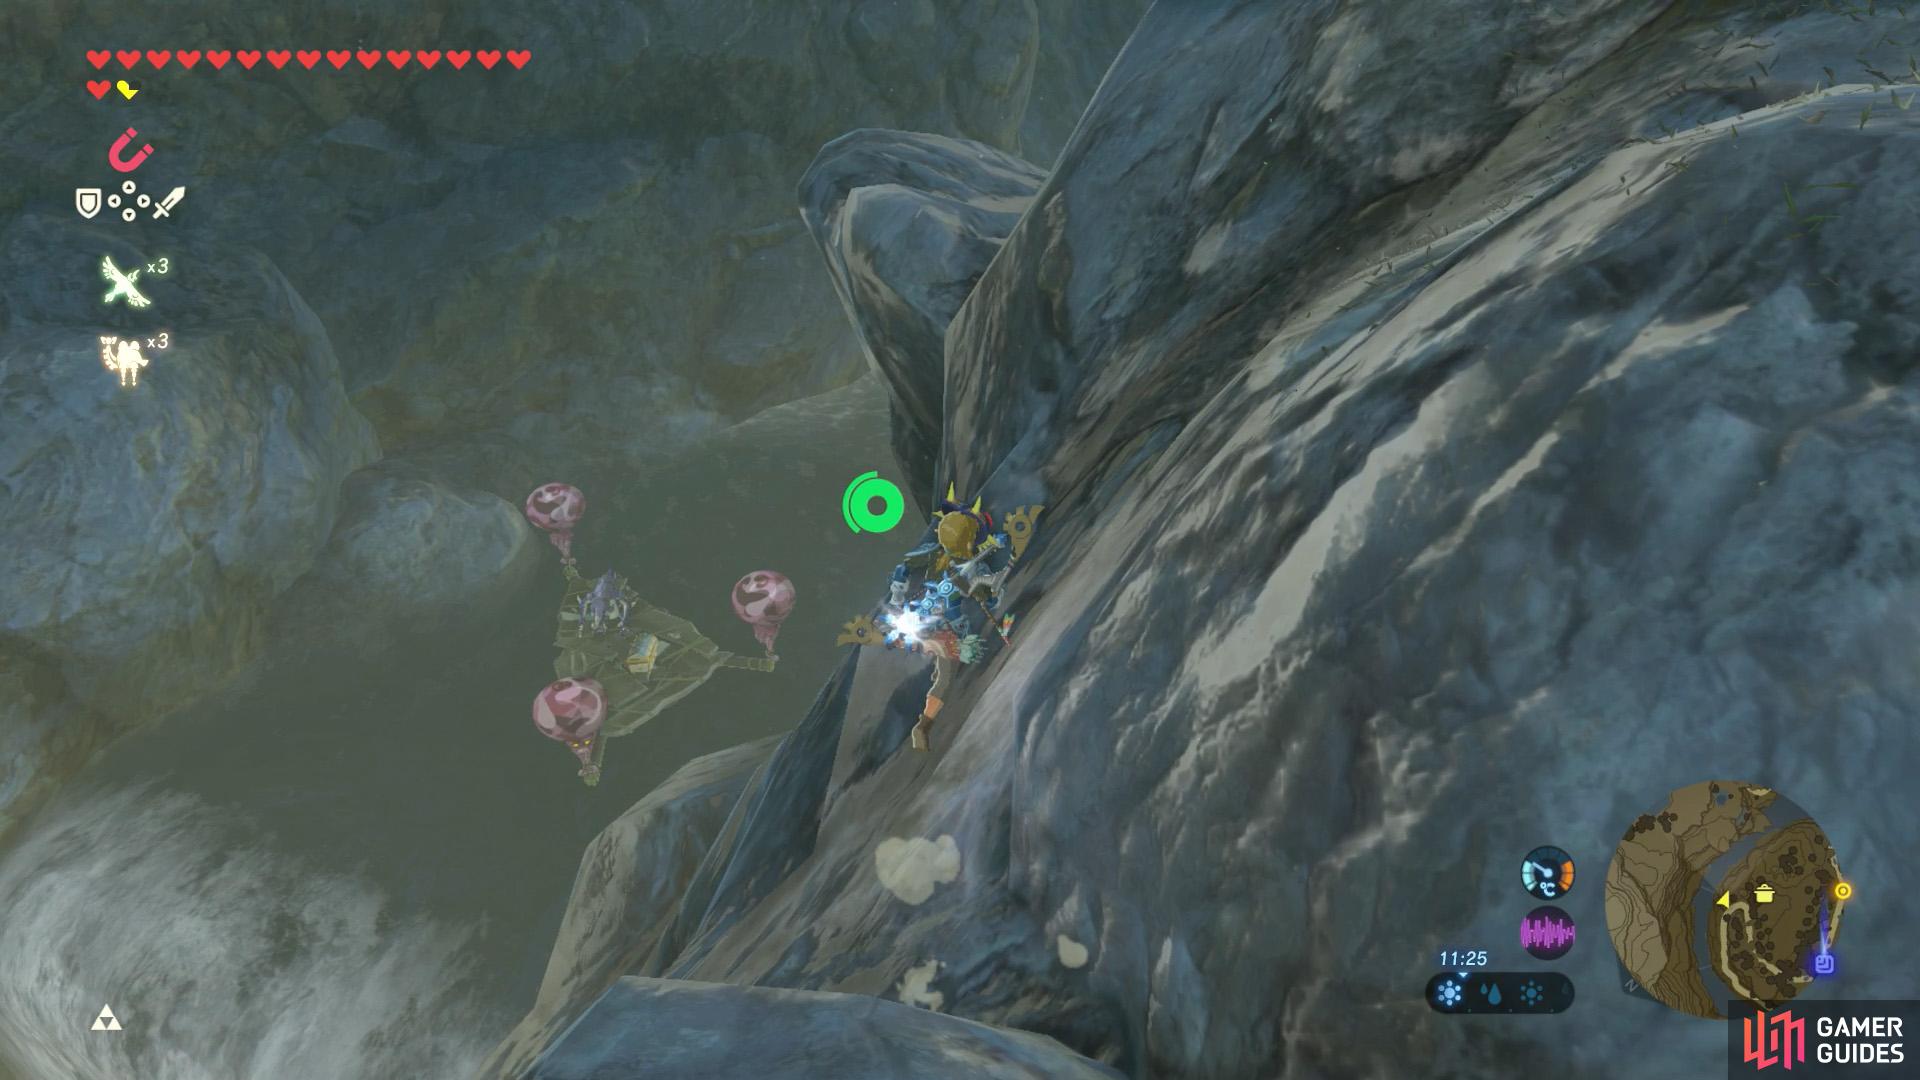
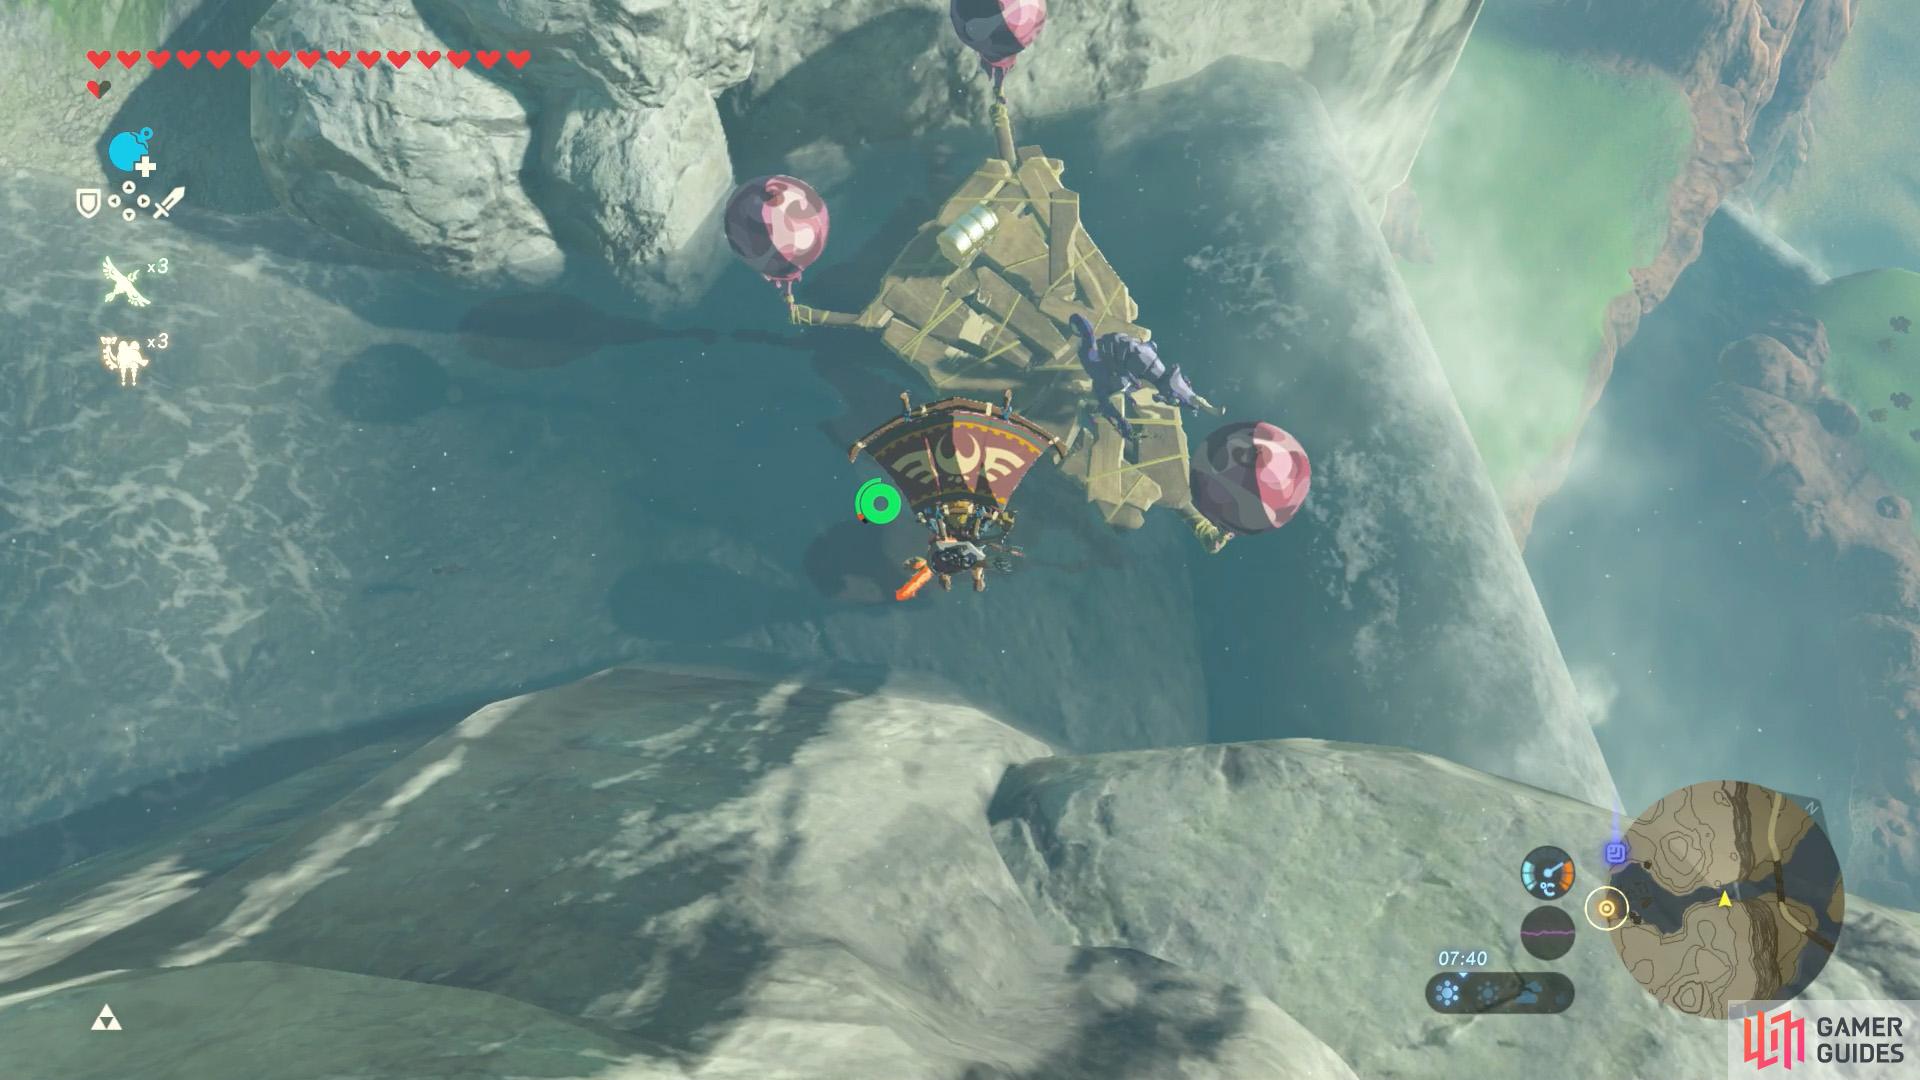
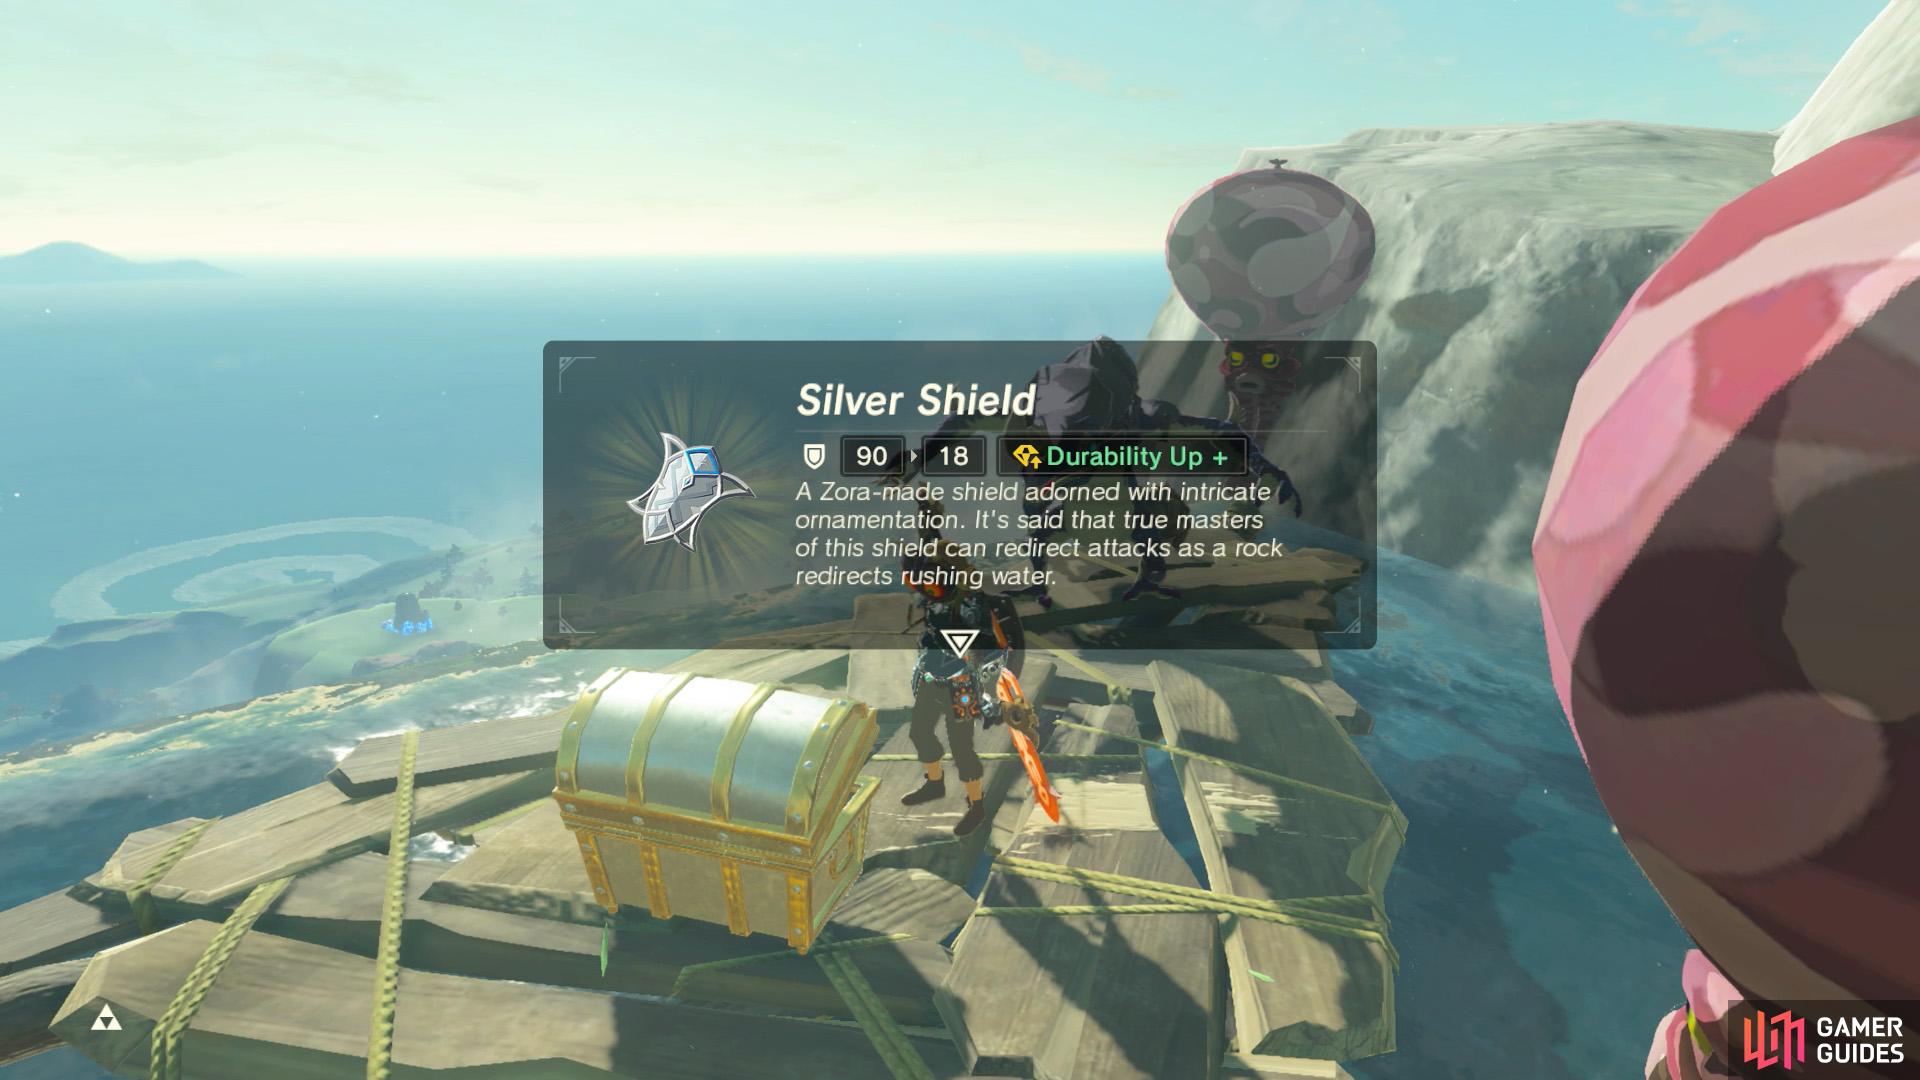
This platform is positioned just before the top of a small waterfall.
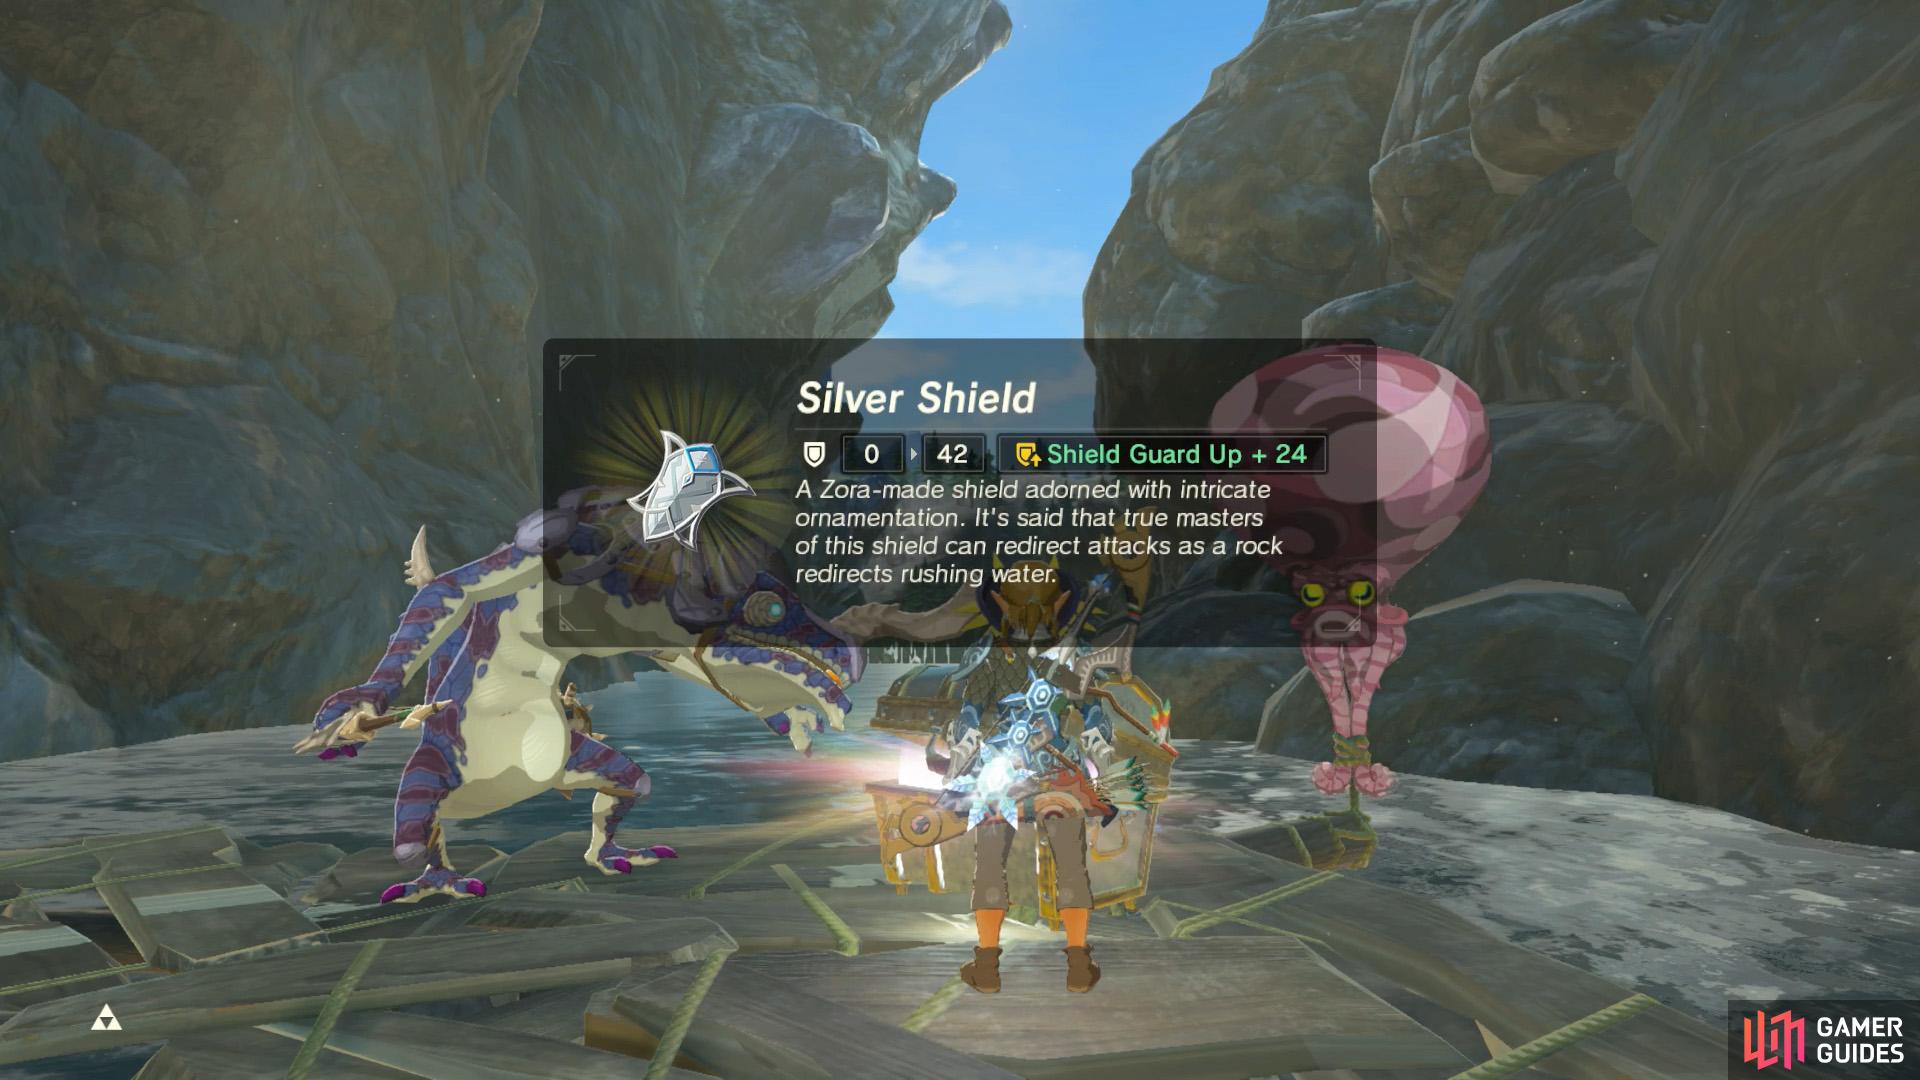
The chest contains a Silver Shield.
A short distance south-east from Group 4, there’s yet another platform floating above the river. It’s directly east from the U-bend in the road. Guess who’s guarding this platform? Of course, a Lizalfos archer. The chest next to it holds a Silver Shield.
For this one, you can glide down from nearby. Also, the platform is initially touching the water, so you could also swim over (if the Lizalfos hasn’t been alerted).
Group 6
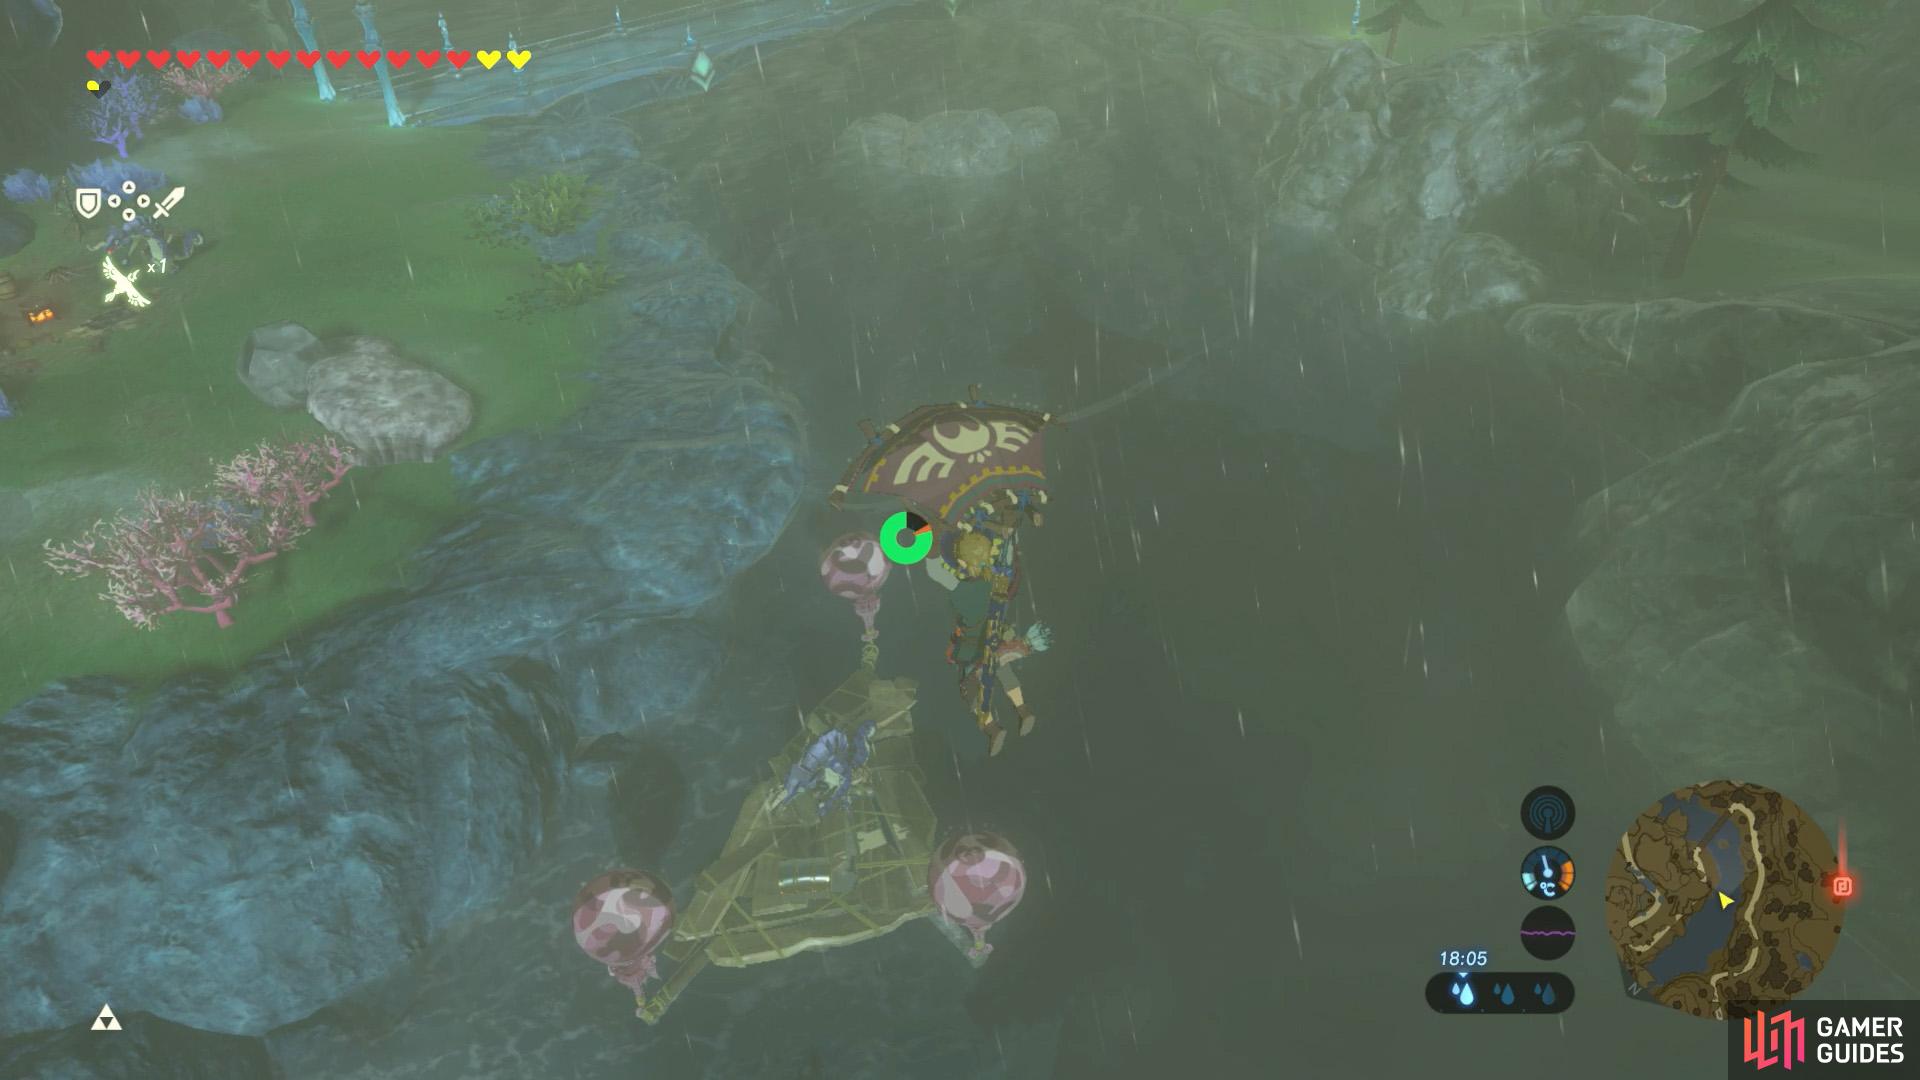
This platform’s located north-west from Oren Bridge.
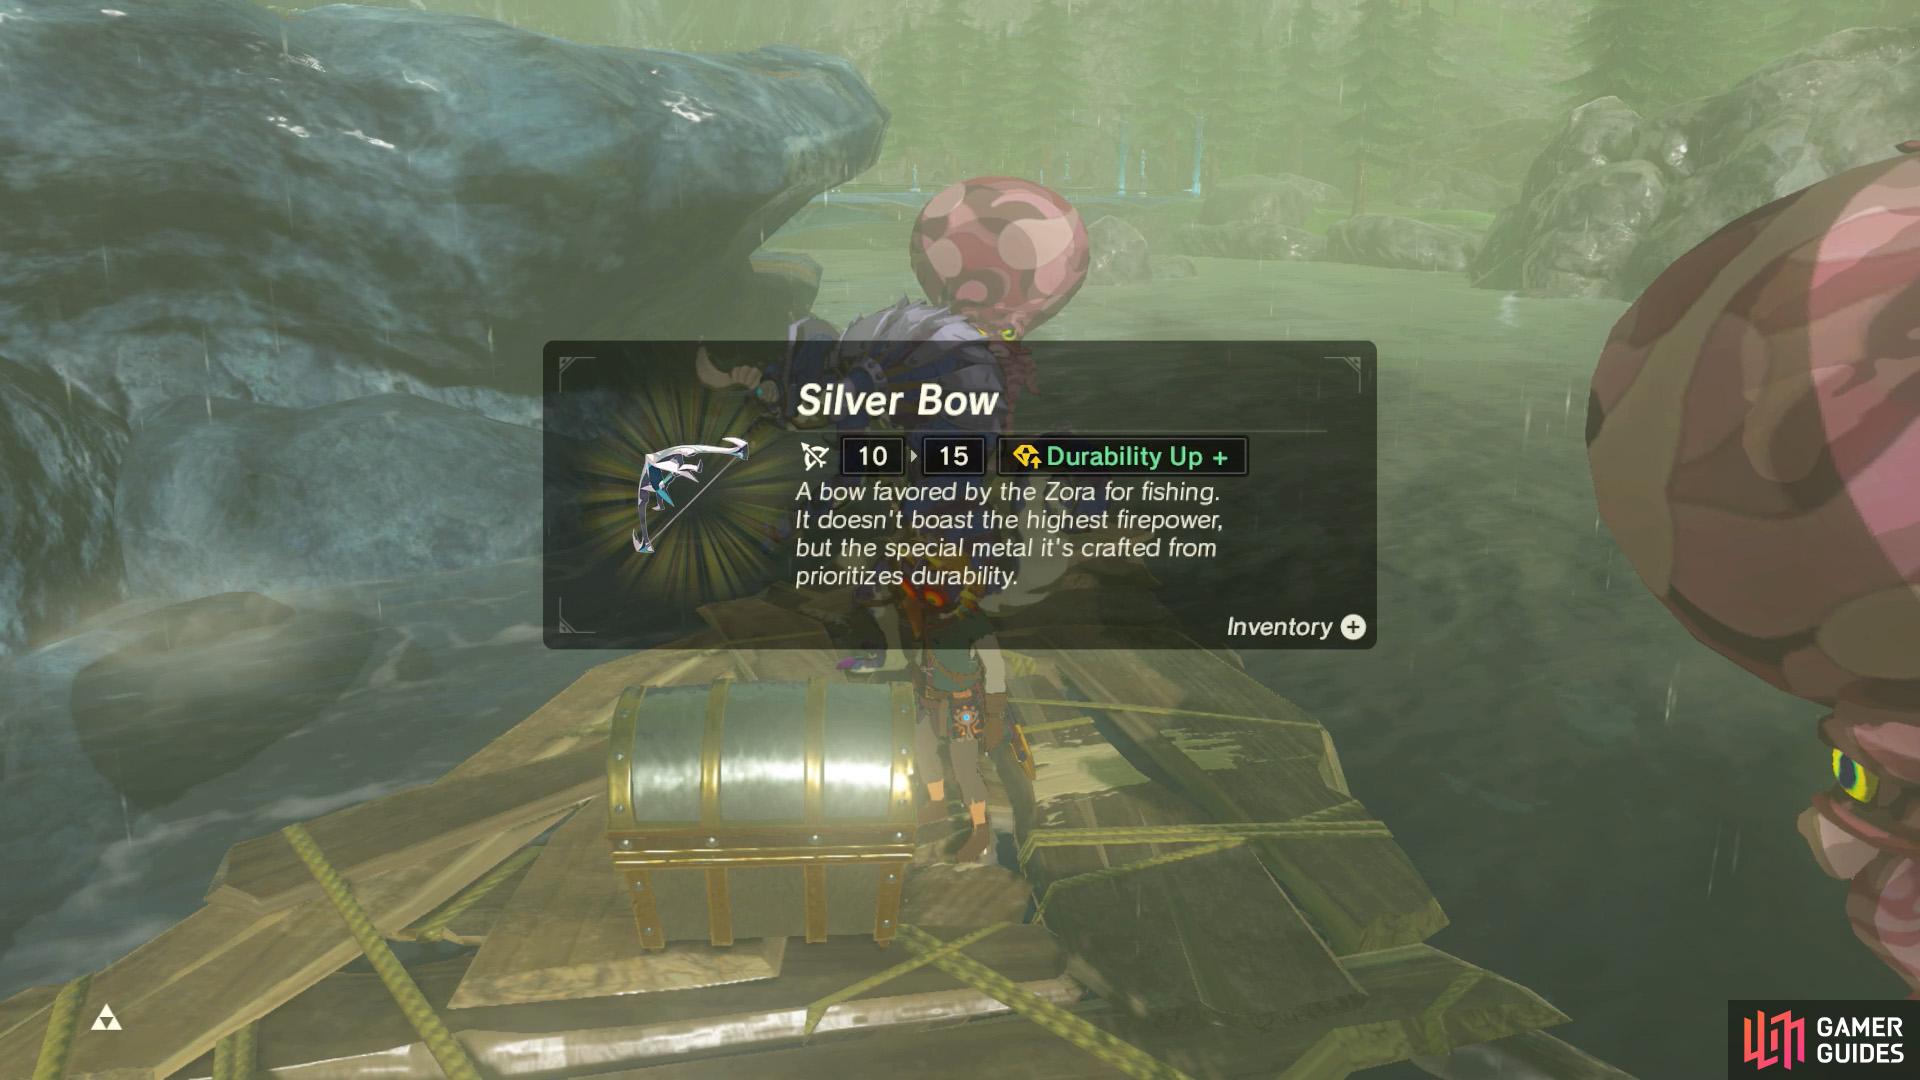
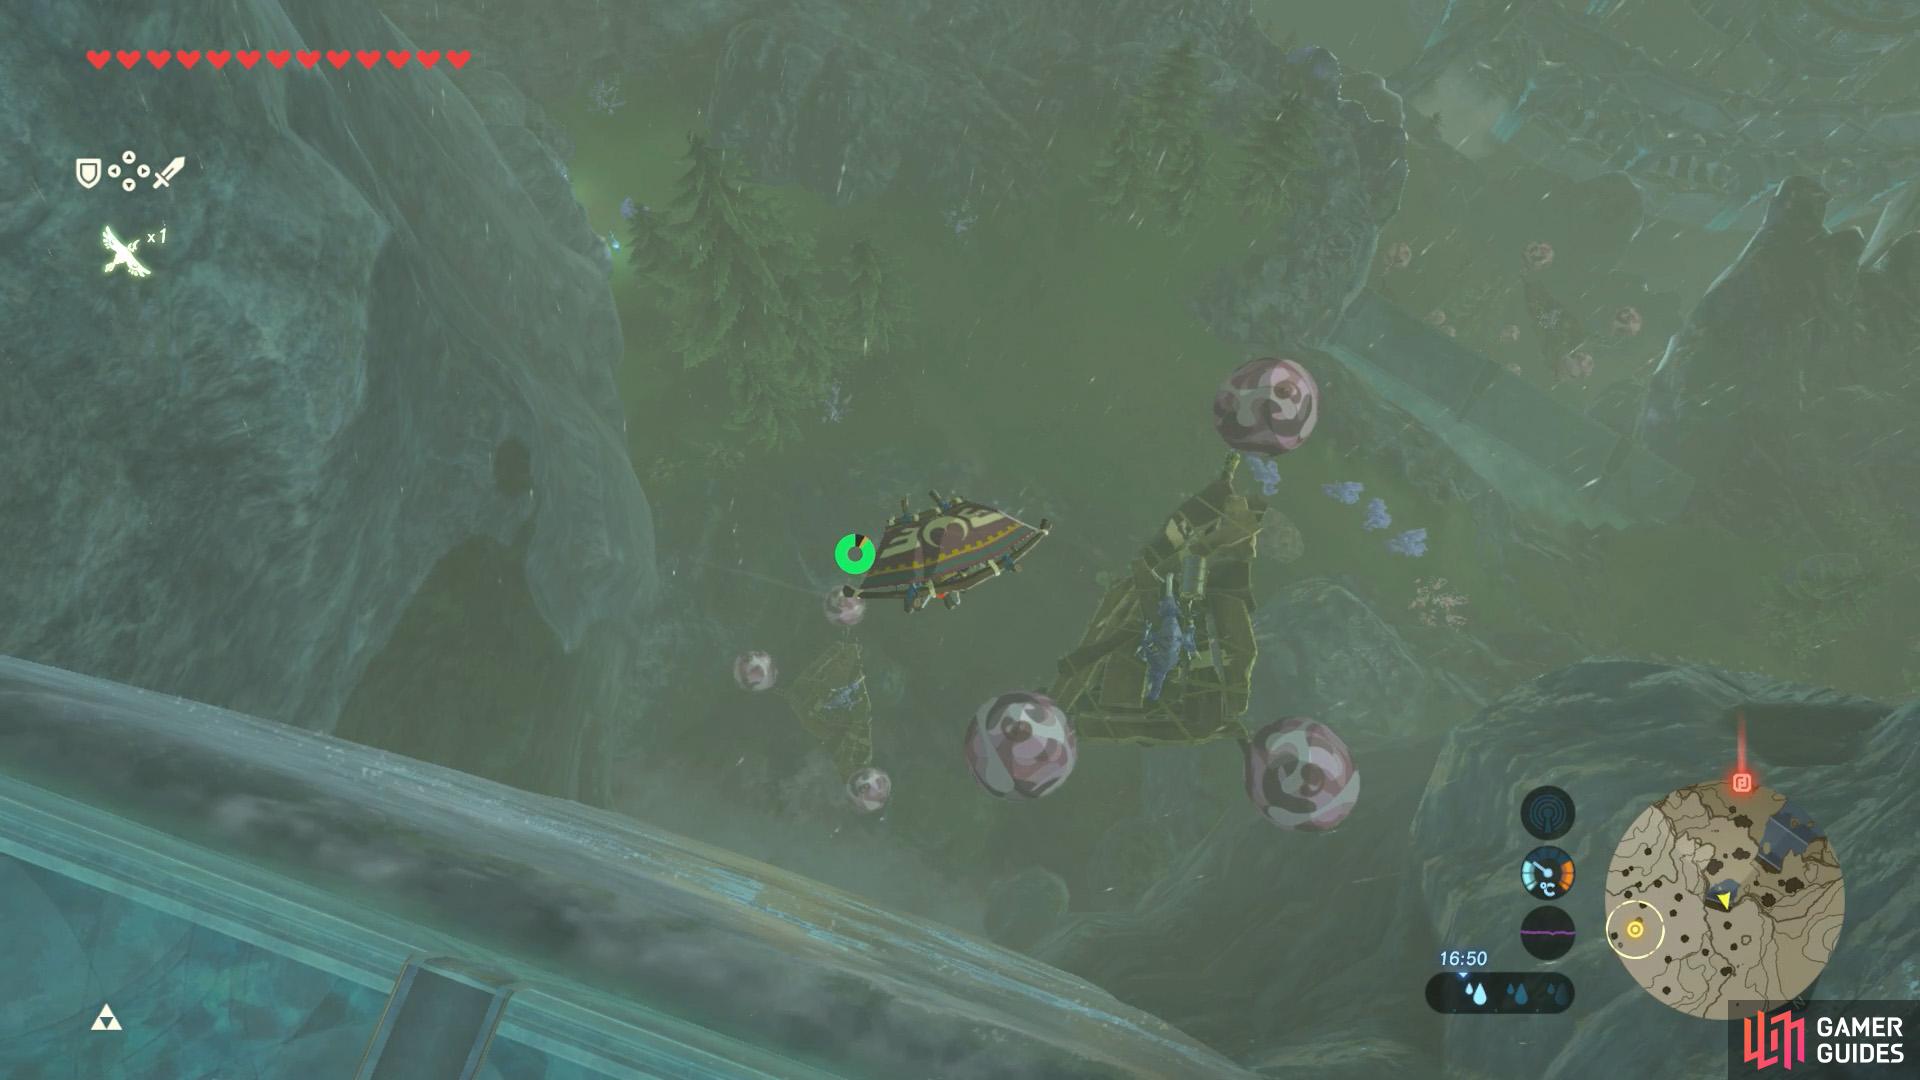
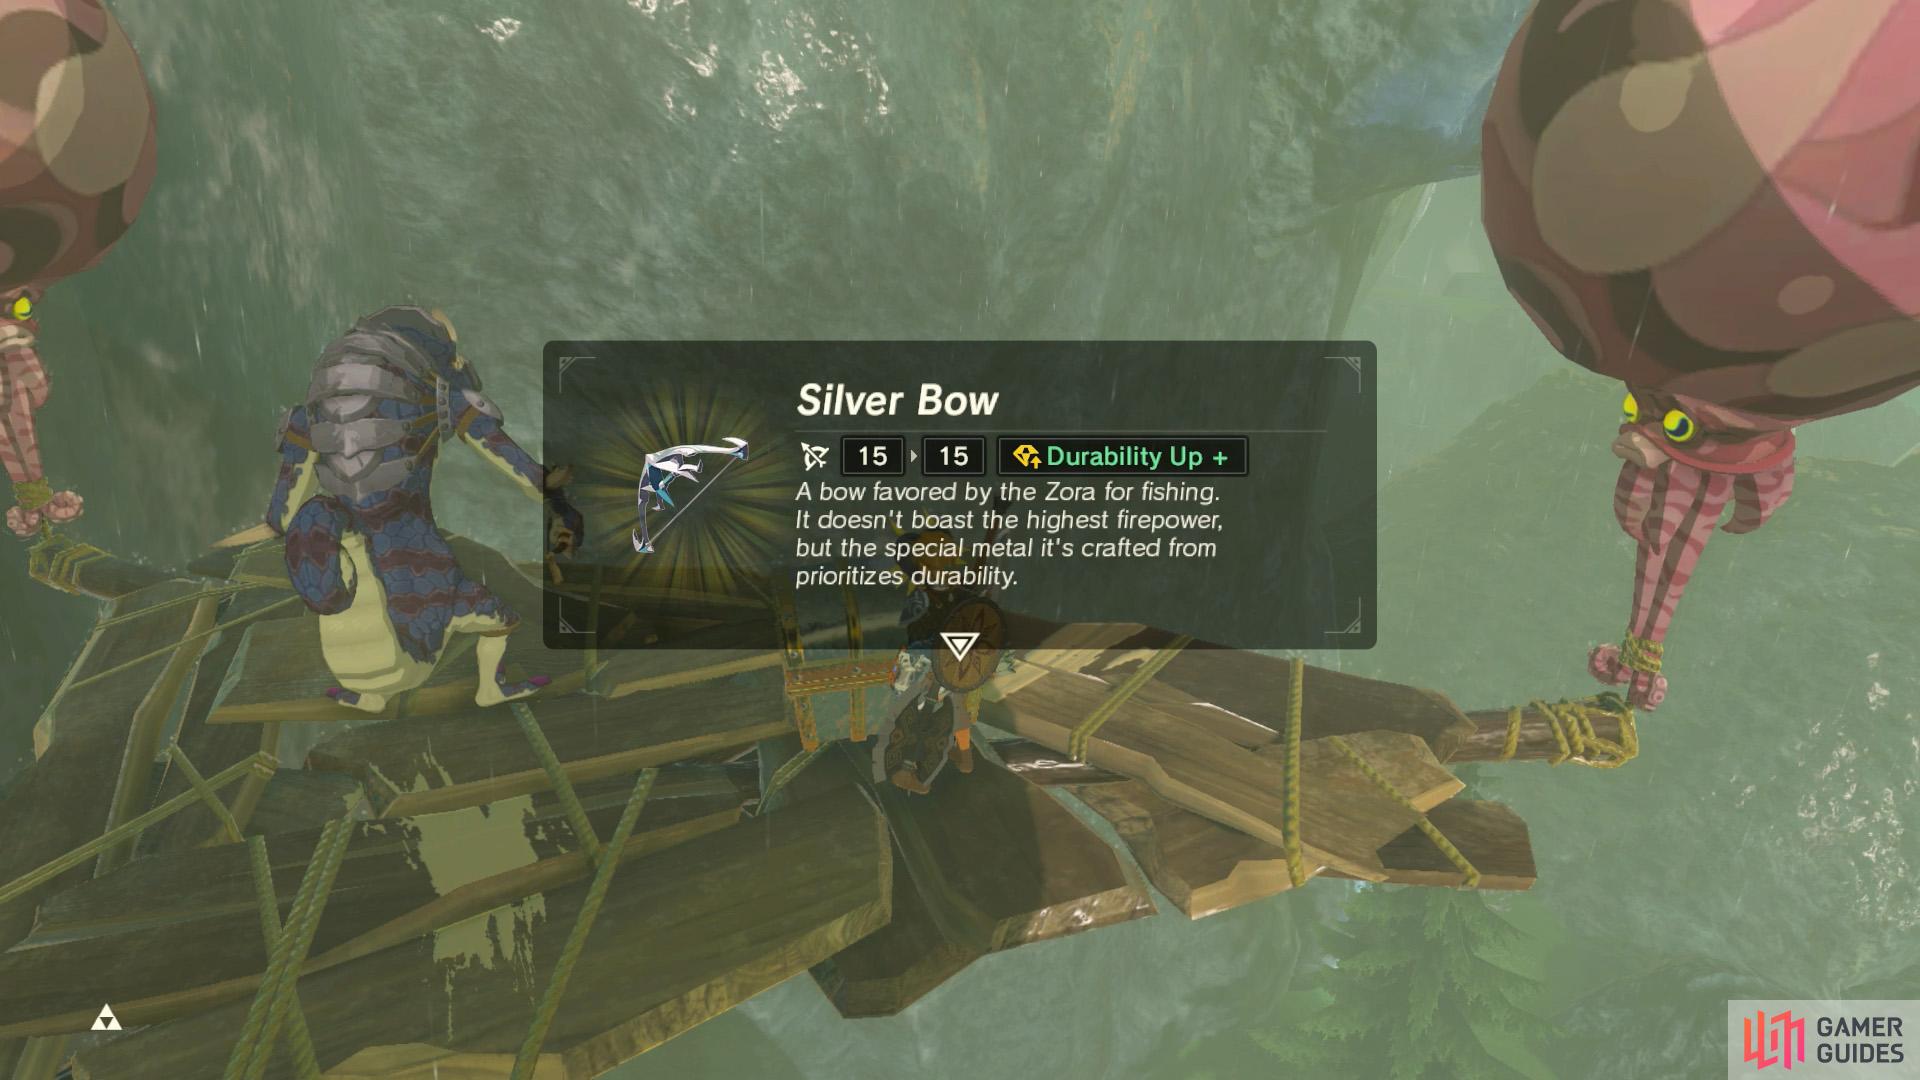
You can pick up a Silver Bow here.
South from Group 5, there’s a lonesome platform near the east bank of the river, a short distance north-west from Oren Bridge. It’s visible from the Bank of Wishes, if you look south-east. Naturally, there’s a Lizalfos archer here, but this one packs Fire Arrows. The chest next to it houses a Silver Bow.
Again, this is another platform you can swim over to or glide down from somewhere close by.
Group 7

There are two platforms next to Luto’s Crossing.
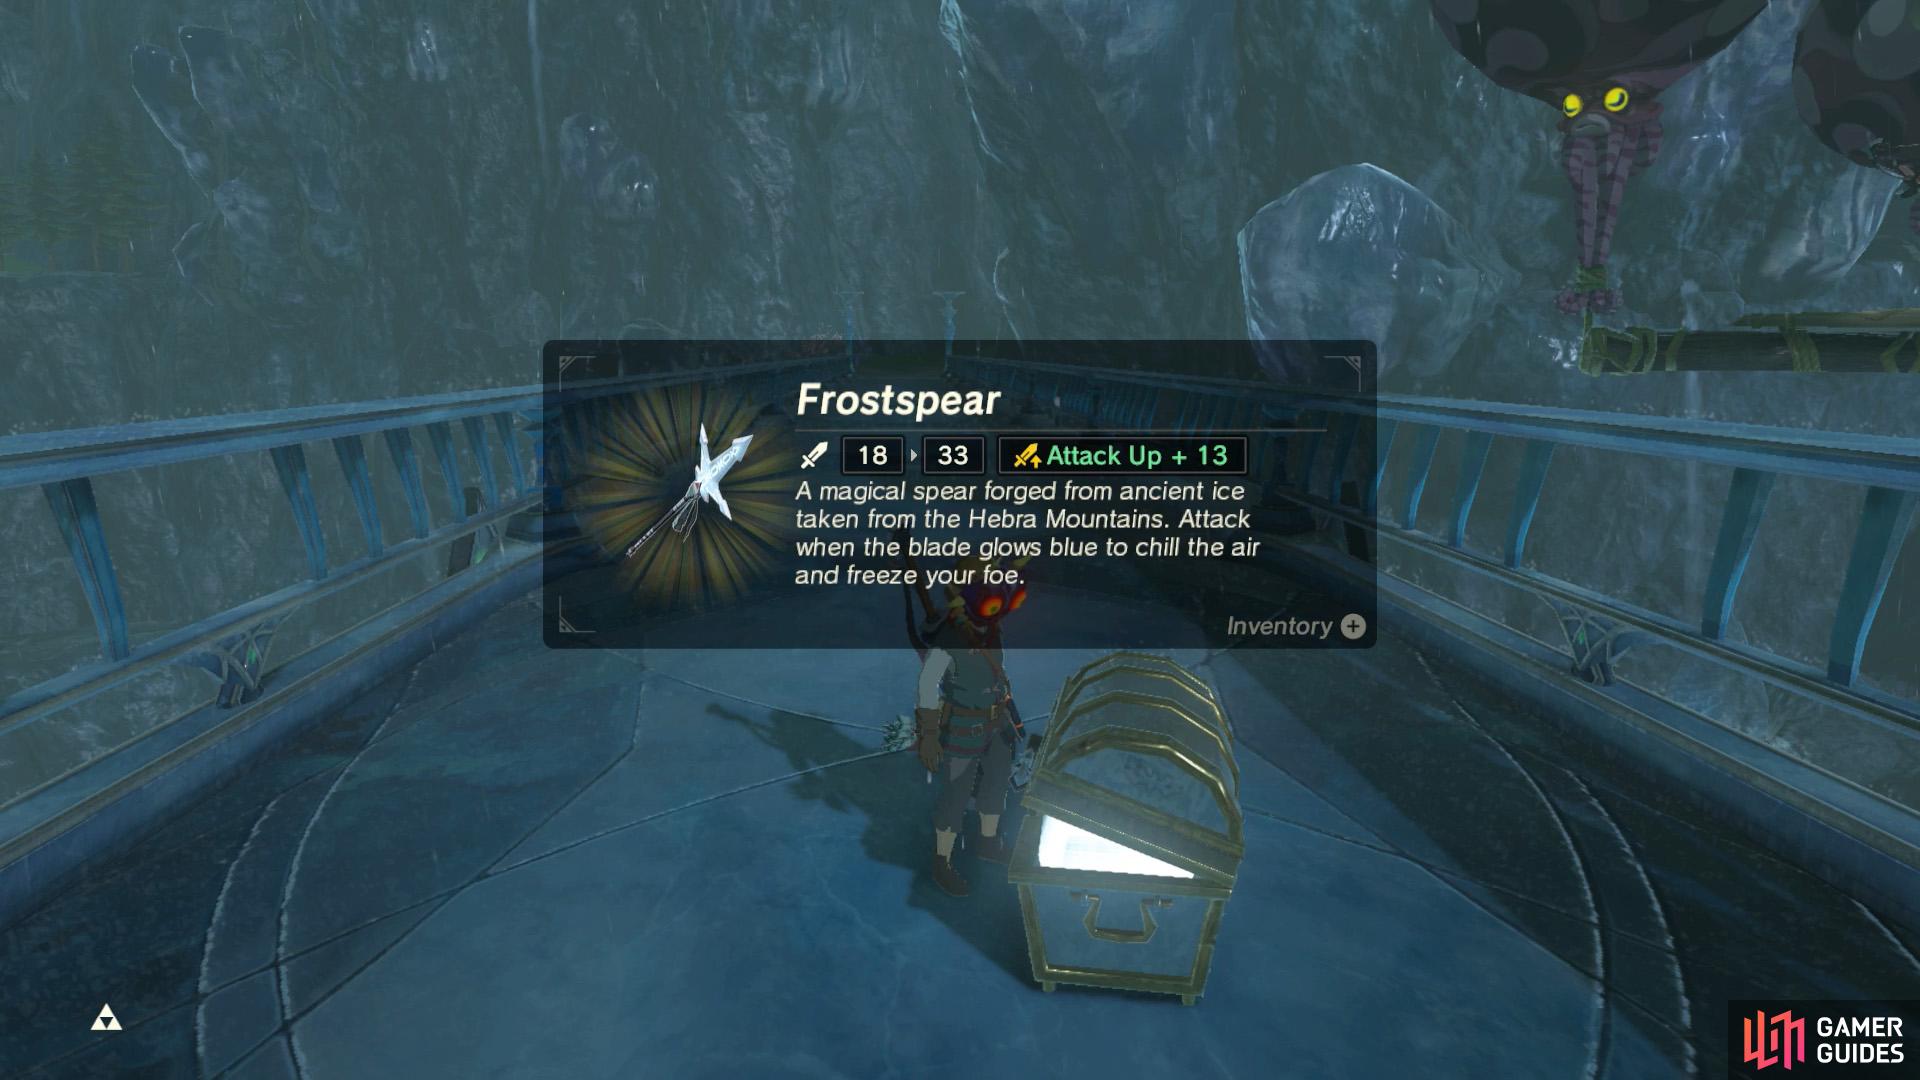
This Frostspear could be handy for freezing foes.
East from Group 6, there are two platforms next to Luto’s Crossing, nearer the west end. Both are manned by Lizalfos wielding Lynel Bows and Shock Arrows–an intimidating combo. The easternmost platform has a chest with a Frostspear.
Group 8
You can swim up this waterfall with the Zora armor.
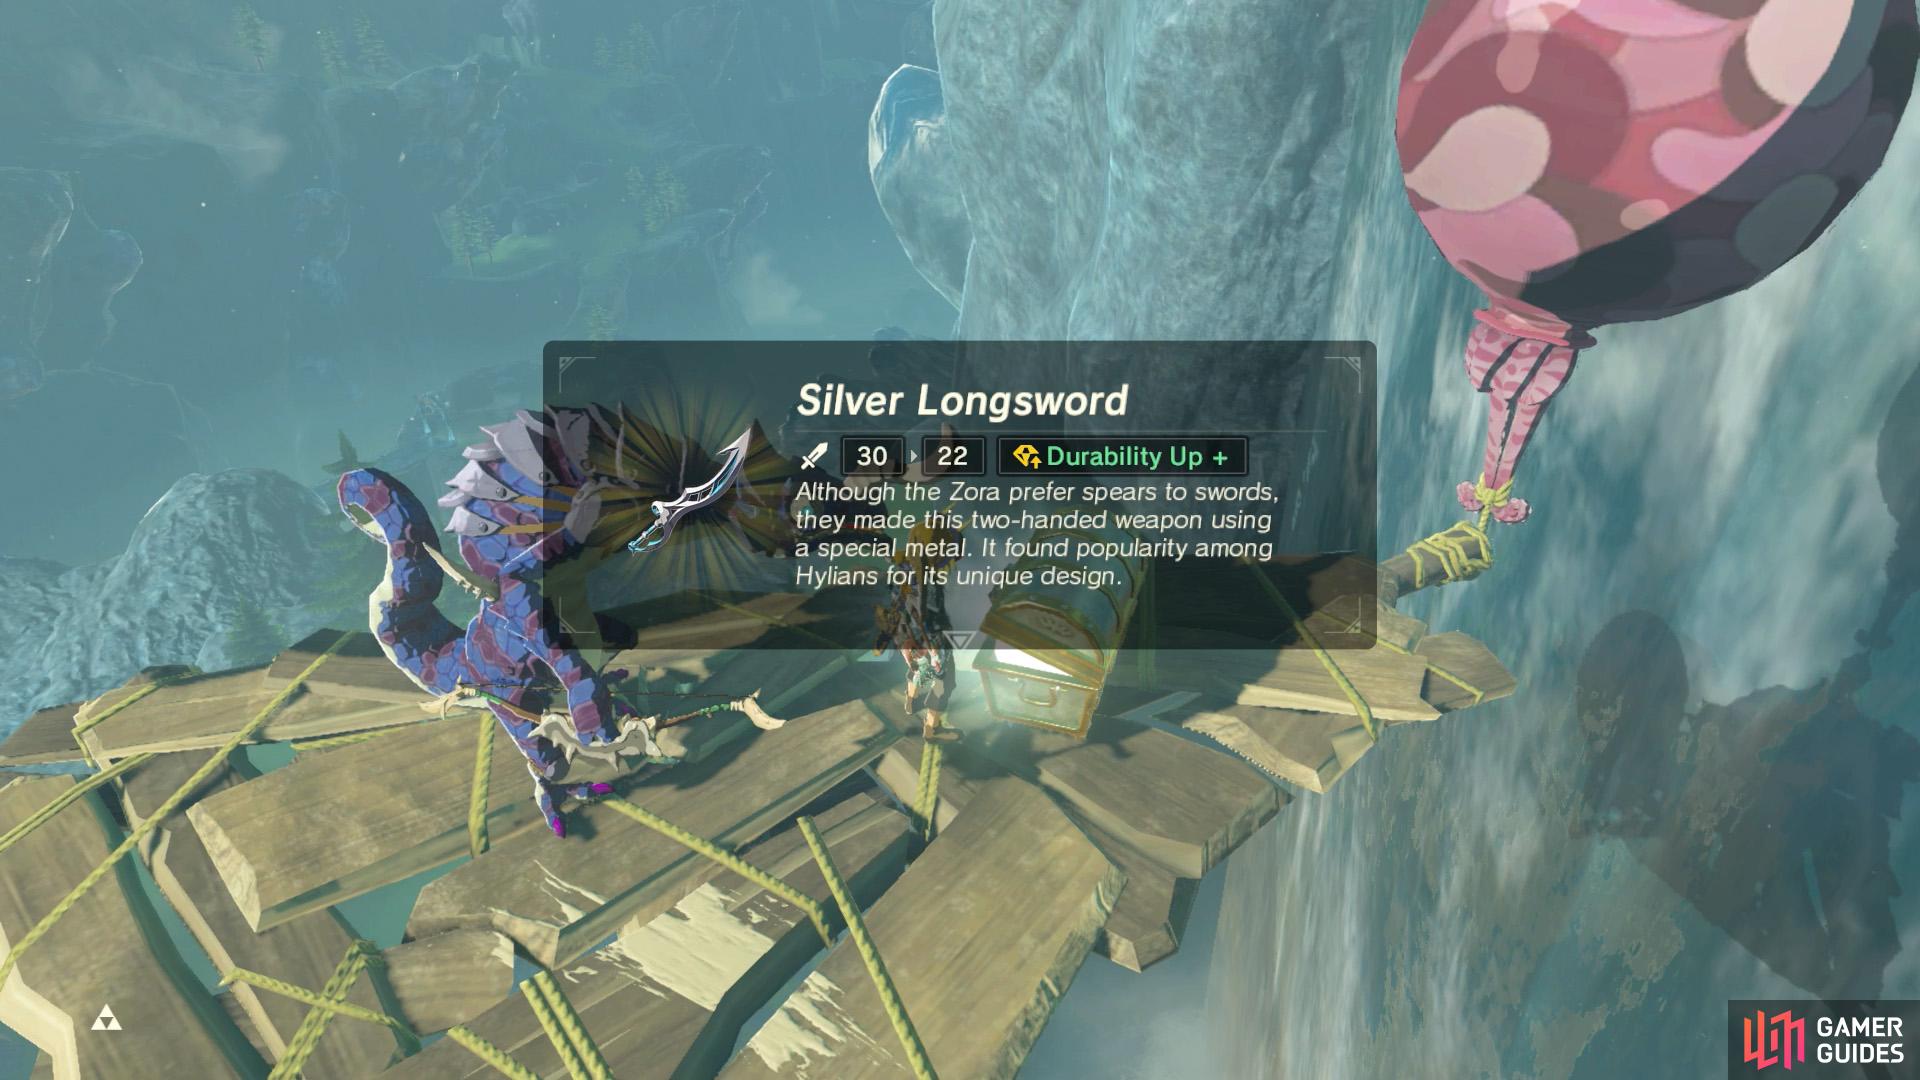
The metal chest holds a Silver Longsword.
North from Group 7 and west of Zora’s Domain, there are two floating platforms in front of the Veiled Falls. More Lizalfos archers await you. The northern chest holds a Silver Longsword.
If you obtained the Zora armor from Zora’s Domain, it’s a simple matter of swimming up the waterfall, then gliding down to the platforms.
Group a
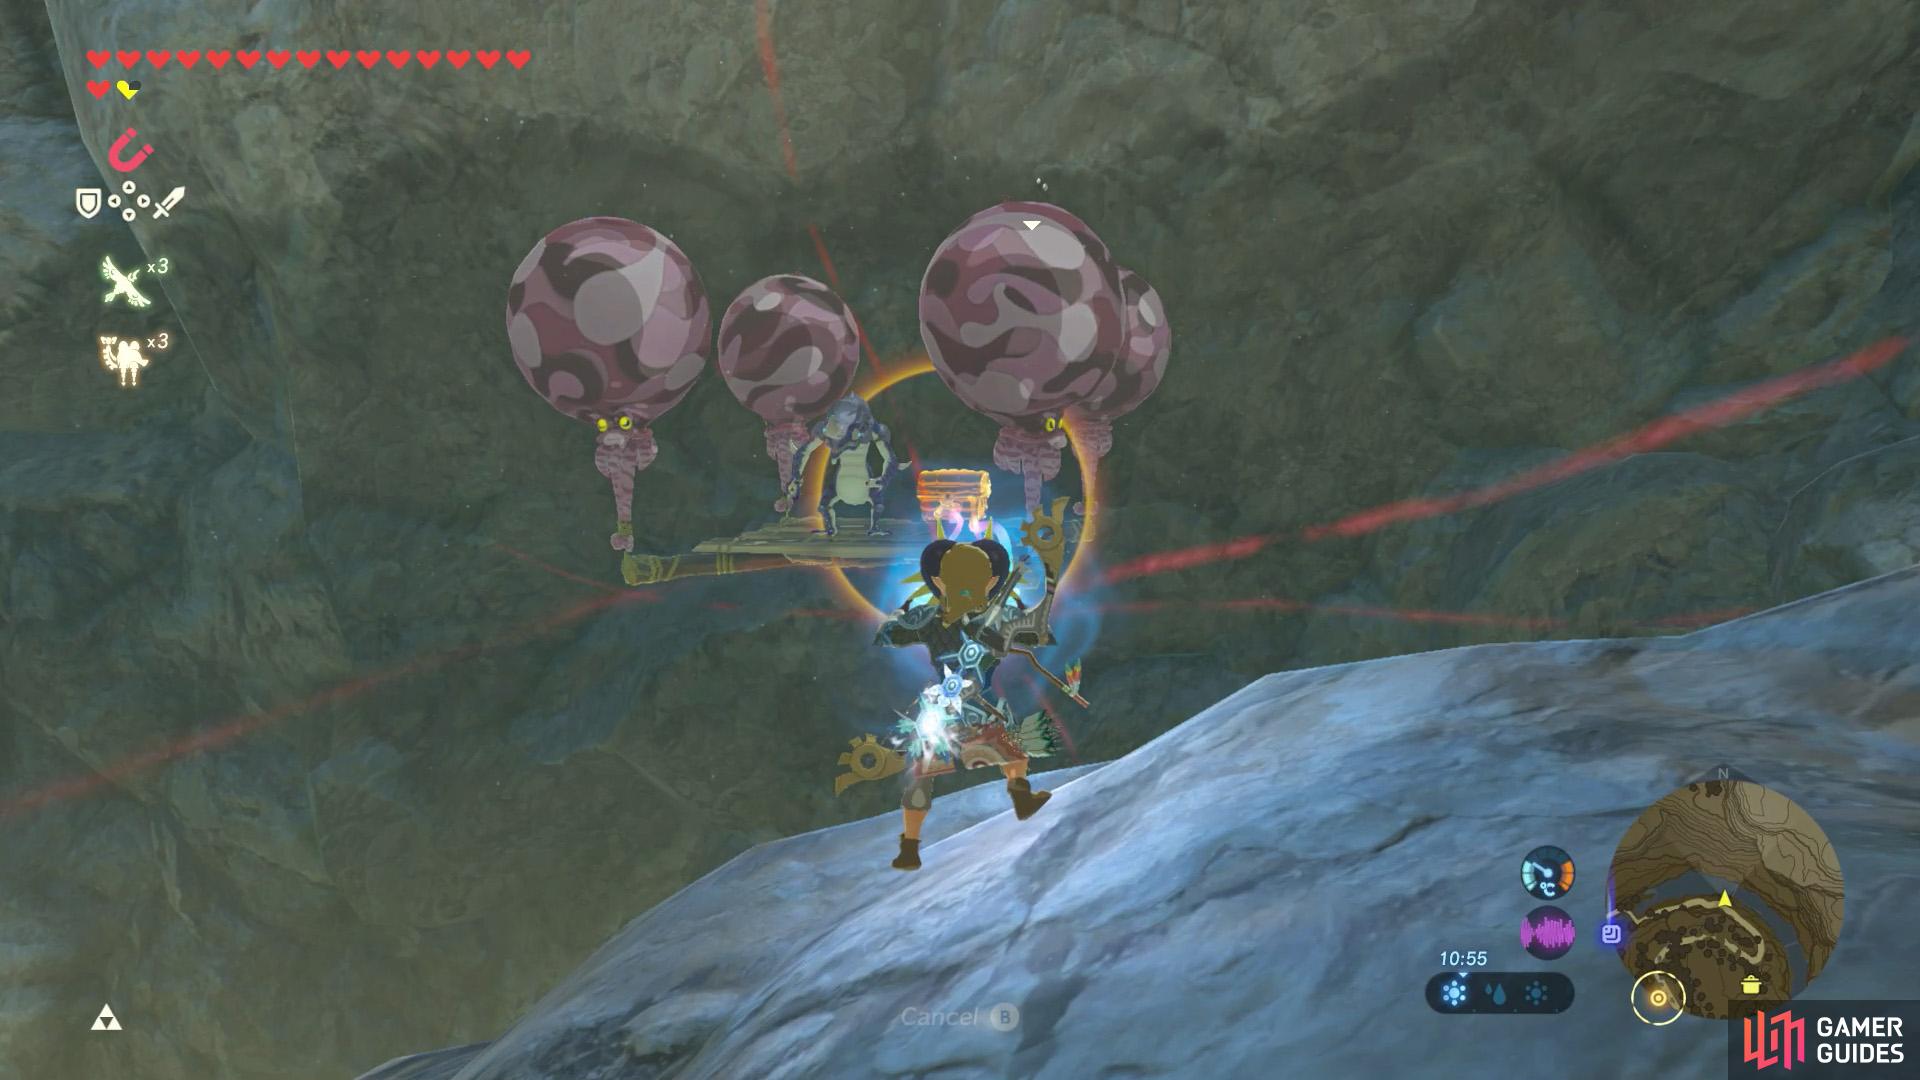
This platform is overlooking Zora’s Domain from the north.
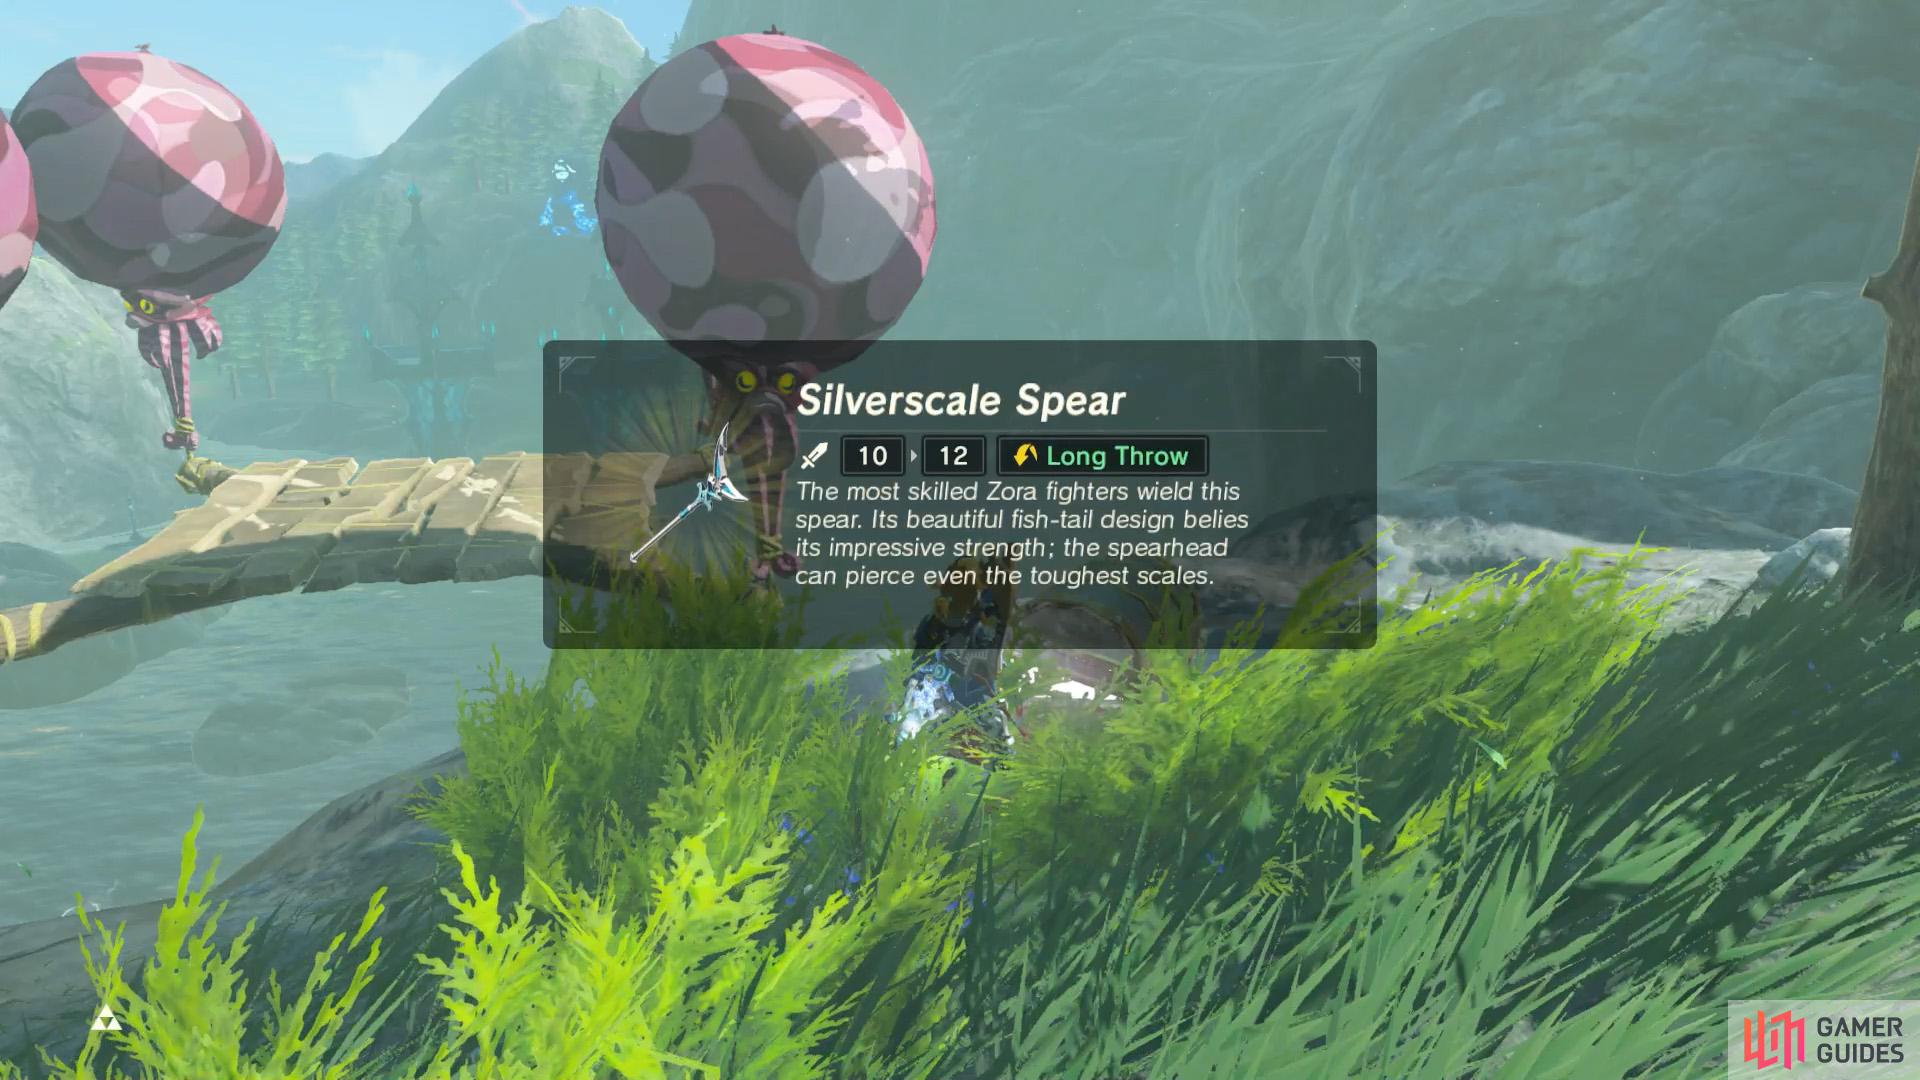
The chest here holds a Zora/Silverscale Spear.
Directly north of Zora’s Domain, there’s a platform in front of the first waterfall. It’s also south from Toto Lake. Lo and behold, another Lizalfos archer awaits, but this one is carrying Shock Arrows. The chest next to it has a Zora Spear.
Likewise, we suggest swimming up the waterfall using the Zora armor. You can glide to the waterfall itself from the north edge of Zora’s Domain. You can just about glide to the outer wall of the city from the throne room.
Group b
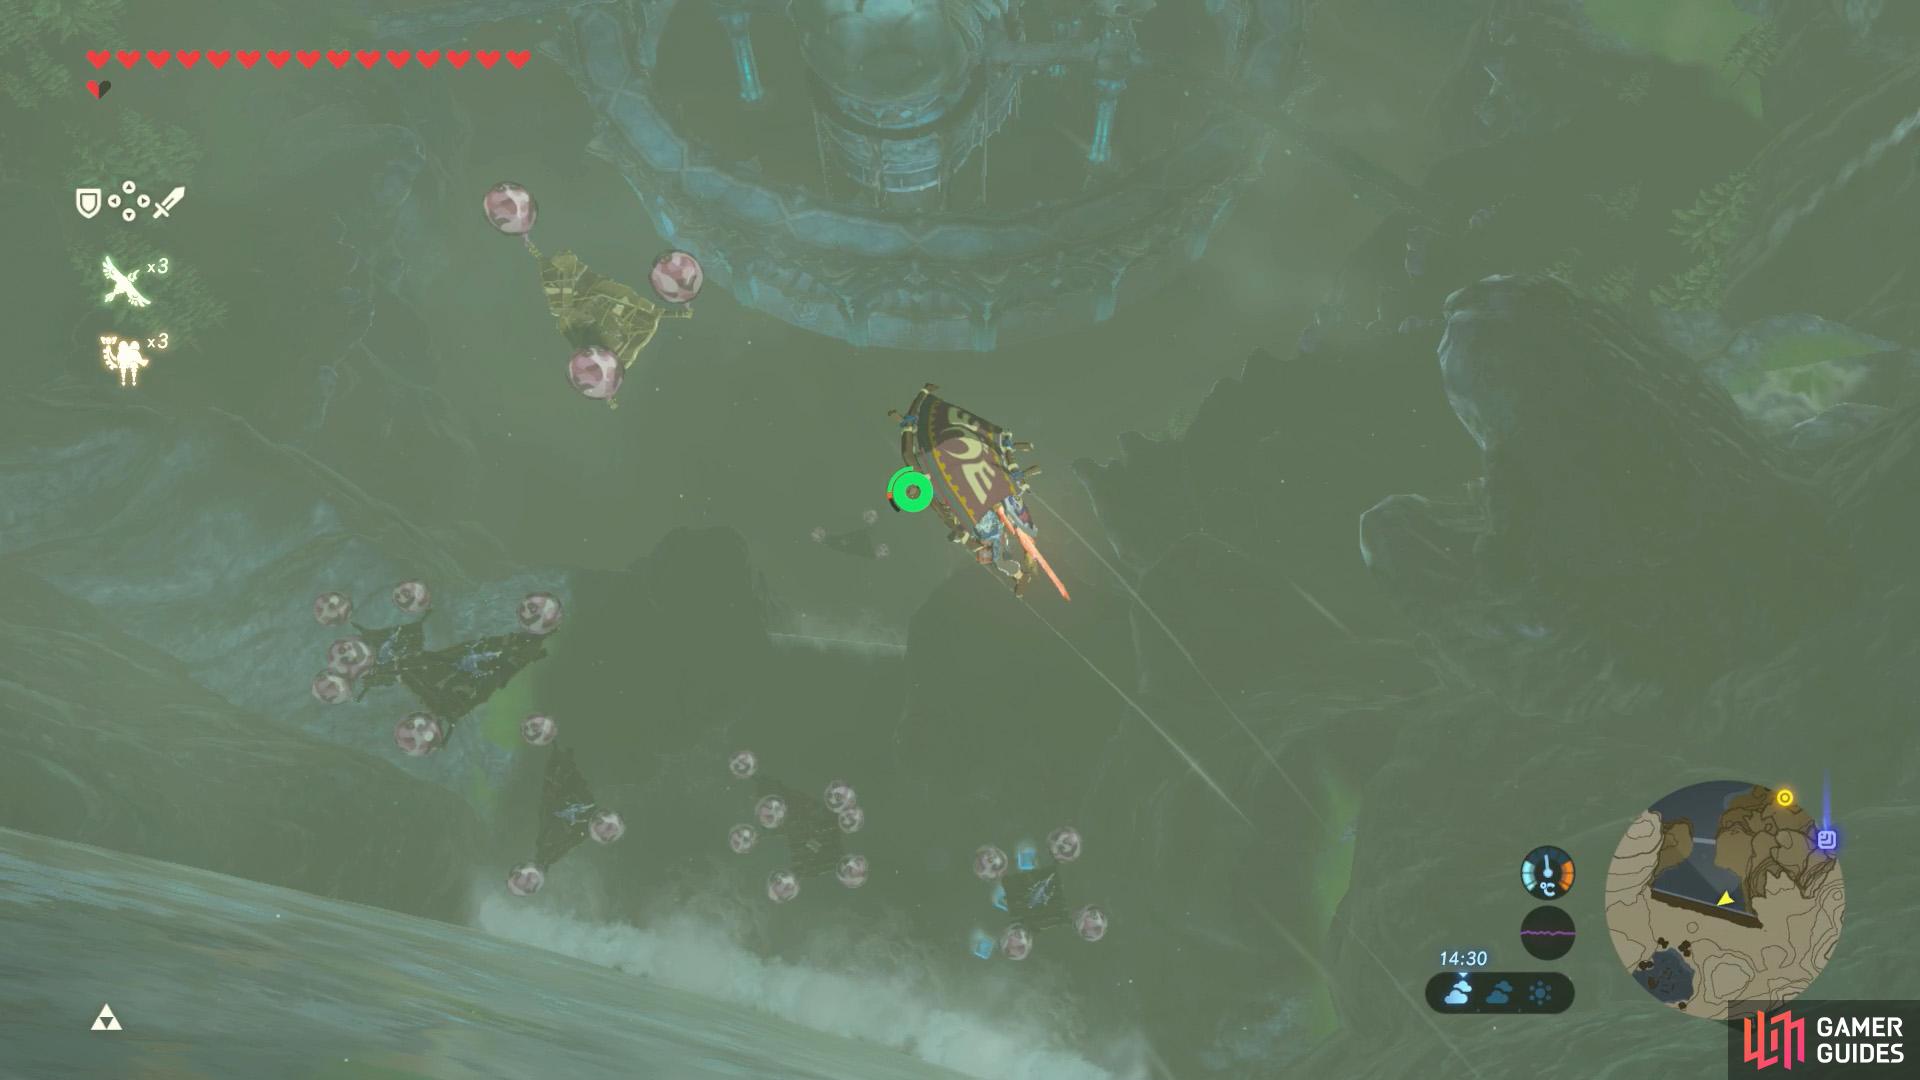
That’s… let us count… 6 platforms.
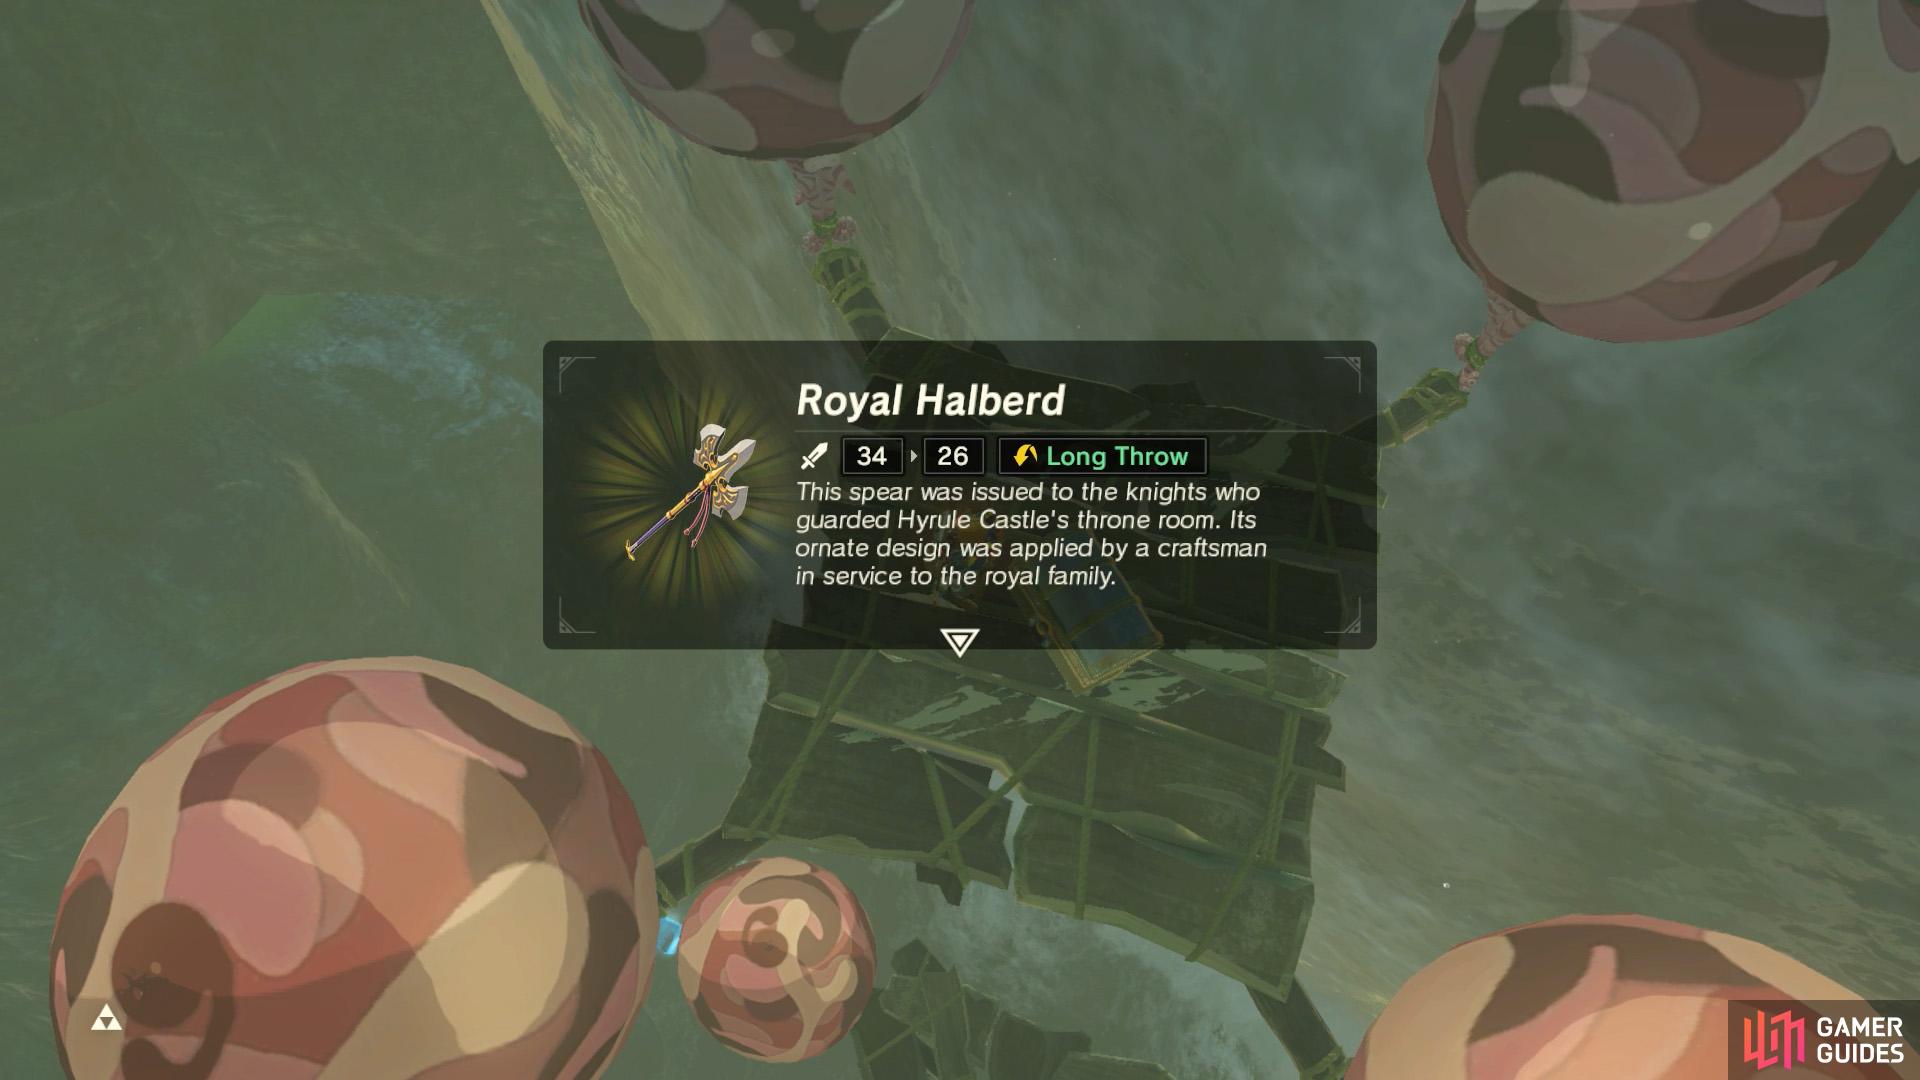
The metal chest nearer the bottom has a Royal Halberd.
North of the previous group, there are 6 platforms in front of the second waterfall, coming from the peak of the highlands. 4 are occupied by Lizalfos armed with Shock Arrows. The southernmost and highest platform has a wooden Ruby chest, one of the Lizalfos platforms towards the east has a wooden Diamond chest and a lower, square platform has a metal Royal Halberd chest.
If you don’t have the Zora armor, you should probably go and get it. Unless you want to painstakingly climb up the cliffs (well, it is fun, but you’ll probably need to keep doing it). With the armor, you can scale the waterfall in seconds, then glide to the platforms. Aim for the Ruby chest first, then look for a wooden chest near a Lizalfos. Finally, glide down to the easily-identifiable metal chest.
Group c
Four platforms are found in front of the first waterfall en route to Ploymus Mountain.
Can’t say “no” to free bows. Unless your inventory’s full.
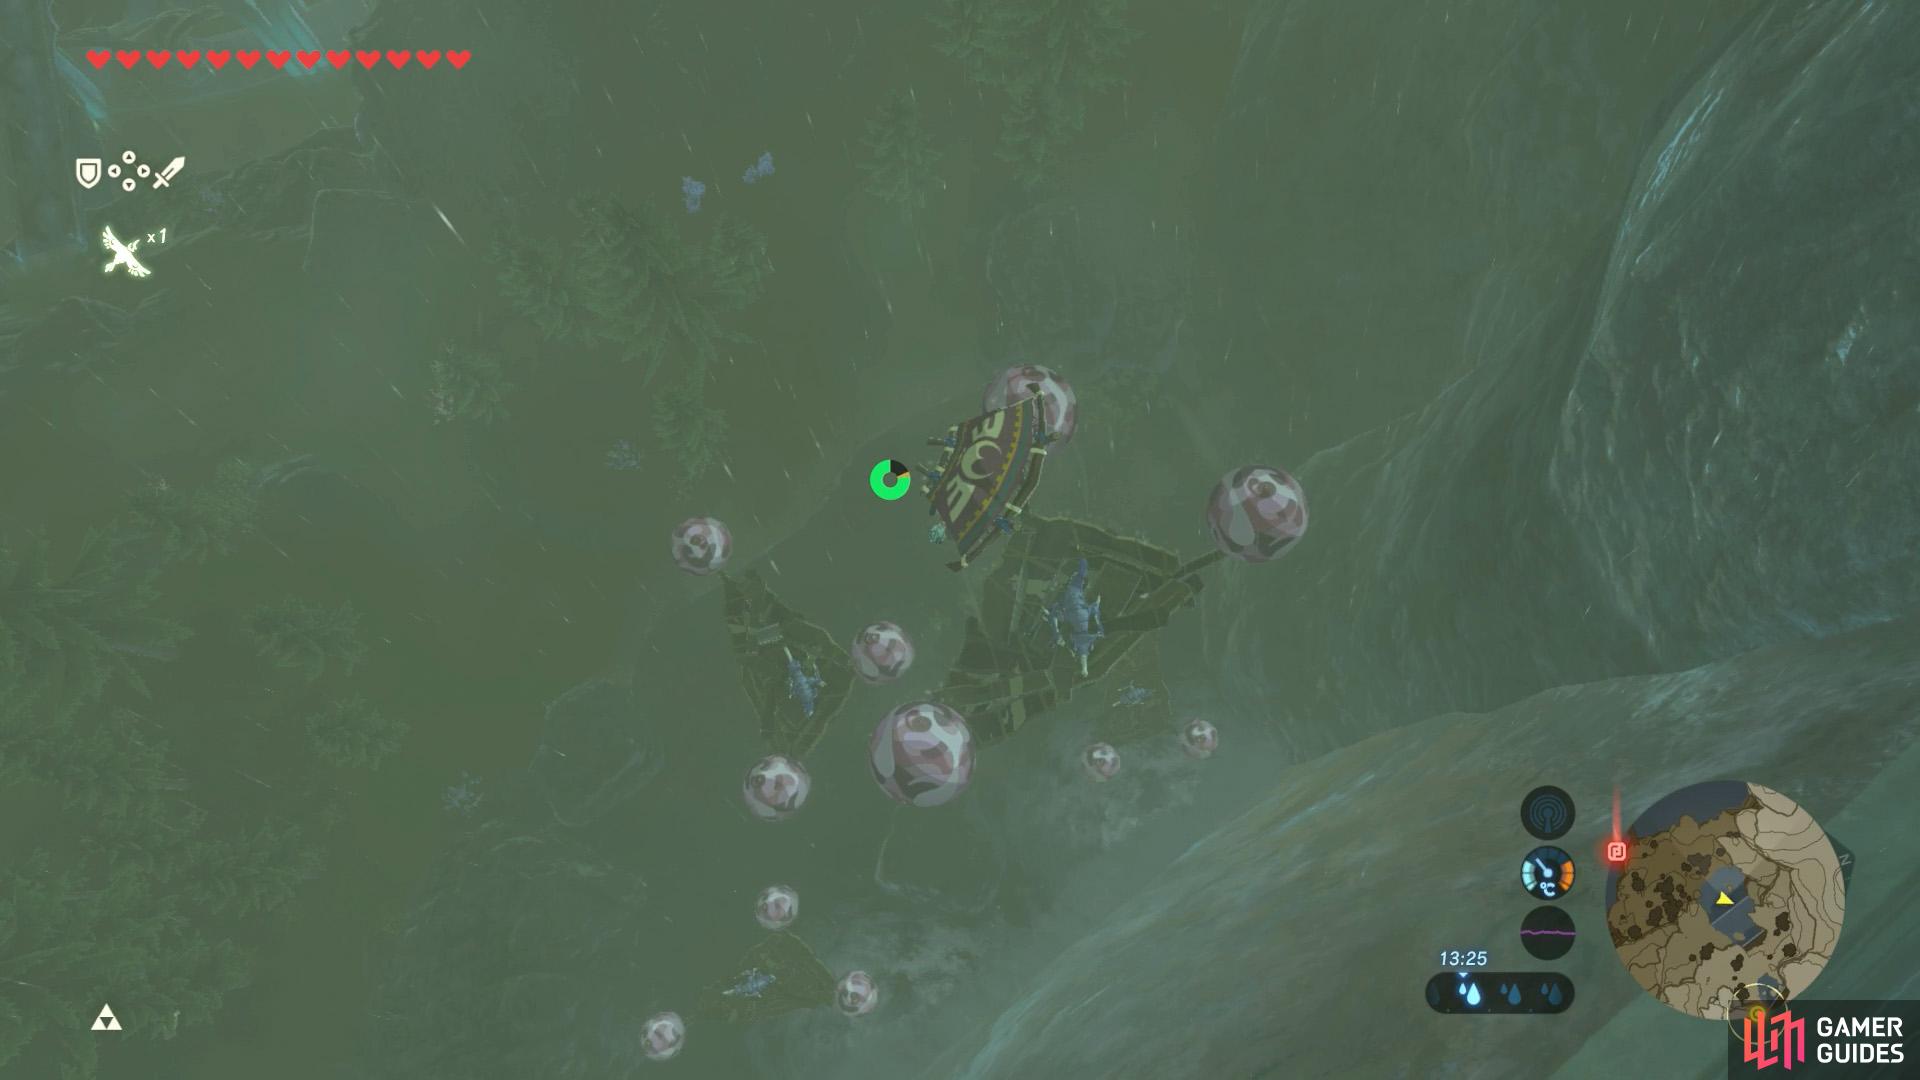
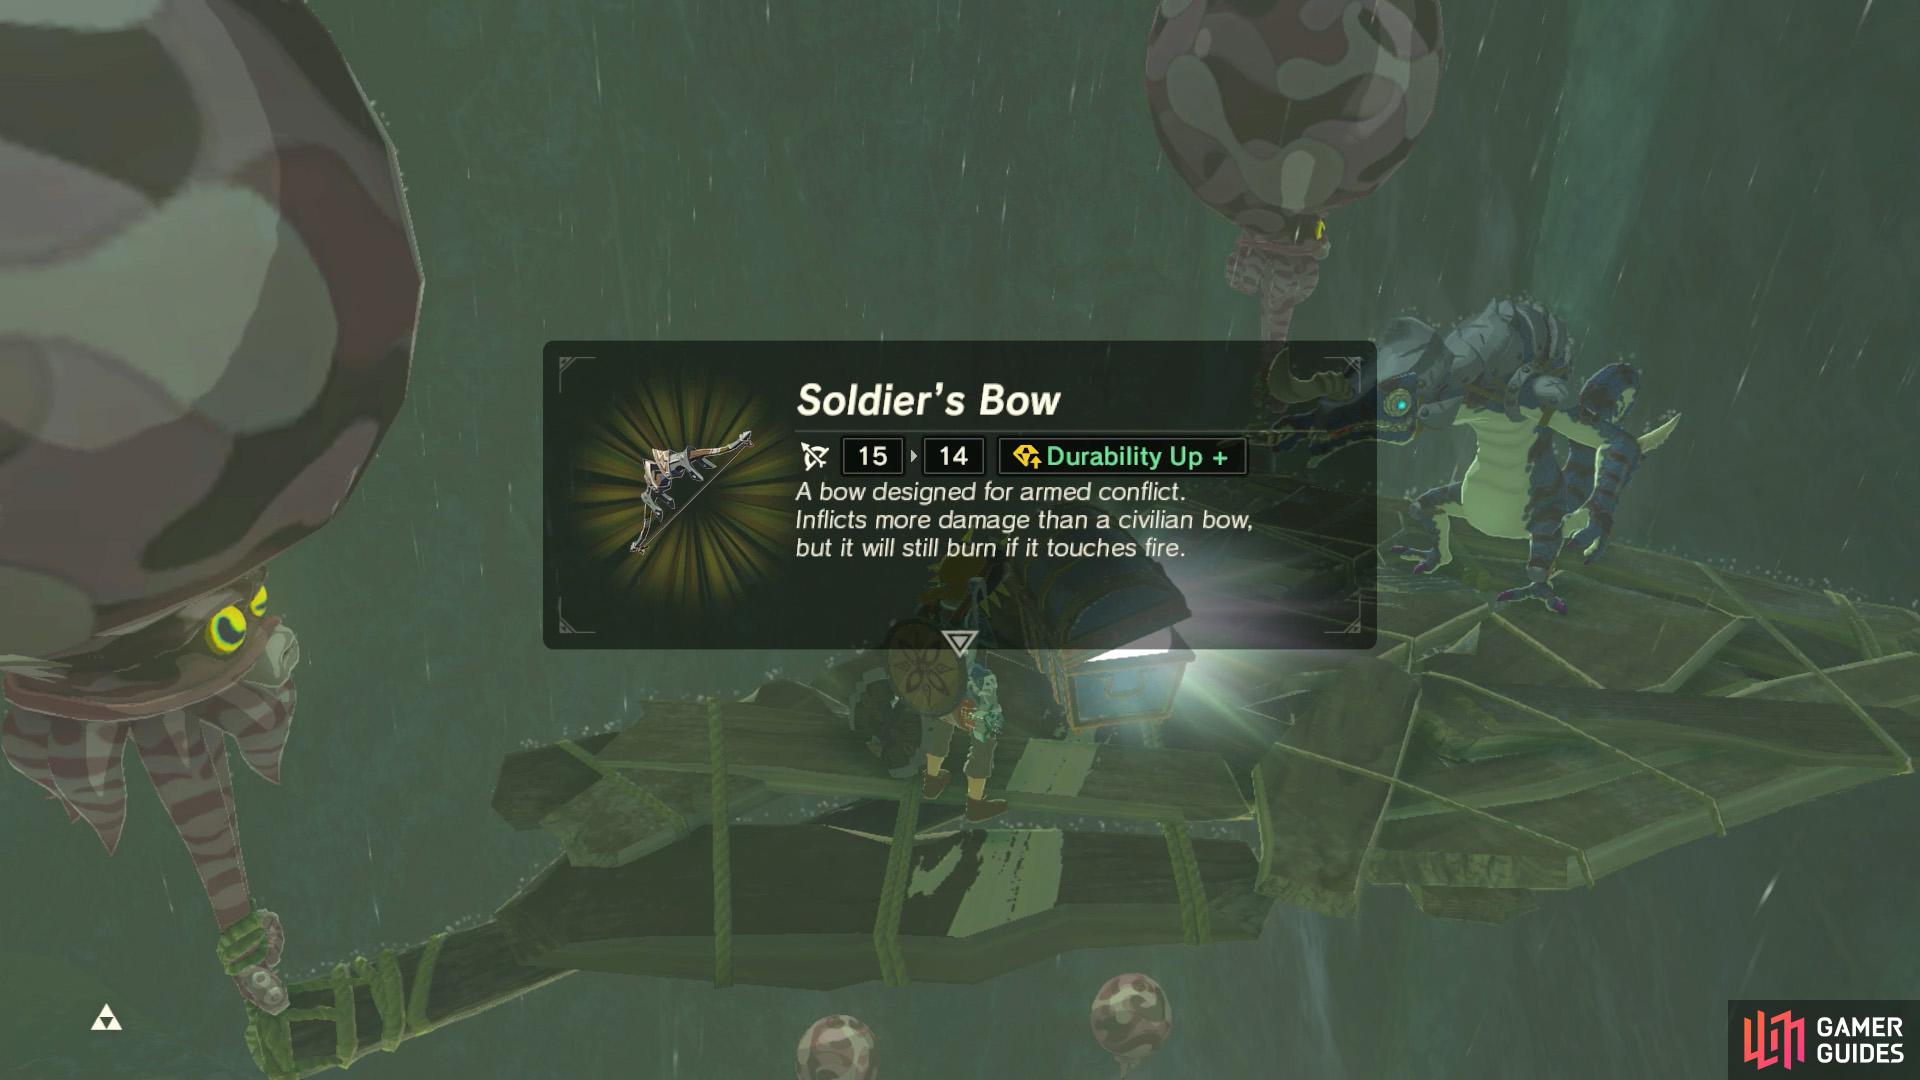
North-north-east from Zora’s Domain, there’s a group of 4 platforms in front of the first waterfall at Mikau Lake. Each platform is guarded by your favorite Lizalfos. The southernmost platform, near the base of the falls has a wooden Opal chest, while the westernmost platform, higher up, has a metal Soldier’s Bow chest.
There’s a good chance you’ll pass by these platforms on your way to collect Shock Arrows to pacify Vah Ruta. You can head across the bridge leading east from Zora’s Domain then use the Zora armor to swim up the waterfall.
Group d
The next waterfall up has 3 platforms.
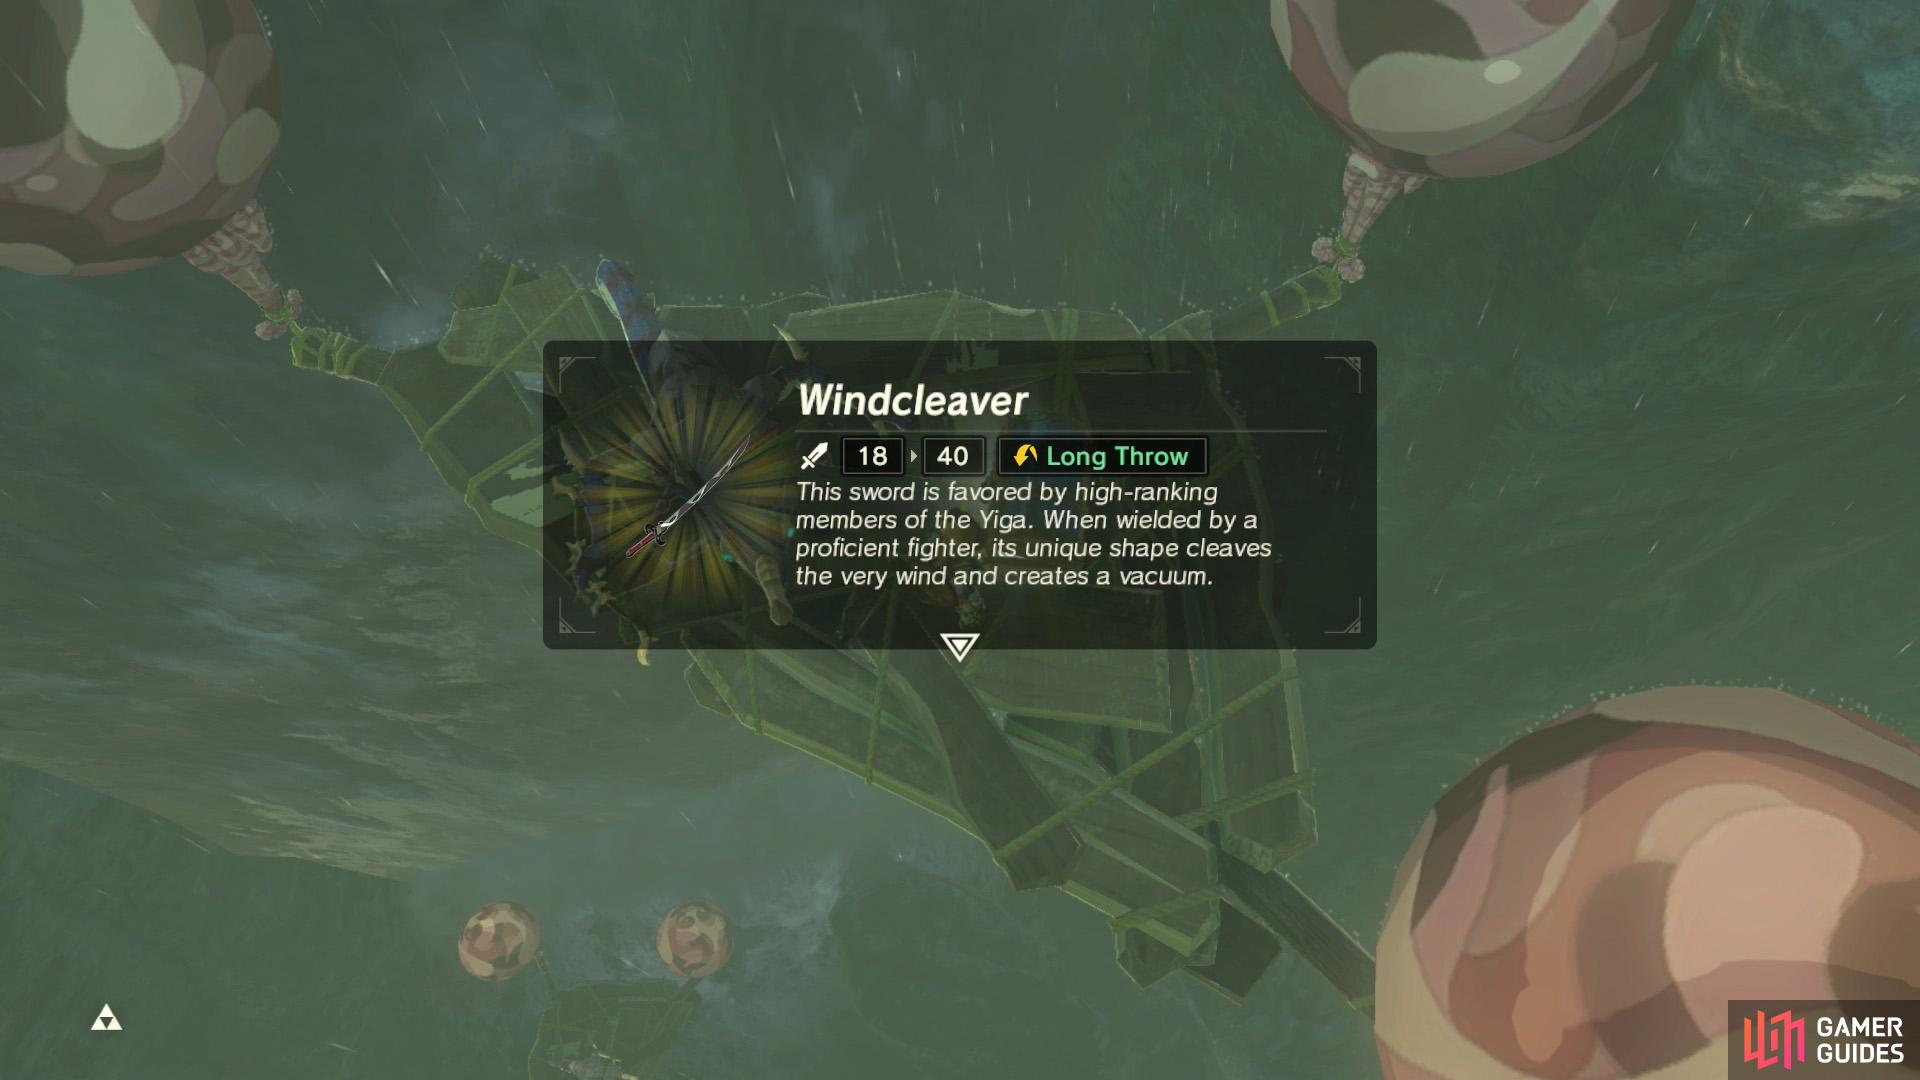
Here’s a Windcleaver without having to deal with the Yiga Clan.
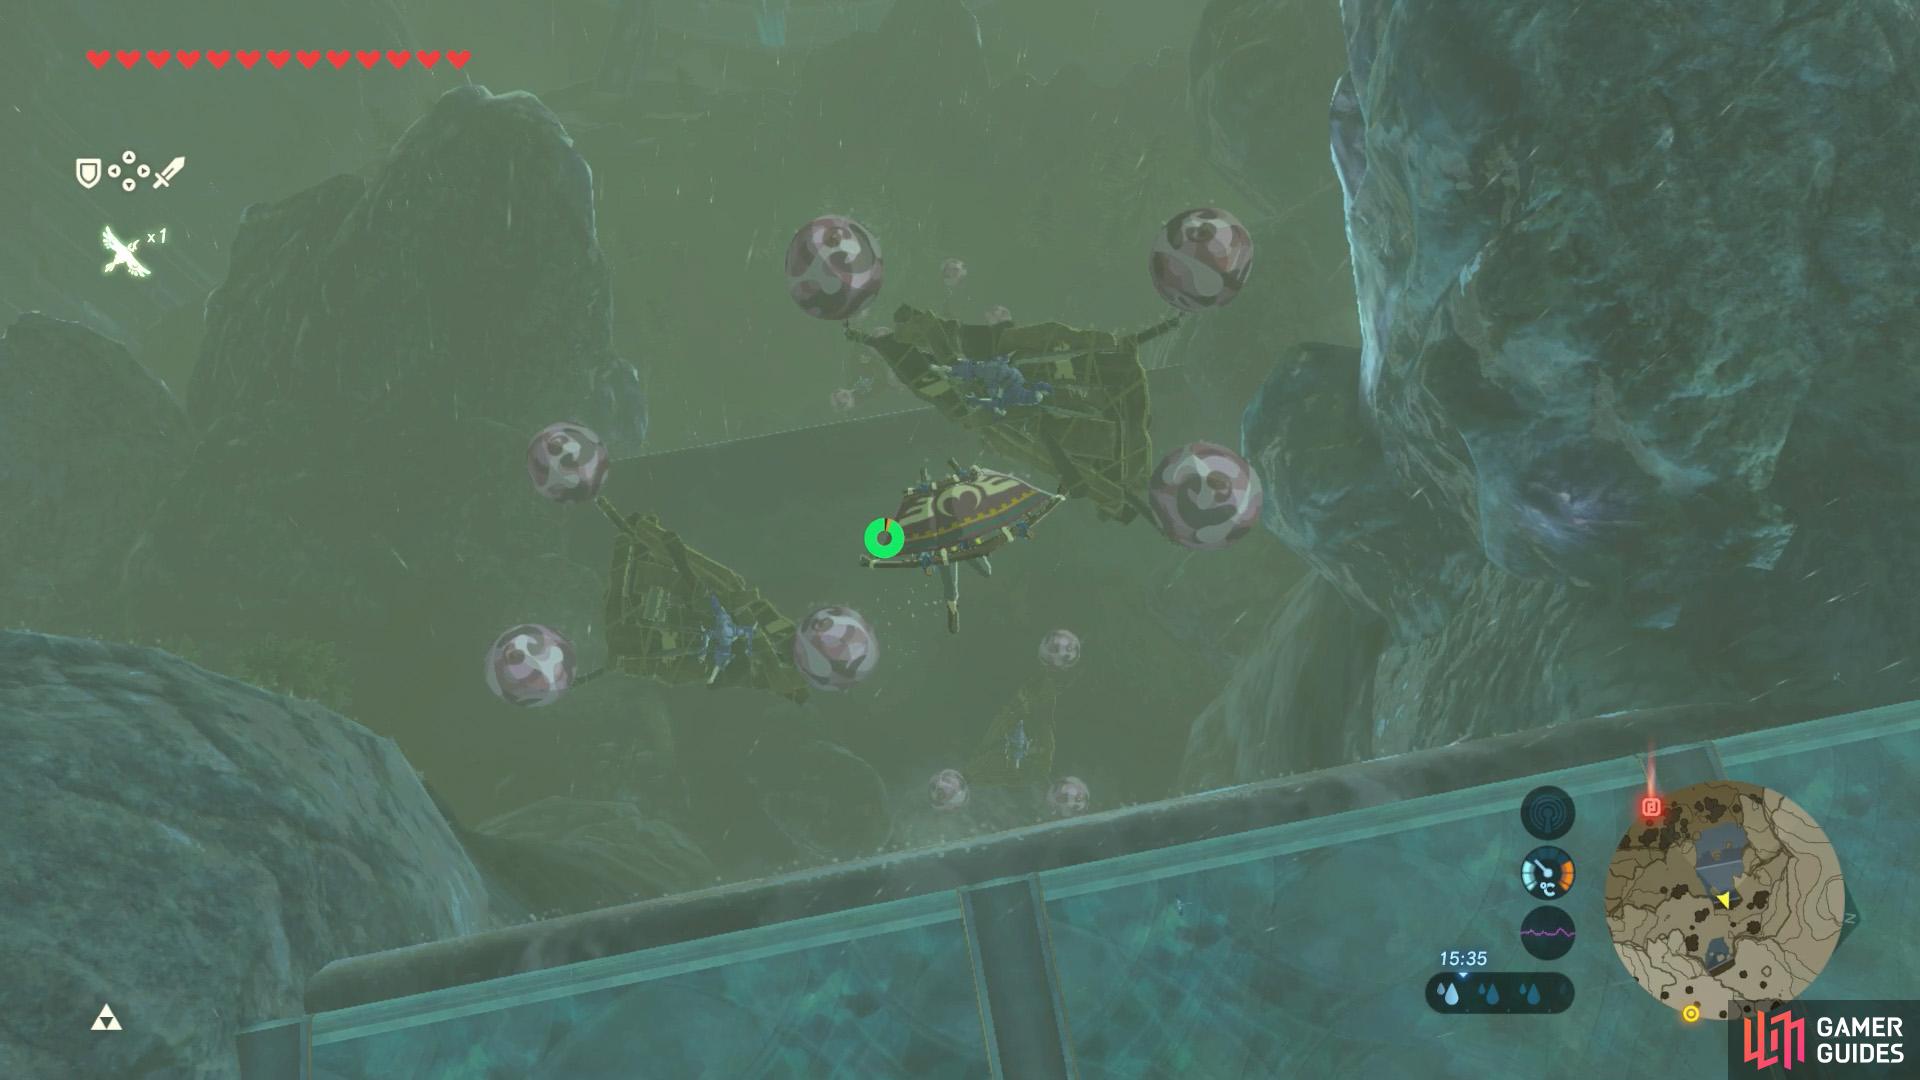
East from the previous group, there are 3 more platforms in front of the second waterfall at Mikau Lake. Similarly, a Lizalfos is positioned on each platform. On the southernmost platform, there’s a metal chest with a Windcleaver inside.
You know the drill: swim up the falls using the Zora armor, then glide down to the platform(s) of your choice.
Group e
Two more platforms await in front of the Lulu Lake waterfall.
OK, we might have enough bows now. Maybe?
Further east from the previous group, there are 2 platforms in front of the waterfall at Lulu Lake (this feels like some sort of countdown). Two more Lizalfos are eager to annoy you or stand around clueless. The chest on the northern platform contains a Silver Bow.
Group 14

Four more platforms await near the eastern edge of the region.
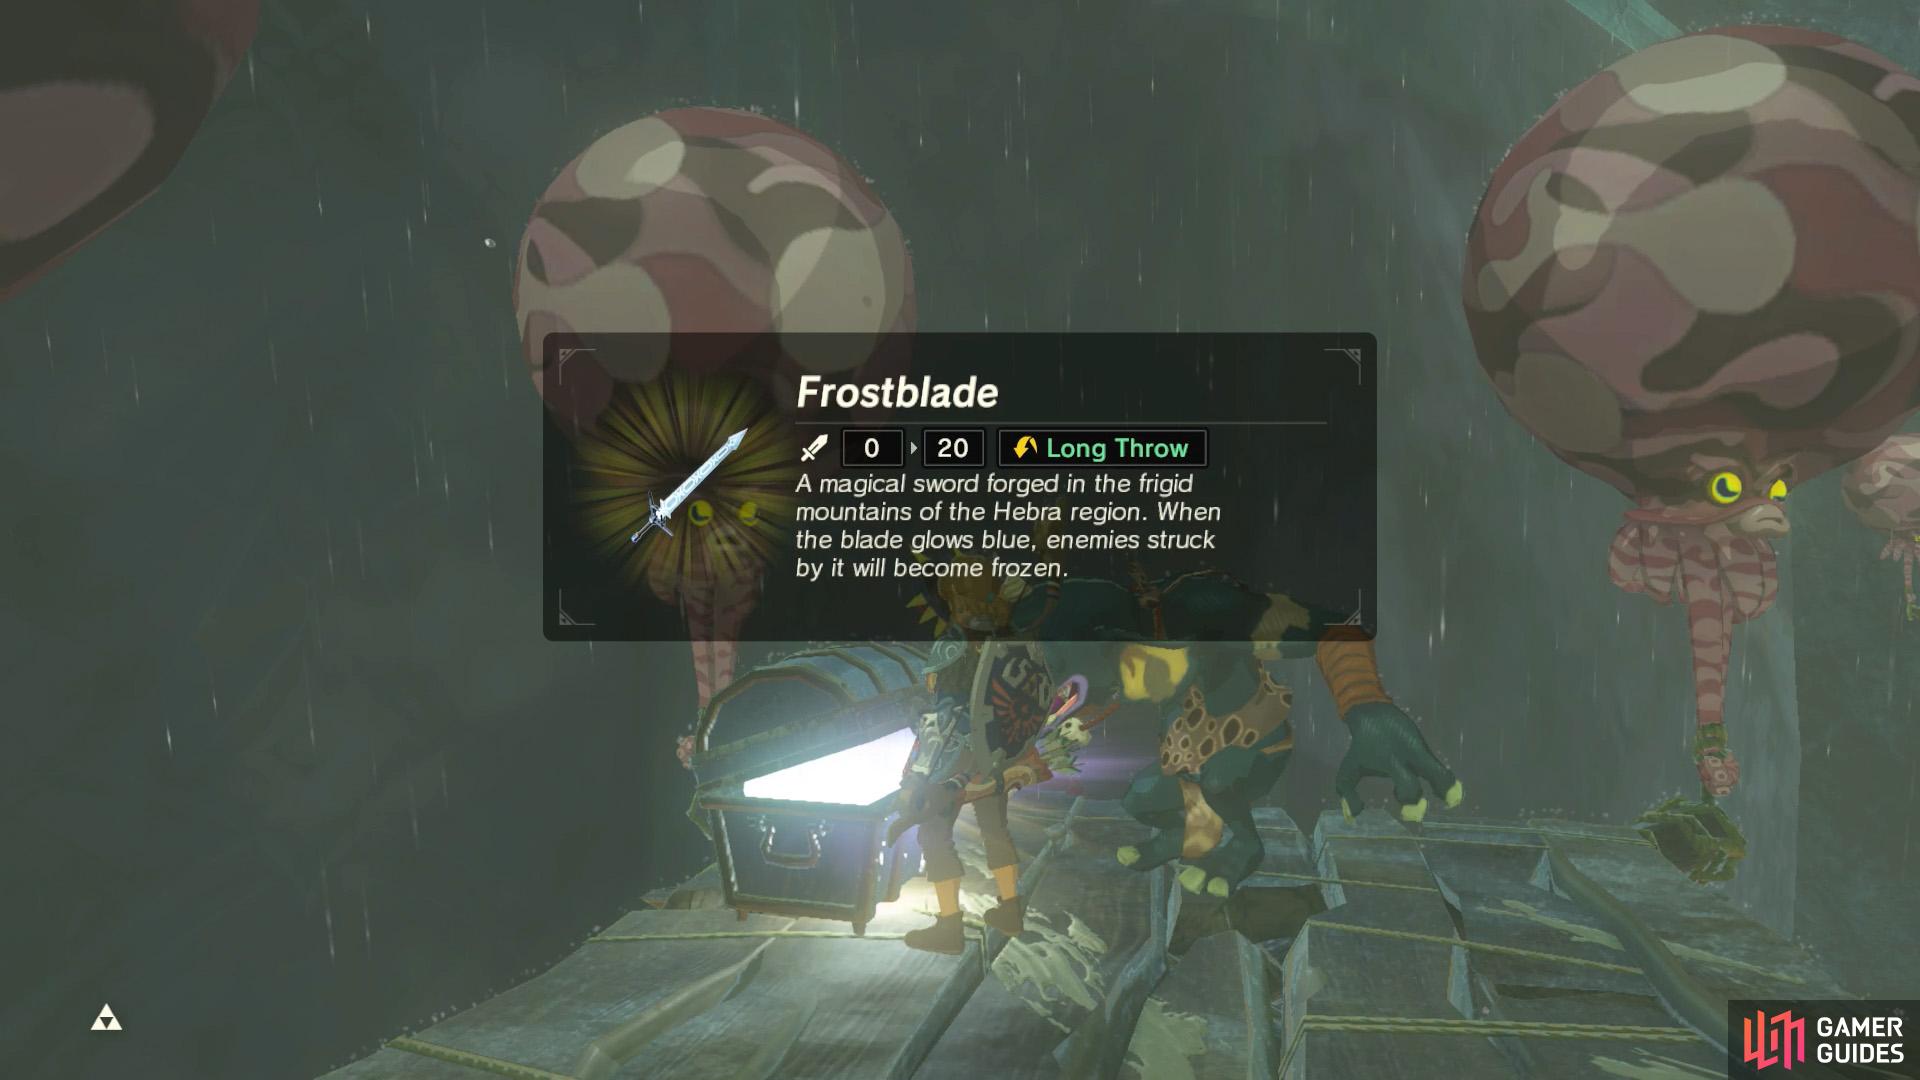
A Frostblade and Sapphire are up for grabs.
Towards the east side of the Lanayru region, there are two platforms in front of the waterfall coming from Tal Tal Peak. It’s a short distance east from the East Reservoir Lake. What’s this? The platforms are protected by Bokoblins, not Lizalfos! To further surprise you, they have Shock Arrows.
The western platform has a chest with a Frostblade, while the other platform has a chest with a Sapphire. If you’ve been going around scouting for platforms, you could pass through (or around) Ploymus Mountain and then glide down from the top of the waterfall.
Bordering Lanayru
Group F
Some platforms are just easier to shoot down.
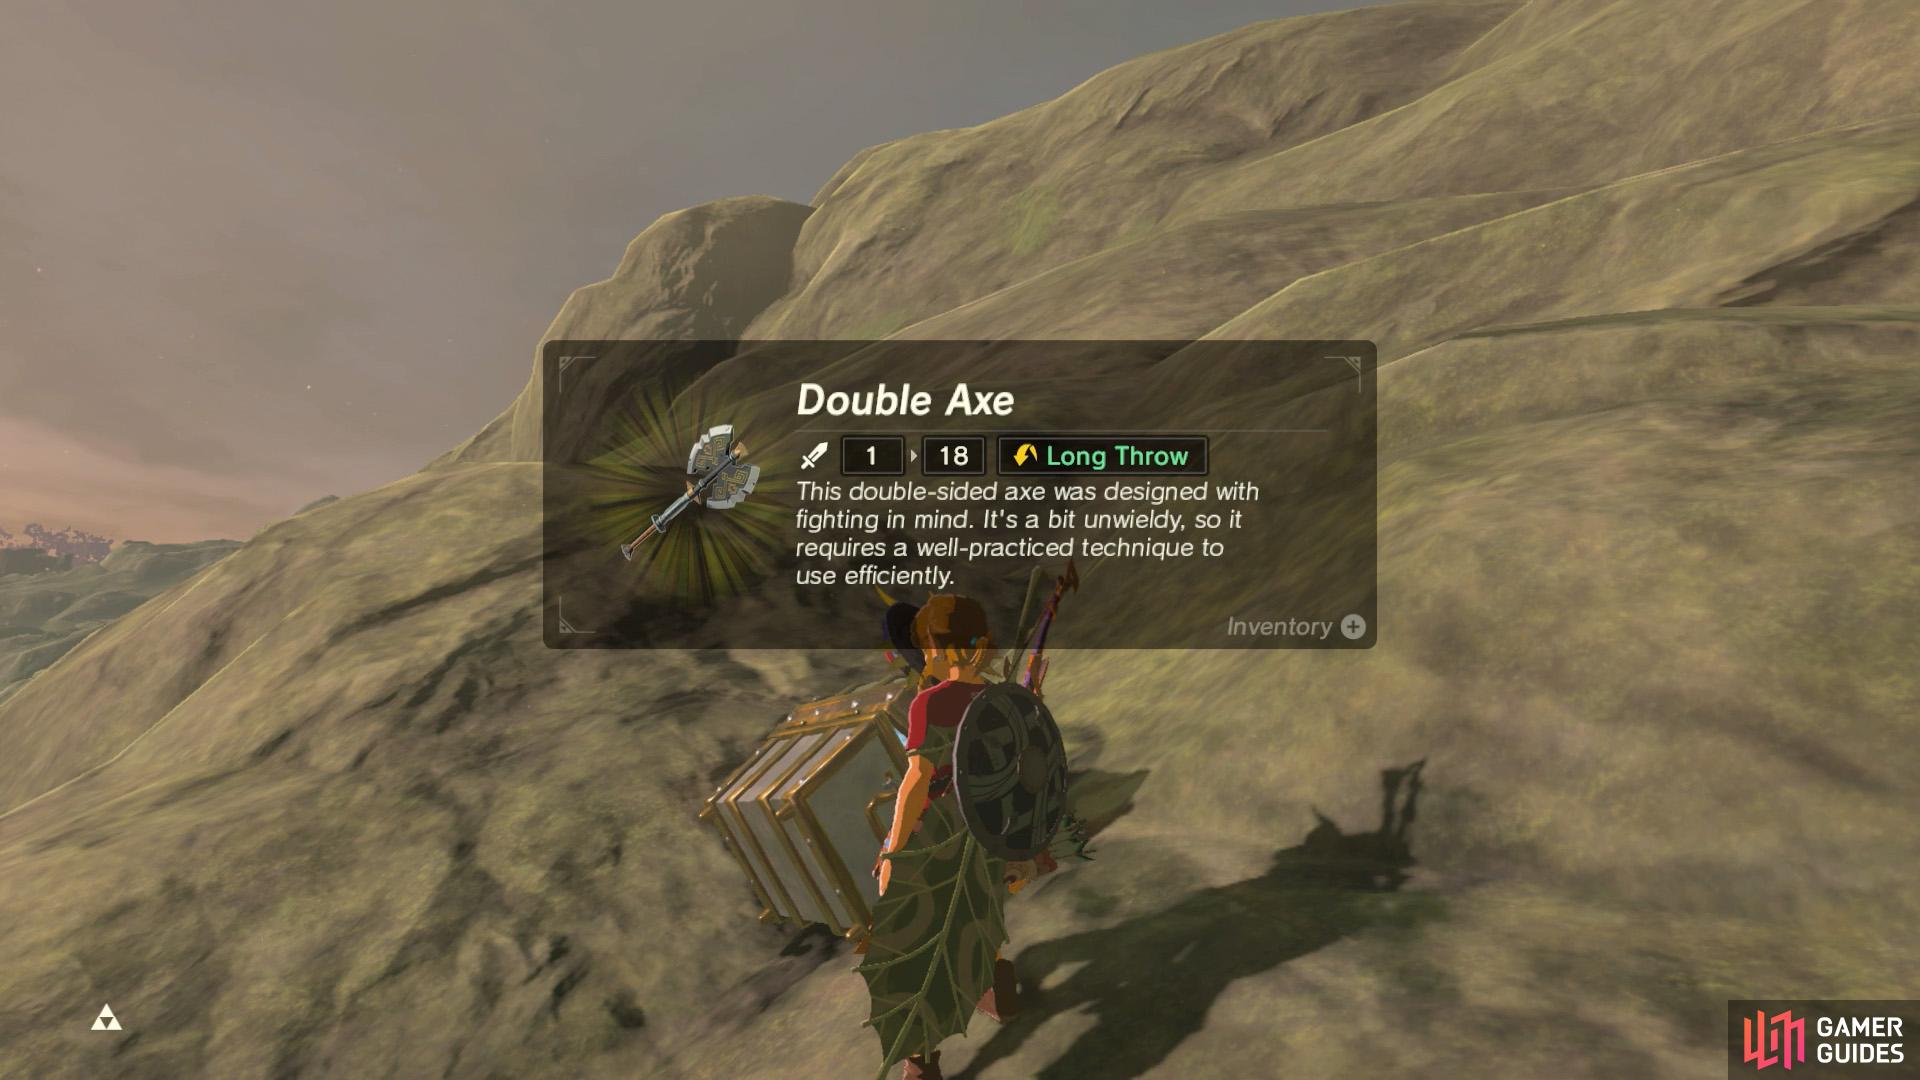
If this chest falls into the water, you can recover it with Magnesis.
North from Wetland Stable, there’s a lone platform near Rebonae Bridge. A Bokoblin with Fire Arrows lies in wait. Behind the foul beast is a chest with a Double Axe tucked inside.
The platform is quite high up, so you may want to shoot it down. If you have lots of stamina, you could climb up the narrow tower on the stable side and glide from there. Or you could drop some Spicy Peppers, ignite them with fire and then glide up using the upgraft.
Group G

A well equipped Lizalfos is guarding Thims Bridge.
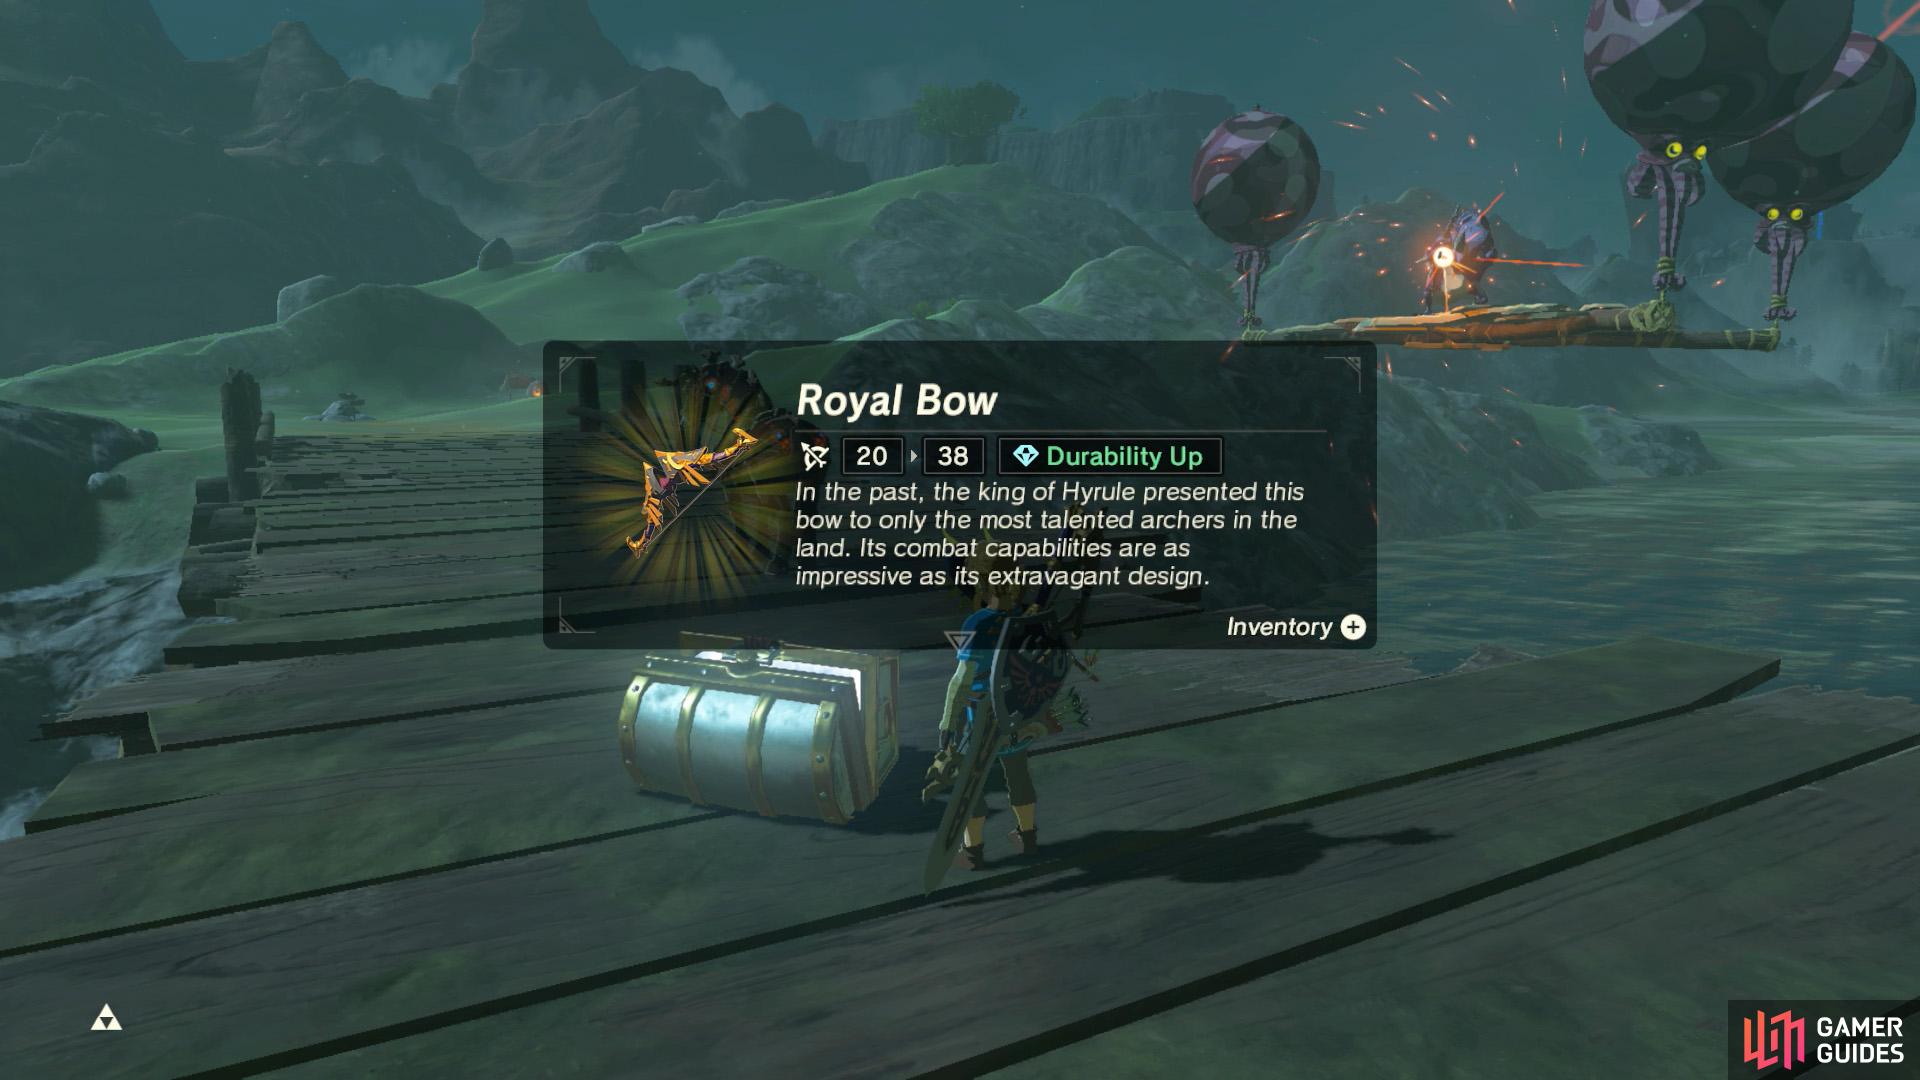
The chest contains a Royal Bow.
Towards the far north-east of Central Hyrule, there’s another platform near Thims Bridge, past Crenel Hills. The Lizalfos here is carrying a Mighty Lynel Bow and Fire Arrows. Next to it is a chest with a Knight’s Bow.
You can easily snatch the chest using Magnesis.
Group J
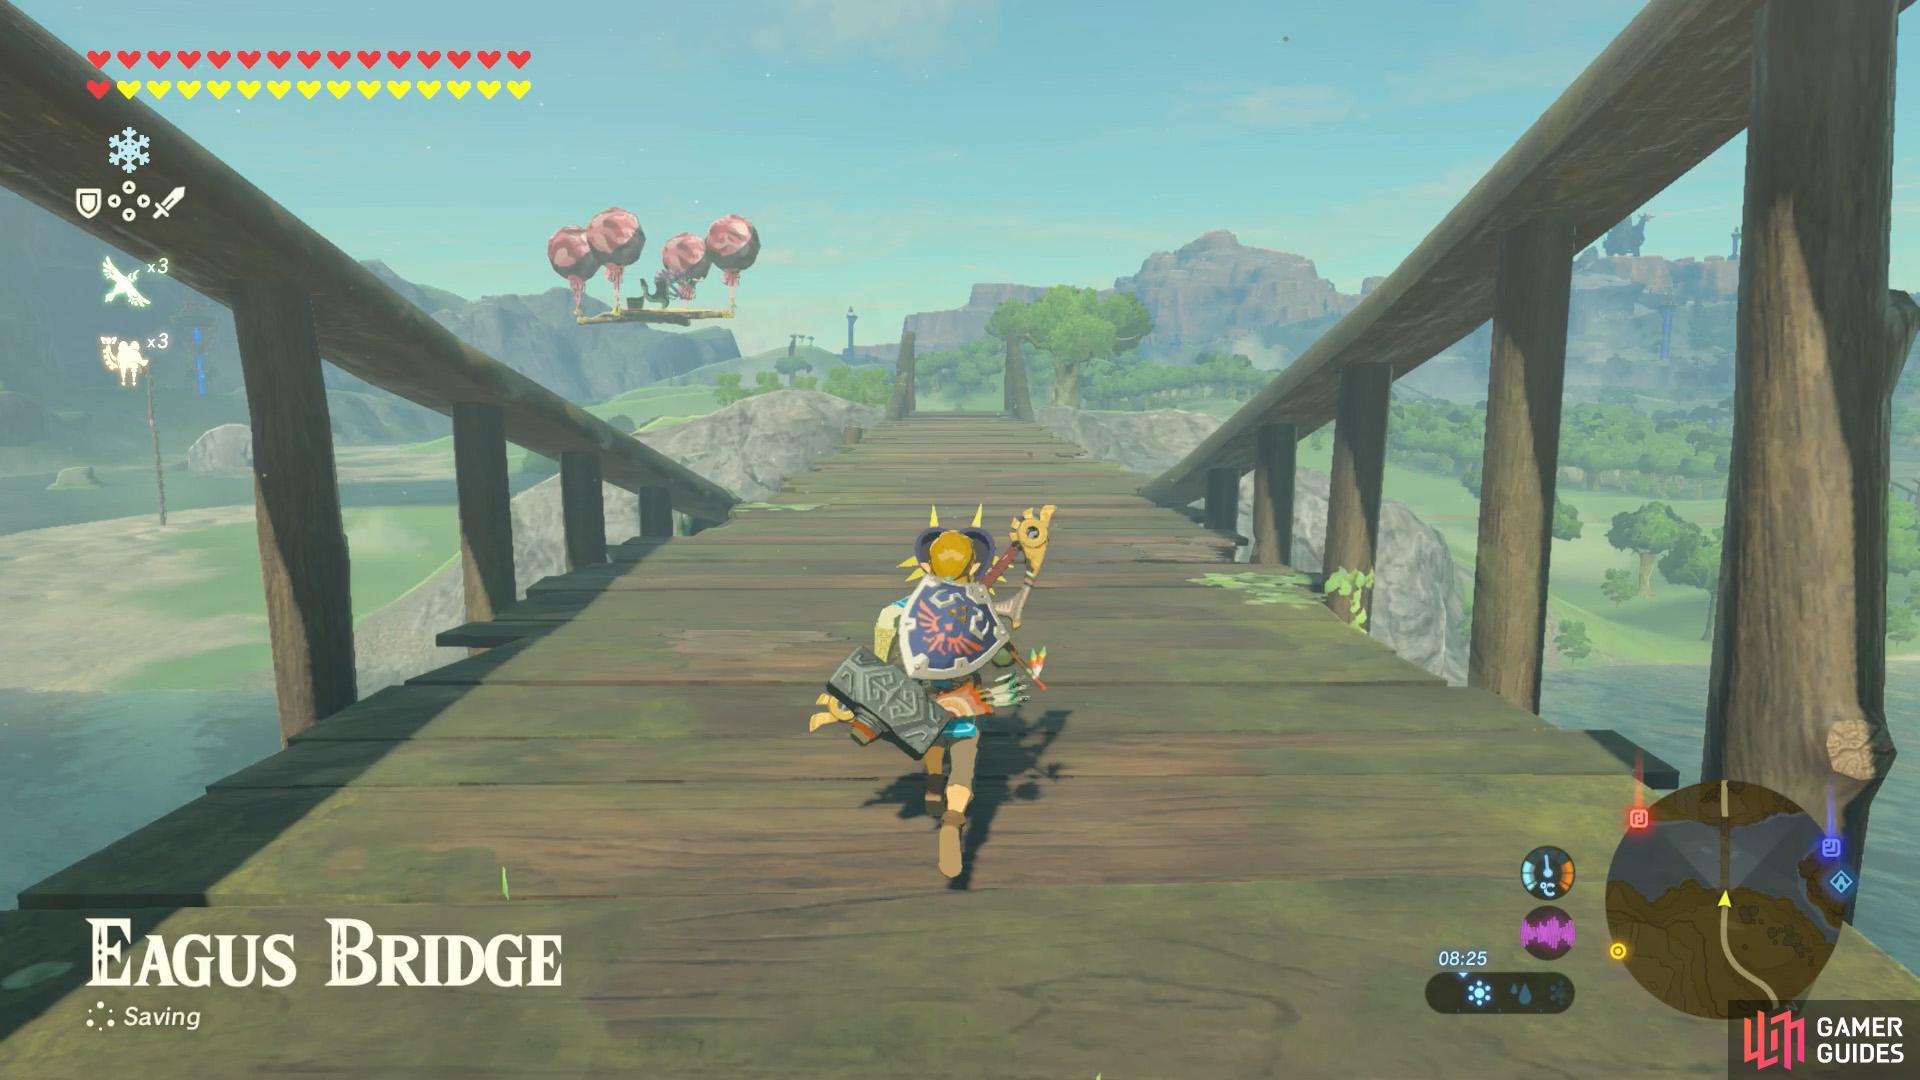
A floating platform near Eagus Bridge.
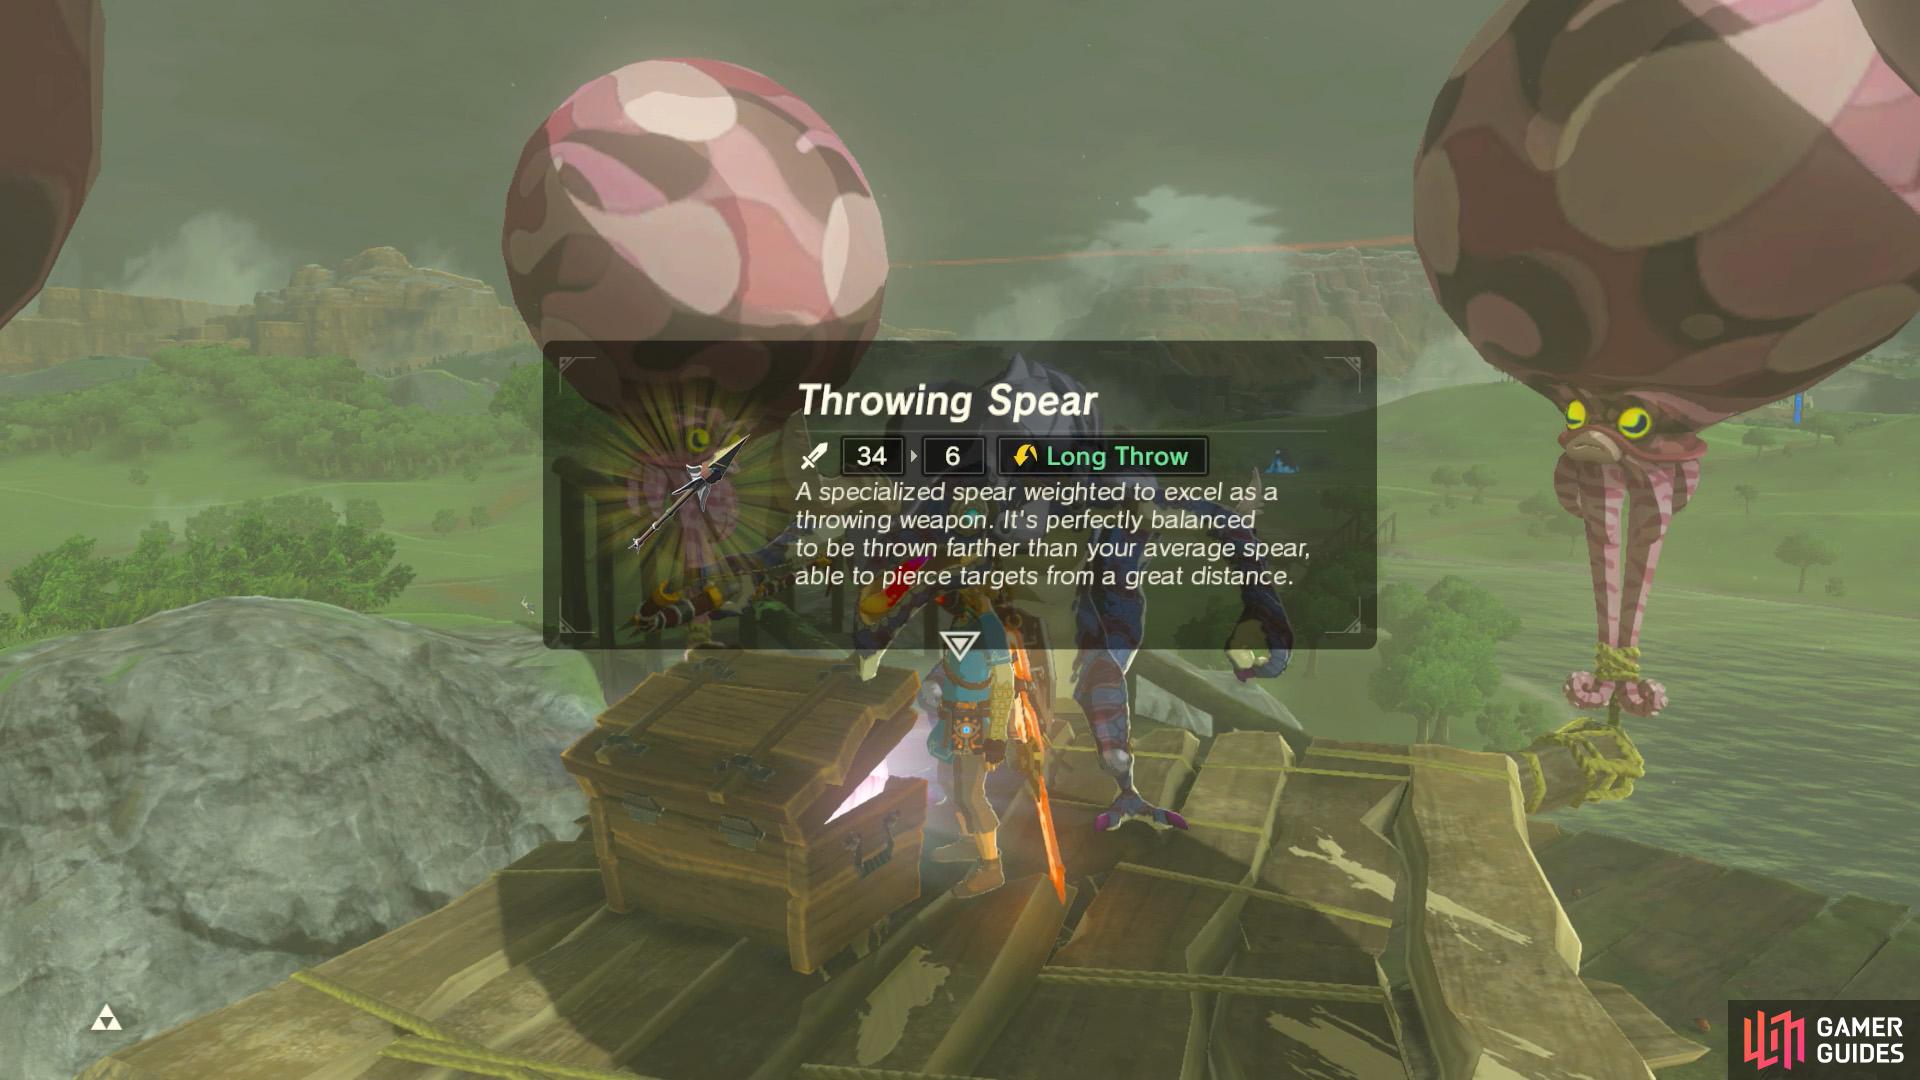
Try dropping some Spicy Peppers and burning them to create an updraft.
East from Riverside Stable, there’s a lone platform next to Eagus Bridge, en route to the Lanayru region. The foe here is a Lizalfos who can shoot two Bomb Arrows at once. The chest behind it has a Throwing Spear.
This platform is positioned relatively high and the chest is wooden anyway, so you can’t use Magnesis. The quickest way is probably to shoot the platform down, although don’t forget that Lizalfos can swim, unlike Bokoblins. You could also create a nearby updraft using ignited Spicy Peppers.
Group M
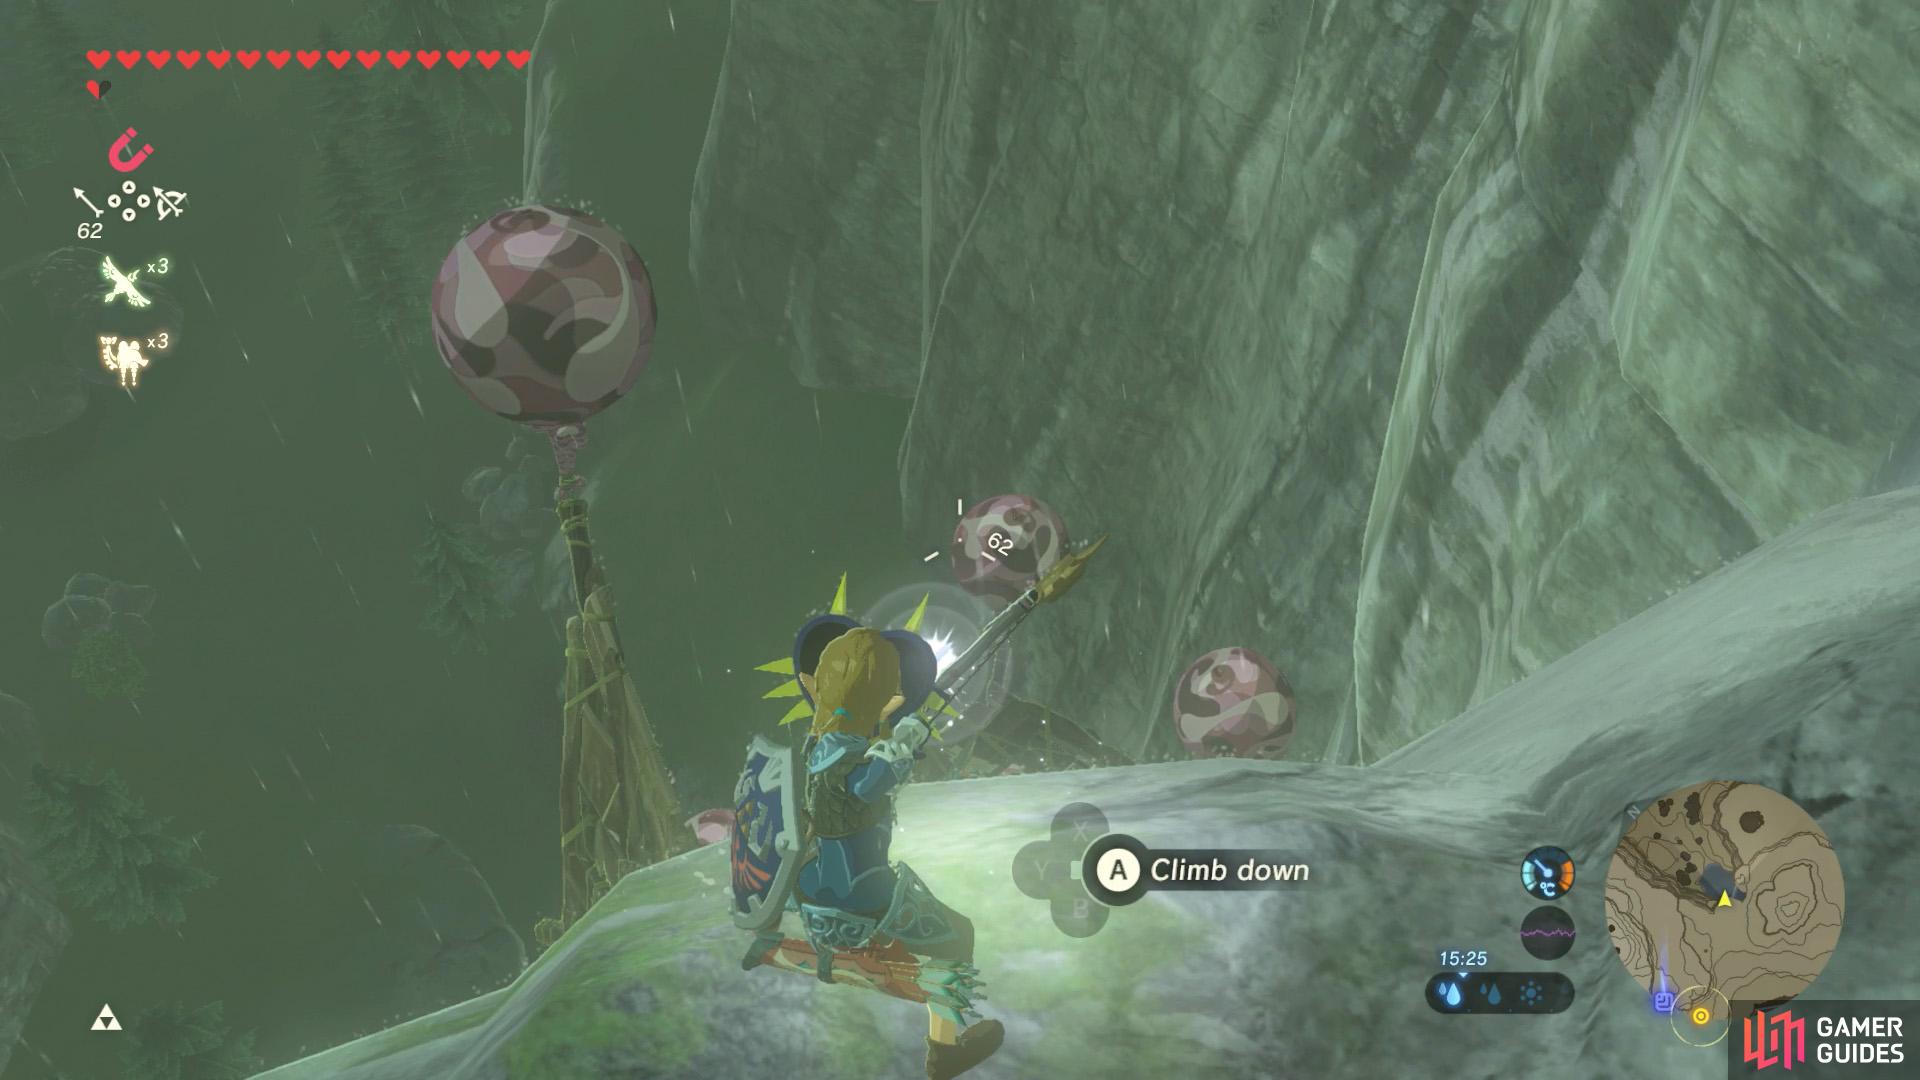
If you’re feeling murderous, you could shoot the platforms down.
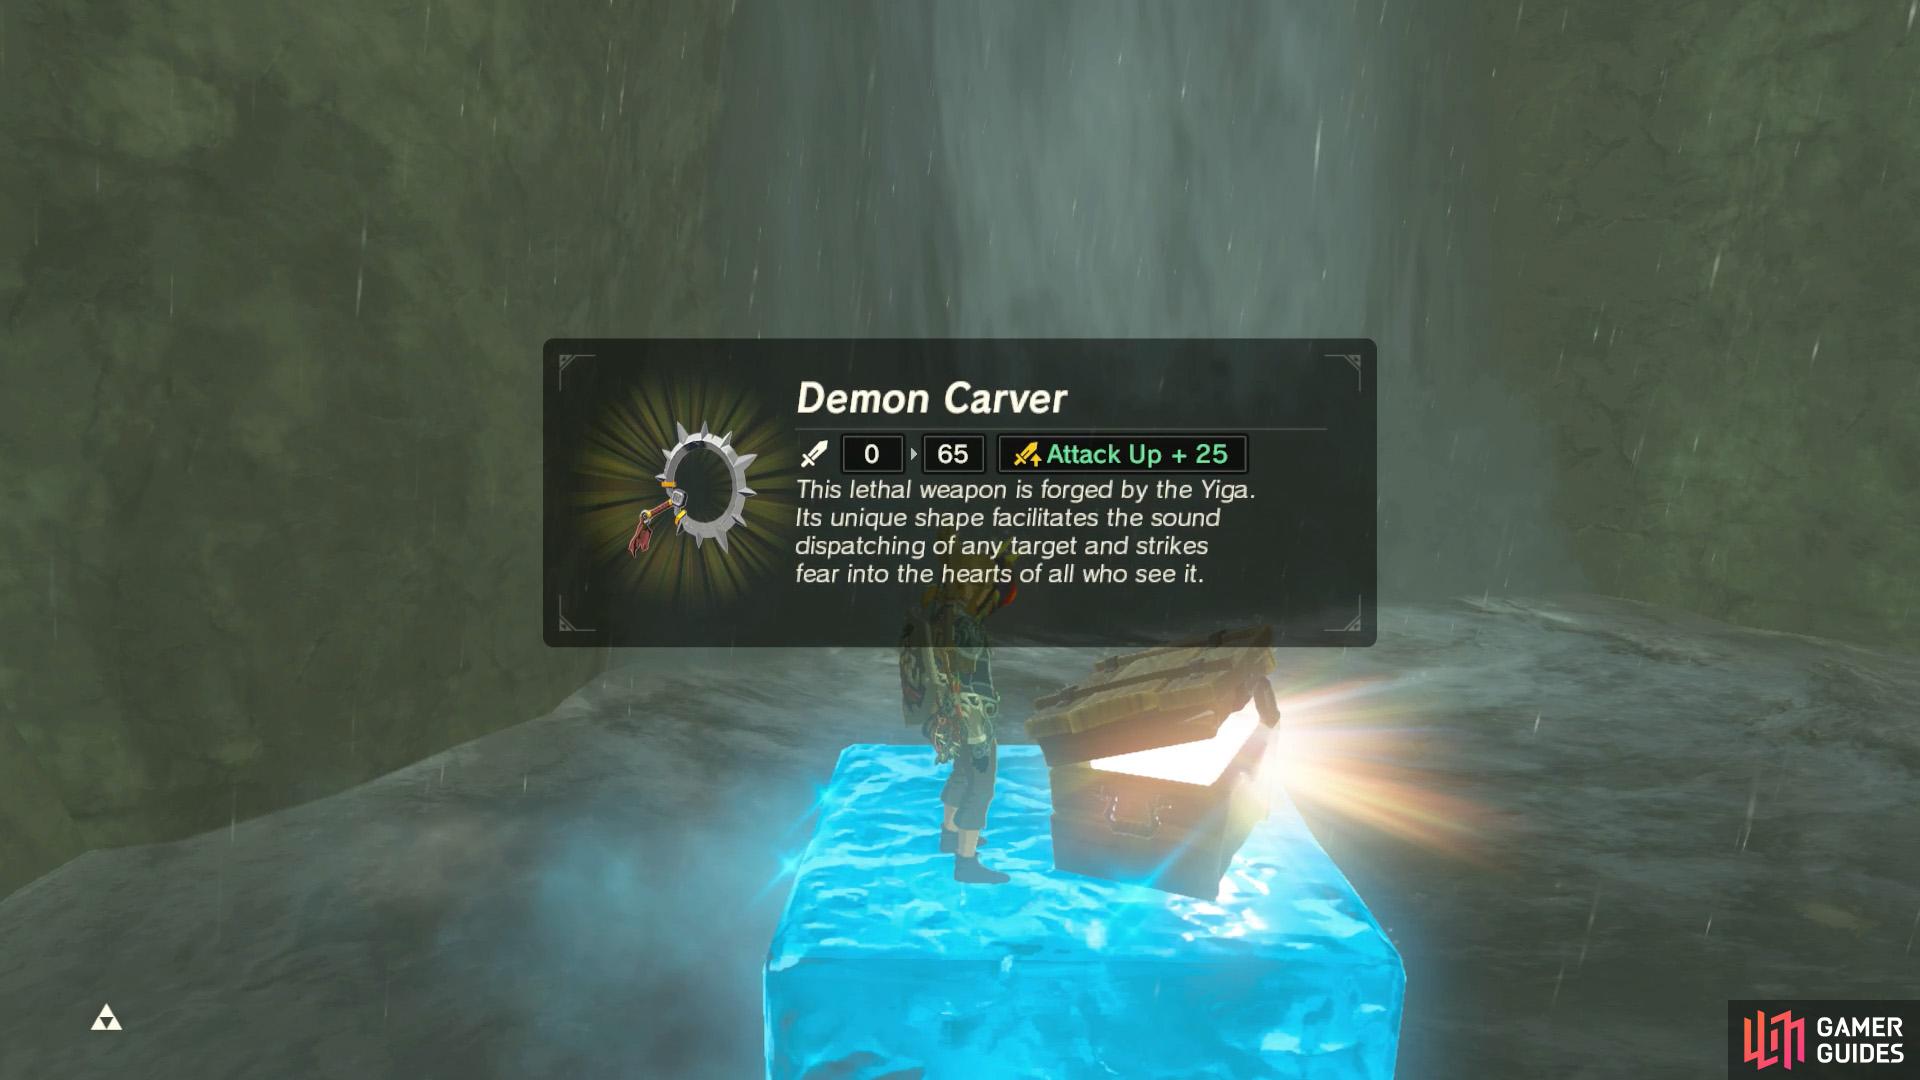
Afterwards, use Cryonis to recover the treasure chests.
Near the north-east corner of the Lanayru region, there are 4 platforms in front of the waterfall on the north side of Tal Tal Peak. It’s also south from Ulria Grotto, where the Ke’nai Shakah Shrine is. Get ready to encounter 4 Bokoblins with Shock Arrows.
The highest platform has a wooden chest with a Topaz, while the third platform has a wooden chest with a Demon Carver. We suggest gliding down from the top of the waterfall. If you came from the Lanayru region, you’re probably already high up. Otherwise, if you came from Akkala, you can swim up using the Zora armor.
Group N
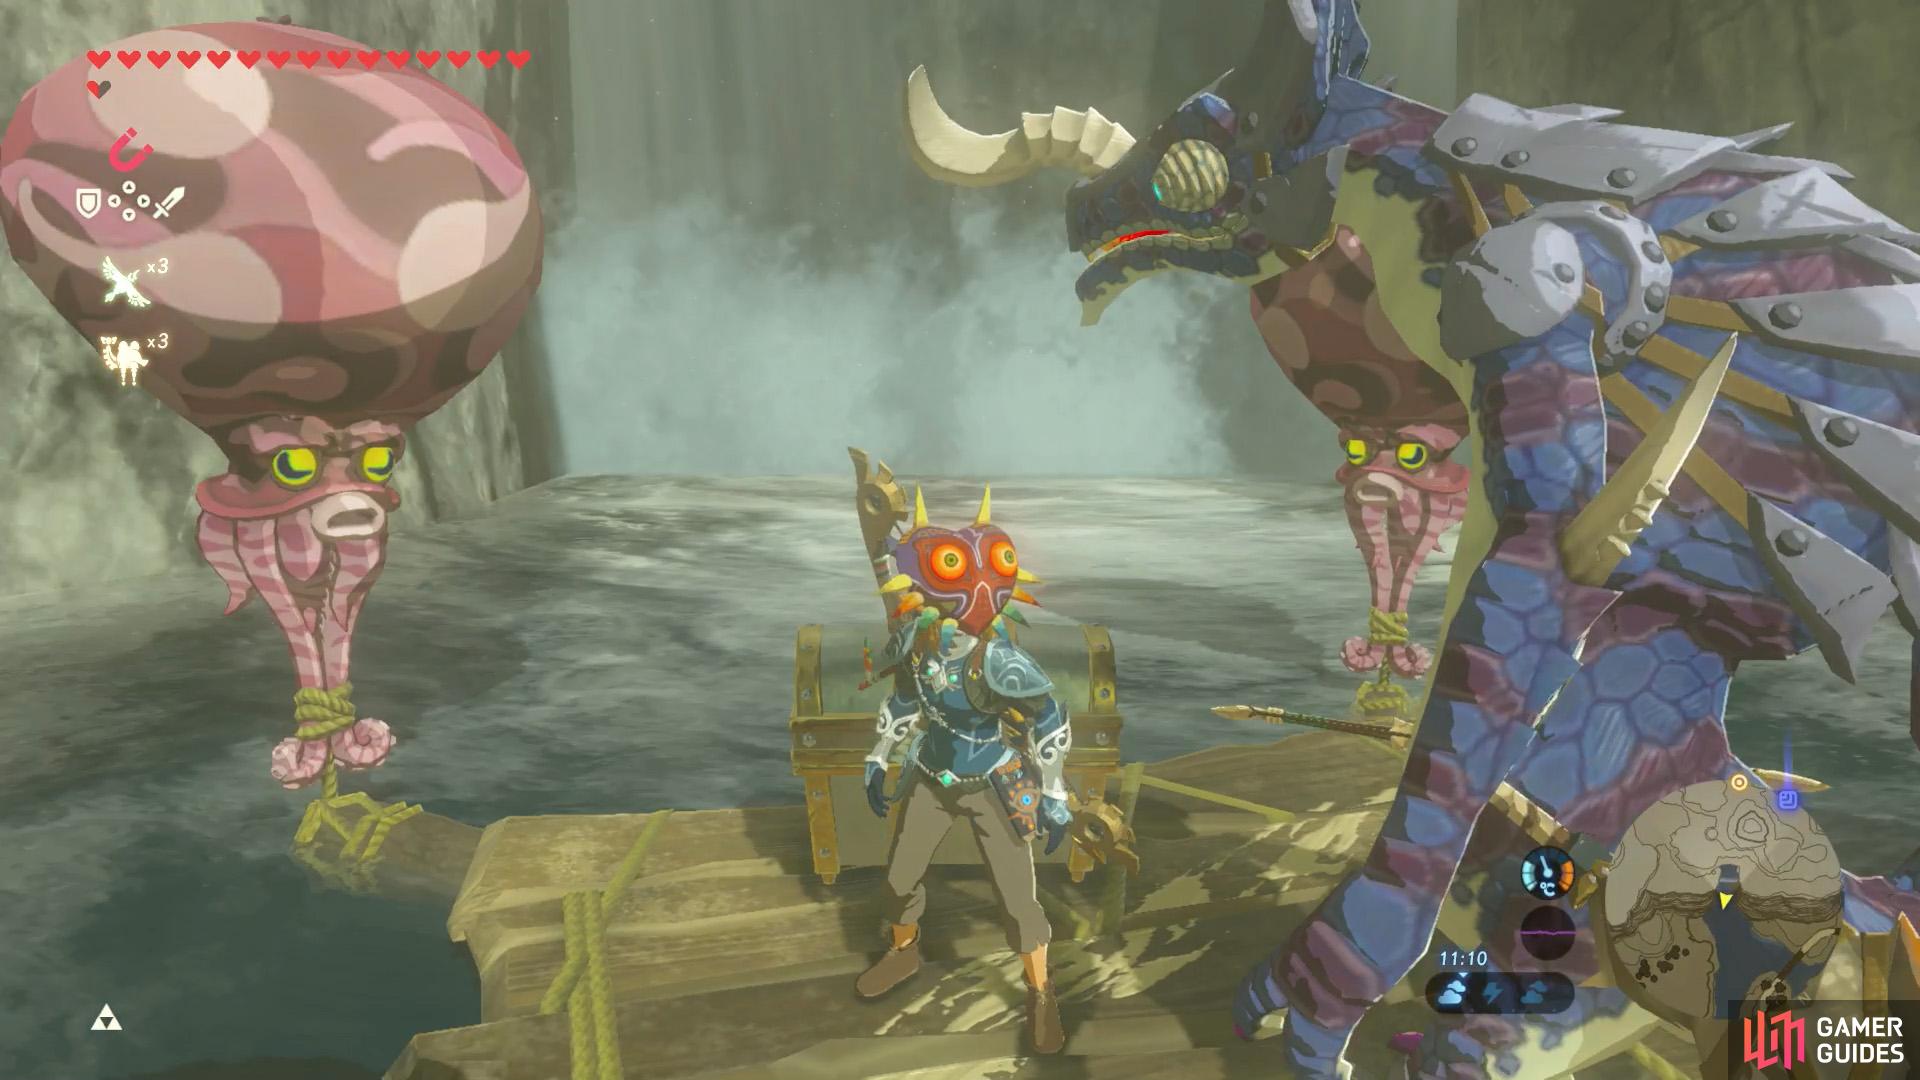
Whatcha lookin’ at, punk?
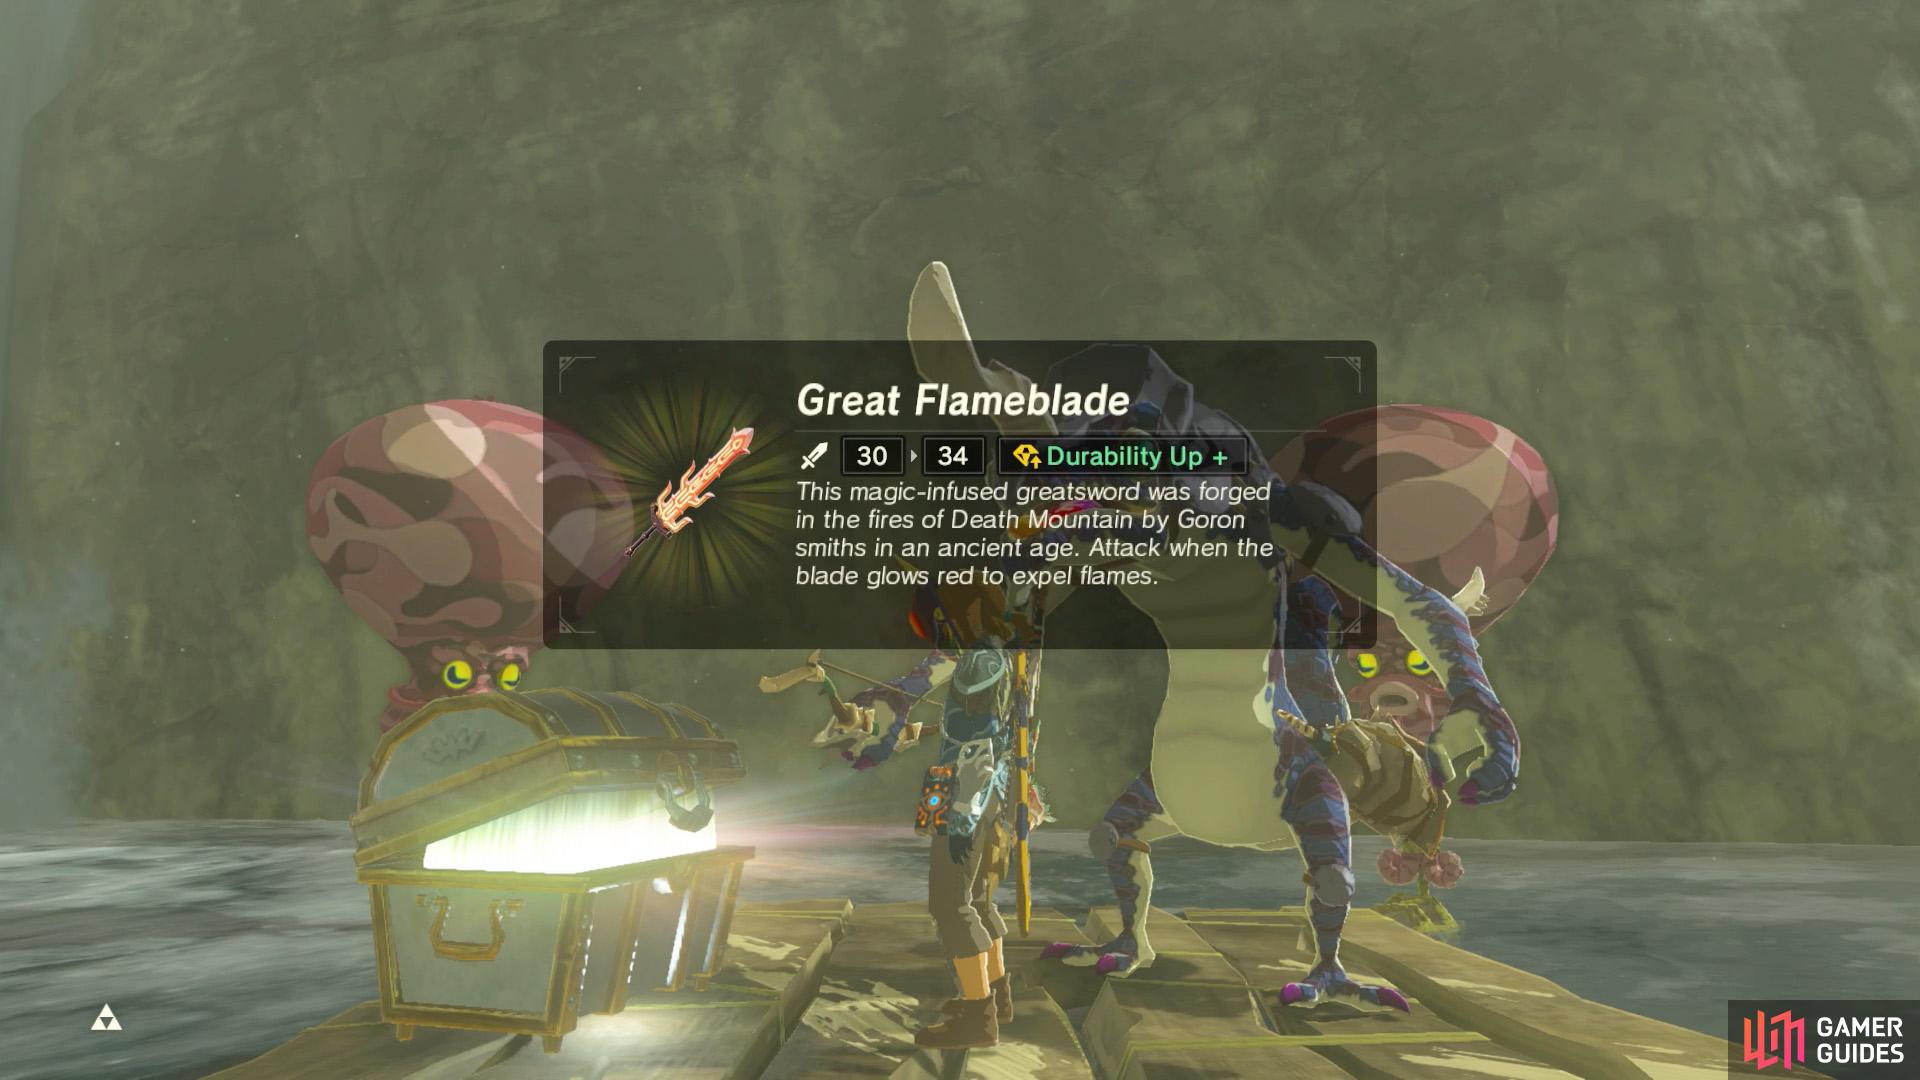
Great Flameblade get!
Near the boundary between the Lanayru and Akkala regions, there’s a waterfall in-between Akkala Falls and Mikau/Lulu Lake. Here, a single platform can be found, near the base of the falls. A Lizalfos with Shock Arrows is keeping a watchful eye. Next to it is a chest with a Great Flameblade.
The platform is resting on the river to begin with, so you could swim across or glide to it from somewhere nearby.
Group O
This platform’s located north-east from Toto Lake up on the Lanayru highlands.
Besides the treasure, the view from here is quite nice as well!
Near the boundary between the Lanayru and Akkala regions, there’s a waterfall in-between Akkala Falls and Toto Lake. It’s a short distance north-west from Group N. Just before the waterfall spills into the Akkala region, there’s a platform guarded by a Lizalfos armed with Shock Arrows. The chest next to it contains a Silver Shield.
Technically this platform is within the Lanayru region, but it’s so close to the border. In any case, if you’re in the Lanayru region, you’re probably atop the highlands and can glide down from nearby. Or if you’re in Akkala, you can swim up the waterfall using the ever-useful Zora armor.
No Comments