Main Quest: Divine Beast Vah Medoh
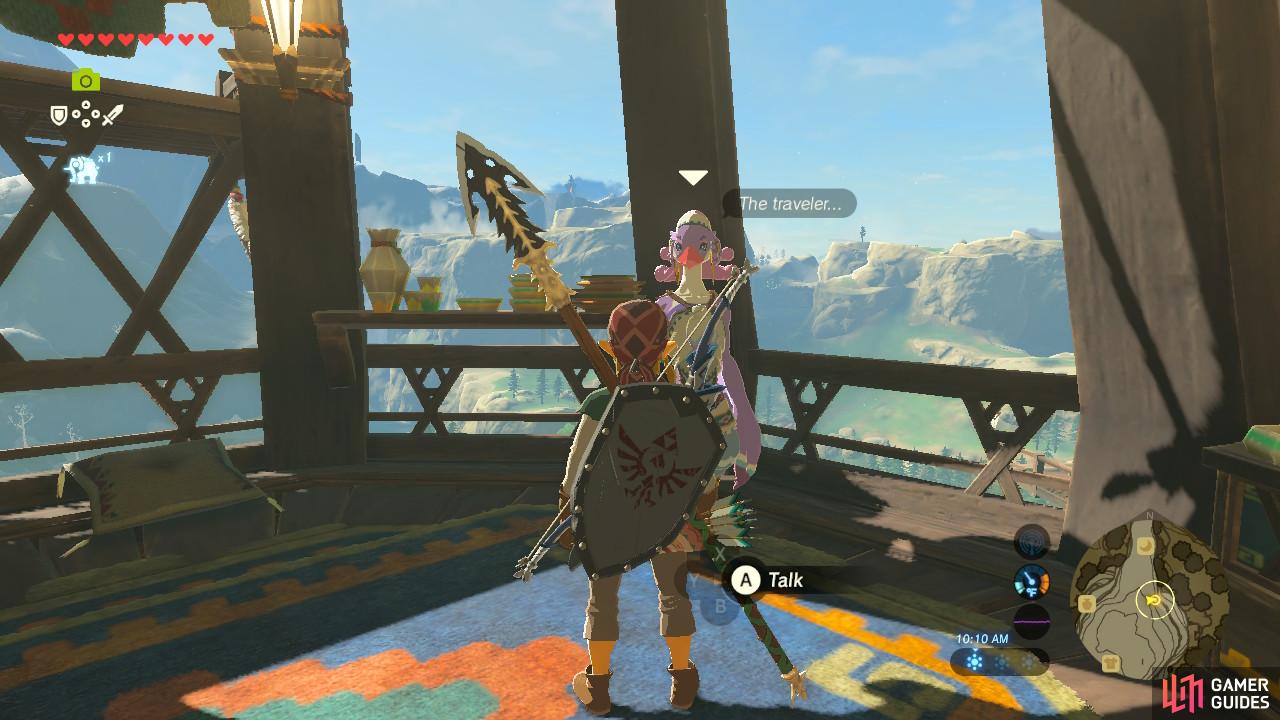
Saki is the sweet pink Rito next door to the Elder
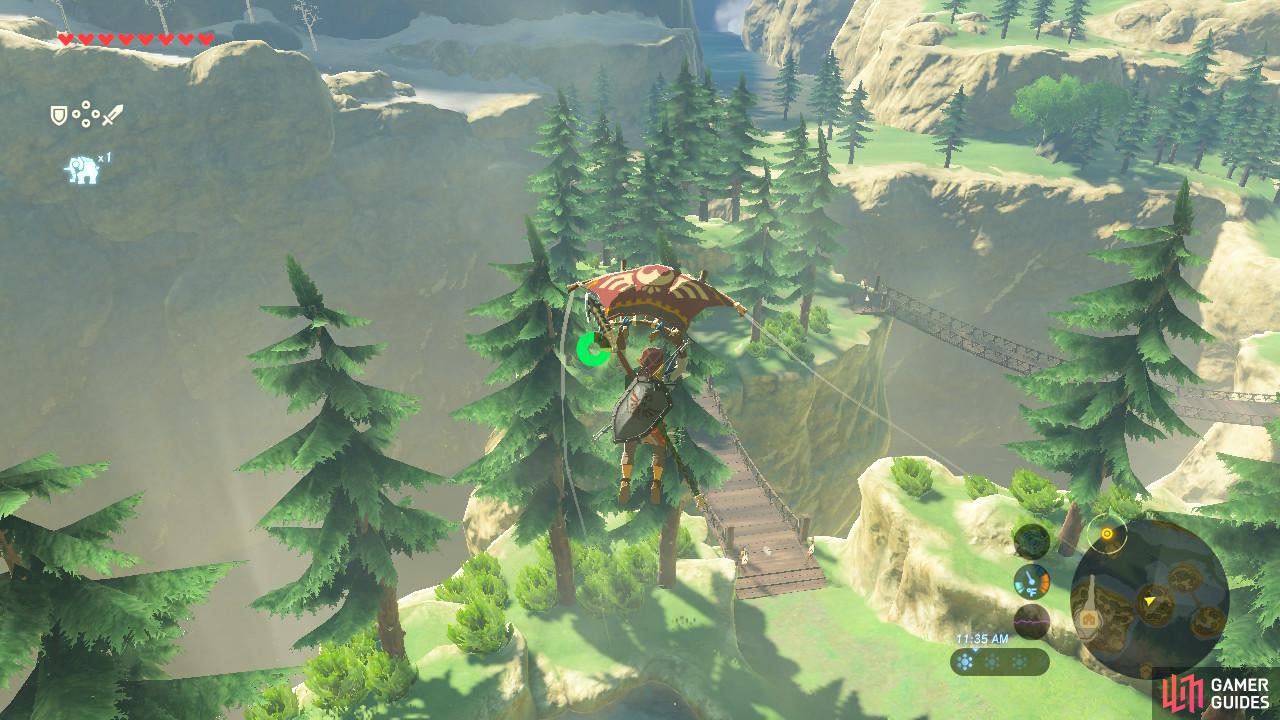
Paraglide off of Revali’s Landing
First, you will want to speak with Teba’s wife, Saki. She is the pink Rito next door and she will tell you that Teba is currently training at the Flight Range, a Rito training area north of here. She will also show you Revali’s Landing, which is where you can Paraglide off of to get to the Flight Range. As you look at Revali’s Landing, you will remember a memory of Revali, the Champion of Vah Medoh. Again, this will not count towards Captured Memories.
Do you have max cold resistance? If so, let’s head out. Paraglide off of Revali’s Landing and land near Rito Stable, a handy checkpoint. From there, work your way around the lake following the footpath. If you do not have maxed out cold resistance, go to the armor shop at Rito Village and buy the Snowquill Trousers.
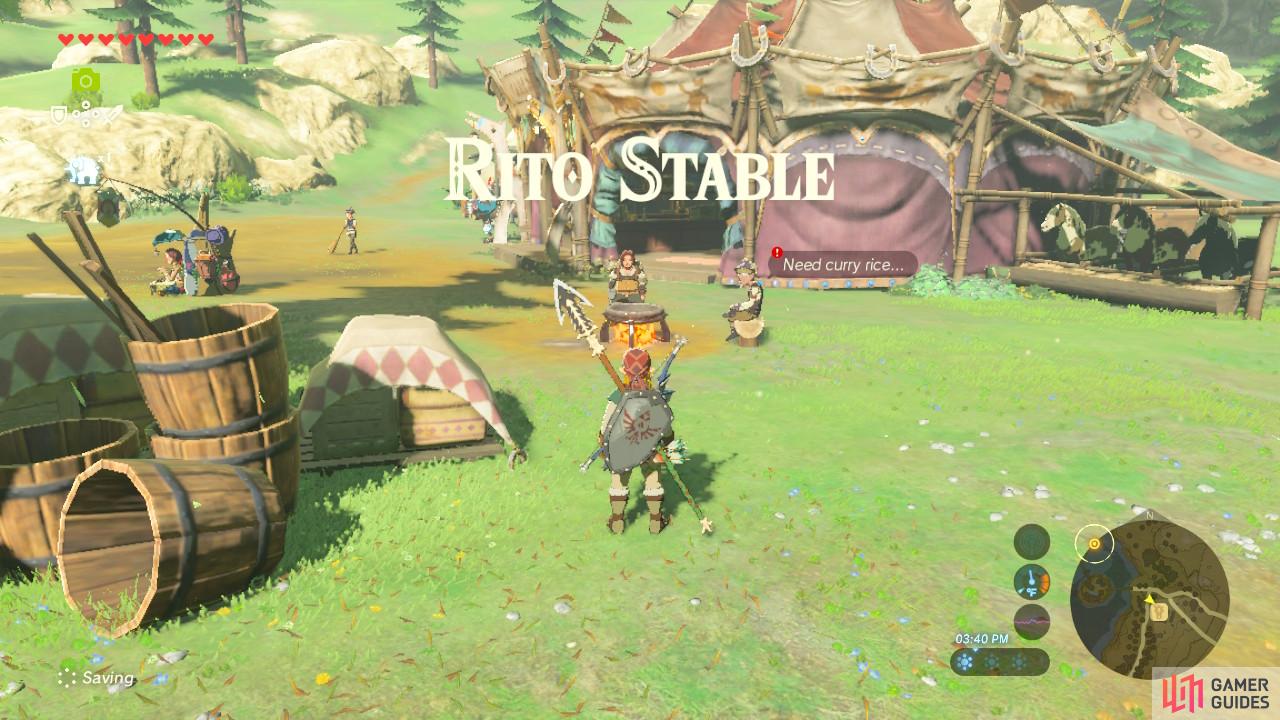
Along the way you will pass by the Rito Stable. This marks the change in weather from fairly temperate to bitter cold.
As you begin to work your way around the northern half of the lake, beware Ice Octoroks which are hiding beneath the ground. There are a lot of animals here that only exist in the cold, and if you hunt them they will drop large hunks of gourmet meat. When cooked the higher tiers of meats will heal for more and sell for more. If the wolves notice you, they will howl, spawning more wolves.
You will come to a fork in the road. One fork will take you back around the lake, and the other fork goes slightly further north to the yellow dot that is your destination. So take that path and you will soon arrive at the Flight Range.
Flight Range
Once you arrive at the Flight Range, make sure you grab the arrows on the table plus the Swallow Bow, as you will need it for an upcoming small minigame of sorts. Talk to Teba, who is sitting facing the Flight Range area and tell him you want to help him with repelling Divine Beast Vah Medoh.
Ride the updrafts as you head into the Flight Range
Aim for the blue targets shown here
To test you, Teba will have you Paraglide out into the Flight Range and shoot five targets in three minutes. Jump out into the Flight Range and equip your Swallow Bow. It’s fast draw speed will help you conserve stamina. The blue targets are everywhere; there are way more than five to pick from.
This test will show you the beauty of updrafts. Once you have shot a target, press [X] to glide again and because you are riding an updraft, your stamina will be instantly refilled, allowing you to continually Paraglide by pressing [B] to drop, and then pressing [X] to glide again. The updraft will continuously push you up, so if you want to aim at a lower target you will need to drop down to it and then shoot.
Overall, the three minutes Teba gives you is extremely generous. This is less of a minigame and more of a minigame tutorial, as after you have rescued Vah Medoh, the Flight Range will become a location for a full-fledged aerial arching minigame.
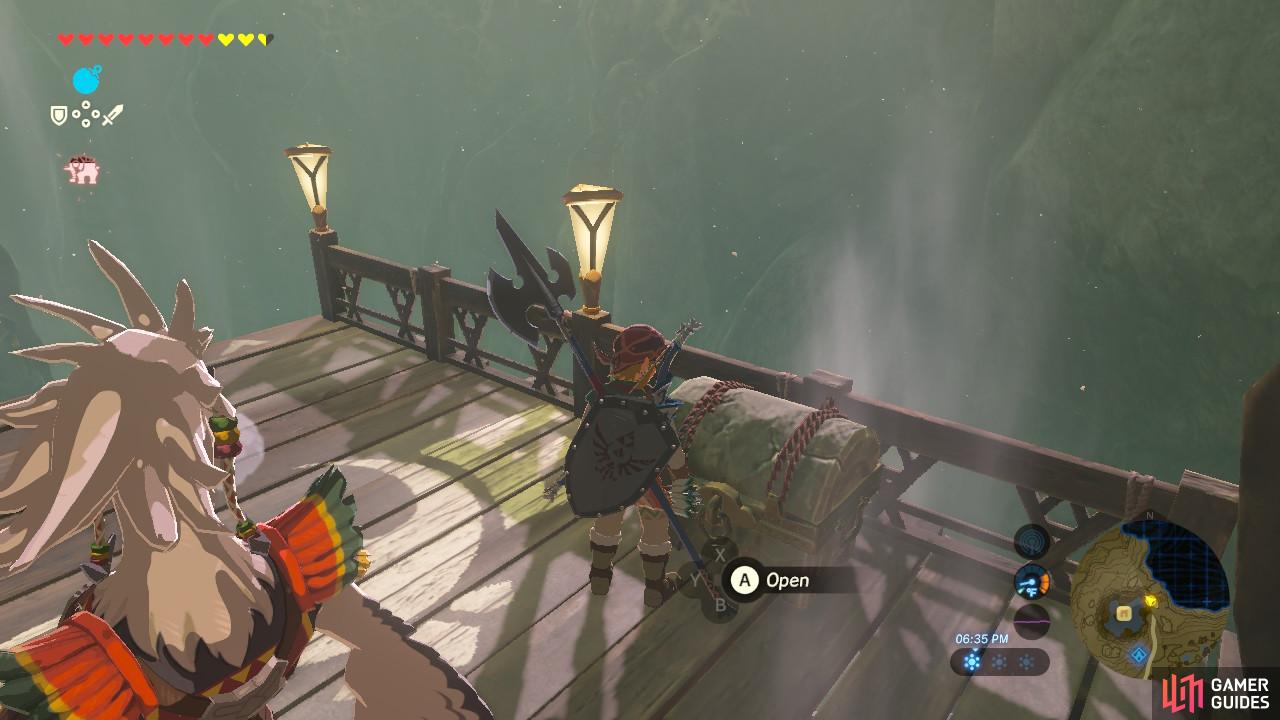
Open this chest for a useful bow

You will need these for opening access to Vah Medoh
Once you have shot the fifth target you will immediately return back to Teba. Teba will gift you a bow in the chest next to him, and he will also give you 20 Bomb Arrows to take out Vah Medoh’s cannons. Open up the treasure chest for a Falcon Bow. Teba will ask you if you are ready. Back out if you need time to prepare. Otherwise, we are going to be heading straight for Vah Medoh on Teba’s back.
Accessing Divine Beast Vah Medoh
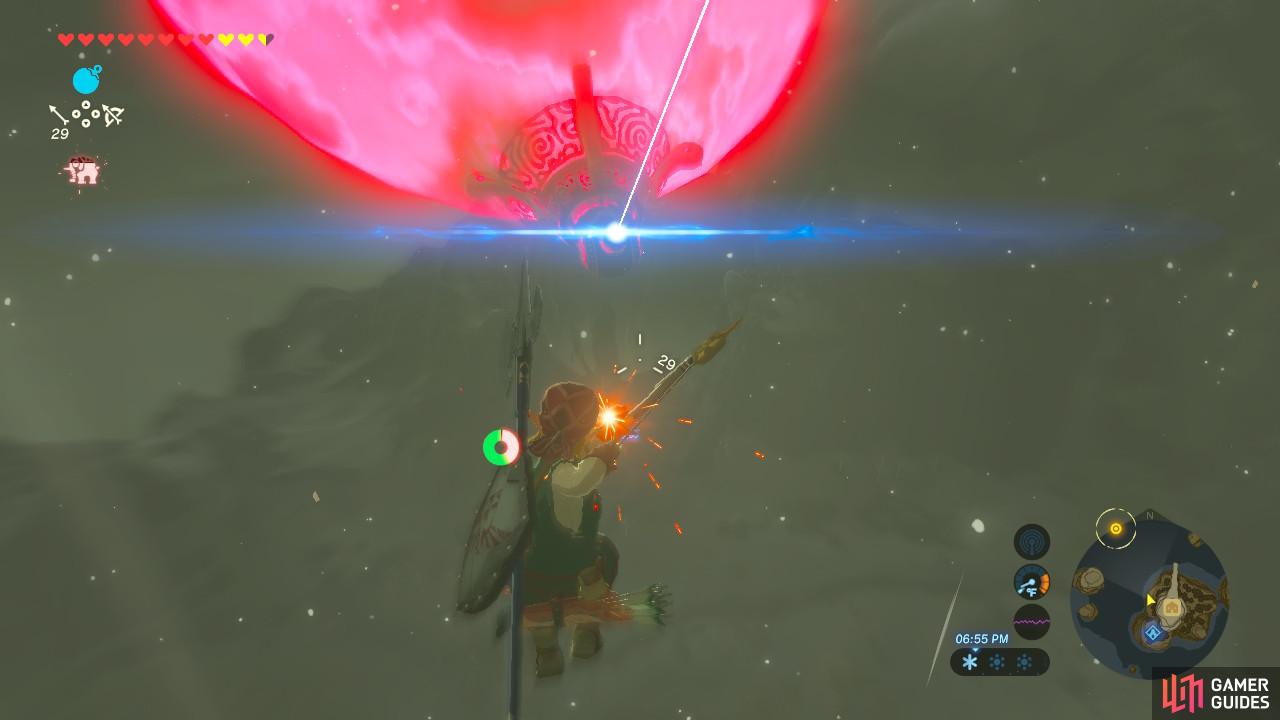
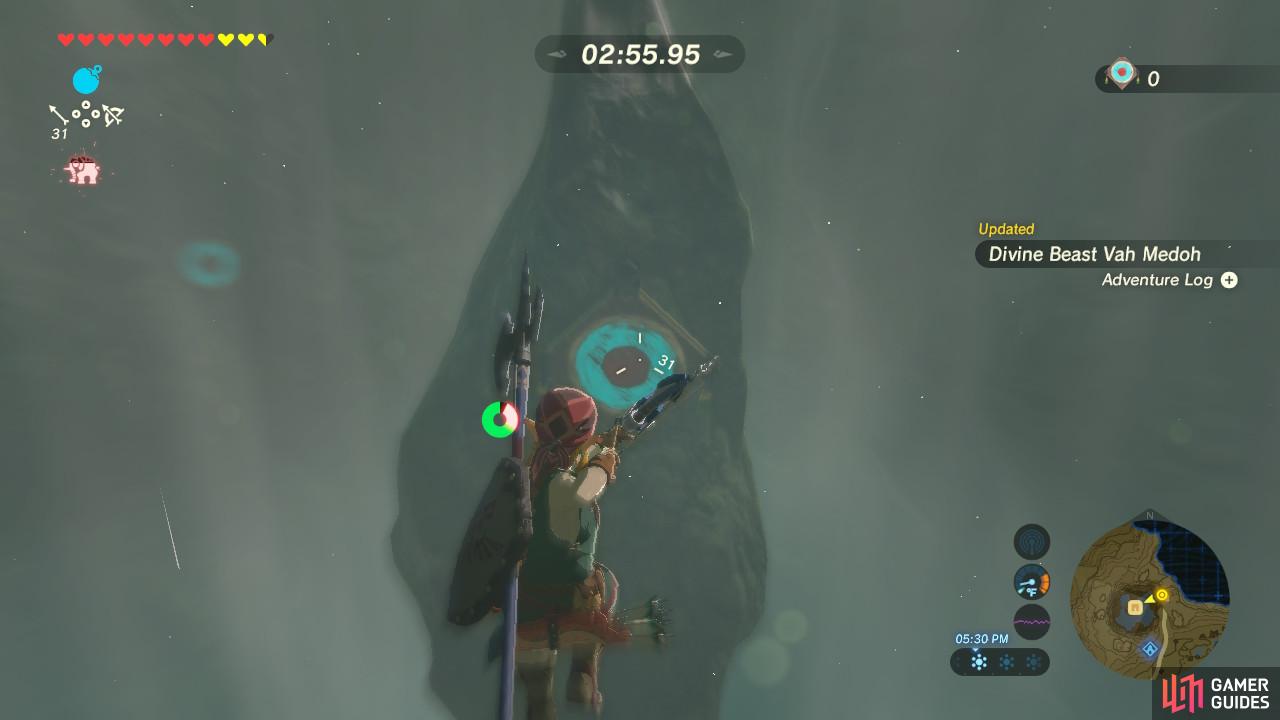
Aim slightly above the cannons to allow for the arrow to arc
![Press [X] immediately afterwards to restore stamina and continue Paragliding](/assets/guides/144/The_Legend_of_Zelda_Breath_of_the_Wild_Vah_Medoh_Cannons_2.jpg)
Press [X] immediately afterwards to restore stamina and continue Paragliding
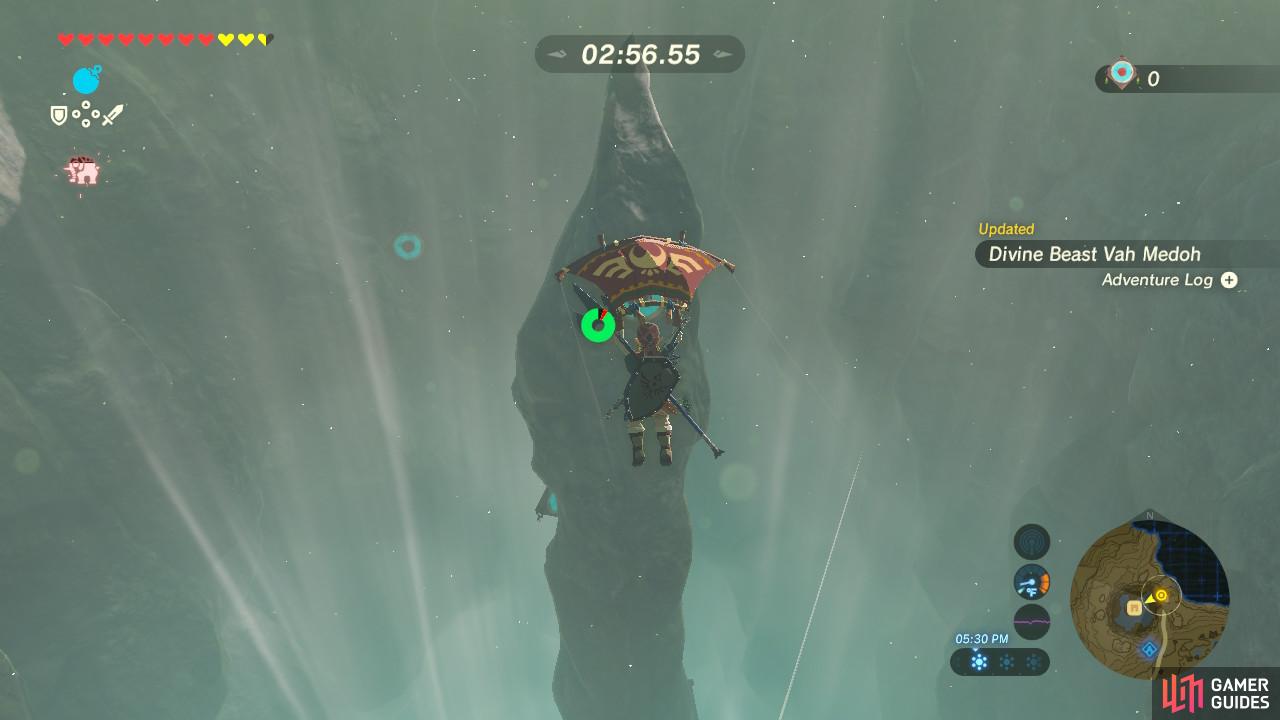
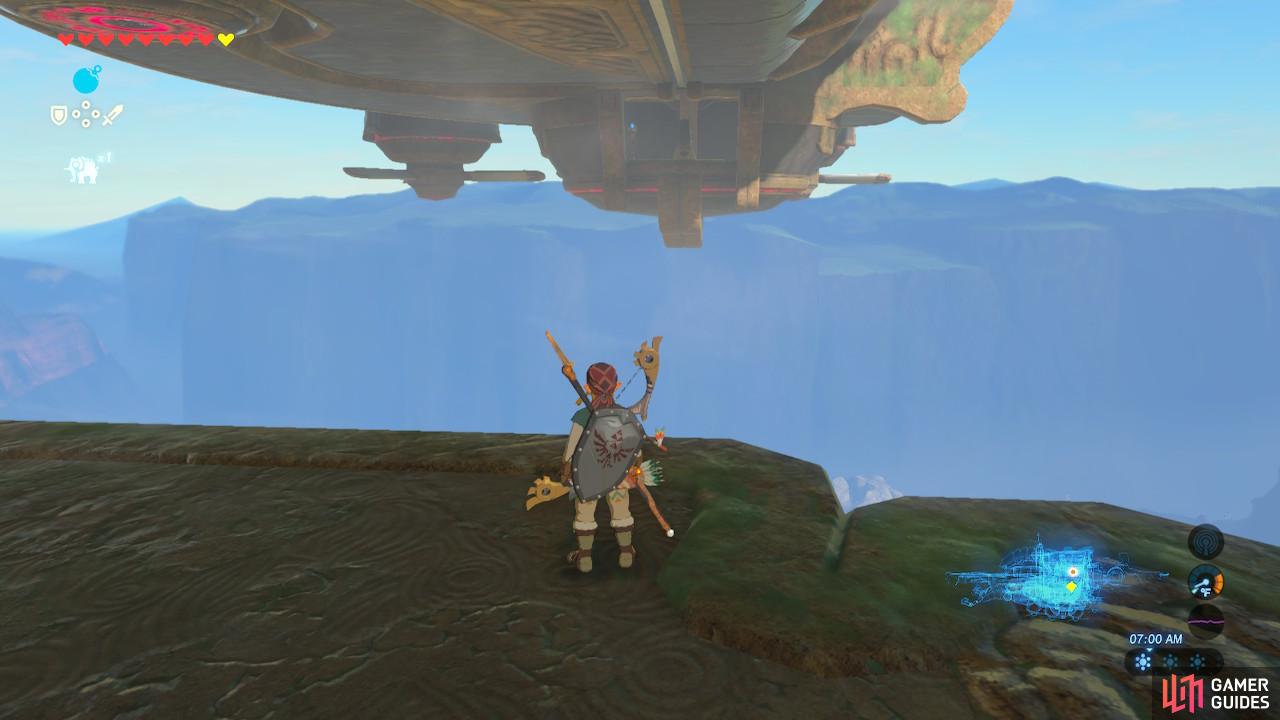
Vah Medoh generates updrafts all around it, meaning we are pretty self-sufficient once Teba gets us close enough. As you approach, Vah Medoh will immediately cloak itself in a shield that can only be dispelled by destroying four cannons, each located along a corner of the barrier.
Do the same glide, drop, glide routine to maintain airtime and stamina. Teba will fly close to the cannons to draw their fire. Your job is to shoot the cannons with Bomb Arrows. You need to get in pretty close or else your arrows will fall short. Each cannon will need two Bomb Arrows to be fully destroyed.
After you have destroyed Vah Medoh’s barrier, Tebah will drop you off at the entrance and leave due to an injury. Divine Beast Vah Medoh will now be a fast travel point. Revali will also speak to you and point you to the Guardian Stone. When you are ready, it is time to enter the Divine Beast Vah Medoh.
Inside Divine Beast Vah Medoh
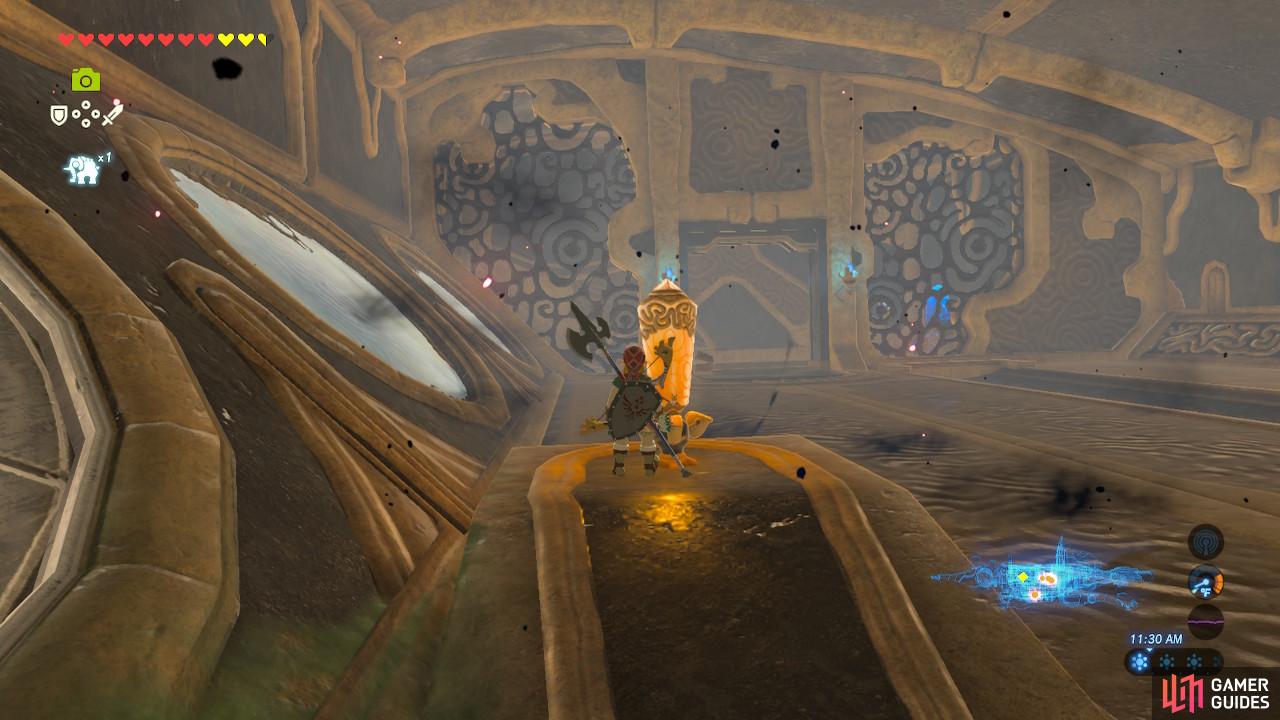
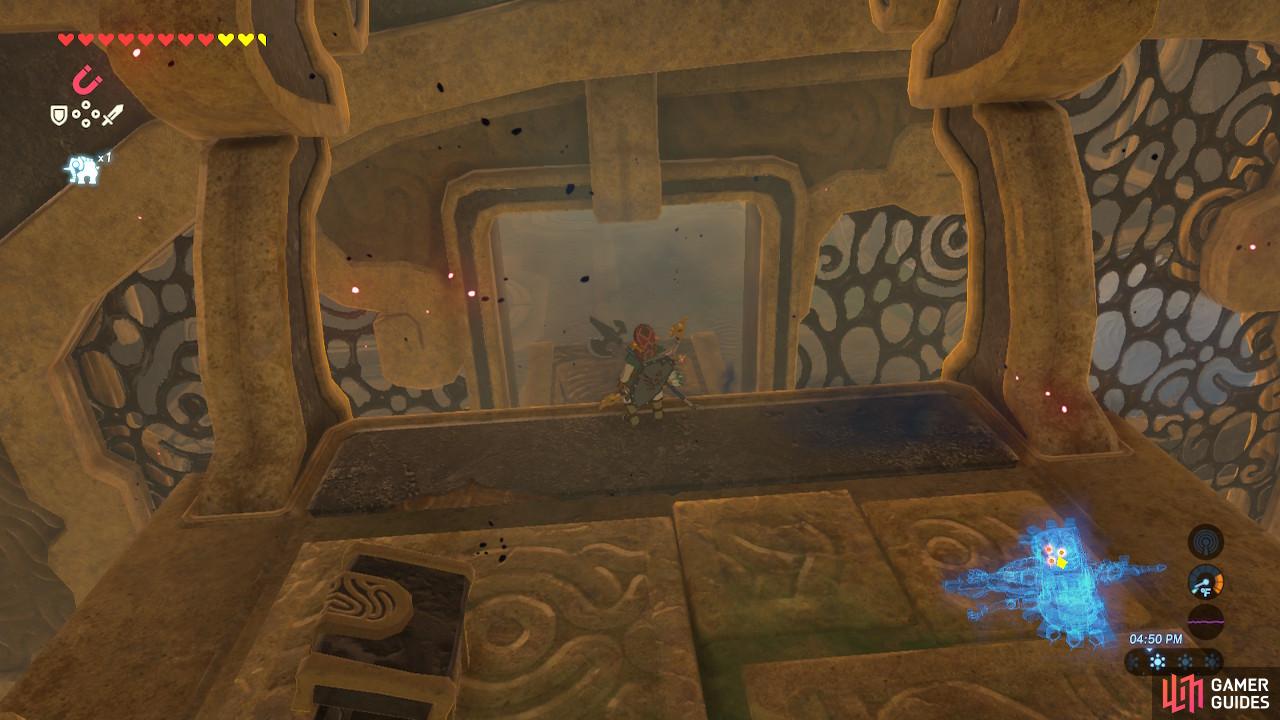
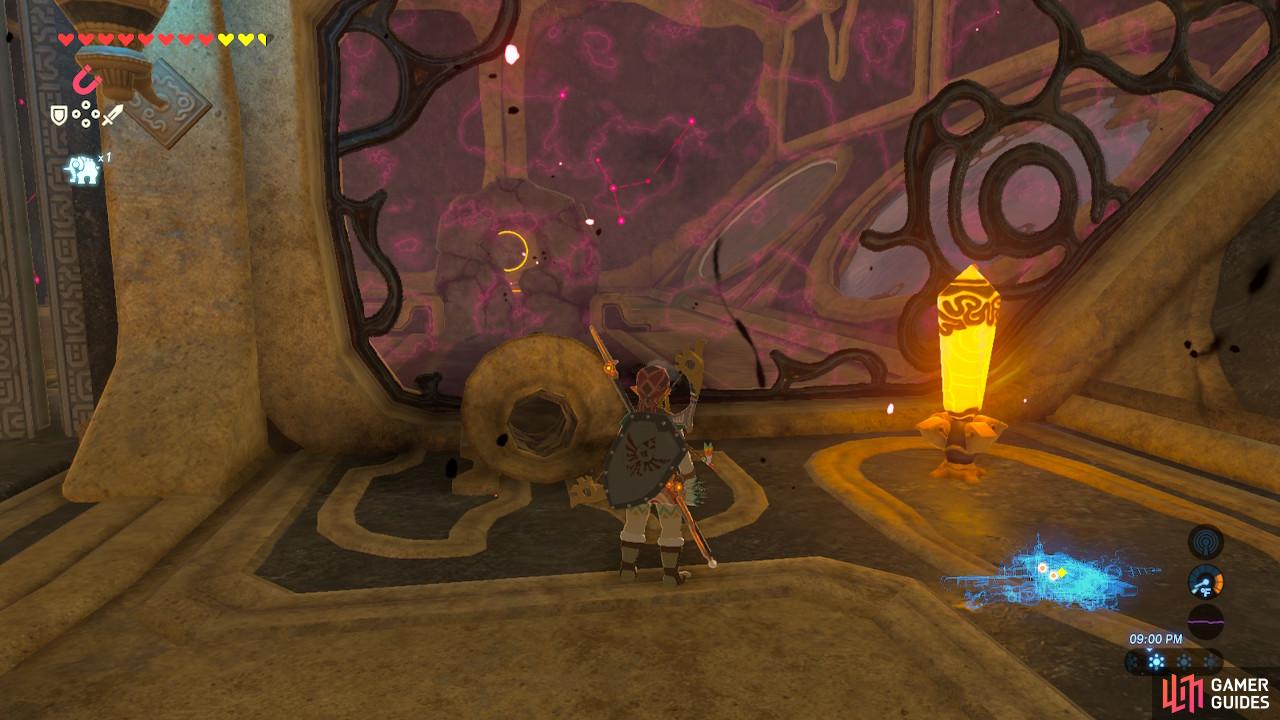
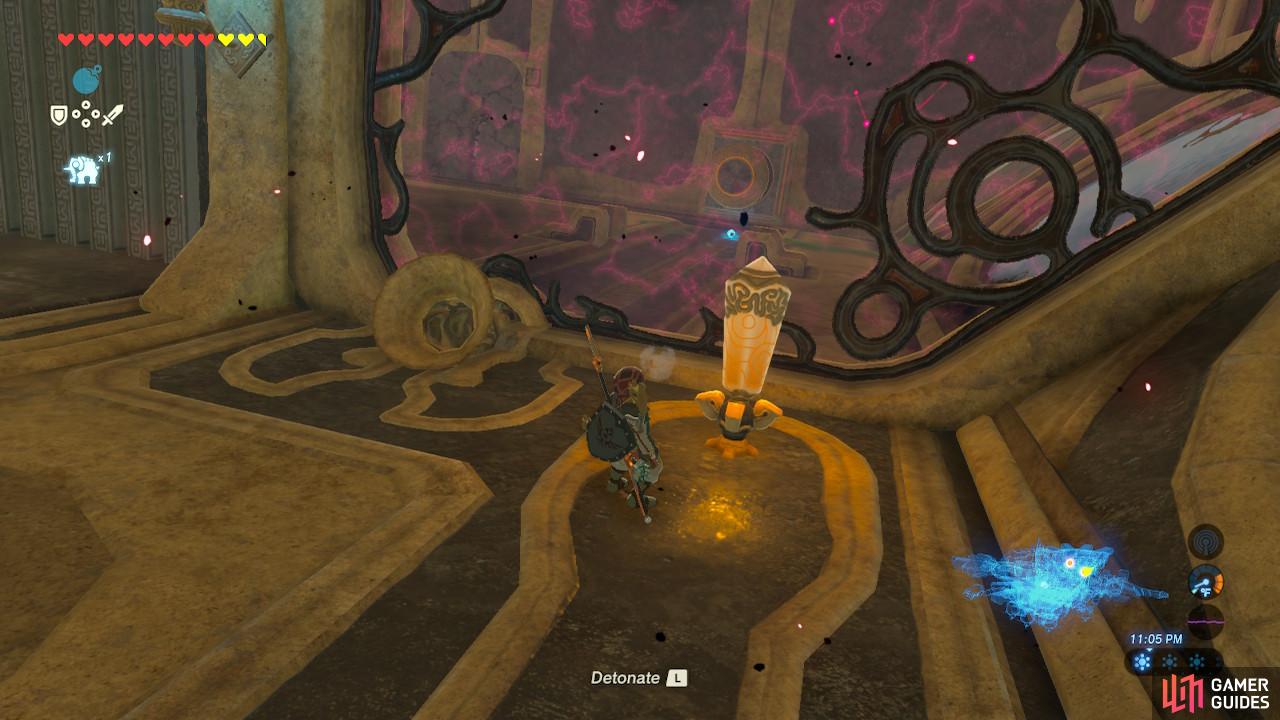
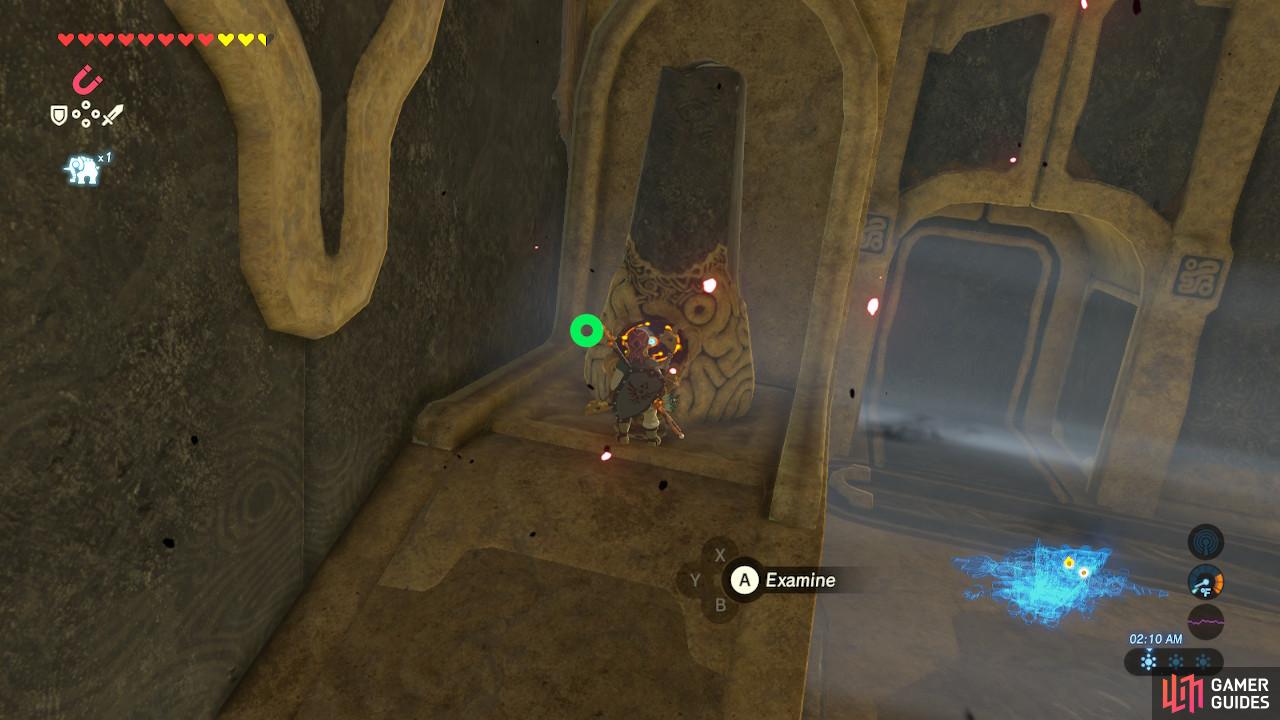
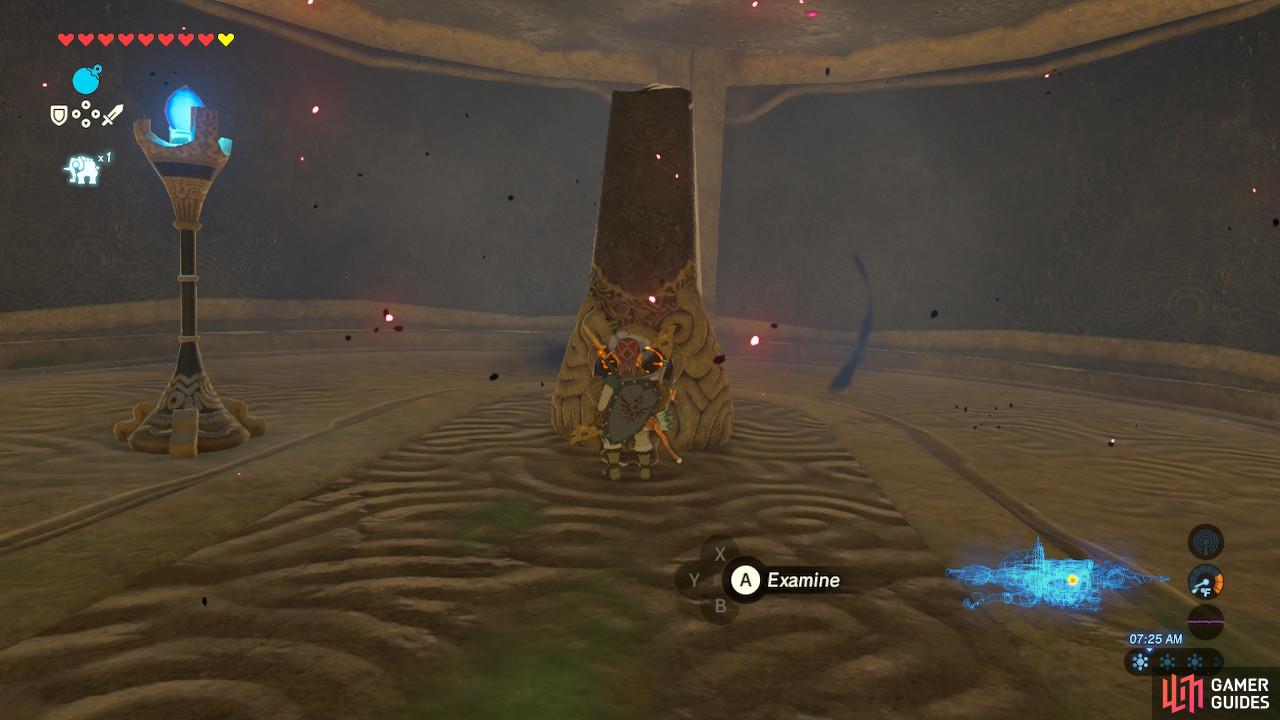
First, destroy the eyeball so that you can actually go inside. The updraft directly in front of you will take you up to the back of Vah Medoh, where you can see the main control unit. It’s off limit to us right now so let’s focus on getting to the Guardian Stone.
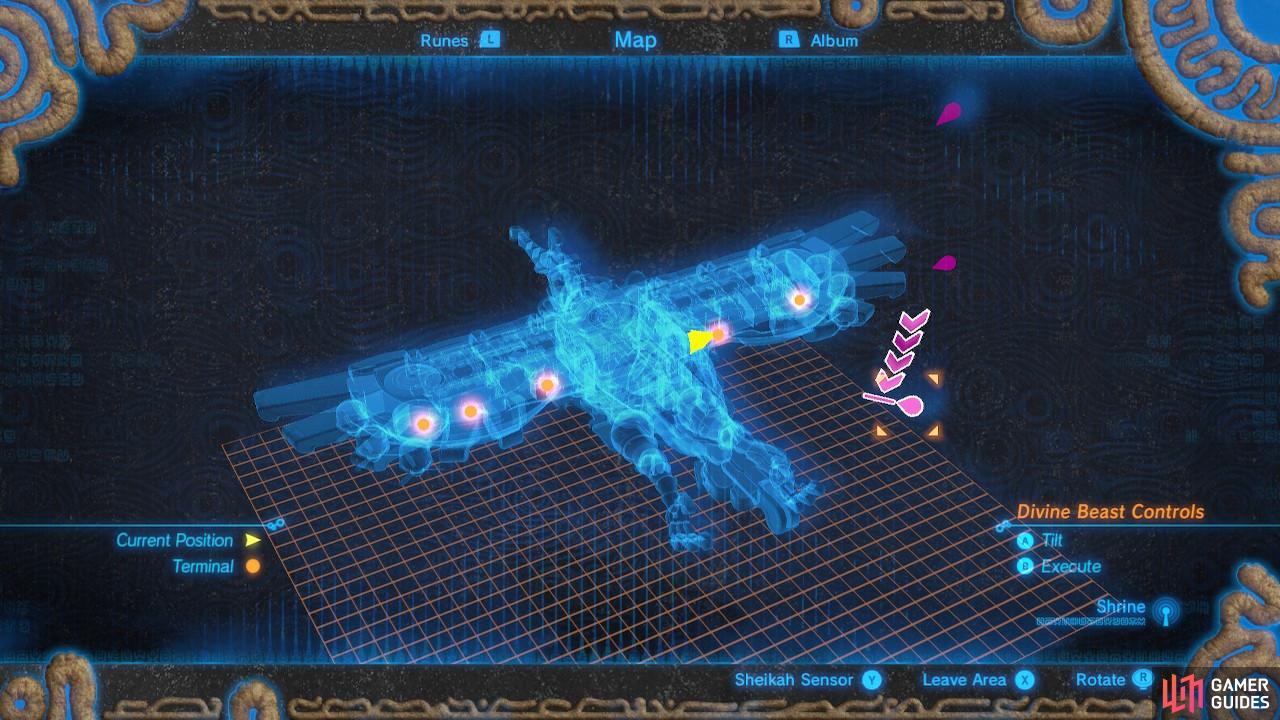
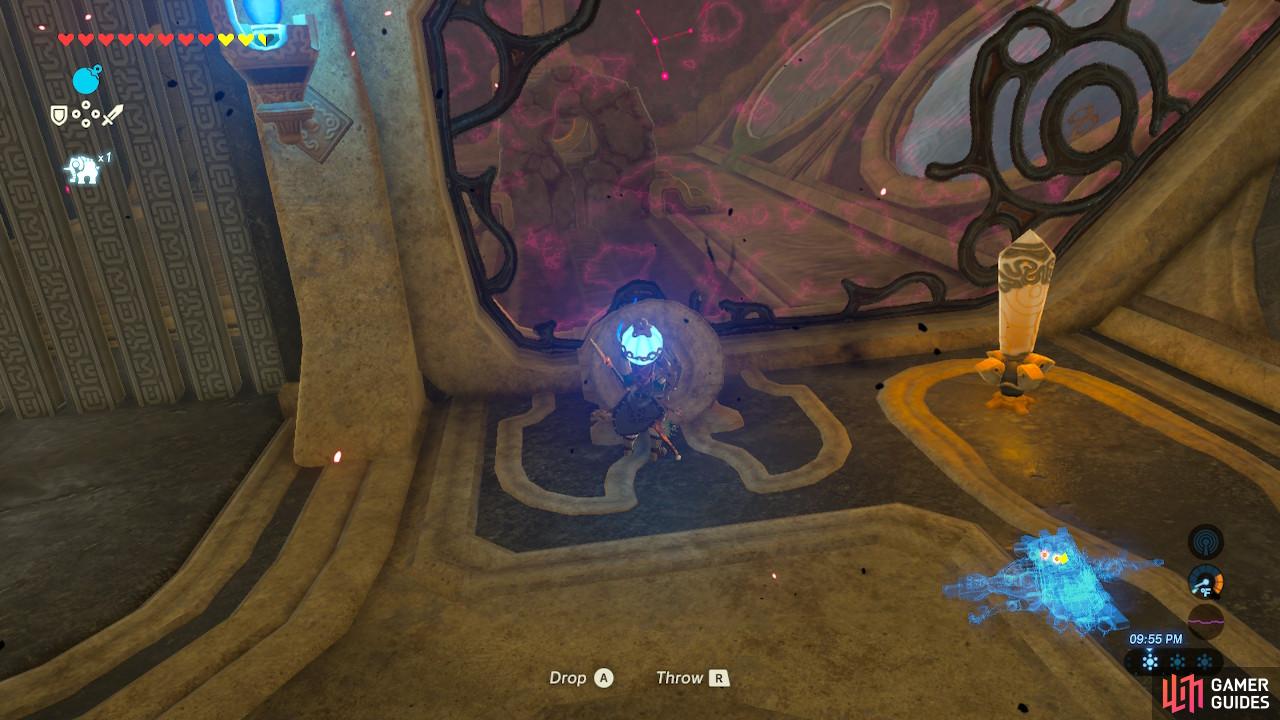
Cross the room by Paragliding off of the updraft. Or, you can walk across the platforms and pull the metal blocks around using Magnesis to get across. Either way works. Kill the Guardian Scout in the back. It is holding a spear, which it will drop for you to keep. Then go straight forward and activate the Guardian Stone. Revali will point out the five terminals that you need to activate.
The control you will have over Vah Medoh this time will be its tilt. There are three positions. The top and bottom positions indicate which way Vah Medoh will tilt, with the middle position being neutral.
We will be covering the terminals from left wing to right wing.
Terminal 1
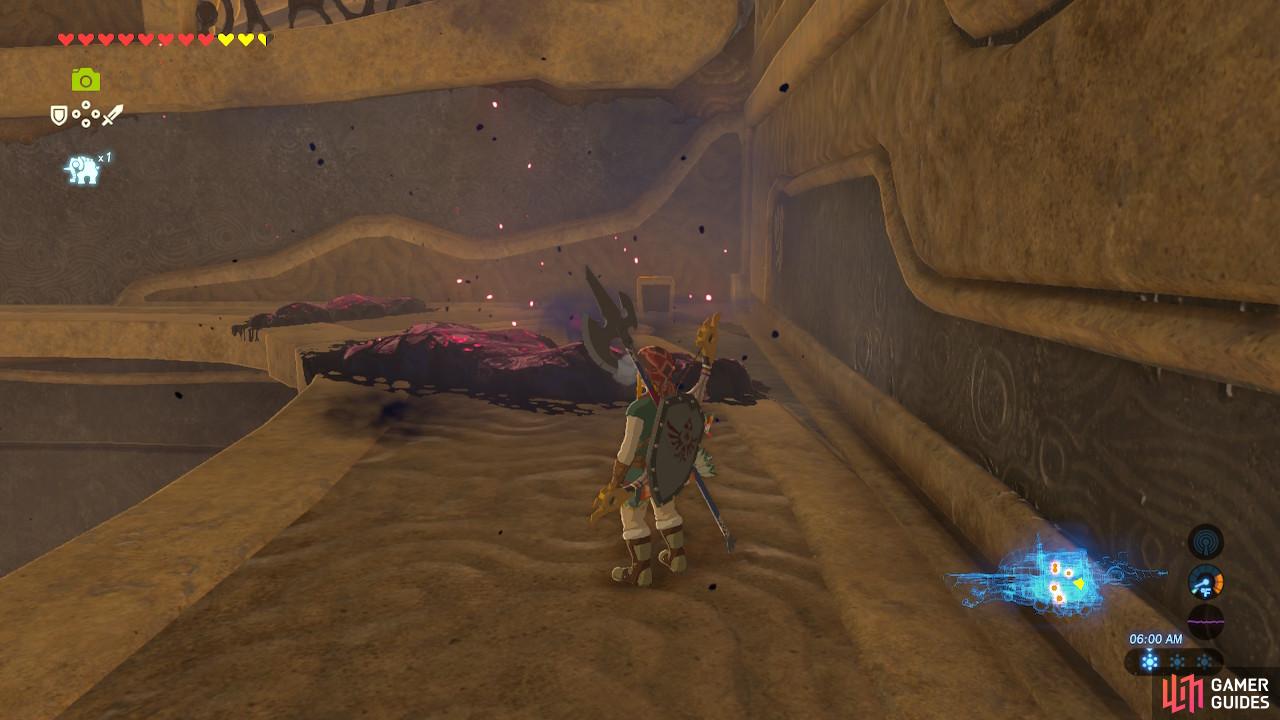
Hug the wall as tight as you can to avoid the goop
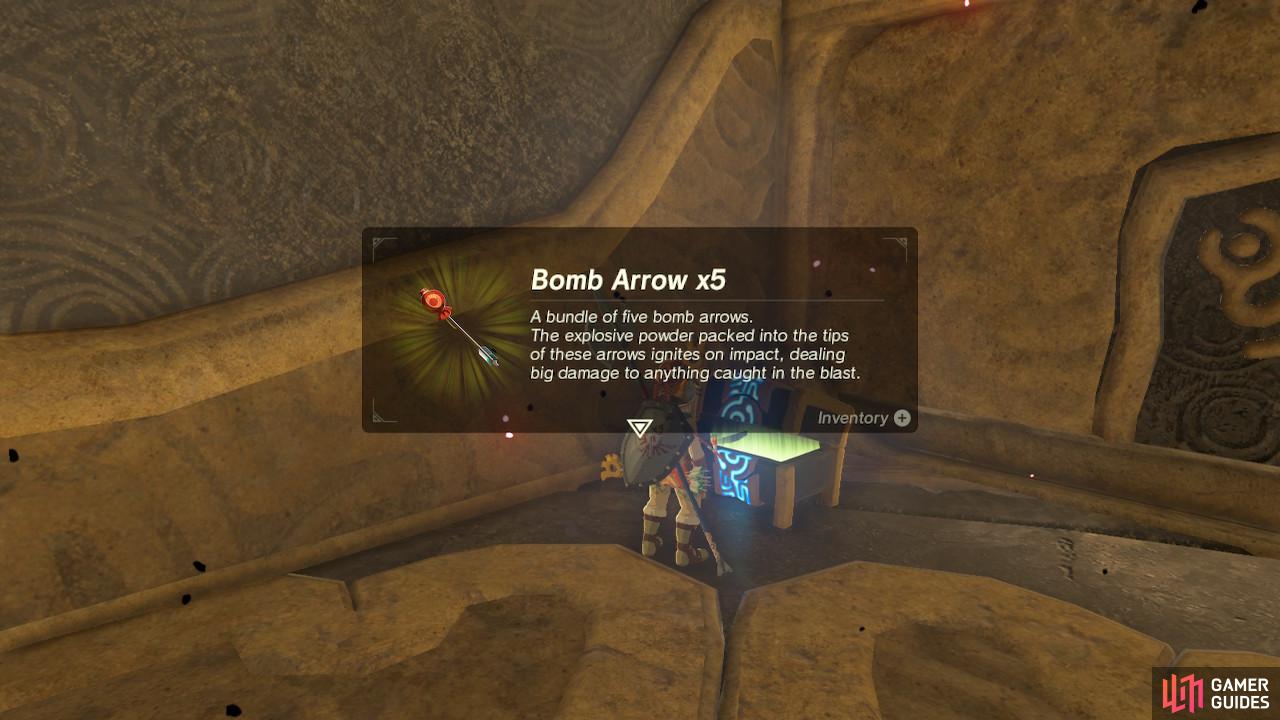
Save these Bomb Arrows for the end of the dungeon
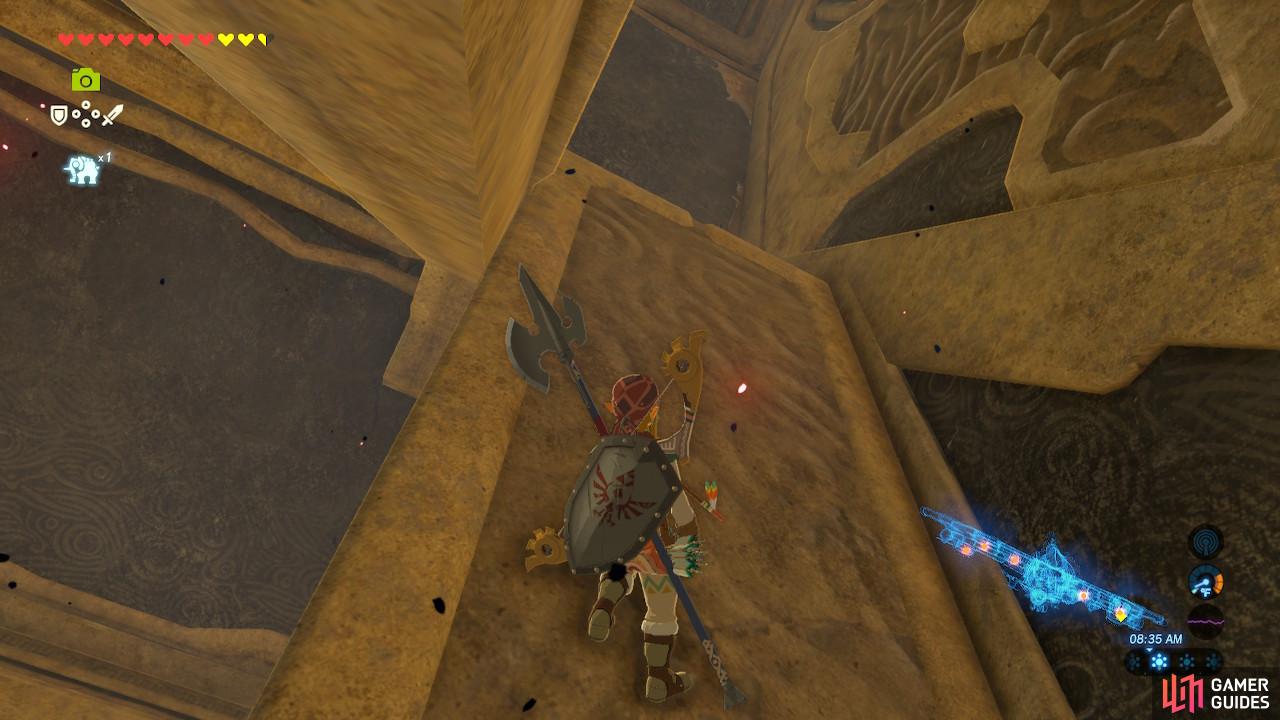
Drop down the ledge near the Guardian Stone first and you will arrive at a middle ledge that is above the bottom floor. Hug the wall to avoid the Ganon goo and open up the treasure chest for 5 Bomb Arrows.
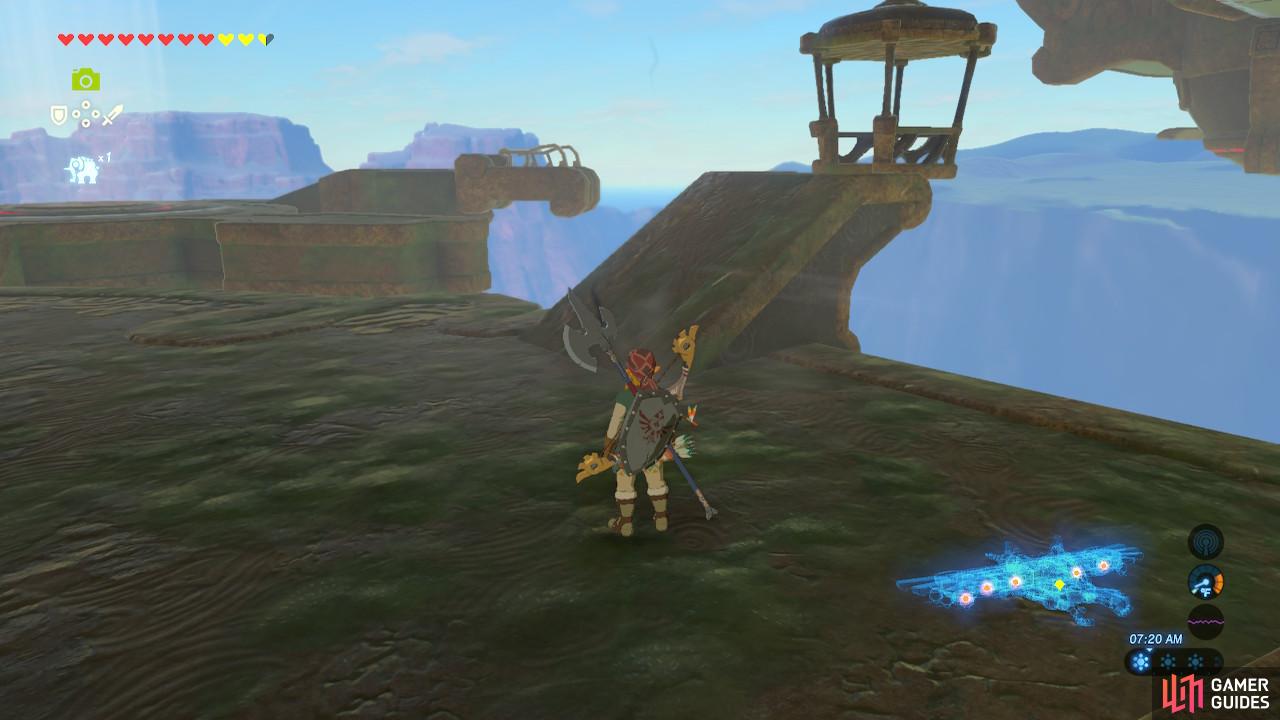
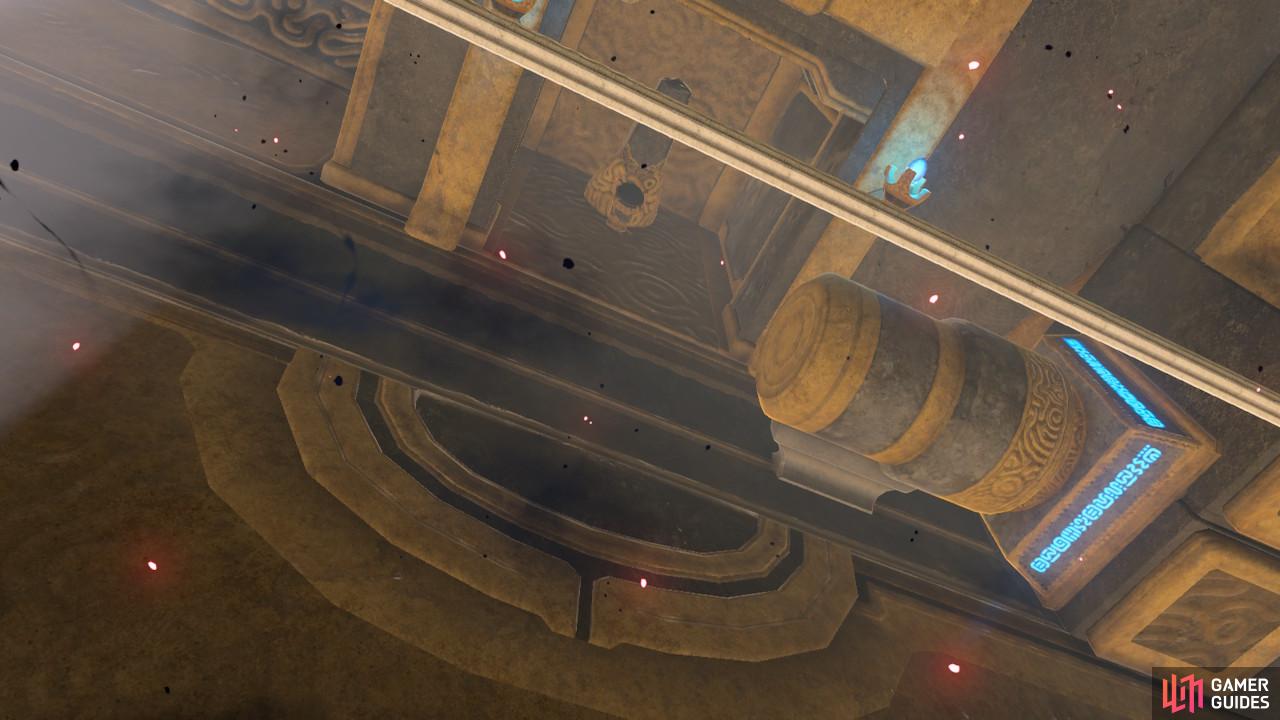
We will be boarding this gondola
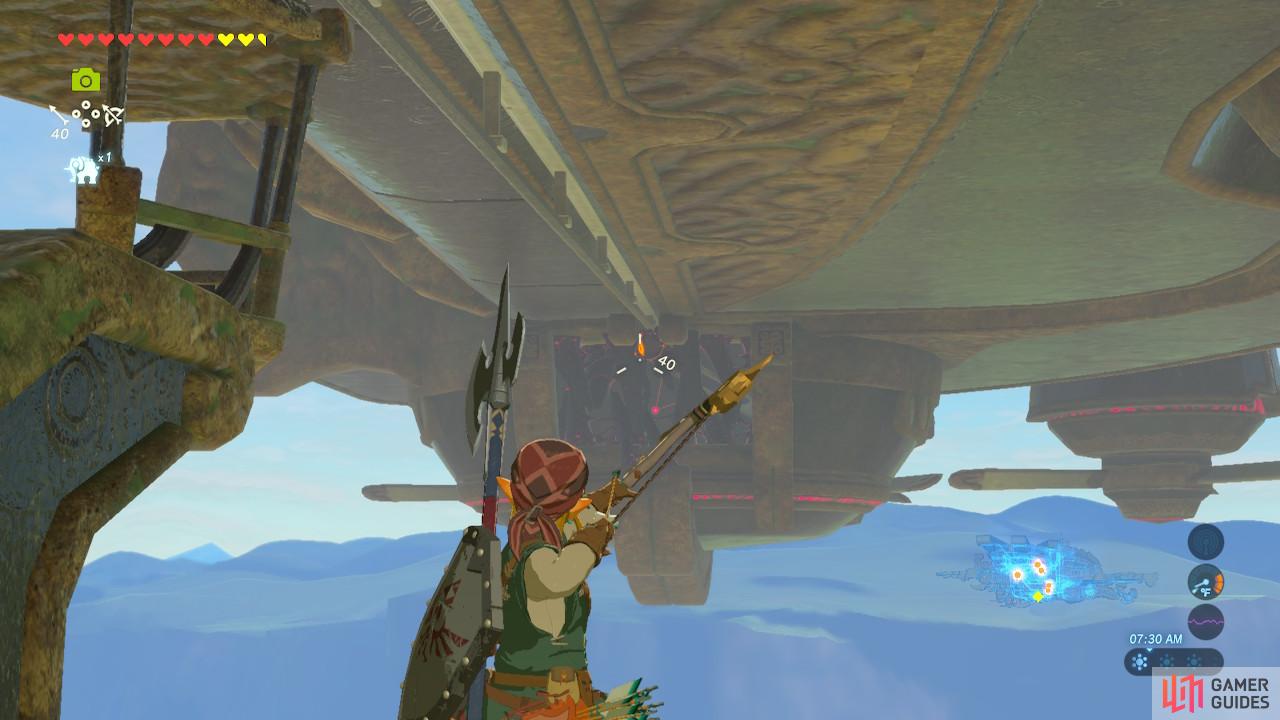
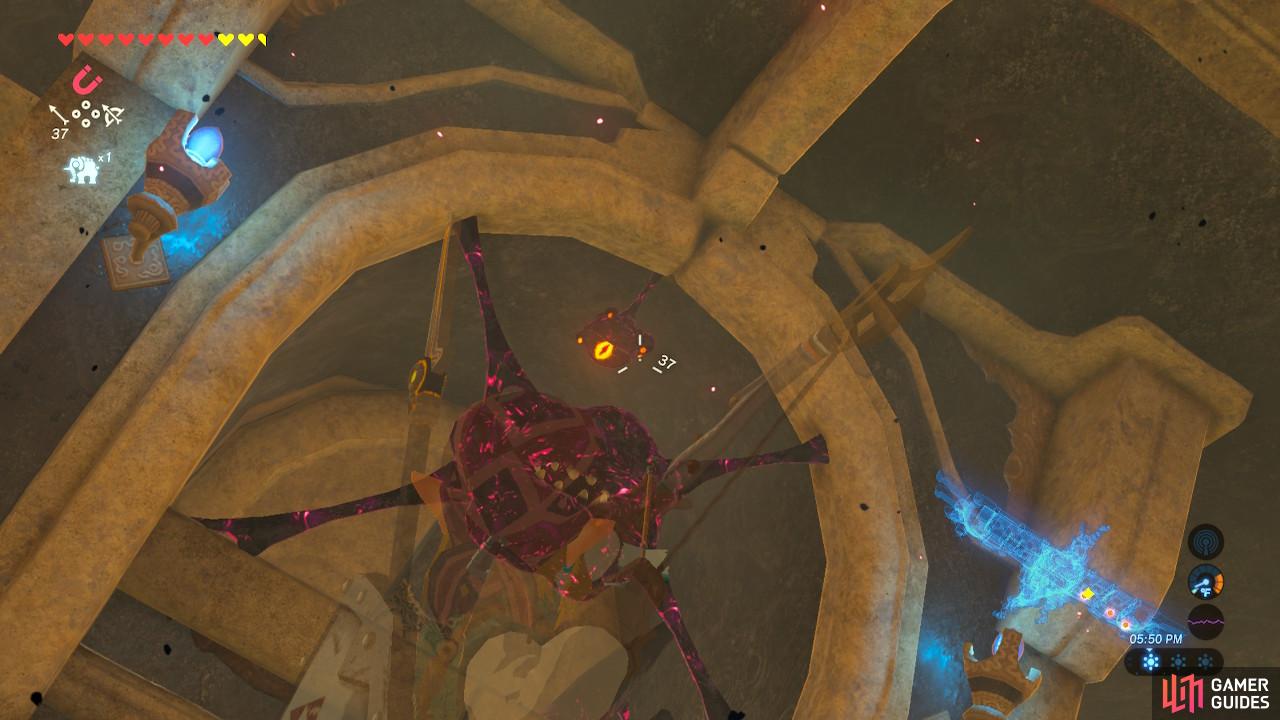
But first, shoot the eye to get it out of the way
Now, drop down to the bottom most floor and head out the left exit (the other exit is blocked right now). Kill the eye you see in the distance. Aim high so the arrow will arc and hit it.
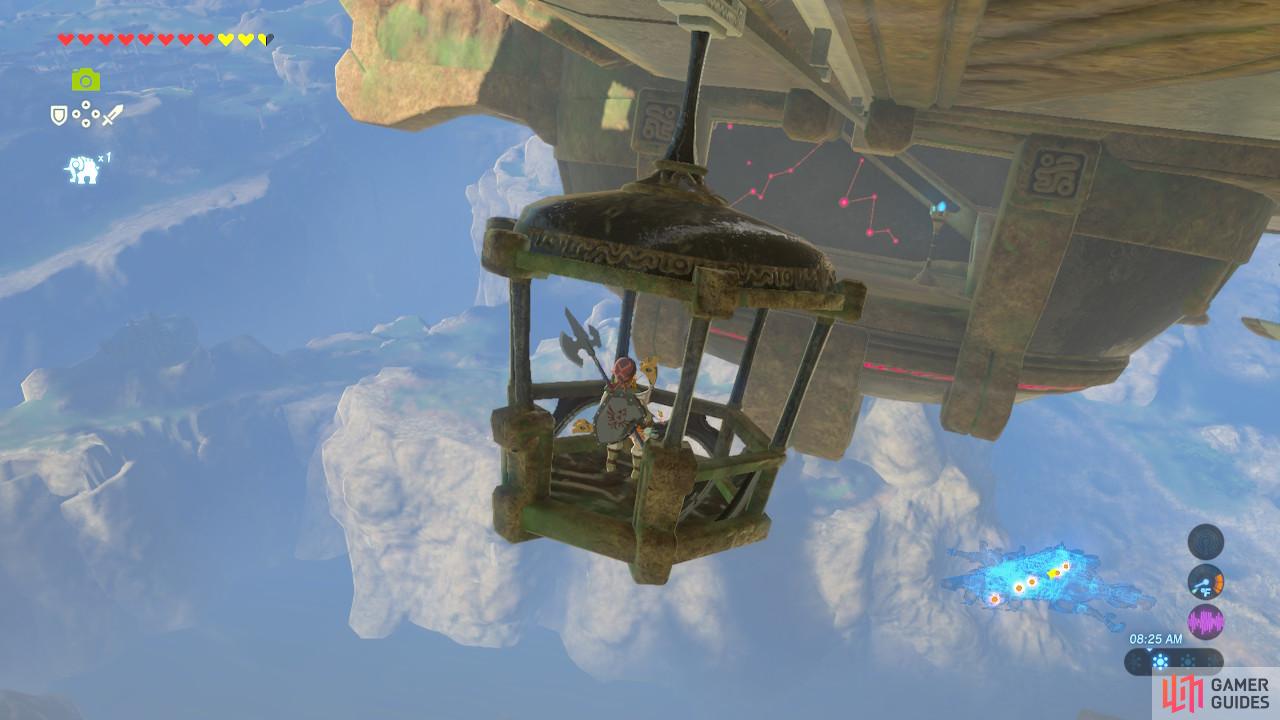
With the eye out of the way we can move safely across
To move the gondola tilt Vah Medoh to the bottom position shown here
If the gondola is not close to you, you will need to tilt Vah Medoh to the topmost position to get it to slide your way. Board the gondola and tilt Vah Medoh to the bottom position so that the gondola begins to drift towards the end of its wing.
The terminal is a short ways up this staircase

Activate this terminal. Four left!
Get off the gondola and go up the stairs to activate the first terminal.
Terminal 2
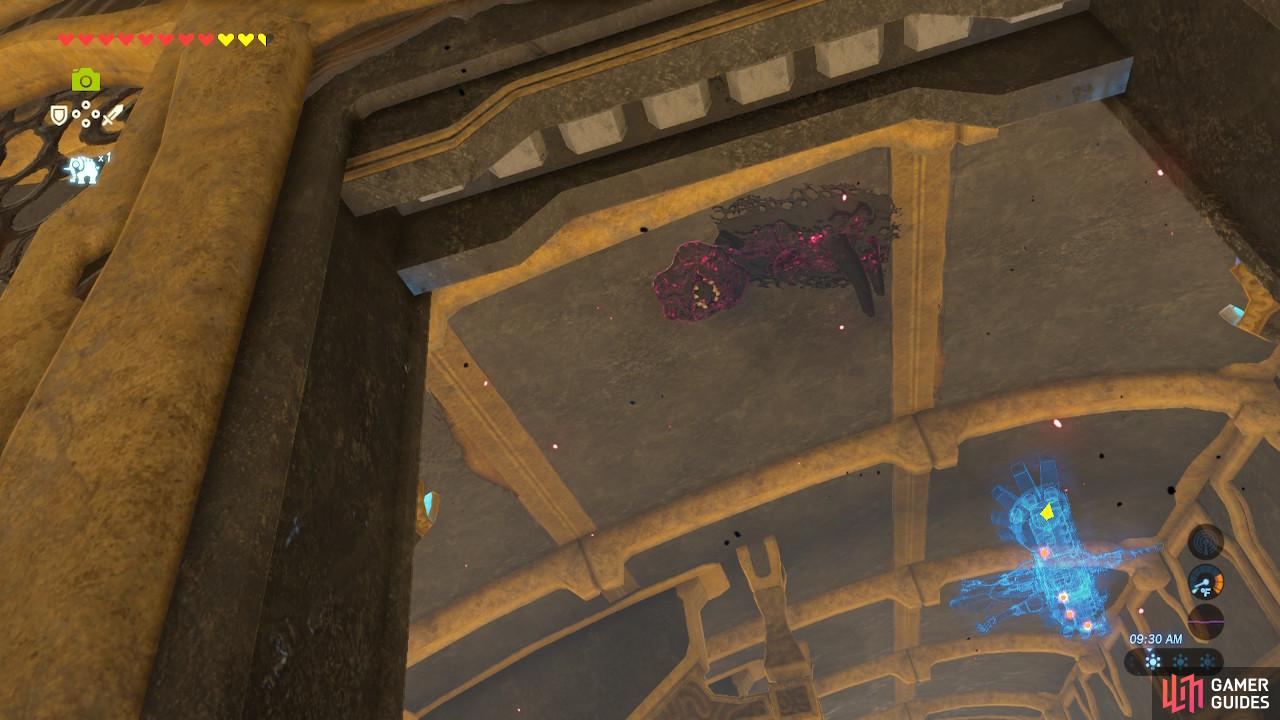
The Ganon goop is actually holding a treasure chest inside
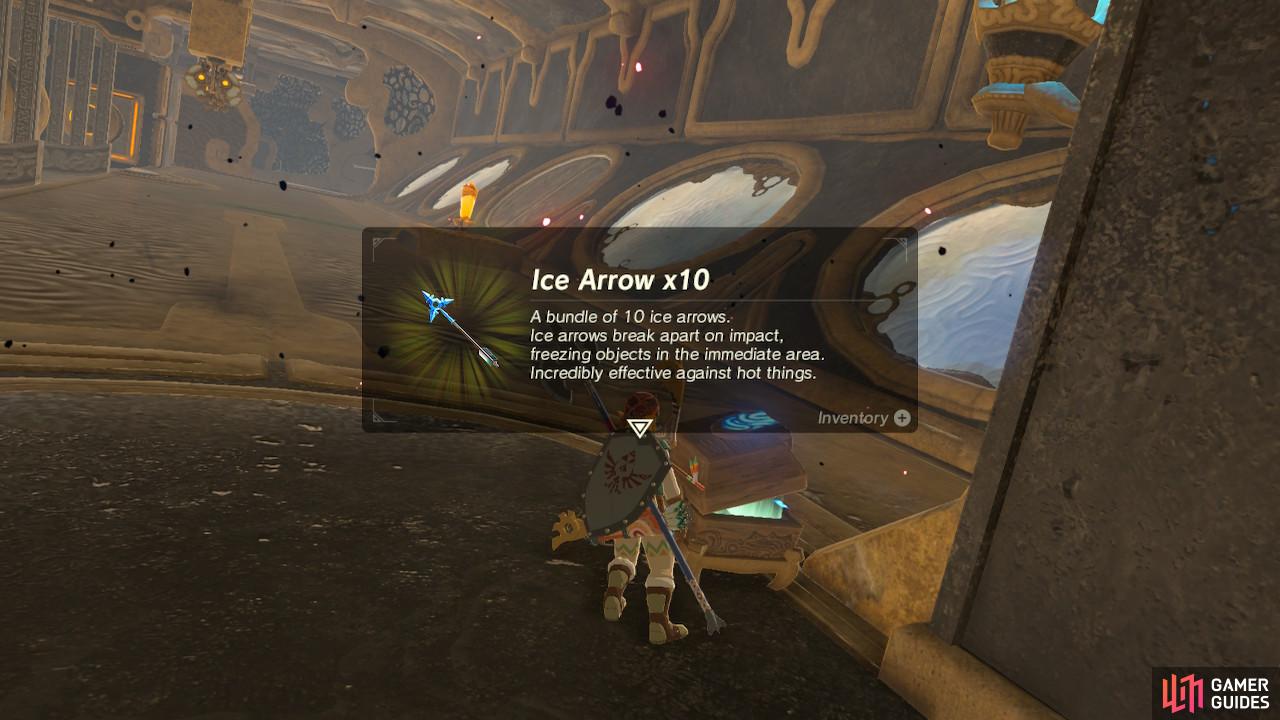
Ice Arrows are rare and quite expensive, so finding 10 for free is awesome
The gate nearby will open once the first terminal is activated, so go through it. Defeat the Ganon eyeball that is right above you and open the treasure chest it will drop for 10 Ice Arrows.

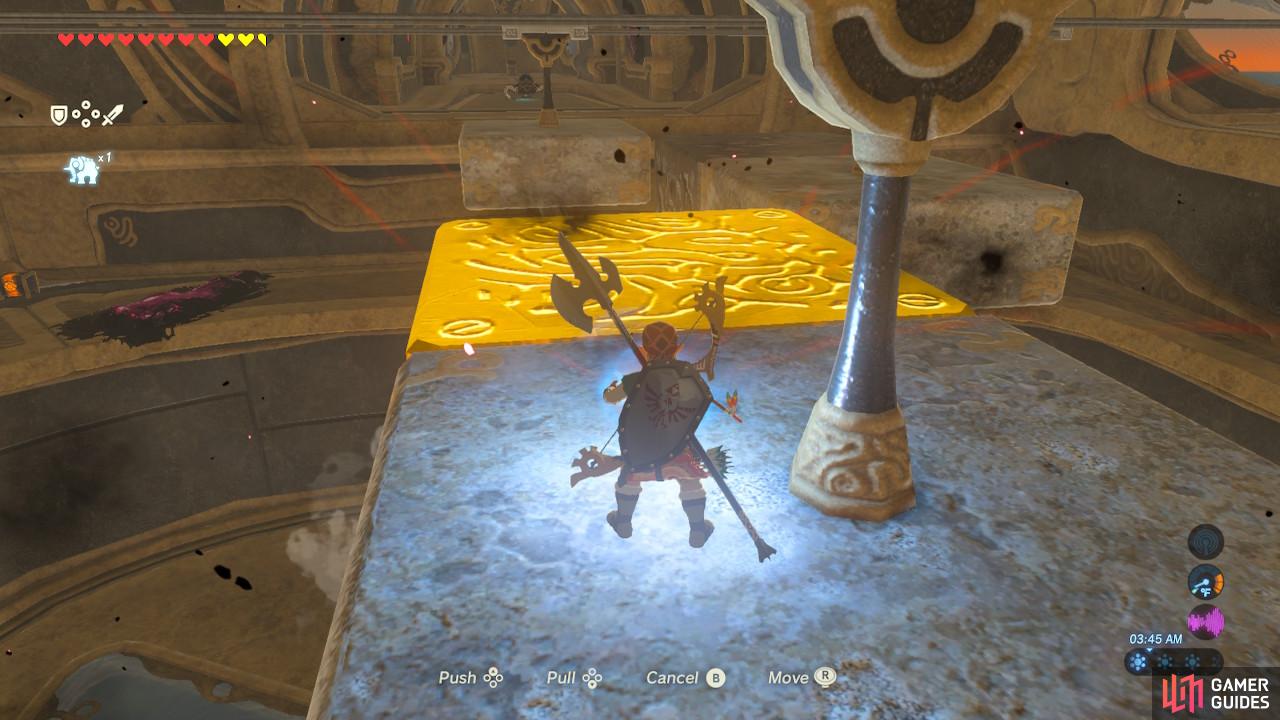
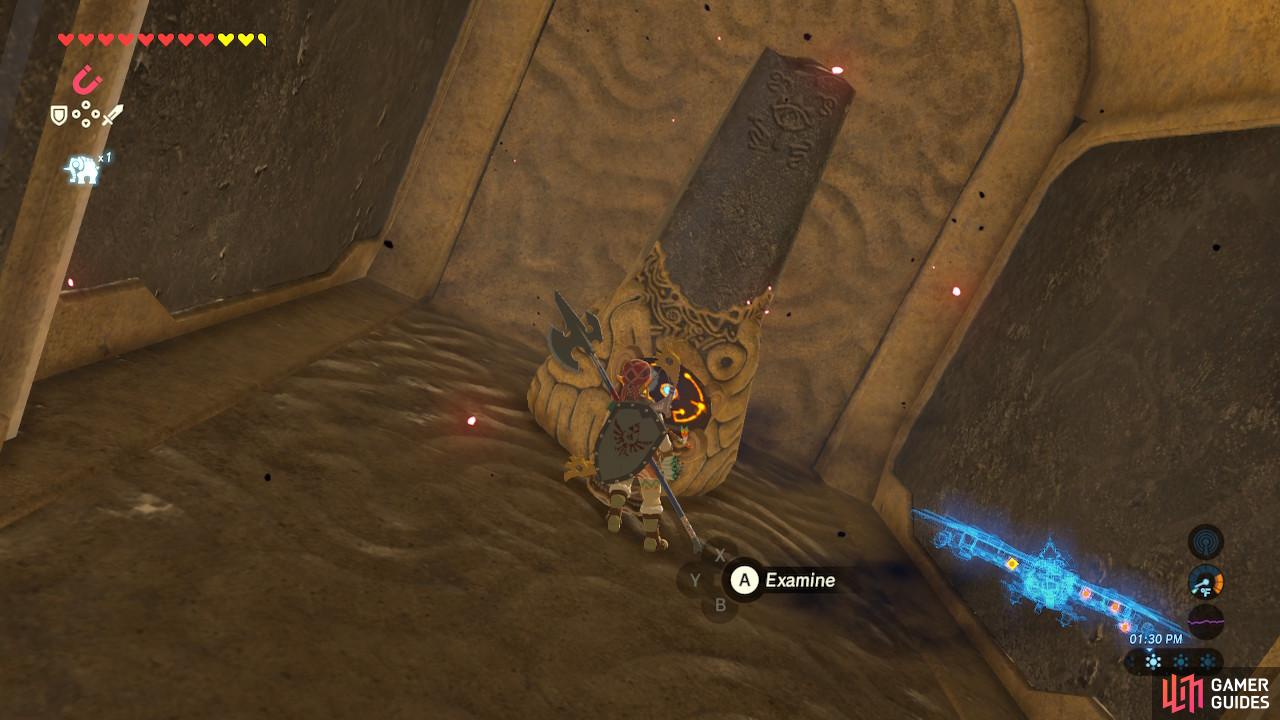
We need to move this battering ram over to the switch on the other side
Hit the switch and then grab the right fan with Magnesis
The hallway you are now in has a massive battering ram that you will need to use to push a switch. However, there are gates blocking the way that can only be lifted if the two windmills near the ceiling spin at the same time.
First, hit the orange switch to blow wind at the windmills, lifting the gates. Now you will need to tilt Vah Medoh to move the battering ram. However, if you do so, one of the windmills will also slide down the rail and close the gates. As a preventative measure, use Magnesis or Stasis on the windmill to hold it in place while you tilt Vah Medoh.
The terminal behind the switch is now revealed
Activate it. Three to go
Once the battering ram hits the switch, the gate behind it will open up and allow you to activate the second terminal.
Terminal 3
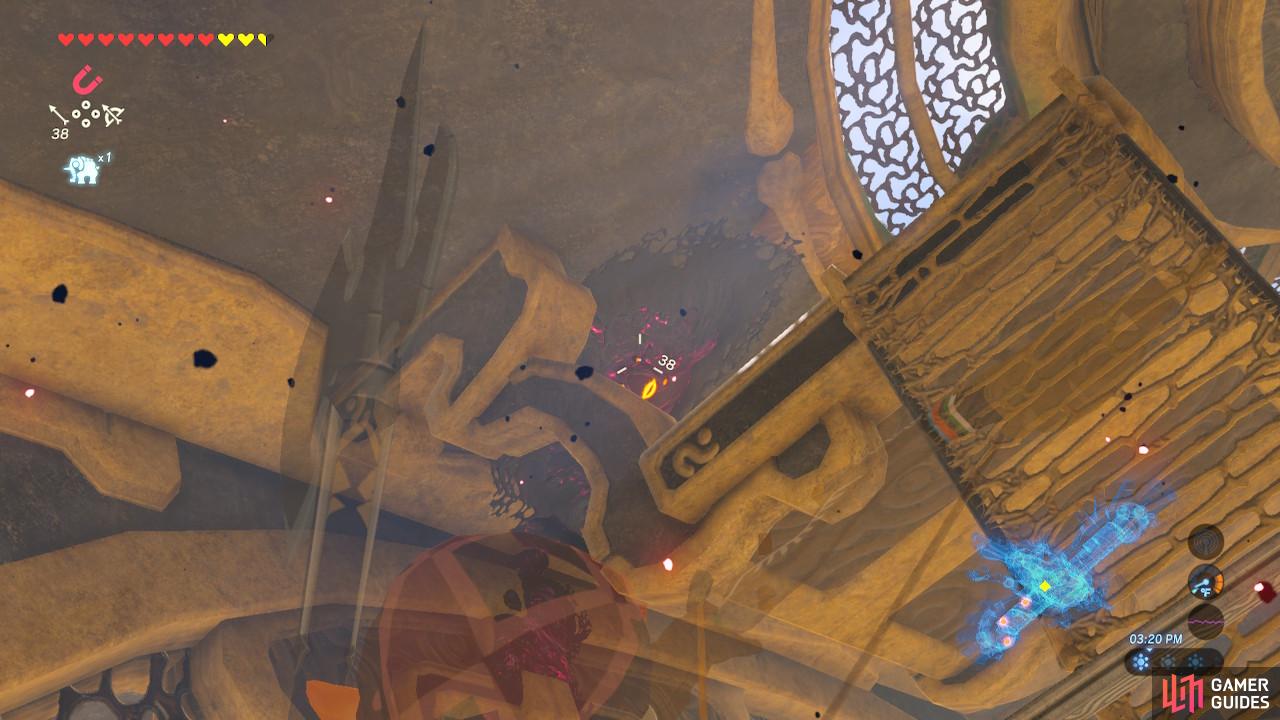
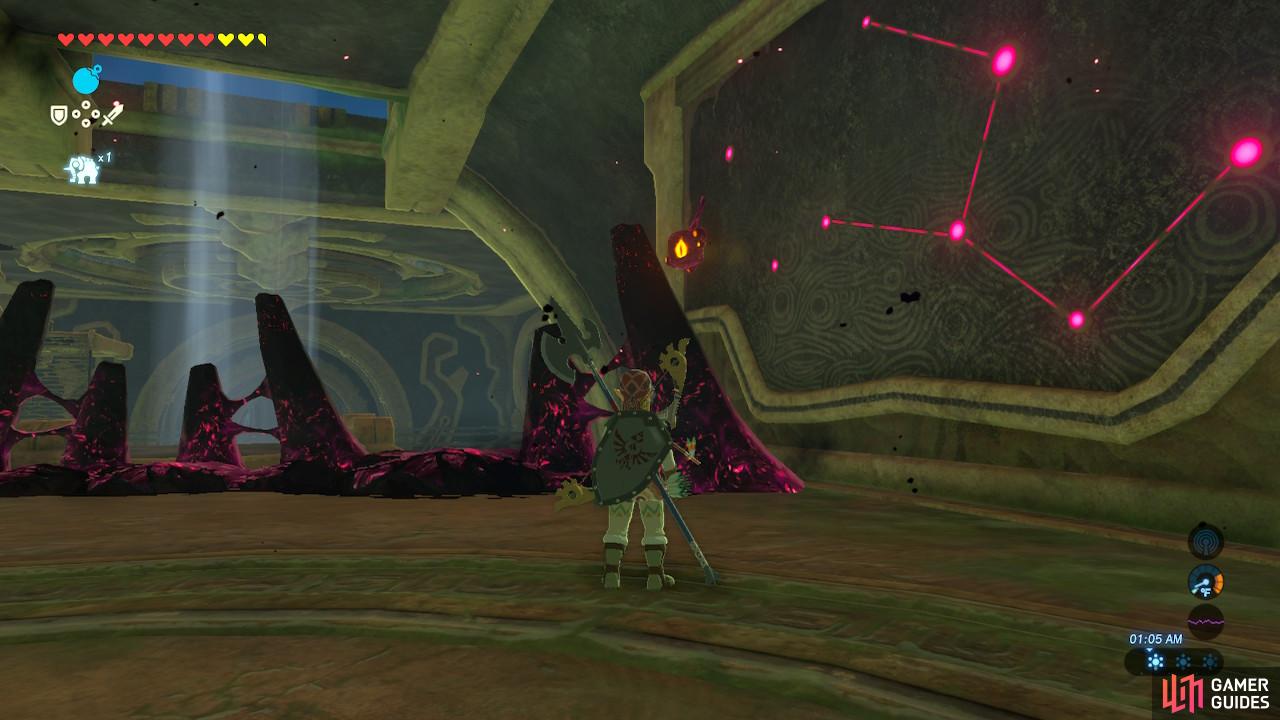
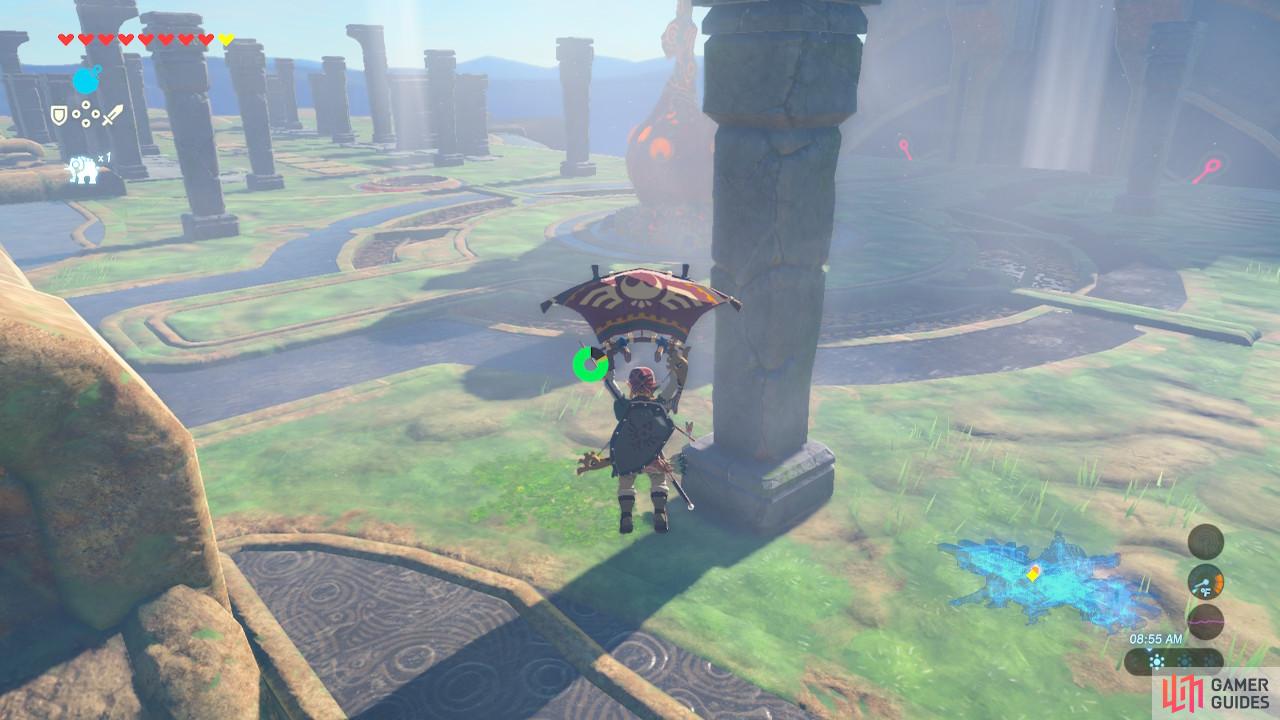
Return to the main room by continuing forward up the left wing. The next three terminals are all along the right wing now. In the main room, shoot an eyeball in the ceiling towards the corner. Ride the updraft at the entrance onto the climbable wall and claim the treasure chest on top for an Ancient Core (you could have gotten this earlier).
Paraglide through this entrance you see here
Shoot the eye to unblock the terminal
Paraglide through the entrance you now see on the left. Shoot the eye on the left wall so that the mouth stops spawning enemies at you.
If you look ahead in the room you will see the terminal is currently on a higher ledge with no obvious way to reach it. To get to it, we first need to claim the treasure chest on the other side of the room. Tilt Vah Medoh to neutral if it’s not there already so you can go back up the ramp to the entrance you came from.
Activate it, and there are two left
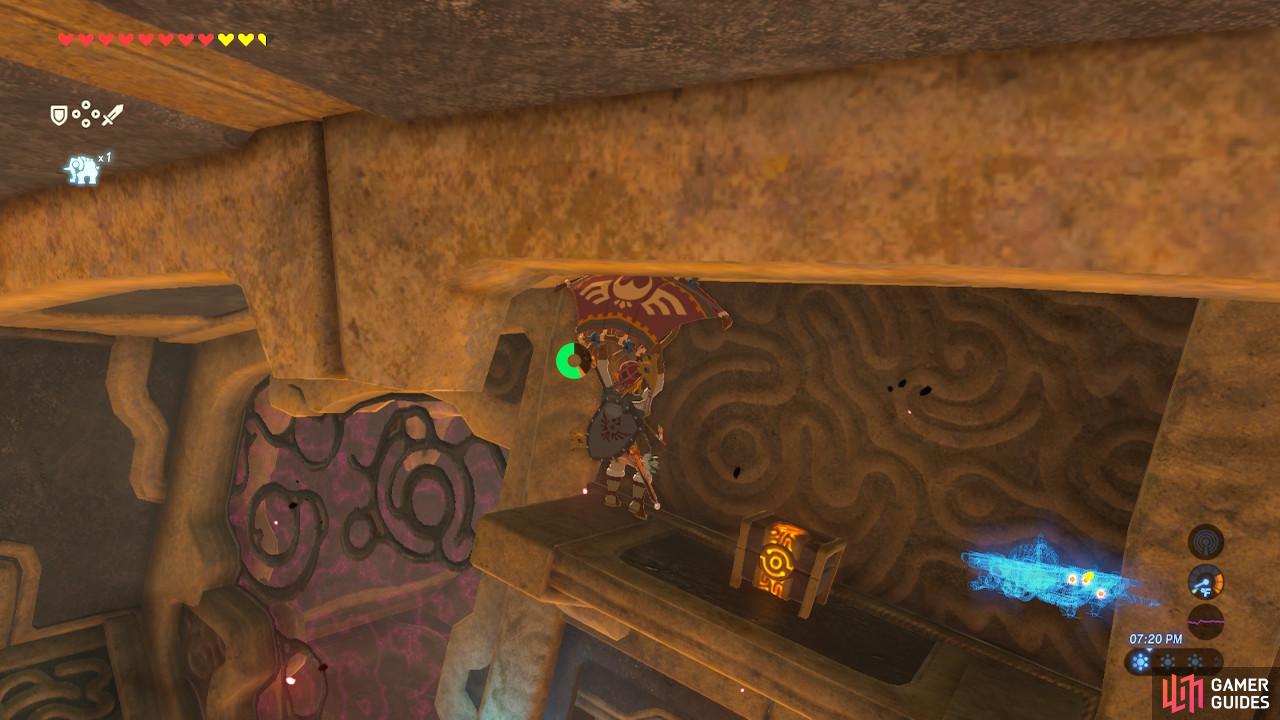
From this treasure chest ledge, we can then go directly to the terminal
Now, tilt Vah Medoh to the top position and Paraglide to the chest. Open it for a Knight’s Claymore. Then, tilt Vah Medoh back down so you can Paraglide to the terminal and activate it.
Terminal 4
This is located in the top right corner of the room
Put a Bomb down the pipe. Make sure it’s round
Almost to the end! That was fast. Head to the corner of the same room you are currently in where you can see an orange switch and a pipe where you can drop a Bomb. Put a round Bomb through the pipe and tilt Vah Medoh to the top position so that the Bomb rolls forward into a cracked boulder. Detonate to clear the path.
Wait until the Bomb has reached the end
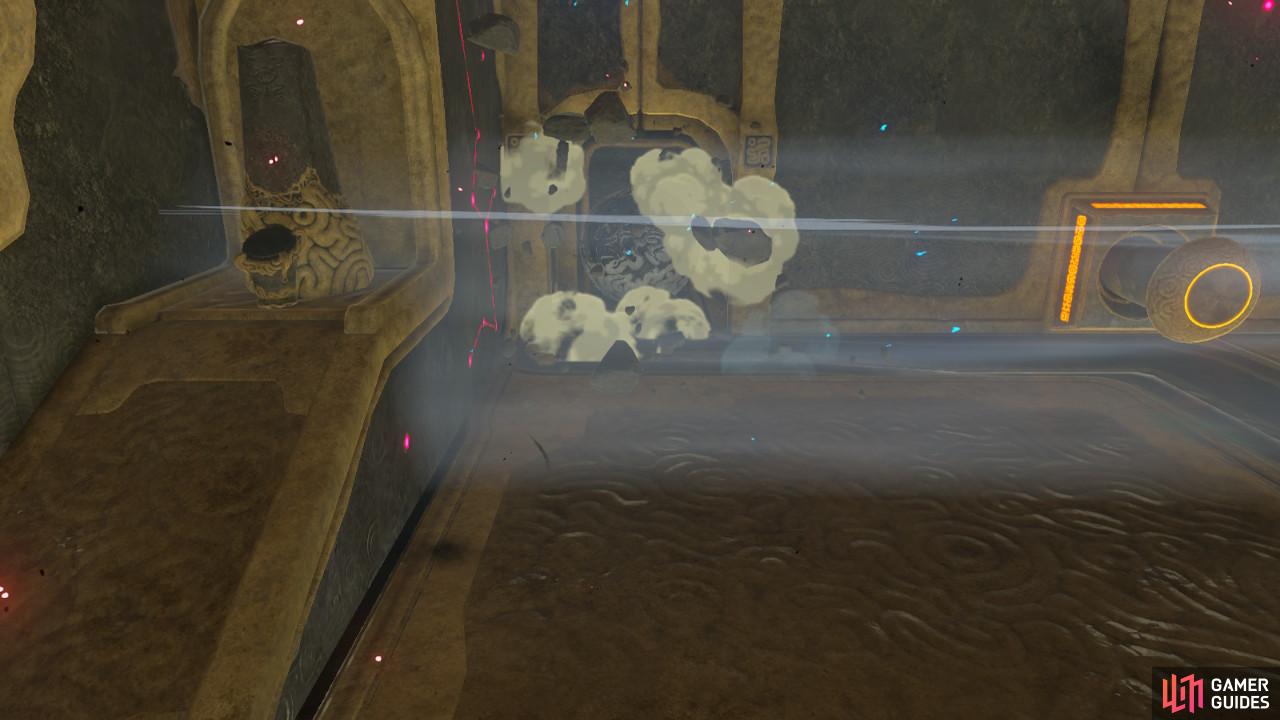
Detonate as soon as you see the Bomb blow away
Drop a second round Bomb into the pipe and let it roll all the way to the end of the room. Now, hit the switch and a blast of wind will blow the Bomb left. Detonate to reveal a large metal ball, ready to roll.

Tilt Vah Medoh back downwards, causing the ball to roll towards you. Go to the left where it stopped rolling and grab it with Magnesis. Pick it up and move it to the right to the pathway your Bombs were rolling down. Drop it there and then tilt Vah Medoh back up so that the ball rolls down the path and onto a switch.
The gate will now open, allowing you to enter the room and activate the fourth terminal.
Terminal 5
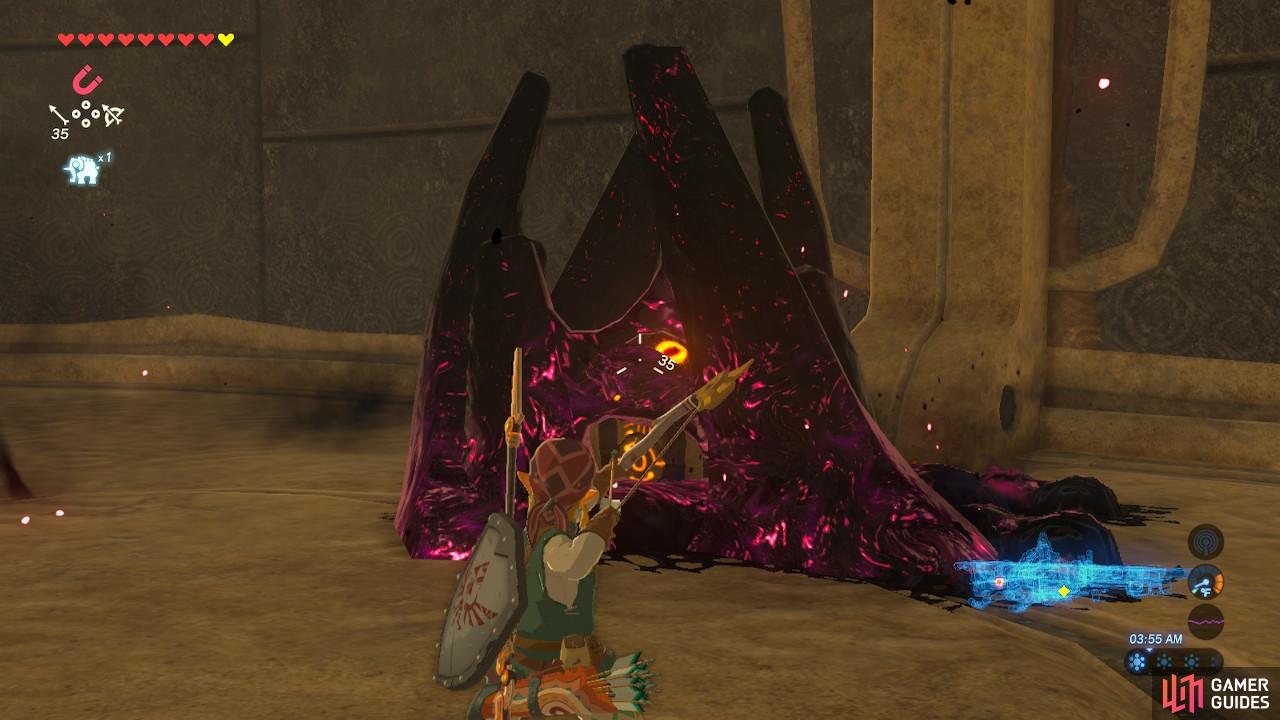
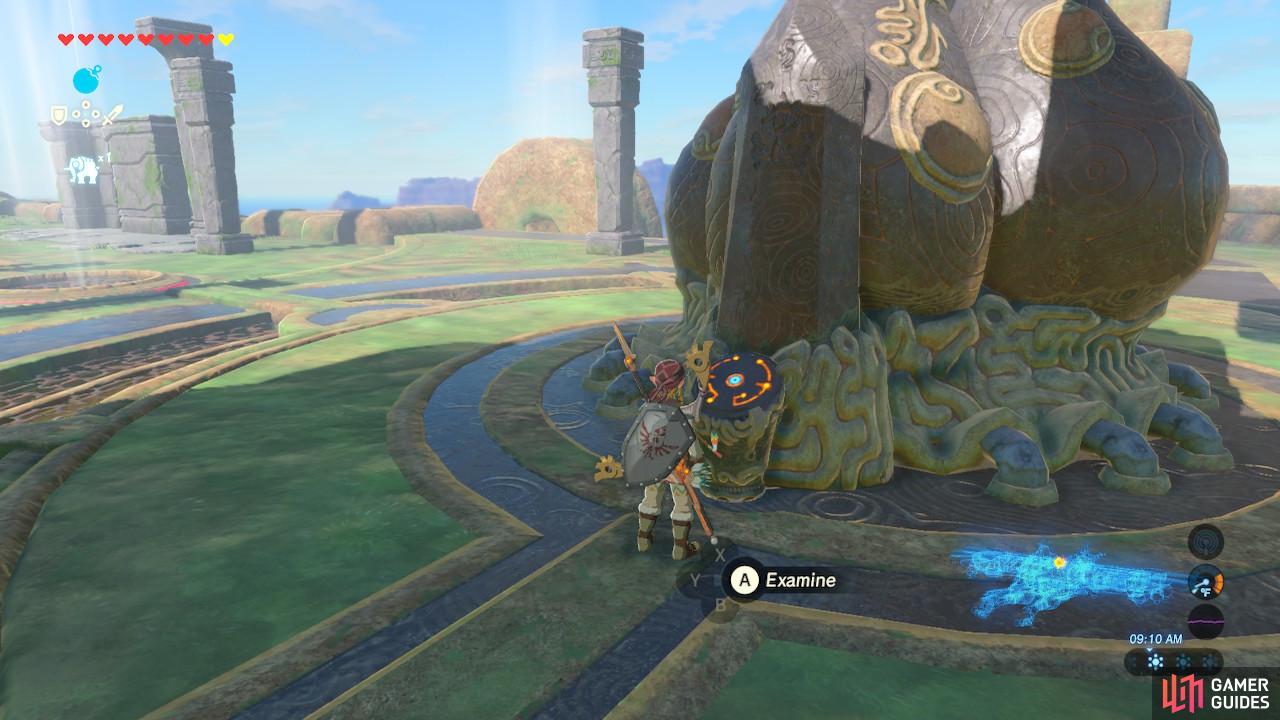
Yuck. Shoot the eye and get rid of this
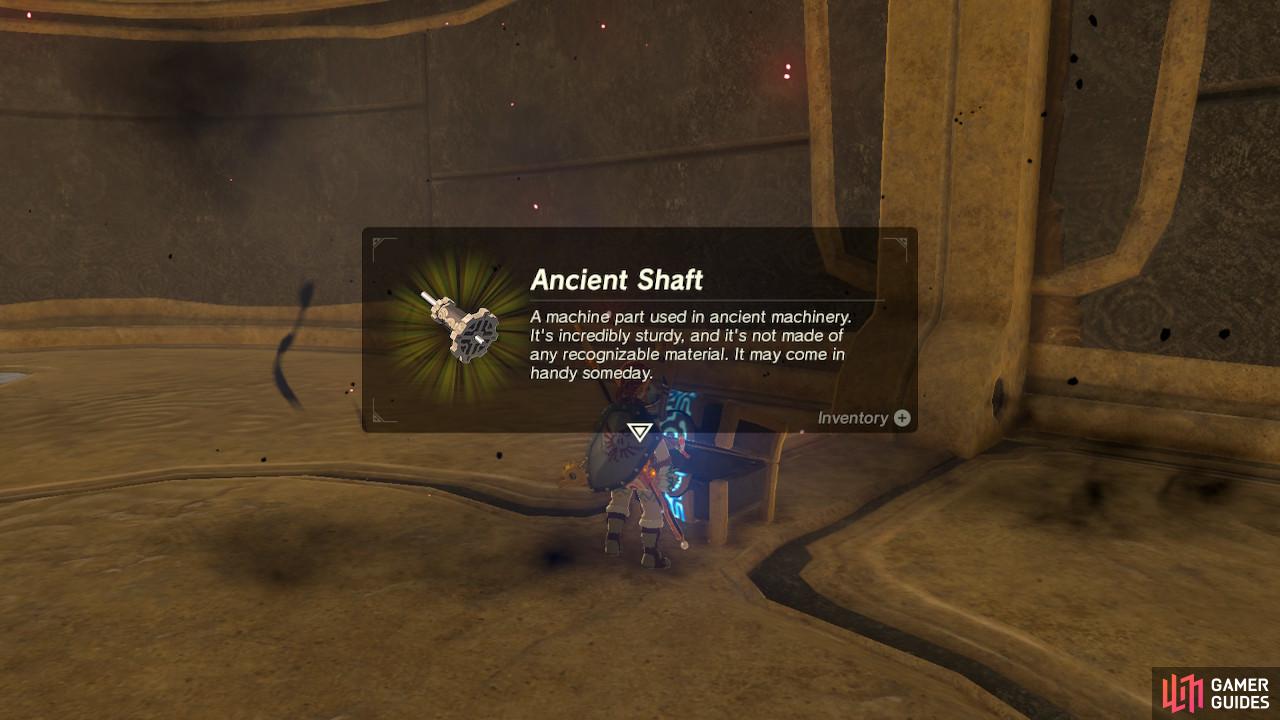
The Ancient Shaft is a little less valuable but still worth keeping
Return to the main room, placing Vah Medoh in a neutral position so you can get there. Drop down to the bottom floor again. If you haven’t already, shoot the eye in the back of the room to reveal a chest containing an Ancient Shaft. The shortest way to the last terminal is through the entrance currently blocked, but the eye is on the other side of the wall.
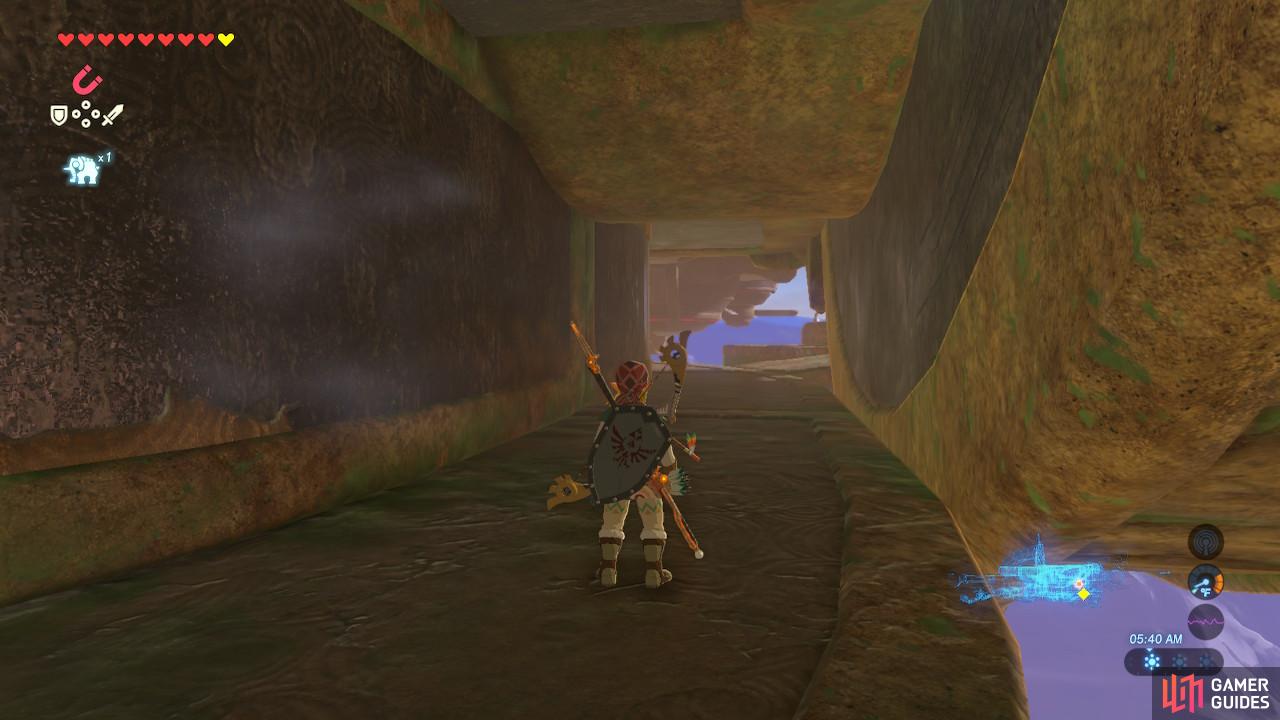
Make your way around the balcony to the other side of Vah Medoh

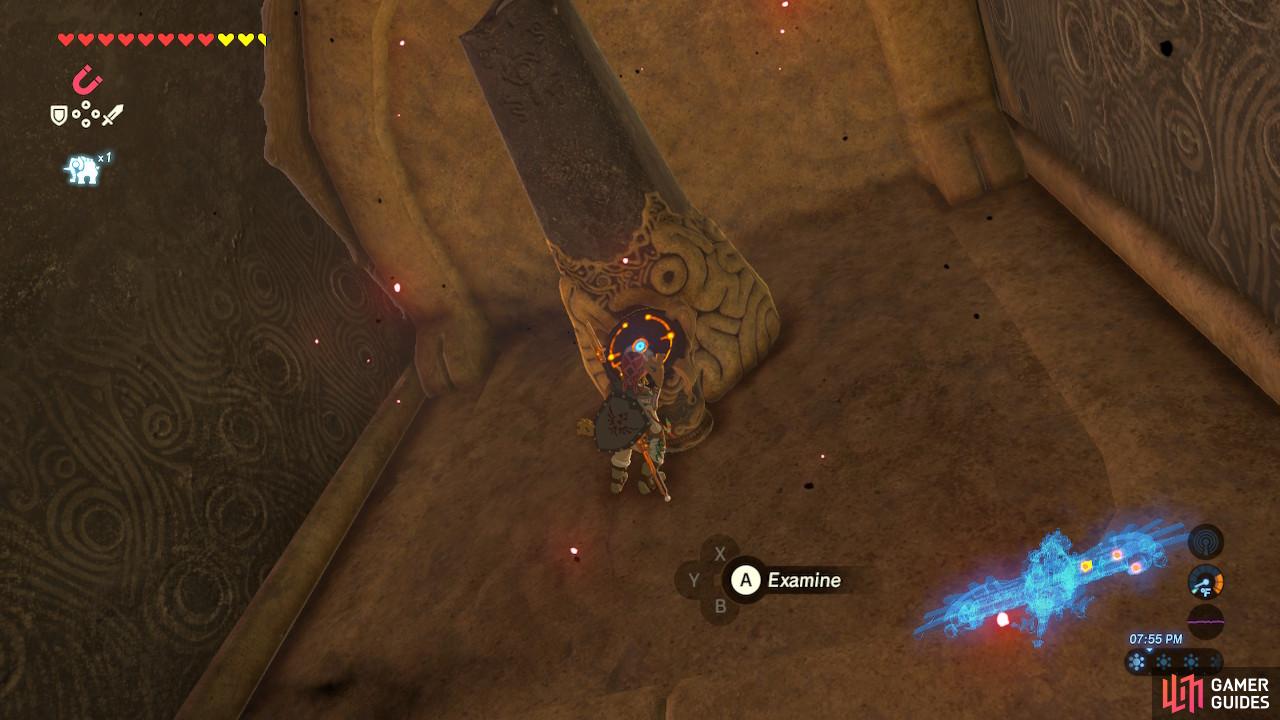
The entrance will be unblocked after shooting this thing
Go out the same exit we used before and make your way around Vah Medoh’s balcony. Destroy the eye high up on the wall that will unblock the blocked exit.
The terminal is sitting at the very end of Vah Medoh’s wing
Activate it and you have finished all the terminals
The last terminal is straight ahead, across a large gap. Tilt Vah Medoh up so that you can Paraglide safely to the terminal and activate it. Revali will then place a new mark on your map for the main control unit.
Main Control Unit
We took the lazy way by Paragliding from an updraft on Vah Medoh’s exterior
Attempt to activate the main control unit
Tilt Vah Medoh down so that you can Paraglide back. Now you can return to the main room and ride that updraft all the way up…or you can just Paraglide off of the updrafts being created from the outside portions of Vah Medoh’s wings, like we did. We’re lazy.
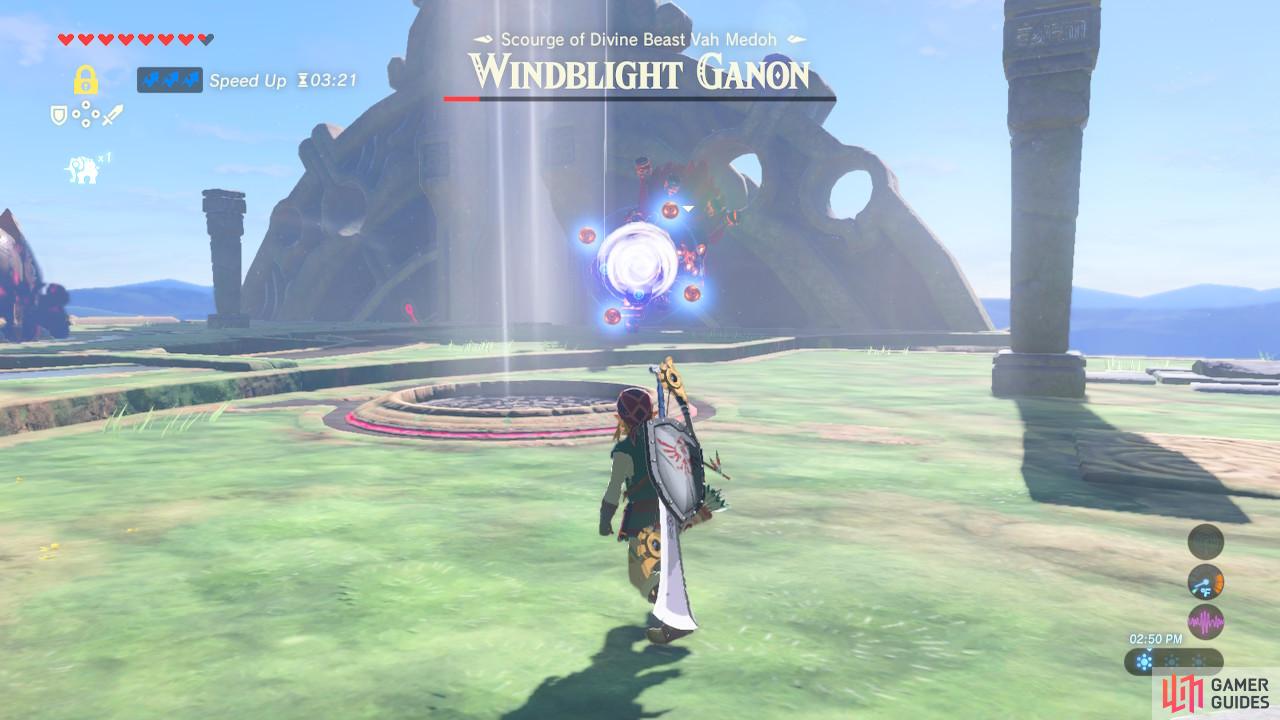
As you attempt to activate the main control unit, you will have to confront another one of Ganon’s blights.
Windblight Ganon
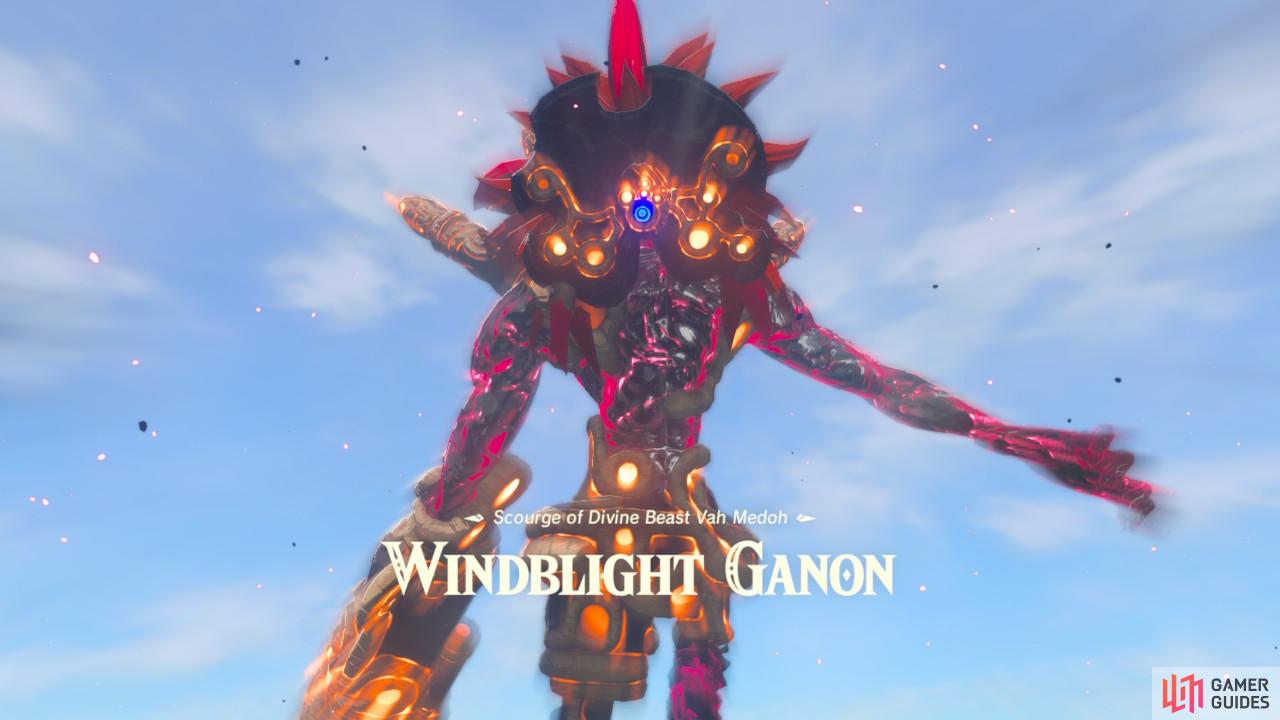
Windblight Ganon is the apparition of Ganon that defeated Revali 100 years ago, and it is time to have our revenge! Like with Waterblight Ganon, this is a fairly scripted, two-phase boss fight.
You can reflect Windblight Ganon’s bullets back at it
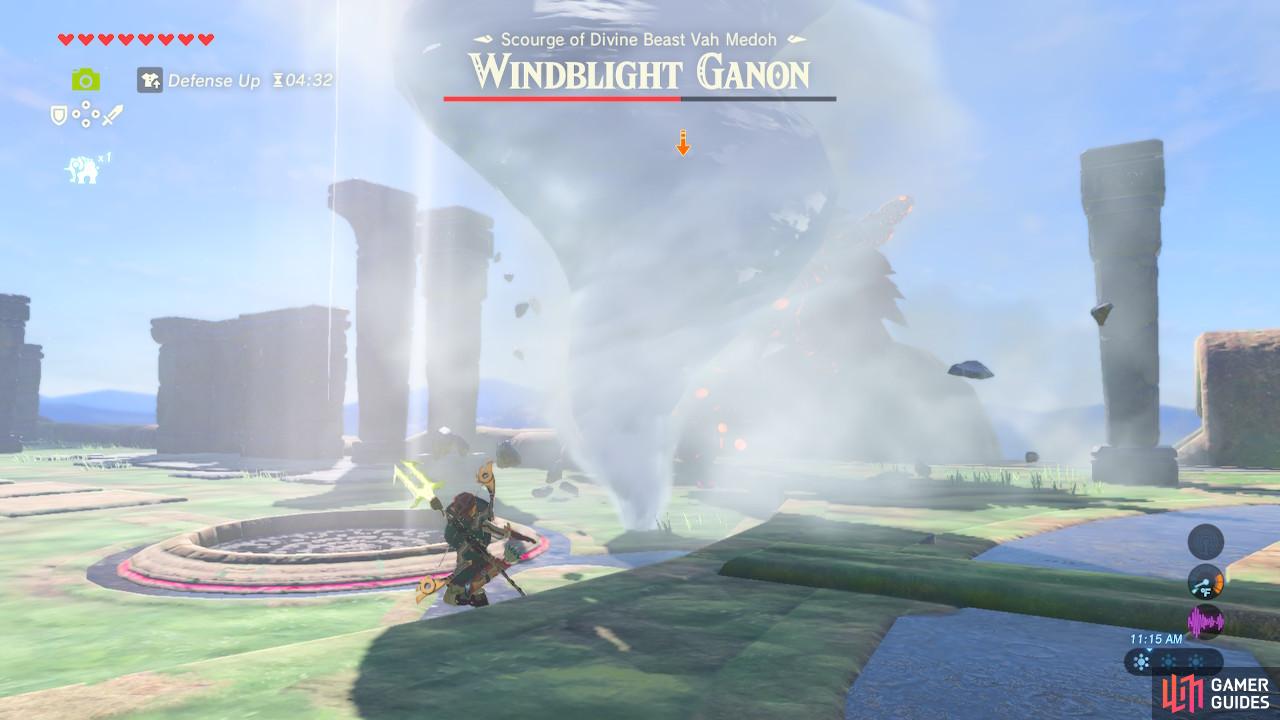
The tornado moves slowly and dissipates rather quickly
During the first phase, Windblight Ganon has a few attacks he will use. First, he will generate a tornado. This attack has a long wind-up and the tornado moves slowly and is easy to dodge. Second, Windblight Ganon will use the gun on his arm to shoot you. These bullets hit hard but you can actually shield parry them back for significant damage if you’re feeling brave.
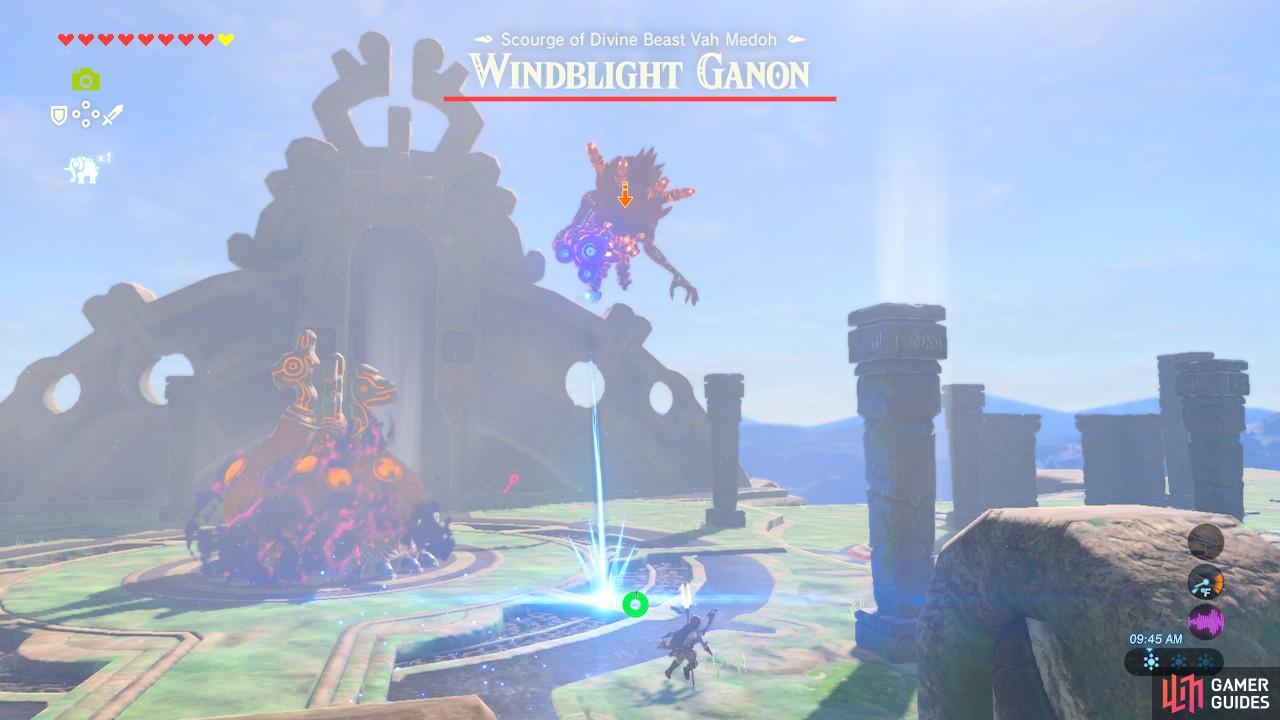
If you manage to get within melee range of Windblight Ganon, it can do almost nothing back to you during this stage since its attacks are all long range. While it is far away, aim carefully using arrows. If you can hit its eye twice, you will stun it. This can be tedious because Windblight Ganon teleports a lot and likes to hang out really high up in the air There are updrafts all around Vah Medoh’s back that you can use the get closer to Windblight Ganon for a fairer shot.
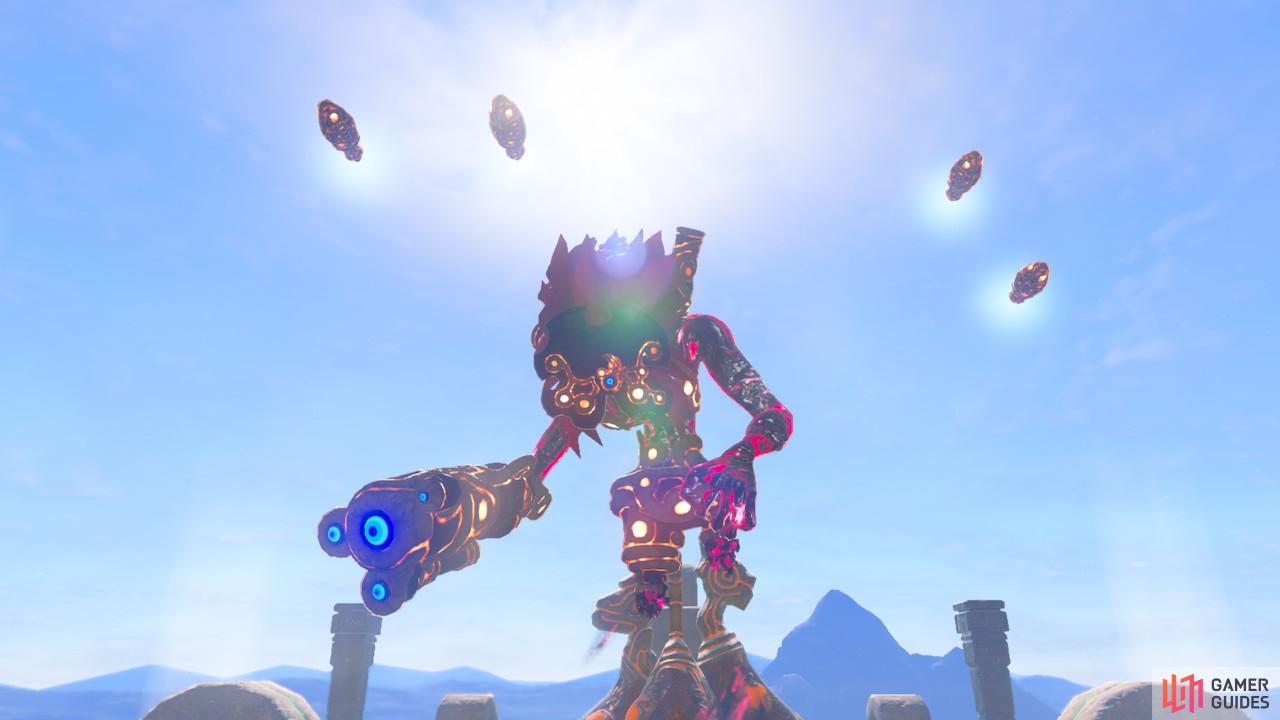
Once Windblight Ganon hits half health, you will enter phase two. Windblight Ganon will create four little machines around it that will help enhance and bounce its gunshots, creating networks of lasers in the sky. Shield yourself from them by hiding behind columns and walls.
This charged gun attack is easy to dodge. Take advantage of the fact that Windblight Ganon is not moving to shoot it
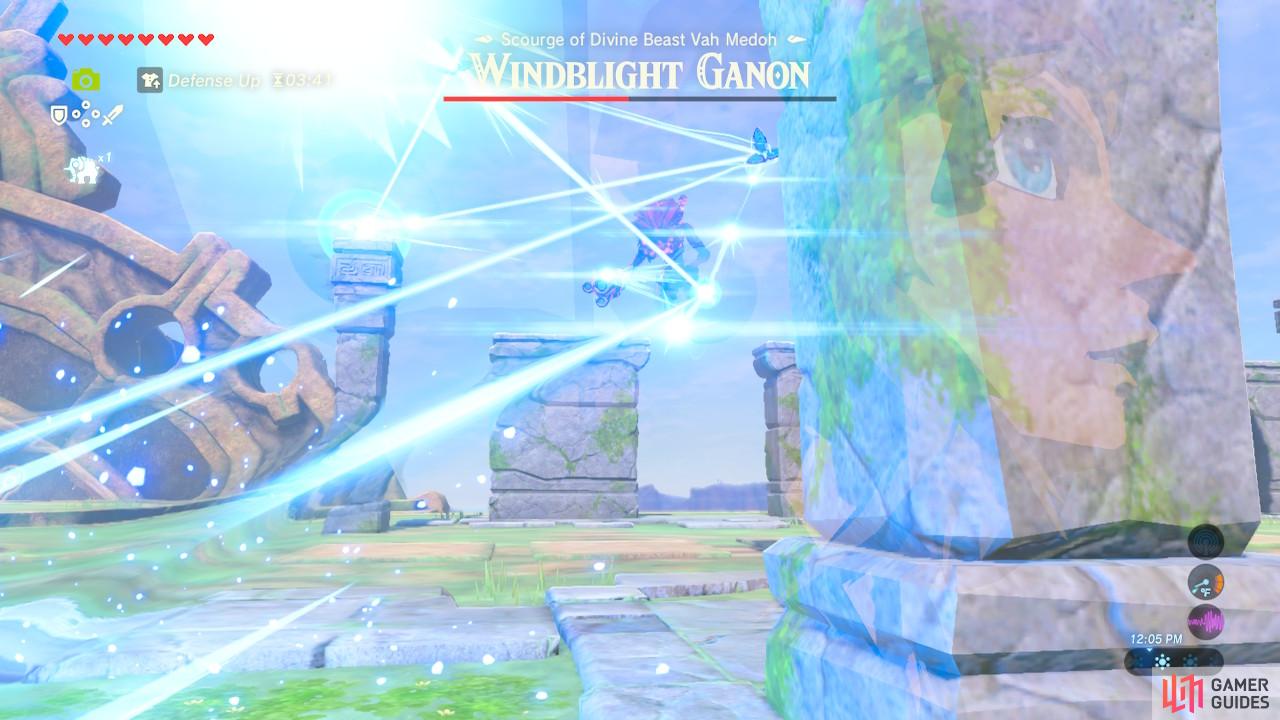
The devices surrounding Windblight Ganon will reflect the bullets off of them in all sorts of crazy angles
Windblight Ganon will also use its gun to charge up a massive wind attack. This doesn’t hit terribly hard and can be dodged. During this phase, Windblight Ganon spends a lot less time on the ground, so definitely make use of those updrafts to get closer to its eye. If you have Bomb Arrows leftover, they go a long way towards killing it faster.
Once at critically low health, Windblight Ganon will become very still and charge up a standard Guardian laser. Parry it back with your shield or shoot it and smack it as much as you can during its long charge time, as you do not want to be caught on its receiving end. Parrying is definitely riskier, as you will probably die if you miss (unless you have Mipha’s Grace).
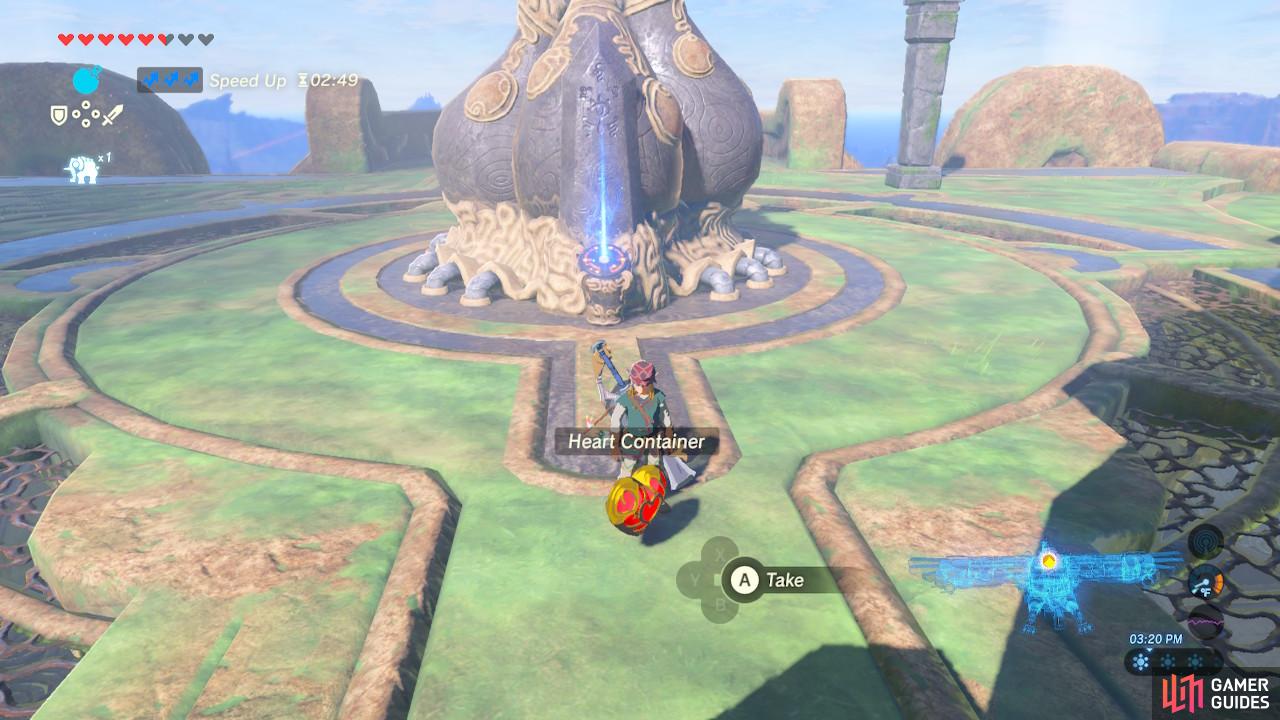
The more heart containers, the closer you can get to being able to get the Master Sword
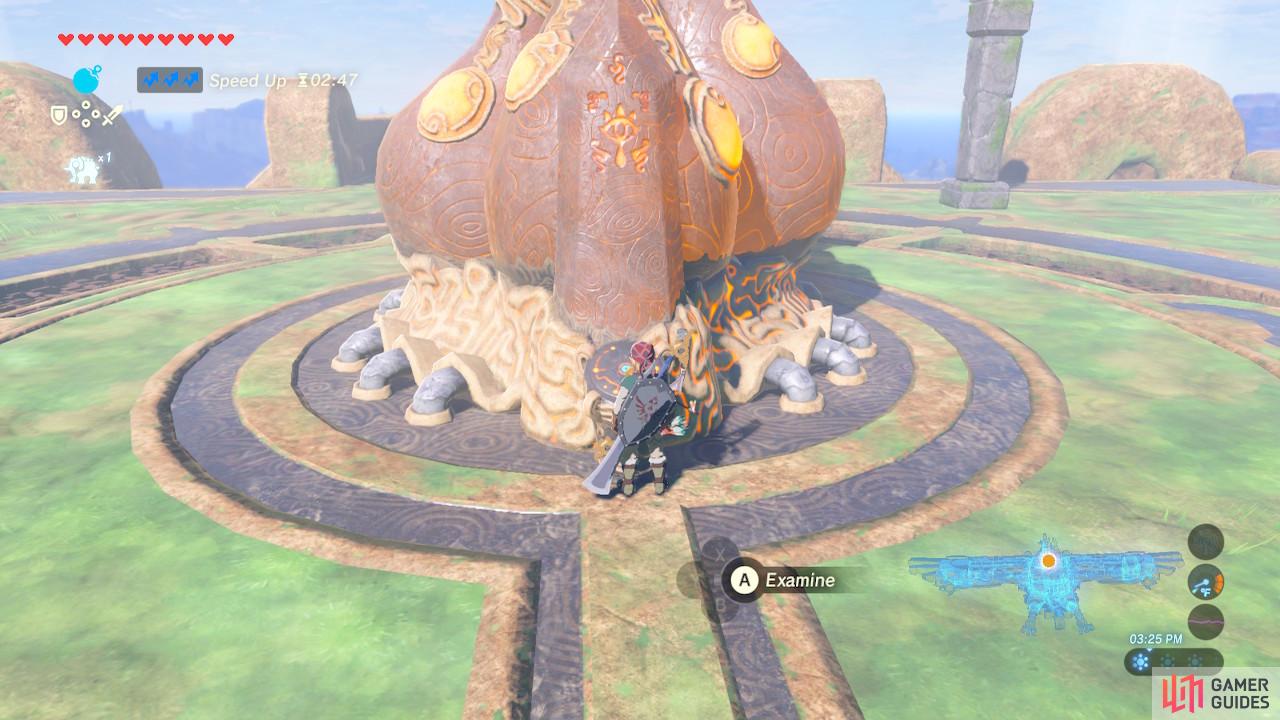
Once activated, Vah Medoh is inaccessible forever
Once Windblight Ganon is defeated, feel free to pick up the heart container (or not!) and now you can finally activate the main control unit. As with Divine Beast Vah Ruta, you cannot come back. If you think you missed anything, now is the time to comb through the dungeon.
Now you can finally see in person the source of that condescending voice
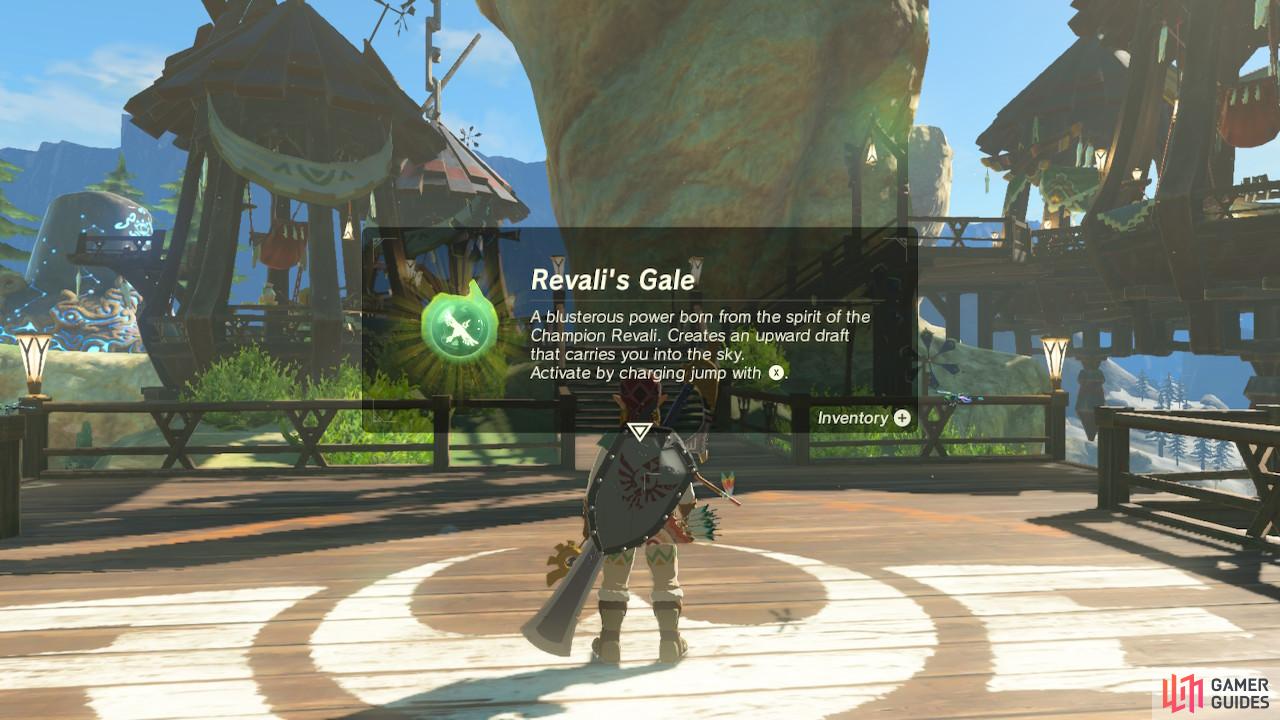
Revali’s Gale will make climbing and taking shortcuts much easier
Once you have activated the main control unit, Revali will appear before you. He will gift you with his special ability, Revali’s Gale.
Revali’s Gale will allow you to create updrafts on your own, making mountain climbing infinitely easier and allowing you to Paraglide from almost everywhere. After you have used Revali’s Gale three times, it will recharge. The recharge time is much shorter, meaning you can use Revali’s Gale quite frequently to explore.
You will be teleported from Vah Medoh back to the Rito Village, while Revali pilots Vah Medoh up to a rock to fire a laser at Hyrule Castle.
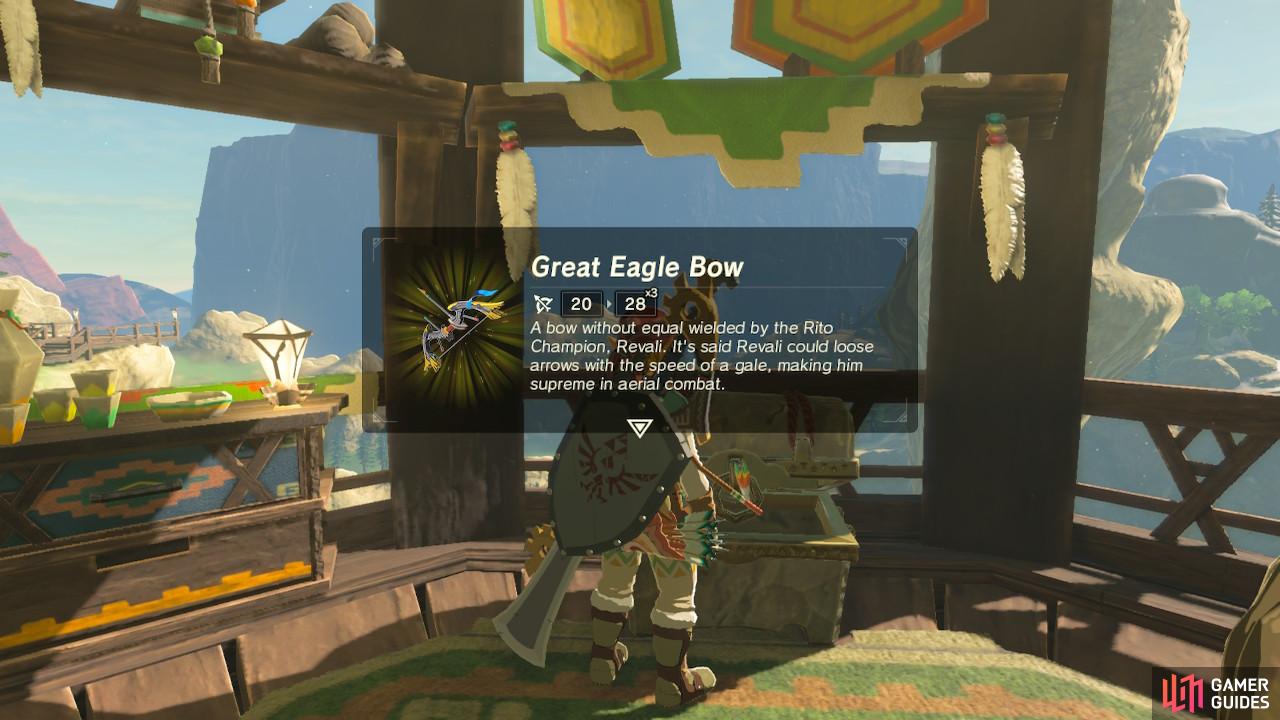
This is an extremely powerful bow so definitely don’t waste it
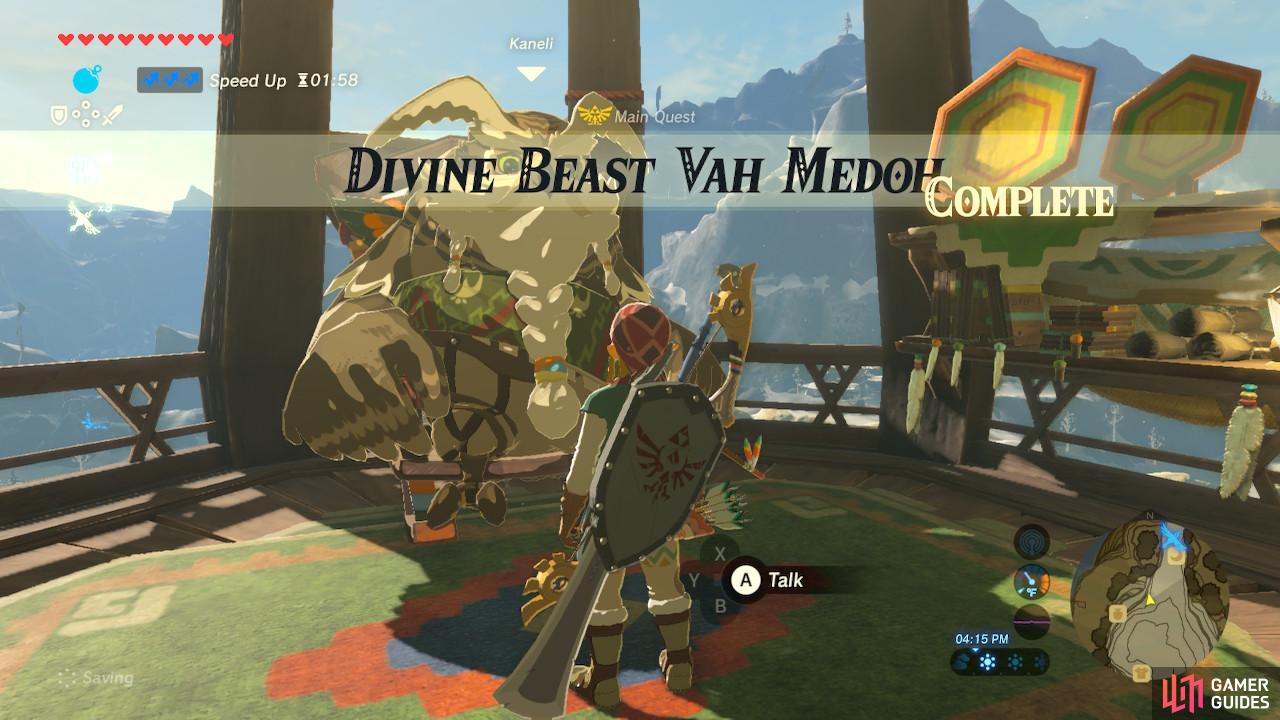
That’s two Divine Beasts down!
Speak with the elder again. He will thank you for your efforts and gift you with a treasure chest containing the Great Eagle Bow, a bow wielded by Revali. At this time, you have completed this main quest. Congratulations!
No Comments