
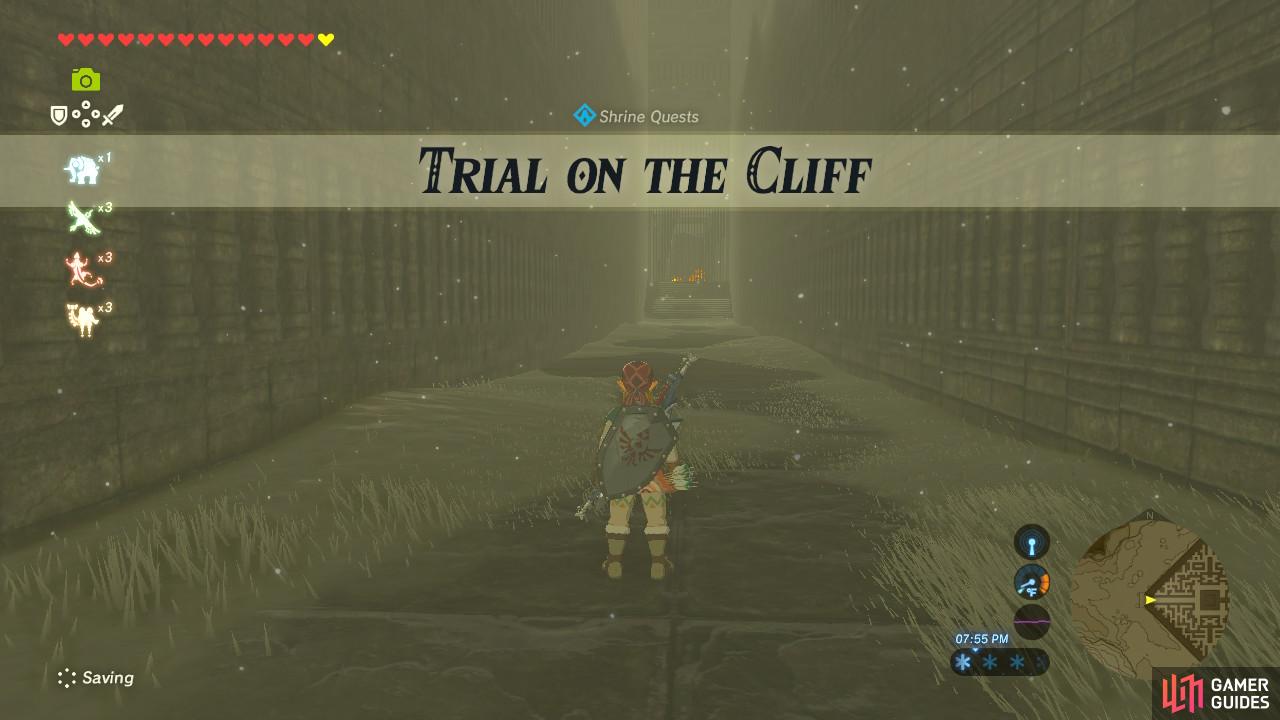
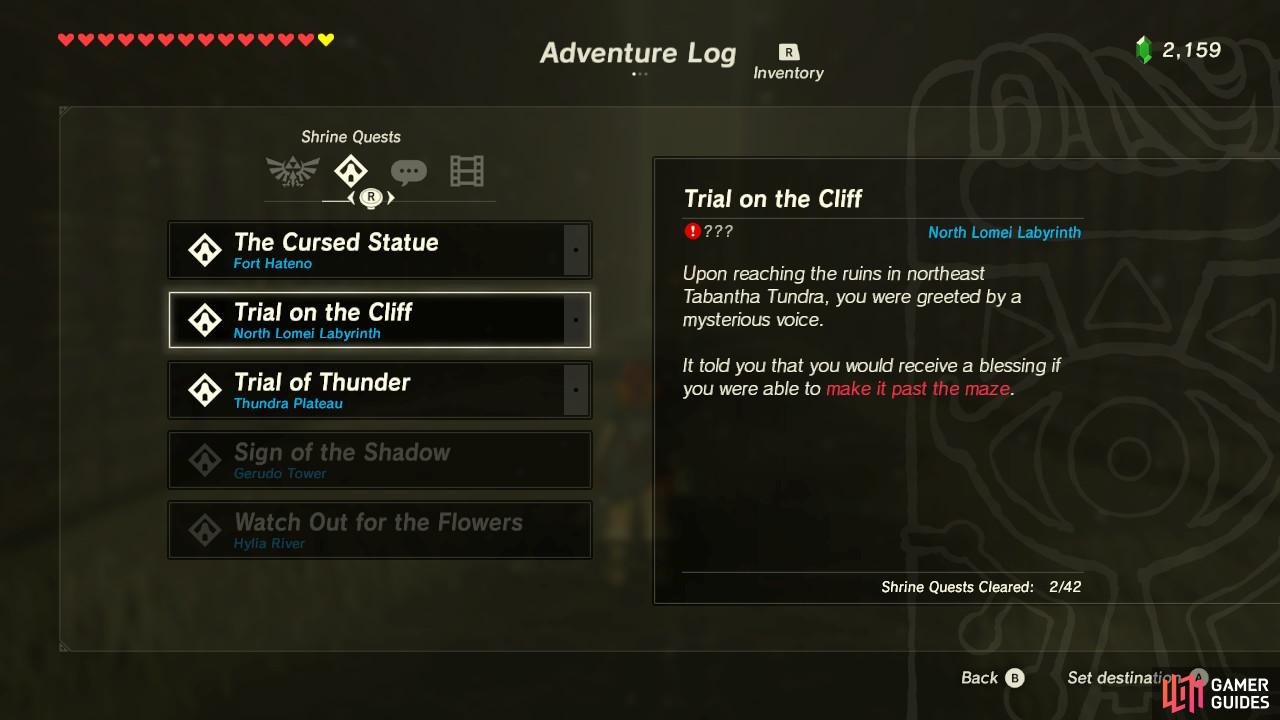
A guide on how to complete the Trial on the Cliff shrine quest, found in North Lomei Labyrinth, in the Hebra Region. This shrine quest must be completed in order to access the Qaza Tokki Shrine.
This is one of three labyrinth trials
Complete this to get to the Shrine
How to Complete the Trial on the Cliff Labyrinth
In the northernmost reaches of the east side of the Hebra region, there is a strange labyrinth, one of three labyrinths scattered across Hyrule. Each labyrinth is a Shrine Quest and the goal of them is to get to the Shrine in the center of the maze, upon which you will be rewarded with a Spirit Orb and a piece of the Barbarian Armor Set.
Follow this guide for the easiest path towards the Qazza Tokki Shrine in the center of the labyrinth.
The labyrinth is easily recognized by its tall walls

This is the specific location of the North Lomei Labyrinth
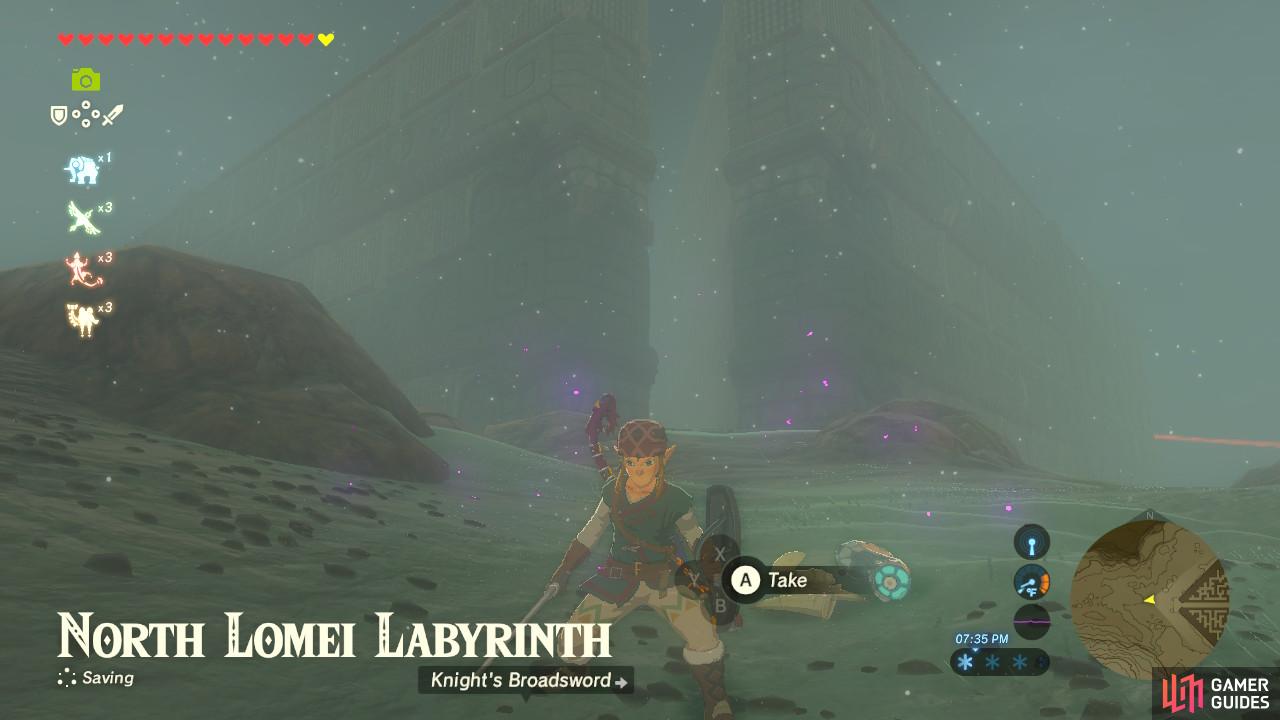
North Lomei Labyrinth
Climb up and then Paraglide over the wall. It helps to have Revali’s Gale
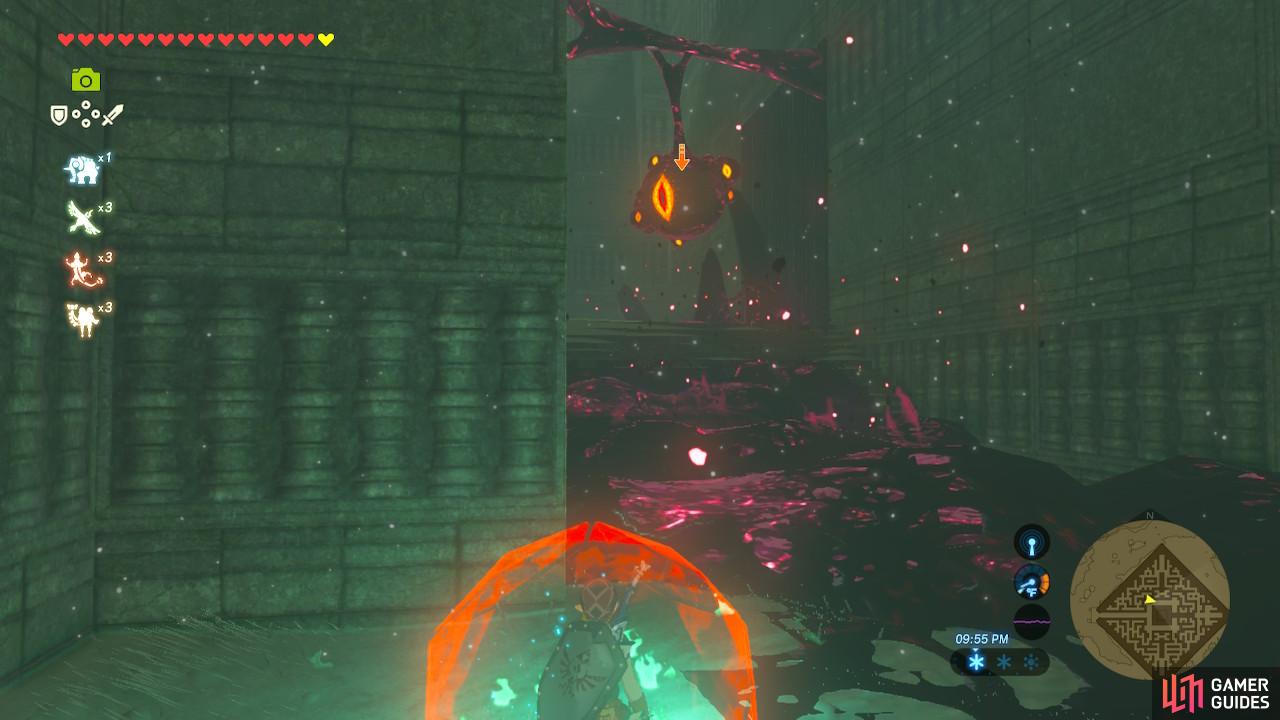
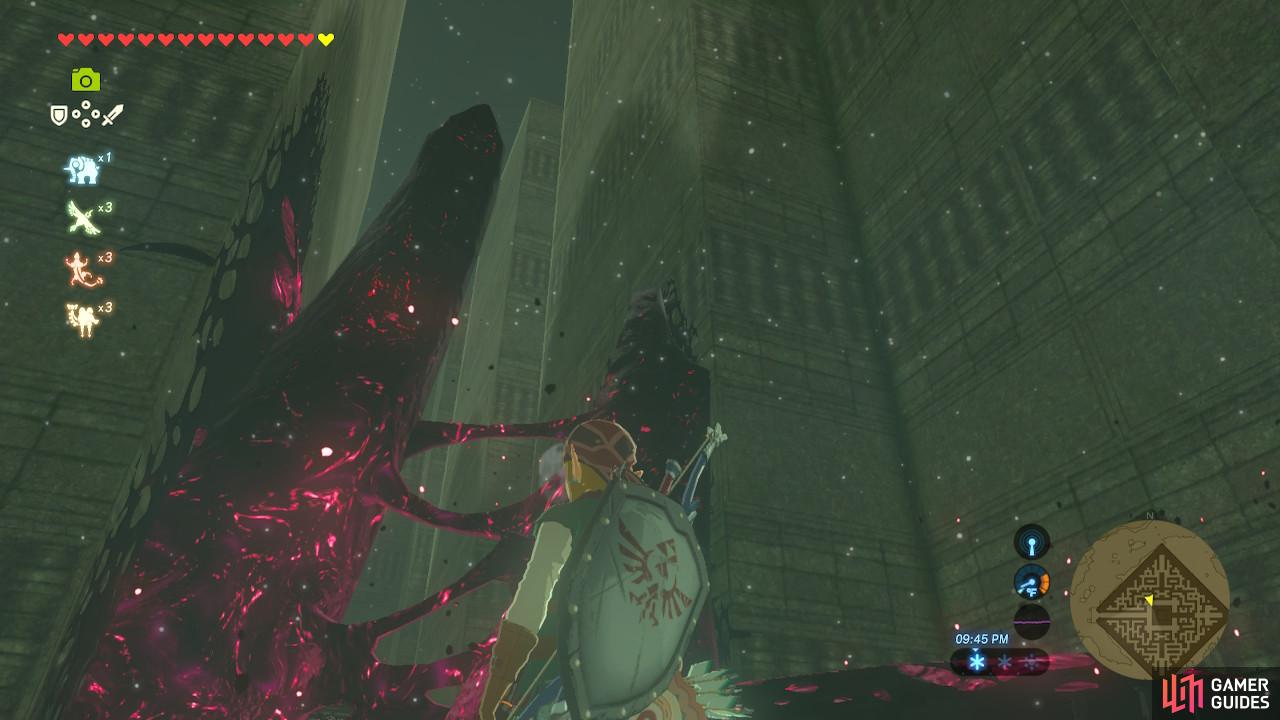
Shoot this eyeball
Climb up the wall and Paraglide over to its other side and destroy the large eye with an arrow. Now you have freed up part of the labyrinth.
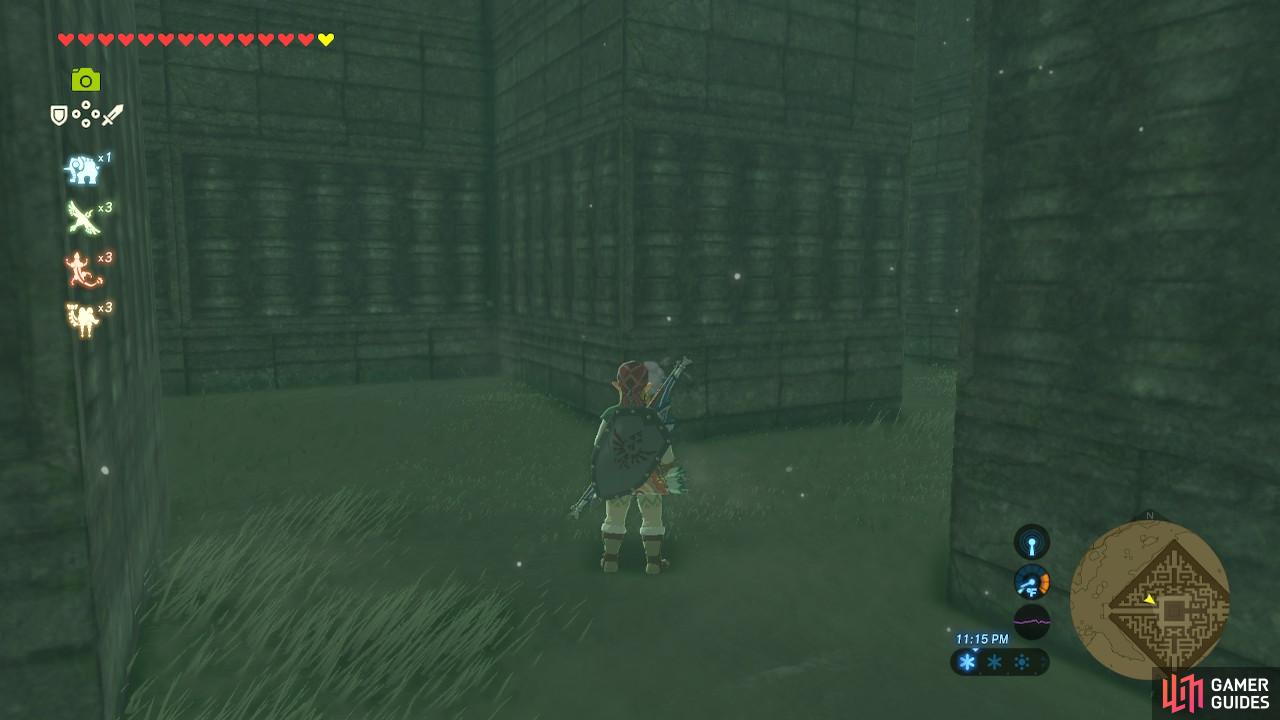
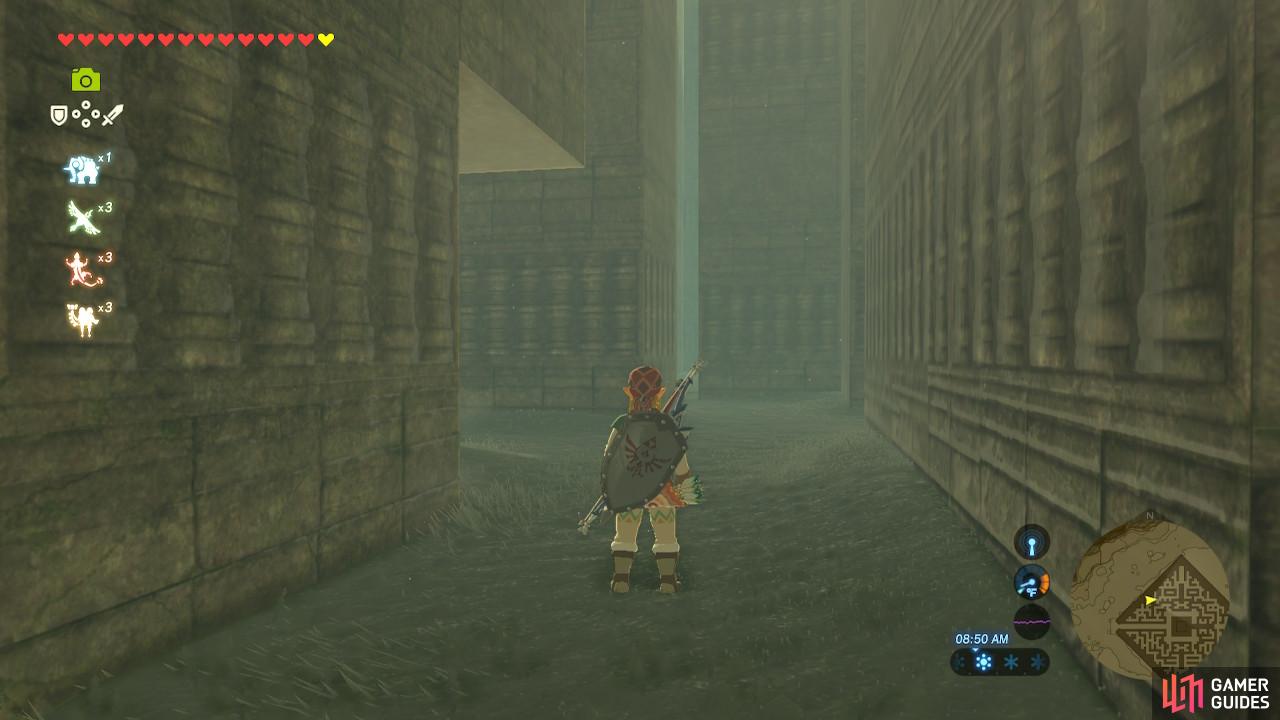
Now turn so that you face north on your minimap and continue to where the path splits into three parts. Both the path in front of you and to the right quickly end in dead ends. Turn left and continue.
This is what this next fork looks like. It has a few odd corners
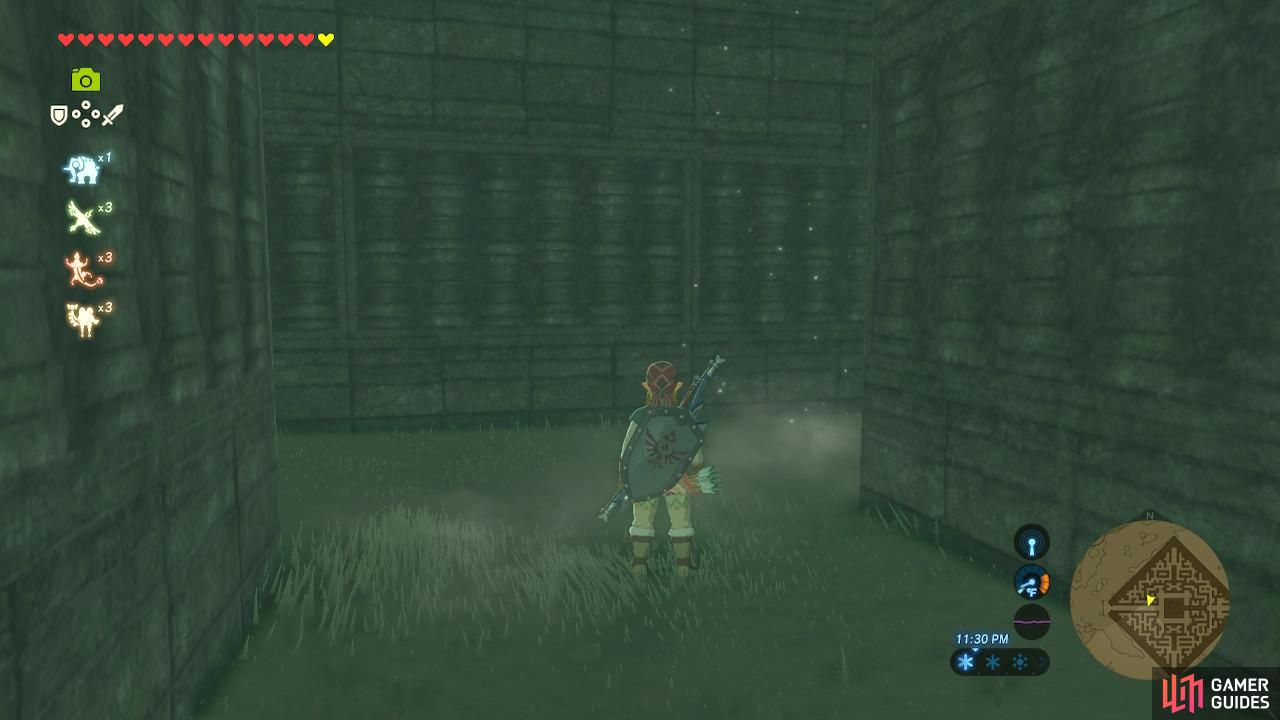
Turn right at this T-shape fork in the road
After turning a few corners you will come to another fork in the road. Turn right (left will end in a rather boring dead end quickly). You will then run into a T-shaped fork. Again, the left side is dead, so turn right once more.
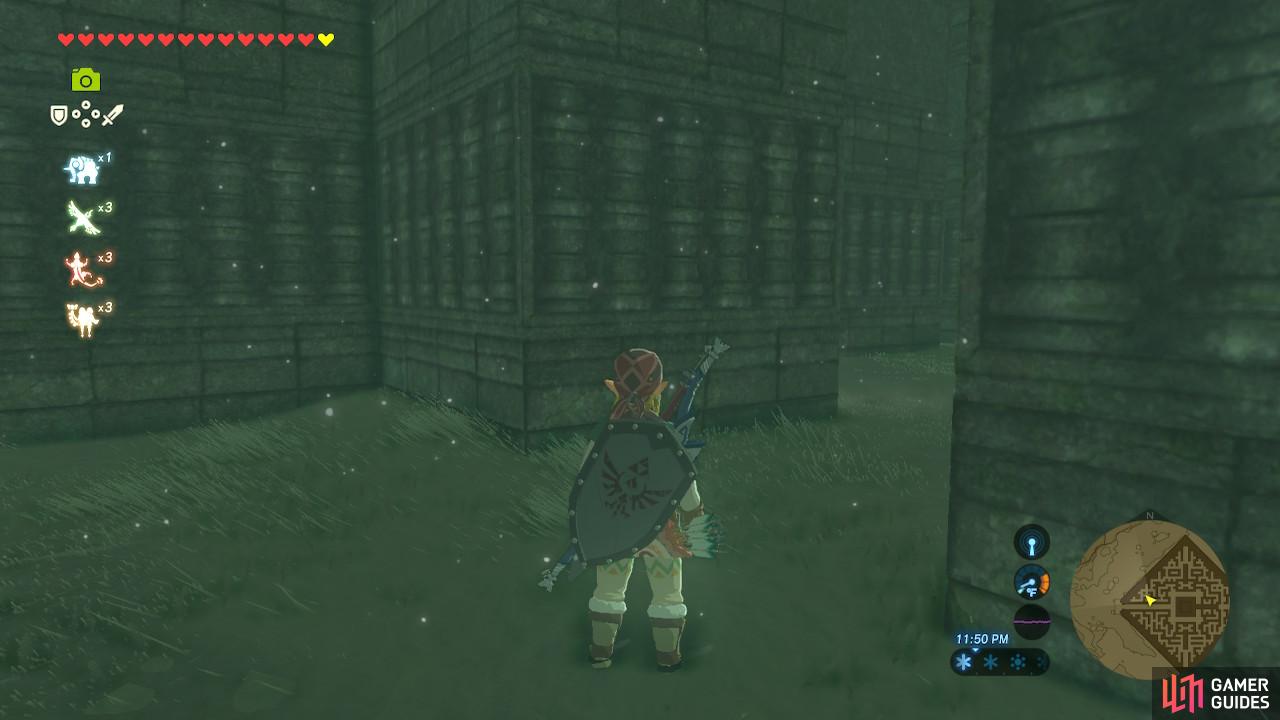
(1 of 3) Turn right at this opening here right before the dead end and then turn left around the upcoming corner
Once you reach the end of the path make the right that is slightly before it. Turn left around the corner and at your first opportunity to turn right, do so. Turn right again at the next opportunity, then turn left.
This is the first major landmark to help you get your bearings. There should be a large overhang to your left
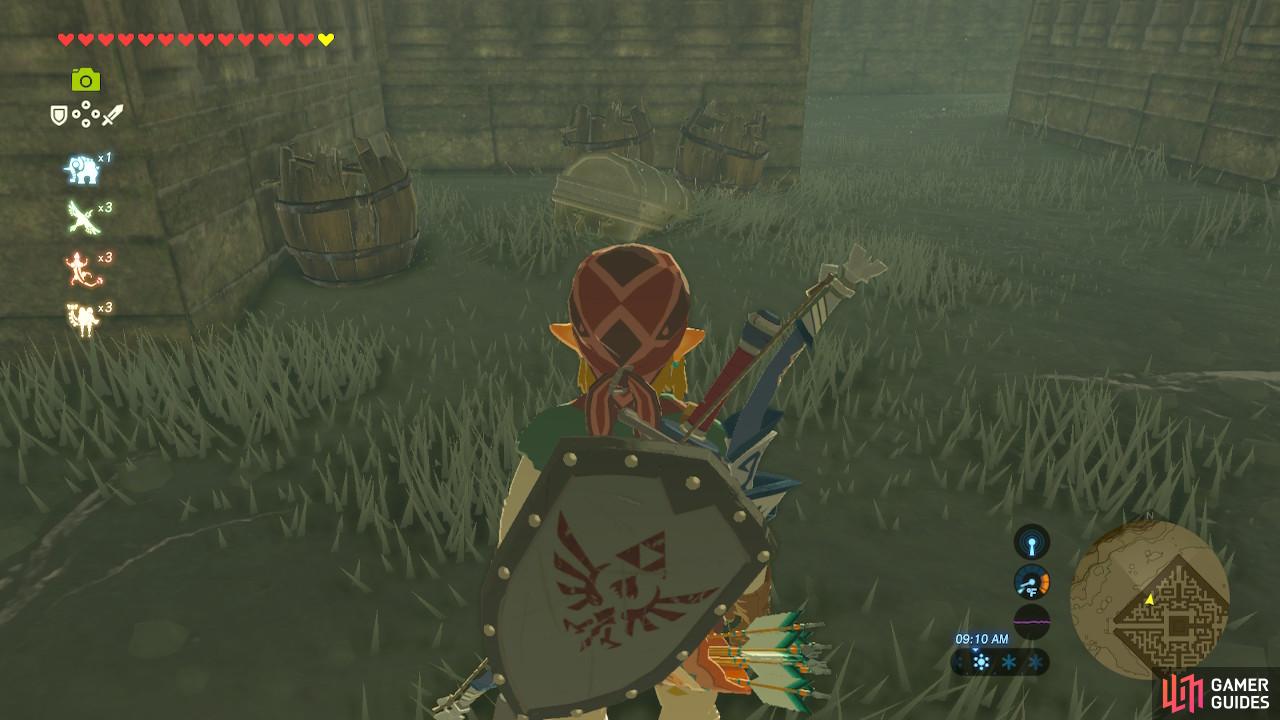
This treasure chest is fake and will attack you
Your first major landmark will be a half-buried treasure chest among barrels. But be warned! It’s actually a fake. Defeat it or ignore it and move on.
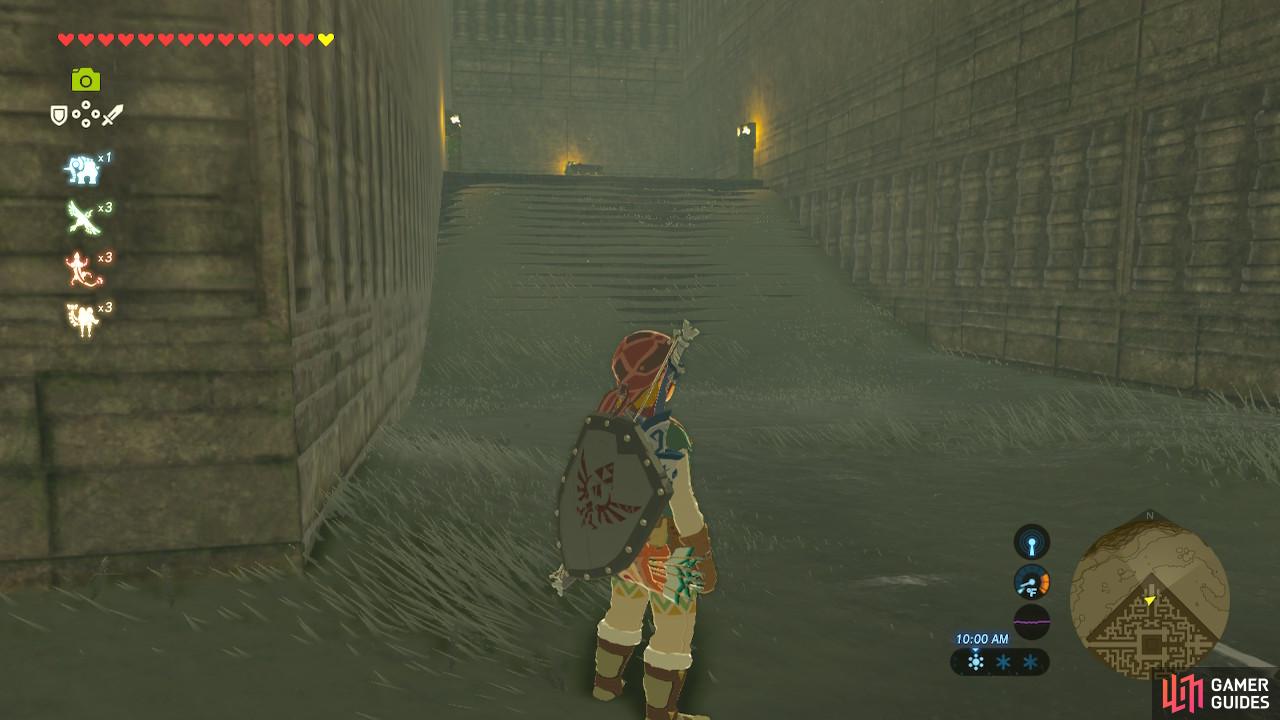
You will want to go straight down the path around the wall. On your minimap you will be going east. Go until you hit the end of this path. You will have gotten to the right spot if you turn east and the path continues and you can see a light on the wall.
Go up these stairs for a treasure

Claim your silver Rupee
Run towards those lights (don’t worry it’s a real reward this time) and as you ascend the stairs you will see a lone treasure chest. Pop it open for a silver Rupee. Wow!
Turn around and run down the stairs and take note of the lone light now directly in front of you. Run towards it. There is another fork in the road near this light where you can go right or left. Take a left. This will point you east on the minimap again.
Follow the winding path straight. You might hear an enemy on the other side of the wall. Pay them no mind. Eventually, you will come to a fork in the road where you could go right or straight. Go straight, or south on your minimap. At the end of the path you will see two more lights. Between them is a ladder that you will want to climb.
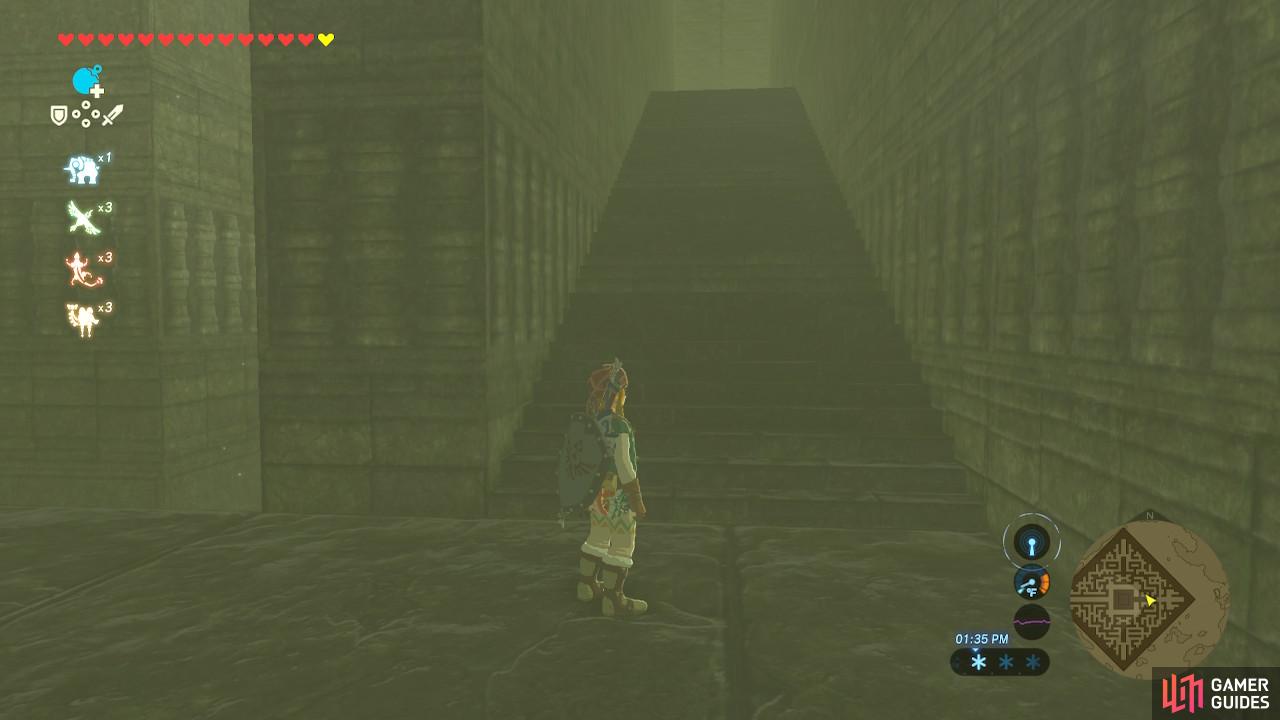
Go up these stairs
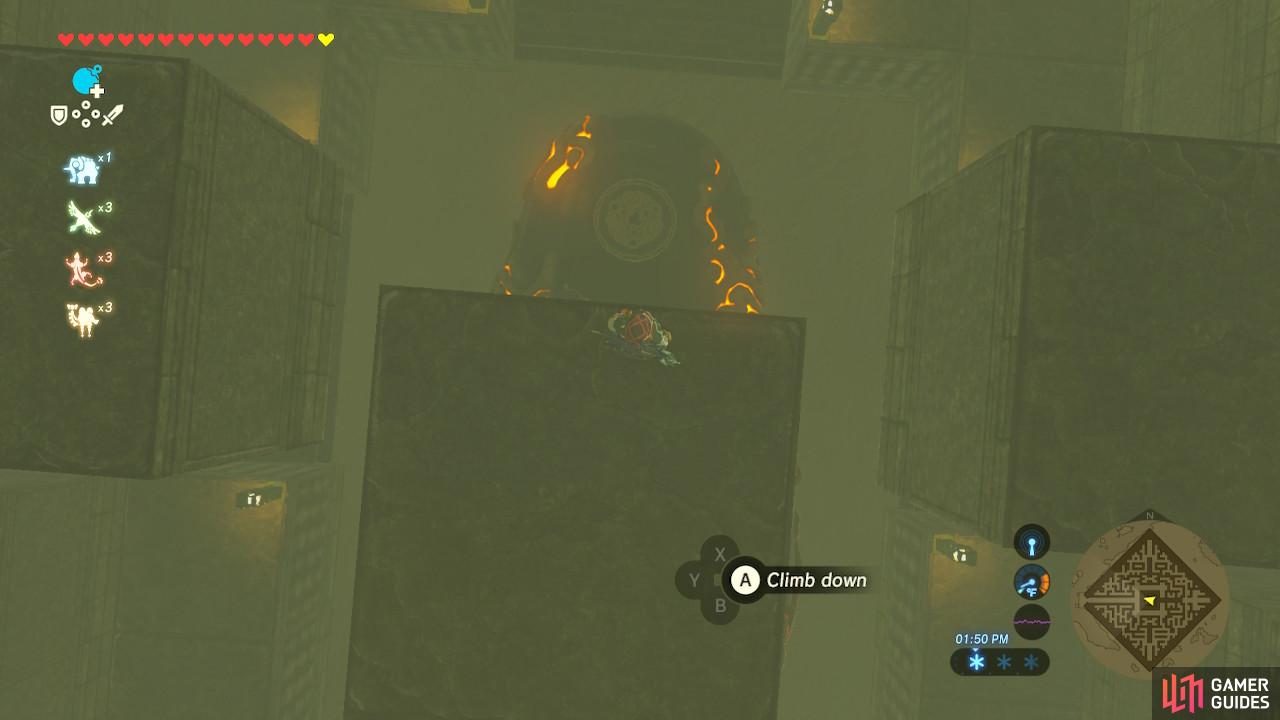
Run to the edge and the Shrine is beneath you
Continue across the narrow stone “bridge”. There are some Electric Chuchu’s to your left if you want to blow them up with bombs and collect their drops (just climb back up the wall or use Revali’s Gale). Take the stairs once you see them and then run to the end. Looks down and there is the shrine!
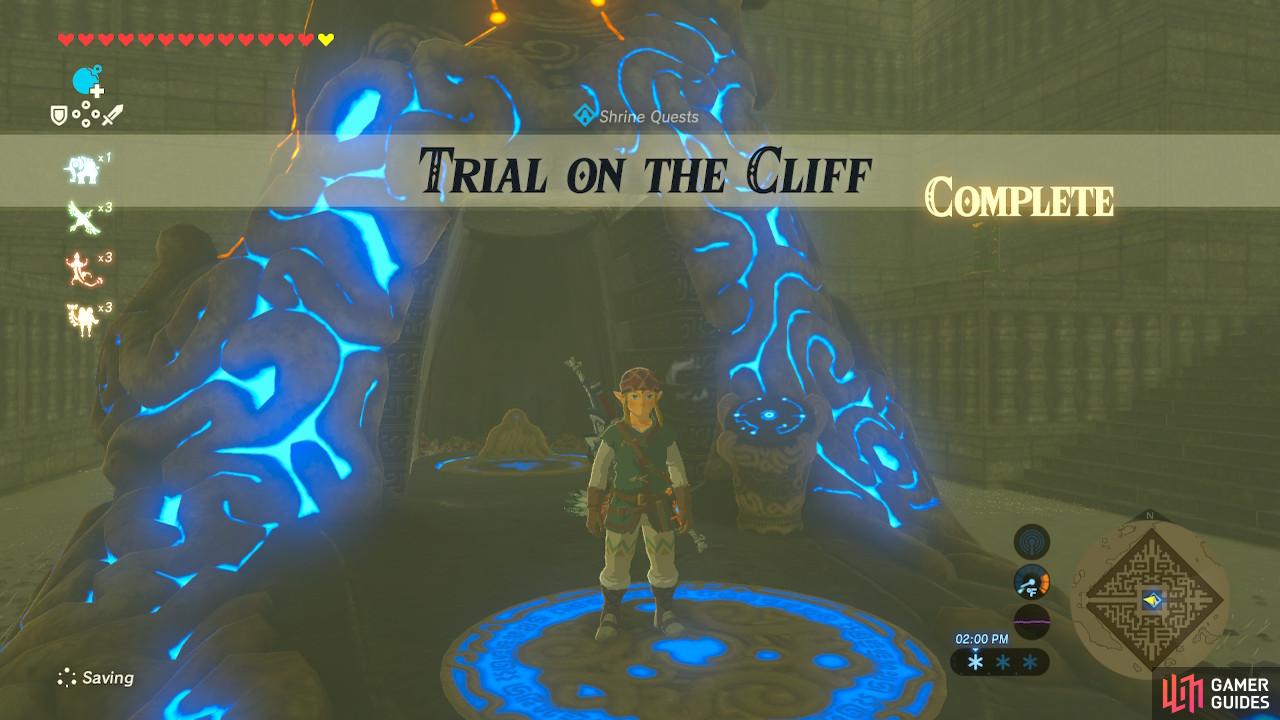
Unlocking Qaza Tokki Shrine will open up the bars blocking it, allowing you in the future to freely fast travel to this labyrinth and explore it. Qaza Tokki Shrine is a blessing shrine meaning it will offer a reward for completing the labyrinth and has no puzzle!
No Comments