
A guide on how to complete the Trial of Thunder Shrine quest, found on the Thunder Plateau west of Ridgeland Tower. This quest must be completed if you want access to Toh Yahsa Shrine, which is where you can find shock resistant Rubber Armor.

This Shrine Quest revolves around a plateau enshrouded with perpetual thunderstorm
It is not too difficult, but it can be tedious
How to Complete the Trial of Thunder
This Shrine Quest is activated the moment you step out into the Thundra Plateau directly west of the Ridgeland Tower. The voice will tell you about four spirits. There are four orbs scattered about this plain that need to be brought to a central location. This will then reveal the Shrine.
It’s not as easy as it looks, however. This area has a perpetual thunderstorm, first of all, which makes it impossible to climb (and definitely remove all of your metal gear). So you will have to get creative with how you relocate these orbs.
How to Get the Red Orb
The red orb is located on the eastern end of the plateau closest to the Ridgeland Tower and is atop a statue that holds it. The above screenshot shows a precise location.
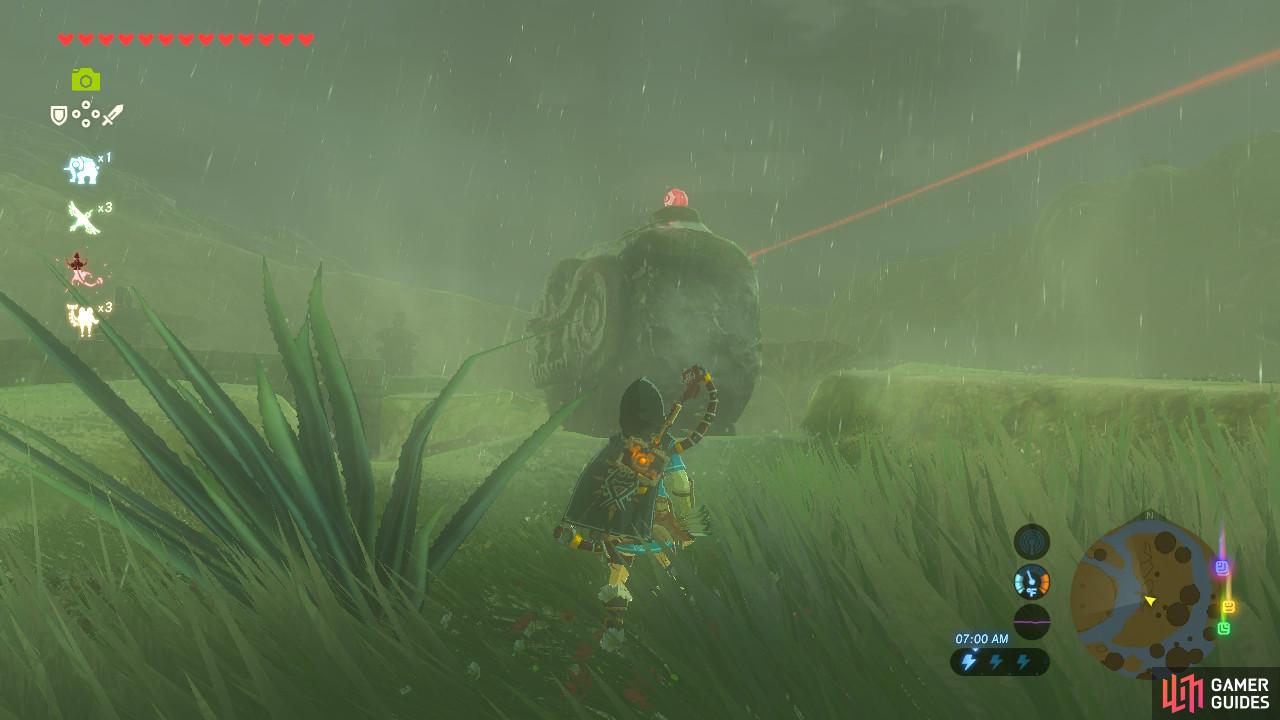
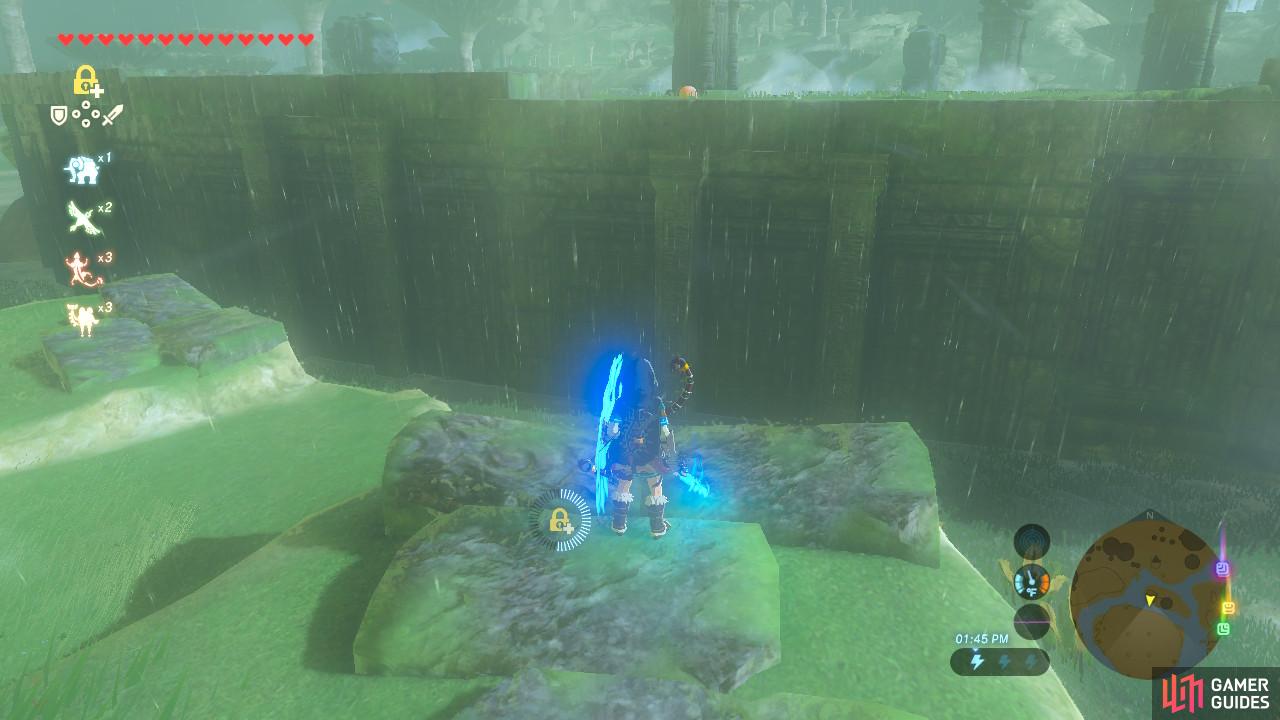
If you have it, use Revali’s Gale to get to the top. If not, don’t fret and simply skip this paragraph. Once you have reached the top of the statue, use Stasis on the orb and hit it in the direction of the central plateau. You can see it in the distance surrounded by a wall.
If you do not have Revali’s Gale, then use Stasis from below the statue and shoot it off with arrows to get it onto the ground. If you hit it now, it will simply bounce off the walls of the central plateau. You will need to go north where there is a piece of raised ground, placing you at the optimal position to use Stasis and smack the orb towards its goal. In either case of using Stasis, make sure the arrow turns red to show maximum momentum.
How to Get the Orange Orb
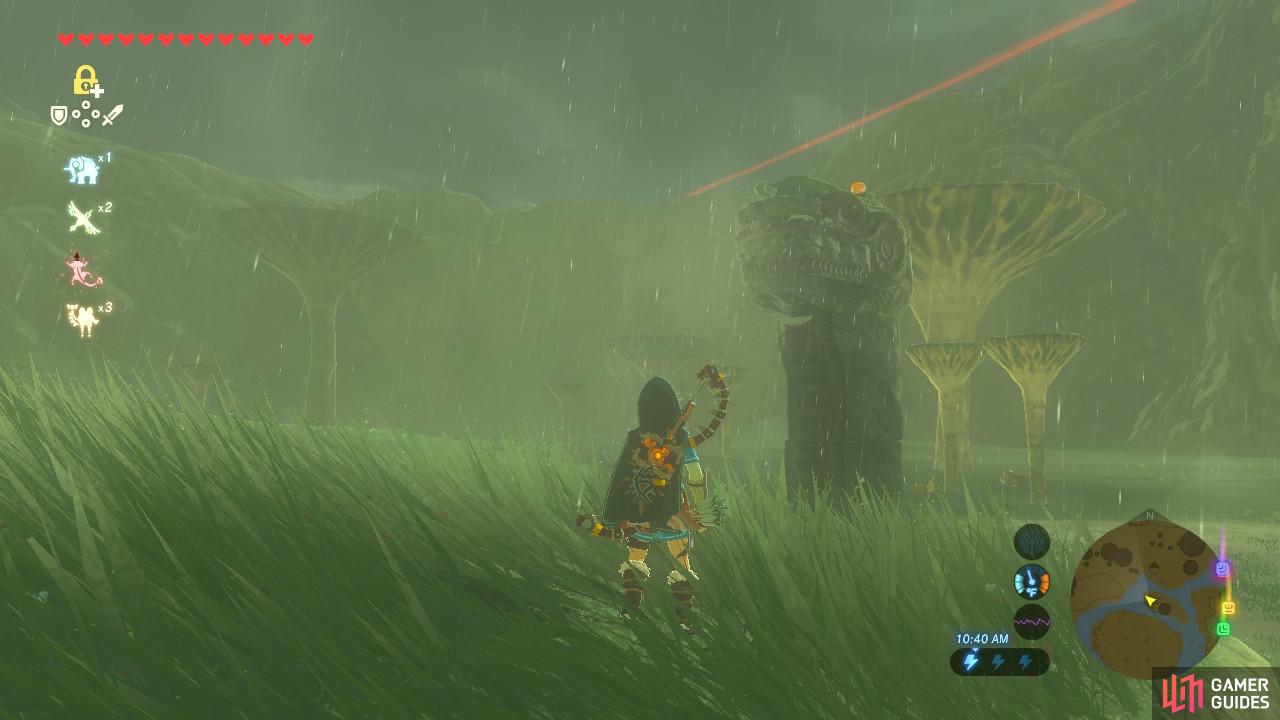
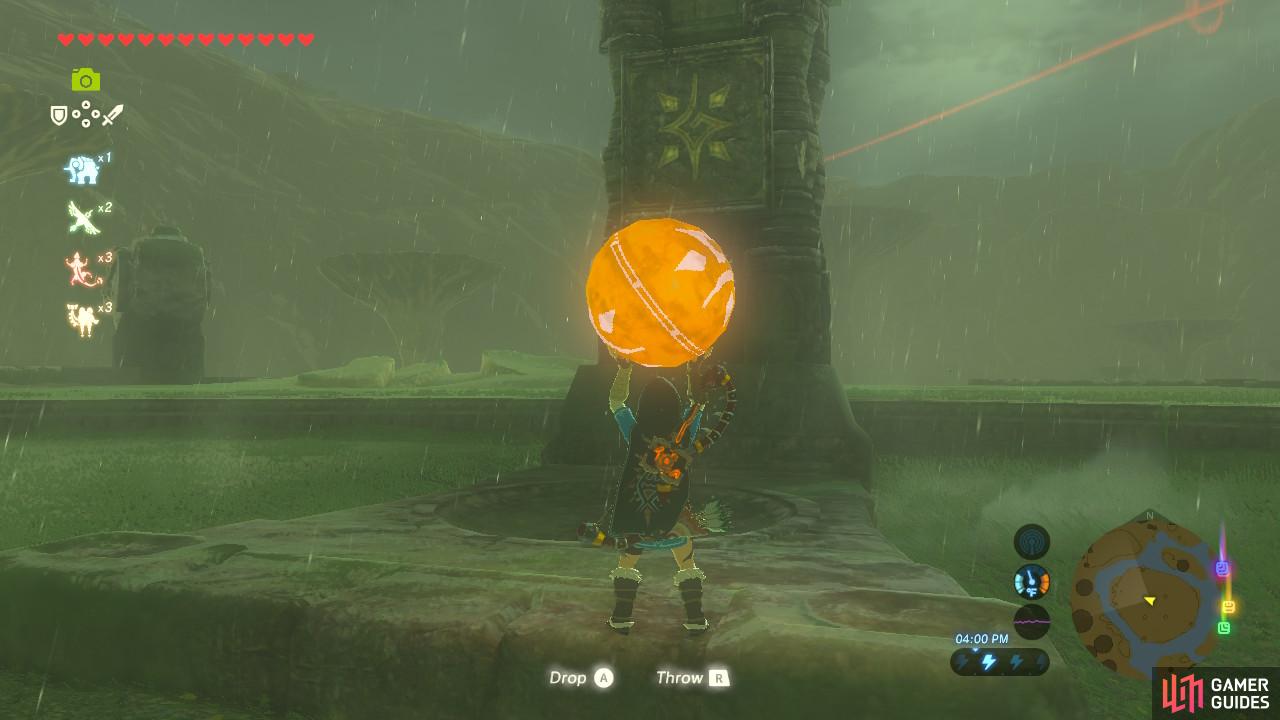
Go around the plateau counterclockwise and you will see the orange orb sitting on top of a large pillar. Use Stasis and shoot it to get it off.
Go to the nearby piece of raised ground. This is the same ground you would want to take the red orb from earlier to if you hadn’t been able to use Revali’s Gale.
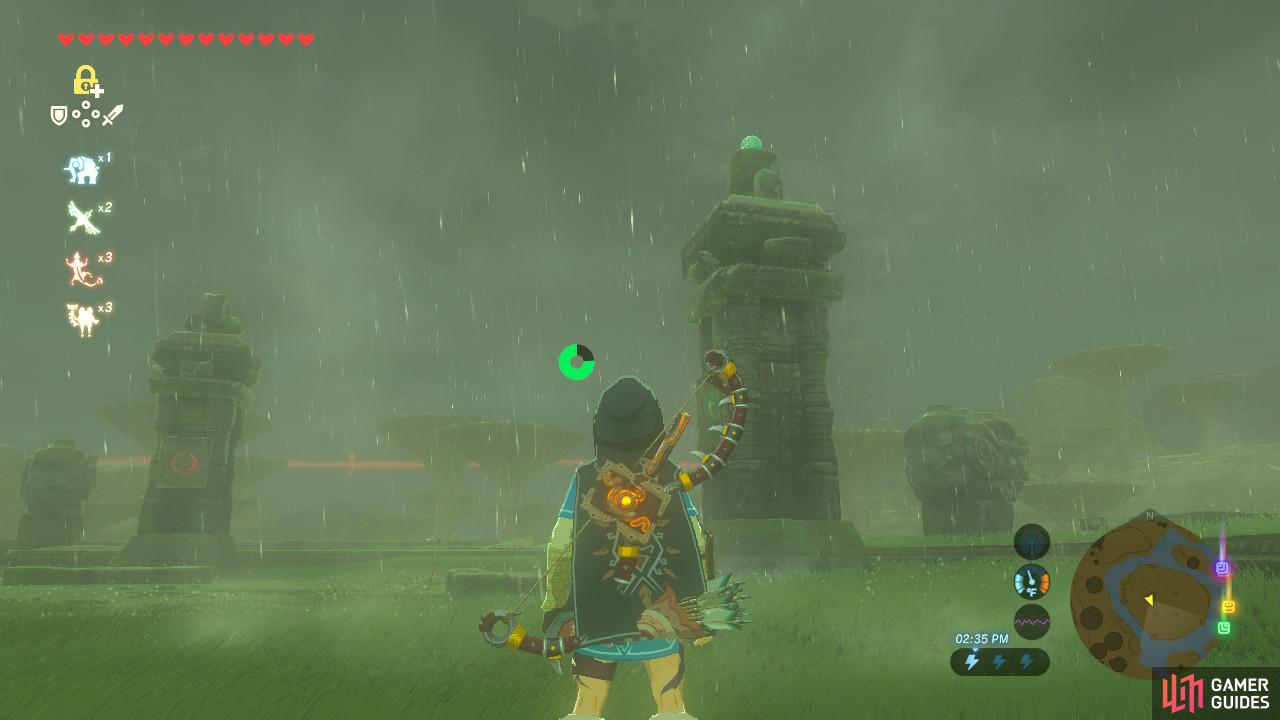
Again, use Stasis and hit the orb towards the central plateau. You need to hit it at the exact right angle or else it will simply bounce off the outer walls of the plateau. If it does, just go retrieve it and try again.
If your angle is not exact, then the orb will bounce off the wall instead of land on the plateau
Here is about where it will land if you are successful
How to Get the Purple Orb
Now you have two orbs that have been launched onto the plateau. And good news for you, the last two orbs are on the plateau and don’t require any extra effort. So let’s get moving! Climb onto the central plateau from the northwestern corner. You can see the orbs you launched earlier along with a purple orb!
How to Get the Green Orb
There are four stone pillars on this plateau arranged in a square. The southwestern one has a green orb on top of it. Just like with the orange orb, uses Stasis to shoot it off.
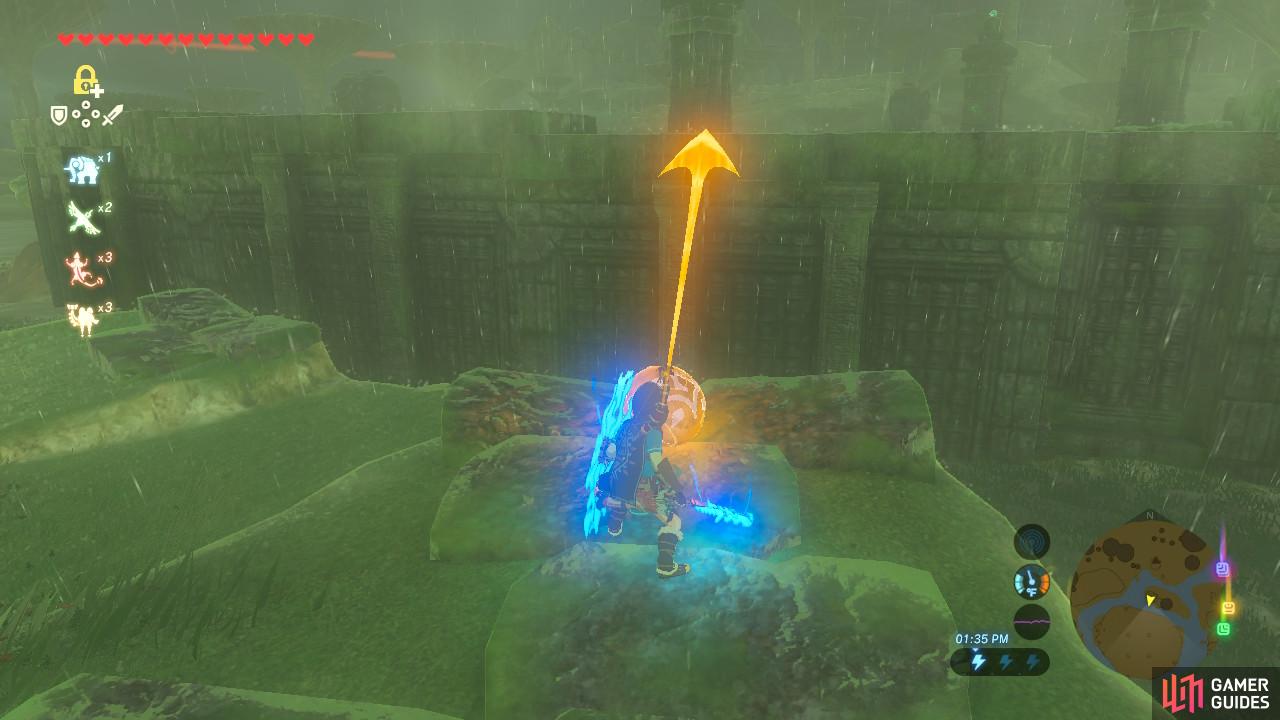
Shoot it off onto the central plateau
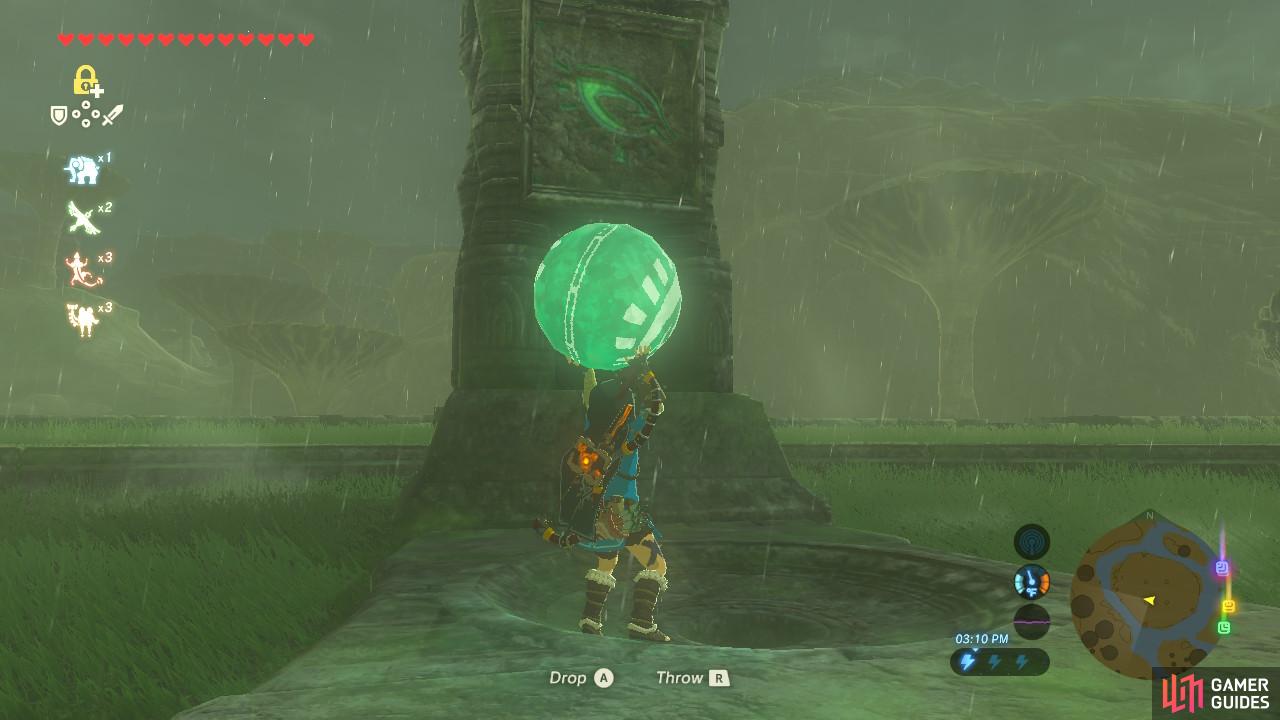
Put it in the spot where you see a green symbol
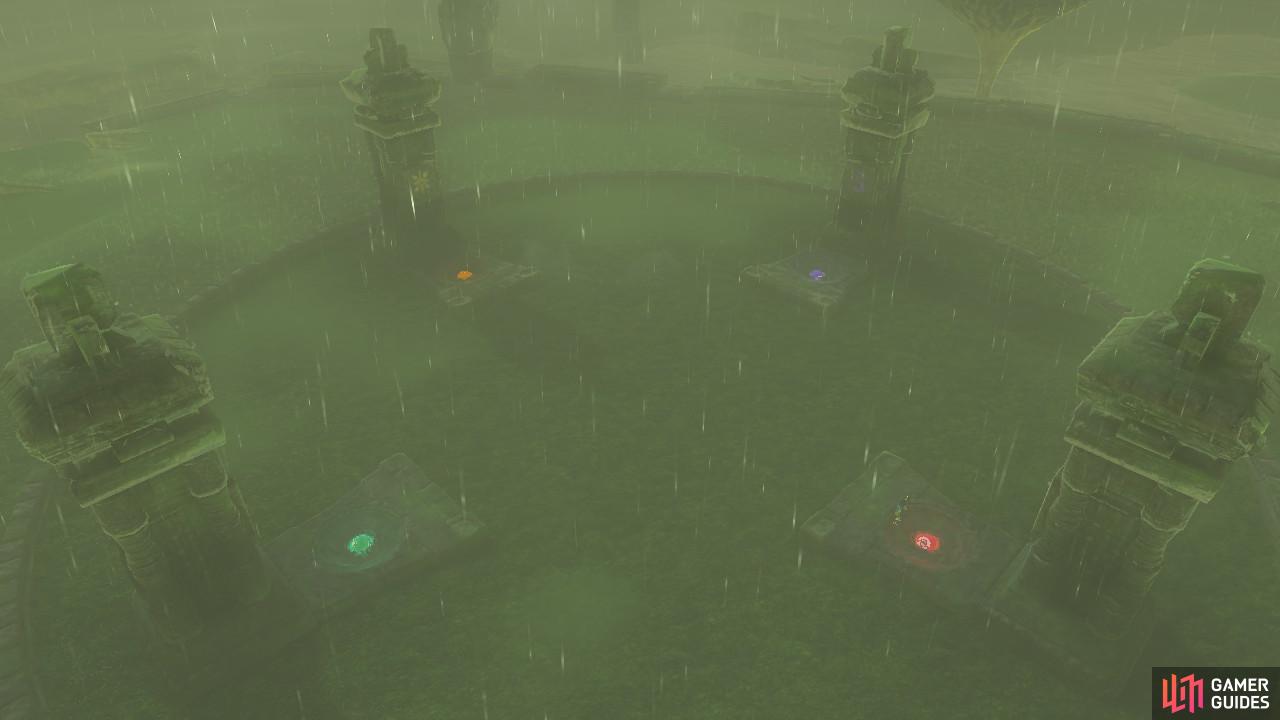
If you look on the inside wall of each stone column you will see symbols in colors that match the orbs. Put each orb in their corresponding column, avoiding the Rusty Claymore near the green orb’s column. It catches lightning once every minute or so.
Once all the orbs are in place, a cutscene will play where the Toh Yahsa Shrine rises from the ground in the center of the pillars. The Shrine Quest is now complete.
A dramatic zoom of the plateau shows that you have completed this trial
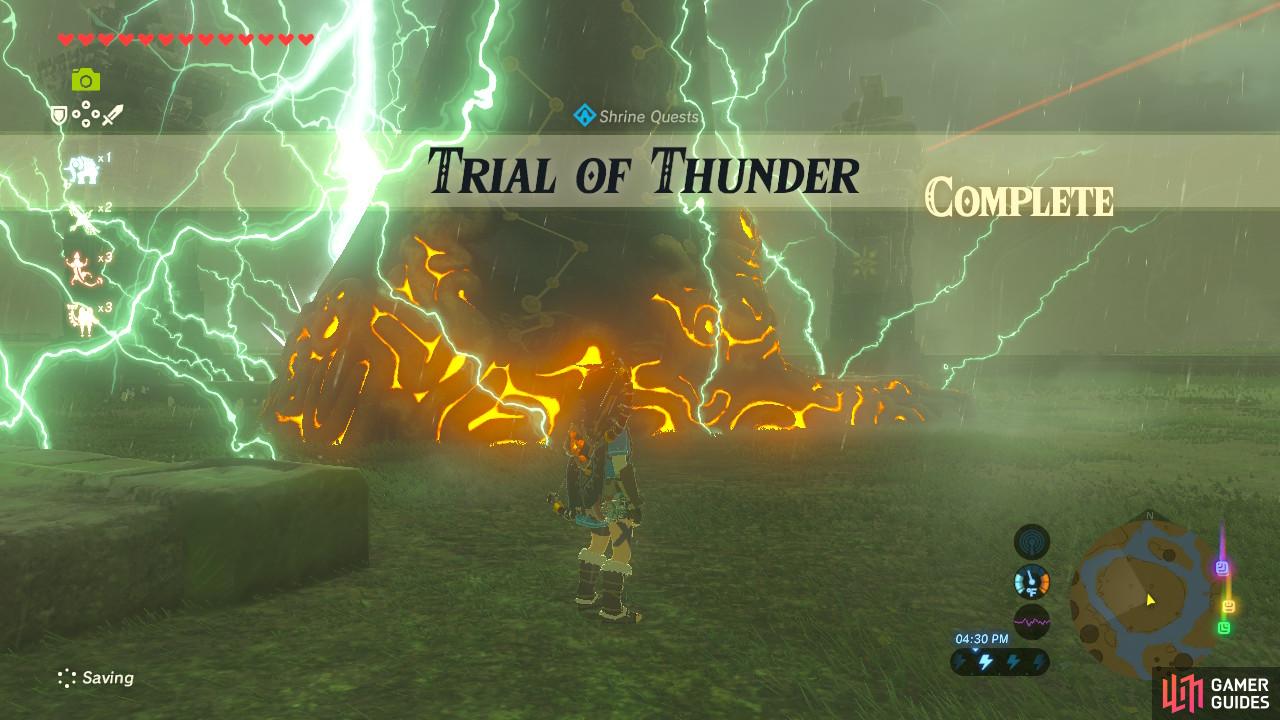
Talk about a well-timed screenshot! The Shrine unfortunately still has puzzles inside
No Comments