
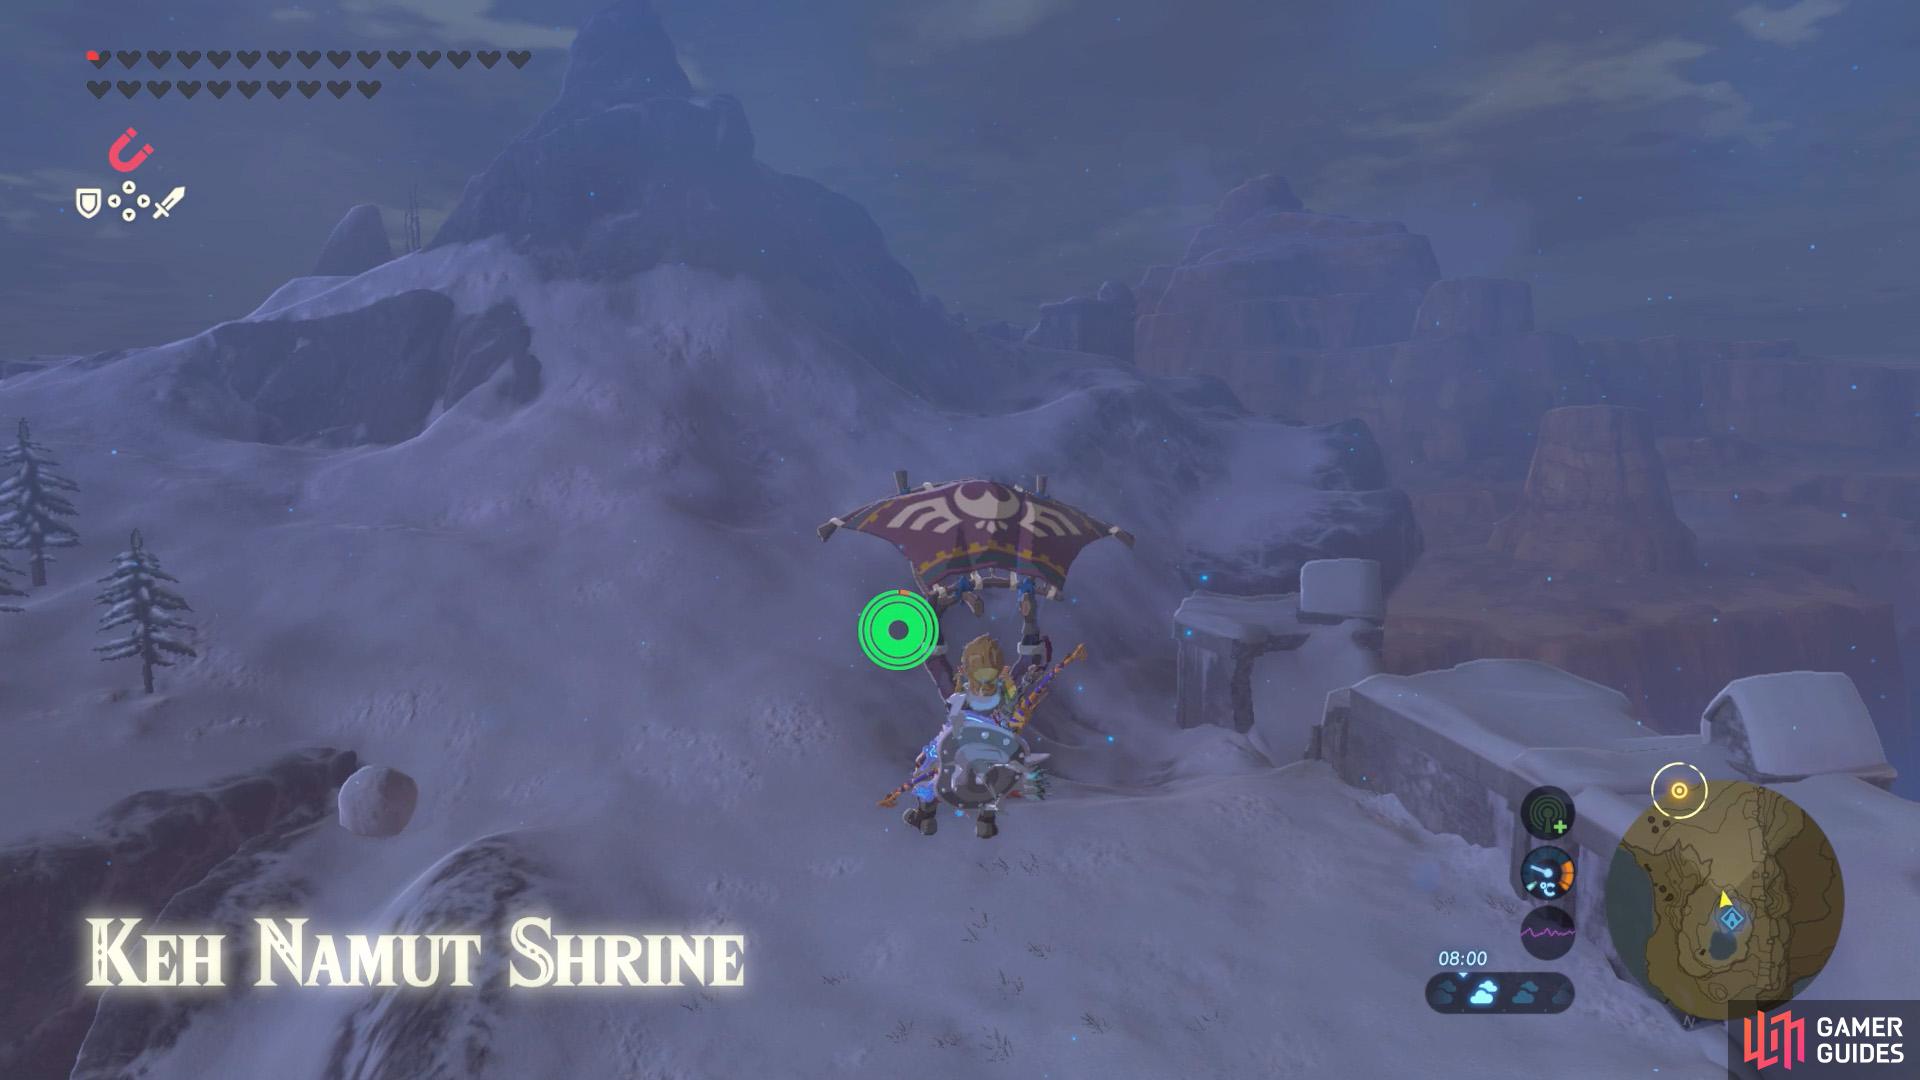
Fast-travel to the Keh Namut Shrine, then travel south-east to Mount Hylia.
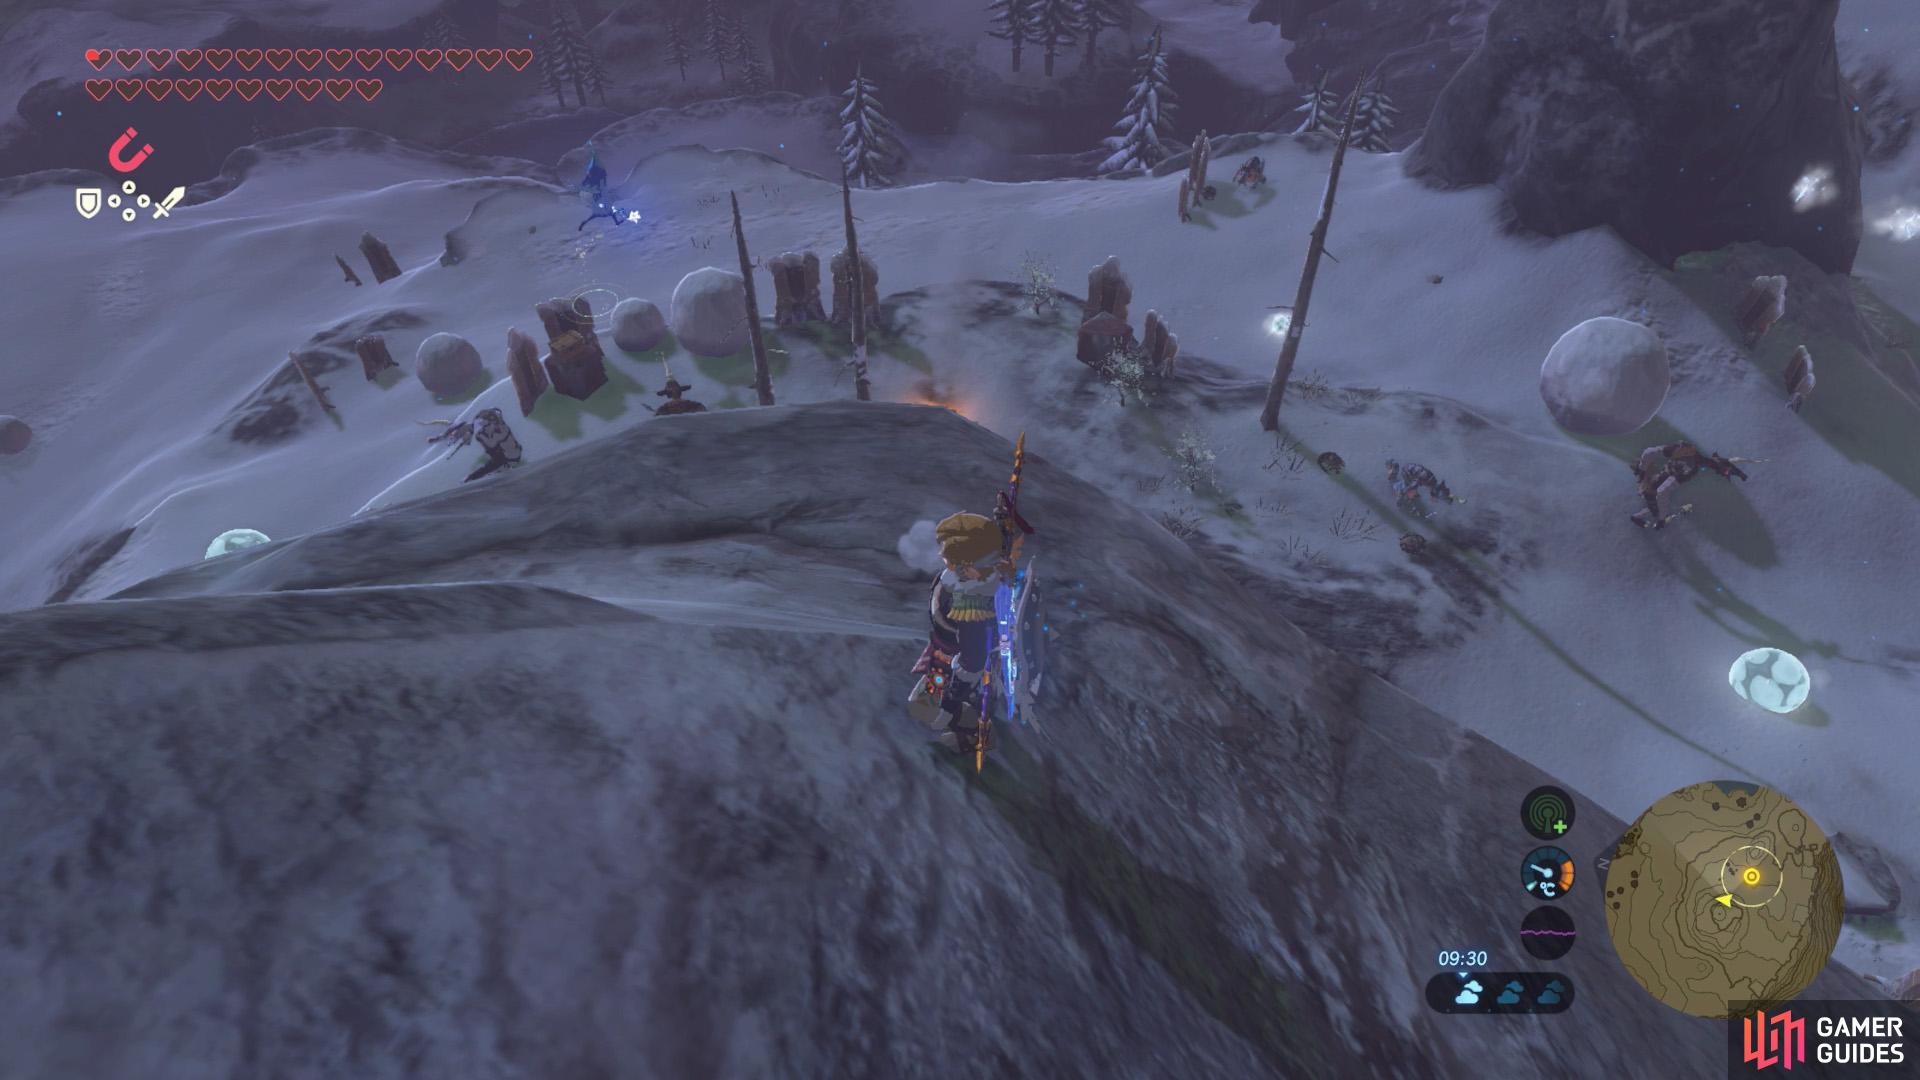
Approach the lowest ledge of Mount Hylia, on the east side.
The final shrine is located on the snowy mountains towards the south-west. Before venturing forth, do yourself a favor and put on some warm clothes or you’ll instantly die from the cold. Once you’re ready, fast-travel to the Keh Namut Shrine and travel south-east towards Mount Hylia.
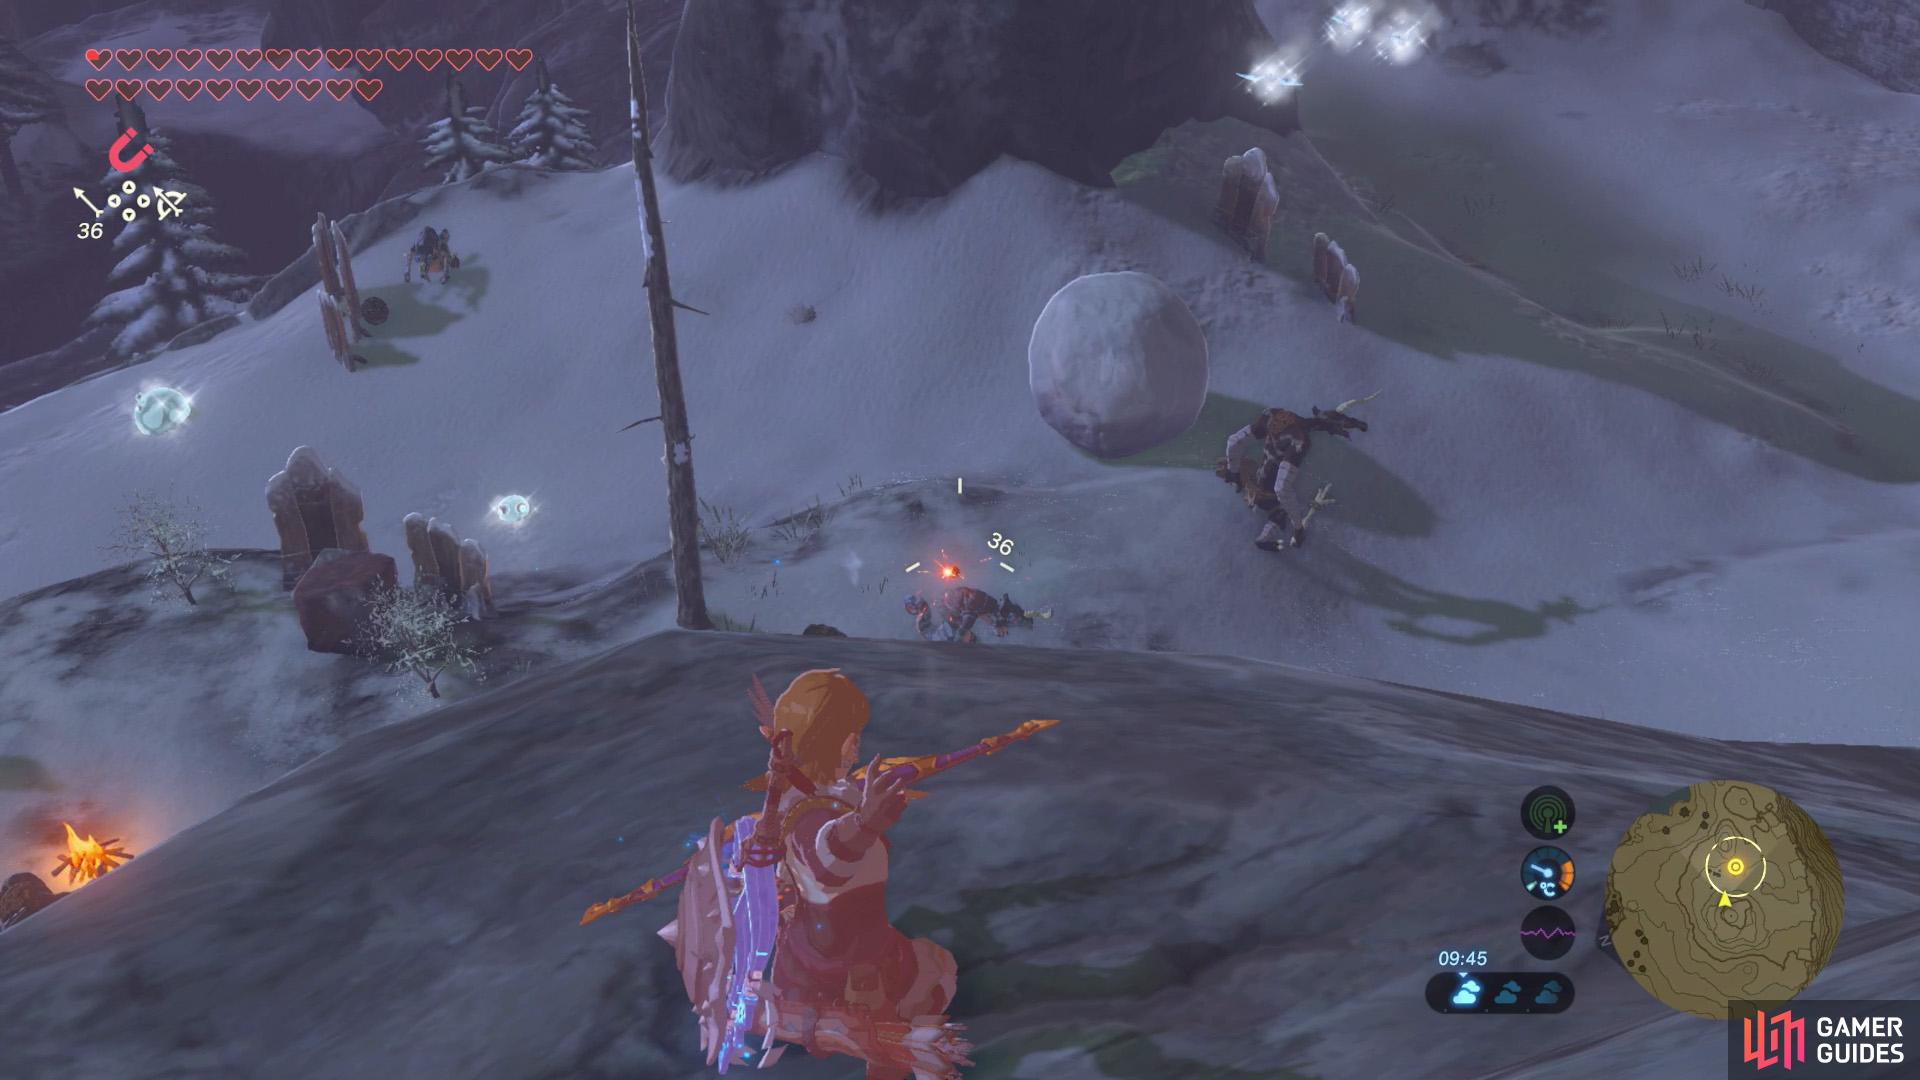
The final enemy camp is located on the east side of Mount Hylia. If you approach from near the summit, you can get a great view of the camp without being spotted. In particular, we recommend carefully dropping down to the lowest ledge facing the camp.
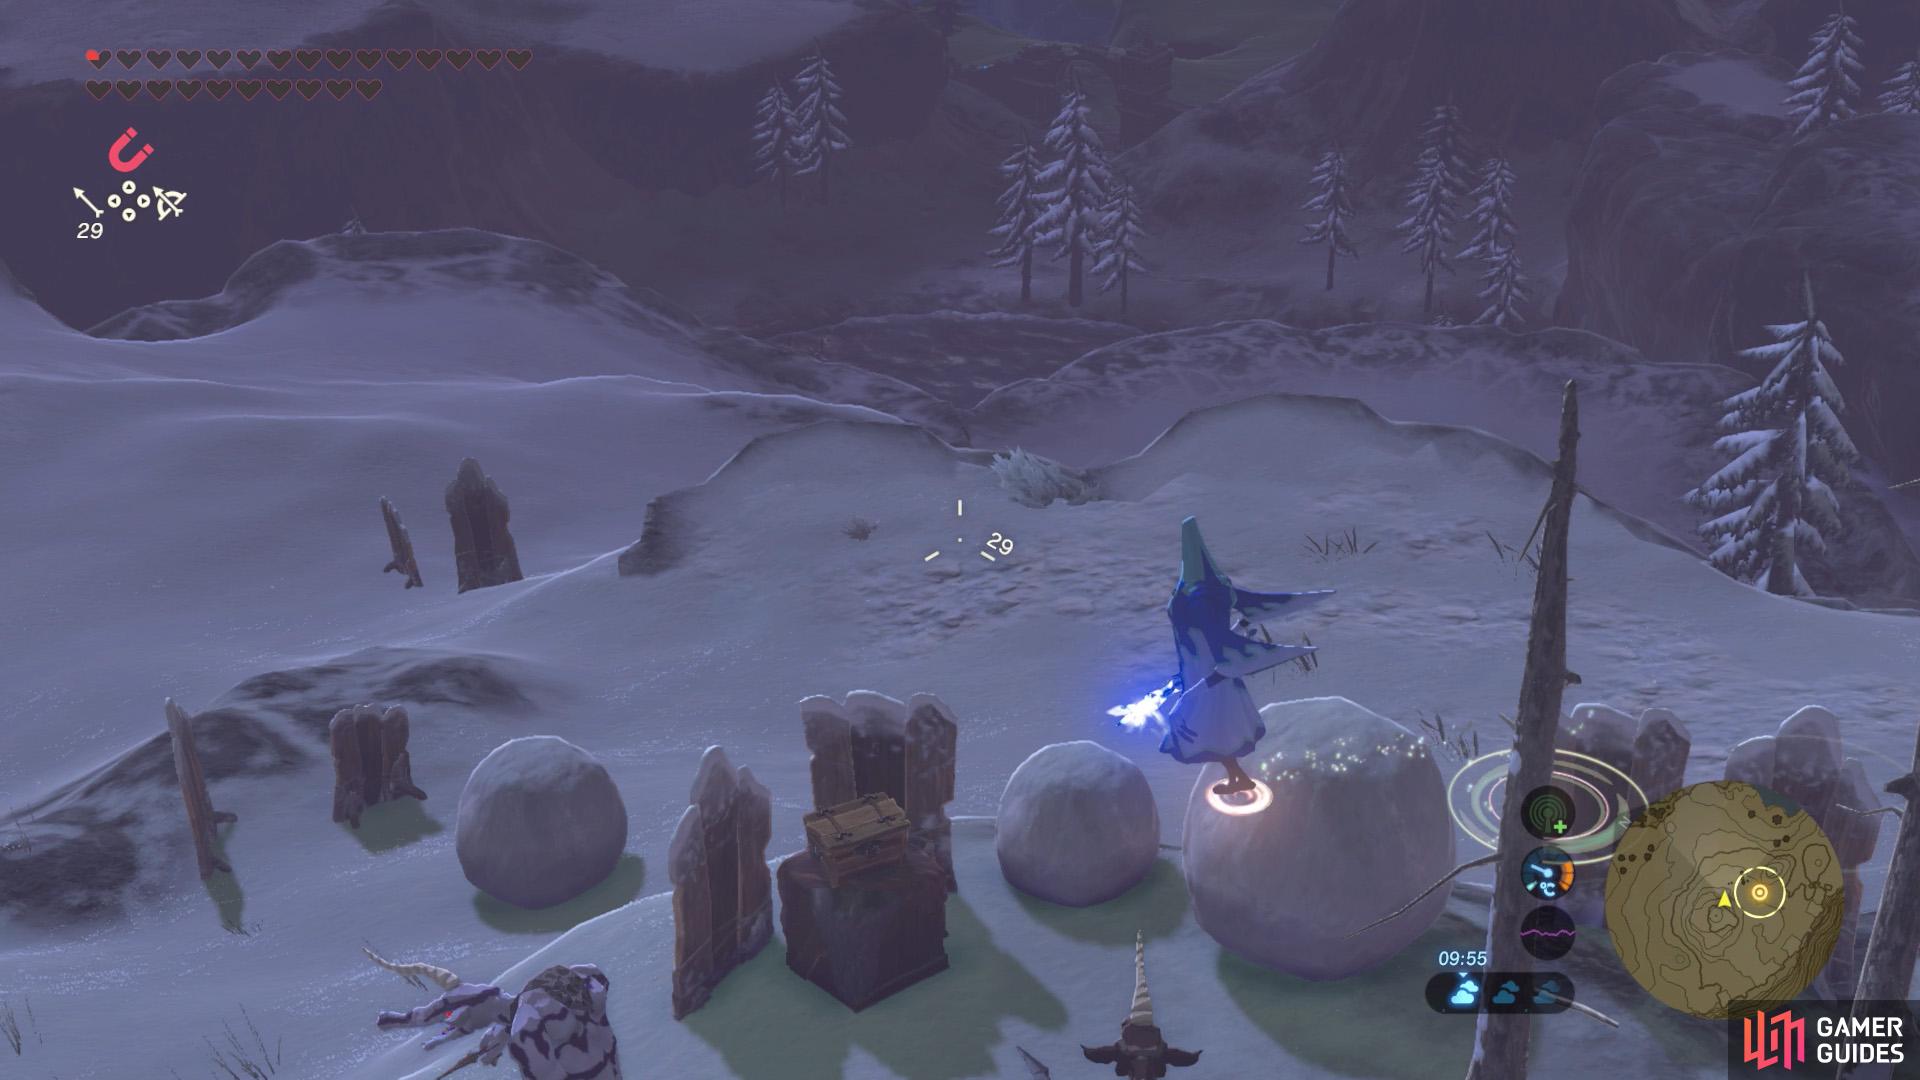
It can be tricky shooting the Blizzrobe from a distance.
But it’s far easier than fighting it head on with the Moblins close by.
The enemies around here are some of the toughest around: a Blizzrobe hopping around in the air, 4 high-level Moblins and 2 Ice-breathing Lizalfos. Plus a number of Ice Chuchus and Ice Keese that you don’t need to kill, but will likely get in the way and require killing.
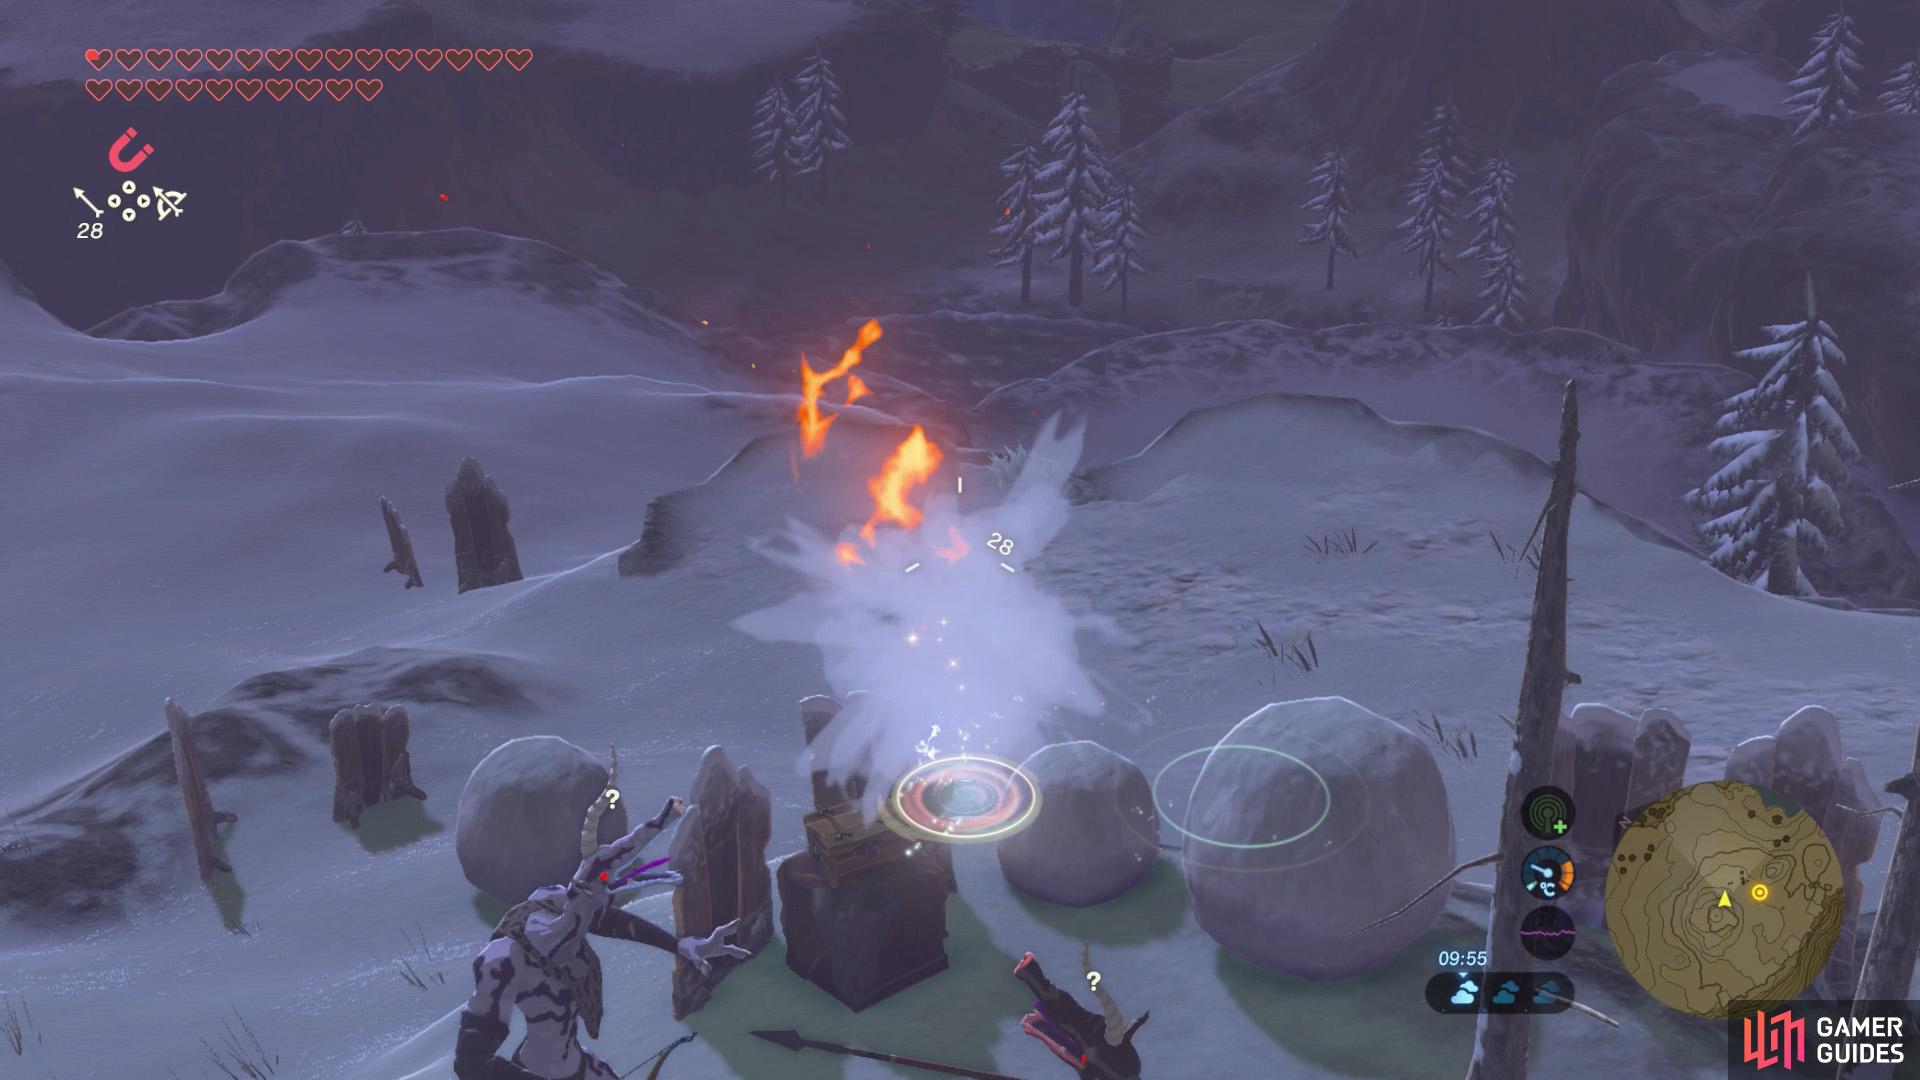
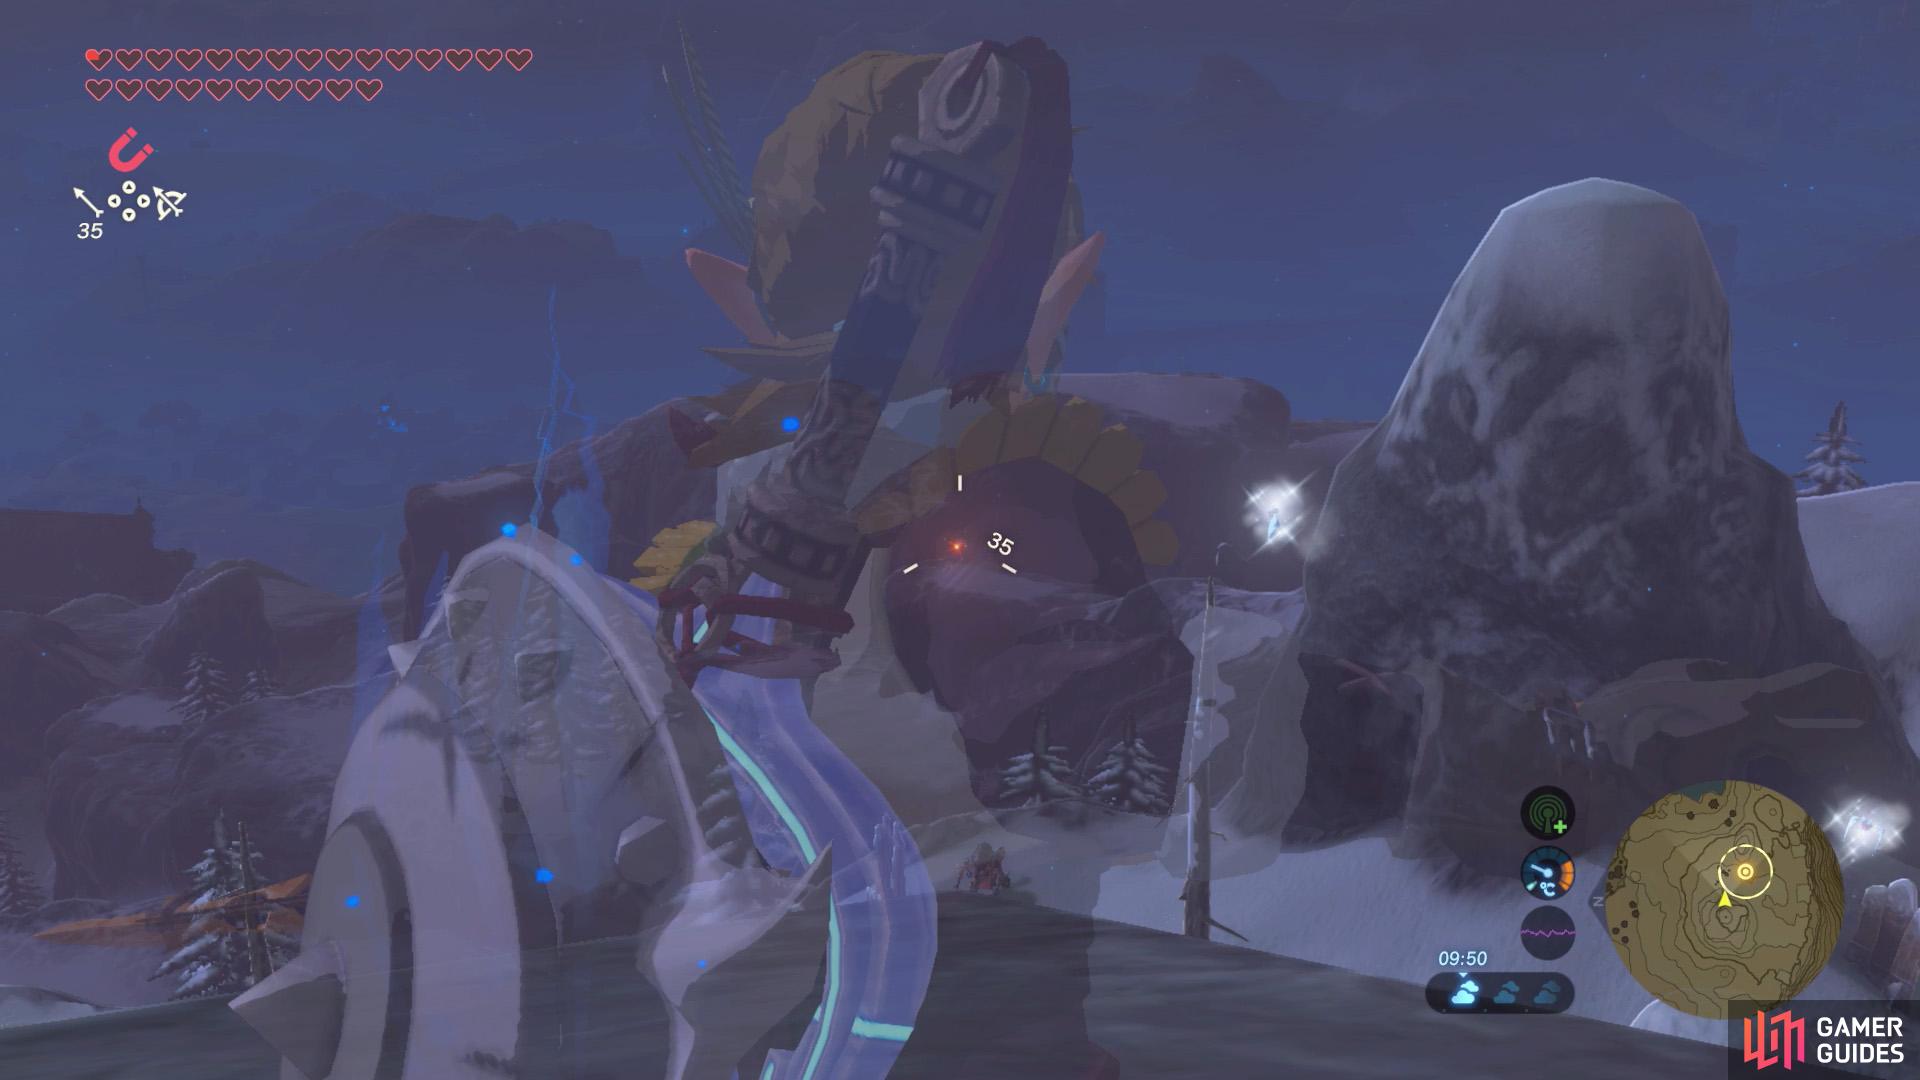
First things first, try to snipe the Blizzrobe from the ledge. Use Fire Arrows for a one-hit kill. Due to the distance and the Blizzrobe’s movement, it can be hard to target it. If you have a Phrenic Bow (gotten from the Yowaka Ita Shrine) or Golden Bow, they have improved zoom.
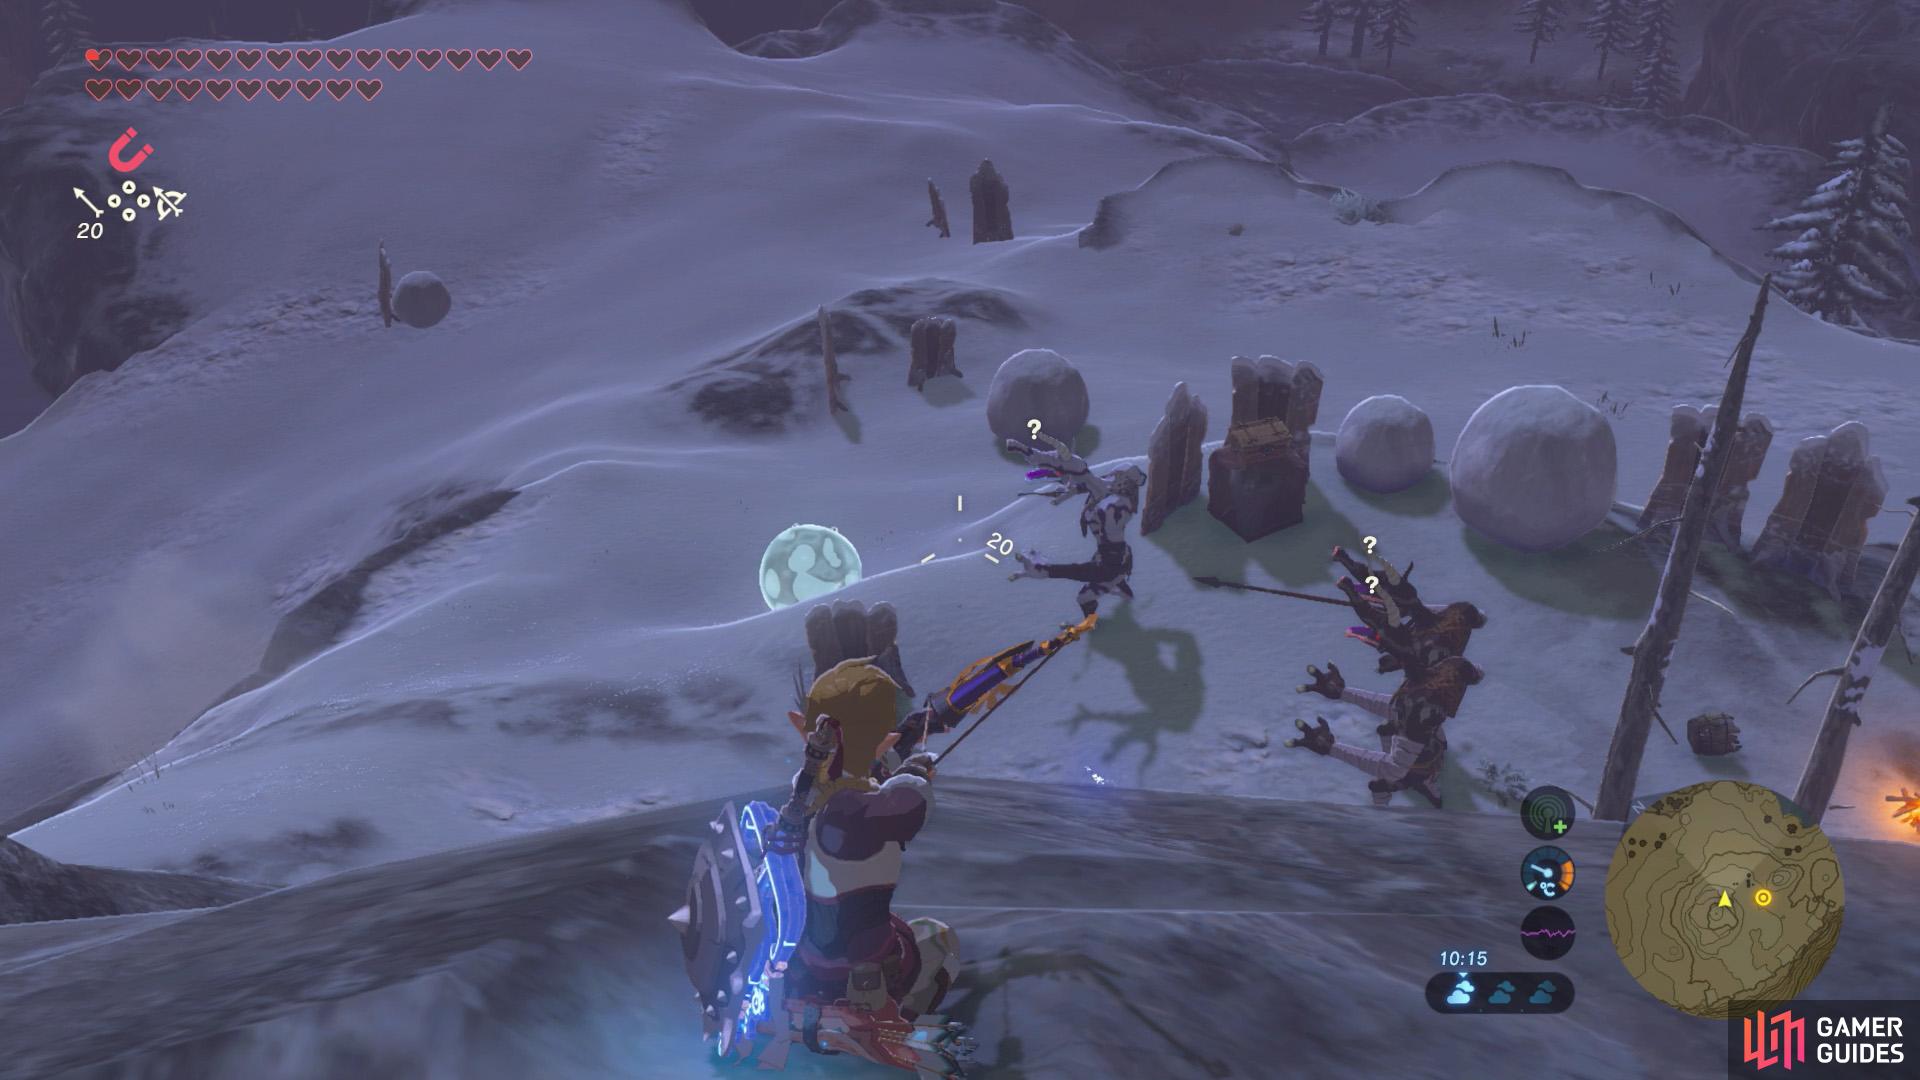
Next, aim for the Lizalfos between the Moblins.
Then try to shoot the Lizalfos further back, by arcing your bow high up.
Next, snipe the two Ice-breathing Lizalfos around the center-line. There’s one that’s aligned with the Moblins and another further back from the same Lizalfos. Again, Fire Arrows will instantly melt them. Or use Bomb Arrows if you’re not confident with aiming.
Moving on, it’s time to deal with the Moblins. Over on the left, shoot some normal arrows in-between the Ice Chuchu and the three Silver/Black Moblins. Yup, you guessed it, you want to lure the Moblins near the Ice Chuchu, so you can shoot the Ice Chuchu to freeze them. Then glide in and smack the frozen Moblins.
Ideally, you want to freeze all three Moblin together, but if any escape the Chuchu explosion, you can glide down and shoot them with Ice Arrows.
Afterwards, climb back up the ledge, then look towards the right. Shoot some more normal arrows to lure the remaining Moblin towards the right-hand side Ice Chuchu. Then hit the Ice Chuchu to freeze it, before gliding down for the kill.
Once the Blizzrobe, Moblins and Lizalfos are all gone, the Etsu Korima Shrine will appear towards the north. At this point, be wary of any stray Ice Chuchu or Ice Keese on your way to the shrine.
No Comments