
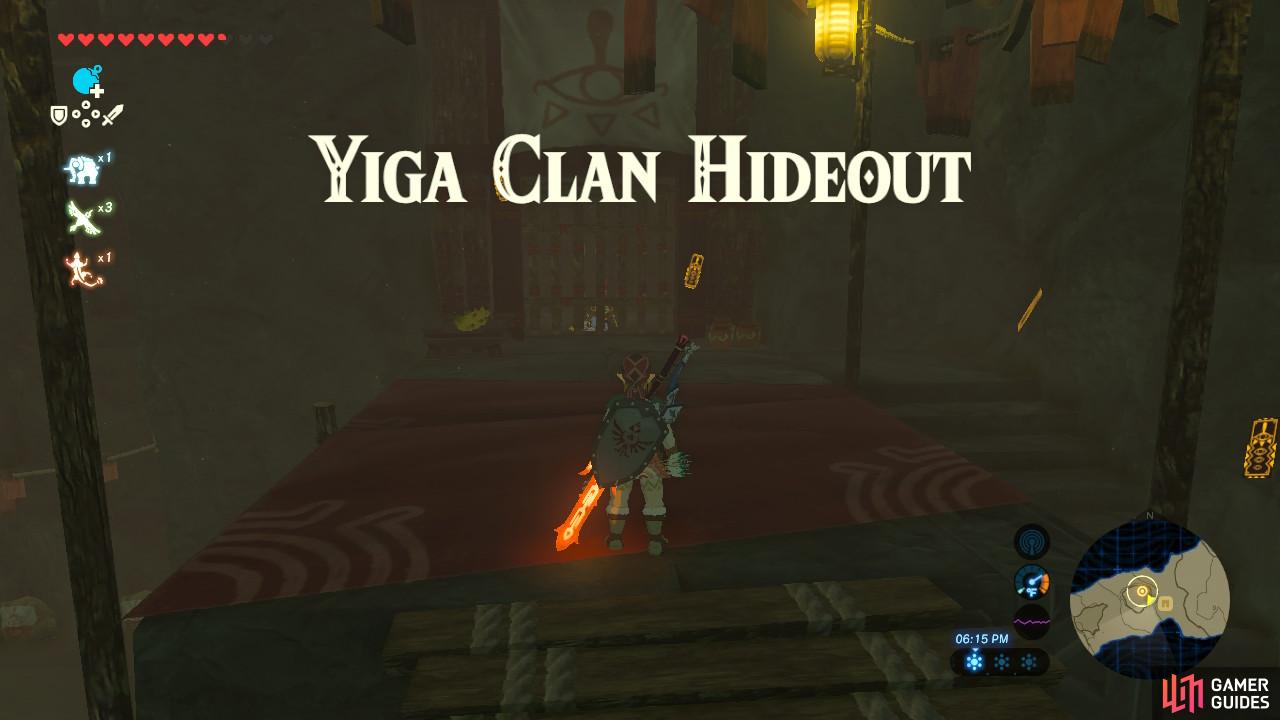
This page offers a guide on how to complete the Yiga Clan Hideout, which is a quest during the Divine Beast Vah Naboris storyline. Once you’ve gotten into the city, you’ll need to speak to Lady Riju.
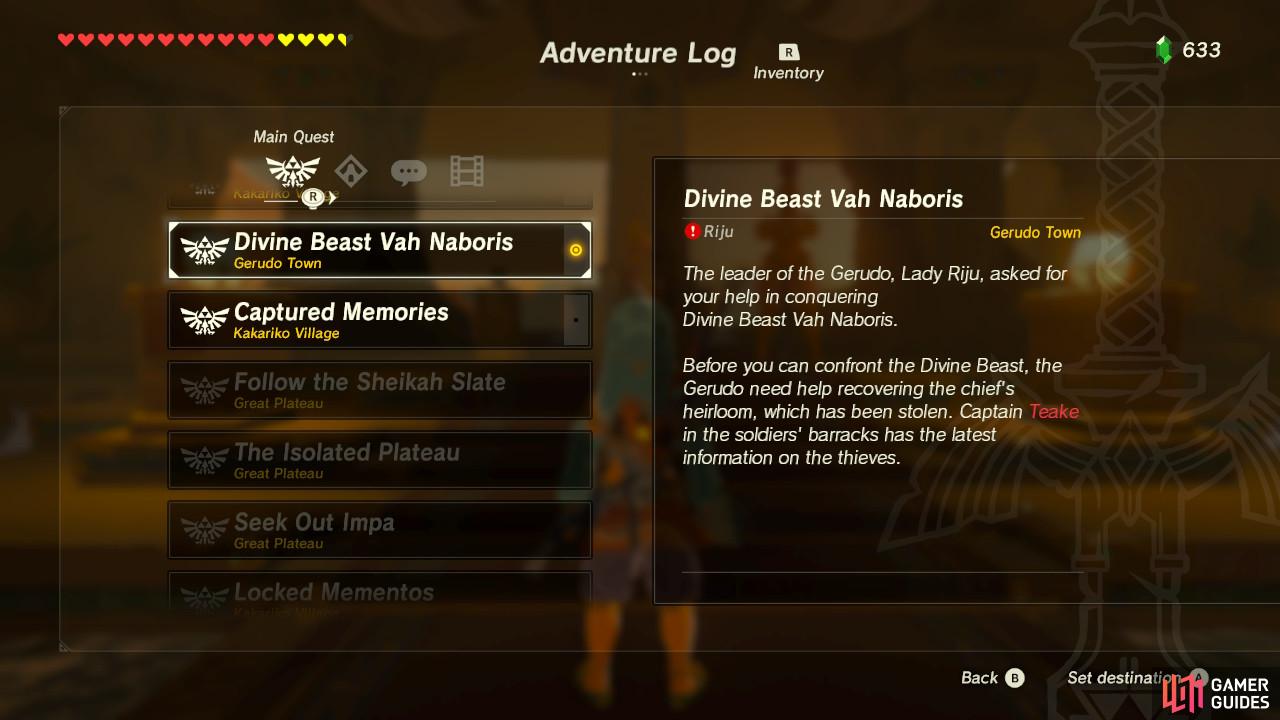
Main Quest: Divine Beast Vah Naboris
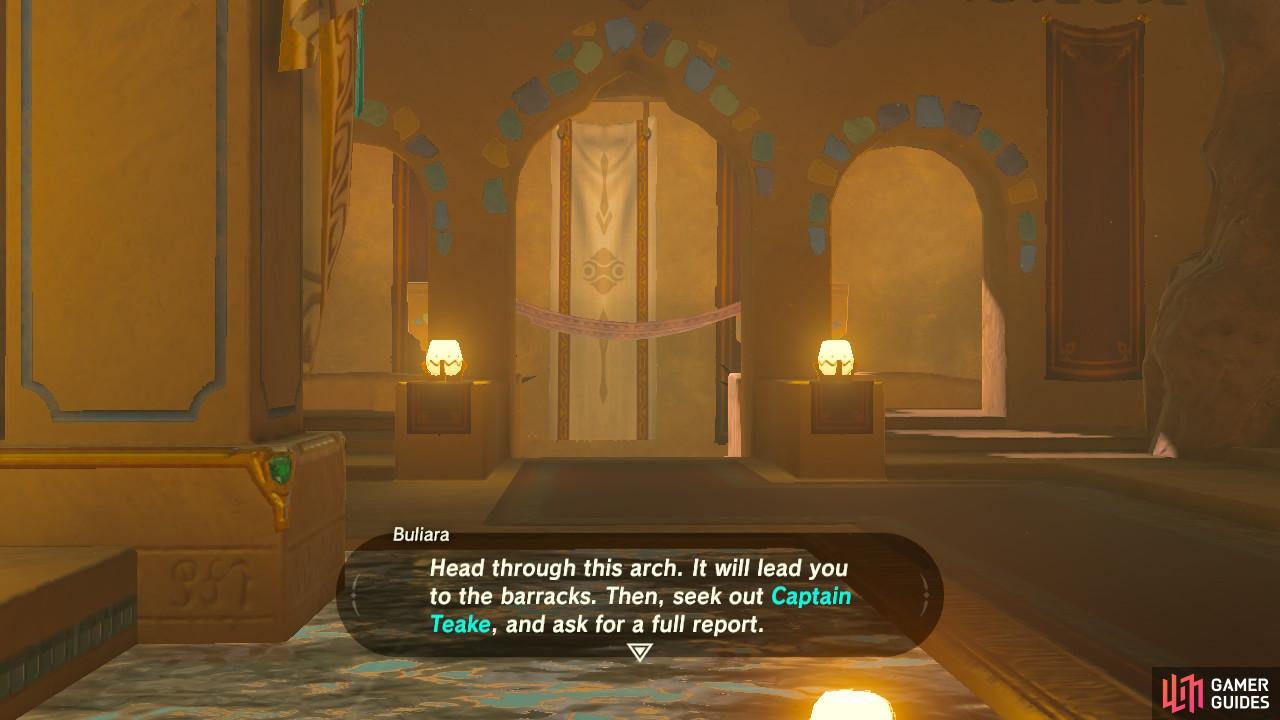
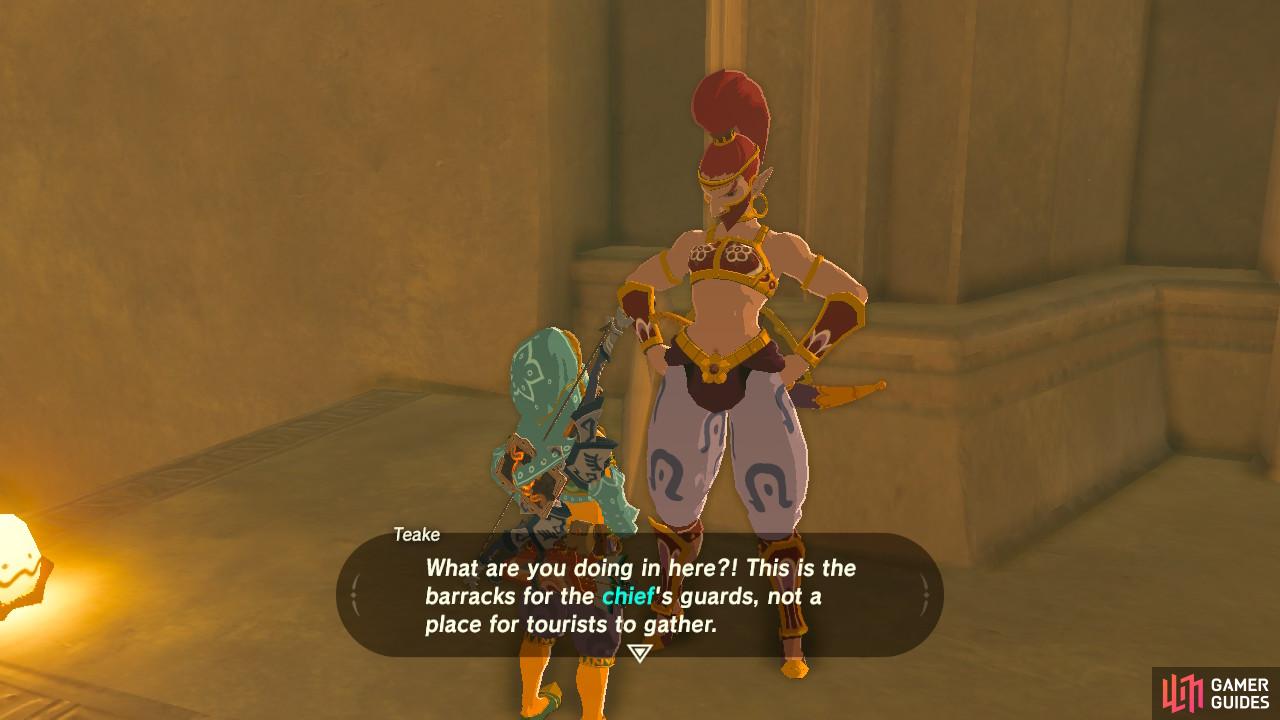
First, you need to go speak to the captain of Riju’s soldiers at the barracks, which will be pointed out to you. Go speak to Captain Teake who is standing at the end of the room. She will tell you that the Yiga Clan’s hideout is located deep inside Karusa Valley.
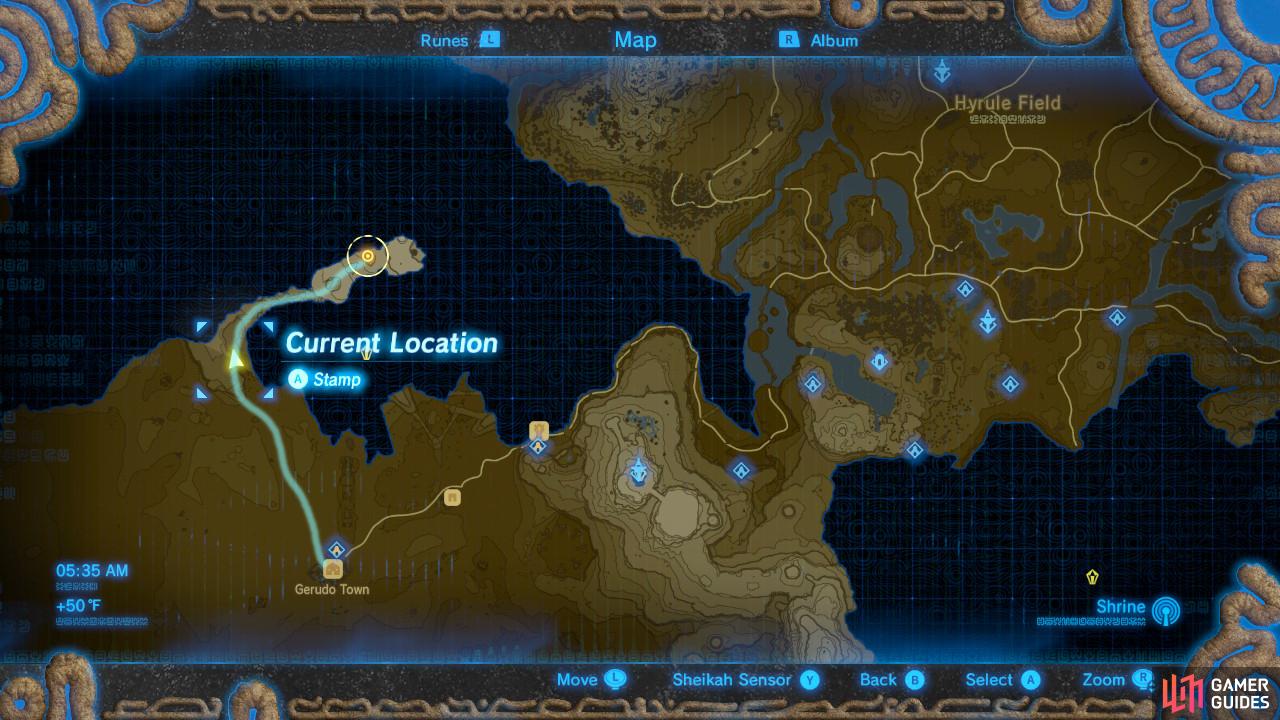
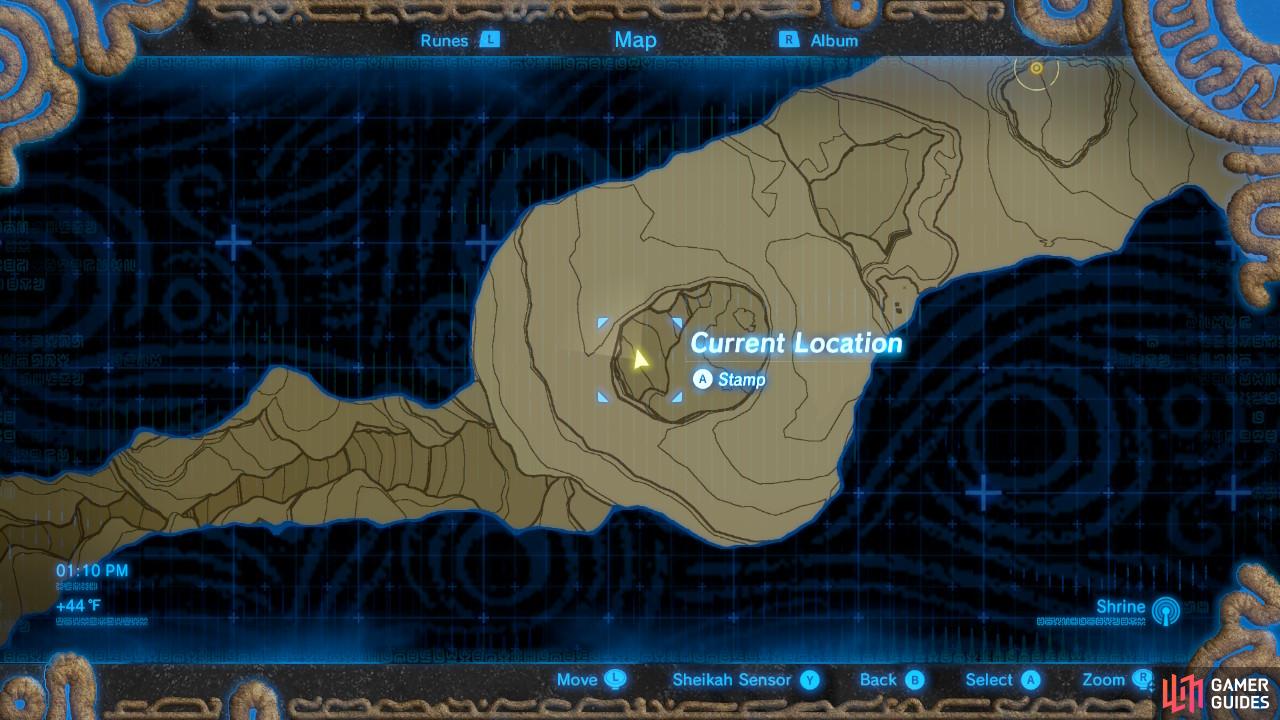
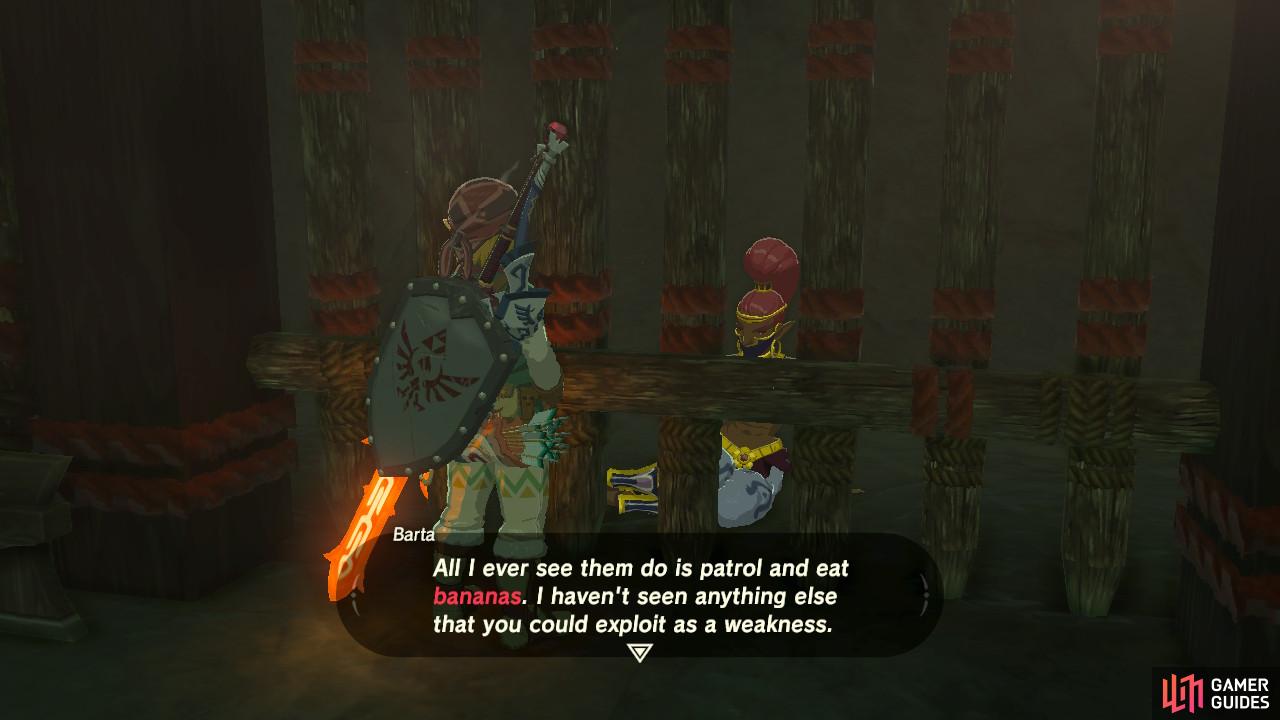
Karusa Valley will then be marked on your map as your next objective. It is out to the northwest of the Gerudo Desert. If you choose to talk to any of the other soldiers, you will also learn that one of them named Barta charged off to try and find the Yiga’s hideout on her own and hasn’t returned. That’s not a good sign.
Go through the door pointed out to you
Speak with Captain Teake for the rundown
Karusa Valley
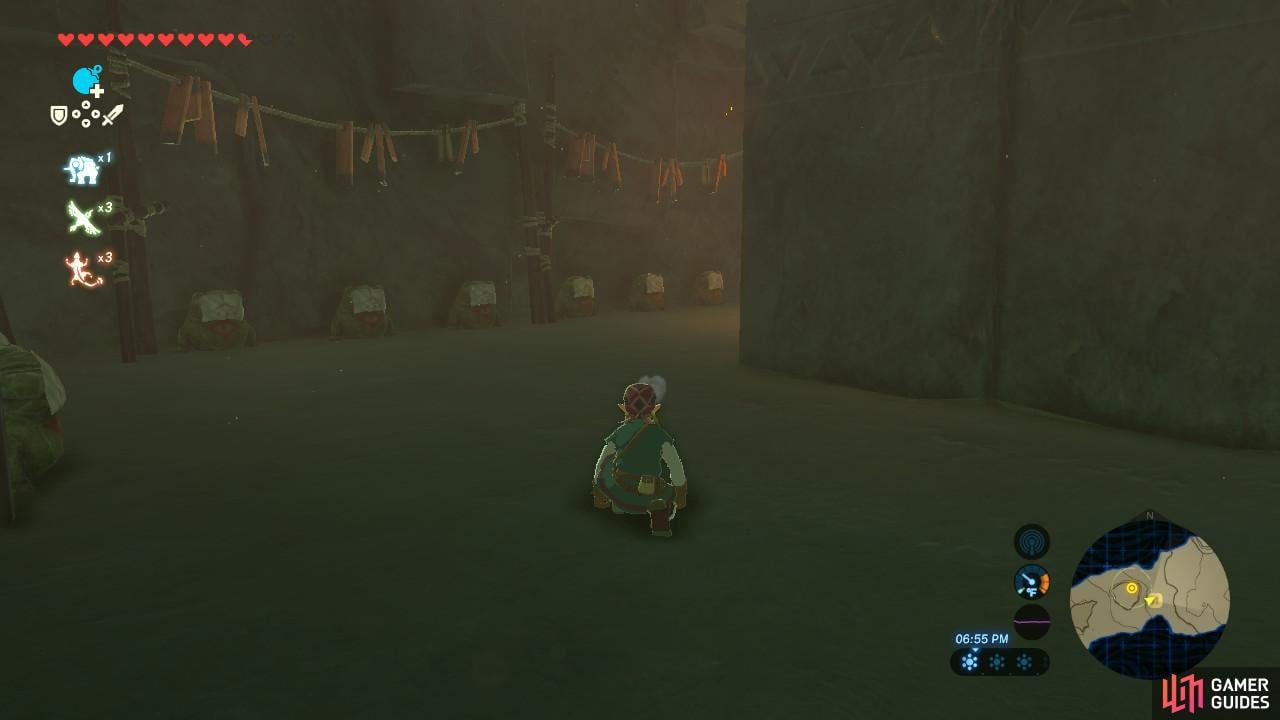
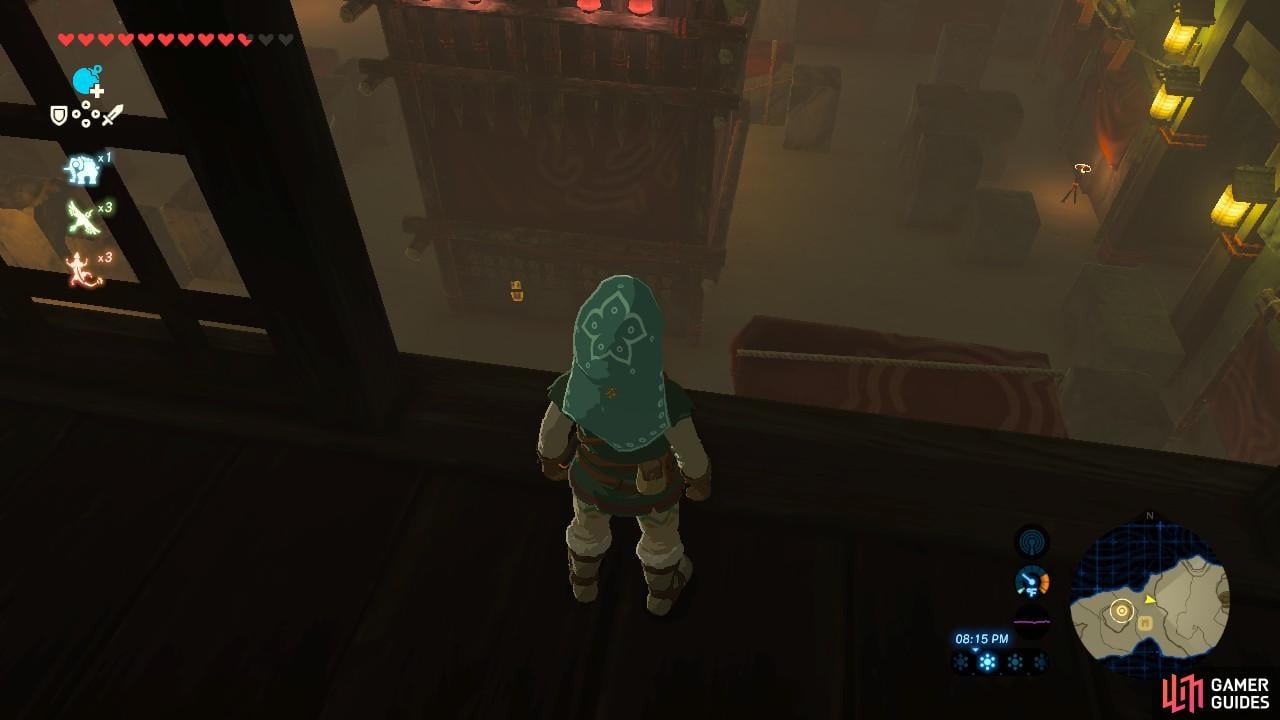
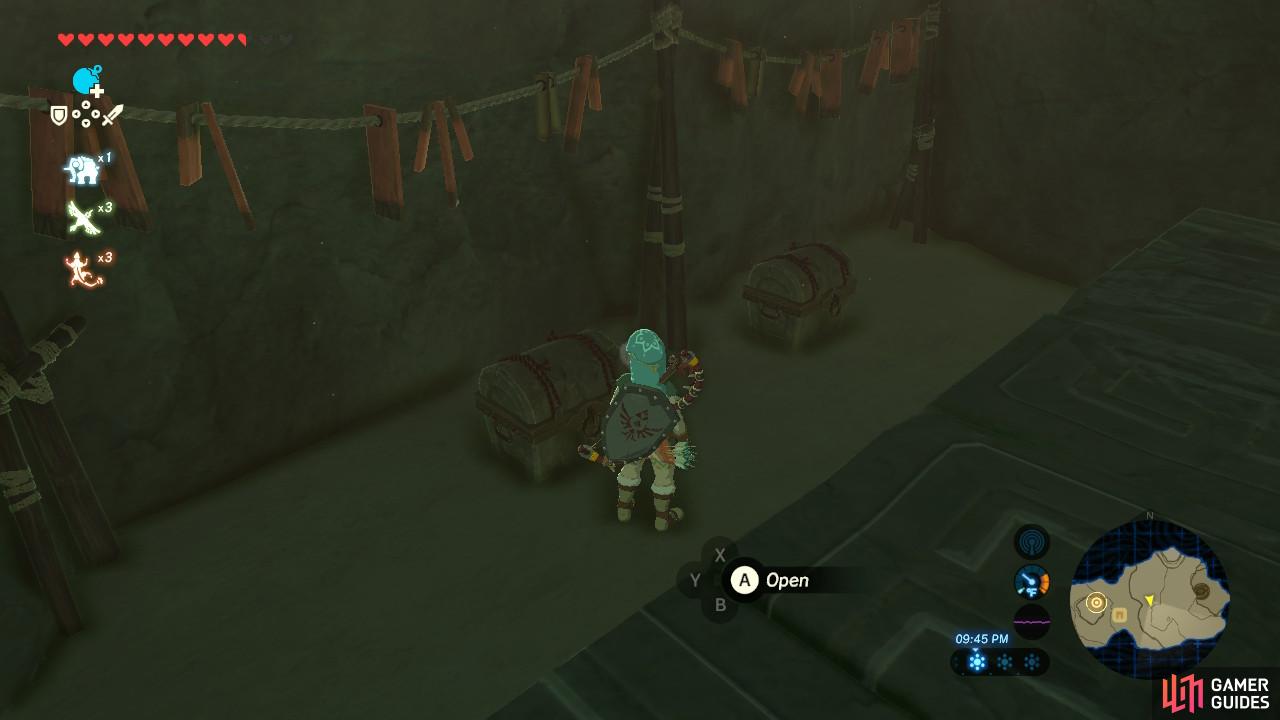
Karusa Valley is decorated with flags and stones with red paint on them, marking it as Yiga territory. When you first enter, look around for a chest half-hidden in the sand and pop it out for a Gerudo Spear. As you enter the valley, hug the wall to avoid the stone column with a bunch of camouflaged Lizalfos on it. You can relax as you run through the first half of Karusa Valley, there’s nothing to attack you yet.
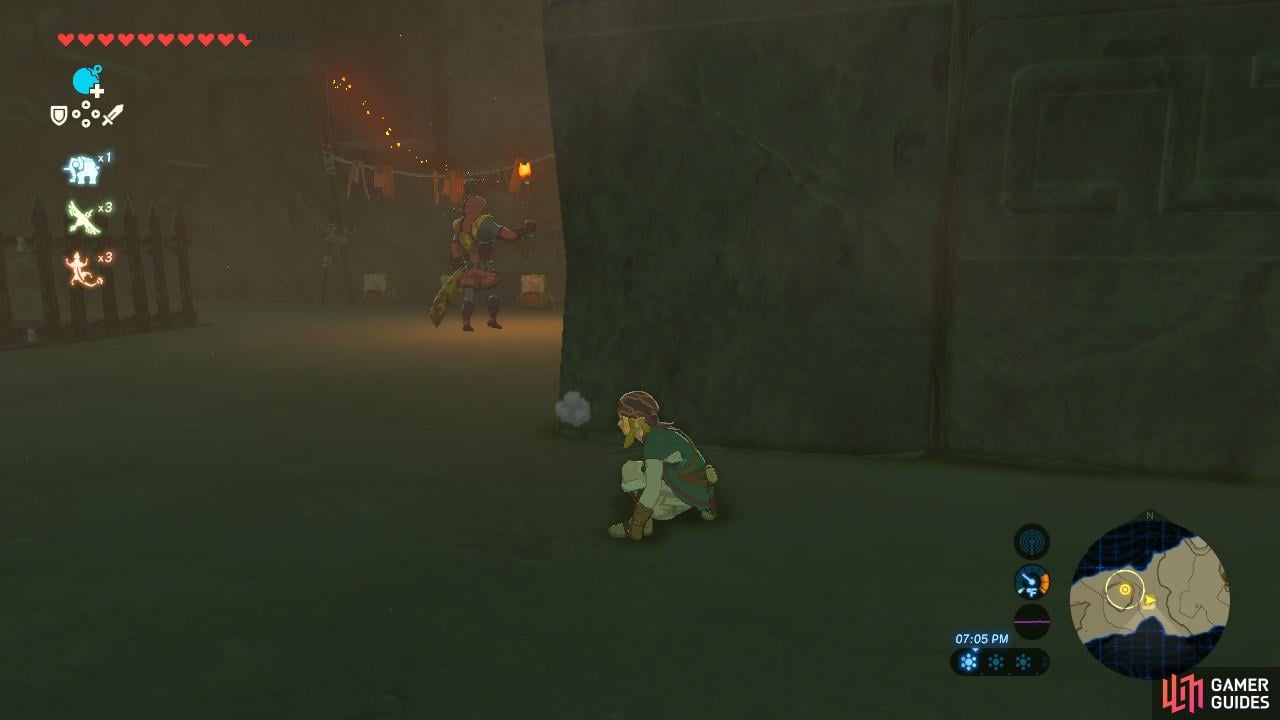
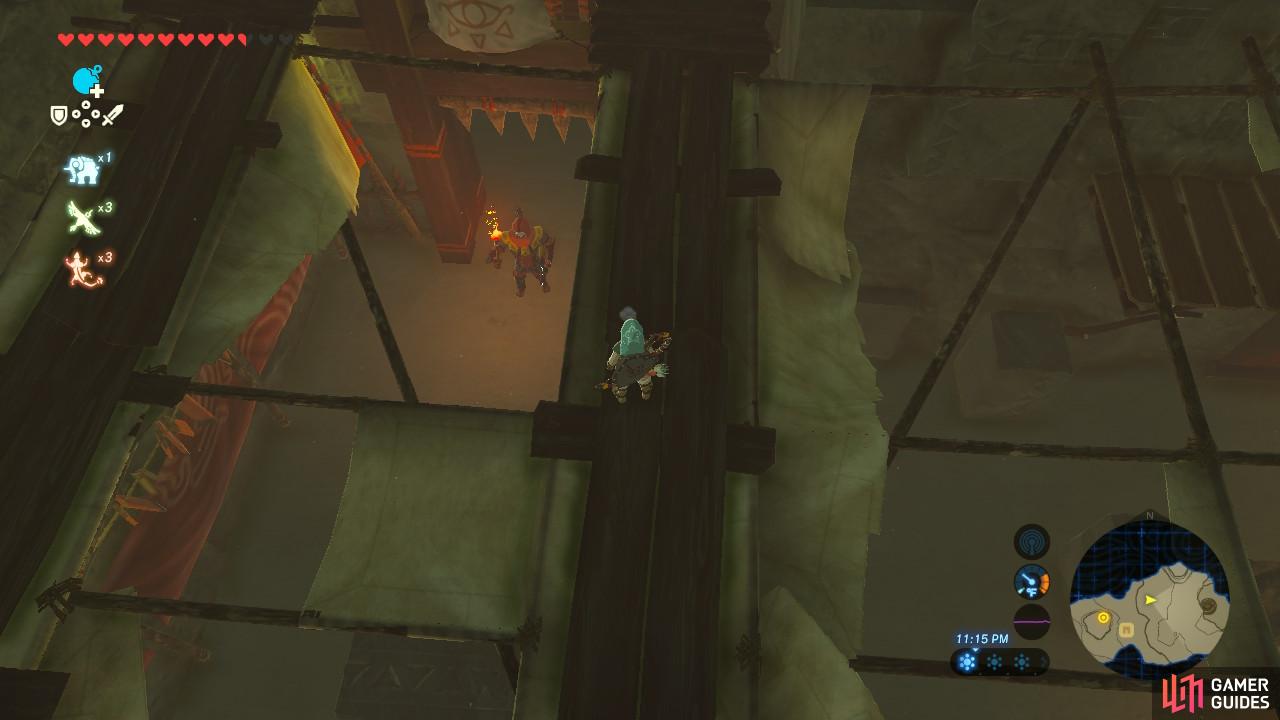
This Yiga is holding a bow and will try to stay far away from us
Save around the time you enter this region of the valley
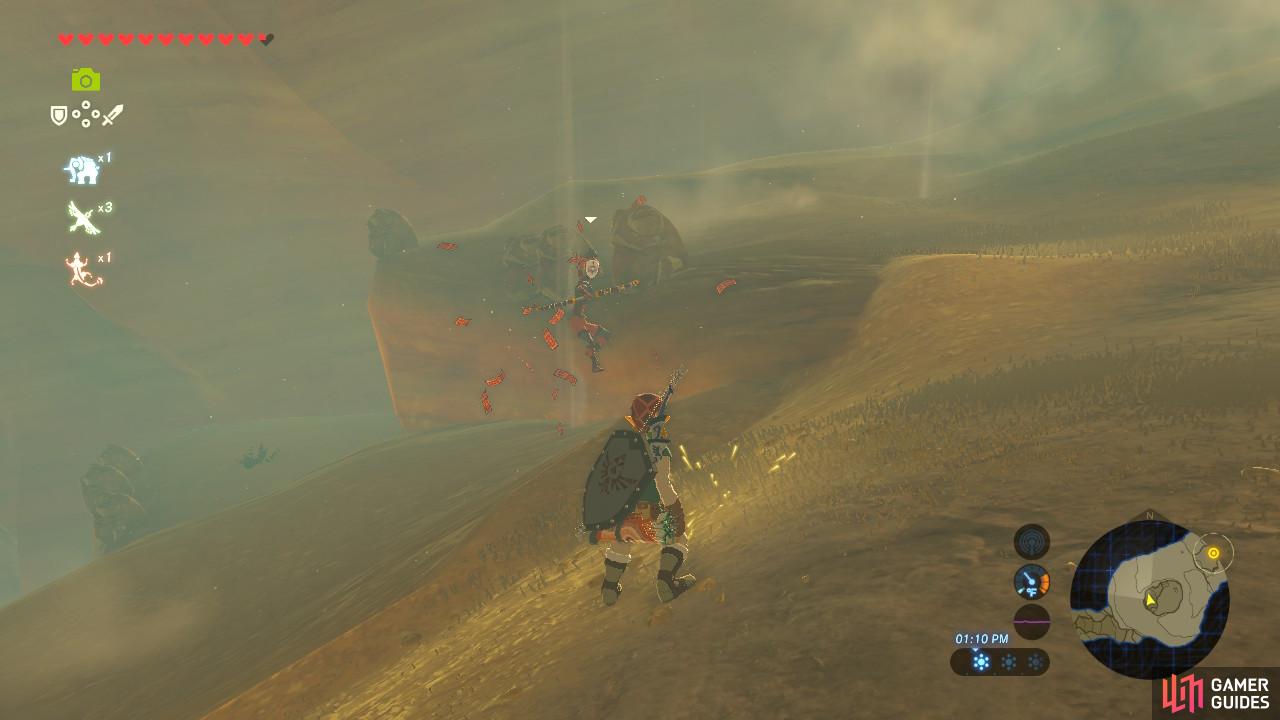
Once you have entered the “donut”-shaped area of the map, you will finally run into your first Yiga warrior (well, maybe not your first if you have run into NPCs disguised as Yigas already). They are fast and can teleport from place to place. This can be especially annoying if they have bows because they will purposefully stay far away from you for a clear shot. Your bombs can stun them, however, and once you can hit them, they have paper-thin defenses. The Yiga will drop fun things like Rupees, Mighty Bananas, and whatever weapon they were holding.
There’s nobody hiding in this room, don’t worry
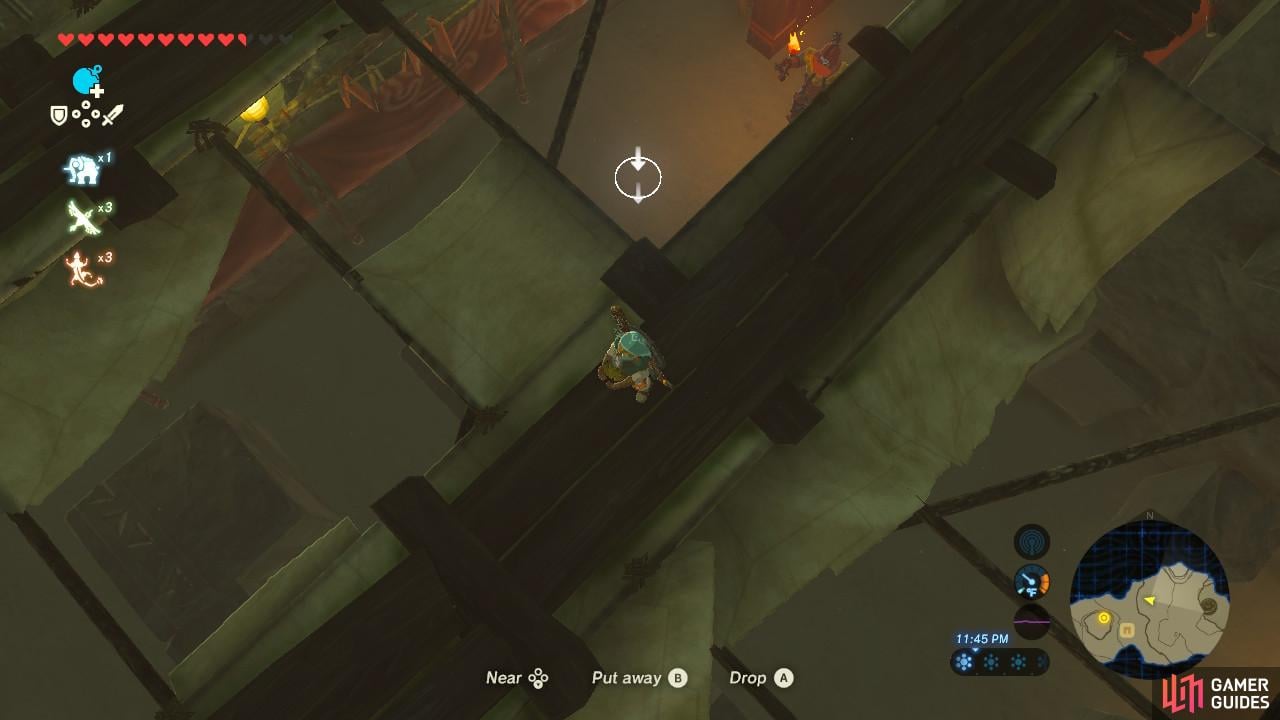
Burn down this scroll
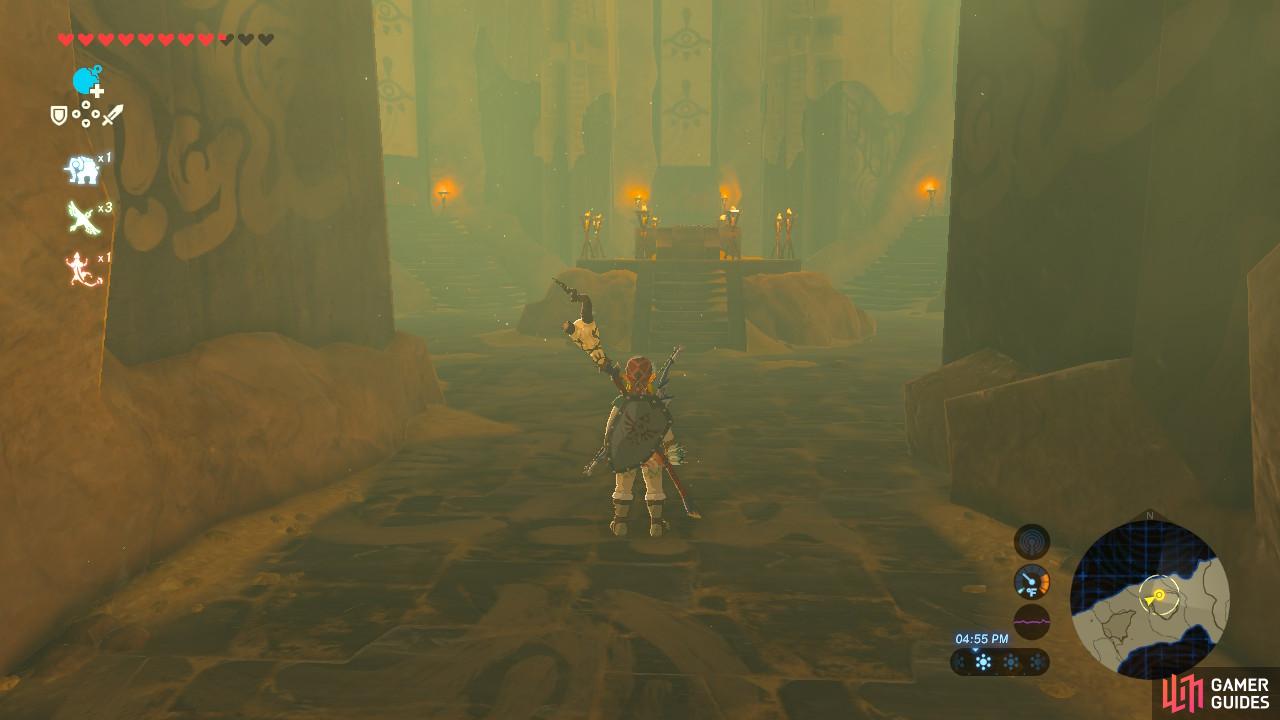
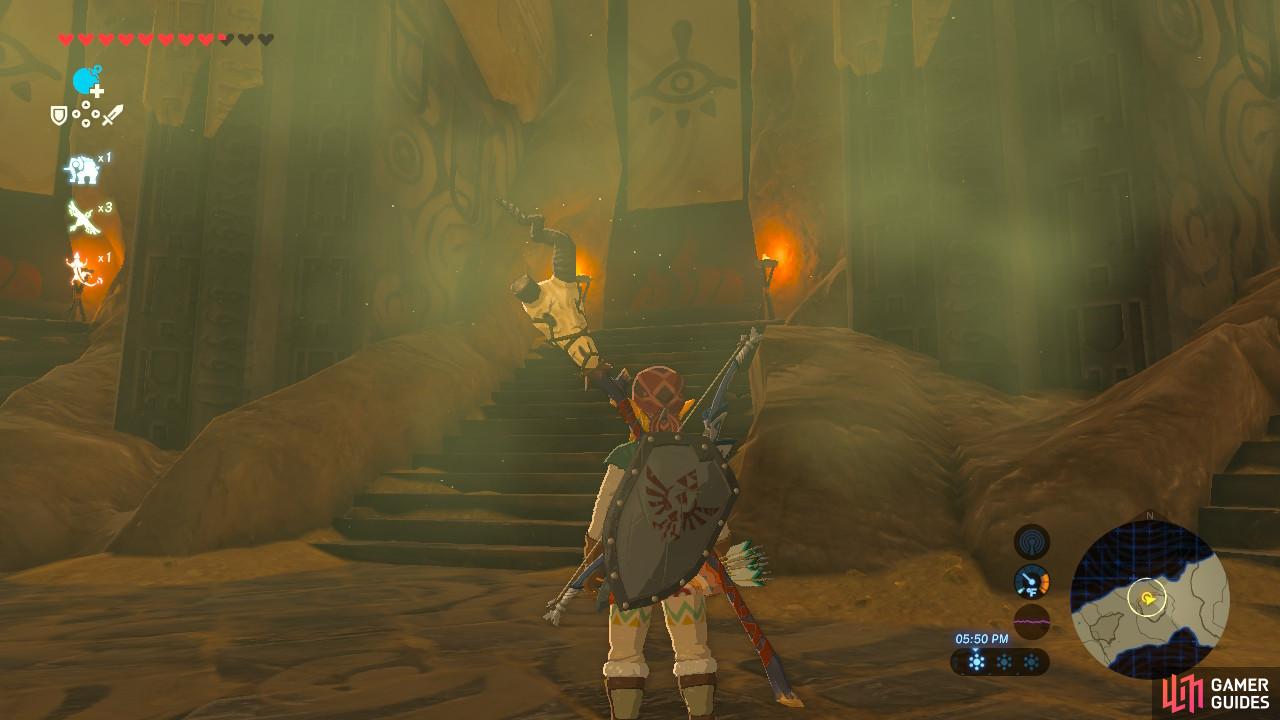
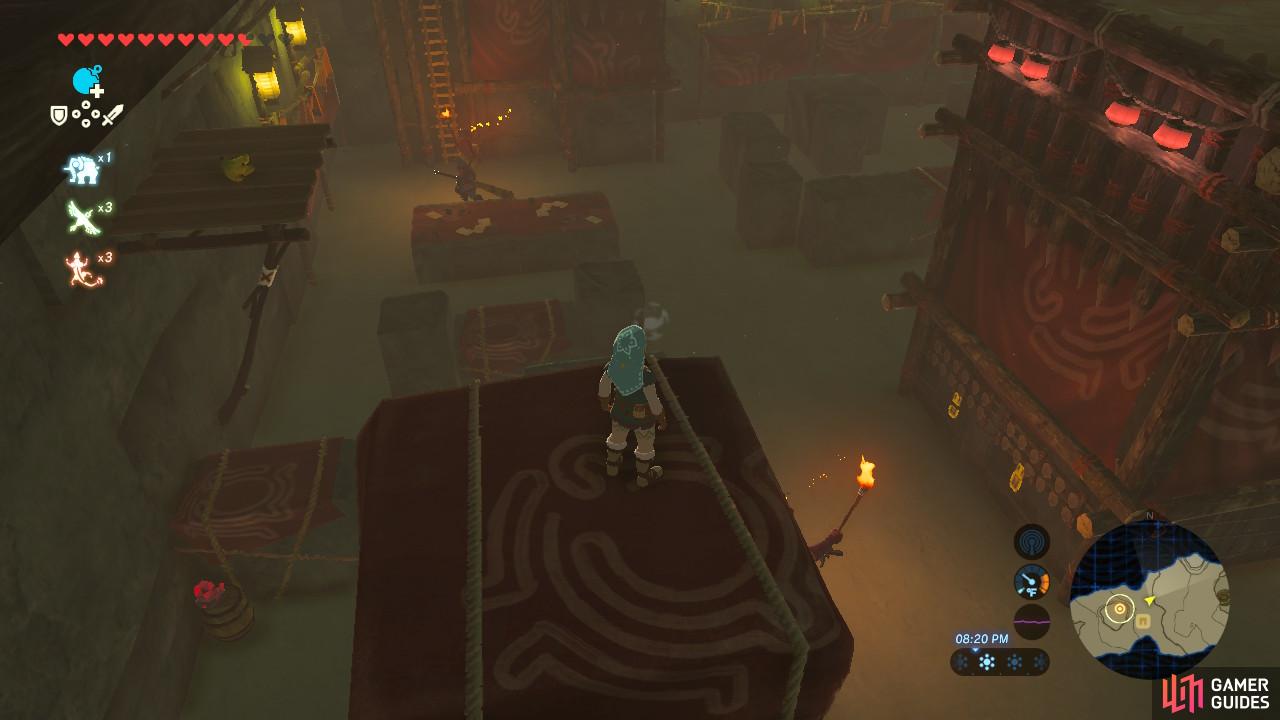
Further along the path you will then have to contend with three Yiga warriors at once. Once they are all defeated, you will finally enter a circular-shaped room with a lot of doors. Most of these doors are fake trap doors. The real entrance to the Yiga Clan Hideout is the third door going counterclockwise. It has a flame icon on it. Burn it by using any of the torches available, a Fire Arrow, or a fire-element weapon.
How to Complete Yiga Clan Hideout
It looks like Barta got caught
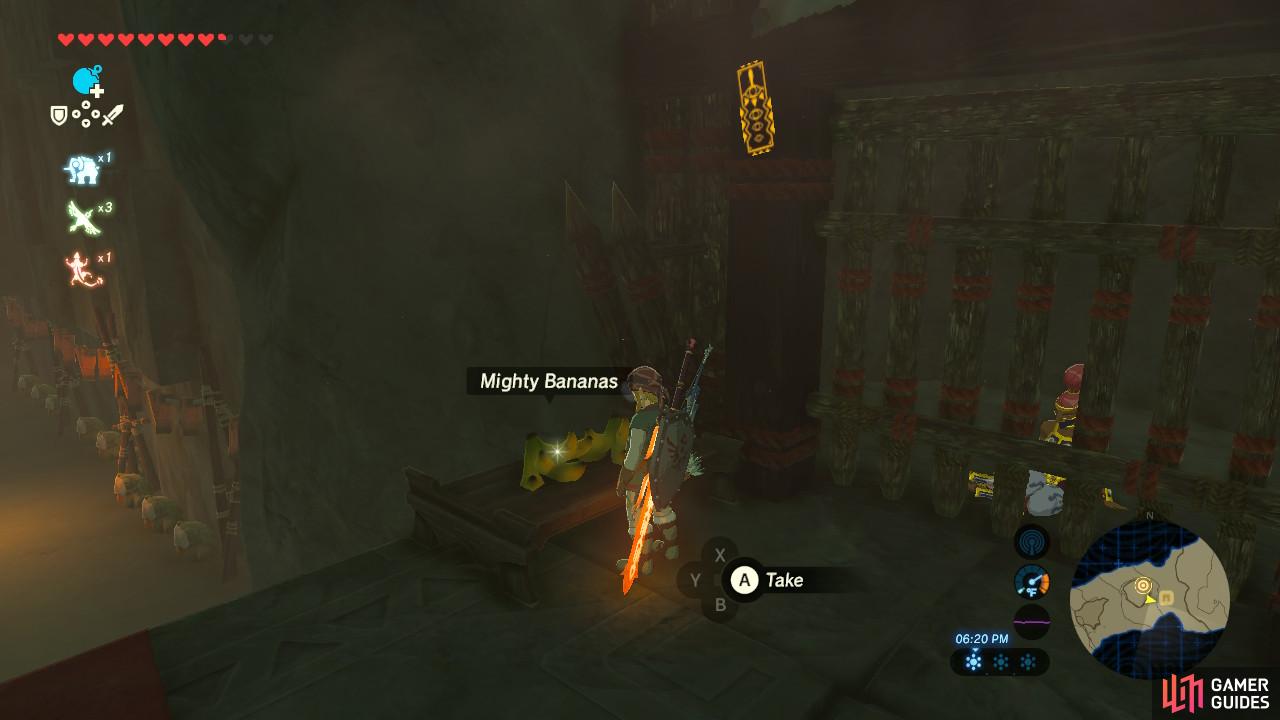
You will need these, but do not eat them!
Run forward and you will find Barta, the soldier that the other soldiers in the barracks were concerned about. Turns out she was captured by the Yiga and imprisoned in a cell and there’s not much she can do about her predicament. She will mention that the Yiga guards are powerful and you should probably leave. But of course, we aren’t leaving. She will also drop one other hint: Yigas like bananas.
Grab the Mighty Bananas to your left and let’s begin this next section. This part of the game can be approached in two ways.
-
Use stealth. This is the intended and encouraged way, as the Yiga Clan Hideout is more or less the stealth level of this game. Using a combination of bananas and Stasis, you can sneak your way past the guards to get through this level. If you upgraded your Stasis to Stasis+ at Hateno Village, you will be even better off.
-
Attack! Attack! This is not what the game encourages, but it is definitely very doable if you are skilled at combat and patient. If you alert the guards, multiple Yiga warriors will then gang up on you to kill you. Since you cannot save, you will be booted back to the start of the level if you die. This doesn’t seem so bad if you consider the Yiga’s frailty, but there will be Yiga swordsmen in the mix, and they have the special ability to kill you in one hit ignoring Mipha’s Grace, defense buffs, and fairies.
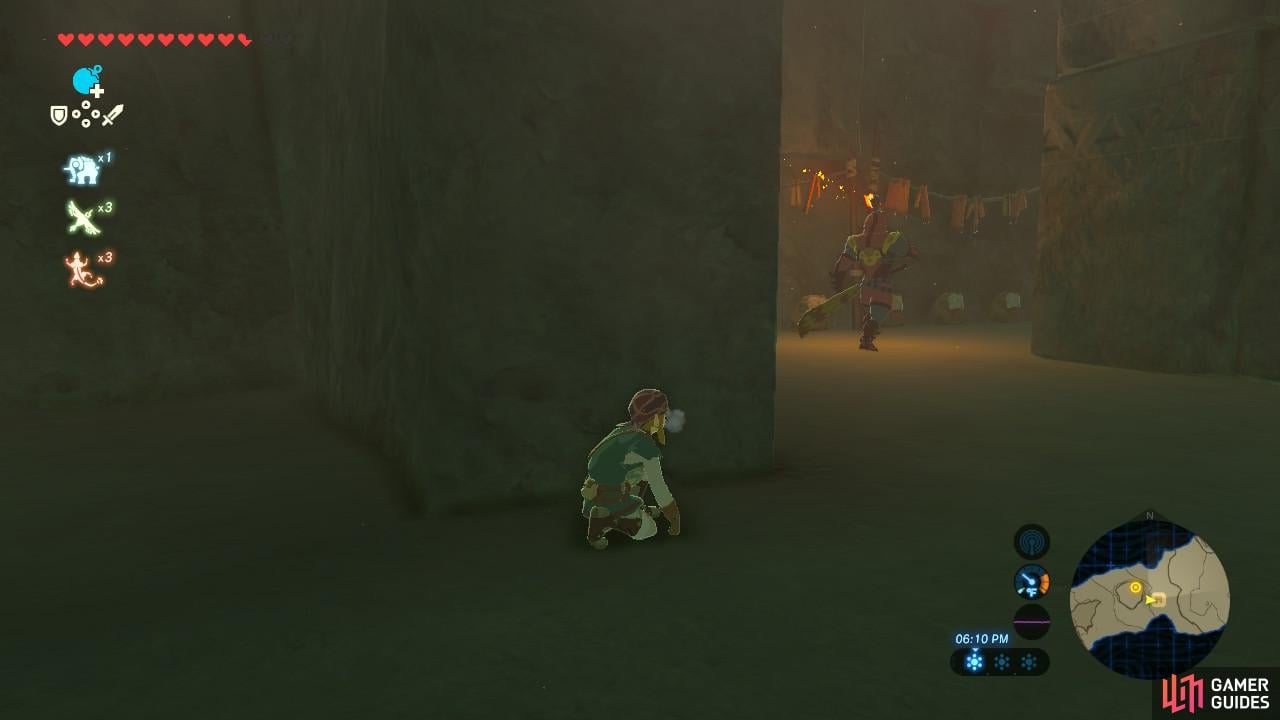
We will be attempting to get through this level with stealth (although being quiet is not our strong suit). Note that your actual stealth level doesn’t matter so much as staying out of sight of the guards, so don’t worry about trying to load up on things like stealth Elixirs.
Wait here until the guard is sufficiently far away
Then start following him clockwise around the block
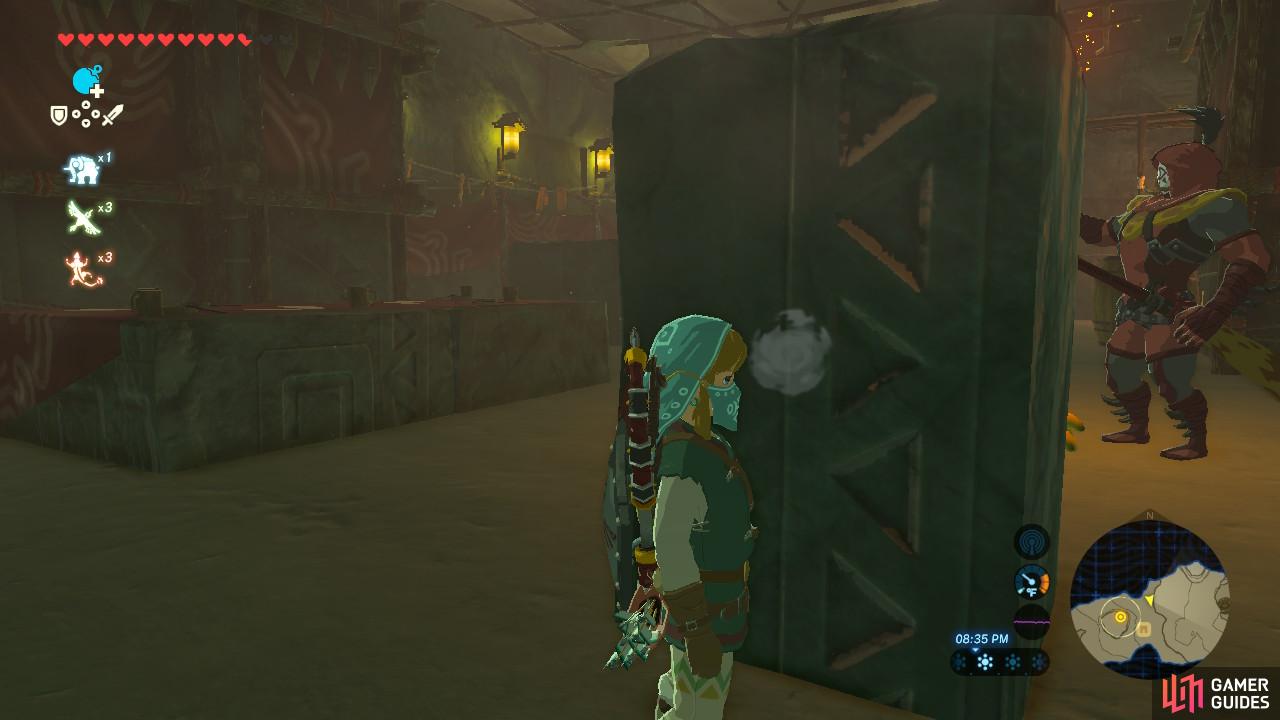
When you go down the staircase, your first Yiga Clan guard will be walking clockwise around a block. Follow him clockwise around the block but stay out of his line of sight (a.k.a make sure you cannot see him) and definitely do not stray too close to the range of his fire. He will sometimes pause at the corners of the block so keep that in mind.
As soon as he has closer to the staircase you came down, bolt down the stairs in front of you and then hide behind the large block. The next Yiga guard is standing in front of a doorway. Hold a Mighty Banana. and press down on your directional pad to aim further away. Toss the Mighty Bananas. The Yiga guard will see them and giddily run towards them. Bolt for the exit and turn left.
So many bananas! Grab them all, they make for great cooking ingredients too
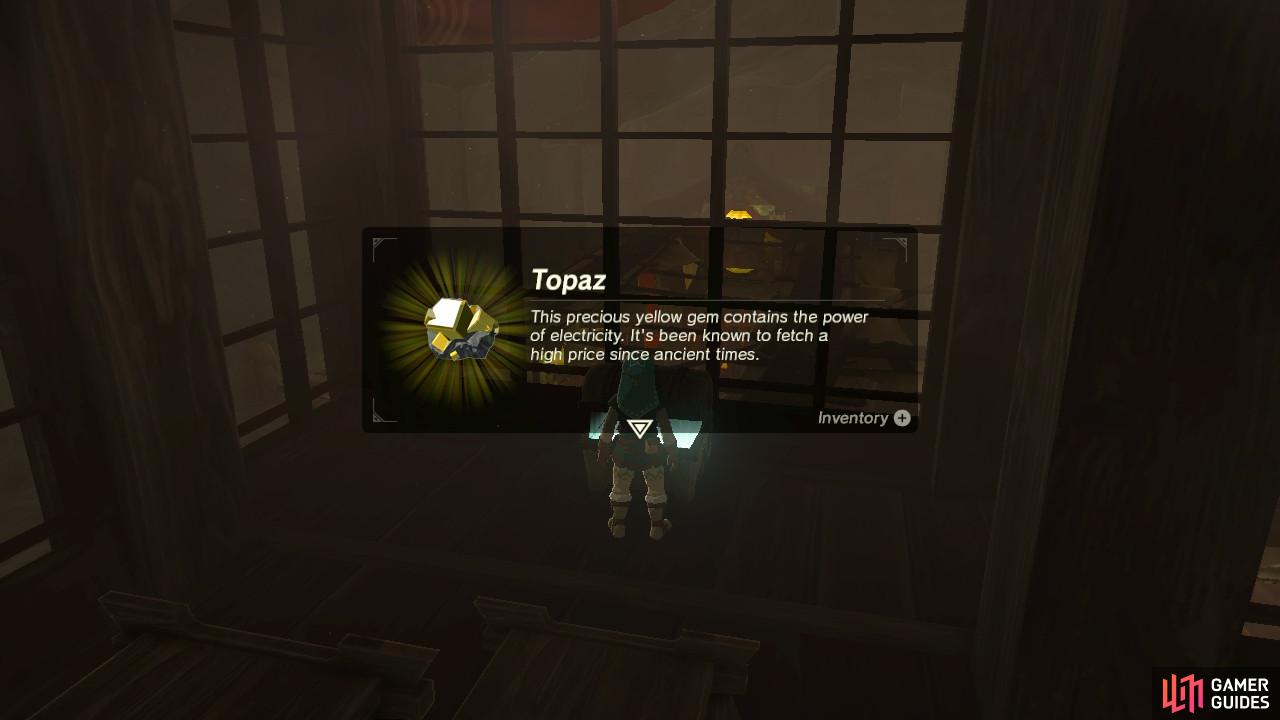
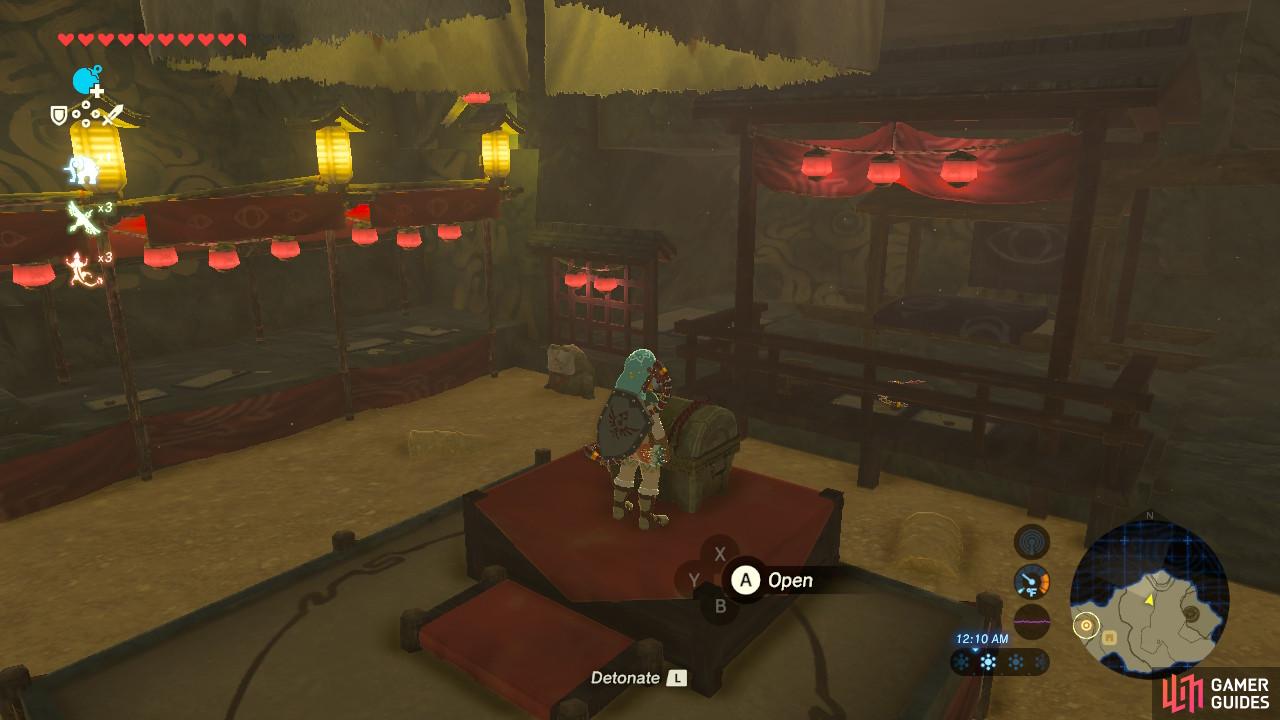
Don’t forget this chest for a valuable gemstone
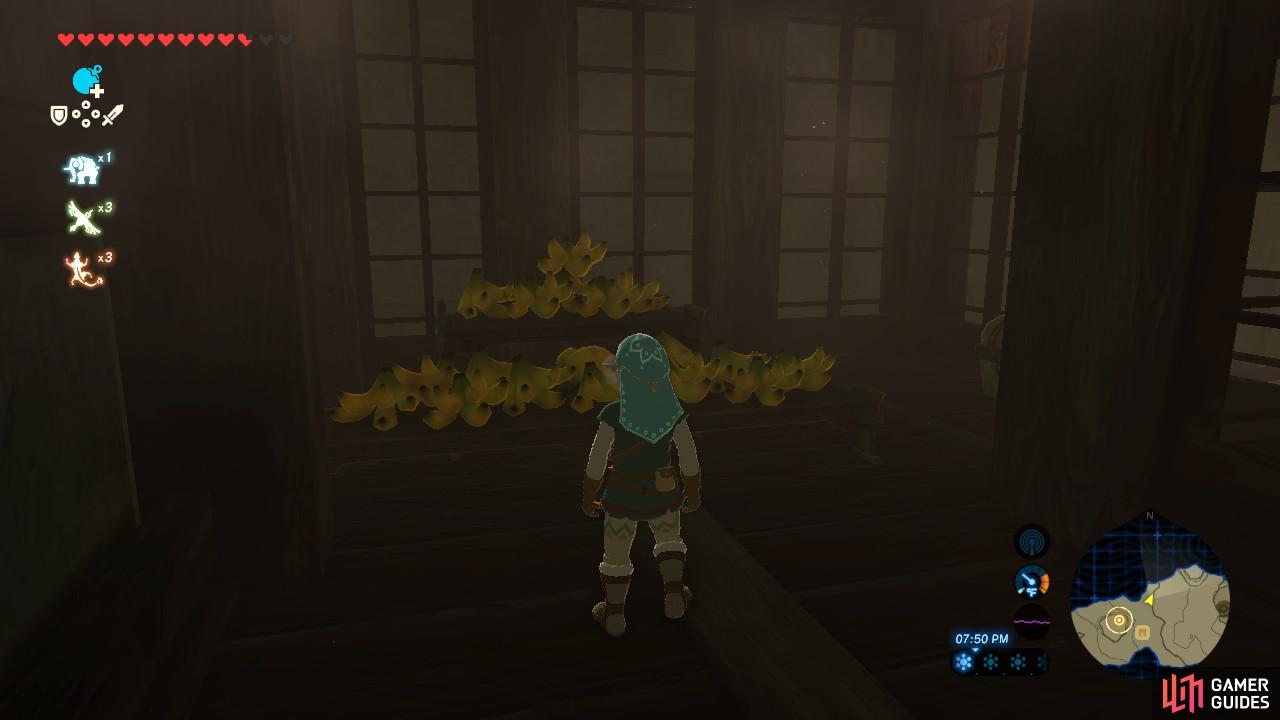
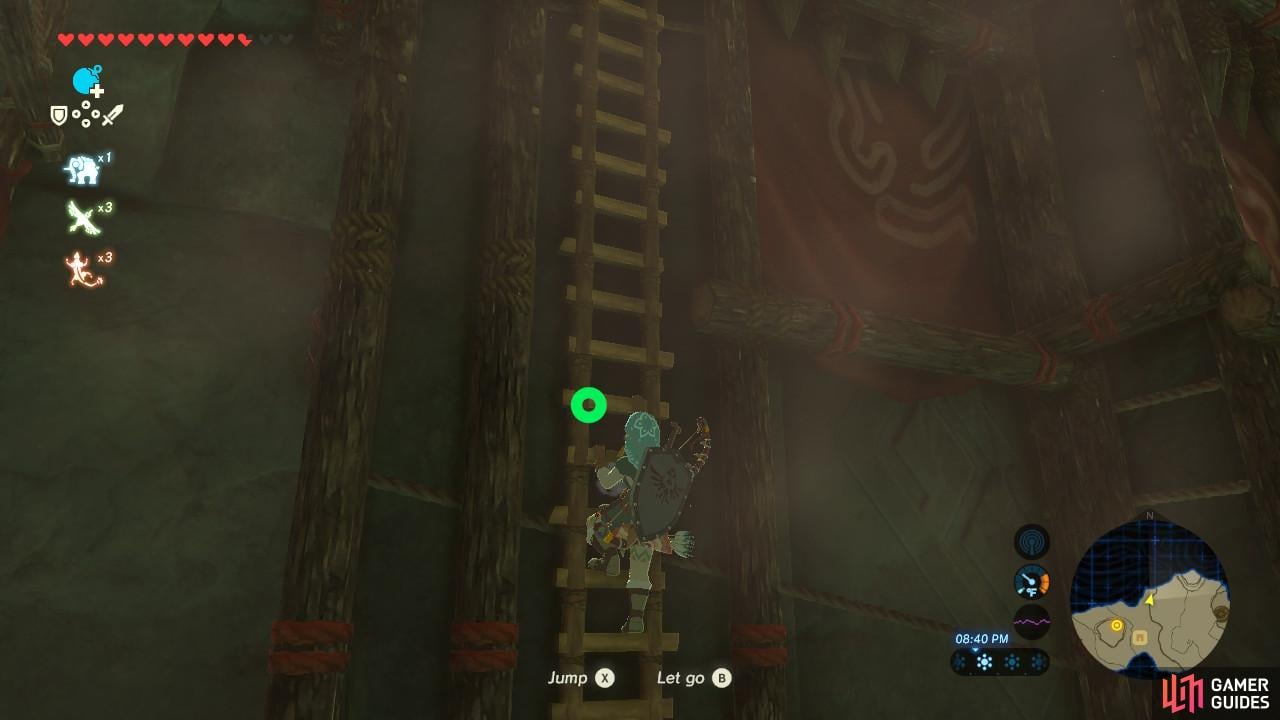
Go up the ladder and go straight across the rafters. You will enter a room crammed full of Mighty Bananas plus a treasure chest containing a Topaz. Grab all the Mighty Bananas and the Topaz, and then backtrack back across the rafters the way you came.
Jump down from here
The guards won’t be able to see you
To your left there will be an opening. Fall down it on top of a pile of blocks. A Yiga guard is constantly walking around that block, and up ahead around the rows of smaller blocks another Yiga guard is patrolling the area. This part of the puzzle is tricky; if you die, you will have to start over, but the first two guards shouldn’t take too long to redo.
In this image the guard is distracted by a banana so he will not sound the alarm
Climb up this ladder to safety
When the guard you are above is furthest away on the far side of the block, Paraglide towards the next guard. Immediately hold and toss Mighty Bananas to your right so that the Yiga guard will not investigate you. Then run for your life towards the ladder straight ahead.

As you run along the rafters, go behind the strange roof-shaped wall decoration to open a treasure chest containing a Topaz. Continue right and on the left side of the gray block is a ladder. If you climb down the ladder you will see a bunch of spikes blocking your way. So Paraglide from the top of the block into another safe room.
Open the two treasure chests for two Gold Rupees. We’re rich! Then return up the ladder to the block we Paraglided from. Jump carefully onto the little roof of the roof-shaped wall decoration and then jump down onto the rafter planks. Go straight and then turn left to arrive on top of another block. There is a treasure chest here that will give you a silver Rupee.
This is the final guard we must pass by
Drop the bananas far out from the guard so you have room to slip behind him
Return back the way you came and observe the Yiga guard standing in front of the doorway. From the rafters, drop a banana in front of the guard. You want it to be a distance away from the guard so that you can run behind him through the door. Then Paraglide down (if you jump, the noise might alert him) and enter the next safe room.
This chest contains the Mighty Bananas
Run around the room’s perimeter to pull up these chests
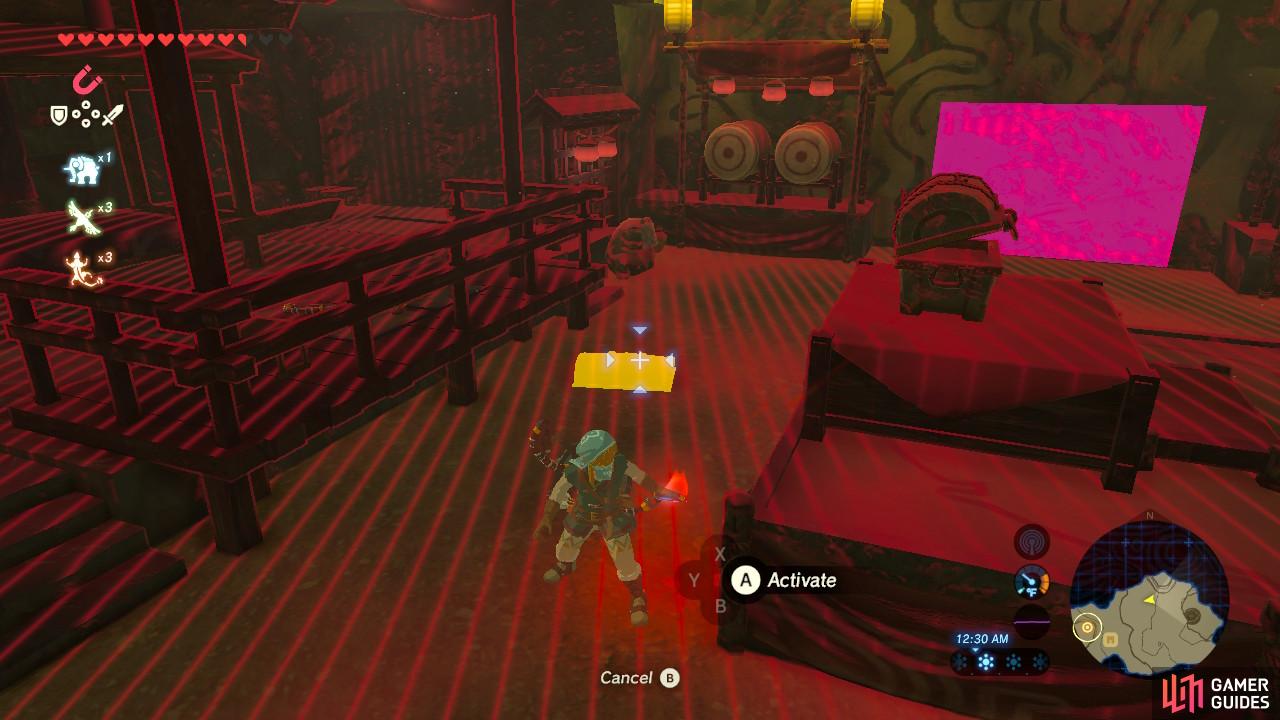
This is the final room before we confront the boss of this level. There are chests hidden in the ground that can be pulled up with Magnesis all around the room. They will gift you two Topaz and a Ruby if opened. The chest in the middle of the room contains Mighty Bananas.

Push at this wall
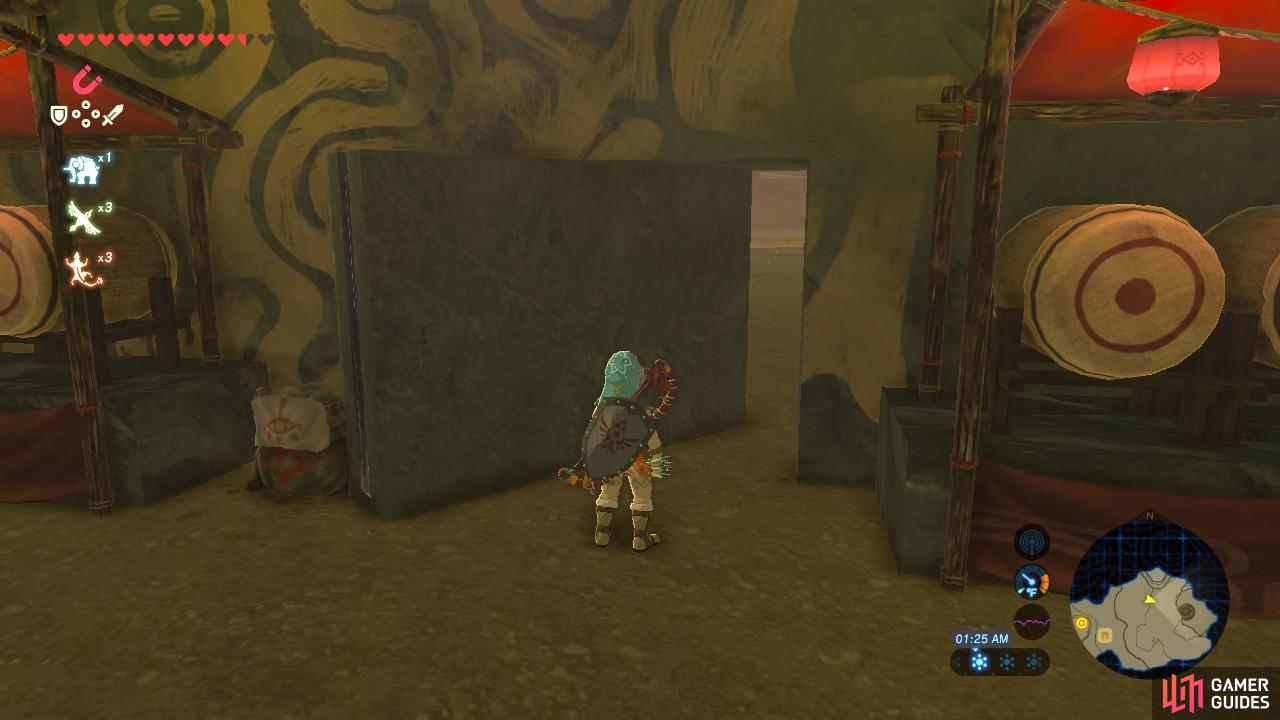
Then slip through the gap
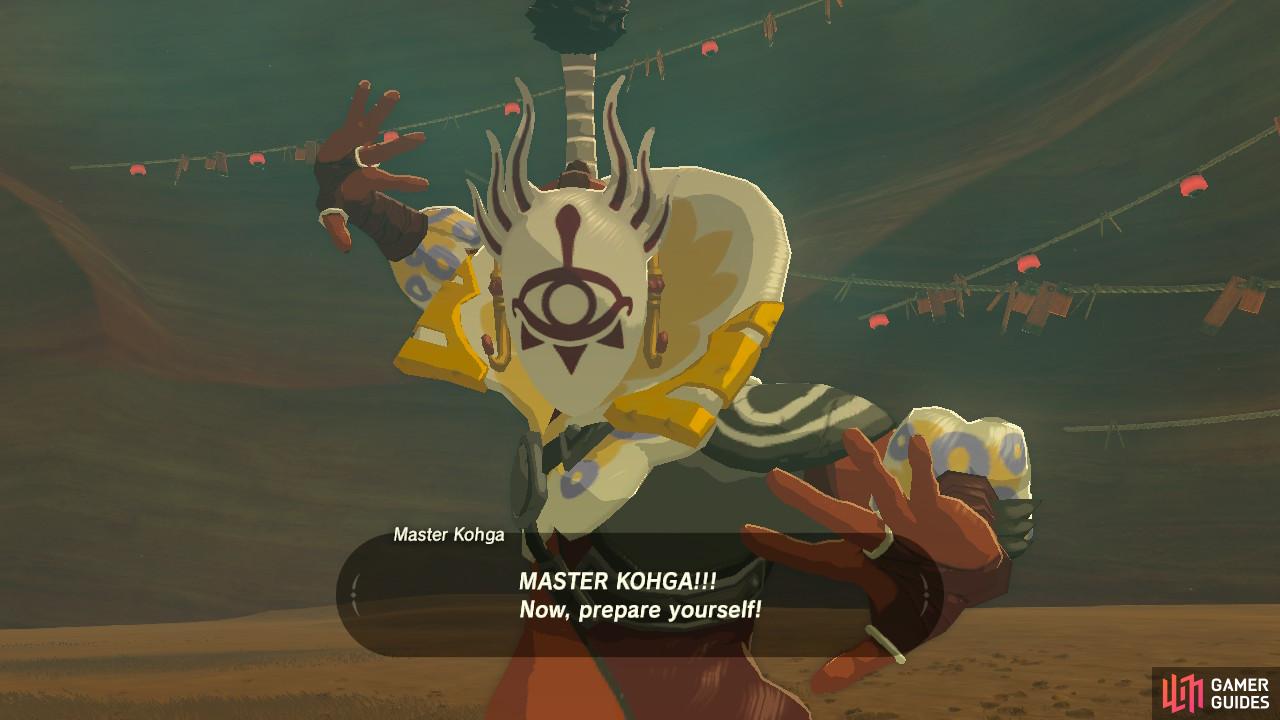
Once you are ready, use Magnesis to spin the hidden wall and go forward. Enjoy the cutscene, and then begin your boss fight.
How to Defeat Master Kogha
Phase One
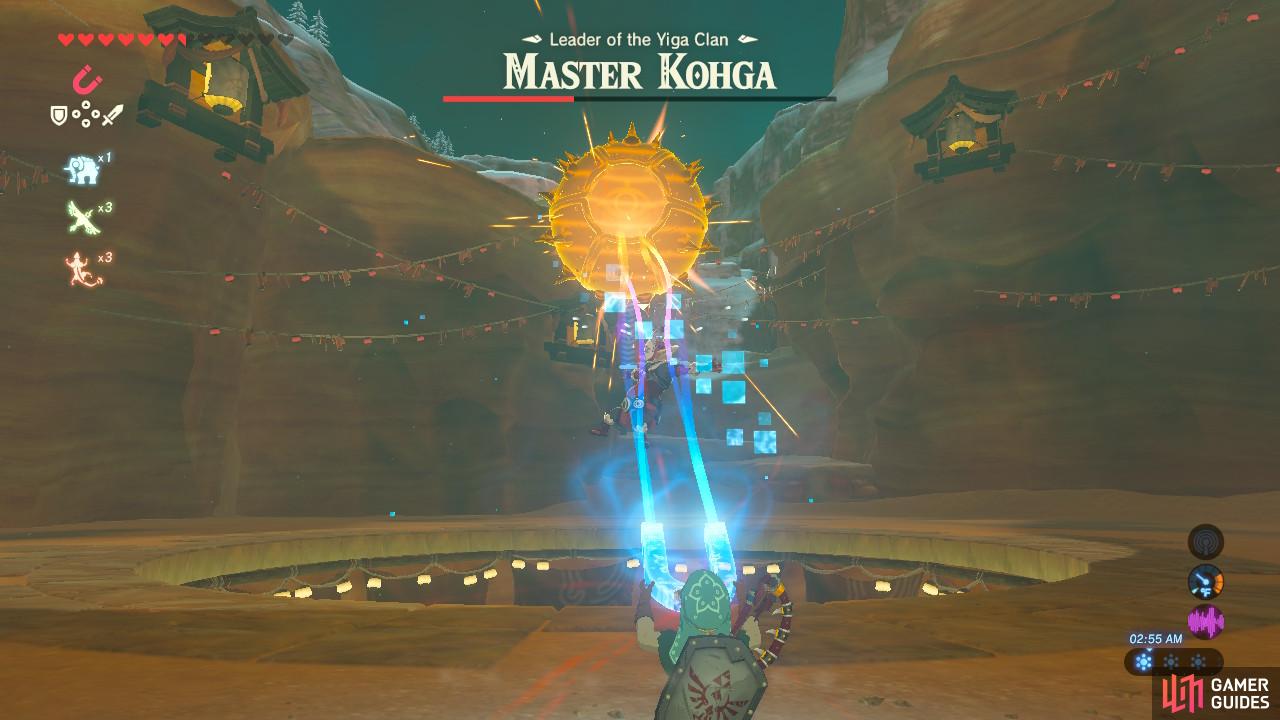
This boss fight has three phases. During the first phase, Kohga will create a boulder over his head and attempt to throw it at you.
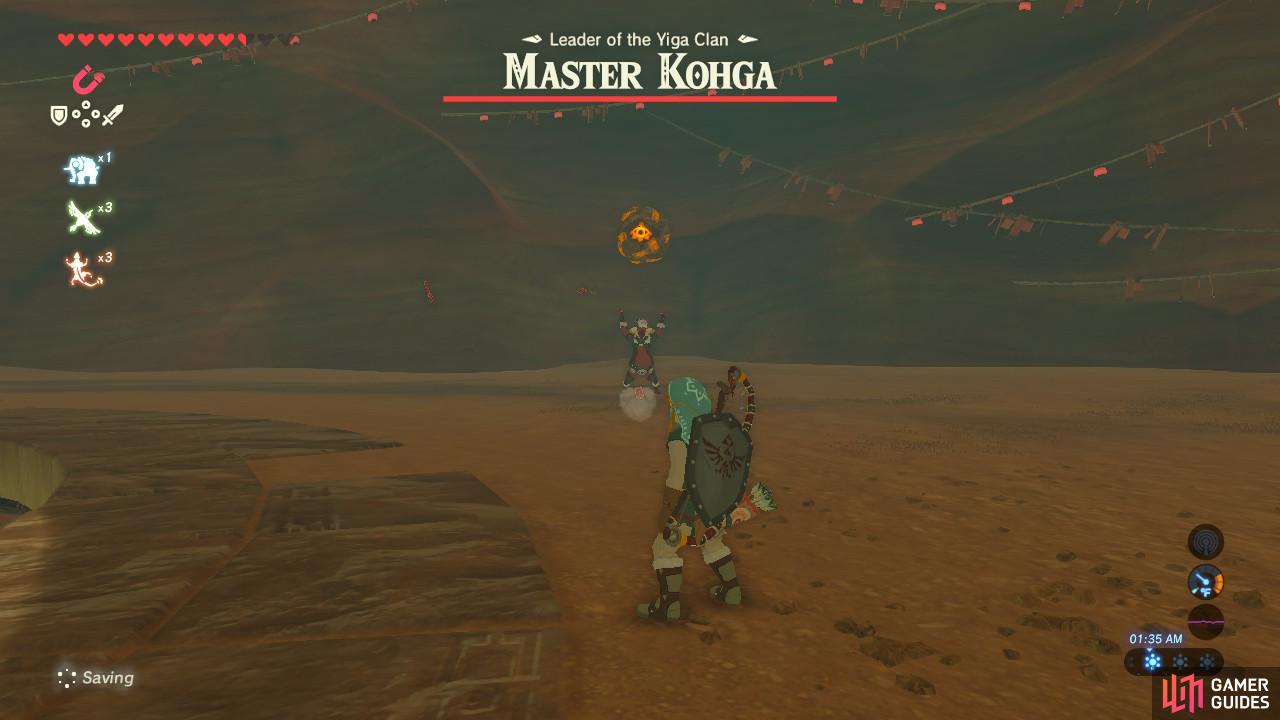
Shoot him when he does this
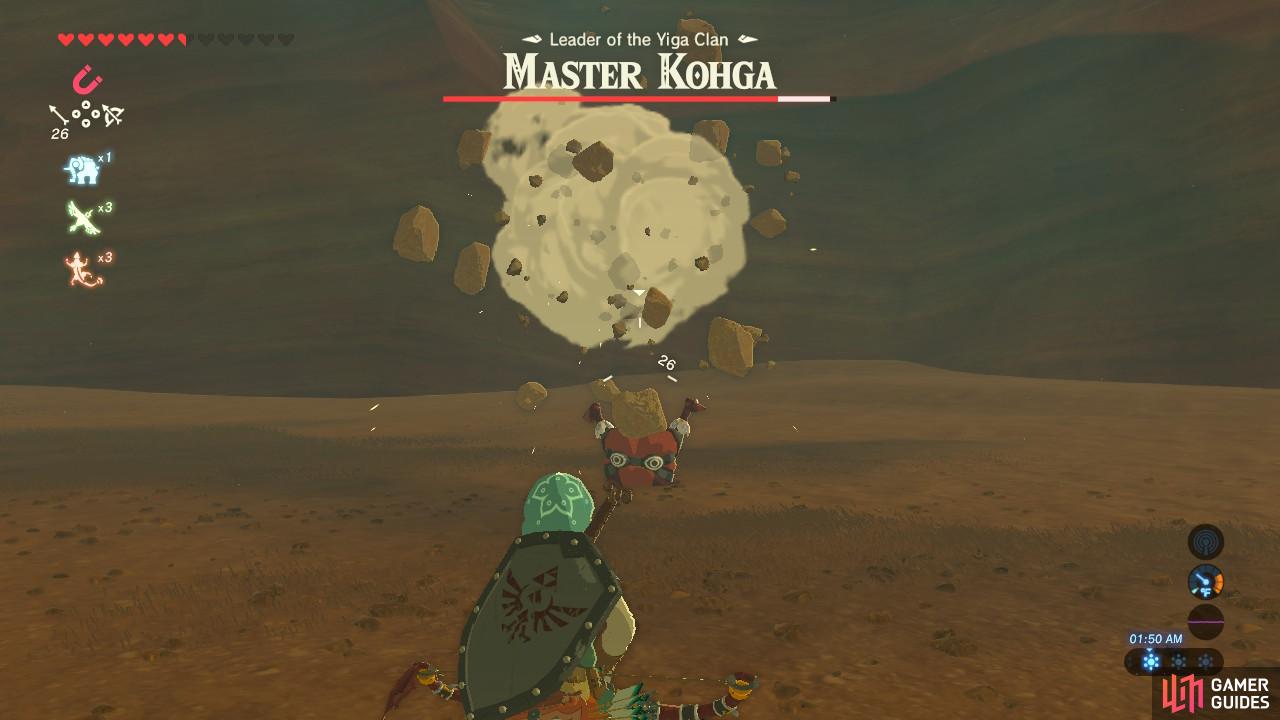
The boulder will deal massive damage
If he throws the boulder it is easy to dodge, but the way you will hit him is by shooting him from afar before he tosses the boulder. The boulder will drop on his head, dealing sizeable damage, and he will land facefirst into the ground, letting you whack his rear before he gets back up.
Phase Two
Once Kogha loses about a third of his health, he will transition into phase two. Kohga will now create two boulders and rotate them around him slowly before throwing them both at you.
Wait until one of the two boulders is directly above his head and then shoot him. Both boulders will again fall, with the top one hitting his head. It will deal a lot of damage and he will fall onto the ground for you to hit.
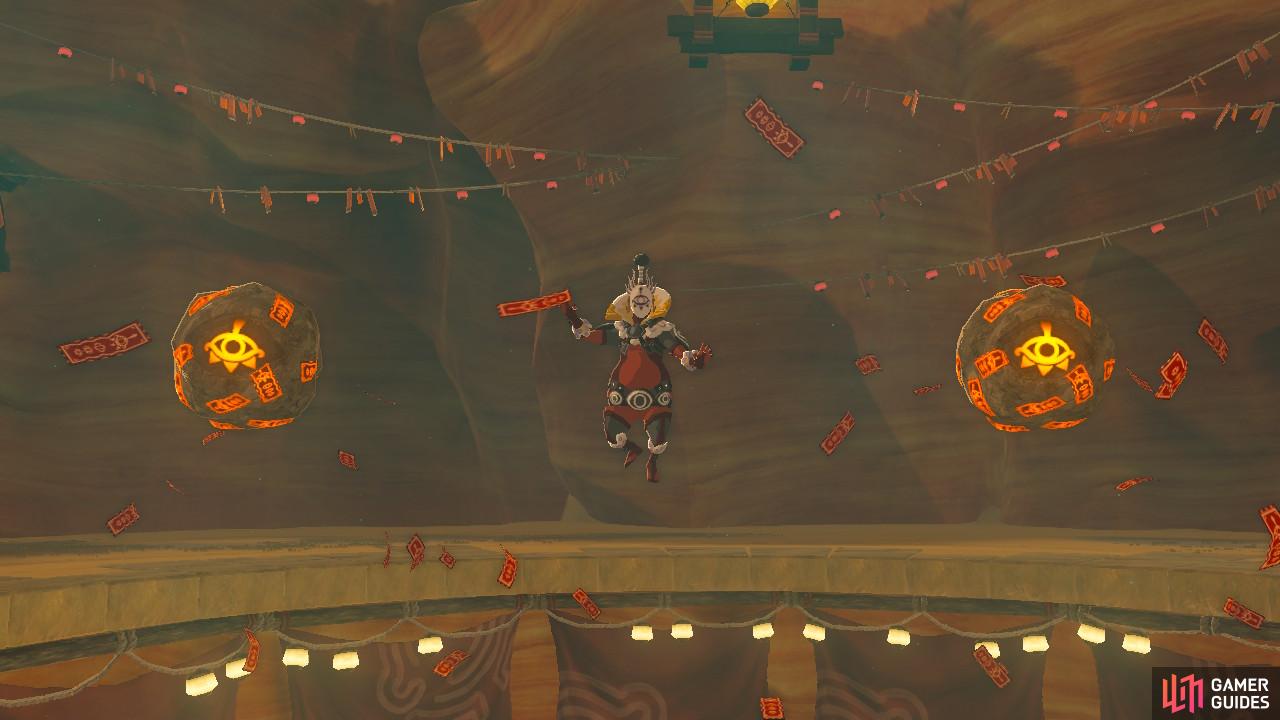
Now there are two boulders, but the fight isn’t much harder
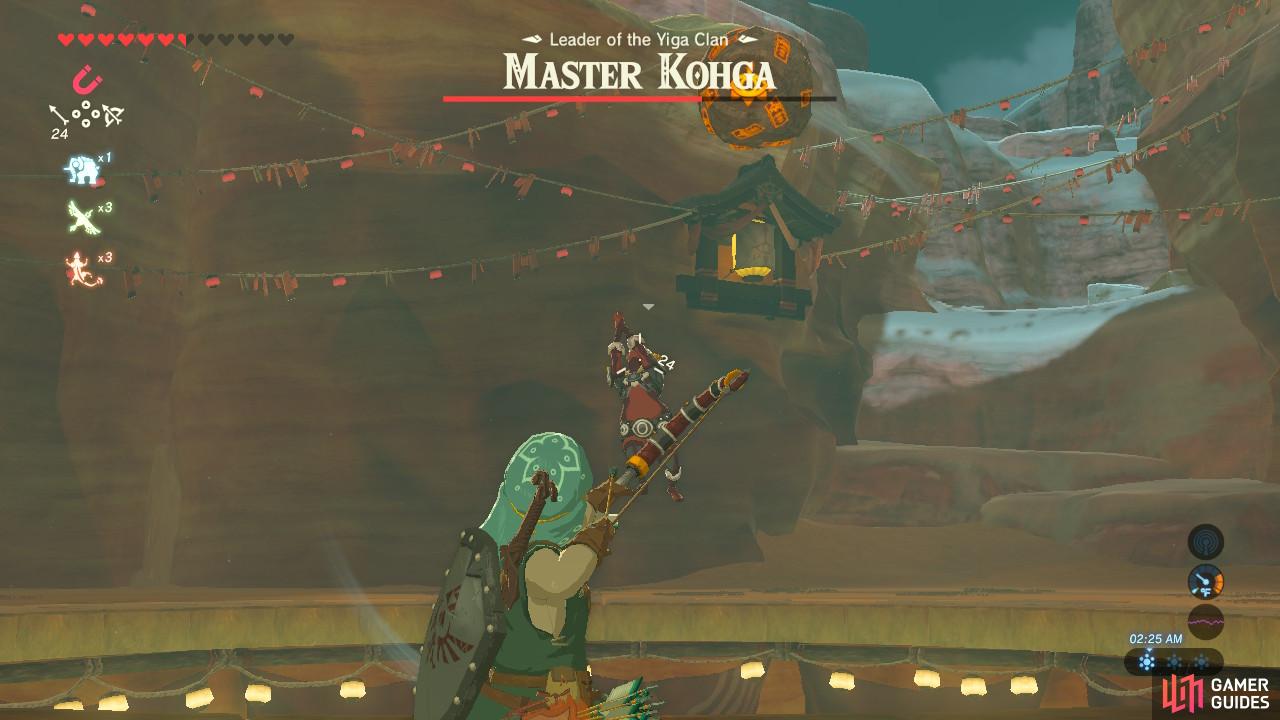
Shoot him at this moment
Phase Three
Once Kohga only has a third of his health left, you will move into the final phase. Kohga will create a huge spiked ball. Use Magnesis to control the ball and whack him with it. You only need to do this a few times and then another cutscene will initiate that ends in Kohga’s defeat.
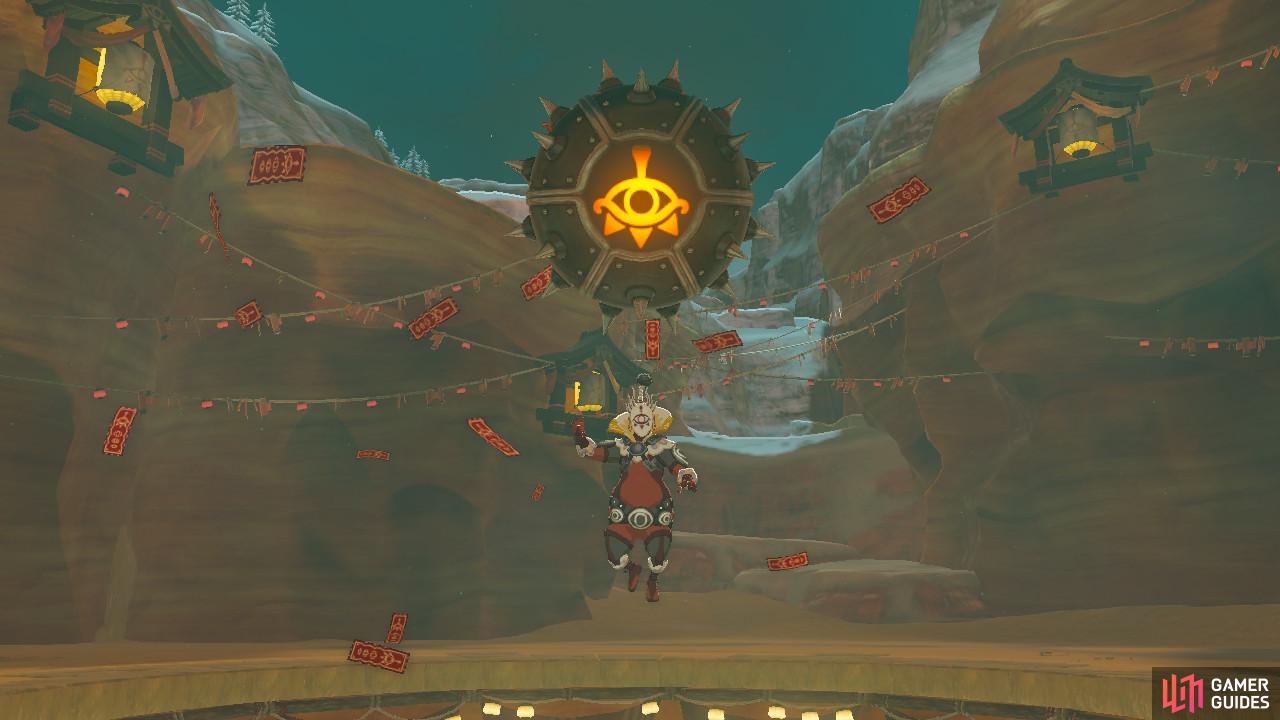
At last we are in the final phase
Take control with Magnesis
Open the treasure chest that Kohga leaves behind for the Thunder Helm that Riju needs.
Riju is now on the second floor of her palace
Seeing this will trigger Link’s memories
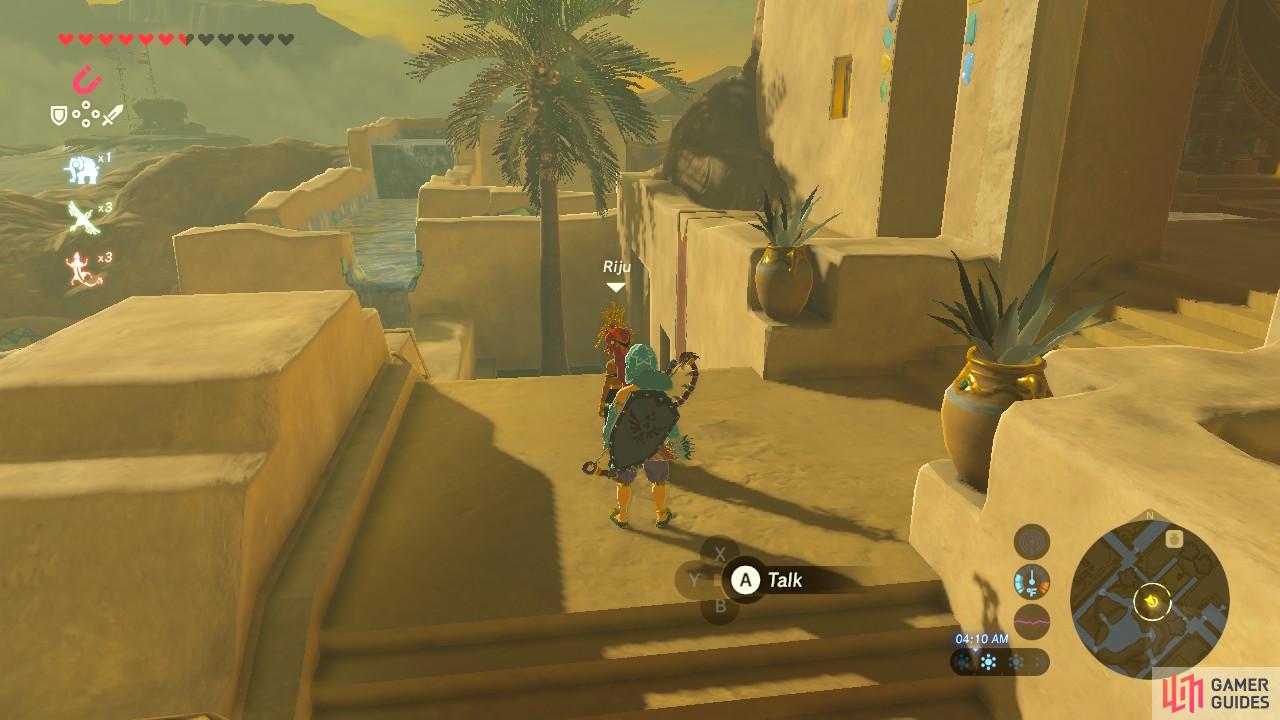
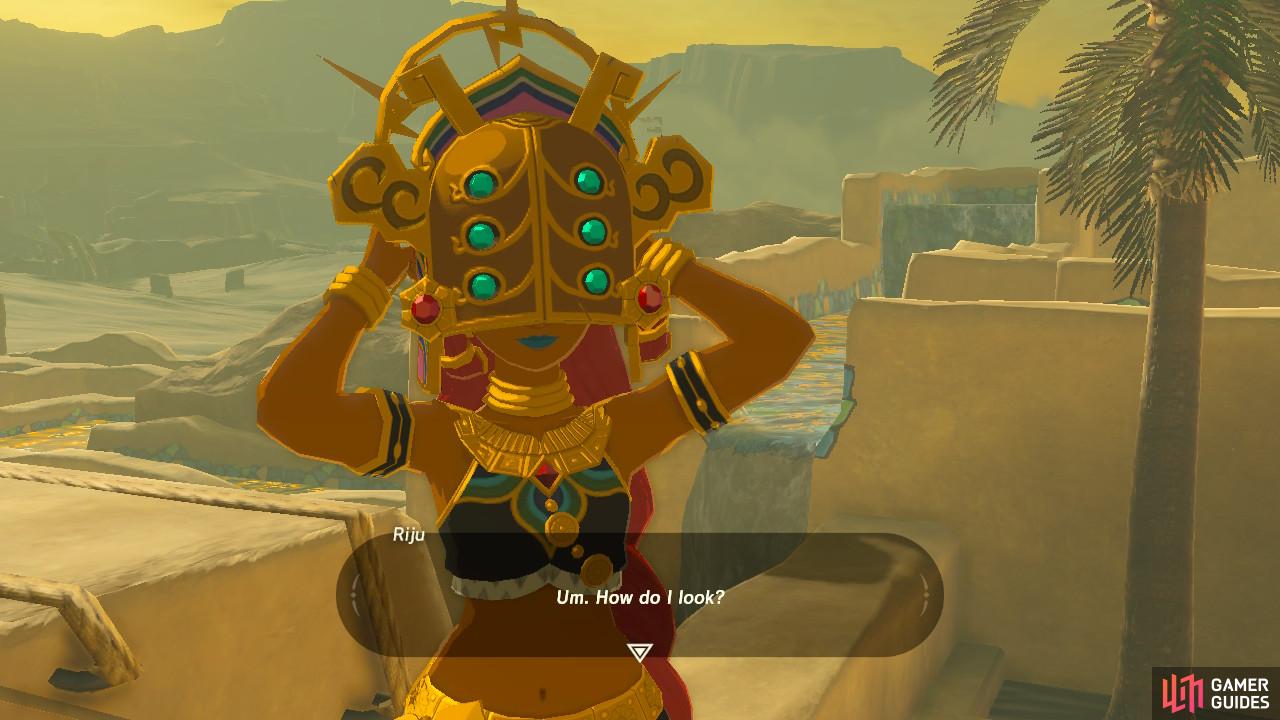
Return to Riju and she will wear the Thunder Helm, triggering a memory of Urbosa. Again, this does not affect Captured Memories. Afterwards, when you are ready, Riju will help you advance to Divine Beast Vah Naboris.
No Comments