
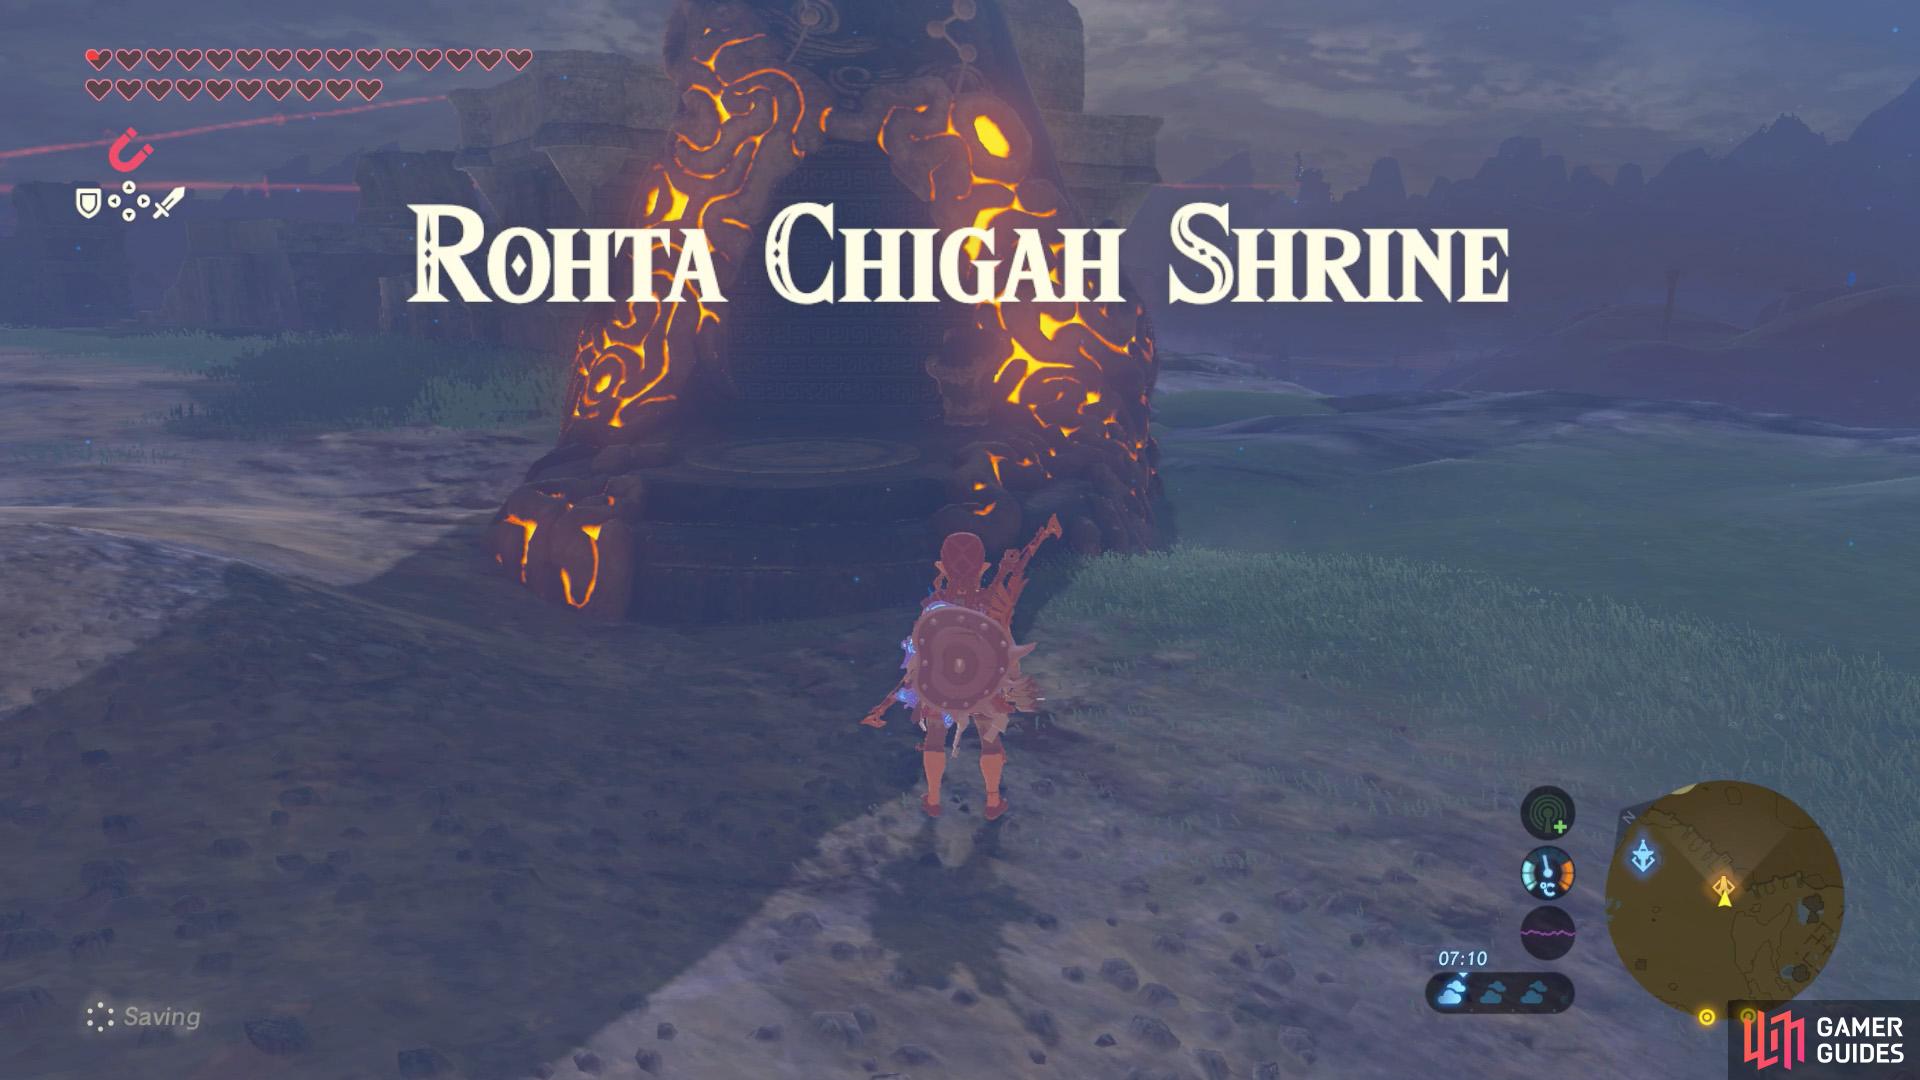
To reveal this shrine, you must eliminate the surrounding Lizalfos.
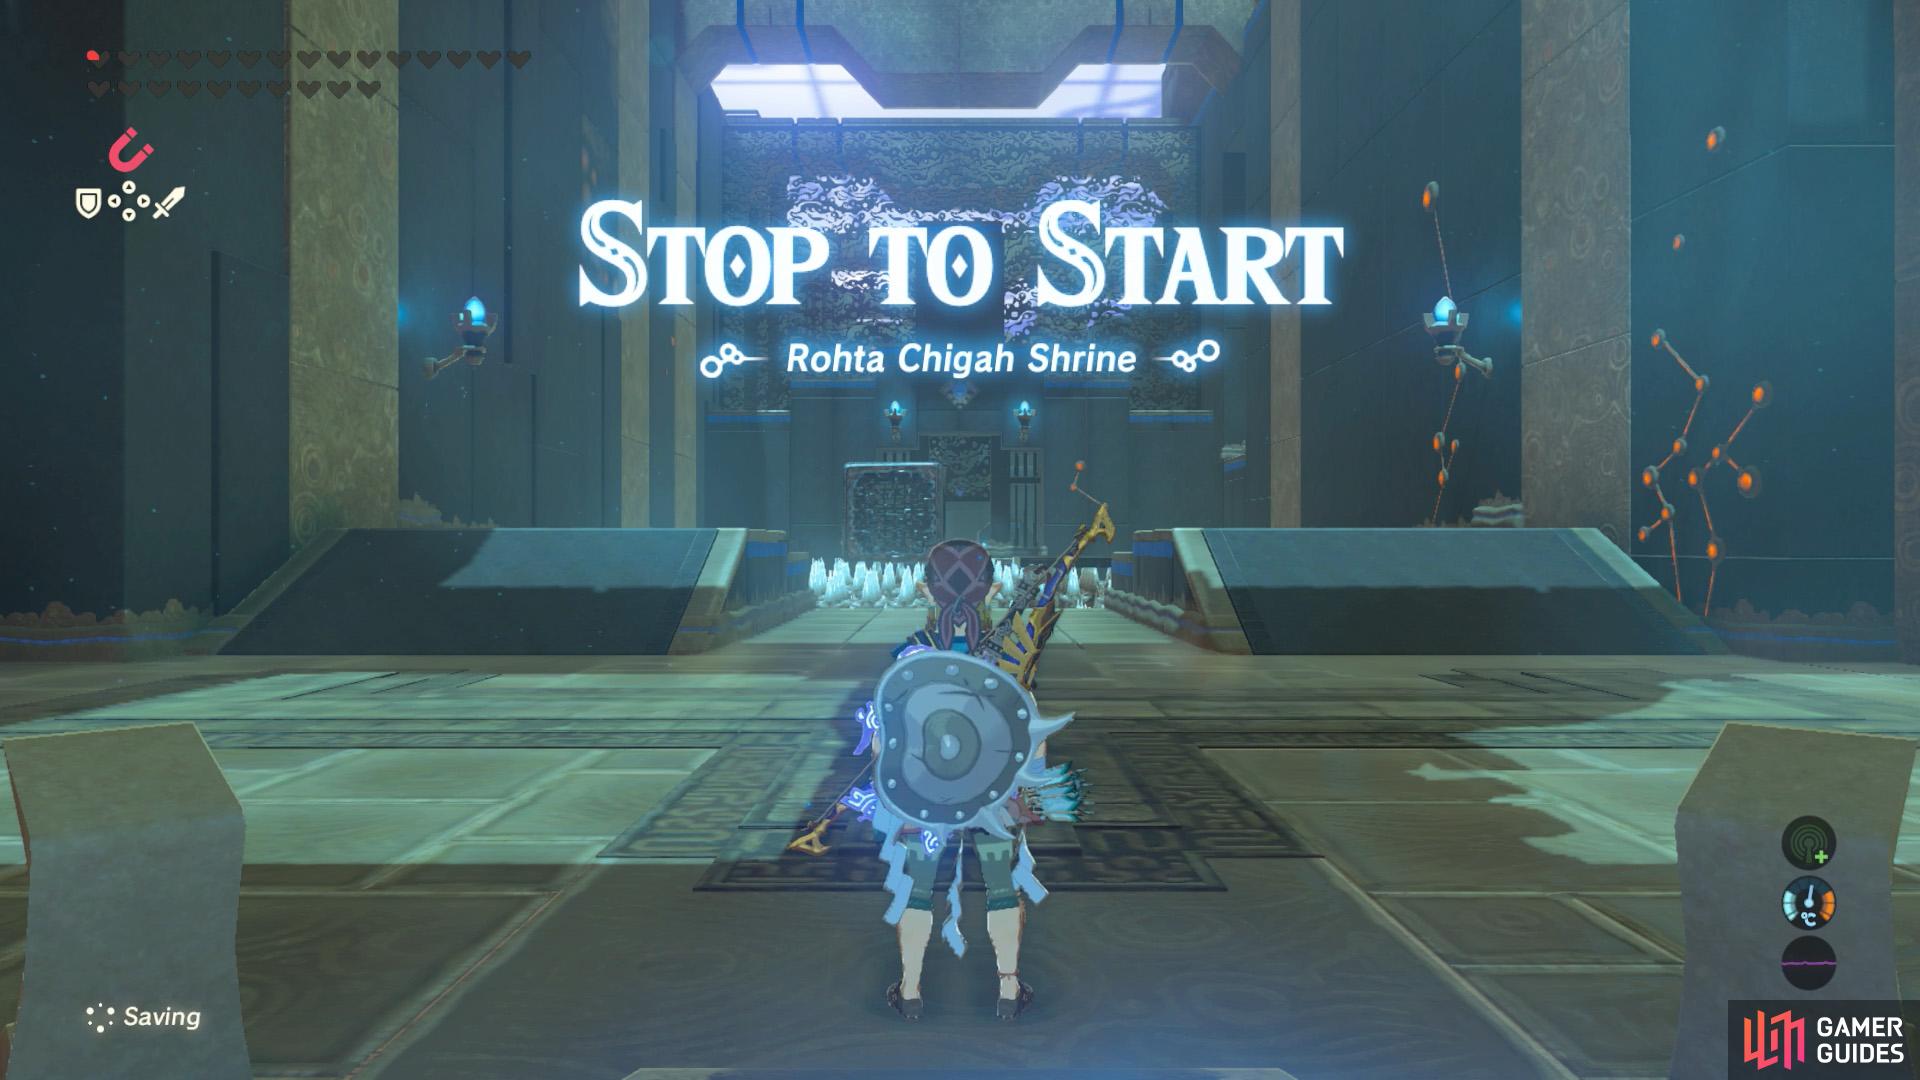
Inside is a fiendish, spike-filled death trap.
Welcome to one of the most infuriating shrines in the game! The shrine is divided into four segments, all involving spikes of some kind. Since you’re carrying the One-Hit Obliterating, touching a single spike means death.
The first section has a spike floor with various metal objects that you can use to build a bridge. The spikes on the floor will protrude and retract, causing whatever is on top to bounce a bit. This section isn’t too hard if you’re careful and patient.
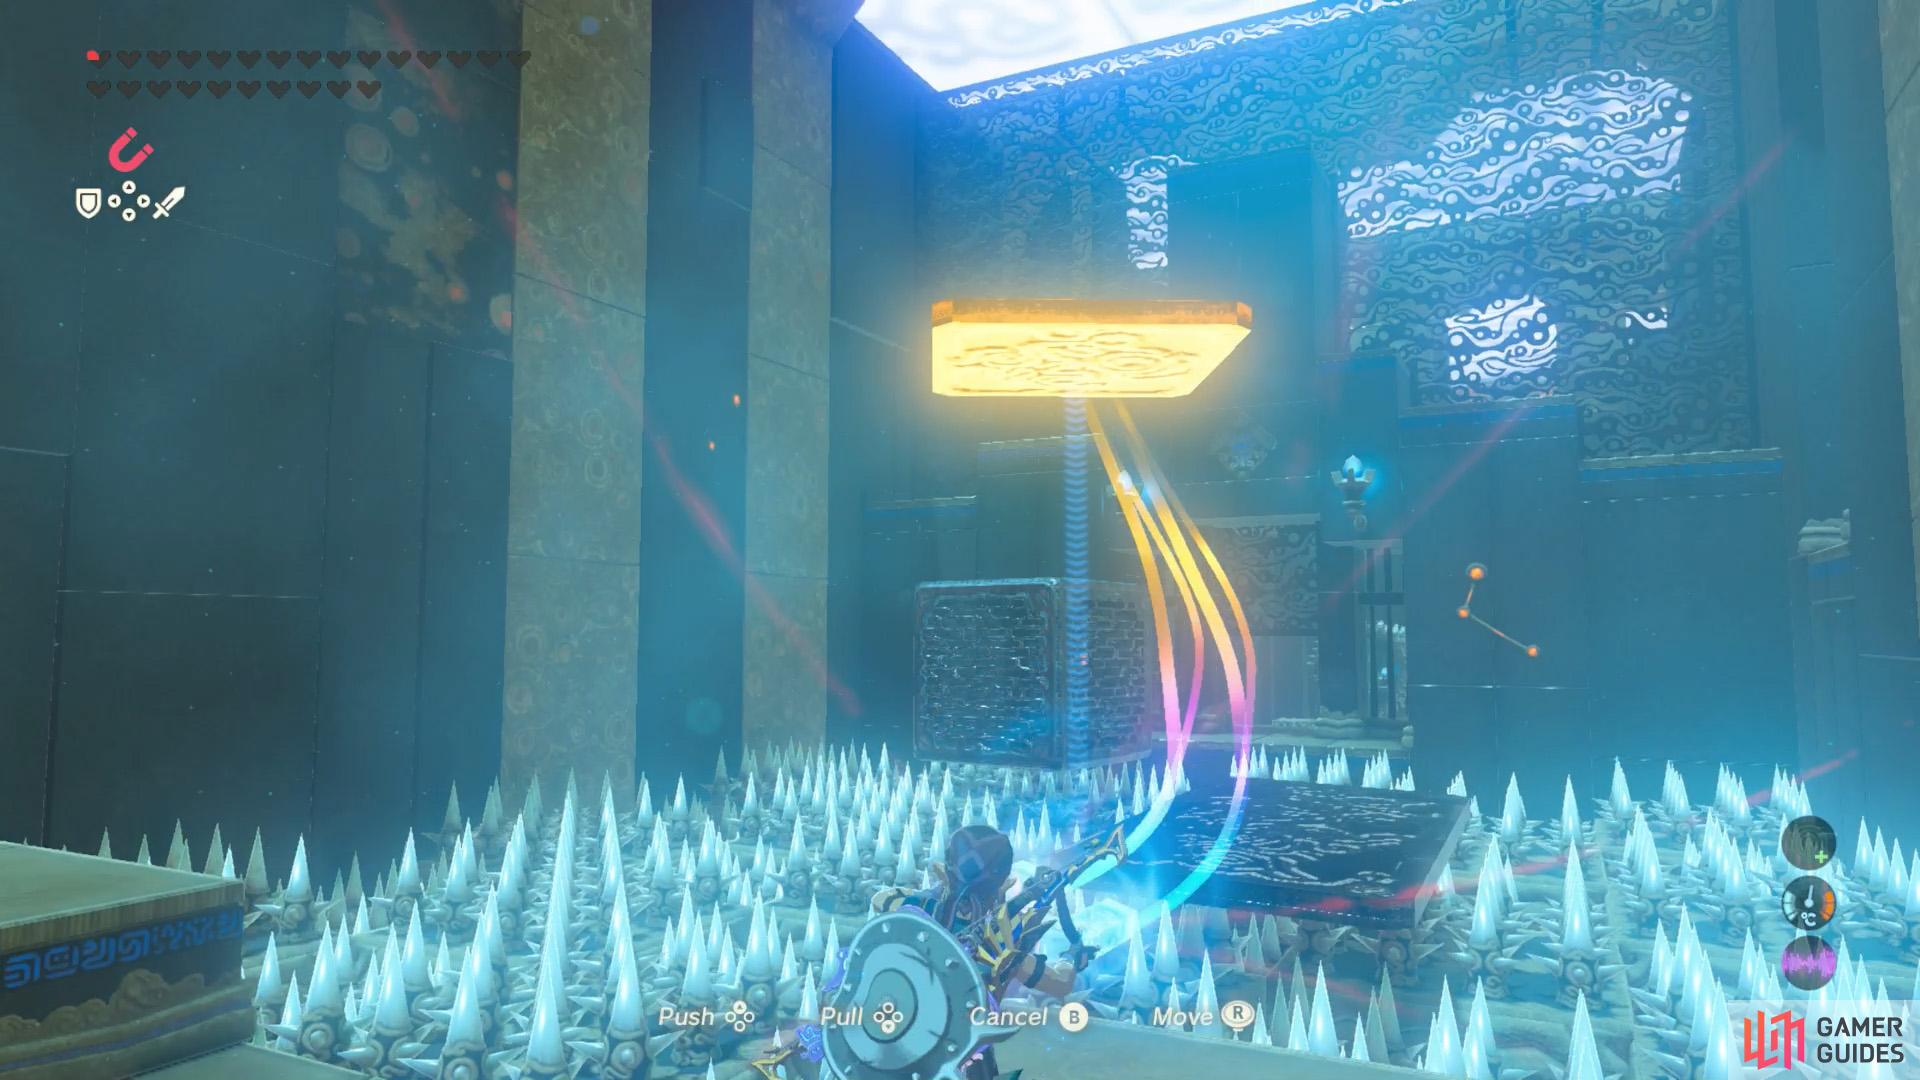
To begin with, use Magnesis to grab the small square on the left side and place it so it’s between the solid floor and the long rectangle up ahead. Go across to the long rectangle, then turn around and pick up the small square again, but this time place it in front of the rectangle.
Next, use Magnesis on the metal cube. On the right, there’s a treasure chest inside an alcove, containing a Forest Dweller’s Shield. If you intend to grab it, position the metal cube to the right. Then climb on top of the cube to reach it. Otherwise, place the metal cube towards the left so you can reach the other side.
Use Stasis to freeze the second rotating gear.
For an easier time, you could also wait and Stasis the first horizontal belt.
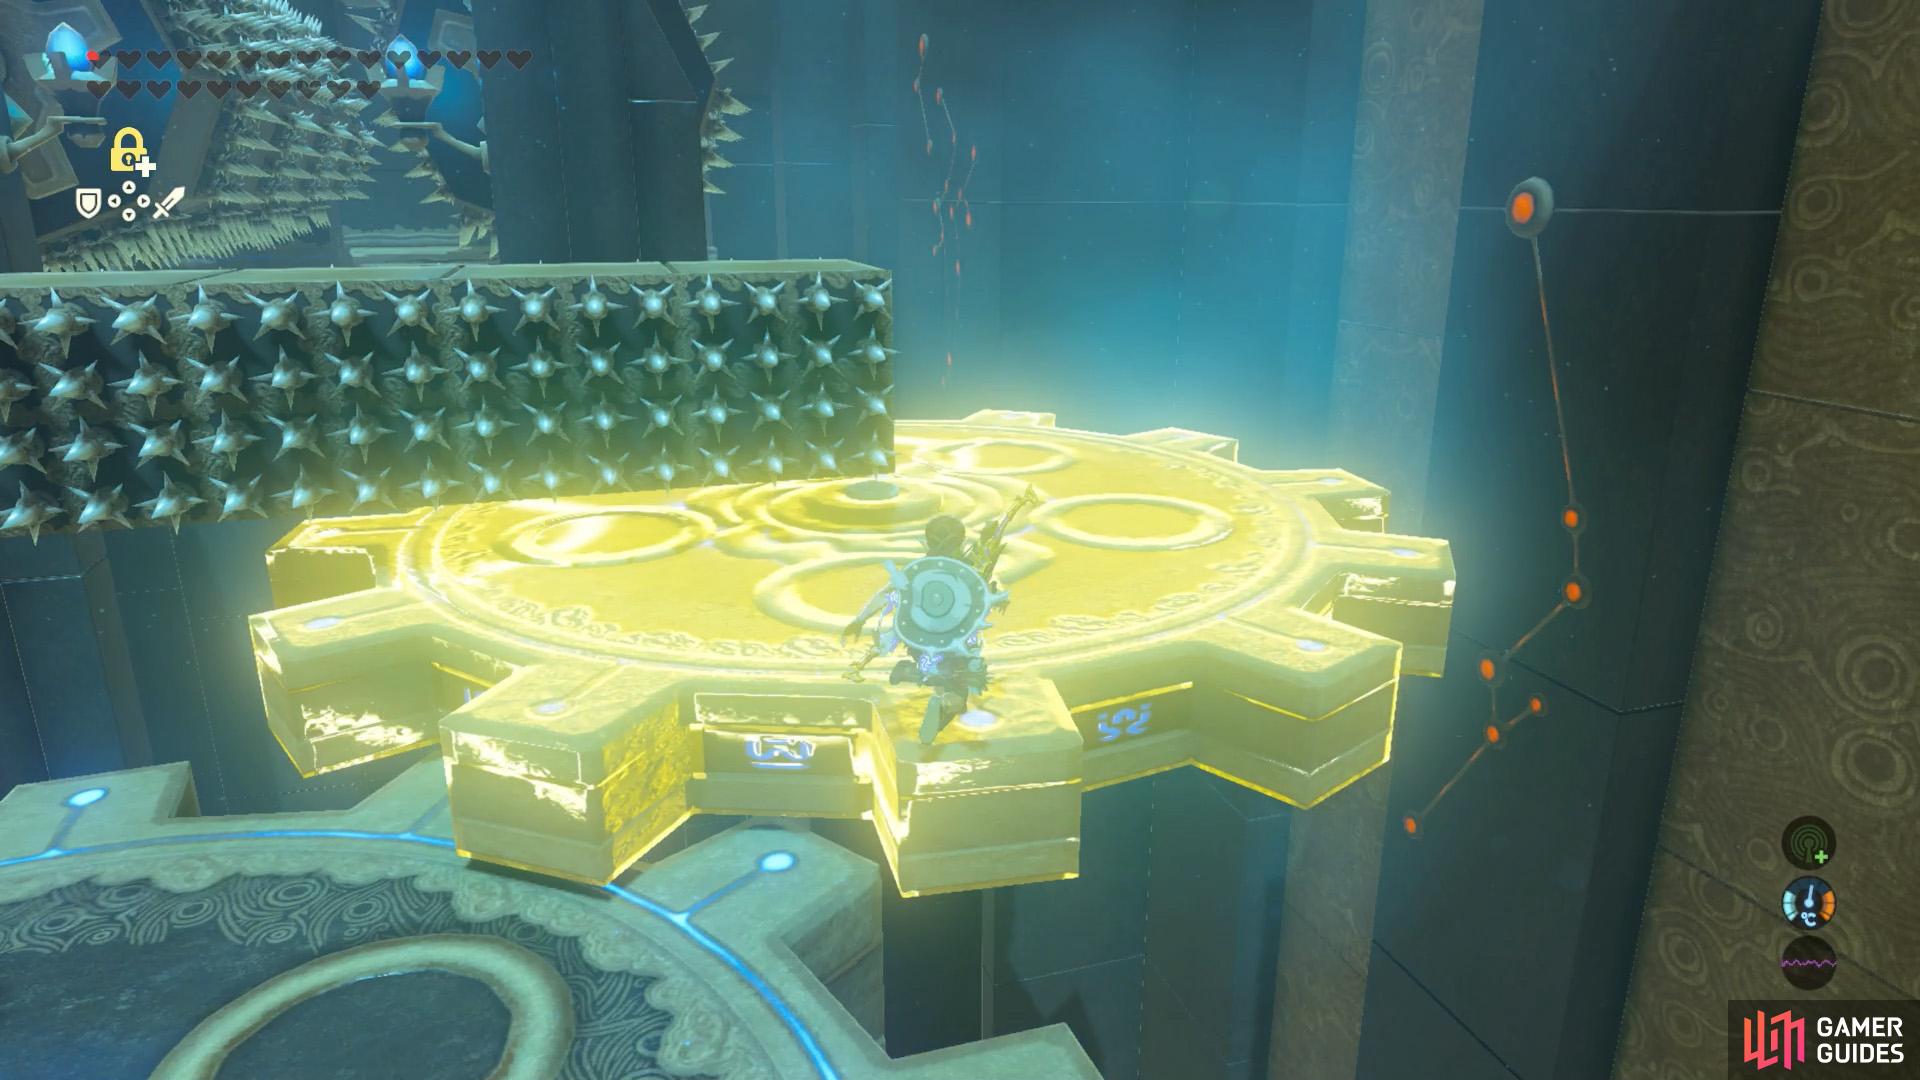
The second part has two rotating circular gears at the start, followed by a vertical conveyor belt that leads to two horizontal conveyor belt strips sandwiched by spike rollers. Approach the first circular gear and use Stasis on the second circular gear. Then hop on the two gears and go around to the conveyor belt.
When you reach the vertical conveyor belt, we suggest waiting for Stasis to recover, then use Stasis on the first horizontal belt, before dashing forward. Otherwise, it’s all too easy to swerve into the spike rollers. If you crouch-walk, your movement speed will be exactly enough to stay in place.
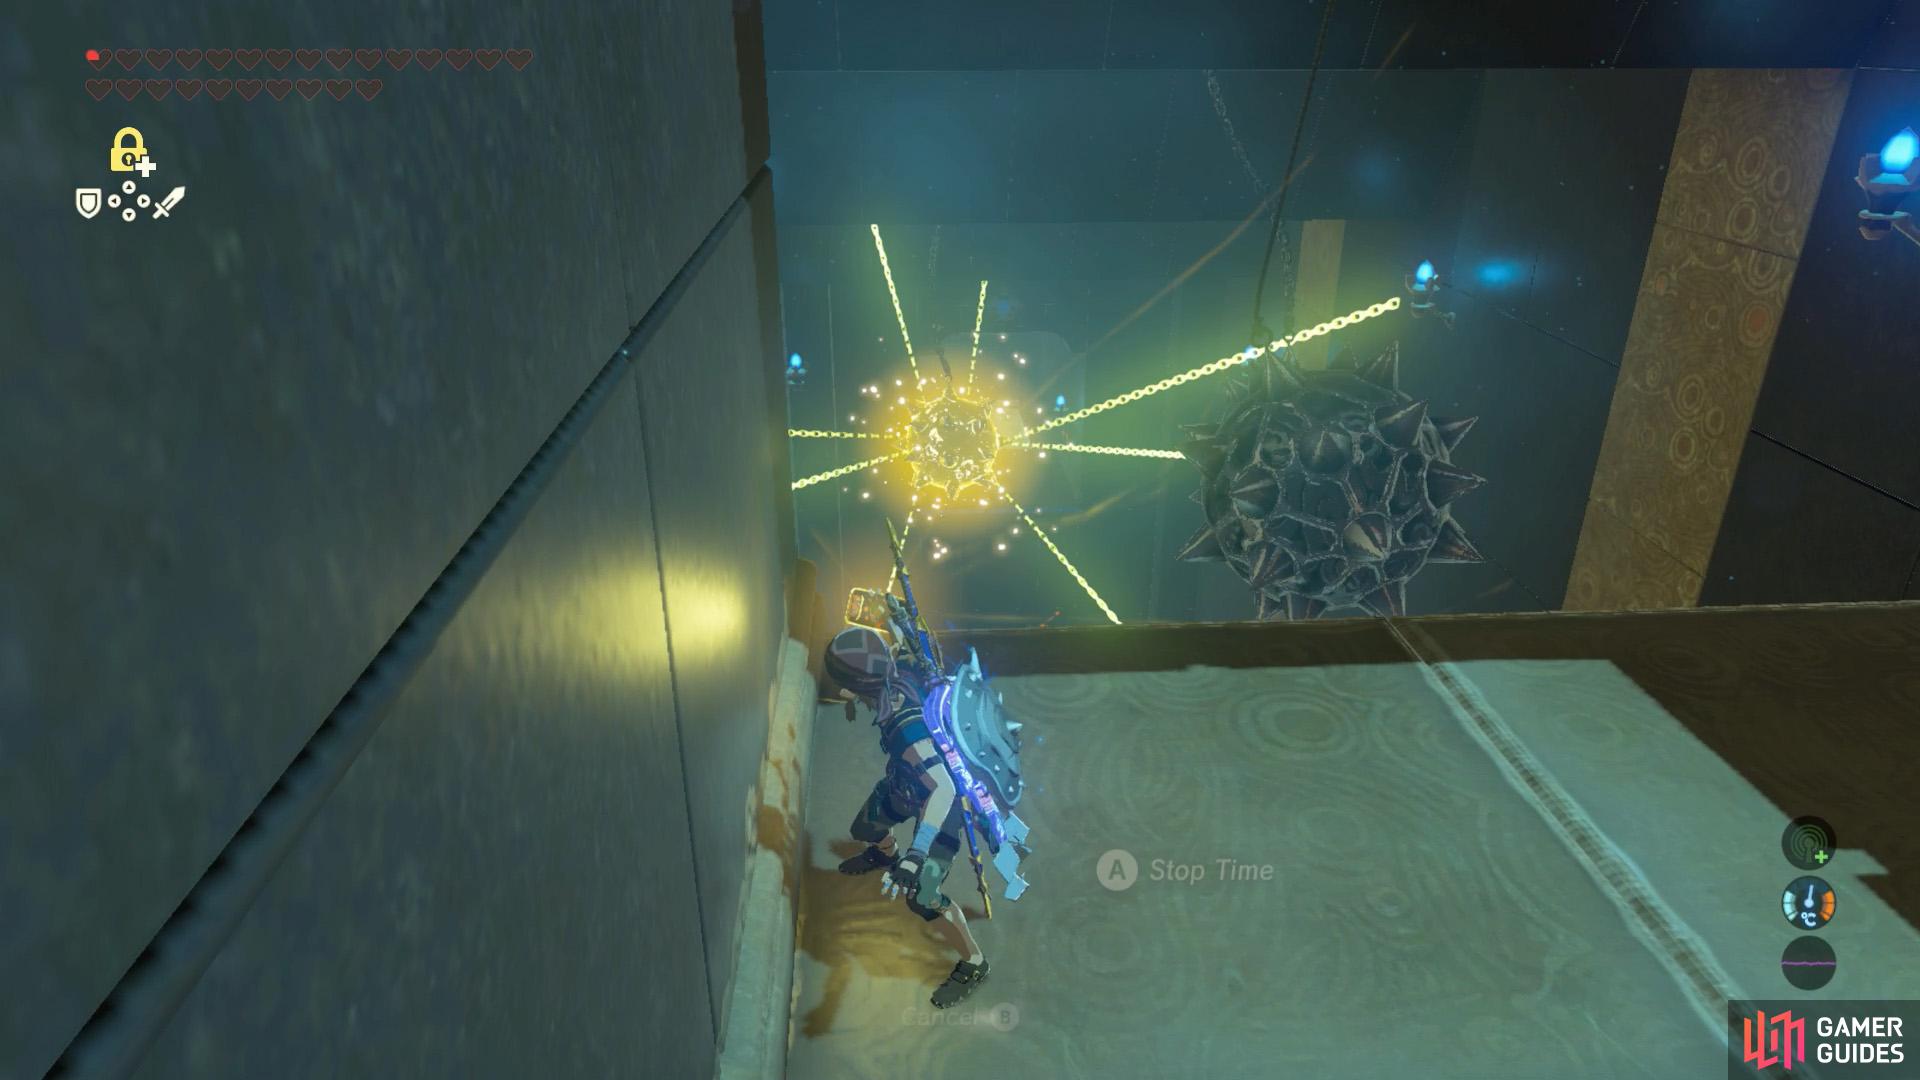
Stasis the third swinging ball.
Then move to the opposite end and glide down.
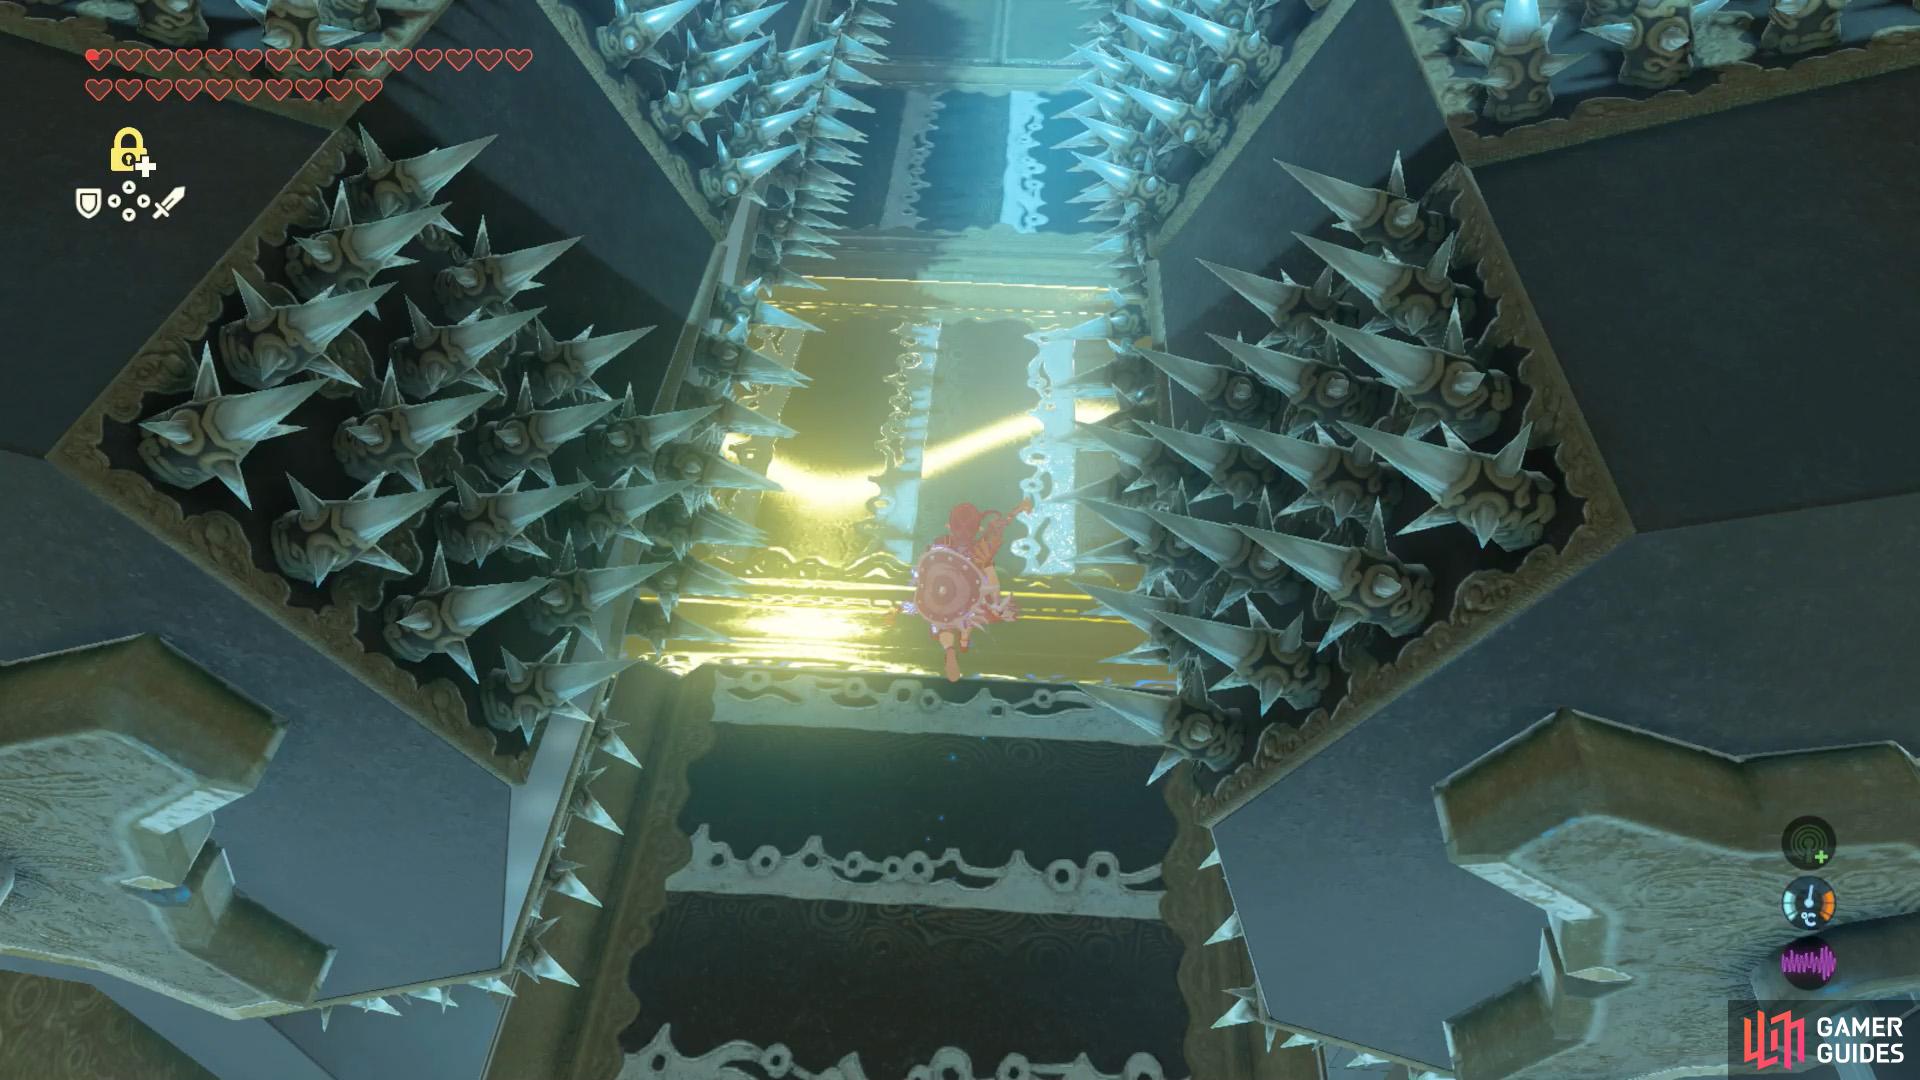
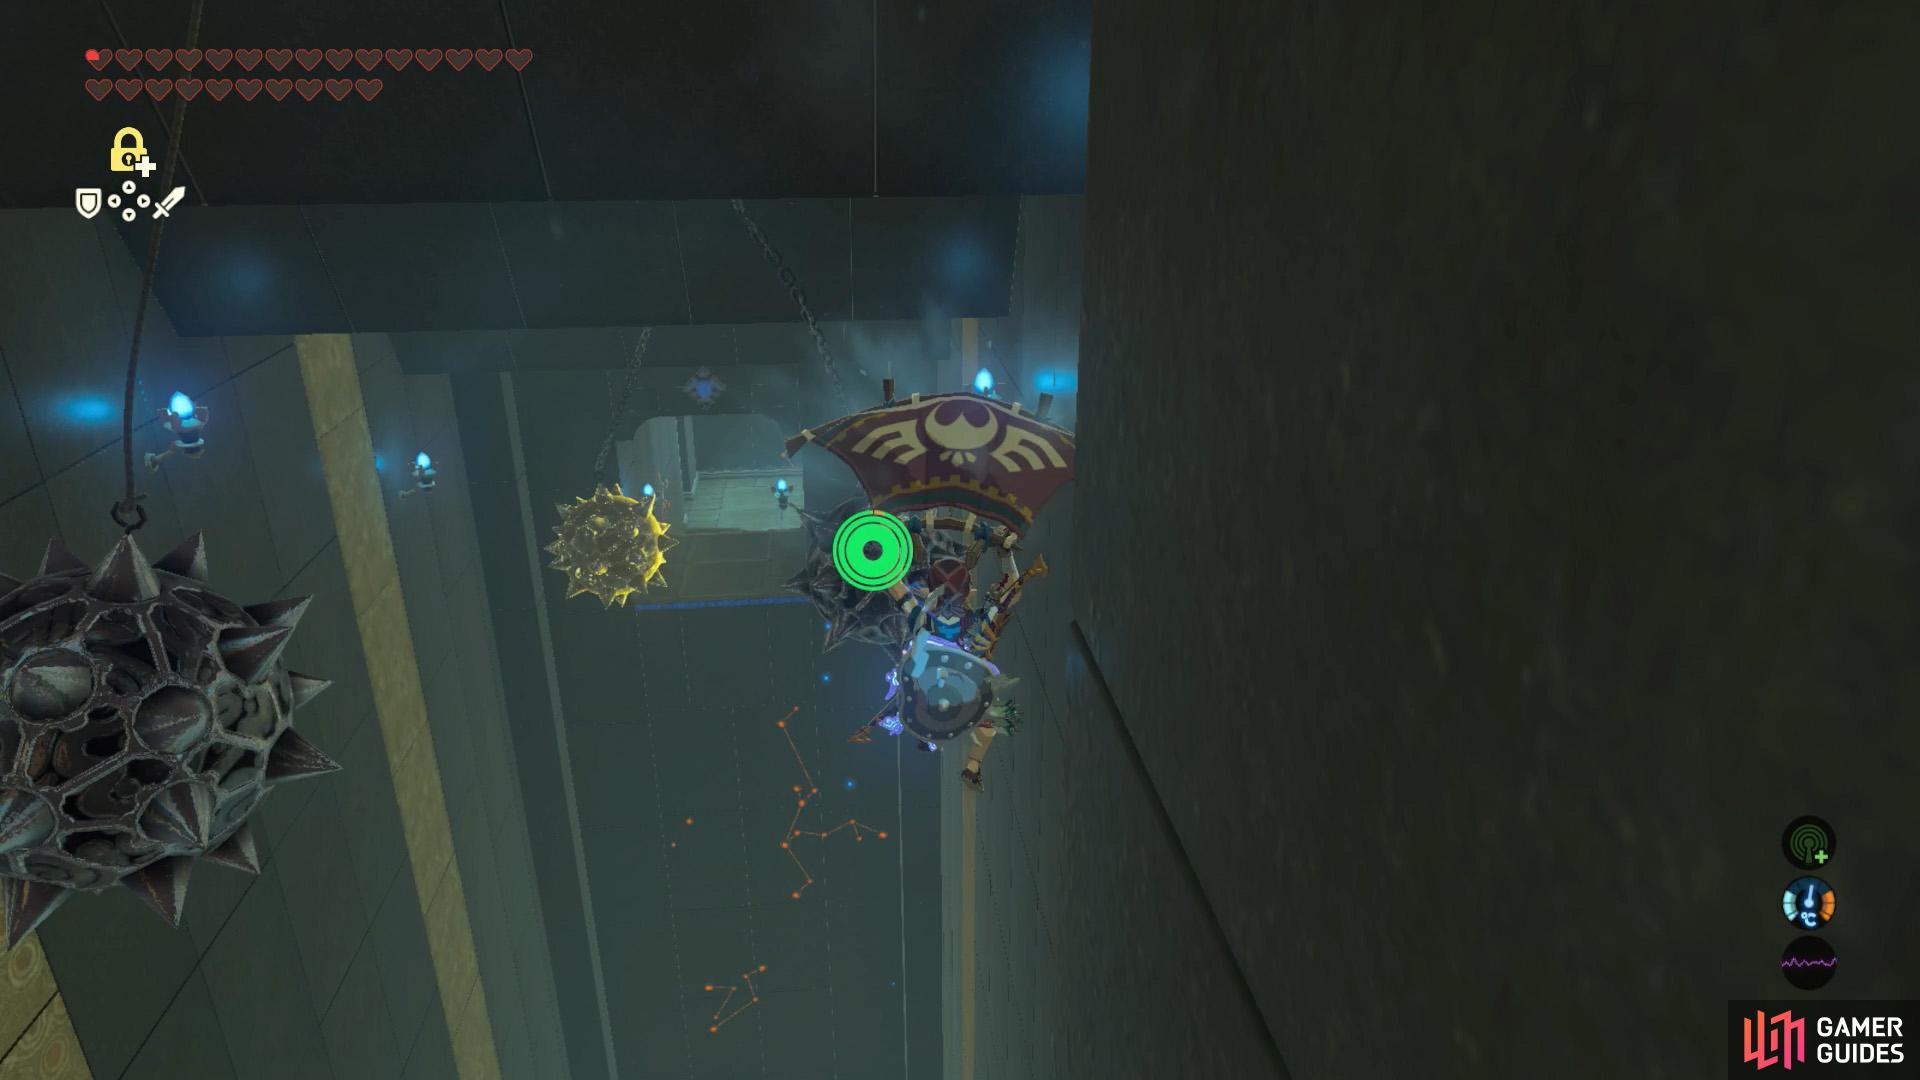
The third part can be somewhat tricky. There are three spike balls swinging to and fro. You need to glide straight down with minimal turning to reach the other side. If you look carefully, the second and third spike balls are swinging more or less in sync. So you’re bound to get hit by one or the other.
We suggest using Stasis on the last ball, then gliding down from the opposite end. You want to begin gliding when the first ball is on the opposite end of your current position, while the second ball is directly in front you. So when you glide forward, the second ball will have moved away.
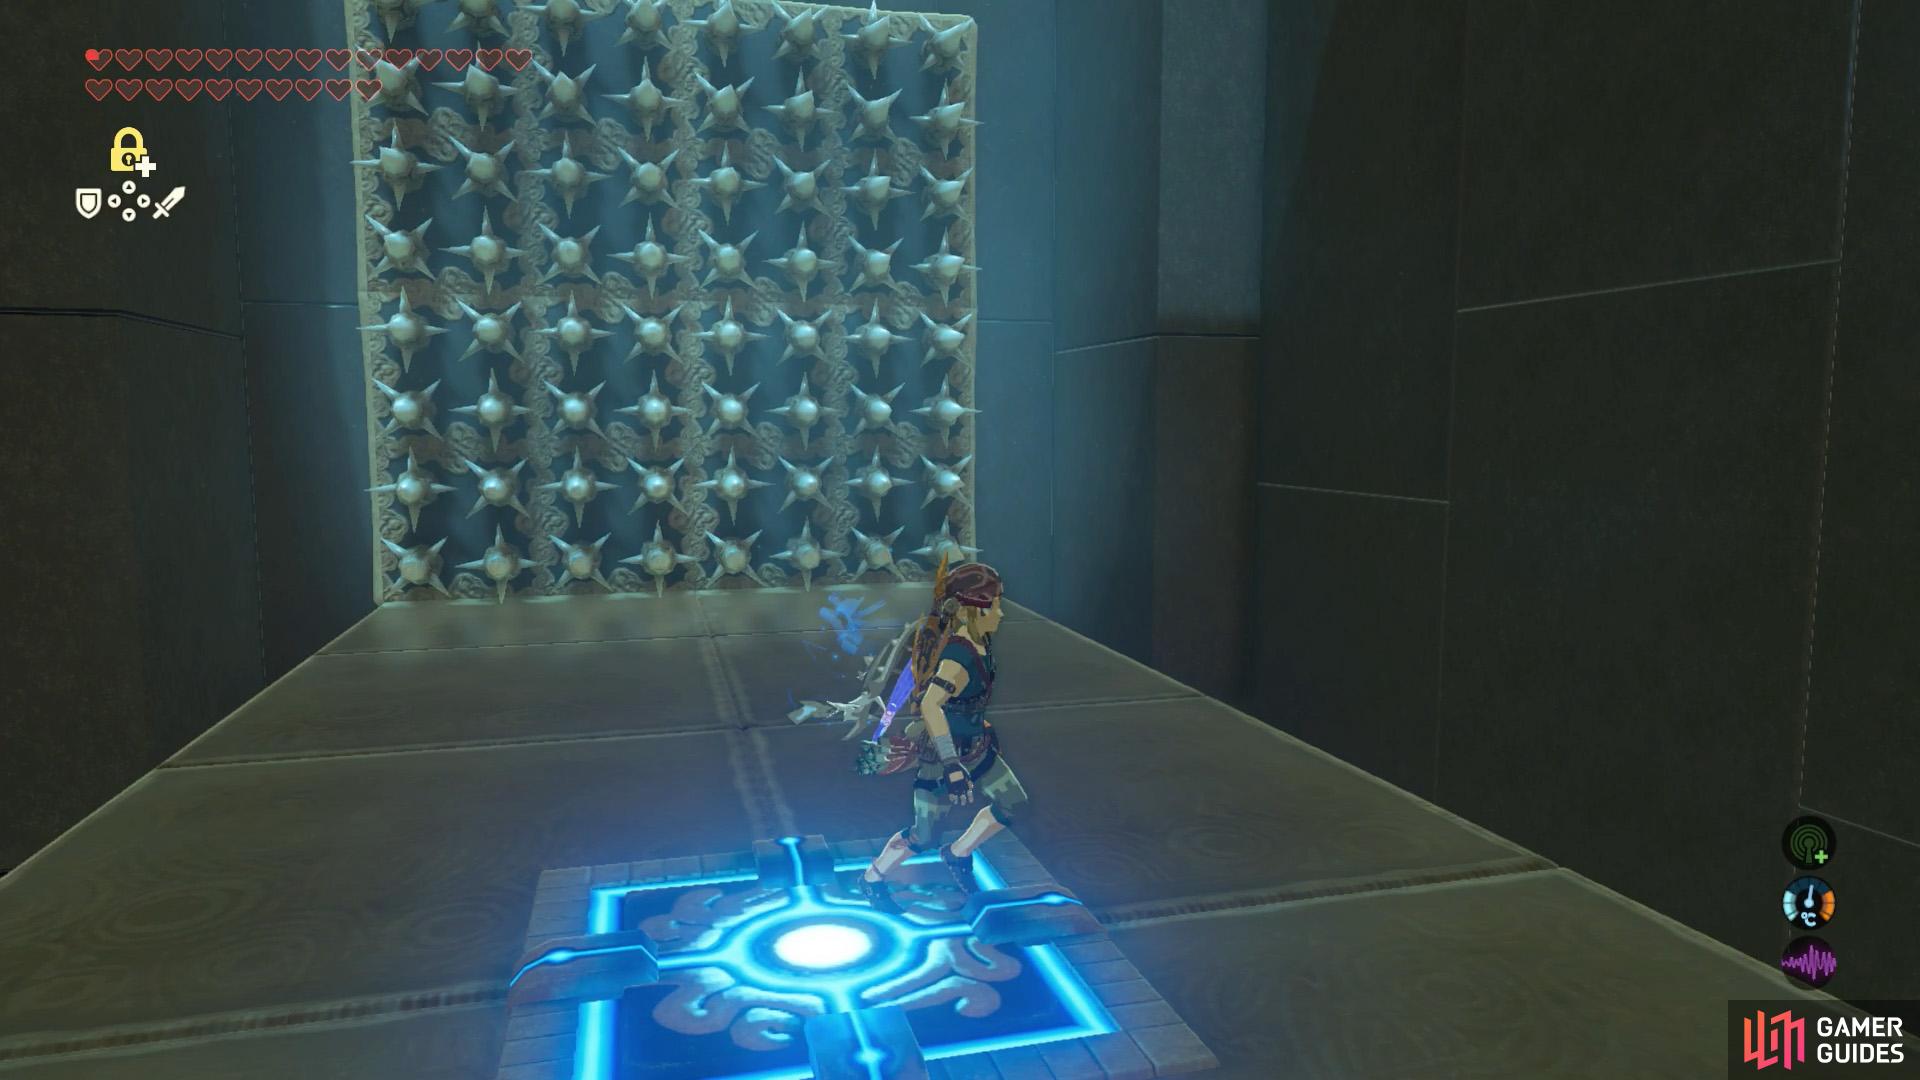
The fourth part can be scary, but it’s actually quite lenient. The most important thing is to not panic, or you might accidentally scratch yourself on a spike or fall off. When you step on the button, the gates ahead will open, but a spike wall will appear behind and chase you. As you move forward, spike pillars will appear to impede you.
First, a spike pillar will come from the right. Carefully move past along the left. Next, a spike pillar will come from the left and another from above, towards the right. Again, move past along the left. Afterwards, another spike pillar will come from the right. Climb over the stone cube along the left.
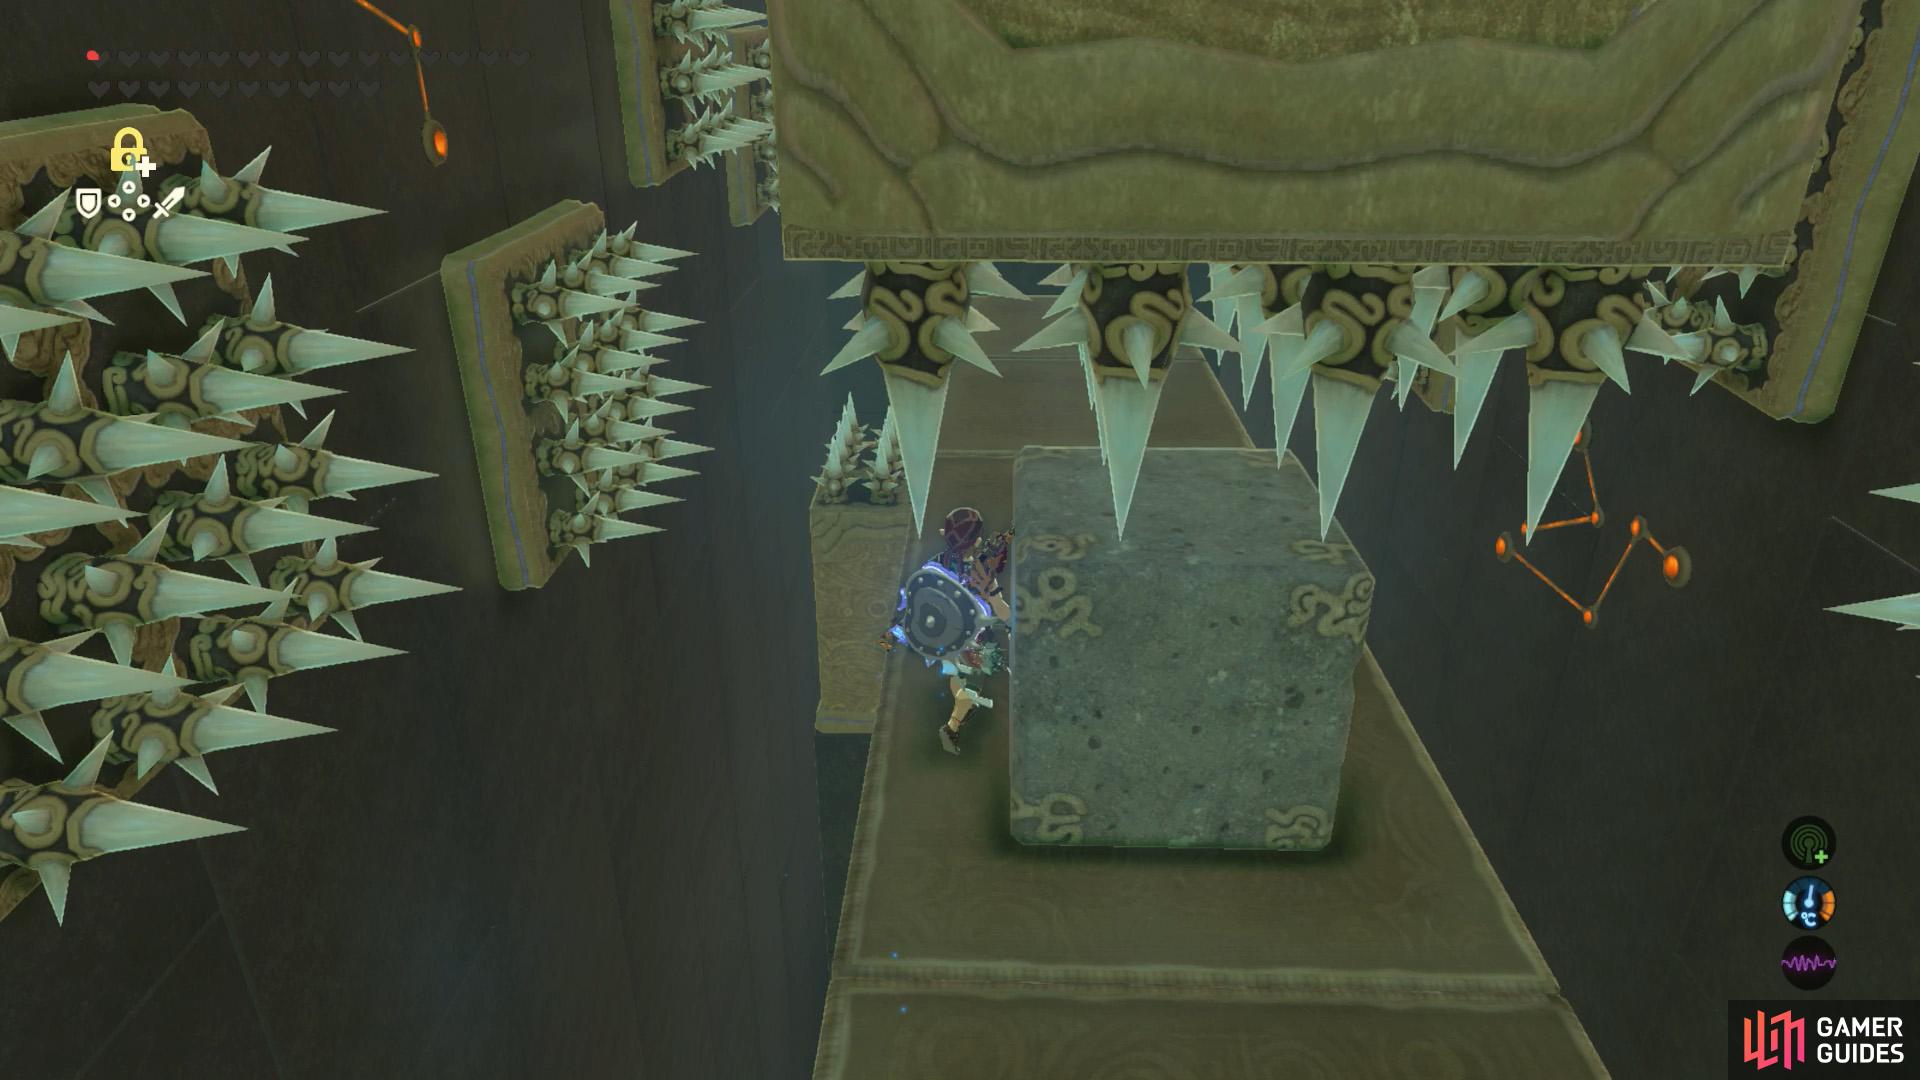
Still alive? As you approach the stone cube in the center of the path, two stone pillars will sandwich the cube. Wait a bit; don’t climb over the cube. After a short while, the two stone pillars will move away and a third stone pillar will slam down on the cube. Carefully walk around the stone cube.
Finally, four stone pillars will move in just before the exit. One will come from the right, another from below, towards the left, then two more at the back, from both sides. Climb on the first stone pillar and then glide slightly left, back towards the center of the path. Afterwards, you can have a “friendly” chat with the monk.
Outside
If this is your second completed shrine, Kass will be standing nearby. Speak to him and you can hear a new song he’s discovered, related to your current quest (what a coincidence). The most important point is the existence of a fifth divine beast…
No Comments