
This page offers a walkthrough on the Locked Mementos quest and how to find Hateno Ancient Tech Lab and complete the blue lantern request.
Welcome to the lab!
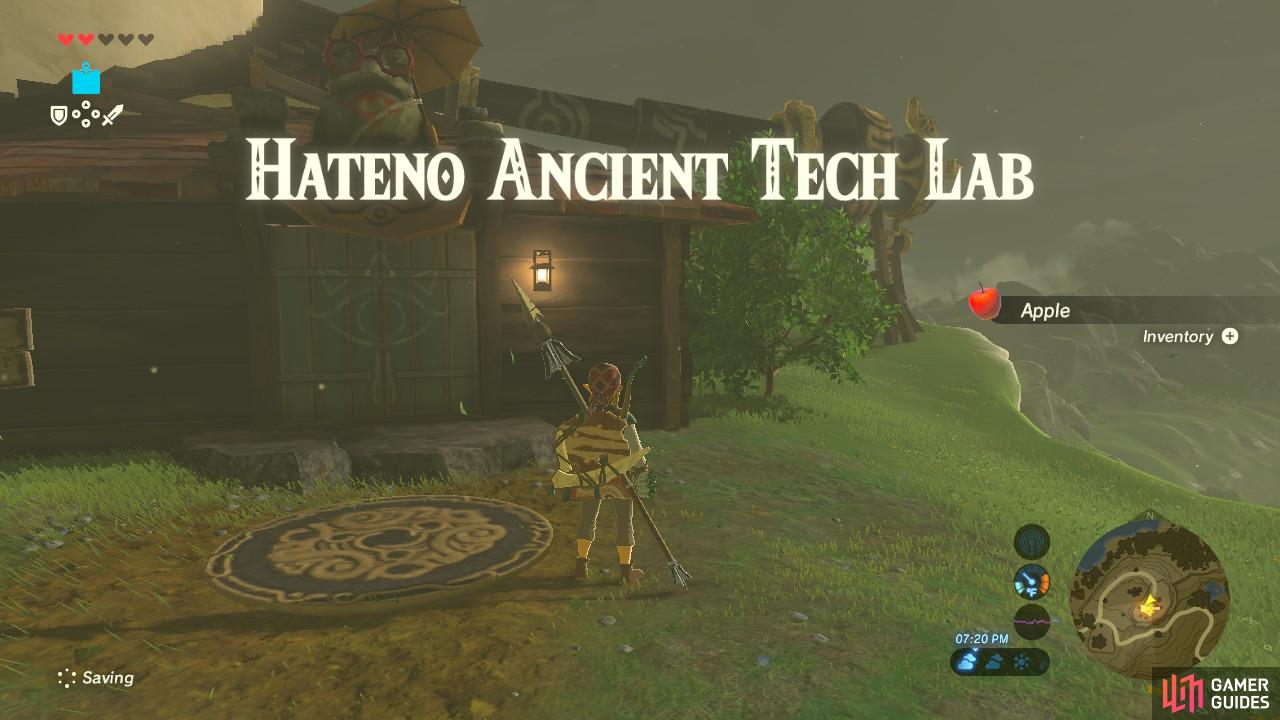
The Hateno Ancient Tech Lab that we are looking for is outside of the village, and you will find a long, winding path that takes you to a cape overlooking the Hateno Beach. The building at the very top of the cape is the lab. The path is marked by a bunch of curious lanterns so just follow them.
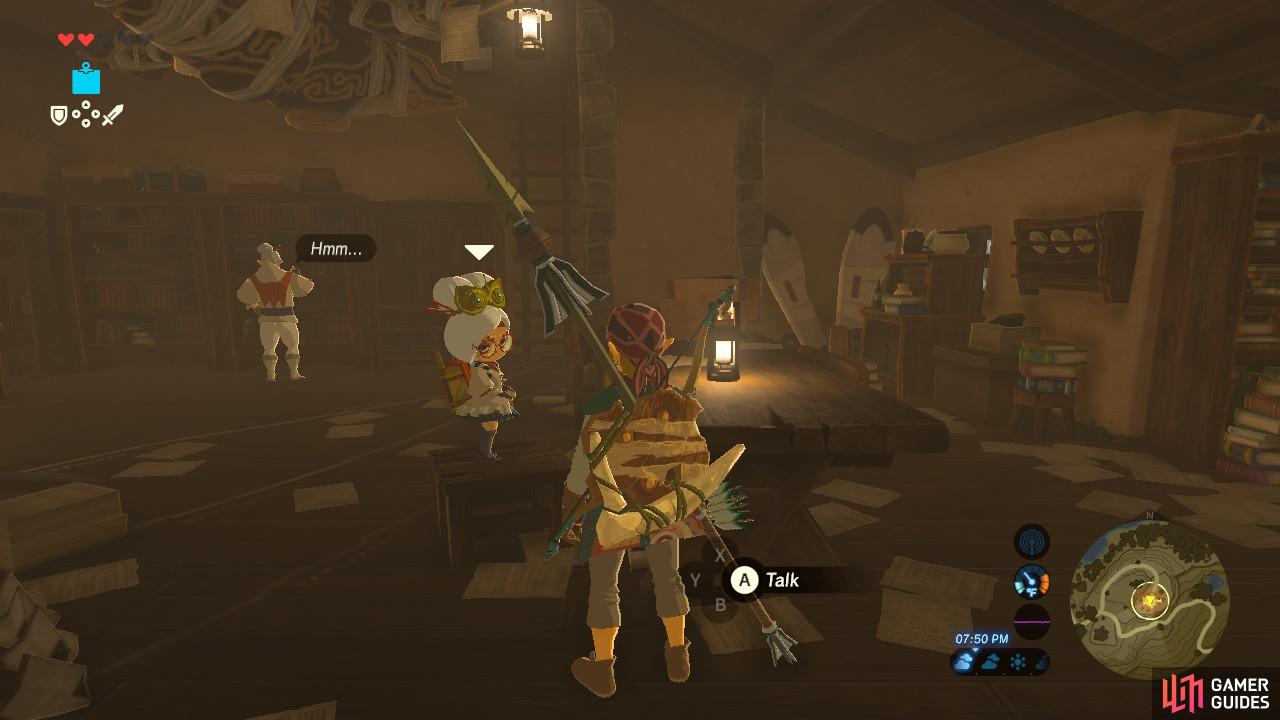
Purah is the little girl standing on a chair
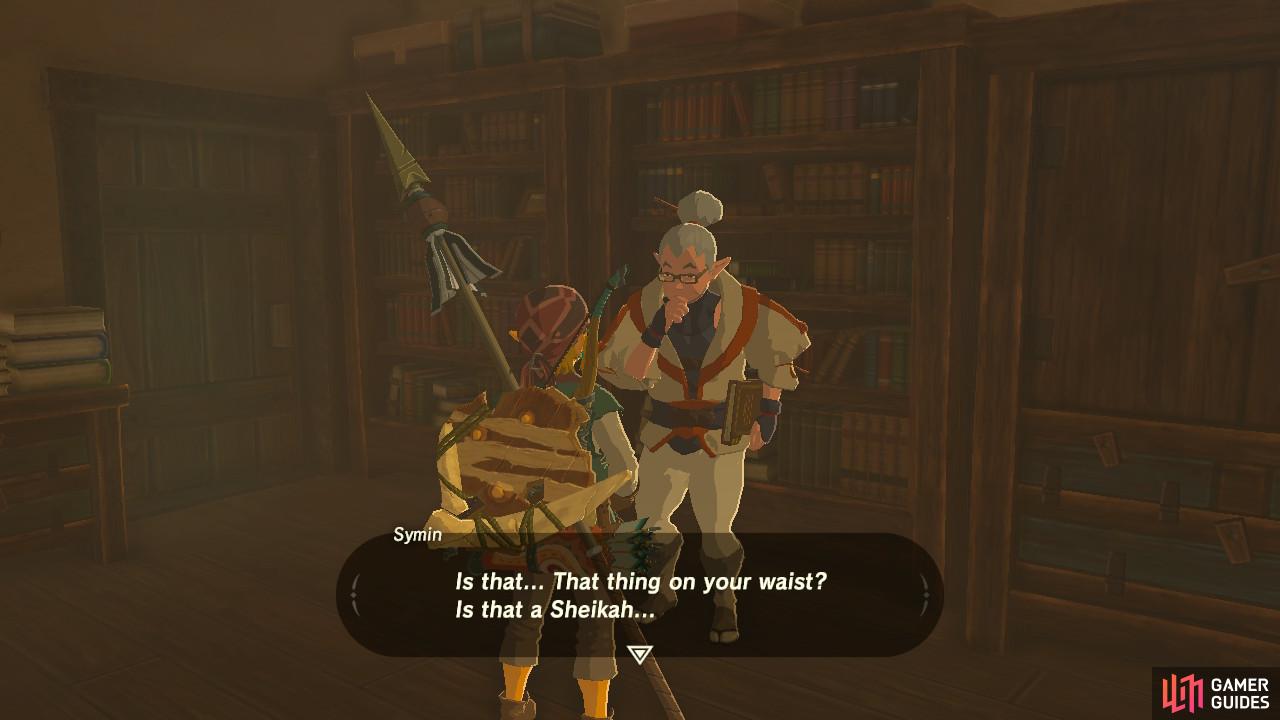
Symin is perusing the books in the back of the room.
Enter and talk to the small girl standing in the middle of the room. Her name is Purah and she will tell you to go talk to the director. Go talk to Symin at the bookshelf. He will look at your runes and also tell you that actually, Purah is the director. She is just very brusque with visitors. Go back and speak to Purah again. She will help you fix your Sheikah Slate but only if you help her with the blue flame furnace.
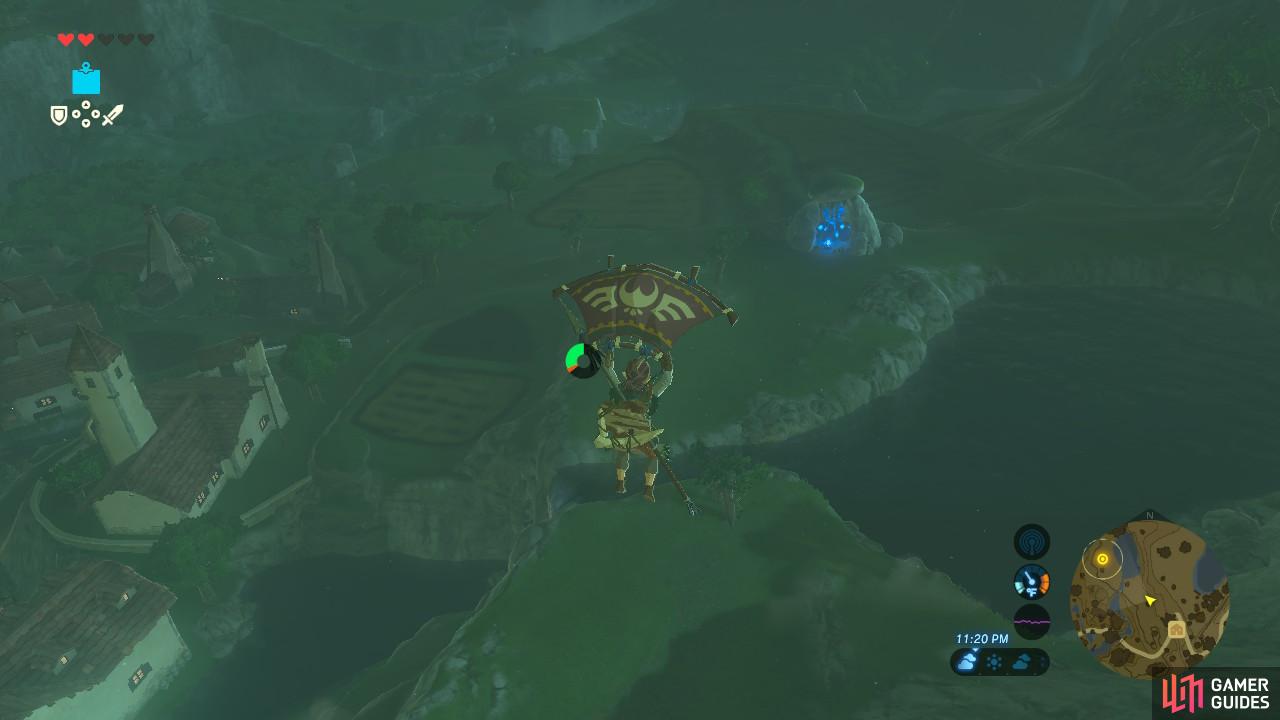
The fastest way to get to the blue furnace is to jump off the cape and Paraglide down.
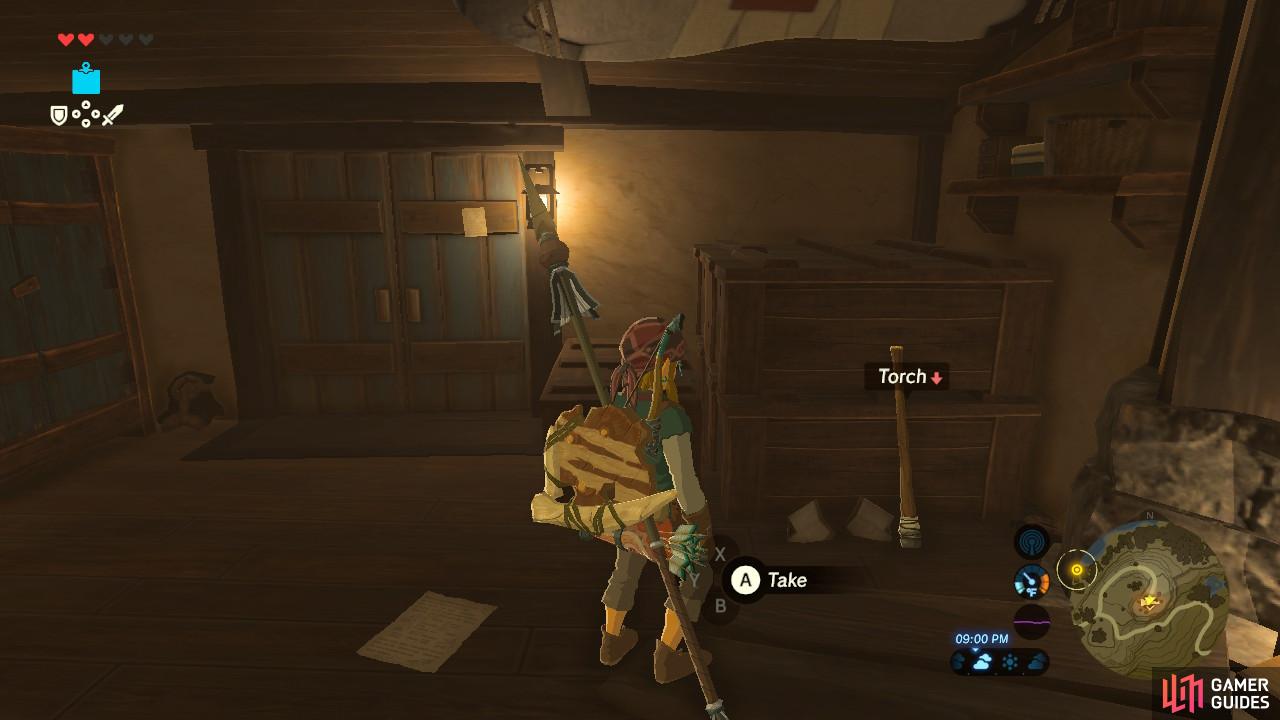
If you already have a Torch in your inventory you don’t need this one
Grab the Torch sitting in the Lab if you don’t already have one and head back to Hateno Village.
The furnace is slightly outside of the village and is marked on your map. Wave your Torch at it to grab some of the blue flame.

The streetlamp will light up the moment the flame touches it
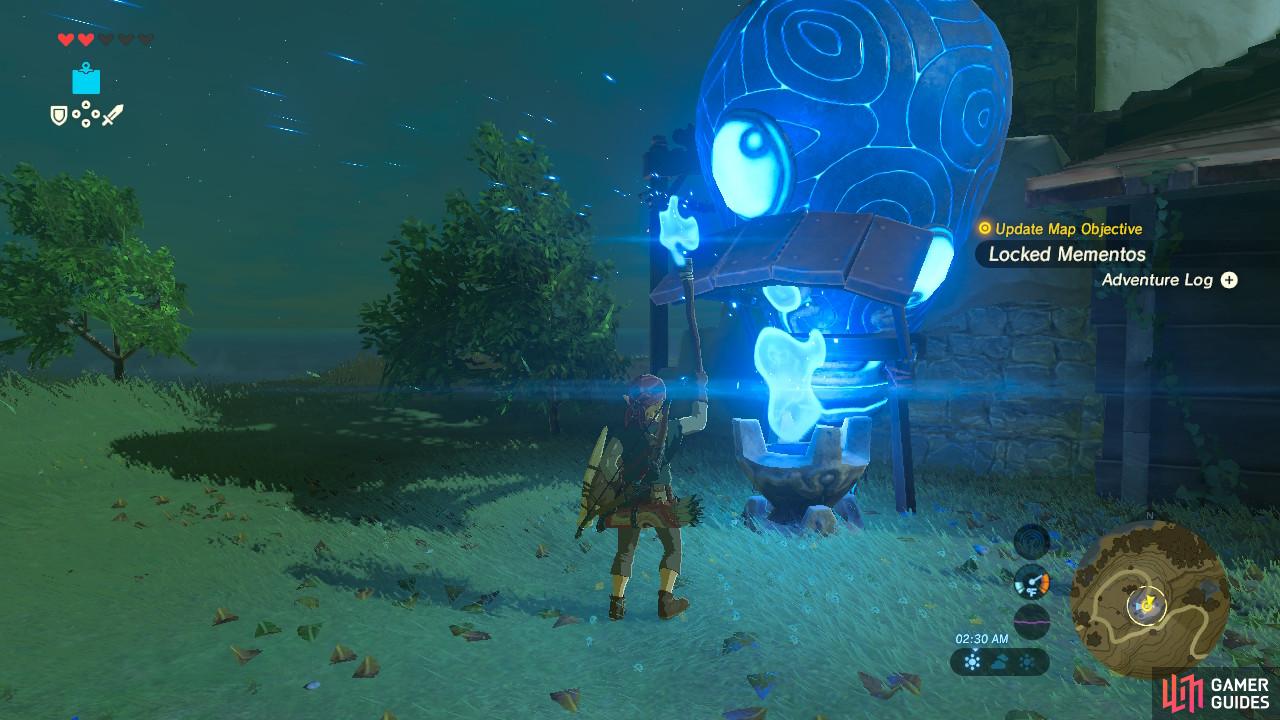
This is the blue furnace at the end you want to light up too.
You will have to walk with this flame all the way back to Hateno Village. Along the way, you’ll want to light the other sconces so if you accidentally put out your torch you don’t have to go too far to grab some more blue flames. When you finally reach the lab, light up what looks like a hot-air balloon to the left of the lab entrance. This will complete the task and also activate a small teleportation pad in front of the lab. Now you can fast travel to the Hateno Ancient Tech Lab anytime!
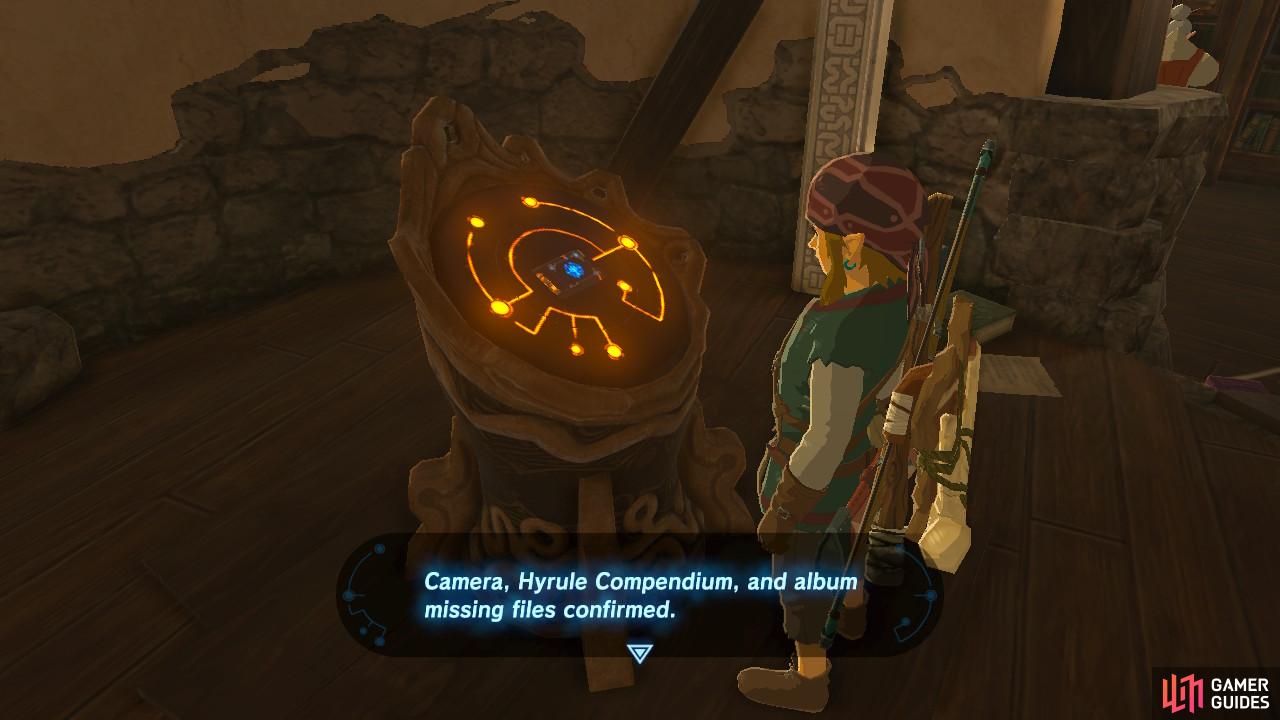
This won’t be the last time the Guidance Stone will help you
You finally have all of the basic runes!
Report back to Purah. She will activate her Guidance Stone for you and your Sheikah Slate will be fully repaired. Now you have access to the Camera rune, which also will help you fill out the Hyrule Compendium.

Aim carefully and put Purah in the middle!
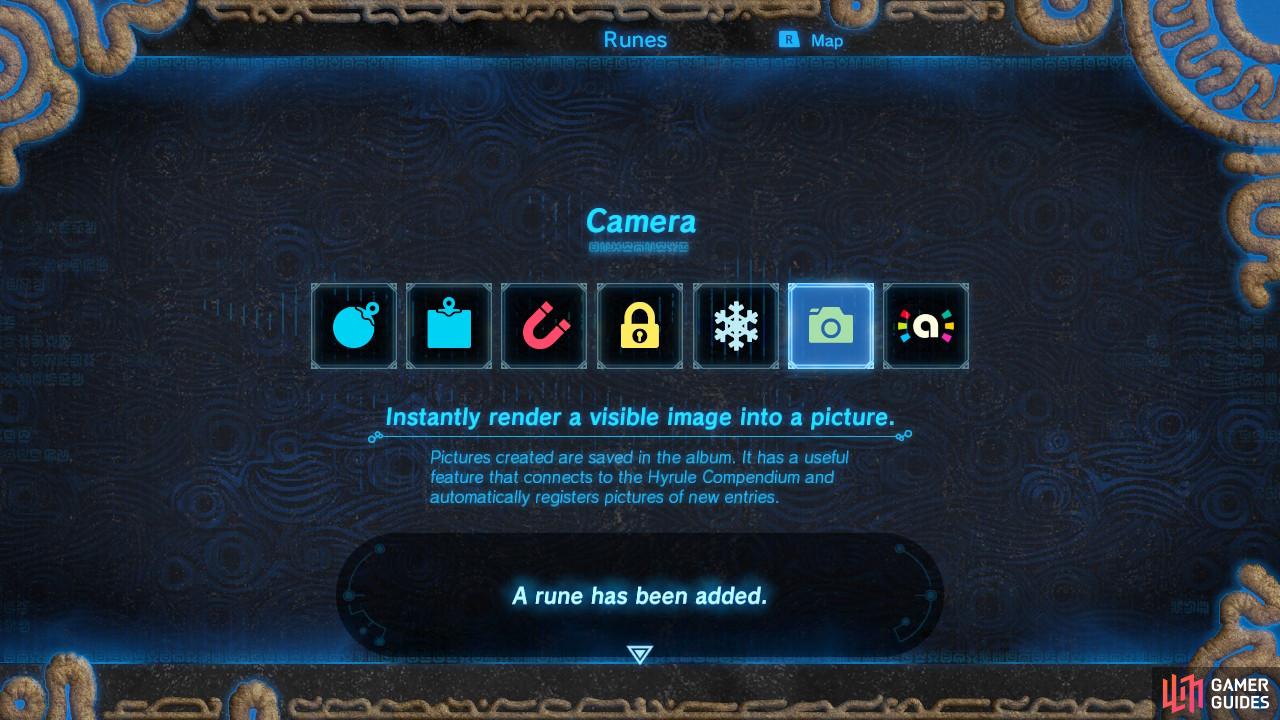
![There is also a selfie mode you can access by pressing [X].](/assets/guides/144/The_Legend_of_Zelda_Breath_of_the_Wild_Purah_Photo_21.jpg)
There is also a selfie mode you can access by pressing [X].
To make sure everything is working, Purah will as that you take a photo of her. Press the L shoulder button and either use the motion controls or the right analog stick to make sure that Purah is in the focus of the image. Press [A] to snap the shutter and show the picture to Purah by talking to her again.
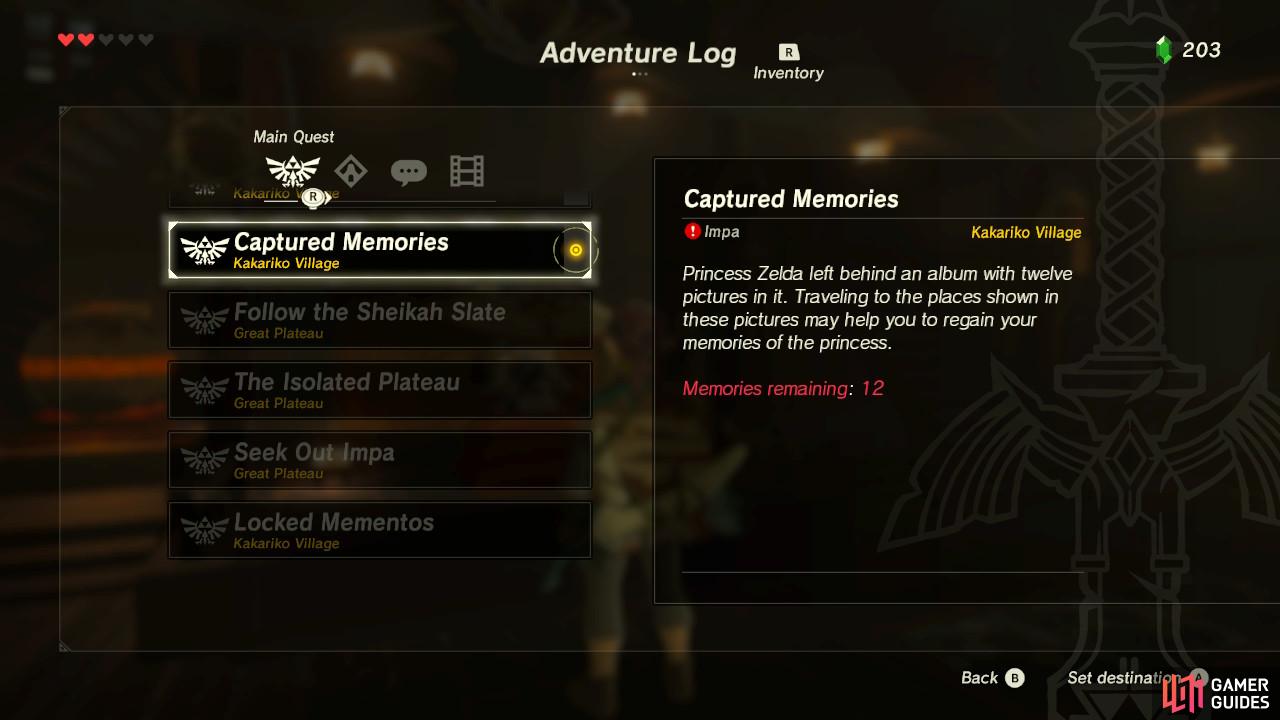
Purah will then tell you about the handful of landscape images that were also restored to your Sheikah Slate. She says that those were photos taken by Princess Zelda on her journey and that Impa might know more about them. As a final hint, she tells you that if you bring her Ancient materials she will give you “something good”.
This quest will involve going all over Hyrule
It’s easiest and most efficient to complete alongside your journey to free the Divine Beasts, but it’s up to you!
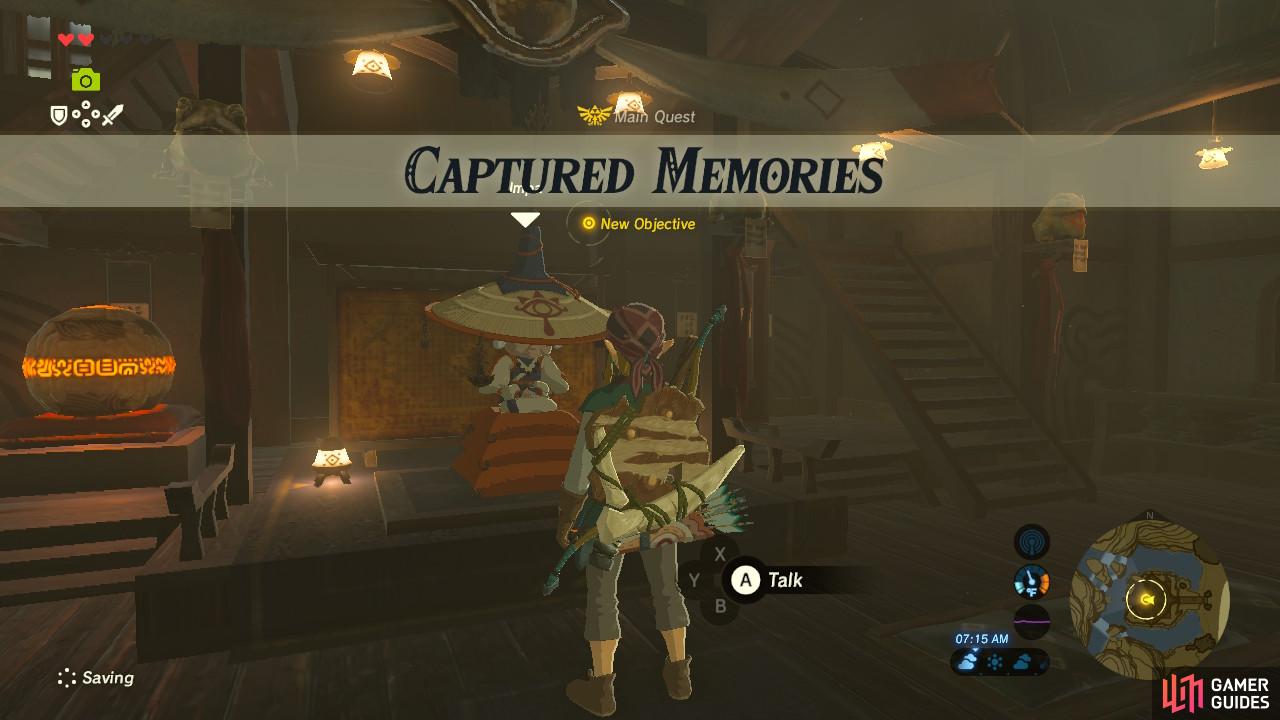
Return to Kakariko Village and go back to Impa to show her your newly repaired Sheikah Slate. She will indeed confirm that some of the images restored to your Sheikah Slate were taken by Zelda 100 years prior. This will lead to the main quest Captured Memories.
The Locked Mementos main quest is now complete. Next we will be journeying to the Divine Beasts, but you are free to seek out the locations shown in Zelda’s photos.
No Comments