
A guide on how to unlock and complete Kiah Toza, which is the second trial in Ex Champion Revali’s Song DLC quest.
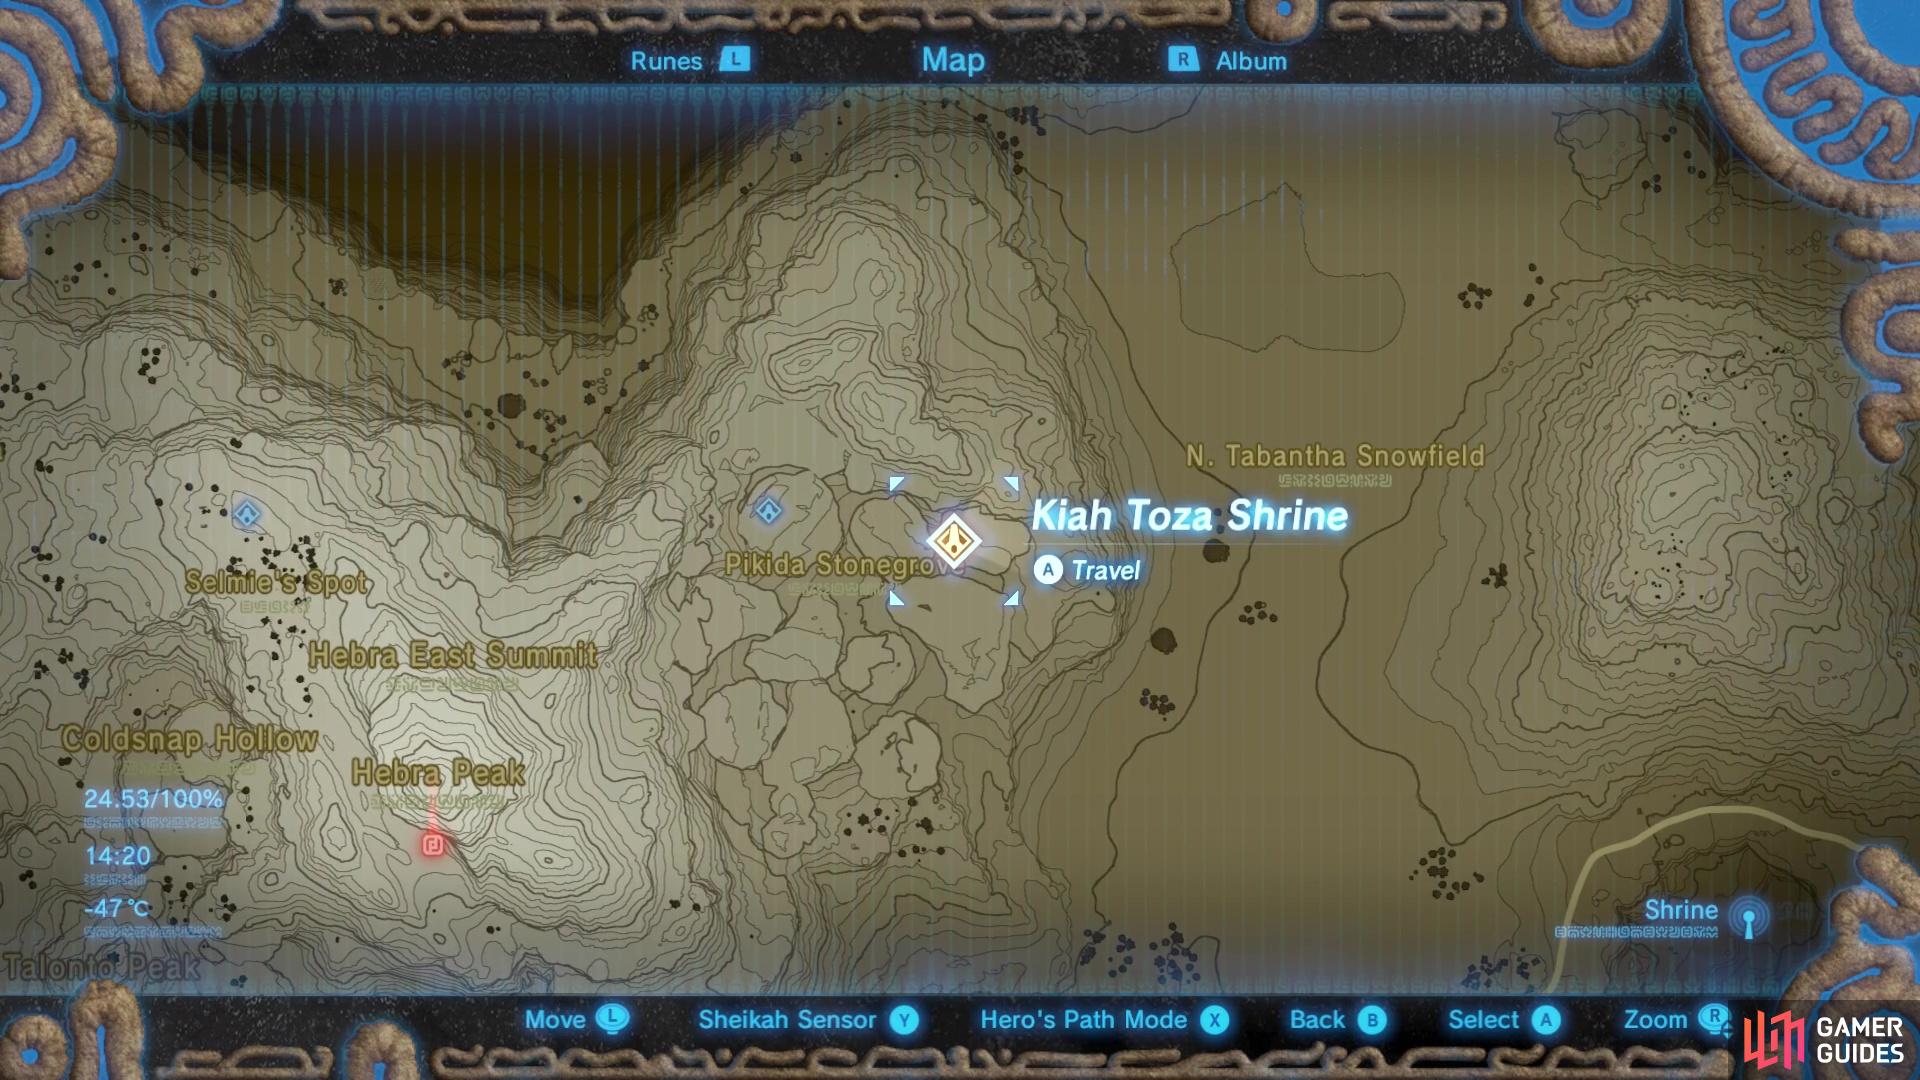
This shrine is found northeast of Hebra Peak
and to find it you’ll need to follow the blue rings on your shield.
How to “face down a peak rings adorn”
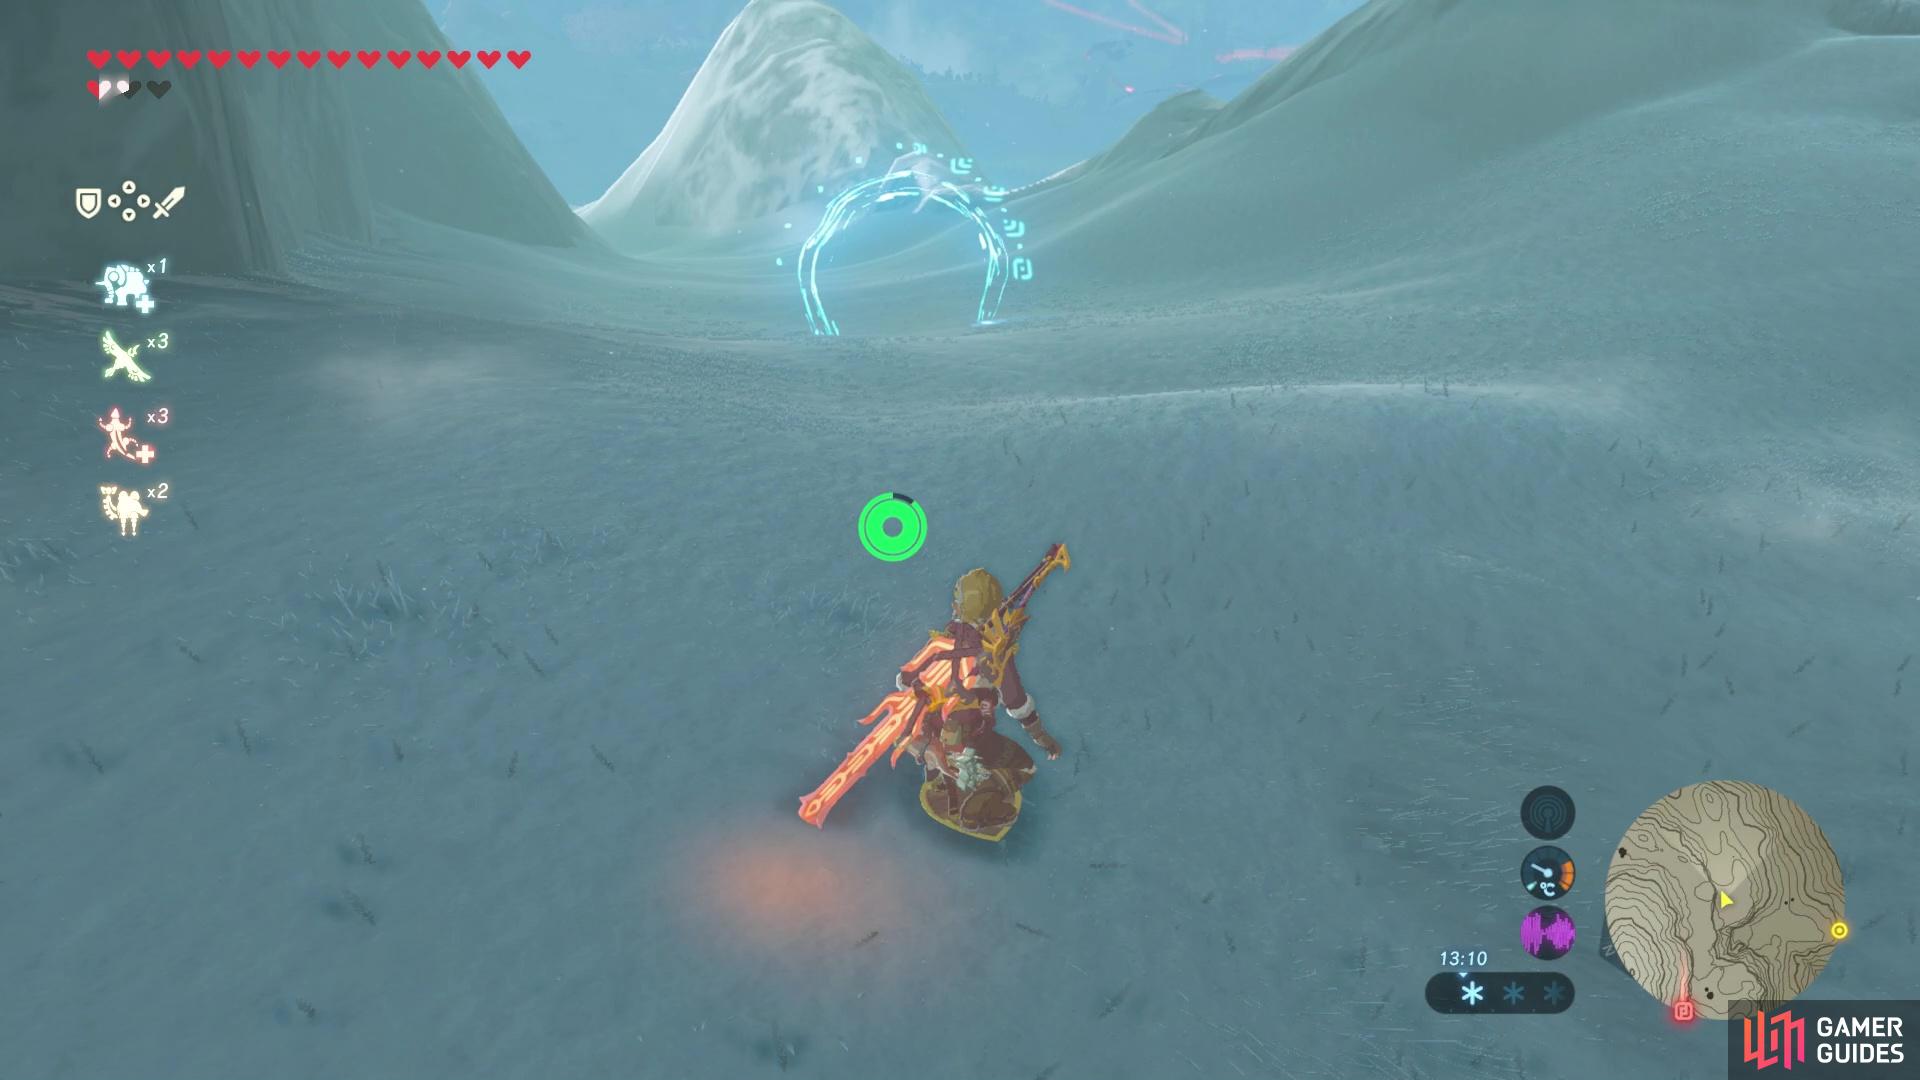
This shrine is unlocked by passing through a series of blue rings. The rings start just below the marker for Hebra Peak. To pass through all of the rings in time, you’ll need to shield surf down the mountain. To shield surf, press the ‘X’ button to jump and then whilst jumping press ‘A’ to shield parry, which will cause Link to flip his shield and start surfing around.
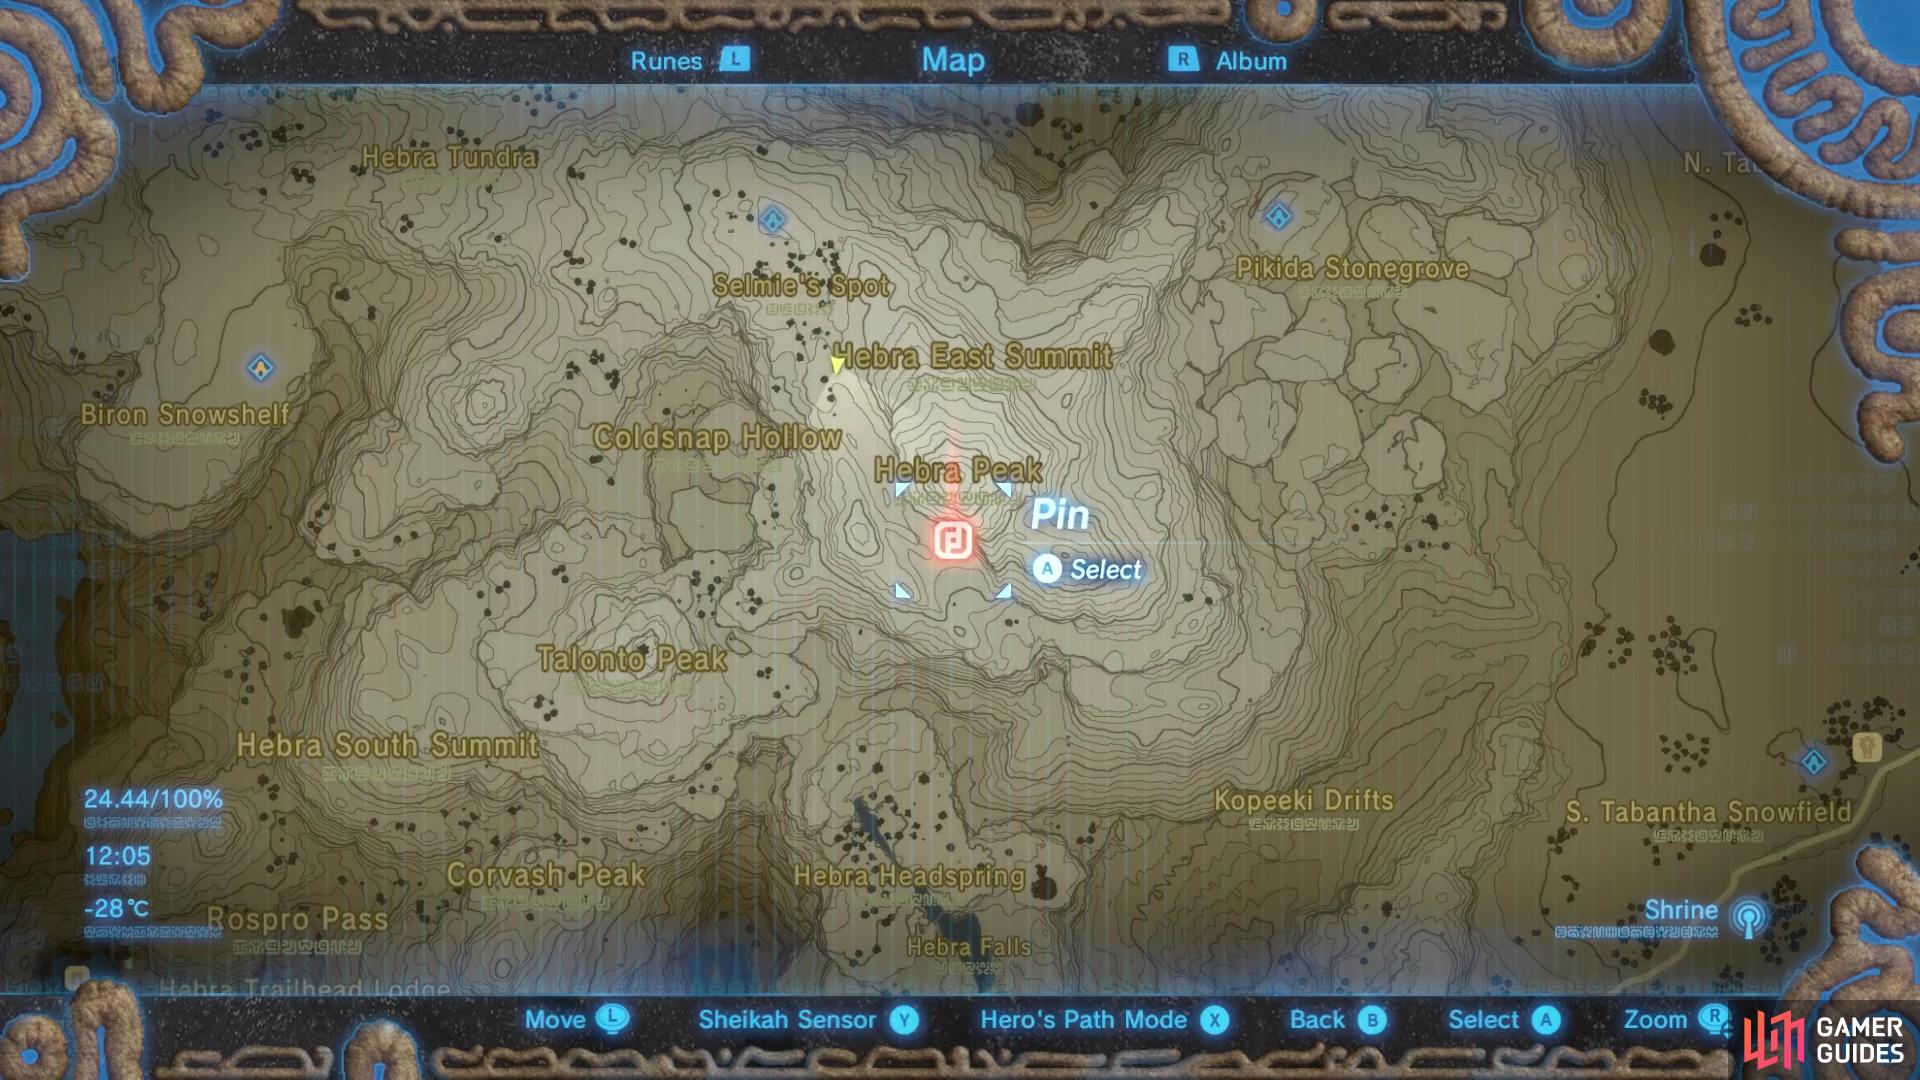
You’ll find the first blue ring just south of Hebra Peak
then, it’s pretty straightforward to find all of the rings that head down the mountain.
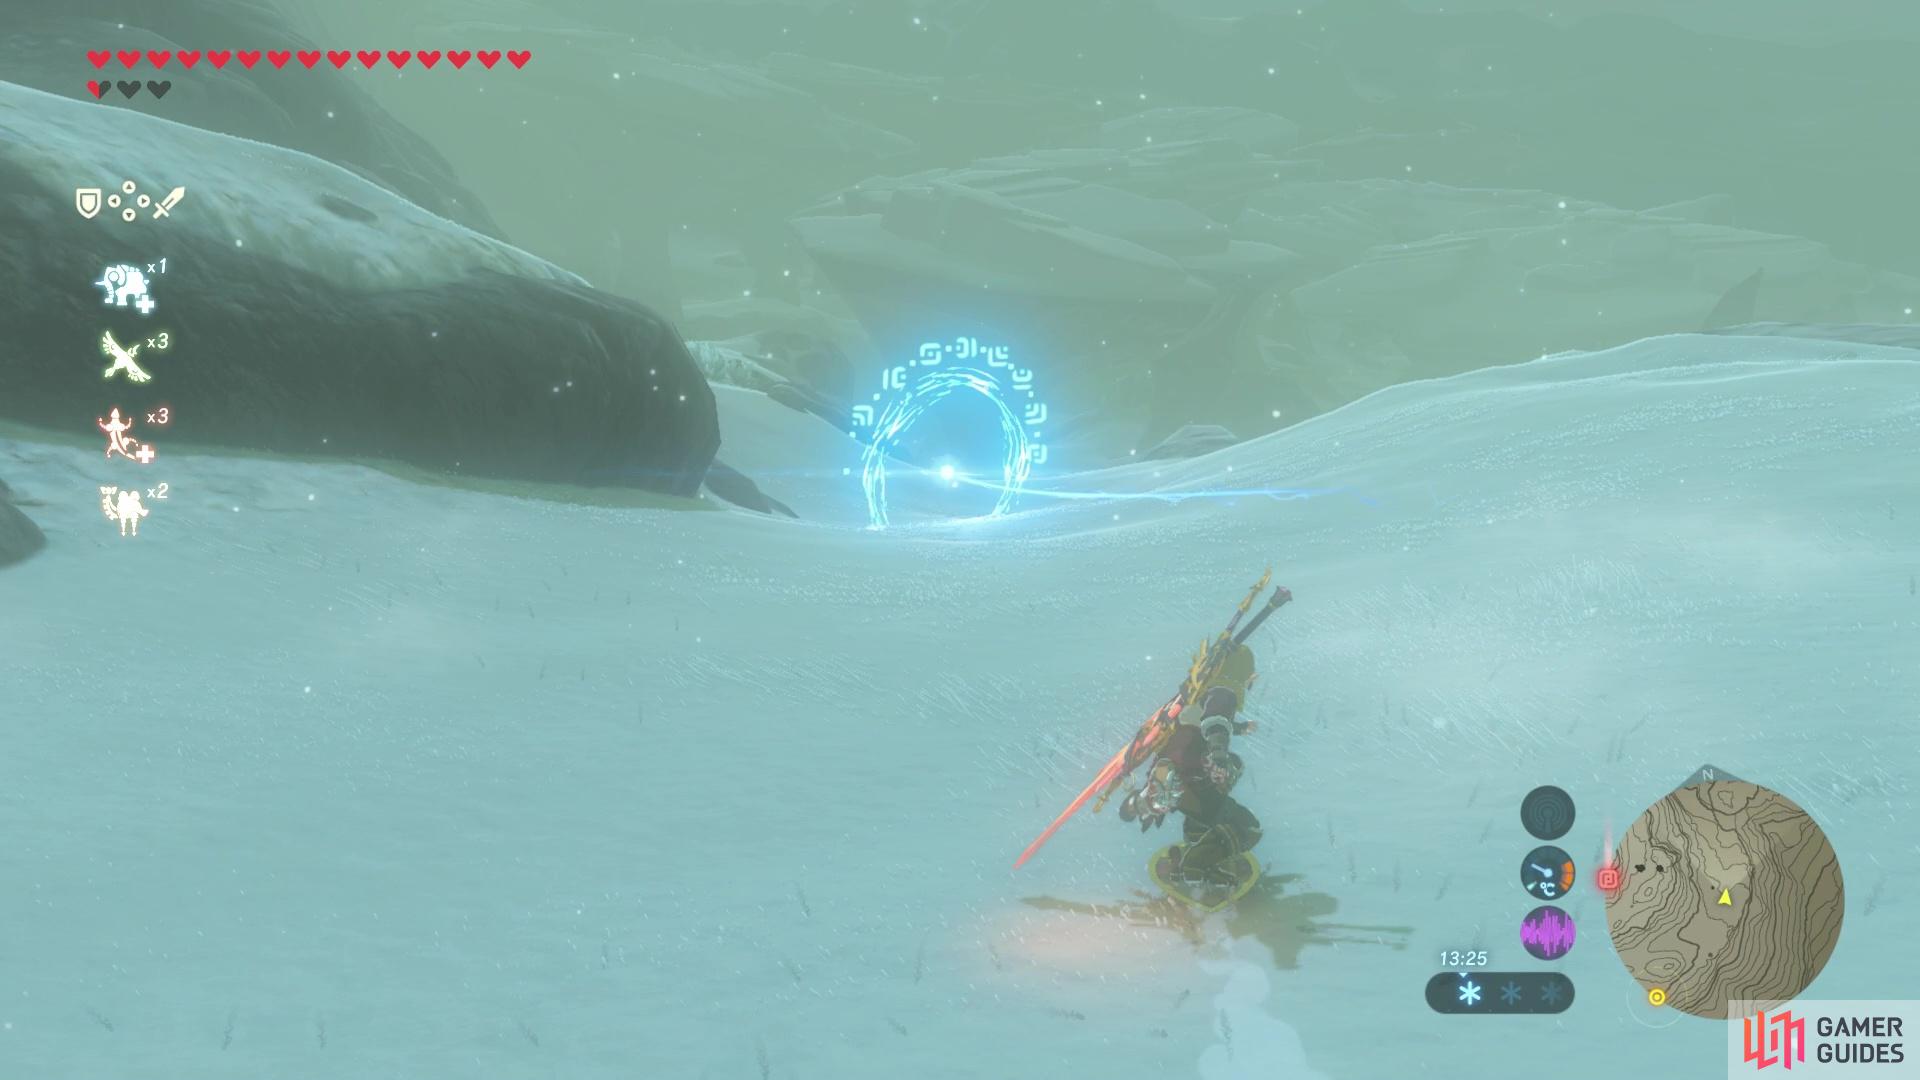
From there, the route down the mountain is pretty straightforward, with the rings spawning in easy to spot areas. The third ring is the trickiest, but it only requires some foresight that you need to paraglide across a large gap in the mountain and then drop back down to get to the ring on the other side. Near the final rings you may also need to swerve out of the way of a few camouflaged Lizalfos too!
Once you’ve passed through all of the rings, Kiah Toza Shrine will spawn nearby.
How to Complete Kiah Toza: Master the Orb
This shrine has a simple goal, which is to put the ball in the hole, but it requires a lot of steps and good timing to pull it off.
To begin, place two cryonis blocks diagonally on the water wall up ahead, so that it serves as a makeshift ramp between the stone see-saw and the ramp to the right.
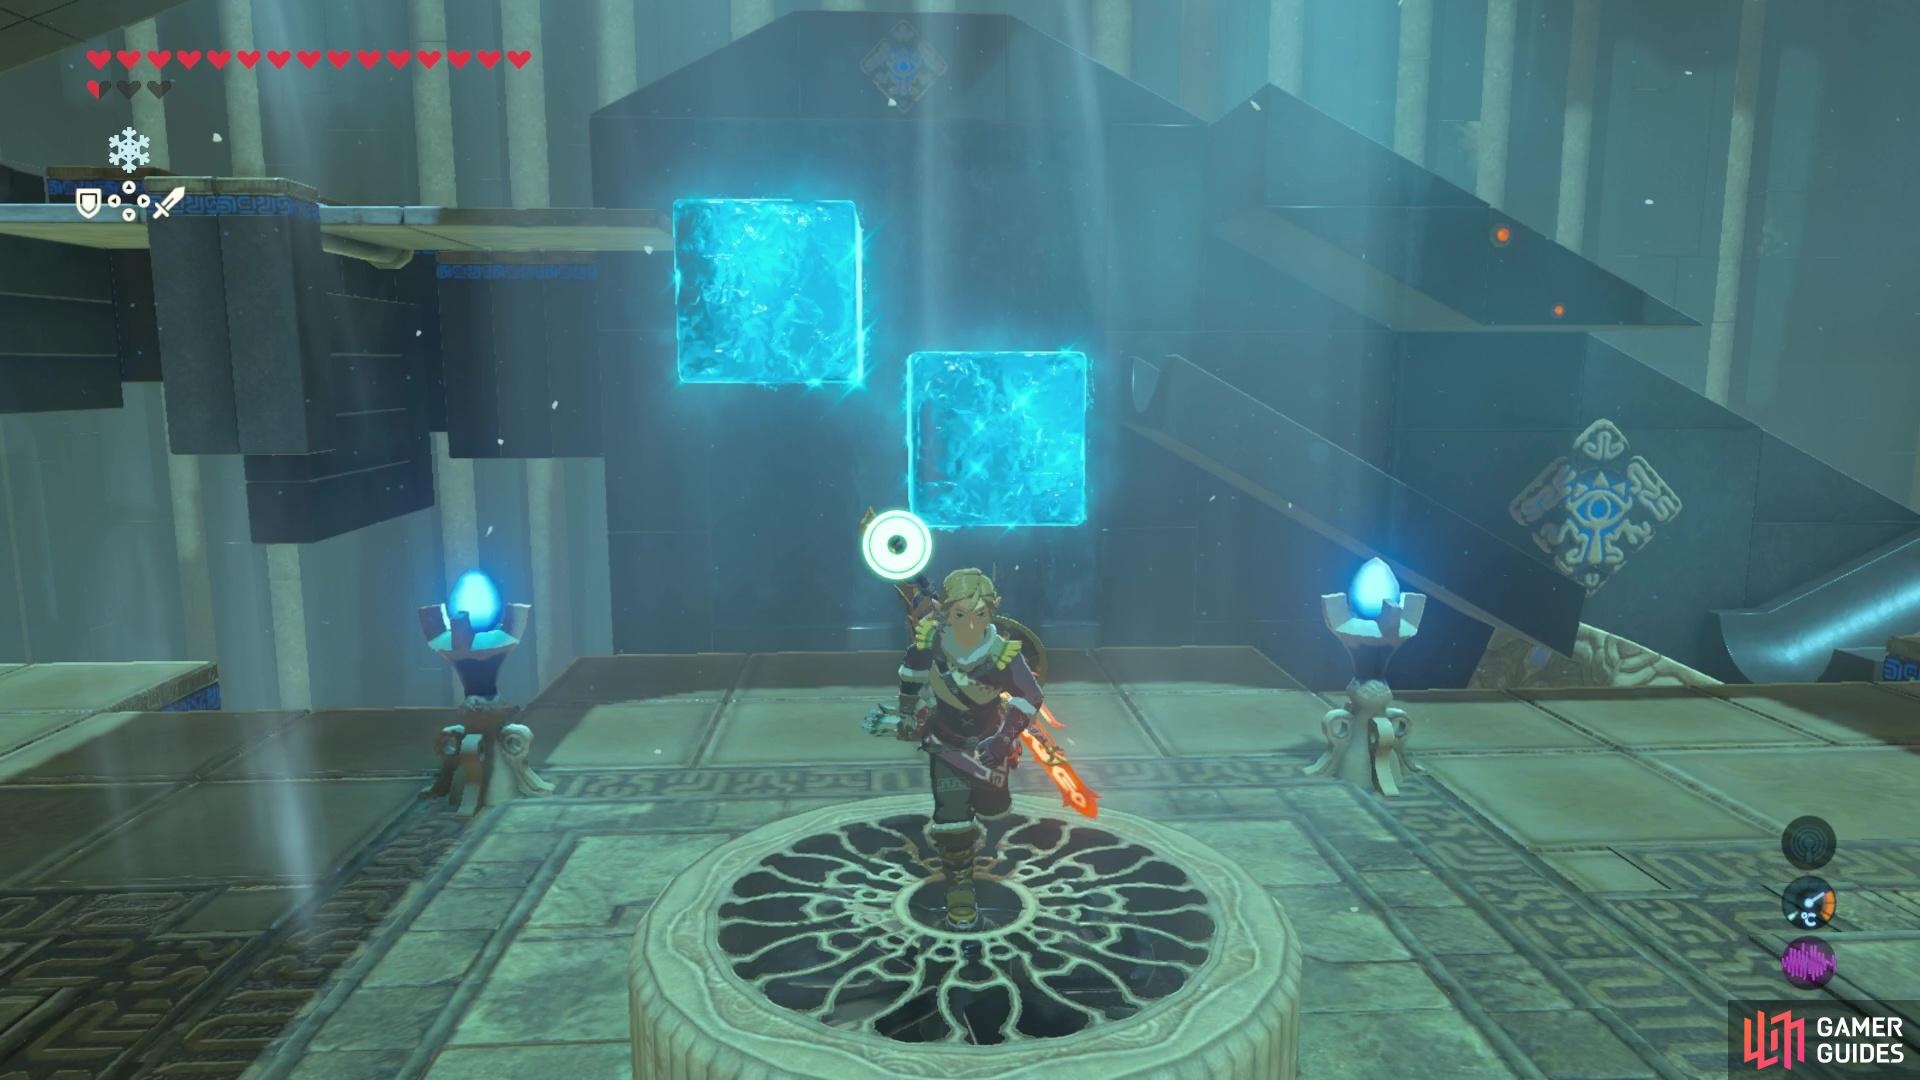
First, make some cryonis blocks on the water wall.
Next, take the windshaft up and head to the right. Here you’ll find three metal blocks on a rail. You’ll notice that the ball falls off the corner and you need to block its fall by moving the metal blocks. You’ll want to observe where the ball falls so you can know where to put the cubes.
Then, to the left, move the two metal platforms so that they form a bridge between the ramp and the platform up ahead. Then, step onto the pressure plate nearby to make the conveyor belt move in the opposite direction. You’ll have to stand on this until the ball has completely rolled over it. Then, quickly use stasis on the stone see-saw to the left and paraglide down to near the pressure plate on the platform below.
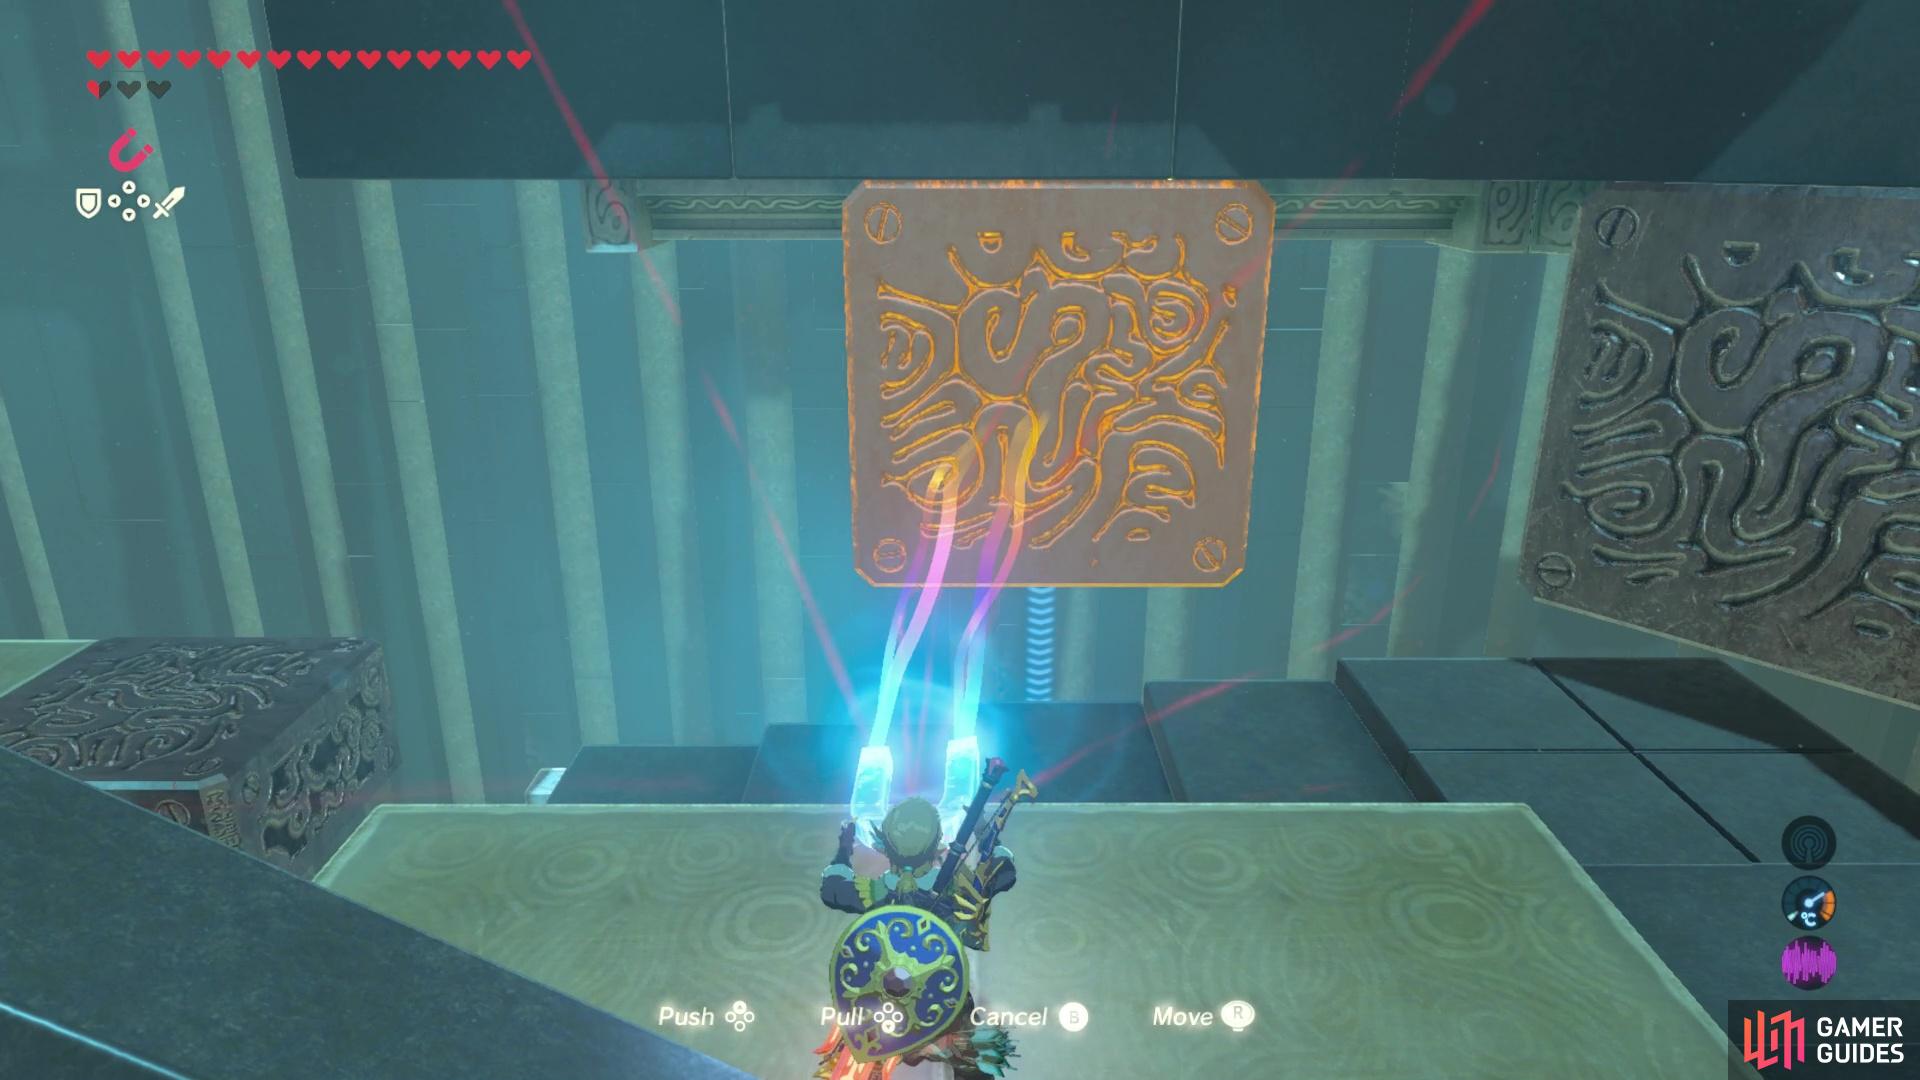
(1 of 3) Move the blocks over so that they prevent the ball from falling off the path.
Then, only stand on the pressure plate once the ball has rolled over the cryosis blocks you placed and is passing over the stone block on the right. Standing on the pressure plate will launch the ball over into the hole, causing the gate to the end of the shrine to open.
How to Get the Kiah Toza Treasure Chest
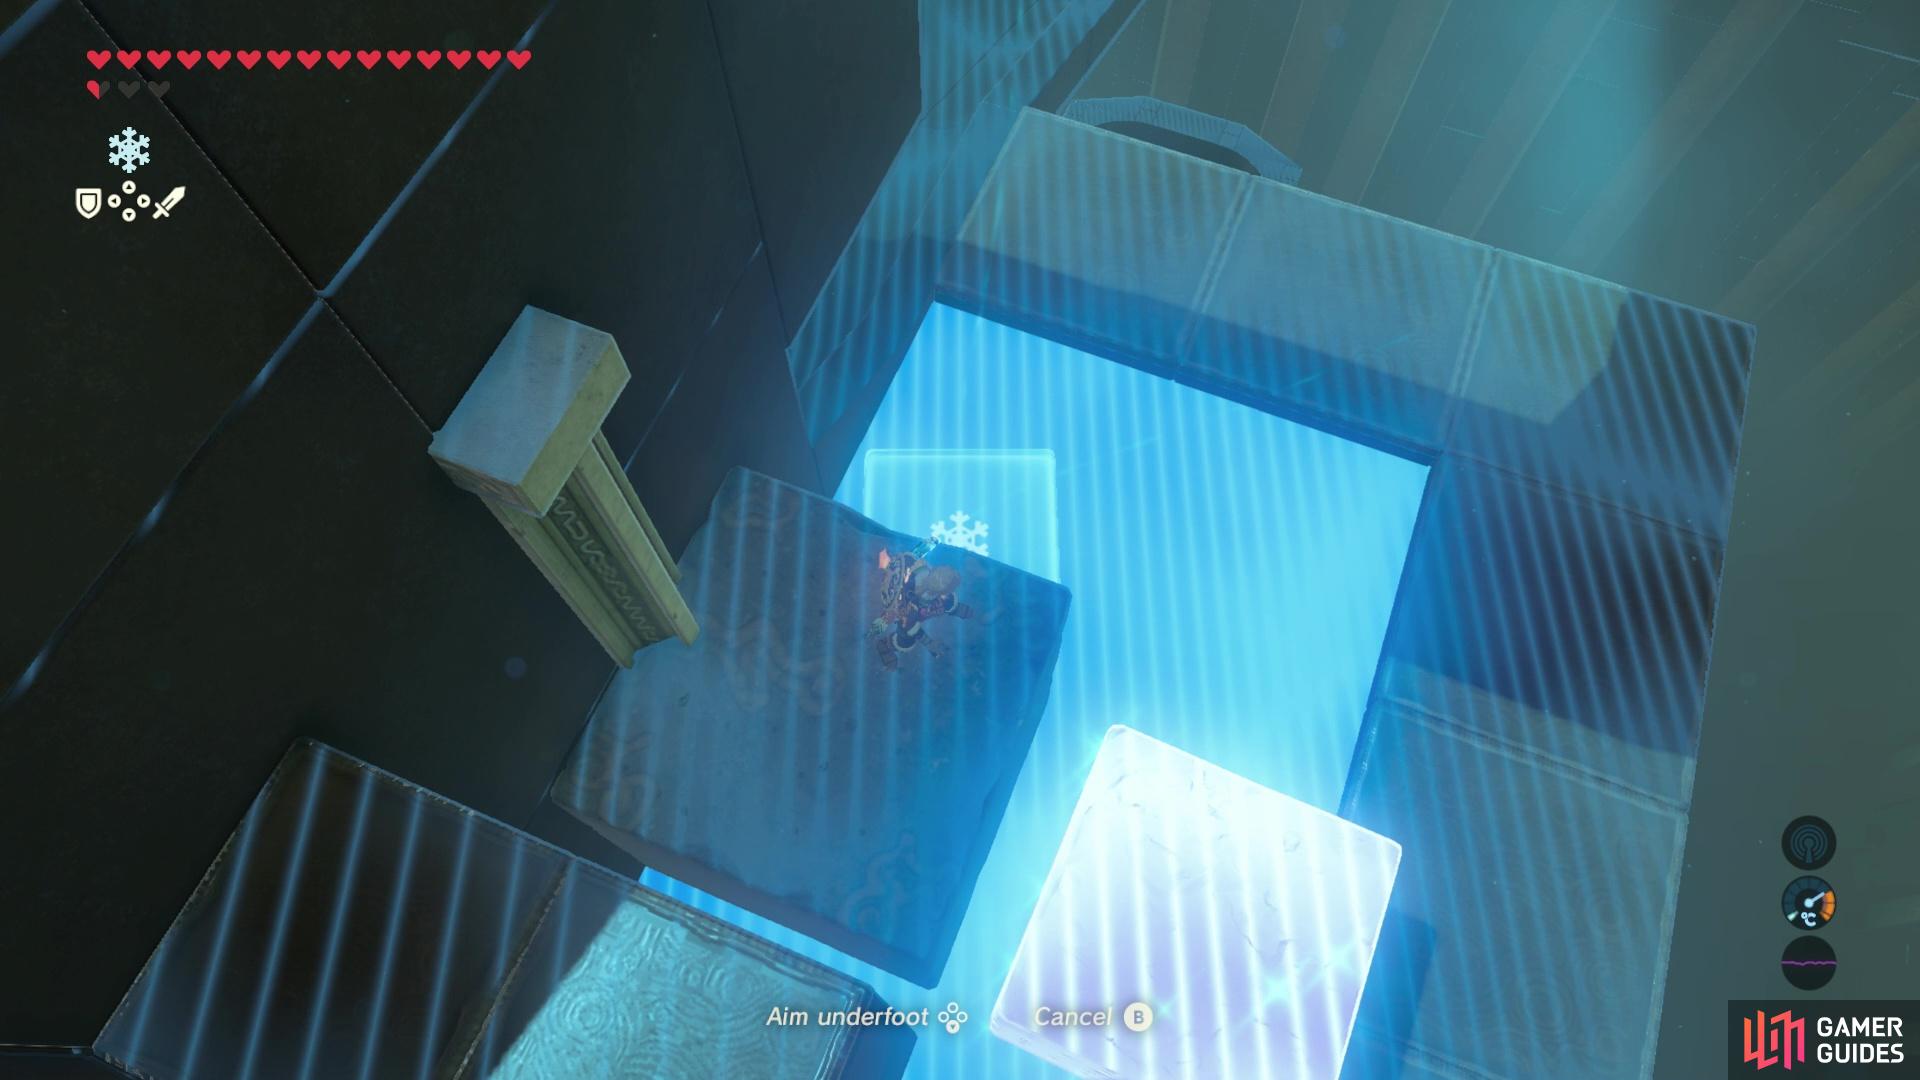
If you have time to spare, you should make a quick detour to grab the treasure chest. To do this, use the wind stream to paraglide over to the ramp where the ball had come from. Walk up along the ramp until you reach a ladder and a block beneath it. Use cryonis in the shallow water to create block so you can get on top of the stone block. Then, make another cryonis ice block beneath the stone block so that it pushes it up. You can then use the ladder to reach an upper platform where you’ll then be able to take some steps up to a chest containing a Falcon Bow with Attack Up +11. From here you can paraglide down to the end of the shrine and collect the second Medoh’s Emblem.
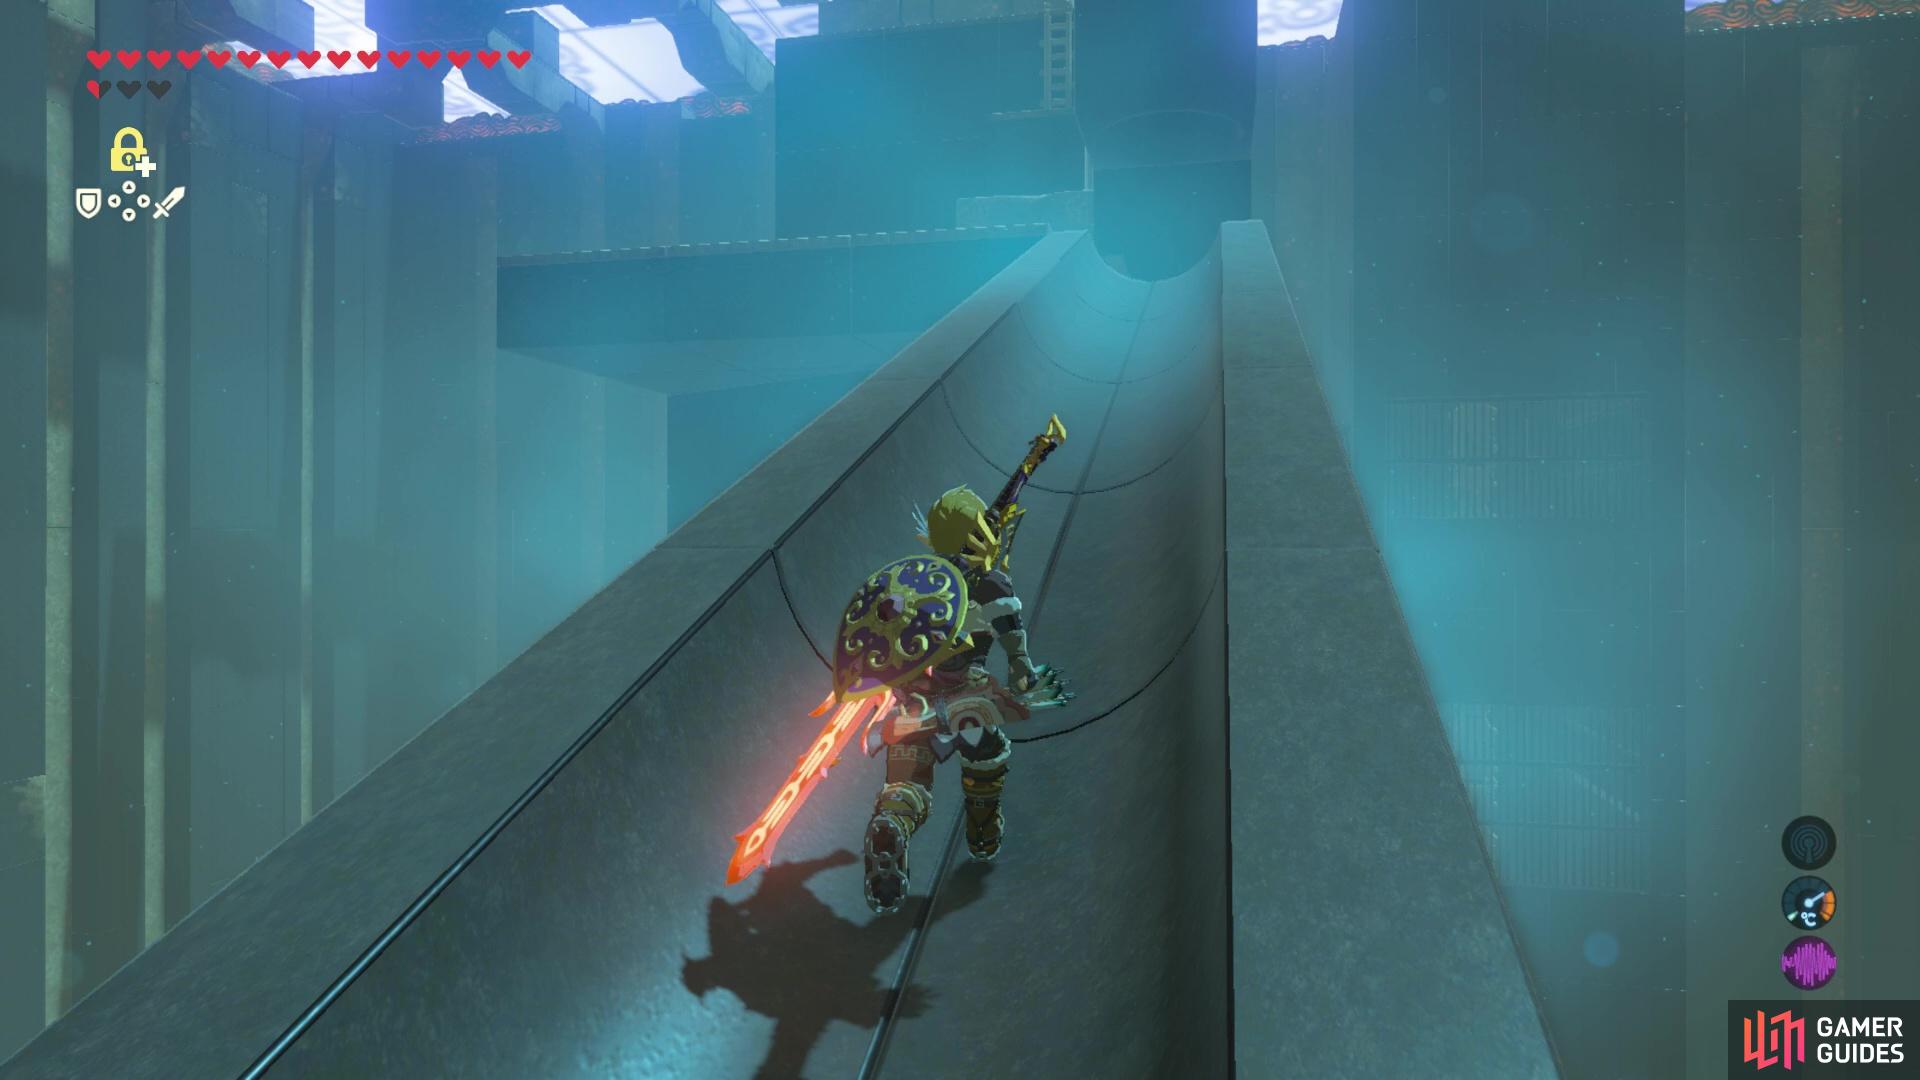
Head up the ramp that the ball rolled down
then use cryonis blocks to lift you up to the ladder that will take you to the treasure chest.
No Comments