
A guide on how to unlock and complete Shira Gomar Shrine, which is the first trial in Ex Champion Revali’s Song DLC quest.
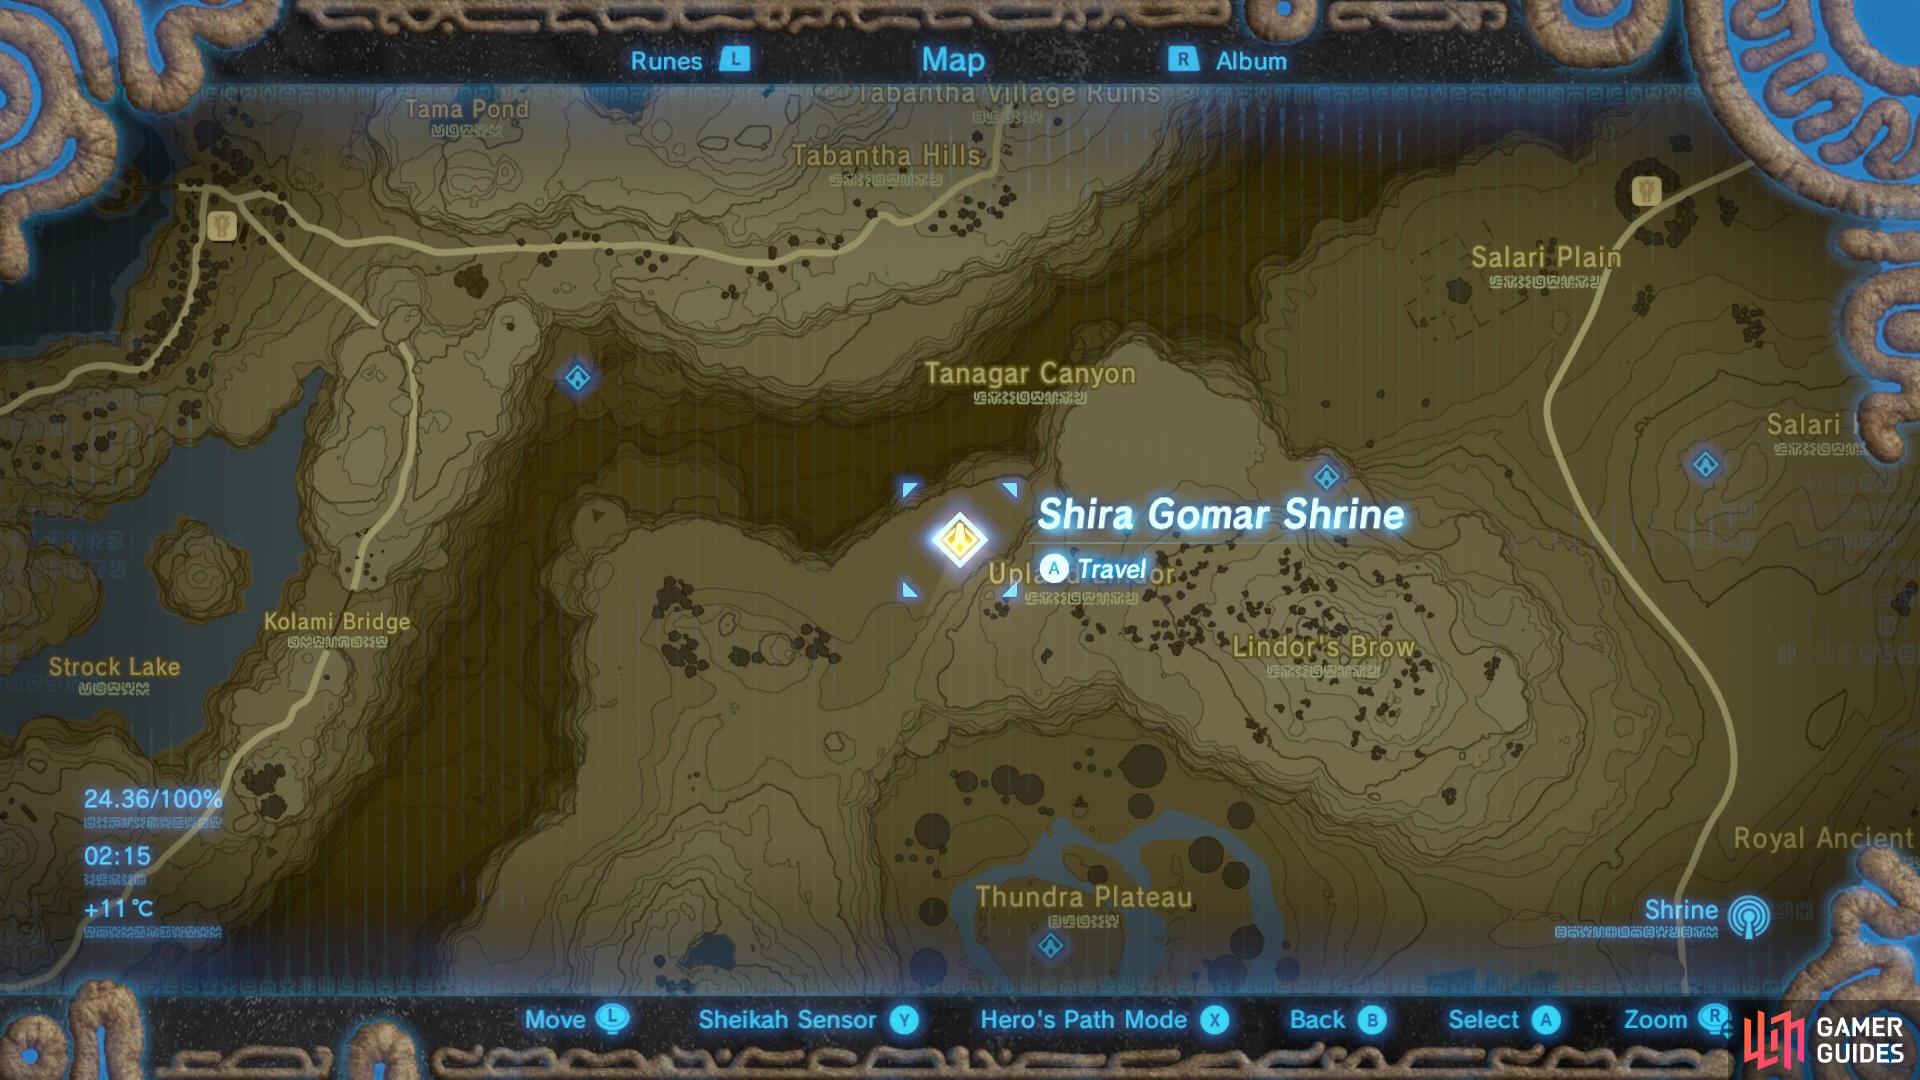
The shrine is found on the southern side of Tanagar Canyon,
once you’ve shot at the horns of the flaming dragon.
How to “shoot the flame dragon’s horn”
For a clue on where to go to find this shrine, you may want to speak to Kaneli in Rito Village about the flame dragon. He’ll tell you that a dragon was spotted near Tanagar Canyon, which is found south of Hebra Tower. So, head over to Hebra Tower and make your way down to the bump in the path right beneath the ‘Tabantha Hills’ marker on the map. From there, you’ll want to head to the cliff and look for a Rito on the ledge below. See the map below for an exact location.
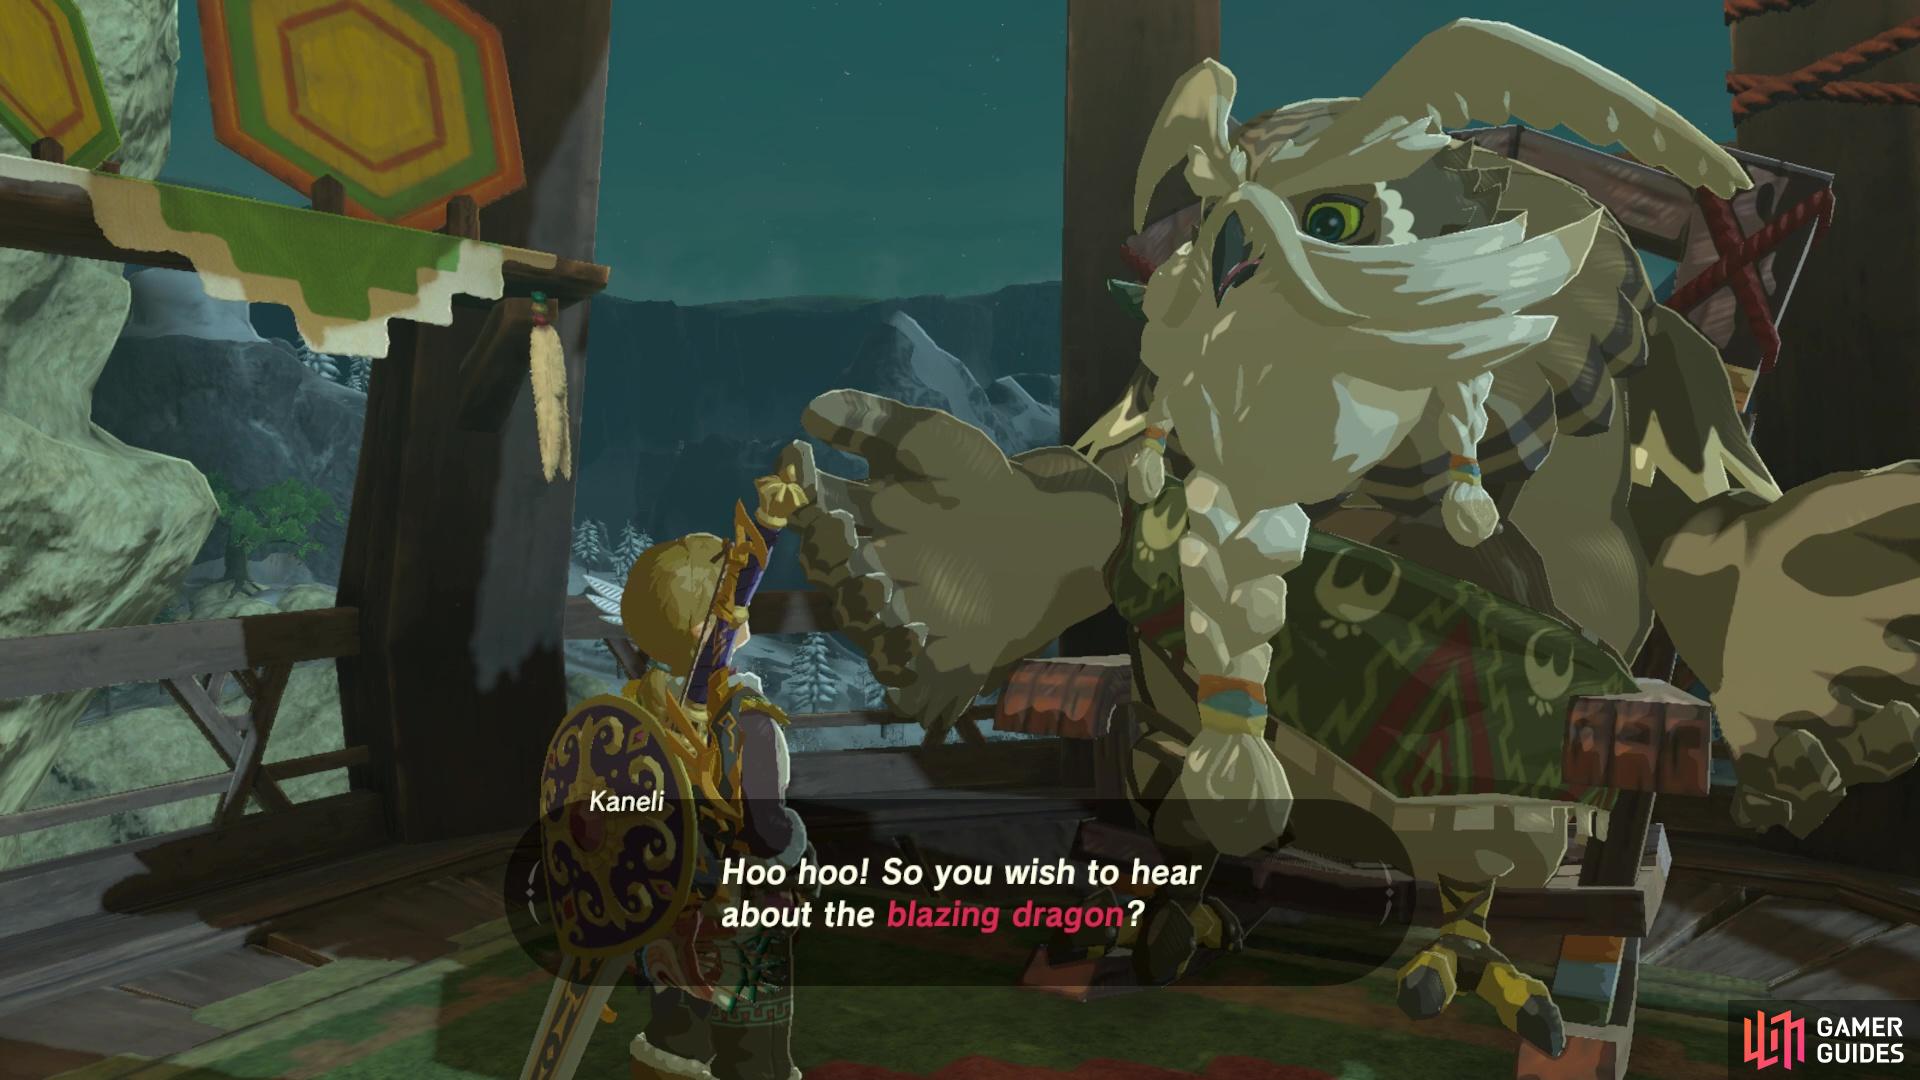
Speak to Kaneli for some clues about where to find the flaming dragon.
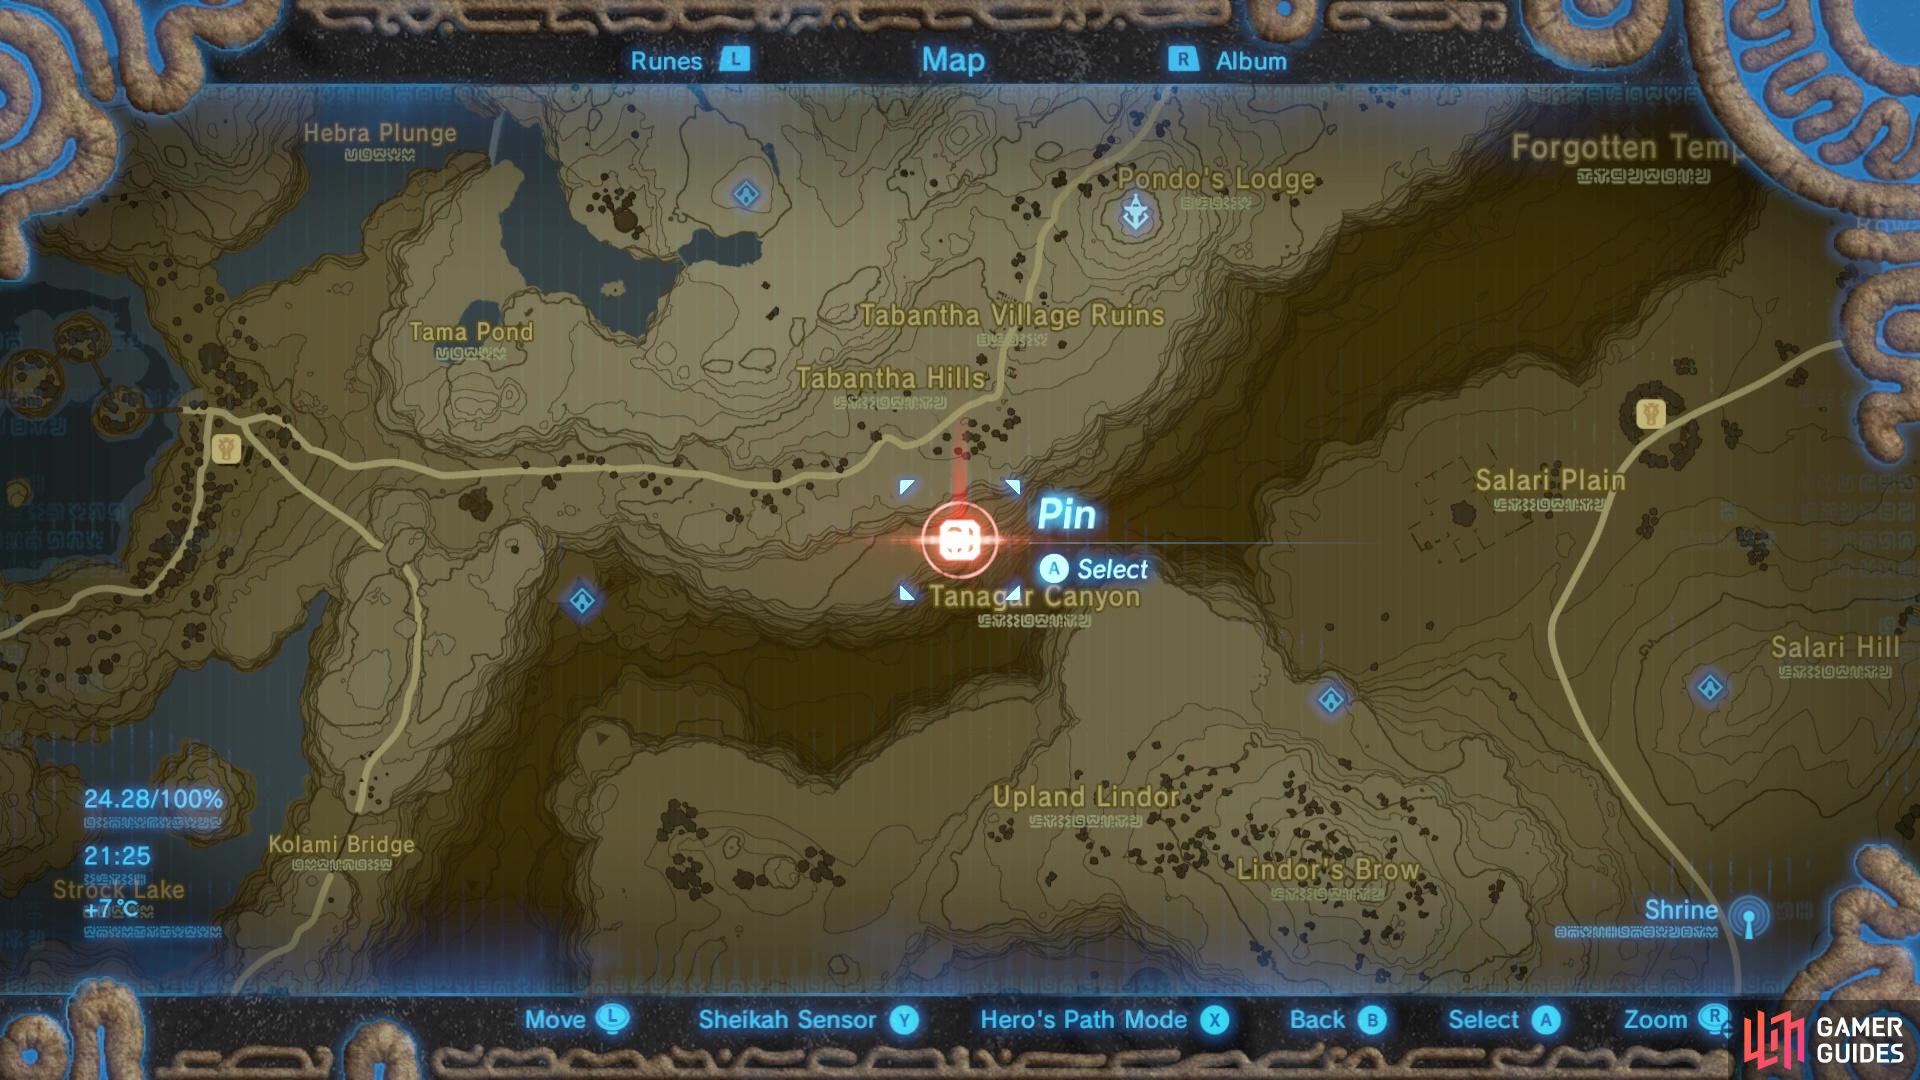
then head here to find Mazli.
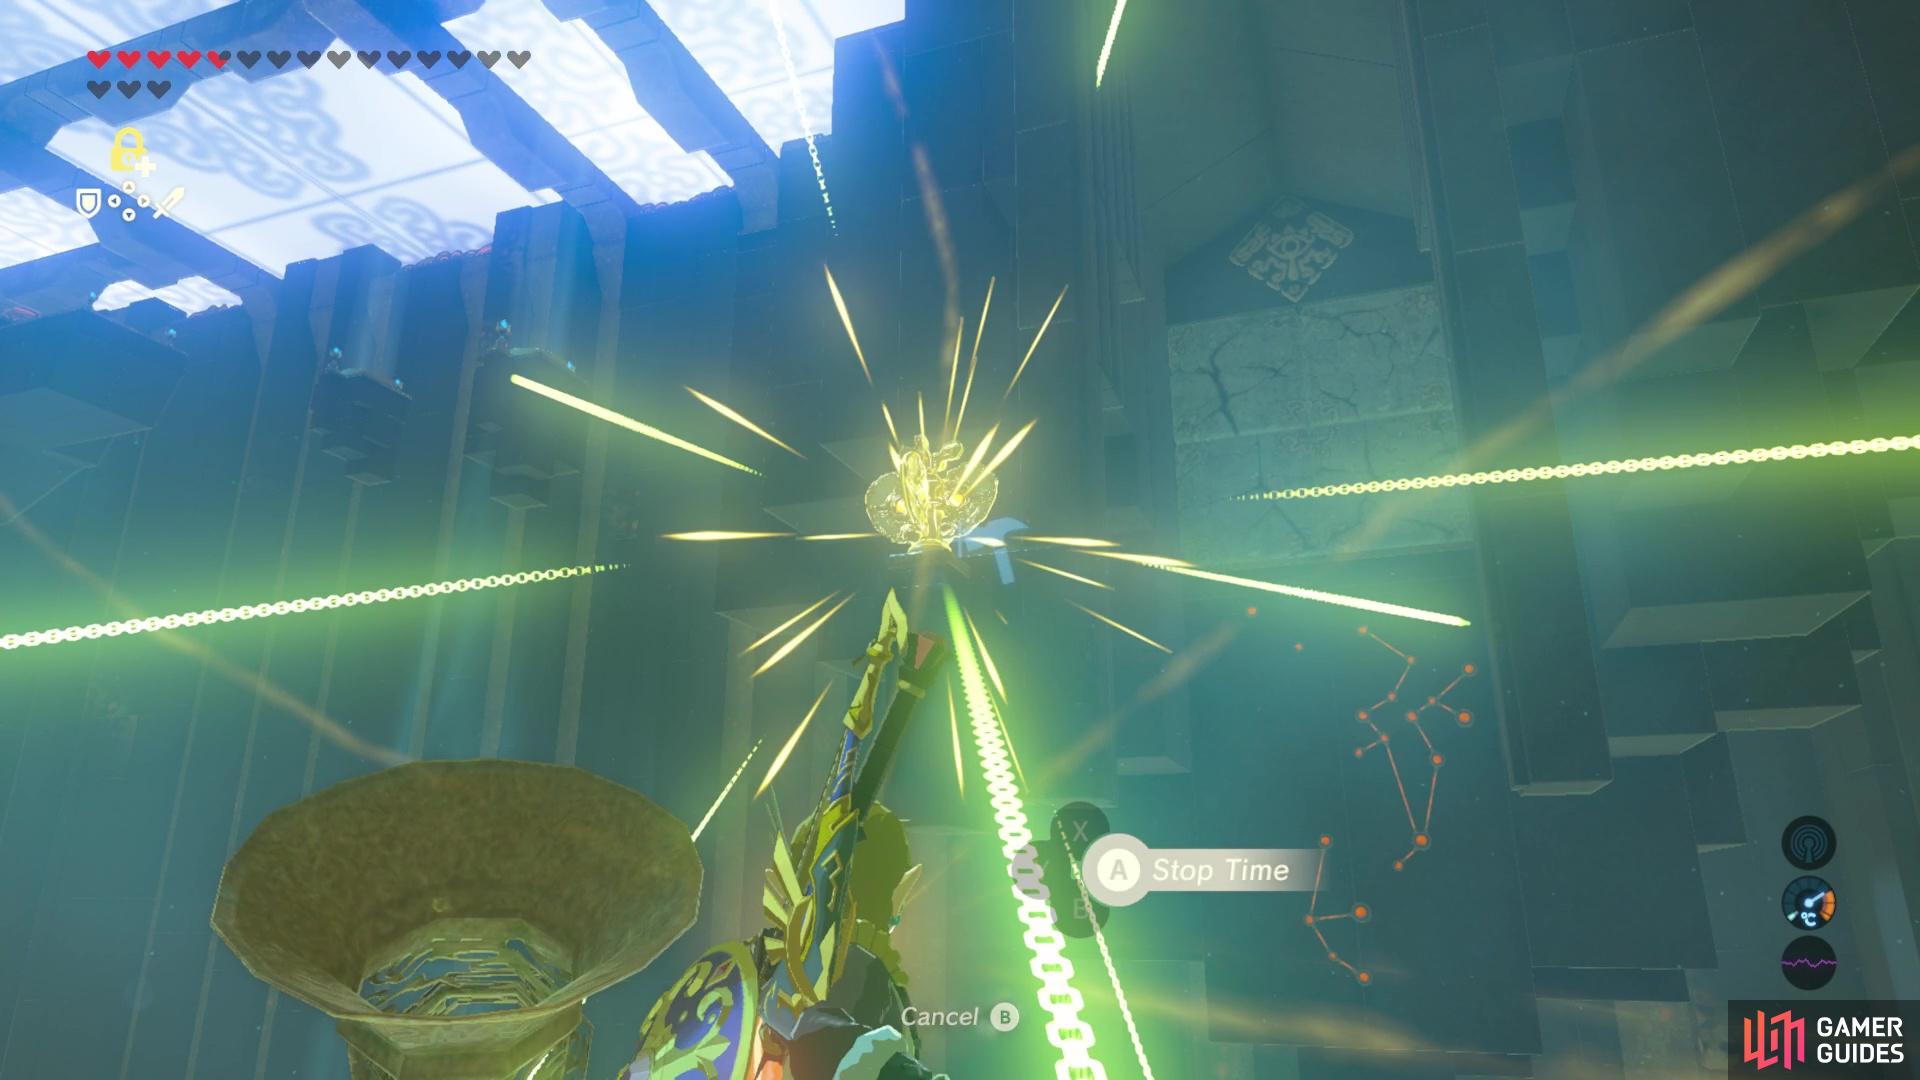
When you speak to the Rito, Mazli, he’ll tell you that the blazing dragon flies through the canyon at night. Luckily for you, there’s a firepit just behind Mazli that you can use to wait until night time, if you need.
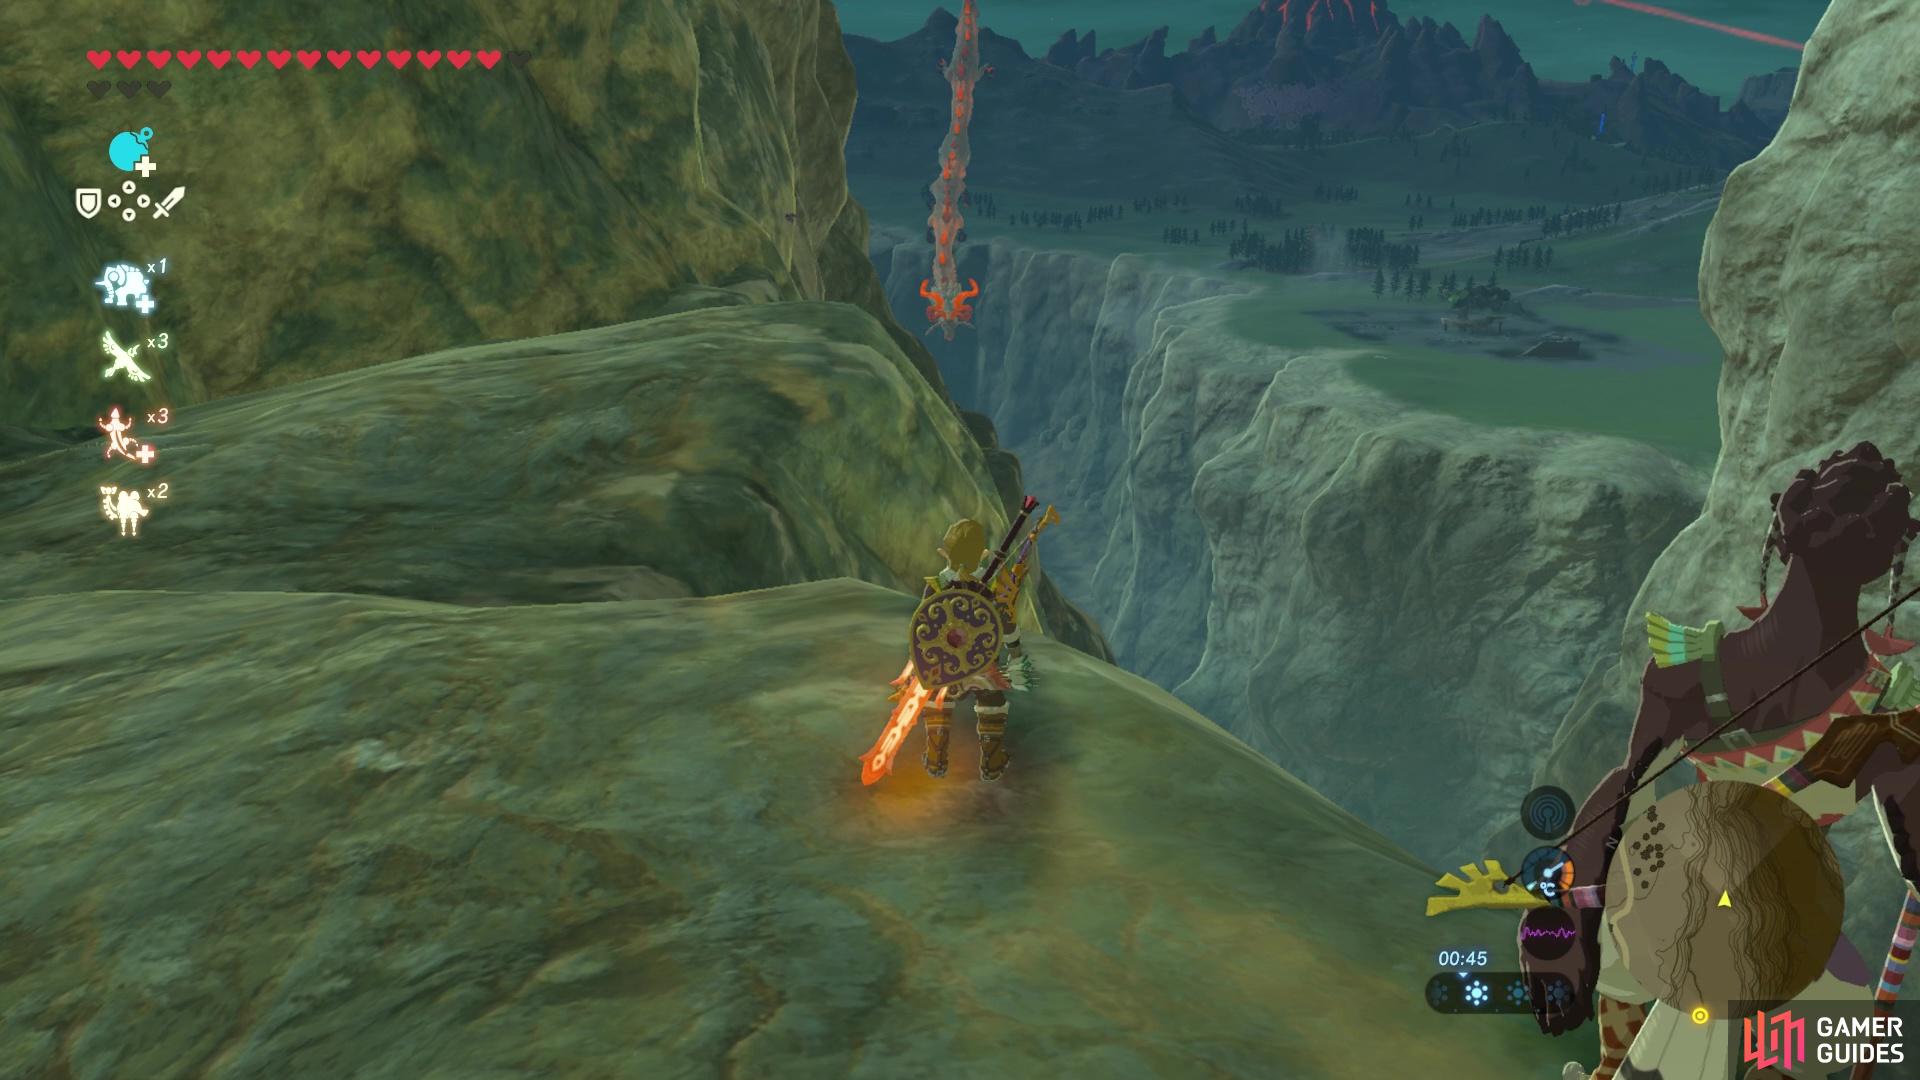
The blazing dragon will appear to the left from around 1:00 am. Wait for him to get close then paraglide over and slow-mo shoot at his glowing horns. If you successfully hit his horns, the blue veil will burst and** Shira Gomar Shrine** will appear on the cliff opposite where you waited with Mazli.
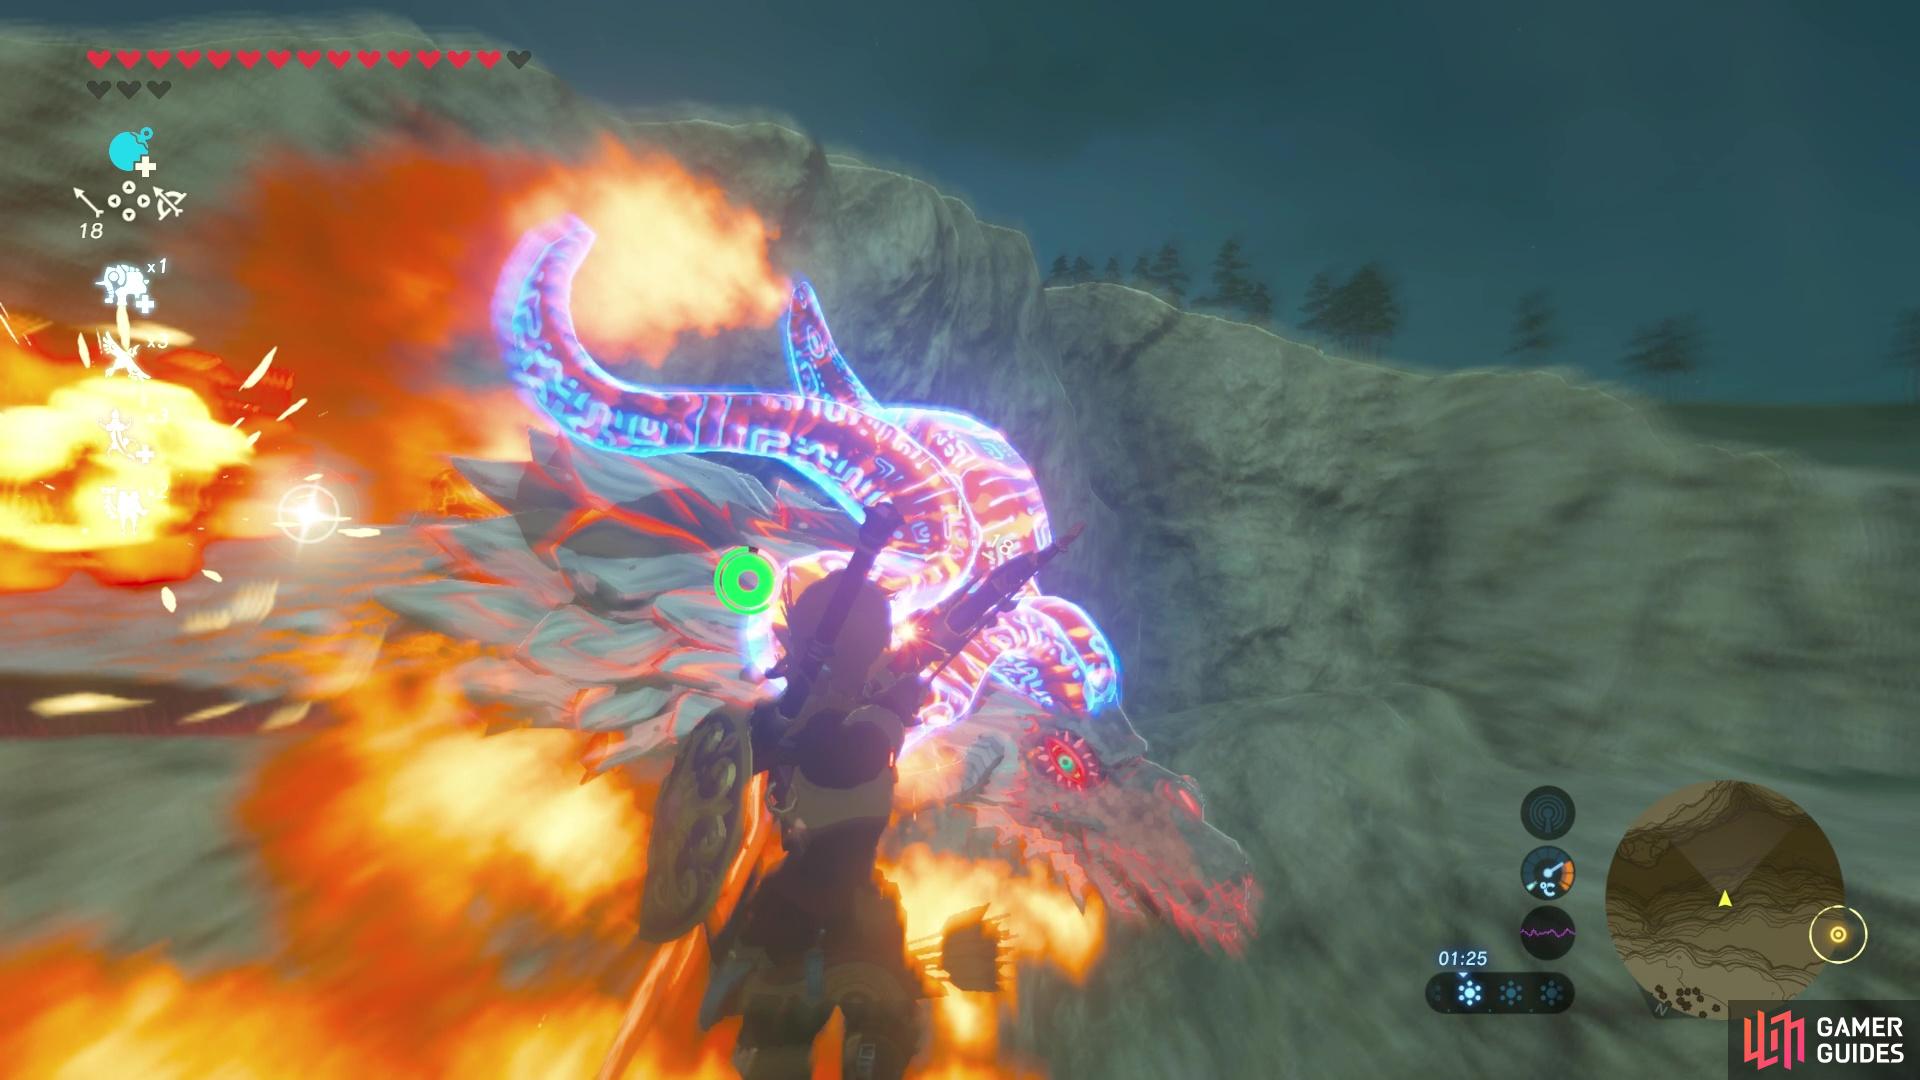
Paraglide over and shoot at the dragon’s glowing blue horns
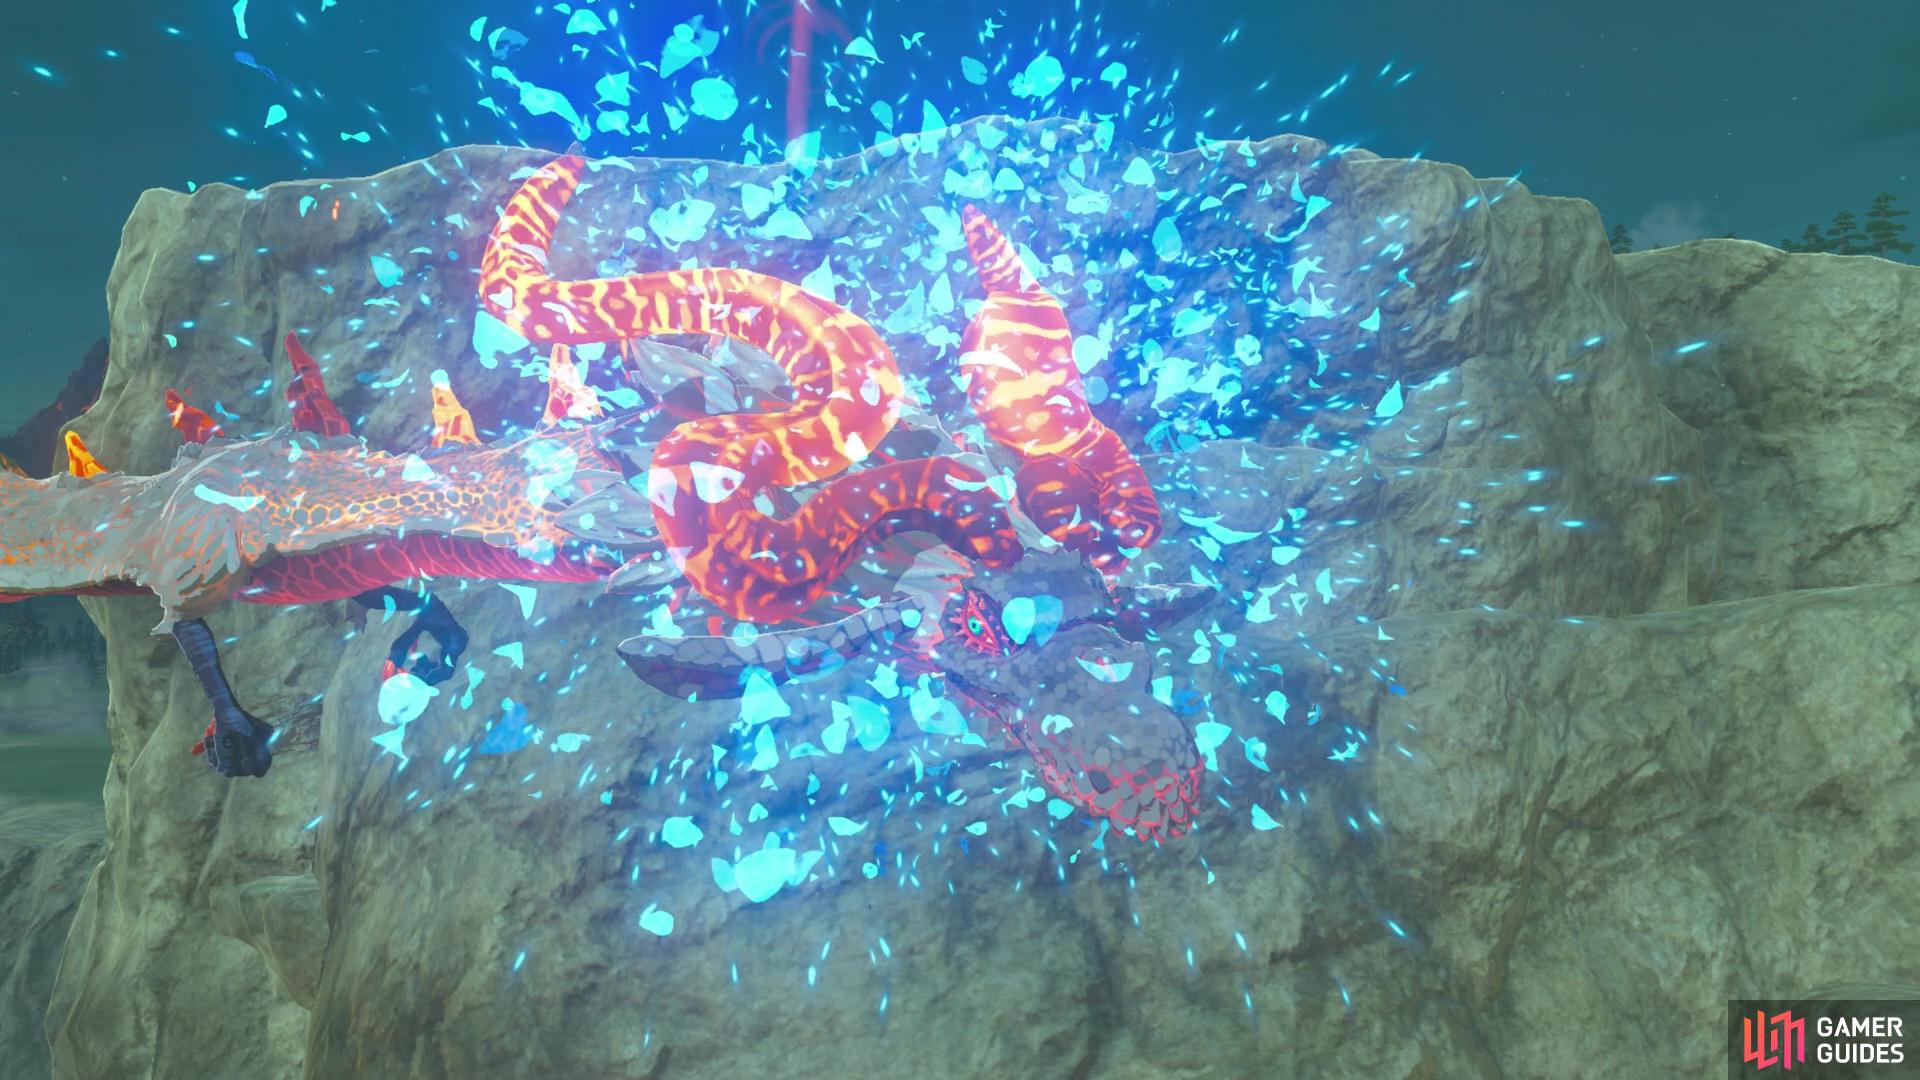
and if you hit them, the blue veil will burst and the shrine will appear.
How to Complete Shira Gomar: Aim for Stillness
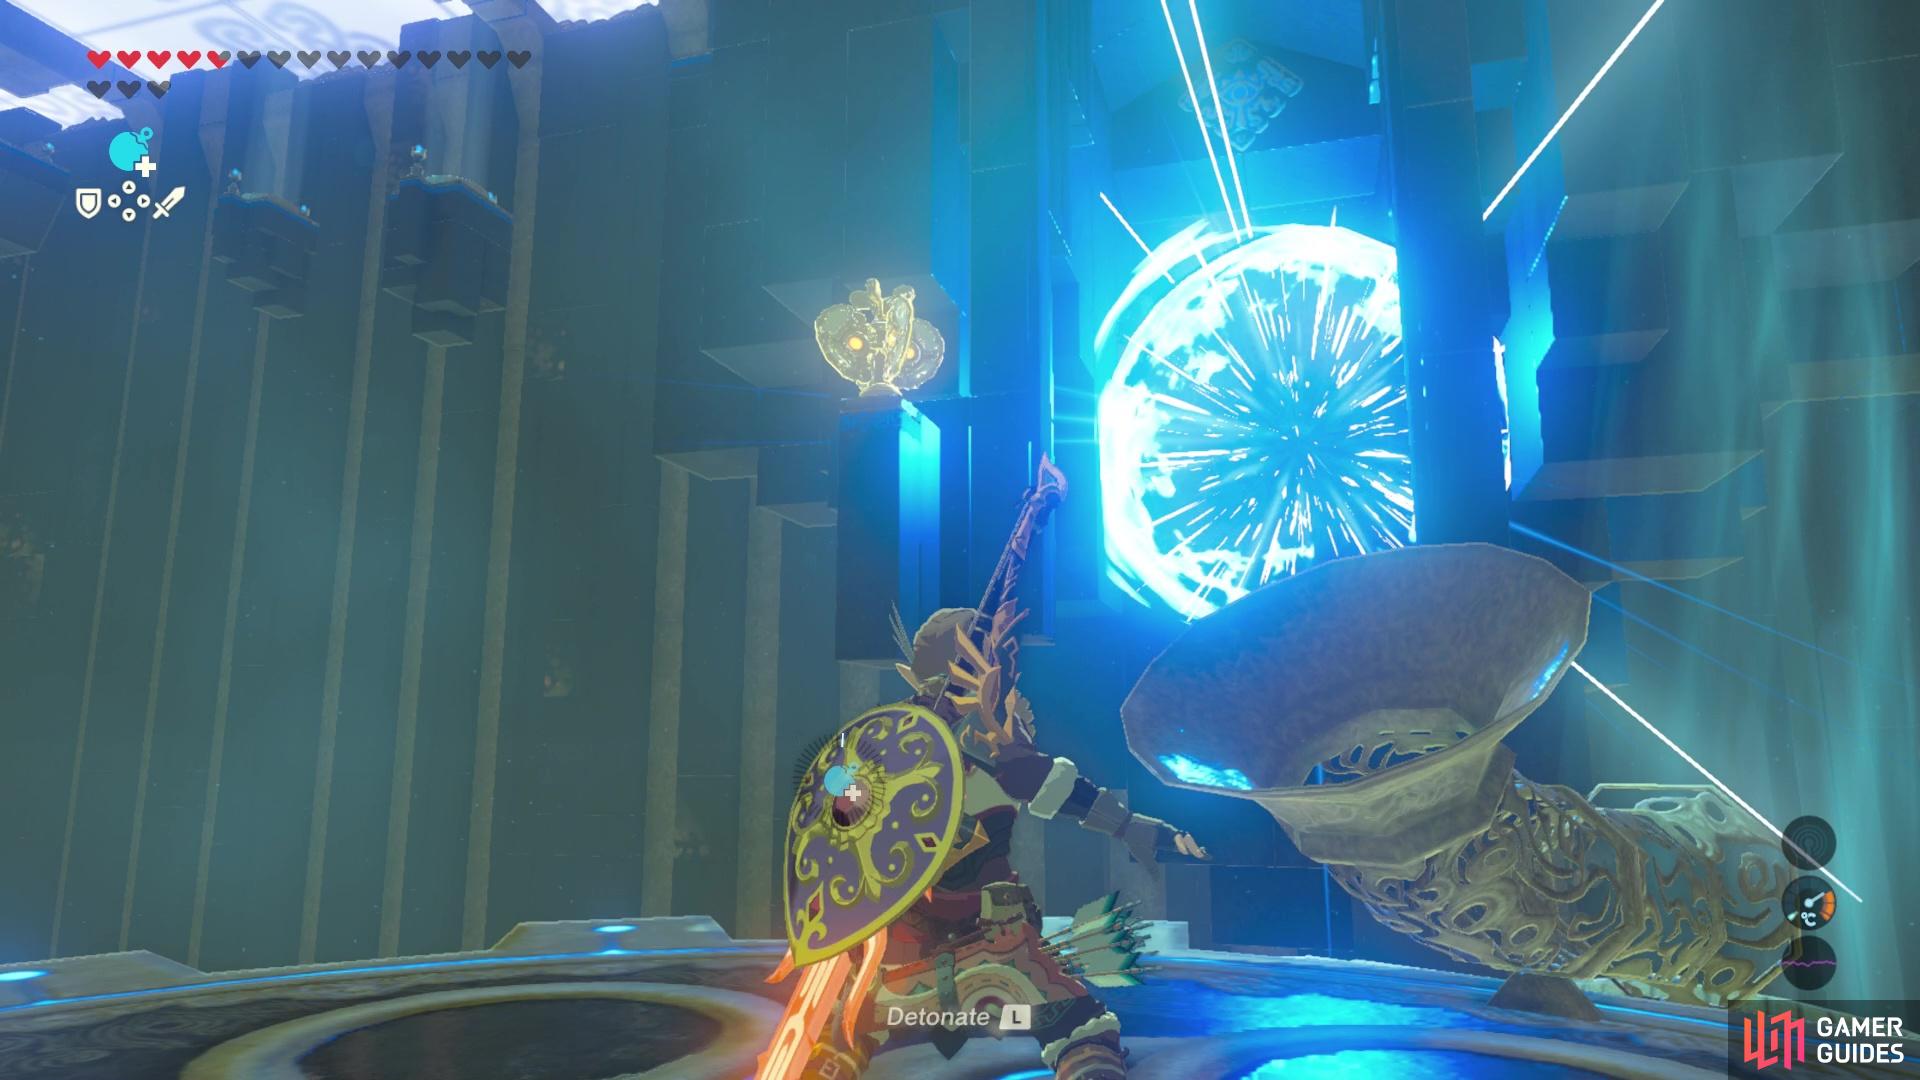
First off, use the gusts of wind generated by fans up ahead to paraglide over to the platform up ahead. Then, you should be able to spot some stone blocks above you. You’ll want to place a bomb on the fan nearby and let it float up and then detonate it when the bomb is close to the stone blocks. You can then float up using the fan up to the ledge where the blocks were.
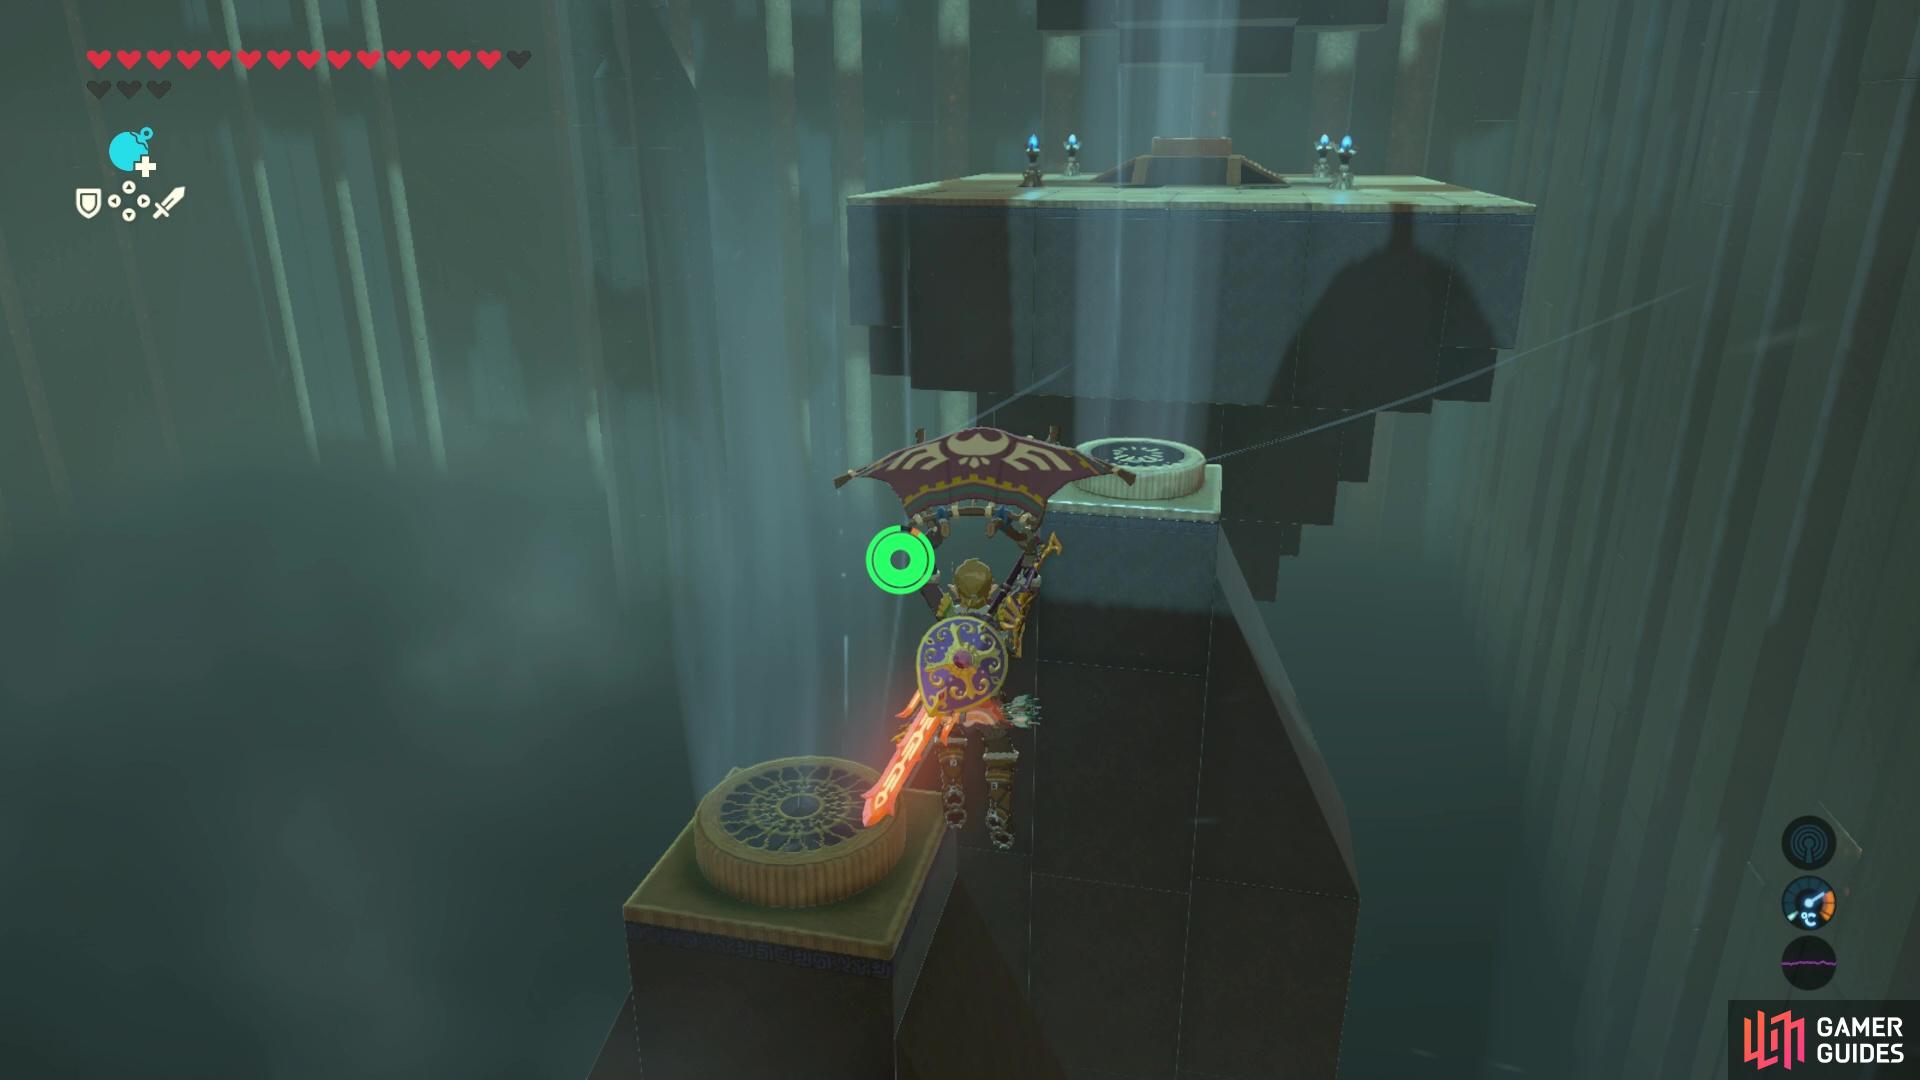
Up ahead, you’ll find a tube in front of some more stone blocks. Place a bomb in the tube and let it roll into a stream of wind and wait for it to reach the stone blocks then detonate it. You can then use the gust of wind to travel all the way to another set of fans that’ll take you to a platform overlooking a rotating cog. To the left of the cog you’ll spot a platform with a treasure chest, and you can reach it if you paraglide into one of the cogs gusts of wind when its facing the platform. You’ll be able to loot the chest for 10x Bomb Arrows.
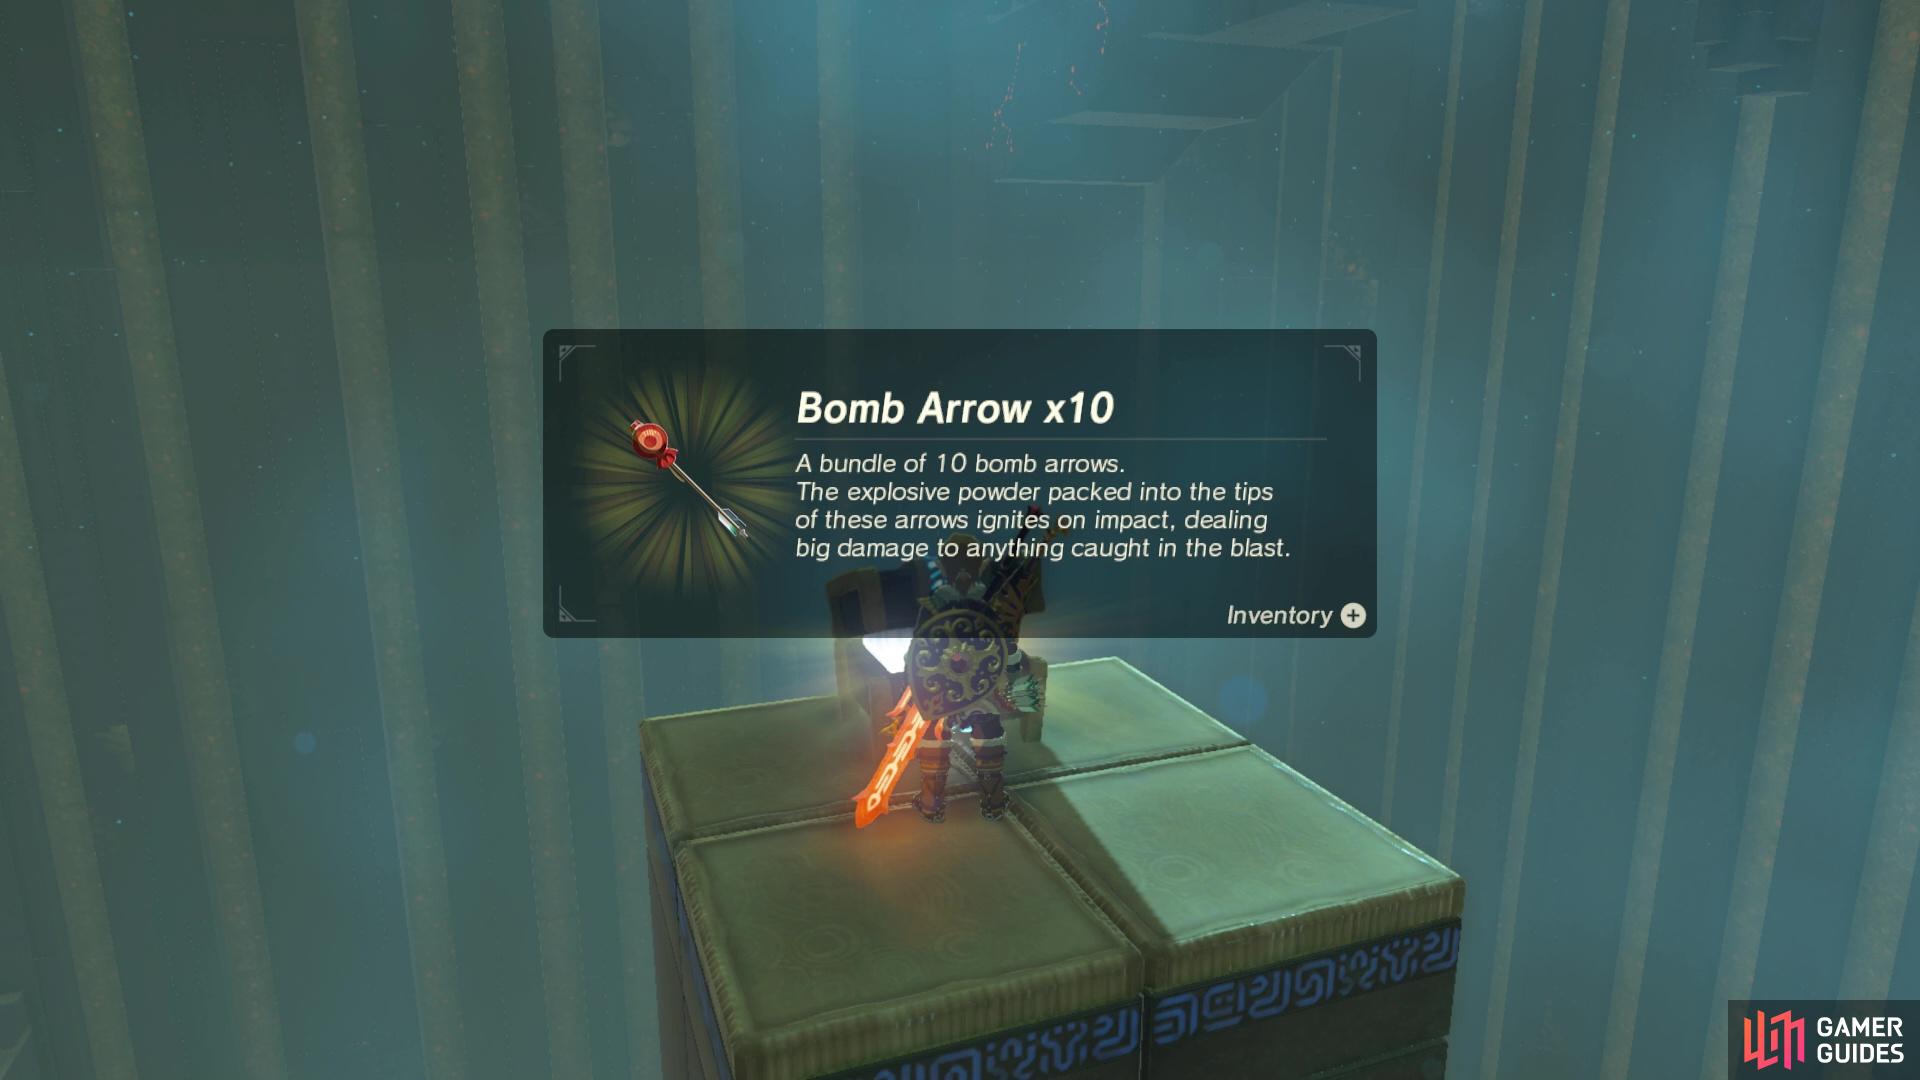
You can loot the chest for some Bomb Arrows.
Once you’ve grabbed the treasure, hop back down onto the rotating cog and assess the situation. There are two fans with tunnels above them for bombs. Up ahead you’ll see some stone blocks that could be exploded using bombs. But whenever a gust of wind goes past the small propellor next to the stone blocks, a gate shuts and blocks the gust of wind’s pathway to the stones.
To combat this, you’ll need to be a master of timing. As one of the fans approaches the small propellor, use stasis on the propellor so that it isn’t impacted by the wind. Then, place a bomb in the tube as it’s about to go past stone blocks so you use the bombs to explode them. The method is simple enough but the timing of it all can be surprisingly difficult since there’s a lot to do in a small amount of time. If you have an especially tricky time timing the bomb in the gust of wind then you could use the bomb arrows you just looted from the chest! Though, they’re pretty powerful and expensive so maybe use them as a last option if you’re stuck.
Use stasis on the propellor
then place a bomb in the tunnel to explode the blocks.
Once the blocks are gone, you’ll have to repeat the stasis process on the propellor fan so that you can use the gusts of wind to paraglide onto the ledge.
And finally, you’ll be able to use a series of upward facing fans to paraglide to the end of the shrine where you can claim the first Medoh’s Emblem.
No Comments