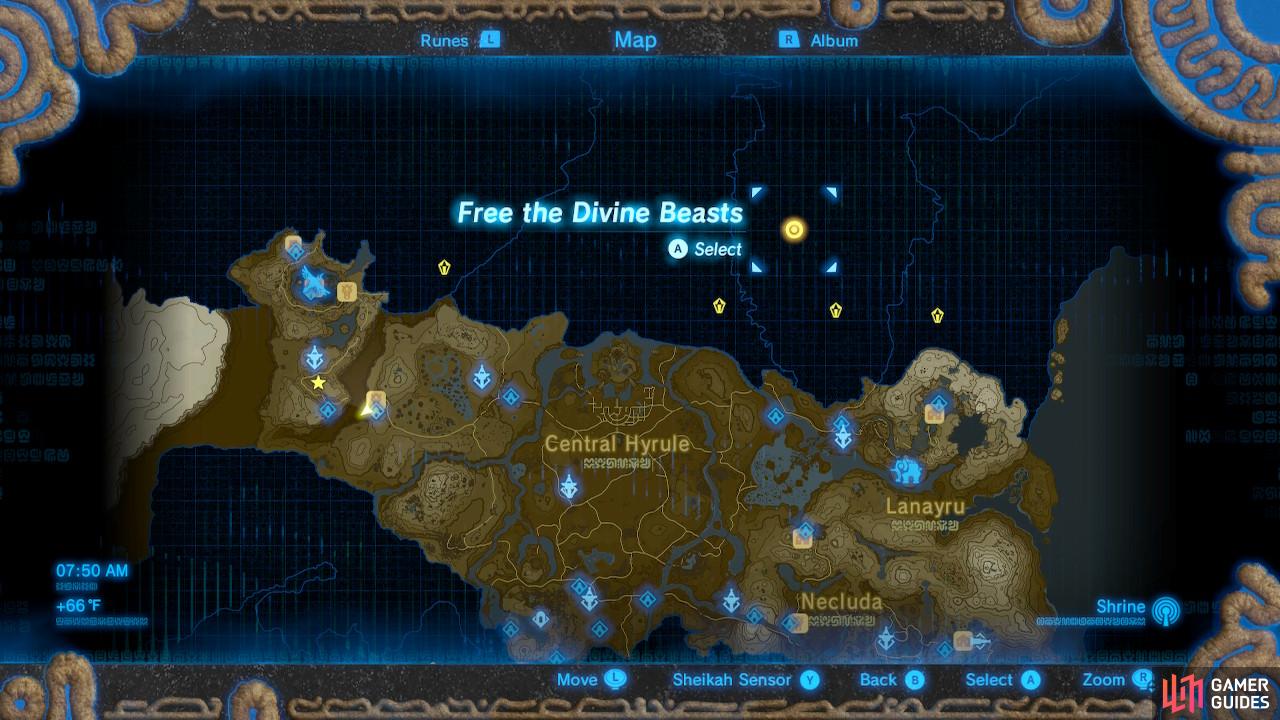
Main Quest: Free the Divine Beasts
It’s time to dive into the meat and potatoes of this game: the Divine Beasts. Originally built 10,000 years ago to aid in the demise of Ganon, the tables turned for the worse 100 years prior and it is time to free the Divine Beasts from their evil master.
Each Divine Beast will have its own subset of Main Quests once you reach the domain. This page will mostly cover how to reach the cities that are near each Divine Beast, and then provide a link to jump directly to the next Main Quest.
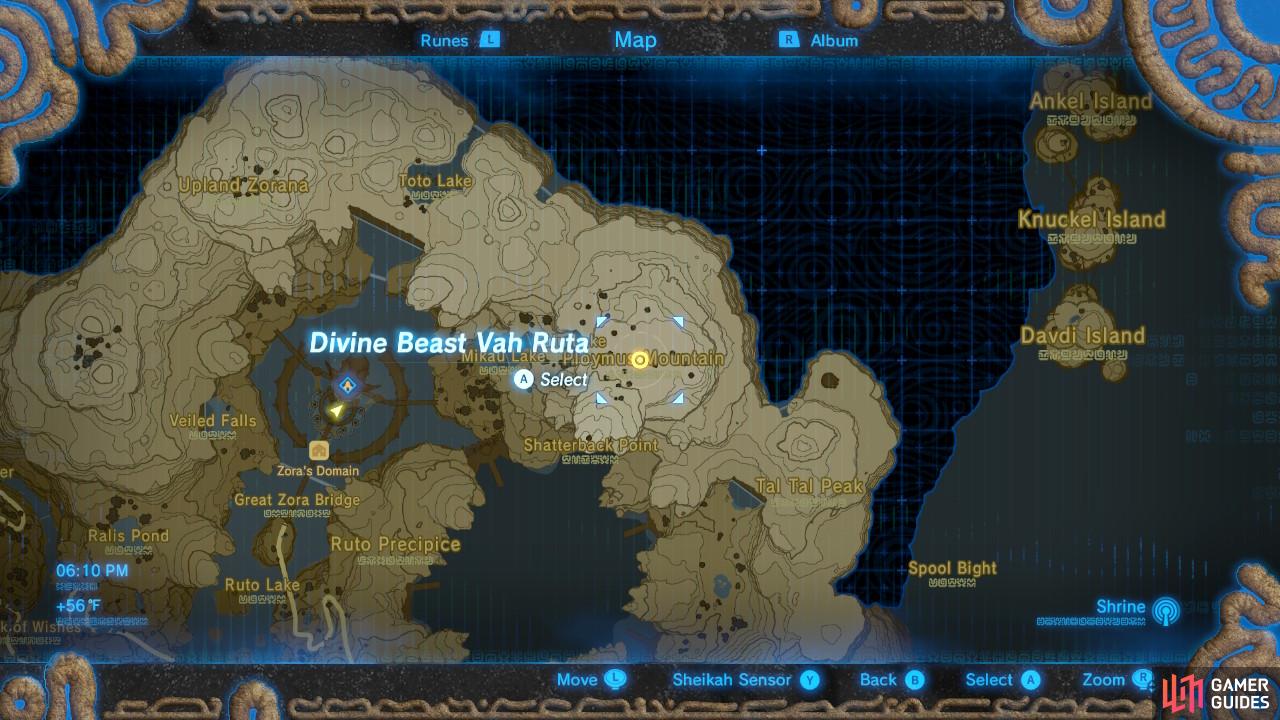
Divine Beast Vah Ruta
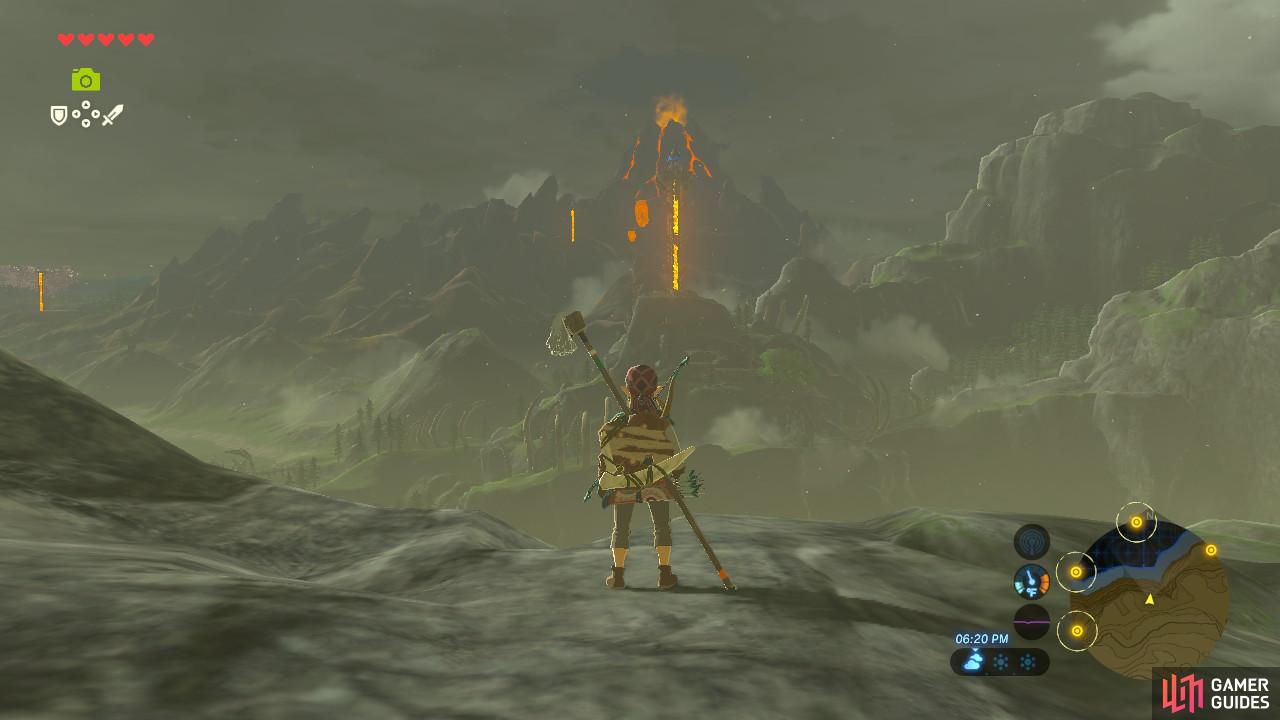
Our first Divine Beast will be Vah Ruta in the Zora Domain. It is the rightmost yellow dot of the four dots, and happens to be the closest to us.
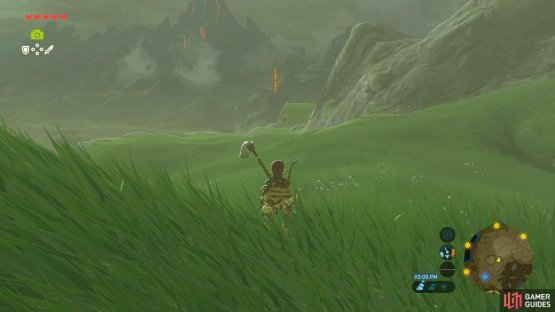

(1 of 2) Head north past the shrine in the village

Head north past the shrine in the village (left), To get down into the vast valley and to the other side, use your Paraglider. (right)
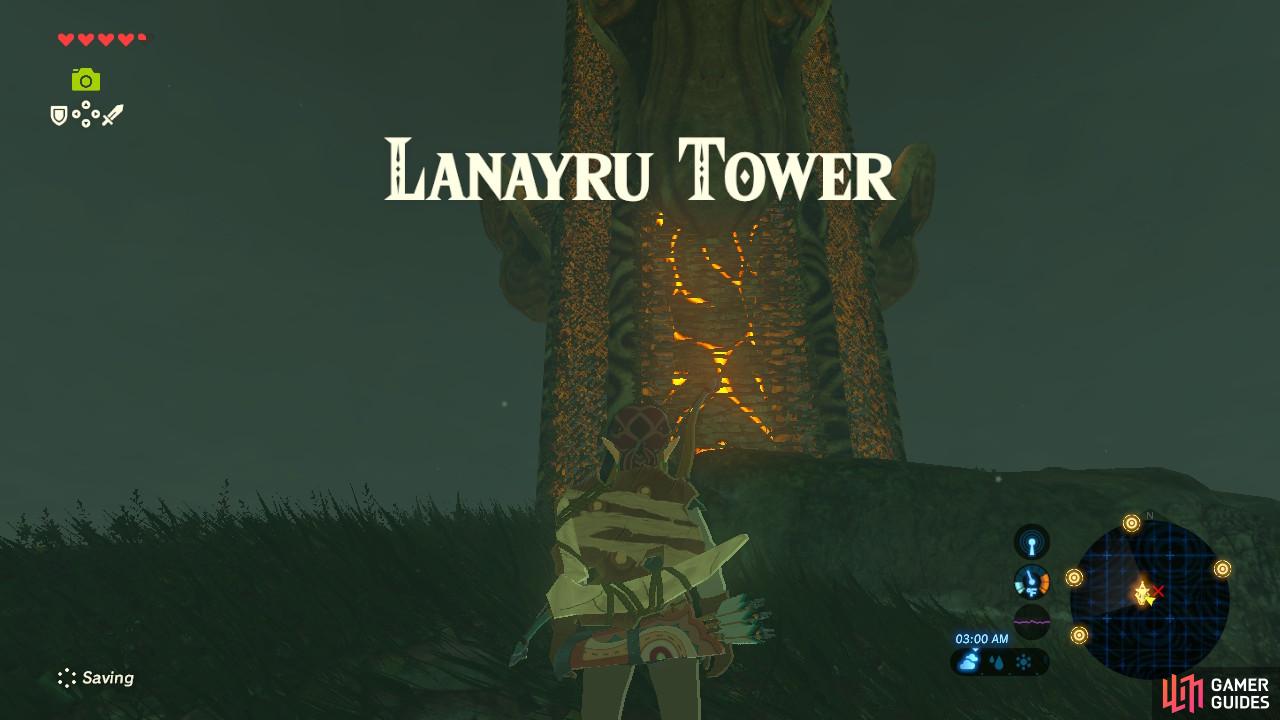
Assuming that you are leaving from Kakariko, the fastest way to your first Divine Beast is to head north past the Ta’loh Naeg Shrine. You will find yourself walking along a sheer cliff far above the ground level of Hyrule. To your left is a tower, and also your first destination.


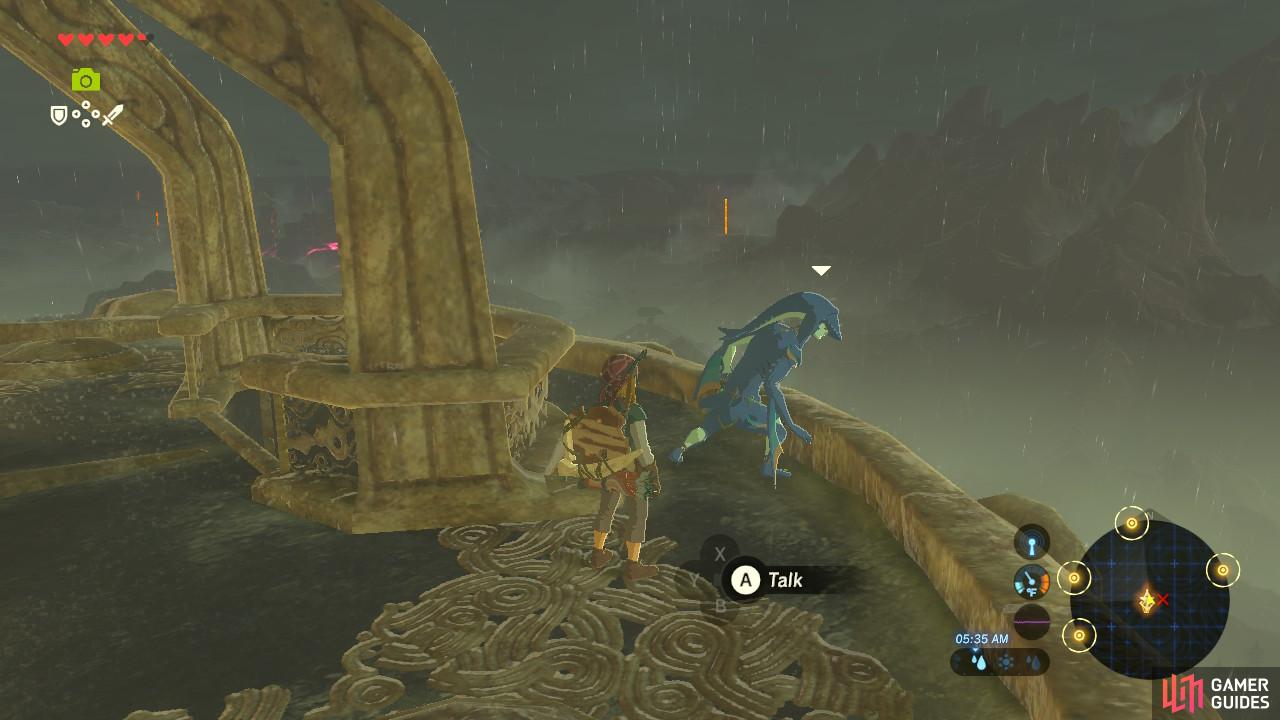
(1 of 2) Tona will call out to you as you cross the bridge
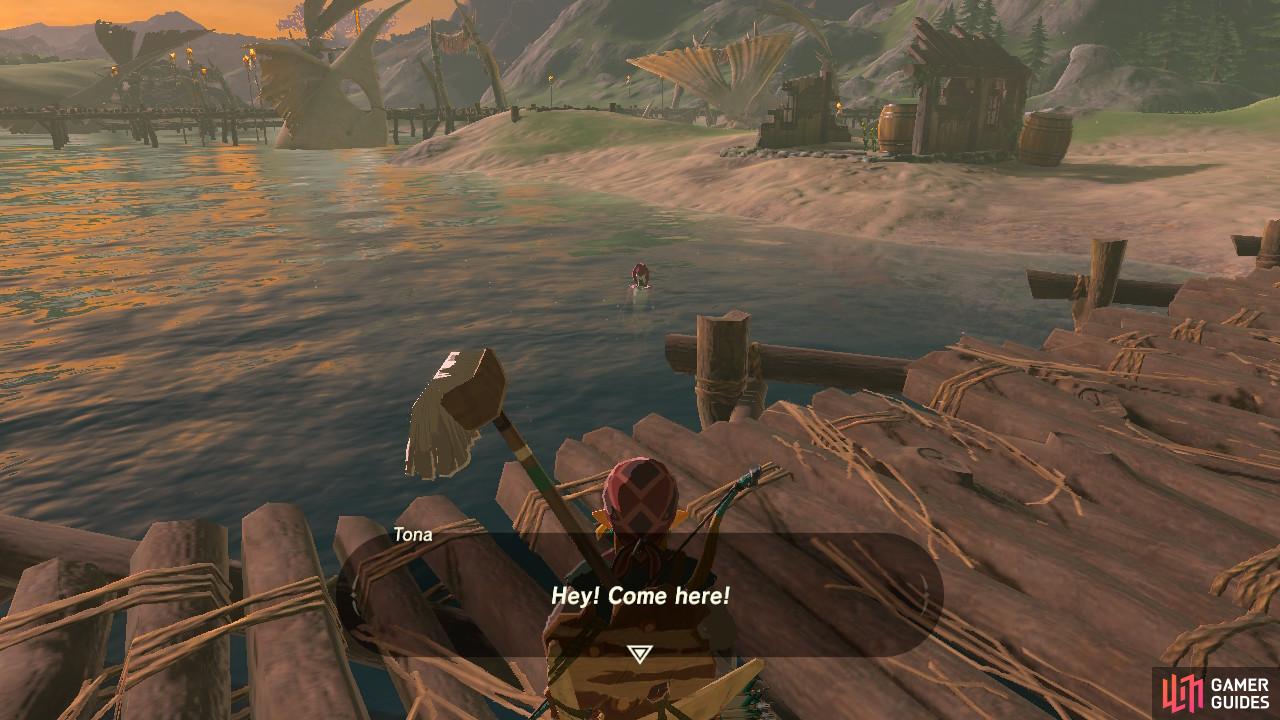
Tona will call out to you as you cross the bridge (left), This is the direction you need to go in to continue your quest. (right)
Paraglide down from the cliffs and as you cross a wooden bridge you will run into an NPC in the water. She is a Zora named Tona and she will mention to you that Prince Sidon has been searching for a “strong Hylian warrior” and you happen to fit the bill. Considering that the Divine Beast is near the Zora Domain, meeting Prince Sidon sounds like a good idea.


(1 of 2) The tower is swarming with enemies, so be careful!
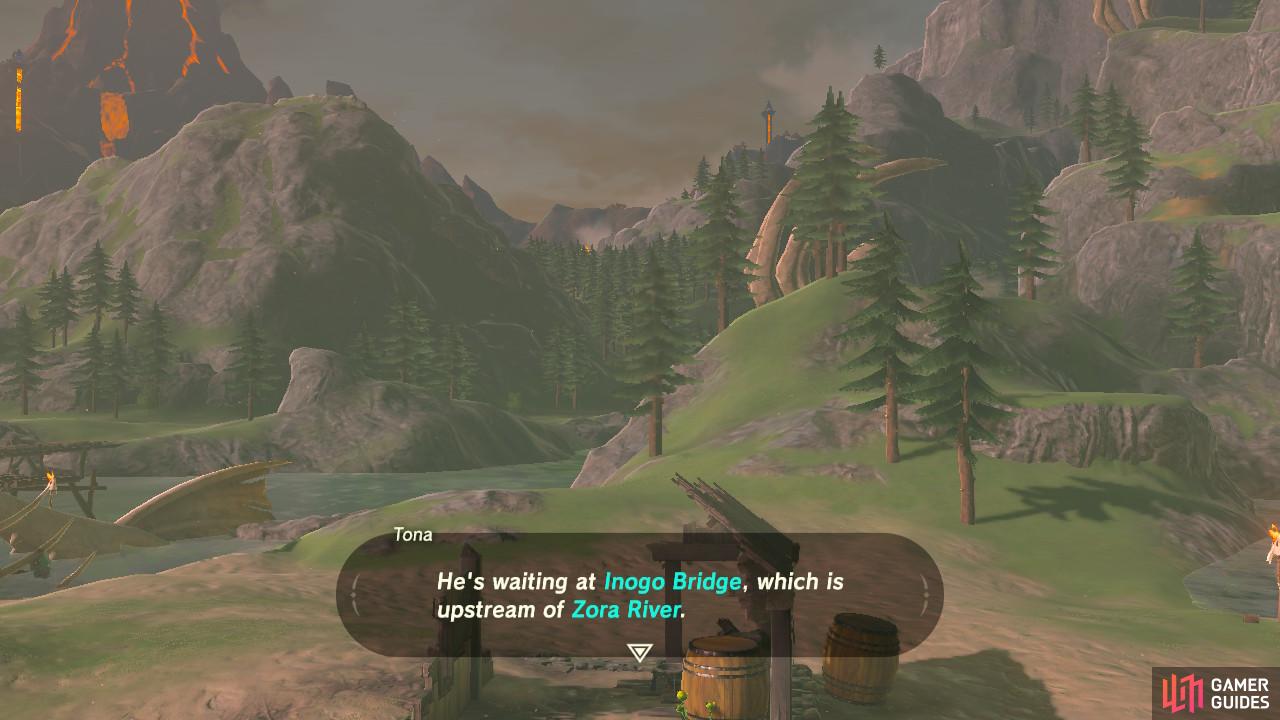
The tower is swarming with enemies, so be careful! (left), This Zora NPC will give you further directions on where to go to see Prince Sidon. (right)
The Lanayru Tower is directly ahead of you if you wish to activate it. There are Lizalfos and Lizalfos camps everywhere, however, plus a Wizzro near the top. If you go at night, a lot of the monsters making camp will fall asleep, making it easier for you to sneak by. At the top of the Lanayru Tower is another Zora. He will again talk about searching for Hylians and will tell you to go see Prince Sidon.
To the left of the tower is a nearby shrine. That shrine is right next-door to where Prince Sidon will meet up with you. Paraglide to it and make your way to the bridge.


(1 of 2) Prince Sidon will greet you before the bridge
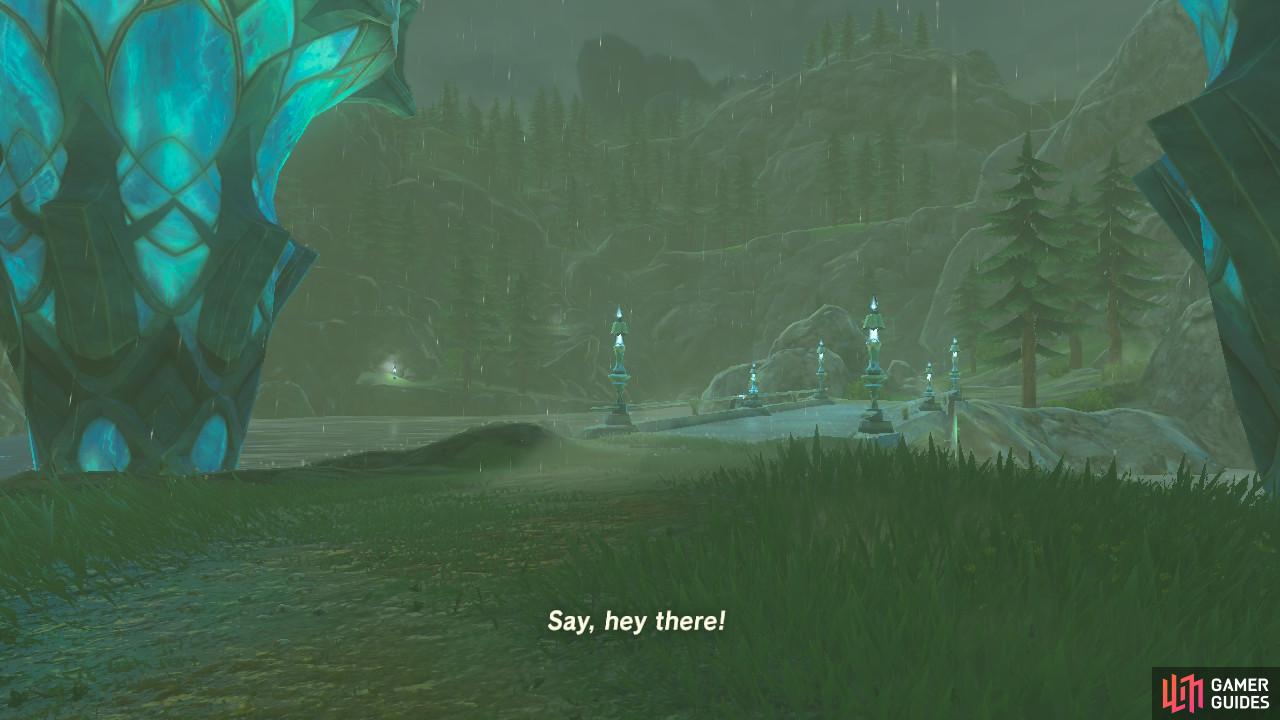
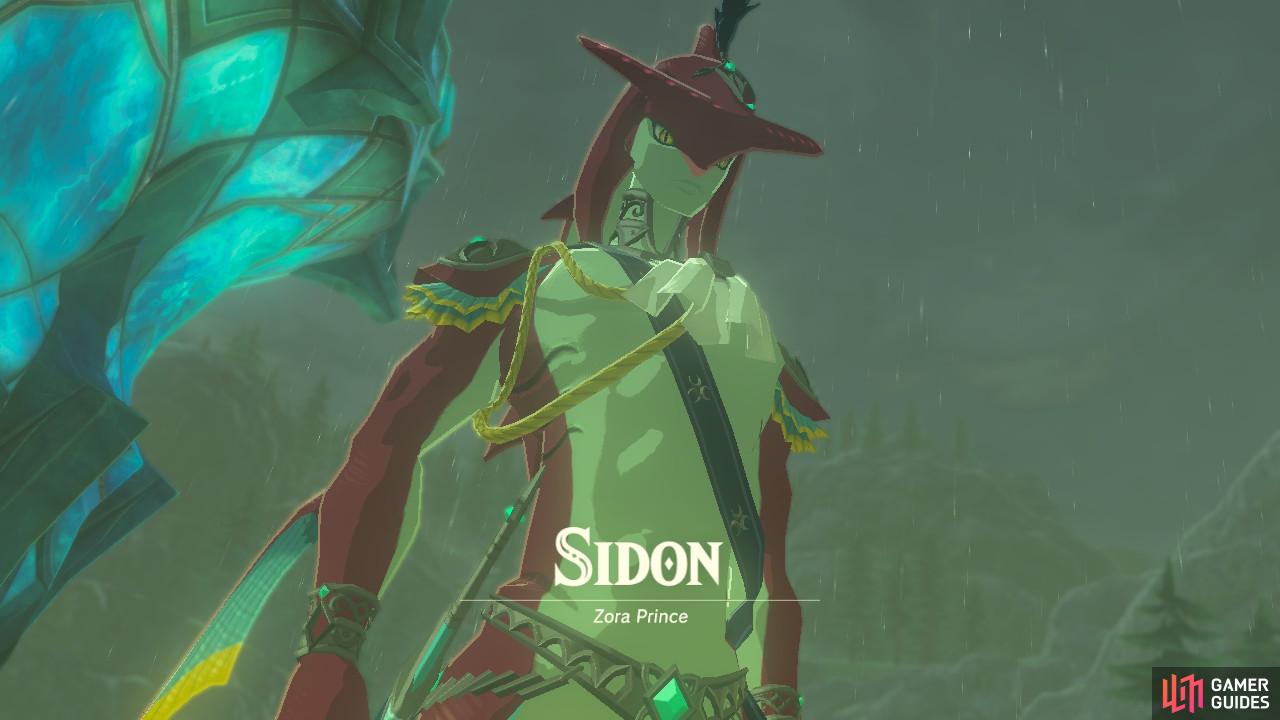
Prince Sidon will greet you before the bridge (left), He will help get you to the Zora’s Domain and, ultimately, the Divine Beast. (right)
Prince Sidon will be eager to meet you. Don’t get tired of his smile yet, as this is only the start of the quest to reach the Zora Domain and its nearby Divine Beast. Prince Sidon will tell you that the Zora Domain is in fact in a lot of danger from the perpetual rain. However, because you cannot climb waterfalls like a Zora can, and you cannot climb rocks in the rain, you will have to take the longer path that follows the river. As luck would have it, said path is infested with monsters. As a gift, Prince Sidon will give you an Elixir that gives electricity resistance. Don’t use it now, as you will want it for later.


(1 of 2) To get to the Zora’s Domain is a quest all on its own
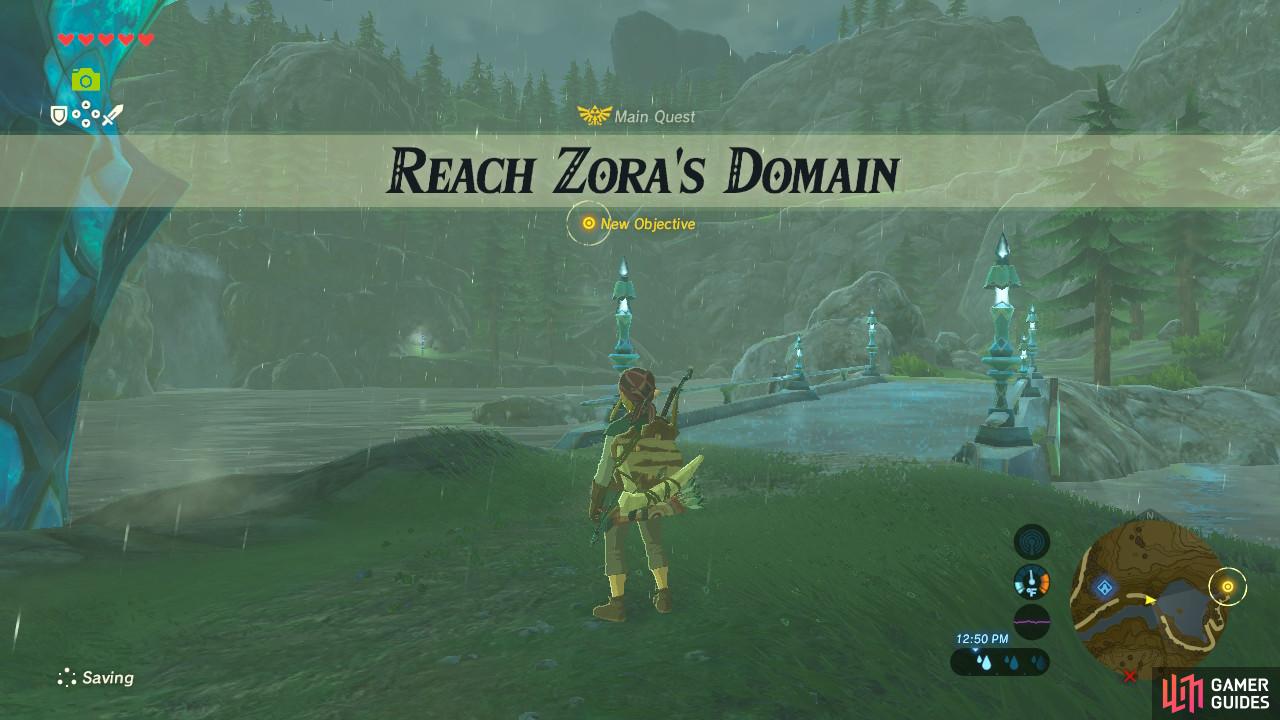
To get to the Zora’s Domain is a quest all on its own (left), It is going to be a long, dangerous trek so make sure you are prepared. (right)
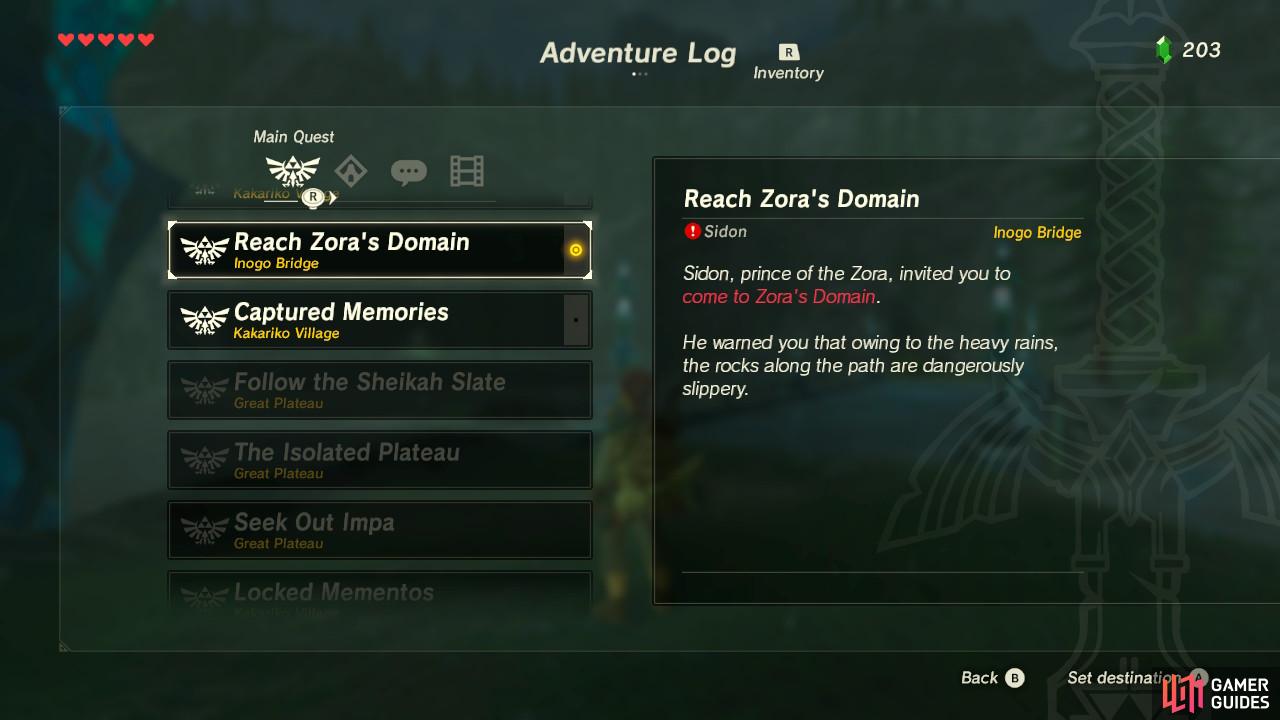
With Prince Sidon’s new request for you, the game will assign you a new Main Quest: Reach Zora’s Domain.
Click here for a guide on how to reach the Zora’s Domain.
Once you have completed Reach Zora’s Domain, you will begin a lengthy cutscene with the king of the Zora: King Dorephan.


(1 of 2) King Dorephan will tell you about what’s going on with the Divine Beast


King Dorephan will tell you about what’s going on with the Divine Beast (left), The Zora Armor will open up a lot more of Hyrule to you for exploration. (right)
He will recognize you as Link and tell you about how the Divine Beaest Vah Ruta has been using its water creation ability to spout water indefinitely over the Zora’s Domain and the surrounding locale. If left unchecked, Vah Ruta could flood all of Hyrule. The only way to stop the water is to shoot the external weakpoints with Shock Arrows. Unfortunately, Zora are extremely vulnerable to lightning so it is too risky for them. That explains why Prince Sidon has been searching for Hylians. You will be gifted the Zora Armor as well, allowing you to climb waterfalls.
After the cutscene, descend down to the statue of Mipha to confront Muzu. Another cutscene will begin where you will recall a past memory of interacting with Mipha. After you have remembered, equip the Zora Armor that Prince Sidon gave to you to finally convince Muzu to help.


(1 of 2) You can finally begin the process of freeing the first of the Divine Beasts
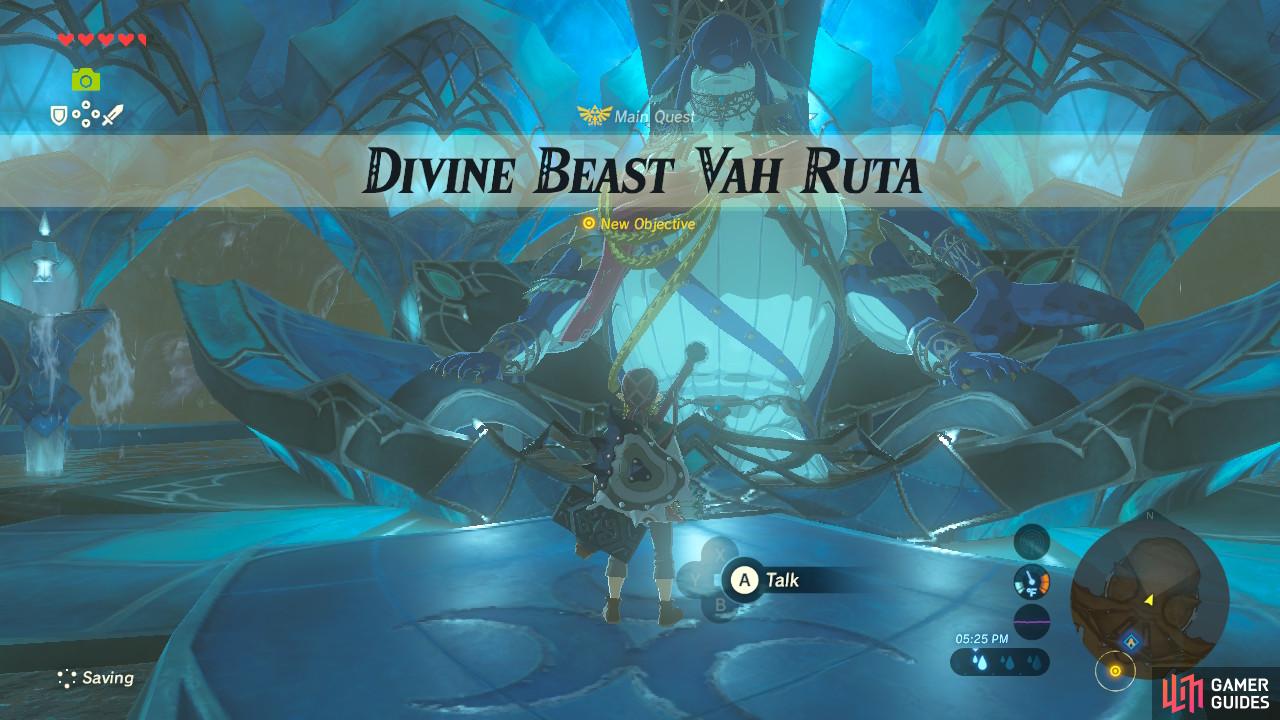
You can finally begin the process of freeing the first of the Divine Beasts (left), This is your new destination to begin the main quest. (right)
Muzu will tell you that a nearby mountain is home to a Lynel and a whole stack of Shock Arrows. This will start your next main quest, Divine Beast Vah Ruta.
Click here for a guide to Divine Beast Vah Ruta.
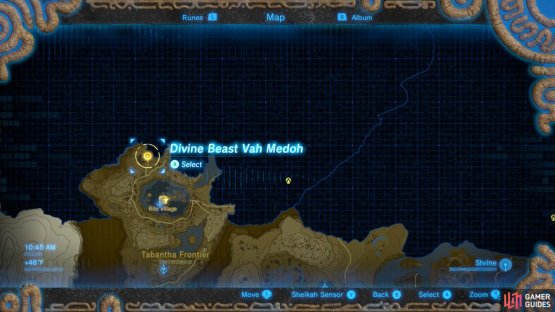
Divine Beast Vah Medoh

The next Divine Beast we will travel to will be Divine Beast Vah Medoh of the Rito race. This Divine Beast is all the way out in the northwest corner of the map (not the leftmost dot or the rightmost dot, but the dot in the middle). It is a long journey but the power we will get from the Rito is also extremely useful.
The fastest way to get there is to return to the Great Plateau’s Oman Au Shrine, and Paraglide towards the adjacent region’s tower. This is what we will be doing so feel free to follow along.

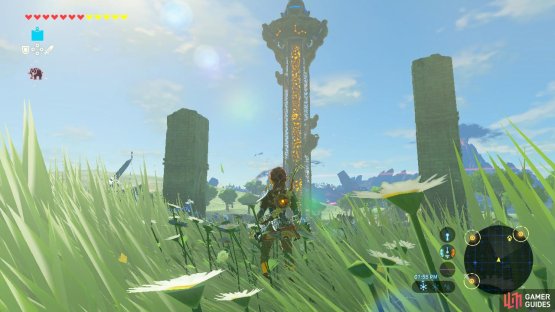
(1 of 2) There are a lot of gatherable items here

There are a lot of gatherable items here (left), This tower is guarded by multiple Guardians (right)
We will be going through a rather sparse forest, which will lead us up to Central Tower. This region’s tower is guarded by several Guardians. One is walking around, and two are stationary. Additionally, there is another stationary Guardian further ahead of the Tower that might detect you after you activated the Tower and Paraglide down from it. Their lasers can be parried to kill them but if you move swiftly and silently you can slip past them altogether.
From the tower you can actually see the Divine Beast Vah Medoh flying in the distance, so keep going in that direction. You will pass through another forest. Ignore the sleeping Black Hinox for now.
(1 of 2) There aren’t any enemies in the river, but there are some fish you can hunt


There aren’t any enemies in the river, but there are some fish you can hunt (left), You can see the next tower in the distance (right)
You will finally arrive at a large river. Cryonis is the safest way to do so. The cliffs will prove to be a tough climb if you only have one stamina wheel, but it is totally doable as long as you pack some stamina-replenishing food (and it isn’t raining).
Once you have finished the climb, you will arrive in an open field with some sparse trees here and there. Again, ignore the sleeping Blue Hinox (maybe take a picture of it for your Compedium?) and continue forward. The landscape will quickly become rocky.
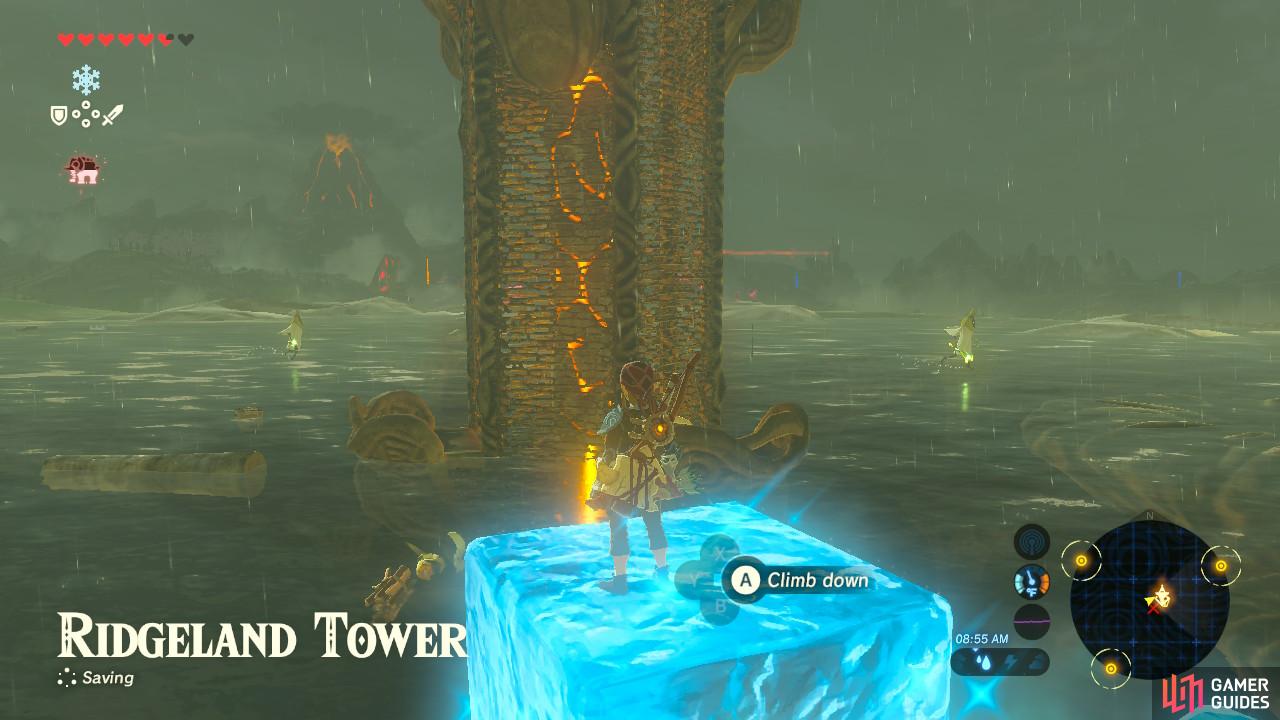
The Ridgeland Tower stands proudly near this area for you to activate. You will likely have to go around the tower on the foot path to actually get to it, as it is located on a high elevation and in the middle of a lake. It is also surrounded by Blue and Black Lizalfos, and Electric Wizzrobes. The best way to approach this tower is to first take out the Lizalfos without attracting the attention of the Wizzrobes. If you are lucky, the Wizzrobes will mostly take to floating around one side of the tower, leaving you free to ascend without alerting them.
If you do have to fight the Wizzrobes, however, use some electric-resisting food or Elixirs if you have any, and try to shoot them with arrows as that will inflict critical damage.
Again, from the peak of the Ridgeland Tower you can see Divine Beast Vah Medoh. We are almost there. Once we finish crossing this region we will finally arrive in the region where the Rito live, and have one more tower to activate along the way.

(1 of 2) Continue to Paraglide north
Continue to Paraglide north (left), There is a Shrine Quest in this area (right)
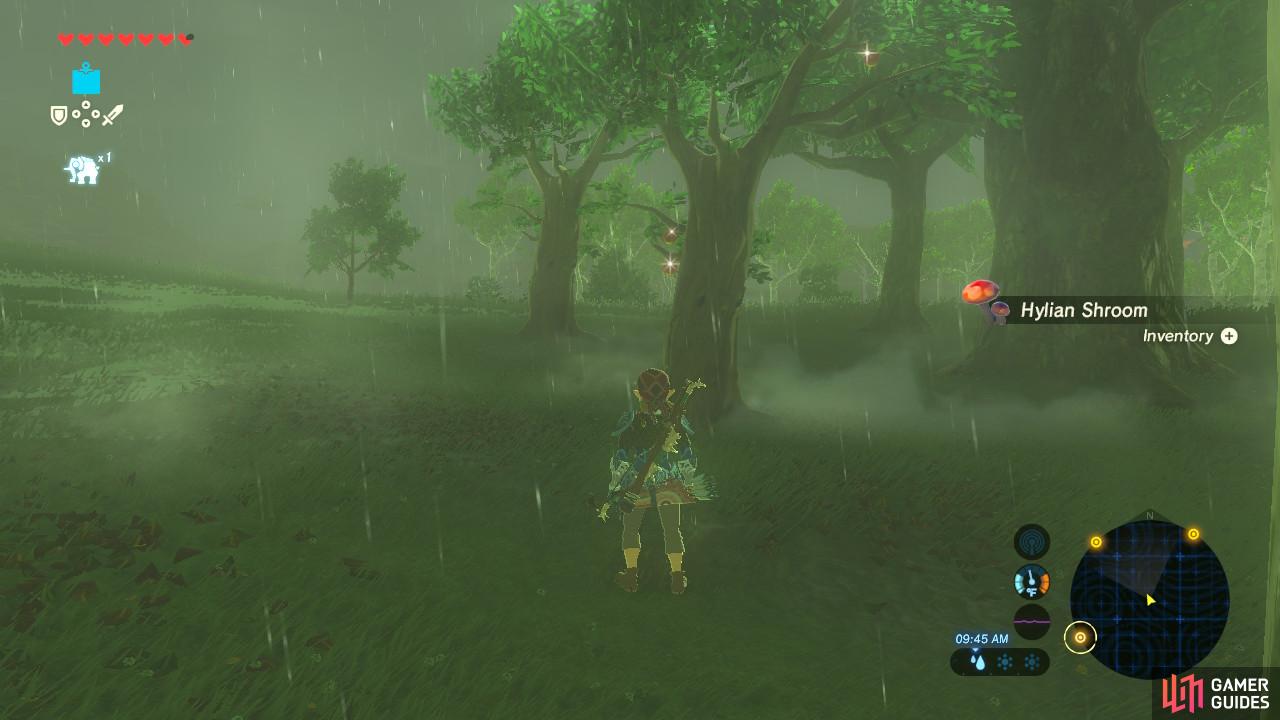
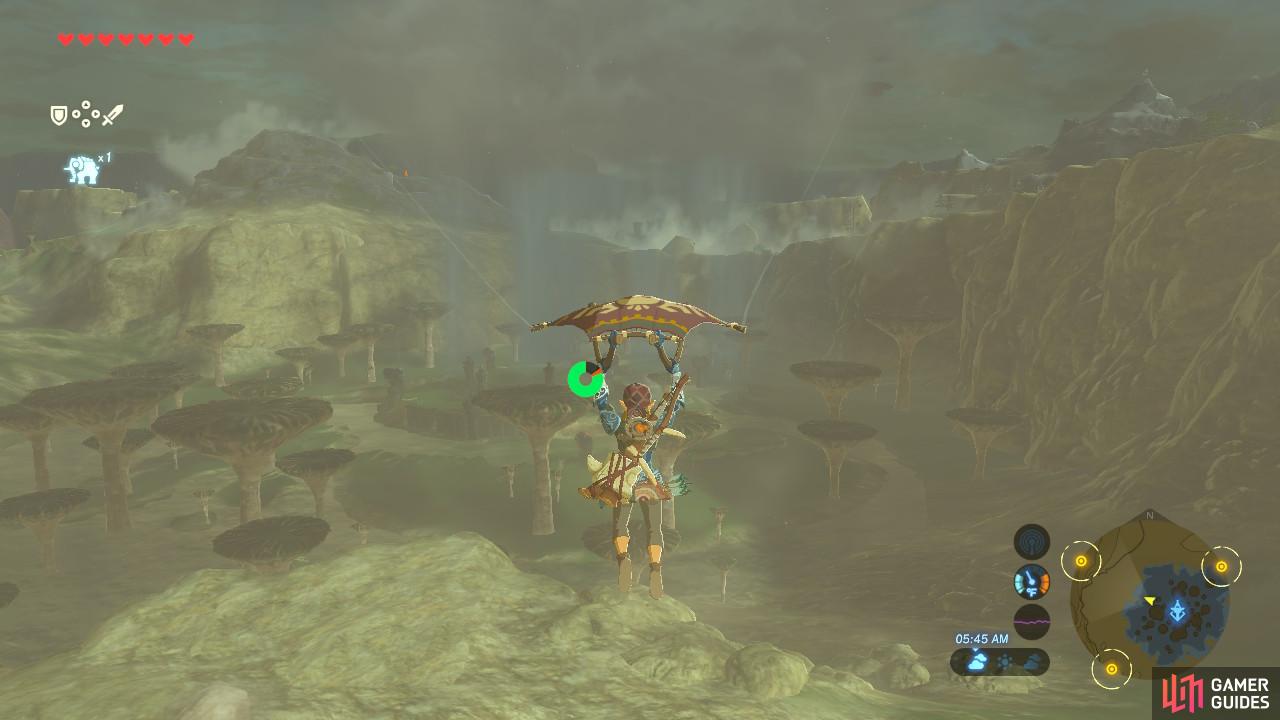
From the Ridgeland Tower you can Paraglide through a prehistoric-looking forest in the middle of a swampy area.
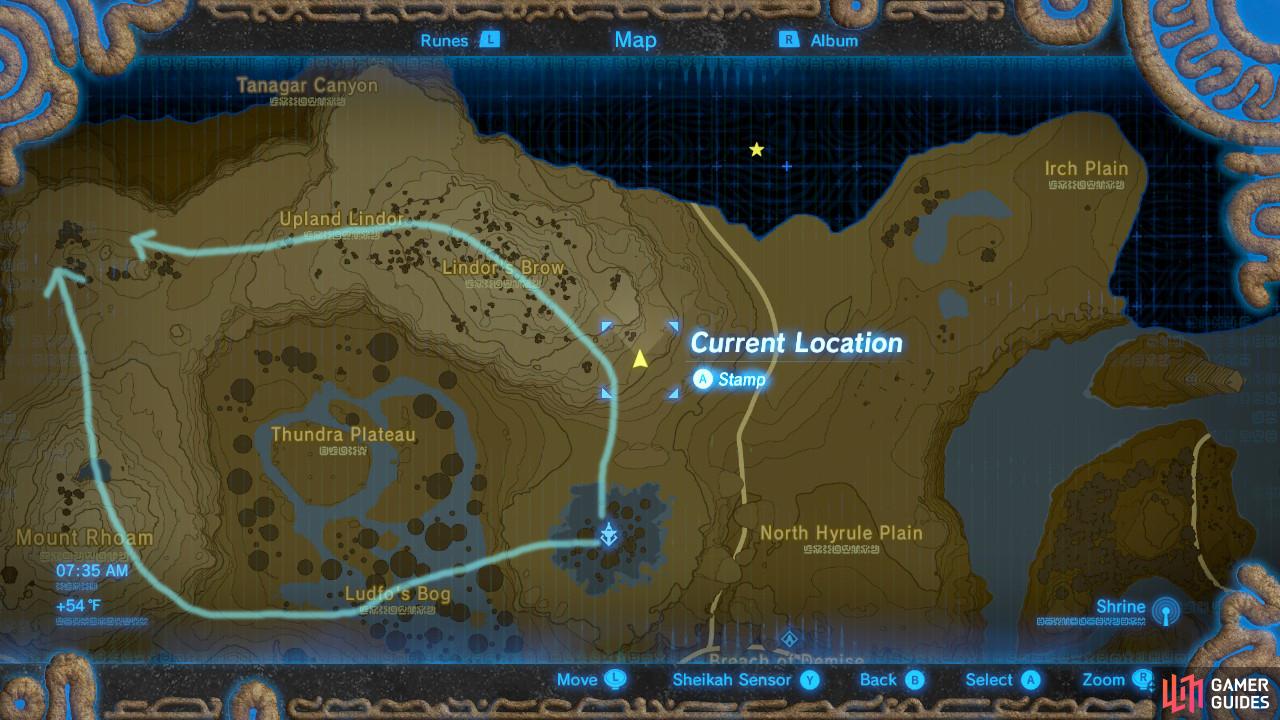
To get to the next region, you will want to go to the side and go up and around the C-shaped mountain at the edge of this region. You can go from either side, with the right side being slightly lengthier but very quiet and peaceful, with a lot of animals to hunt. We were running low on resources so we went ahead and took the long way.
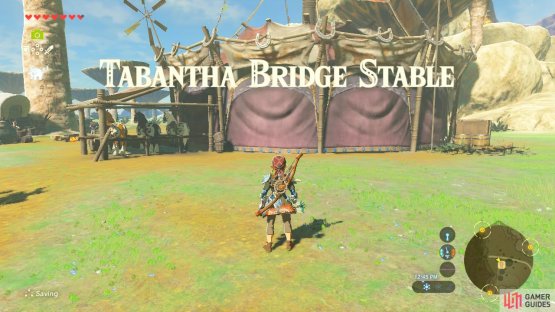

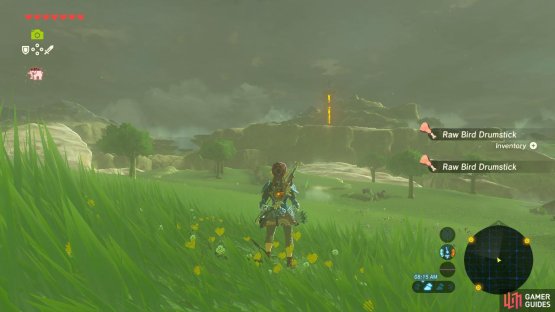
(1 of 2) This stable is a great time to take a well-earned break
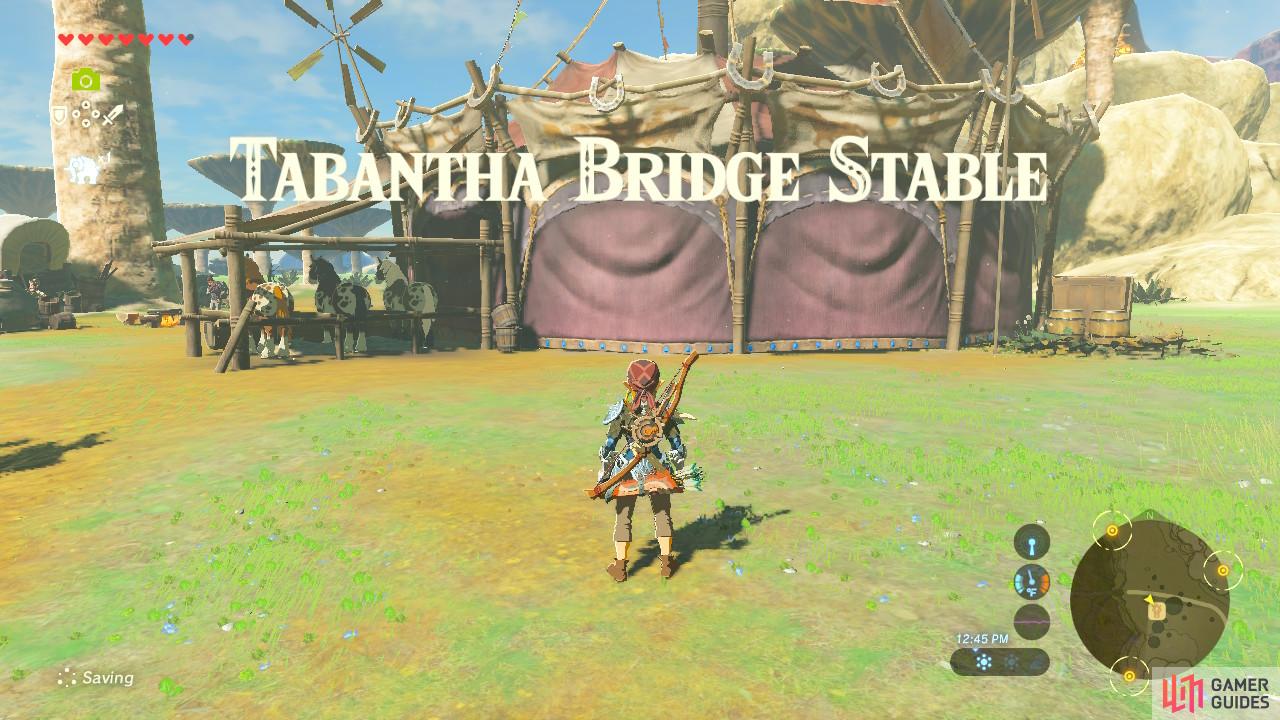
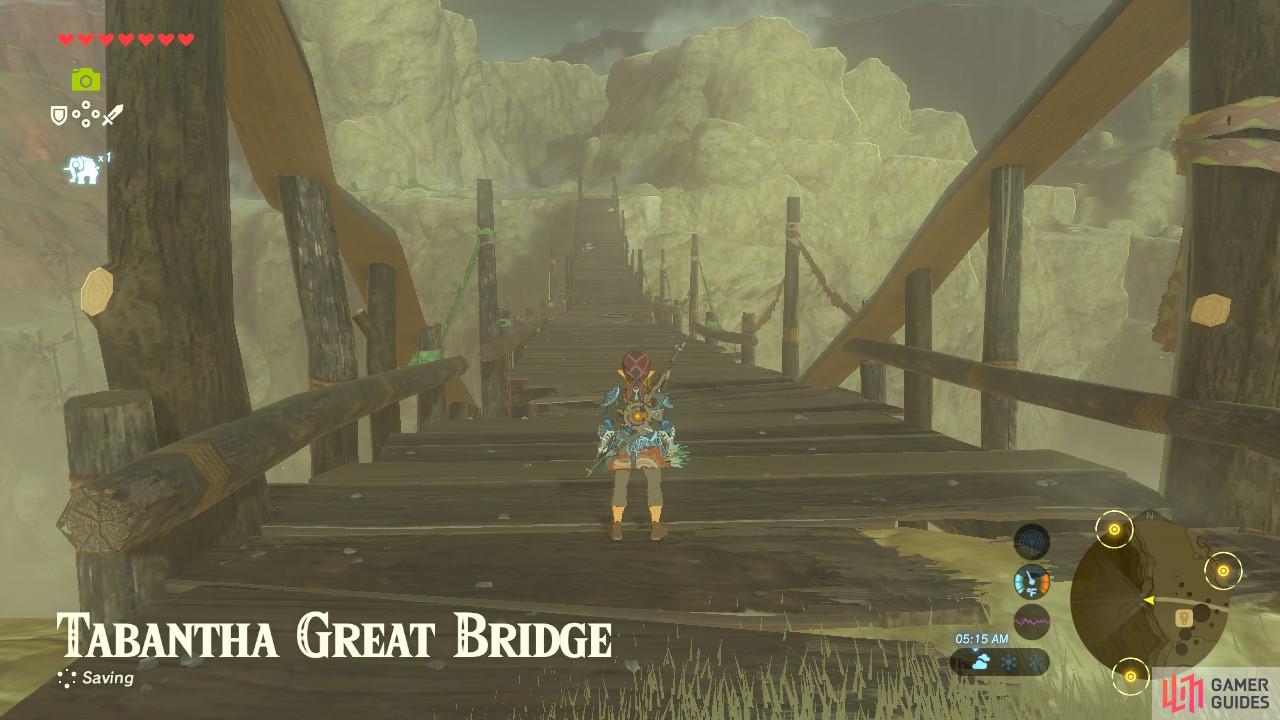
This stable is a great time to take a well-earned break (left), If you’re out on the bridge in the morning, you might see Dinraal the dragon (right)
The Tabanatha Bridge Stable marks a checkpoint where you can replenish your supplies, sit by the fire, and generally take a break before moving on with your journey. It is right next to the Tabantha Great Bridge, which you will want to cross to continue on your way to the Rito.
Once you cross the bridge, you will probably see that there are flying Guardians patrolling the footpath. Called Guardian Skywatchers, they behave exactly like the walking Guardians except they fly. You can still destroy them by shield parrying the laser. However, if you wish to avoid conflict, you can climb up the rocks to your right and follow the general direction of the footpath.
There are a few Black Bokoblins patrolling the area near the Tabantha Tower. Take them out or run past them. There are a few more Black Bokoblin and Lizalfos camps scattered around the tower as well.


(1 of 2) Shoot this eye to be able to get to the tower at all
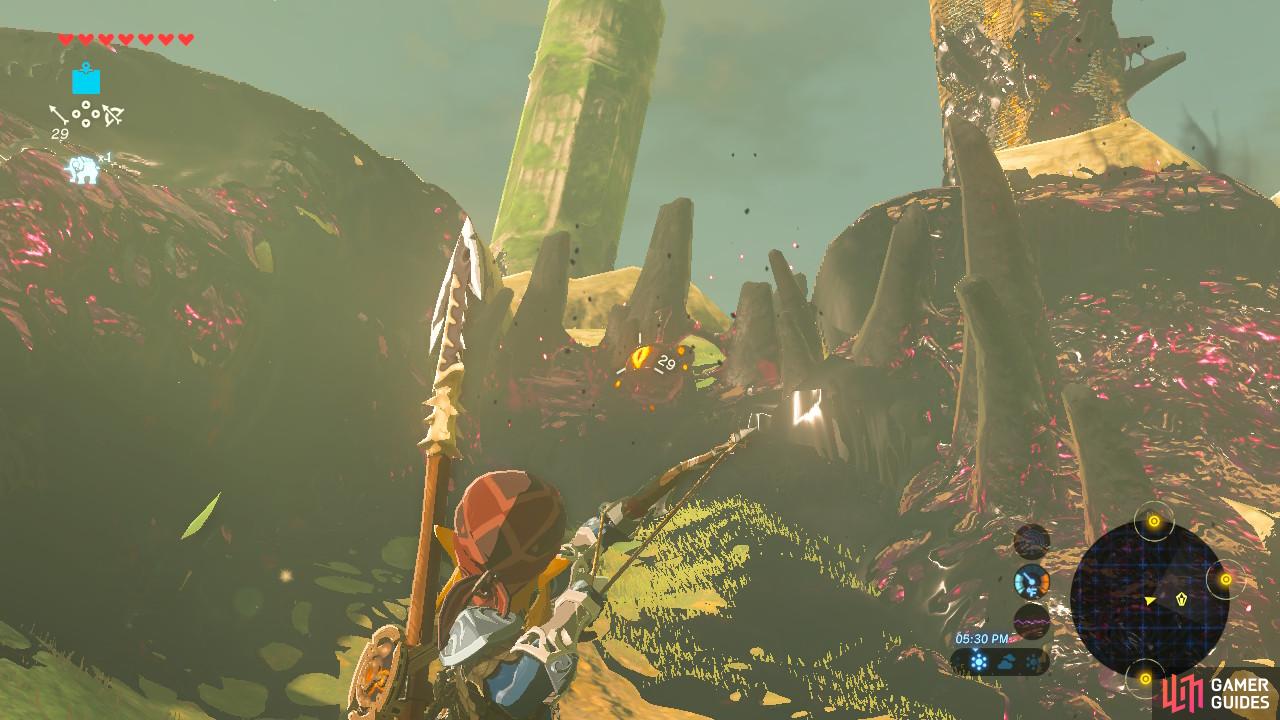
Shoot this eye to be able to get to the tower at all (left), The Tabantha Tower has been overtaken by Ganon (right)
But more importantly, you will see a lot of Ganon goop everywhere. Look for the eyes and destroy them to make a path towards the tower.
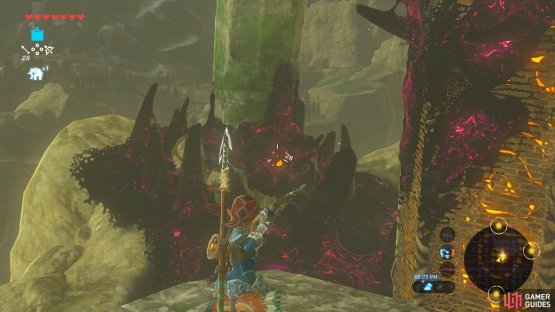

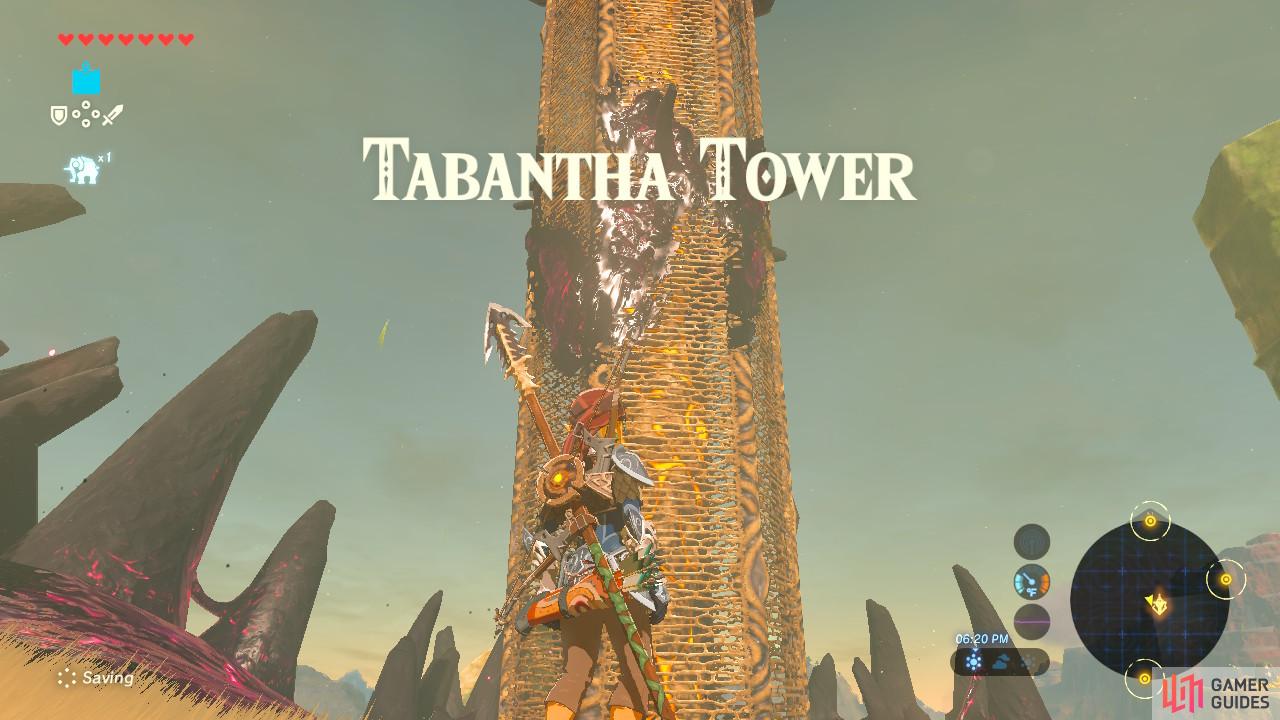
(1 of 2) It’s very difficult to shoot the eye unless you climb up for a vantage point

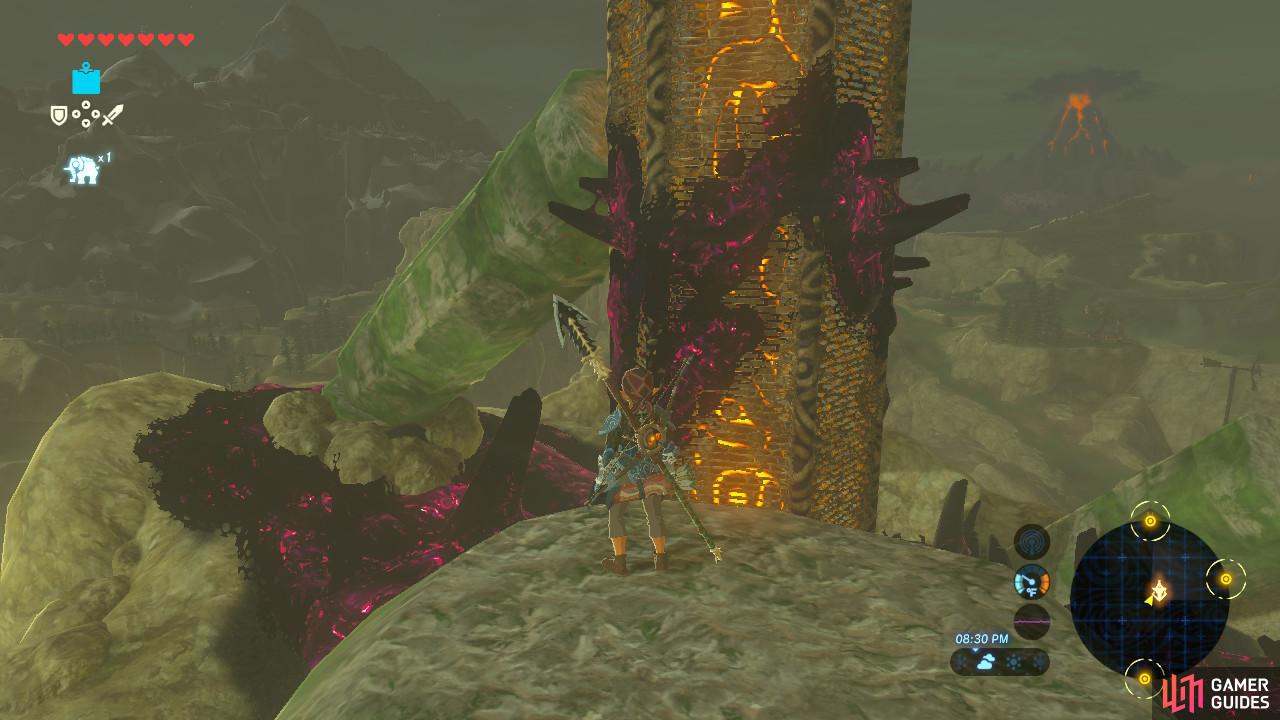
It’s very difficult to shoot the eye unless you climb up for a vantage point (left), Beware the goop on the sides as you climb the tower itself (right)
Once you reach the tower, climb up one of the columns and look down. You will see another eye. Shoot it, and the goop will disappear and the column it was on will fall. You can then walk up the column like a ramp to climb and activate the tower. Note that it begins to get cold up here, so equip your Warm Doublet.
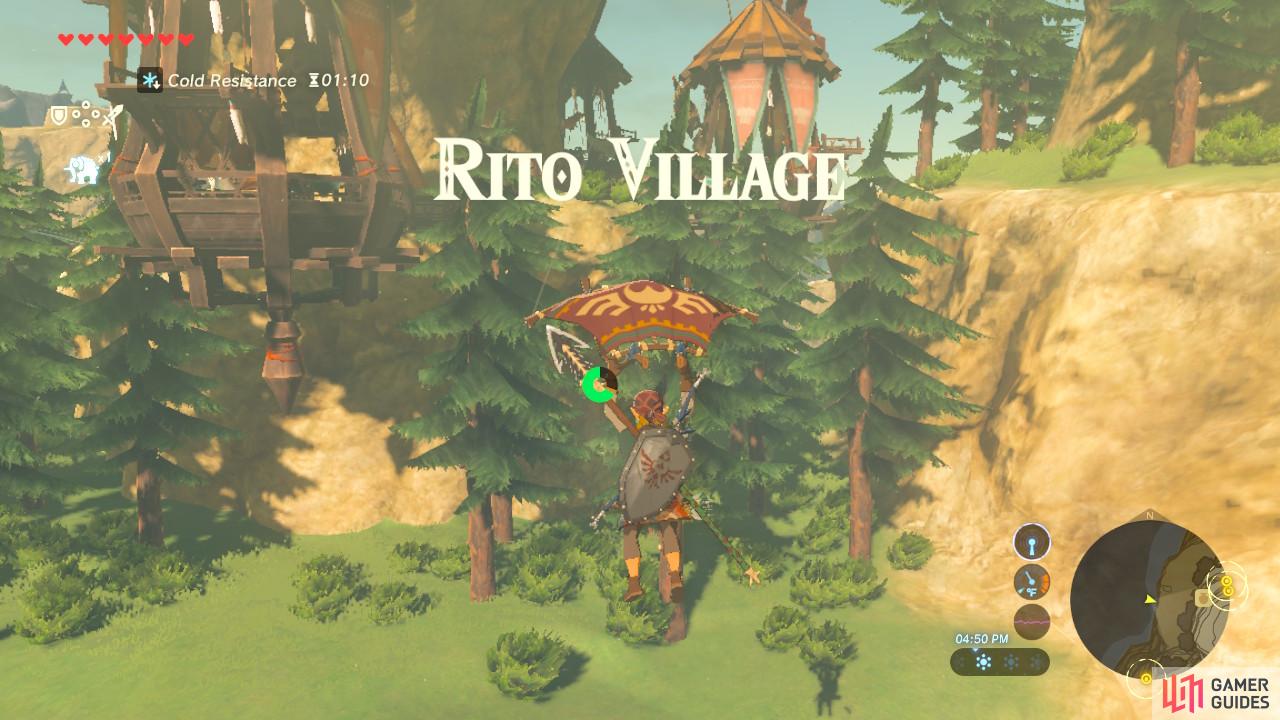
The Rito Village is in the center of a lake. You can Paraglide towards the lake’s stone columns, then climb up and continue Paragliding. Go too far north around the lake and it will begin to get bitter cold. If all you have is a Warm Doublet, you will still take damage. To have max resistance you need at least two armor pieces that provide cold protection.
As soon as you set foot in Rito Village, you will see a cutscene of Divine Beast Vah Medoh misbehaving in the distance. After the cutscene has ended, your destination will be the elder of the Rito.

(1 of 2) You now finally have your next main quest for the Divine Beast
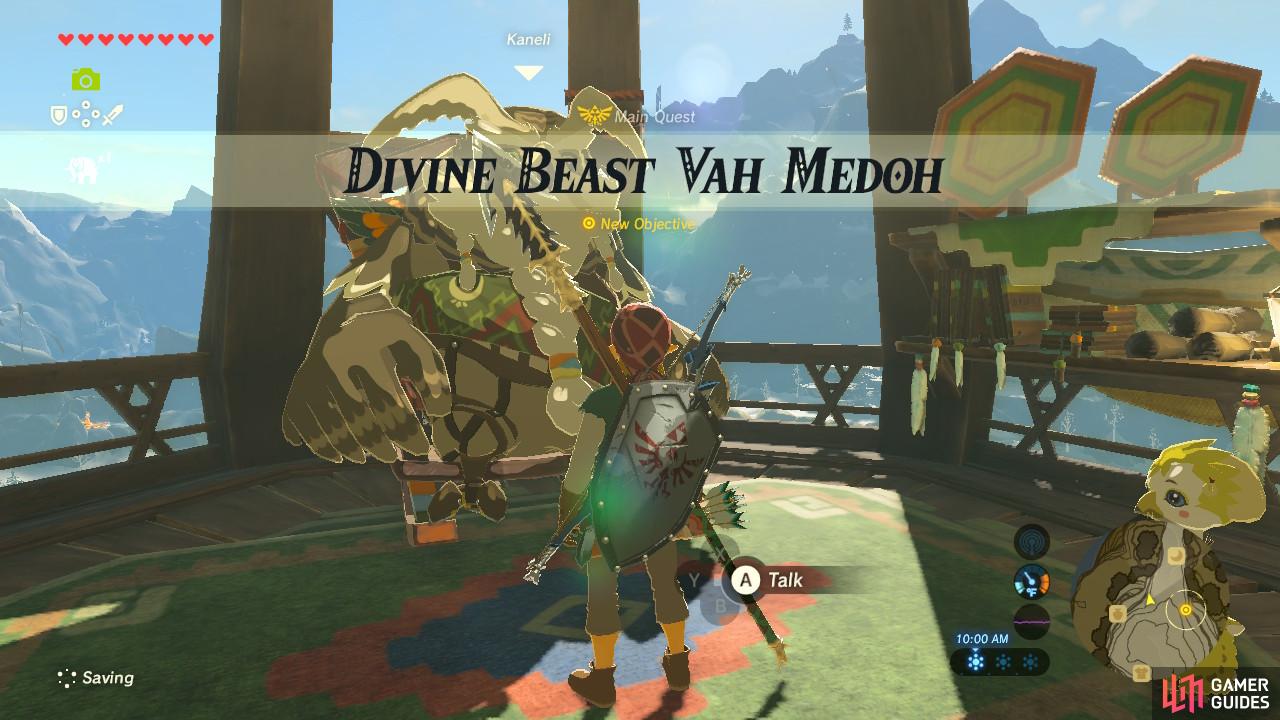

You now finally have your next main quest for the Divine Beast (left), We need to actually get to it though, so the Flight Range is our first destination (right)
Once you speak with the elder, he will assume you are a descendant of the Champions by your Sheikah Slate (unless you already have the Master Sword) and will ask you to help Teba as he recklessly tries to defeat Vah Medoh, who has been acting very aggressive and is causing trouble for the Rito. This will begin your next main quest: Divine Beast Vah Medoh.
Click here for a guide to Divine Beast Vah Medoh.
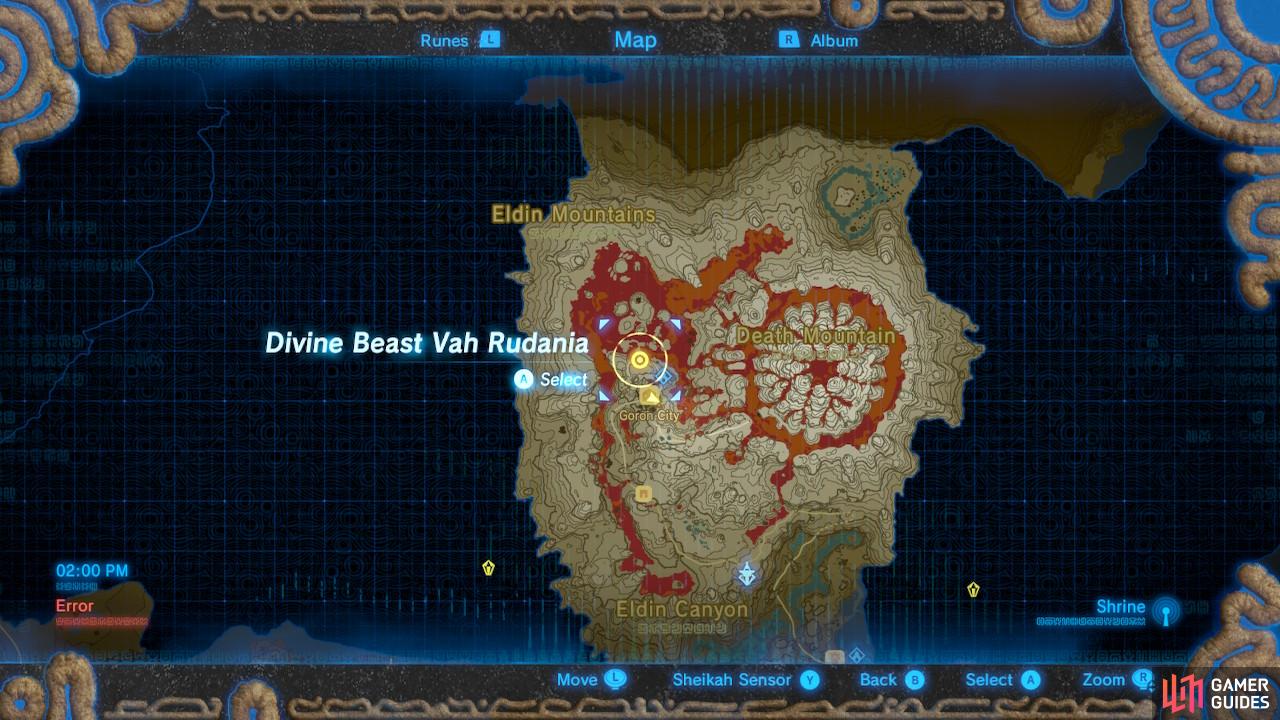
Divine Beast Vah Rudania
Up next is Divine Beast Vah Rudania. This Divine Beast is located in Death Mountain and was championed by Daruk of the Gorons. The yellow dot near the Zora Domain is our destination.
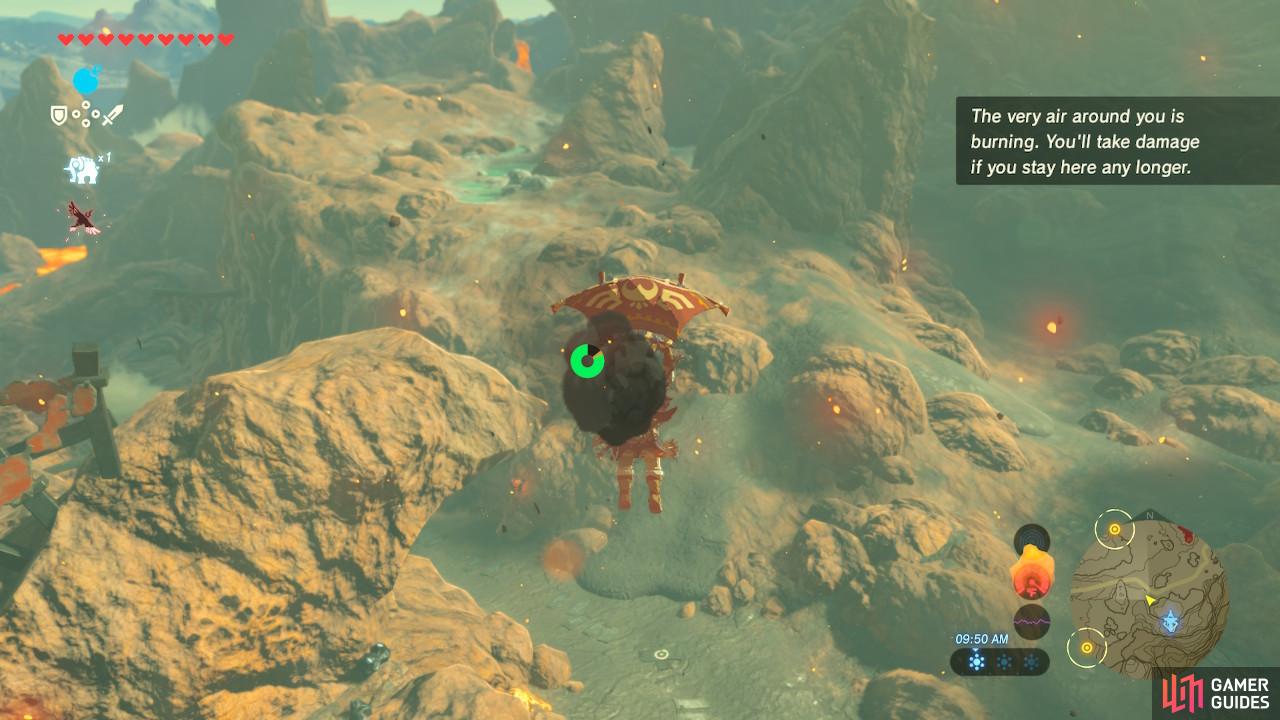
The fastest way to travel there is to fast travel to Lanayru’s Tower and Paraglide north, heading for Eldin Canyon. A word of warning: Getting to the Goron City involves dealing with heat. A lot of heat. Without any protection, you will begin to burn from the heat and radiation and you will rapidly lose health. This won’t be a problem now but soon it will be.
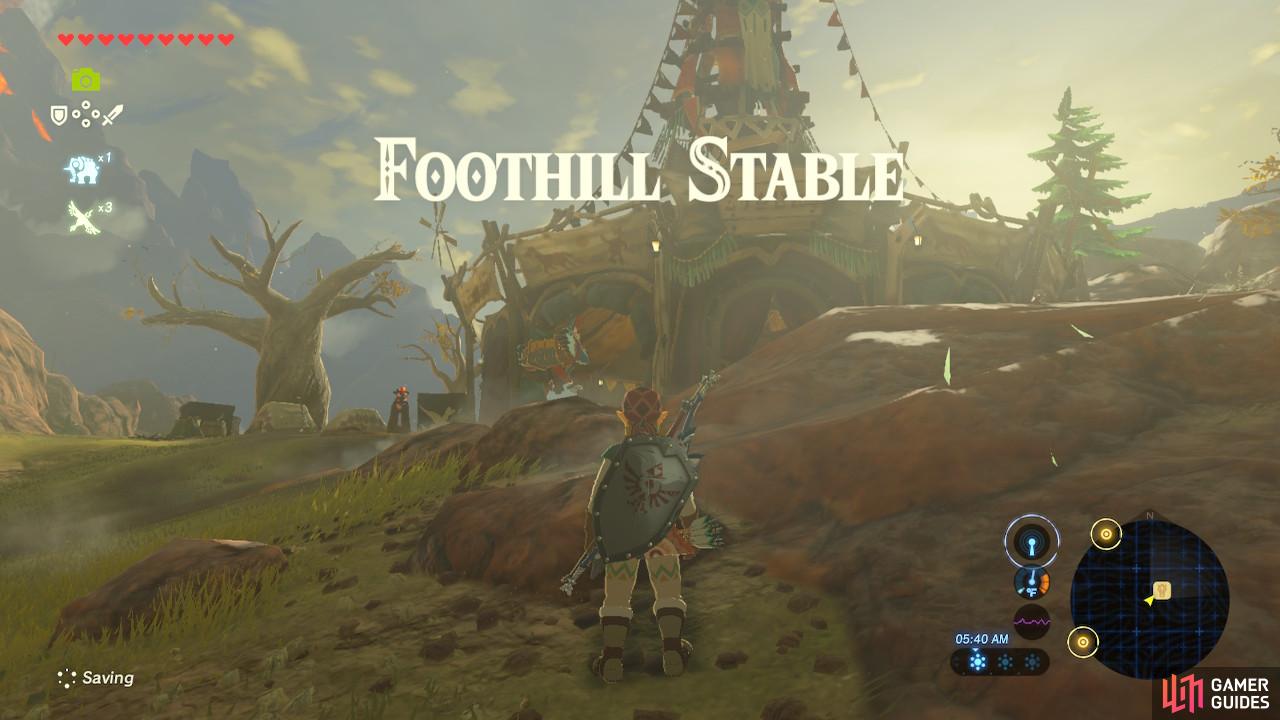
The Foothills Stable marks the checkpoint where things begin to heat up. There is an NPC named Gaile sitting by the fire. If you have nothing to shield yourself from the fire, you can buy Fireproof Elixirs for 150 Rupees apiece. If you have the money on you, buy a few and save them for later.
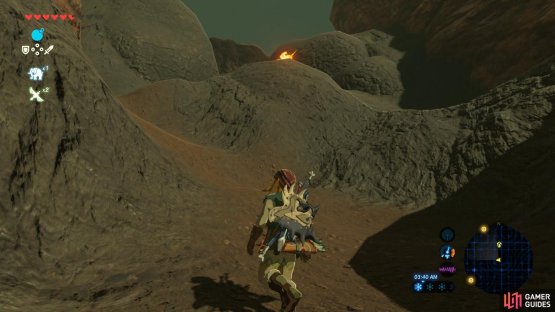
(1 of 2) It’s not hot yet, but there are a lot of fiery enemies to contend with here


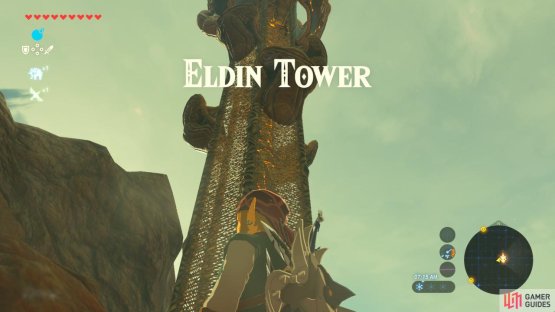
It’s not hot yet, but there are a lot of fiery enemies to contend with here (left), The bottom half of Eldin Tower has no platforms (right)
Your next destination is Eldin Tower, which is perched up high above the Eldin Canyon. This tower is a bit lopsided. It has no platforms close to the bottom, meaning that you will need a lot more stamina if you intend to climb from the bottom. Alternatively, you can Paraglide from the tall rocks or use Revali’s Gale to save on time and stamina.

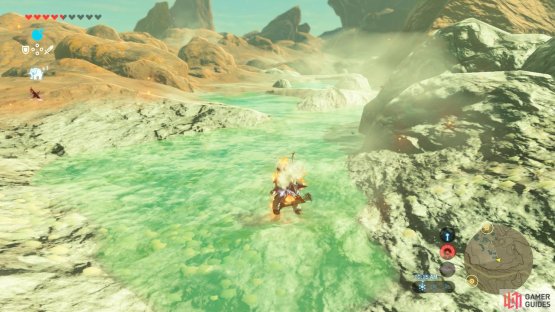
(1 of 2) You can see it’s starting to heat up

You can see it’s starting to heat up (left), These hot springs will cool you off and heal you (right)
Look to the north and you can see that it gets hot. Do you see the hot springs lining the path? They are only at the beginning of the road, but use those for now to keep yourself cool during the first leg of the journey. After you no longer have access to the hot springs, pop a Fireproof Elixir or be prepared to eat food. A lot of food (take it from us: it took us a page and a half of meals to get to Goron City!).
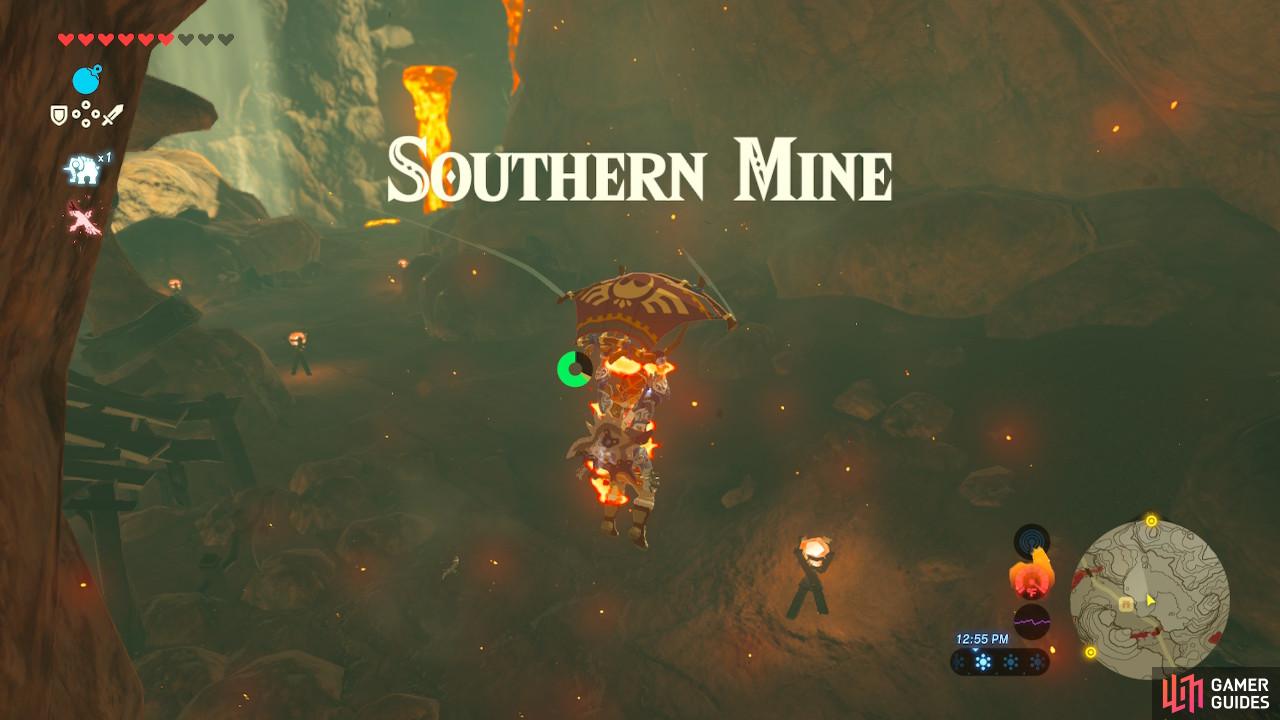
You will pass through the Southern Mine, a mining area with a lot of Gorons. For now just run through. One of the Gorons, Kima, will give you Firebreaker chest armor if you find him 10 Fireproof Lizards but they are tedious to find and as of right now you can’t afford to waste your Elixirs or food.
Up ahead you might begin to encounter avalanches of falling, burning rocks. Dodge them if you can. If you get hit and ragdoll physics kick in, pause to eat so you have more health to potentially lose, or just reload a previous save file and try again.
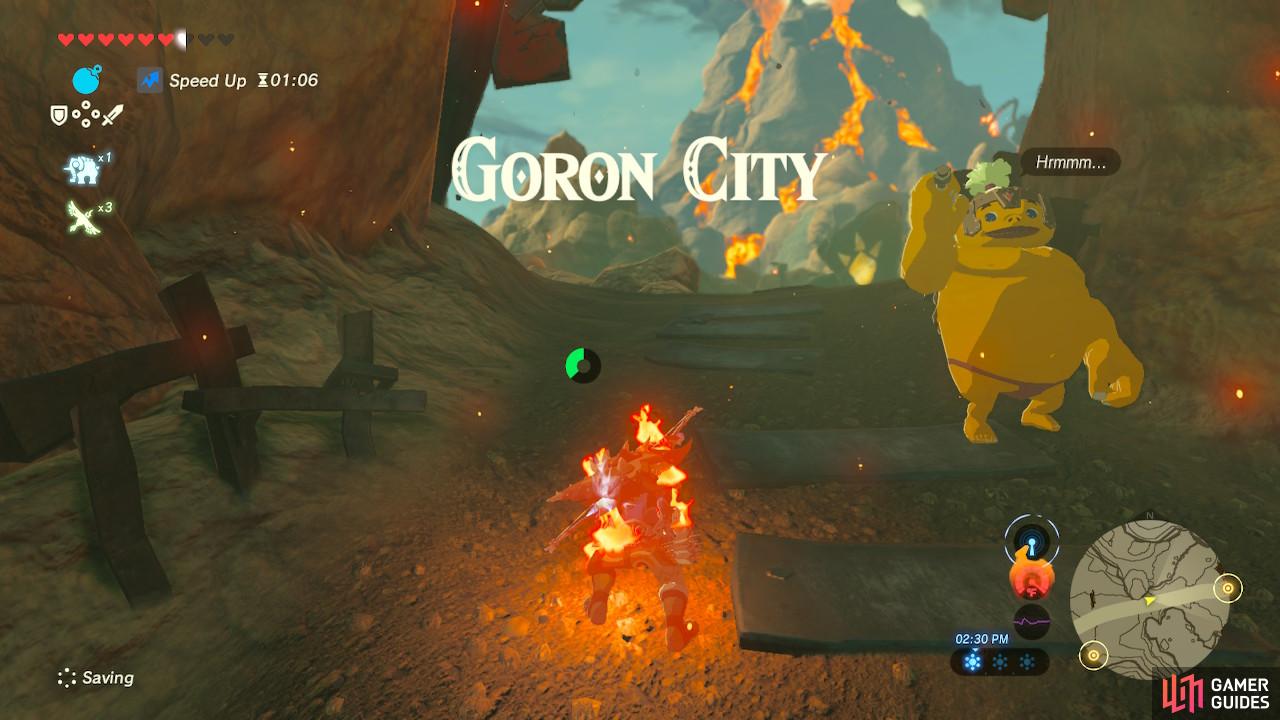
As you pass through the gate indicating that you have arrived at Goron City, a cutscene will play introducing you to Divine Beast Vah Rudania.

(1 of 2) Run into the shop while on fire! It’s totally safe!
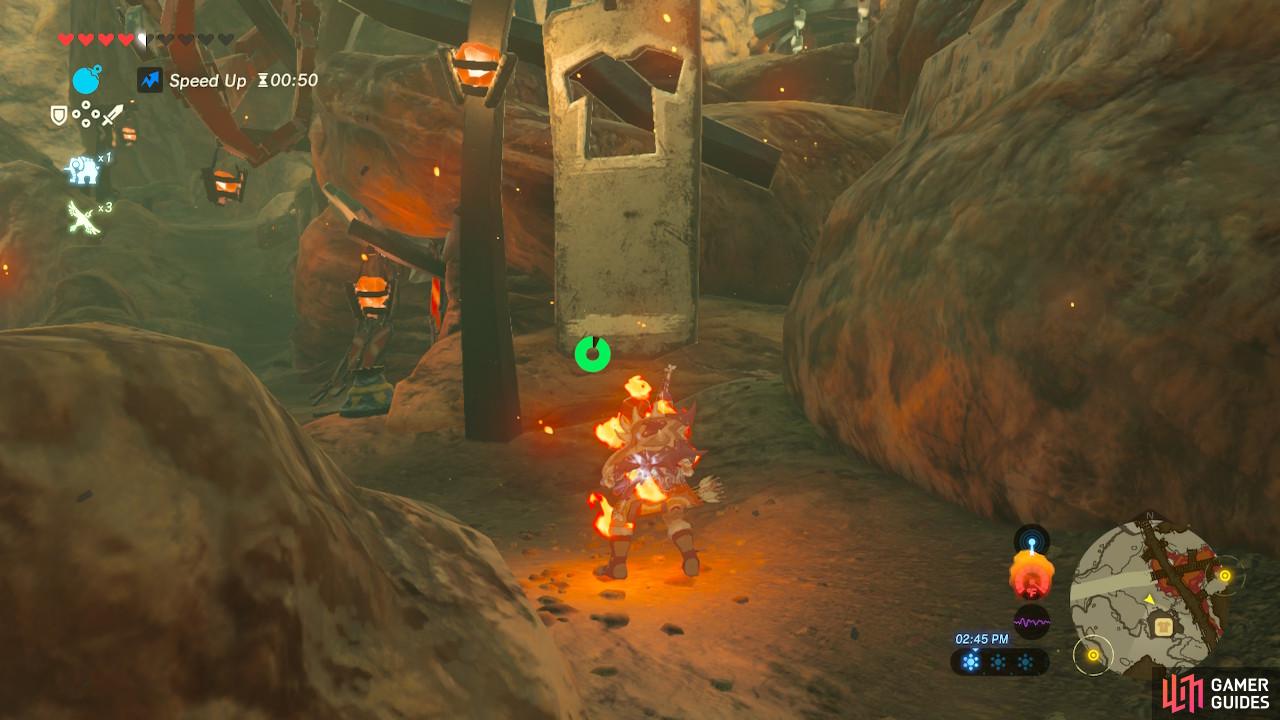

Run into the shop while on fire! It’s totally safe! (left), Buy the chest and leg pieces to save on Rupees. (right)
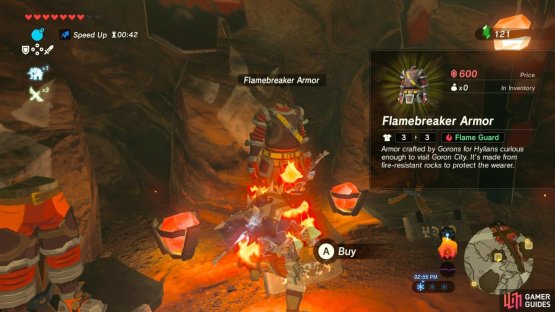
Before we seek out the elder of Goron City, turn right and go straight for the armor shop. The shop owner will lampshade quite heavily that you need to buy some fireproof armor like right now. Sell everything you need to and buy minimum two pieces of Flamebreaker Armor. The cheapest way to do so is to buy the chest and leg pieces. With two pieces, you have maxed out resistance and you will not die of heat unless you actually fall into the lava. Now we can go and talk to Bludo, the elder of Goron City.


(1 of 2) Let’s start this next main quest so we can save Goron City

Let’s start this next main quest so we can save Goron City (left), Our first objective is to find Yunobo (right)
Speak to Bludo. He is distinctively older and is standing in the center of the city. He will tell you that the Divine Beast Vah Rudania has made Death Mountain extremely volatile and dangerous, hurting the mining business and endangering the city. Unfortunately, he cannot do anything to repel the Divine Beast. His back hurts.
Yeah…his back.
With this, the next main quest, Divine Beast Vah Rudania, will kick off.
Click here for a guide to Divine Beast Vah Rudania.
Divine Beast Vah Naboris

The next and last Divine Beast is to the far southwest where the Gerudo race make their home in the desert. To fastest way is to depart from the Keh Namut Shrine on the Great Plateau. As you Paraglide, you will see the tower in the distance atop the cliffs.


(1 of 2) Beware the Bokoblins hanging out on this wooden boardwalk
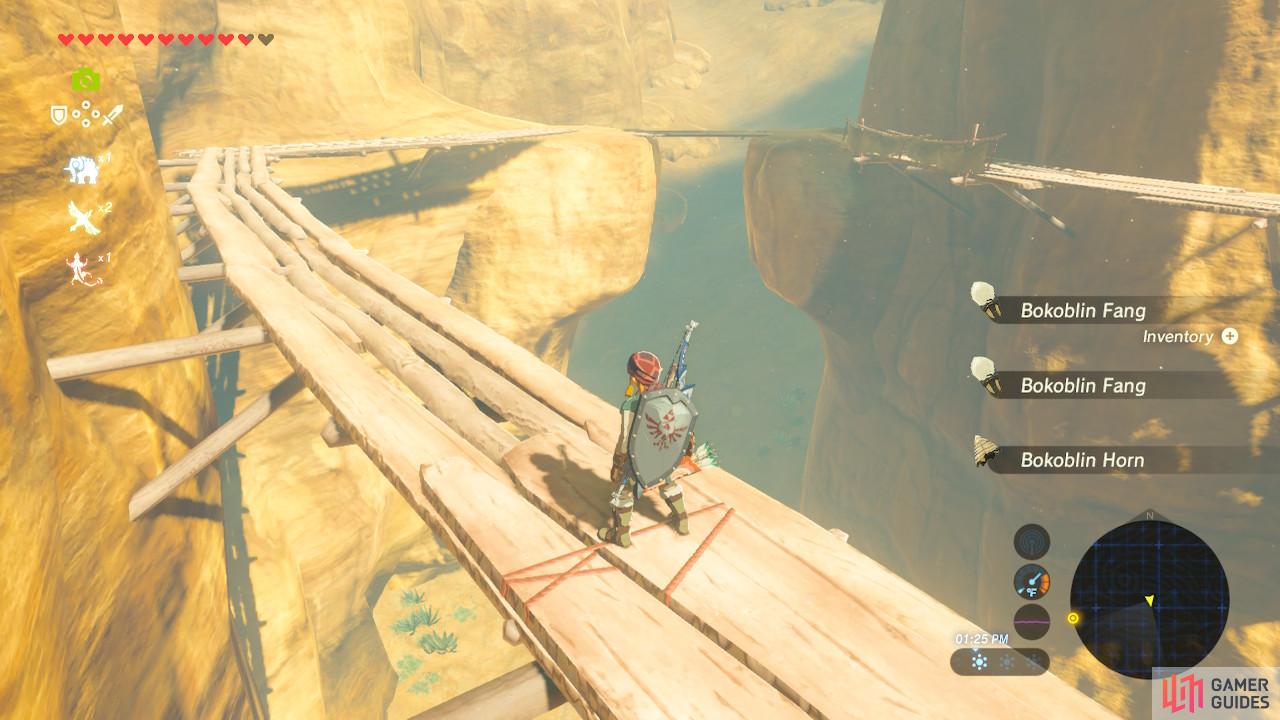
Beware the Bokoblins hanging out on this wooden boardwalk (left), The tower is not much farther (right)
You can use the wooden bridge as a way to make your way through the rocks, or just climb and use Revali’s Gale to shortcut your way through.


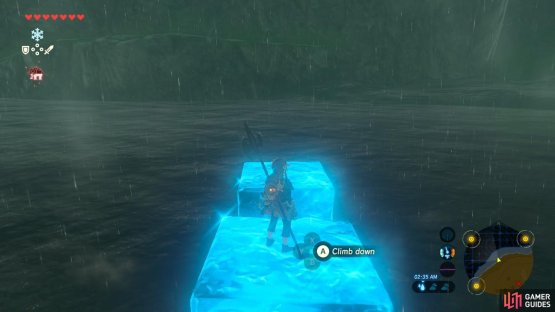
(1 of 2) Knock over these columns to create a ramp of sorts
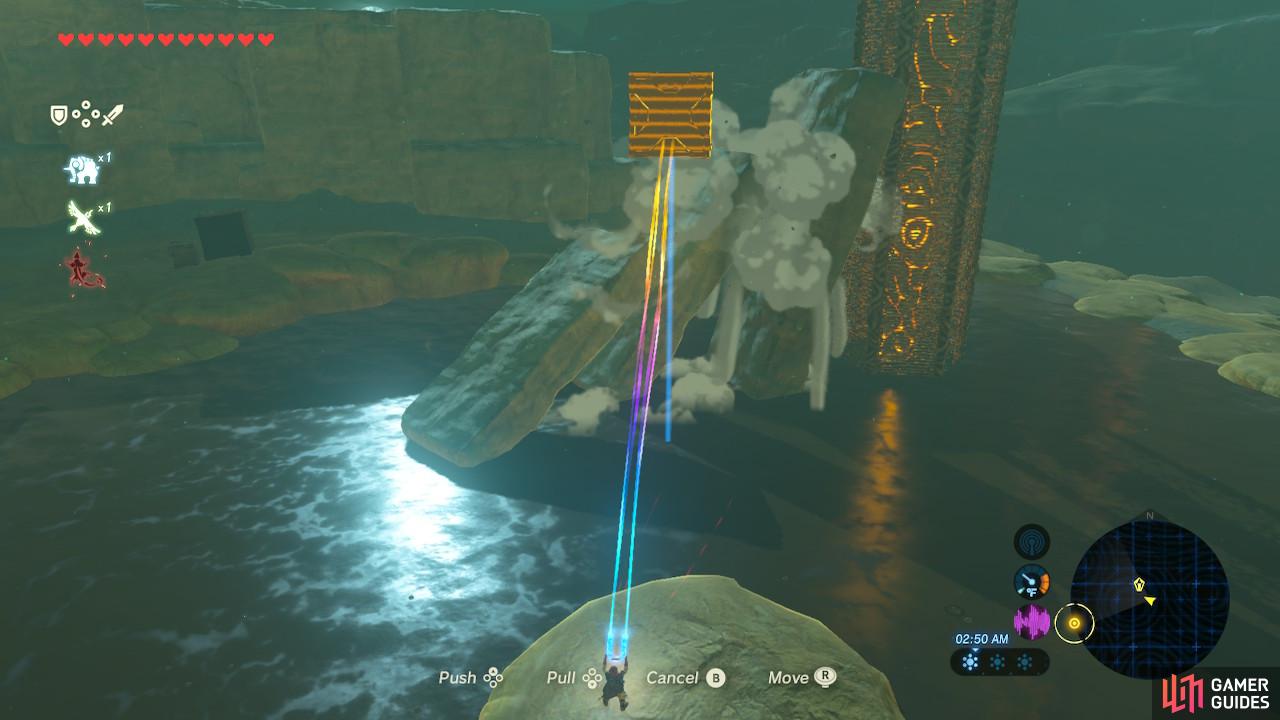
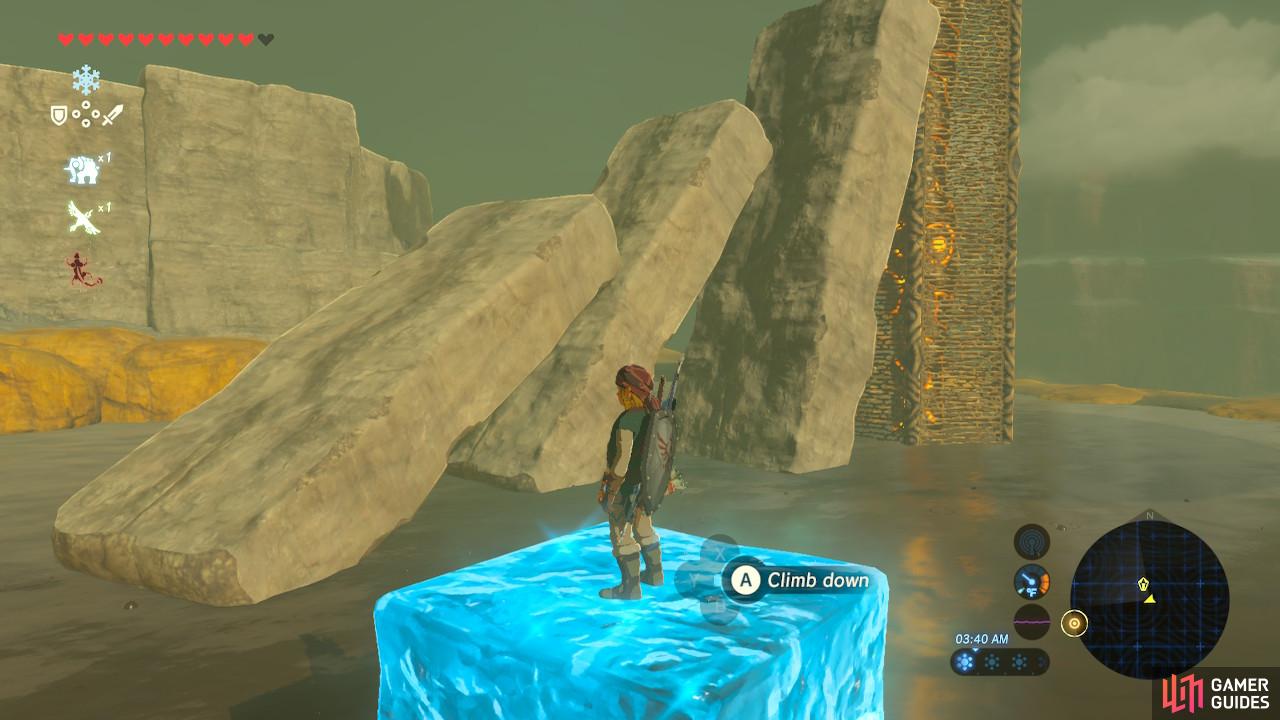
Knock over these columns to create a ramp of sorts (left), Make sure your ice blocks are not too far apart. Do not touch the mud (right)
The Wasteland Tower is the tower of this region and it is surrounded by a toxic mud that will instantly kill you if you fall in. To scale this tower, use Magnesis on the metal blocks and push over the stone columns. Then use Cryonis to stepping stone your way to the stone columns.
Climb up the stone columns and then climb up the tower or use Revali’s Gale to climb the tower faster. From the tower, you can see Gerudo Town in the far distance, and you can also see the Divine Beast Vah Naboris kicking up a sandstorm to the west.
Paraglide off of the cliff that the Wasteland Tower is on down to the Gerudo Canyon Stable.


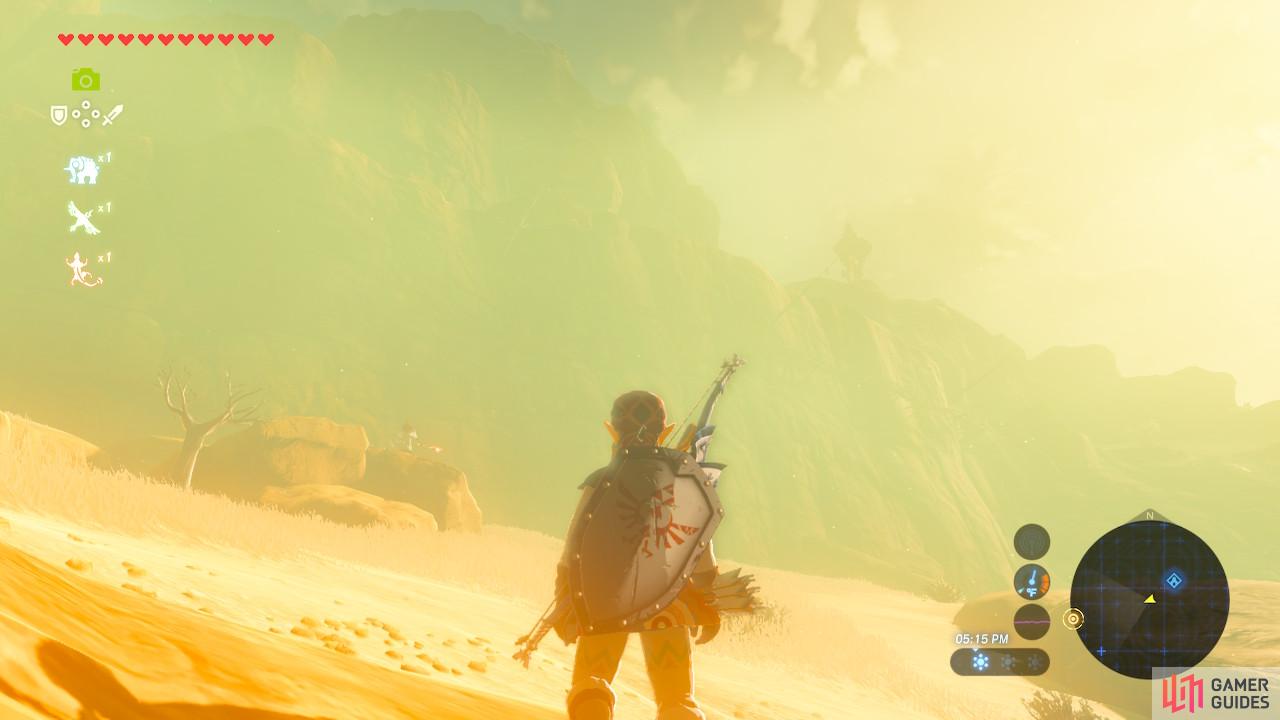
(1 of 2) Stop by here to replenish supplies and maybe make some heat-resistant Elixirs
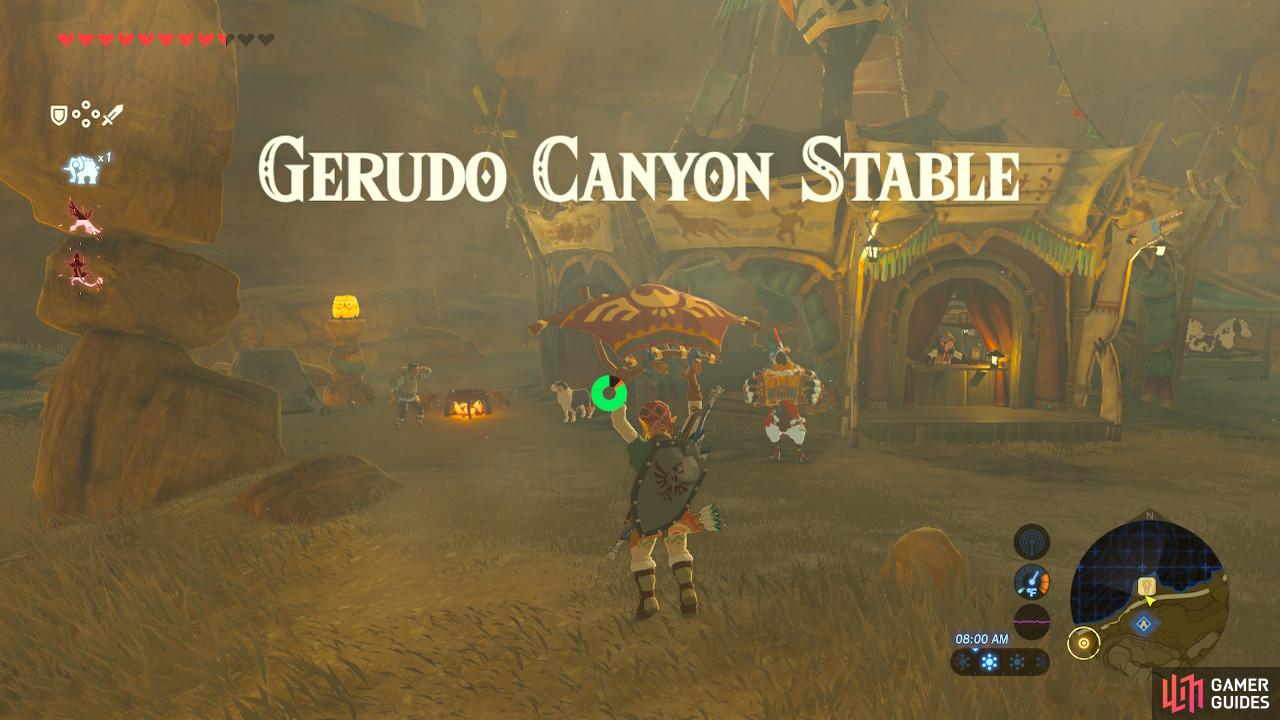
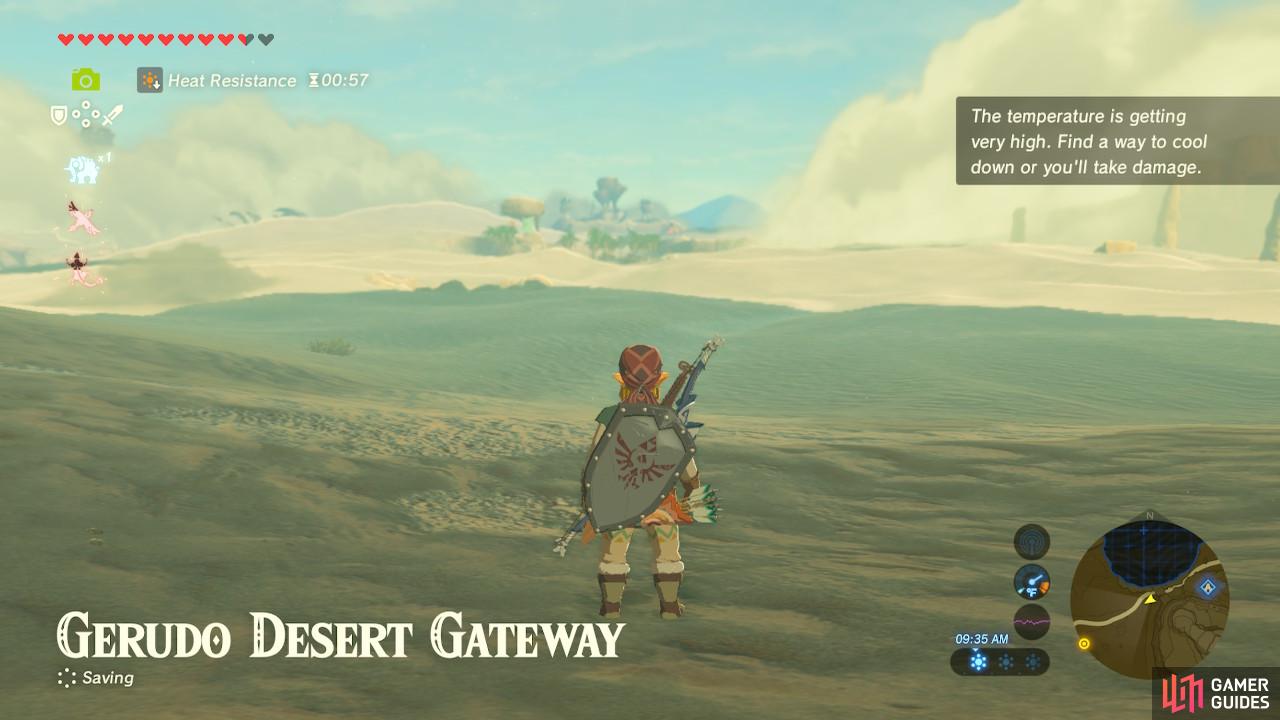
Stop by here to replenish supplies and maybe make some heat-resistant Elixirs (left), Head into the desert when you’re ready (right)
The Gerudo Canyon Stable marks the entrance into the desert. During the day, the desert is hot and you will take damage without heat resistance. Heat resistance and fire resistance (what we needed at Goron City) are different, so your fireproof armor will not work here. During the night, the desert becomes bitter cold, but you already have equipment for that from the Rito.
What you can do is talk to the NPC Maypin who is riding a horse. He is selling Warm and Cold Darners, dragonflies that if cooked with monster parts for an Elixir, will provide cold and heat relief. Buy some Cold Darners and make some Elixirs, then head into Gerudo Desert.
You can also create heatproof meat by killing animals with Ice Arrows.
Follow the footpath into the desert. Your next destination is the oasis on the way to Gerudo Town. Right before you arrve at the oasis, a cutscene will play showing Vah Naboris misbehaving in the desert, causing earthquakes, lightning storms, and sandstorms. Yikes.
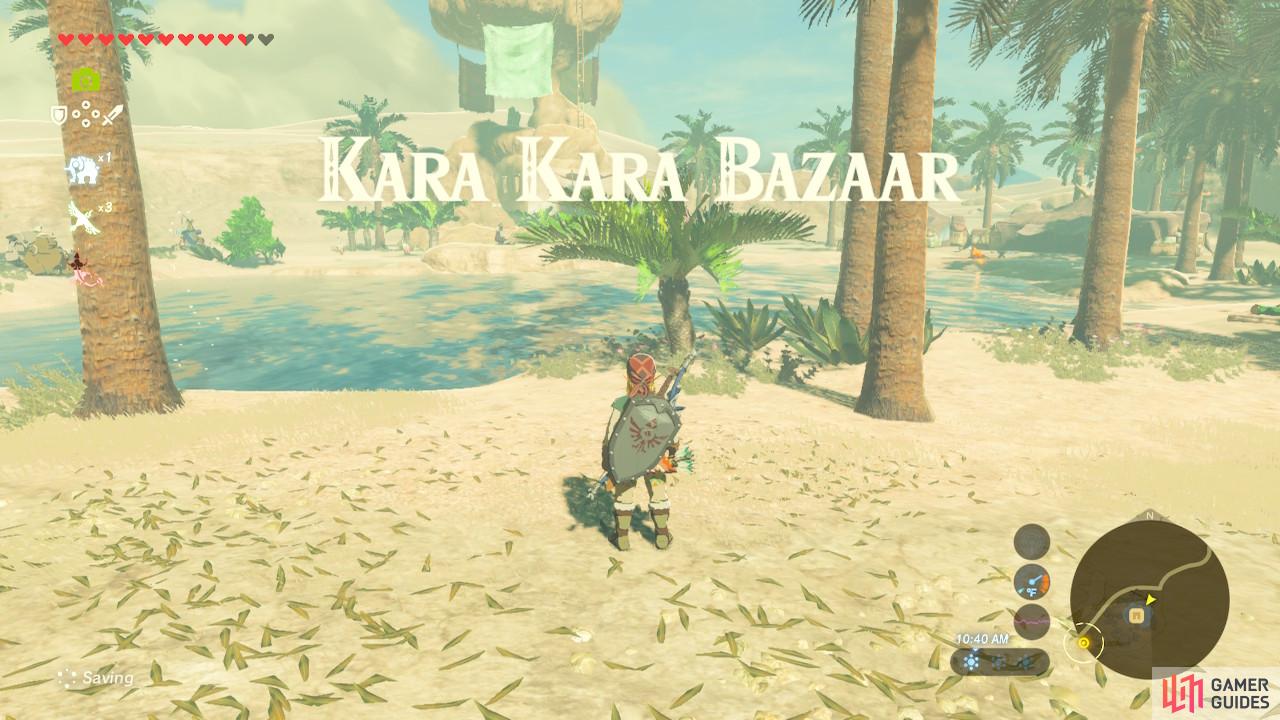
The Kara Kara Bazaar is a small gathering of shops and merchants around the oasis. Feel free to look around. One of the vendors sells Hydromelons which can be cooked with other food ingredients to make healing, heat resistant food. There is even a cooking pot here you can use.
There is a treasure chest in the oasis pool that you can pull up with Magnesis for a silver Rupee. Once you are done with your business, leave Kara Kara Bazaar and head on forward to Gerudo Town.


(1 of 2) It looks like the guards won’t let you through
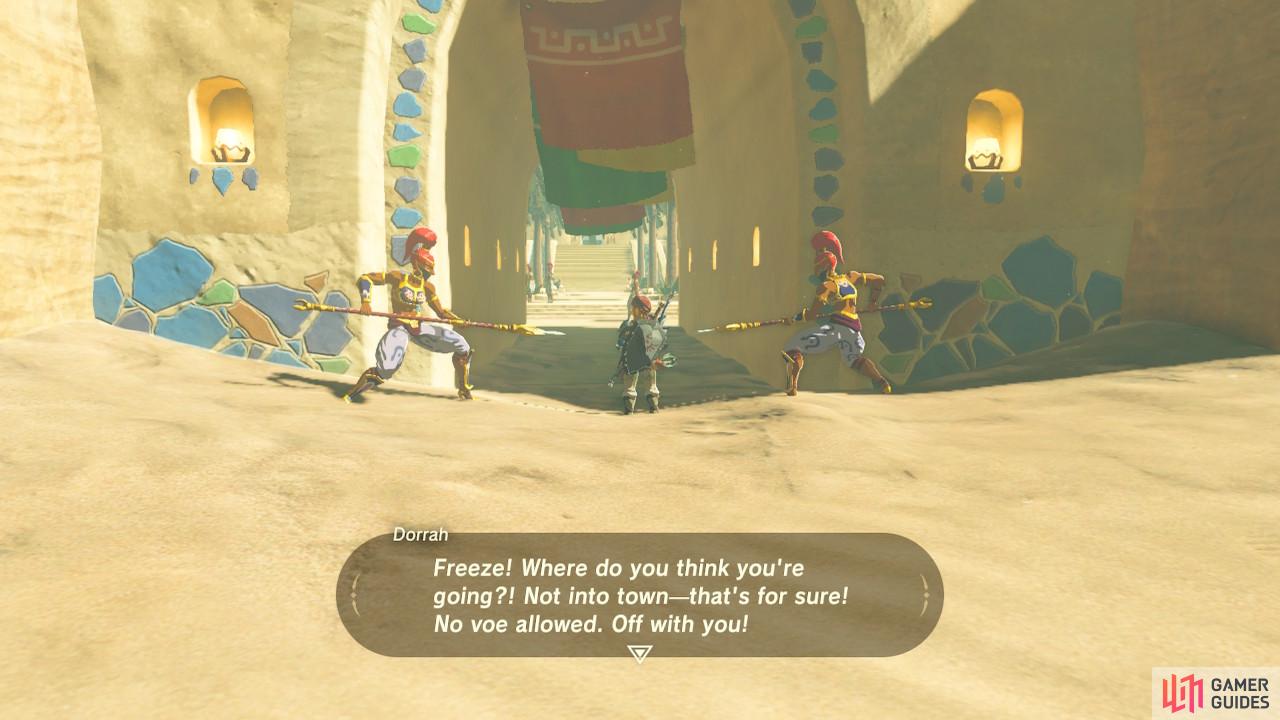
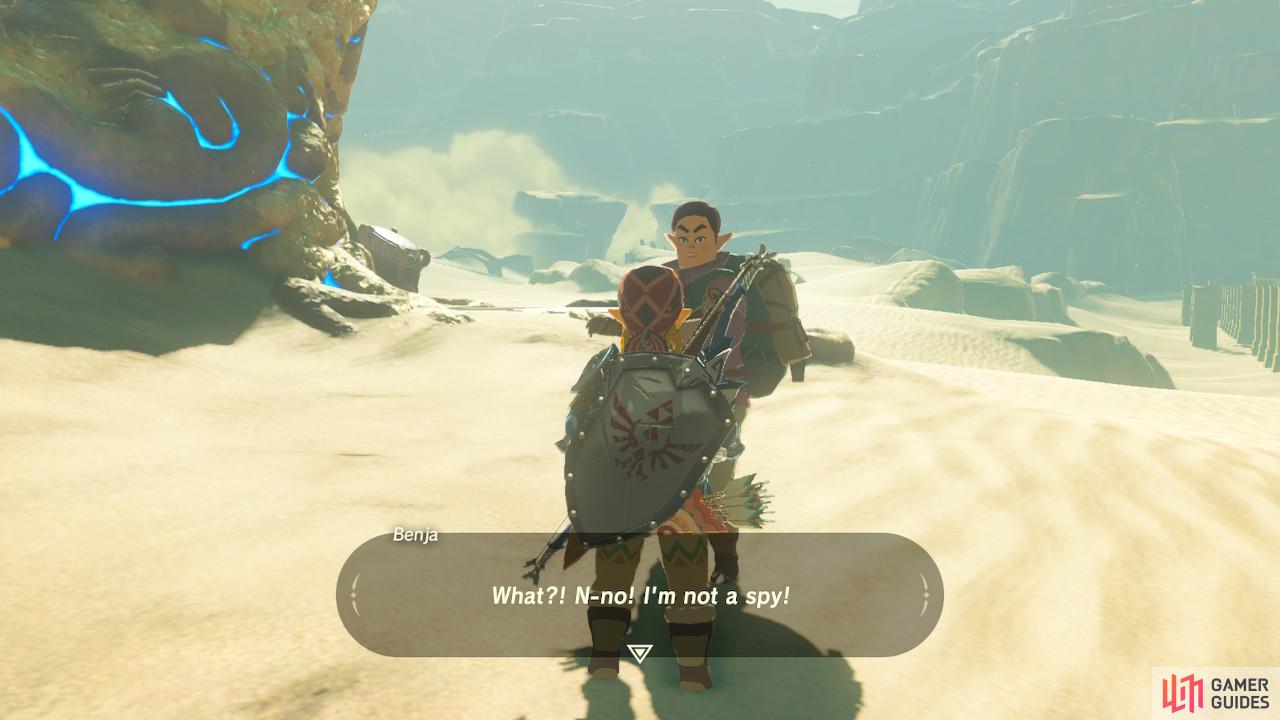
It looks like the guards won’t let you through (left), Speak to this NPC here for your next main quest! (right)
Once you arrive at Gerudo Town, attempt to enter and you will be kicked out. Evidently Gerudo Town is a no-man’s-land…literally. Only women can enter the town, no men allowed. Speak to the NPC next to the shrine, Benja. He will talk about a Hylian man he saw that snuck into the town and this will kick off your next main quest: Forbidden City Entry.
Click here for a guide to Forbidden City Entry.


(1 of 2) Don’t worry, the guards won’t stop you
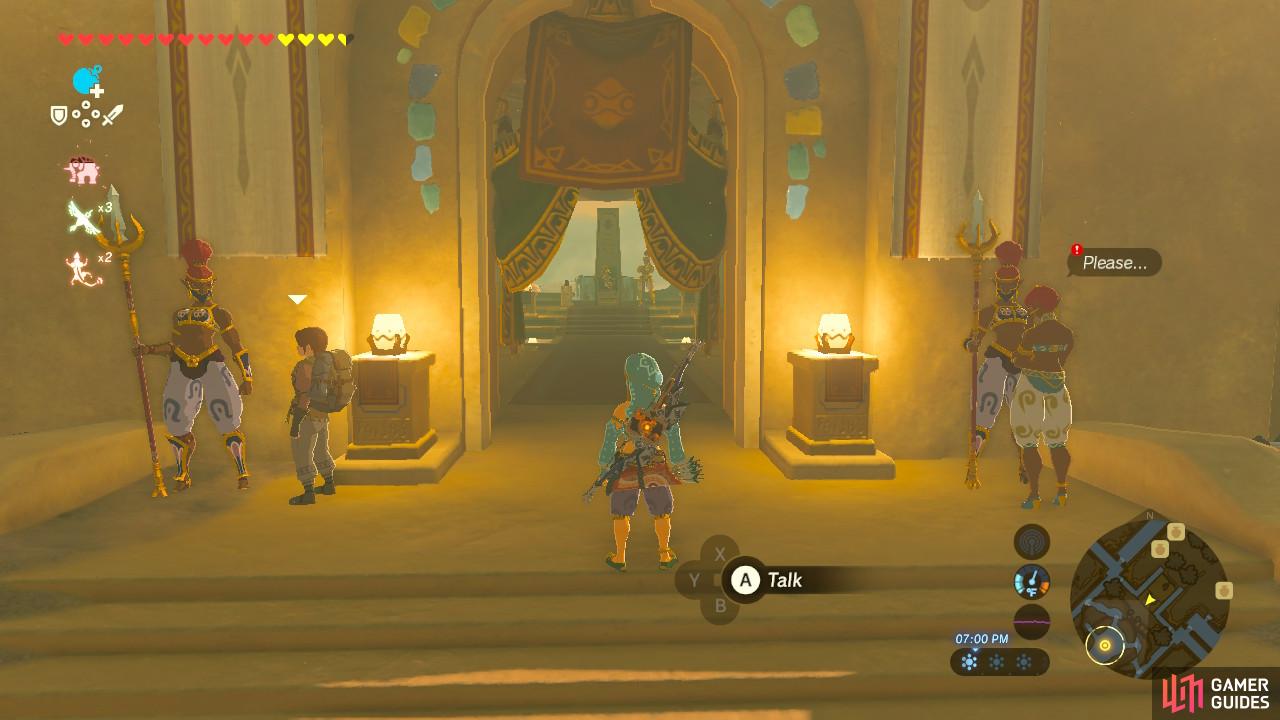
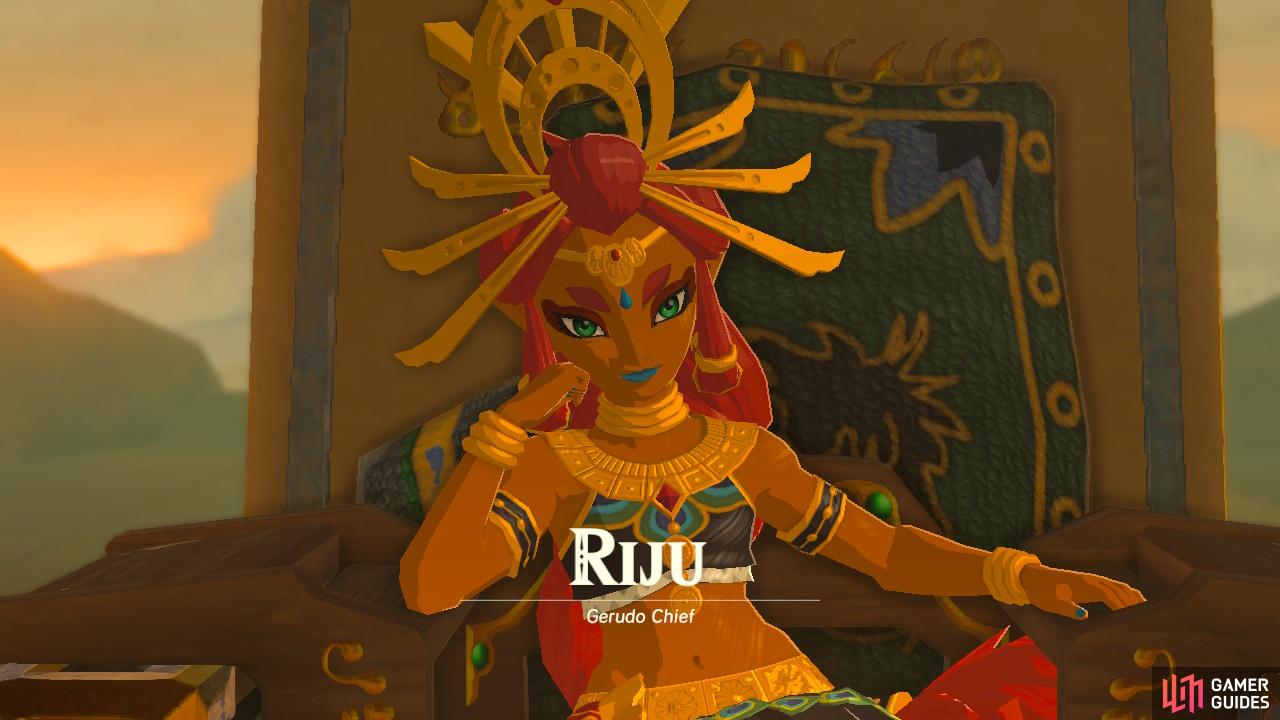
Don’t worry, the guards won’t stop you (left), Riju is the current Chief of the Gerudo race (right)
Once you have completed Forbidden City Entry and enter Gerudo Town, feel free to have your fill of the atmosphere. There are a lot of shops selling all sorts of things, including a unique Jewelry shop that is unfortunately currently closed. Your current objective is to go to the Gerudo Chief, Riju.
Once you meet Riju and her guard, she will recognize the Sheikah Slate on your hip and offer to aid you in your quest to board Divine Beast Vah Naboris, but only if you can do her a favor. Well, it’s not really a favor because you both wil need it to even approach Vah Naboris. You need to recover Riju’s Thunder Helm. It was stolen by the Yiga Clan.
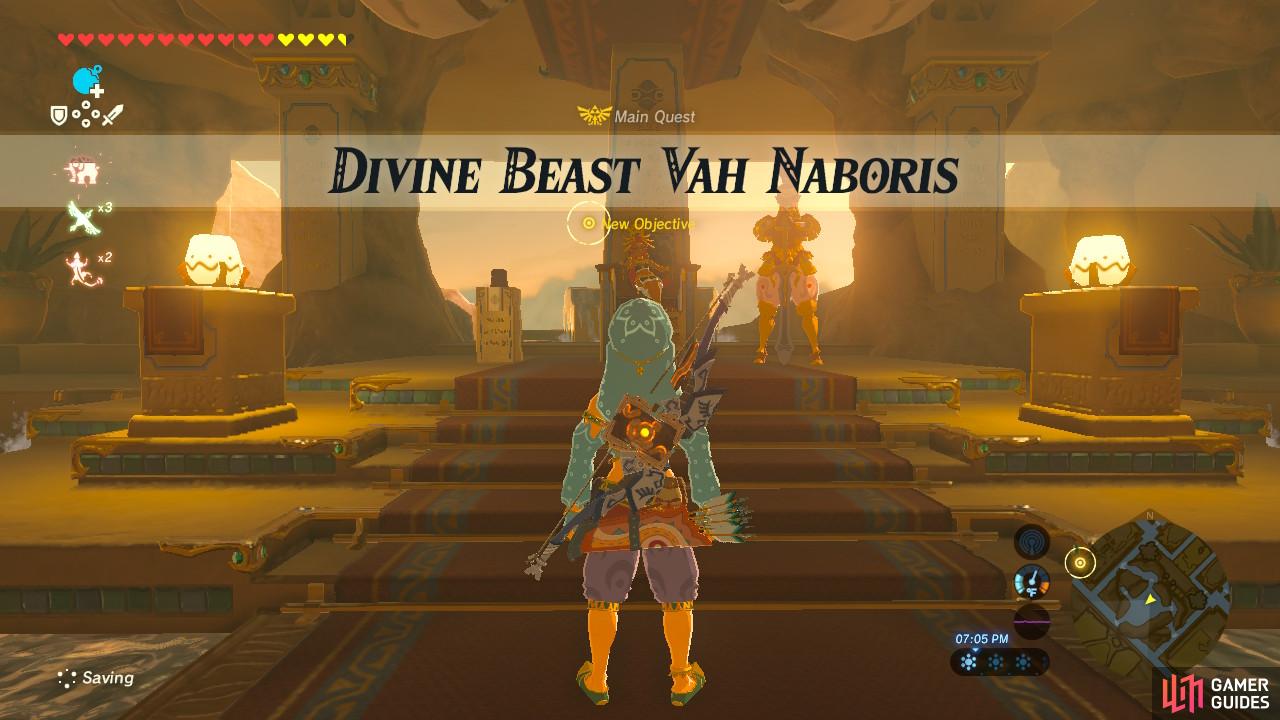
Riju will thus assign you your next main quest: Divine Beast Vah Naboris.
Click here for a guide to Divine Beast Vah Naboris.

(1 of 2) Zelda will congratulate you on a job well done
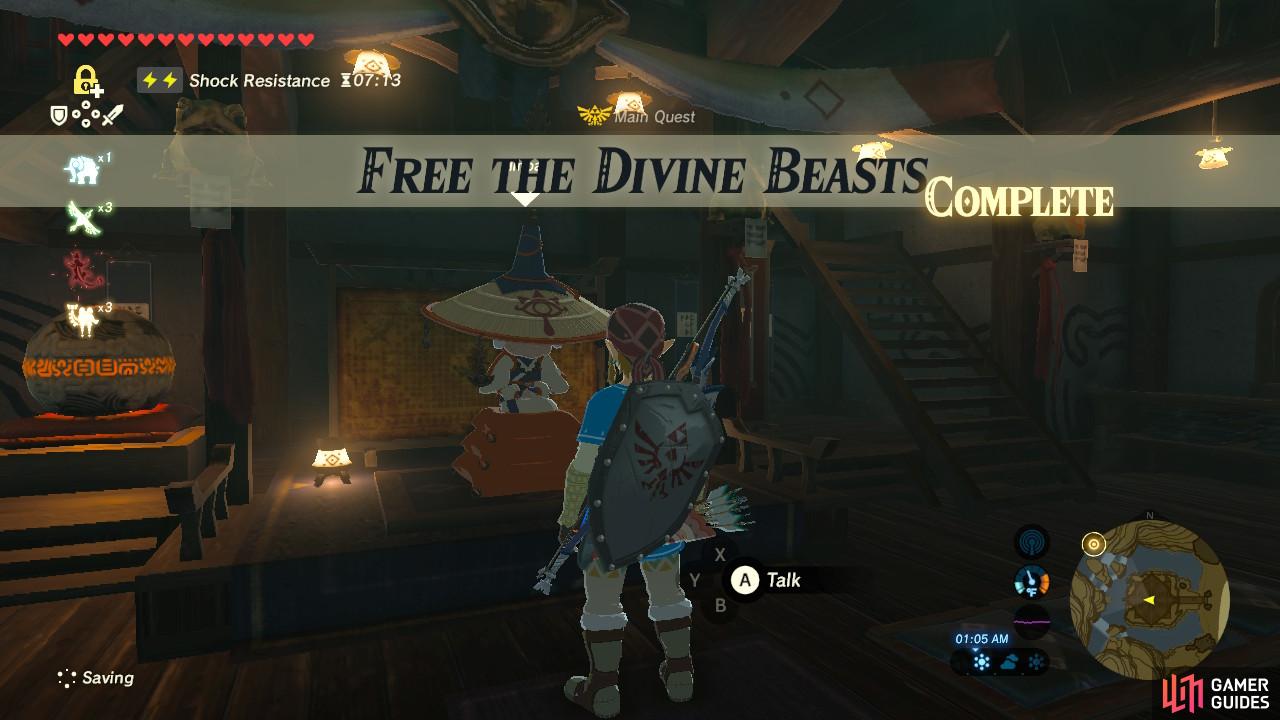
Zelda will congratulate you on a job well done (left), Speak to Impa at Kakariko Village to wrap up these quest (right)
Once you have freed all four of the Divine Beasts, Zelda’s voice will reach you again and congratulate you for completing the task. After she is done speaking, return to Kakariko Village and let Impa know your progress.
Impa will thank you and urge you forwards to Hyrule Castle to destroy Ganon. After you are done speaking with her, Free the Divine Beasts will be marked as complete.
You are now free to proceed with the main quest Destroy Ganon. If you have thirteen hearts and wish to claim the Master Sword, head north of Hyrule Castle for the Lost Woods.
No Comments