


Description
This page is dedicated to The Fiery Stronghold, which is the Grand Star level of Fountain dome. This level takes place in Bowser’s Star Reactor, which requires 15 stars to unlock.
Dodge the Fire Bars
You’ll begin the level in a Warp Pipe structure that heads straight onto a winding colorful path. Before the path, you’ll meet a Luma who will tell you of all the tricks awaiting you on your journey to stop Bowser.
As you walk along the colorful path, you’ll need to dodge a few fire bars that rotate around and can block Mario’s path. You’ll also be able to easily pick up a 1-up Mushroom along this path.
At the end of the colorful path are some more fire bars that you’ll need to jump over or avoid by waiting for them to move out of your way. Behind those is a Thwomp. They will raise into the air and then smash into the ground, which is indicated by them vibrating before their drop. If you’re caught underneath a Thwomp when it smashes into the ground, you will instantly lose all health and have to begin at a spawn point. So watch out!
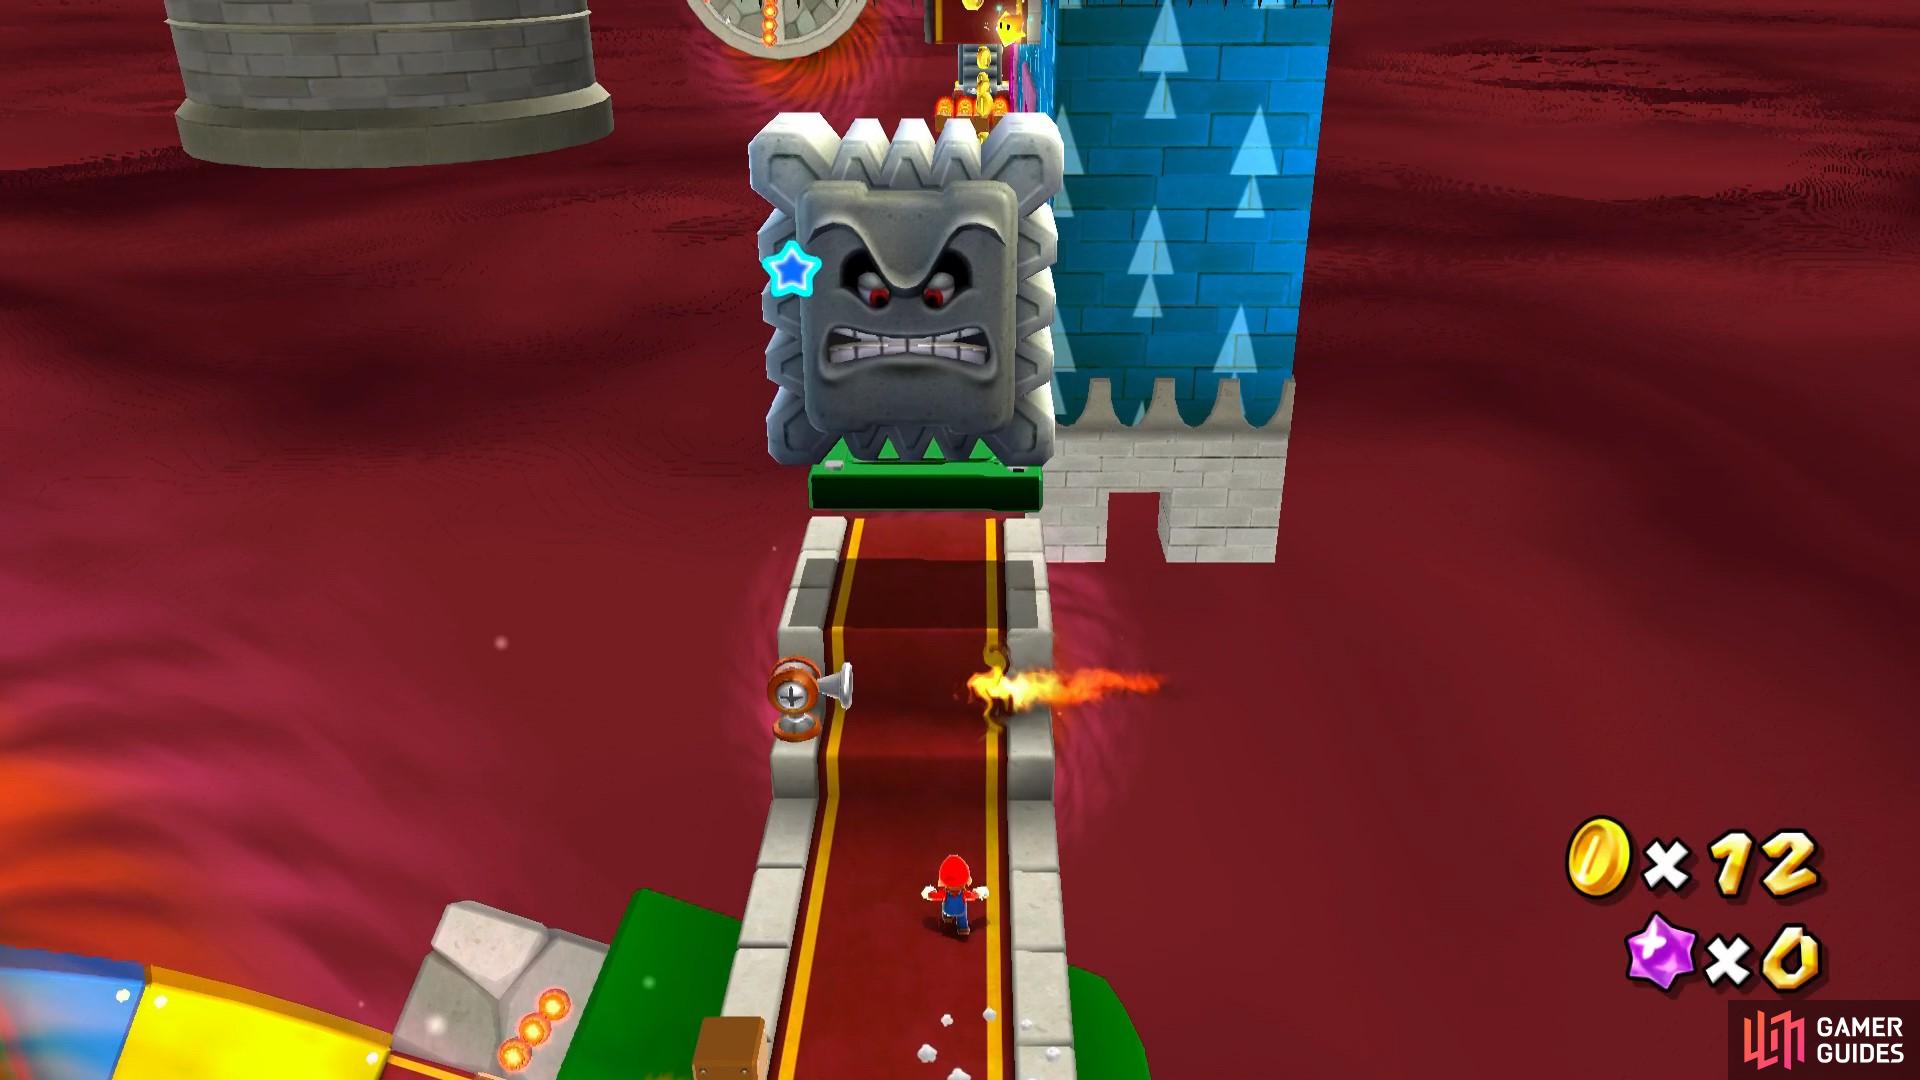
The Thwomp will instakill you so watch out!
Navigate the Whack Gravity
After successfully getting past the first Thwomp, a platform will take you to an area with gravity walls. The gravity of each section is indicated by which way the arrows are pointing. You will need to navigate this area carefully as if you’re in the wrong gravity section, you could be sucked into a blackhole!
At one point, you’ll need to jump down onto a moving platform in the normal gravity section from the anti-gravity section. If you try to jump across to a ledge whilst on the ceiling, you’ll be sucked upwards into a Blackhole. You’ll need to time this part, as you need to jump down onto the moving platform whilst the fire bars are not in your way. When you’re on the moving platform and it’s reached the end of its route, jump back into the upside down gravity. Quickly move past the Thwomp and into the next area.
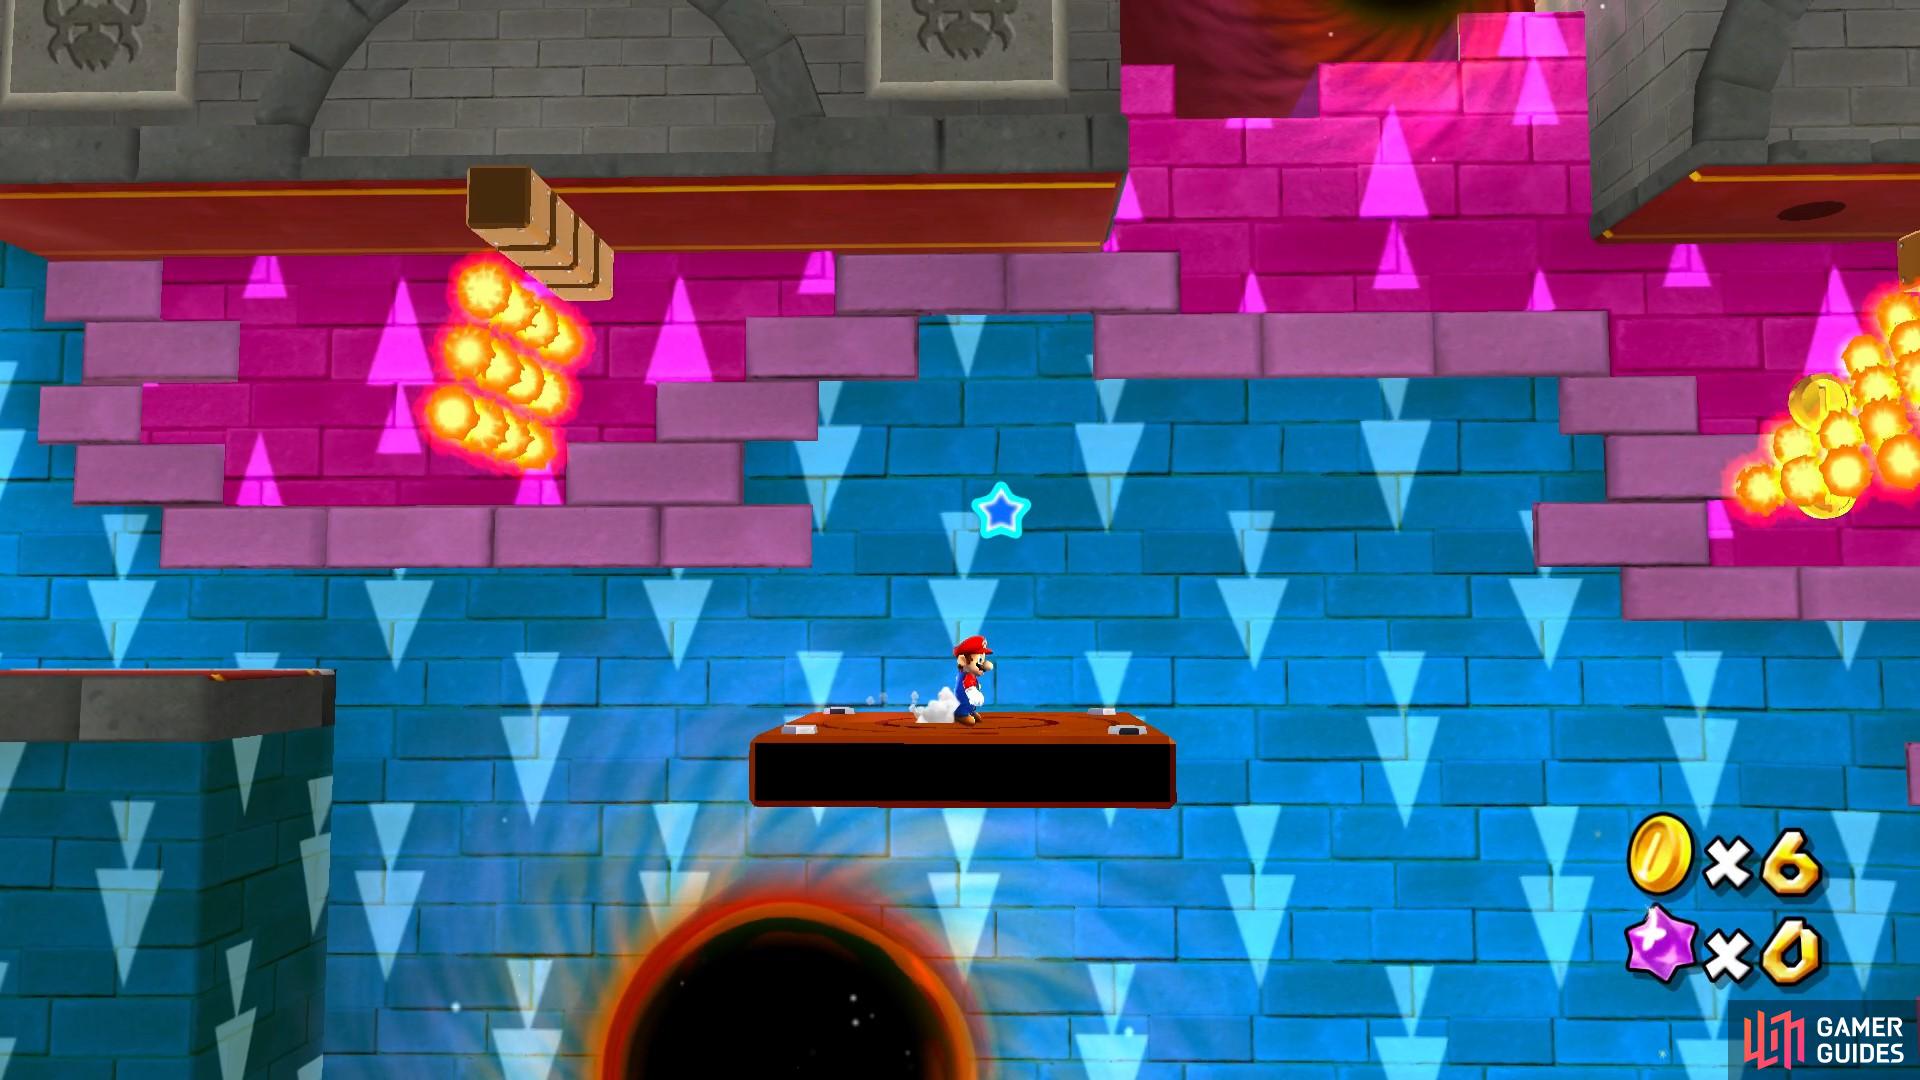
Jump onto the platform but avoid the blackhole above and below.
Journey to Bowser
In this next area, you’ll first need to navigate four spinning fire bars. It’s easy to do as you can just walk in the quarter between two bars until you reach the path upwards. If you need it, there is a 1-up mushroom to the left. When you reach the top of the path, you’ll come to another Thwomp. This one is tricky and requires some fast movement as he rises and a couple of seconds later the fire shooters behind it will begin. You need to zoom under and them jump straight over the fire shooters before they fully turn on.
Run under the Thwomp and past the fire shooters before they’re triggered!
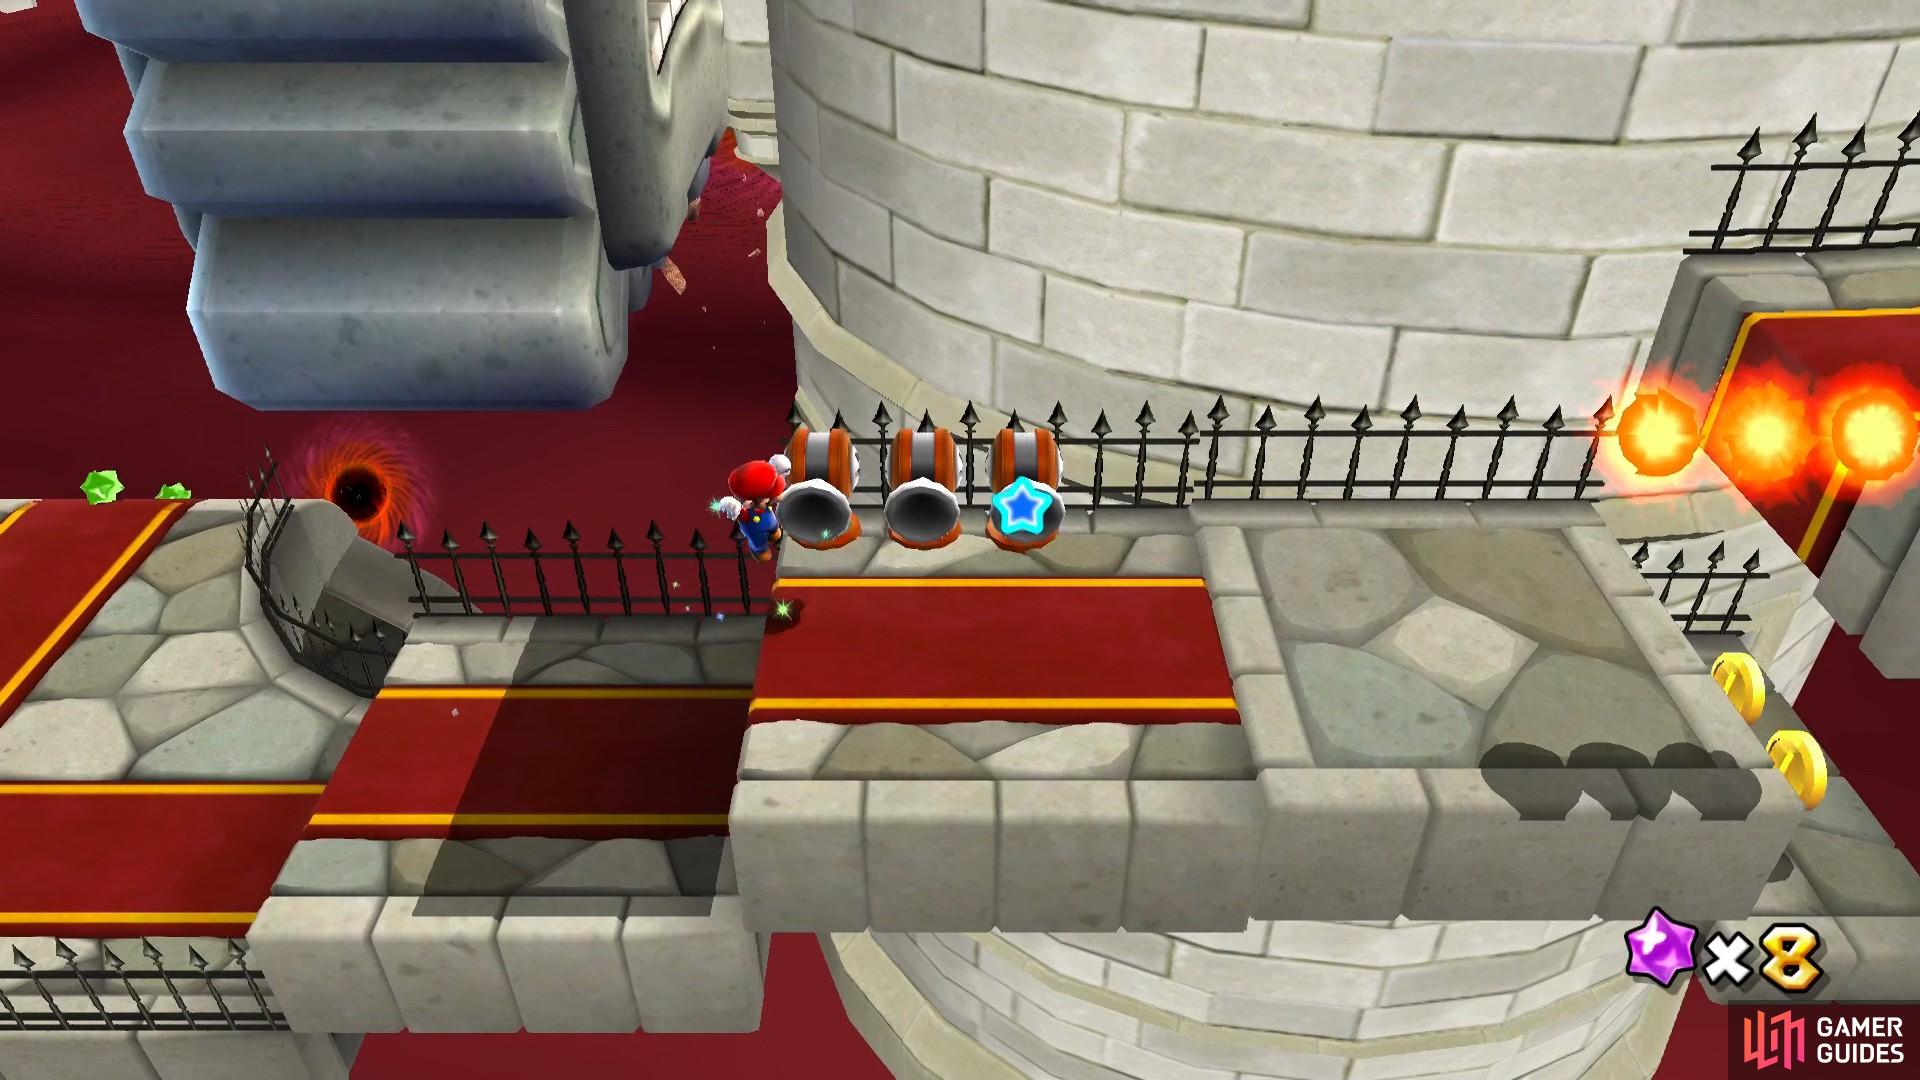
This next area is covered in firebars, but you should be able to run through so long as timing is on your side. When you reach the chequered path, a cutscene will trigger, showing Bowser atop a tower. He will begin to throw boulders at the paths causing them to crumble and they’ll slowly begin to fall. You’ll need to run across them and jump onto another platform before they crumble. Before you do so, you should pick up the extra life mushroom on the edge of the corner path, as it’ll definitely be handy for the boss fight. This will make it trickier to run across the crumbling paths before they fall, so it’s your choice. When you reach the end of the chequered path, you’ll begin your fight with Bowser.
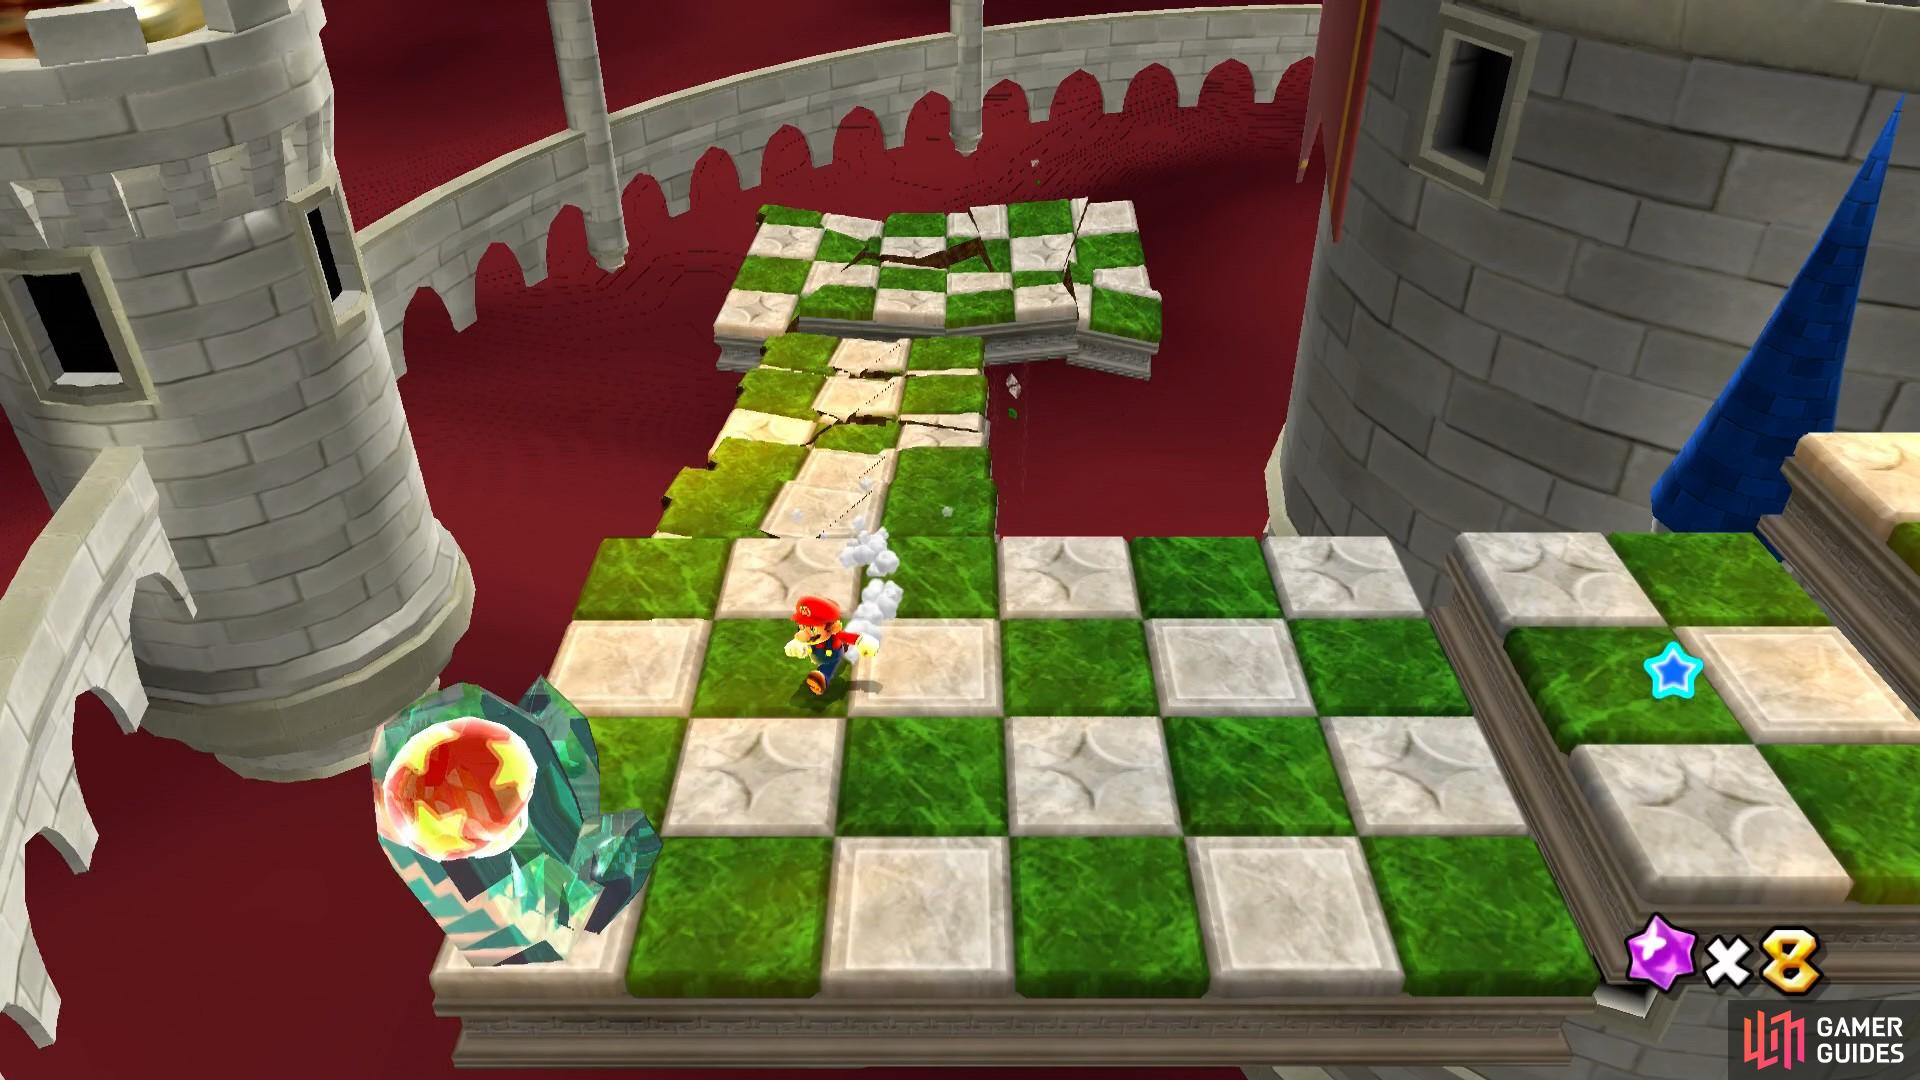
The Extra-Life Mushroom could be very handy!
Bowser Boss Fight
Once you’ve reached Bowser on the tower, you’ll be transported to a small planet with a handful of blue domes on it. Bowser attacks in a few ways:
-
Fire Balls - He will spit out a few fireballs and they will bounce around for a bit before disappearing. They are easy to avoid but will inflict fire damage if they hit you.
-
Electric waves - When he jumps, Bowser will create circular electrical waves that go around the entire planet. To avoid them, you’ll need to jump over them. Sometimes he will create up to 3 consecutive rings that you’ll need to jump over one after the other to avoid.
-
Groundpound - When close to you, Bowser will attempt to groundpound you. You can easily get out of the way of these attacks. You will also need to utilise these groundpounds to take him down during this boss fight.
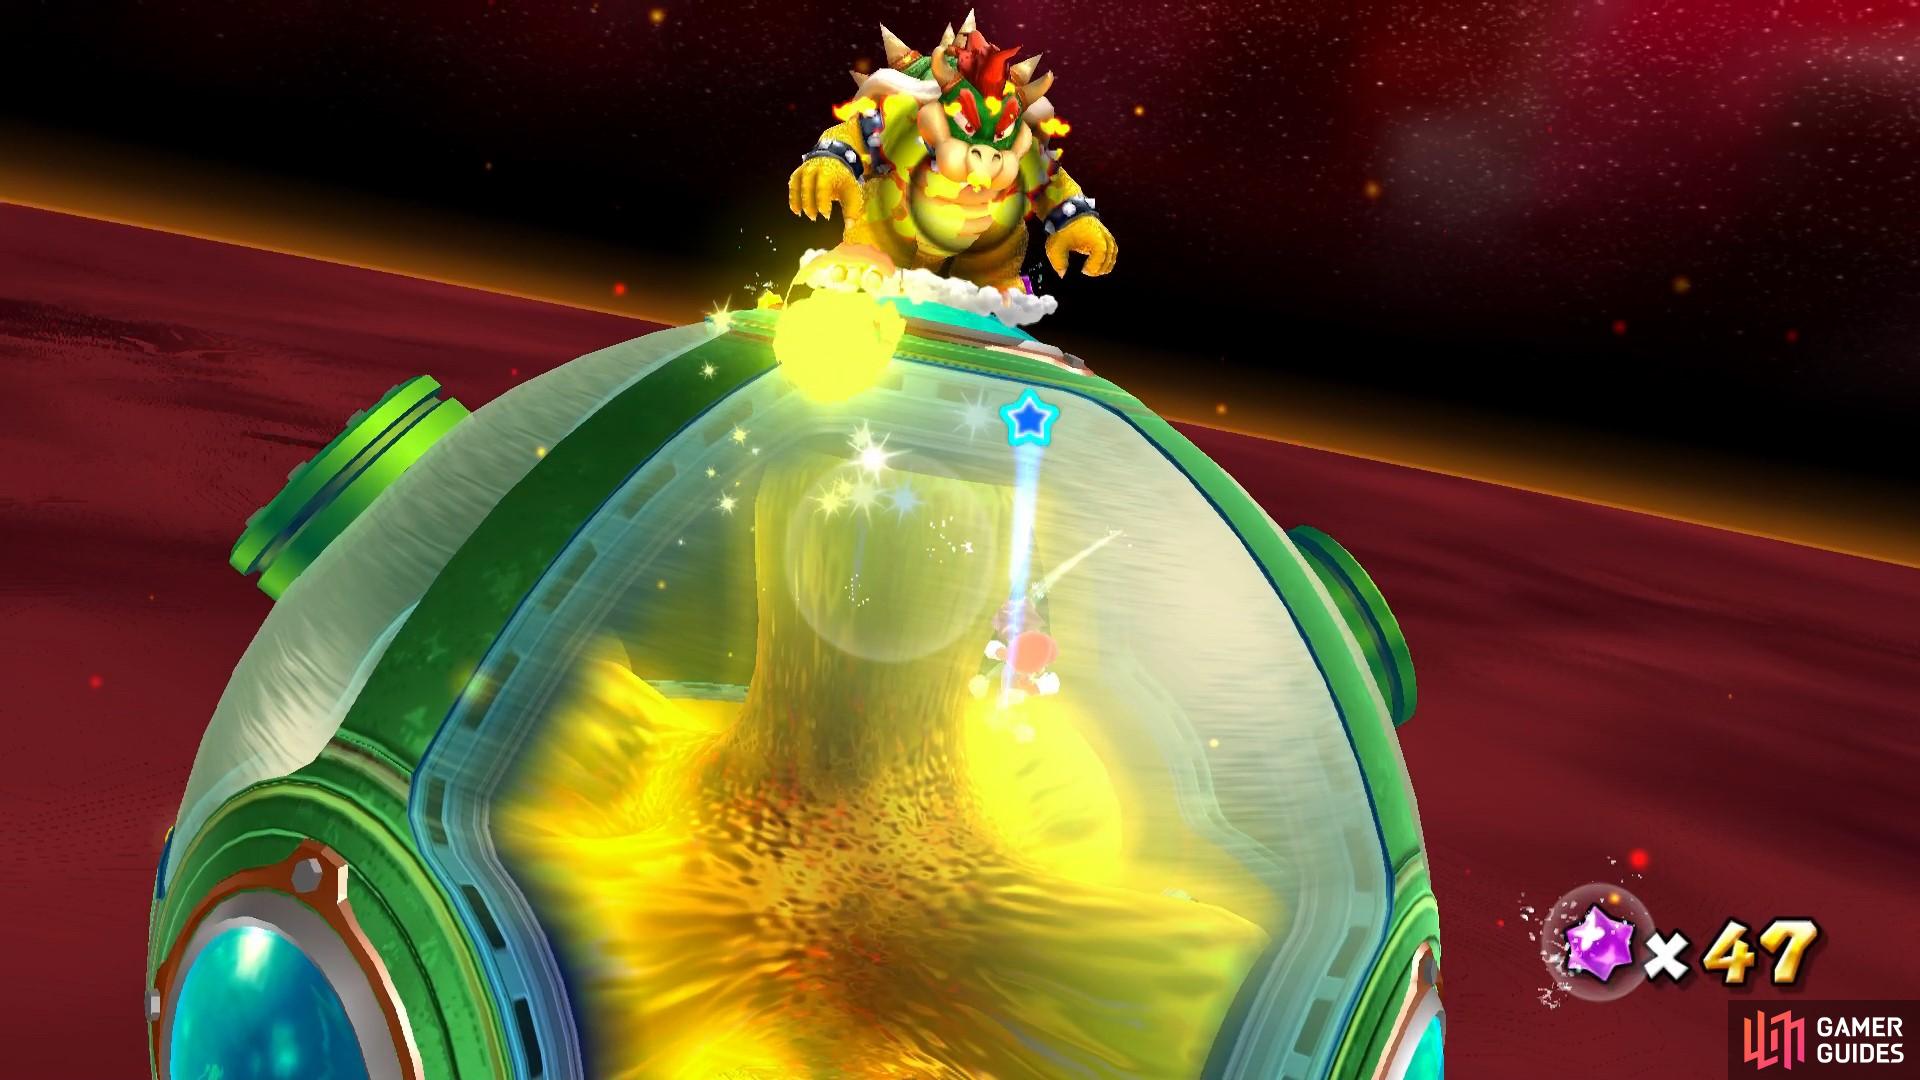
In this image, Bowser is spitting out fire balls
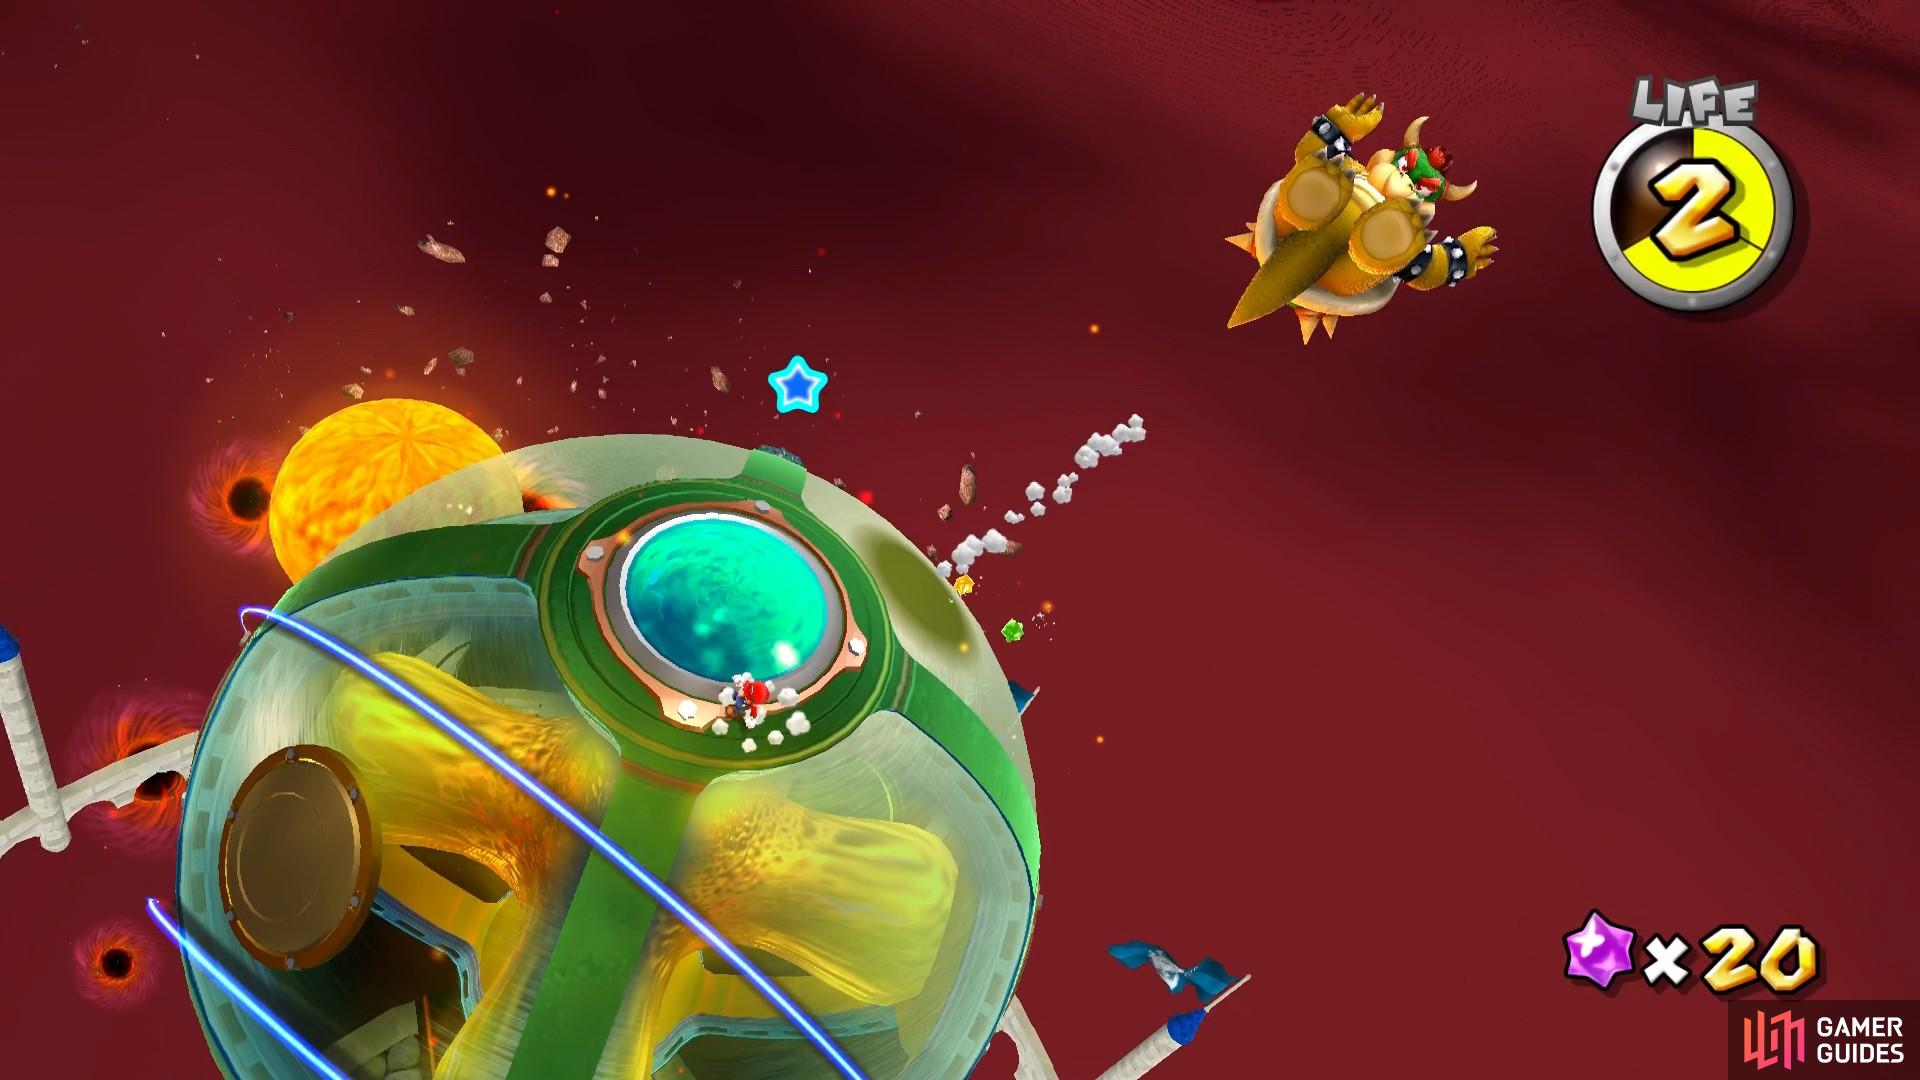
and in this second image, you can see Bowser performing a groundpound as well as electrical waves.
Bowser will mix and match which of these attacks he will perform. You will want to get him to groundpound specifically on the blue domes though. So run up to him and guide him towards one of the many blue domes and then get him to groundpound it. Make sure you’re not standing on it though as it will smash and expose fiery lava.
This lava will damage Bowser causing him to run away from Mario. You will need to run around the planet in the opposite direction to catch him, as you won’t be able to chase him in the same direction he is running - he’s too fast! When you catch him, spin attack quickly to incapacitate him. This will cause him to spin around the island in his shell. Do the same thing as before and run the opposite direction to where he is headed so you catch him on his path. Spin him again to damage him. If you don’t catch him in time during either of these phases, you will have to repeat the process again.
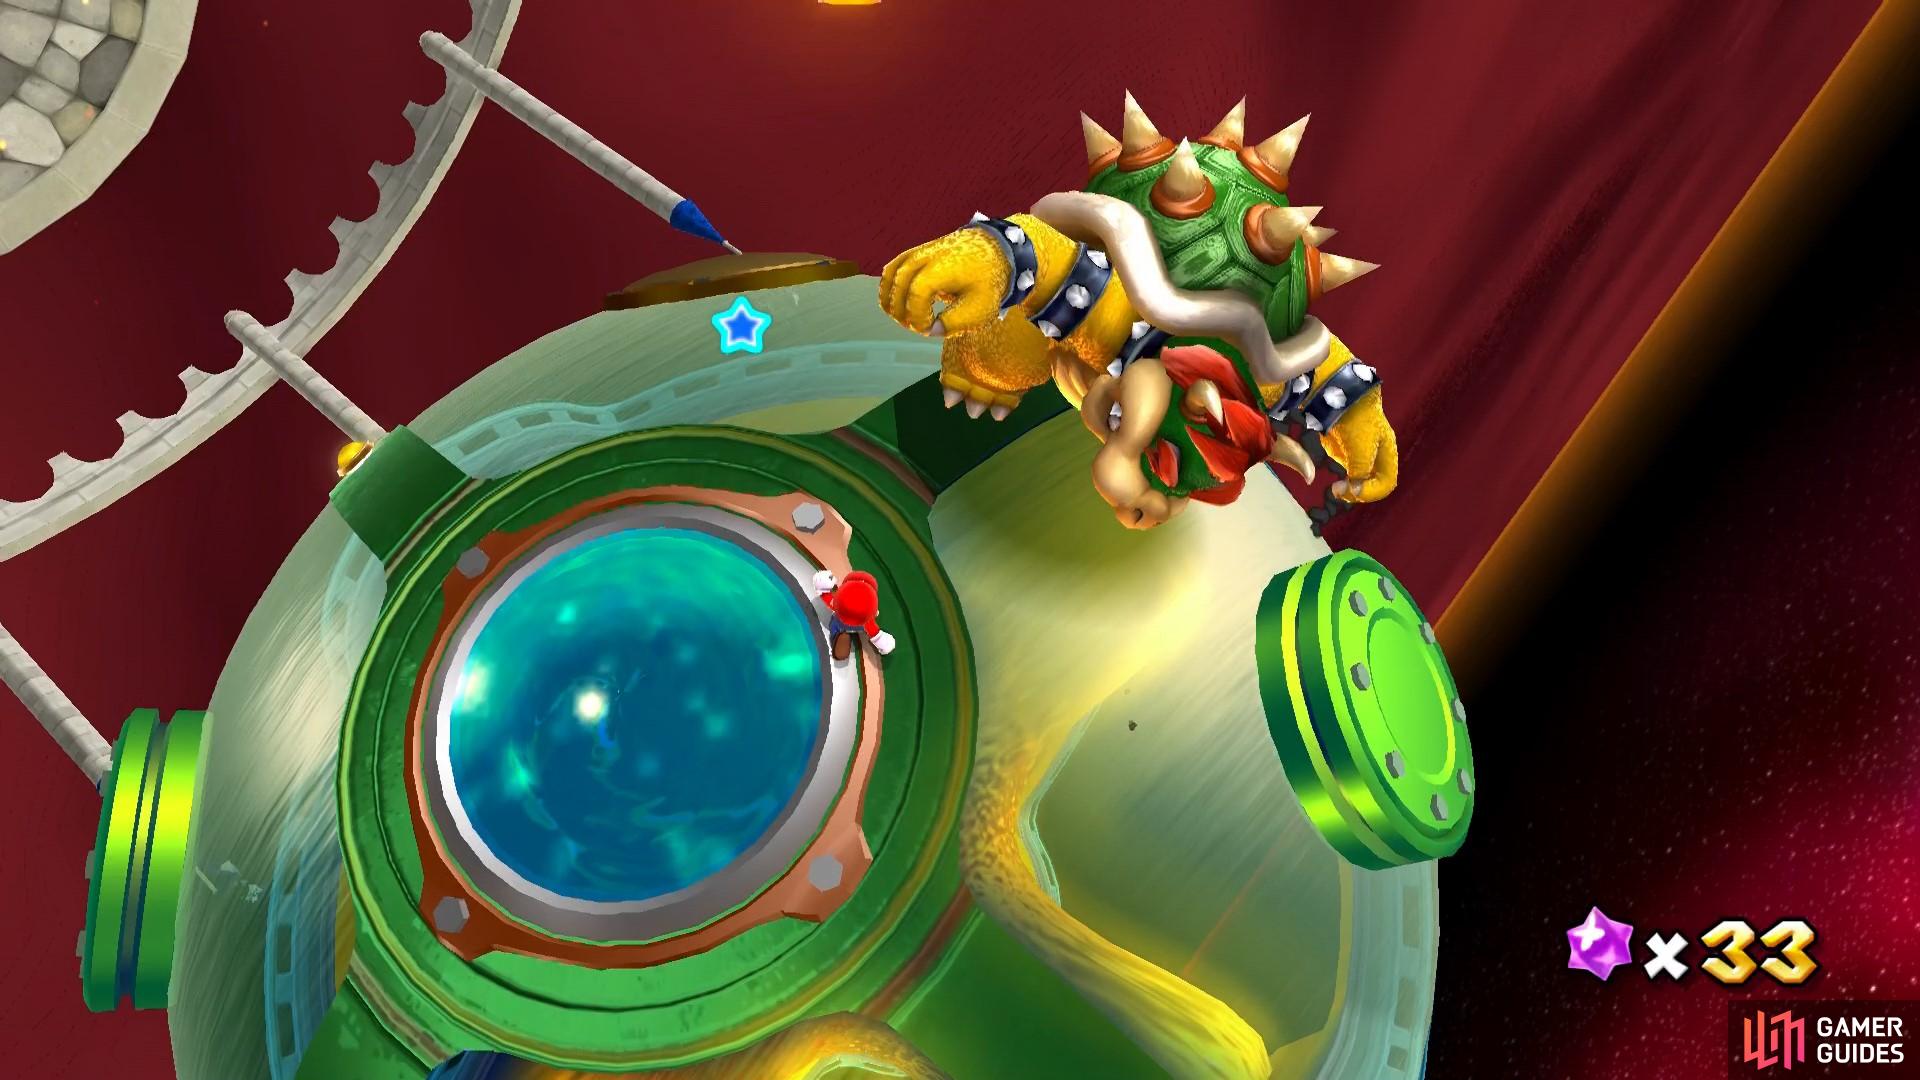
Spin-attack Bowser whilst he’s fire damaged.
You’ll need to perform this series of actions two more times, for a total of three lots of damage. Each time, he will become more aggressive in his attacks by spitting out more fire balls, creating more electric waves and groundpounding faster. He will also run away and spin in his shell faster, making it trickier to catch him. On the third and final phase of the fight, you will need to spin attack his spinning shell form twice in order to finish the boss fight.
When you defeat him, he will run away, leaving you with a Grand Star.

When you defeat Bowser you’ll earn a Grand Star
this will be used to increase the Observatory’s star power and you’ll unlock a new dome!
No Comments