
This is a walkthrough for the Archon Quest, The Black Serpent Knights’ Glory which is the last quest of Chapter II: Act IV - Requiem of the Echoing Depths.
The Traveler and Paimon are feeling the power from the device.
| Adventure EXP | Mora | Other Rewards | Requirements | Next Quests |
|---|---|---|---|---|
 700 700 |
 60 60  2 2  2 2  2 2  2 2  5 5 |
Complete Memories of Inteyvat | – |
Description
Dainsleif figures out the Abyss Order’s plan from the twins’ memories left within the Inteyvat flower. Now to see if you can stop them or not…
Steps
- Check the situation at the center of the ruins’ summit
- Defeat the Abyss Lector
- Talk to Dainsleif
- Destroy all the charging devices (0/4)
- Reach Halfdan / Talk to Dainsleif
Check the situation at the center of the ruins’ summit
Following directly from the last quest, you’ll need to head back to the summit. Use the teleport waypoint that you got earlier and go through the southern portal. When you come through the other side of the portal, you’ll notice that a lot has been going on up here. For now, head to the center where a mysterious figure awaits to trigger a cutscene. It appears that the mysterious figure has activated the device to undo the curse and the Hilichurls, Black Serpent Knights and Dainsleif are feeling it. What looks like pure agony for them, Dainsleif begs you to shut down the device. Just as he says that, Halfdan appears and with what looks like the last of his strength, lays his rotting corpse on top of the beam which interrupts the device. This angers the mysterious figure who goes by the name of Abyss Lector and a battle ensues.
Defeat the Abyss Lector
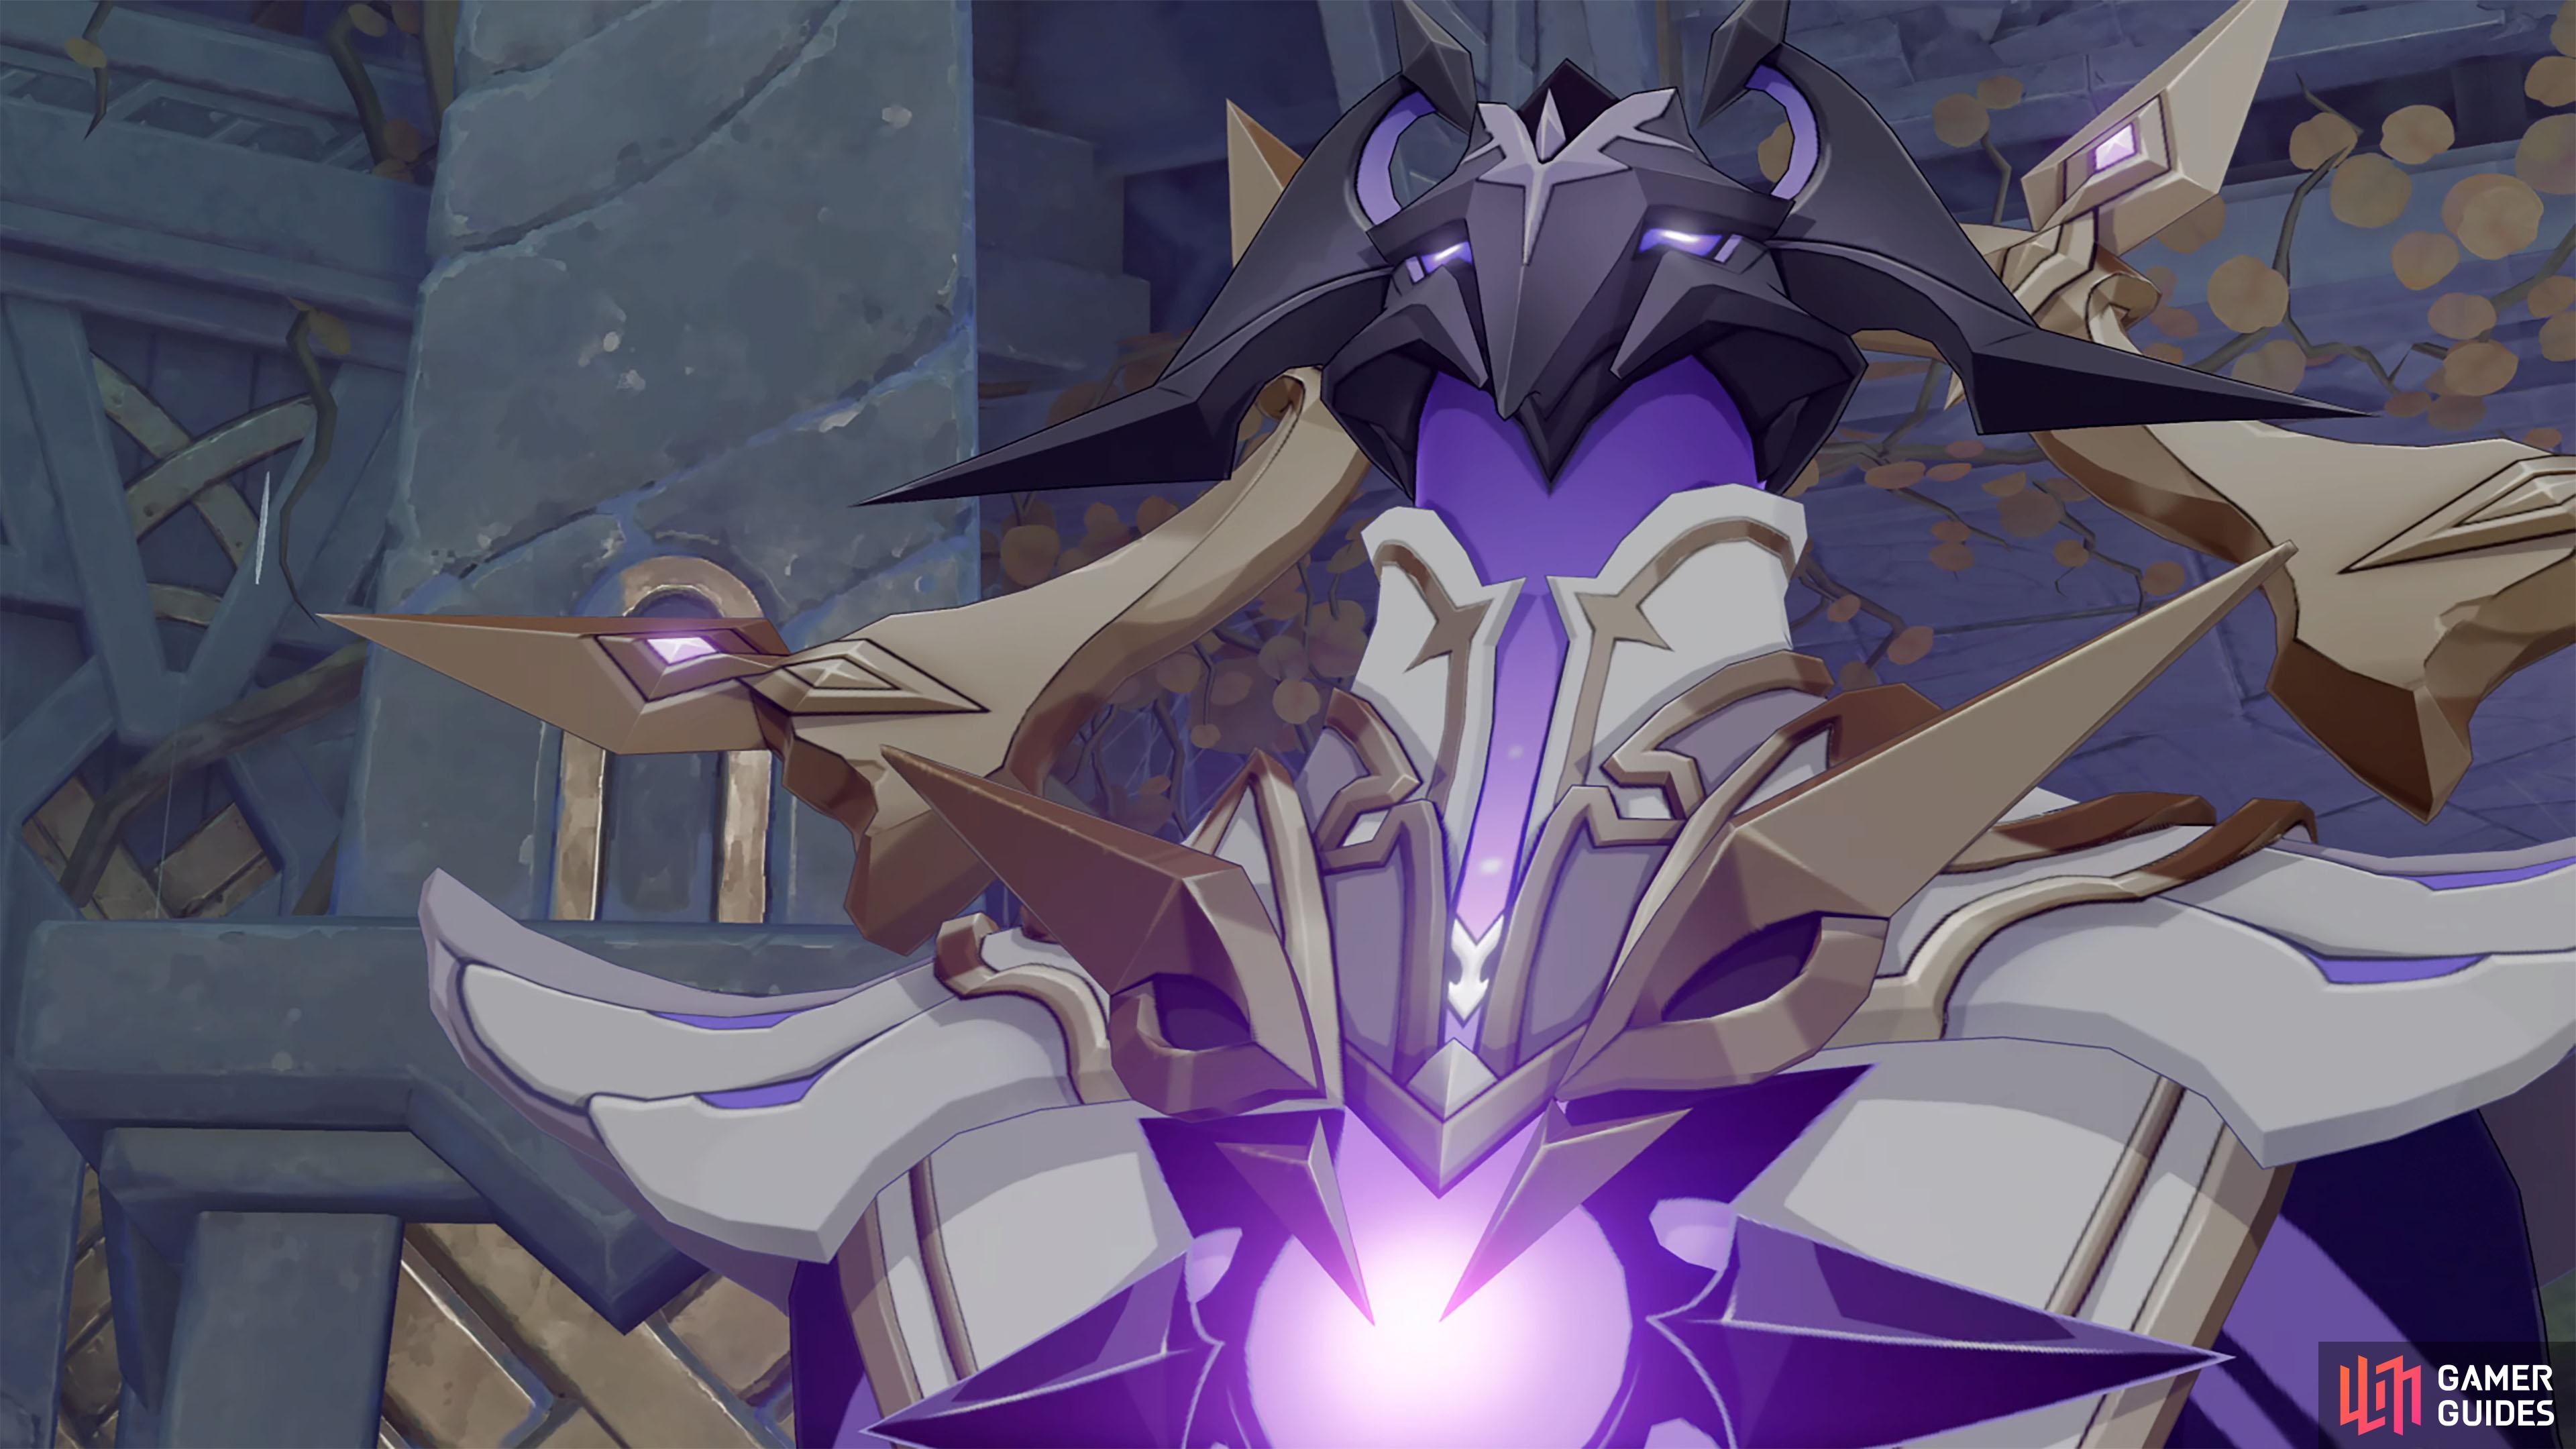
Abyss Lector is done with your meddling.
Recommended Party

When you regain control, Abyss Lector will be near the device in the center. He is an Electro archetype and some of his attacks can drain your energy. He has several attacks to be aware off:
| Attack | Description | Counter |
|---|---|---|
| Lightning Bolt | Three Lightning Bolts will track you around the arena placing a circular AoE marker underneath your feet.. | Keep moving around the arena until the attack has passed. |
| Lightning Burst | Absorbs energy before emitting a powerful burst of lightning. | This can only hit you if you are around the boss. When you see it absorbing the energy, dodge away from it. |
| Lightning Orb Barrage | Lector will conjure three lightning orbs that’ll hurl at your location. | Run either side to avoid the incoming barrage. |
| Lightning Orbs | Several orbs will materialize around Lector before they fire off in all directions. This attack can only be used once Trance has been activated. | The best way to avoid this attack is to get some distance, and dodge towards the orb just as it’s about to hit you. |
| Cross Lightning | Conjures two lightning bolts either side of him that travel in a cross-like pattern until they converge where you’re standing. | Wait until they converge at your location and dodge towards the attack to avoid taking any damage. |
| Trance | This move begins when enough time has passed or his health goes past a certain threshold. This will put Lector into a trance-like state and give him an Electro shield that nullifies all health damage until the shield is broken. The initial attack will deal significant damage if you’re nearby him when he activates it. | Lector will float into the air whilst absorbing energy before unleashing a burst of Electro energy around himself in a large radius. When he floats into the air, keep your distance to avoid the initial attack. Breaking the shield will end the battle regardless of how much health he has left. |
Strategy
For the most part, Lector isn’t particularly tough when he’s unshielded, although you’ll still want to avoid his attacks as they can drain up to 20 energy. The attack that’ll most likely hit you the most is the Lightning Burst attack as he likes to use it often whenever you’re in melee range. If you have access to a Shield Support character like Zhongli, you can soak up most of the damage. As Lector is Electro, a Pyro character can deal lots of Overload damage to him, whilst a Cryo character can inflict Super-Charged which’ll reduce his defense. Bring along a healer to keep your health topped up should you take any unnecessary damage and finally, a support character that can provide the party with energy.
The hardest part of the fight is that a lot of his attacks drain energy which hinders you from using your Elemental Skills, and Bursts more frequently. This is why you want a support character to provide energy to the party to help counter that. Most of Lector’s attacks can be dodged at the last second to avoid taking any damage, and your shield should protect you from any that you miss. Furthermore, attacking him with both Cryo and Pyro will deplete his health in no time.
Talk to Dainsleif
After the battle is over, you’ll get a cutscene where the party will talk to Dainsleif. It appears that although Lector has been defeated, the device is still working, even after Halfdans sacrifice. You’ll have the choice to offer yourself as Halfdans replacement, but Dainsleif will tell you to not waste any more time here and destroy the device. He informs you that the rays of light protruding from the device could be the answer you’re looking for.
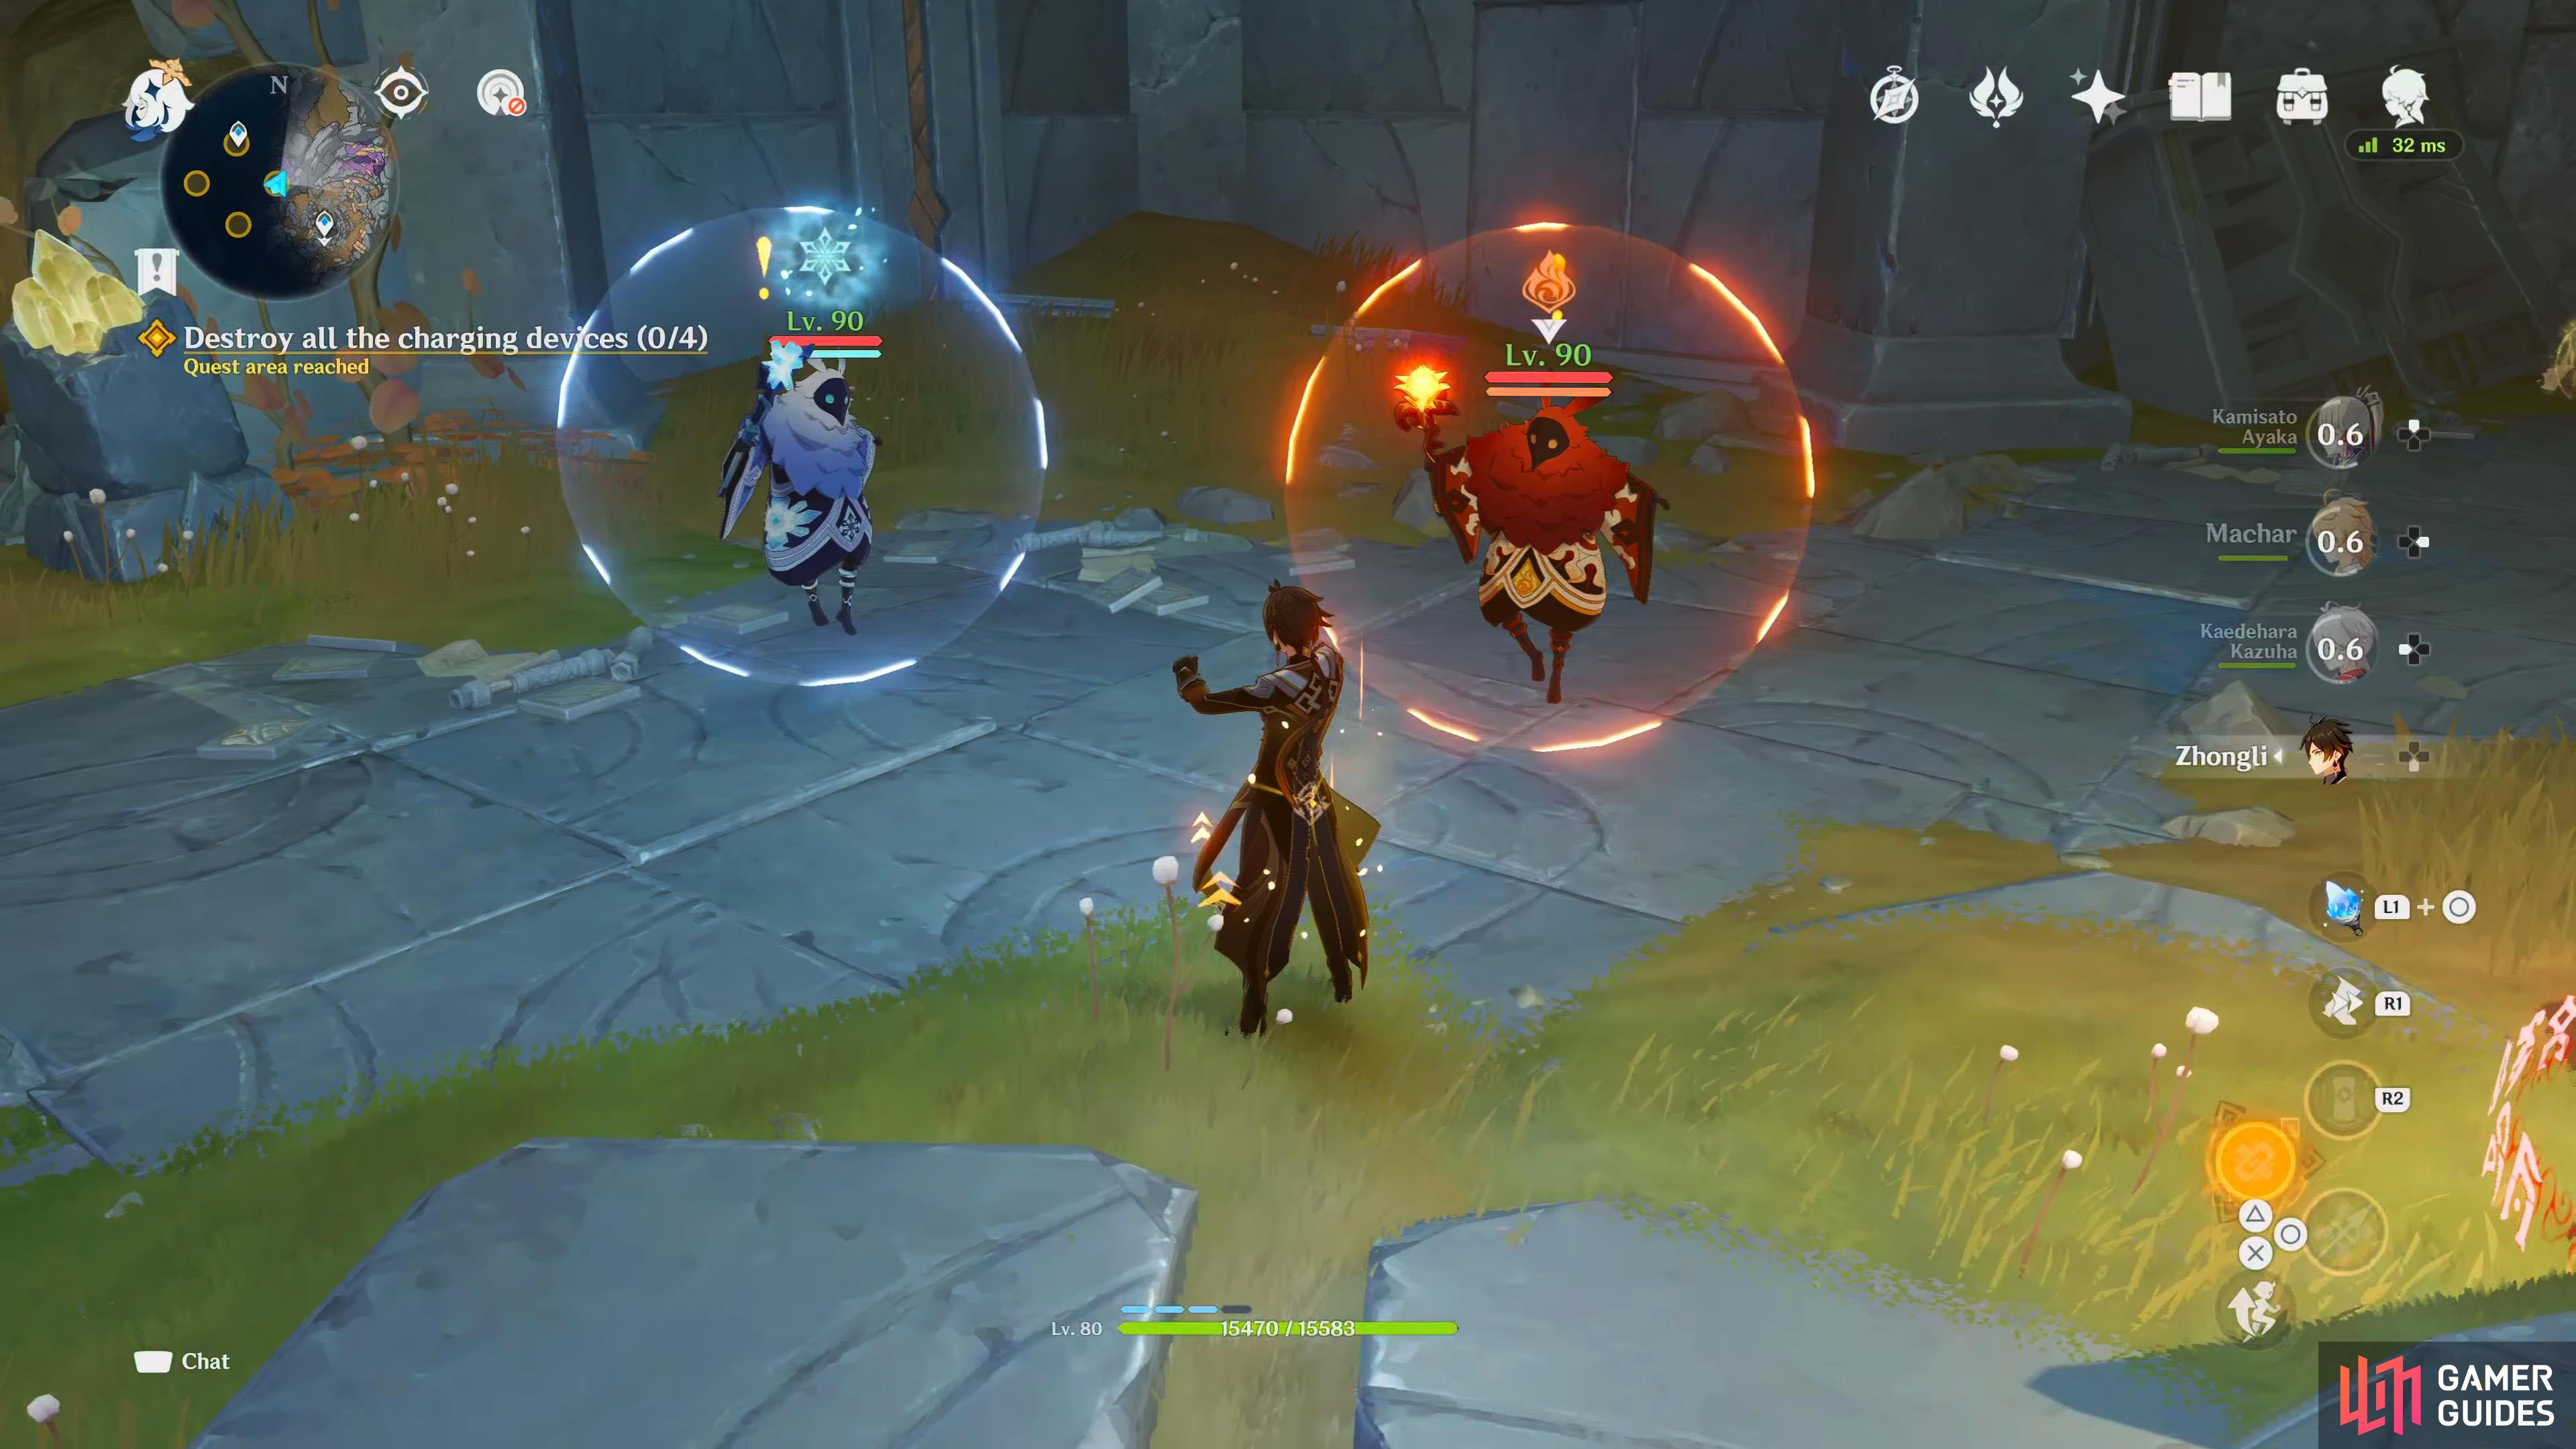
Destroy all the charging devices (0/4)
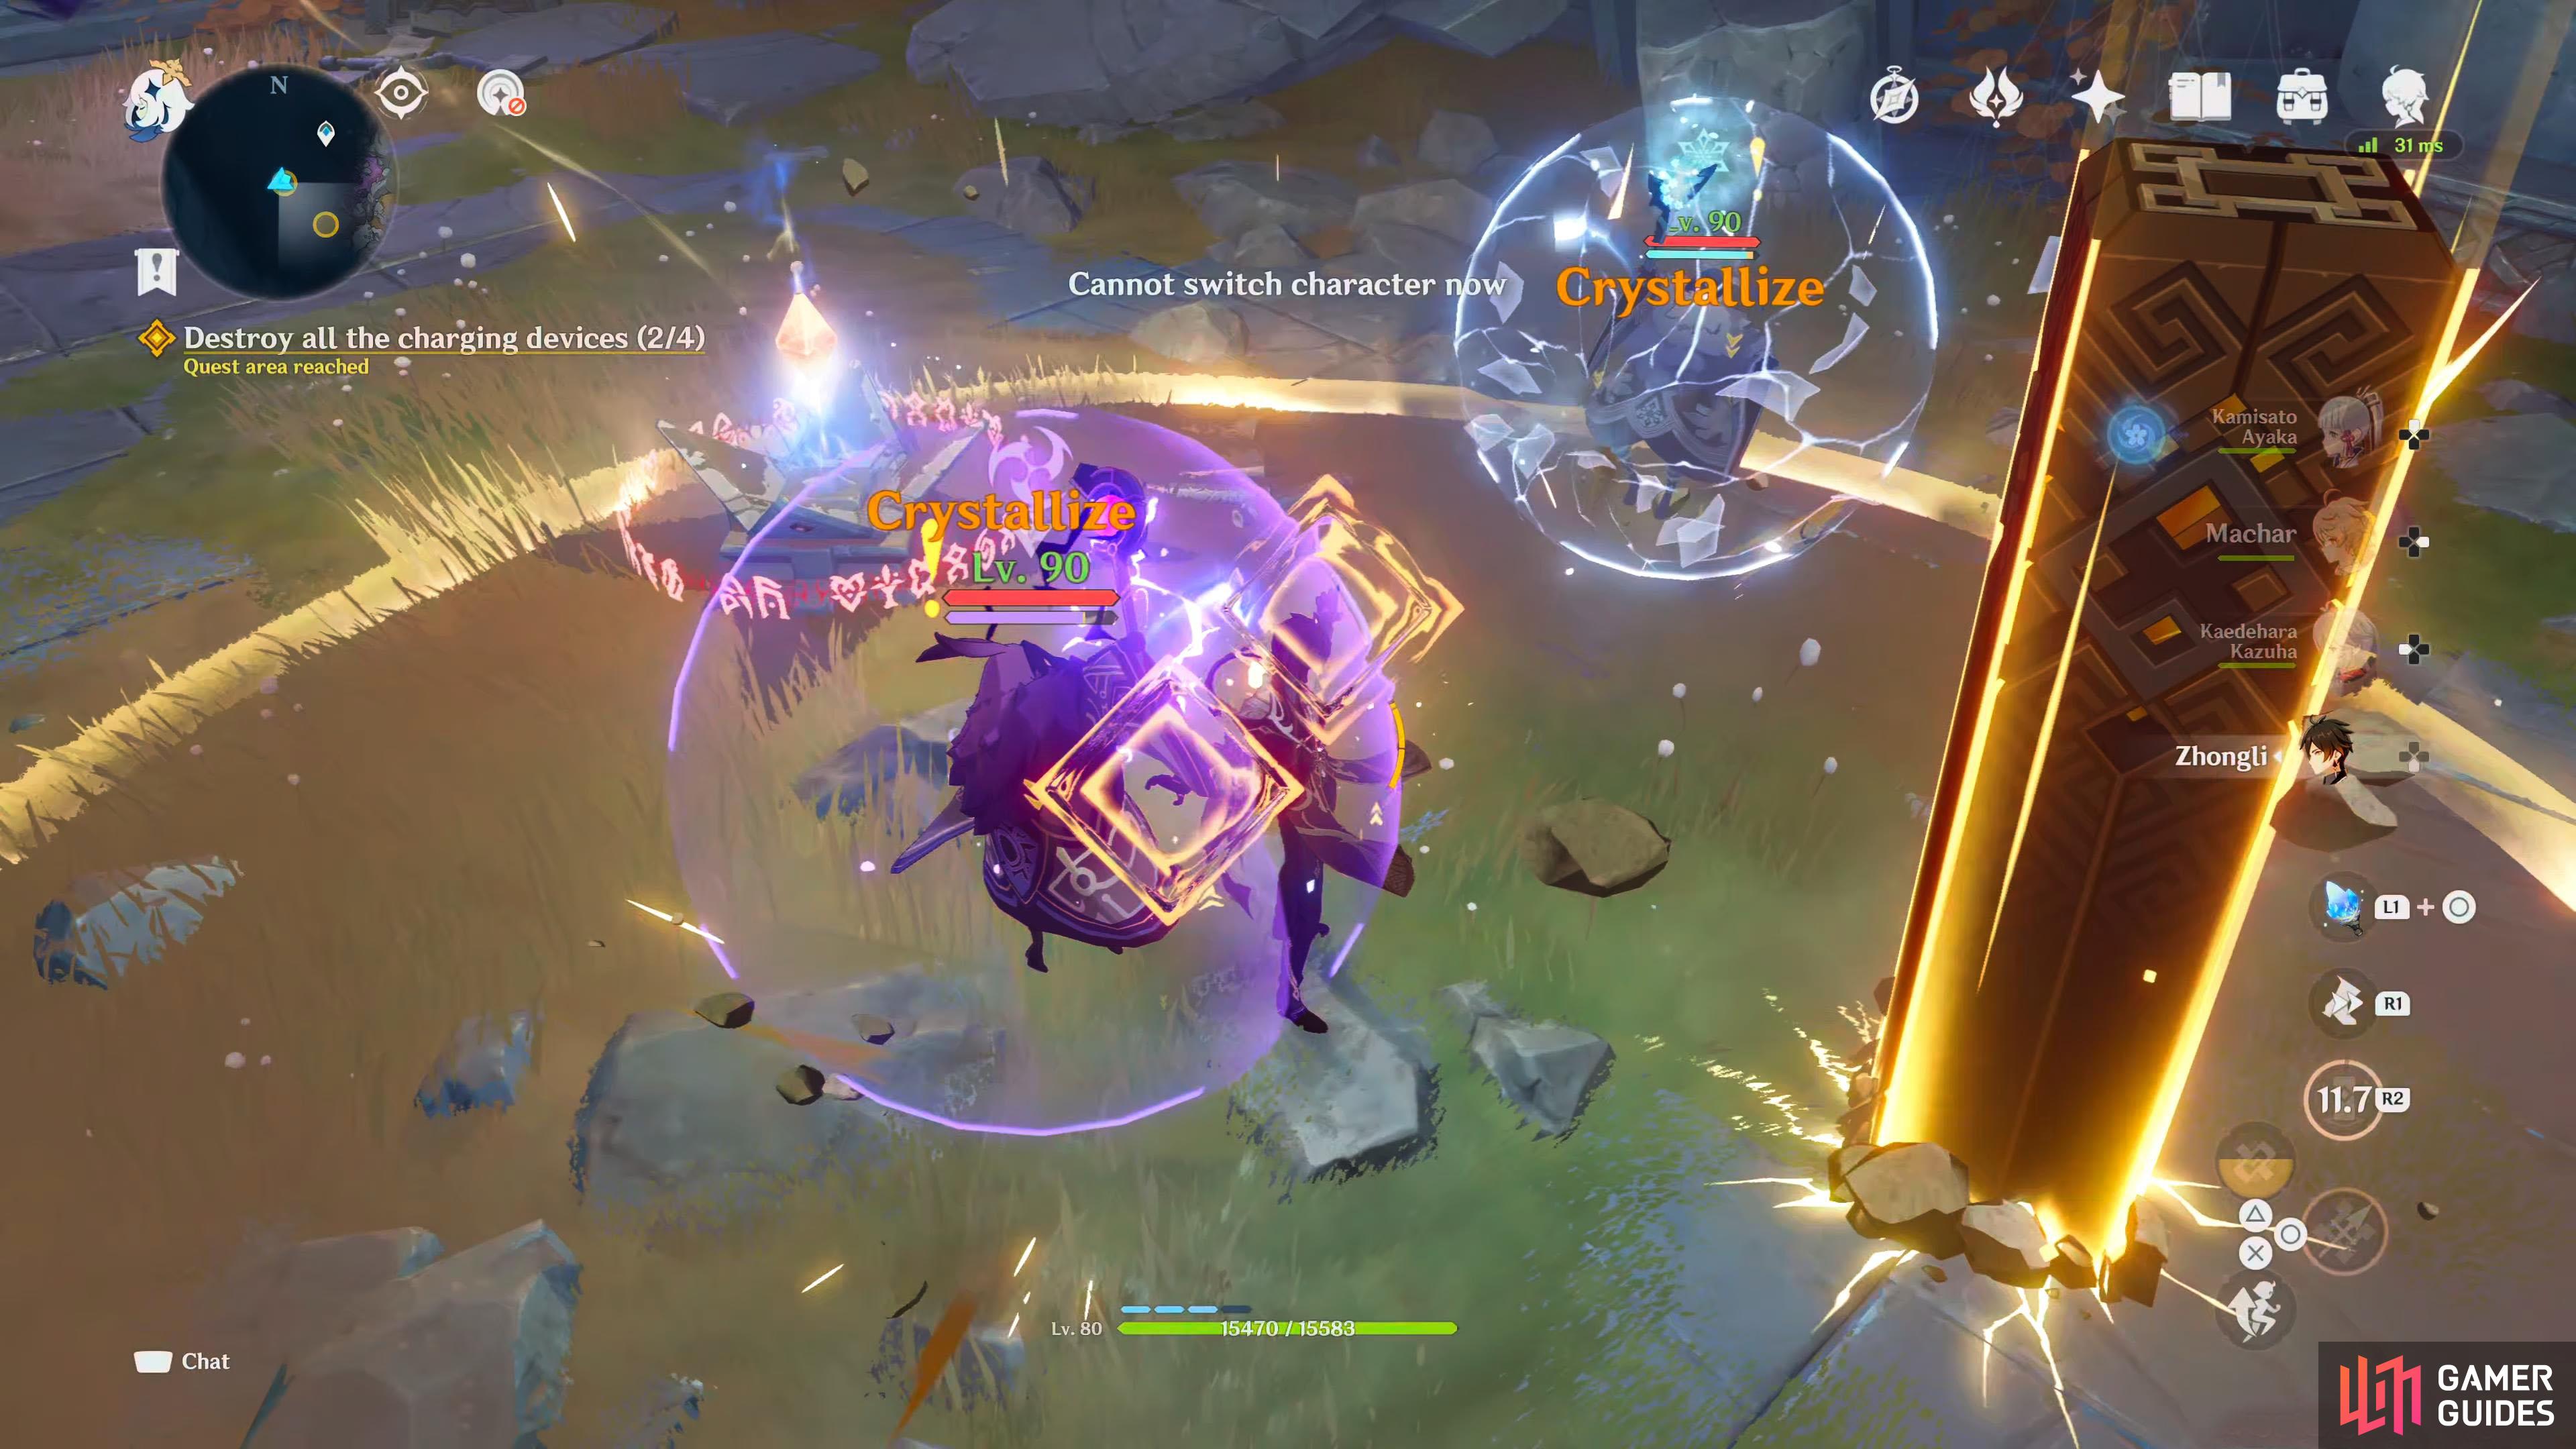
The four rays of light all lead to portals around the main chamber with one in every cardinal direction (N, E, S, W). As you go through the portal, you’ll have to defeat a couple of Abyss Mages before you can destroy the charging device within.
North Portal
| Enemy 1 | Enemy 2 |
|---|---|
 |
 |
| Pyro Abyss Mage | Electro Abyss Mage |
In the northern portal, two Abyss Mages will spawn as you approach the charging device in the center. These will be the Pyro and Electro variants. This particular setup means they’re capable of a lot of area of effect damage if you allow them to hit you with both of their attacks due to the Overload effect they can inflict. The Pyro Abyss Mage’s shield is weak to Hydro although Cryo and Electro will still deal a moderate amount of damage to its shield. On the other hand, the Electro Abyss Mage’s shield is especially weak to both Pyro and Cryo whilst Hydro will only deal a small amount of shield damage.

The north portal will have a Pyro Abyss Mage and an Electro Abyss Mage.
East Portal
| Enemy 1 | Enemy 2 |
|---|---|
|
 |
| Pyro Abyss Mage | Cryo Abyss Mage |
In the eastern portal, two Abyss Mages will spawn as you approach the charging device in the center. These will be the Pyro and Cryo variants. This particular setup means they’re capable of dealing increased damage if you allow them to hit you with both of their attacks due to the Melt effect they can inflict. The Pyro Abyss Mage’s shield is weak to Hydro although Cryo and Electro will still deal a moderate amount of damage to its shield. On the other hand, the Cryo Abyss Mage’s shield is especially weak to Pyro, although Electro will still deal moderate shield damage.
The east portal will have a Pyro Abyss Mage and a Cryo Abyss Mage.
West Portal
| Enemy 1 | Enemy 2 |
|---|---|
|
|
| Cryo Abyss Mage | Electro Abyss Mage |
In the western portal, two Abyss Mages will spawn as you approach the charging device in the center. These will be the Cryo and Electro variants. This particular setup means they’re capable of a lot of area of effect damage including reducing your physical resistance by 50 if you allow them to hit you with both of their attacks due to the Superconduct effect they can inflict. The Cryo Abyss Mage’s shield is especially weak to Pyro, although Electro will still deal moderate shield damage. On the other hand, the Electro Abyss Mage’s shield is especially weak to both Pyro and Cryo whilst Hydro will only deal a small amount of shield damage.
The west portal will have a Cryo Abyss Mage and an Electro Abyss Mage.
South Portal
| Enemy 1 | Enemy 2 |
|---|---|
|
 |
| Pyro Abyss Mage | Hydro Abyss Mage |
In the southern portal, two Abyss Mages will spawn as you approach the charging device in the center. These will be the Pyro and Hydro variants. This particular setup means they’re capable of a lot of area of effect damage if you allow them to hit you with both of their attacks due to the Overload effect they can inflict. The Pyro Abyss Mage’s shield is weak to Hydro although Cryo and Electro will still deal a moderate amount of damage to its shield. On the other hand, the Hydro Abyss Mage’s shield is especially weak to Cryo causing it to freeze and rendered immobile although Pyro and Electro will still deal moderate shield damage.

The south portal will have a Pyro Abyss Mage and a Hydro Abyss Mage.
Reach Halfdan / Talk to Dainsleif
With all the devices destroyed, you’ll need to head back to the main chamber. The quickest way to achieve this is by teleporting back up, and climbing the wall into the room. When you’re back in the main room, head over to Halfdan in the center for a cutscene. Dainsleif will confirm to you that destroying the devices has stopped the machine, although it came at the cost of poor Halfdan. As the party decides to leave, a brilliant glow appears on their back. As they turn around to see what is causing this phenomenon, they witness Halfdan’s spirit. He apologizes to Dainsleif for his part in failing to protect the kingdom, to which Dainsleif eases his burden and responds to him in kind that he has faithfully done his duty for the past 500 years. After the scene ends, so will the quest.
No Comments