
A walkthrough for the World Quest, “The Heavenly Stone’s Debris” in The Chasm. You’ll have to complete the quest as it’s mandatory to progress the Archon Quest “In the Depths, an Unexpected Reunion”. This is the third part of The Chasm Delvers World Quest series.

The strange crystal seems to be garnering some energy.
The Heavenly Stone’s Debris Rewards
| Adventure EXP | Mora | Other Rewards | Next Quests |
|---|---|---|---|
 350 350 |
 40 40  3 3  6 6 |
Perils in the Dark |
Description
To get to ever-deeper levels of The Chasm, you must open the path that was blocked by large stones back when the mine was sealed. Looks like you’ll have to borrow the power of the Mountinator this time…
Steps
- Tell Jinwu about what happened
- Look for the two keys to the gunpowder storehouse (0/2)
- Go to open the door to the gunpowder storehouse / Look for a cannonball
- Bring the cannonball back to the camp
- Make 3 Special Unmoving Essential Oils
- Give the Special Unmoving Essential Oils to Clitopho / Finish assembling the cannonball
- Read the Signaling Guide
- Release the safety on the cannon’s breech
- Load the cannonball in together with Zhiqiong
- Use the great cannon to destroy the sealing rocks
- Go further in
- Talk to Zhiqiong
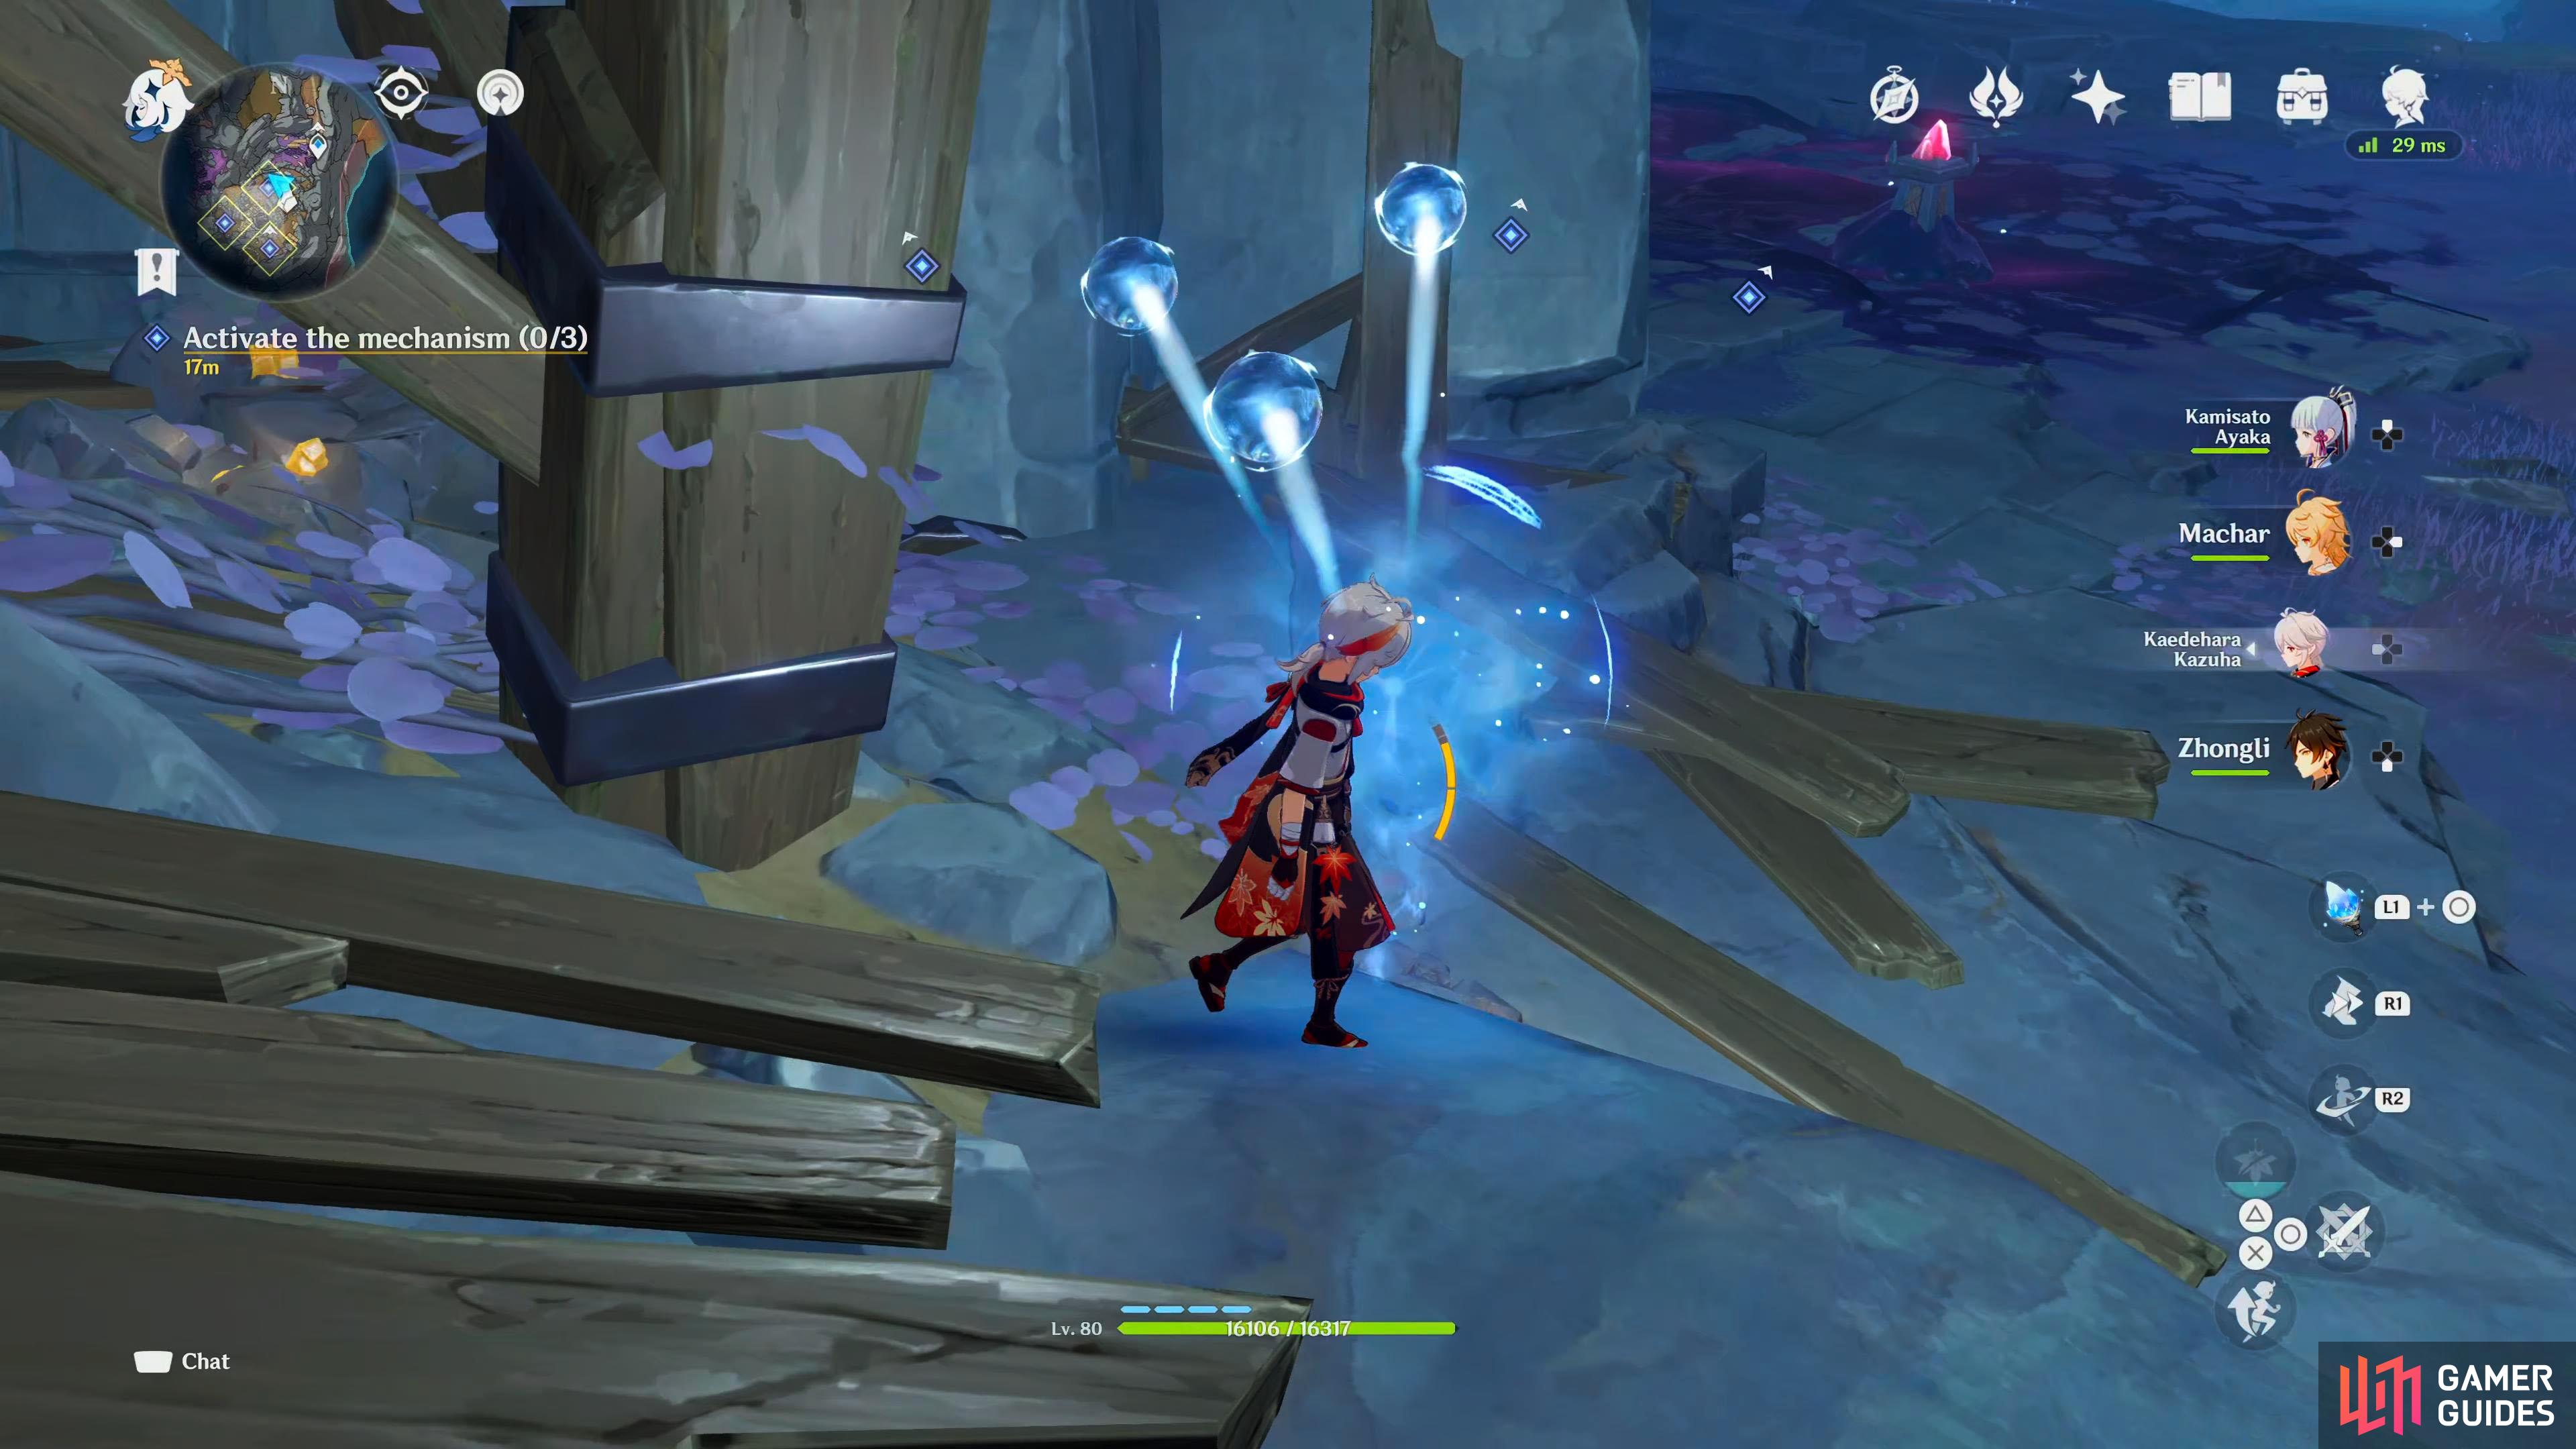
- Activate the mechanism (0/3)
- Defeat the emerging monsters
- Talk to Zhiqiong
Tell Jinwu about what happened
This quest is unlocked immediately after completing “Chasm Spelunkers”. Make your way back to the exploration camp which is situated in the Ad-Hoc Main Tunnel, and talk to Jinwu for a scene. Straight away she recognizes Clitopho as the guy who sold fake medicines. She’ll ask him what he can do as she doesn’t want any idlers in the camp, and you can tell her that he claims he can make explosives.
Apparently the team could do with a demolitions expert, says Jinwu, but Zhiqiong isn’t so sure the position should go to Clitopho. Anyway, Jinwu will ask if there is any other reason you’re here, and Zhiqiong will explain that the tunnel to the lower levels is sealed, and you plan on using the “Mountinator” to clear it. The rest of the team will make fun of the name Zhiqiong gave to the cannon before Jinwu will tell you that the keys were hidden in two separate water filtration devices which she’ll mark on the map.
Look for the two keys to the gunpowder storehouse (0/2)
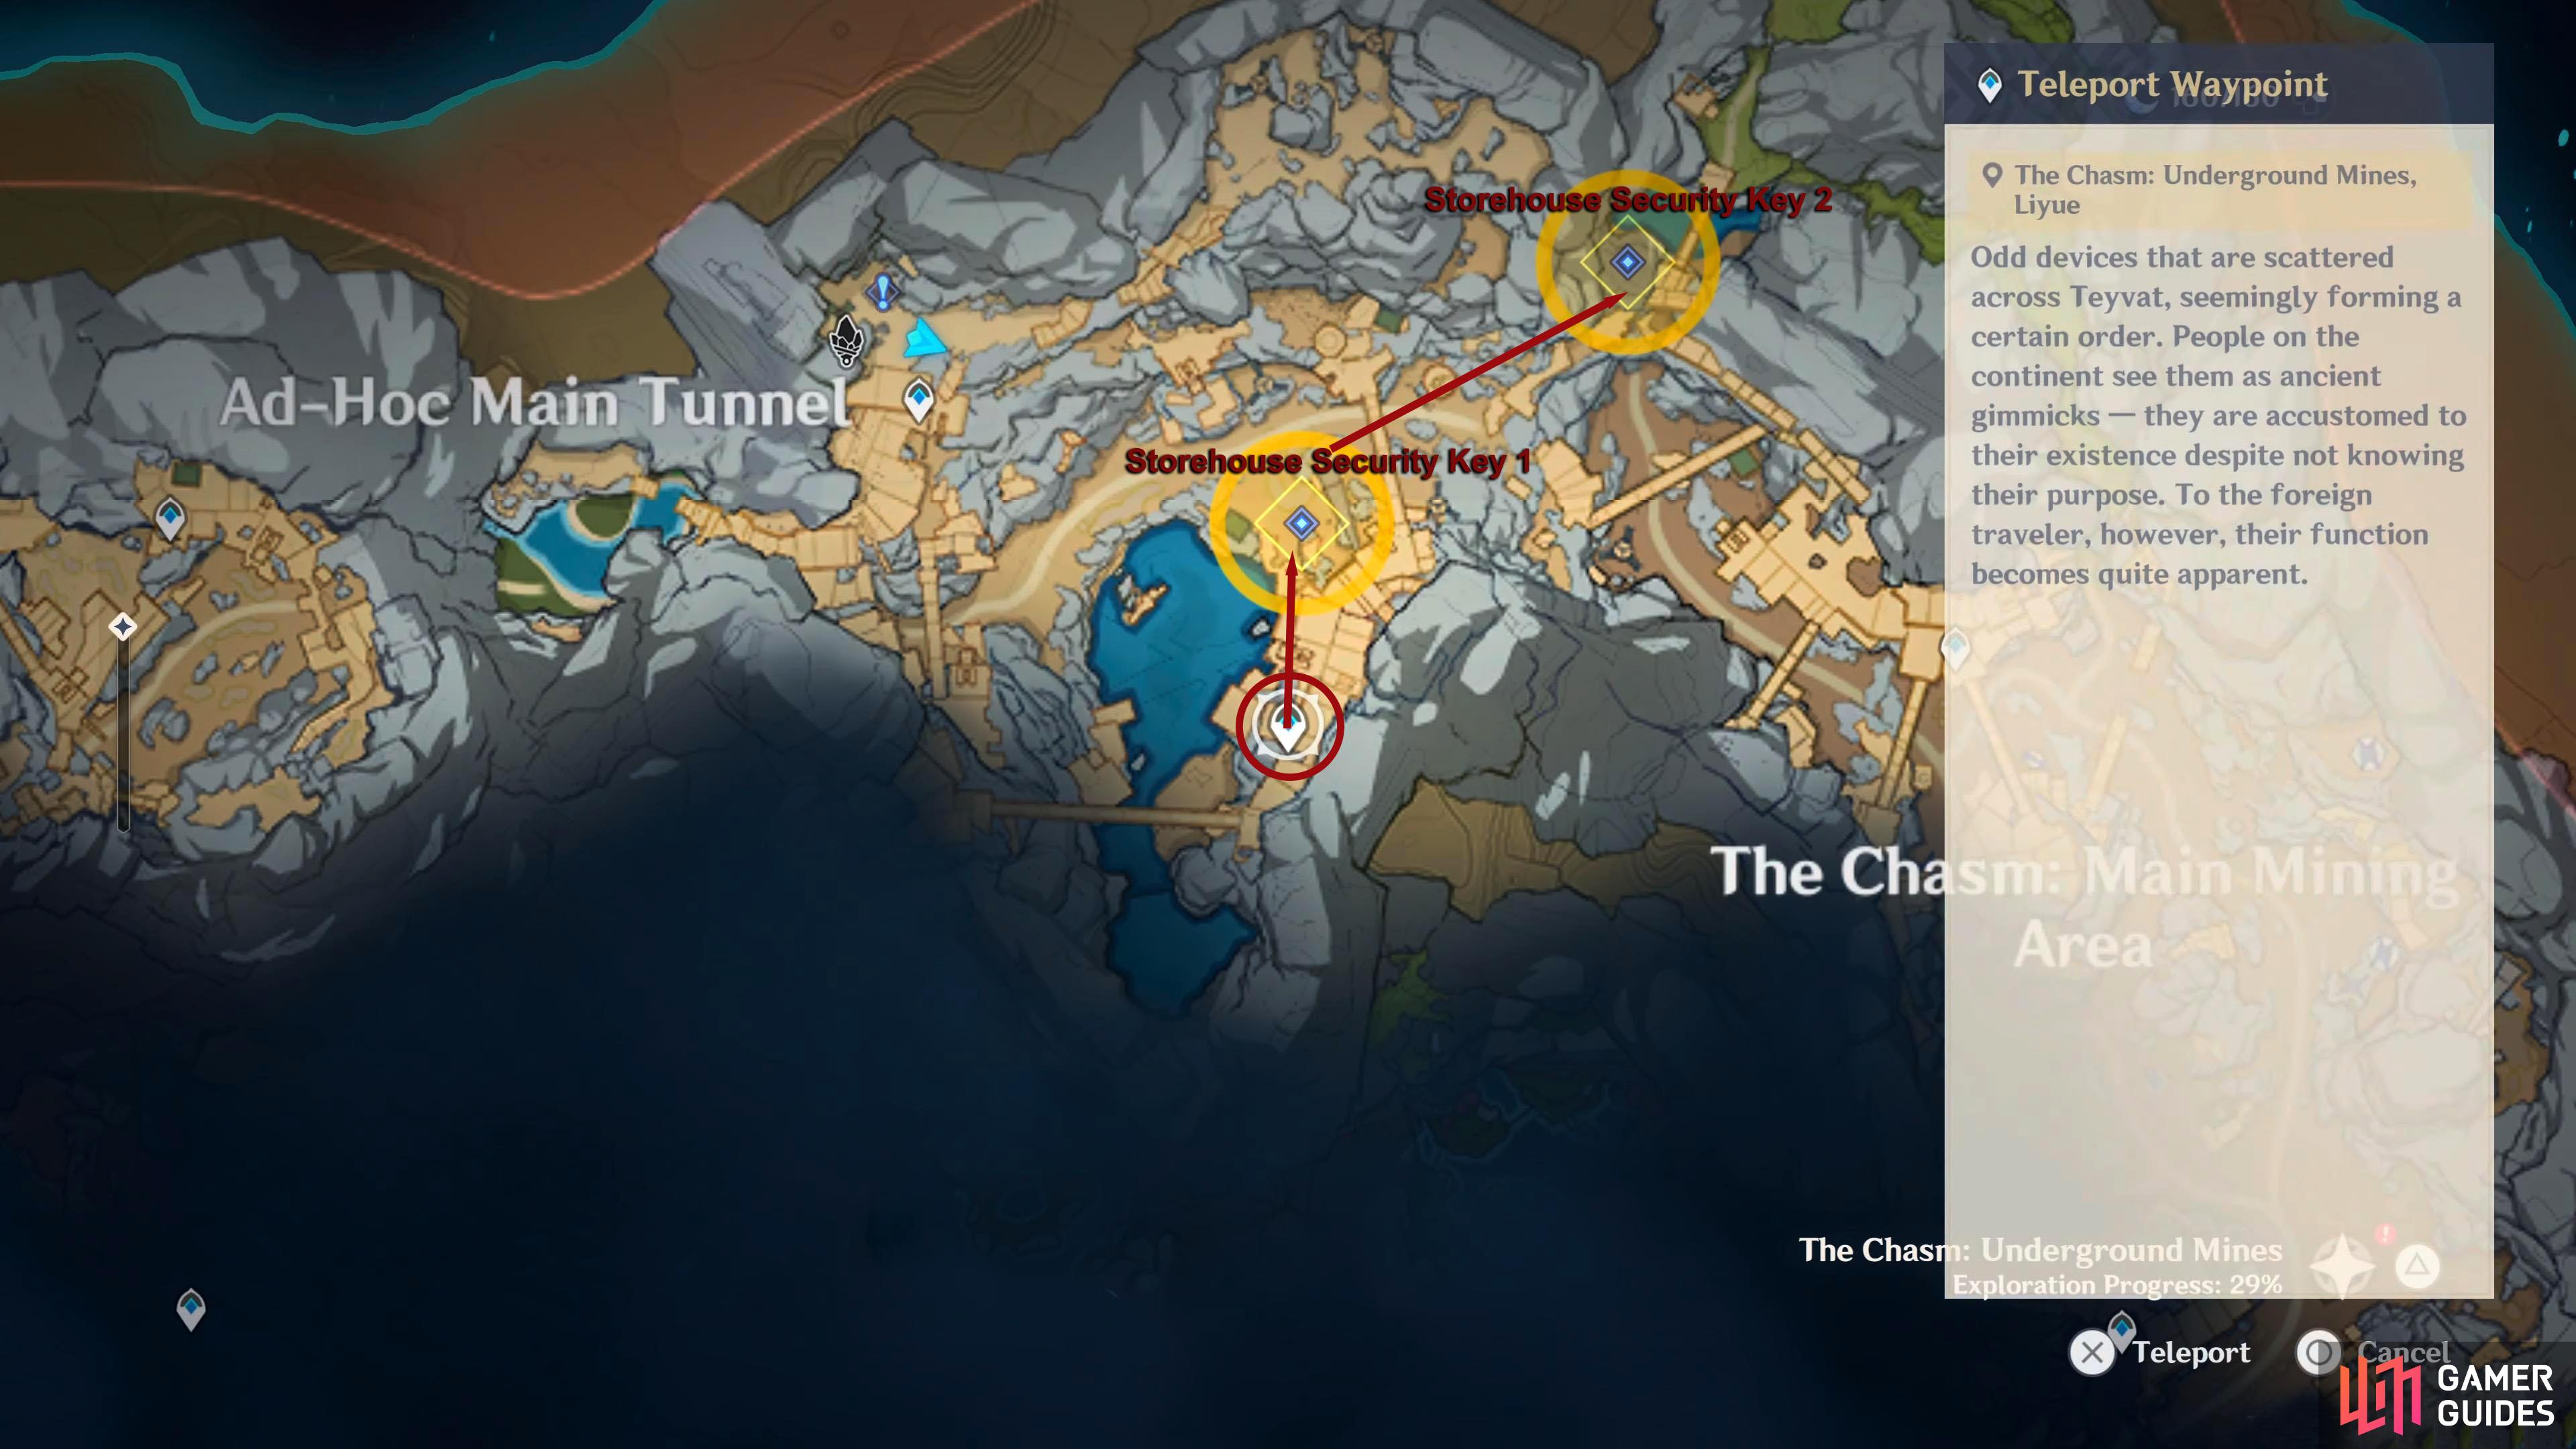
With the locations marked on the map, you’ll need to retrieve the two Storehouse Security Keys. You can find them:
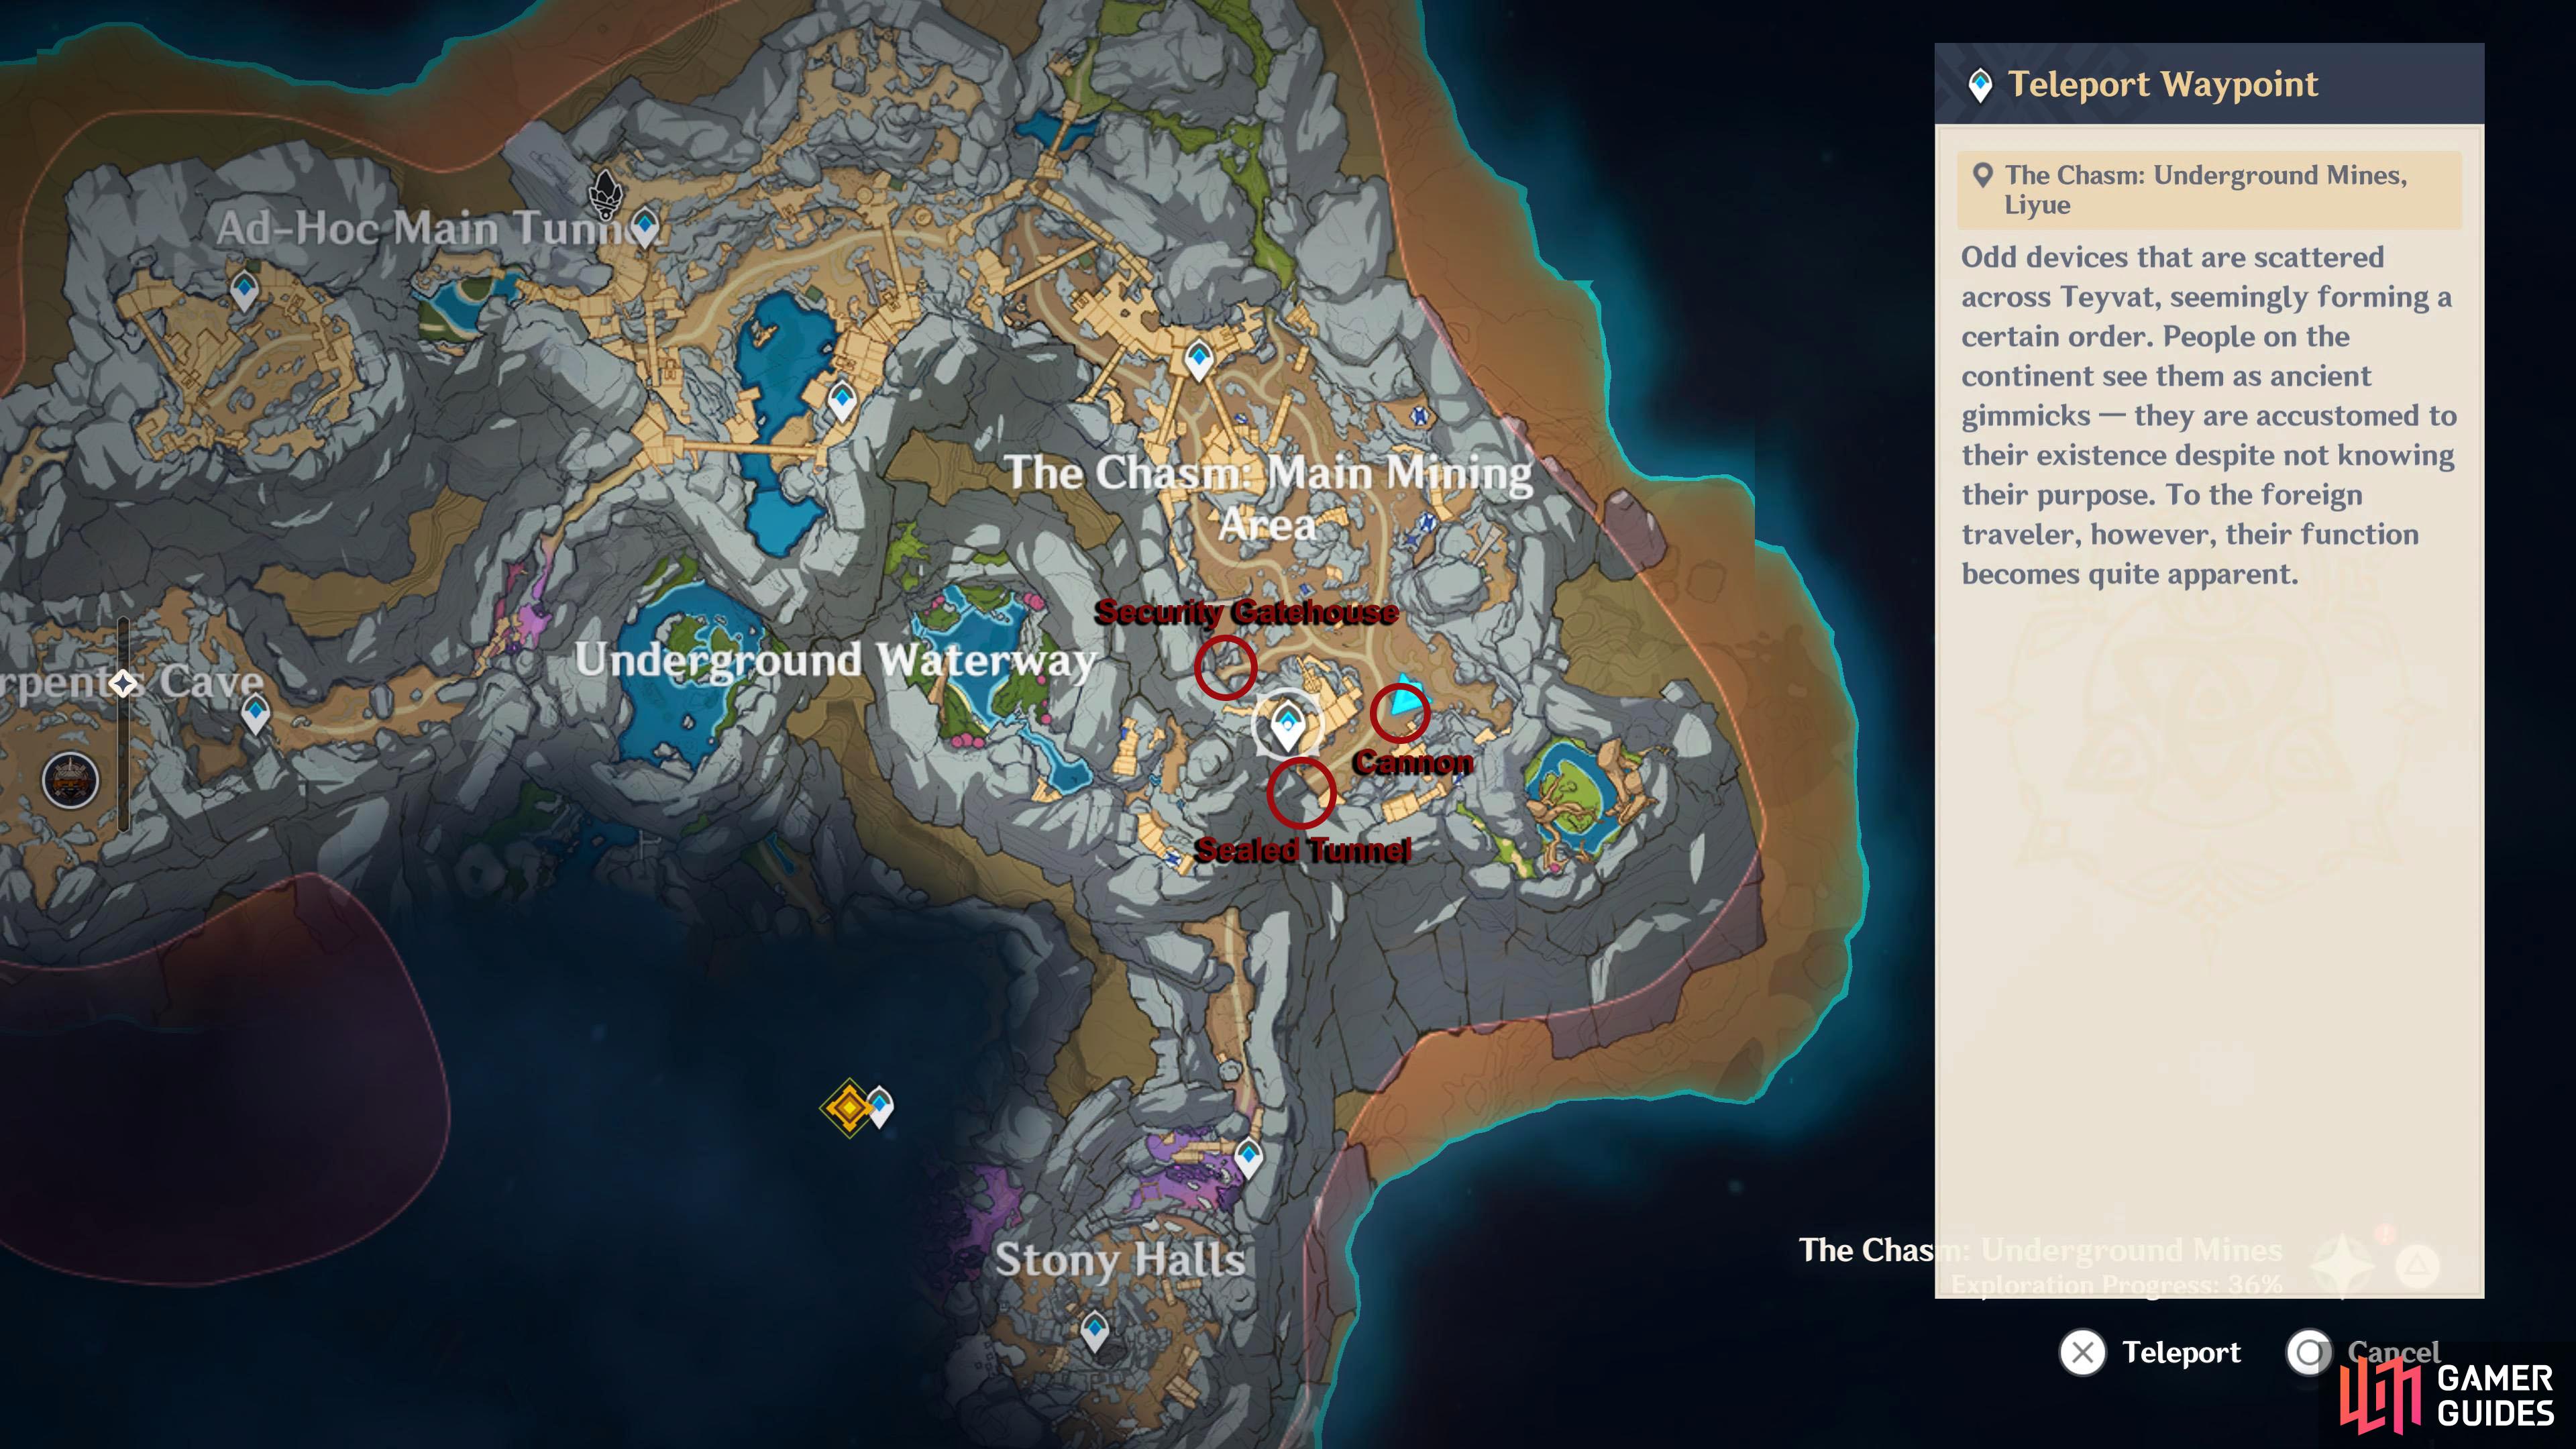
Here is an overview of all the important locations for this part of the quest.
Use the teleport circled in red to navigate to the Storehouse Keys .
-
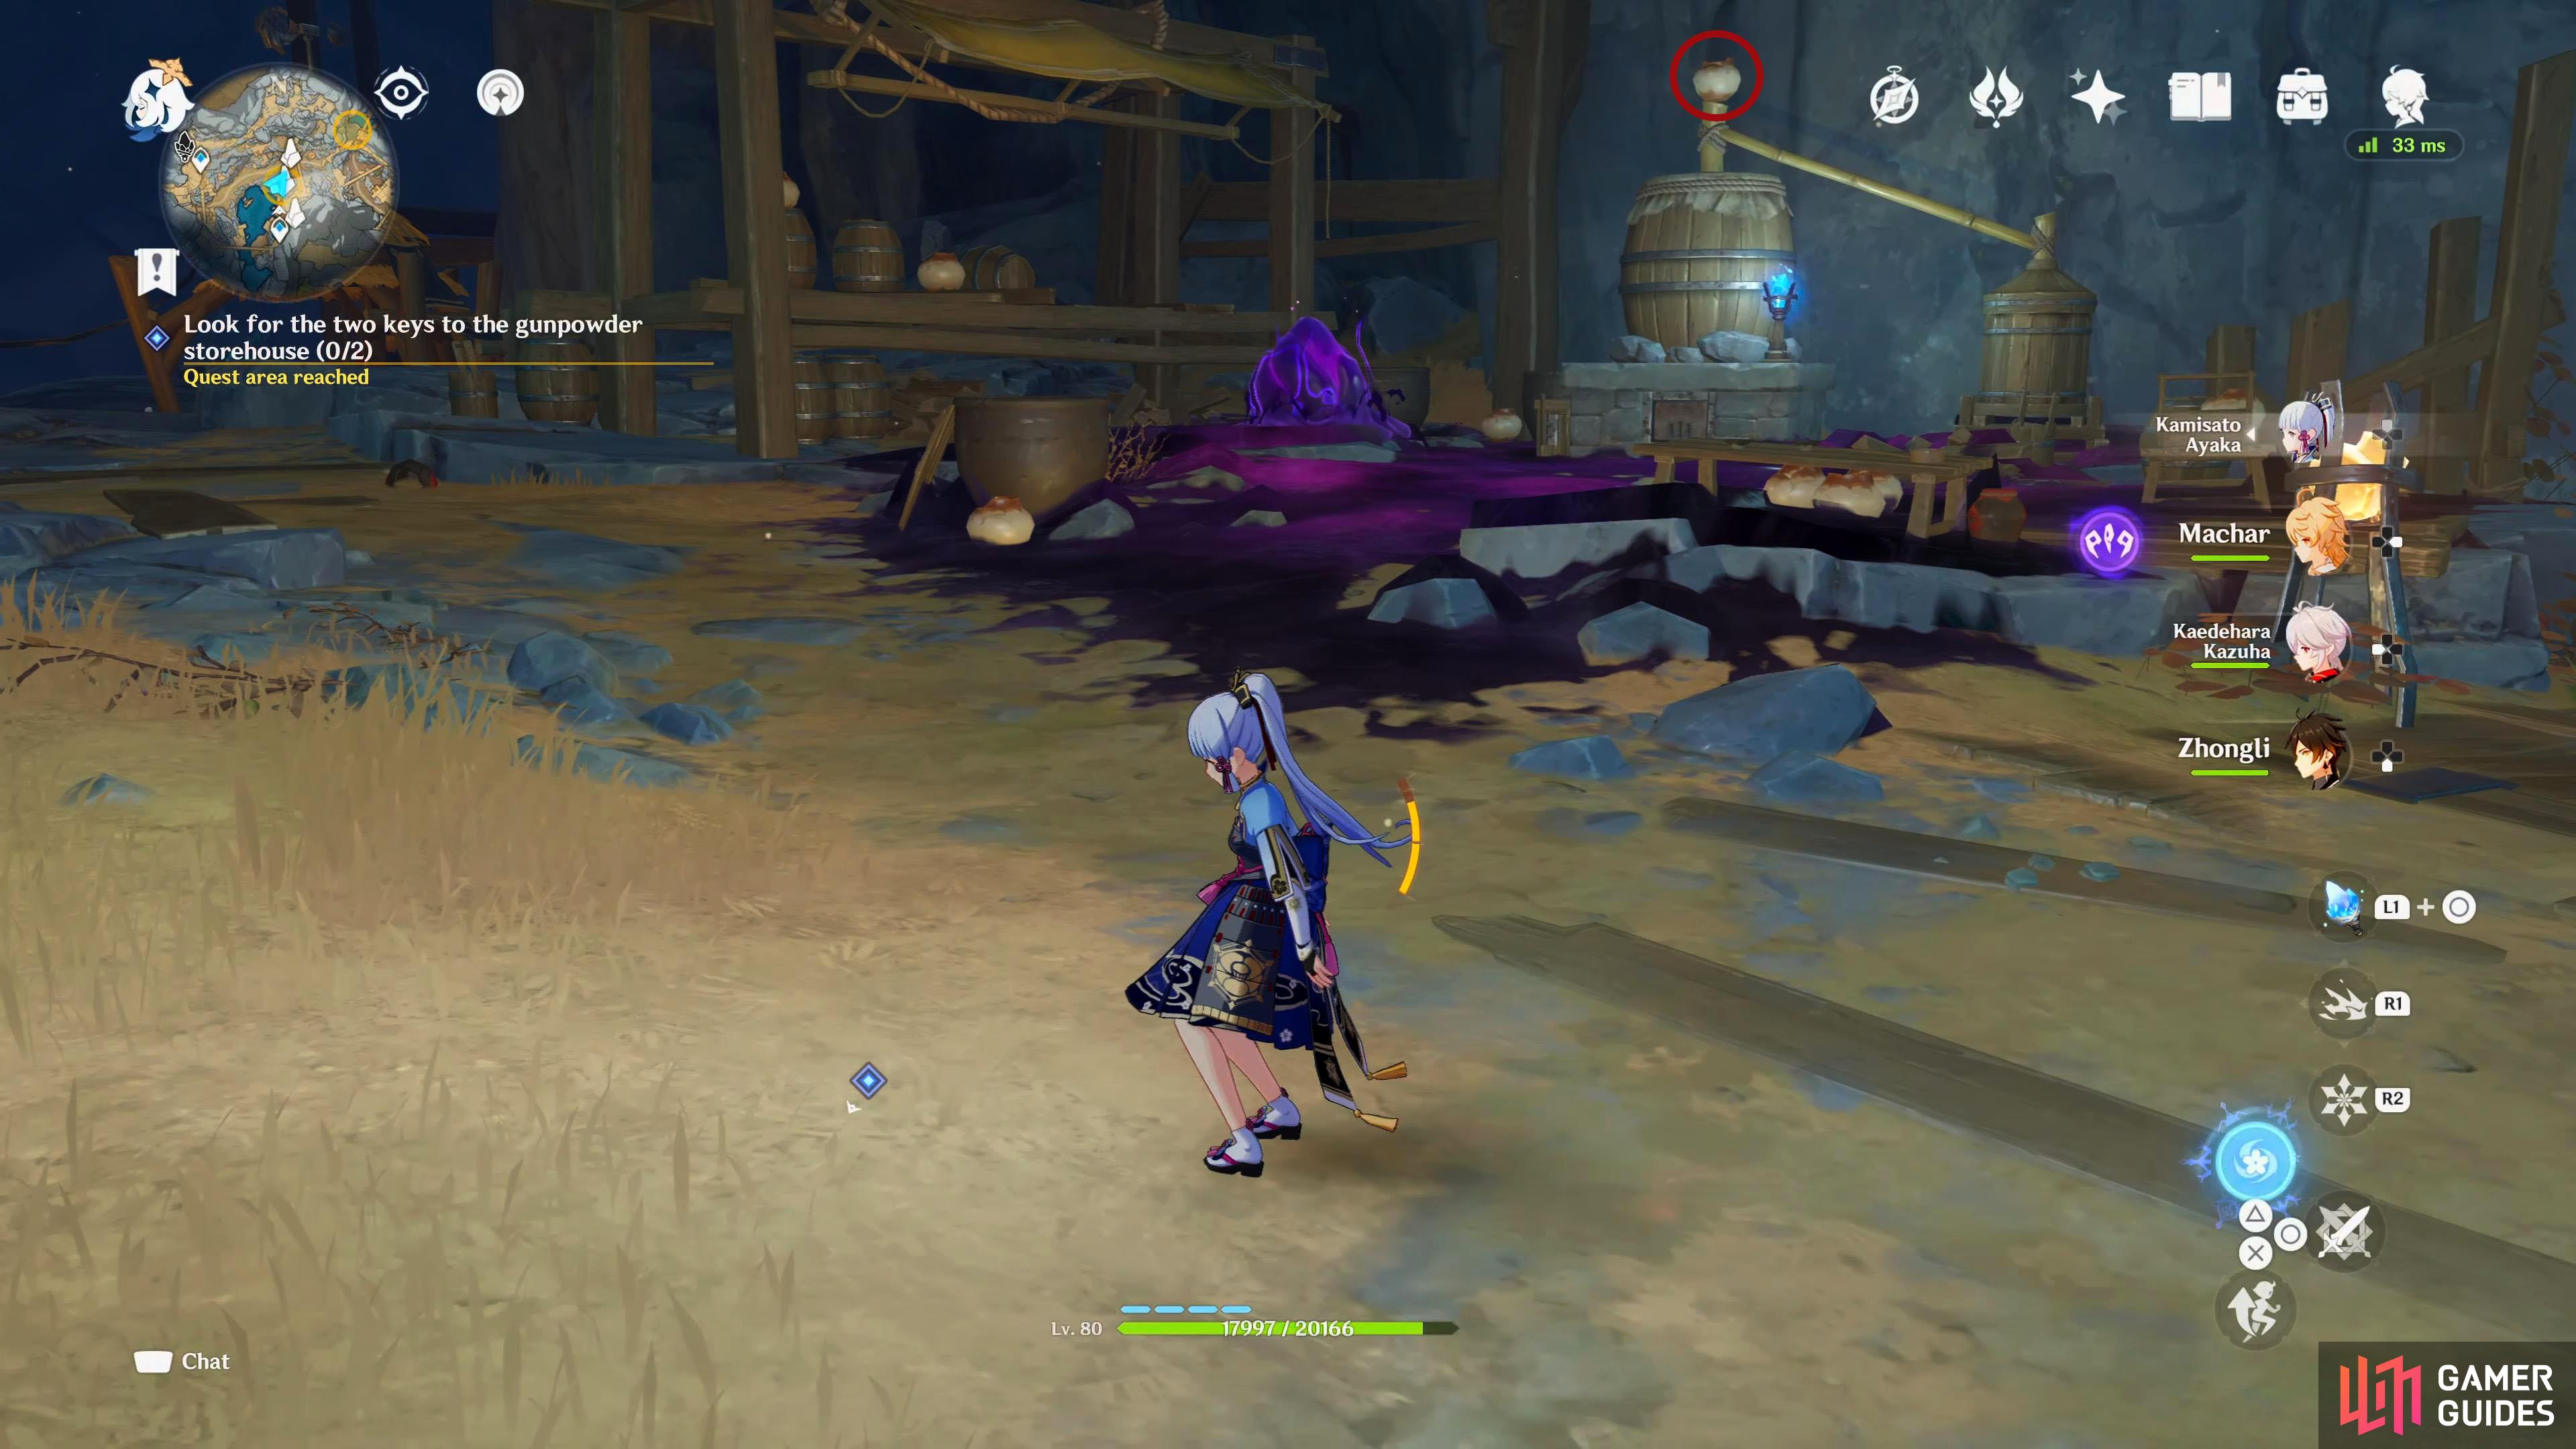
From the waypoint, glide north to the bottom floor with all the purple goo. The key will be in the vase on top of the distillery after you’ve cleansed the purple goo.
-
From the first Key, drop to the bottom whilst gliding northeast. Go past the purple goo, and follow the dilapidated bridge northeast where you’ll see some treasure hoarders next to a purple crystal.
Go to open the door to the gunpowder storehouse / Look for a cannonball
Now that you have both Storehouse Security Keys, it’s time to head back to the Storehouse. Teleport to the lower Main Mining area waypoint and head northwest to the storehouse. Insert both keys to open it, and collect the Cannonball in the corner.
Bring the cannonball back to the camp
Make your way back to the exploration camp for a scene and Paimon will tell them that you found the cannonballs. Clitopho will tell you that although the cannonballs are in great shape, the fuses can’t be used anymore. Clitopho will give you some alchemy lessons on how a fuse works before telling you that you’ll need some Unmoving Essential Oil, and he’ll give you the formula for it.
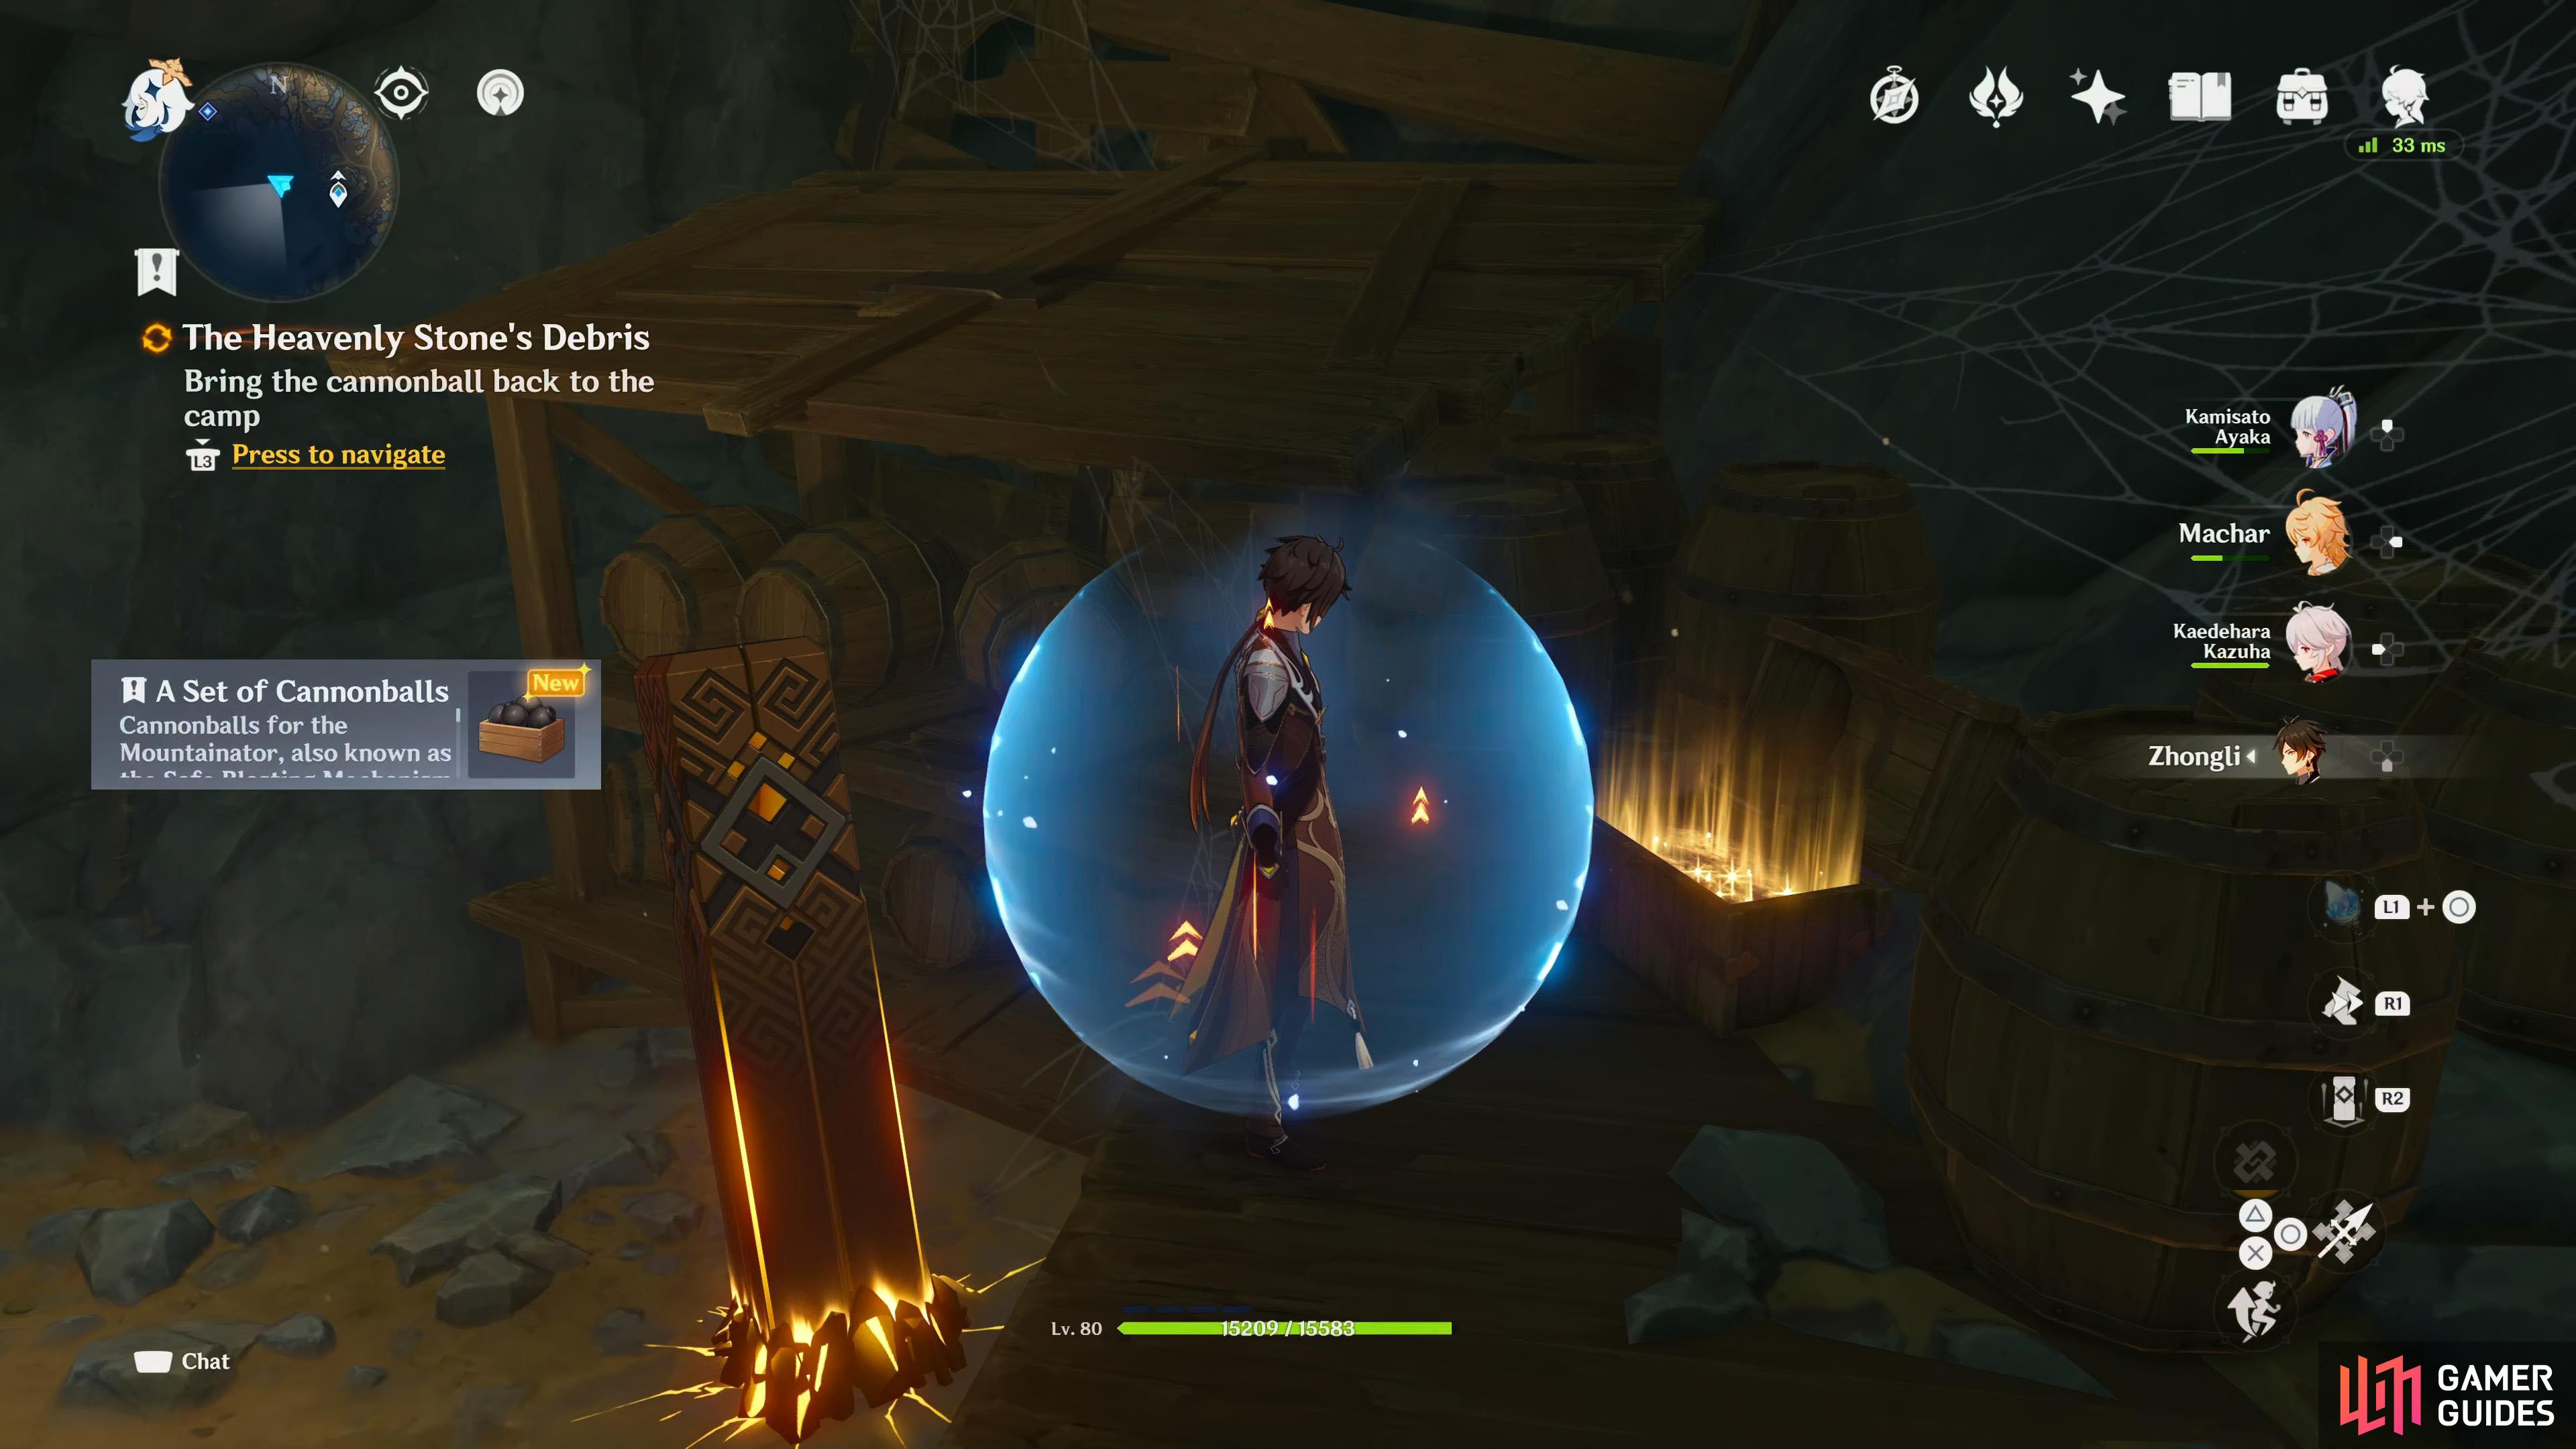
The cannonball can be found up the stairs, near the common chest.
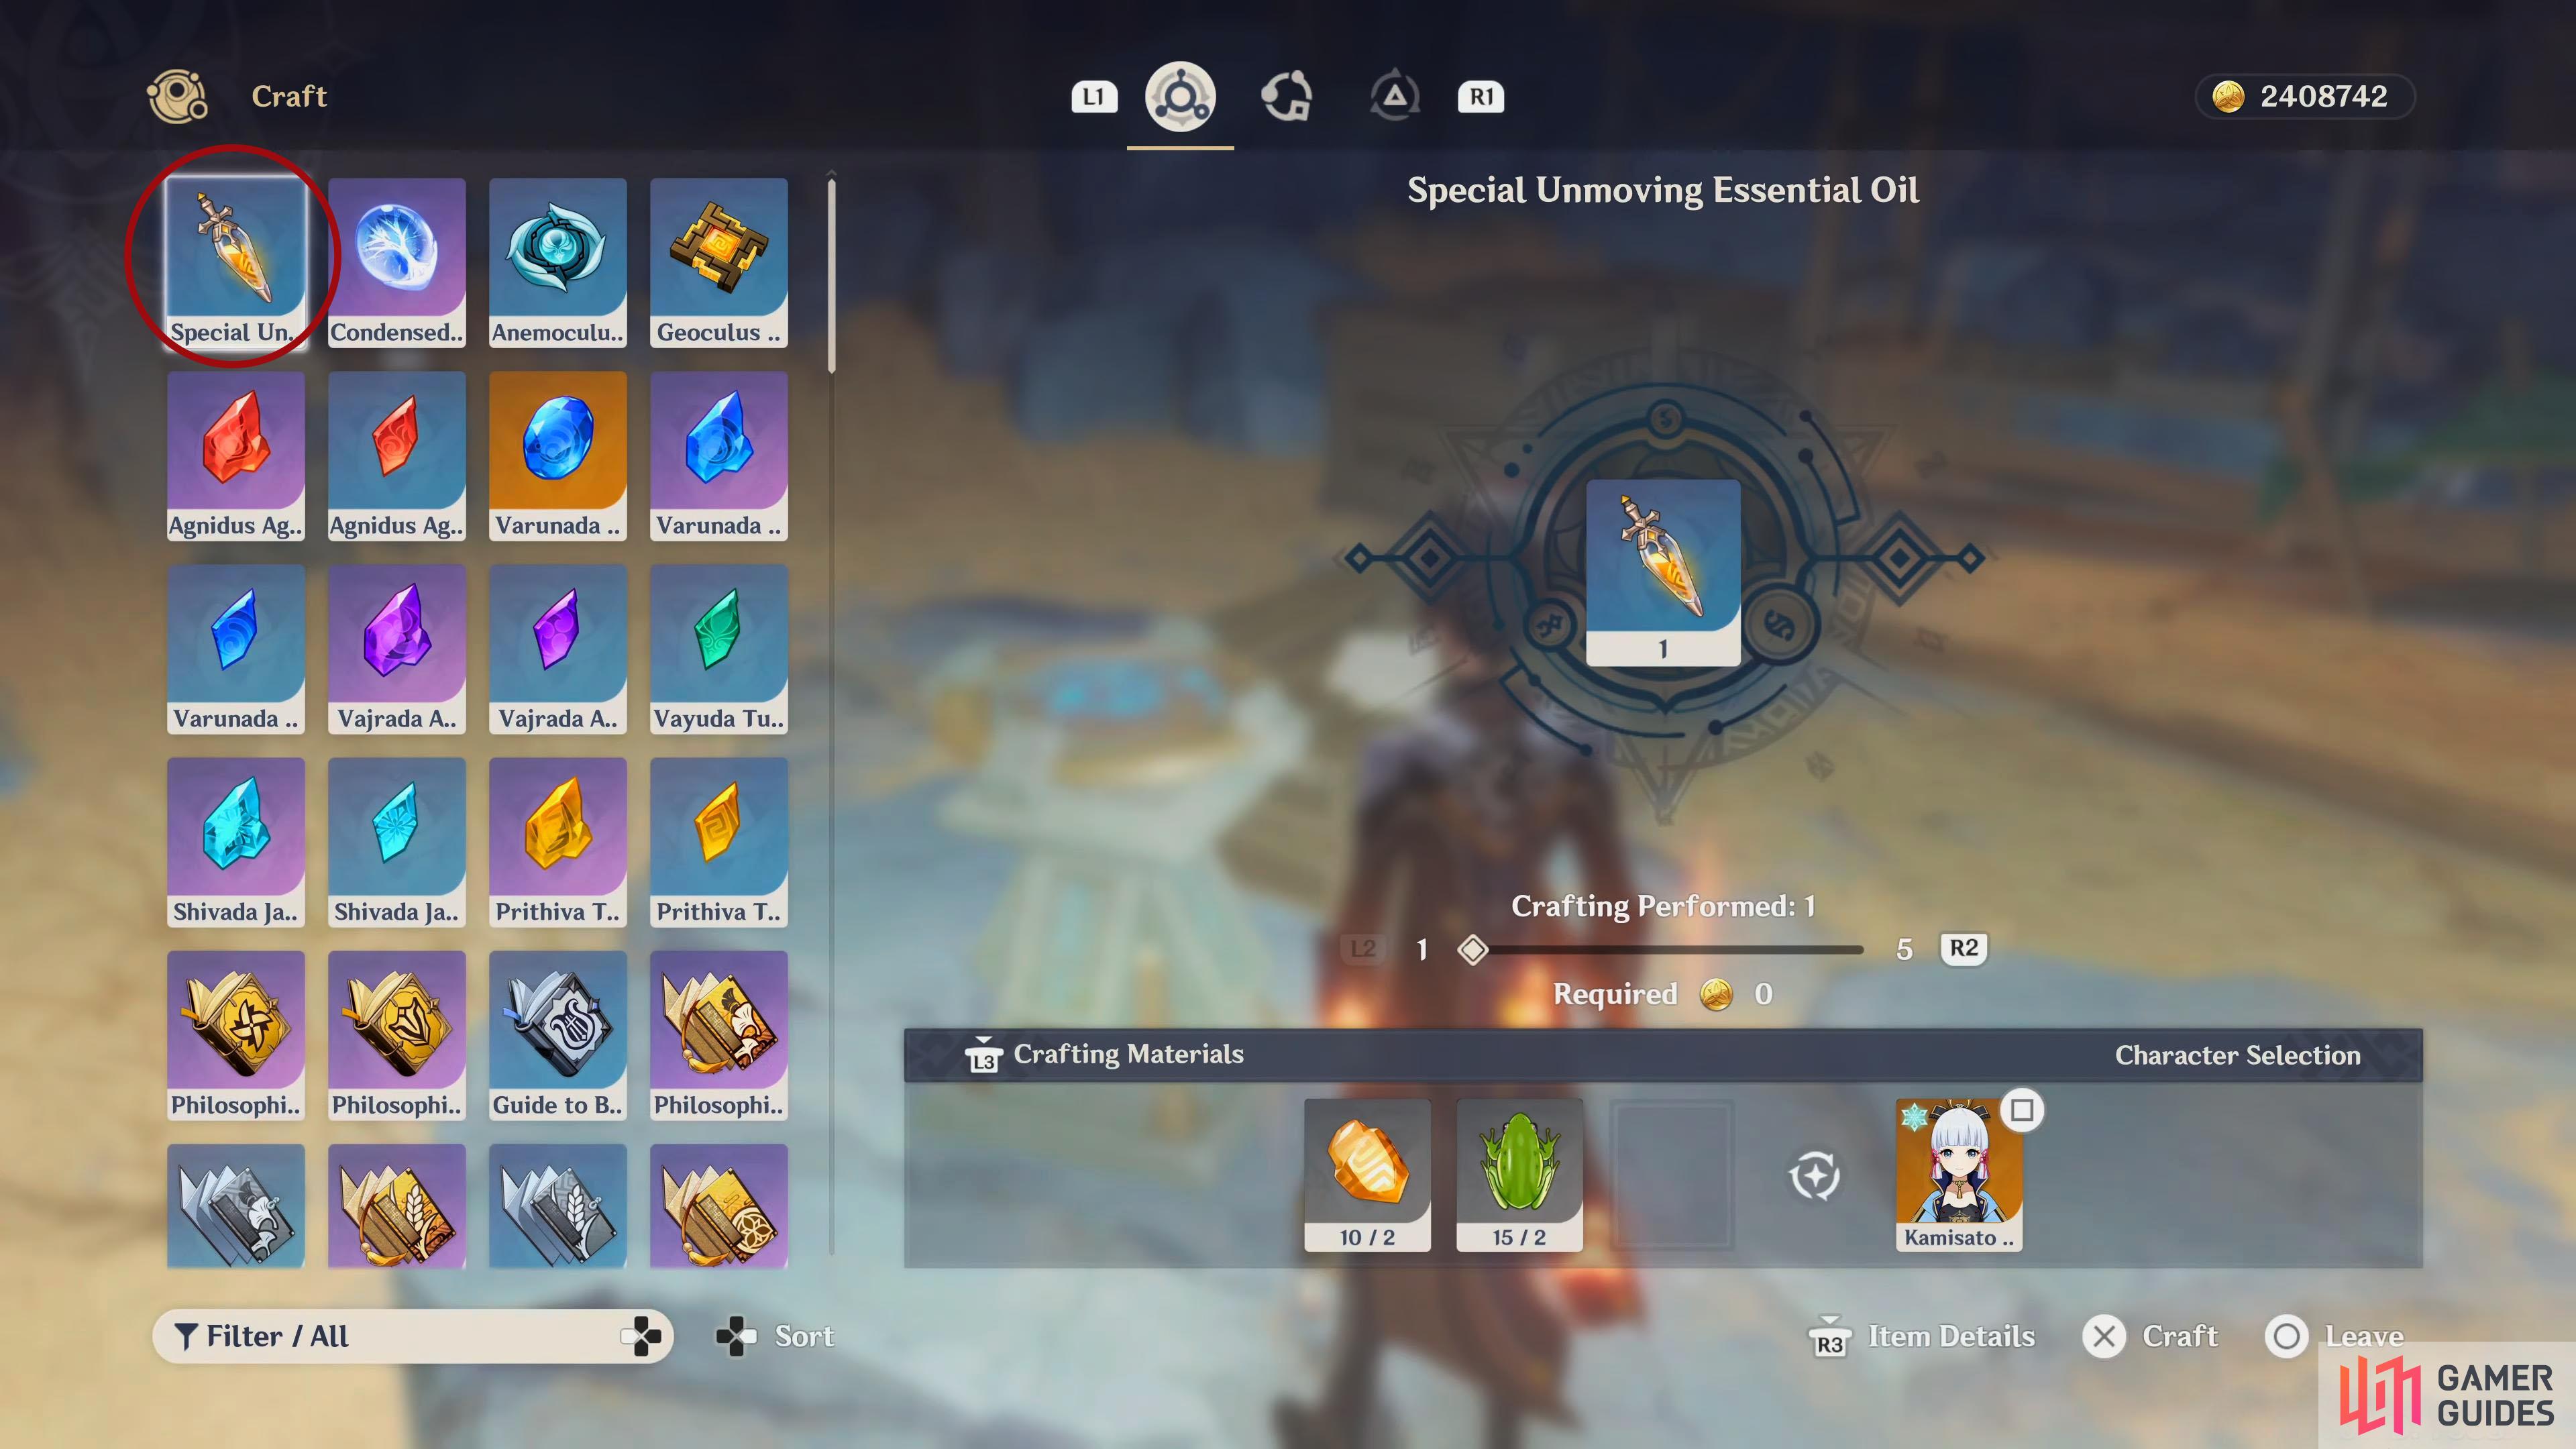
You can find the Special Unmoving Essential Oil in the top left corner after using the alchemy bench. You’ll need 2 Cor Lapis and 2 frogs per oil.
Make 3 Special Unmoving Essential Oils
To make the 3 Special Unmoving Essential Oils you’ll need 2 Cor Lapis and 2 frogs for each oil, making it a total of 6 for both materials. If you don’t have the materials on you, you can find Cor Lapis all over the mine. Whilst you can find frogs near bodies of freshwater. Thankfully, you can find some fresh water at the bottom of the area that the exploration camp is in. When you have the materials, craft them at the alchemy bench near Clitopho.
Give the Special Unmoving Essential Oils to Clitopho / Finish assembling the cannonball
Talk to Clitopho and hand over the oils, and he’ll insert the fuse into the cannonball. With the time it took to get a fuse, Zhiqiong has been busy charting a new map which will update your map. Clitopho and Zhiqiong will start bickering, and you’ll have to act like the grown-up and tell them to cut it out. You’ll tell them that you are heading to the Mountinator, and ask if anyone else is coming and Zhiqiong will agree to come with you.
Read the Signaling Guide
Drop to the area below and read the Signaling Guide sitting on the bench. It’ll have the following information:
- Safe Blasting Device Signaling Guide: “Low lamp post, high-frequency flicker.”
- Safe Blasting Device Signaling Guide: “Middle lamp post, low-frequency flicker.”
- Safe Blasting Device Signaling Guide: “High lamp post, low-frequency flicker.”
This won’t make sense until you head over to a signaling device. To the right of the bench, you can interact with an “Observe” point, this will show you where the three signaling devices are.
Release the safety on the cannon’s breech
To release the safety, you’ll need to get all three signaling devices operating at the correct frequencies. This is where the Signaling guide will come in handy. When you interact with one of the devices, they’ll either emit a low frequency or a high frequency. Starting from the nearest device to the furthest device, activate them in this order:
-
Nearest device - High Frequency
-
Middle device - Low Frequency
-
Furthest device - Low Frequency
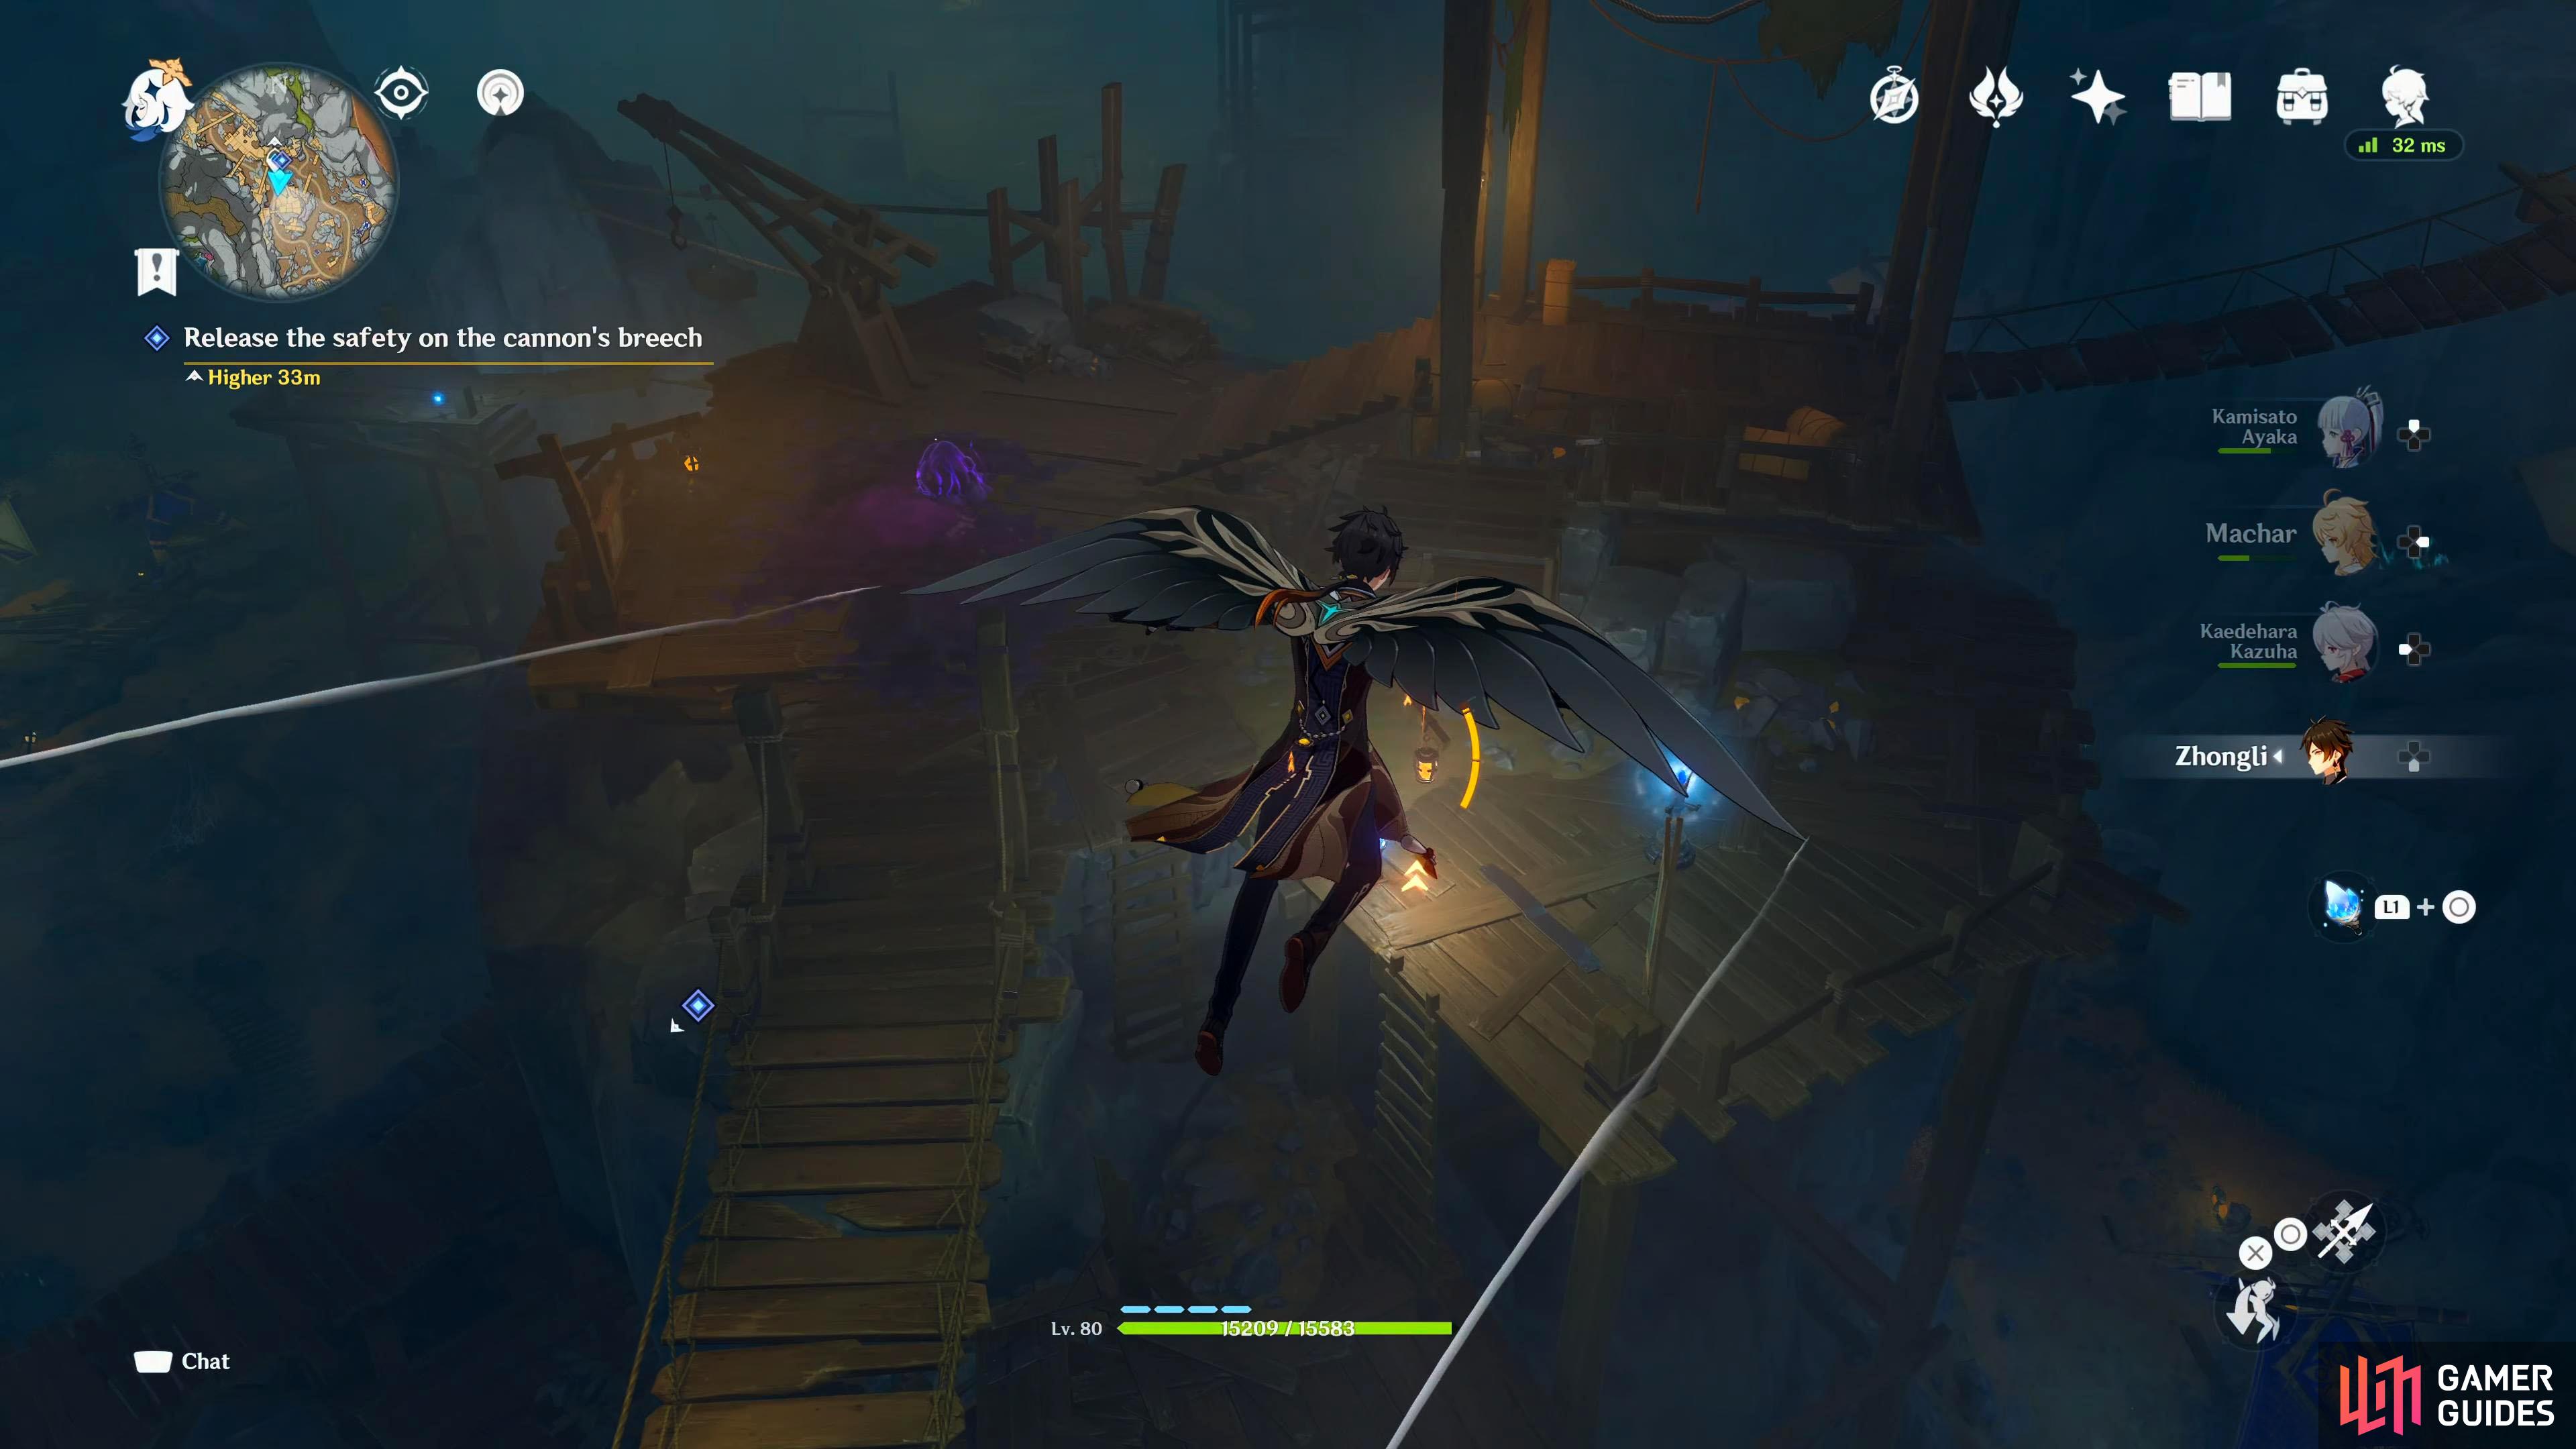
(1 of 3) The first Signal Device is just to your southwest. This requires a high frequency (fast blinking).
When done correctly, Zhiqiong will say “There we go! That should unlock the cannon!”.
Load the cannonball in together with Zhiqiong
With the safety lock removed, it’s time to load the cannonball. Head back to the Mountinator for a short scene with Zhiqiong.
Use the great cannon to destroy the sealing rocks
Now Interact with the cannon, and you’ll have to align the cannon to destroy the rocks. You’ll want to move the cannon left once, and down twice then fire! Finally, the tunnel has been cleared allowing you to explore further.

Align the Mountinator by turning it left once, and down twice to hit the sealed tunnel.
Go further in
Head through the newly opened entrance, and open the Luxurious Chest to your right. Continue south, and either run past or defeat the Vishap, and follow the path further down. On your way down, pick up the lumenspar that will be to your right in a make-shift camp then continue south. Eventually, you’ll end up in the Stony Halls, and you’ll reach a waypoint, unlock it, and move forward a little to trigger a cutscene.
Talk to Zhiqiong
Apparently, Lumenstone only started popping up all over the place after the miners found this strange crystal. Not only that, but the geological structure of The Chasm has been accelerating, and the purple ooze type substance also appeared. She seems to think it’s all connected because it makes her feel queasy, sort of like a sixth sense. Whilst talking, you’ll notice strange devices around the crystal, and Zhiqiong will suggest that you investigate them. Completing this step will unlock the Stony Halls portion of the map.
Activate the mechanism (0/3)
Drop to the surface and head over to the devices that Zhiqiong pointed out. You’ll need to use the Lumenstone Adjuvant next to the Oozing Concretions (purple lump) and not the device itself. To perform the ability, press  +
+  on the Playstation or
  on the PC.
This requires lumenstone energy to perform this ability, and needs to be filled up after use or if you stand in the purple ooze as it’ll drain it. You can use the nearby lumen light sources to replenish it though. After the ooze has dissipated, recharge the nearby device. Defeat any enemies nearby the devices, and activate the rest of them. When you activate the final device, you’ll get a cutscene where the strange crystal lights up.
(1 of 4) If you need to recharge the Adjuvant, interact with the Blooming Lights conveniently placed around the area.
Defeat the emerging monsters
When the cutscene ends, an Abyss Herald: Wicked Torrents will attack you. You’ve fought the Abyss Herald a few times by now, and this fight isn’t any different other than the area you fight it in. Cryo and Electro are particularly strong against it due to it being of the Hydro element. This can repeatedly freeze it. When its health gets to approximately 15%, it’ll disappear and the battle will end.
3-Hit Combo
It will lean forward with one sword raised in the air whilst the other aims towards the floor. It will then perform three slashes that are imbued with Hydro at you.
Abyssal Roar
It will lower its swords to its side, and they will get imbued with Hydro, then it will launch in the air, performing a forward spinning attack towards you, it can do this attack three times in quick succession.
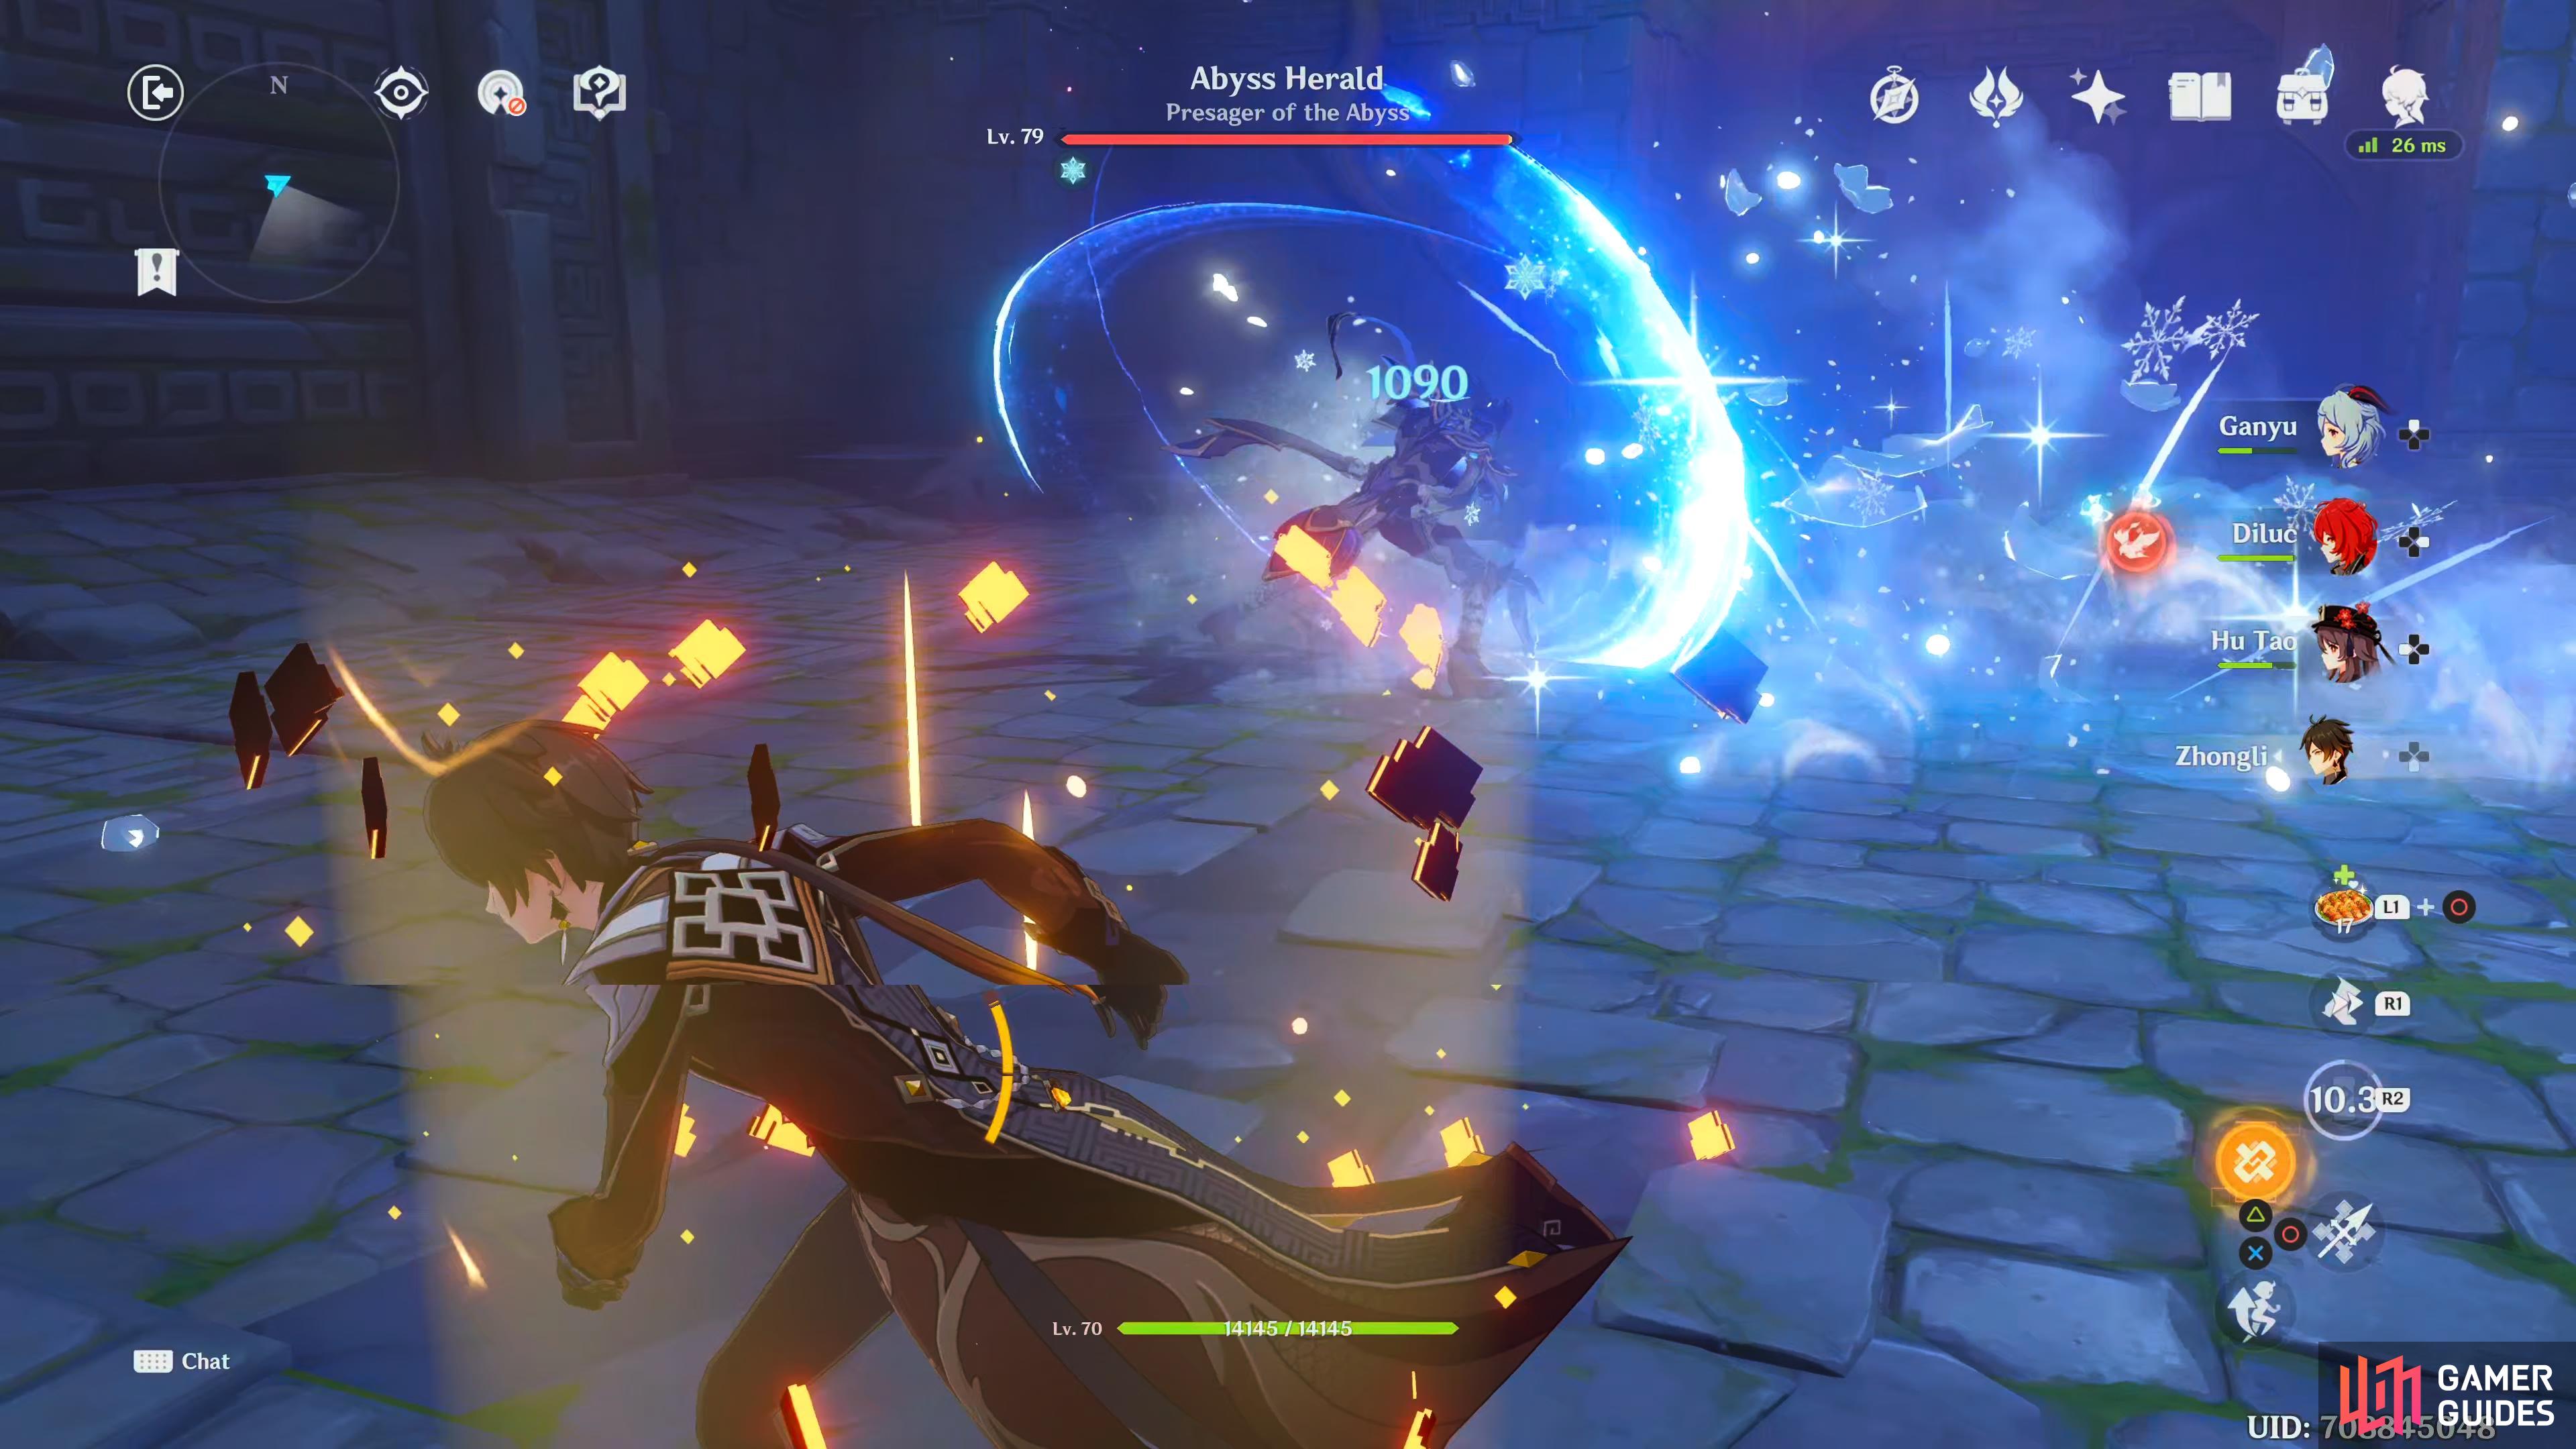
(1 of 7) The Abyss Herald will perform three quick slashes towards you whilst its swords are imbued with Hydro
Talk to Zhiqiong
When the Abyss Herald is defeated, you’ll get a short scene and the strange crystal will drop with a thump on to the concrete floor and shatter. Zhiqiong will notice that the air feels cleaner, and she’ll mention that the thing flew away and opened a path for you. It appears that Zhiqiong’s health isn’t looking too good right now, and she’ll agree to go back to the camp at your request. Leaving you to explore the new opening on your own. Once the scene ends so will the quest which’ll give you access to the Nameless Ruins, and allow you to complete all the Archon Quests.
No Comments