
This is a walkthrough for the first World Quest in the series, Through the Mists. The first quest is called “A Particularly Particular Author”, and can only be accepted after finishing the Seirai Stormchasers series.

Paimon and the Traveler talking to Sudima about the commission.
| Adventure Exp | Mora | Other Rewards | Prerequisite |
|---|---|---|---|
 450 450 |
 50 50  5 5  4 4 |
Complete Seirai Stormchasers |
Description
Katheryne seems to have a new commission for you. This commission involves traveling to Tsurumi Island, which is shrouded in perpetual fog, to help Sumida gather material for her novel and find the Maushiro. According to Sumida, there is someone on Ritou who can take you all to Tsurumi Island.
Steps
1.Talk to Katheryne at the Inazuma Adventurer’s Guild
2. Talk to Sumida
3. Talk to Kama
4. Travel to Tsurimi Island
5. Talk to the mysterious young boy
6. Go to the destination and talk to Ryu
7. Touch the perch
8. Make an offering to the perch
9. Report back to Ruu
10. Go to the ceremonial site
11. Look for the priest
12. Find your way through the mist and make an offering at the perches (0/3)
13. Shirikoro Peak
14. Autake Plains
15. Chirai Shrine
16. Check the Light
17. Talk to Kama and then return
18. Report back to Sumida
Talk to Katheryne at the Inazuma Adventurer’s Guild
Talk to Katheryne at the Adventurers Guild in Ritou, Inazuma. She’ll tell you that she has an even harder commission than the one you took on Seirai Island. The clients name is Sumida, and she’ll have all the details, so she suggests you go talk to her about it.
Talk to Sumida
You can find Sumida, to the southeast, behind the souvenir shop. Head over, and talk to her, and she’ll ask you a few random questions, answer them anyway you like then she’ll tell you that she’s an author, and she wants you to go to Tsurimi Island and bring back the Maushiro, an instrument native to the island. After some more conversation, she finally gives you a letter, and tells you to give it to Kama, a man in Ritou. Apparently giving him this letter will grant you passage to Tsurimi Island.
Kama will take you by boat to Tsurimi Island.
Talk to Kama
You can find Kama at the docks in Ritou. Teleport to the west docks, and head southeast a little to where you’ll find Kama. Hand over the letter to him, and he’ll take you to the mist covered Tsurimi Island.
Travel to Tsurimi Island
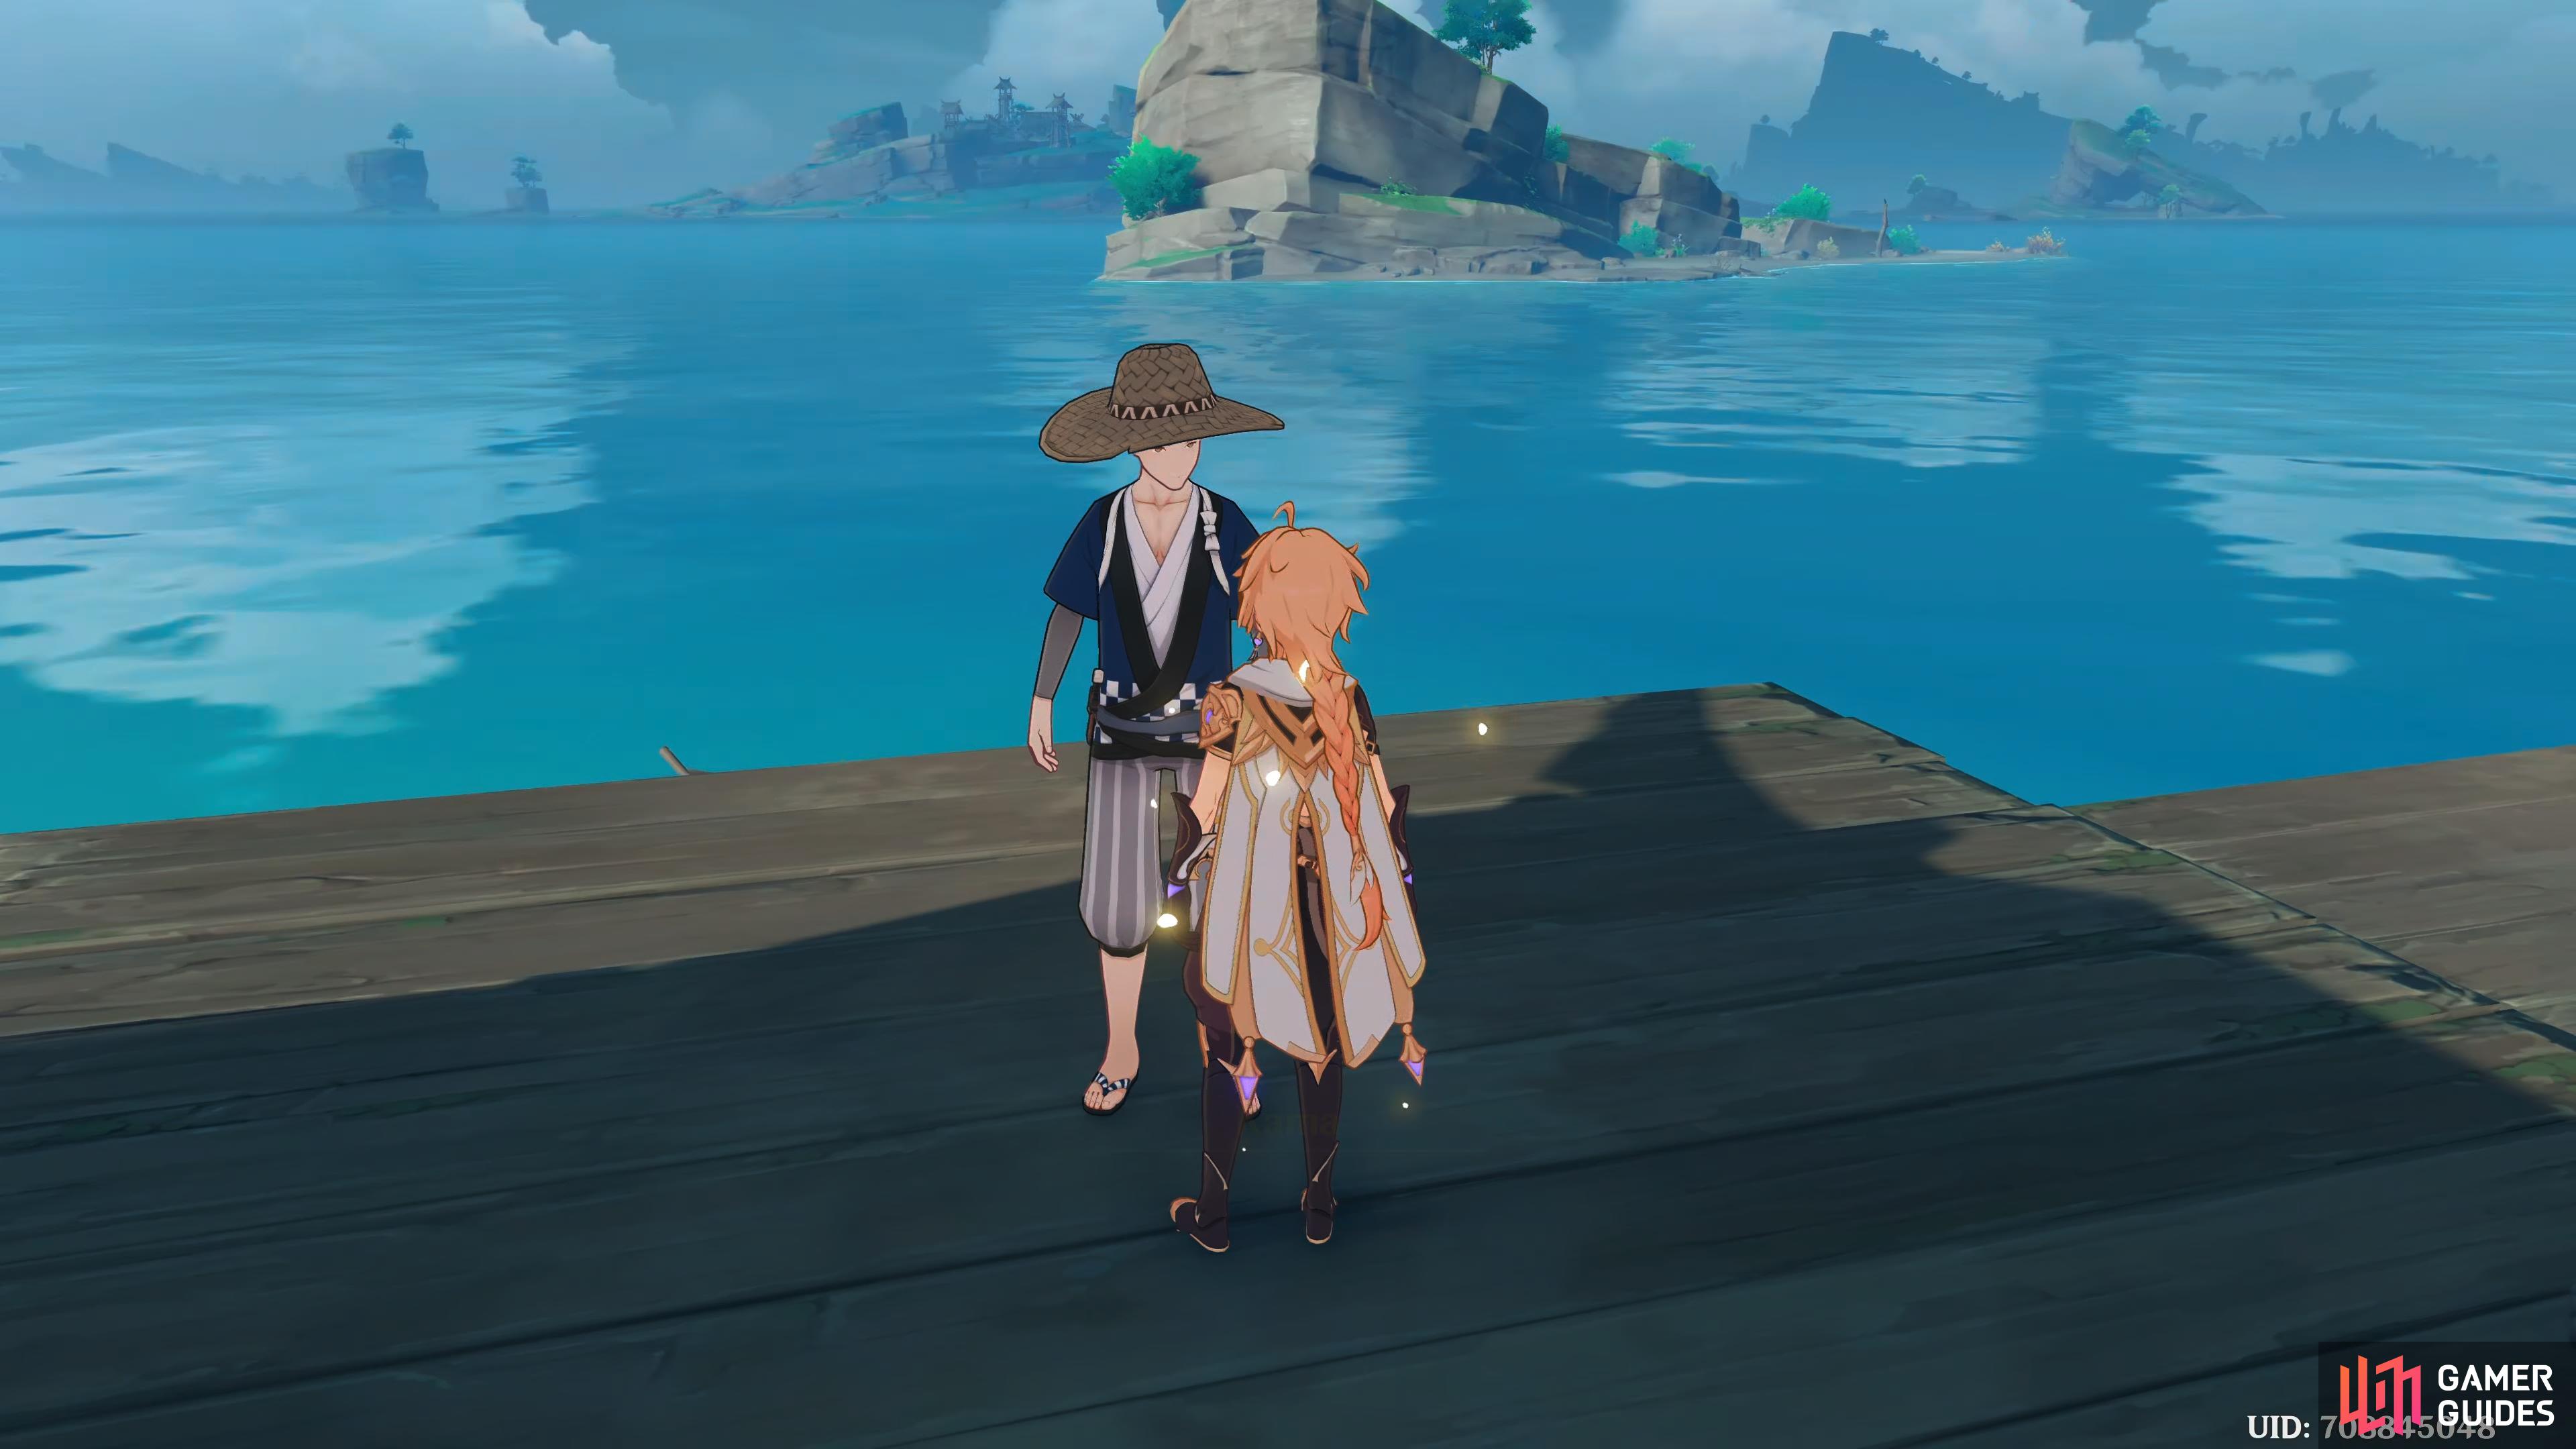
When you arrive, head north, and unlock the Statue of the Seven, and then follow the path west whilst fighting or avoiding the enemies along the way. As you start approaching the objective, you’ll notice the area is covered with a thick fog, continue towards the objective, and you should notice a teleport waypoint device, unlock it, and continue west. As you go past the large stone pillars, you’ll get a scene. Paimon will mention that you’ve got your bearings now as some mist dissipates, then you’ll notice a small boy waiting by the tree.
By talking to the mysterious boy, you’ll find out his name is Ruu.
Talk to the mysterious young boy
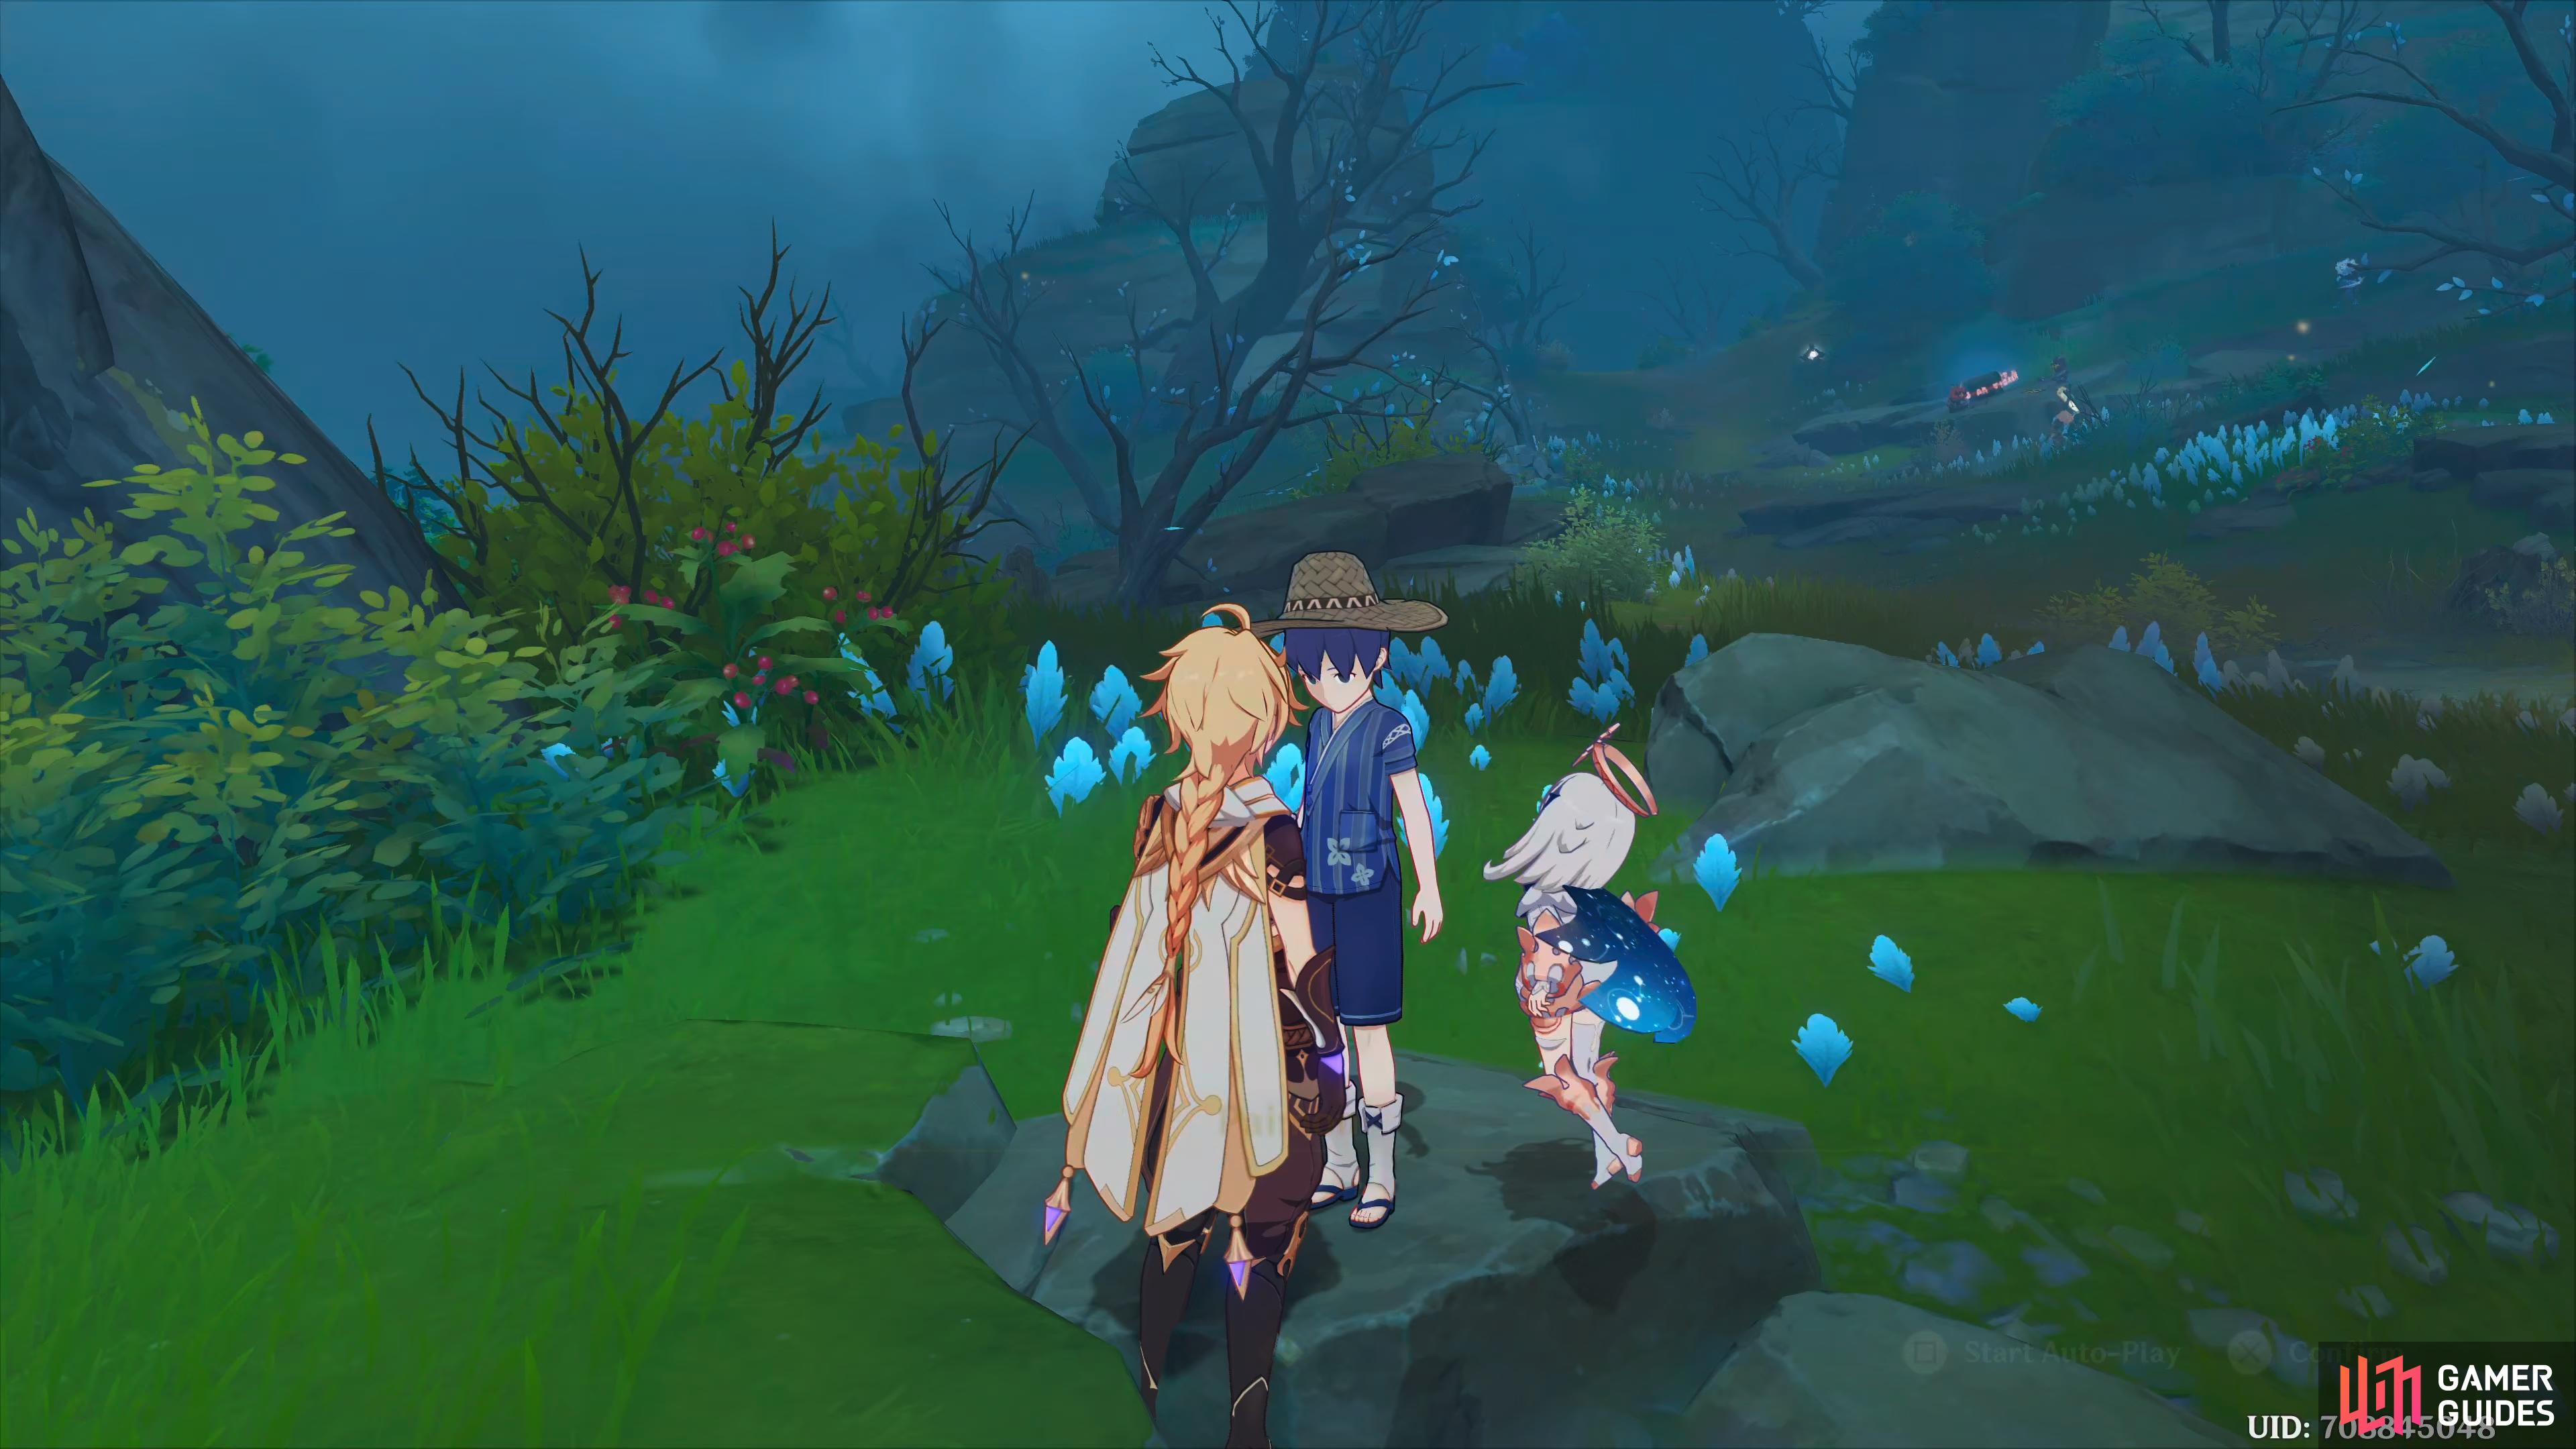
Once the scene ends, head towards the young boy, and talk to him. You’ll find out his name is Ruu, and that he doesn’t know the term “years old”. Paimon will explain the term to him, and he’ll tell you that he is maybe several thousand years old, but he can’t remember. Paimon will act confused, then you’ll ask him how he counts years, to which he responds “every time he hears the thunder”. Paimon remembers that Sumida said that the Tsurimi Island’s civilization disappeared several millenia ago. Anyway, he’ll tell you that he’s glad you’re here as it’s the day of the big ceremony, but you’ll need to do some things before it starts.
Go to the destination and talk to Ruu
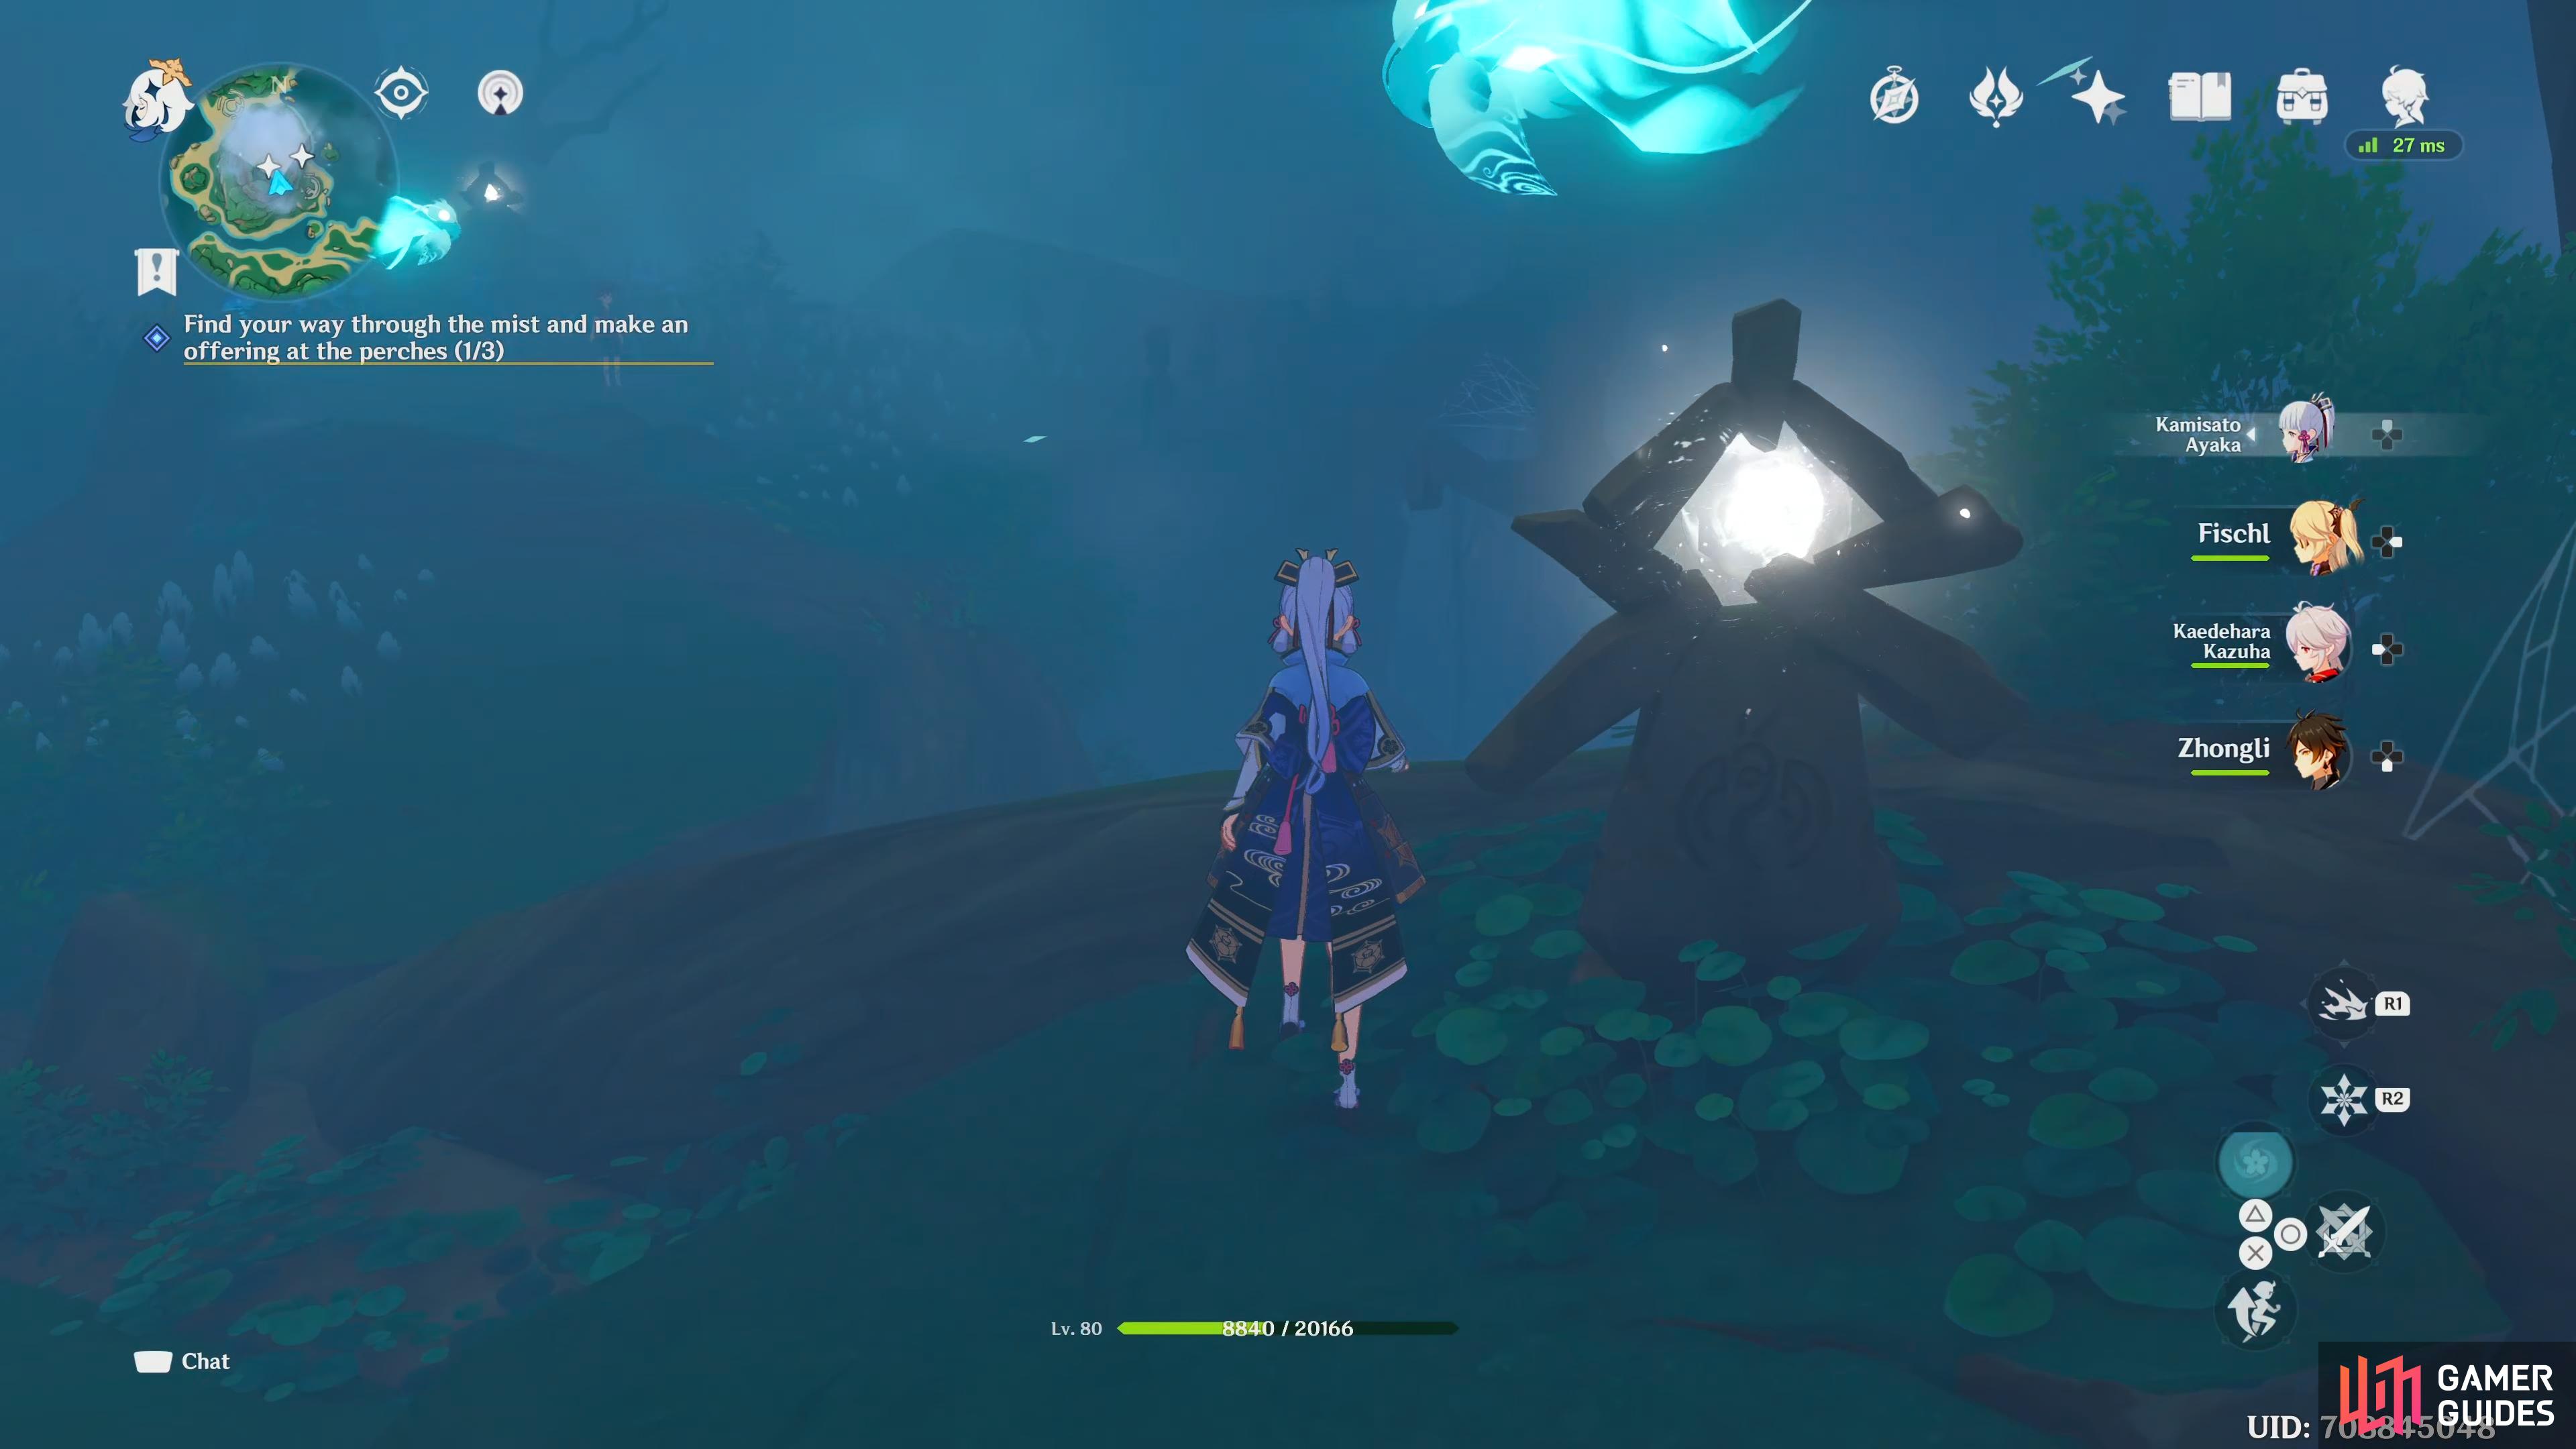
When you’ve finished talking to him, follow the path to the west, using the white lanterns to navigate through the mist, and you’ll find Ruu with some friends, then talk to Ruu for a scene. He’ll introduce you to his big sister, Makiri, and his big brother, Ipe. Makiri will mention that the perch is in a good state which bodes well for the ceremony. According to their grandma, this is the tree that the Great Thunderbird once descended, and the maintenance of this tree is to show respect, and worship it. They’ll explain it in a bit more detail, but basically, by getting the feathers, the mist will dissipate around the area.
Use the white lanterns to traverse through the mist.
Touch the perch
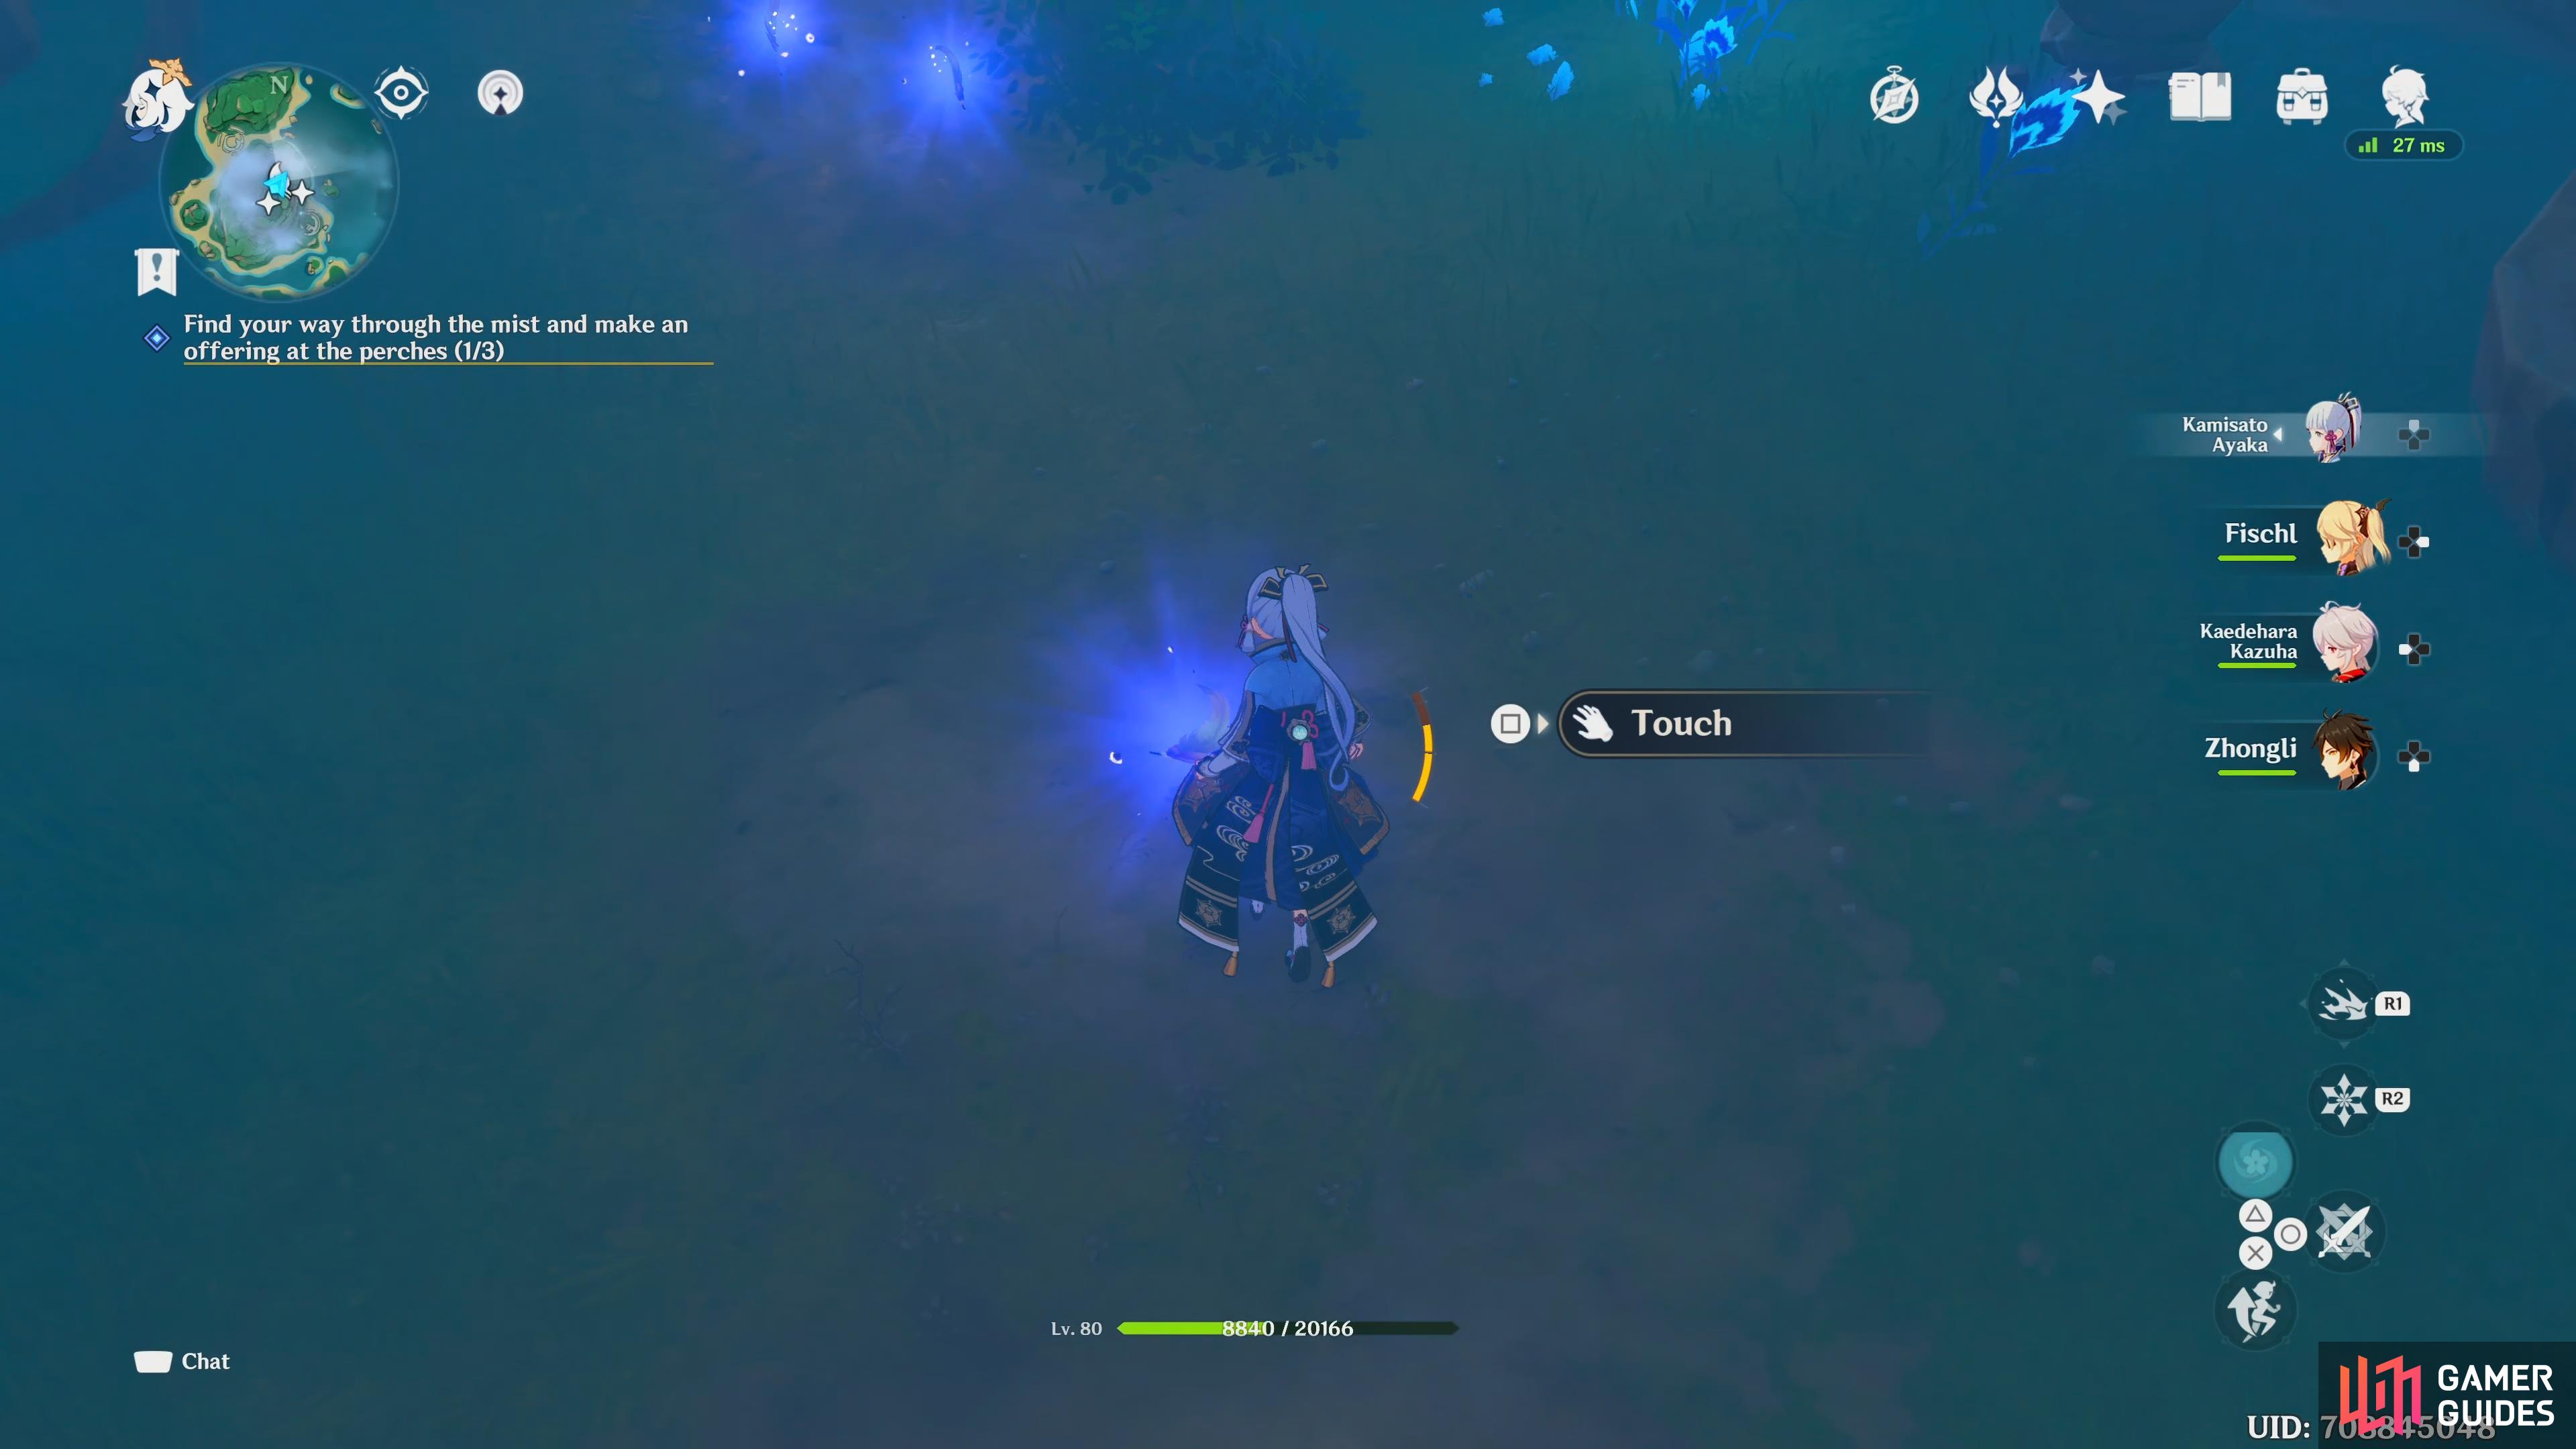
When the scene ends, touch the perch, and three feathers will fly out of the tree, and go different directions. You’re objective here is to find the scattered feathers using your Elemental Sense.
Make an offering to the perch
You can see the feathers on the mini-map, which makes it easier to know you’re going the right way. Use your Elemental Sense, and follow the blue trail towards the feather. Start with the north feather as it is right in front of you, and interact with it to send it back to the perch. Now go for the southwest one, which can be found just past the white lantern. The last one is to the south, atop the mountain. When you have all three, head back to the perch and interact with it.
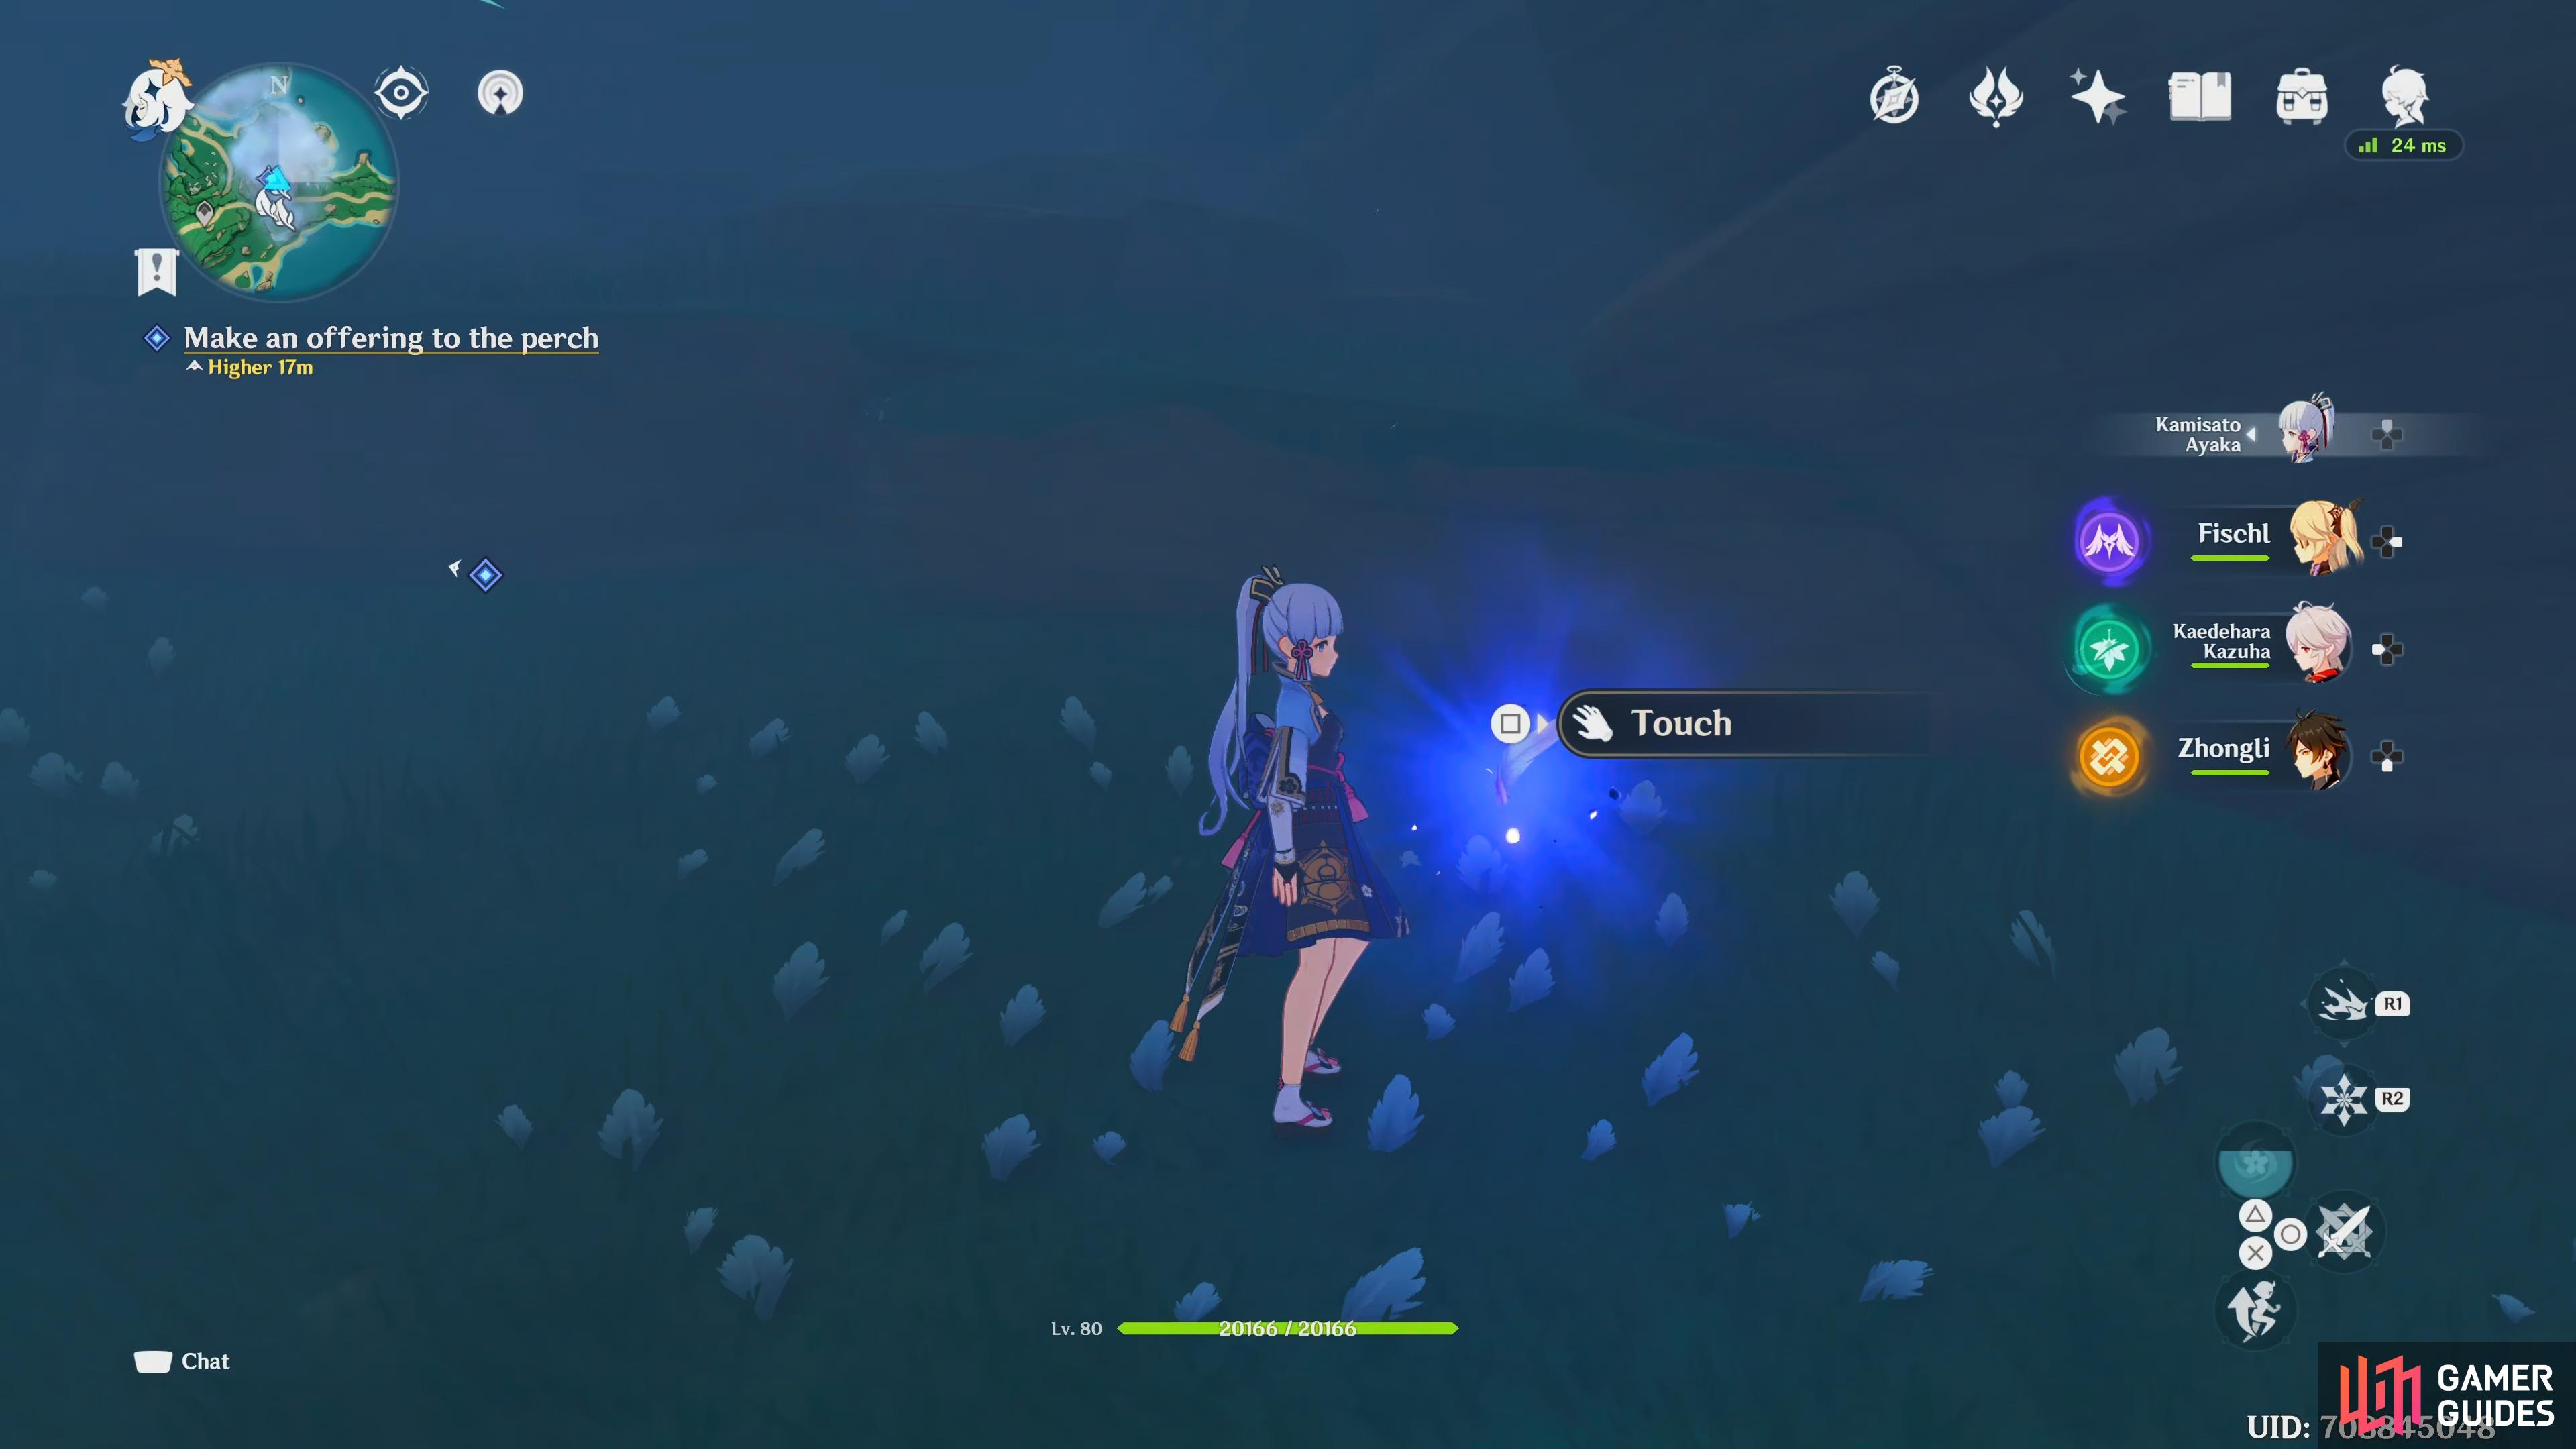
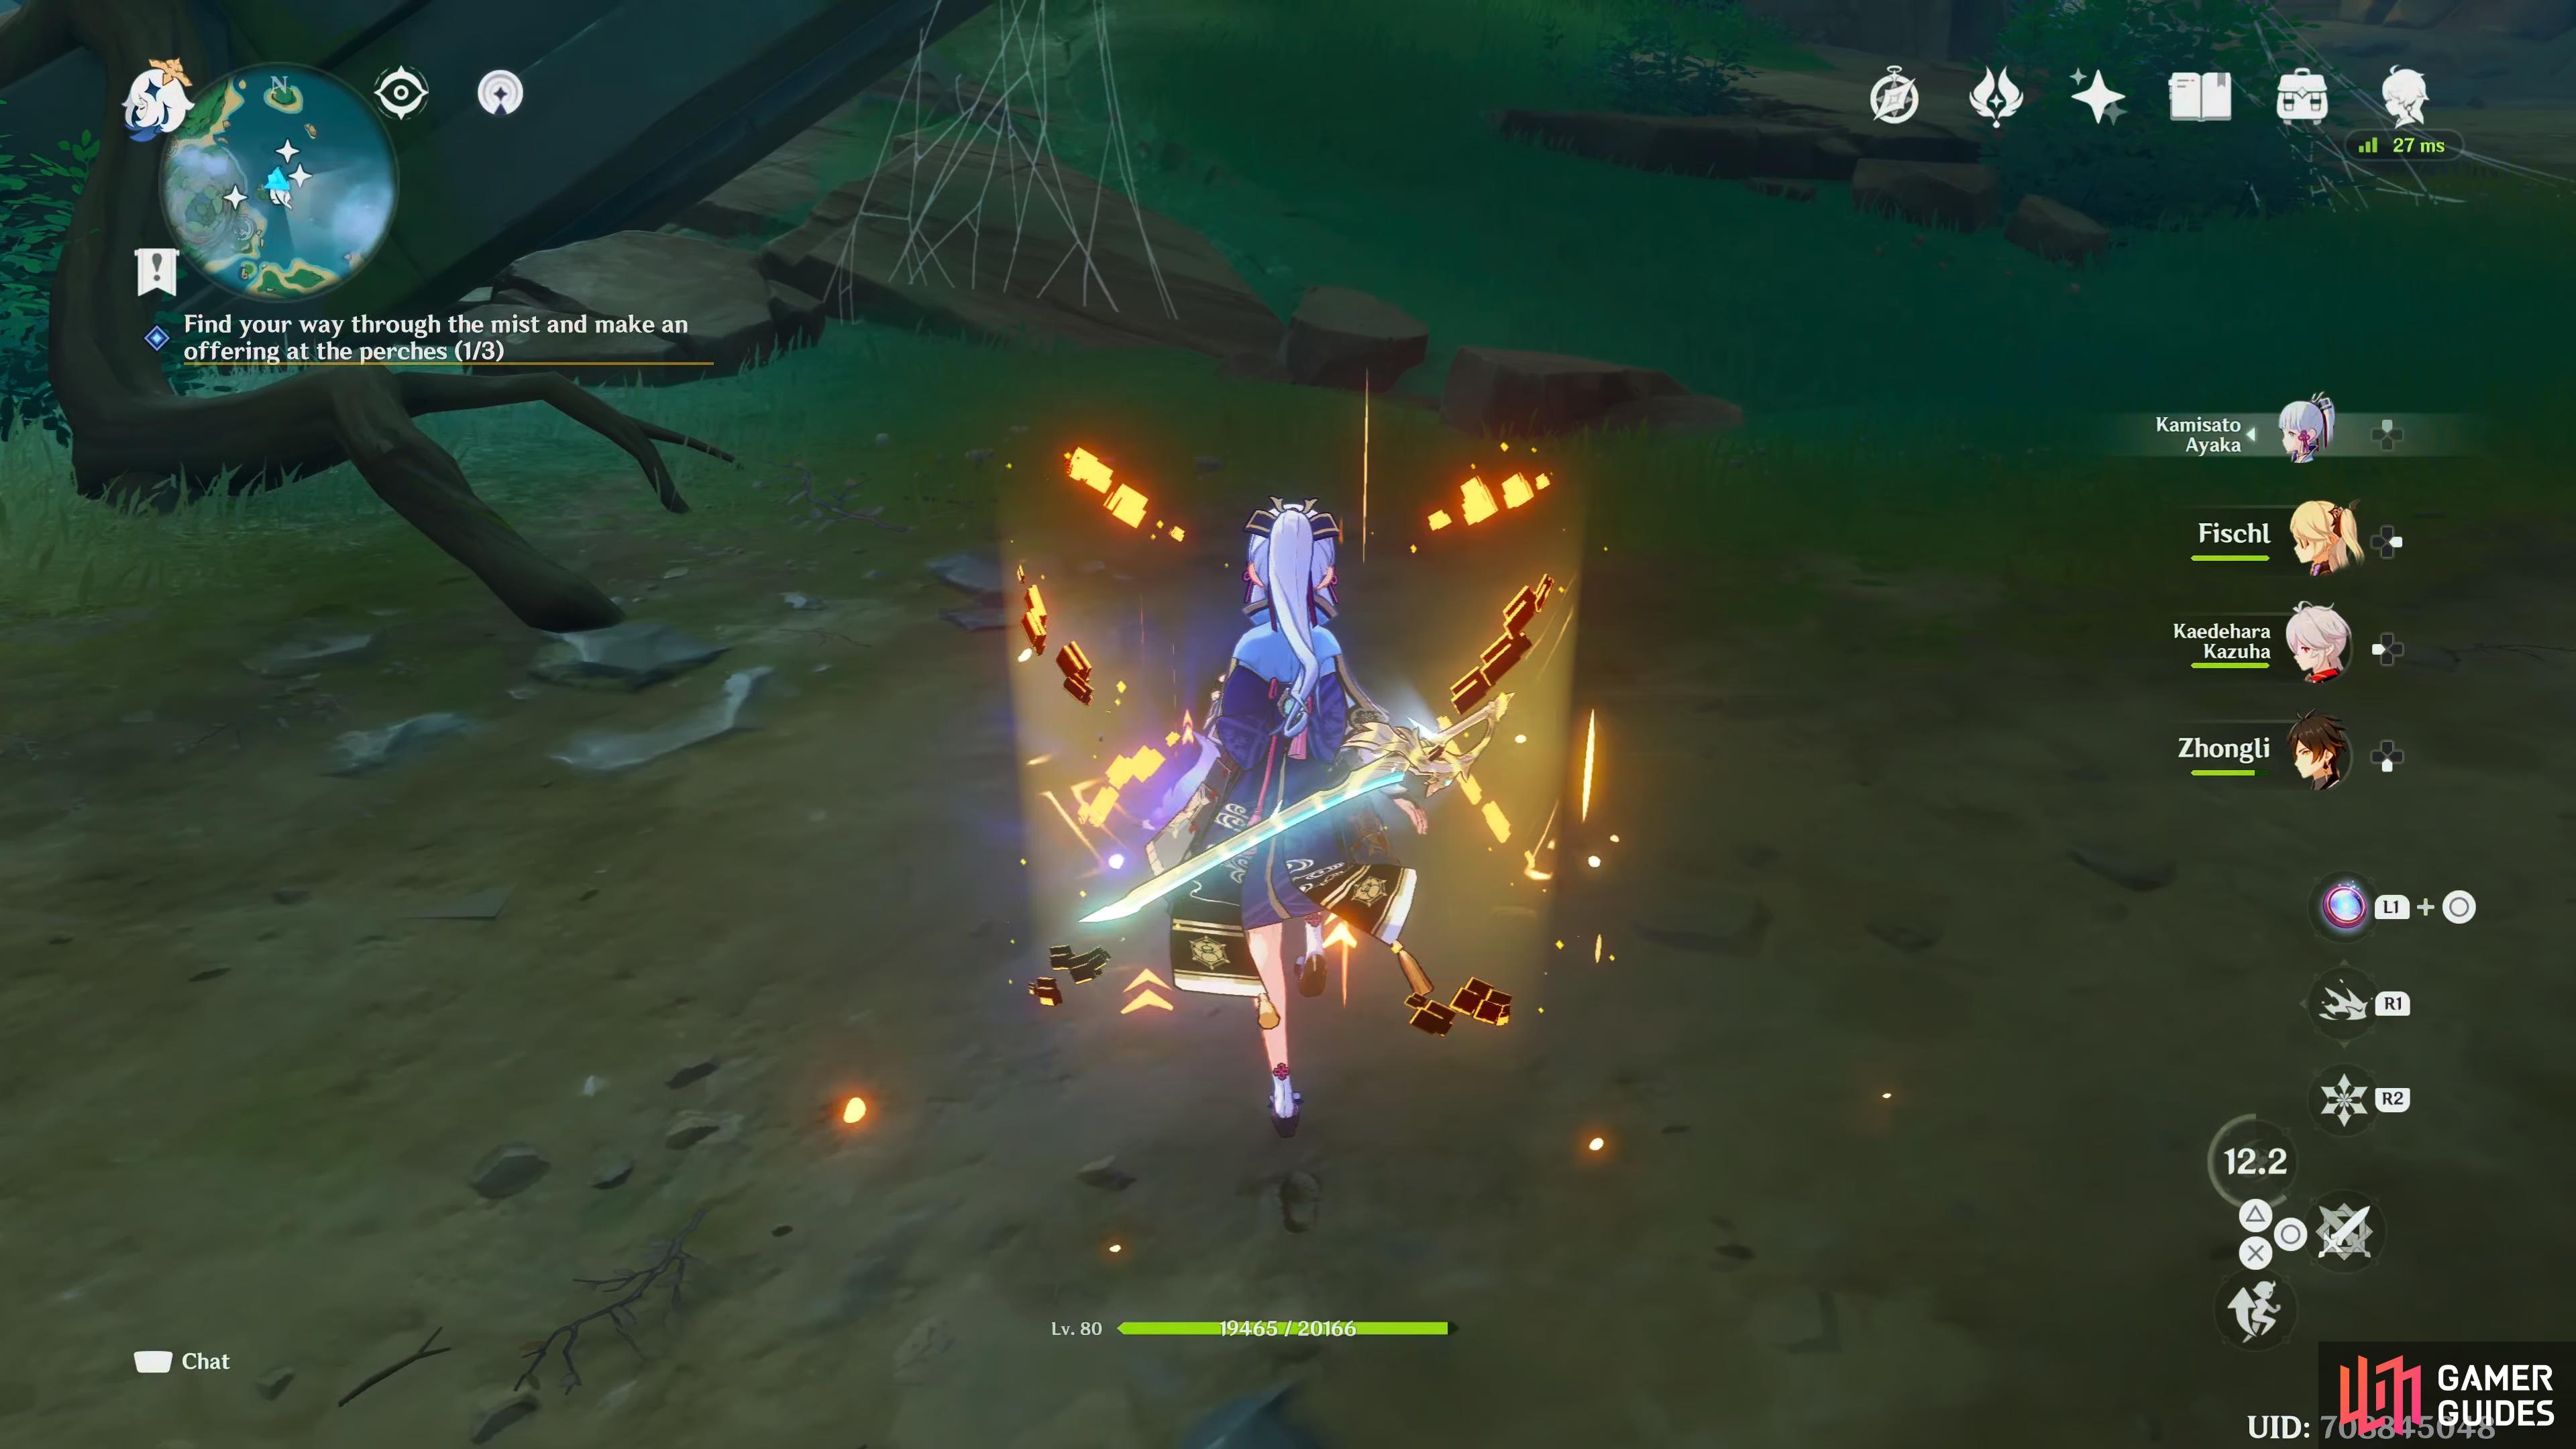
(1 of 3) The north feather is directly in front of you, interact with it to send it back to the perch.
Report back to Ruu
Now that you’ve completed the perch, head back, and talk to Ruu. They’ll appreciate your help, and you’ll ask them about the Maushiro. Apparently they’ll be a Maushiro at the ceremony site.
Go to the ceremonial site
When you’ve finished talking to Ruu, make your way to the ceremonial site which can be found by following the west path, make sure to unlock any waypoints along the way.
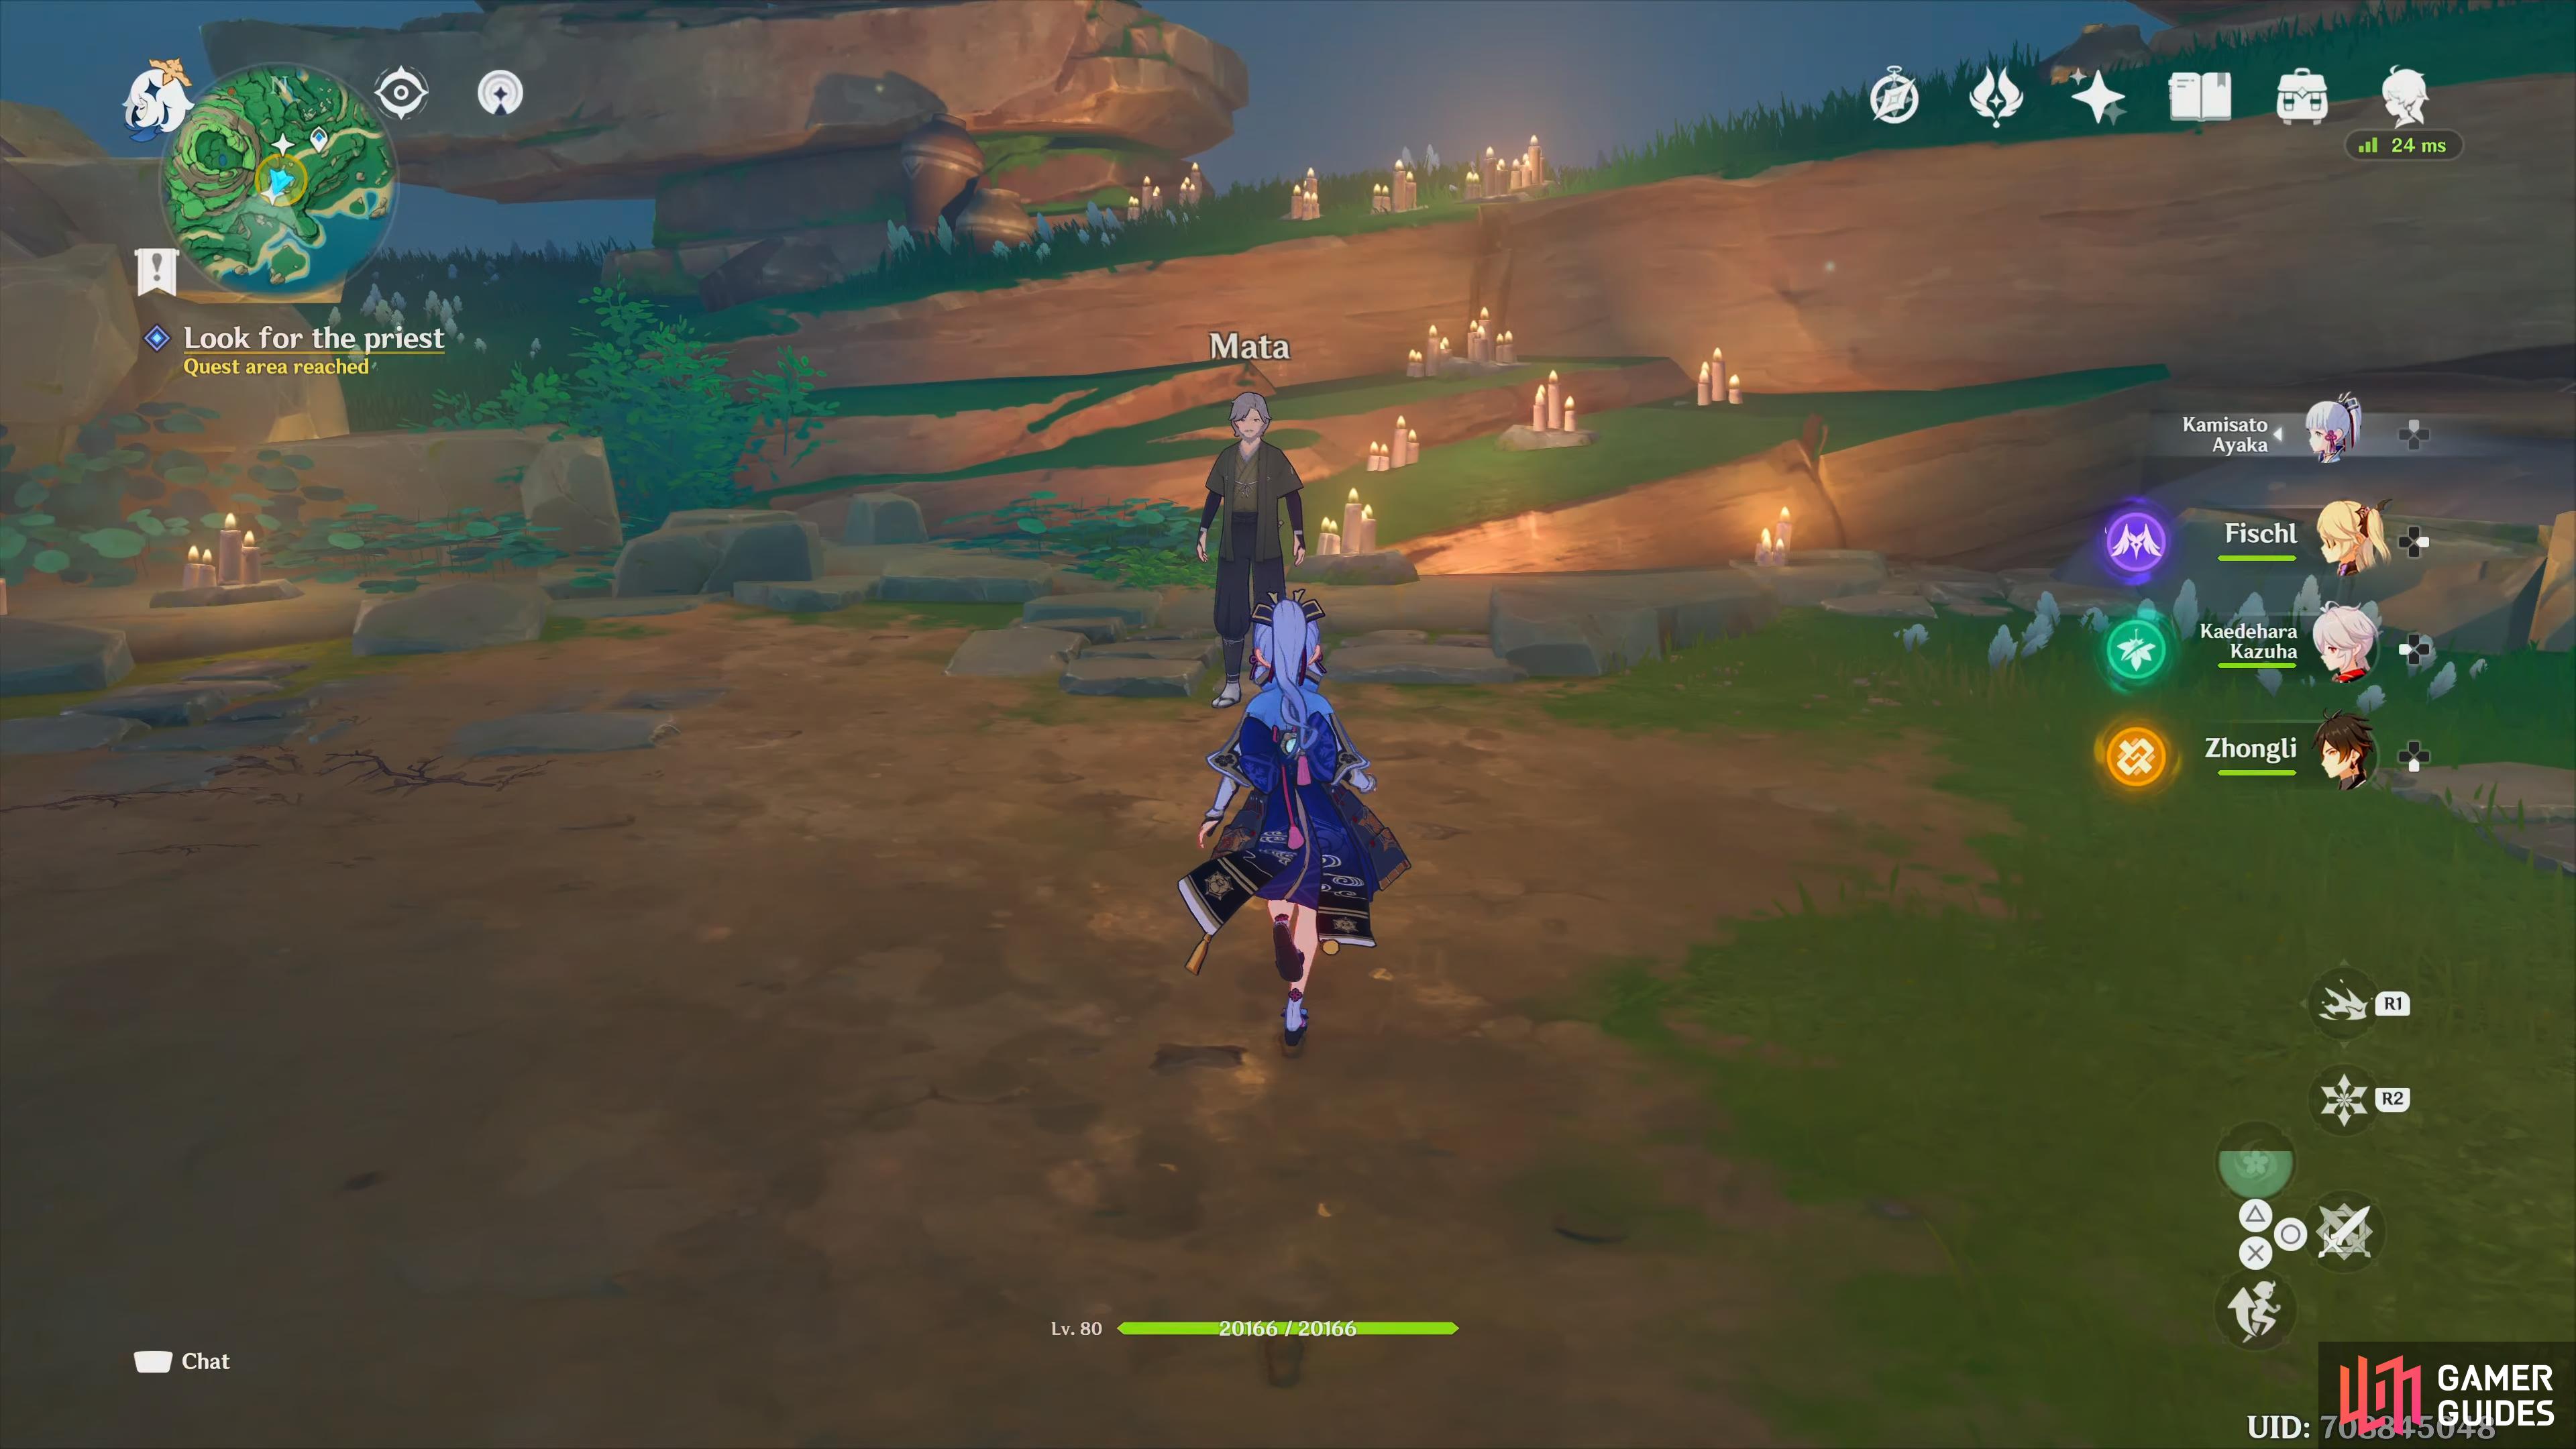
The priest, Mata, can be found at the back of the ceremonial site.
Look for the priest
When you arrive, you’ll have to find the priest. His name is Mata, and you can find him standing at the back. Talk to him, and it feels like he’s ignoring you, but he does mention three other perches, then Paimon will mention that three other areas look like they’ve got thick fog around them (look at the map).
Tsurimi Island Puzzles
The next three perches can be done in any order, but it will require you to complete multiple puzzles at each site to get the feathers.
Shirikoro Peak
Head towards Shirokoro Peak, which is the northern area with fog on the map. Head to the top of the mountain to unlock the teleport waypoint, then drop in the water in the center. Swim to a nearby ledge, and you should spot a few Seelies’ floating about.
- One Seelie can be found at the cave entrance.
- Another Seelie is on top of the tree root above the Seelie Court.
- The last Seelie can be found by gliding to the west, use the nearby Electrogranum to help guide it back.
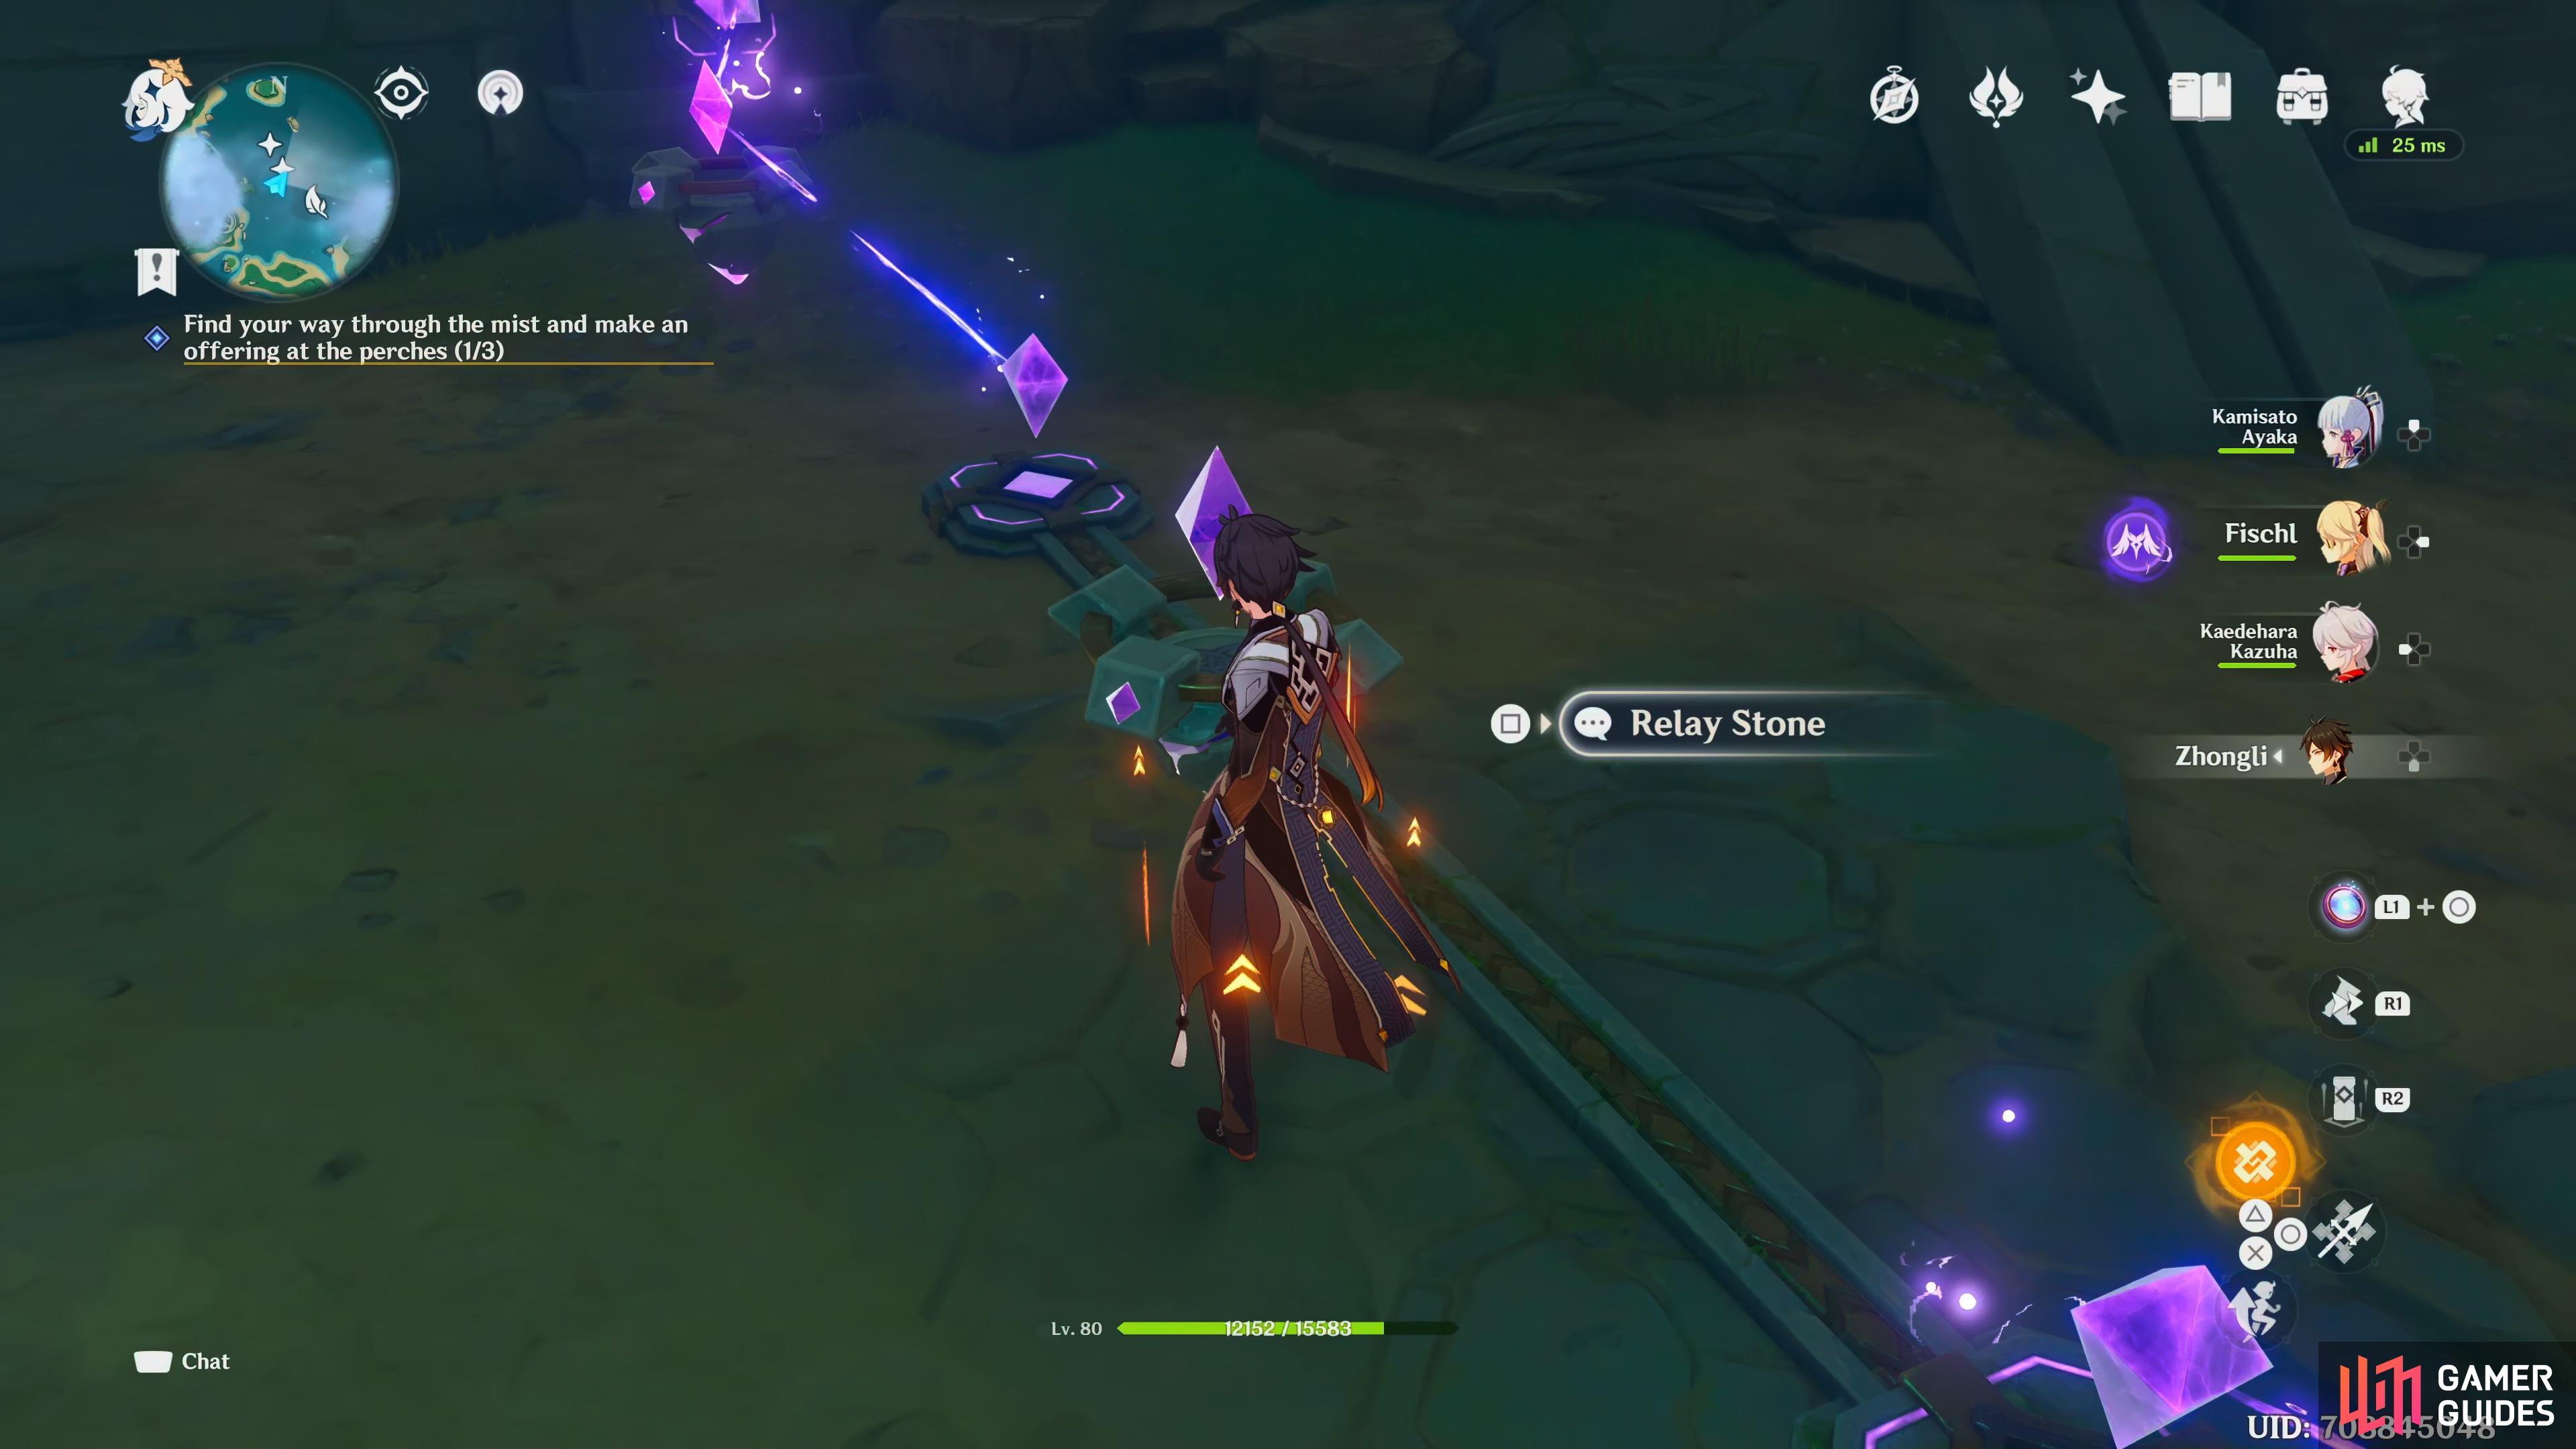
Guide them back to the Seelie Court, then activate the mechanism to lower the water, this will also reward you with an Exquisite Chest. Once the water has been lowered, talk to Ruu, then activate the perch. Glide down to the north, and head deeper into the cave. You’ll notice all three feathers laying next to each other, send the first feather back, then collect the other two, easy, right? No. As you interact with them, they’ll both float away. Follow the two feathers, whilst you’re doing this, two Thundercraven Rifthound Whelps will spawn, defeat them, and continue following the feathers until they go through a door in the ruins. In this area, you’ll need to defeat the two Ruin Destroyers guarding the area. Once they’ve been taken care off, you’ll have to complete a puzzle, to open the door where the feathers went.
First, take the Relay Stone in the bush opposite the door, and place it in-between the Relay Stone right of the door, and the Cumulation Stone next to the mechanism. Then head to the left of the door, and grab the Relay Stone next to the stairs, and place it in-between the two small Cumulation Stones nearest to the door. This will unlock the mechanism, which’ll open the door.
Head through the newly opened door, and as you enter the next room, you’ll have to fight a Ruin Guard. When it’s defeated, send the next feather back, and pick…up….the….last….feather. NOPE, there it goes again, through another locked door, leaving you with another puzzle to complete.
First things first, you’ll need to guide another three Seelie’s back to their Court. These can be found:
-
Southwest of the mechanism
-
Broken Pillar near the entrance
-
Behind a breakable Rock Wall which is behind the collapsed roof.

Guide them all back to their Court, and activate the mechanism to lower the water. Now you’ll have another Electro Current Puzzle to complete. First, drop to the area at the bottom, take out the two Ruin Destroyers, and take the two Relay Stones down there. One is infront of the closed door, and the other is in the middle of the two small Cumulation Stones. Place one in front of the purple discharge stone coming out of the wall nearby. Then head back up, head over to the collapsed roof, and pick up the other Relay Stone there, as well as open the Remarkable Chest inside. Now that you have two more Relay Stone’s to place, jump from the collapsed roof to the left, and place one Relay Stone in-between the Cumulation Stones, and the other to the right. The right one can be tough to place, so try standing on the wall, and keep placing it with micro-adjustments until it connects. When everything is connected, open the Luxurious Chest, then use the mechanism to open the ruins’ door, and head through.
Pick the last feather to your right, and send it back. Time to head back to the perch, best done by teleporting. You can continue on, and it’ll take you to the last fog-covered area, but you need to go back to the perch anyway. Interact with the perch to cleanse the area from the fog, then head to Autake Plains in the west.
Autake Plains
Head towards Autake Plains, which is the western area with fog on the map. Follow the white lanterns again to traverse through the mist, and as you approach the perch, you’ll have to battle some new enemies. These are called Rifthounds, and these particular ones are called Thundercraven Rifthound Whelp, and there will be three of them. These can be quite a tough fight if you don’t know what to expect.
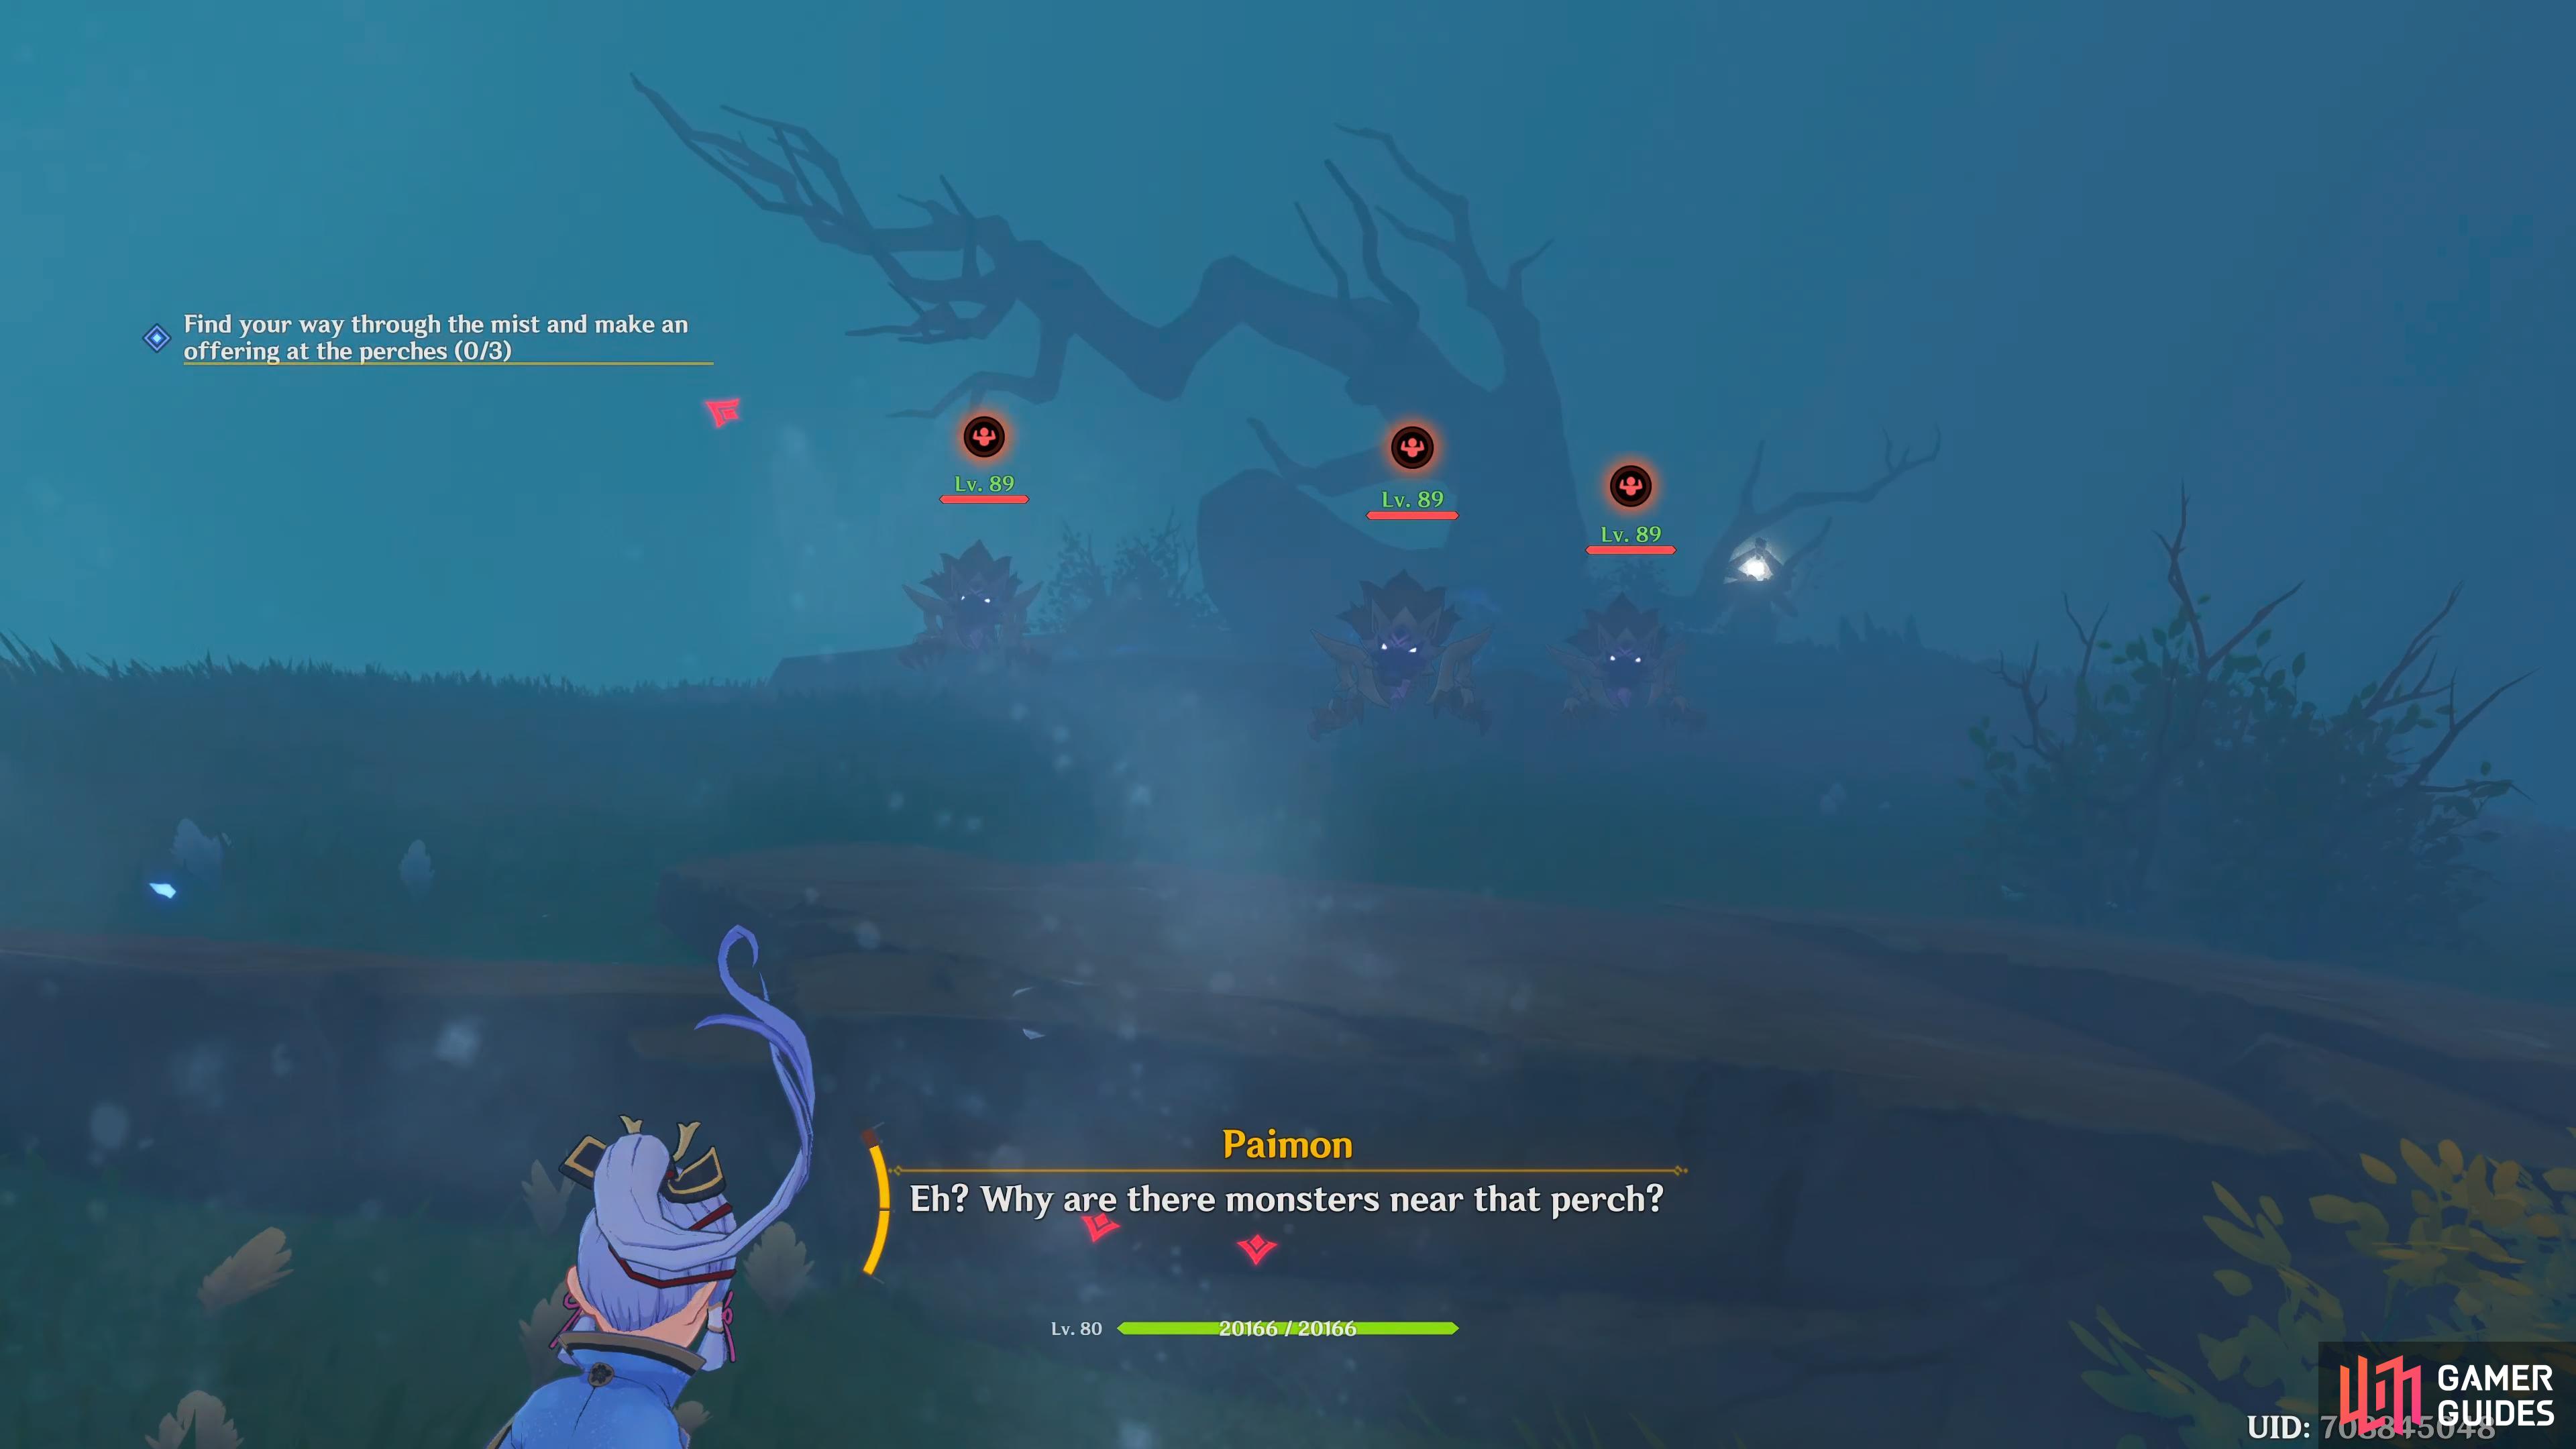
These Rifthound can be quite tough, especially as the Corrosion they can do on attacks, poisons your entire party.
They can strike with their claws dealing elemental damage, turn invisible, and they can becomed raged which’ll increase the damage they do, although this only happens if they are attacked with the same element of their affinity, which in this case is Electro. The worst part of fighting these, is their Corrosion, when they attack you, every party member will take damage every second whilst the effect is active, even if you are shielded. So make sure to bring a character who can heal or bring a lot of food at the very least. Attack them with a combination of Pyro and Cryo, or Pyro and Hydro, and they should go down in no time.
When they’re defeated, head up to the perch and interact with it. Once again three feathers will scatter around the area, and you’ll need to find them. Looking at the mini-map, get the west feather first as you’re almost standing on it anyway. Head west, past the perch, and drop to be greeted by three more Rifthounds. This time you’ll be fighting two Rockfond Rifthound Whelps. This fight will be almost the same as the last group you fought other than these are of the Geo affinity, so make sure not to use Geo against them. Once they’re down, interact with the feather, and send it back to the perch.
Now head towards the eastern feather by running past the white lantern in the east. As you approach the feather, it’ll float away from you, into an Electro Barrier. What you need to do here is, head back to the west, and interact with the Electrogranum underneath the treasure chest. Once you’ve activated it, rush back to the barrier, and head into it. When you get inside it, the feather will float away again, and another two Thundercraven Rifthound Whelps will spawn, defeat them, and send the feather back to the perch.
Finally, head to the southern feather, which can be found on the roof of the nearby Hilichurl Hut. When you get there, you’ll have to defeat one Thundercraven Rifthound Whelp, and one Thundercraven Rifthound Hound. The Hounds act the same as its younger brethren, but they’ll have more health, deal more damage, and be more aggressive. Take them out, then send the final feather back to the perch. Once you’ve collected all three feathers, head back to the perch, and interact with it, and the fog will disperse. When the fog has gone, you’ll get a short scene with Ruu, and he’ll be impressed with what adventurers are capable off. Head to the last area, Chirai Shrine, in the east.
Chirai Shrine
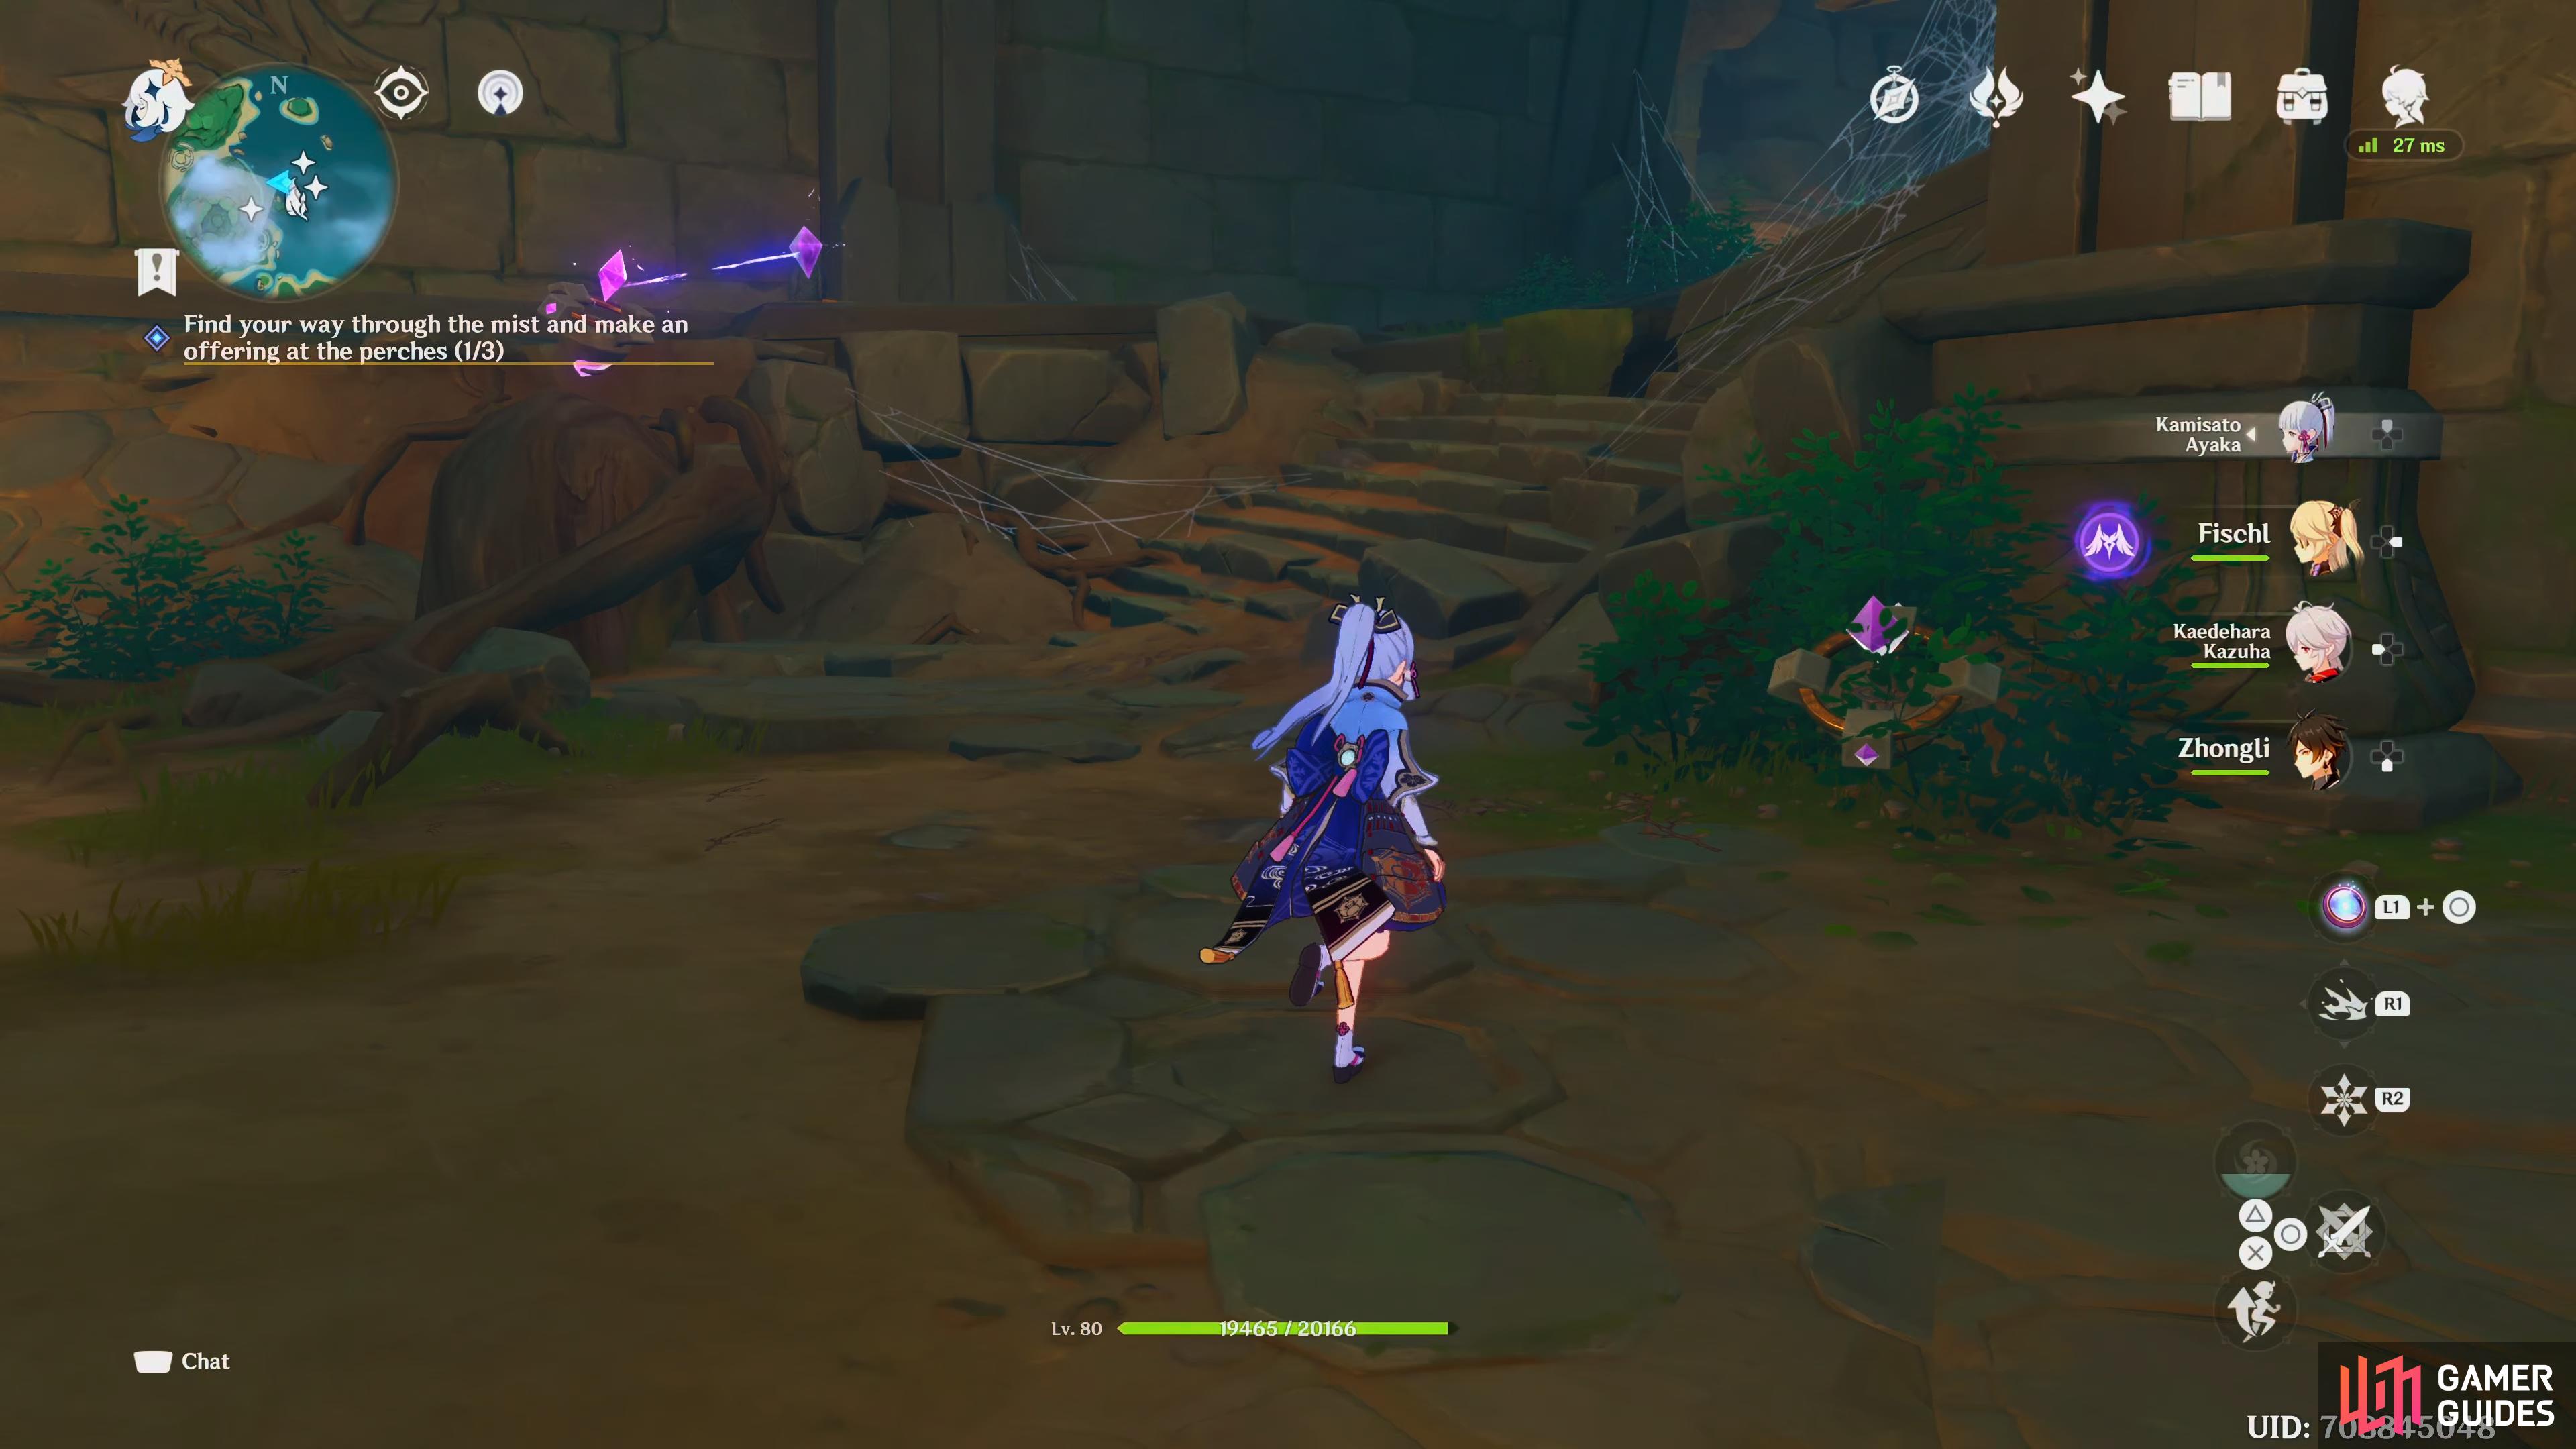
Head towards the Chirai Shrine, which is the eastern area with fog on the map. When you get there, follow the white lanterns northeast until you reach the ruins. Either head around, through or over them to find the perch behind. Interact with the perch to send the feathers out. The northern feather can be found on a hill to your west, as you approach it, it’ll head east. Follow the Phase Gate on to the eastern cliff, and as you go to pick it up, two Electro Whopperflowers will spawn, take them out with Pyro, then head over to the feather again, this time it will head down the cliff, towards the center. Head over to it, and send it back to the perch.
The southern feather can be found inside a hole near the ruin, south of the perch. Drop, and send it back. The western feather is near an Electro Current Puzzle, as you approach it, two Thundercraven Rifthound Whelps will spawn, if you’re quick enough, you can send it back without having to fight them. Either way, send it back when you’re ready, and head back to the perch.
(1 of 4) After chasing it, the northern feather will land in the center of the mist area.
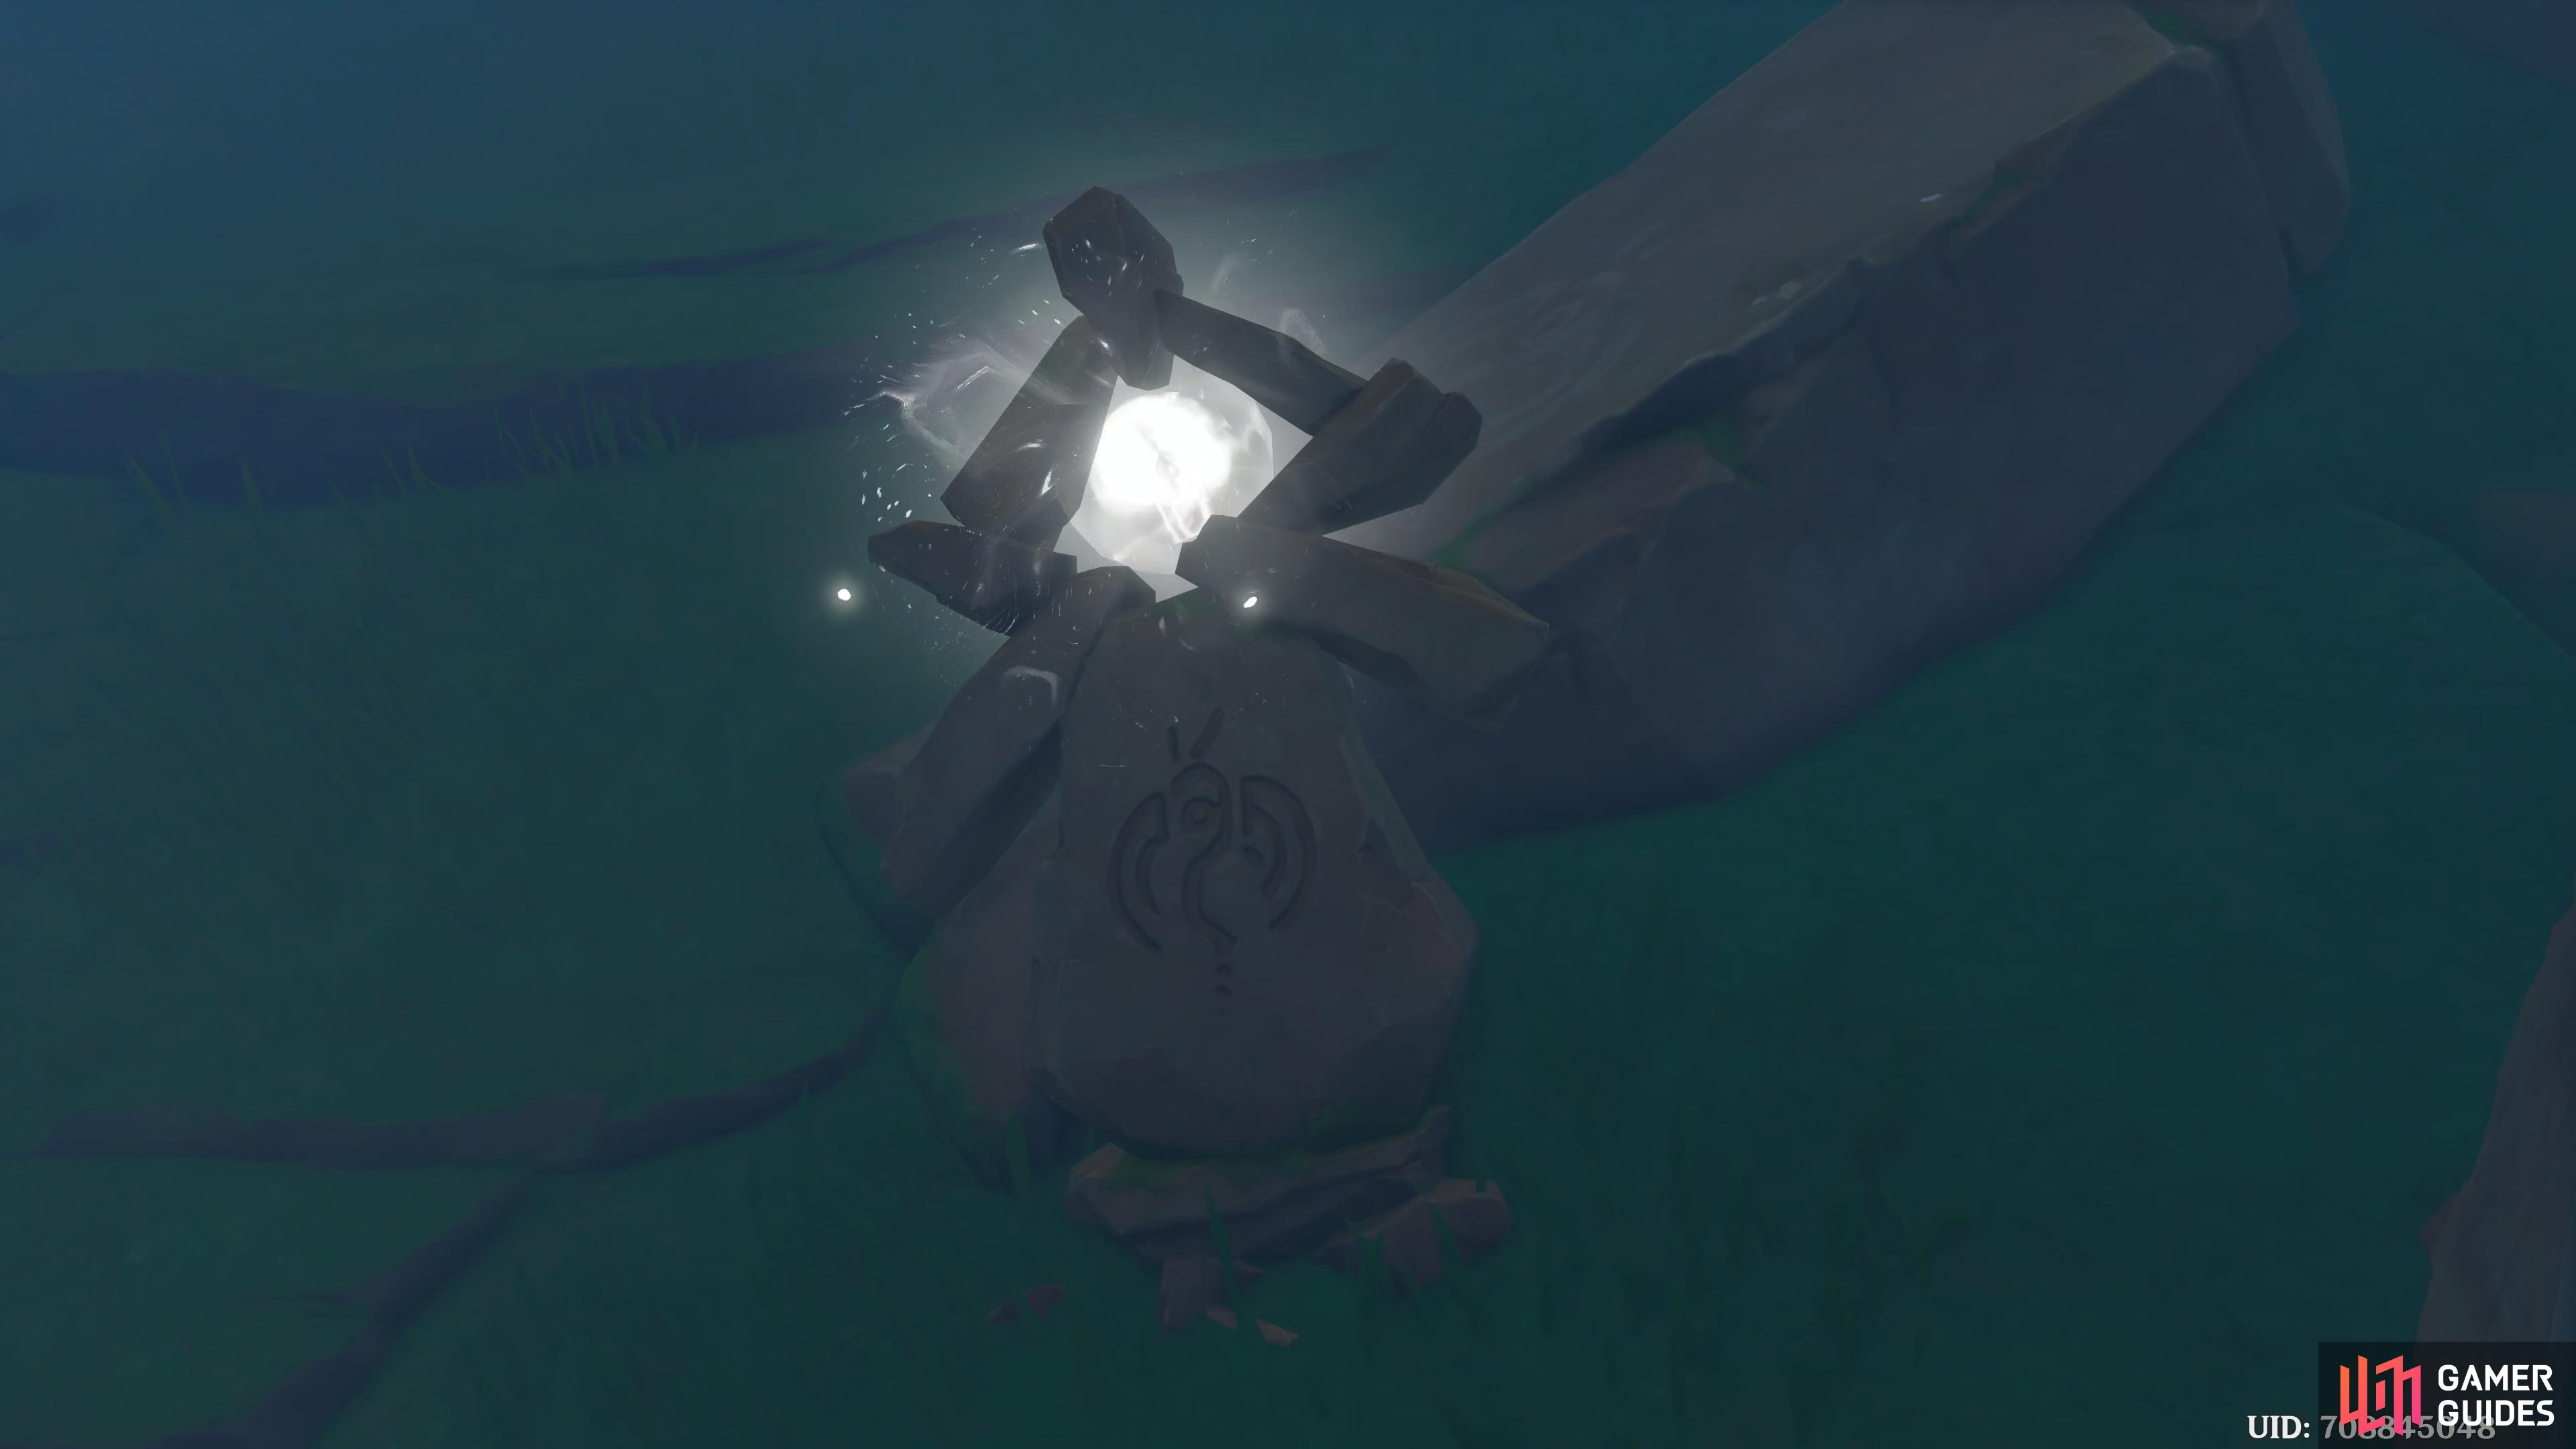
Now that the all three areas have been cleansed from the fog. Head back to the ceremonial site, where you spoke to Mata, the priest, and as you approach it, you’ll get a scene. It seems no-one is around, but you’ll notice a glowing object in the middle…could this be?
Check the Light
After the scene ends, head over to the light, and interact with it. Paimon will mention it’s the Maushiro that you’ve been looking for.
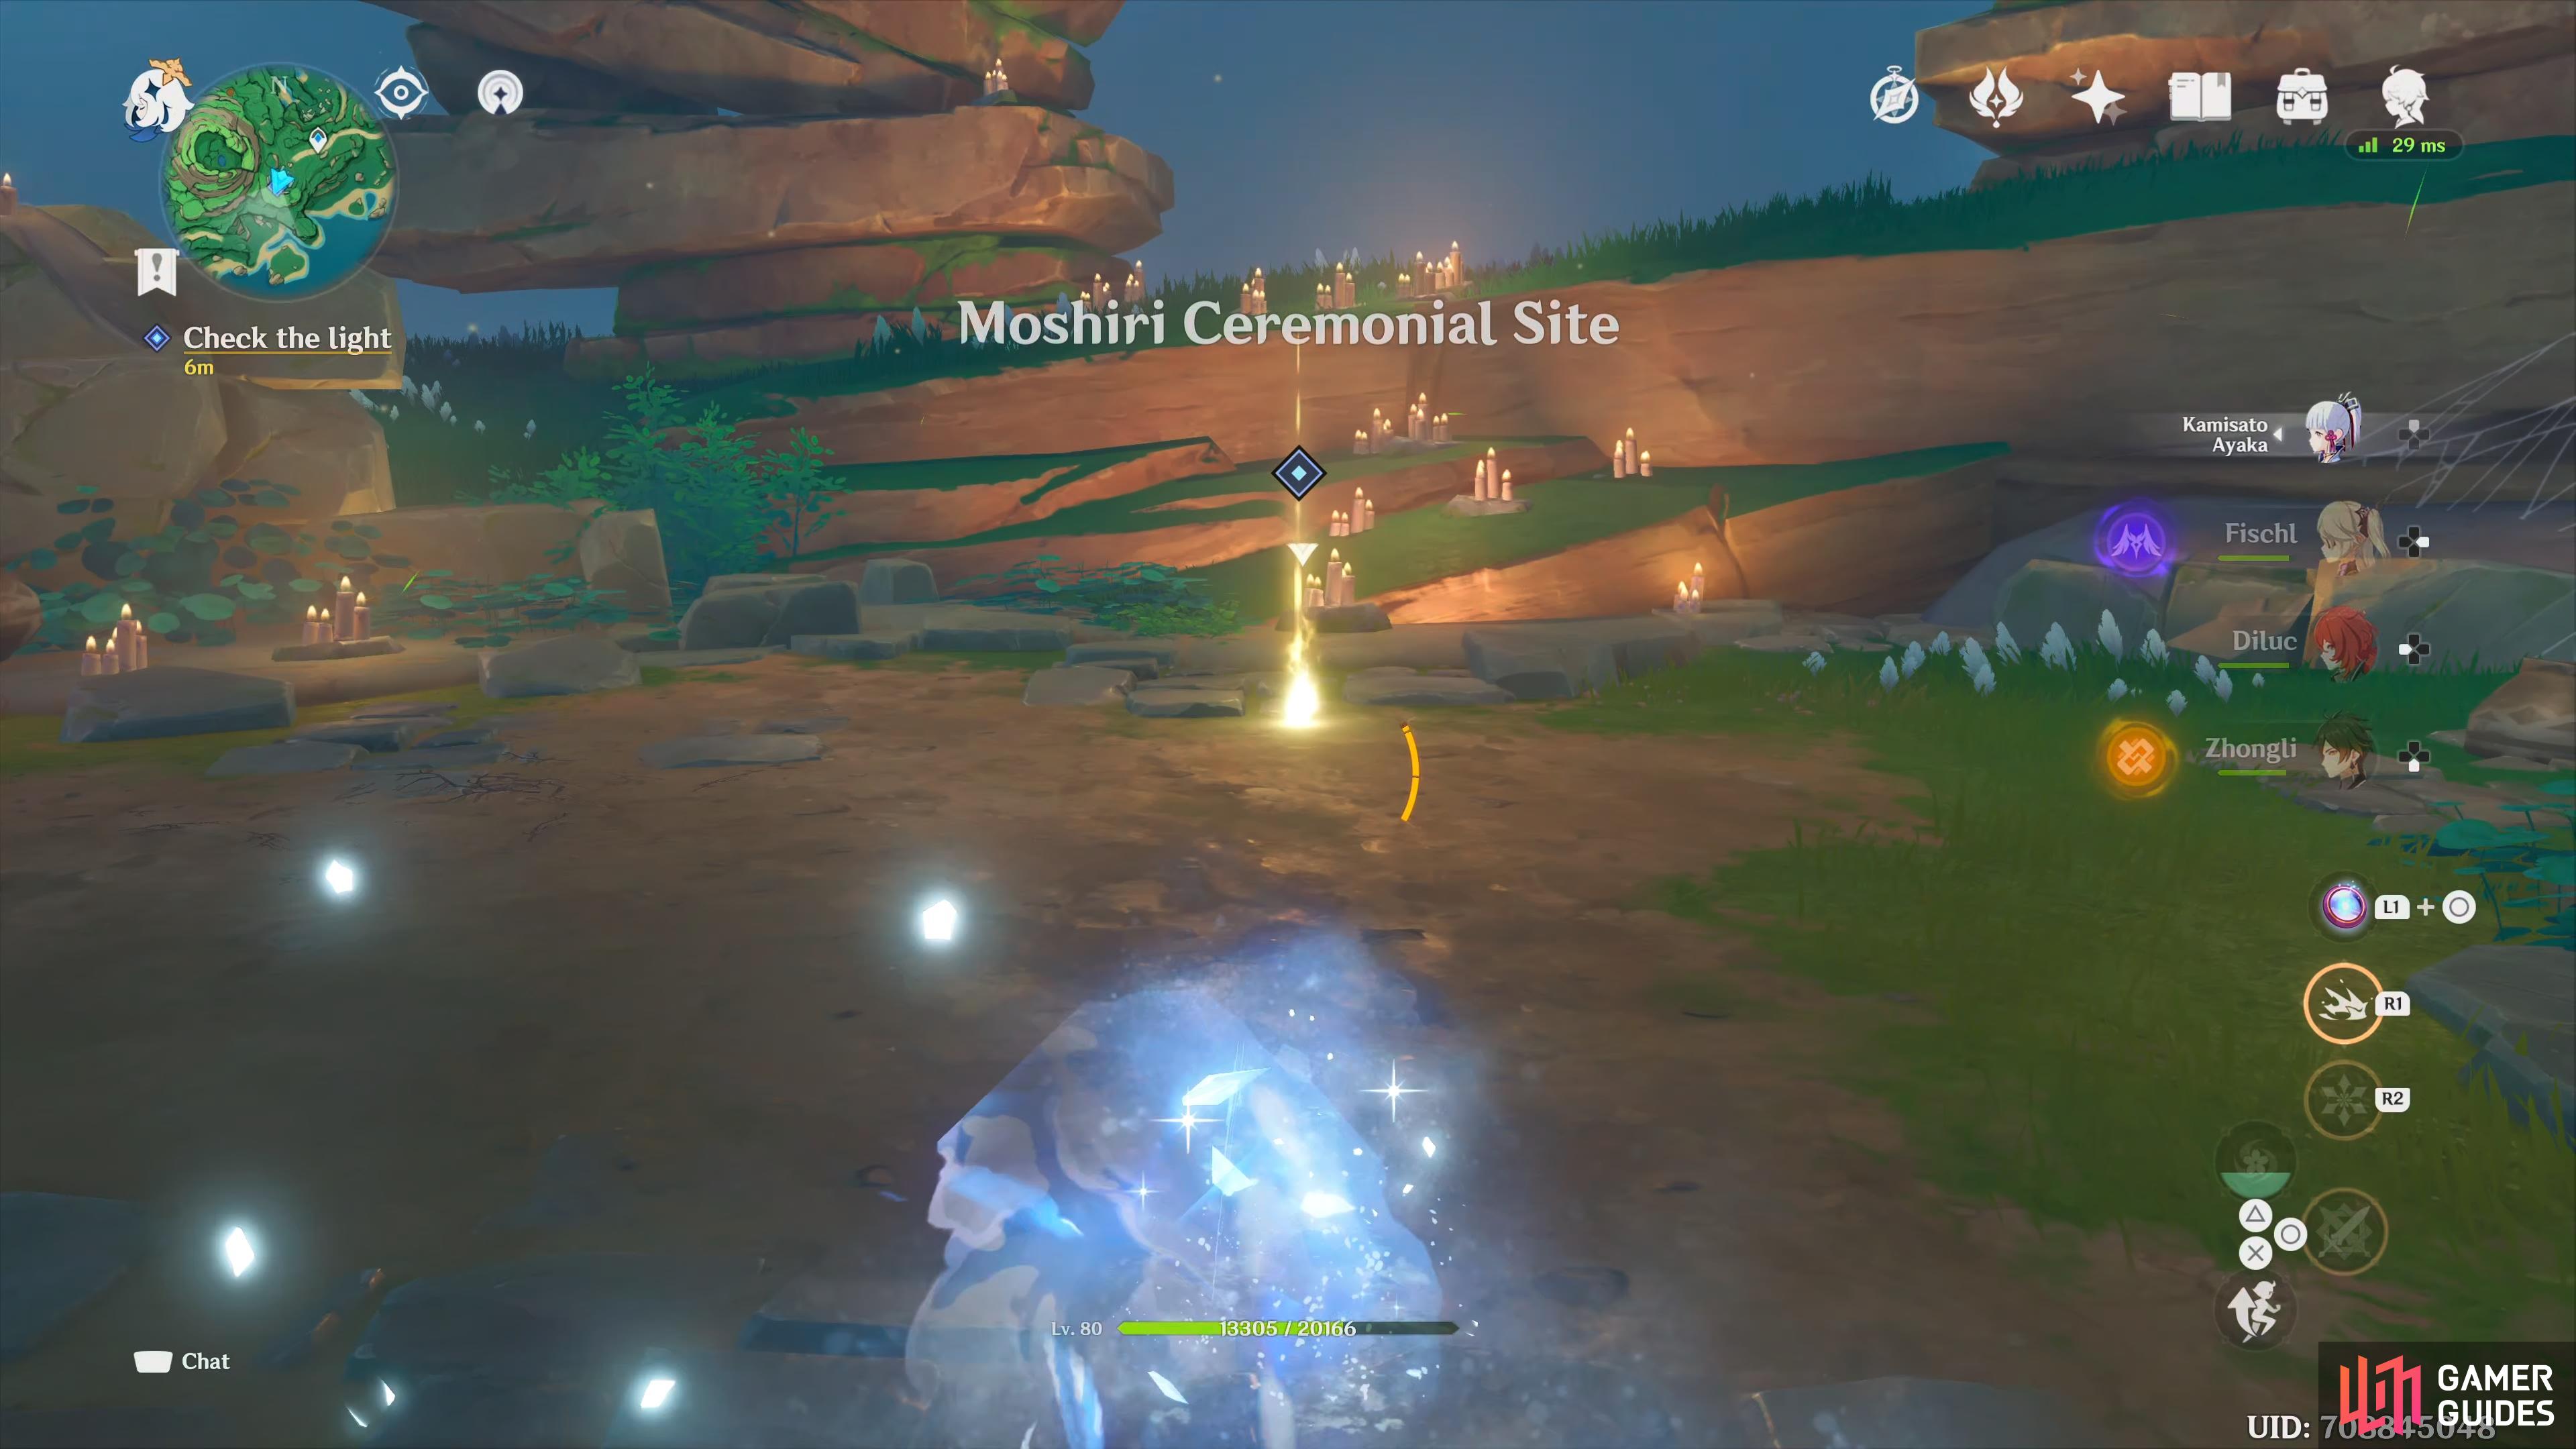
Is this the Maushiro?
Talk to Kama and then return
Head back to the boatsman Kama by taking the northern teleport, and heading south, then return to Ritou.
Report back to Sumida
Once you’re back in Ritou, head back over to Sumida, and talk to her to finish the quest. There is a follow-up to this, but you’ll have to wait a real life day to accept it.
No Comments