
This is a walkthrough for Yoimiya’s Story Quest “The Firework Girl’s Strange Stories” which is the first quest in the Carassius Auratus Chapter: Act 1, Dreamlike Timelessness. Here, you’ll find a complete walkthrough for the entire quest.

Yoimiya talking to the Traveler.
| Adventure EXP | Mora | Other Rewards | Requirements | Next Quests |
|---|---|---|---|---|
 400 400 |
 3 3  5 5 |
Adventure Rank 30, Complete: Chapter II Act I: The Immovable God and the Eternal Euthymia | Expectations Not to Be Betrayed |
Description
You’ve been in Inazuma for a while now, but your investigations continue. One day, you and Paimon arrive at the seaside…
Steps
- Go to Narukami Island’s beaches
- Catch up to the children who are about to leave
- Go to Naganohara Fireworks
- Confirm the source of the sound
Go to Narukami Island’s beaches
This quest starts on the beach west of the southern Byakko Plain waypoint. Teleport there, and drop off the grassy ledge to the west, where you’ll see a few kids playing on the beach. Head over to them for a scene. One of the kids, Matsuzaka will tell you they’re looking for the Great Mujina Youkai, and one of the other kids, Saika will ask if you know where it lives. You’ll tell them that you’ve never heard of it, and they’ll explain what it is.
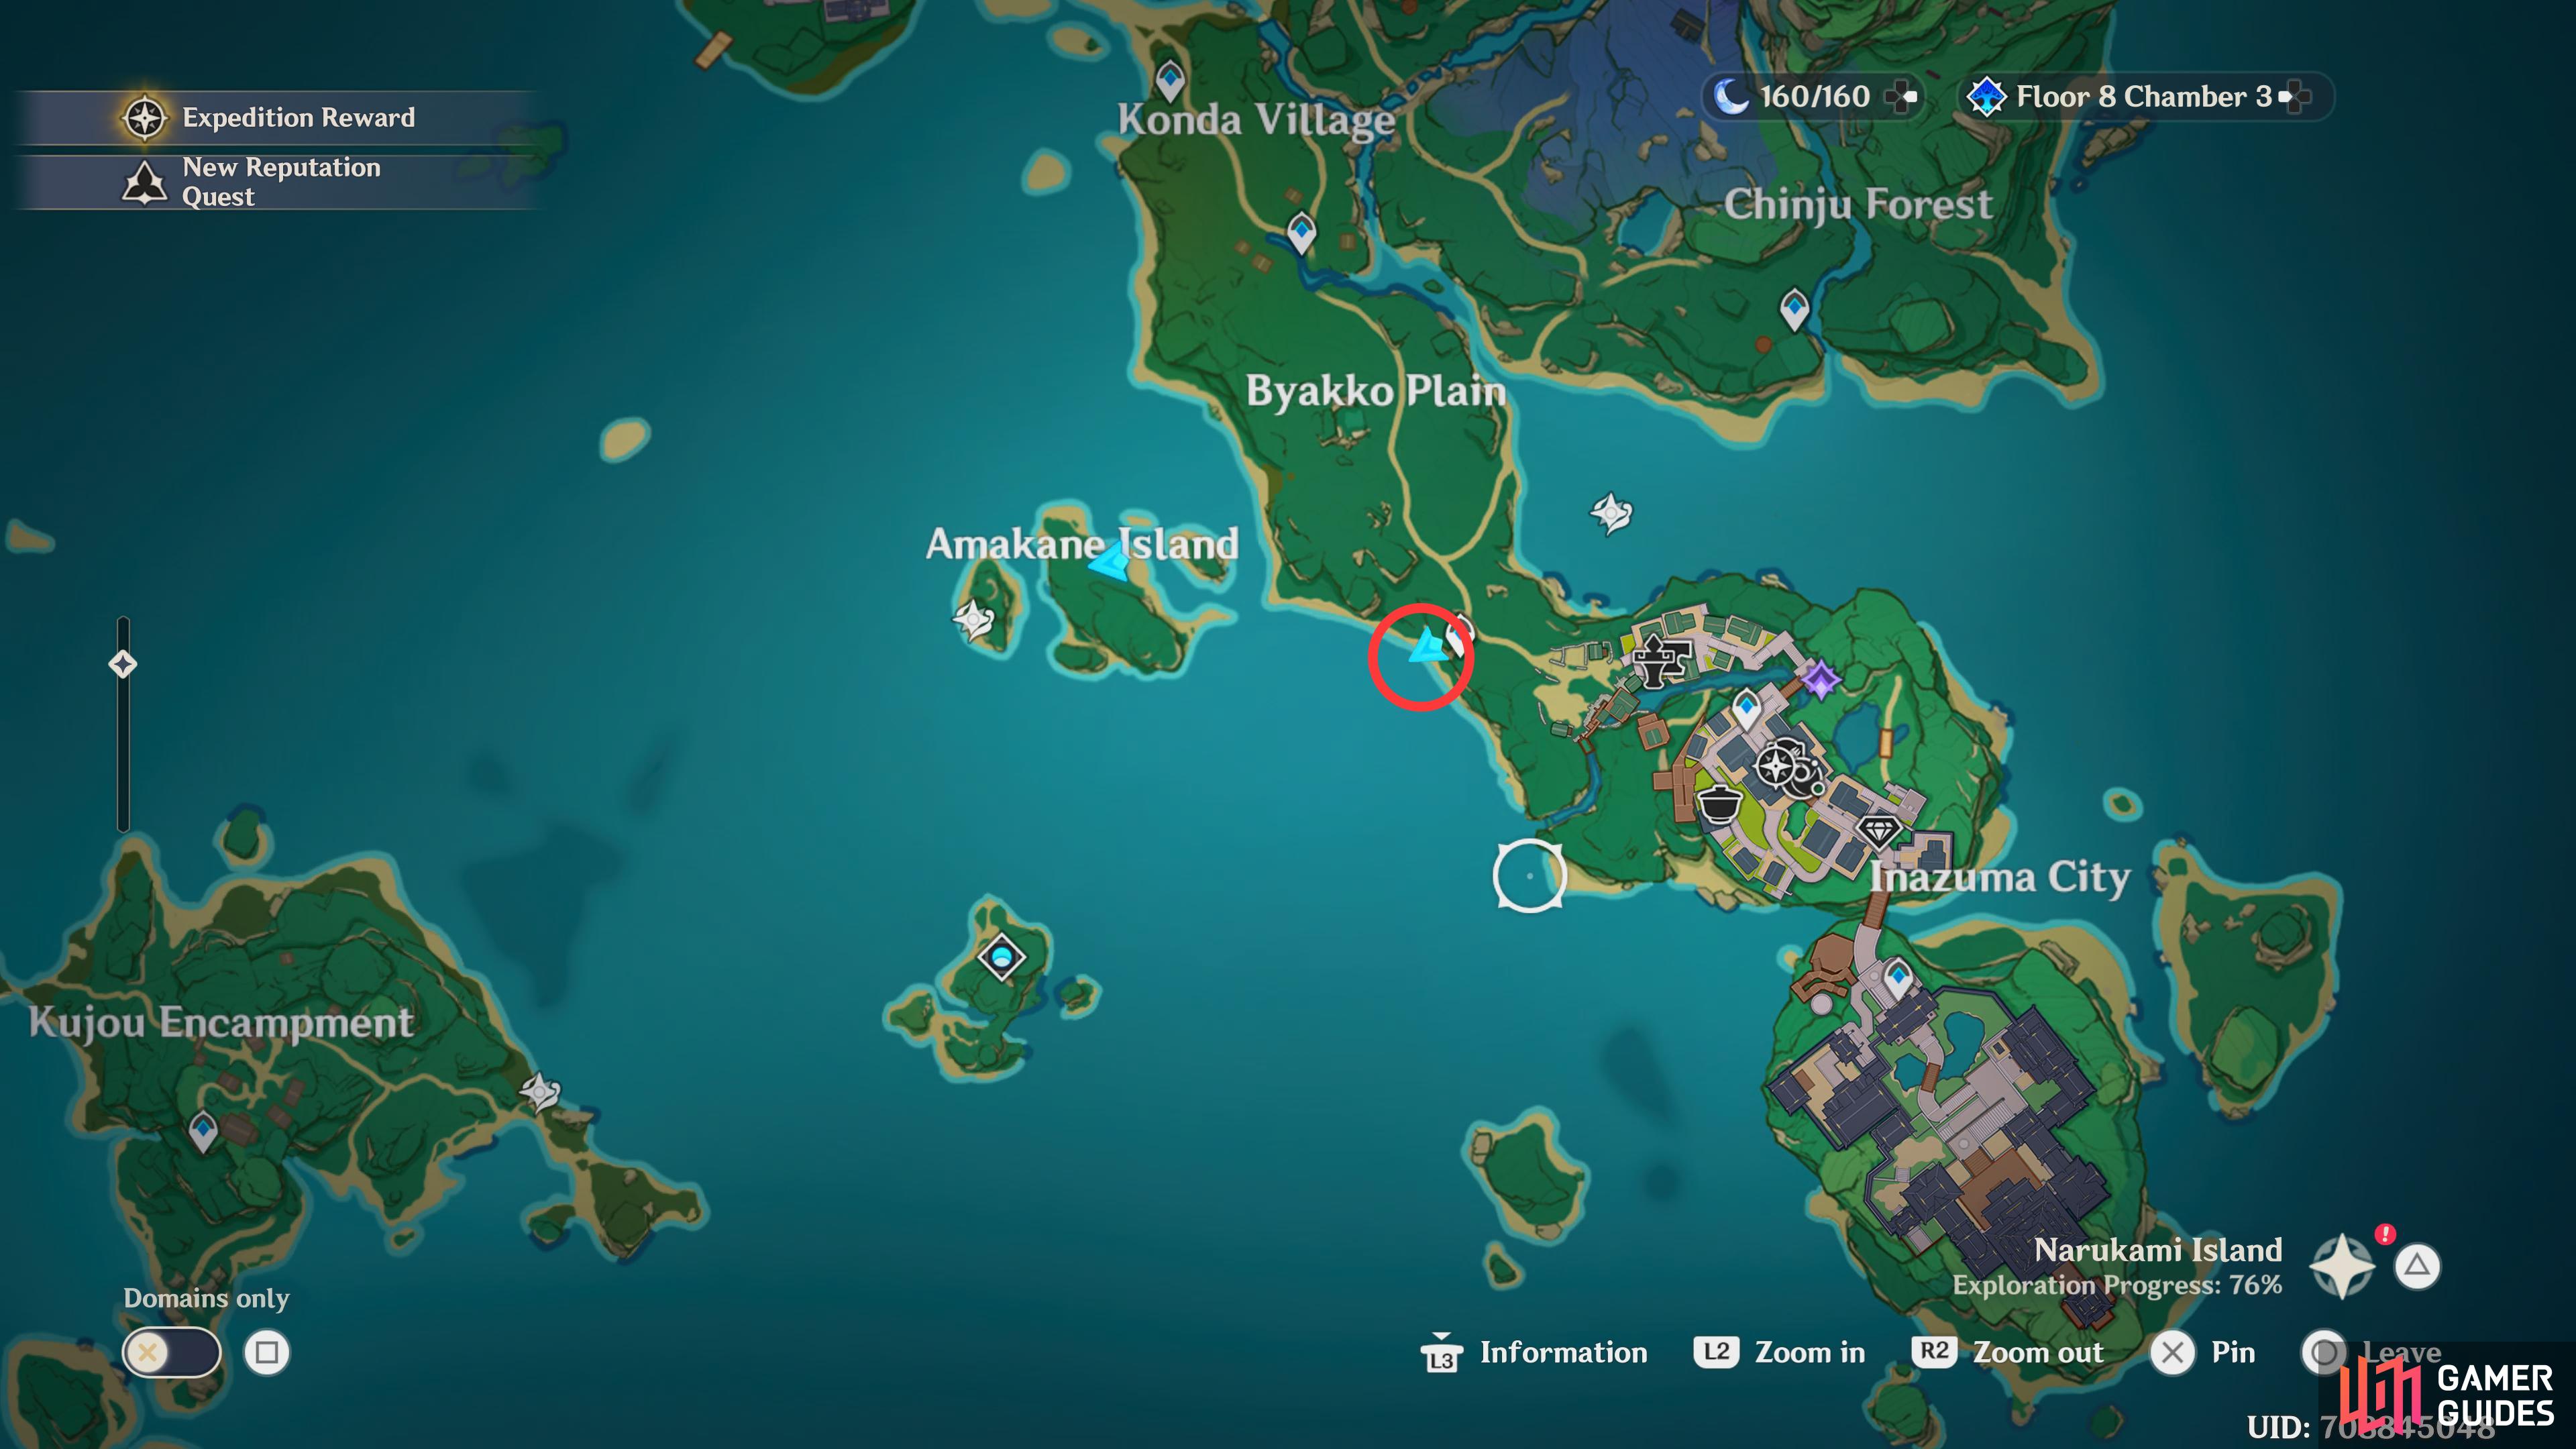
You can find the start of the quest to the west of the southern Byakko Plain waypoint.
It sounds like a tale parents use to scare their children to be good. After some deliberation, Paimon will tell them it isn’t real, and tells them the real reason why their parents told them it was. They tell you that it is real, and even Yoimiya is even making a weapon for them. This surprises Paimon, and she suggests following the kids to see what’s going on.
Catch up to the children who are about to leave
When the scene ends, follow the beach trail northwest, and you’ll see the group of kids, with Yoimiya. Head over to them for another scene. It appears that Yoimiya is consoling the kids, telling them that you and Paimon must be mistaken. She gives them some more words of wisdom, and gives them some slips of paper, before they run off. As you approach her, she tells you that she guessed it was you by the descriptions the kids gave her, but she’s not blaming you or anything, it’s just that the Great Mujina Youkai is popular amongst kids, and she didn’t want to upset them, she just told them it was cute and likes to play tricks, so that’s where the kids got their impression of the Great Mujina from.
You and Paimon don’t seem happy lying to the kids about it, and Yoimiya tells you she doesn’t know the whole story about why the parents chose to tell them that story, and she may cause more harm than good if she revealed the truth to them. Although Paimon is still worried about the children, Yoimiya reassures her that they’ll be fine, and she’ll protect them, should anything happen. Finally, Yoimiya will tell you that The Naganohara Fireworks Show is just around the corner, and she needs to get back. Paimon will ask if it’s hosted by her family, and Yoimiya tells you thats why their name is on it. She’ll then tell you that if you’re not bust, to stop by the shop, and she’ll have an extra pretty firework especially for you. You’ll agree to her offer, and she’ll tell you to follow her to Naganohara, to see her pops.
Yoimiya’s ‘pop’ Naganohara had an accident in the past which made him partially deaf.
Go to Naganohara Fireworks
Run southeast, past the southern Byakko Plain waypoint, and head east into Inazuma City, Naganohara Fireworks can be found near the blacksmith. Whilst you’re making your way there, Yoimiya will talk to you about how Inazuma is home to the Yae Publishing House, and how they like to write stories, apparently most of their stories are based on fairy tales like the Great Mujina, although their versions normally have bad endings.
When you arrive at the shop, you’ll get a scene. Yoimiya’s dad will greet you, and he’ll tell you to take a seat whilst he tells you the long history about the Naganohara’. Slightly embarrassed, Yoimiya will apologize for her dad, and she’ll explain that ever since his accident, his ears don’t work as well as they used to. Mid-story, Yoimiya will interrupt him, and ask if he received the firework materials that they ordered yet. It takes Yoimiya a few tries to get her question across to her dad, but finally he’ll tell her that they haven’t received them yet. You’ll find out a bit more about Yoimiya when she’s interrupted by someone calling her name.
Confirm the source of the sound
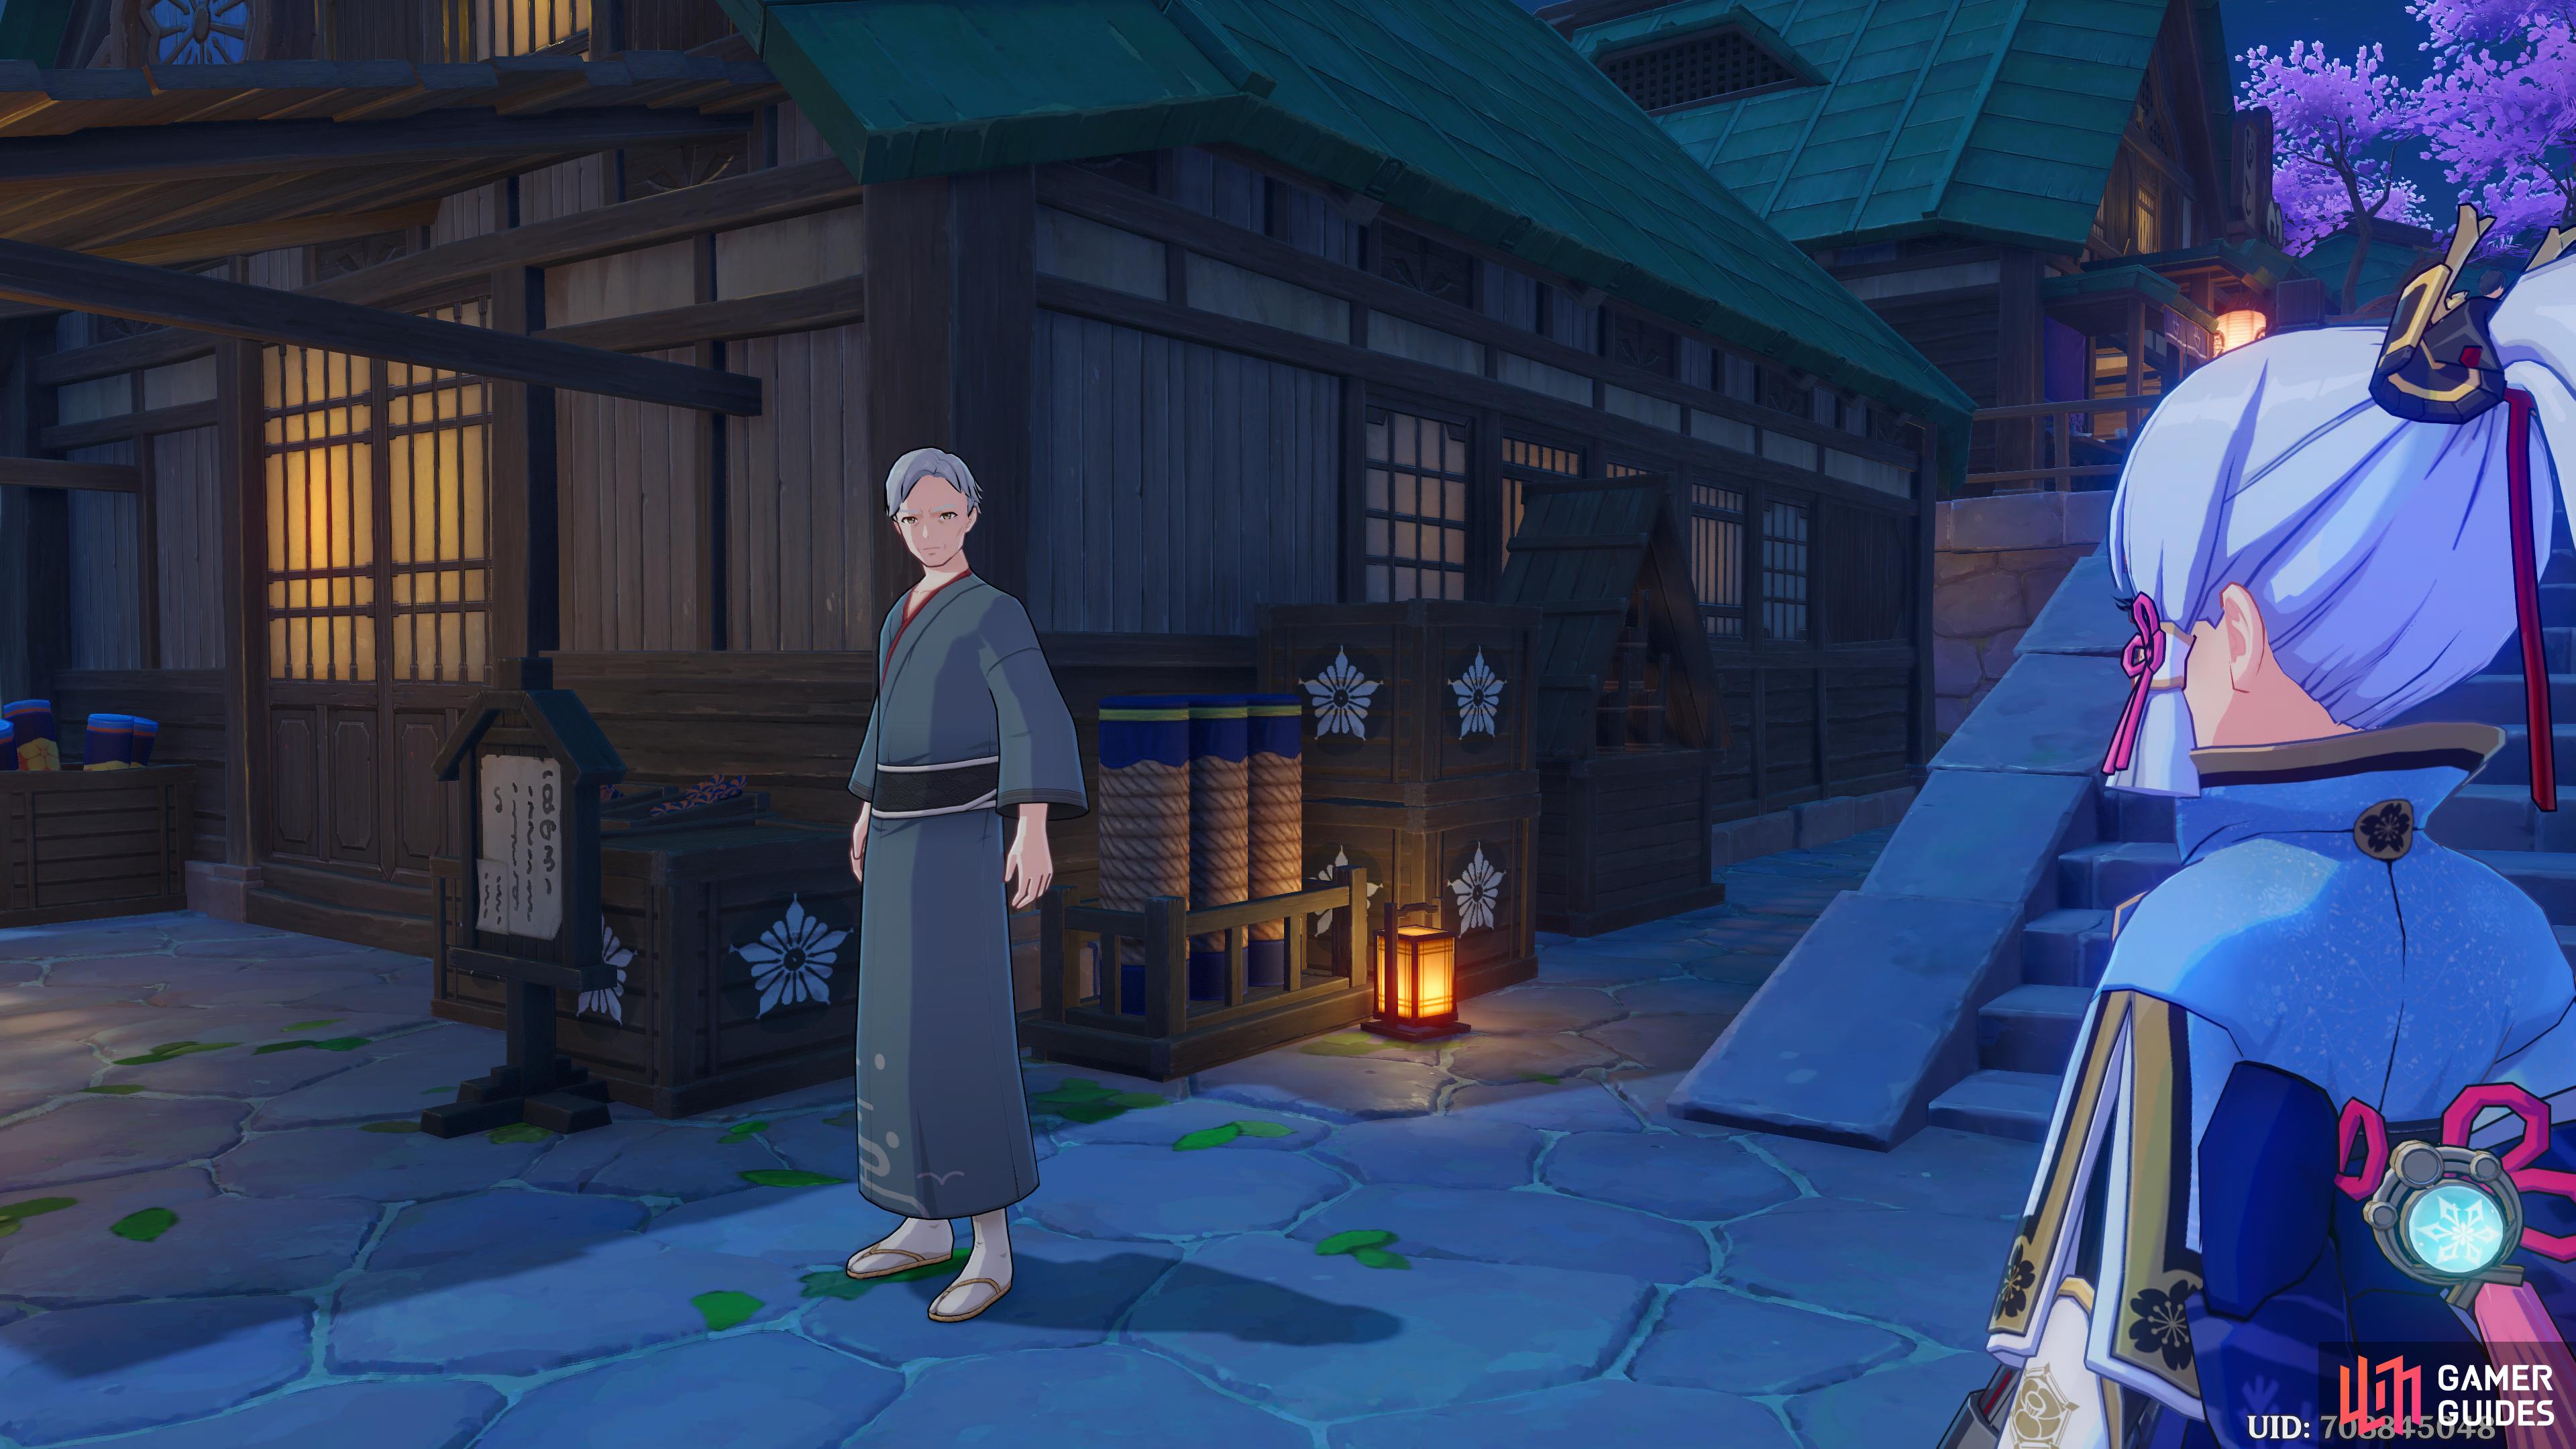
Go around the side of the house to the north, and head towards the window for another scene. As you approach Yoimiya, she’ll say, “No one’s looking. Okay, you can come out now. Uh, come around the side.” Then you’ll meet Sakujirou, apparently he used to be a customer, then he left Inazuma a while ago. He tried coming back, and because of the situation in Inazuma, he had to be smuggled which led to him being caught, and the Tenryou Commission put a warrant out for his arrest, which is why he’s hiding in her house.
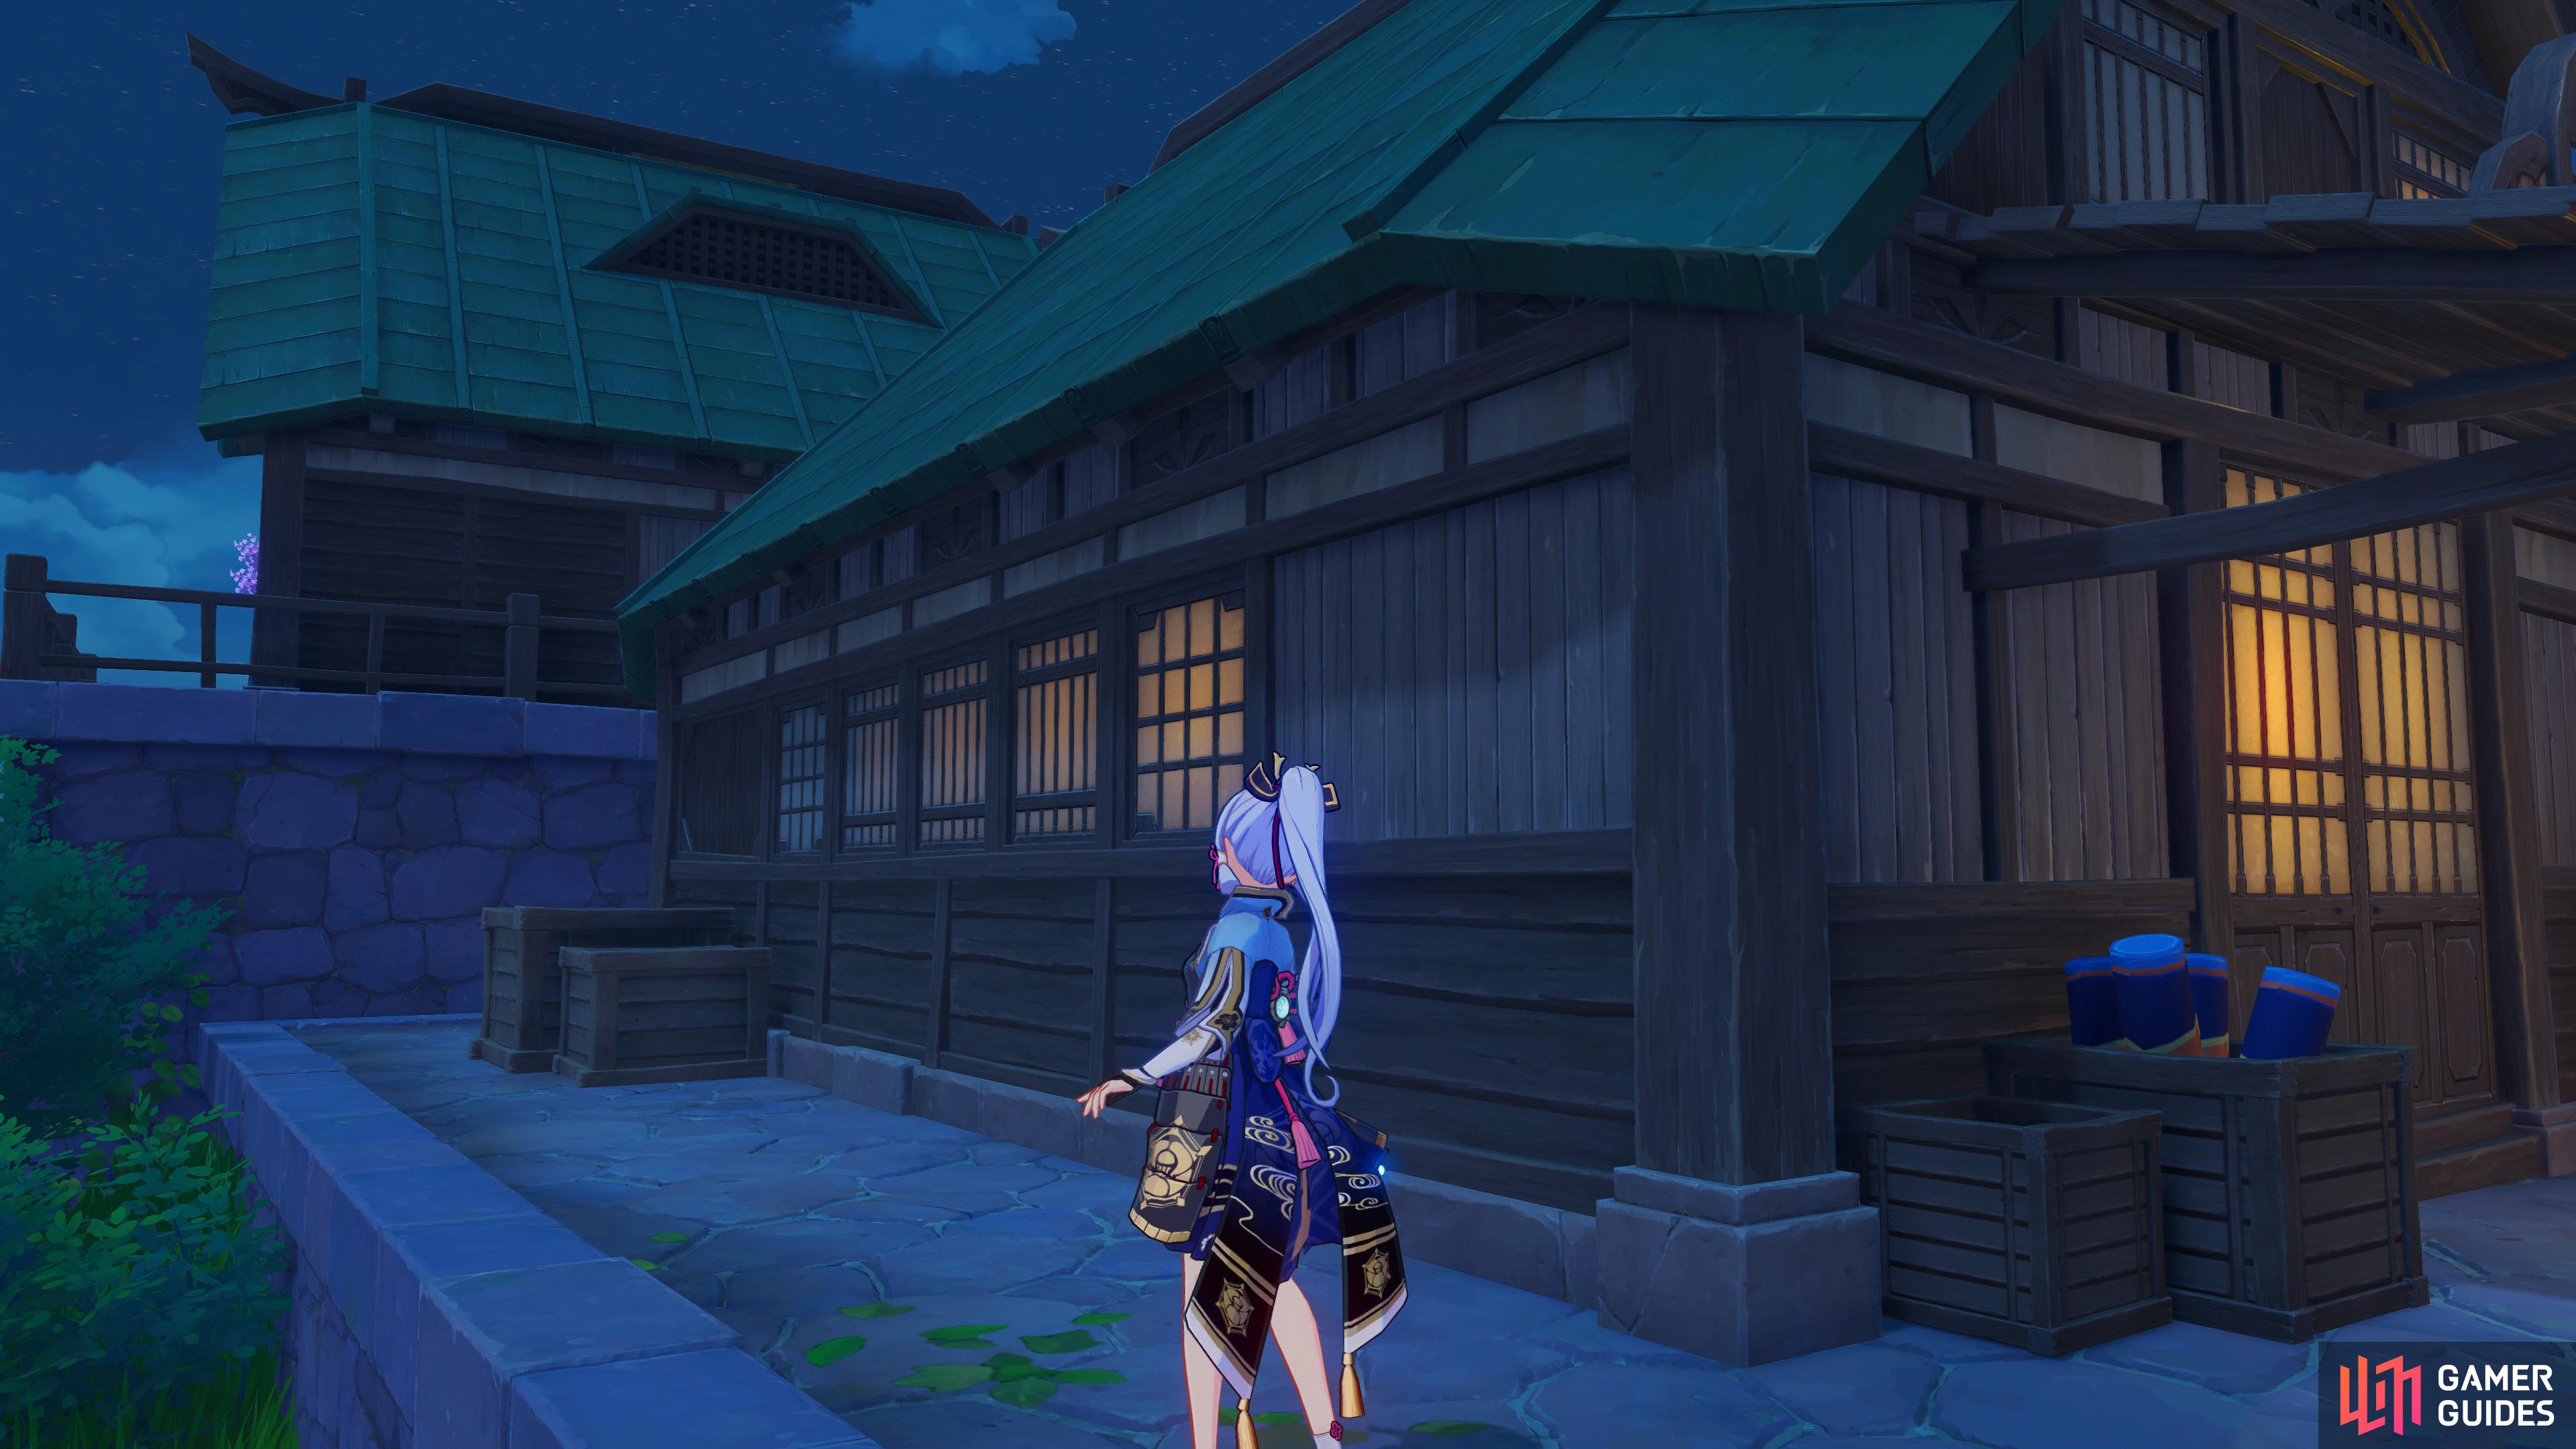
Head around the north side of Yoimiya’s house to find Sakujirou.
Paimon being her naturally loud, asks about the arrest warrant, and Yoimiya tells her to be quiet just in case someone from the Tenryou Commission is around, she explains that the only thing she can do for Sakujirou is, get him a boat, and send him back out of Inazuma. Sakujirou will tell you that he came back for something, but after hearing all the rumors and changes to Inazuma, he question whether he should still do it. Yoimiya will mention the slip of paper, the same ones she gave to the kids, and explains that whenever they complete a firework order, they give out slips of paper (like a receipt), so they can order the exact same firework again.
Sakujirou can’t believe how things have ended up, and Yoimiya will reassure him that the boat is a last resort, and she’ll try to find another way to help him. She’ll tell you that she has to run some errands, but you don’t have to join her if you’re busy, to which you’ll tell her that you’re happy to help. She says to start with the boat for Sakujirou first, and you can chat along the way. With that being said, the scene will end, and so will the quest.
No Comments