
This is a walkthrough for the Archon Quest, “Chronic Illness” which is the third quest of Chapter 3: Act 1 – Through Mists of Smoke and Forests Dark which was added with version 3.0.
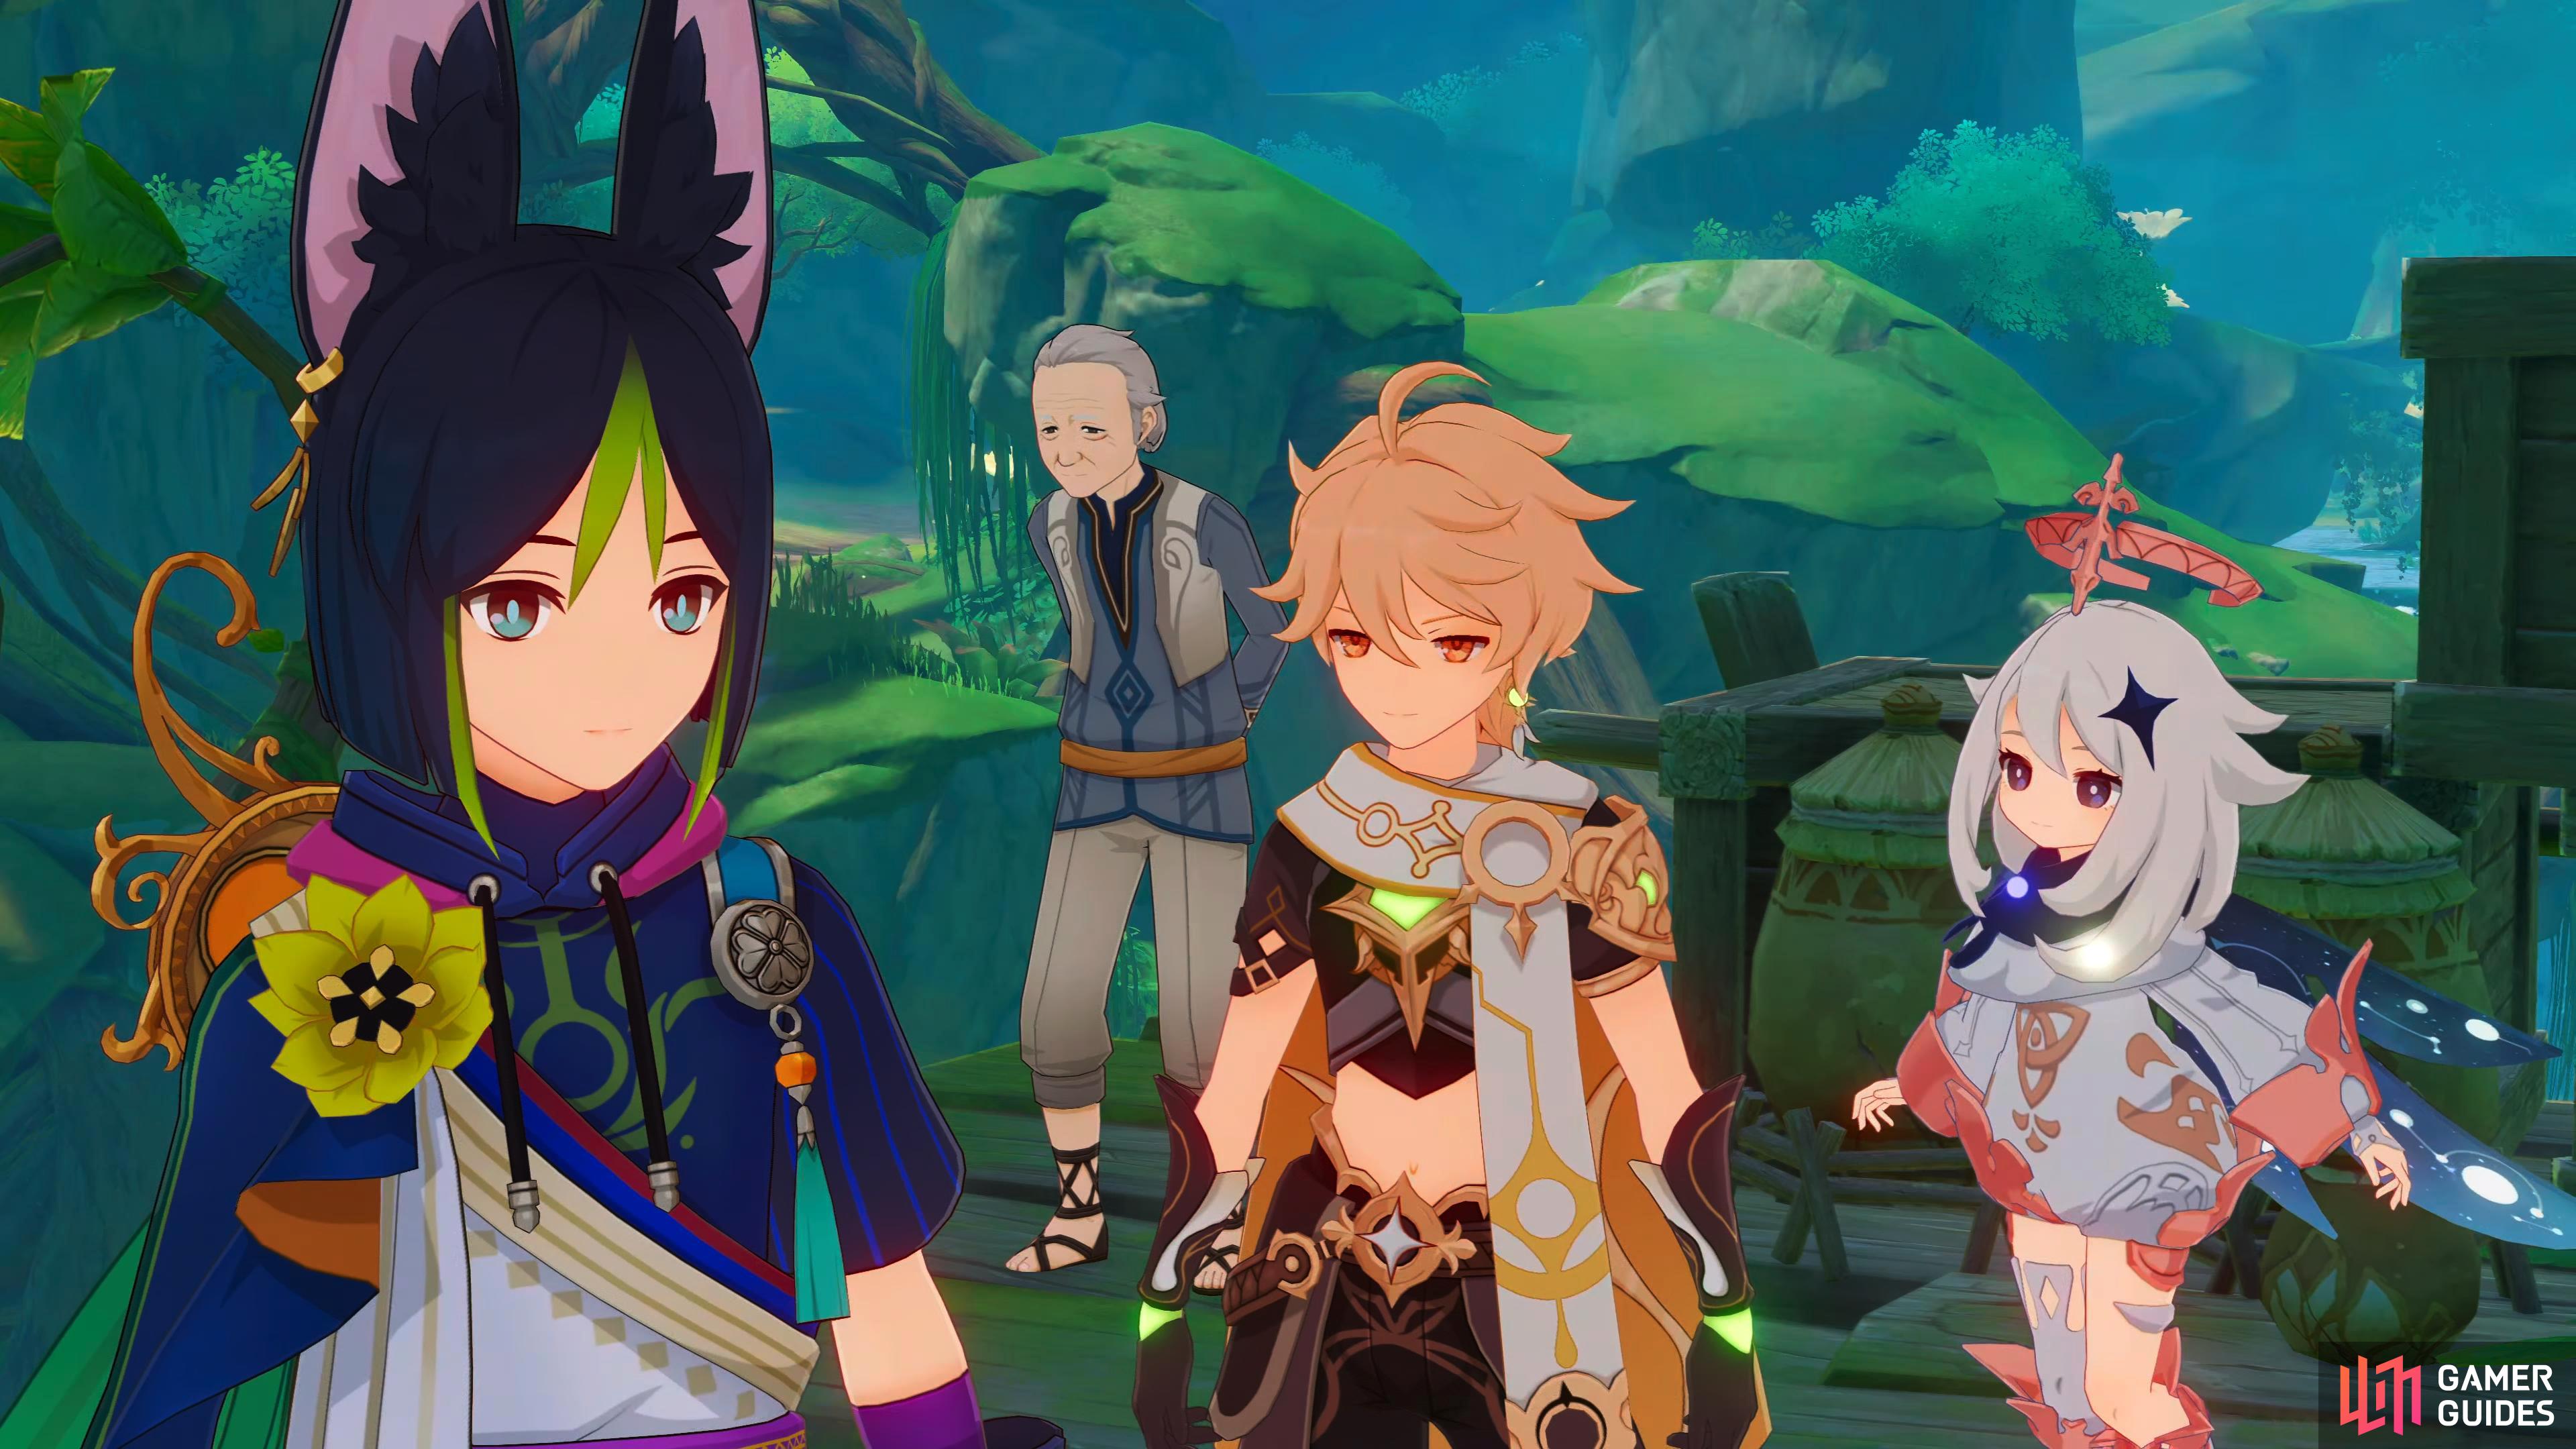
Tighnari with the Traveler and Paimon.
| Adventure EXP | Mora | Other Rewards | Previous Quest | Next Quest |
|---|---|---|---|---|
 575 575 |
 2 2  4 4 |
A Forest of Change | Silent Seeker of Knowledge |
Description
Yesterday did not quite end so well, so you and Paimon decide to go check on Collei.
Steps
- Go see Collei
- Follow Tighnari to discuss the details elsewhere
- Collect herbs together with Tighnari
- Collect Fresh Nilotpala Lotuses nearby
- Talk to Amir
- Go to the Withering Zone
- Help Tighnari clear the Withering Zone
- Return to Gandharva Ville
- Go and rescue Haypasia
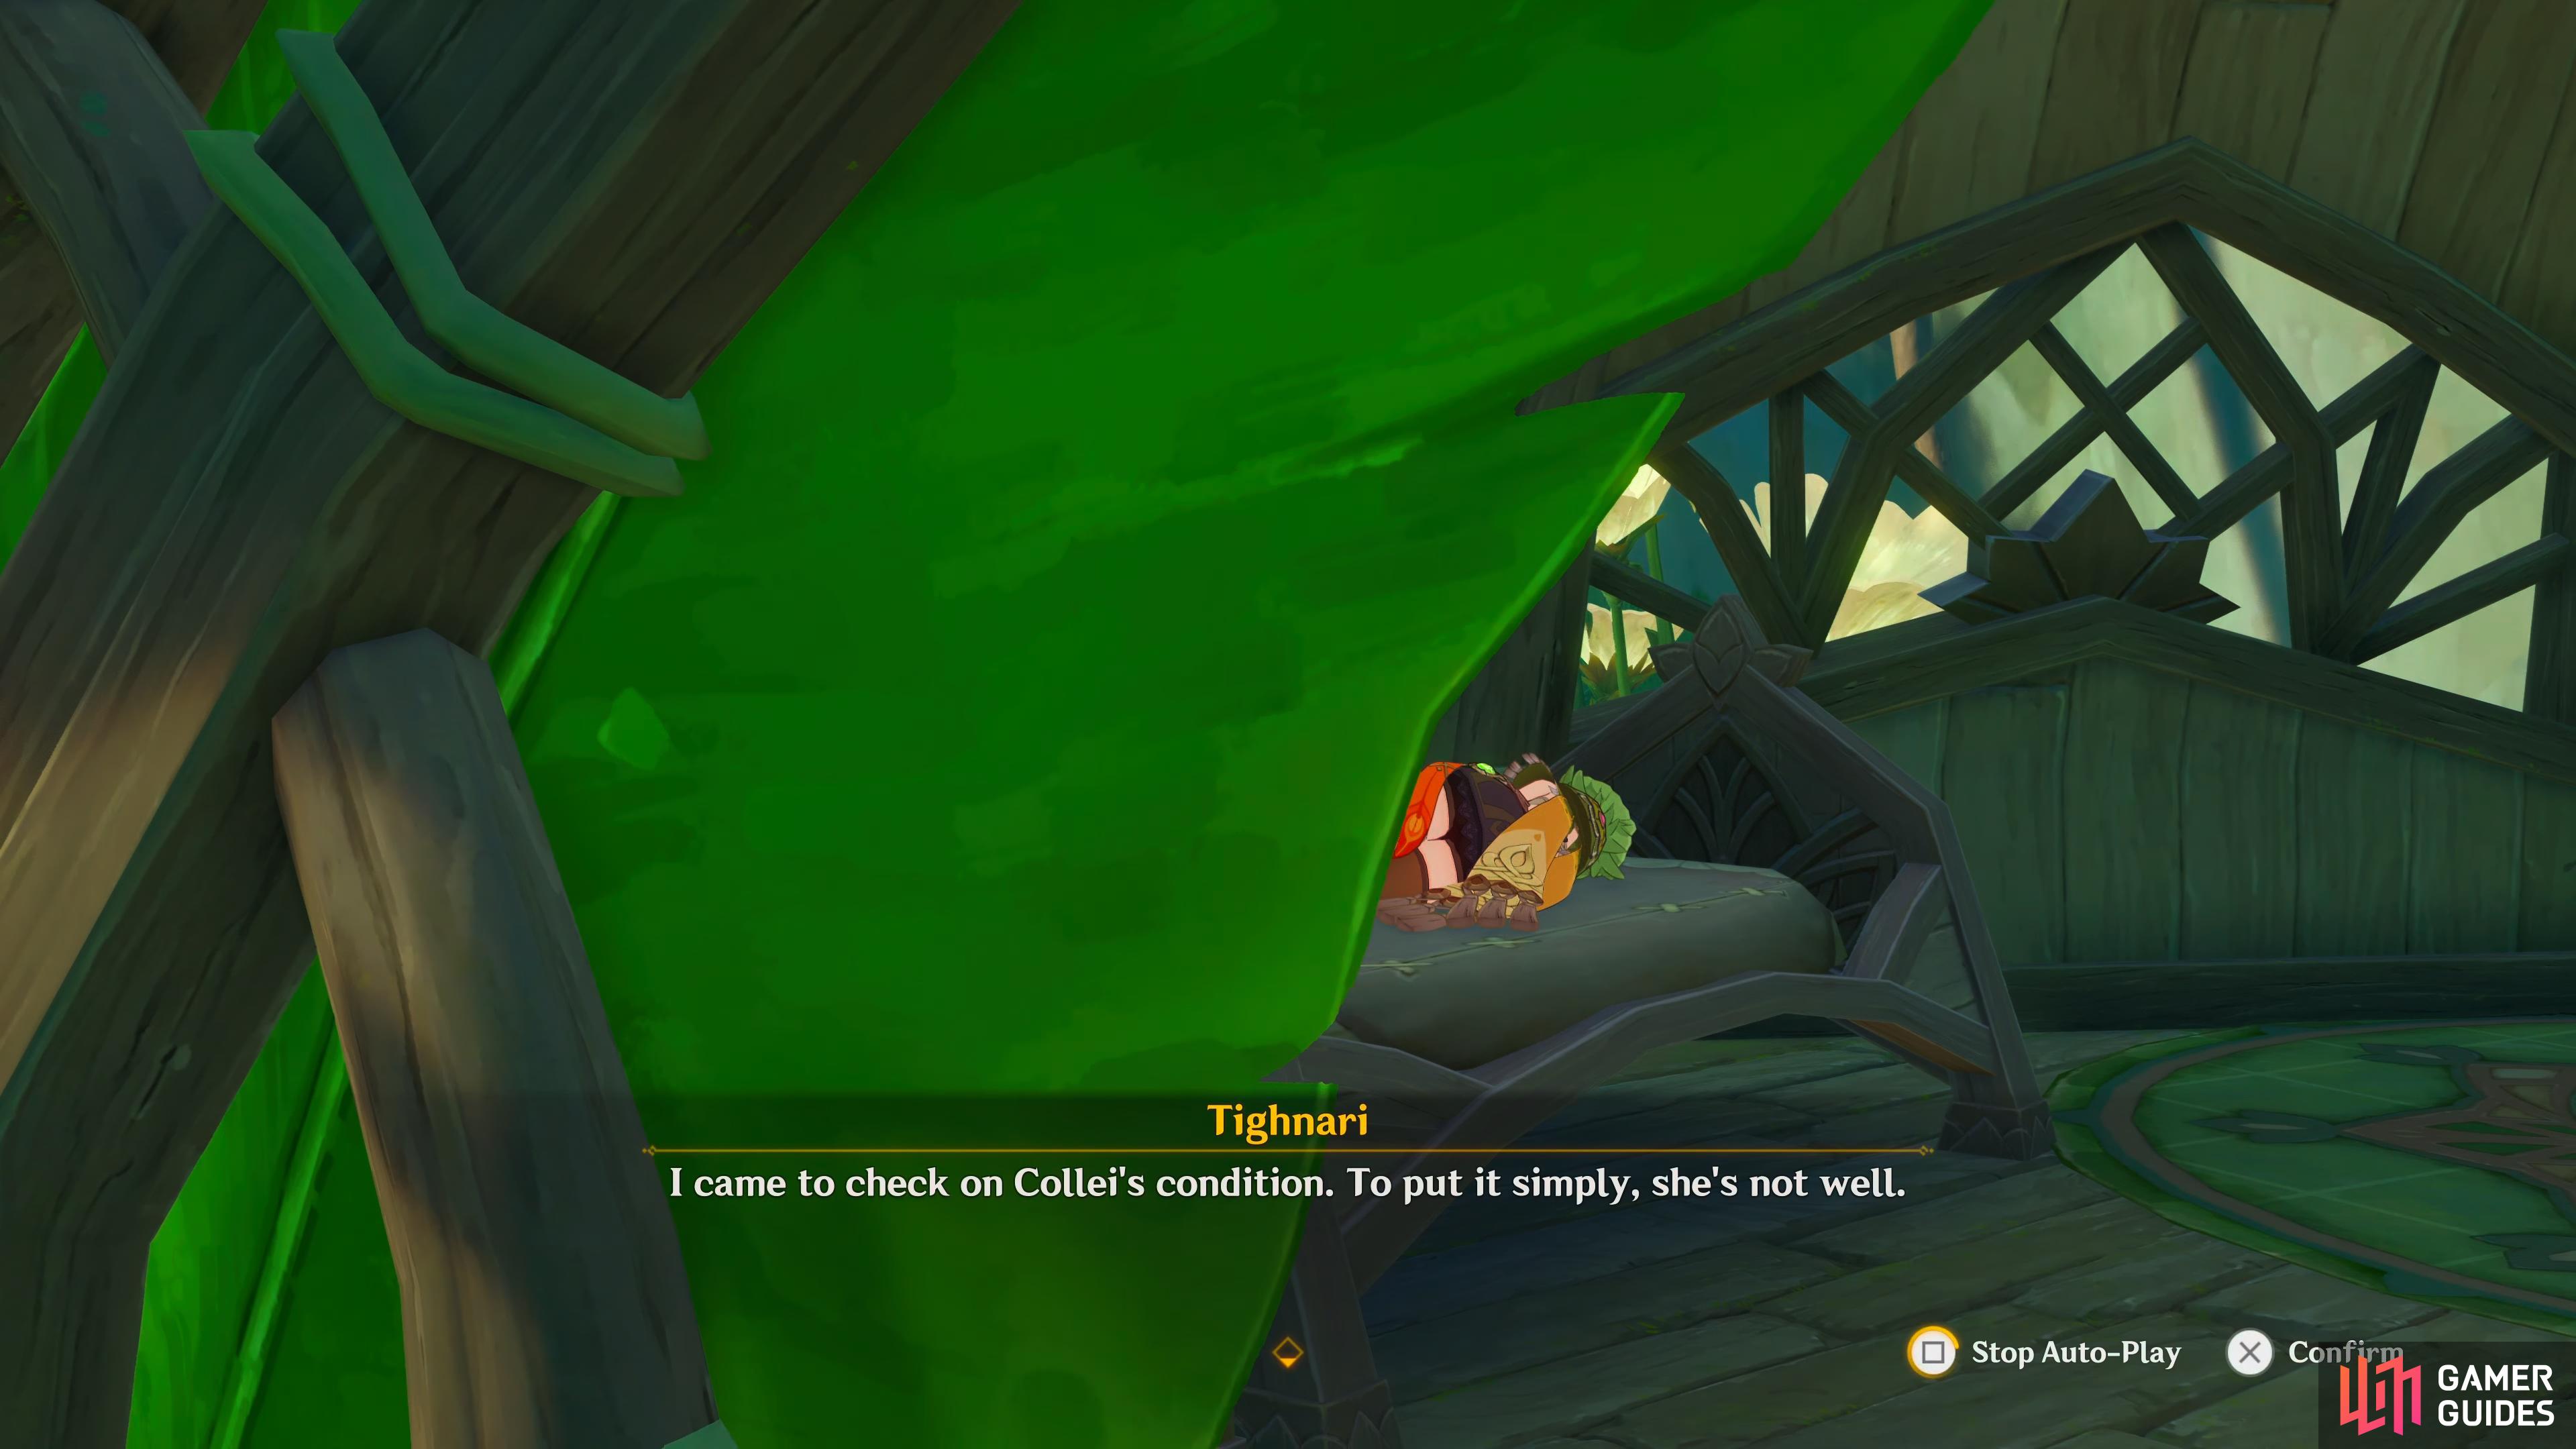
Go see Collei
Following on from the previous quest, it’s time to see if Collei is OK. Make your way to her house, and you’ll see Tighnari waiting outside of it. As you approach the house, you’ll get a scene. You’ll ask Tighnari what he’s doing here, and he’ll tell you that he’s here to check on Collei’s condition as she’s not well. Paimon will ask him if it was something that she did yesterday, but he’ll reassure her that it had nothing to do with her, and Collei has been ill for quite some time.
Collei has over-exerted herself the last couple of days, and she needs to rest.
Tighnari will take you away from Collei, so she can rest.
He’ll further explain that she has been more excited than usual since you arrived, and she hasn’t taken care of herself properly. When you ask him what her condition is, he suggests moving to someplace quiet, so she can get some peace and quiet.
Follow Tighnari to discuss the details elsewhere
Glide over to the west of the house for another scene. Tighnari will tell you that he didn’t realize who you were until Collei told him. The only reason that he’s telling you now about her illness is because she asked him too, and it’s not because of who you are. He’ll tell you that since Collei was a child, she’s been afflicted with a disease known as Eleazar. This disease is unique to Sumeru, and is characterized by hardened scales that form the body.
In the disease’s infancy, you’ll feel mild numbness on areas of the skin. As it progresses, it can leave you feeling fatigued, and even give you peripheral paresthesia. At later stages of the disease, it can leave you completely immobile. This makes sense on why Collei was always dropping stuff, and why Tighnari was strict with her about holding anything. You’ll ask him if there are any known cures for this affliction, and he’ll tell you that with treatment the disease can be controlled, but there isn’t any true cure for it.
When Collei was younger, her mother tried everything to get rid of the disease including sending her to the Fatui as one of the members of the organization who lied to her about having a cure. Apparently, the person who rescued Collei from the Fatui brought Collei here and told Tighnari that she was being treated with a Fatui Harbinger known as “The Doctor”. Furthermore, all the years she spent with them, she was relatively stable from the disease.
He’ll further explain that being with the Fatui wasn’t pleasant, and what transpired there left her with deep scars, which is why she is deathly afraid when anyone touches her. You’ll ask him how she is feeling at the moment, and he’ll tell you that it’s not too bad, and she just over-exerted herself the past couple of days. With some rest and medicine, she’ll be fine.
After he’s finished talking about Collei, he tells you that he’s off to the rainforest to procure some ingredients needed for her medicine, and you’ll offer him your help. He agrees to your help providing that you’re careful, and you listen to every instruction. Before you set off, he’ll reveal that the ingredient you’re looking for is known as the Lunar Lotus, and it helps people with the disease recover their energy.
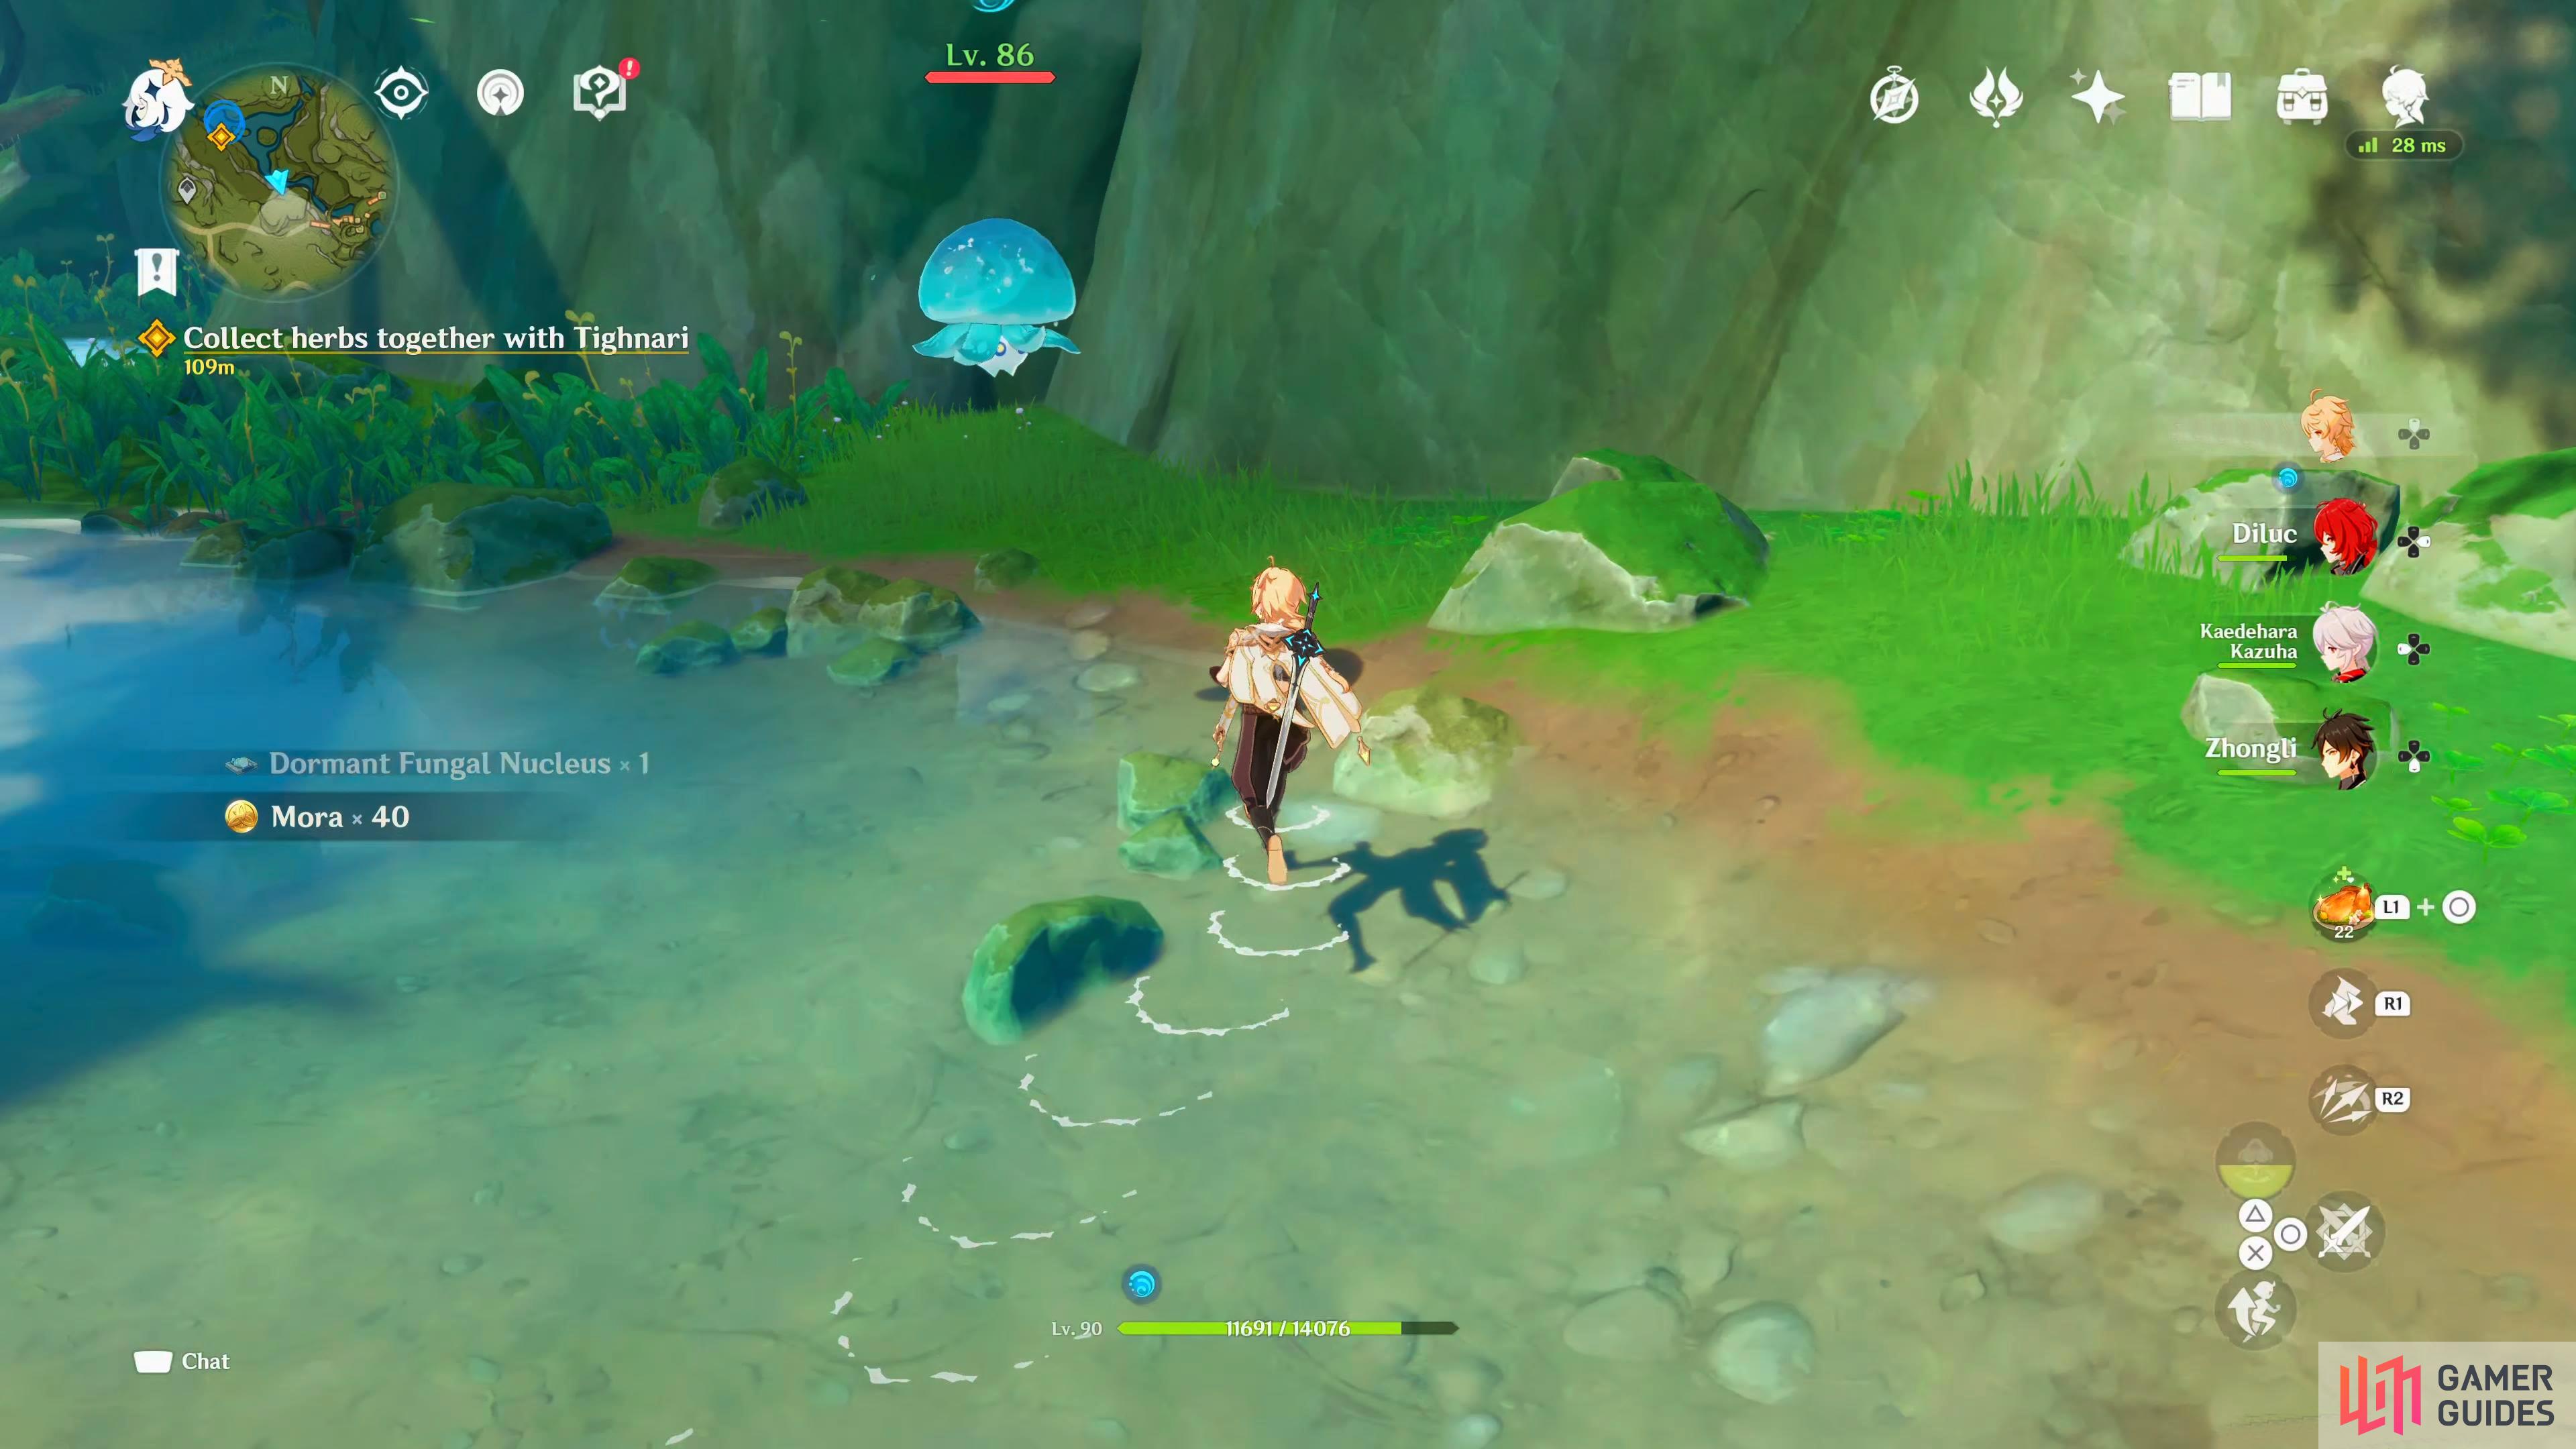
Collect herbs together with Tighnari
Once the scene has ended, follow the stream northwest. As you are making your way to the location, Paimon will mention that the flowers will most likely be in the water due to their name. While you’re on your way there you may encounter some new enemies if you’ve only been following the Archon quests. These are from the Fungi family and are known as Floating Hydro Fungus.
These are best fought by using Cryo as they are Hydro and the Cryo will freeze them temporarily. If you use Pyro or Electro on them, their state can shift between Activated or Scorched which’ll enhance their attacks. Defeating them in their “enhanced” state can yield different item drops compared to defeating them normally.
They only have two attacks to begin with, but that changes if they become Activated (Electro) or Scorched (Pyro). Their attacks are as follows:
You may have to defeat a few Floating Hydro Fungus’ along the way.
-
Bubble Shot: Shoots a small bubble at you that deals 30% ATK as Hydro damage. This attack has a small chance to trap you in the bubble, but more often it will fail, trapping themselves instead. It can also trap other smaller enemies and apply the Wet status to them
-
Activated: When attacked with Electro, Bubble Shot will shoot three projectiles out instead, each dealing 60% ATK as Hydro damage.
-
Scorched: When attacked with Pyro, Bubble Shot will turn into a large bubble that’ll explode on impact dealing 100% ATK as Hydro damage.
-
-
Headbutt: Will attack you by thrusting its head at you dealing 30% ATK as Hydro damage.
- Scorched: When attacked with Pyro, the damage will increase to 60% ATK as Hydro damage.
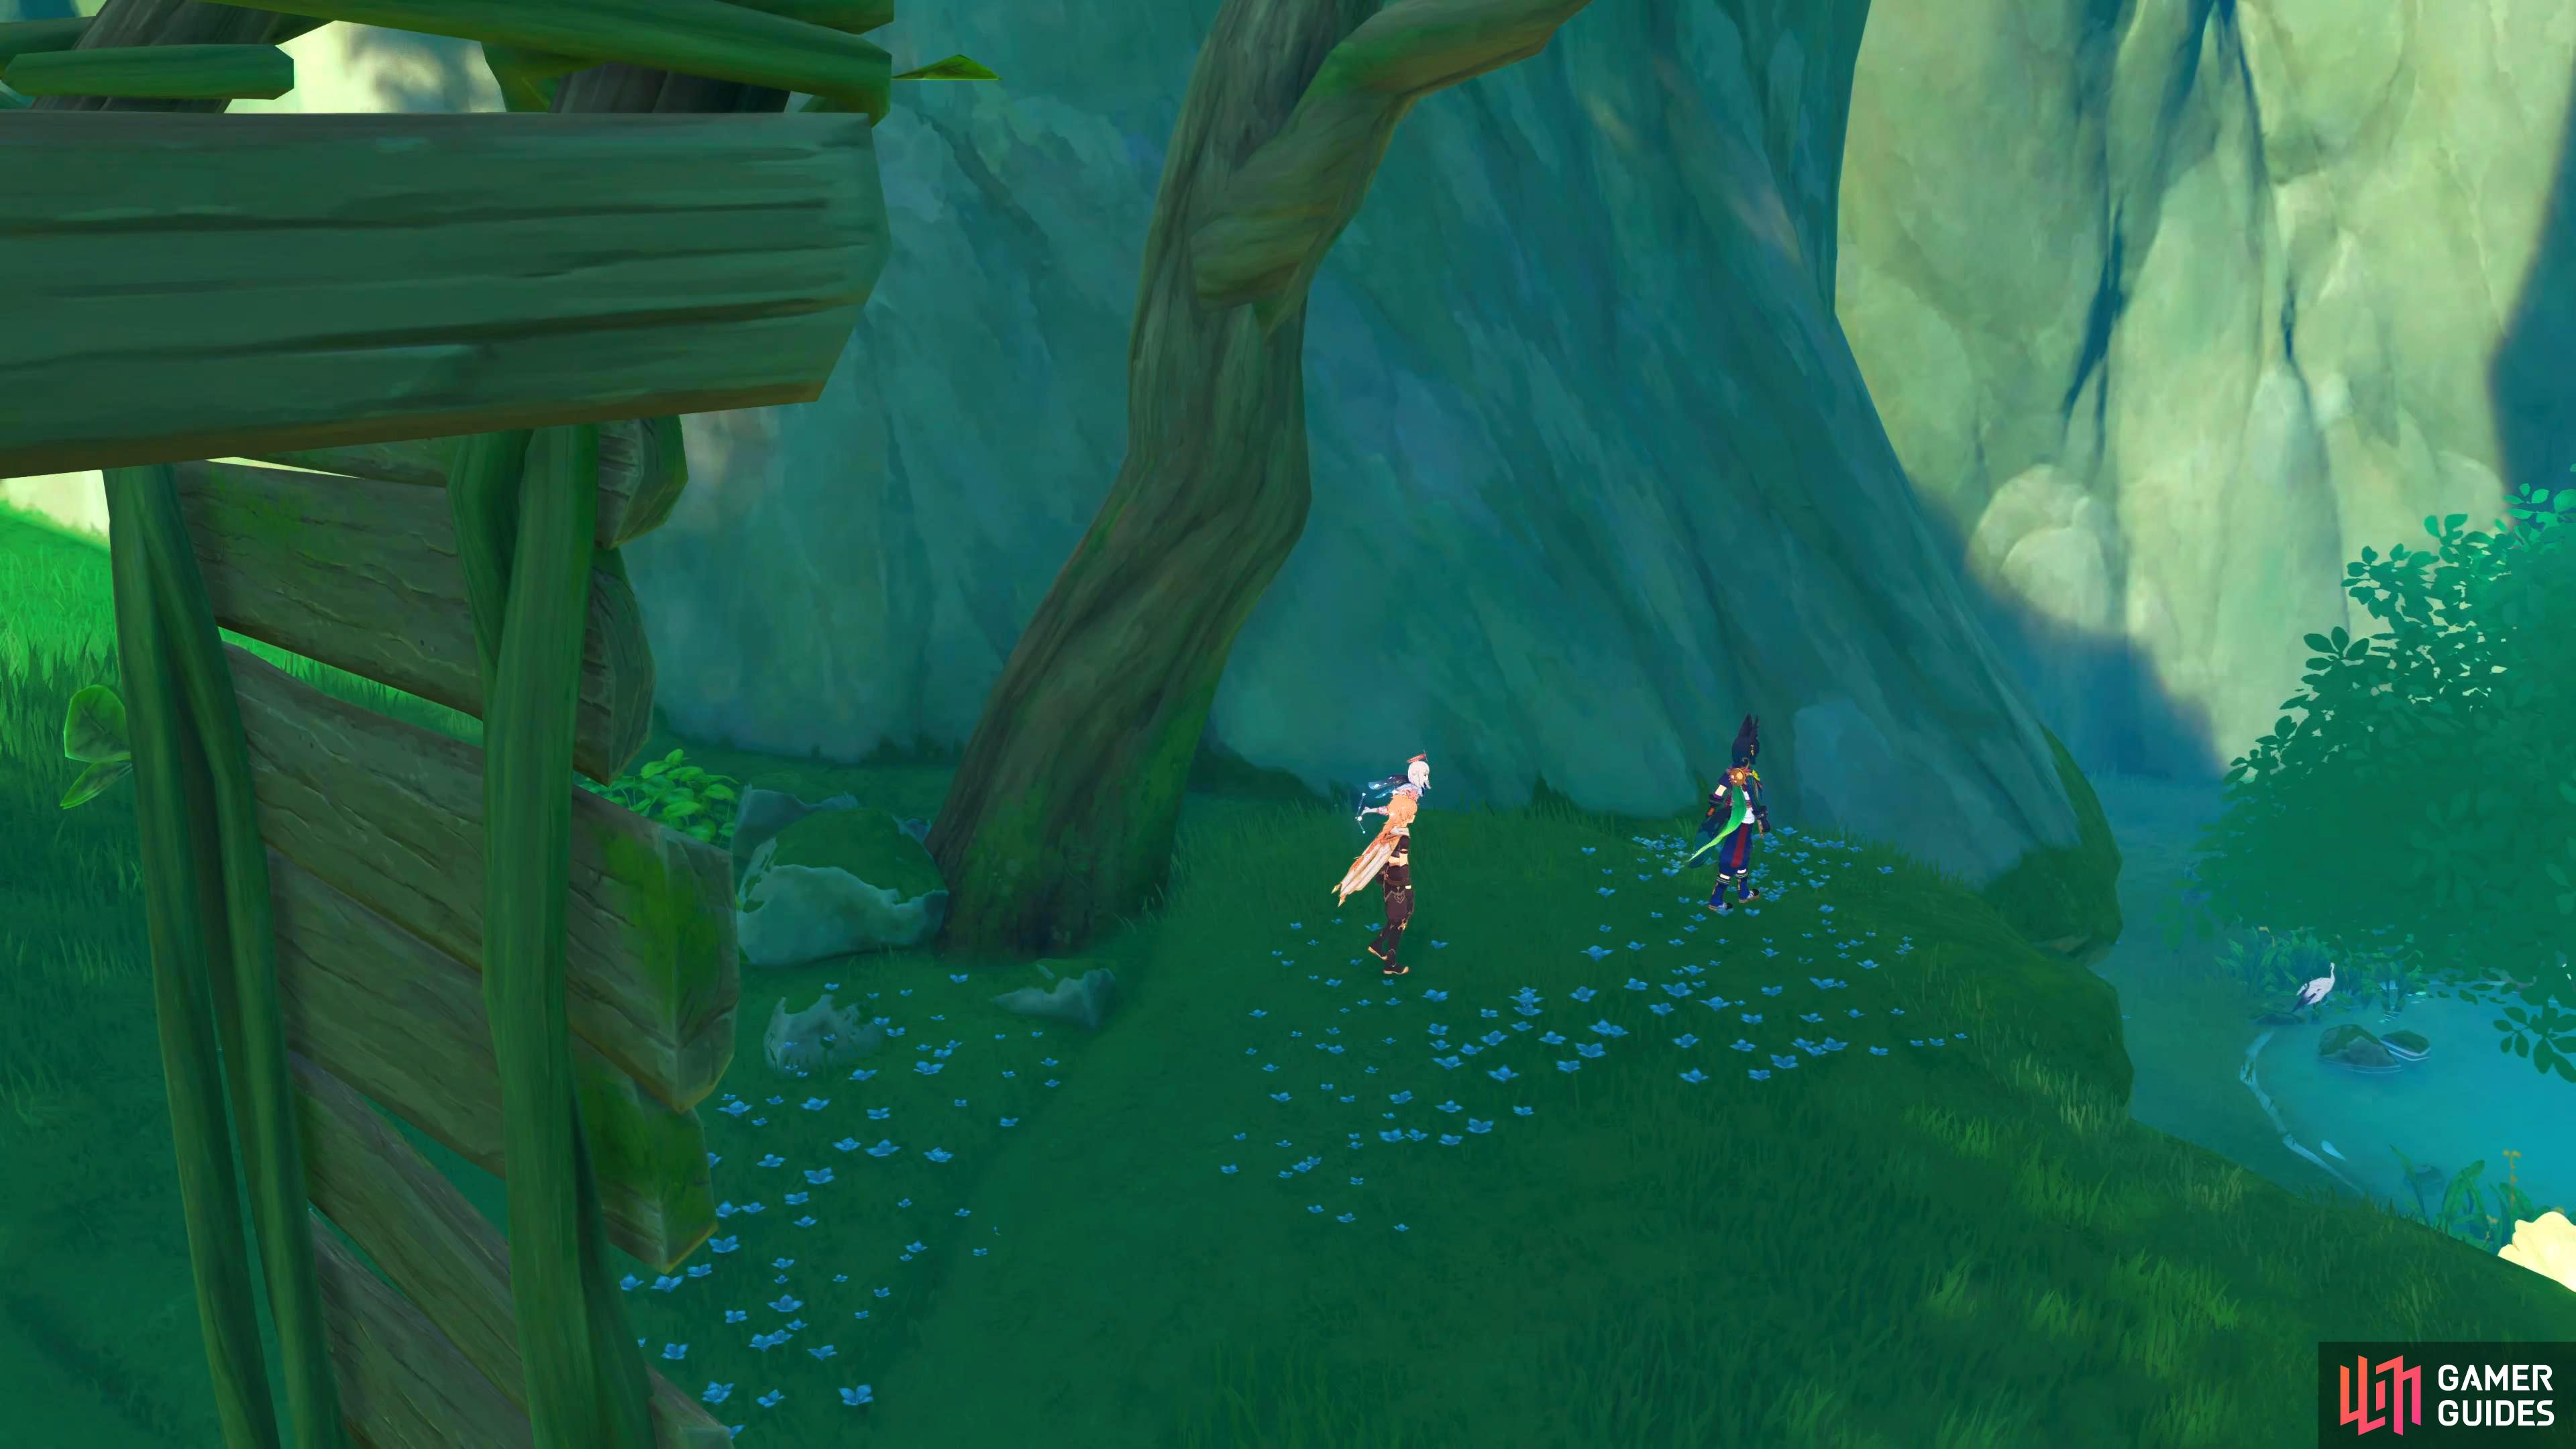
Anyway, run past or defeat any enemies you may come across while you follow the stream northwest until you see some waterfalls at the back, and the objective will be to the left. Head over there for a short scene, and Tighnari will suggest you gather at least four of the Lotuses, and that they can be found around the area.
Collect Fresh Nilotpala Lotuses nearby
You can find all the Lotuses in the water in front of the waterfall. There should be about 8 or so to pick up around here so gather at least the four you need, and head back to Tighnari for another scene. He’ll thank you for your help and say it has saved him a lot of time. Out of nowhere Amir will shout out to him, and Tighnari will suggest you find out what he wants.
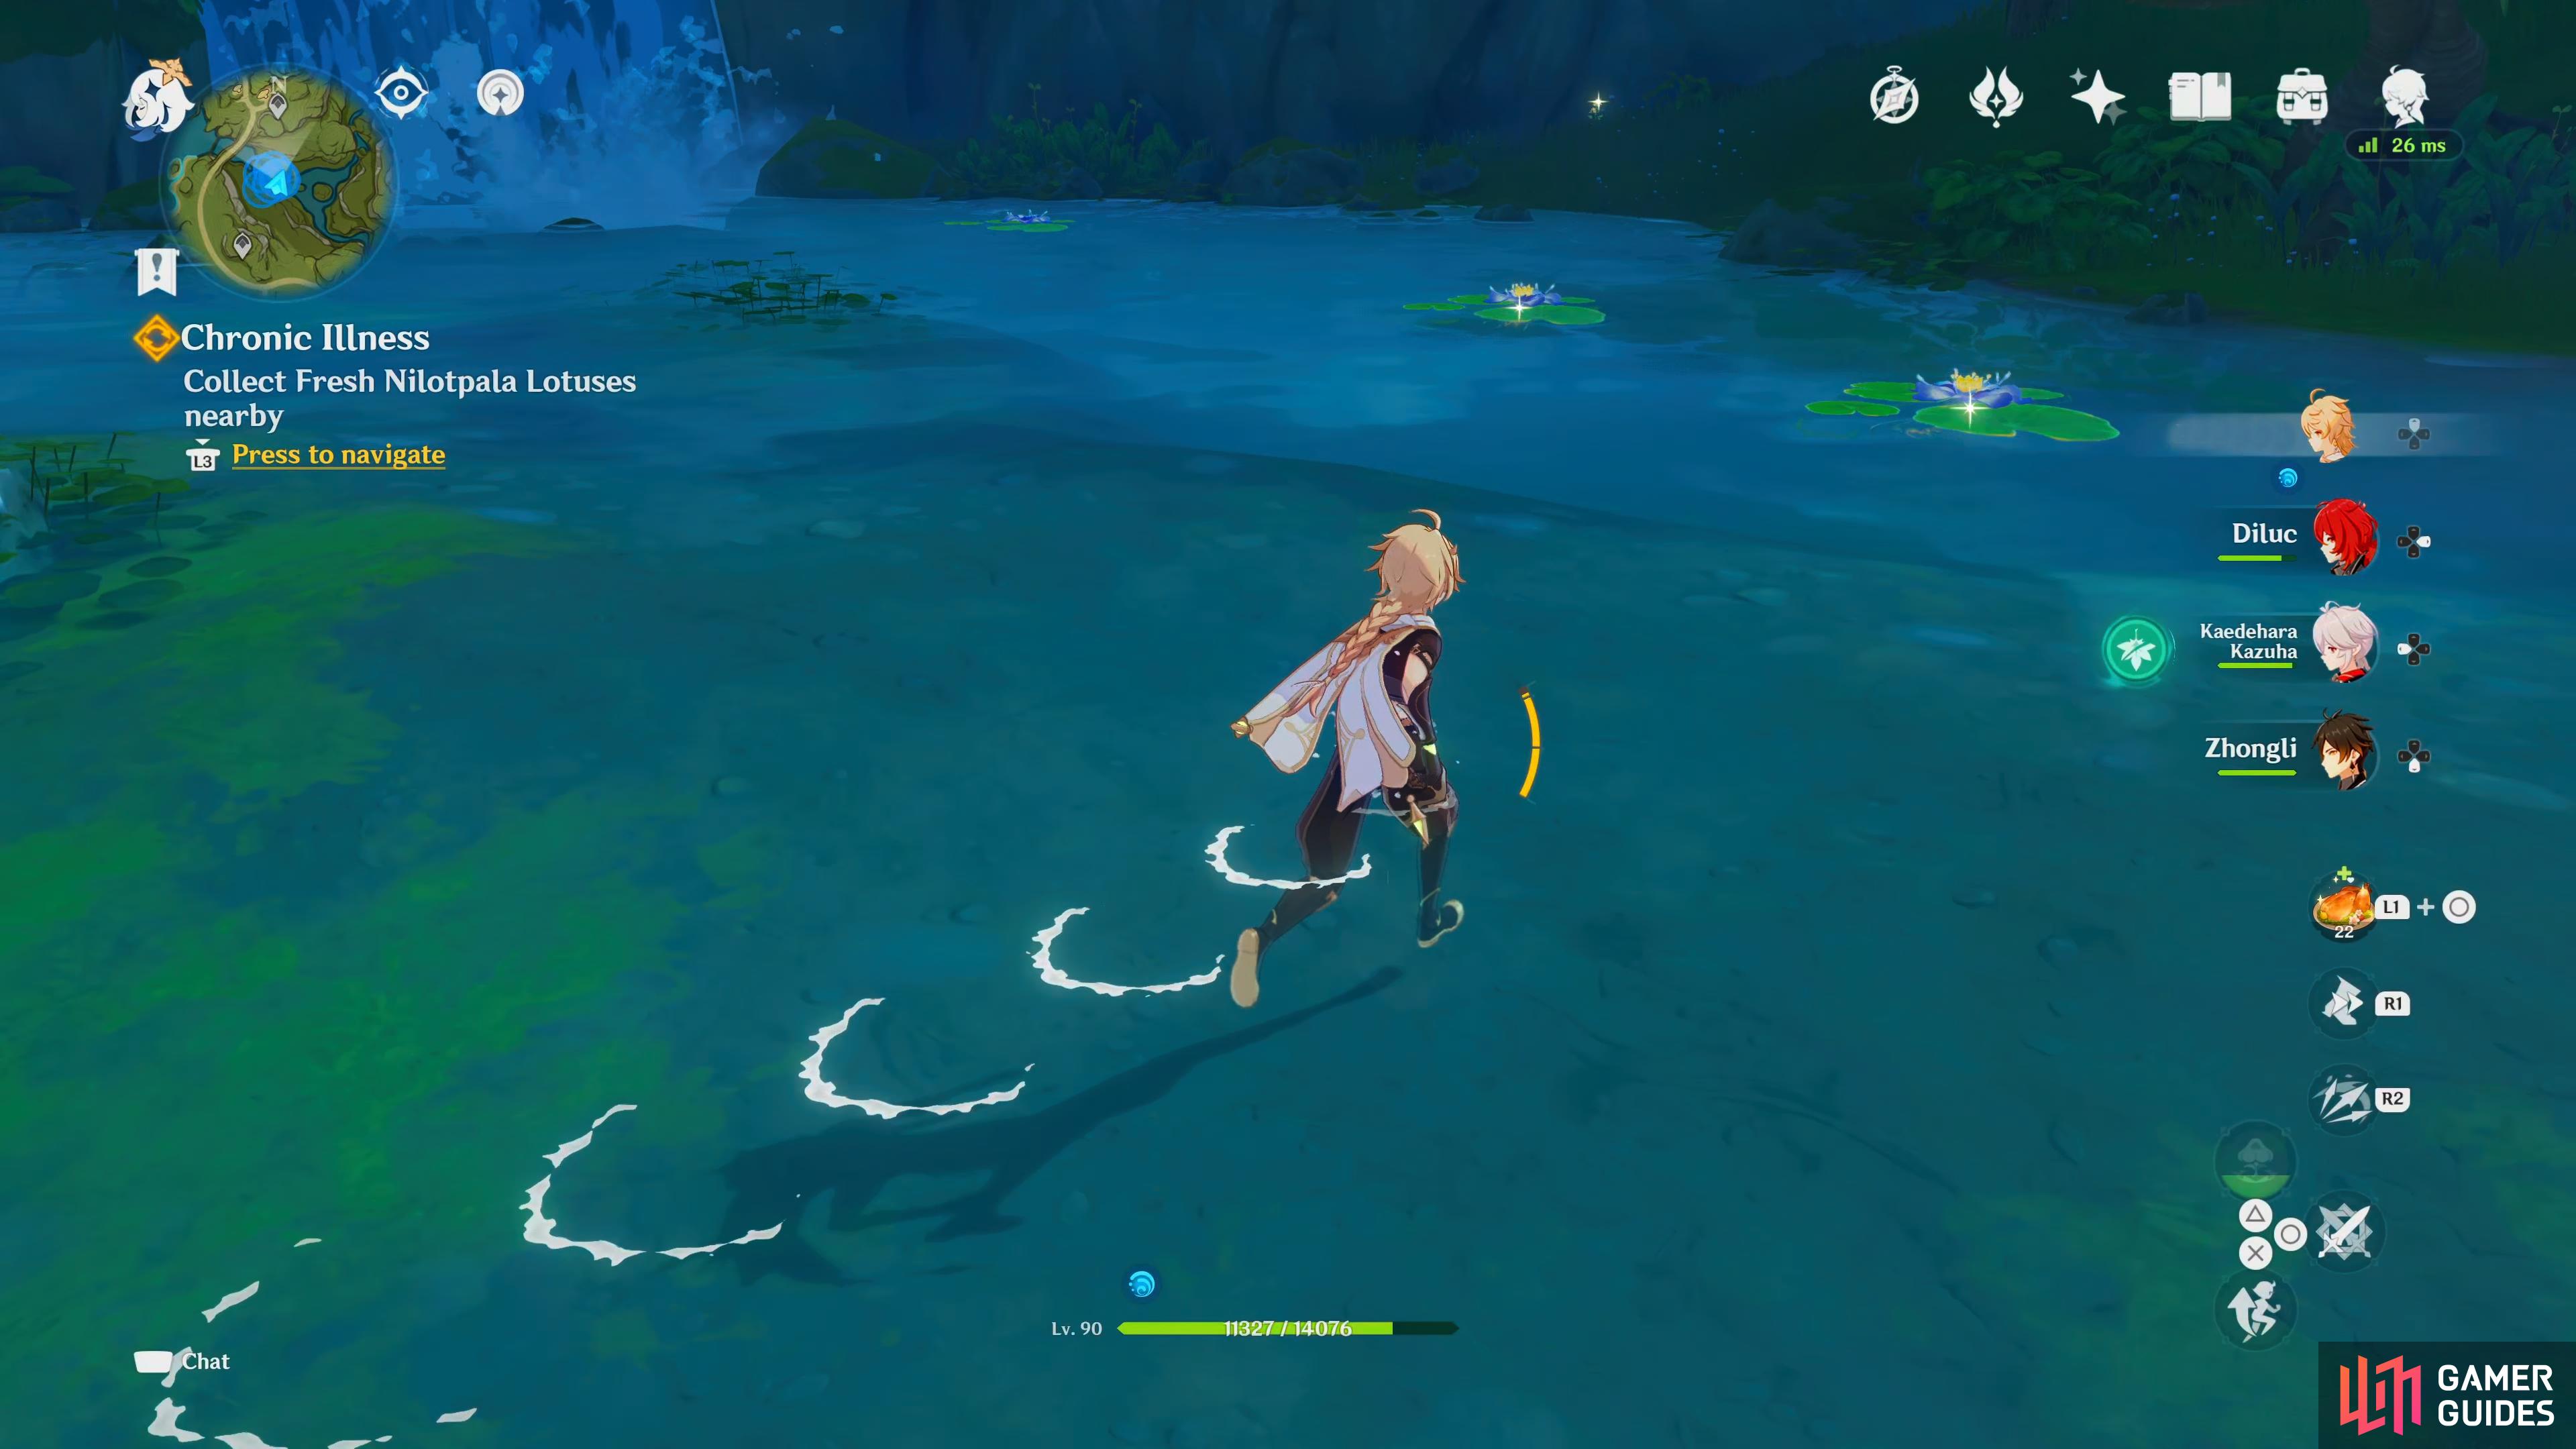
You can find the Nilotpala Lotuses in front of the waterfall
Talk to Amir
Head east across the stream, and talk to Amir for another scene. They’ll tell you that they’ve discovered a Withering Zone. Tighnari finds this odd as it was cleared only a week ago, and it shouldn’t have reappeared so quickly. Apparently it can be found up ahead deep in the river valley, and it’s appeared in a spot that blocks the narrow part of the valley. Furthermore, only people who have a vision can go near it. The Withering is lethal to all wildlife, vegetation, and even people too.
Tignari tells them to escort you back to Gandharva Ville while he deals with it, but you propose to him that you can help him as, although you don’t have a vision, you can manipulate the elements. After some persuassion on your part, Tighnari agrees to your help.
Go to the Withering Zone
When you regain control, head east for another scene. Tighnari will tell you to stop, so you can witness the Withering from a distance. As you can see, all the plants are dying, and the air looks to be filled with ash. Tighnari will give you a brief explanation on what to do in the Withering Zone which is to eliminate the “tumors of the withering ‘’. Doing this will save the area.
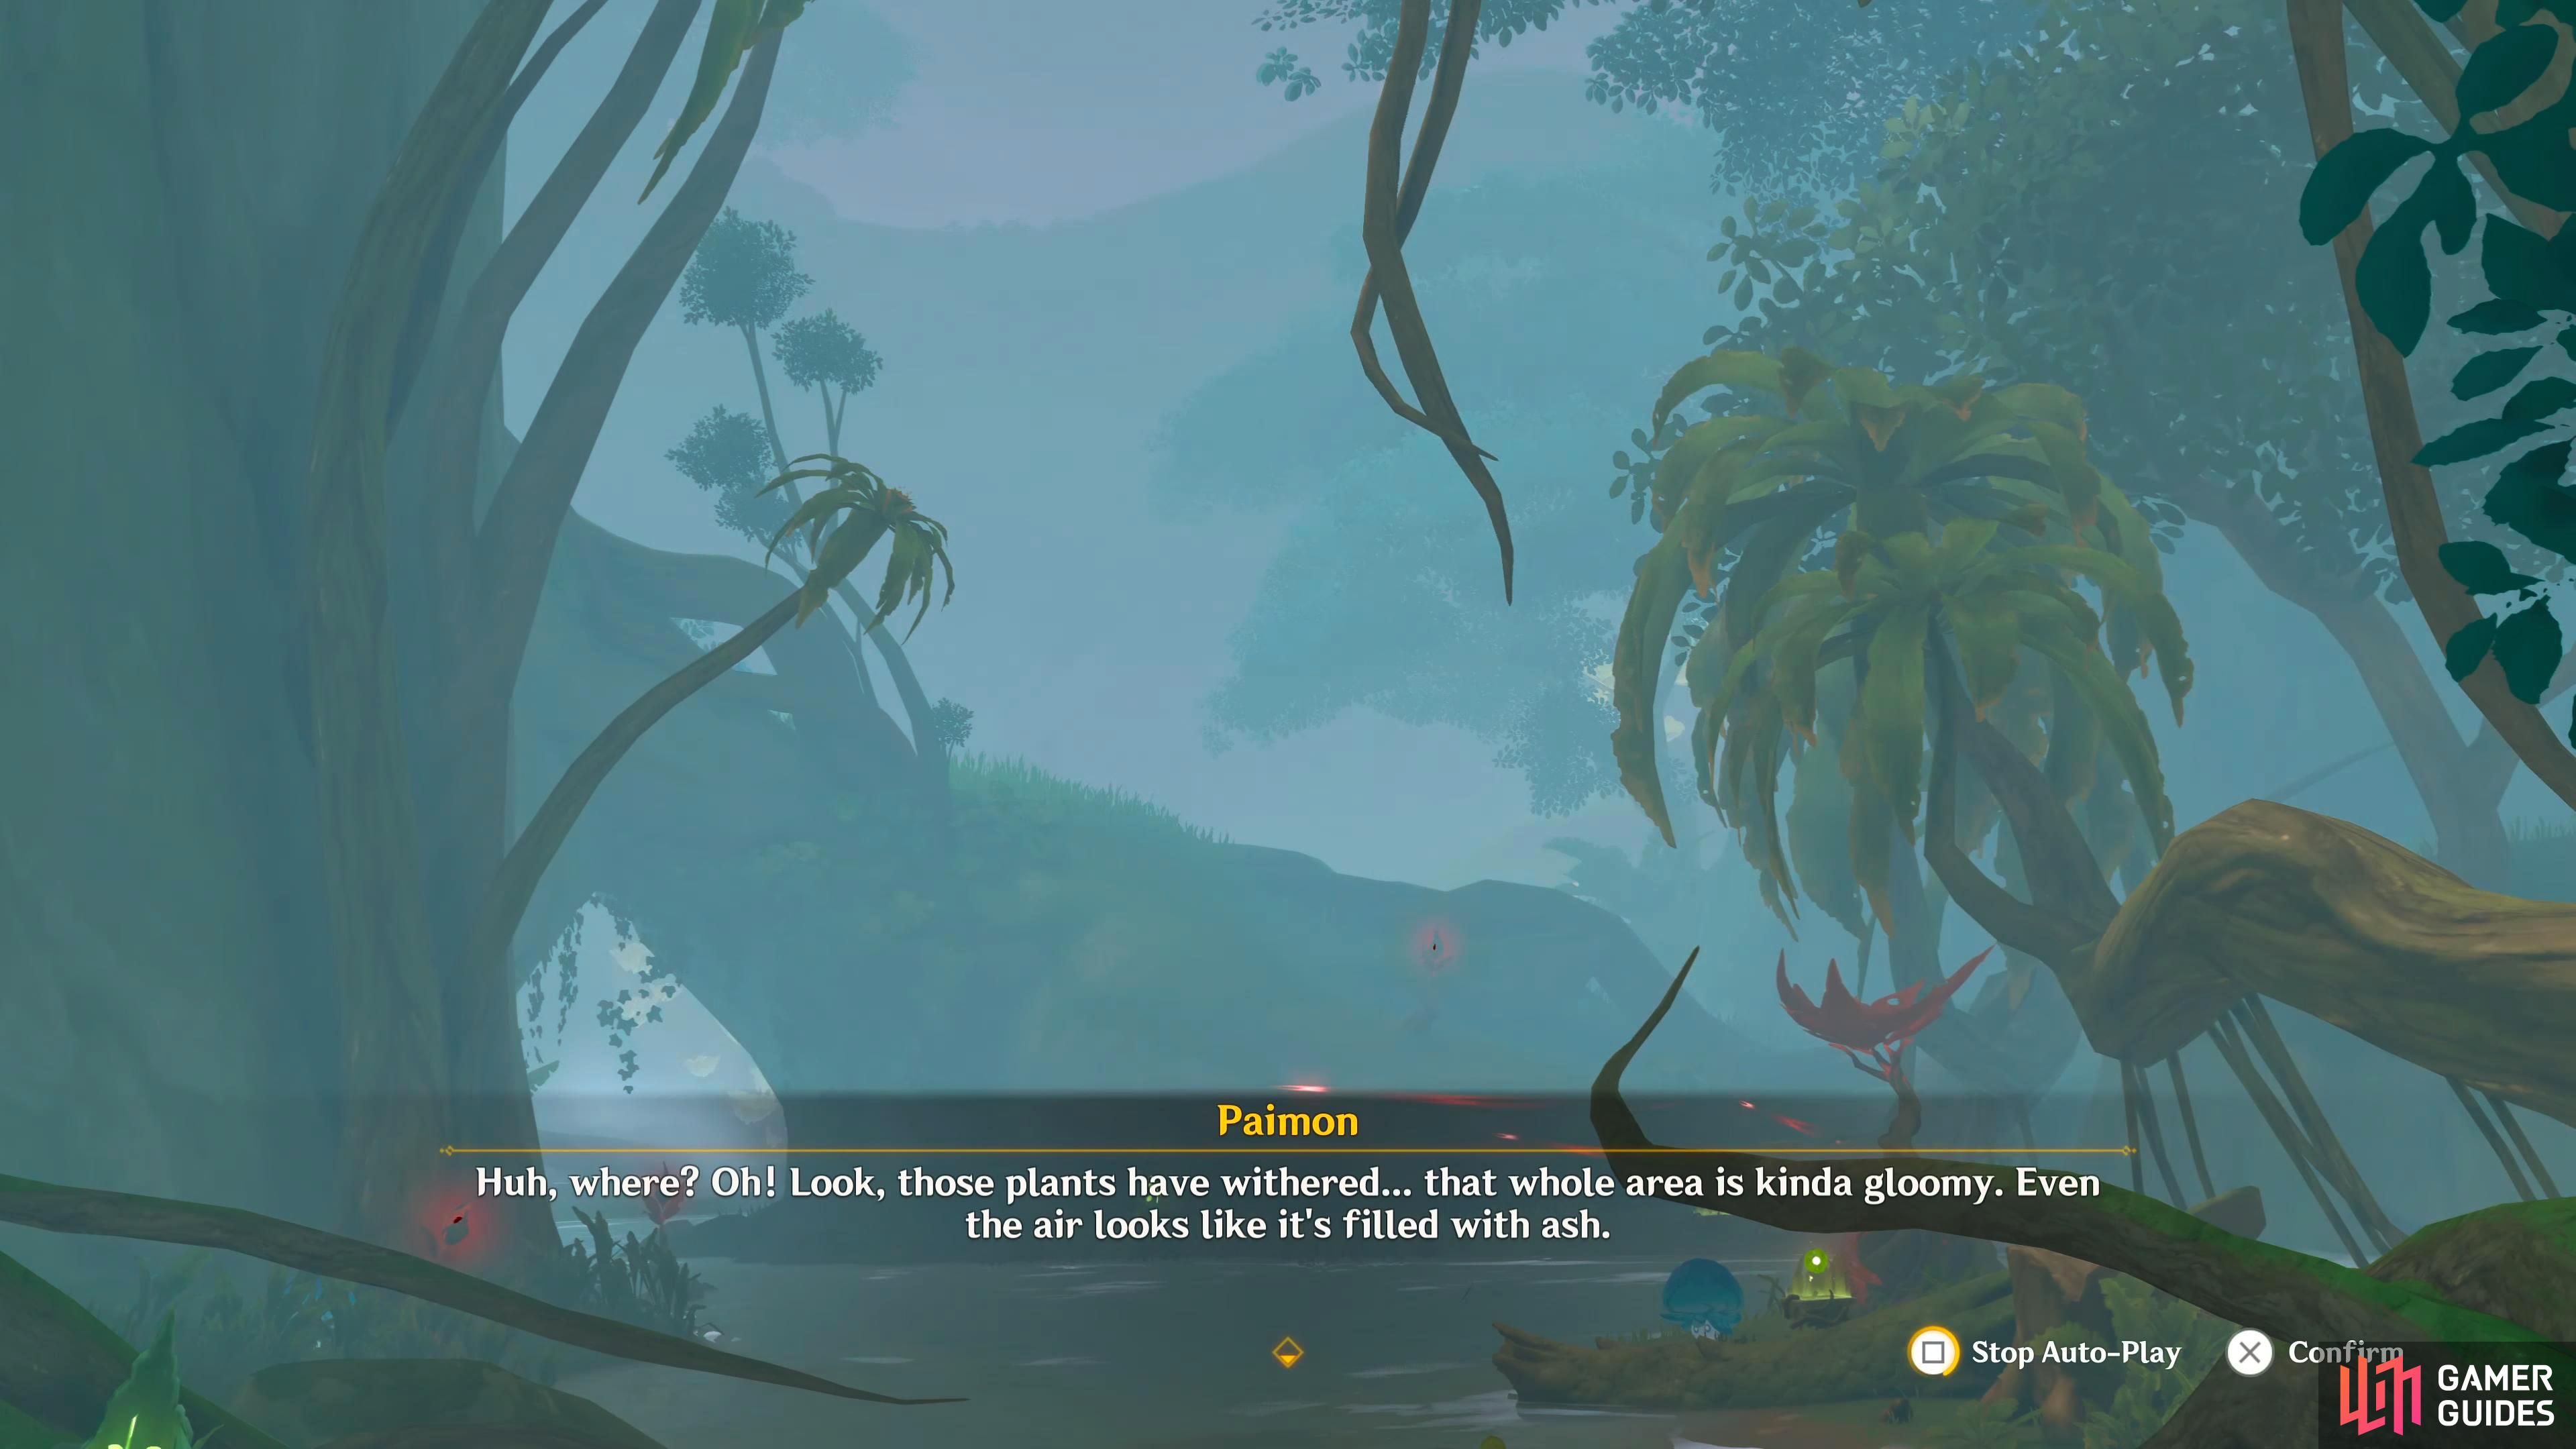
As you can see, The Withering Zone is destroying the surrounding plants.
Help Tighnari clear the Withering Zone
As you head north into the Withering Zone, you’ll first need to locate any branches that sustain the Withering Zone. These are branches with a red orb on them. Just before you enter the zone, interact with the Dendrograna stone to the left of the entrance as you’ll need this to destroy the branches. The easiest way to do this is to stand next to the zone and fire at the branches with a bow user while you have Dendrograna’s, if you run out of them, interact with the stone to get more.
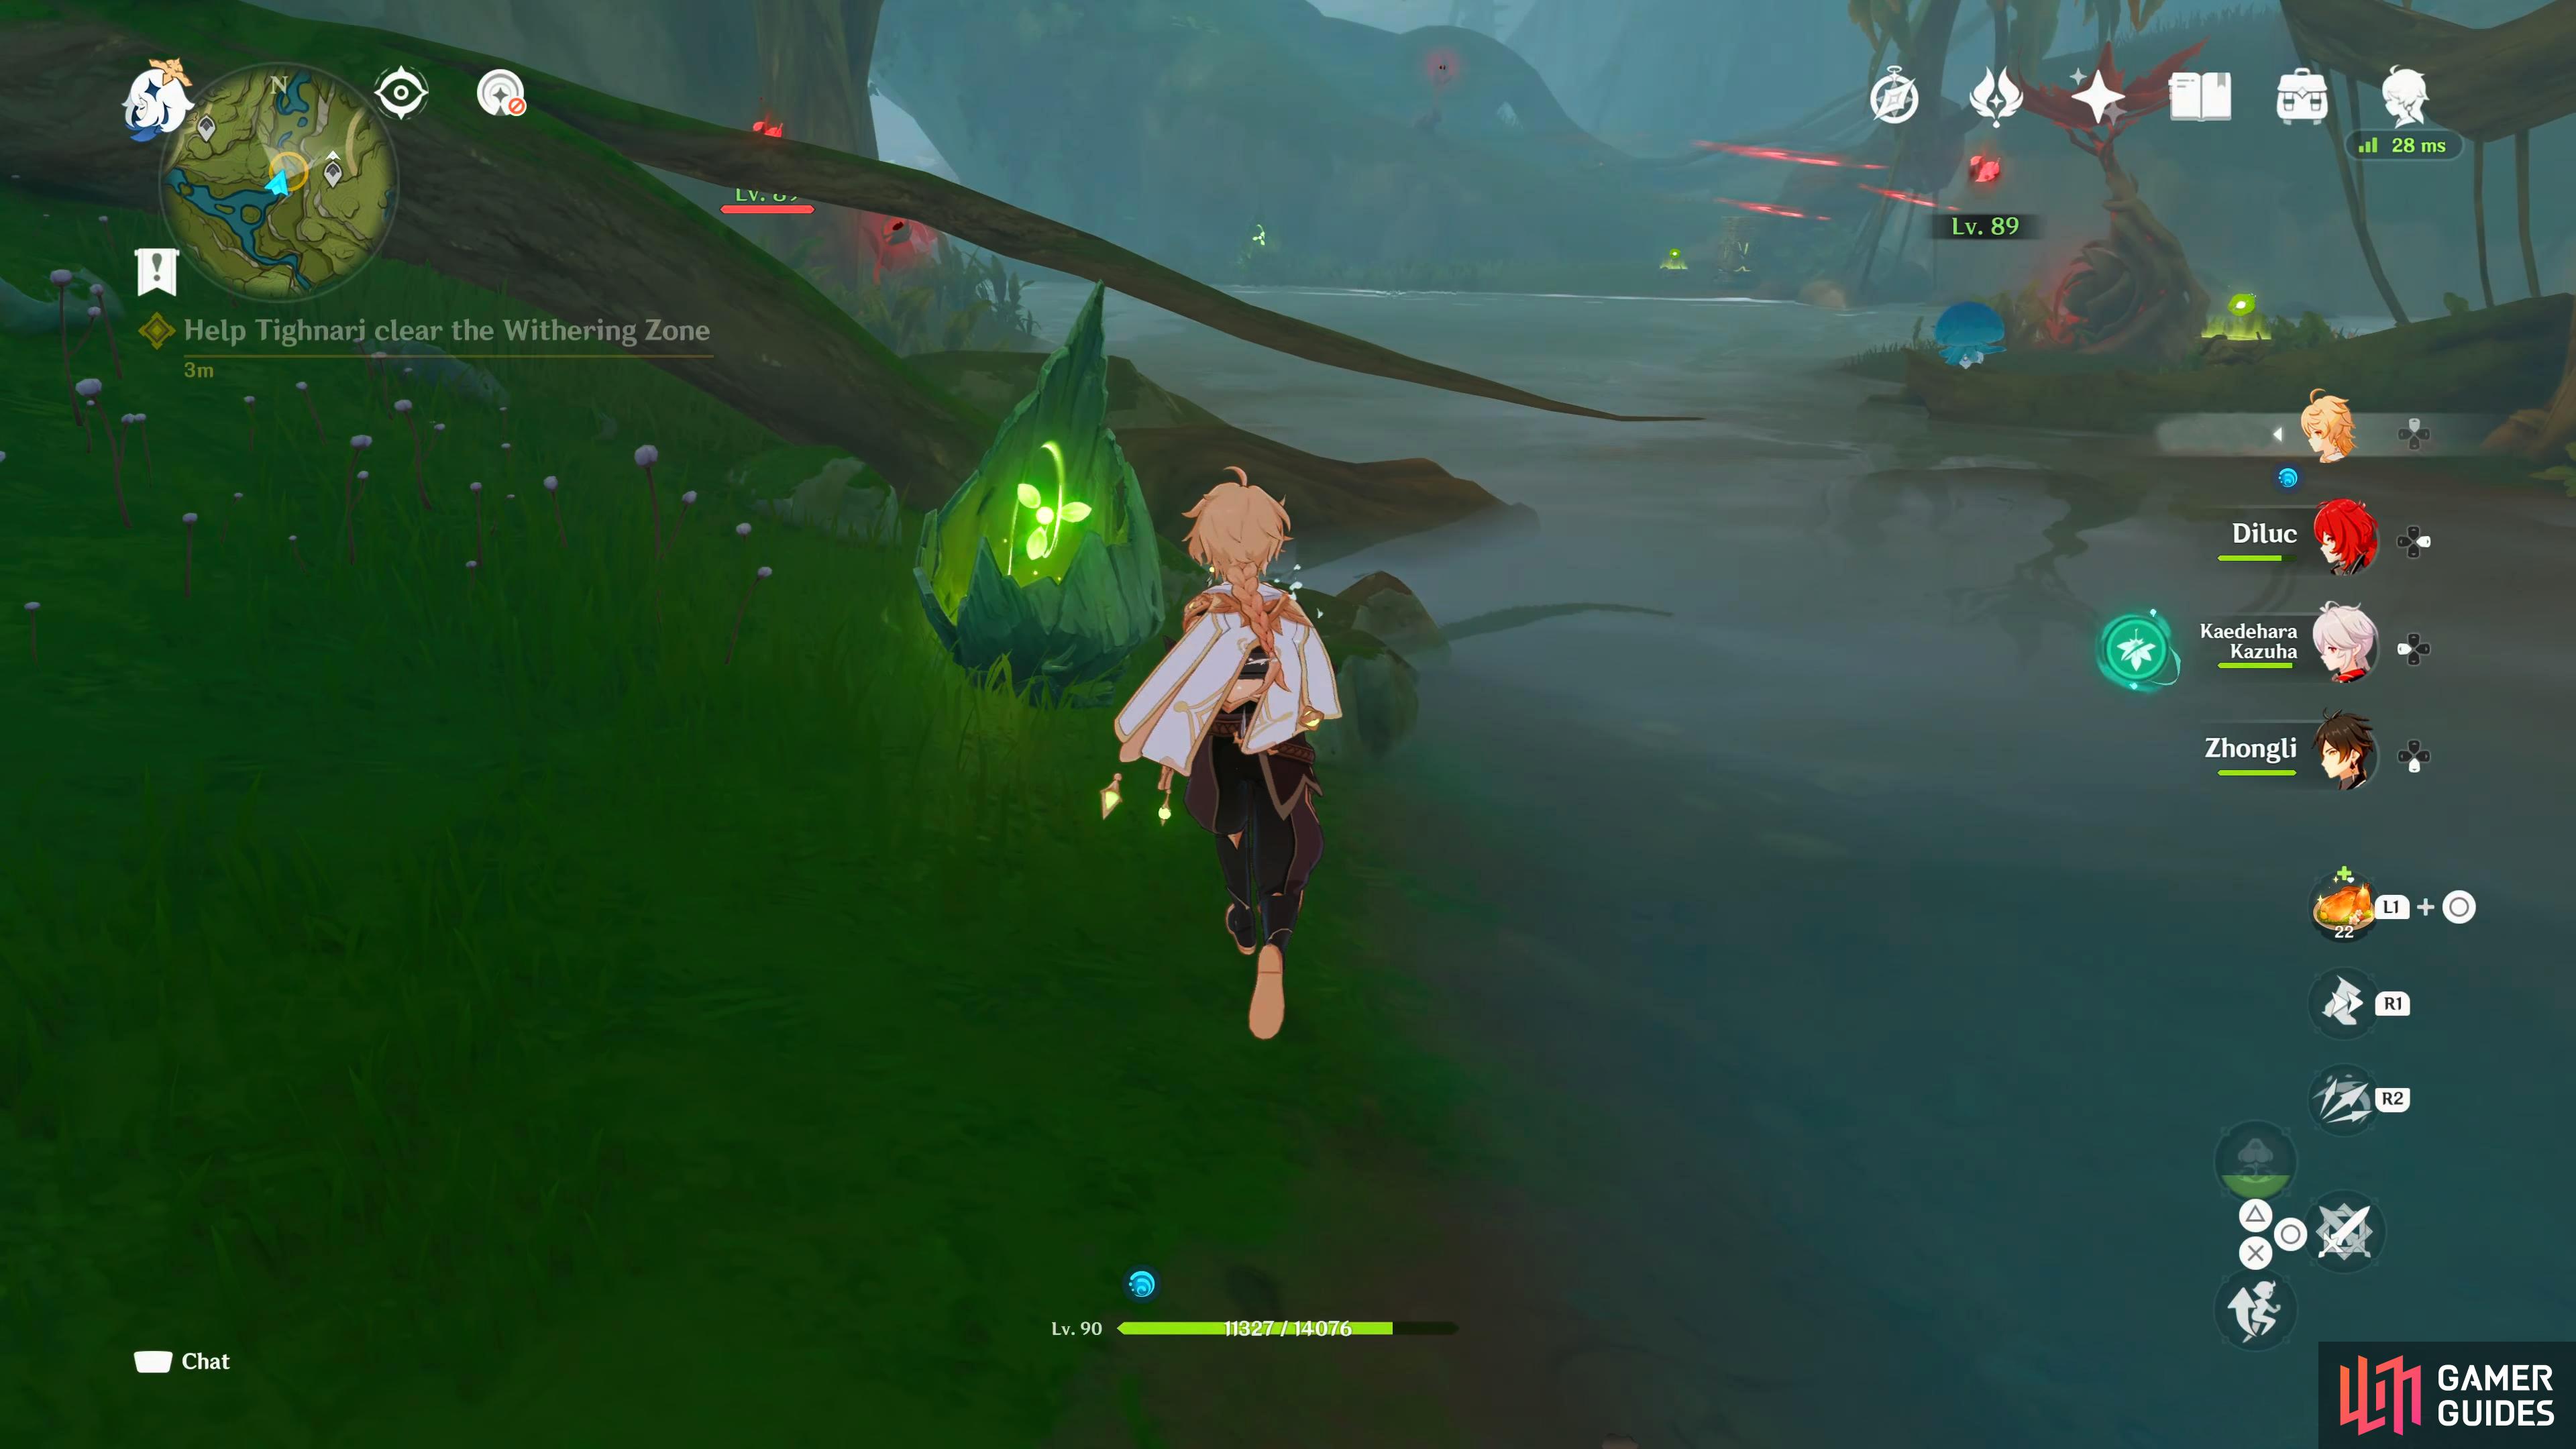
Once the branches are dealt with, you’ll need to take care of the tumor which is in the center, but before you can do that, you’ll need to deal with the enemies that get spawned. You’ll have to fight a Grounded Hydroshroom, and four Floating Hydro Fungus’ which we talked about earlier. For the Grounded Hydroshroom it has three attacks to start with, and its attacks will change in the same manner that the Hydro Fungus attacks change. The attacks are as follows:
-
Dropkick: The mushroom will do a flying kick with both feet dealing 70% ATK as Physical damage. This attack can be avoided by dodging away from it.
- Scorched: If the enemy is attacked with Pyro, the speed of its kick will be reduced, but the damage will increase to 85% ATK as physical damage. This attack can be avoided by dodging away from it.
-
Homing Bubble: The mushroom will conjure a bubble that will home in on you dealing 85% ATK as Hydro damage. This attack can be avoided by pulling the bubbles one direction, and dodging the opposite direction as they get close.
- Scorched: If the enemy is attacked with Pyro, the speed of the bubble will be reduced, but the damage will increase to 100% ATK as physical damage. This attack can be avoided by dodging away from it
-
Double Bubble: Same as the Homing Bubble attack, but with an extra projectile, but dealing 70% of ATK as Hydro damage. This attack can be avoided by pulling the bubbles one direction, and dodging the opposite direction as they get close.
-
Activated: If the enemy is attacked with Electro, the attack can have up to six projectiles. This attack can be avoided by pulling the bubbles one direction, and weaving your dodges three times to the opposite side of the projectile.
-
Scorched: If the enemy is attacked with Pyro, the speed that the projectiles come out will be reduced, but the damage will increase to 85% of ATK as Hydro damage. This attack can be avoided by pulling the bubbles one direction, and weaving your dodges twice to the opposite side of the projectile.
-
Once you’re done with all the enemies interact with the tumor to destroy it which will turn the area normal again, and you’ll get another scene. Although Tighnari is pleased with the outcome, he still looks worried. When you ask him what’s wrong, he’ll tell you that he’s worried about the increasing rate the Withering Zones are appearing. Furthermore, when a Withering Zone is cleansed like just now, it still leaves a lasting effect on the rainforest like plants not recovering for example.
Another thing he’s noticed is that the increased rate of Withering Zones has directly impacted patients with Eleazar including Collei. When you ask him if there is a permanent fix to The Withering, he’ll tell you that as far as he knows, there isn’t. Apparently The Withering has been recorded in Sumeru for millennia, and that it originates from the depths of the world.
He’ll ask you if you’ve heard of Irminsul before, and tell you that it’s a large tree hidden deep beneath the surface which doesn’t make biological sense as it grows downwards, not upwards like normal trees. Interestingly, Ley-Lines are like the roots of Irminsul which extend to the surface. These Ley-Lines absorb the memories of the world which then get funneled to Irminsul. This is why the Dendro Archon is known as the God of Wisdom as her consciousness is directly connected to Irminsul.
The Withering’s emergence is related to a disease that’s affecting Irminsul which means Irminsul is sick. This was proven by his ancestors who learnt it from Greater Lord Rukkhadevata’s familiars a long time ago, although they couldn’t find a cure for it. The topic about Irminsul will end for now, and he’ll suggest heading back to Gandharva Ville.
Return to Gandharva Ville
Head back to the village either by walking or teleporting back to there, and you’ll get another scene. Amir will ask how it went, and you’ll tell him that The Withering Zone has been taken care of. In the corner of your eye, you spot a strangely colored bird. When you ask what it is, Tighnari will exclaim Haypasia’s name, and run over to the bird.
This bird is a Dusk Bird, and it belongs to Haypasia. She uses it as a designated courier for urgent news. If you don’t remember who she was, Haypasia is the woman you were following at the start of the chapter. The bird contains a letter which is basically calling for help. Apparently she sometimes goes into deep meditation, and forgets to eat. What’s worse is, she forgot to pack any rations. Thankfully, Tighnari keeps a stash of emergency rations set aside for times like these.

He’ll ask you to take them to her, but Paimon is worried that you may pass out again. Tighnari performs a quick test which you pass, and Paimon asks how he knew you’d be fine. He’ll tell you that because you can control the Dendro element, he knew you’d be fine. Furthermore, you’ll find out that your hallucinations weren’t visions, but something of significant importance not just for Sumeru, but the entire world of Teyvat.
Tighnari tells you that it’s his duty to protect Sumeru which was passed down by his forebears, but he wasn’t sure if he could trust you. Now that he’s seen you in action, he doesn’t have to hide any more secrets from you. Also, you’ll find out that when you passed out, you connected directly with Irminsul, and you witnessed real memories from the tree itself. Although he could tell you more, it’d be better to ask Haypasia about it. He’ll give you the rations, and a letter from him to prove to Haypasia that you can be trusted, and now it’s time to save Haypasia.
Go and rescue Haypasia
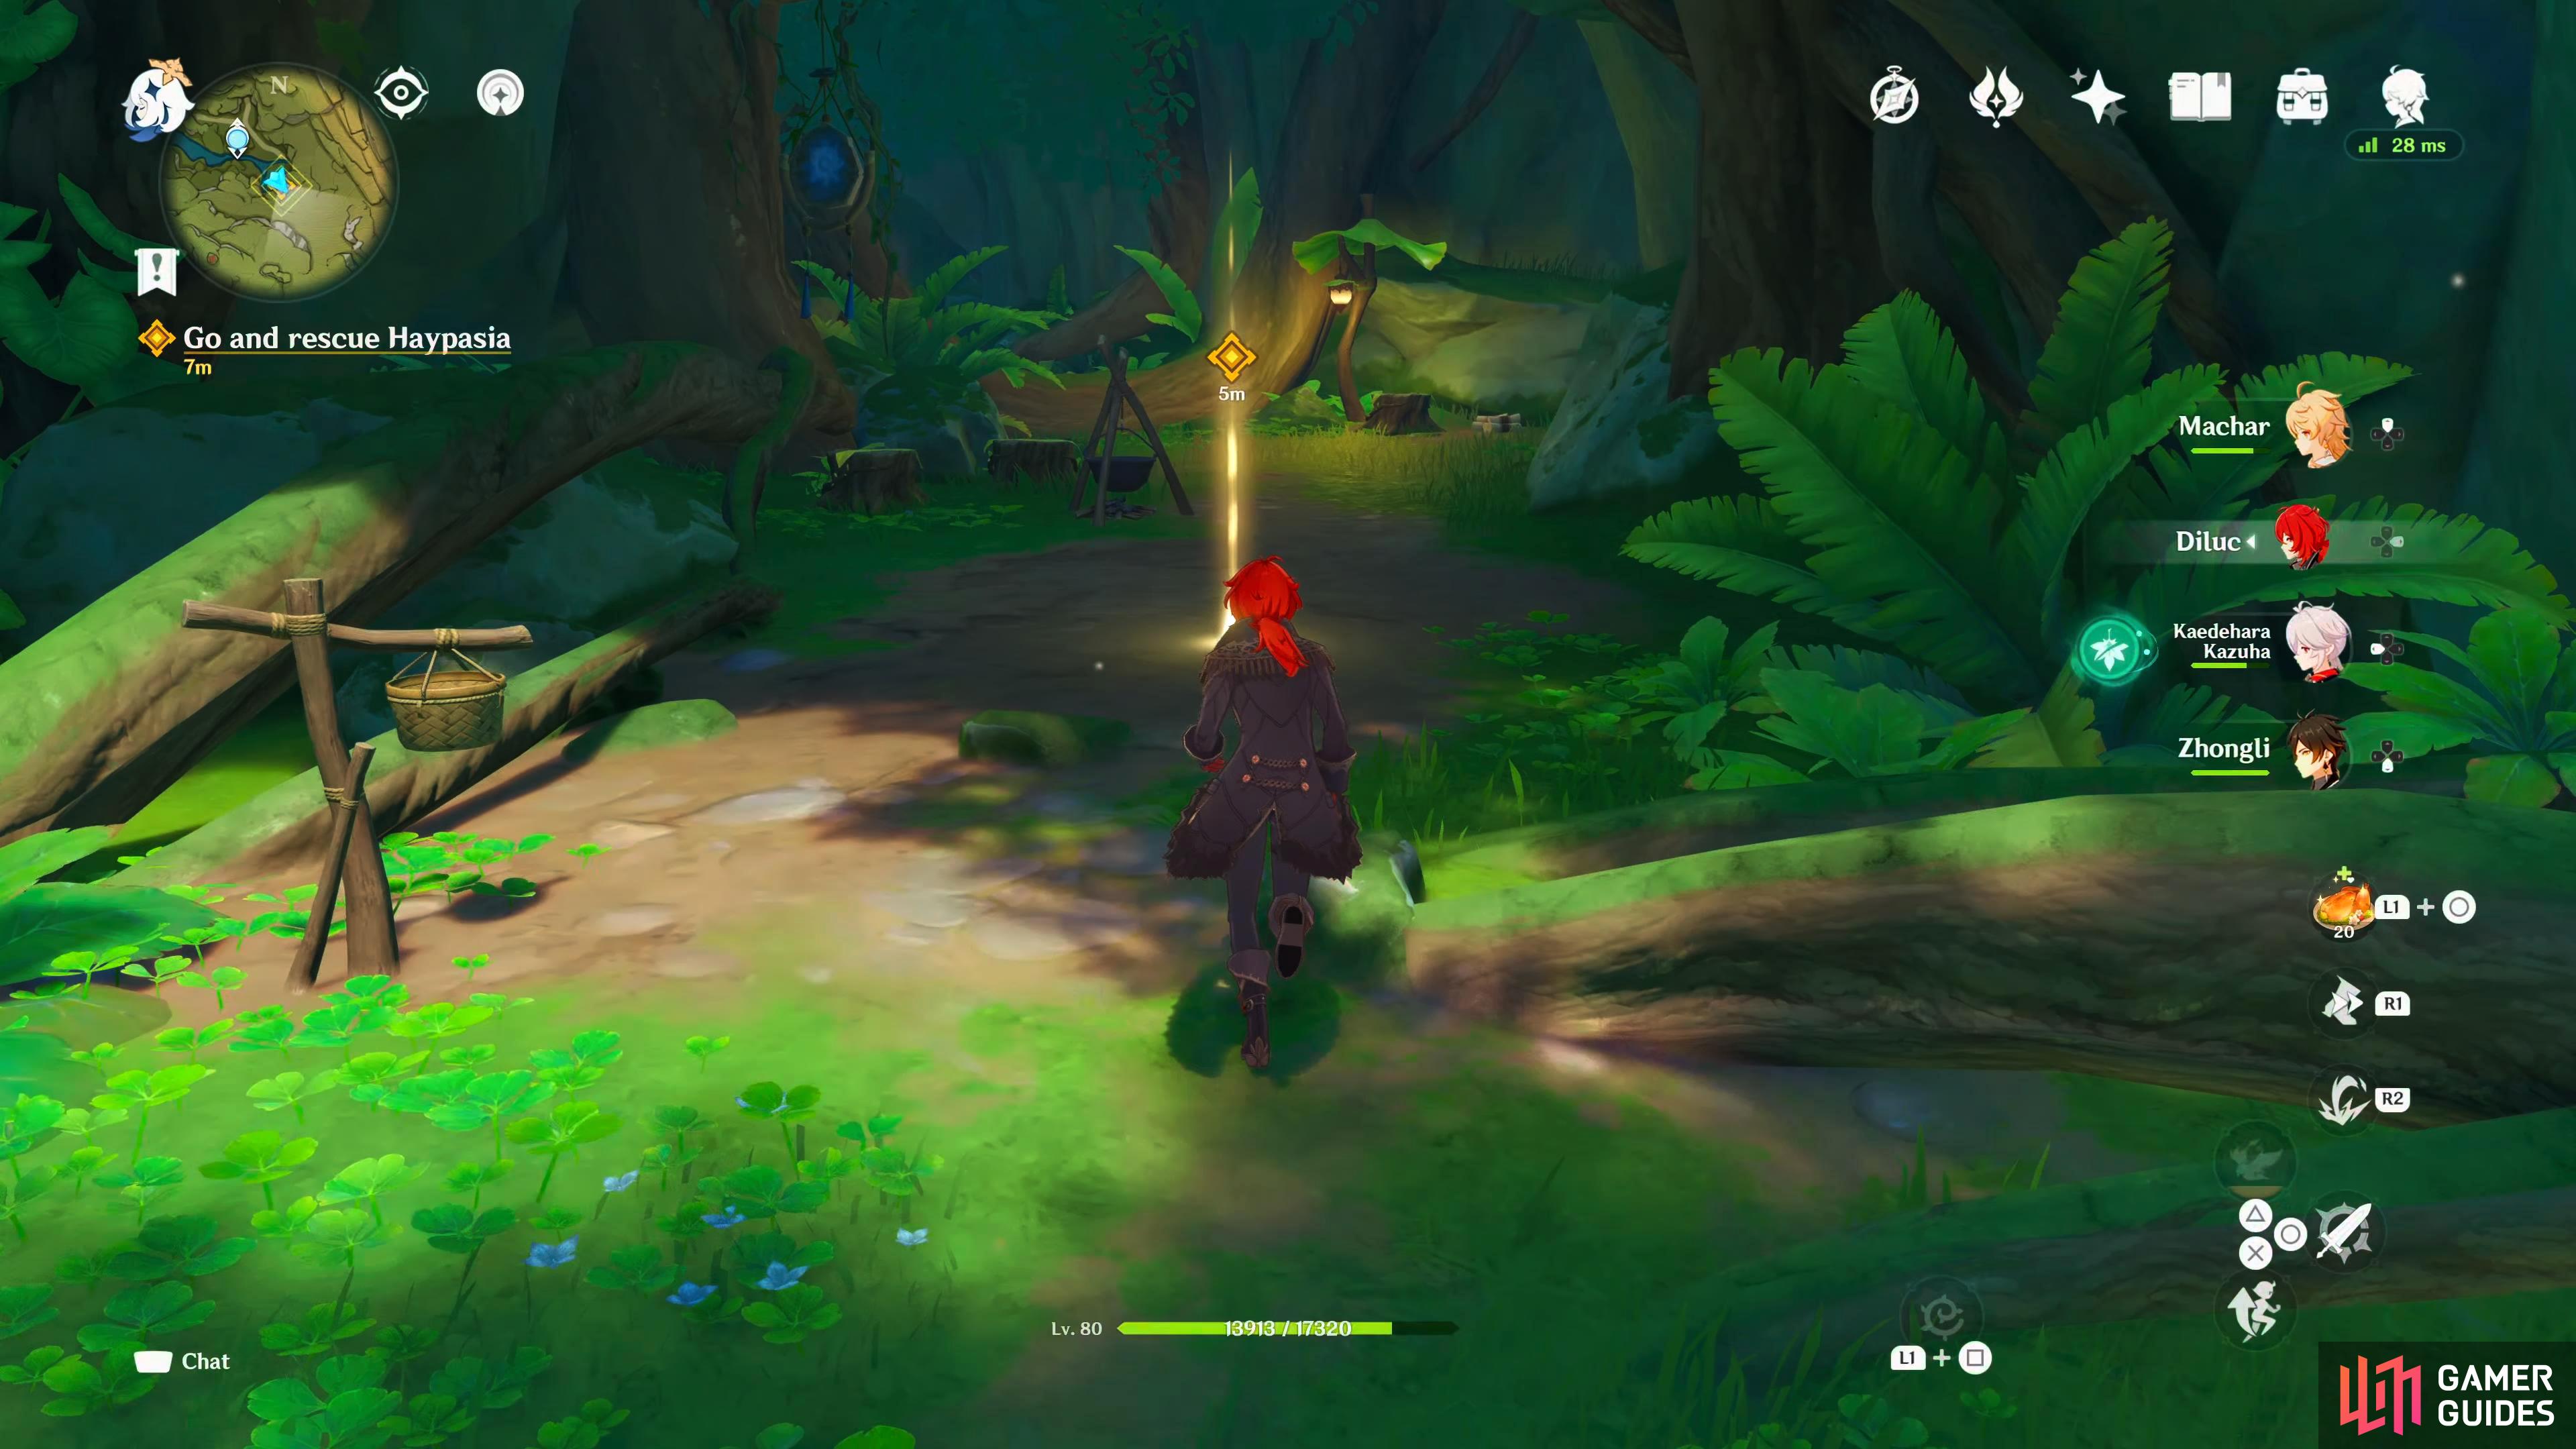
When you reach the objective in the cave, the quest will end. You’ll immediately start the next quest as you go into the cutscene.
When you regain control, follow the stream southeast, and you’ll find her in the cave. When you reach the objective, you’ll get a cutscene which will finish the quest, and you’ll go into the next quest immediately.
No Comments