
This is a walkthrough for Yoimiya’s Story Quest “Together Under the Fireworks” which is the final quest in the Carassius Auratus Chapter: Act 1, Dreamlike Timelessness. Here, you’ll find a complete walkthrough for the entire quest.
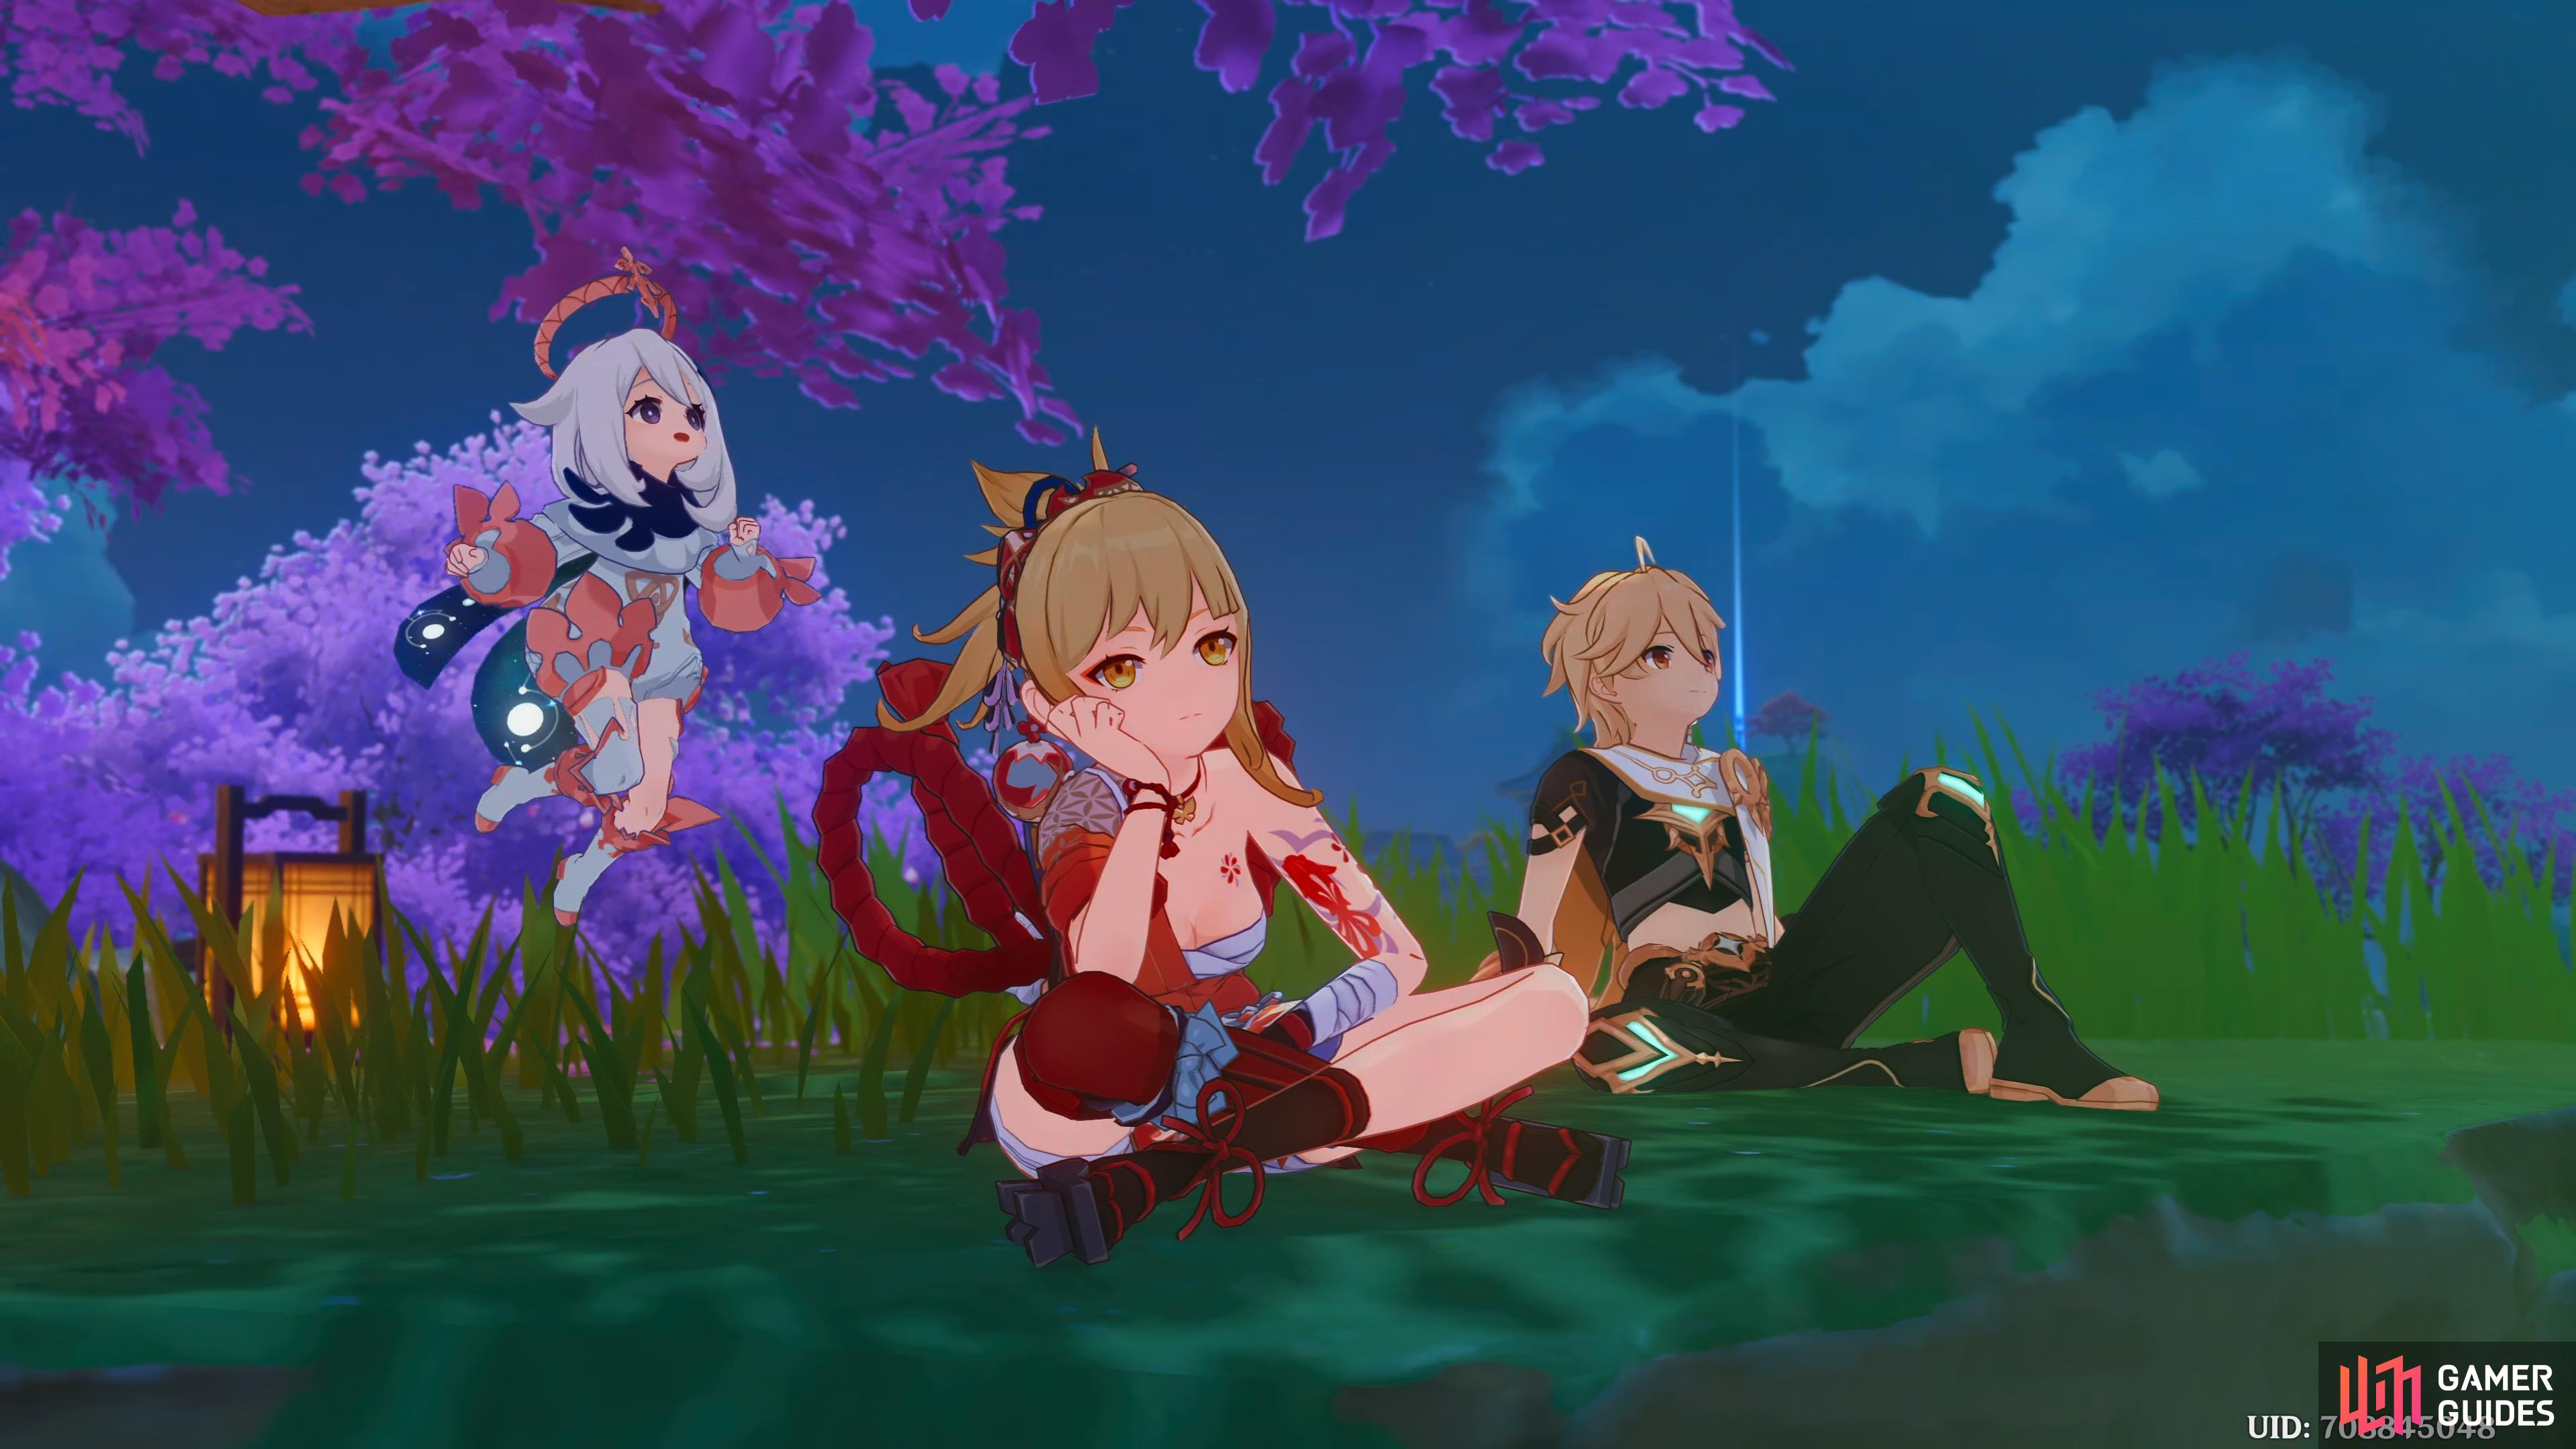
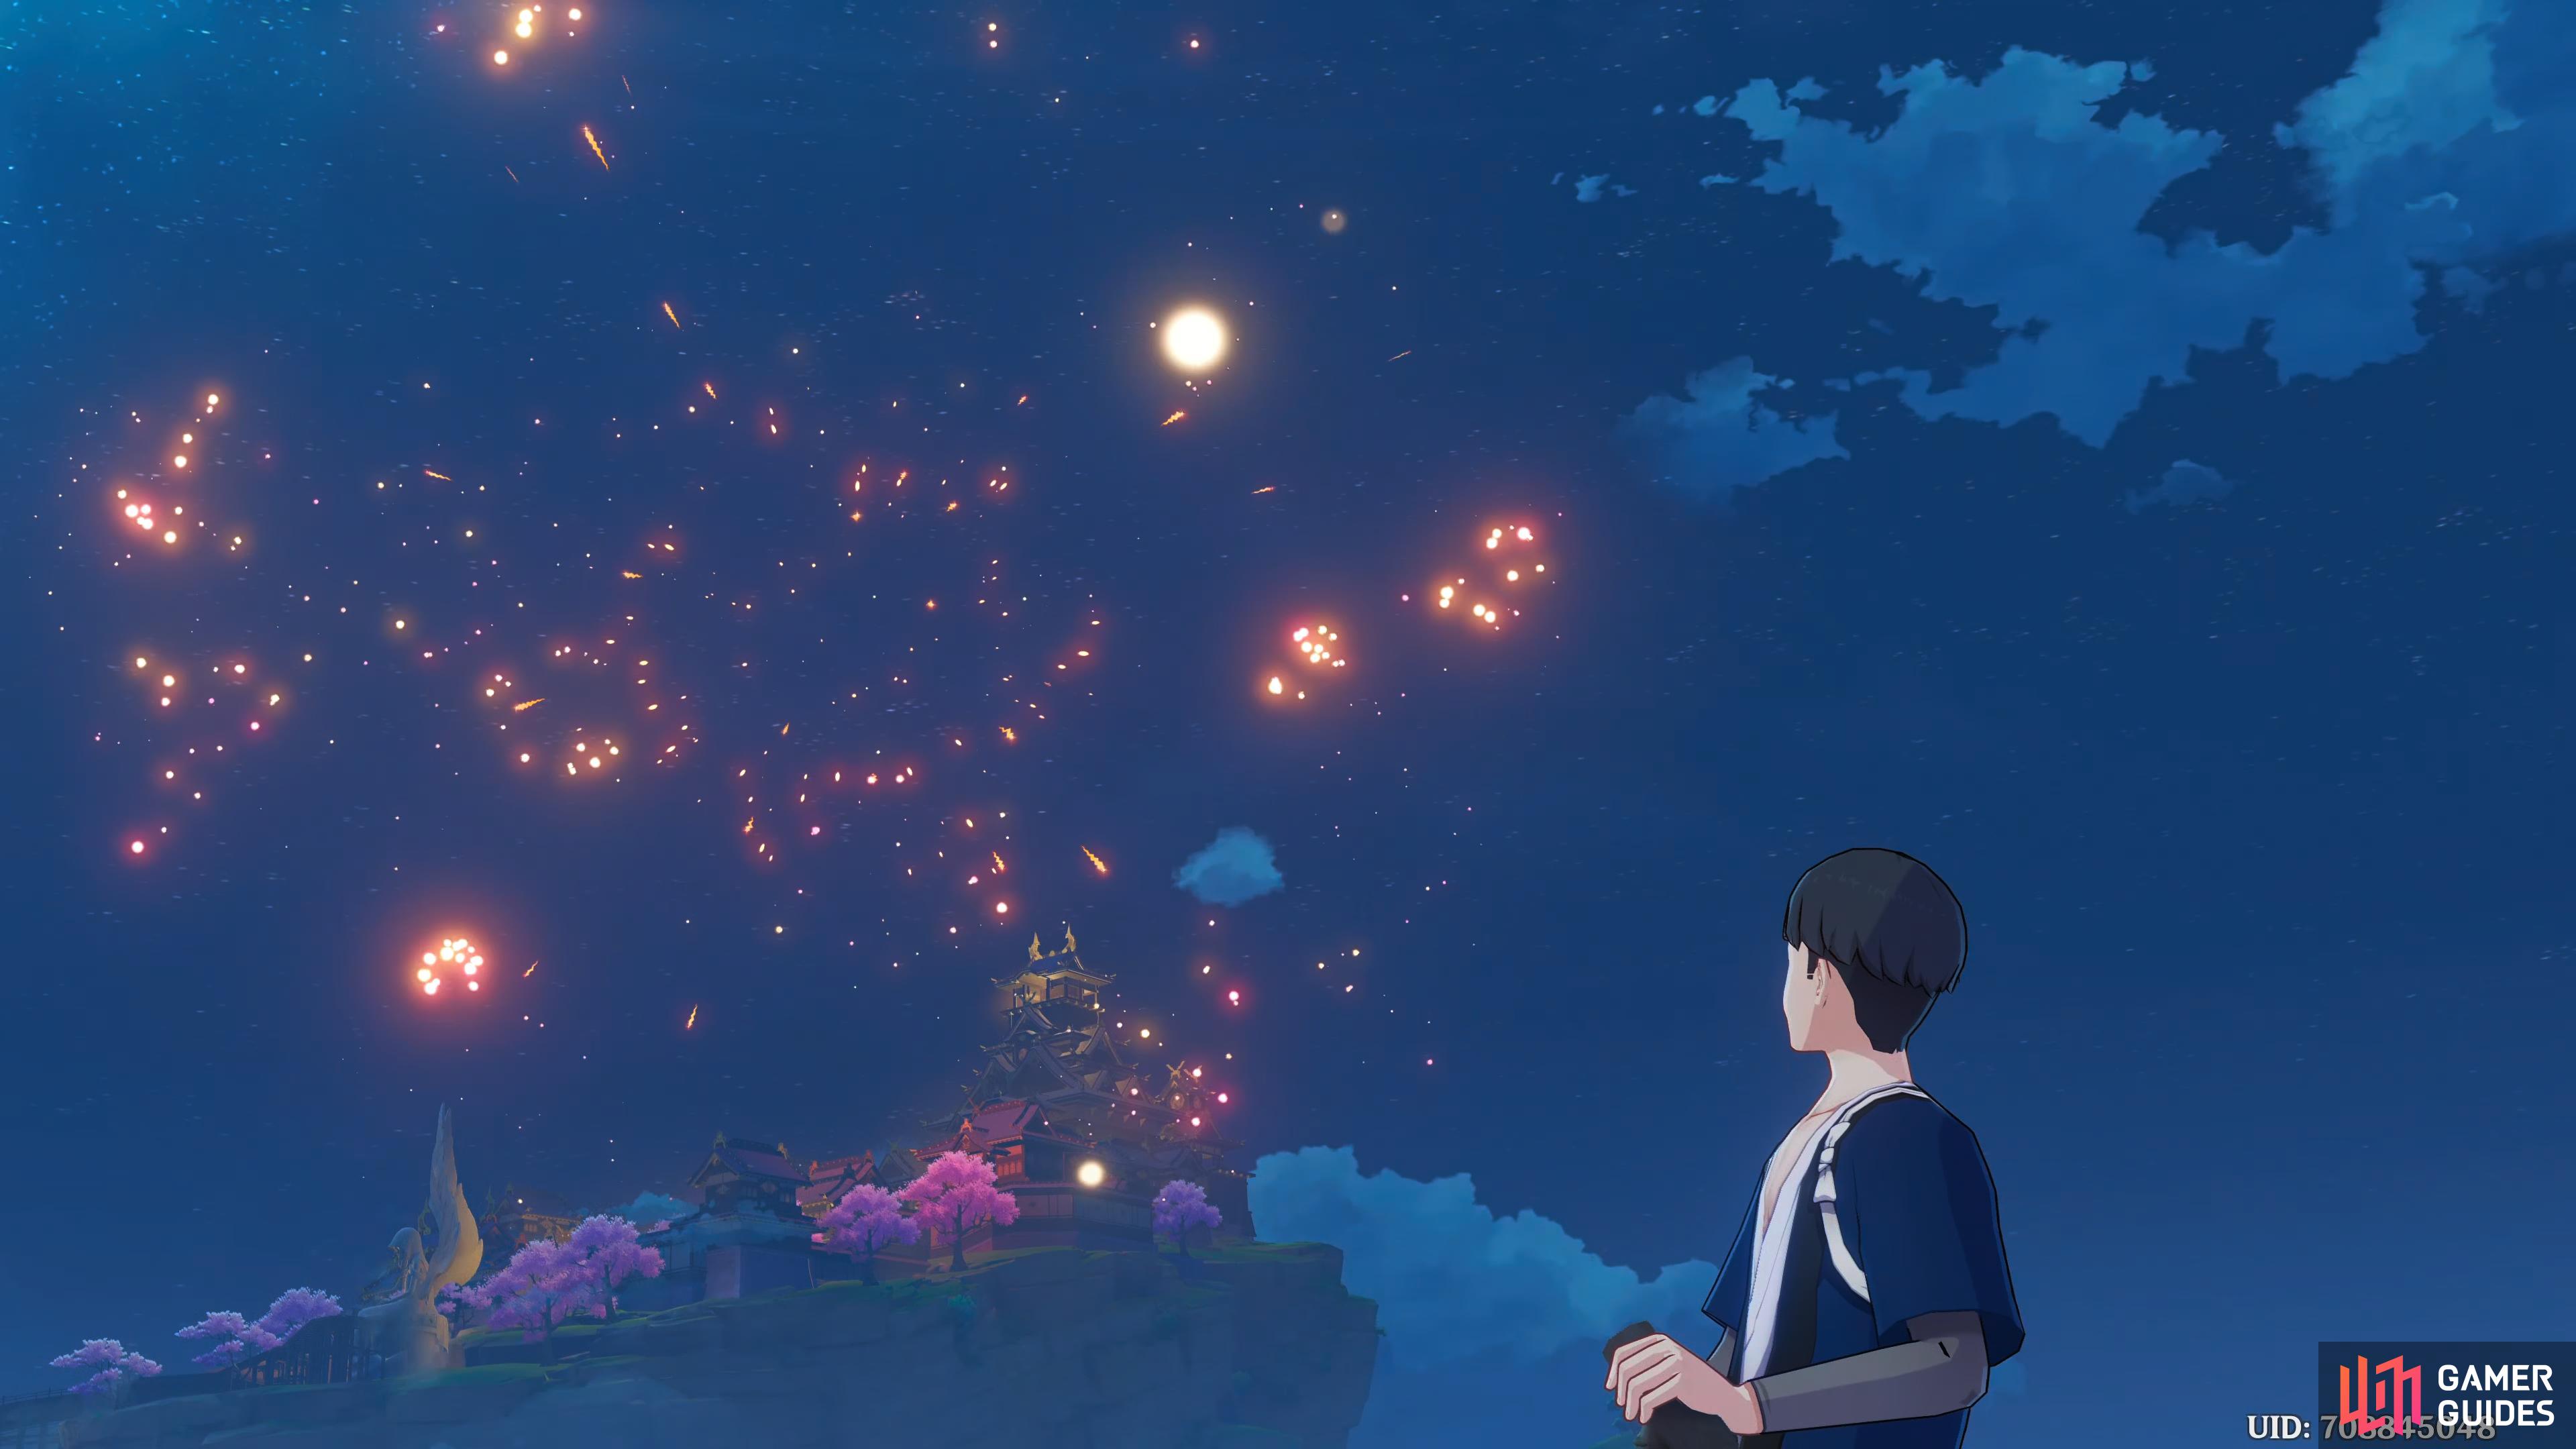
Yoimiya, Paimon, and the traveler enjoying the fireworks from Amakane Island.
| Adventure EXP | Mora | Other Rewards | Requirements | Next Quests |
|---|---|---|---|---|
 600 600 |
 60 60  5 5  4 4  8 8 |
Complete: A Sliver of Hope | – |
Description
Unexpectedly, this old couple’s child is the Tenryou Commission’s Imatani Keisuke, an old acquaintance of Sakujirou’s. However, the two of them once had a sharp disagreement, and so Yoimiya is unable to use this prior relationship to help Sakujirou out of his bind. As the Tenryou Commission closes in on Naganohara Fireworks, Yoimiya fears that Sakujirou will forever forfeit his chance to fulfill his wish…
Steps
- Follow the road out of the city to look for clues
- Follow the direction indicated by the children
- Defeat the Tenryou Commission Officers
- Proceed deeper within to find Sakujirou
- Defeat Imatani Keisuke
- Talk to Imatani Keisuke and Sakujirou
- Go to a place to watch the Fireworks Show
Follow the road out of the city to look for clues
This quest continues immediately from Expectations not to be Betrayed. From the Amenoma Smithy, follow the dusty path west, and continue until you reach the children you met in the first quest. Approach them for a scene, and they’ll ask Yoimiya if the weapons for them are ready, she tells them her pops is working on them, then she asks if they saw a bunch of scary-looking men come past. They tell her that it looked like they were chasing someone, and they point what direction they were running.
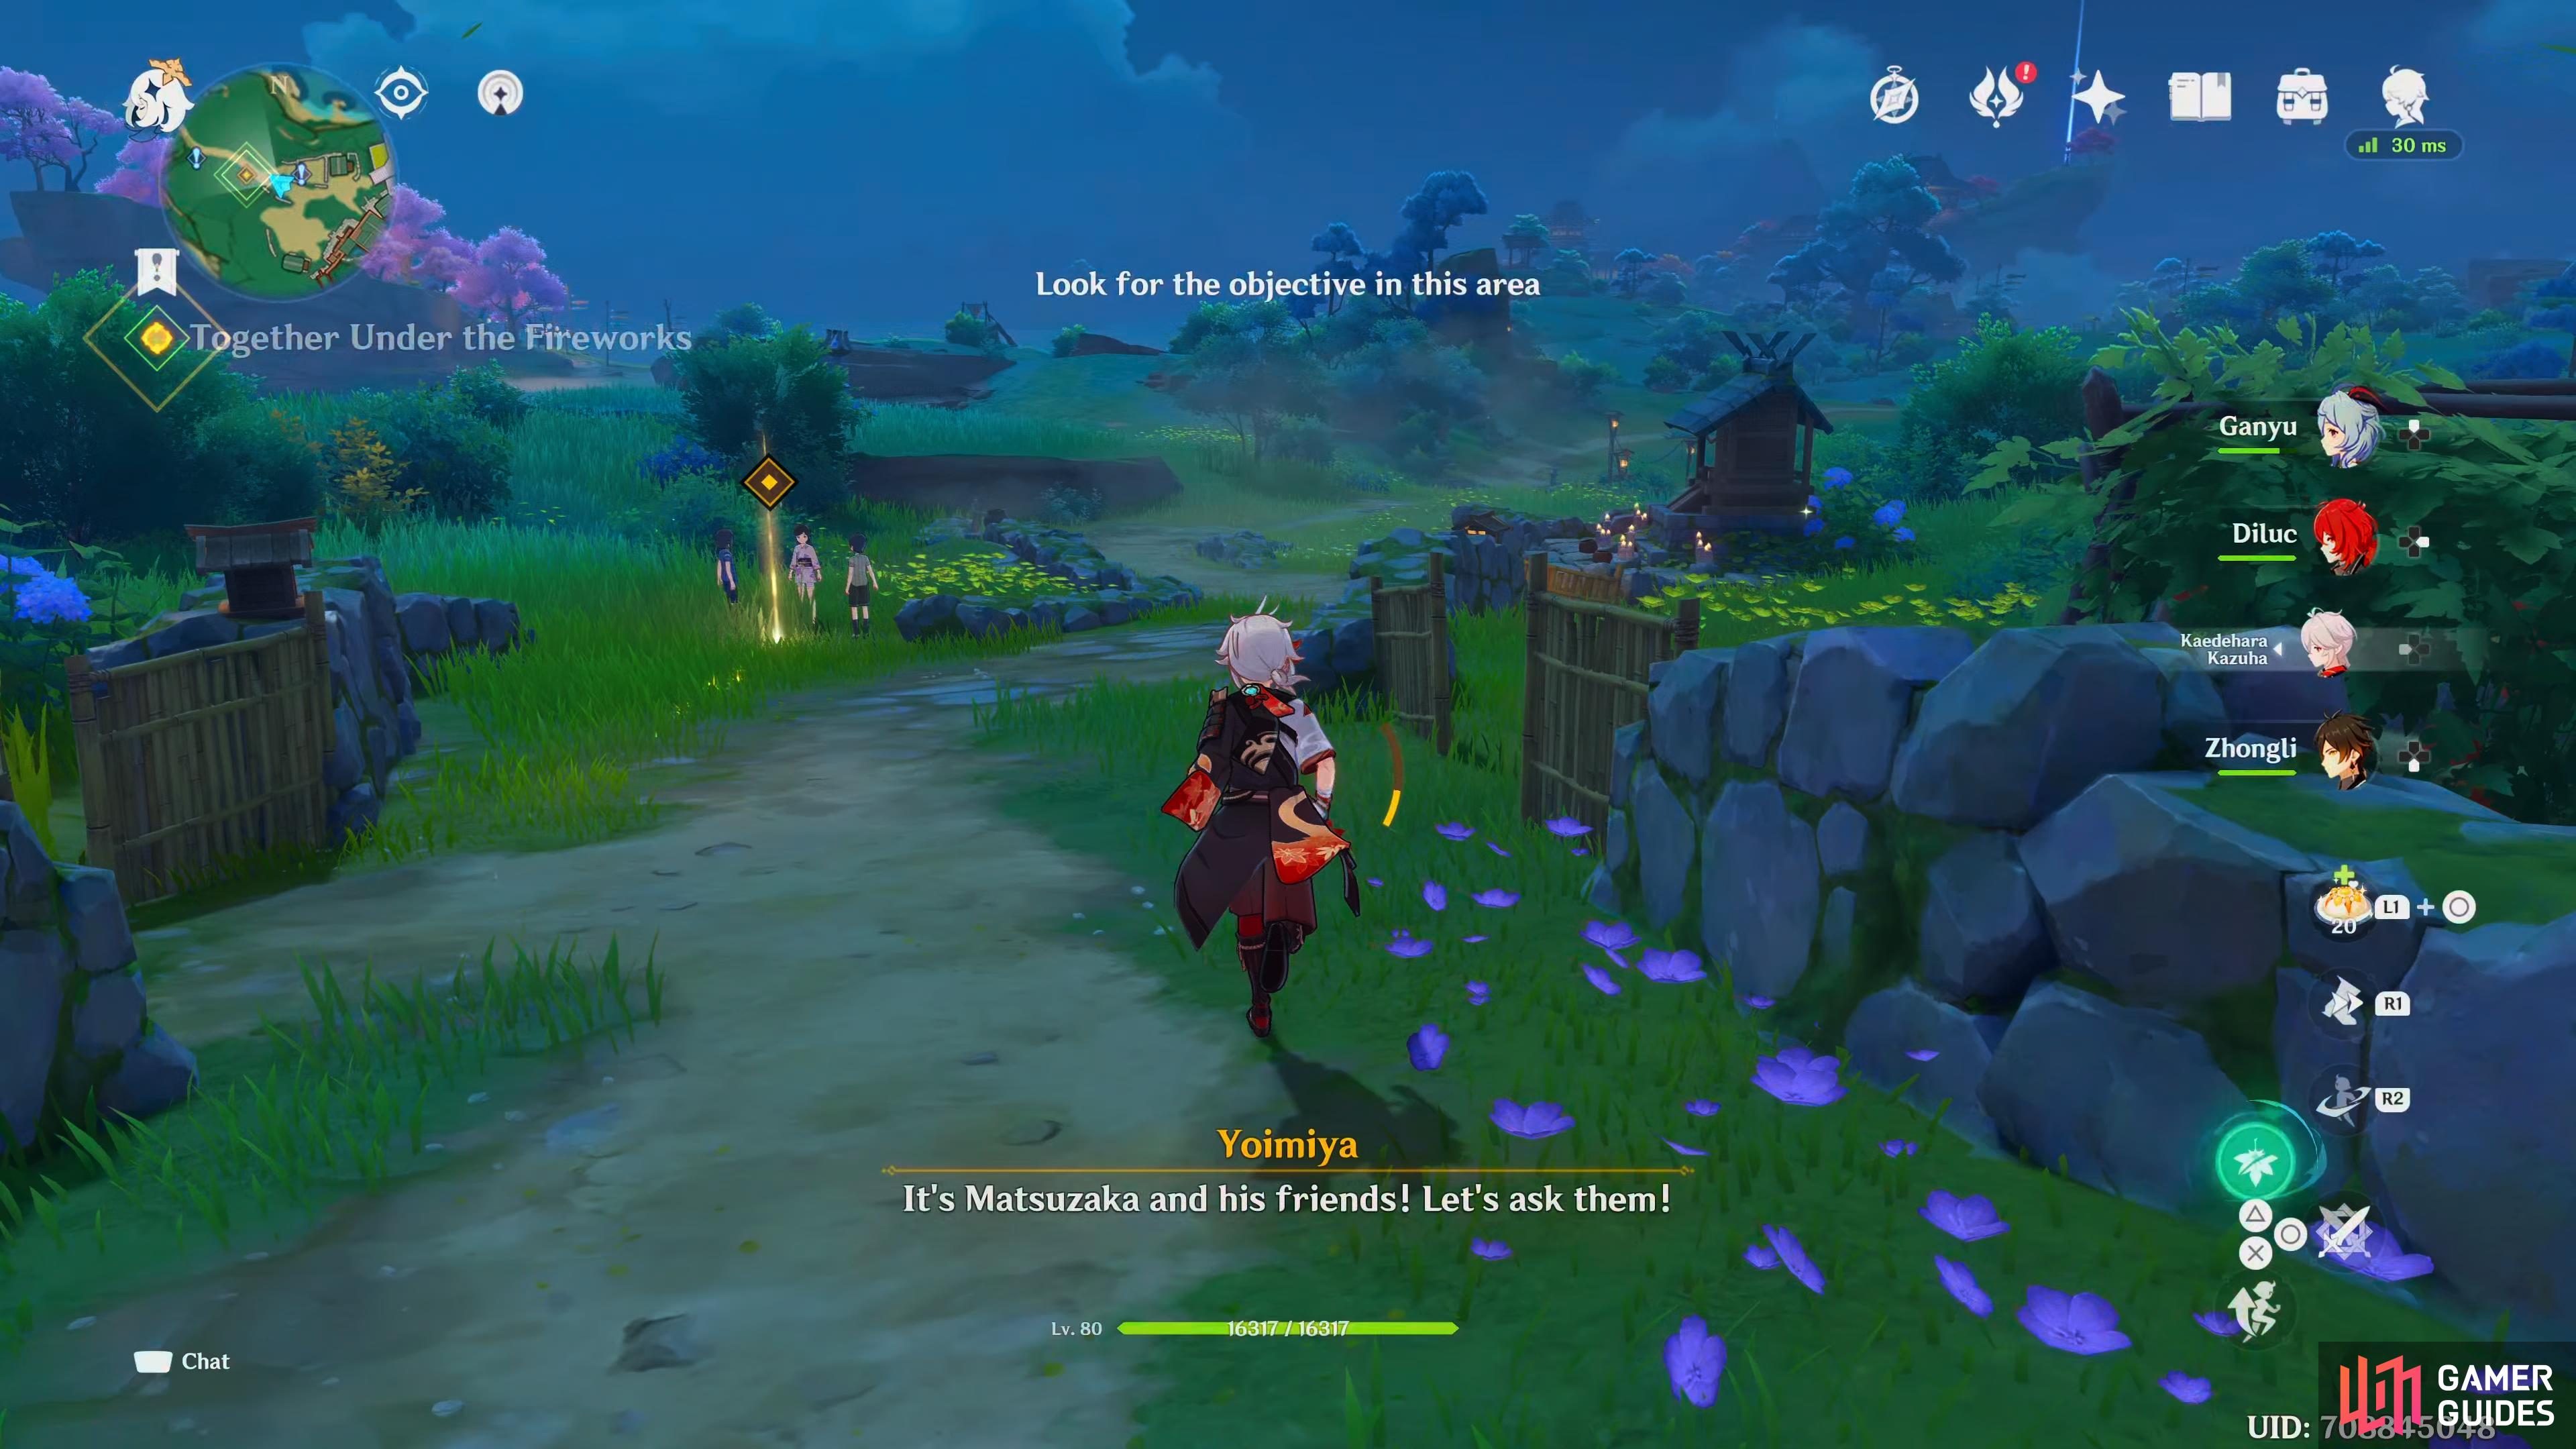
The first clue can be found to the west, which is the children.
Follow the direction indicated by the children
Head northwest along the path, and you’ll spot three members of the Tenryou Commission, approach them for another scene. Yoshitaka will tell you it’s official business, and he can’t let you through. Yoimiya will ask if Sakajirou and Keisuke are up ahead, and once again, Yoshitaka tells you you’re not getting past, this prompts Yoimiya to ready her weapons.
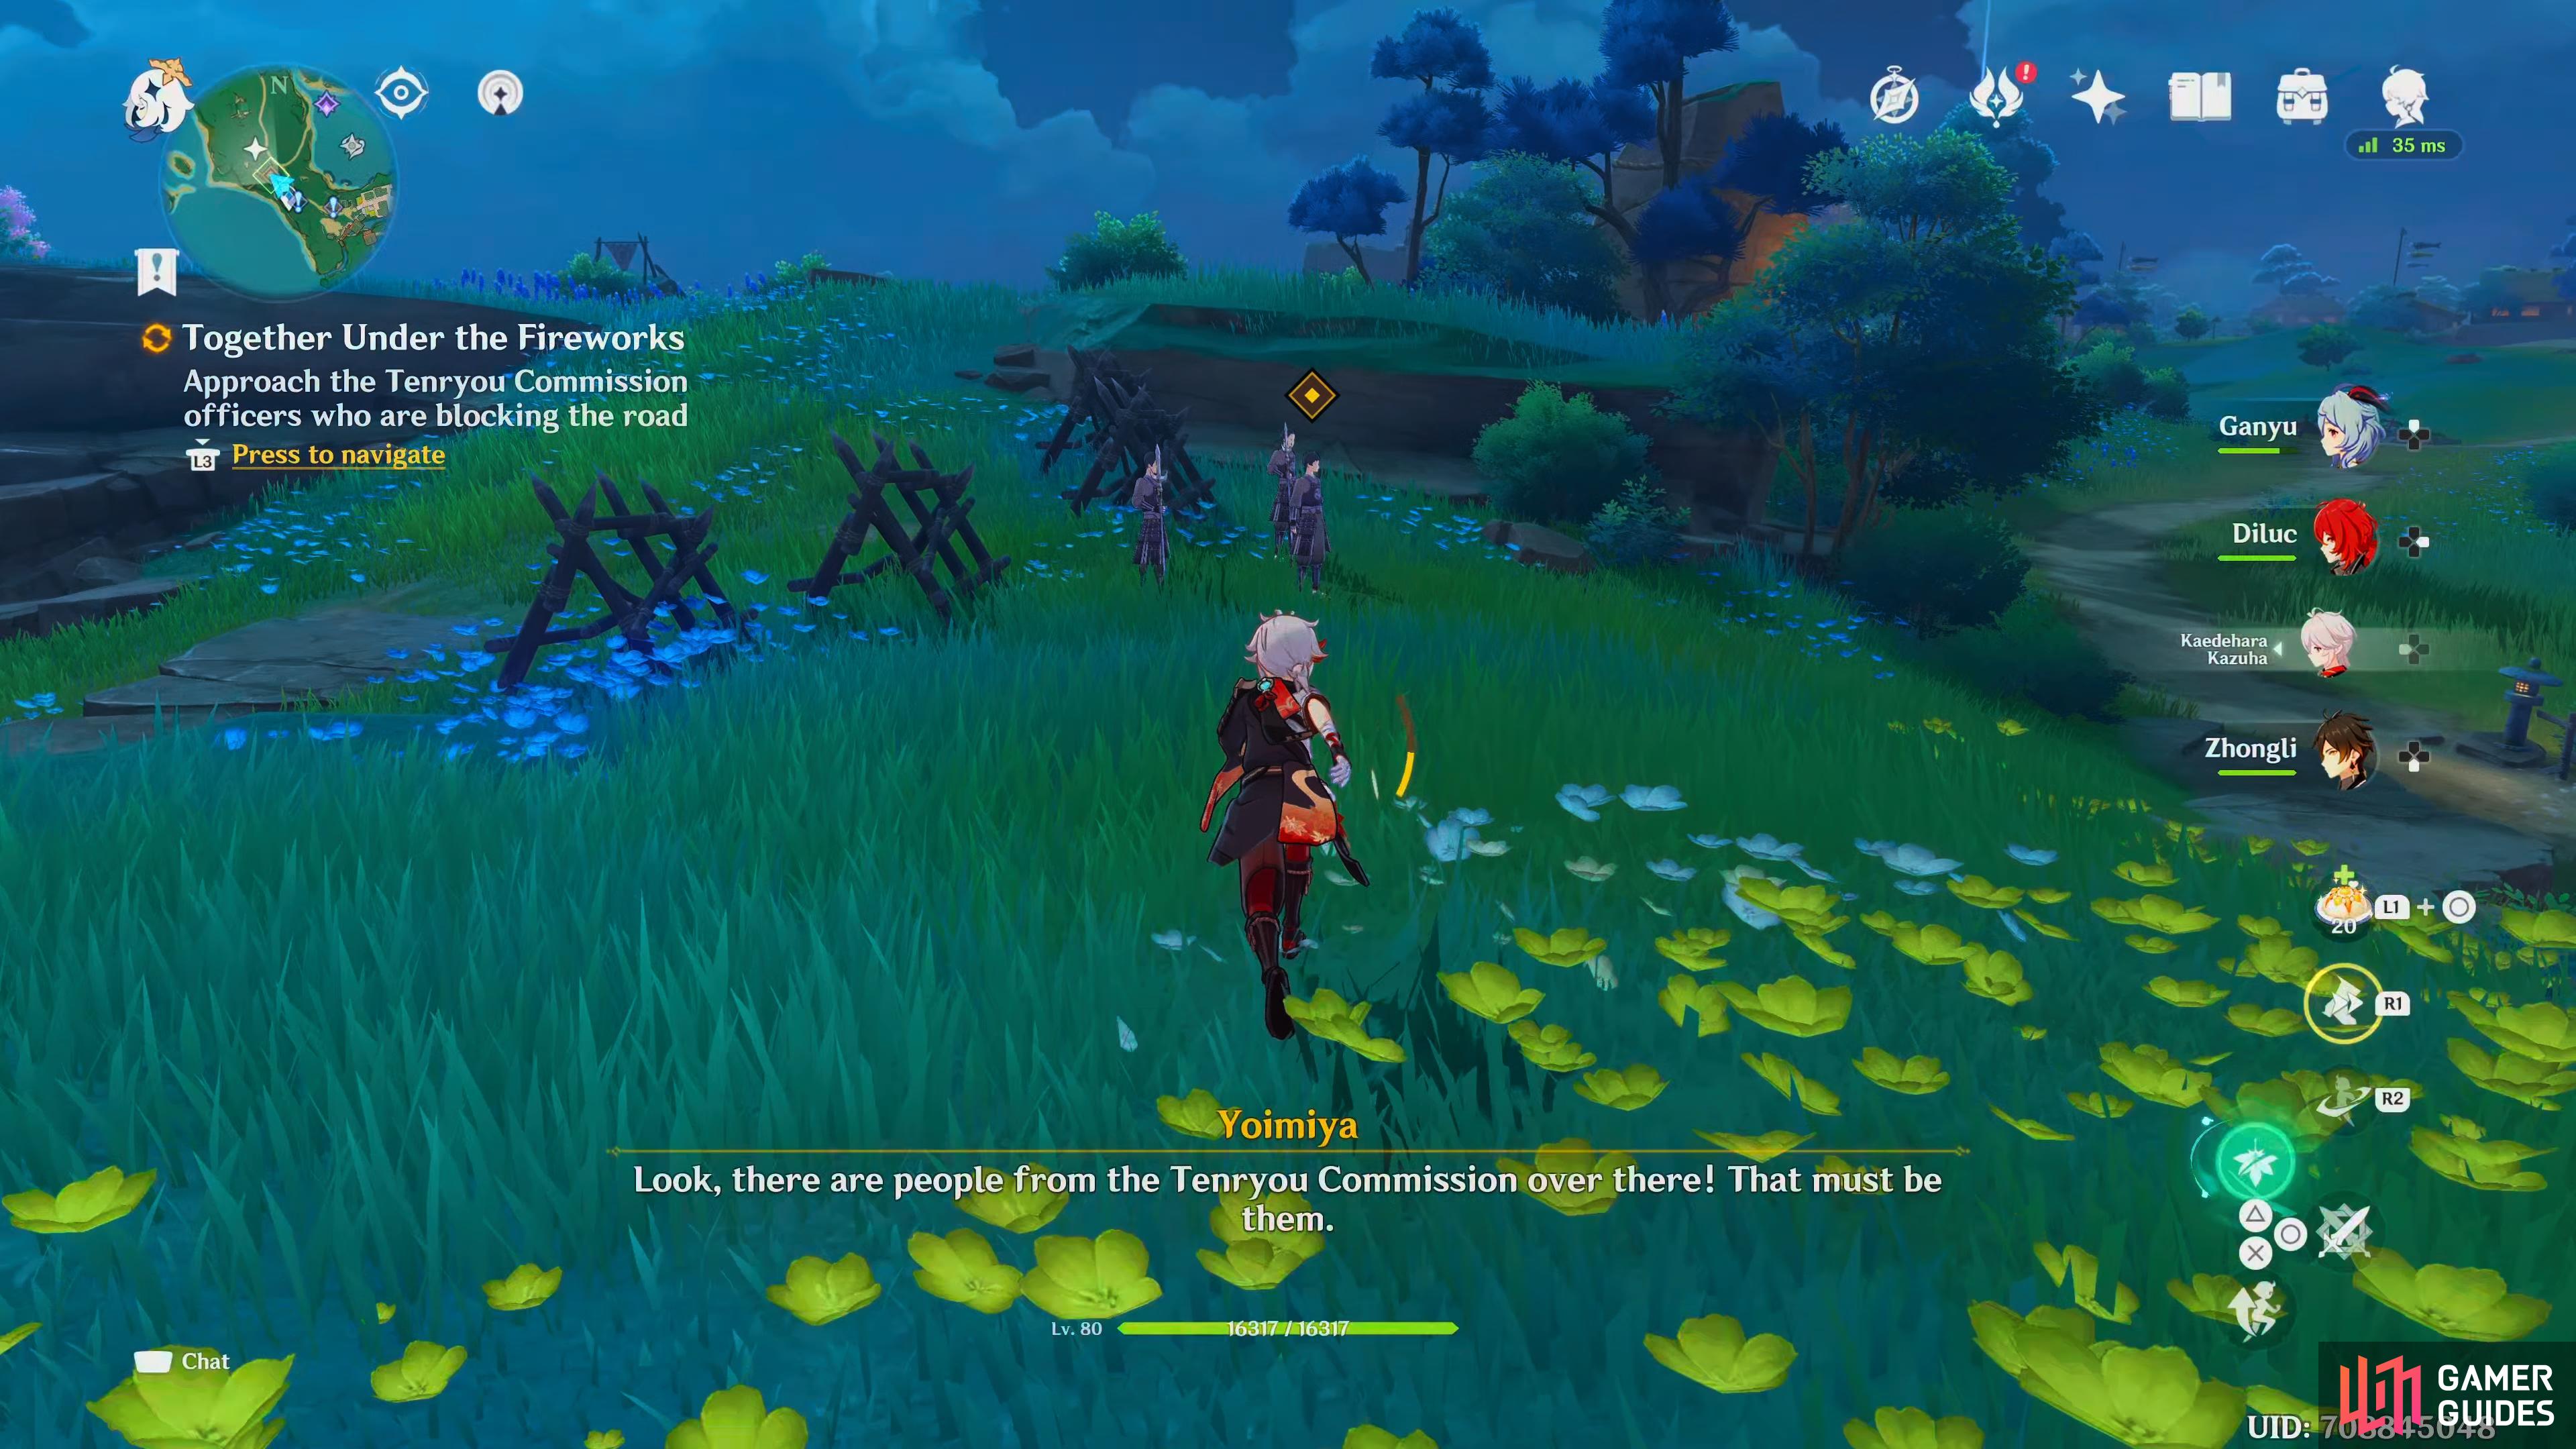
The Tenryou Officers are blocking the way to reach Sakijirou, but Yoimiya has things to say about that.
Defeat the Tenryou Commission Officers
When the scene ends, you’ll have to fight the three Tenryou Commission Officers, and it’ll be the first time you get to play as Yoimiya providing you haven’t unlocked her yet. Yoimiya is the second Pyro Bow user in the game, and she plays a lot better than her predecessor. Her normal attacks are like most Bow users, allowing her to perform a 5-hit combo, but if you charge them up, you’ll get Kindling Arrows which home in on your enemies dealing Pyro damage. Whilst Her Elemental Skill, Niwabi Fire-Dance, will change all her normal attacks to change to Pyro damage for a set amount of time. Finally, her Elemental Burst is Ryuukin Saxifrage, this will fire out a volley of rocket like projectiles at the enemies triggering Aurora Blaze on them, when the enemies are attacked by any party member with this status on them, it’ll cause AoE Pyro damage.
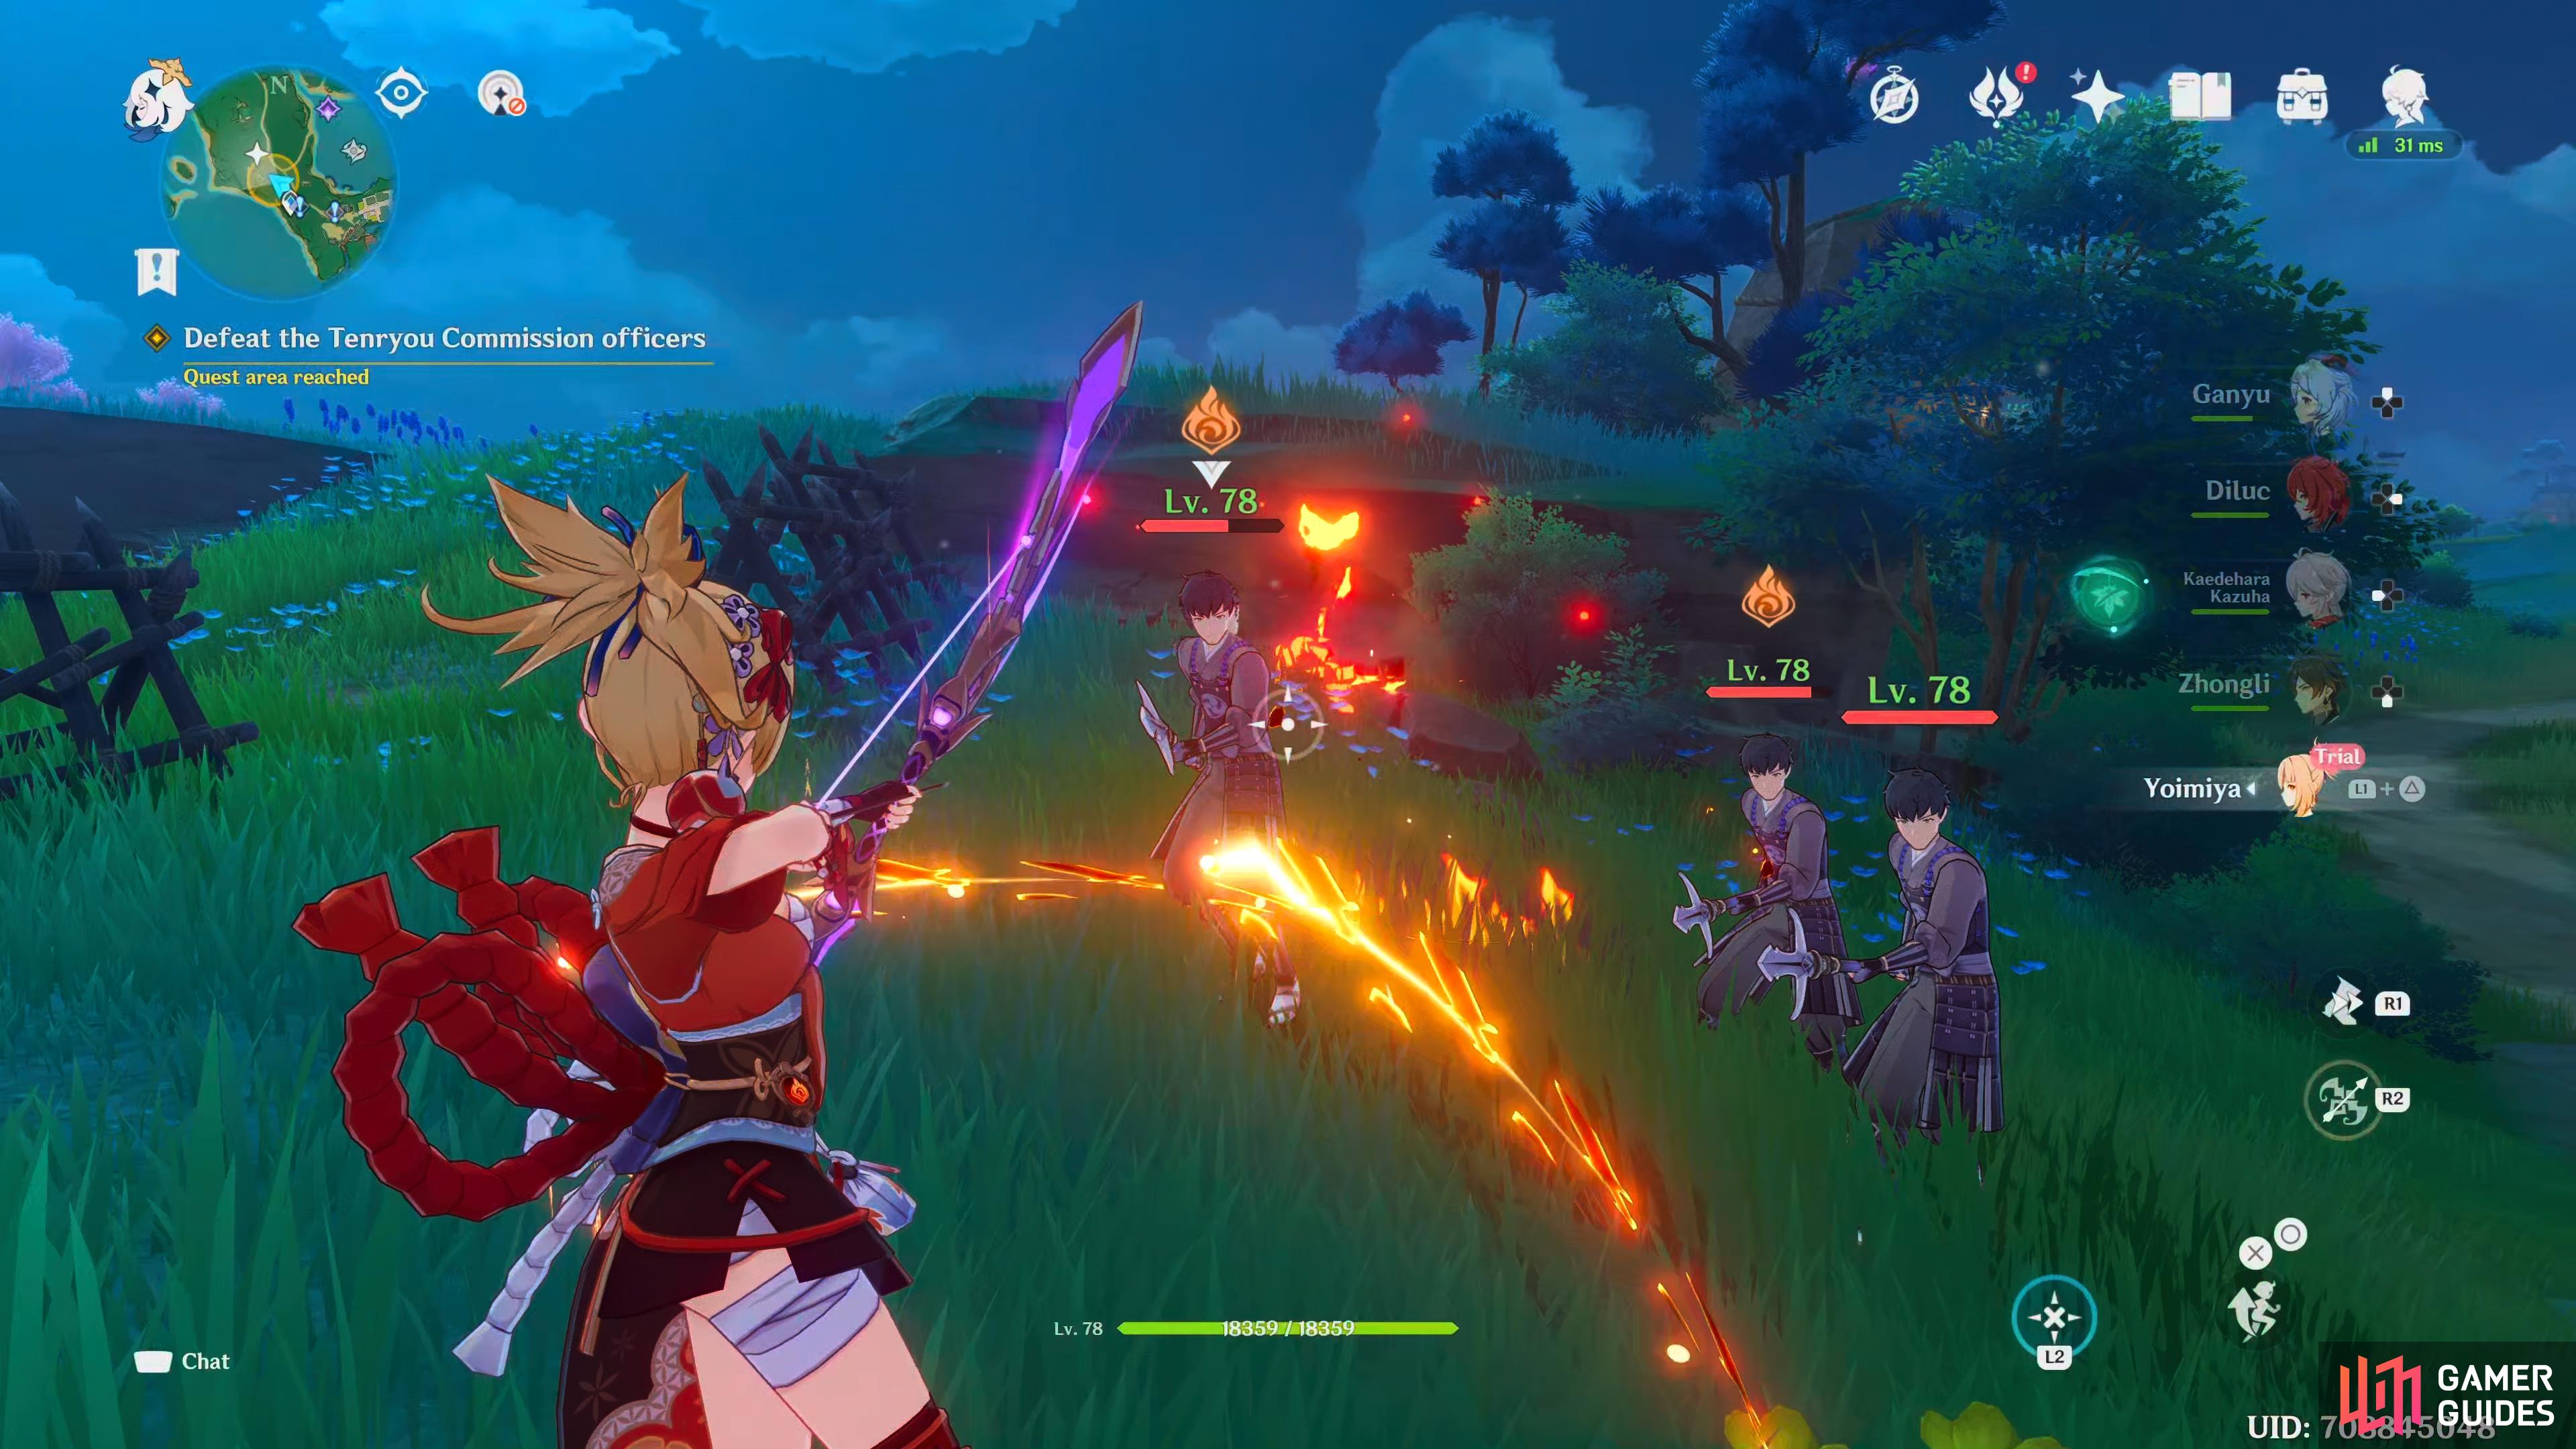
You’ll get to try Yoimiya out in this battle!
The battle itself is a piece of cake, providing you don’t stand in front of them charging up your bow. They’re all spear users, and have a chance to use a three hit stab combo, keep your distance, and fire away with Yoimiya, and they’ll go down in no time. When they’re defeated, another group will appear, this time you’ll go up against four of them. Keep using the same strategy above, and they’ll go down in no time. Once they’re defeated, another group will appear, this time you should have access to Yoimiya’s Elemental Skill and/or Burst. Make use of these to take them out quicker, and keep your distance, and you won’t have any problems. Finally, after they’re defeated, you’ll get a scene with Yoshitaka threatening you, then he runs off.
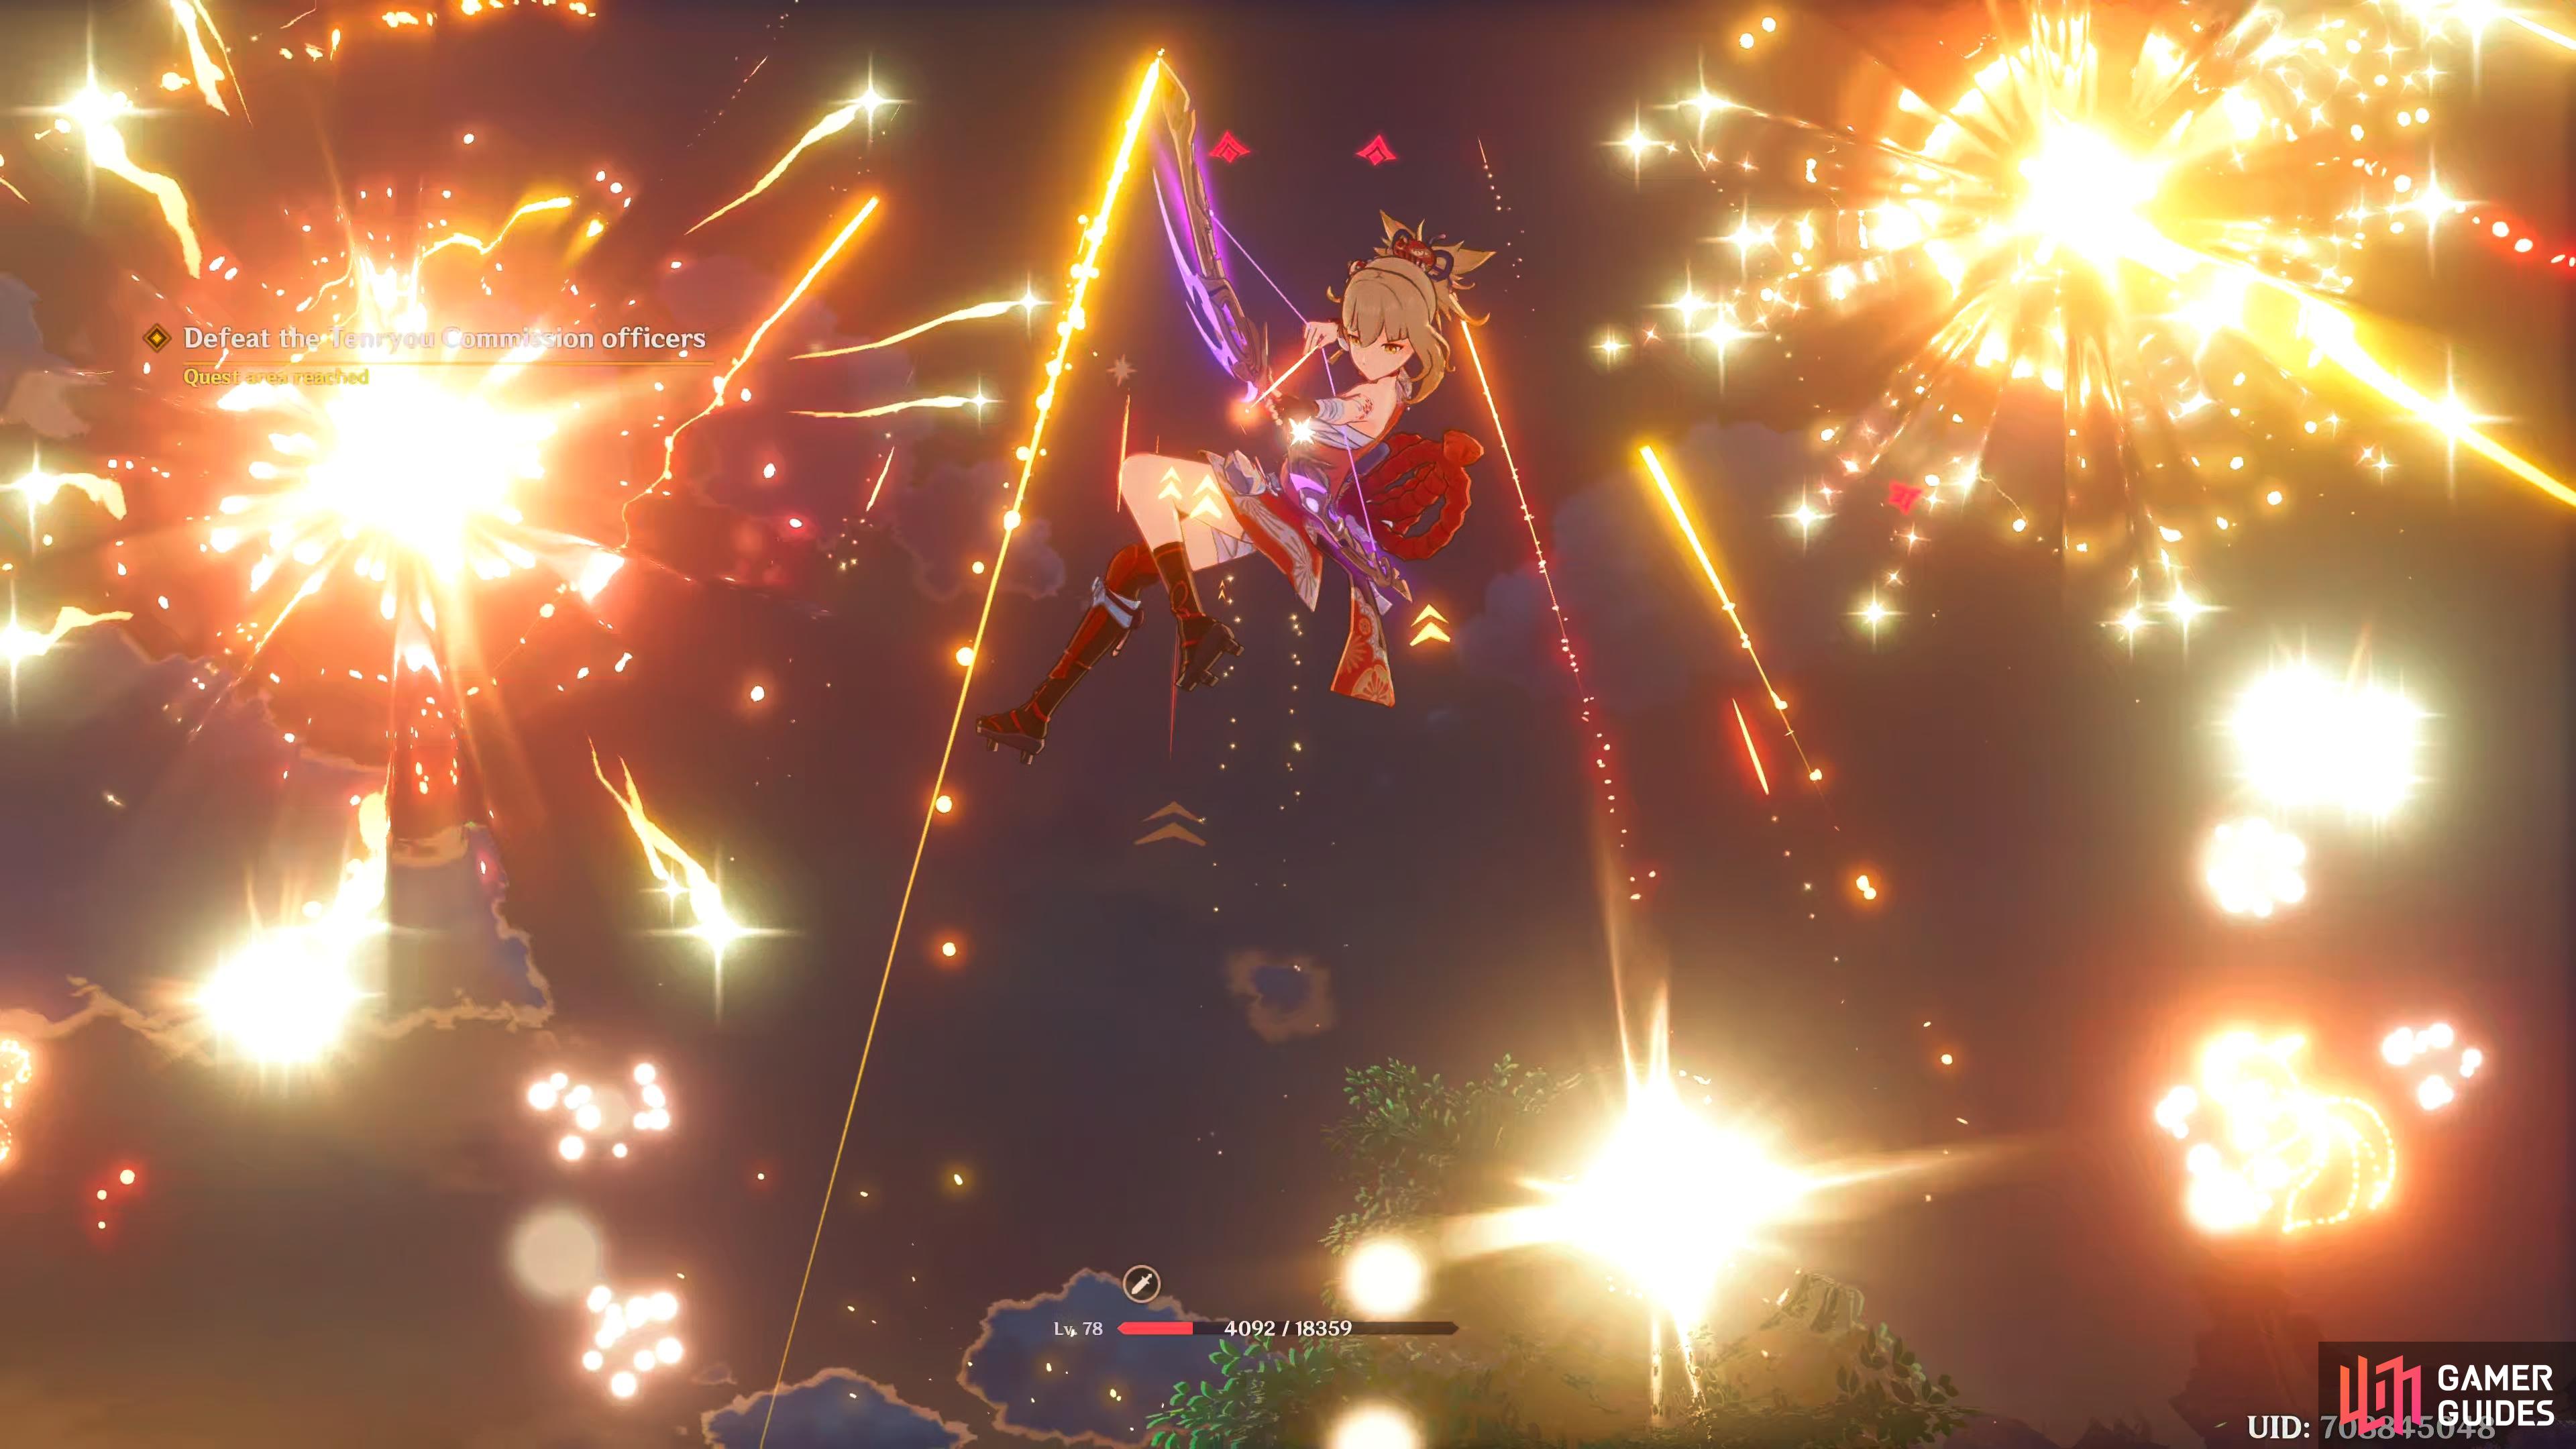
Yoimiya’s Elemental Burst: Ryuukin Saxifrage is a joy to watch.
Proceed deeper within to find Sakujirou
Once the scene has ended, proceed to the west, and drop to the beach below, this is where you’ll find Sakijirou, and Keisuke, approach them for a scene. You’ll find Keisuke towering above a defeated Sakijirou, mocking him for his swordplay. Sakijirou tell Keisuke that if it’s him to catch him, he accepts his fate. Keisuke will then tell him that he will take him back to the Tenryou Commission for sentencing, and the one who made the boat for him will also be punished.
Just as he’s saying that, Yoimiya interrupts them, and pleads to them to talk, but both of them are too stubborn to concede. She tries her best to make them see reason, telling them all the things they’ve done to reach this point. She’ll then offer Keisuke a duel, and if she wins, he needs to tell Sakijirou everything in his heart, and if she loses, then she’ll admit to collaborating with Sakijirou. He accepts the terms, and agrees to the duel.
Defeat Imatani Keisuke
Although it’s supposed to be a duel, he’ll have backup, and you can use your other party members. The easy way to win this battle, is to use a Cryo user as the floor is wet, and they’ll become constantly frozen, whilst their frozen, you can deal big damage with Yoimiya. This battle is really easy, especially if you take advantage of an overpowered Yoimiya. Keisuke himself fights like a regular Nobushi enemy, meaning he does a lot of charging katana attacks, which can deal a fair bit of damage, but using the strategy above means he’ll never get close to you. When you win the battle, you’ll get a scene.
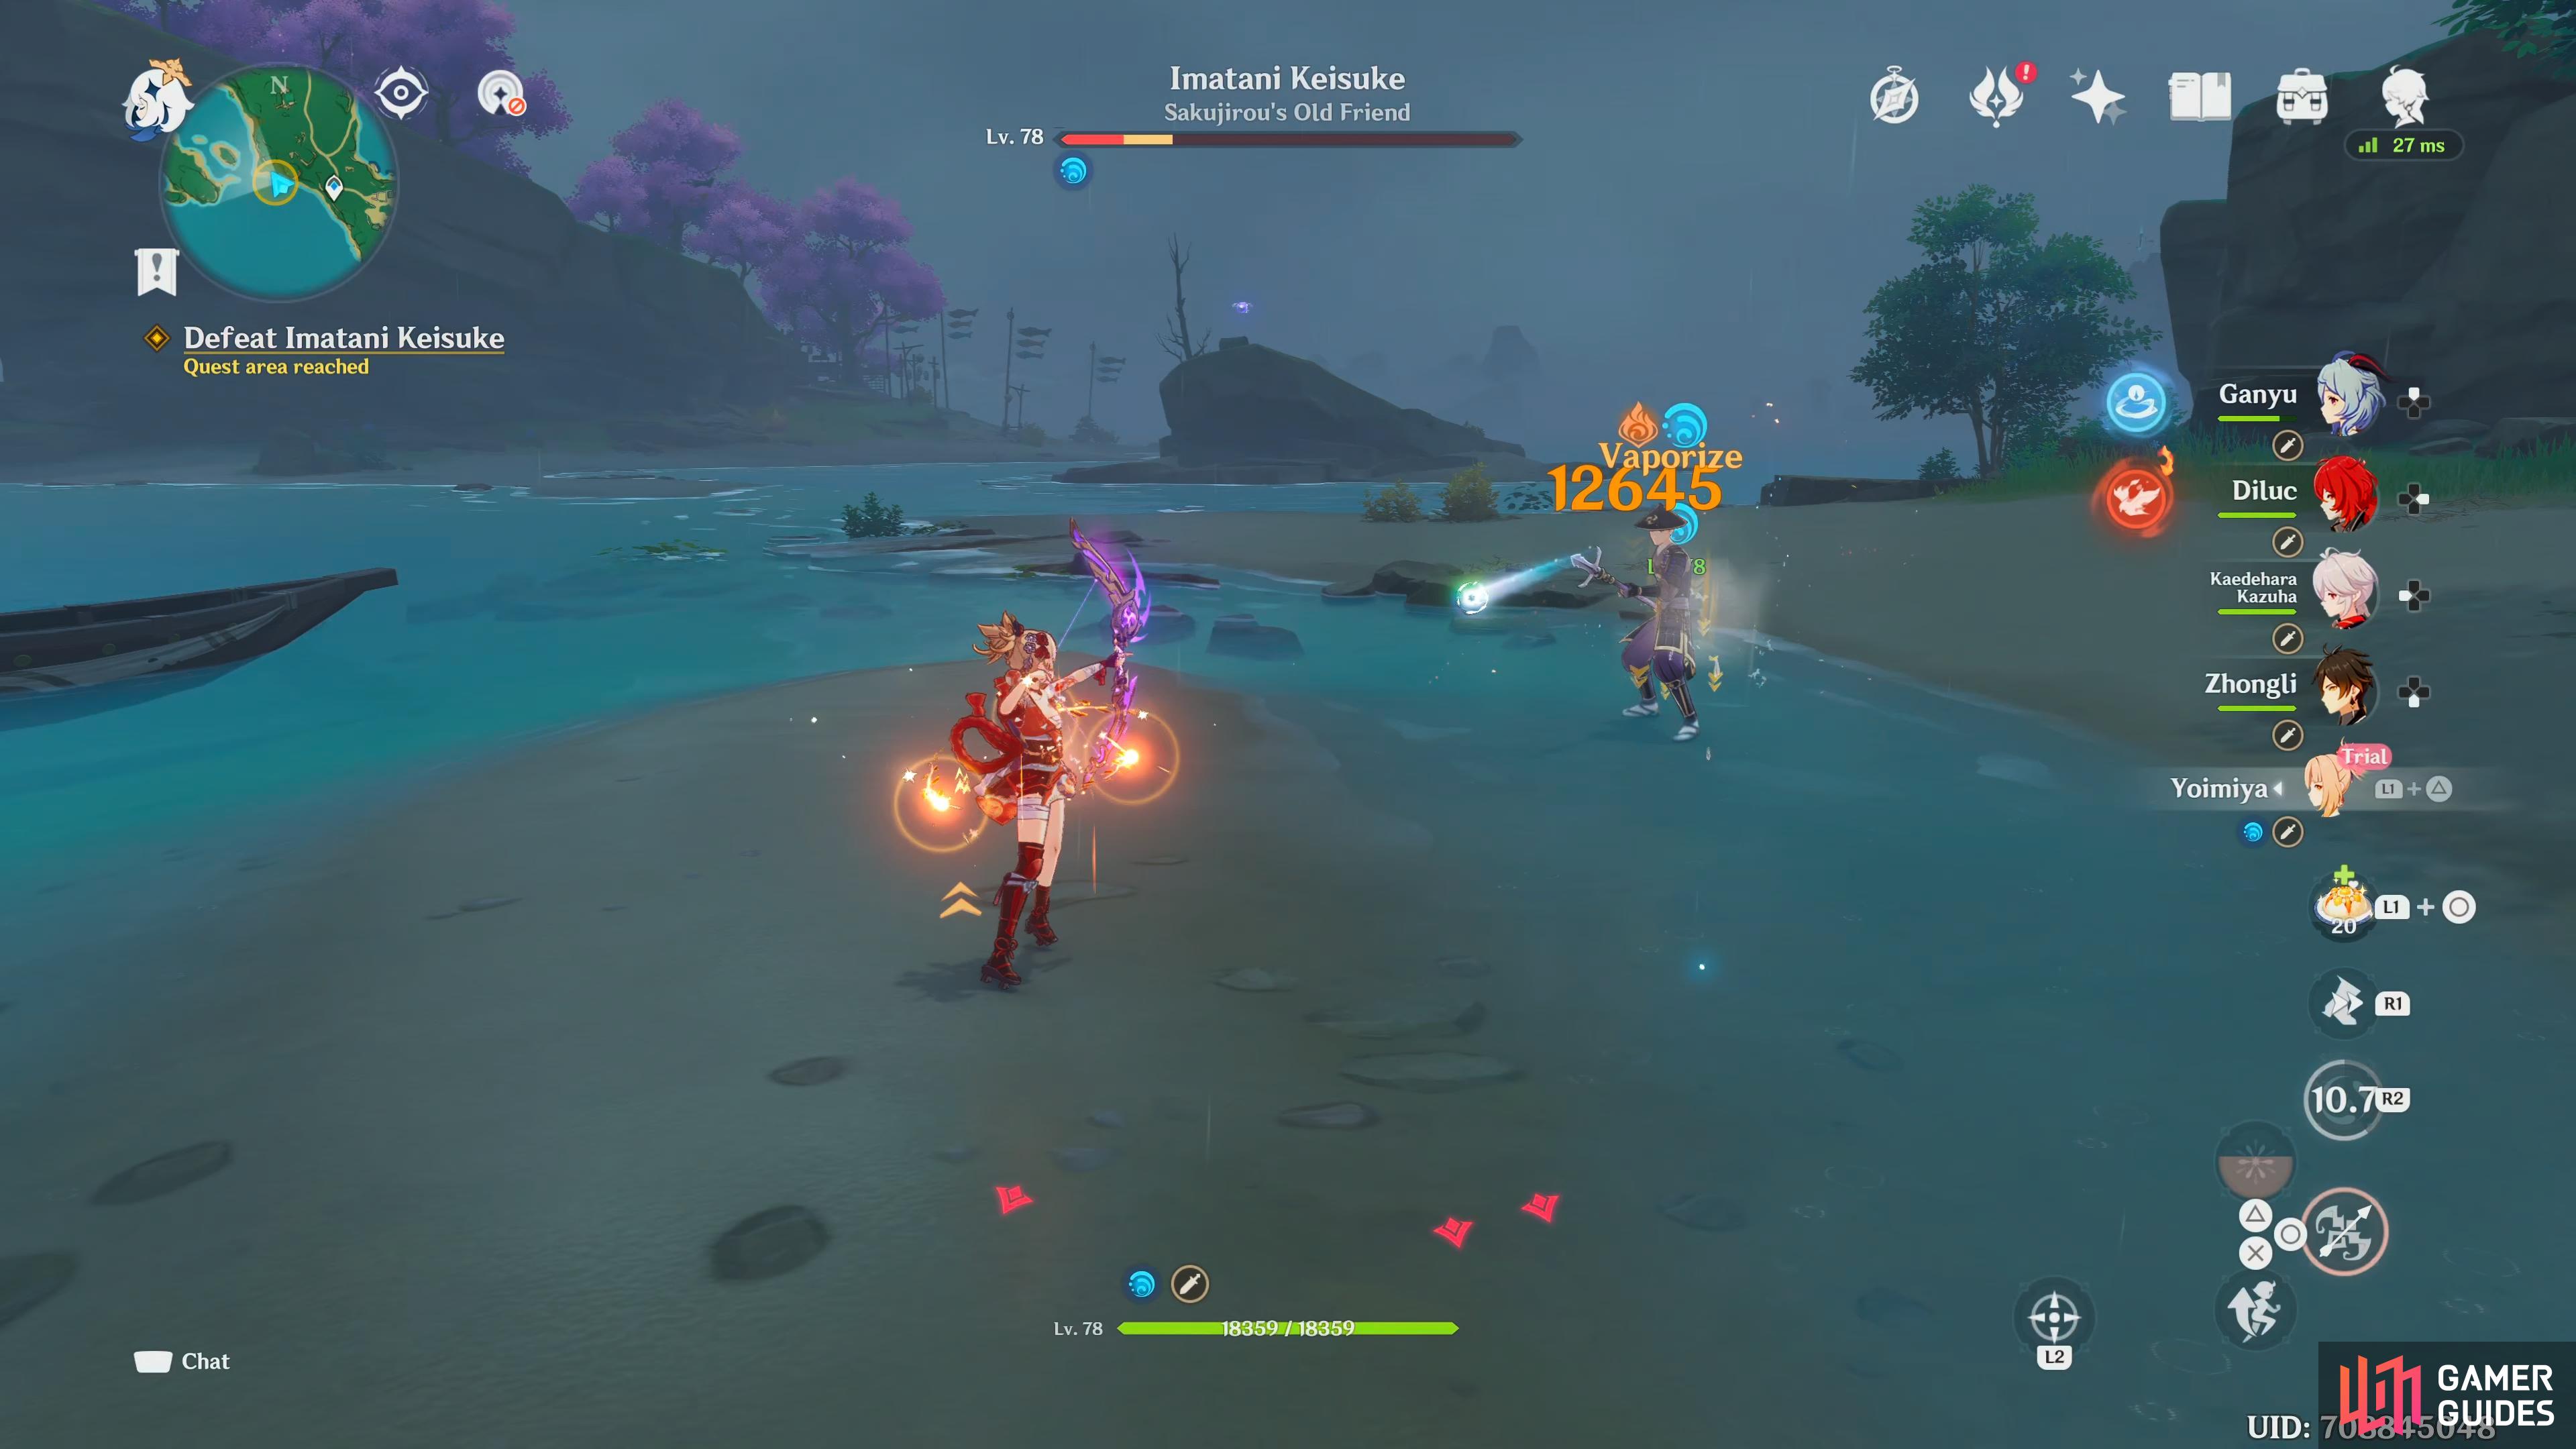
Imatani Keisuke is a pushover, even with his backup. Take advantage of the wet floor to maximize damage.
Talk to Imatani Keisuke and Sakujirou
Keisuke will tell his men to stand down, and once again, Yoshitaka runs away. He asks Yoimiya why she is so certain they have things to say to each other, and she explains her reasons. He’ll then tell you that he really believes in the Raiden Shogun, but he doesn’t feel right about the Sakoku Decree, confiscating people’s visions. Saijirou and Keisuke have a heart-to-heart, and get what they needed to say to each other, off their chests, then Keisuke will tell Sakijirou he’s free to get on the boat, and go.
As Sakijirou leaves, he asks Keisuke if they could watch the fireworks together, and Keisuke replies “Maybe next time”. Yoimiya asks him about the boat, and he tells you that he had the boat transported here, and he planned on chasing Sakijirou to this spot. Finally, he asks Yoimiya if she could recreate the firework that them two normally have, and she tells him that without a slip of paper, she can’t. This leaves him upset, but she tells him that Sakujirou ordered one before he left, and because he obviously won’t need it anymore, he’s welcome to have it. When Keisuke leaves, Paimon praises Yoimiya on the way she took command there, then Yoimiya tells you that she has the perfect spot to watch the fireworks.
Sakijirou looks at the fireworks and weeps as he makes his escape.
Go to a place to watch the Fireworks Show
With the scene ending, head west to Amakane Island, and follow the dusty path to the top for a cinematic. When the cinematic ends, you’ll tell Yoimiya it was beautiful, she’ll tell you that the big gold firework that went up first, was the one she had especially made for you, and she hopes that no matter what hardships lie ahead, she hopes you can look back fondly at this moment. She’ll tell you what fireworks mean to her, as Paimon asked her earlier, then she’ll give you a fireworks slip, so you can have it remade for you providing you have it. When the scene ends, so will the quest, and chapter.
No Comments