
This is a walkthrough for Yae Miko’s Story Quest “Banquet of Parting” which is the final quest in the Divina Vulpes Chapter: Act 1, The Great Narukami Offering. Here, you’ll find a complete walkthrough for the entire quest.
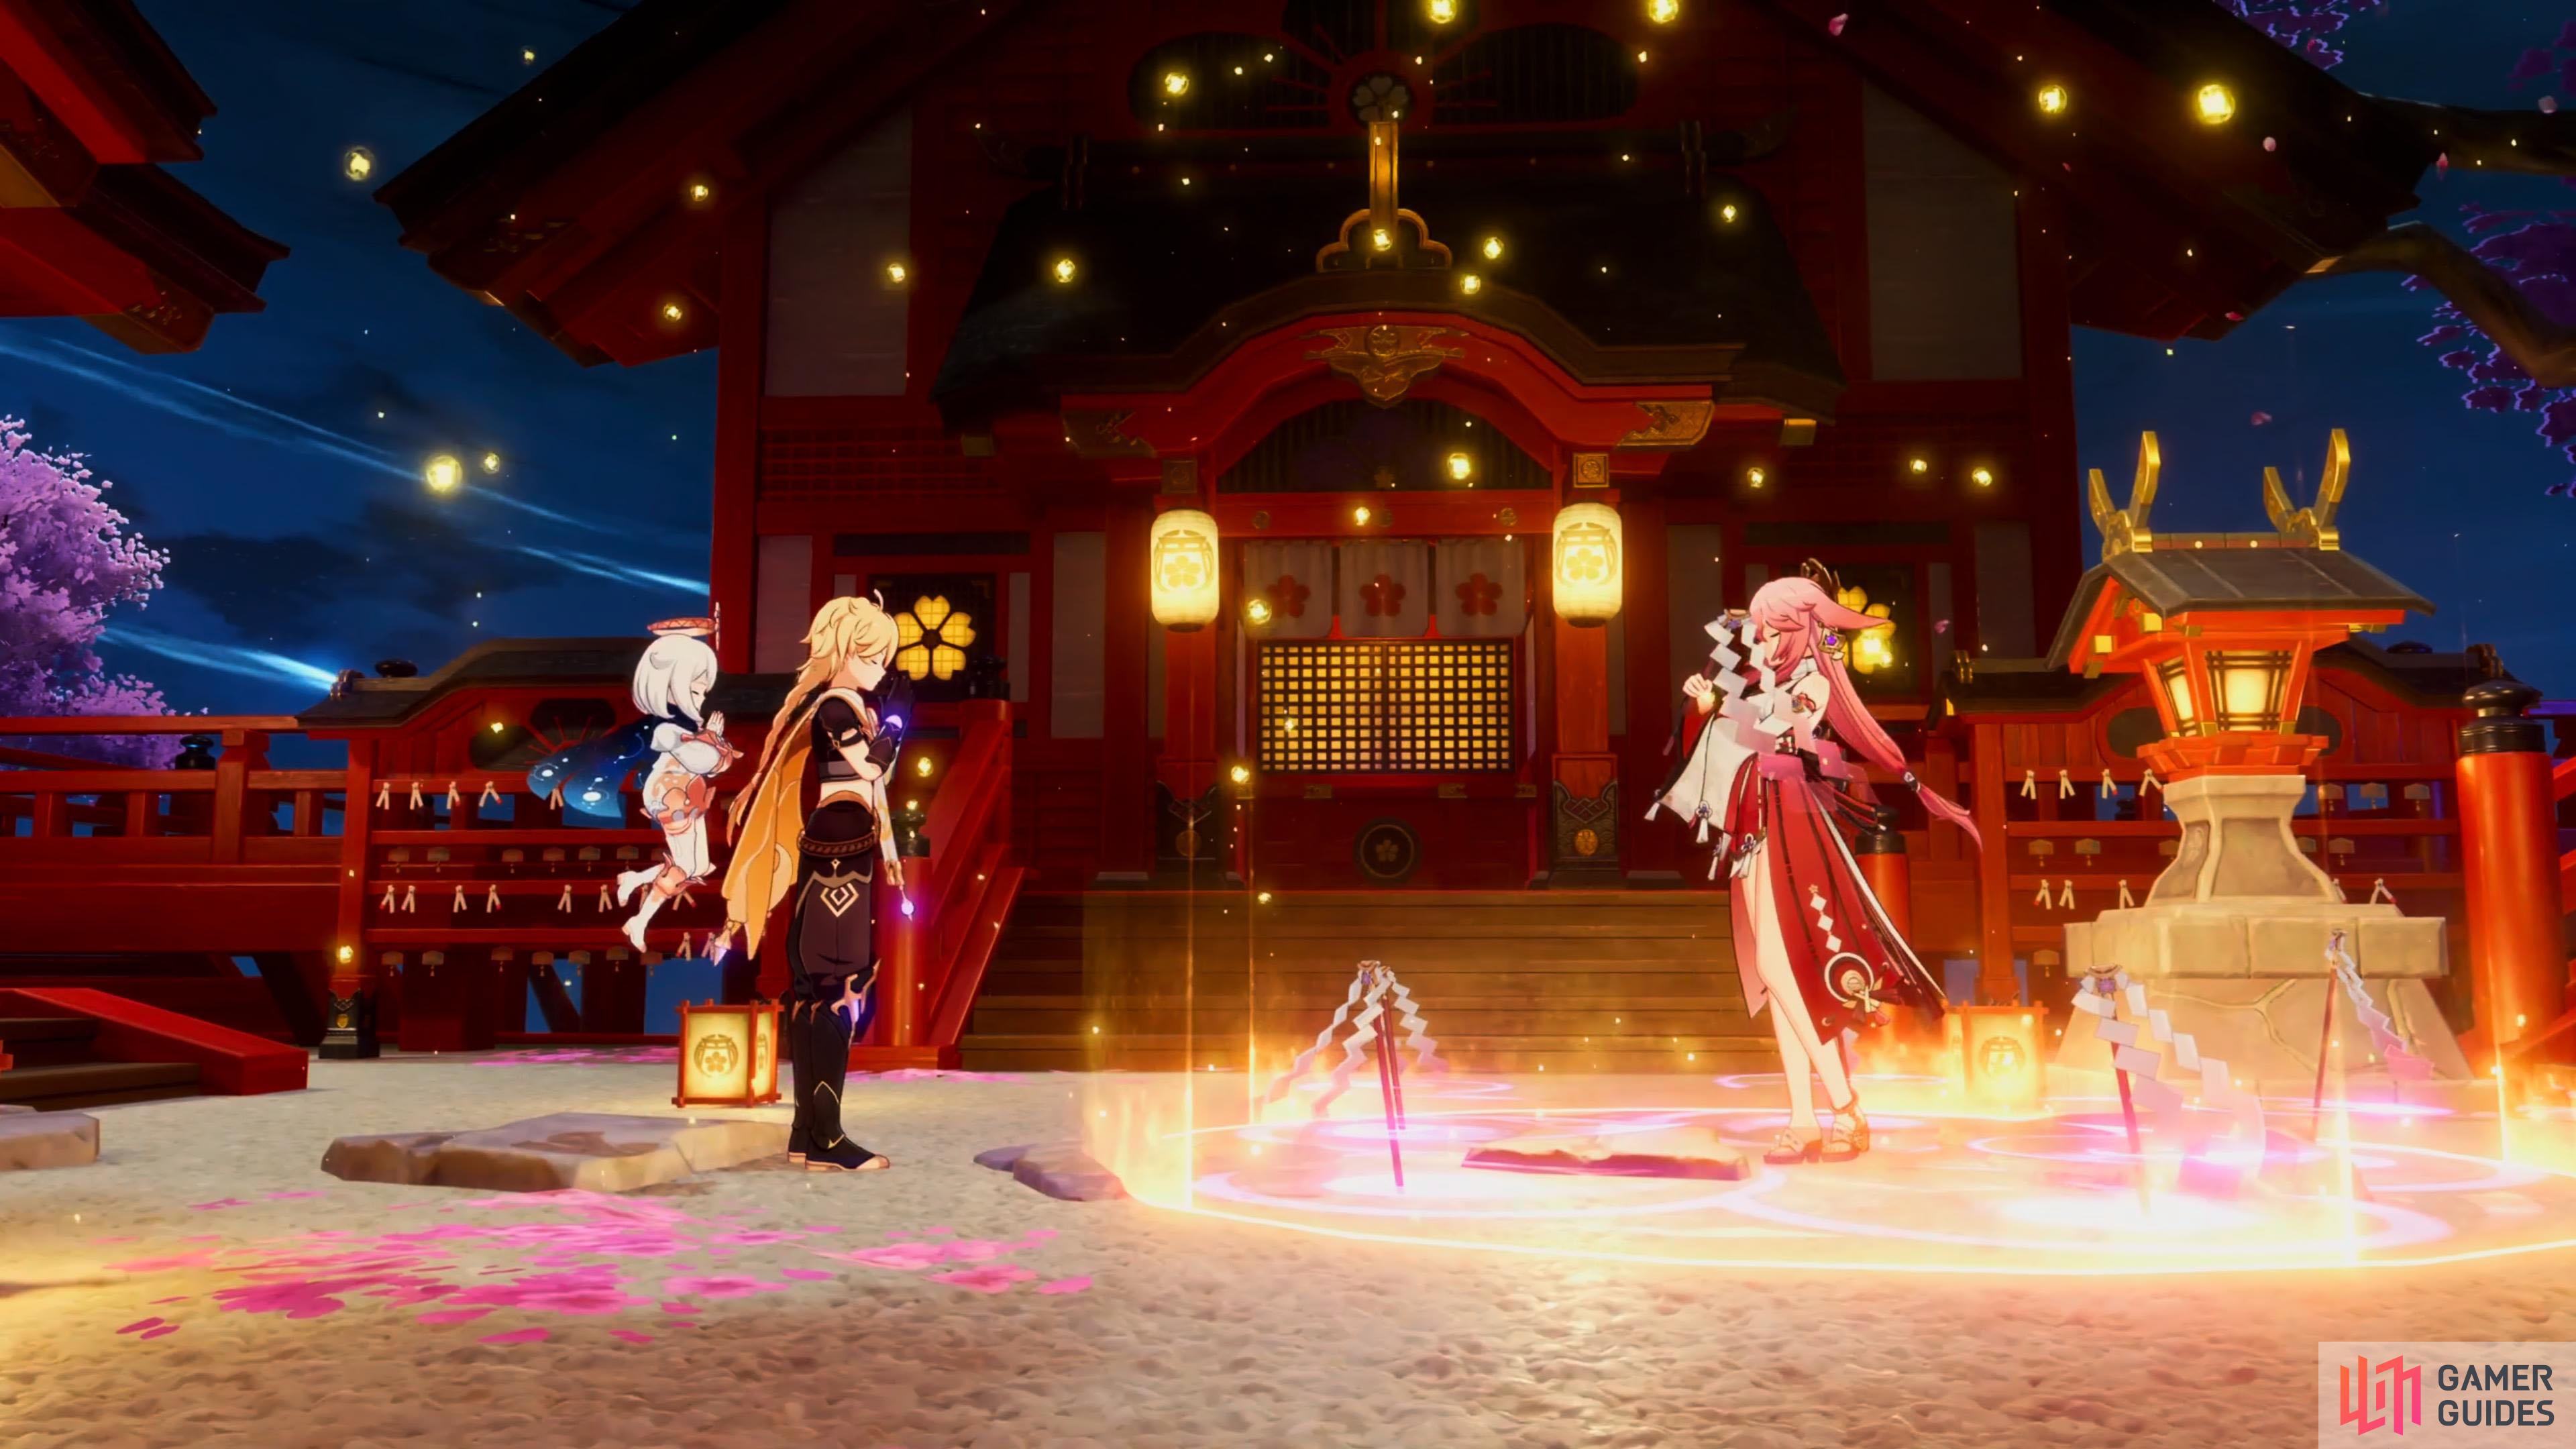
The Traveler, Paimon, and Yae Miko performing the “Moonless Night” ritual.
| Adventure EXP | Mora | Other Rewards | Requirements | Next Quests |
|---|---|---|---|---|
 525 525 |
 60 60  4 4  8 8  5 5 |
Adventure Rank 40, Complete: Omnipresence Over Mortals - Chapter 2: Act 3, Transient Dreams. One Story Key. | – |
Description
What can we do for these youkai? If you were to answer honestly, it could only be a grand farewell party.
Steps
- Go to the Grand Narukami Shrine and look for Yae Miko
- Tell the shrine maidens to leave the shrine temporarily
- Go to the main road under Mt. Yougou
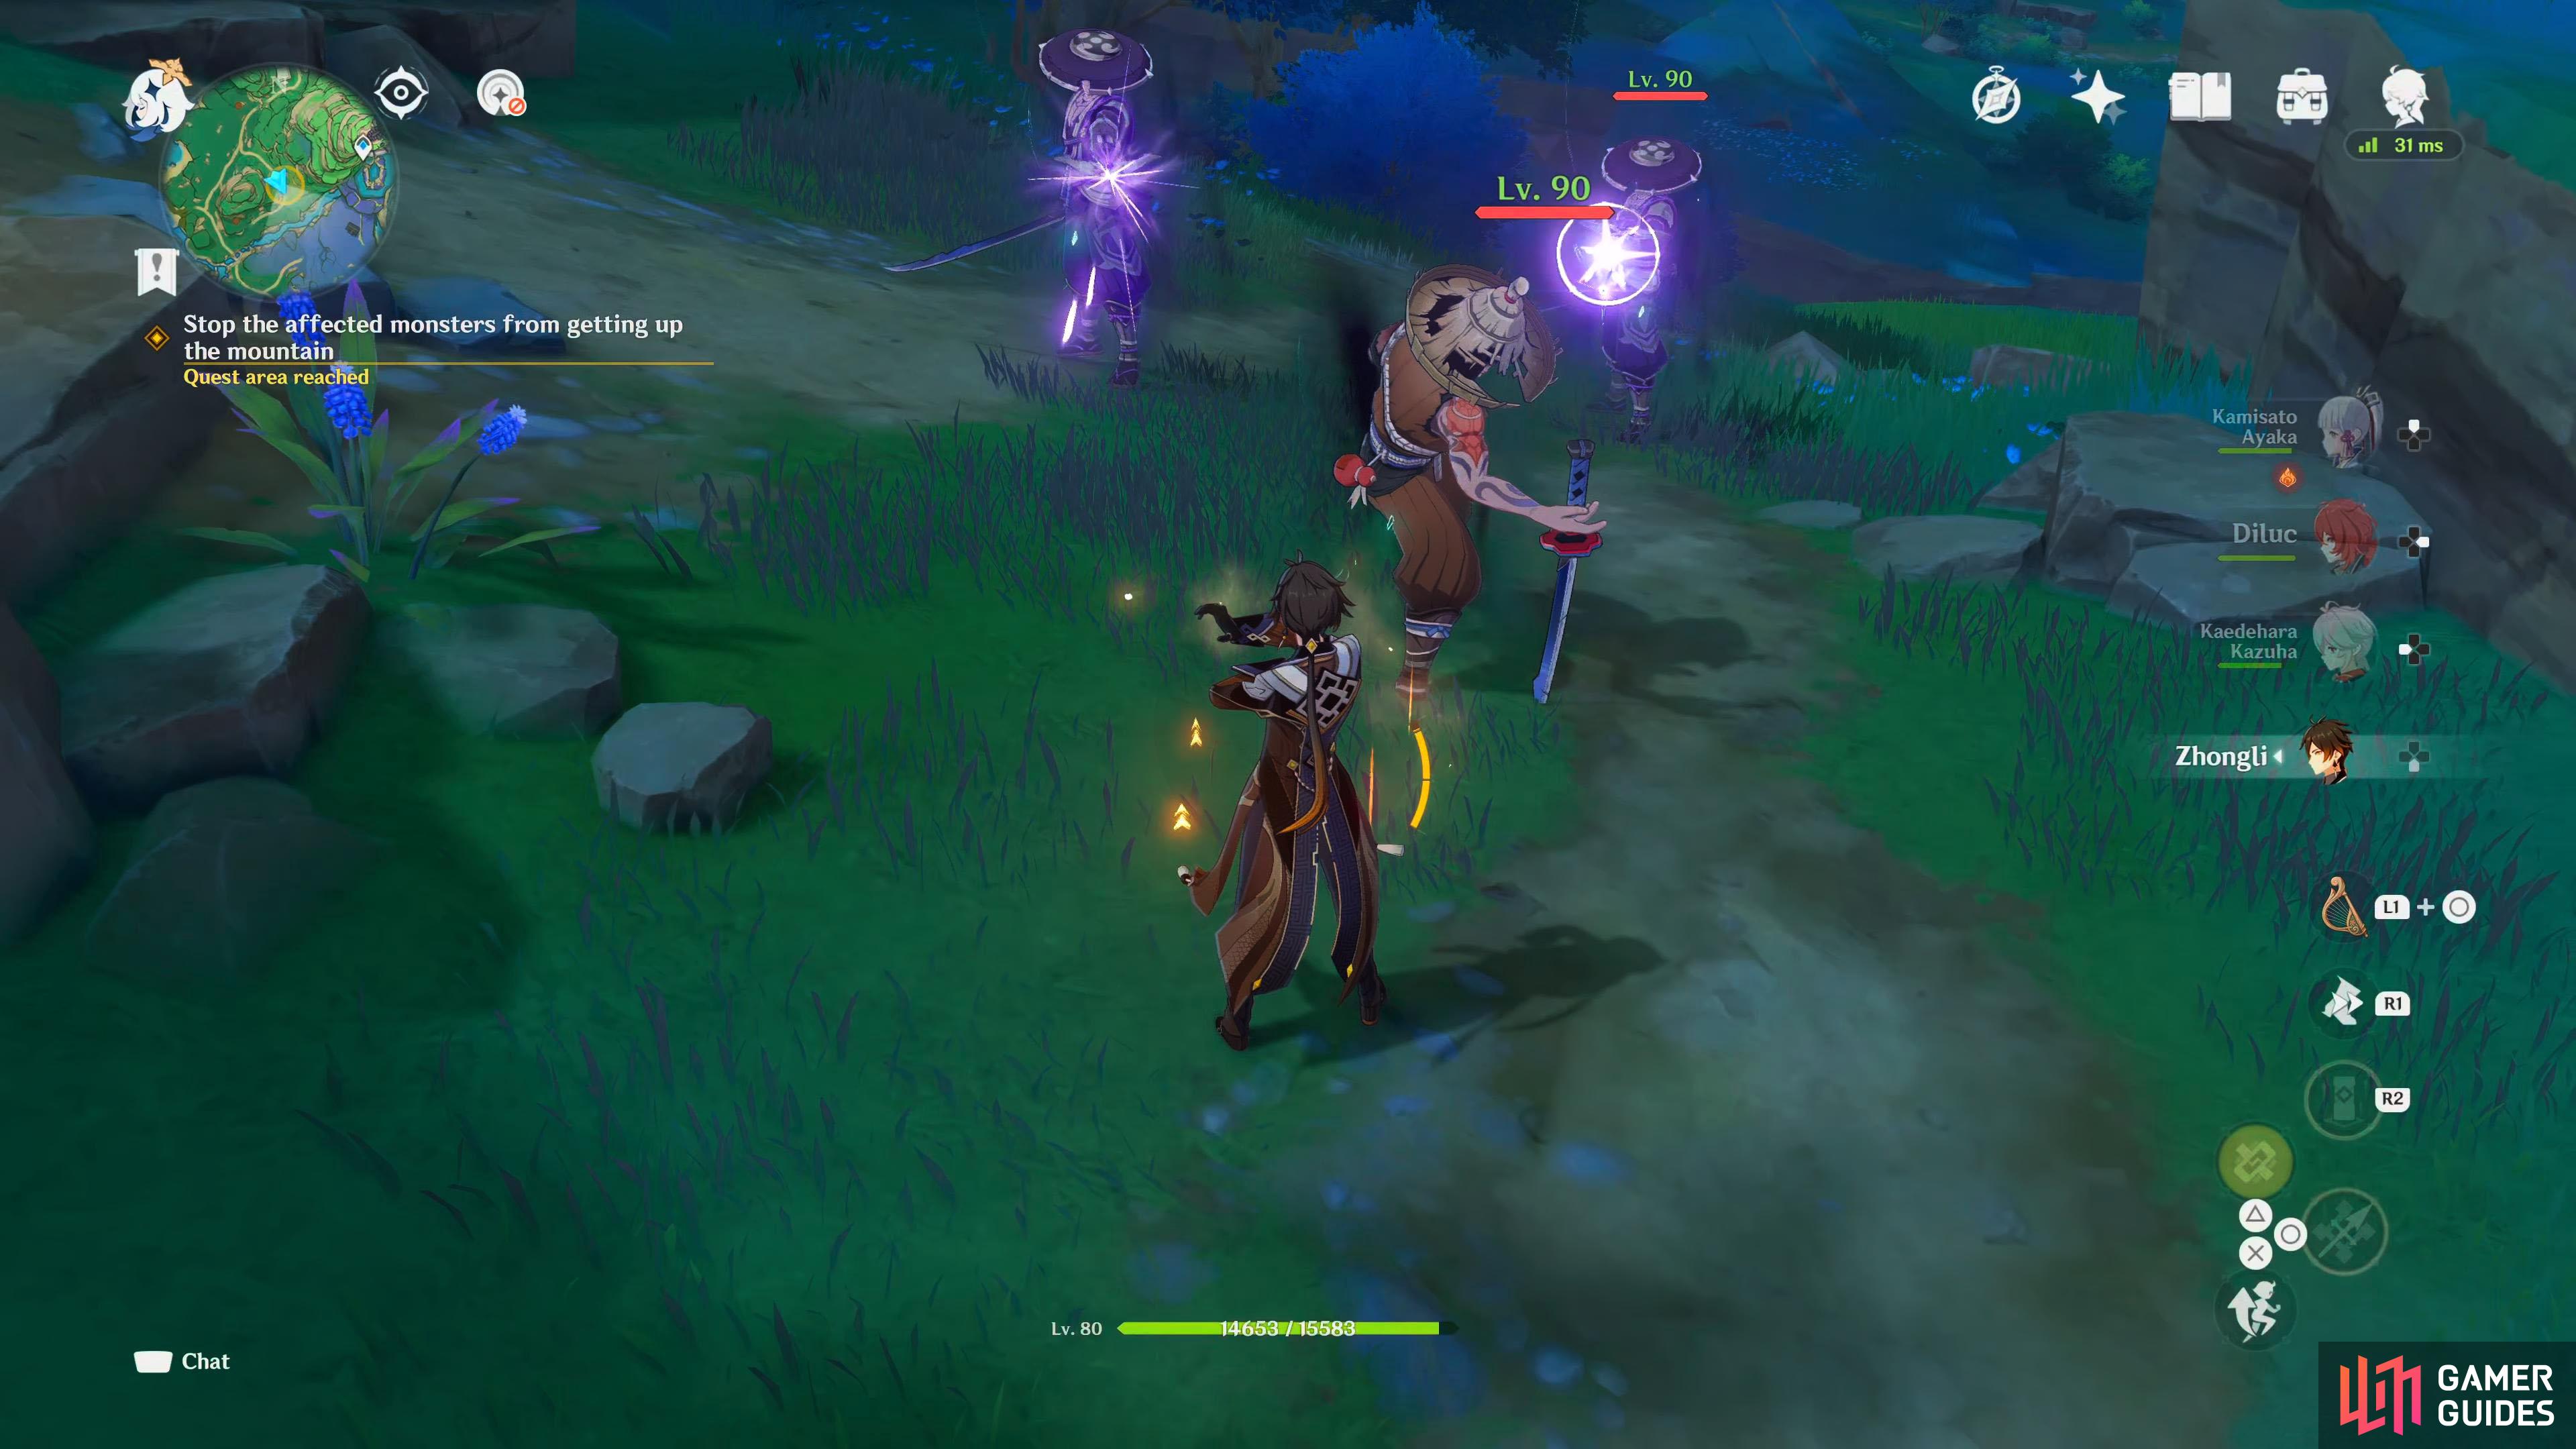
- Stop the affected monsters from getting up the mountain
- Return to the Grand Narukami Shrine / Say farewell to the youkai within the Ley Lines
- Wait until the appointed time (the following day) / Go close to Uyuu Restaurant
- Enter Uyuu Restaurant
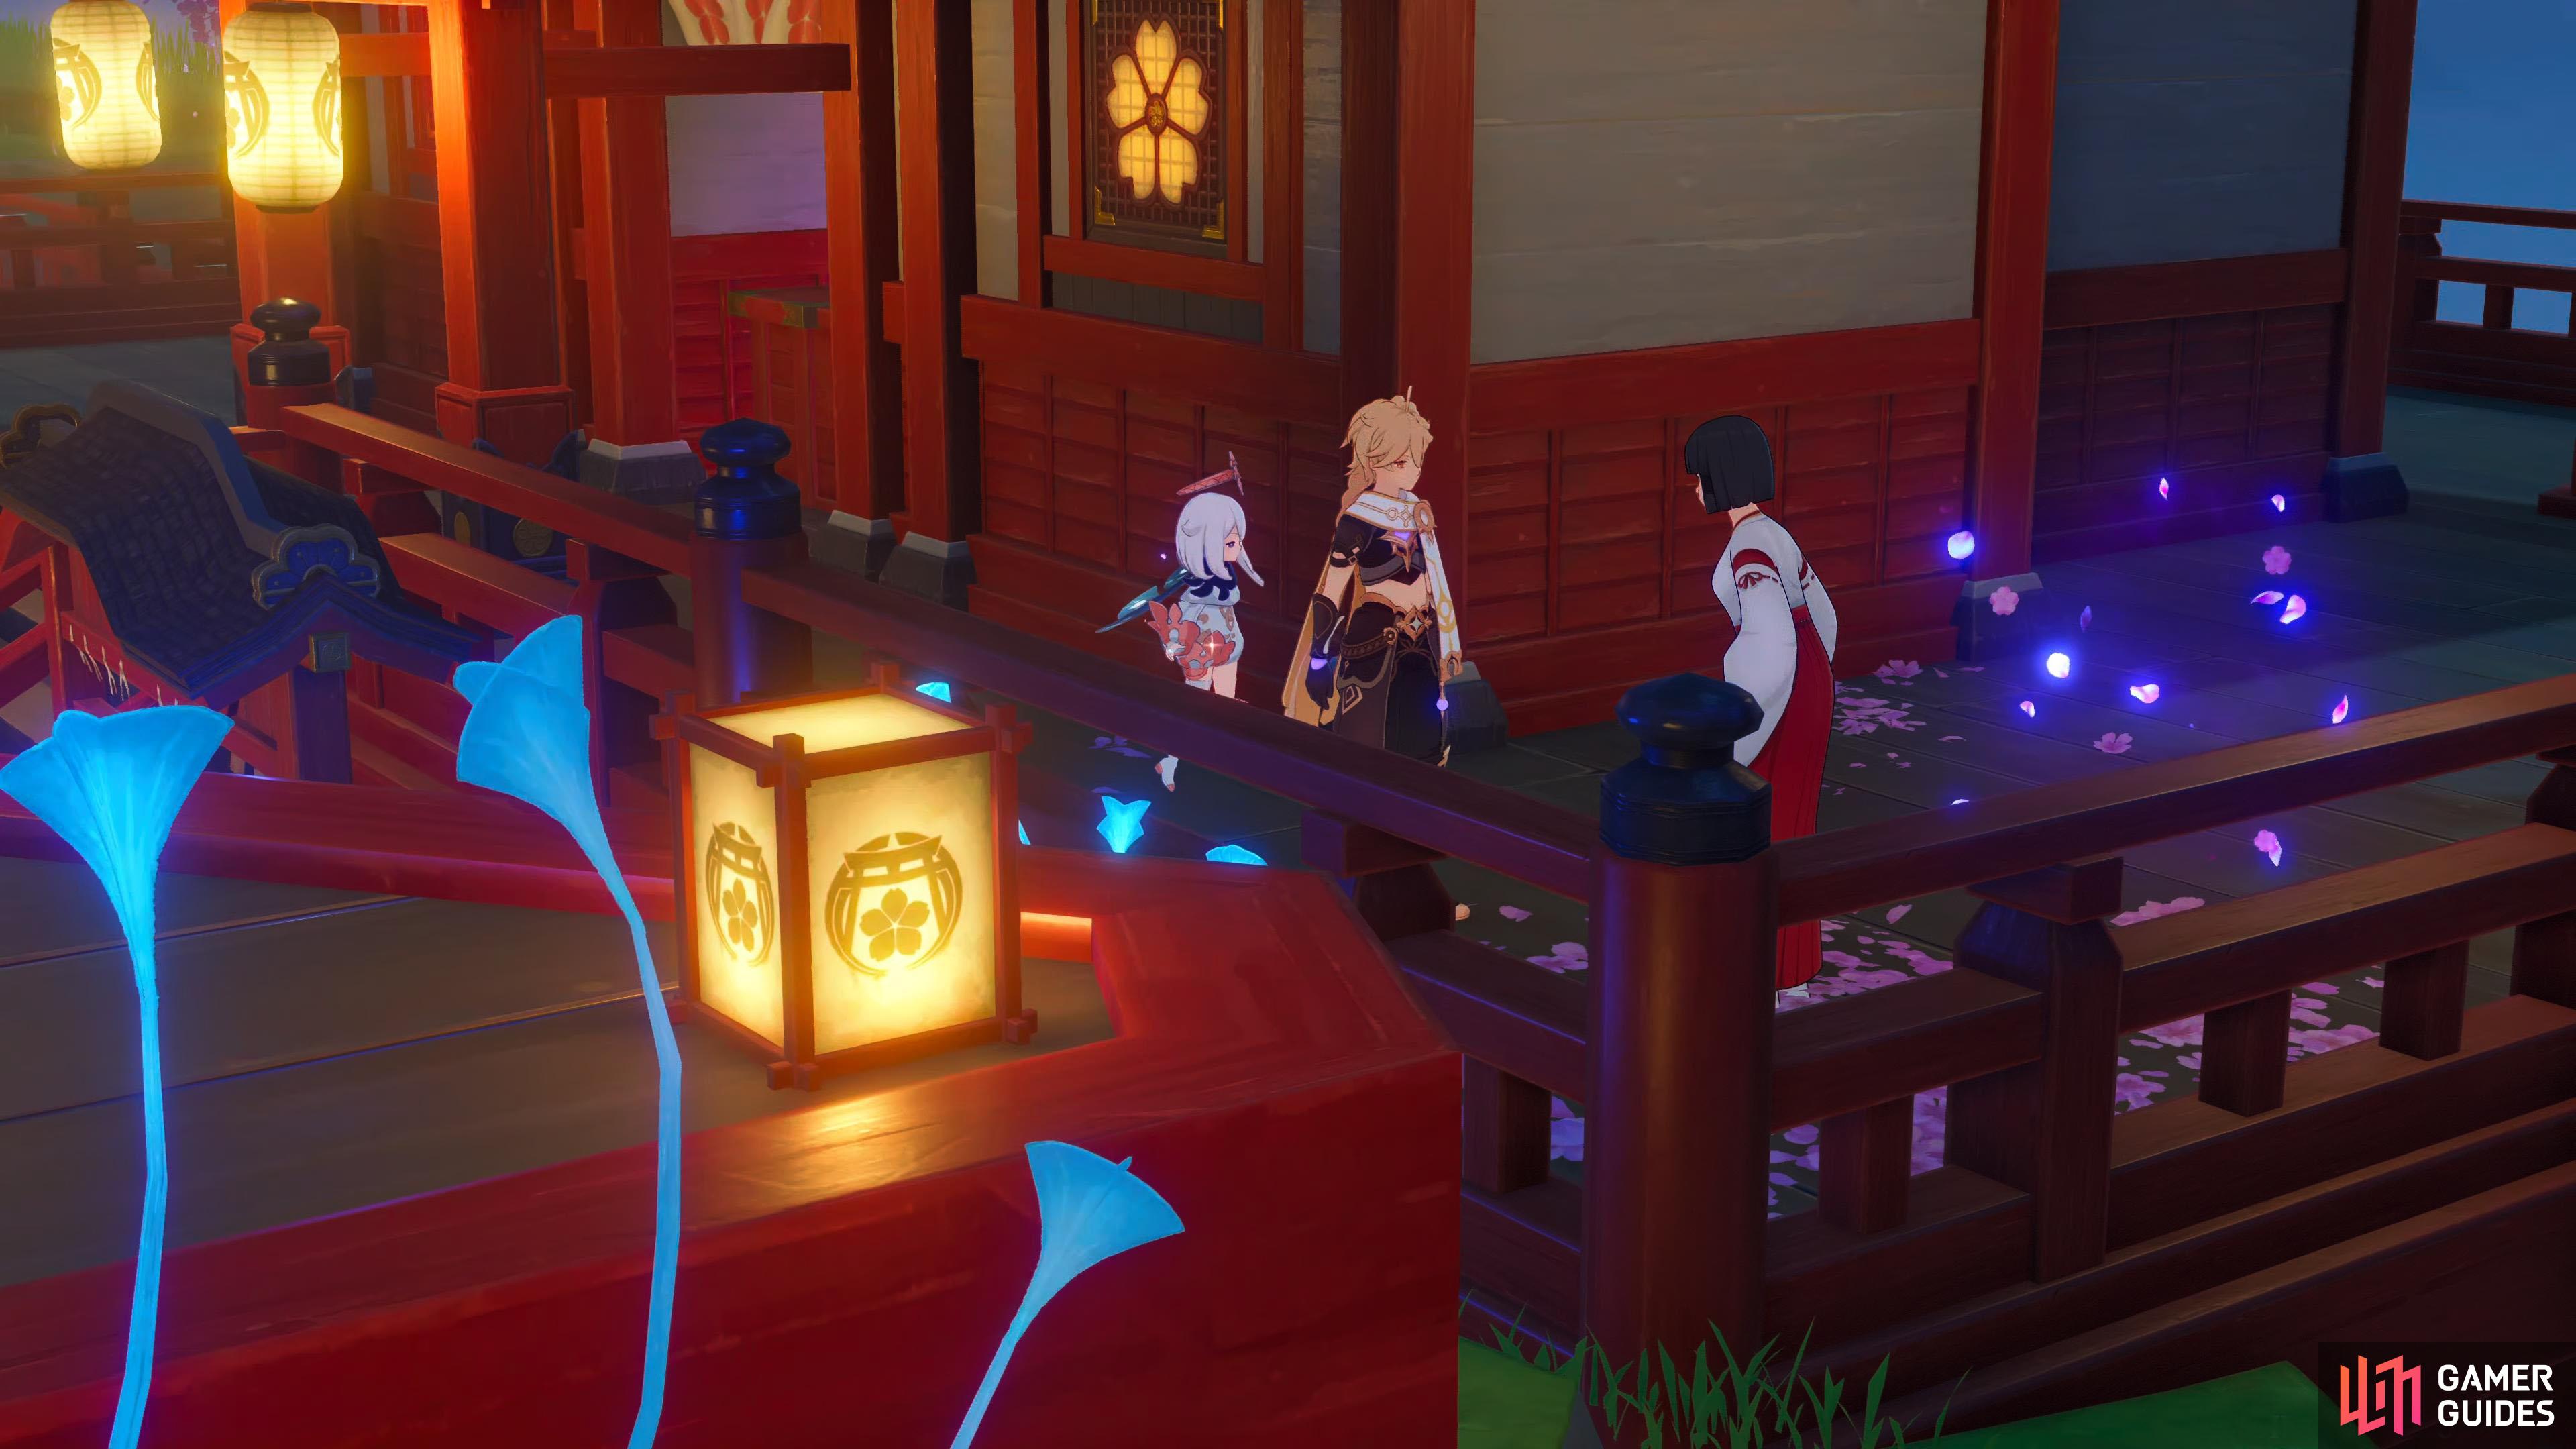
Go to the Grand Narukami Shrine and look for Yae Miko
The final quest of Act 1 ends with Yae Miko performing a ritual at the Grand Narukami Shrine. Make your way over there either via teleport or walking. As you approach Yae Miko, you’ll get a scene. Yae Miko will greet you, and Paimon will tell her you’re not sure what you have to do to make the Hyakkiyakou happen or what it even is. She’ll tell you that a Hyakkiyakou is just a gathering of youkai.
Do you remember the incantation about the moonless night that she put into your book? Well according to Yae Miko, it wasn’t a wish-granting incantation, but a spell to calm the Ley-Lines. Once again, Paimon will ask her what she wants you to do. Apparently when the ritual begins, the sky will fill up with youkai memories, when this happens, there is a small chance that someone could get possessed, so she’d like you to ask the Shrine Maidens to leave. After that, she’ll need you to deal with any monster activity at the foot of Mt. Yougou as the youkai’s memories dispersing could disturb them.
Tell the shrine maidens to leave the shrine temporarily
Head over to the Shrine Maiden, Maki who is standing by the building to your north for a short scene. You’ll explain to her that she’ll need to descend the mountains as per Lady Guuji’s orders. She’ll agree to your suggestion, and she’ll tell the rest of the Maidens to do the same.
Ask the Shrine Maidens to leave the Grand Narukami Shrine on Lady Guuji’s orders.
Go to the main road under Mt. Yougou
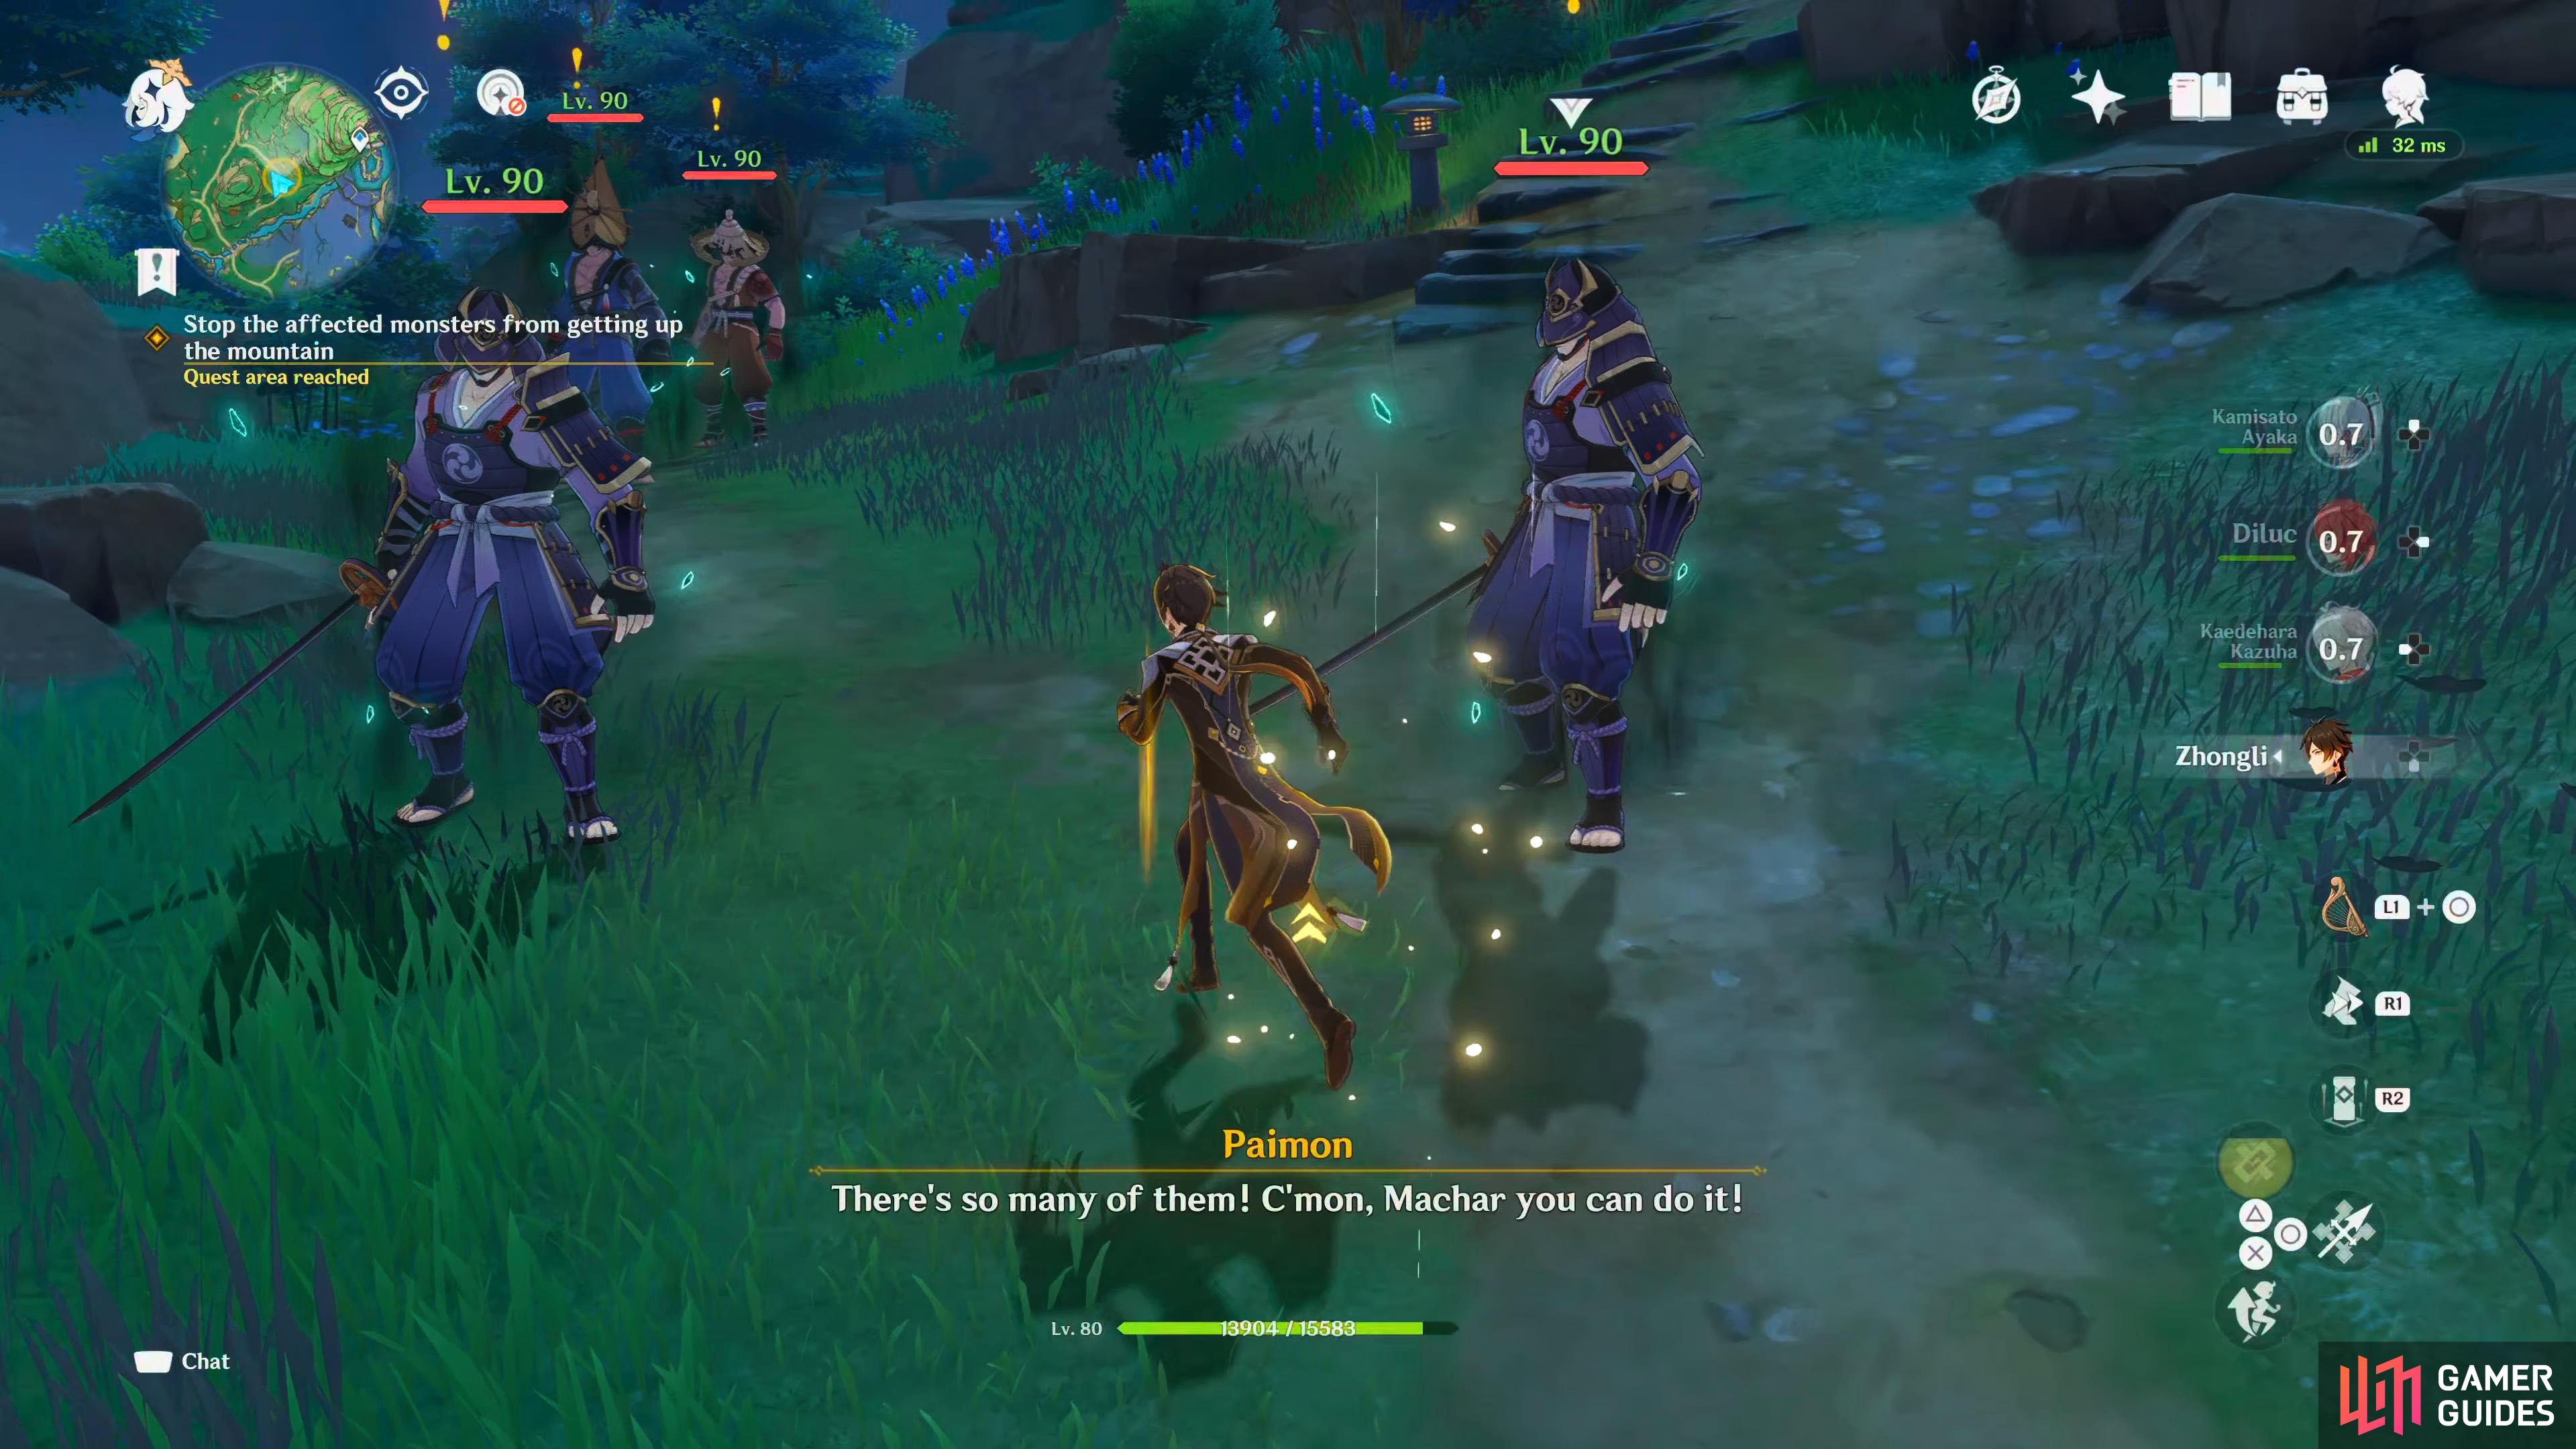
Now that the Shrine Maidens have left the shrine, you’ll need to make your way to the foot of Mt. Yougou. The quickest way is to glide down from the shrine to the quest objective. As you approach the bottom of the stairs, a short scene will occur. It’ll now be night, and the monster will begin to congregate at the foot of the mountain. You’ll tell Paimon that you can’t let them get to the top of the mountain, and that you should get rid of them for Yae Miko.
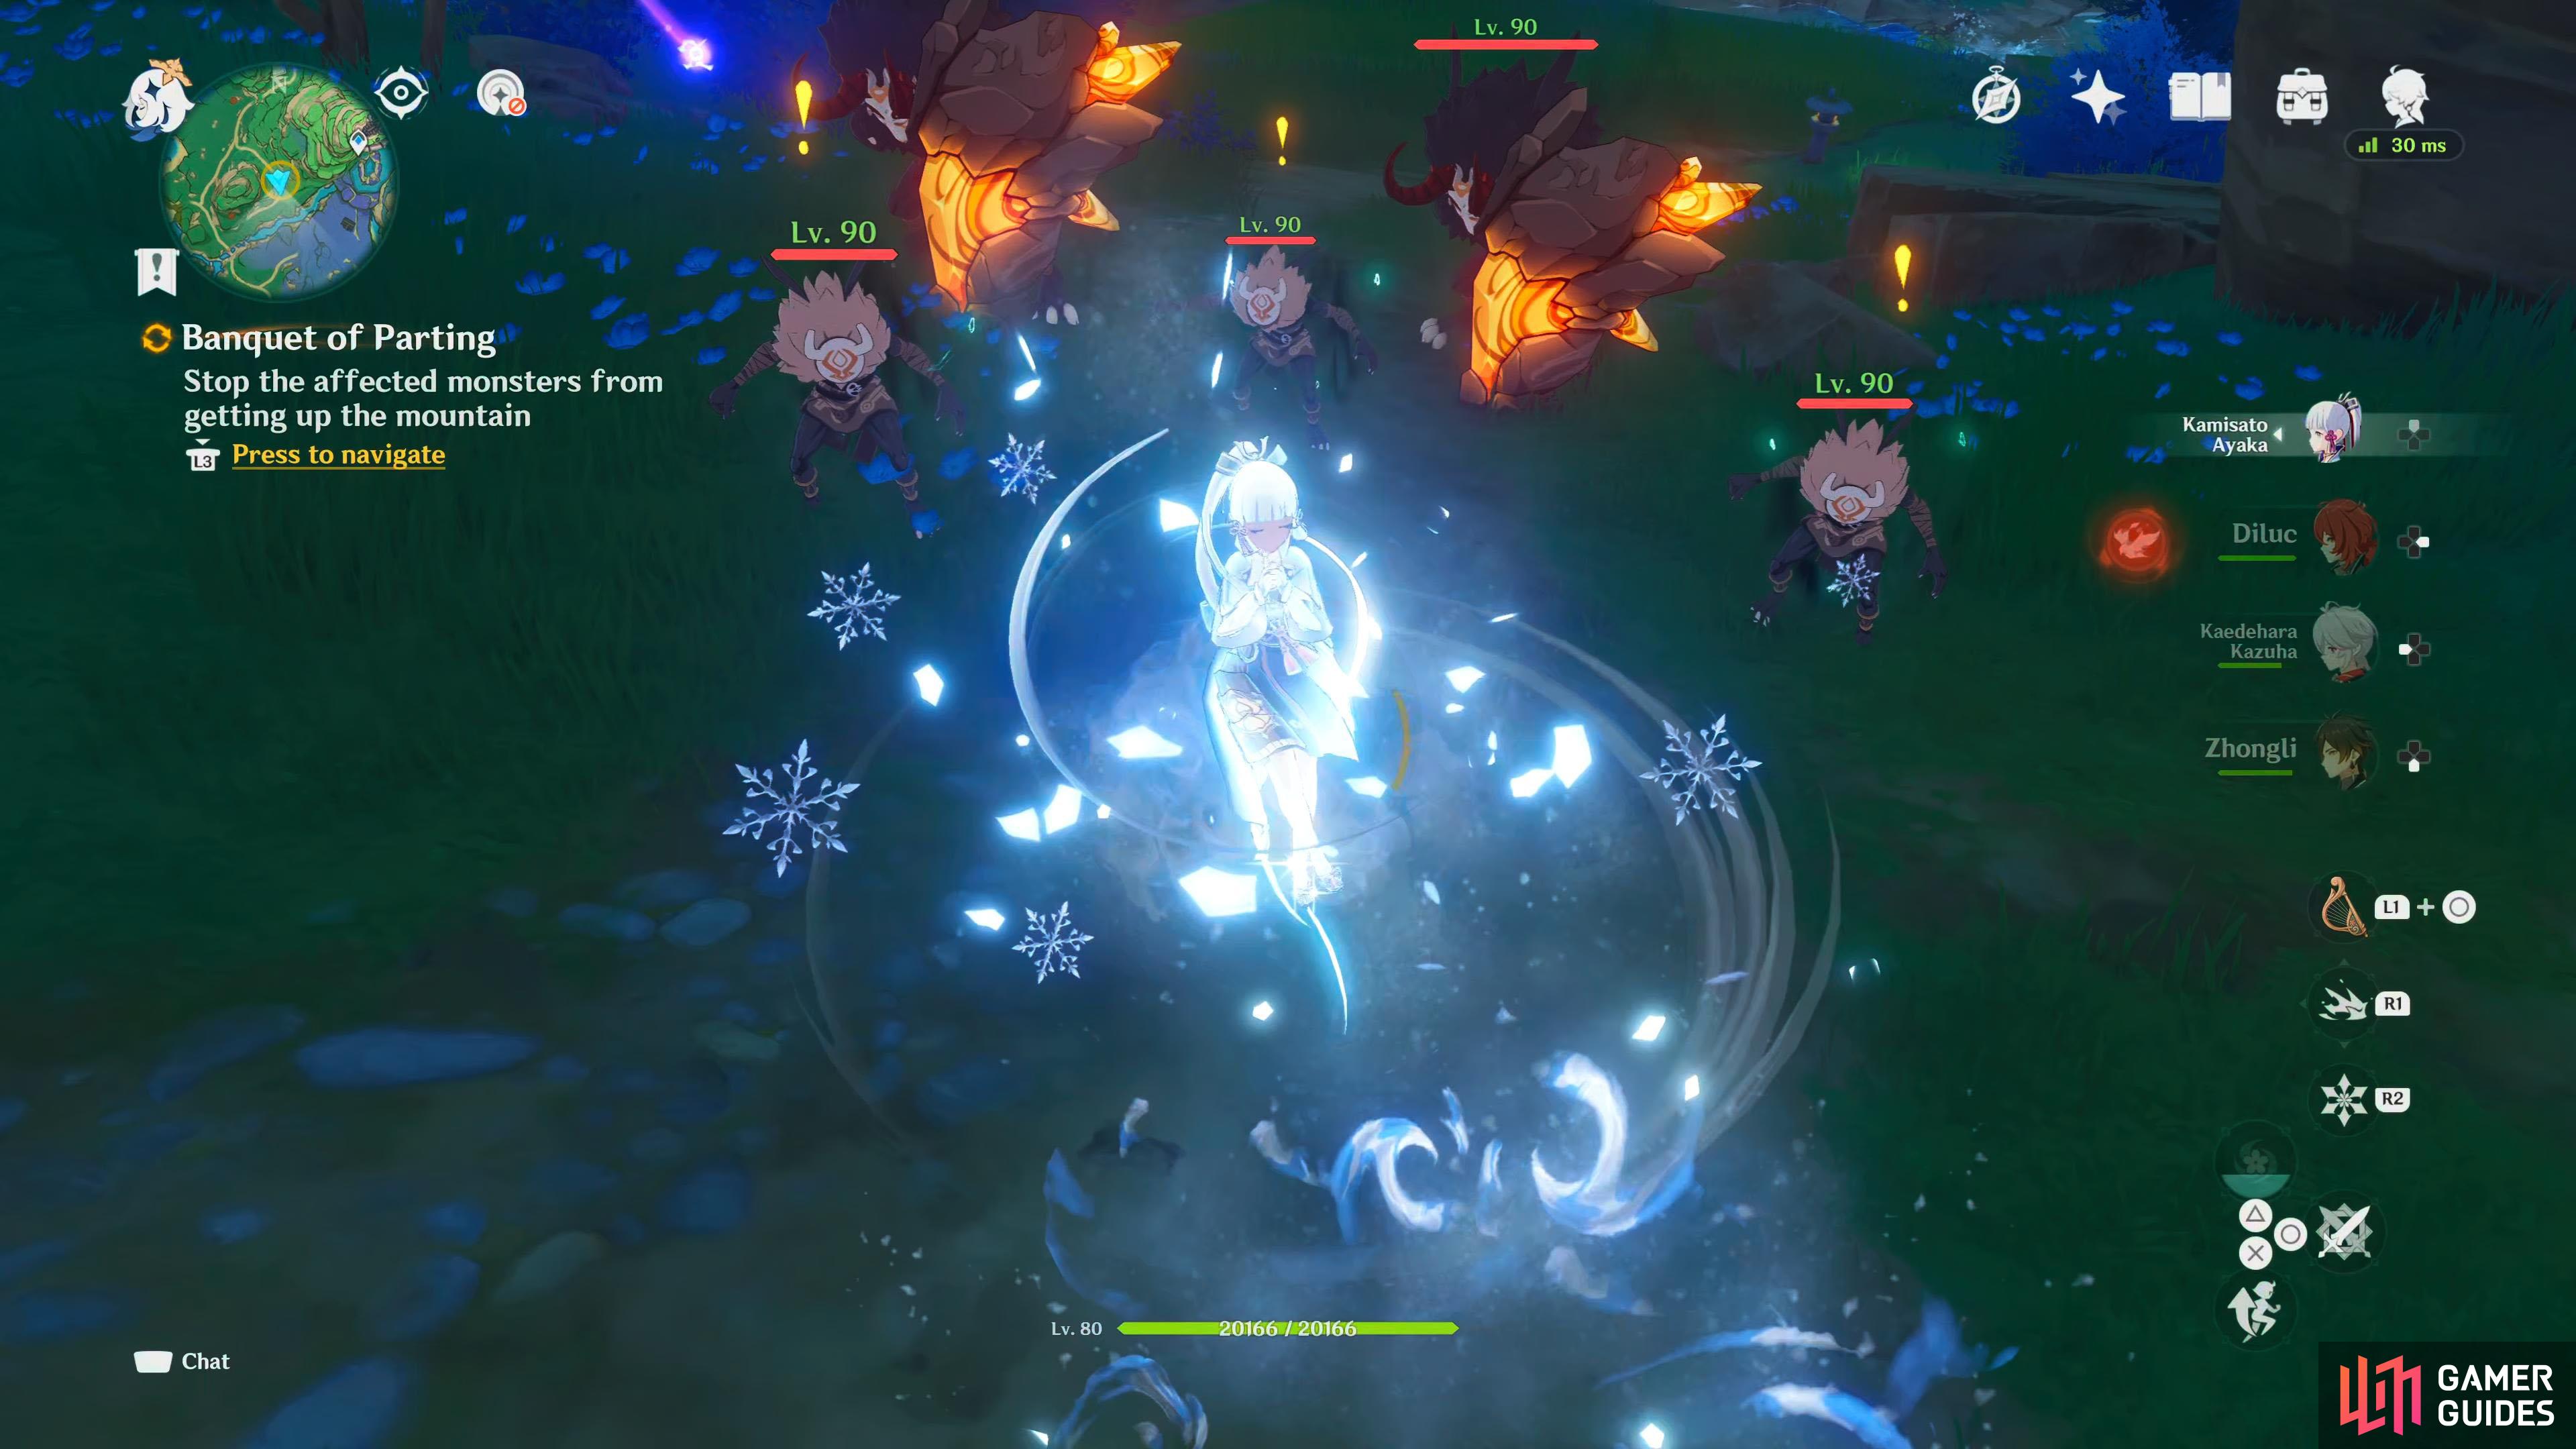
Stop the affected monsters from getting up the mountain
For this part of the quest, you’ll have to fend off four waves of enemies. The order that they come in are as follows:
Wave 1
| Icon | Enemy | Icon | Enemy |
|---|---|---|---|
 2 2 |
Rock Shieldwall Mitachurl |  3 3 |
Hilichurl |
For the first wave, the only real threat will be the Rock Shieldwall Mitachurls, and that is more due to their frustrating shield more than anything. Any character that does yield a Claymore or a Geo character should take them down in no time.
Wave 2
| Icon | Enemy | Icon | Enemy | Icon | Enemy |
|---|---|---|---|---|---|
 2 2 |
Hydro Slime |  1 1 |
Anemo Samachurl |  1 1 |
Large Pyro Slime |
The Anemo Samachurl is the main threat here, and should be your focus otherwise it’ll keep hurling tornadoes at you from a distance. For the slimes, Cryo, and Electro work great on both of them, but you can use anything really as they shouldn’t cause you any problems.
Use a geo character to destroy the Rock shieldwall Mitachurl’s shields.
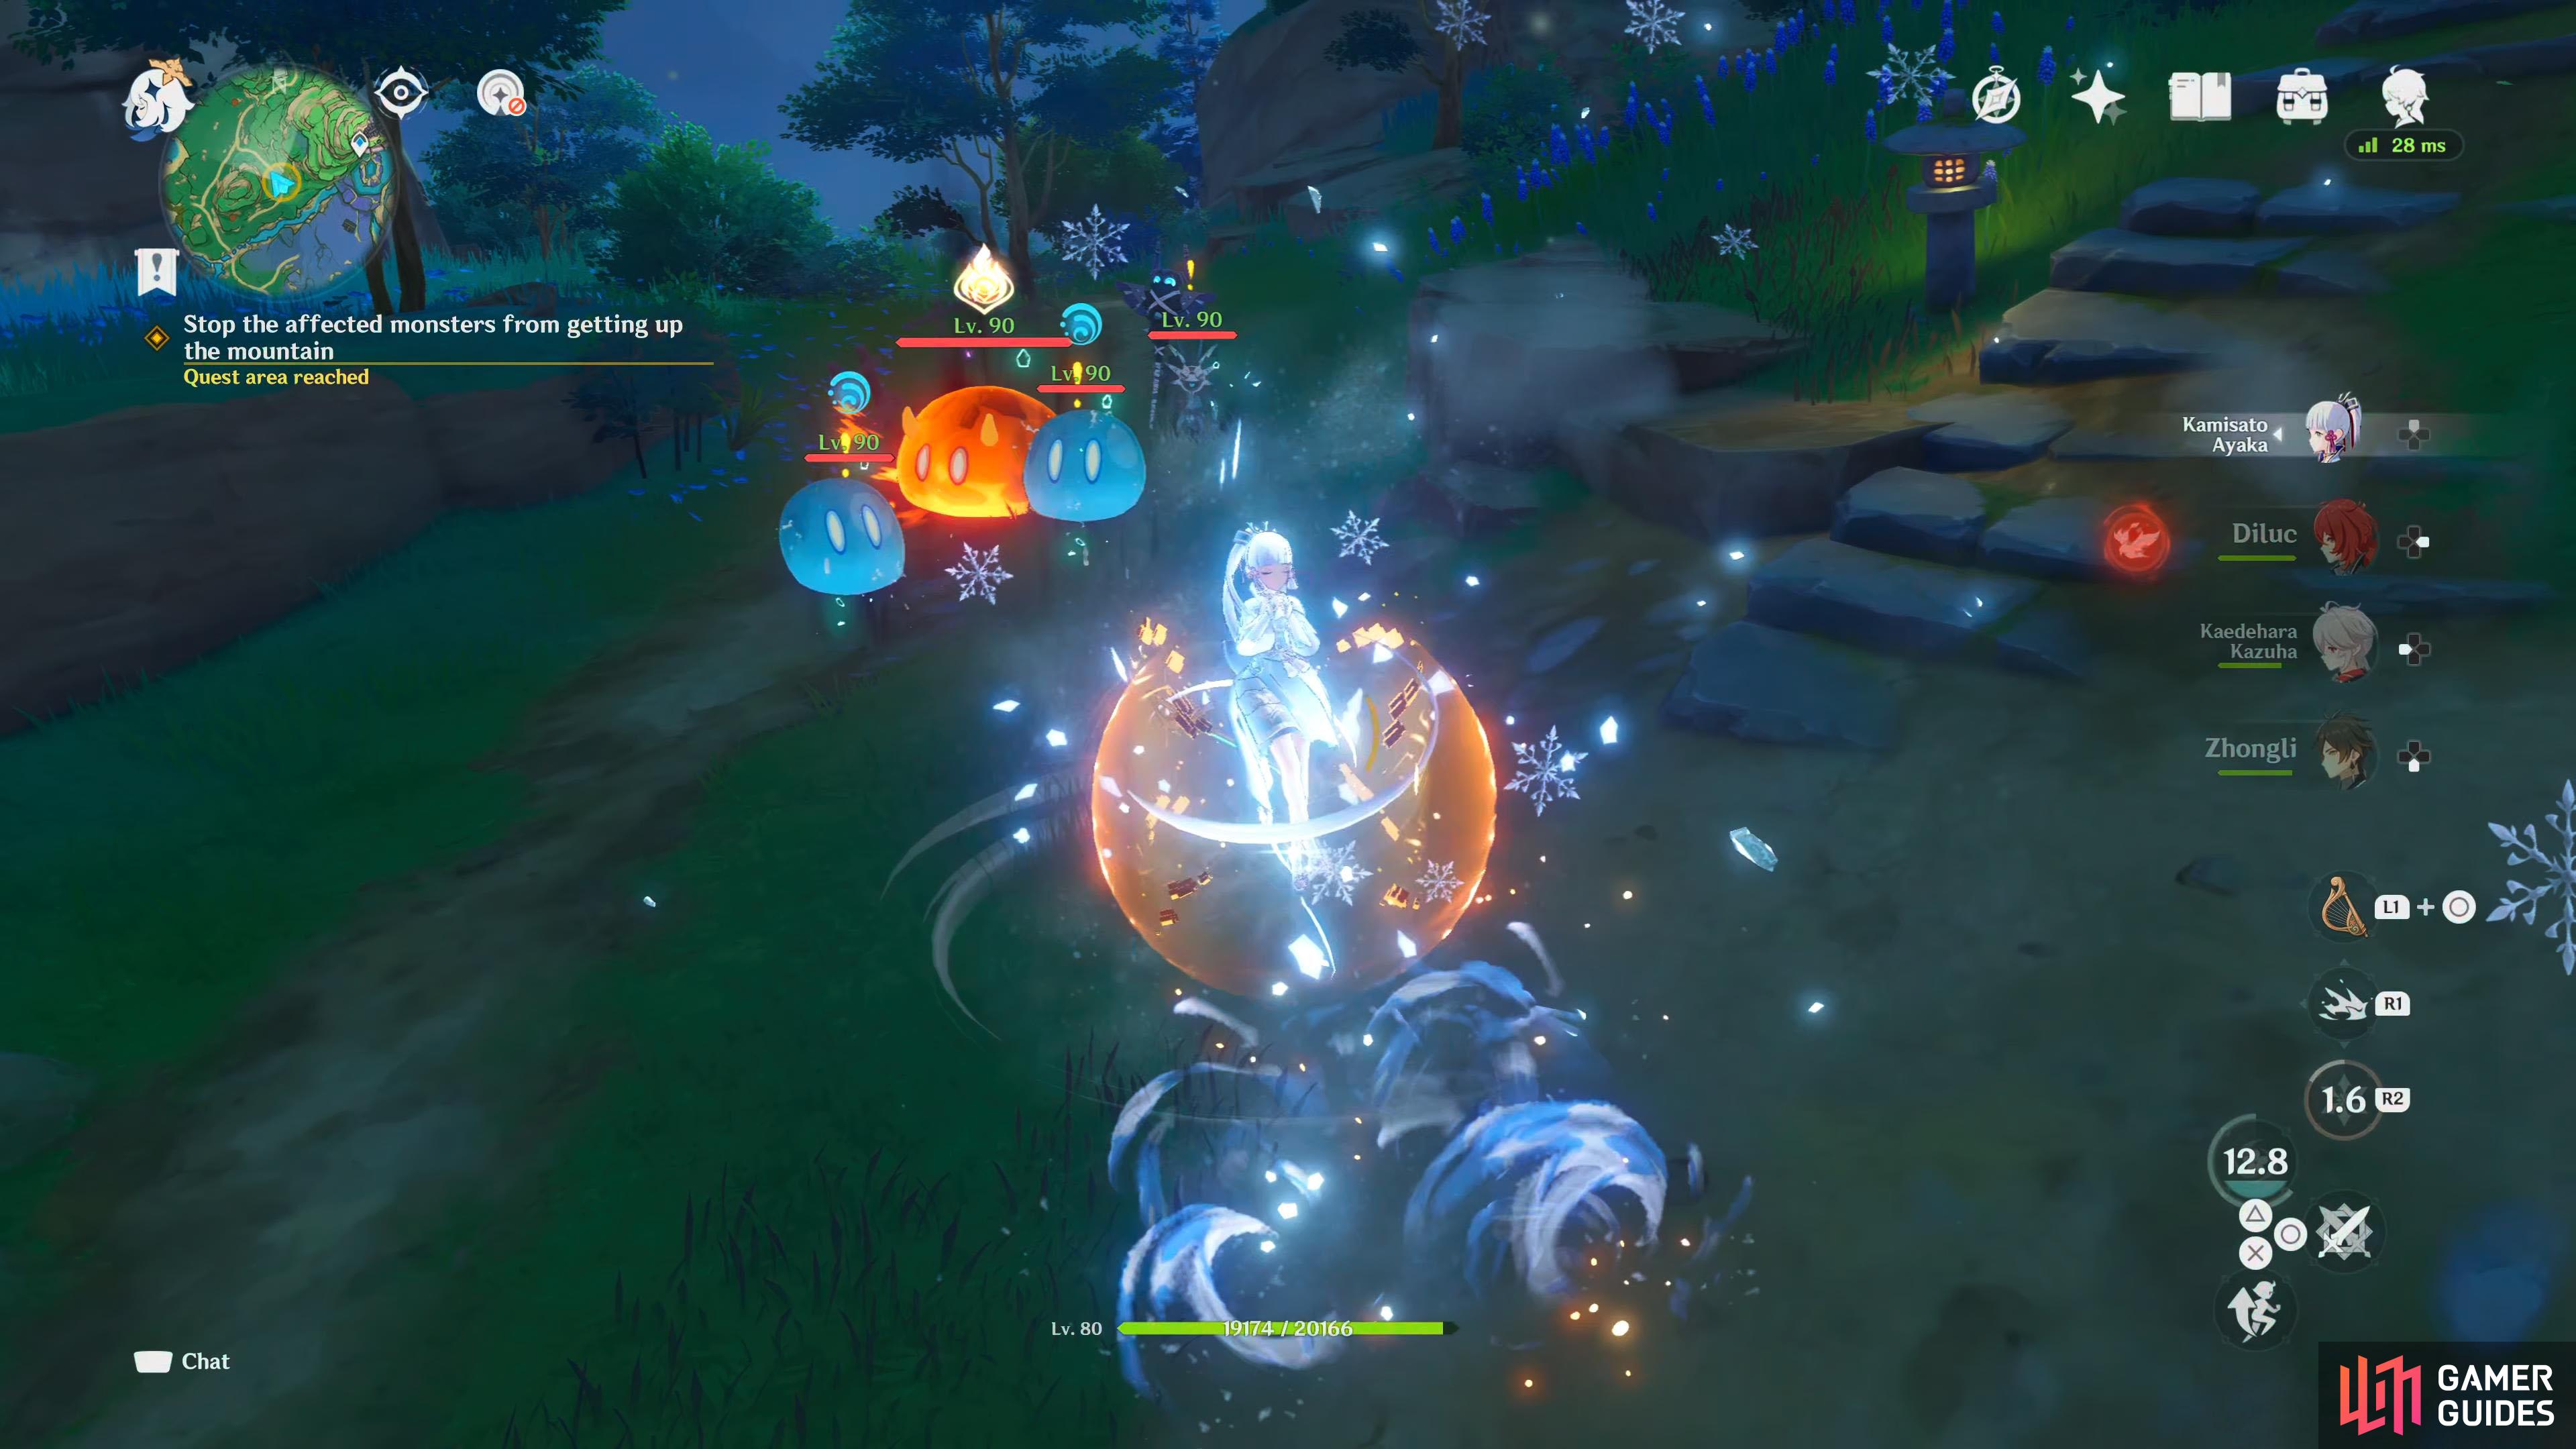
Focus on taking down the Anemo Samachurl first if you don’t want to be bombarded with tornadoes.
Wave 3
| Icon | Enemy | Icon | Enemy |
|---|---|---|---|
 2 2 |
Nobushi: Kikouban | 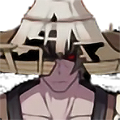 1 1 |
Nobushi: Hitsukeban |
It starts to get a little tougher now. The Nobushi can be a frustrating opponent to deal with due to their innate interruption assistance which means it is tougher to stagger them. If you have access to Kazuha, he can lift them off the ground, and keep them locked down with his Elemental Skill. Both of them are more resistant to physical attacks over elemental attacks, so you may want to use characters that can cast or add an element to their attacks. If you want to play more carefully, attack them when they taunt you which is indicated by twirling their katanas. This is mainly because they’re left open for a short while after using the skill.
Wave 4
| Icon | Enemy | Icon | Enemy | Icon | Enemy |
|---|---|---|---|---|---|
 2 2 |
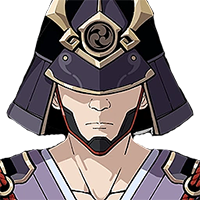
Yoriki Samurai | 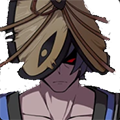 1 1 |
Nobushi: Jintouban | 1 |
Nobushi: Hitsukeban |
Naturally the hardest wave of them all. The Nobushi’s are a frustrating enemy to deal with on their own as mentioned above, but this time there are two Yoriki Samurai. The Yoriki Samurai can be tricky opponents if you don’t know how to deal with them. They have a couple of lunge attacks which should be avoided by dodging to the side just as the attack approaches you. A couple of slash attacks, one rising upward slash, whilst the other is a downward slash.
Finally, a multi-hit slash attack that they’ll charge up before they unleash it upon you. The toughest part of fighting these are their block, if you don’t recognize when they’re doing it, you could end up wasting your skills. If you notice them standing there with their hands raised in the air whilst the sword is pointing at a diagonal angle going across their body to their left. This is their block stance which’ll make them impervious to any damage from the direction that they’re facing for a short while.
Like the Nobushi, they’re more resistant to physical attacks, especially when they block. You can use their block to your advantage though, when they block, get behind and attack them as they only block from the direction they’re facing. This allows you to get multiple attacks whilst they block helplessly.
Wave 3 will start to introduce the Nobushi who can be frustrating to fight against.
The Yoriki Samurai’s will appear in the final wave. Exploit their blocking skill by attacking them from behind.
Return to the Grand Narukami Shrine / Say farewell to the youkai within the Ley Lines
With all the enemies defeated, teleport back to the Grand Narukami Shrine, and head towards the Sacred Sakura Tree for a cutscene. Yae Miko performs the ritual, and the youkai memories begin to swirl around the moon before eventually creating a “moonless night”. This triggers everyone who purchased your book to recite what they believe is a wish-granting incantation, but is a spell to help Yae Miko perform the ritual. After a short while, this will disperse the youkai memories, and they’ll eventually disappear. As this happens, Yae Miko looks up to the moon, and mutters how she can’t help but feel lonely.
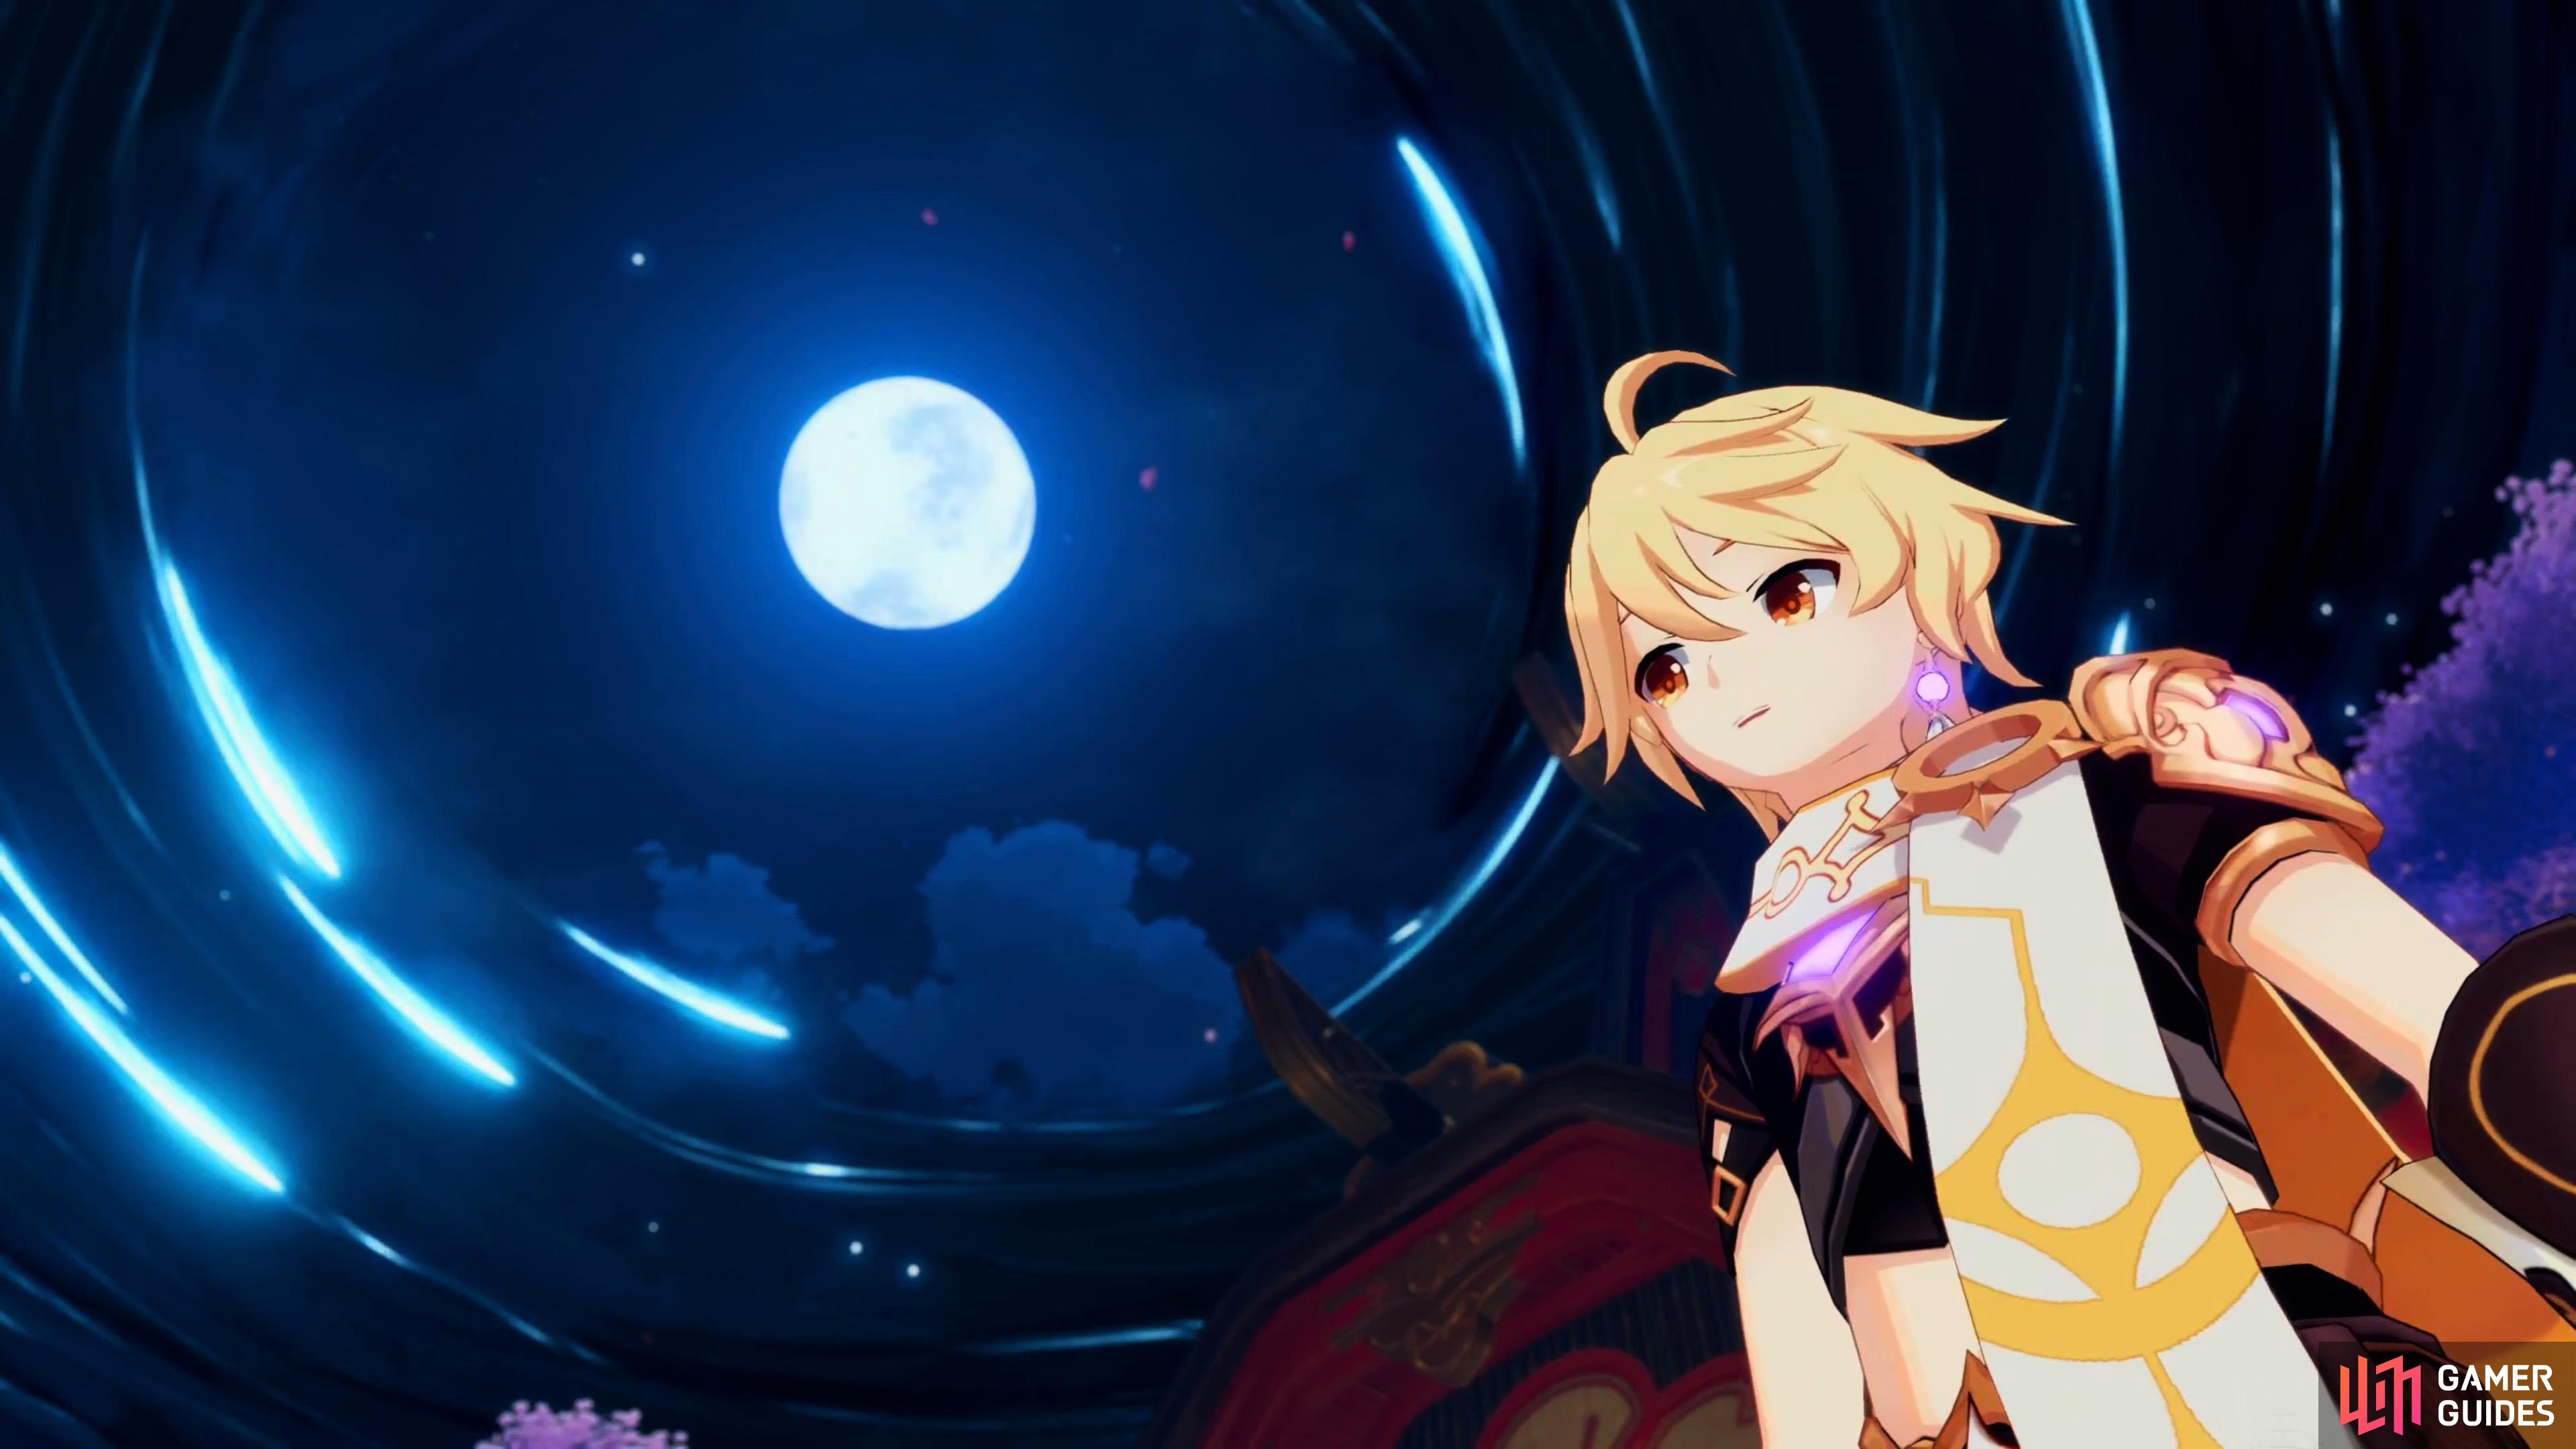
The youkai’s memories are gathering in front of the moon to create a “Moonless Night”.
Paimon overhears this, and asks if she’s ok. She’ll tell you that she’s fine, but you can still see a bit of sadness on her face. After enough pestering from Paimon, she’ll tell you that if you want to do something for her, treat her to a meal. You’ll agree to her suggestion, and she’ll tell you she’ll see you tomorrow.
Wait until the appointed time (the following day) / Go close to Uyuu Restaurant
Go into the time menu, and rotate your clock one full rotation, and make your way to Uyuu Restaurant. As you approach the restaurant, you’ll get a short scene. It appears people are talking about how they can’t wait for the next chapter of “The Miraculous Adventures of the Traveler”. They were surprised to see the moonless sky that was mentioned in the book, and how they made a wish, and nothing happened. This makes them come to the conclusion that light novels are just fiction after all.
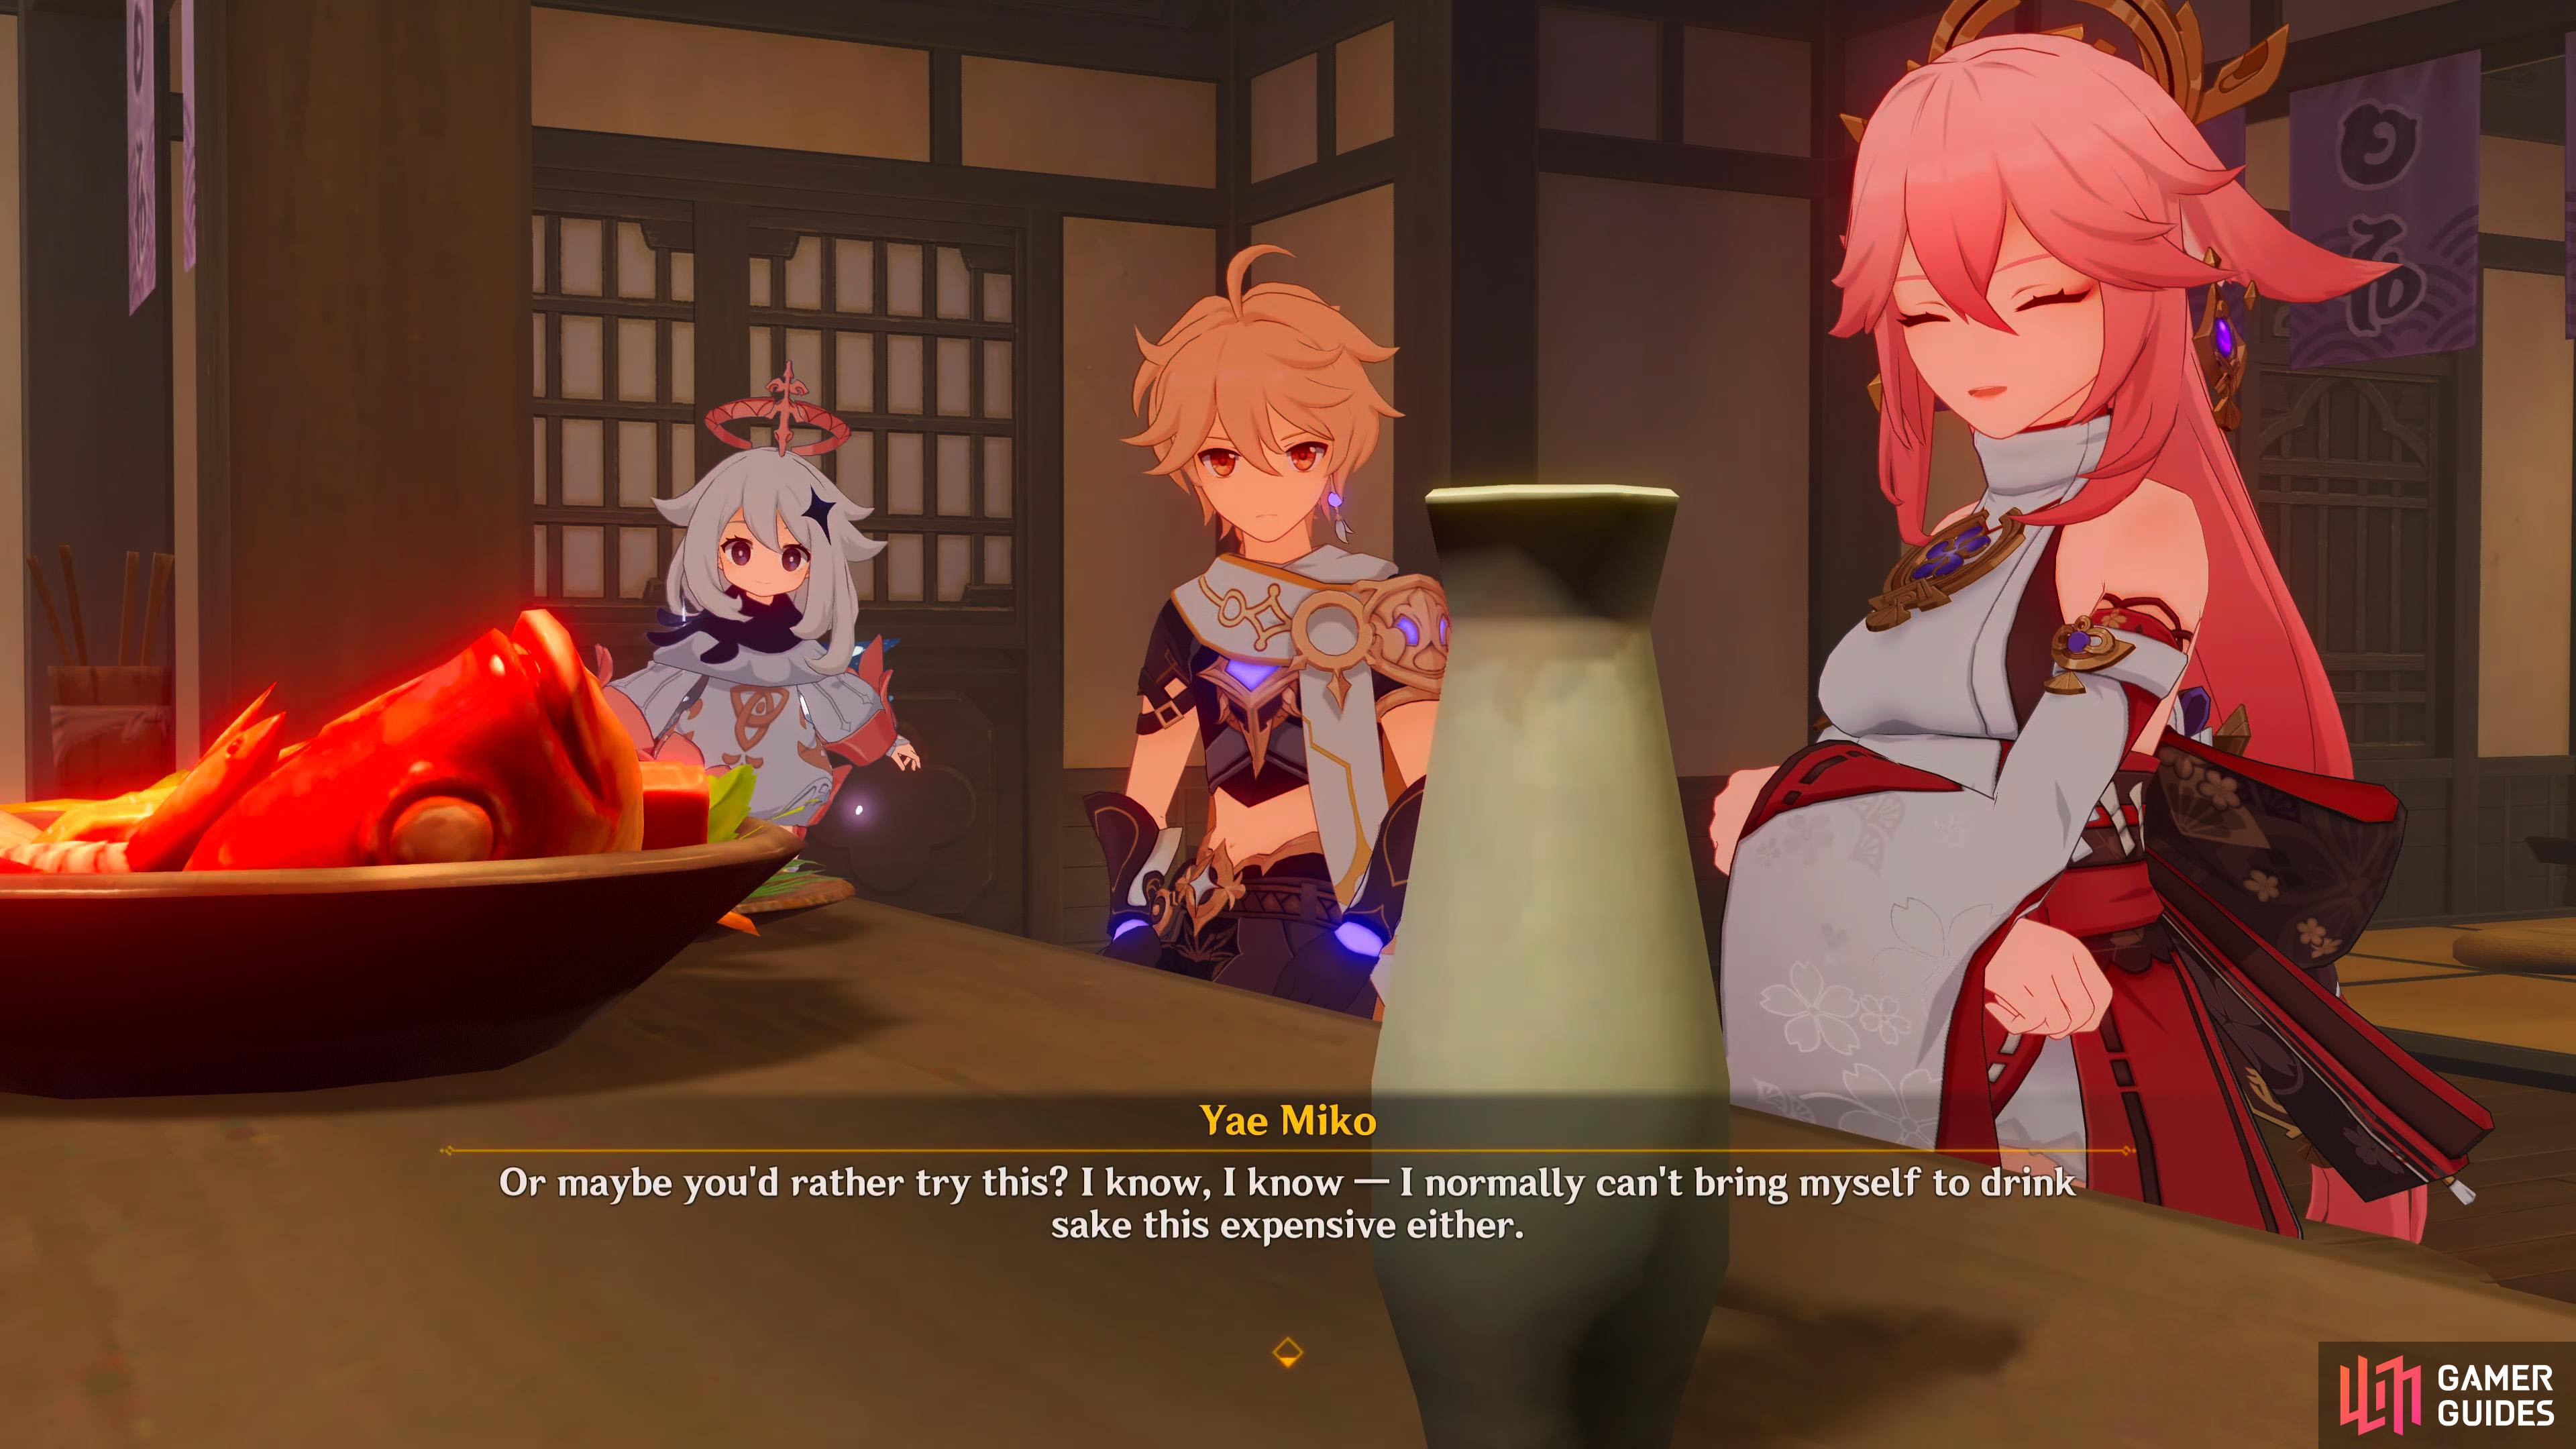
Yae Miko is enjoying her lavish meal at your expense.
Enter Uyuu Restaurant
When the scene ends, go into Uyuu restaurant. As you walk in, the entire room is brimmed full of expensive food, and Yae Miko has already begun eating without you. Apparently the thought of eating those expensive dishes, and drinking the finest sake for free was too much for her to wait any longer. It looks like you’ve been duped, and any Mora you expected from the book sales has gone to Yae Miko’s lavish meal. This understandably upsets Paimon, but you did agree to pay for a meal for Yae Miko. After you’ve calmed down a bit, she’ll tell you that since no-one’s wish came true last night from your book, incantations are no longer popular. When the scene ends, so will Act 1 of Yae Miko’s story quest “Act I - The Great Narukami Offering”.
No Comments