
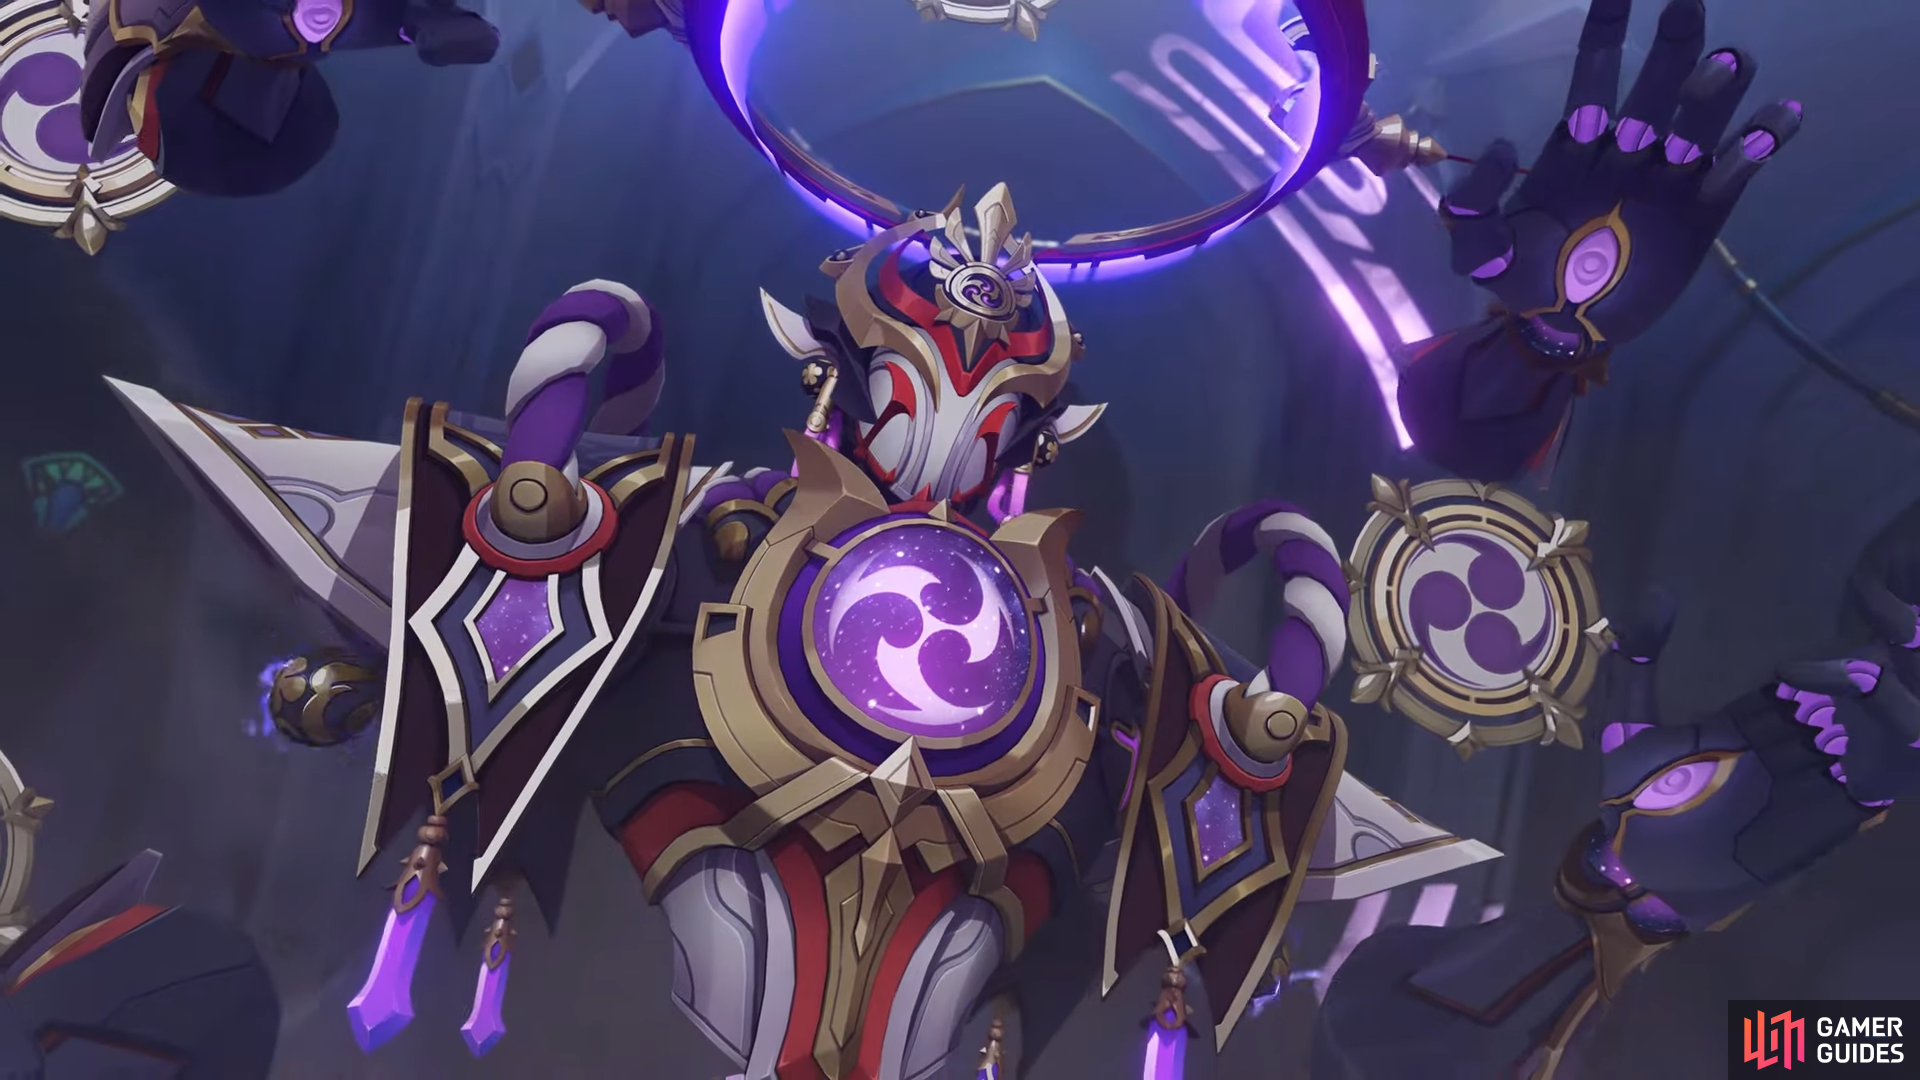
Joururi Workshop appears at the end of the Sumeru Archon Quest and has you finally fighting against the Fatui Harbinger Scaramouche. Unlike the battles with Tartaglia and La Signora, though, you won’t actually be fighting against the Harbinger. Instead, he will inhabit a Mecha, similar to what you would see in the show Neon Genesis Evangelions. You must use a special tactic to help bring him down for good. Below we go over both phases of the weekly boss fight and give you tips on beating Scaramouche.
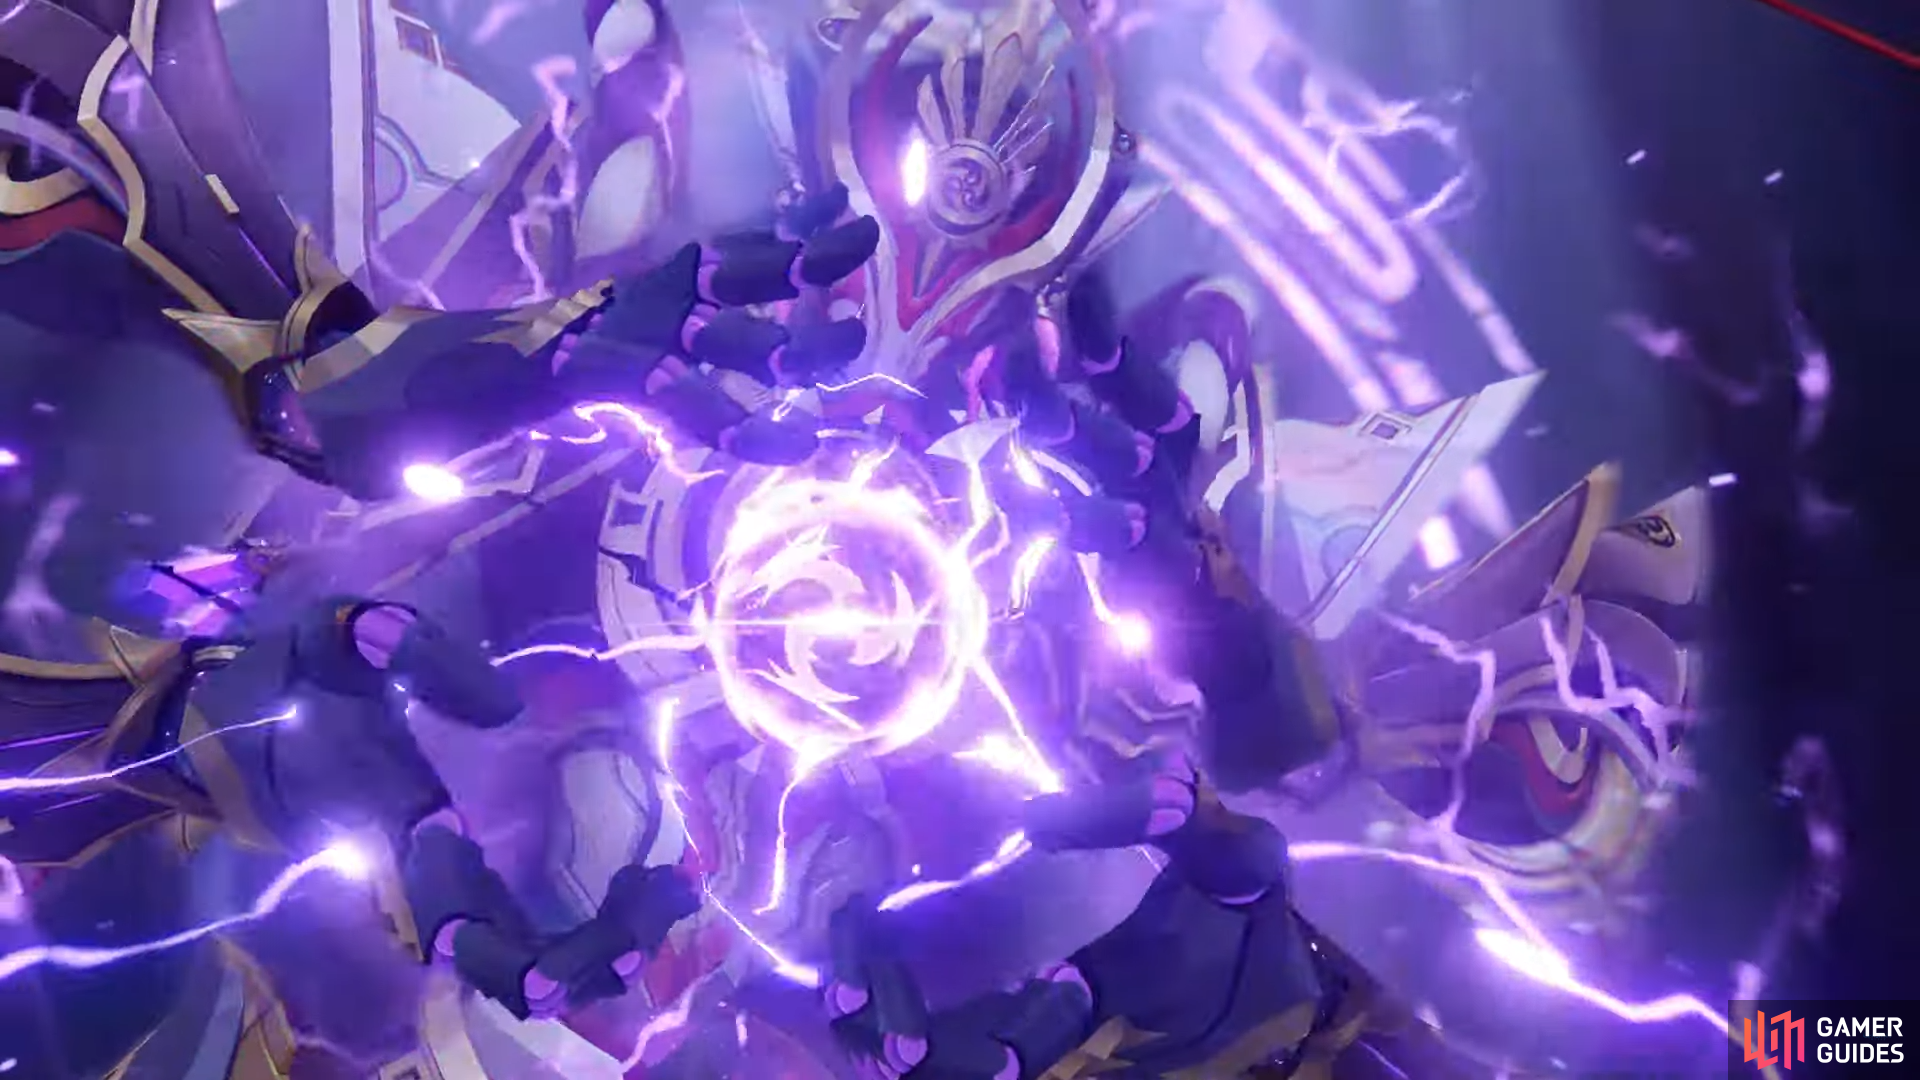
Scaramouche charaging an Electro attack.
Description
Shouki no Kami, as an artificial divinity created using all the might of Sumeru’s Six Darshans, has power that rivals that of true gods.
But those of this world who call such a being a “false deity” misunderstand the true meaning of the word.
Shouki no Kami now understands countless things and shoulders unassailable might and may be said to surpass mortals.
If gods must love mortals,
Then Shouki no Kami, who grants failure in equal measure to humanity, loves them also.
If gods must watch over humanity,
…
…
Then Shouki no Kami, who has borne witness to infinite love, hatred, partings, grudges, and maddening anger — thus does he watch over mortals.
“Too much happiness you have had!”
“It has made you foolish. Arrogant. Horrifying in your greed.”
“Let this era end!”
“Let the new god announce the defeat of the old.”
“Foolish mortal… There is yet time for you to kneel.”’
Rewards
| Level | AR |  |
Common Ascension Material | Artifacts | |
|---|---|---|---|---|---|
| I | 35 | 60 | 7,100 |       |
       |
| II | 40 | 65 | 7,600 |    |
|
| III | 45 | 70 | 8,000 |    |
|
| IV | 50 | 70 | 8,100 |    |
|
Phase 1
Scaramouche during Phase 1.
In the first part of the fight, you will be facing a robot that can use several different elements. The trick is to properly use the Neo Akasha Terminal to help bring him down.
Moves
Raw Frost/Remnant Flame
When Scaramouche uses Pyro or Cryo the field will be afflicted by this element. Cryo will deal 5% damage every 0.5 seconds, and Pyro will deal 15% damage.
Arm Slam
Slams down an arm dealing 100% Pyro or 75% Cryo damage and creating an AoE shockwave. He will then swipe his arm across the field, dealing elemental damage of the same type. Both attacks will hit you with 100% of Scaramouche’s attack.
Arm Combo
Shoots Cryo or Pyro across the field, dealing 100% damage. Directly after this move is finished, Scaramouche will slam down the other arm dealing 66% elemental AoE damage.
Waterspout
Three Hydro vortexes will appear on the field. They deal 33% damage when touched until they turn into spouts. At this point, they will deal 50% damage in a small AoE. This can occur every 0.5 seconds.
Electrostreak
An Electro laser into the field, the laser itself deals 50% damage, while the shockwaves deal 100% damage.
Shard Rain
Electro rains onto the field, dealing 100% attack damage. Once the barrage has ended, two large Electro prisms will appear, dealing 50% Electro damage as an AoE.
Laser Array
Lasers fire around Scaramouche’s mecha body, dealing 100% damage when touched.
Phase 2
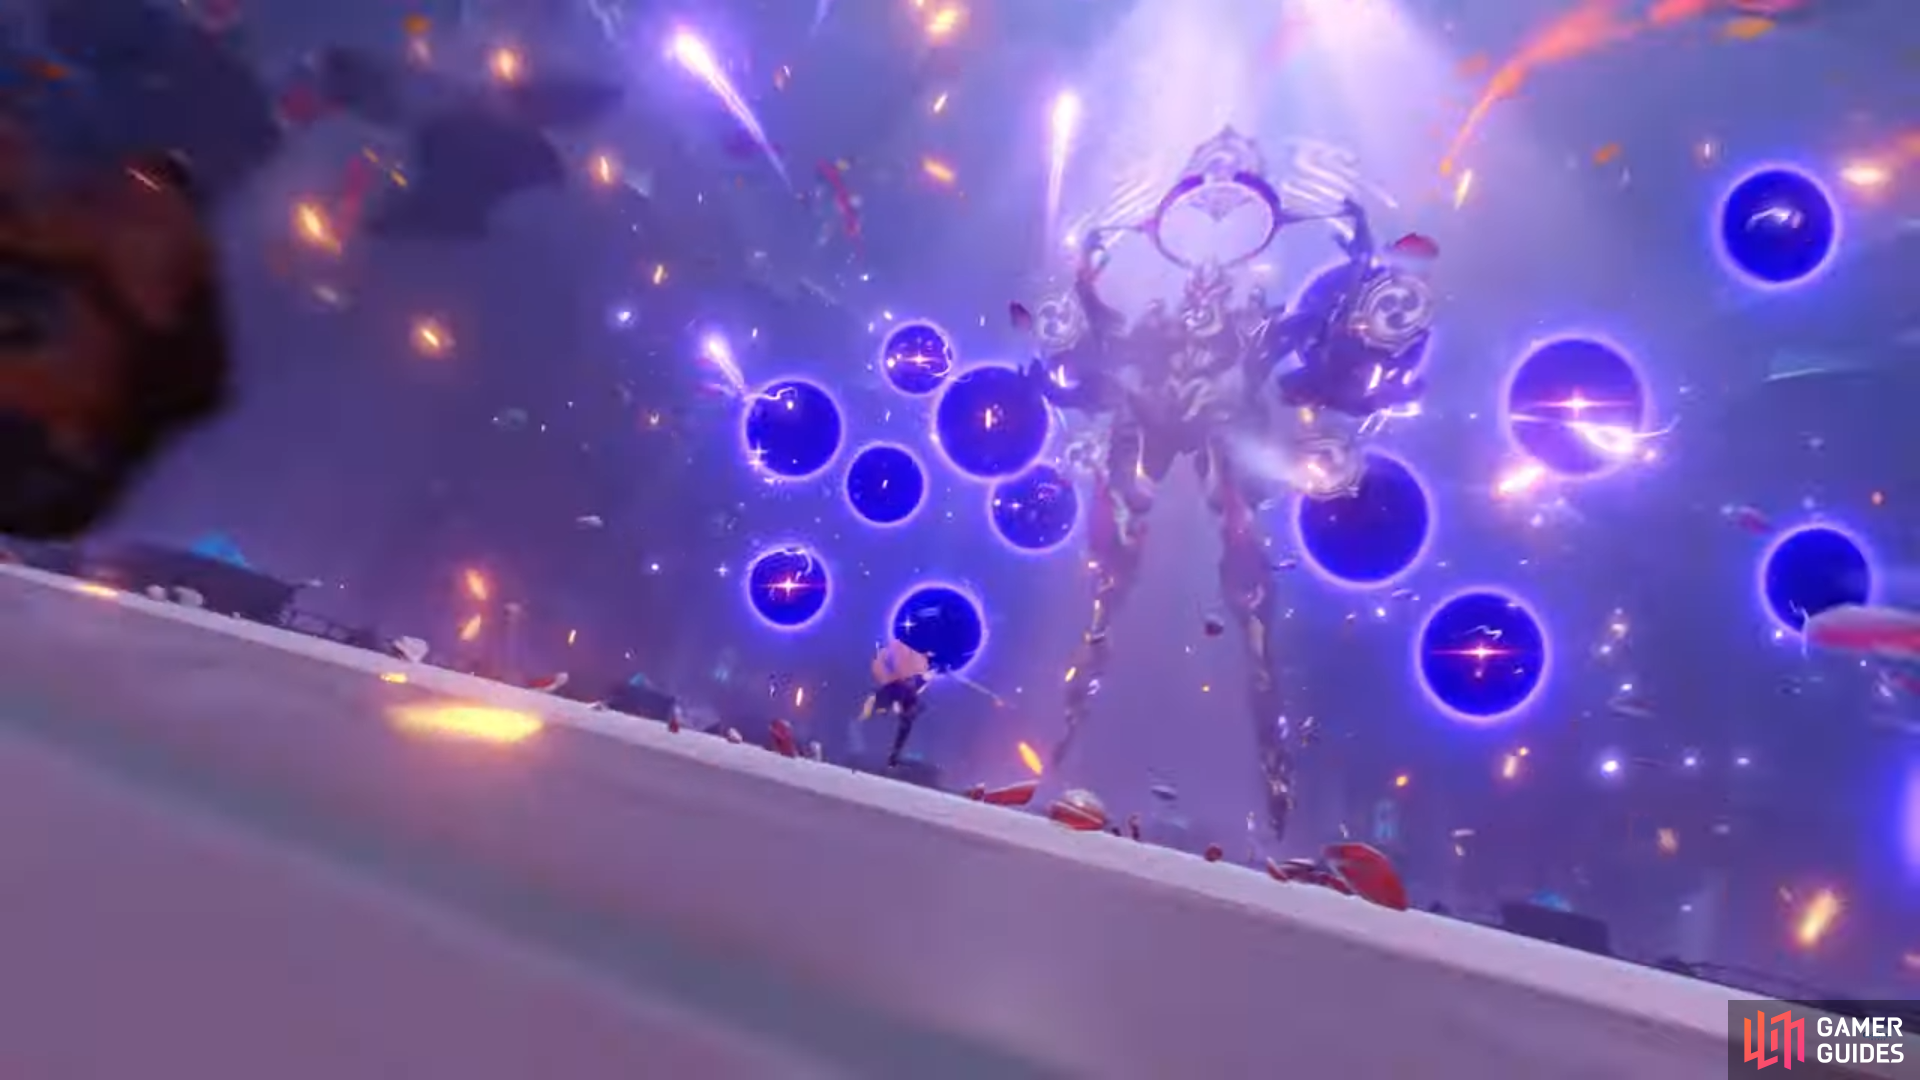
Scaramouche during Phase 2 using Cosmic Bombardment.
The platform will fall, and you will now be facing the entire mecha. In addition, Scaramouche will now have a shield that you will need to break down using the Neo Akasha Terminal.
Moves
Triple Earthshock
Scaramouche will stomp the ground with his foot, then follow up with two fits to the ground with his fist. The first two hits deal 75% Electro damage, while the final first slam deals 100% Electro damage. In addition, an Electro pulse will travel across the field after the final slam dealing 50% Electro damage.
Thunder Lance
Scaramouche summons two Electro lances and then slams them into the ground dealing 100% Electro damage. They will stay lodged into the arena for a short duration of time, creating a massive Electro AoE field that deals 25% Electro damage every 0.5 seconds you’re inside of it.
Bomb Scatter
Sends out a combination of bombs that slam into the ground. These are made up of Pyro, Cryo, and Hydro elements. These deal 50% damage when they land and 100% damage when they explode. After the bombs have hit the ground, Scaramouche will send sparks onto the field, dealing 100% damage when your character is hit.
Cosmic Bombardment
Several portals will open behind Scaramouche that fire out Electro damage at a targeted zone. These deal 100% damage. After the barrage has stopped, beams will begin to drop on the field, also dealing 100% Electro damage.
Double Charge
Scaramouche dashes towards your party, dealing 50% attack on contact, as well as 62.5% Pyro damage, or if Cryo is being used, 50% damage. In addition, the area that Scaramouche charged across will be infused with the element and deals 25% elemental damage when touched.
Thunder Sphere
When behind Scaramouche, he will fire five Electro spheres at you, dealing 50% AoE damage.
Eruption Trails
Scaramouche forms a cross on the ground that deals 75% damage as a Hydro or Anemo attack.
Setsuna Shoumetsu
After depleting Scaramouche’s shield, he will summon four Nirvana Engines. These will either stun Scaramouche and give your party full energy if destroyed in 40 seconds, or if you fail to destroy them, Setsuna Shoumetsu will trigger, killing your on-field character.
Strategy (Bow & Shield User Suggested)
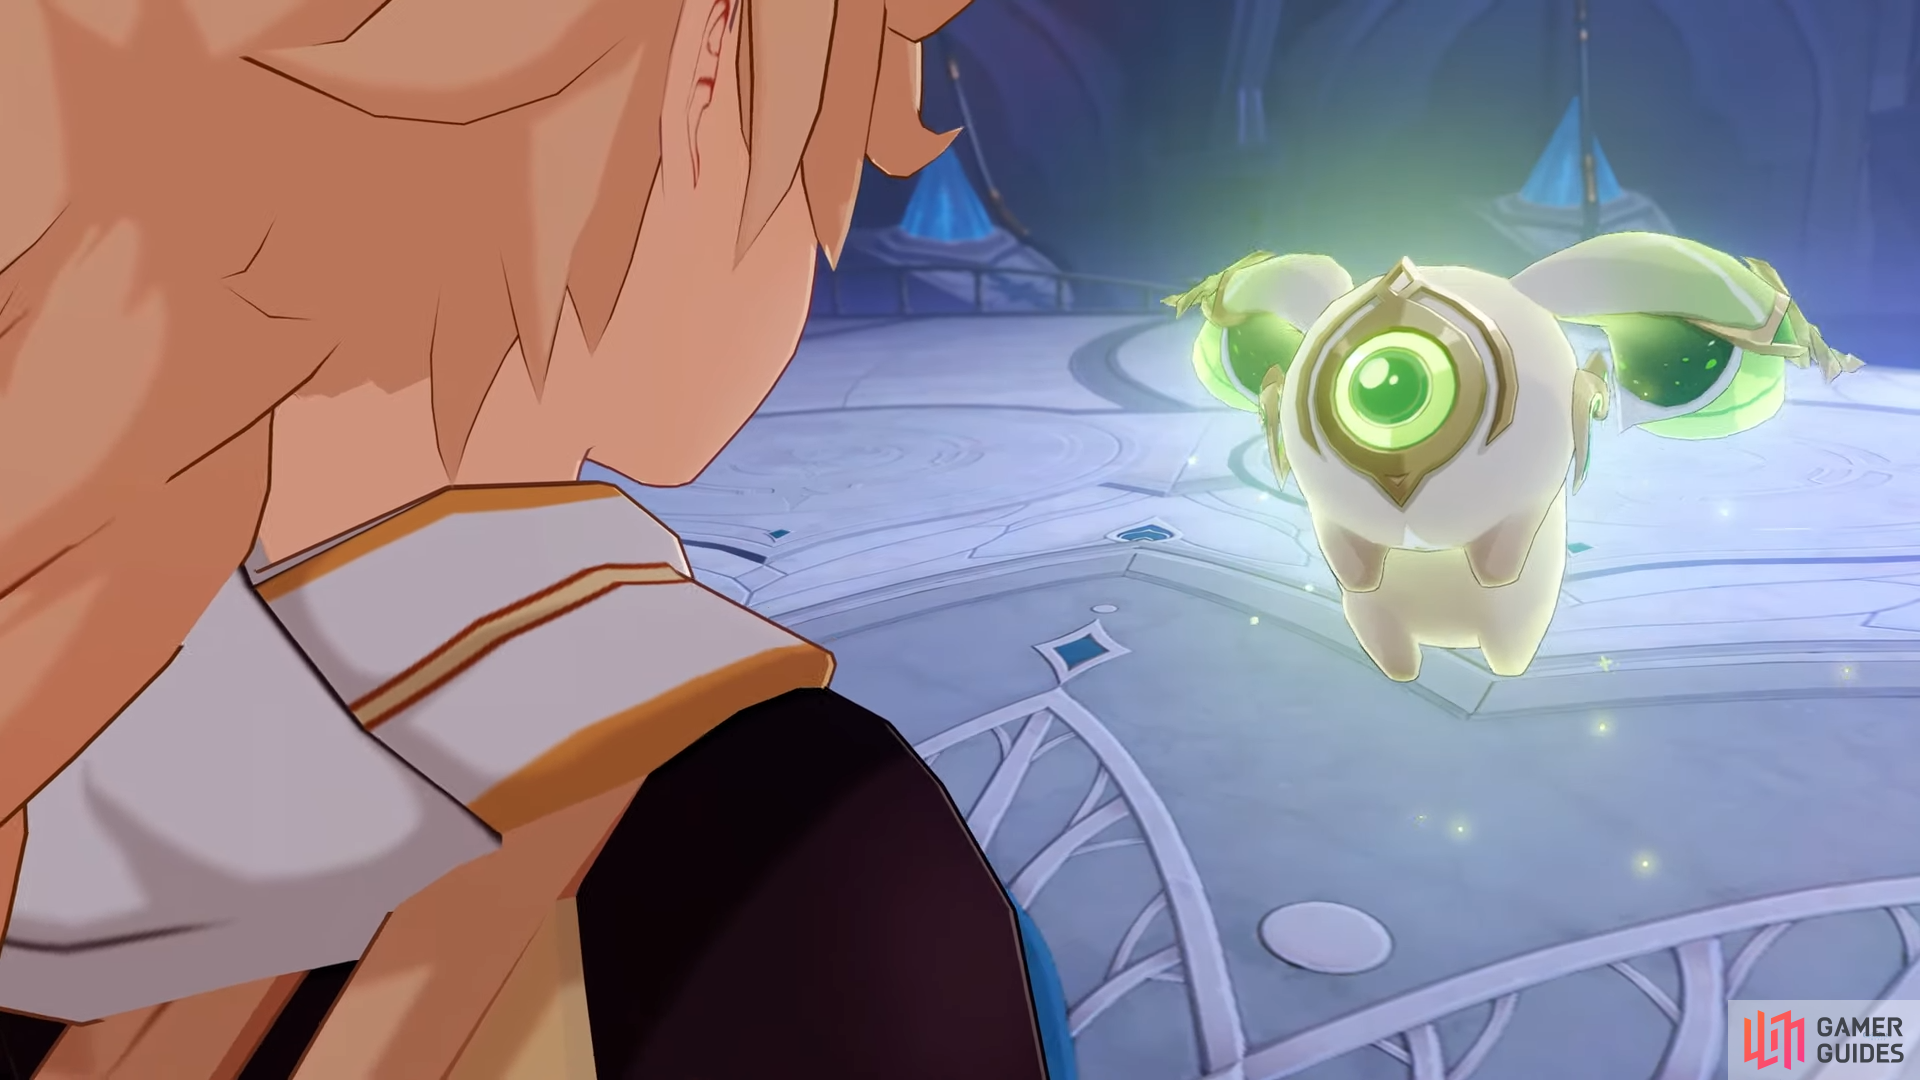
Neo Akasha Terminal during the Scaramouche boss fight.
Scaramouche is not a hard boss. The main thing you need to do to beat him quickly is to make use of the Neo Akasha Terminal. Use the Four-leaf Sigils to quickly move to shards that power the Neo Akasha, and then use it with the element you need to help you traverse the battle. Here is a list of what using the Neo Akasha on each elemental panel does.
- Cryo: Removes Pyro from the field. Use this to deal with Remnant Flame.
- Pyro: Removes Cyro from the field. Use this to deal with Raw Frost.
- Hydro: Provides healing.
- Electro: Stuns Scaramouche.
- Anemo: Activates air currents on the field. Use this to dodge Electrostreak.
Depending on your party, you may just be able to keep going for Electro, as it makes Scaramouche much easier to attack.
Once you enter the second phase of the boss fight, things do change. Scaramouche will now have his full body, and the field is much larger. The same concept applies here, use the four-leaf sigils to get energy for the Neo Akasha Terminal and fire it off as much as possible. This time, you don’t need to worry about elemental panels. It automatically fires damage at Scaramouche and will break down his shield for you.
Once the shield is gone, Scaramouche will ascend further into the air, and four Nirvana Engines will appear on the field. These are weak to Cryo, Dendro, and Pyro attacks. You can bring them down the easiest by using charged shots with a bow. Break these down, and you will again be able to use the Neo Akasha Terminal to damage the mecha. In addition, breaking them will stun him, giving you a great opening to unleash all your bursts and skills.
Victory
Once the boss is defeated, a Trounce Blossom will bloom in the arena. You will need to interact with the blossom to claim your reward, and this will cost you 30 to 60 Resin.
No Comments