
This is a complete walkthrough for the Archon Quest, The Grave of the Guarded which is the second quest of Chapter II: Act IV - Requiem of the Echoing Depths.
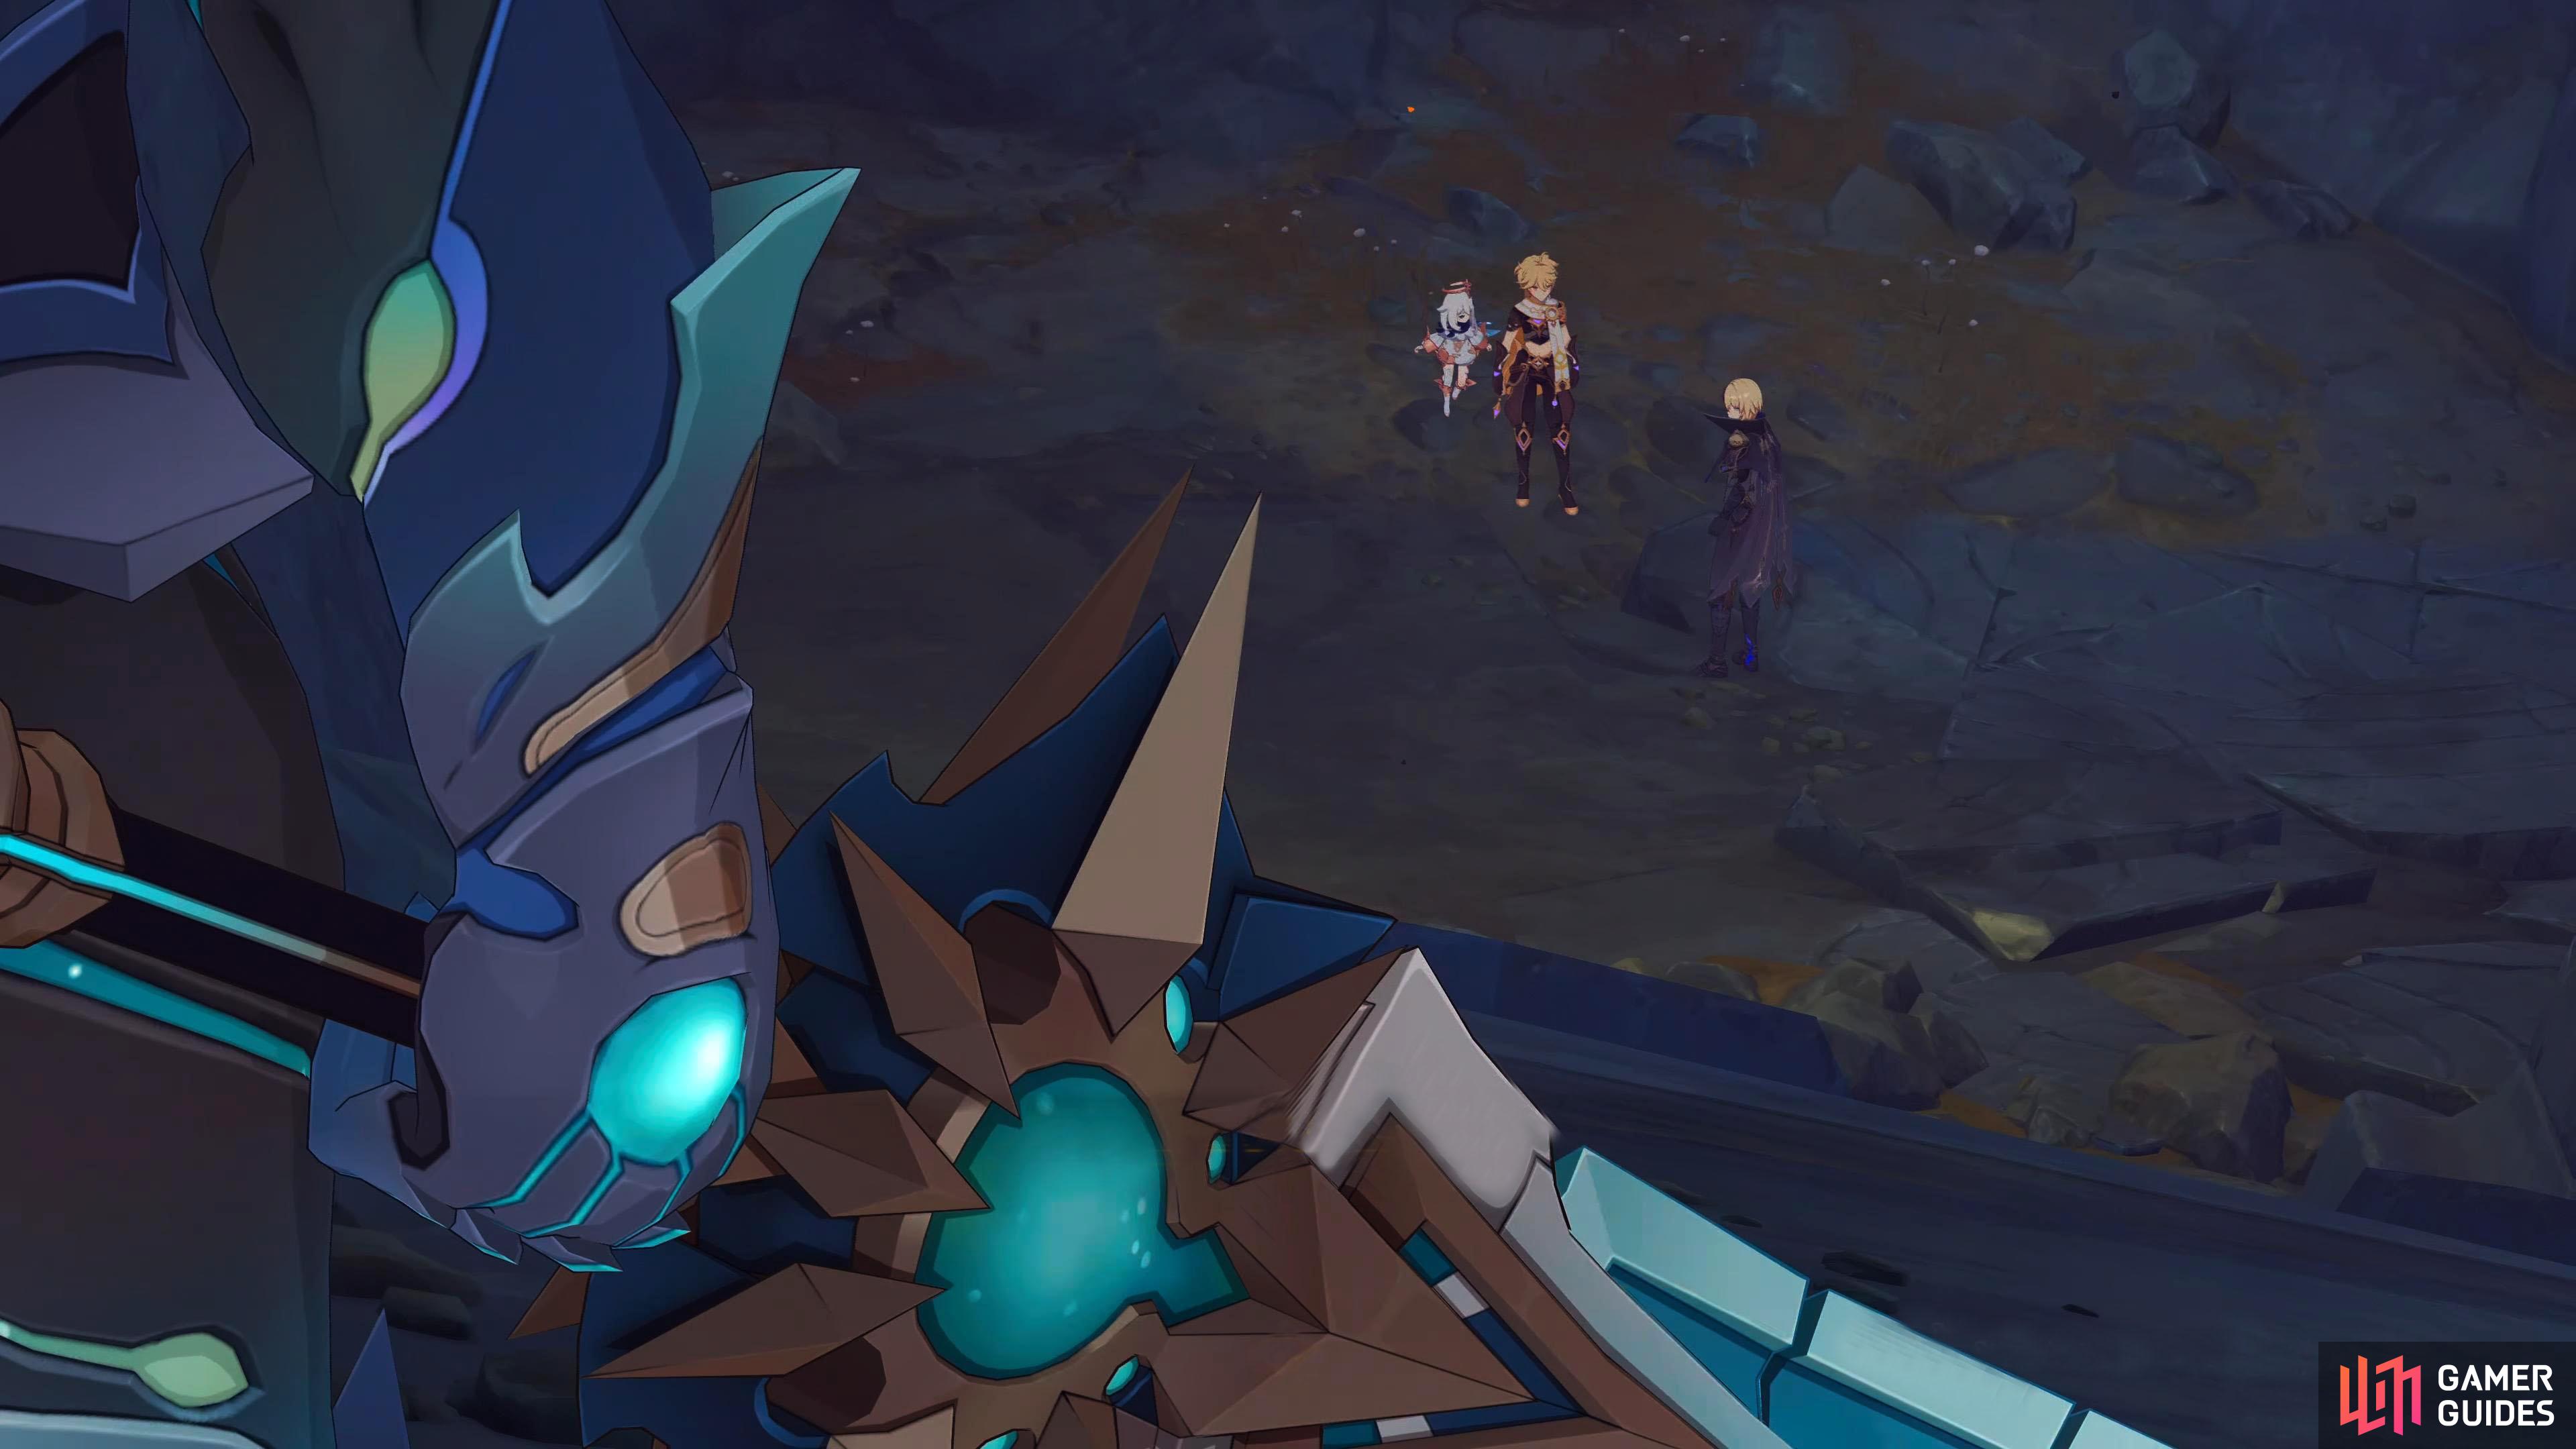
The mysterious figure is looking down at the unaware party, who could this be?
| Adventure EXP | Mora | Other Rewards | Requirements | Next Quests |
|---|---|---|---|---|
 750 750 |
 2 2  5 5 |
Complete In the Depths, an Unexpected Reunion | Memories of Inteyvat |
Description
You have an unexpected reunion with Dainsleif within The Chasm. After getting wind of the situation, you believe that this place must be intimately linked to the Abyss Order, and thus begin investigating…
Steps
- Investigate the ruins ahead and find a path
- Defeat the Black Serpent Knights
- Go to the entrance to the ruins
- Go to the lit room in the ruins
- Defeat the Black Serpent Knights
- Continue investigating the ruins
- Defeat the Black Serpent Knights
- Examine what the Black Serpent Knights were protecting
- Go to the chamber at the center of the ruins’ summit
Investigate the ruins ahead and find a path
This quest begins as soon as In the Depths, an Unexpected Reunion ends. After the cutscene with Dainsleif ends, you’ll need to investigate these eerie inverted ruins. When you regain control, follow the untrodden pathway northeast and drop into the area with the Hilichurl cauldron for a cutscene. Paimon notices that the area does show signs of Hilichurl activity and asks you if this is the place the requester of the commission was talking about. Before you can answer, Dainsleif interrupts and tells you that you still haven’t told him why you’re here.
Paimon explains that the miners were worried the Hilichurls were up to something because they were all congregating in The Chasm, and Dainsleif asks if you want to know why. He’ll tell you that this environment weakens the effect of the curse. Apparently, the people of Khaenri’ah were cursed to immortality and this included Dainsleif himself, but here, he feels a small relief from the curse, if only just a little. Dainsleif will then ask you if you know why Hilichurls wear masks, and he’ll tell you to hide their reflections from the bodies of water.
The Hilichurls were once the people of Khaenri’ah, and they have the curse! Although the curse prevents you from dying, it doesn’t stop their bodies eroding. The curse has taken a toll on the Hilichurls leaving them in the state that they’re in today. Dainsleif will tell you that as far as he knows, there isn’t any way to remove the curse. But the reason the Hilichurls are gathering here is that they want to seek out a calm and dark corner of the world, so they can finally say goodbye to the centuries of suffering they endured. As this place eases the effects of the curse, it only makes sense that they would do it here. Just as he finishes the conversation, Dainsleif will tell you to brace yourself because you’re under attack.
Defeat the Black Serpent Knights
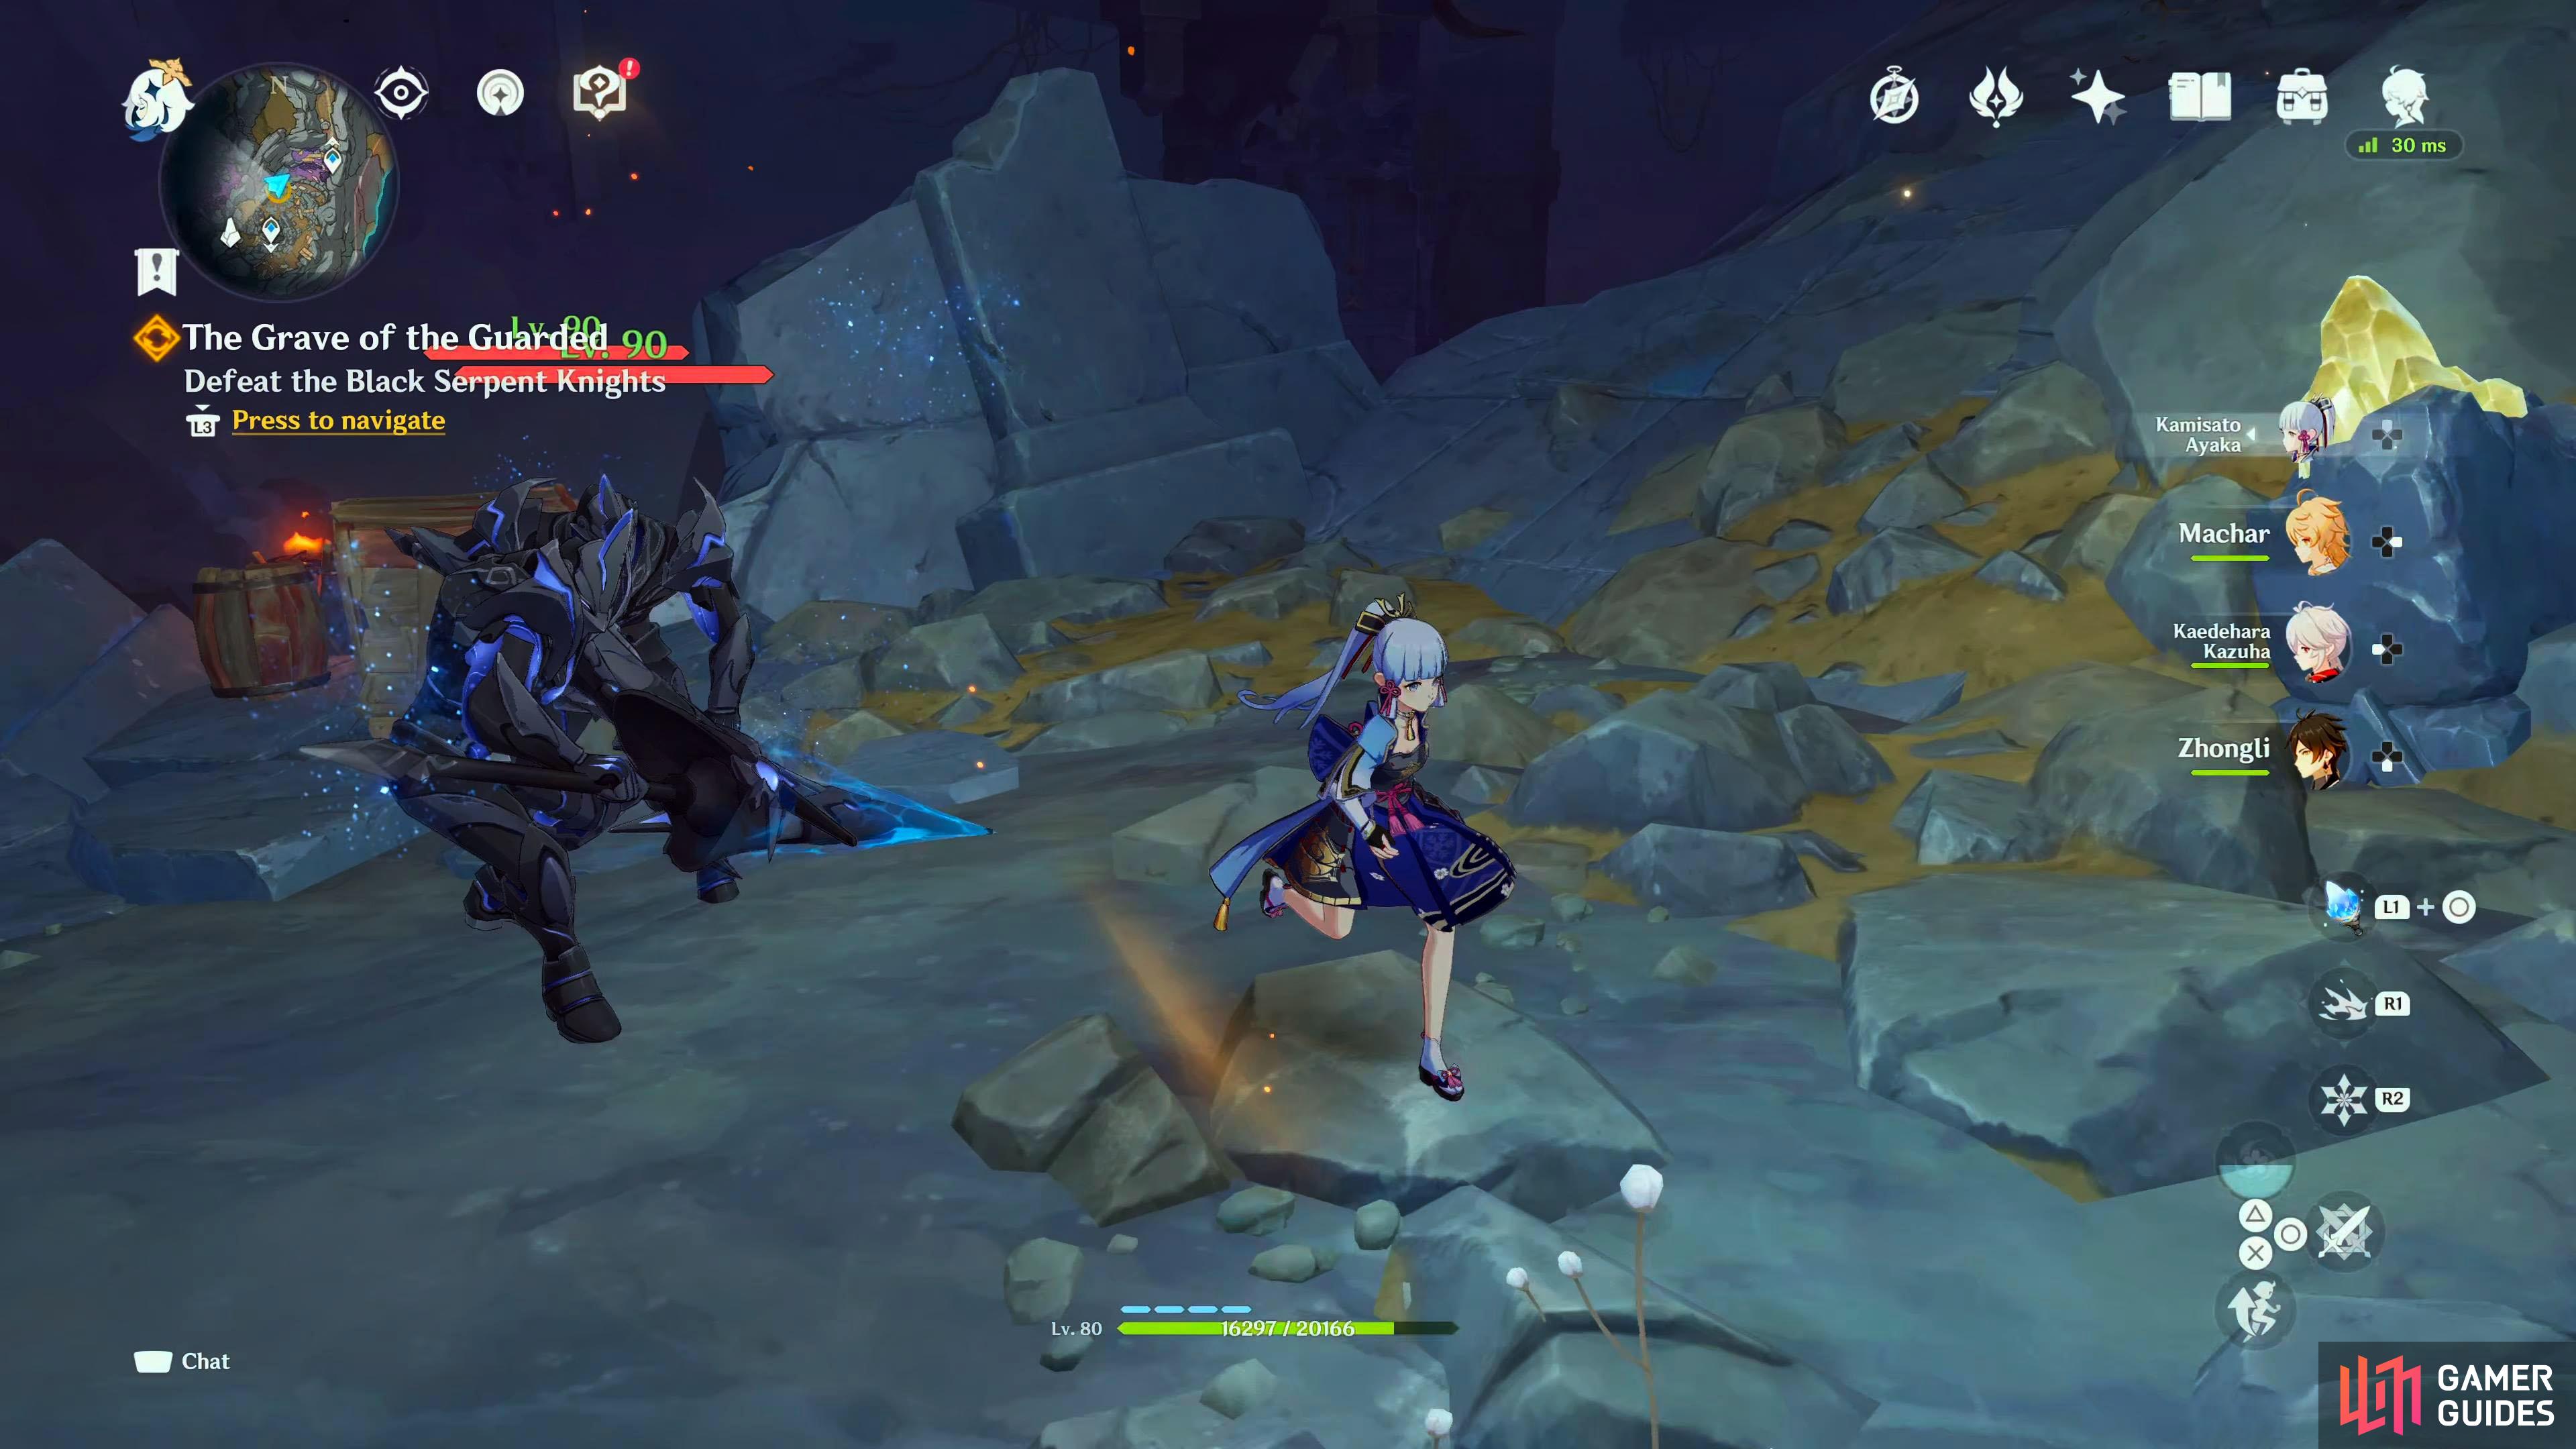
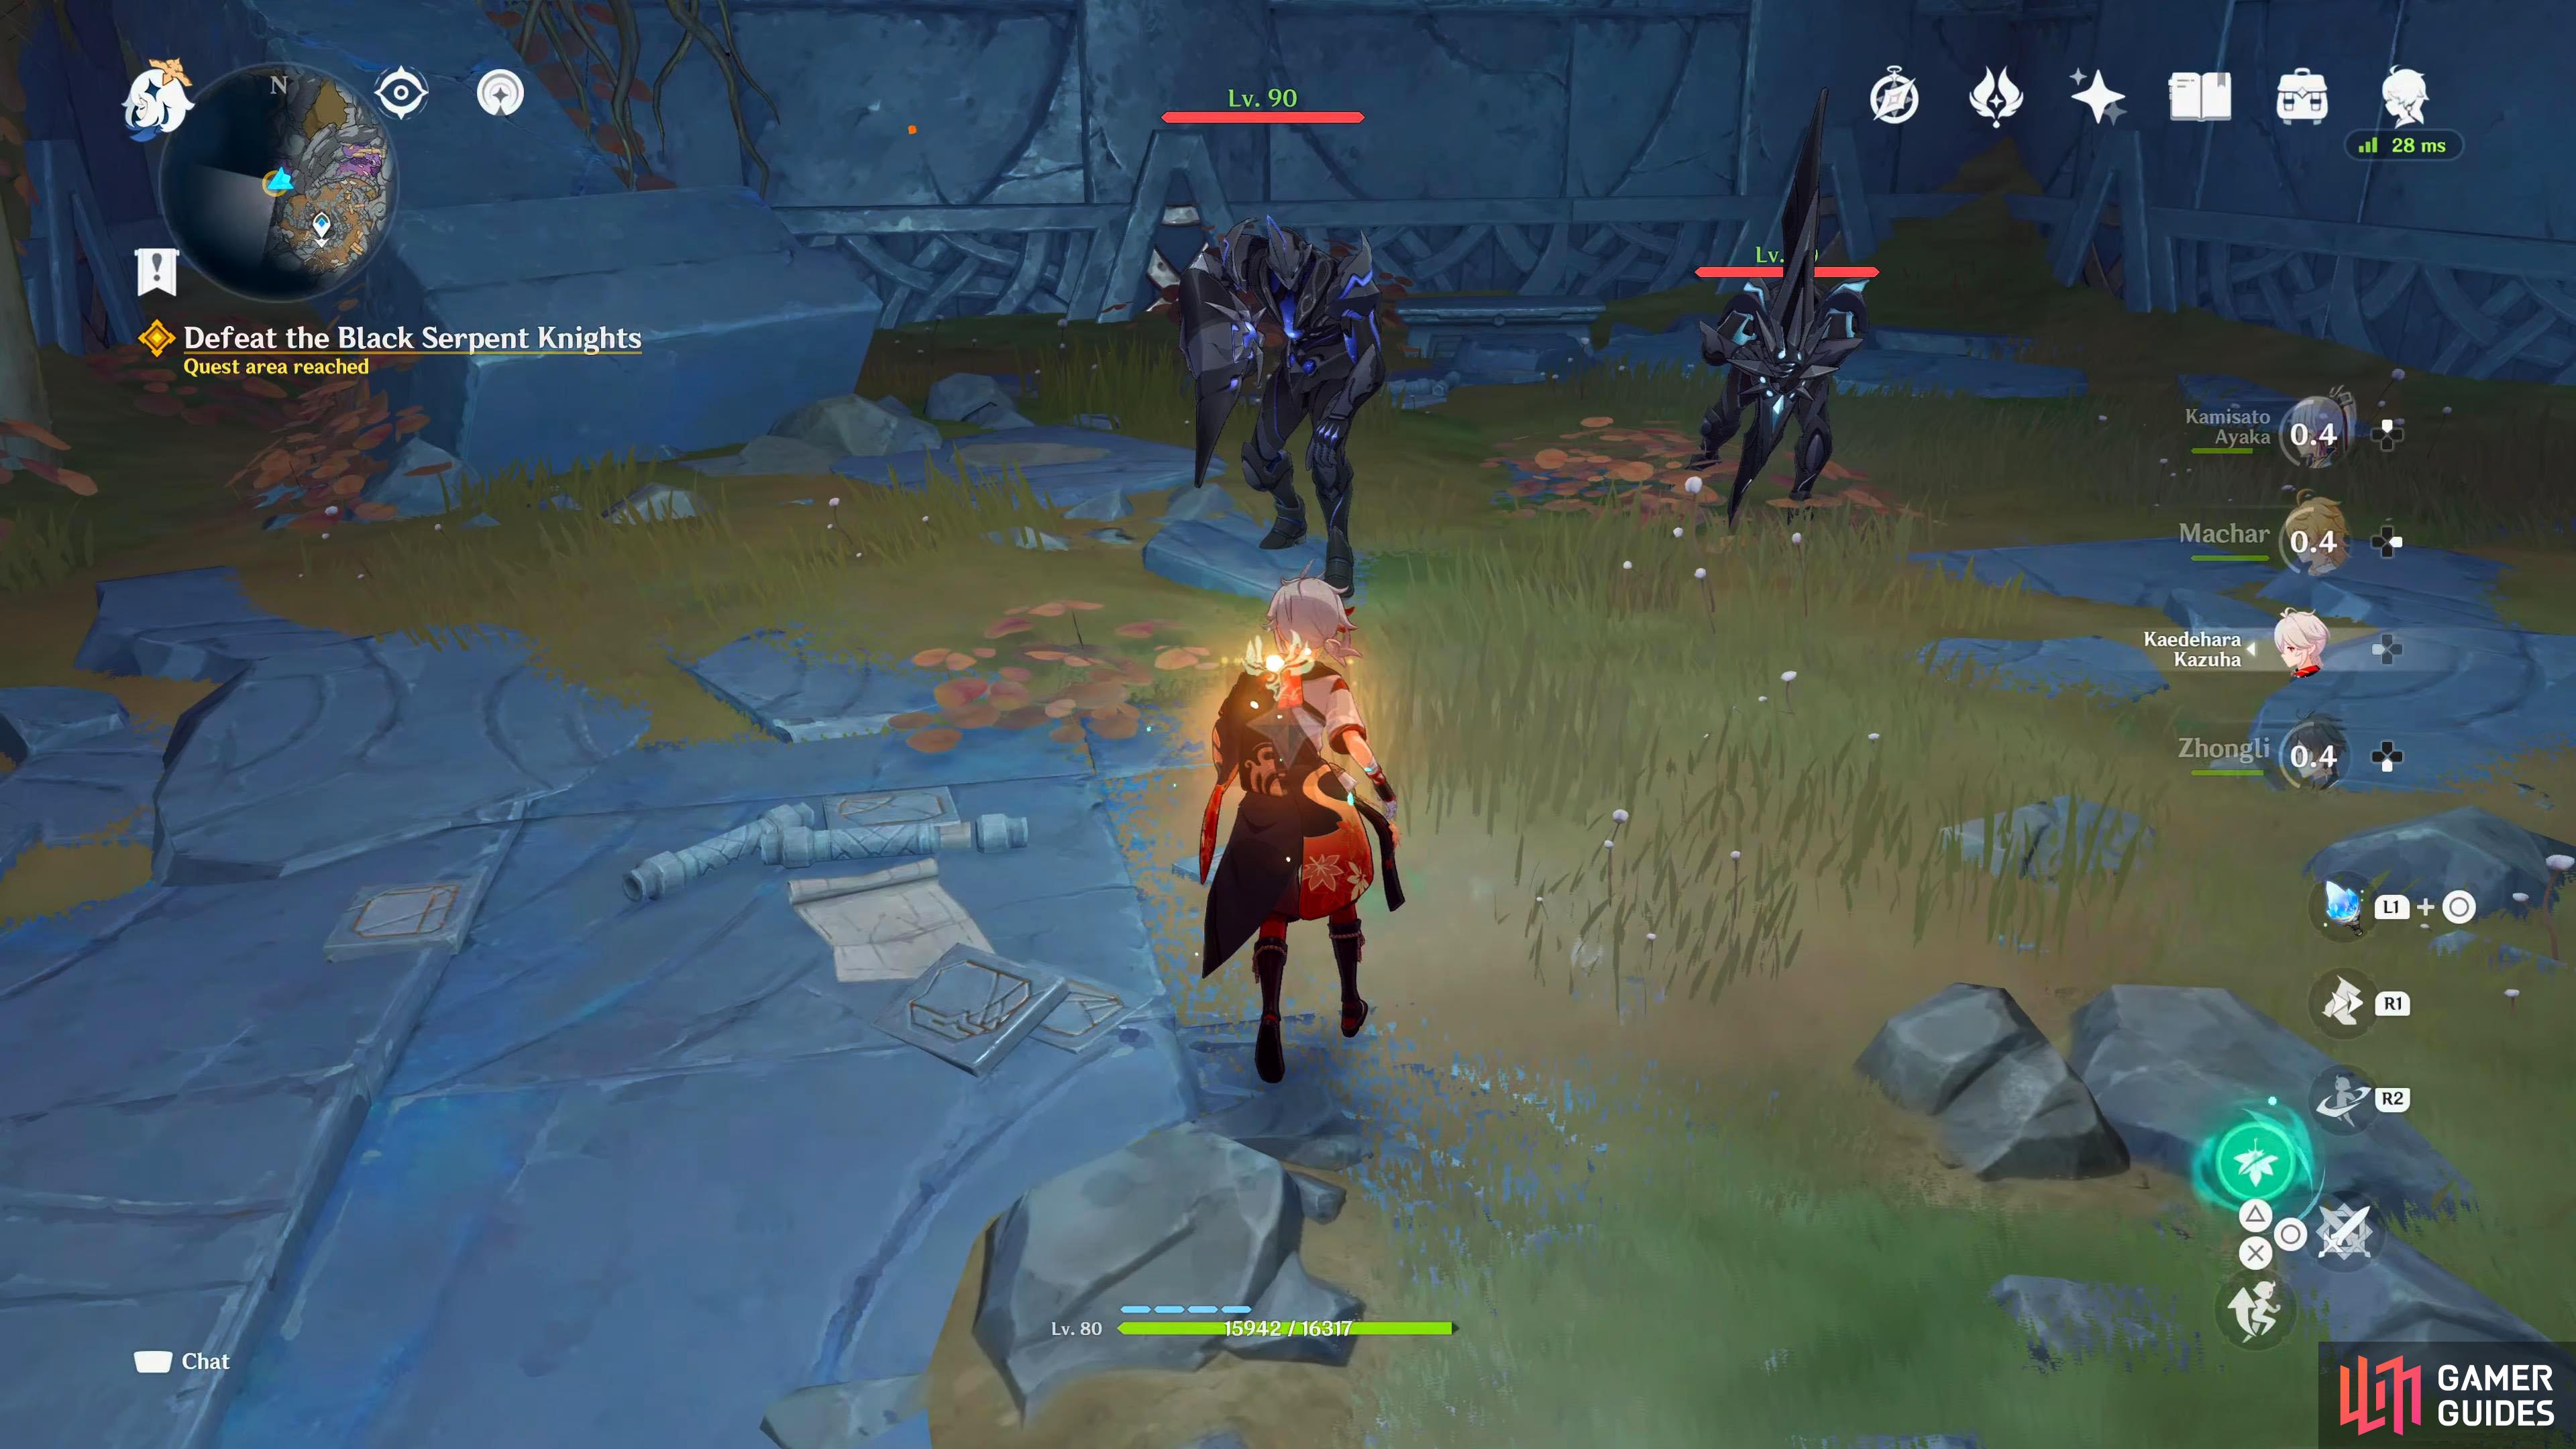
The Black Serpent Knights are new enemies for this quest.
As soon as the cutscene ends, you’ll be in a battle with a new enemy, Black Serpent Knights. These particular kinds are called Shadowy Husk: Line Breakers. They have a new mechanic around them where if they attack a target that is shielded. They will sacrifice a portion of their health to emit a healing aura around them which will heal themselves and the other enemies over time. The easiest way to deal with this is to not use a shield and exchange it with healing yourself.
They are a Hydro based enemy meaning both Cryo and Electro are extremely strong against them with the former being able to freeze stun them. Another good trick against them is causing Overload reactions for big damage against them, this can be performed by combining Pyro with Electro. Other than their Healing Aura, they also have a couple of Hydro attacks to be aware of. The first being a regular stab with their lance. This has some range to the attack, but it also leaves them open as it has a slow recovery which allows you to dodge the stab and get behind.
Their next attack is a charging thrust like attack. They will absorb the Hydro element around them before charging at you, ending it with another stab. Once again, this has a lot of range, but it also leaves them open so take advantage of this attack. Finally, they have a horizontal sweep attack that deals Hydro damage. If any attack hits you, it’ll most likely be this, especially if you’re in melee range. The best way to avoid this is to try to stay at the back of the Knights as the attack hits a wide arc in front, and to the sides of them. Alternatively, perform a few attacks, then dodge, then perform a few more, and dodge again.
Once you defeat the Knights, you’ll get a cutscene. Paimon will ask what those were, and why they were attacking you. Dainsleif will tell you that they were once Royal Guards that resided from Khaenri’ah, and that the curse has taken its effect on them too. The only thing they have left is their honor. As you are learning what they are from Dainsleif, a mysterious figure is looking down at you from the platform above, Paimon notices and tells Dainsleif, and before you know it, it’s gone. It appears that he recognizes this person and questions to himself how they could stay self-aware for 500 years with the curse. Before you can ask any more questions, he tells you to press onwards.
Go to the entrance to the ruins
When you regain control, continue your hike up the rocky path to the northwest and head towards the golden glow for another scene. It appears that your progress is halted due to a mysterious energy. You’ll sarcastically say Puzzle time again, but Dainsleif has a different idea and tells you not to waste your time and makes it dissipate before your eyes with a simple glow from his hand. He explains that the Khaenri’ah technology and the Abyss Order trickery are nothing but cheap tricks that he’s used to by now. You’ll discuss amongst yourselves where this city originated questioning if it is Khaenri’ah or Abyss Order, but Dainsleif seems to think it belongs to an even older civilization, although the architecture does resemble Khaenri’ah. You’ll notice a dim light in the distance, and he’ll suggest that you make your way there.
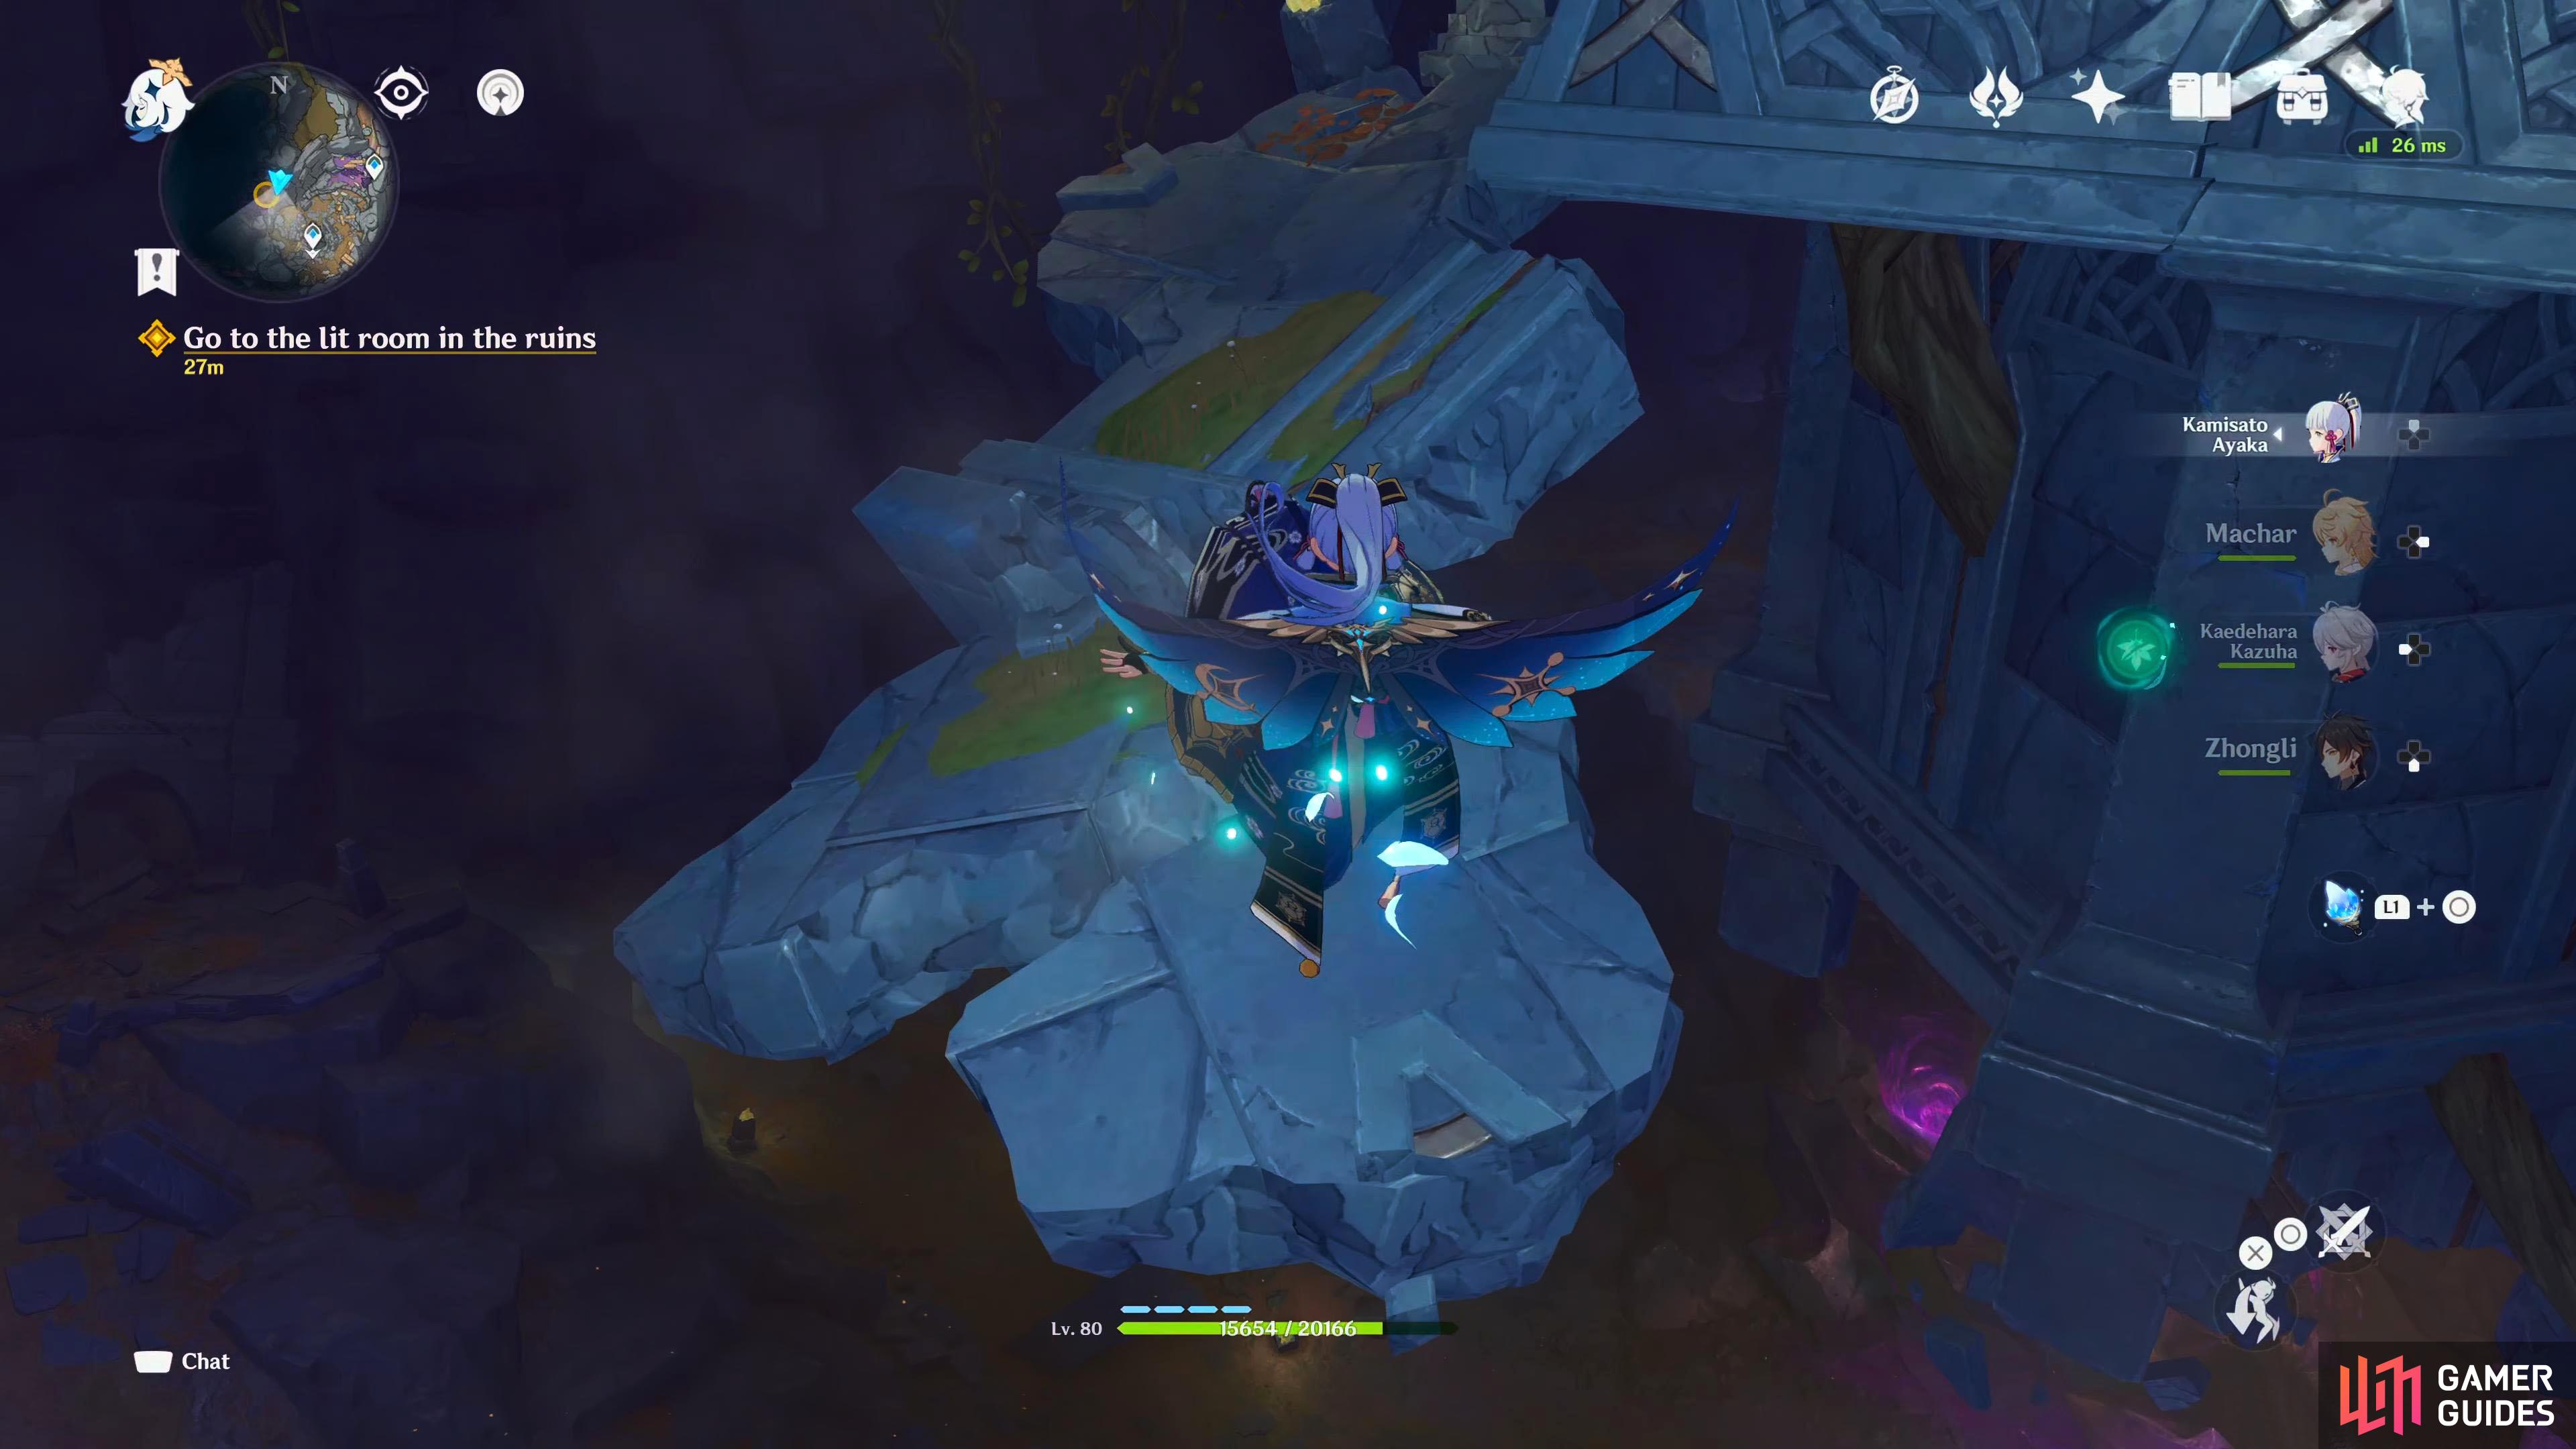
Navigate across the floating platforms to make your way towards the dim light.
Go to the lit room in the ruins
When the scene ends, head southwest over the floating platforms into the next room where you’ll have another scene followed by a battle against some more Black Serpent Knights.
Defeat the Black Serpent Knights
This battle will have you fight it out with two Knights with one of them being a Shadow Husk: Defender. These have a similar mechanic to the Line Breakers where if they attack someone who is shielded they’ll gain a buff. This particular buff increases their attack. These are Cryo based enemies and when they work in tandem with their Hydro counterparts, they can freeze you. The Defenders are archer archetypes and have a couple of frustrating attacks you’ll have to deal with. The first is your typical arrow shot imbued with Cryo, whilst their second attack will shoot an arrow into the air before it lands in a small circle on the floor at your location. Defeat the Defender first, so you won’t have to deal with the synergy they have with their Hydro compatriots, then take out the Line Breaker after.
This fight will introduce the Defender variant of the Knights. They gain an attack buff when they attack a shielded character.
Continue investigating the ruins
After the battle, Paimon will notice some vines leading up, and suggest that you should climb them. Take her advice and climb up the vines on the southern wall. As you reach the top, you’ll get another cutscene, and another battle.
Defeat the Black Serpent Knights
This time you’ll face three Knights, one Defender, and two Line Breakers. There is no difference with this fight, so defeat the Defender first, and finish off the Line Breakers after.
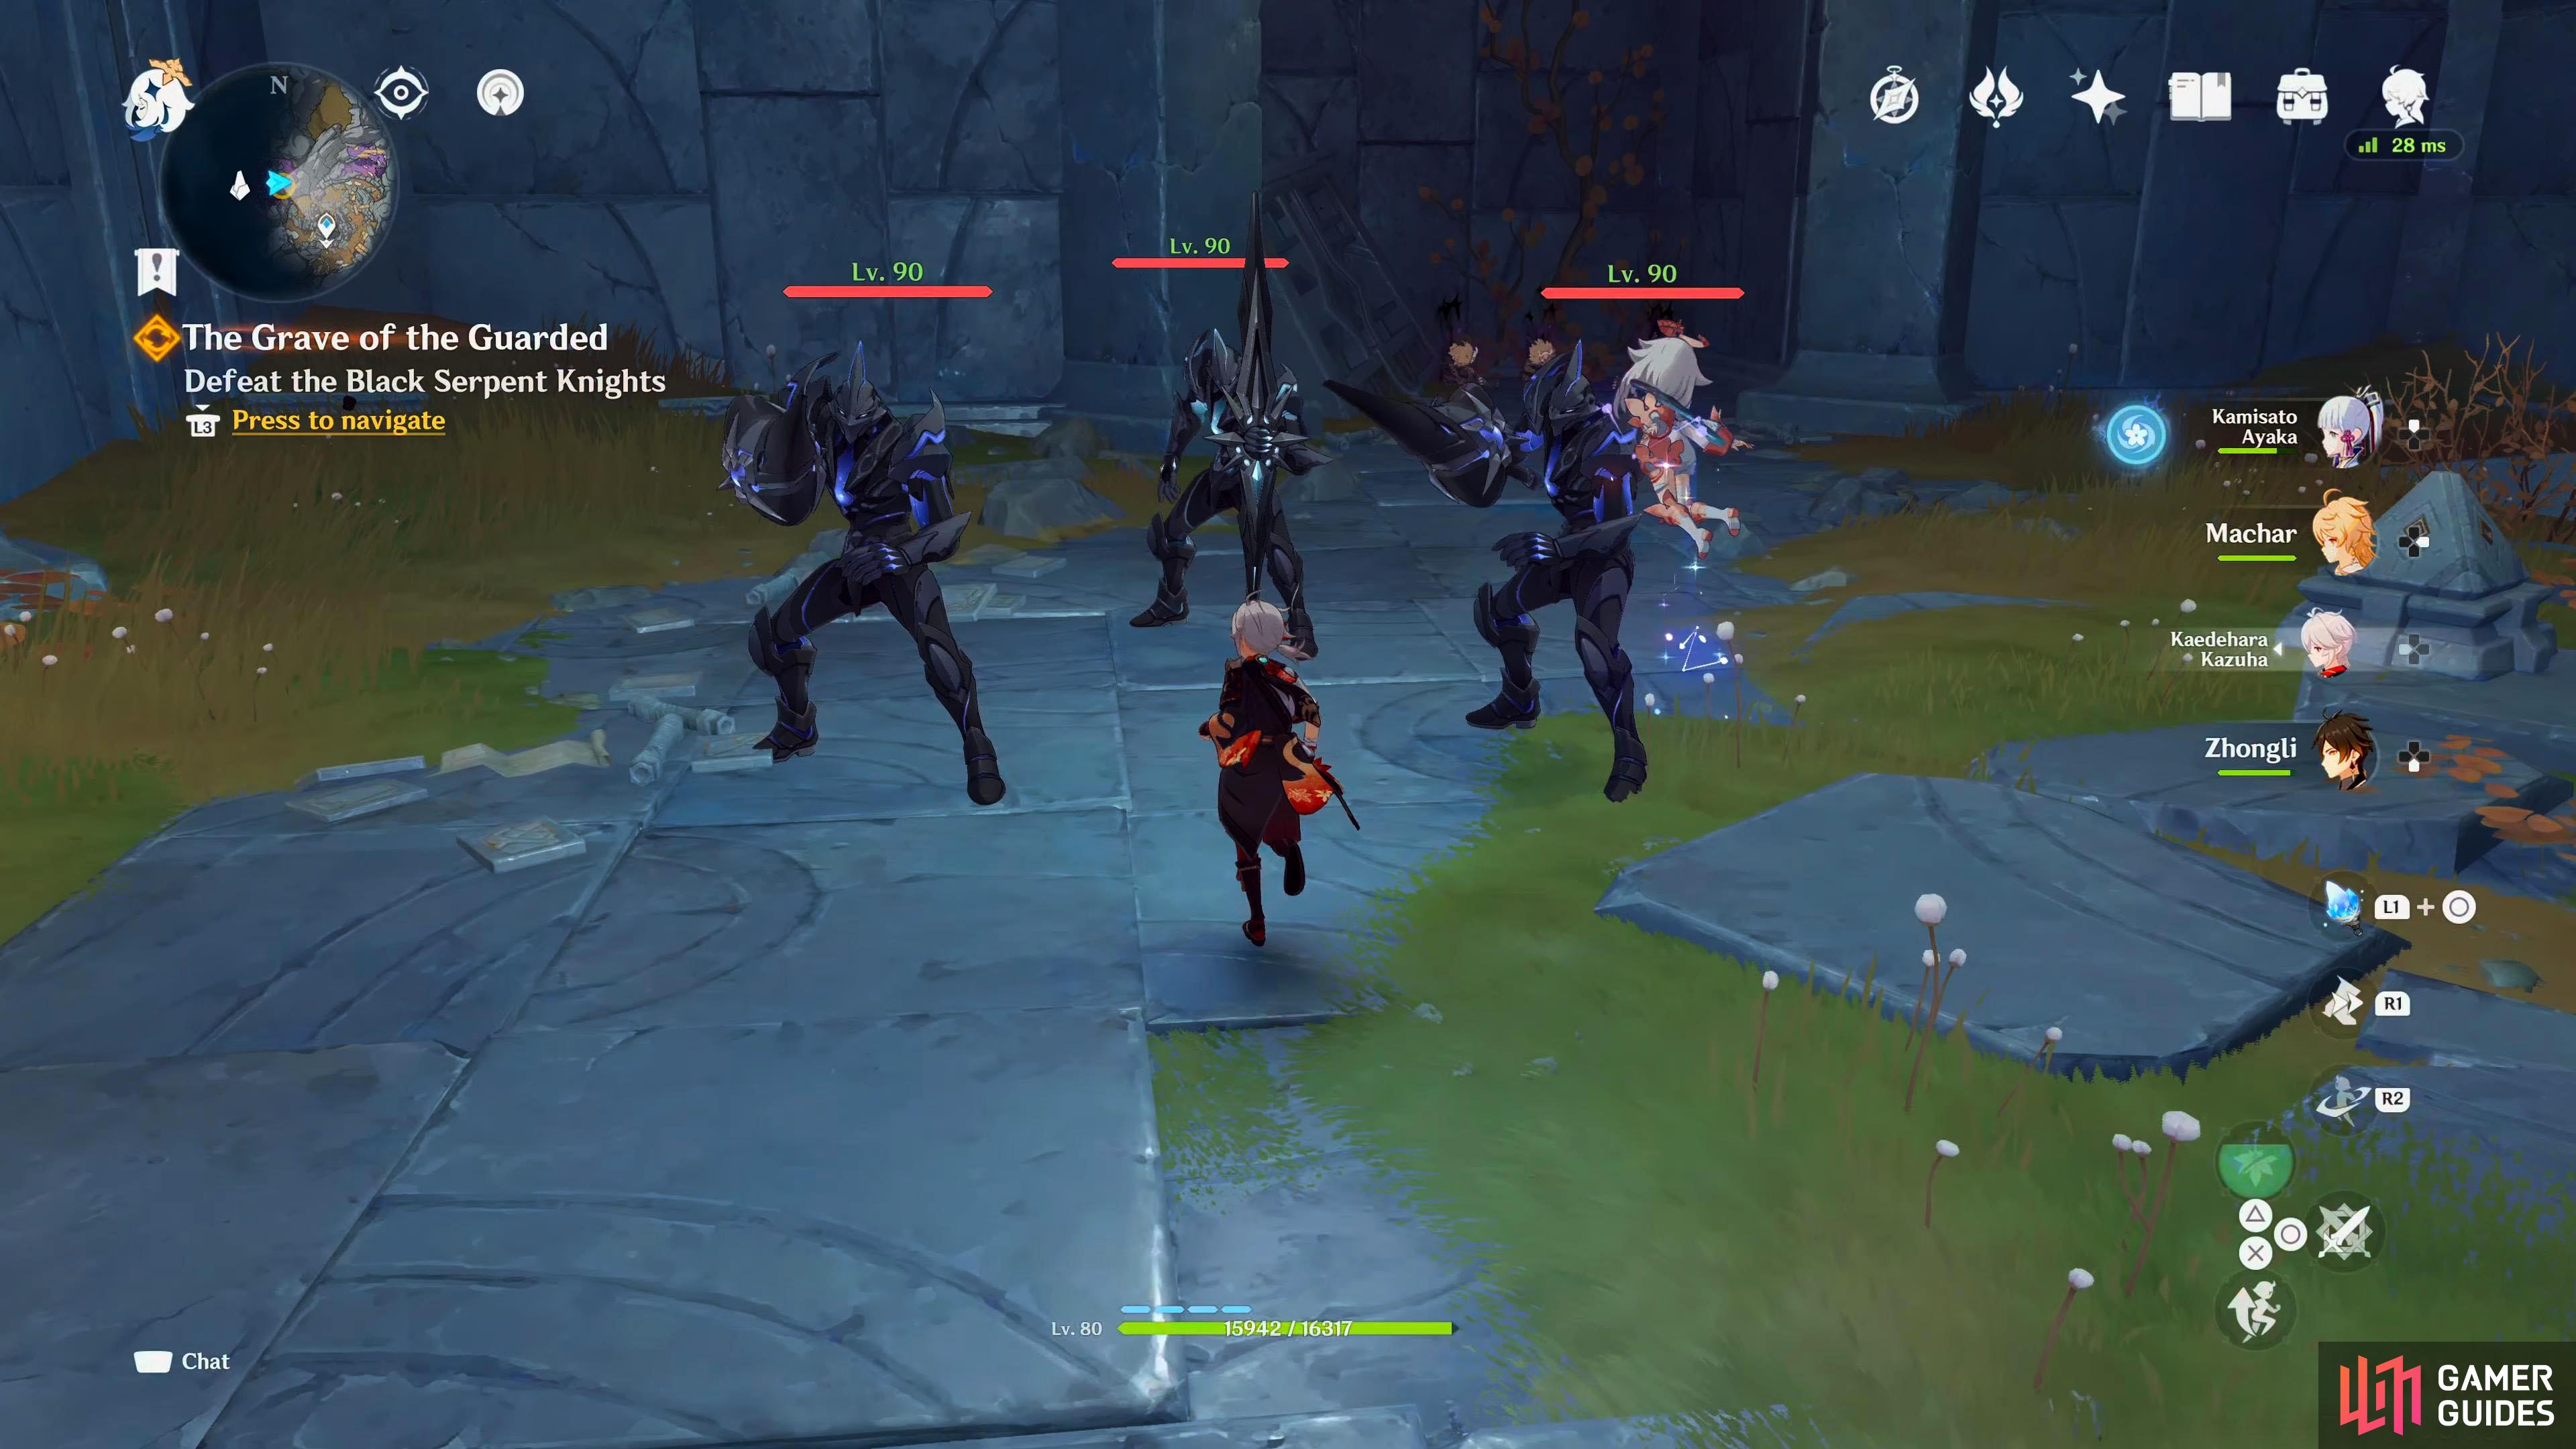
Take out the Defender (archer) first as they have the least health and synergize with the Hydro variants due to their Cryo nature.
Examine what the Black Serpent Knights were protecting
Once the battle ends, head over to the Hilichurls at the back of the room for another scene. You’ll conclude that the Black Serpent Knights had nothing to do with the Hilichurls and Dainsleif will explain to you what is going on here. It appears that the end is nigh for the Hilichurls where they grow old and fearful of the light, even to the point of becoming one with the darkness. Paimon asks why the Knights would stay here and protect them, and before he can answer, another group of Knights appears. The mysterious figure reappears, and it seems that he has called the Knights off. Out of nowhere, Dainsleif calls the mysterious figure by the name “Halfdan”. This shocks the group that Dainsleif recognizes, and he’ll tell you why they were protecting the Hilichurls.
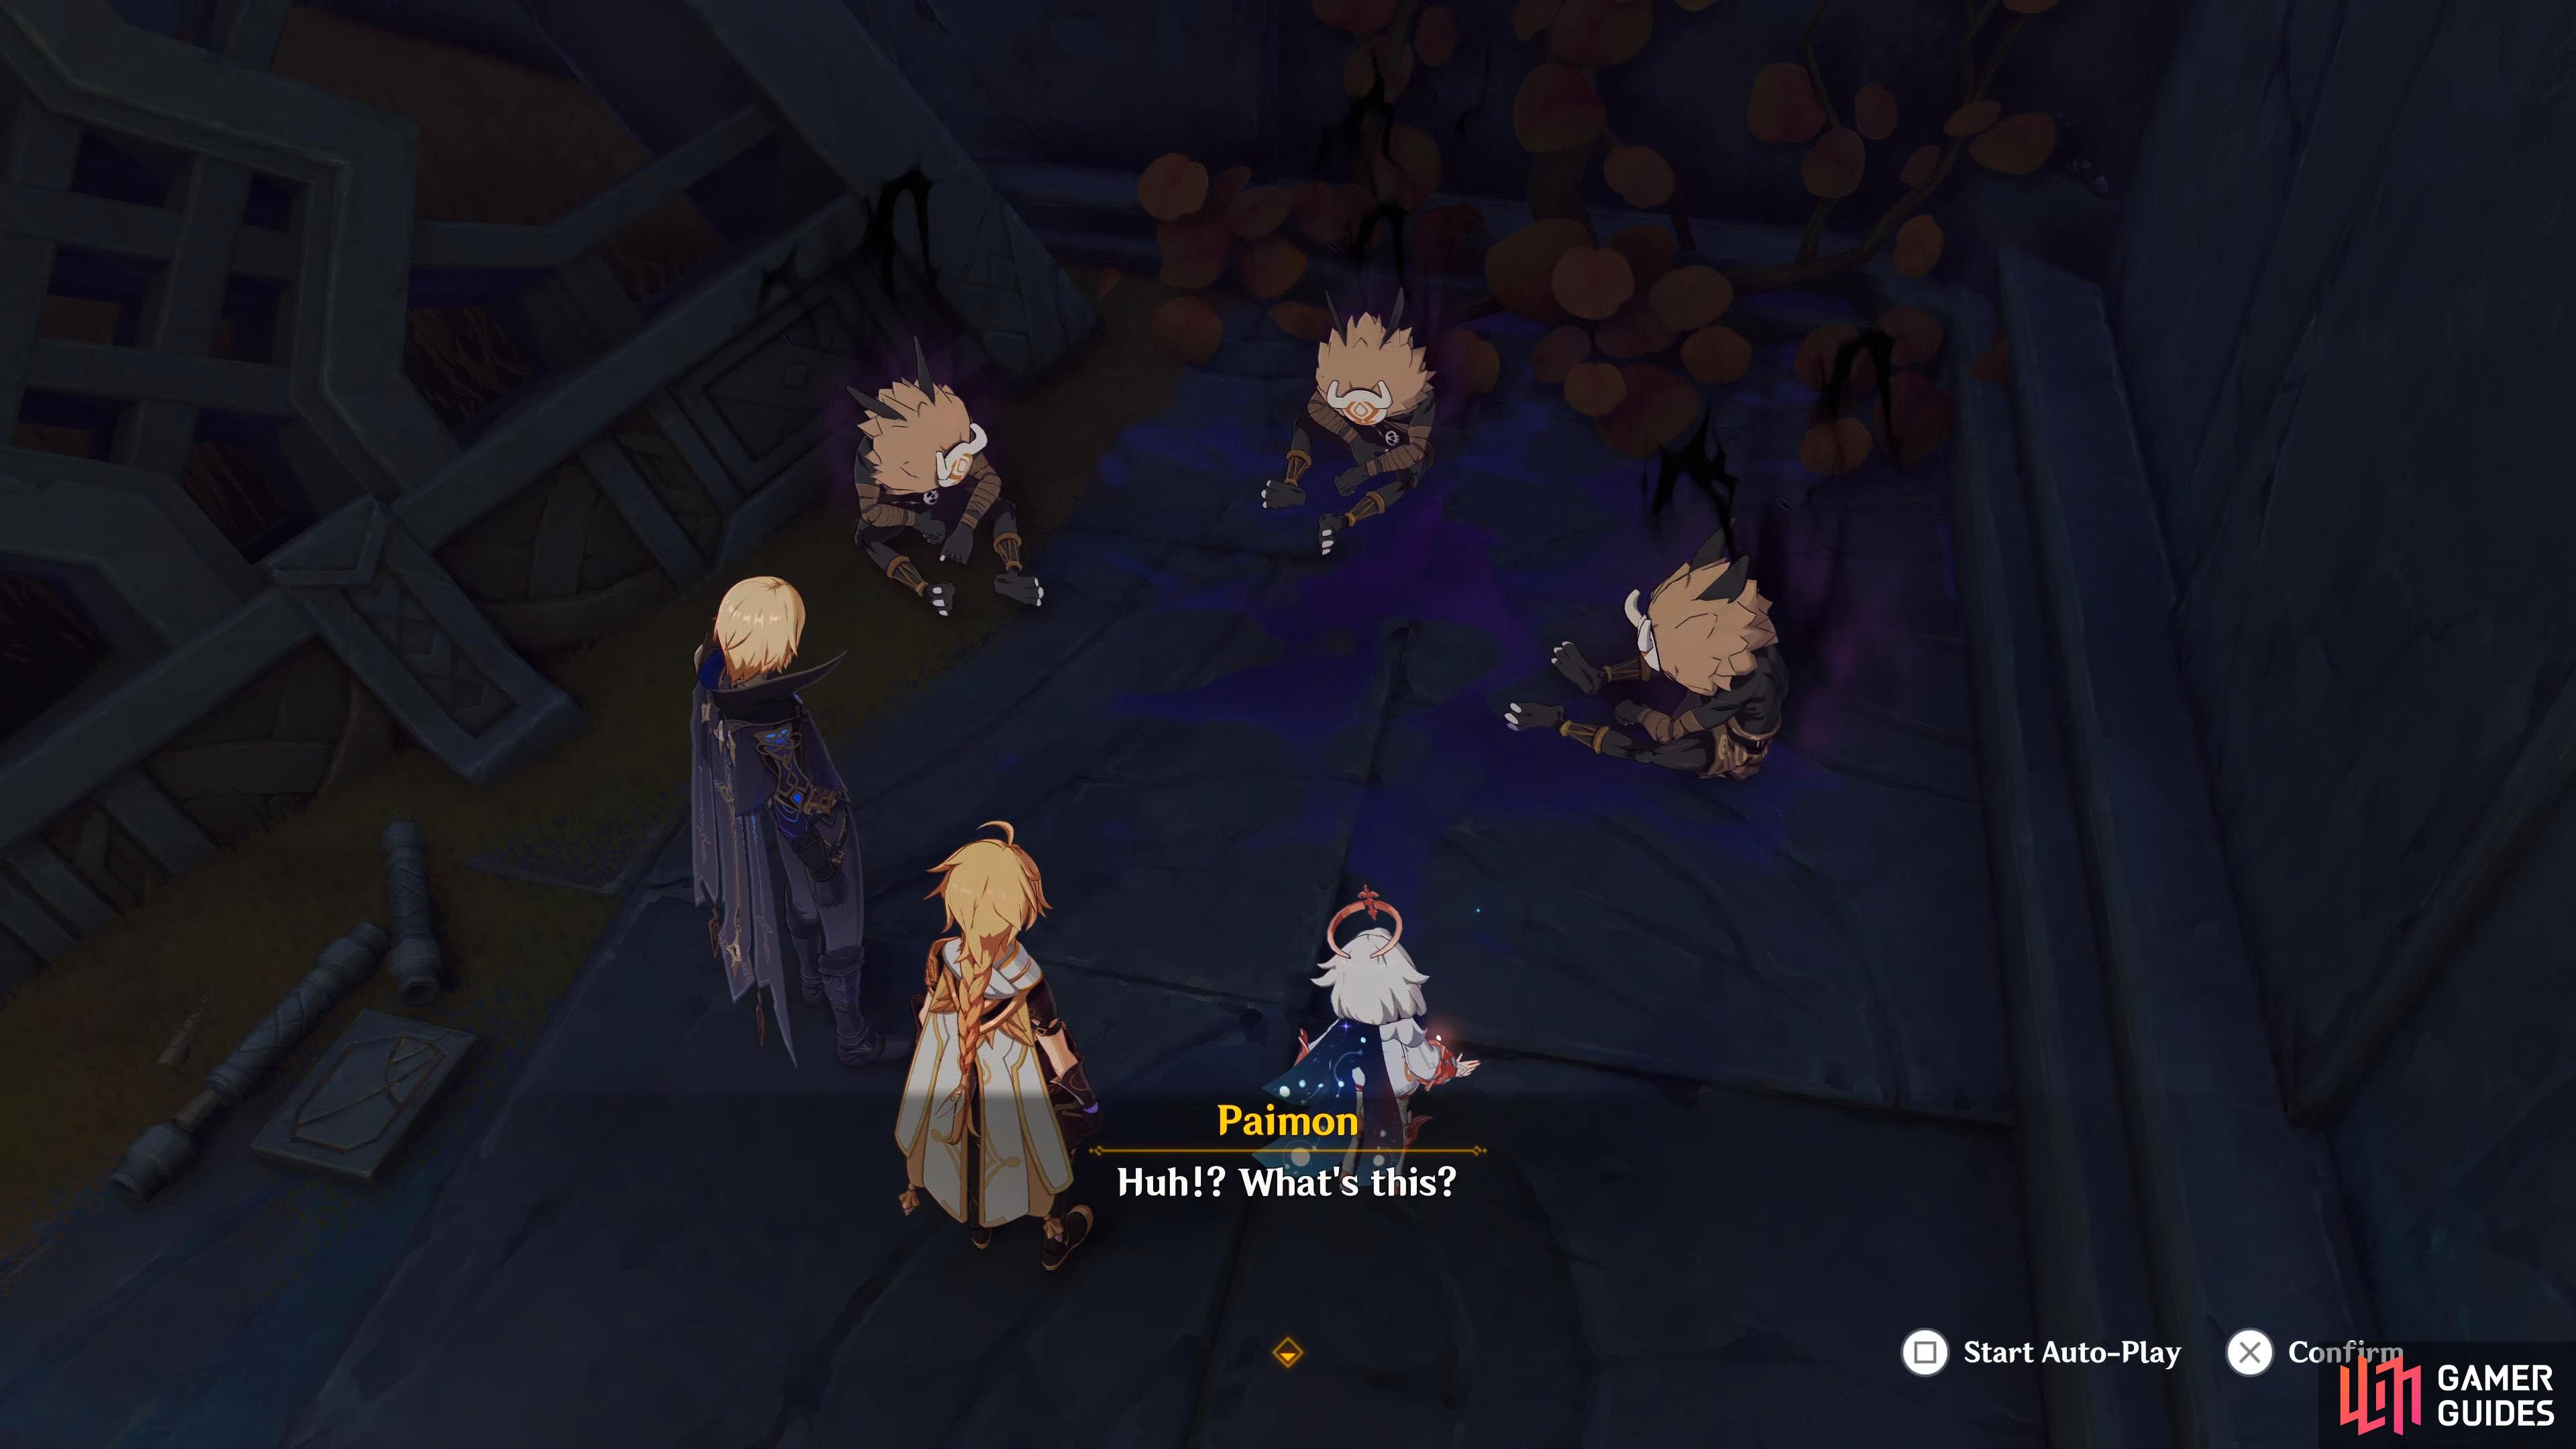
The Hilichurls appear to be in a trance-like state.
It appears that the Knights were just performing their duty, and the mysterious figure Halfdan was an elite Royal Guard. Dainsleif’s final order to Halfdan 500 years ago was to protect all the people of Khaenri’ah at all costs. As the Hilichurls were once from Khaenri’ah, this duty even extends to them. So although they have lost their intellect, they are still protecting their people. What the Black Serpent Knights were saying that you once thought was a threat is actually a warning with the word they keep saying meaning run. After the conversation, Dainsleif will suggest to keep heading towards the dim light at the top.
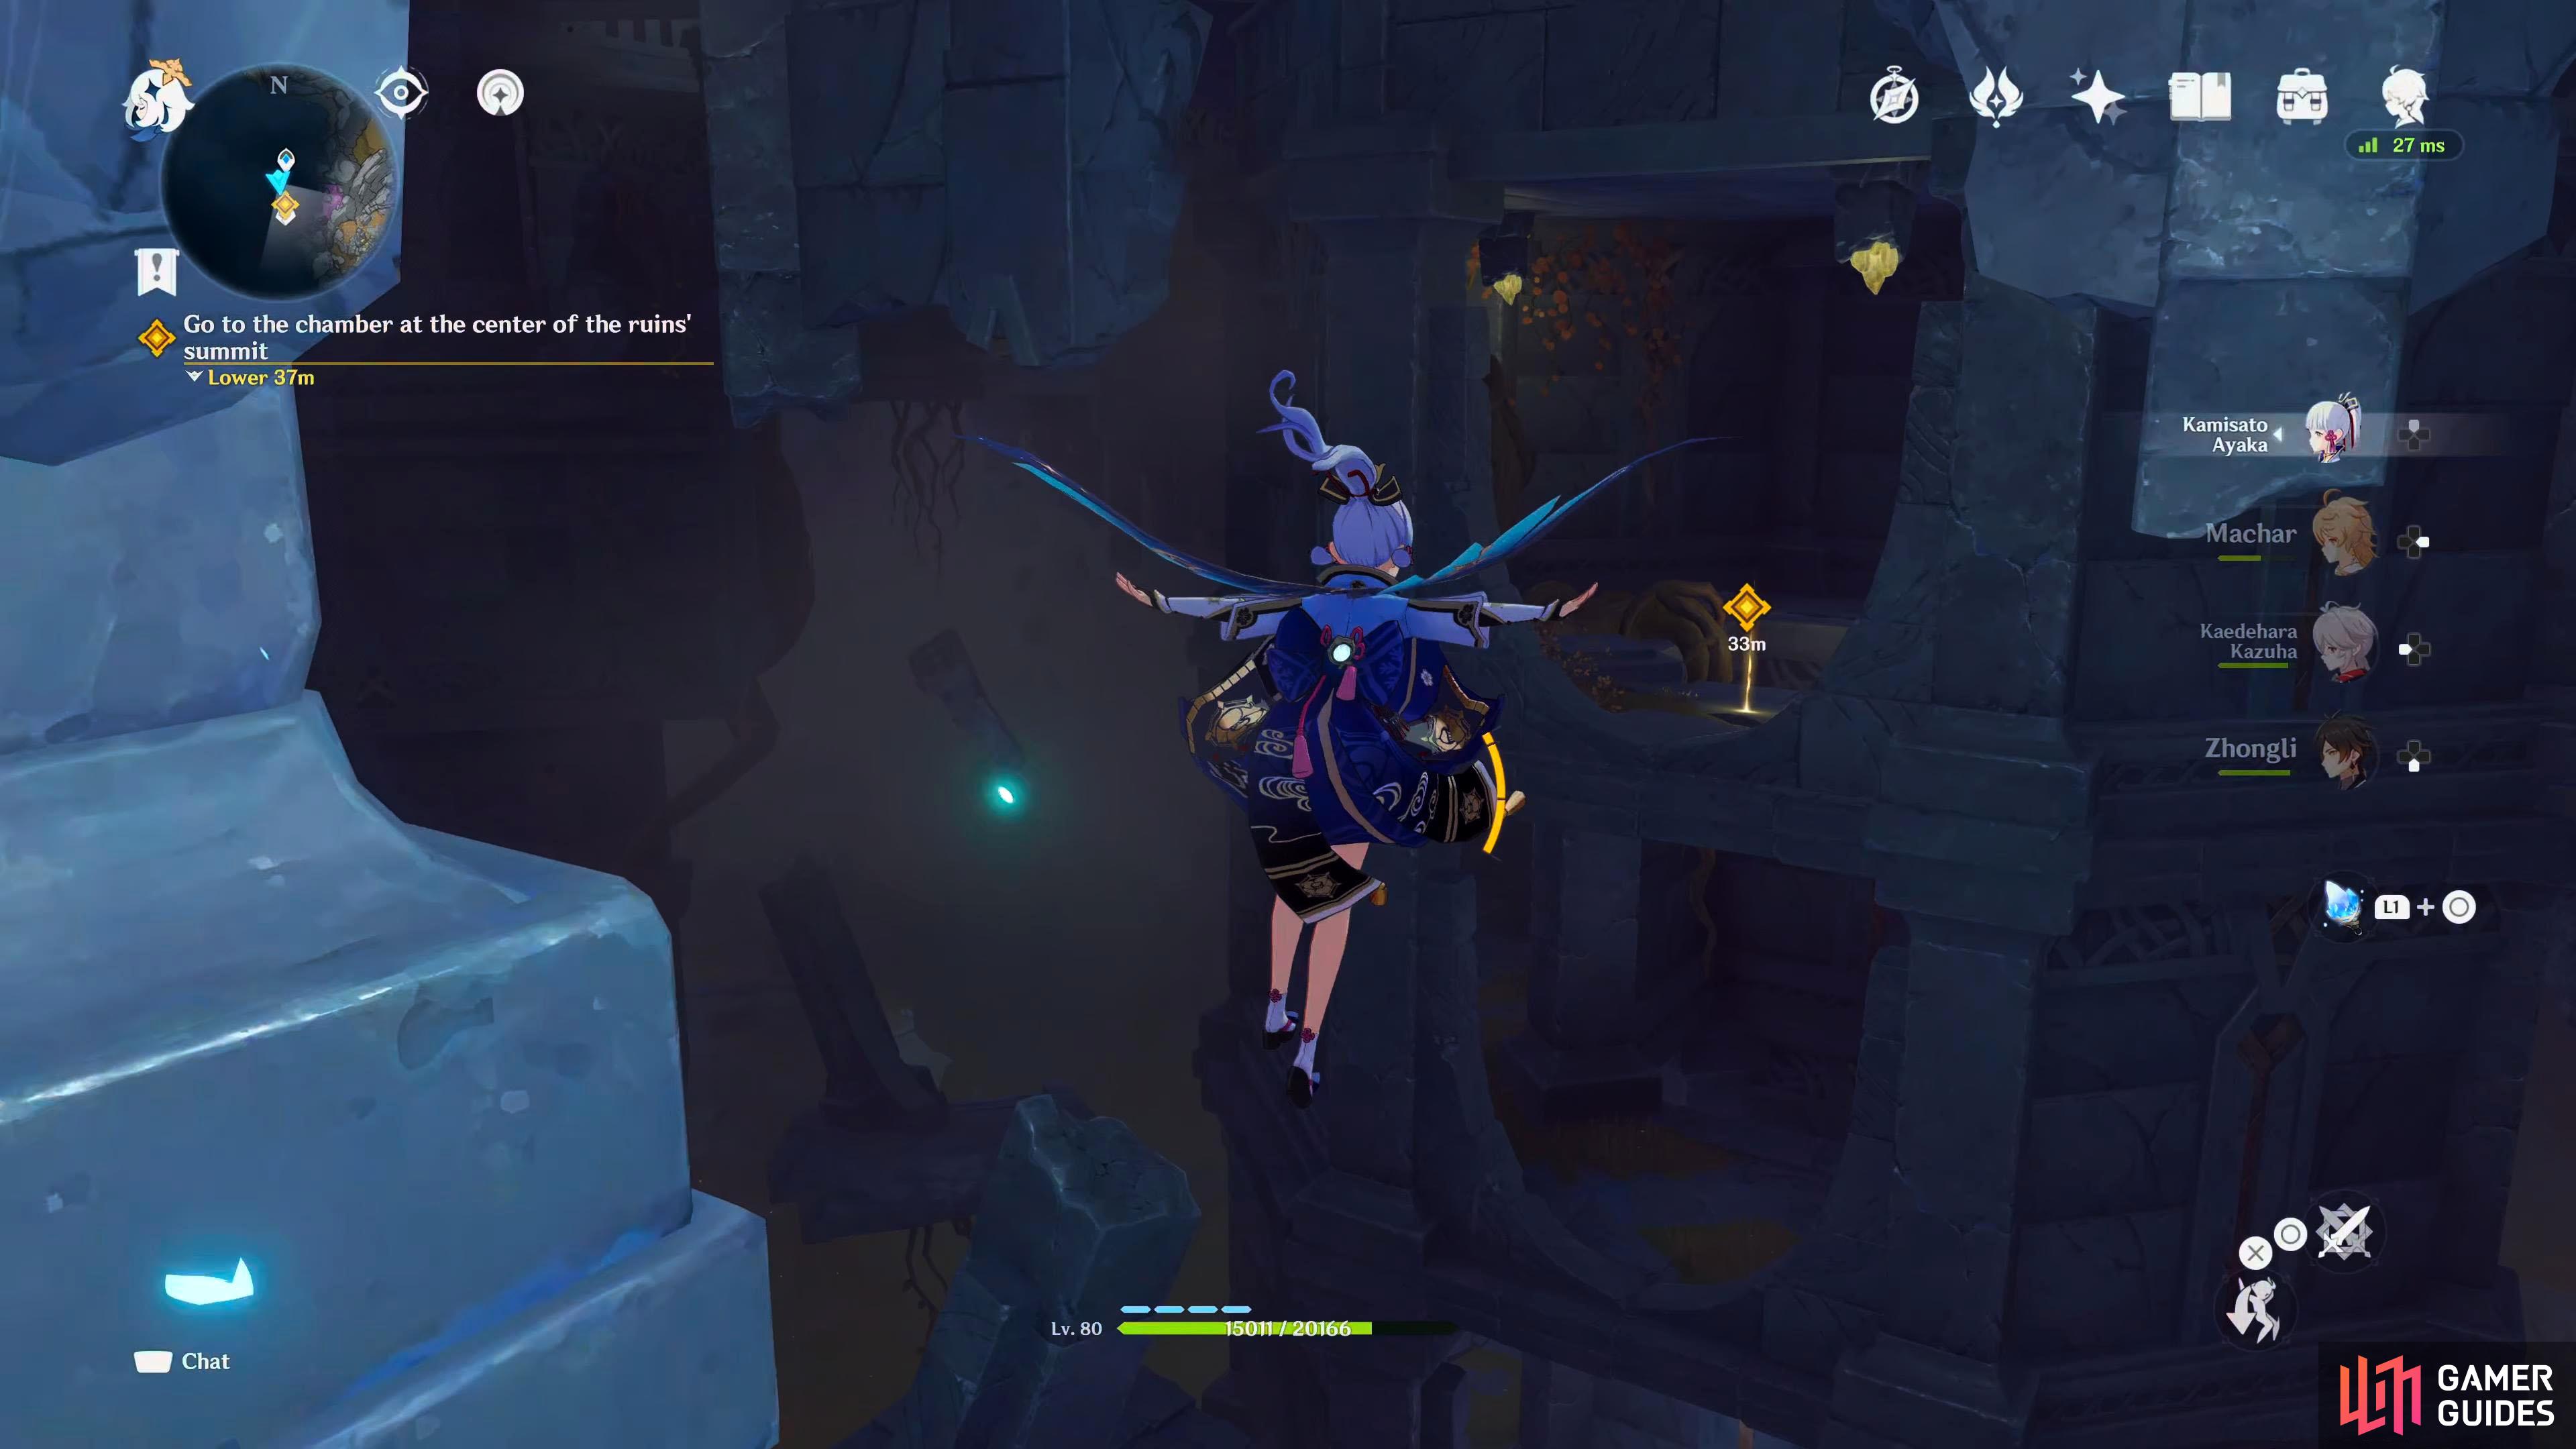
Go to the chamber at the center of the ruins’ summit
Head out the northern exit where the Seelie is floating about and follow the floating platforms northwest until you reach the open room to the west. Go to the objective marker for a conversation then climb the stone pillar next to the red waypoint and activate it. Exit the room via the southern opening and glide to the building to the south. In this room, exit via the western opening and climb the toppled pillar into the next room. For this room, you’ll need to climb the fallen stone wall to the right of the southern opening. At the top, exit via the southern opening and glide over to the tree branch and follow this east into the next room where you’ll get a short scene. Jump and glide east into the room above the fallen pillar to reach your goal.
When you get there you’ll get a scene, and the party will notice an inverted water pool on the ceiling. It appears that this pool is what is weakening the curse. Although this pool can weaken the curse, Dainsleif is adamant that it cannot nullify the curse, and as someone who has been fully conscious with the curse for 500 years, who are you to argue? After all the doom and gloom, you’ll notice an unusual device. A stone pedestal with a gleaming crystal at its peak. With some deliberation, you’ll conclude that it must be from the Abyss Order, but what are they using it for and why are they here. You’ll hear some clunks before noticing that the surrounding doors are open and Halfdan will appear again. Dainsleif will ask him if he has anything to say to him, but he just slowly walks off, and Dainsleif takes that as Halfdan’s way of telling you to follow him. Once the scene ends, so will the quest.
No Comments