
There are many pieces of equipment to find in The Legend of Zelda: Tears of the Kingdom. Some of these pieces of armor belong to a set, with there being multiple pieces per set. One such armor set is the Glide Armor Set, which consists of three pieces. To find these items, you will need to venture to the sky and do some skydiving challenges.
How to Get the Glide Mask in Tears of the Kingdom
Each piece of this armor set is fairly similar, in terms of how to get them. You basically have to find a specific island in the Sky, then do a skydiving challenge where you have to fly through a number of rings. Doing this the first time will spawn a Shrine, but if you talk to a nearby NPC, you will be able to retry the challenge. Only, this time you will be required to finish it within a time limit. Do the challenge within that time limit to receive the piece of the armor set.
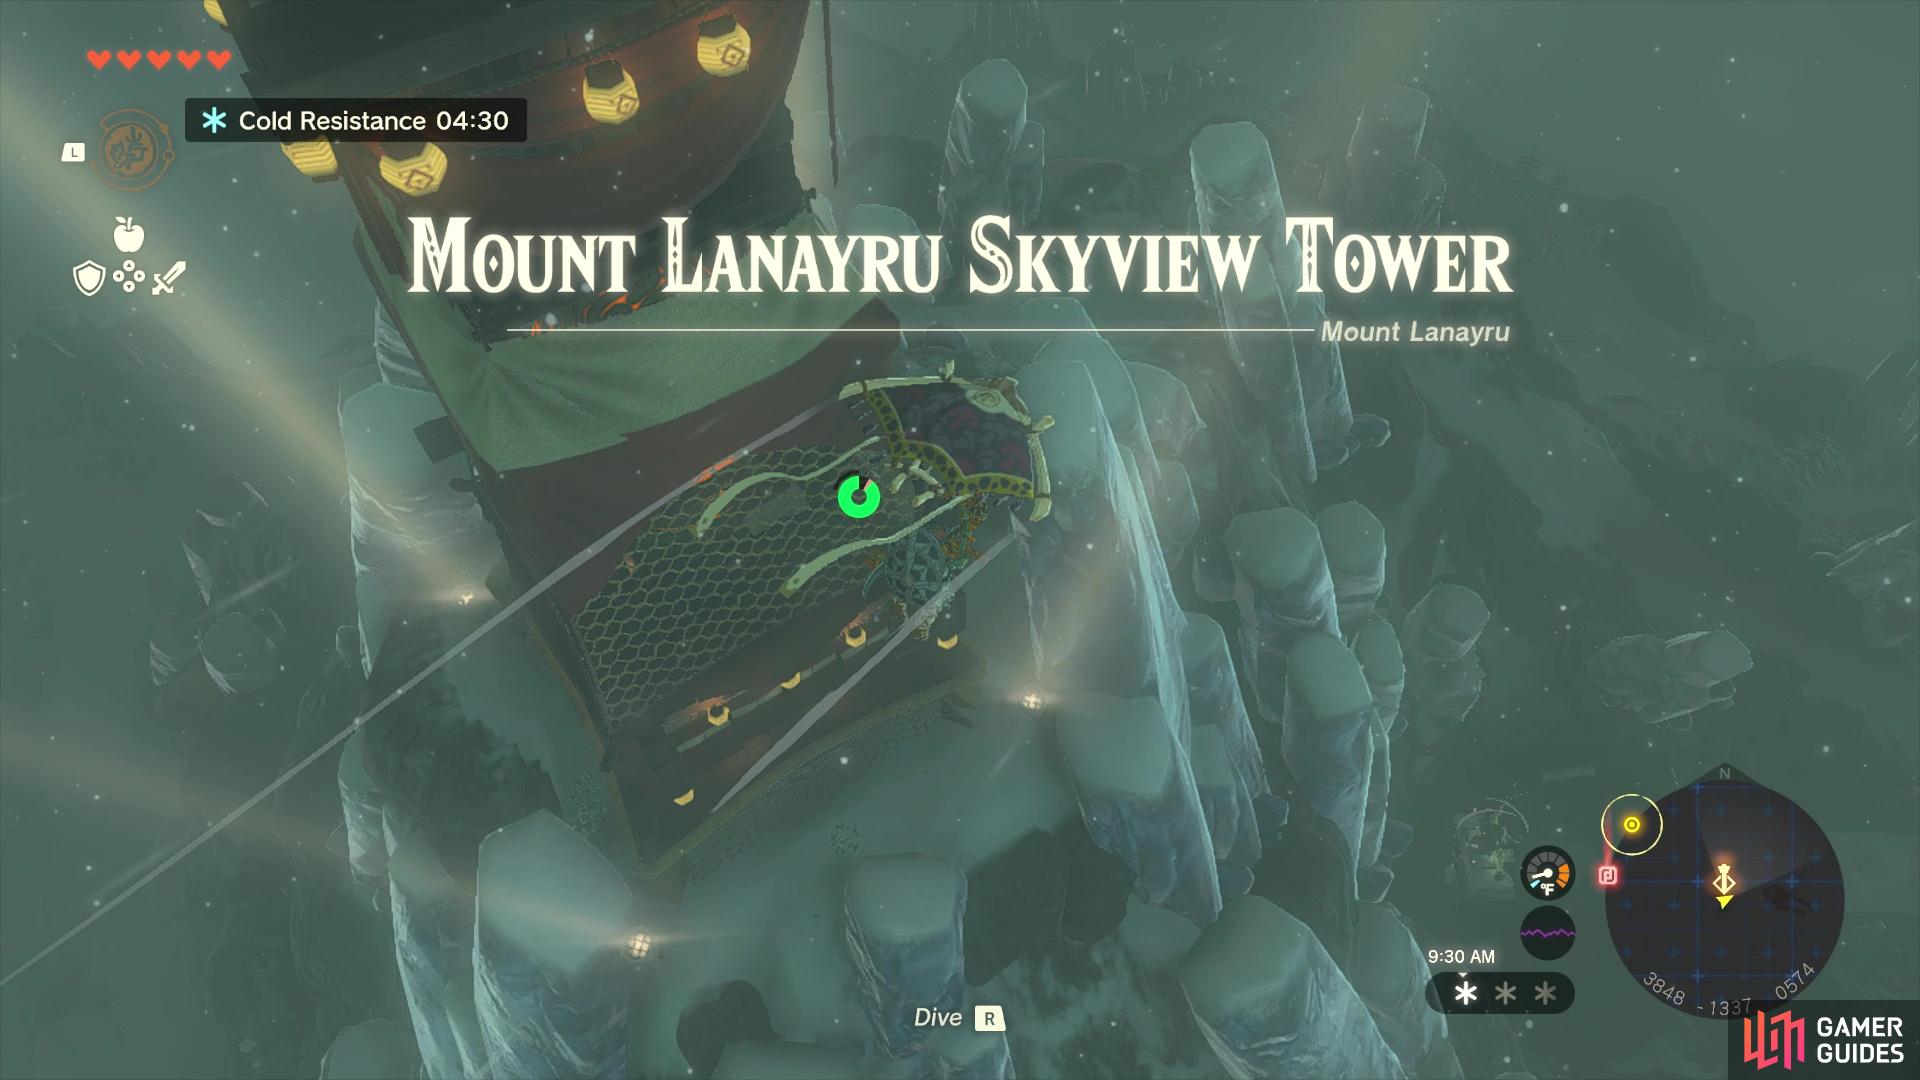
The ![]() Glide Mask is the first one on this list, although they can be done in any order of your choosing. First, you’re going to be starting from the Mount Lanayru Skyview Tower, where you will be using it to launch yourself into the Sky. Once you have regained control of Link in the air, deploy your
Glide Mask is the first one on this list, although they can be done in any order of your choosing. First, you’re going to be starting from the Mount Lanayru Skyview Tower, where you will be using it to launch yourself into the Sky. Once you have regained control of Link in the air, deploy your ![]() Paraglider and look for an island to the north that has a pool of water in the middle of it. Land on this little island and look for the pre-made flying machine that has a bunch of Fans on it, a Steering Stick and some Batteries.
Paraglider and look for an island to the north that has a pool of water in the middle of it. Land on this little island and look for the pre-made flying machine that has a bunch of Fans on it, a Steering Stick and some Batteries.
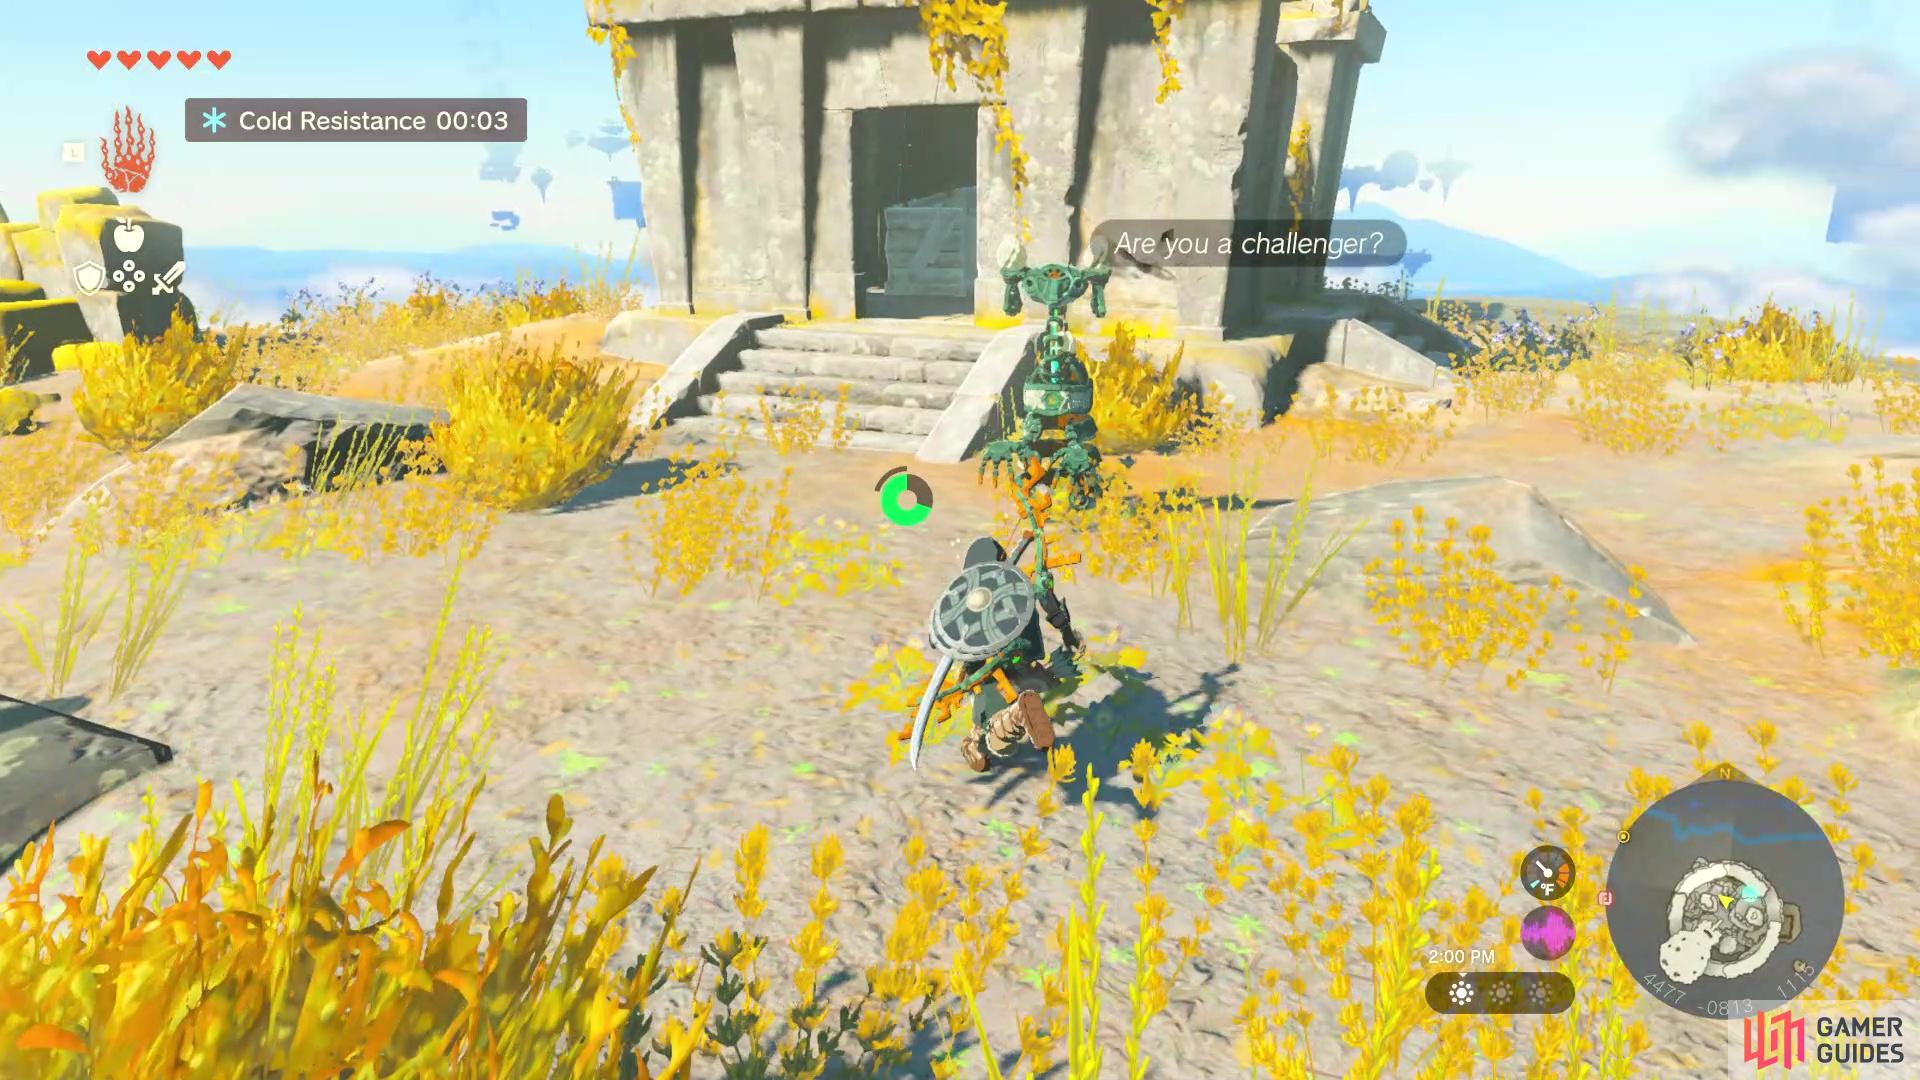
You will be using this device to fly to the northeast of the island, where you should see another island that has a larger landmass above it. This will be Valor Island, so ignore that larger landmass and make your way to the bottom island. The Batteries already on the flying device should be more than plenty in helping you reach it. Upon landing, look for the ![]() Steward Construct there and speak to it to learn about the dive ceremony. However, before you can do the actual challenge for the armor piece, you will need to do a test run.
Steward Construct there and speak to it to learn about the dive ceremony. However, before you can do the actual challenge for the armor piece, you will need to do a test run.
Whenever the !Construct asks you to go to the top, tell it yes and you can start. You will need to jump off the designated area, through the green ring, then continue to fall through the rest of the rings in order. It’s not too bad and you have the option to deploy your Paraglider to adjust your descent. Once you’ve pass through all of the rings, you will unlock a Shrine on the island with the !Construct. Feel free to grab the ![]() Light of Blessing, then speak to the !Construct again to get the timed challenge. You will need to do the same course, but in under 35 seconds.
Light of Blessing, then speak to the !Construct again to get the timed challenge. You will need to do the same course, but in under 35 seconds.
Naturally, you will need to dive a bit more for this one, but it’s fairly easy and you should haven’t much trouble at all in getting it under 35 seconds. For completing this challenge, you will be rewarded with the Glide Mask.
How to Get the Glide Shirt in Tears of the Kingdom
The ![]() Glide Shirt is located on Courage Island, which requires you to get into the Sky from the Lindor’s Brow Skyview Tower. As soon as you regain control in the air, look to the southwest and you should see the island you want. You should be close enough and have enough height to land at the very top, where you would normally jump down from when doing the challenge. If you feel like you won’t make it, aim for the lower island with the !Construct on it.
Glide Shirt is located on Courage Island, which requires you to get into the Sky from the Lindor’s Brow Skyview Tower. As soon as you regain control in the air, look to the southwest and you should see the island you want. You should be close enough and have enough height to land at the very top, where you would normally jump down from when doing the challenge. If you feel like you won’t make it, aim for the lower island with the !Construct on it.
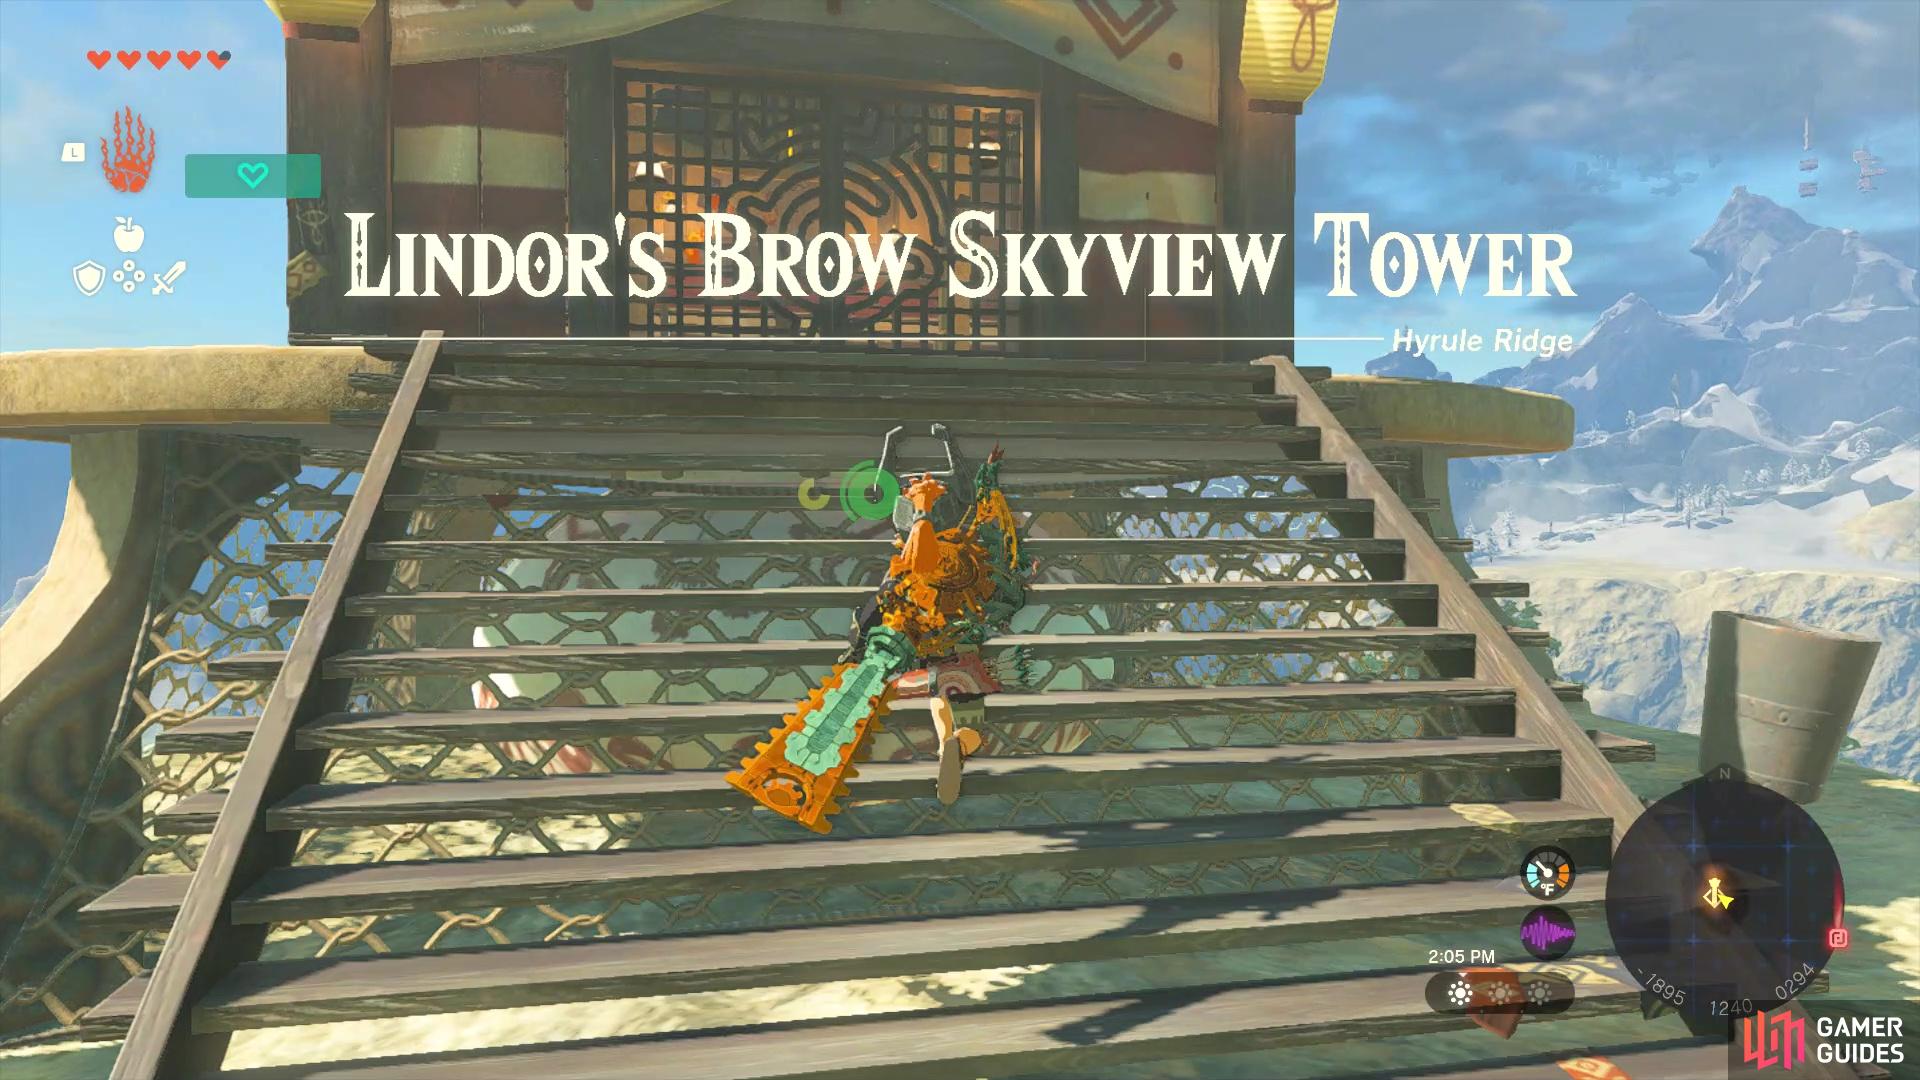
This tower is where you want to launch from for the second piece
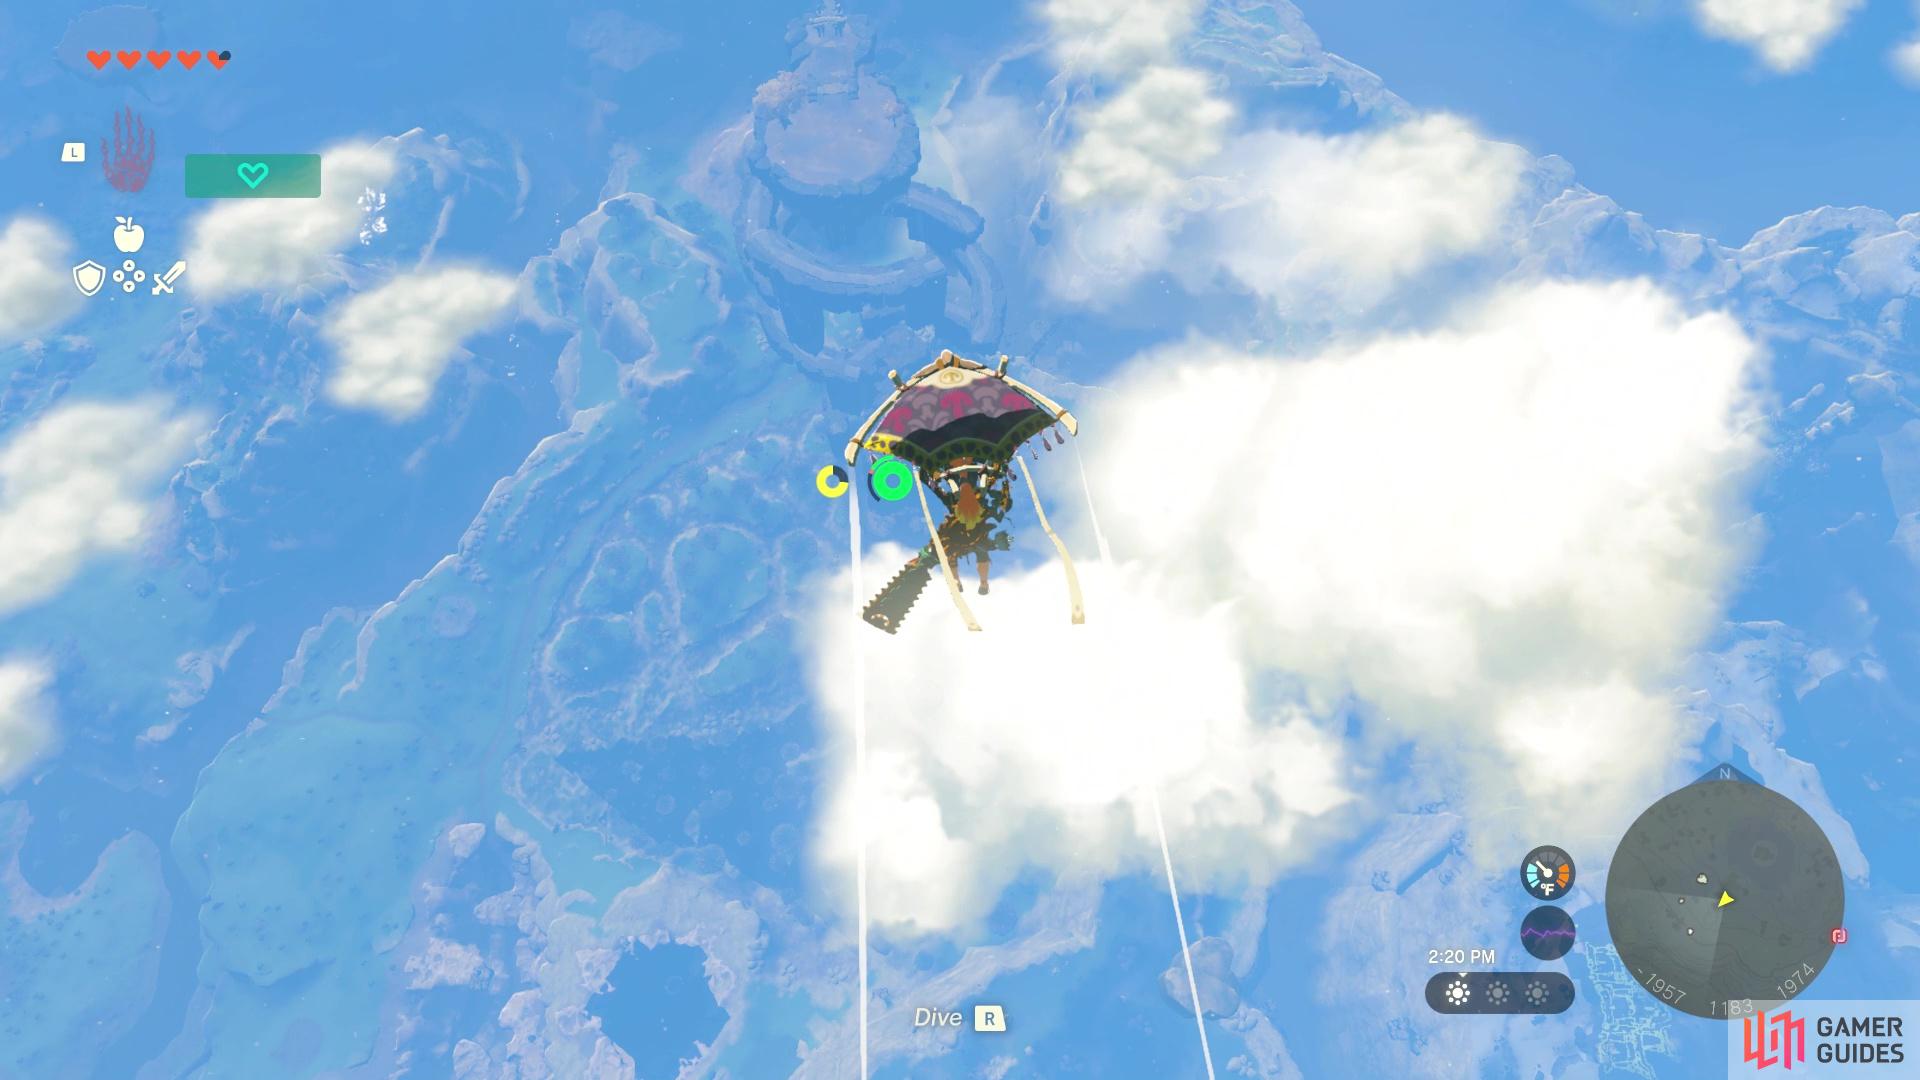
You should be able to glide and land straight on the diving island from the tower
Wherever you land, you will need to do the same thing as before. Run through the course once, which unlocks another Shrine, then speak to the !Construct to run through it again. The second time involves you having to finish it in under 35 seconds and doing this will reward you with the Glide Shirt. Note that if you’ve done any of the others first, you can equip those pieces of armor to improve your mobility in the air.
How to Get the Glide Tights in Tears of the Kingdom
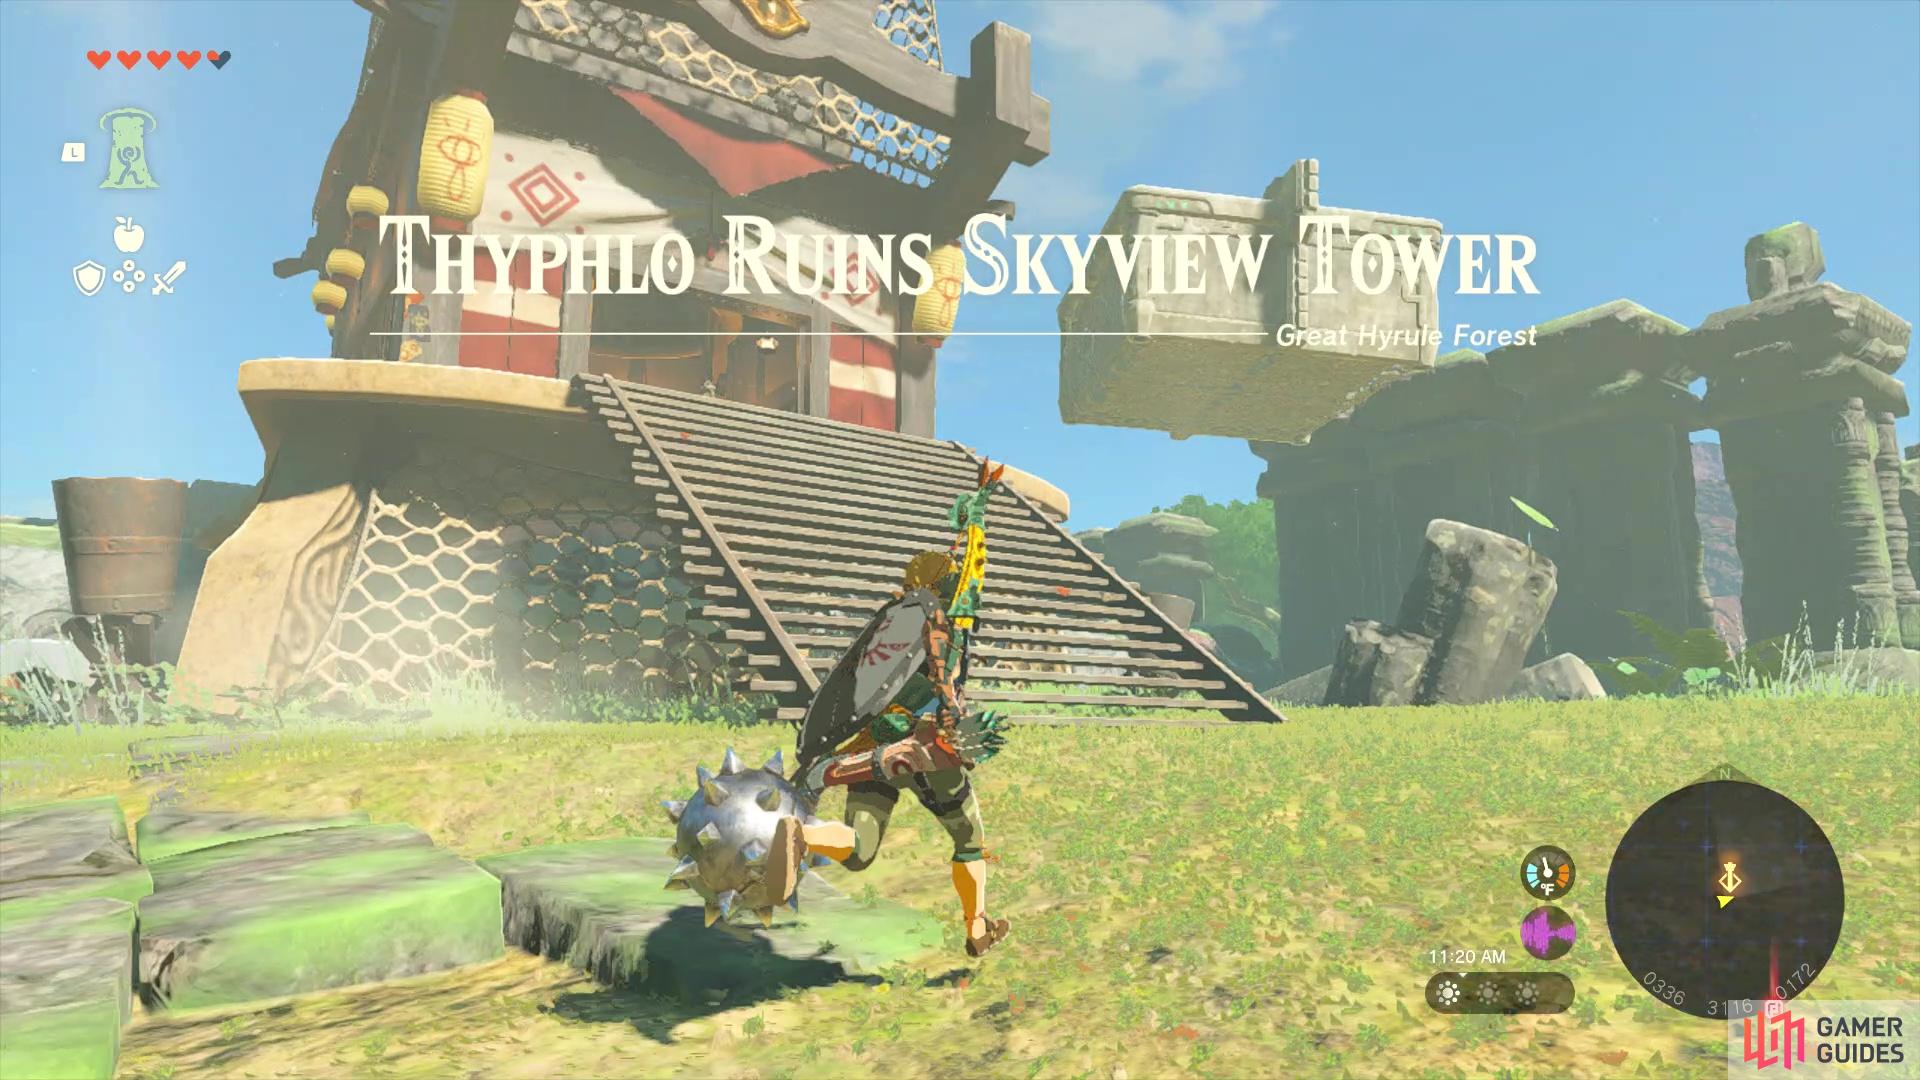
The ![]() Glide Tights should probably be your final piece of the set, simply because it’s a tiny bit more difficult than the other two pieces. Having two pieces of the set already does help, although it’s not fully needed here. To start with getting this piece of armor, you will need to venture to the Thyphlo Ruins Skyview Tower. Upon solving the puzzle and opening up the tower, launch yourself into the sky and glide south to the set of islands there. Continue to the island with the piston launcher, where you should be able to get a Shrine Quest, The North Hyrule Sky Crystal.
Glide Tights should probably be your final piece of the set, simply because it’s a tiny bit more difficult than the other two pieces. Having two pieces of the set already does help, although it’s not fully needed here. To start with getting this piece of armor, you will need to venture to the Thyphlo Ruins Skyview Tower. Upon solving the puzzle and opening up the tower, launch yourself into the sky and glide south to the set of islands there. Continue to the island with the piston launcher, where you should be able to get a Shrine Quest, The North Hyrule Sky Crystal.
This has no bearing on the actual armor piece, but it’s in the way, so might as well do it. For this Shrine Quest, you will have to drop to a lower island and defeat a ![]() Flux Construct I, which is where you want to go anyway. Whatever you do, head to the island with the boss enemy, then look for the spiraling landmass to the one side, which is where you are going. That is where you will be skydiving, so look below all of that to see another island there. Glide/dive over to that island below, using any food to replenish stamina if needed (the other Glide armor piece help a lot here in conserving stamina).
Flux Construct I, which is where you want to go anyway. Whatever you do, head to the island with the boss enemy, then look for the spiraling landmass to the one side, which is where you are going. That is where you will be skydiving, so look below all of that to see another island there. Glide/dive over to that island below, using any food to replenish stamina if needed (the other Glide armor piece help a lot here in conserving stamina).
Upon landing, seek out the Steward Construct and speak to it to get the option to start the diving challenge. The only difference between this one and the other two are the rings will move a little bit, which is why having the other two armor pieces can be helpful in maneuvering. Otherwise, the challenge is fairly simple and you’ll need to complete it once before being offered the timed version. The timed version has you trying to complete the course in under 35 seconds, which isn’t all too difficult here. For doing that, you will be rewarded with the Glide Tights.
How to Get Fall Damage Immunity in Tears of the Kingdom
Once you have all three pieces of the armor set, you will be able to upgrade it at the Great Fairies. Each piece can be upgraded twice, with you requiring some materials, as well as some Rupees. For the first upgrade, each piece will require three ![]() Keese Wings each. The second upgrade will require five Keese Wings, as well as six
Keese Wings each. The second upgrade will require five Keese Wings, as well as six ![]() Aerocuda Eyeballs. Both of these enemies are fairly common, so it shouldn’t be all too difficult to get the materials. Once you’ve upgrade all three pieces twice, you will see a new passive ability added to the armor set, called Impact Proof. As long as you’re wearing the whole set, you will now be impervious to fall damage. Here’s the chart for upgrading the armor.
Aerocuda Eyeballs. Both of these enemies are fairly common, so it shouldn’t be all too difficult to get the materials. Once you’ve upgrade all three pieces twice, you will see a new passive ability added to the armor set, called Impact Proof. As long as you’re wearing the whole set, you will now be impervious to fall damage. Here’s the chart for upgrading the armor.
| Defense Level | Items Needed | Rupees Needed |
|---|---|---|
| 5 | x3 |
10 Rupees |
| 8 | x5 |
50 Rupees |
| 12 | x8 |
200 Rupees |
| 20 | x10 |
500 Rupees |
Keep in mind that you will need to unlock all four Great ![]() Fairy Fountains to upgrade the armor all the way to 20.
Fairy Fountains to upgrade the armor all the way to 20.
No Comments