
Shrines are one of the core gameplay elements in The Legend of Zelda: Tears of the Kingdom. Scattered throughout Hyrule, shrines typically require you to solve some sort of puzzle or combat trial, upon the completion of which you’ll be rewarded with a ![]() Light of Blessing and potentially equipment. Shrines can also serve as fast travel points - all you have to do is interact with them. Since completing shrines will make your character stronger and provide exploration footholds, it’s essential that you conquer them whenever possible. This page will provide a walkthrough for the Gasas Shrine.
Light of Blessing and potentially equipment. Shrines can also serve as fast travel points - all you have to do is interact with them. Since completing shrines will make your character stronger and provide exploration footholds, it’s essential that you conquer them whenever possible. This page will provide a walkthrough for the Gasas Shrine.
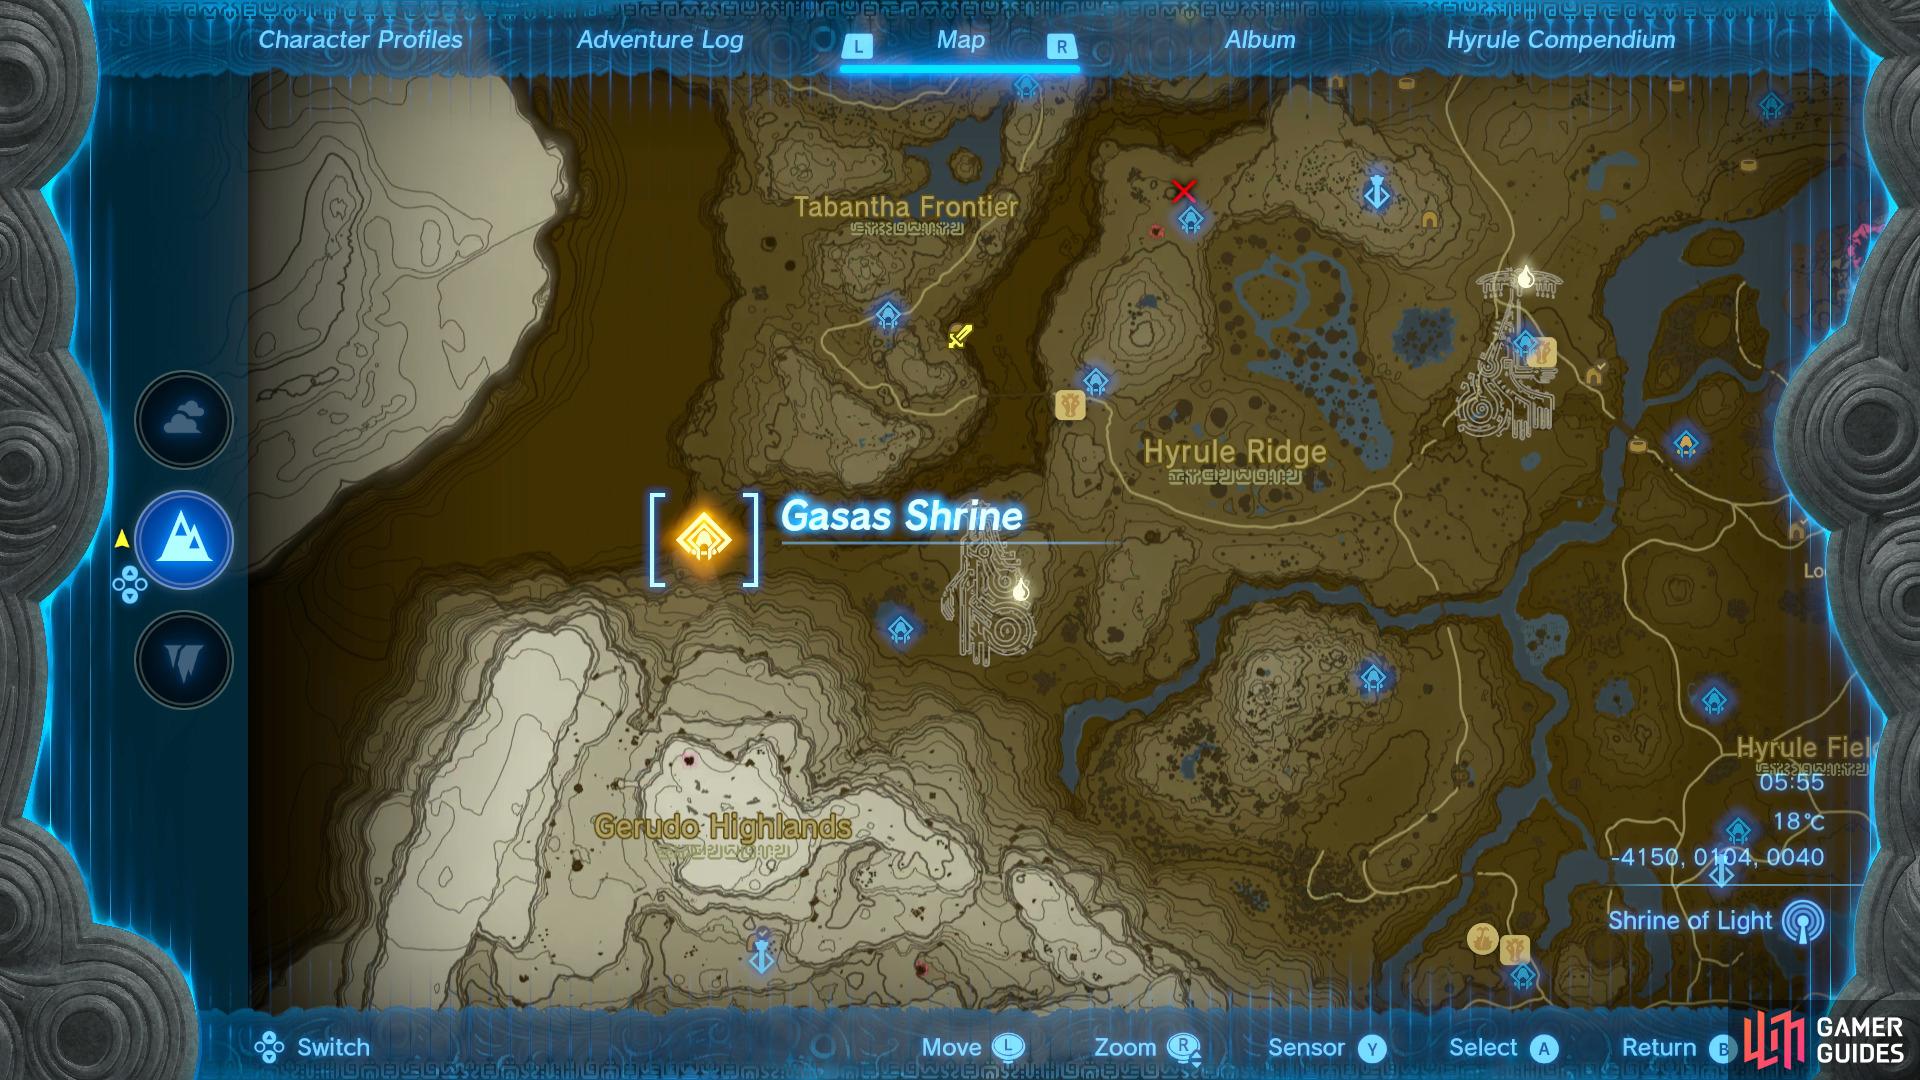
Head to this location on the map to find the Gasas Shrine entrance.
Where to Find Gasas Shrine
You can attempt any of the 152 shrines at any point throughout your adventure in Hyrule. However, some shrines are located in areas which require you to equip specific types of armor or eat certain foods in order to combat the extreme temperatures. This isn’t something you need to worry about for this shrine, so you’ll want to fast travel to the Lindor’s Brow Skyview Tower, then glide down to the southwest until you drop into the Tanagar Canyon. From here, follow the path along until you reach the westernmost point of the canyon and you’ll find the entrance to the !Gasas Shrine.
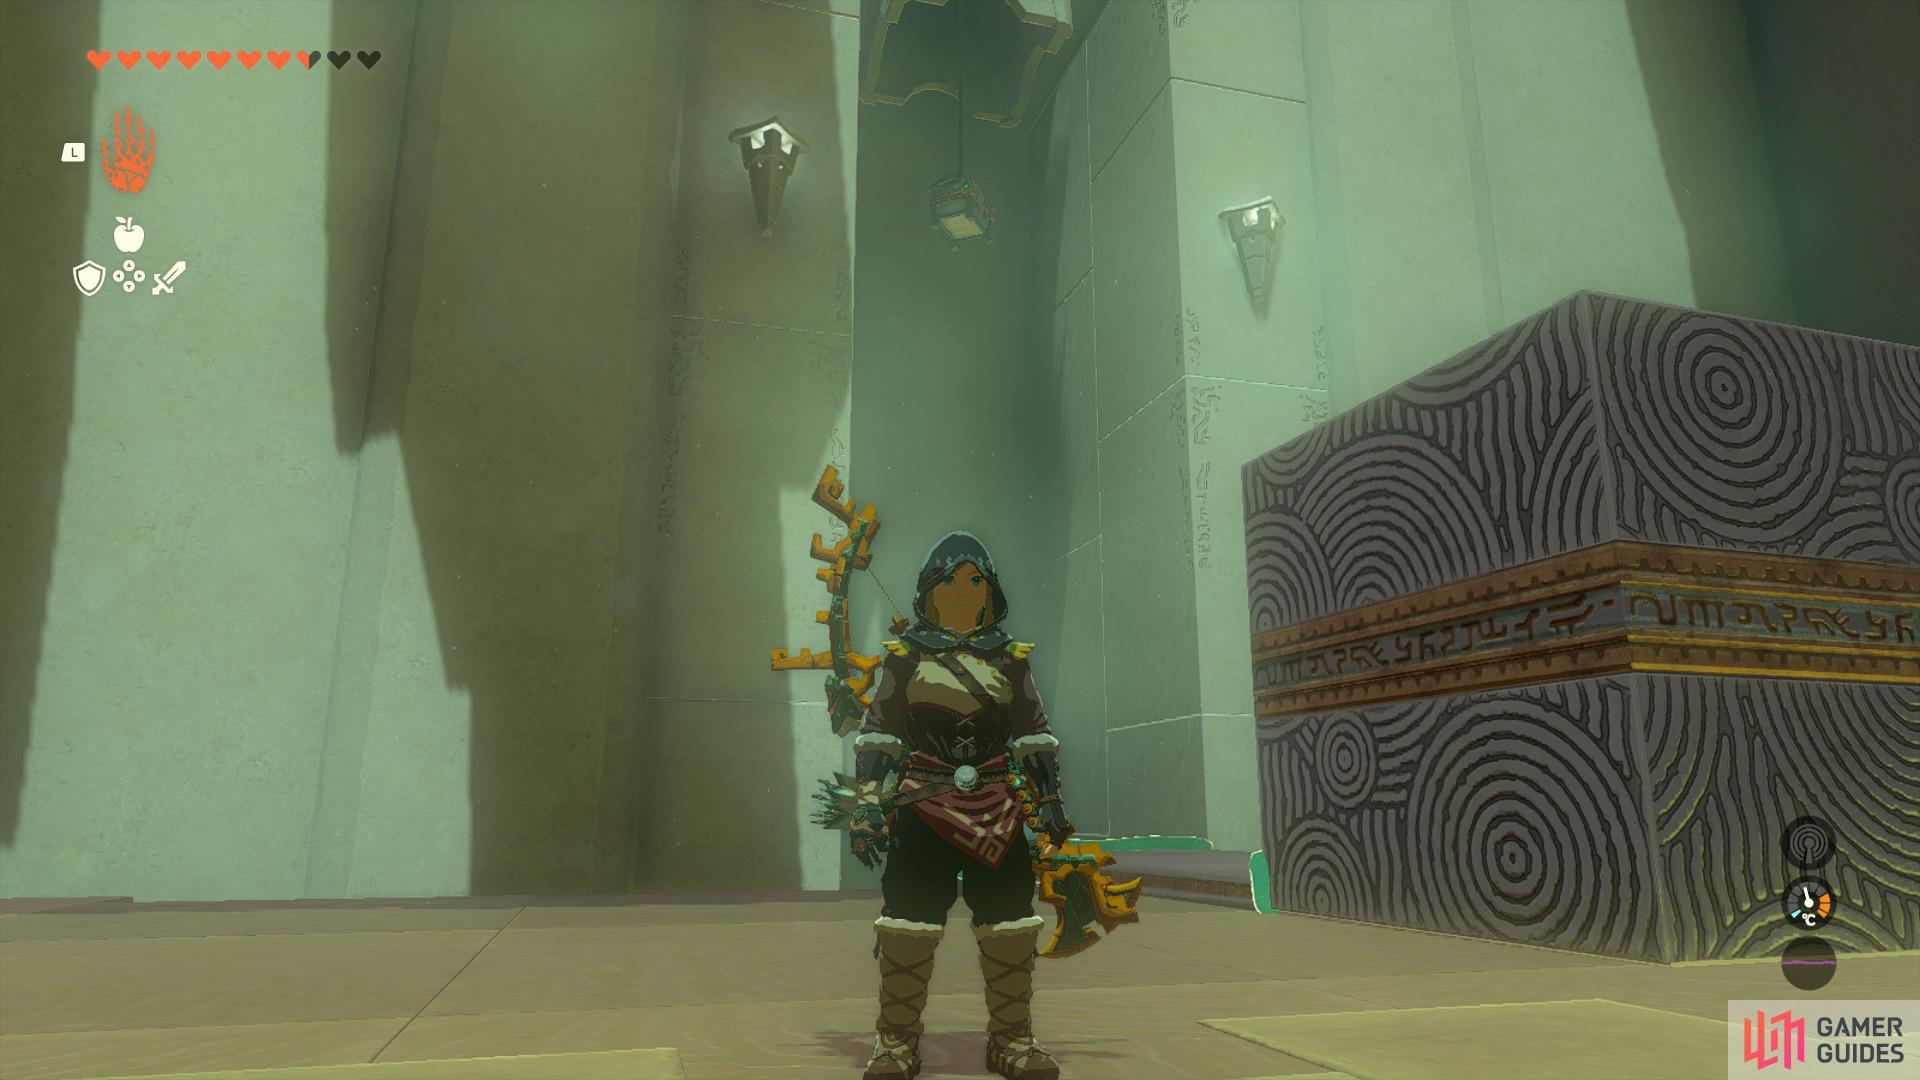
How to Complete the Gasas Shrine in Tears of the Kingdom
Shoot the cube down and walk across,
then attach it to the other cube and climb up.
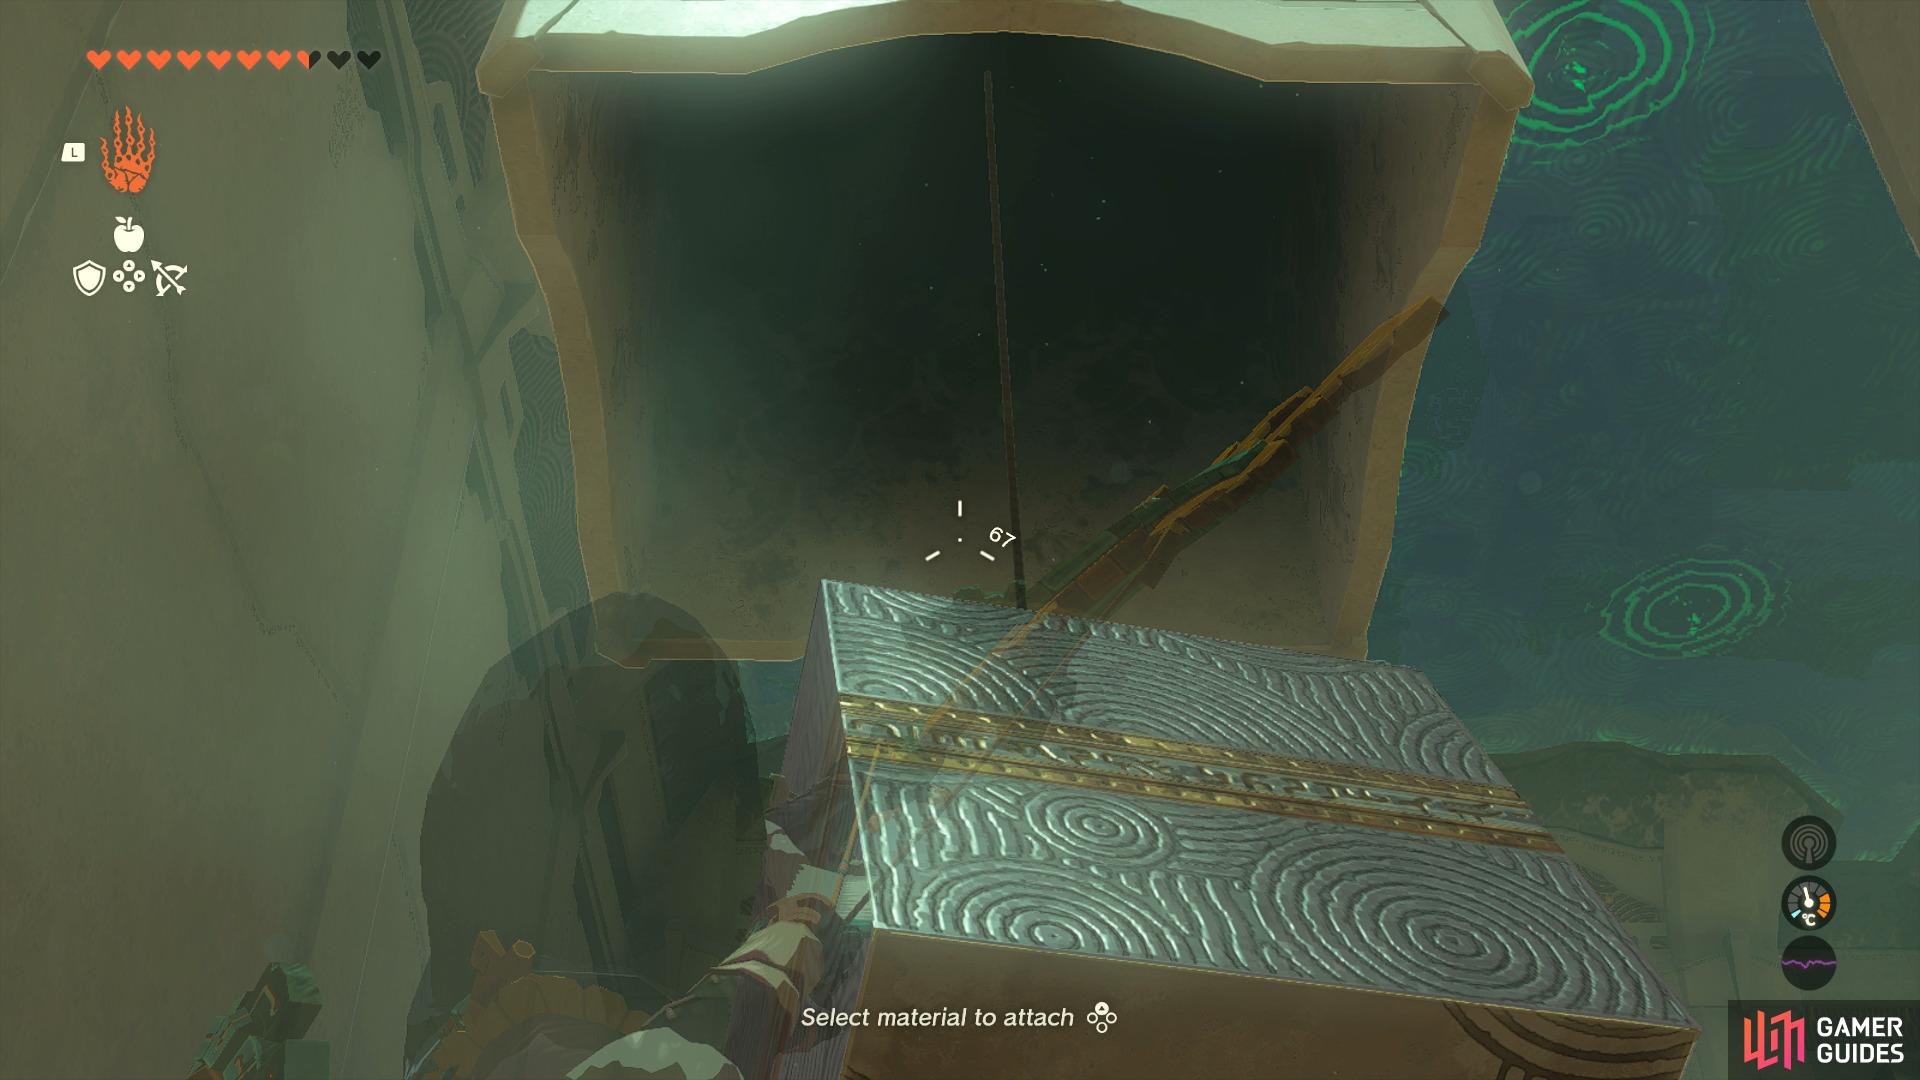
When you enter the !Gasas Shrine you’ll notice that the objective of this shrine is focused around timing. In the first room you’ll see a large gap and a cube hanging on a piece of rope in the center. Simply use your Bow to shoot the rope and the cube will fall, then cross over to the other side. Pick up the cube you just walked across with ![]() Ultrahand, then attach it to the top corner of the cube, so you can climb up to the area above.
Ultrahand, then attach it to the top corner of the cube, so you can climb up to the area above.
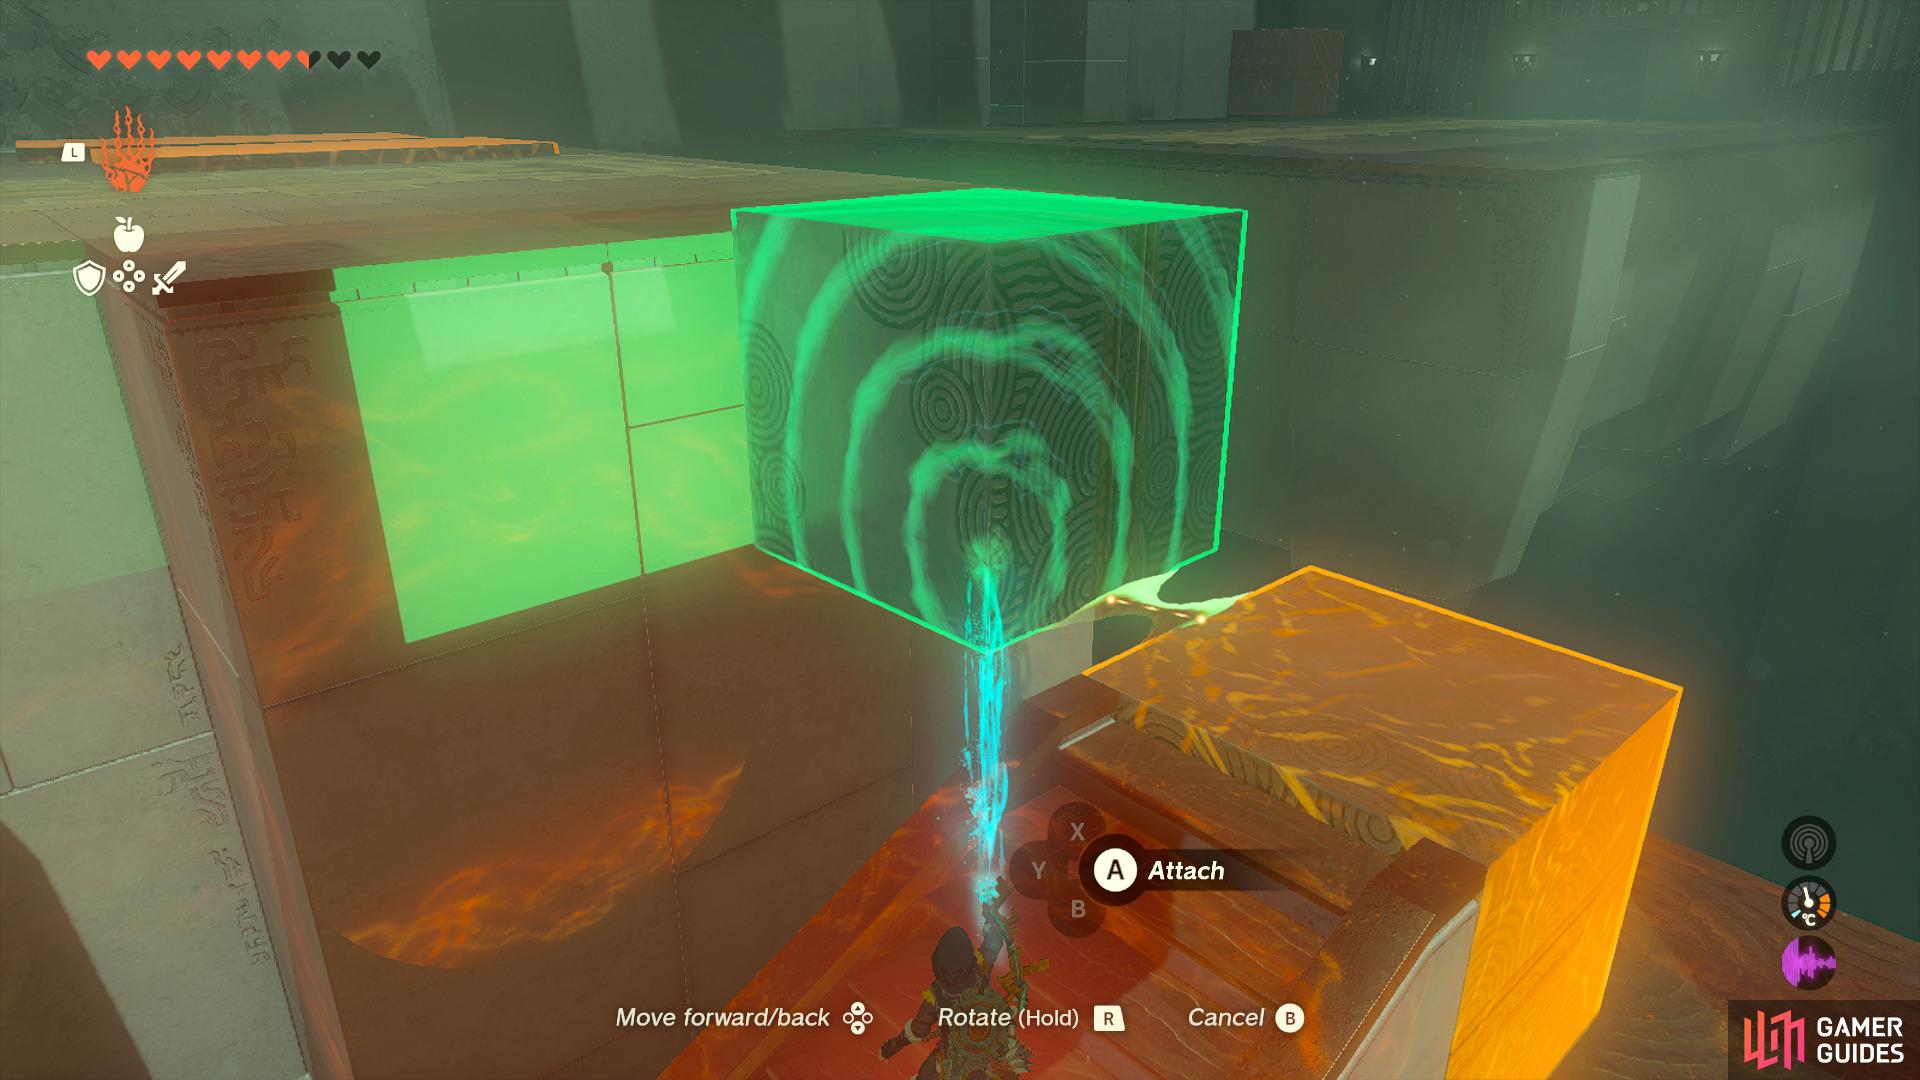
You’ll now face another large gap, so pick up one of the slabs and attach it to the end of the other slab, then place it across the gap and walk across. From here, you’ll want to pick up the planks and place it across the gap on the right (underneath the chest), then shoot it down with your bow to claim a ![]() Large Zonai Charge. Next up, you’ll want to pick up the cube that’s in the corner and place it somewhere in the room, then attach the planks to the bottom corner of the cube.
Large Zonai Charge. Next up, you’ll want to pick up the cube that’s in the corner and place it somewhere in the room, then attach the planks to the bottom corner of the cube.
Attack the planks to the cube
then place it across the gap to allow the chest to fall on it.
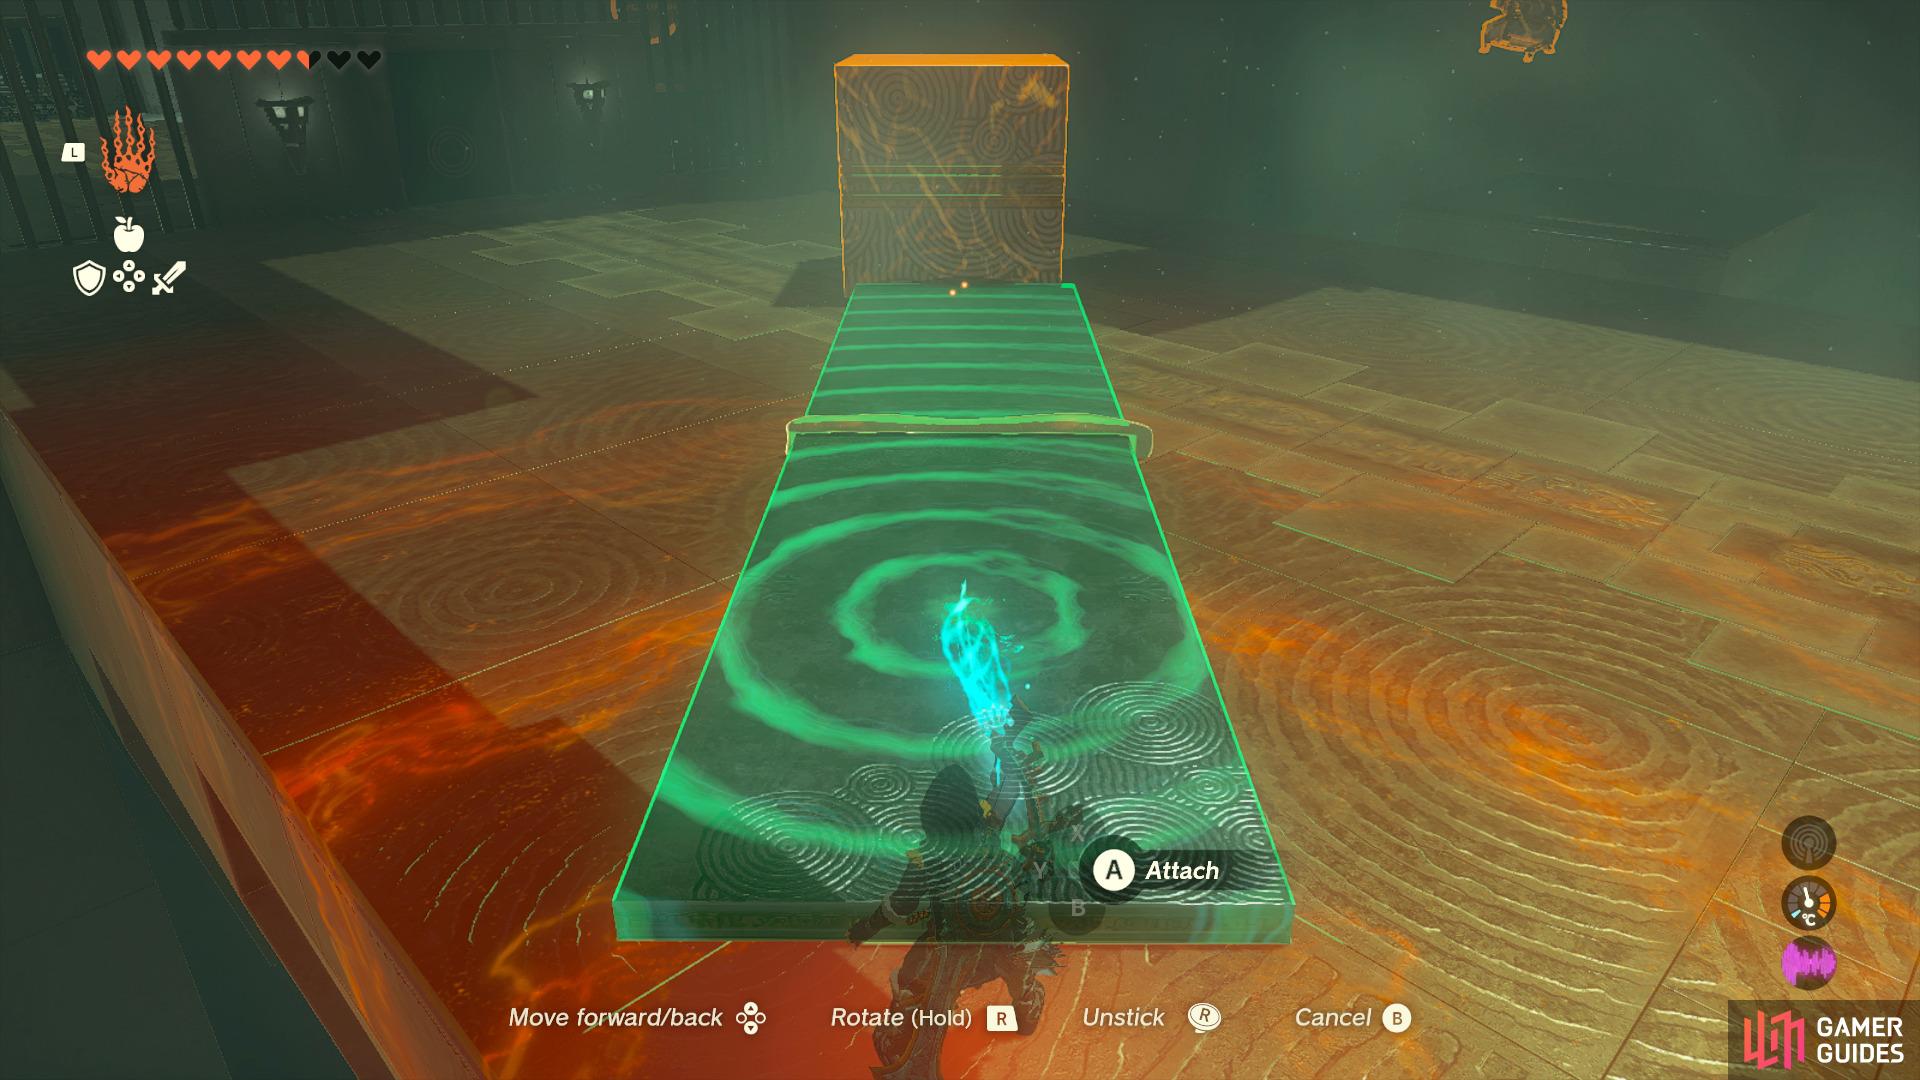
Slide your custom platform into the tiny gap and shoot down the chest thats hanging above, then open it to obtain the ![]() Small Key. You can now use this to open the door that leads to the altar. Finally, interact with the altar and claim your Light of Blessing!
Small Key. You can now use this to open the door that leads to the altar. Finally, interact with the altar and claim your Light of Blessing!
No Comments