
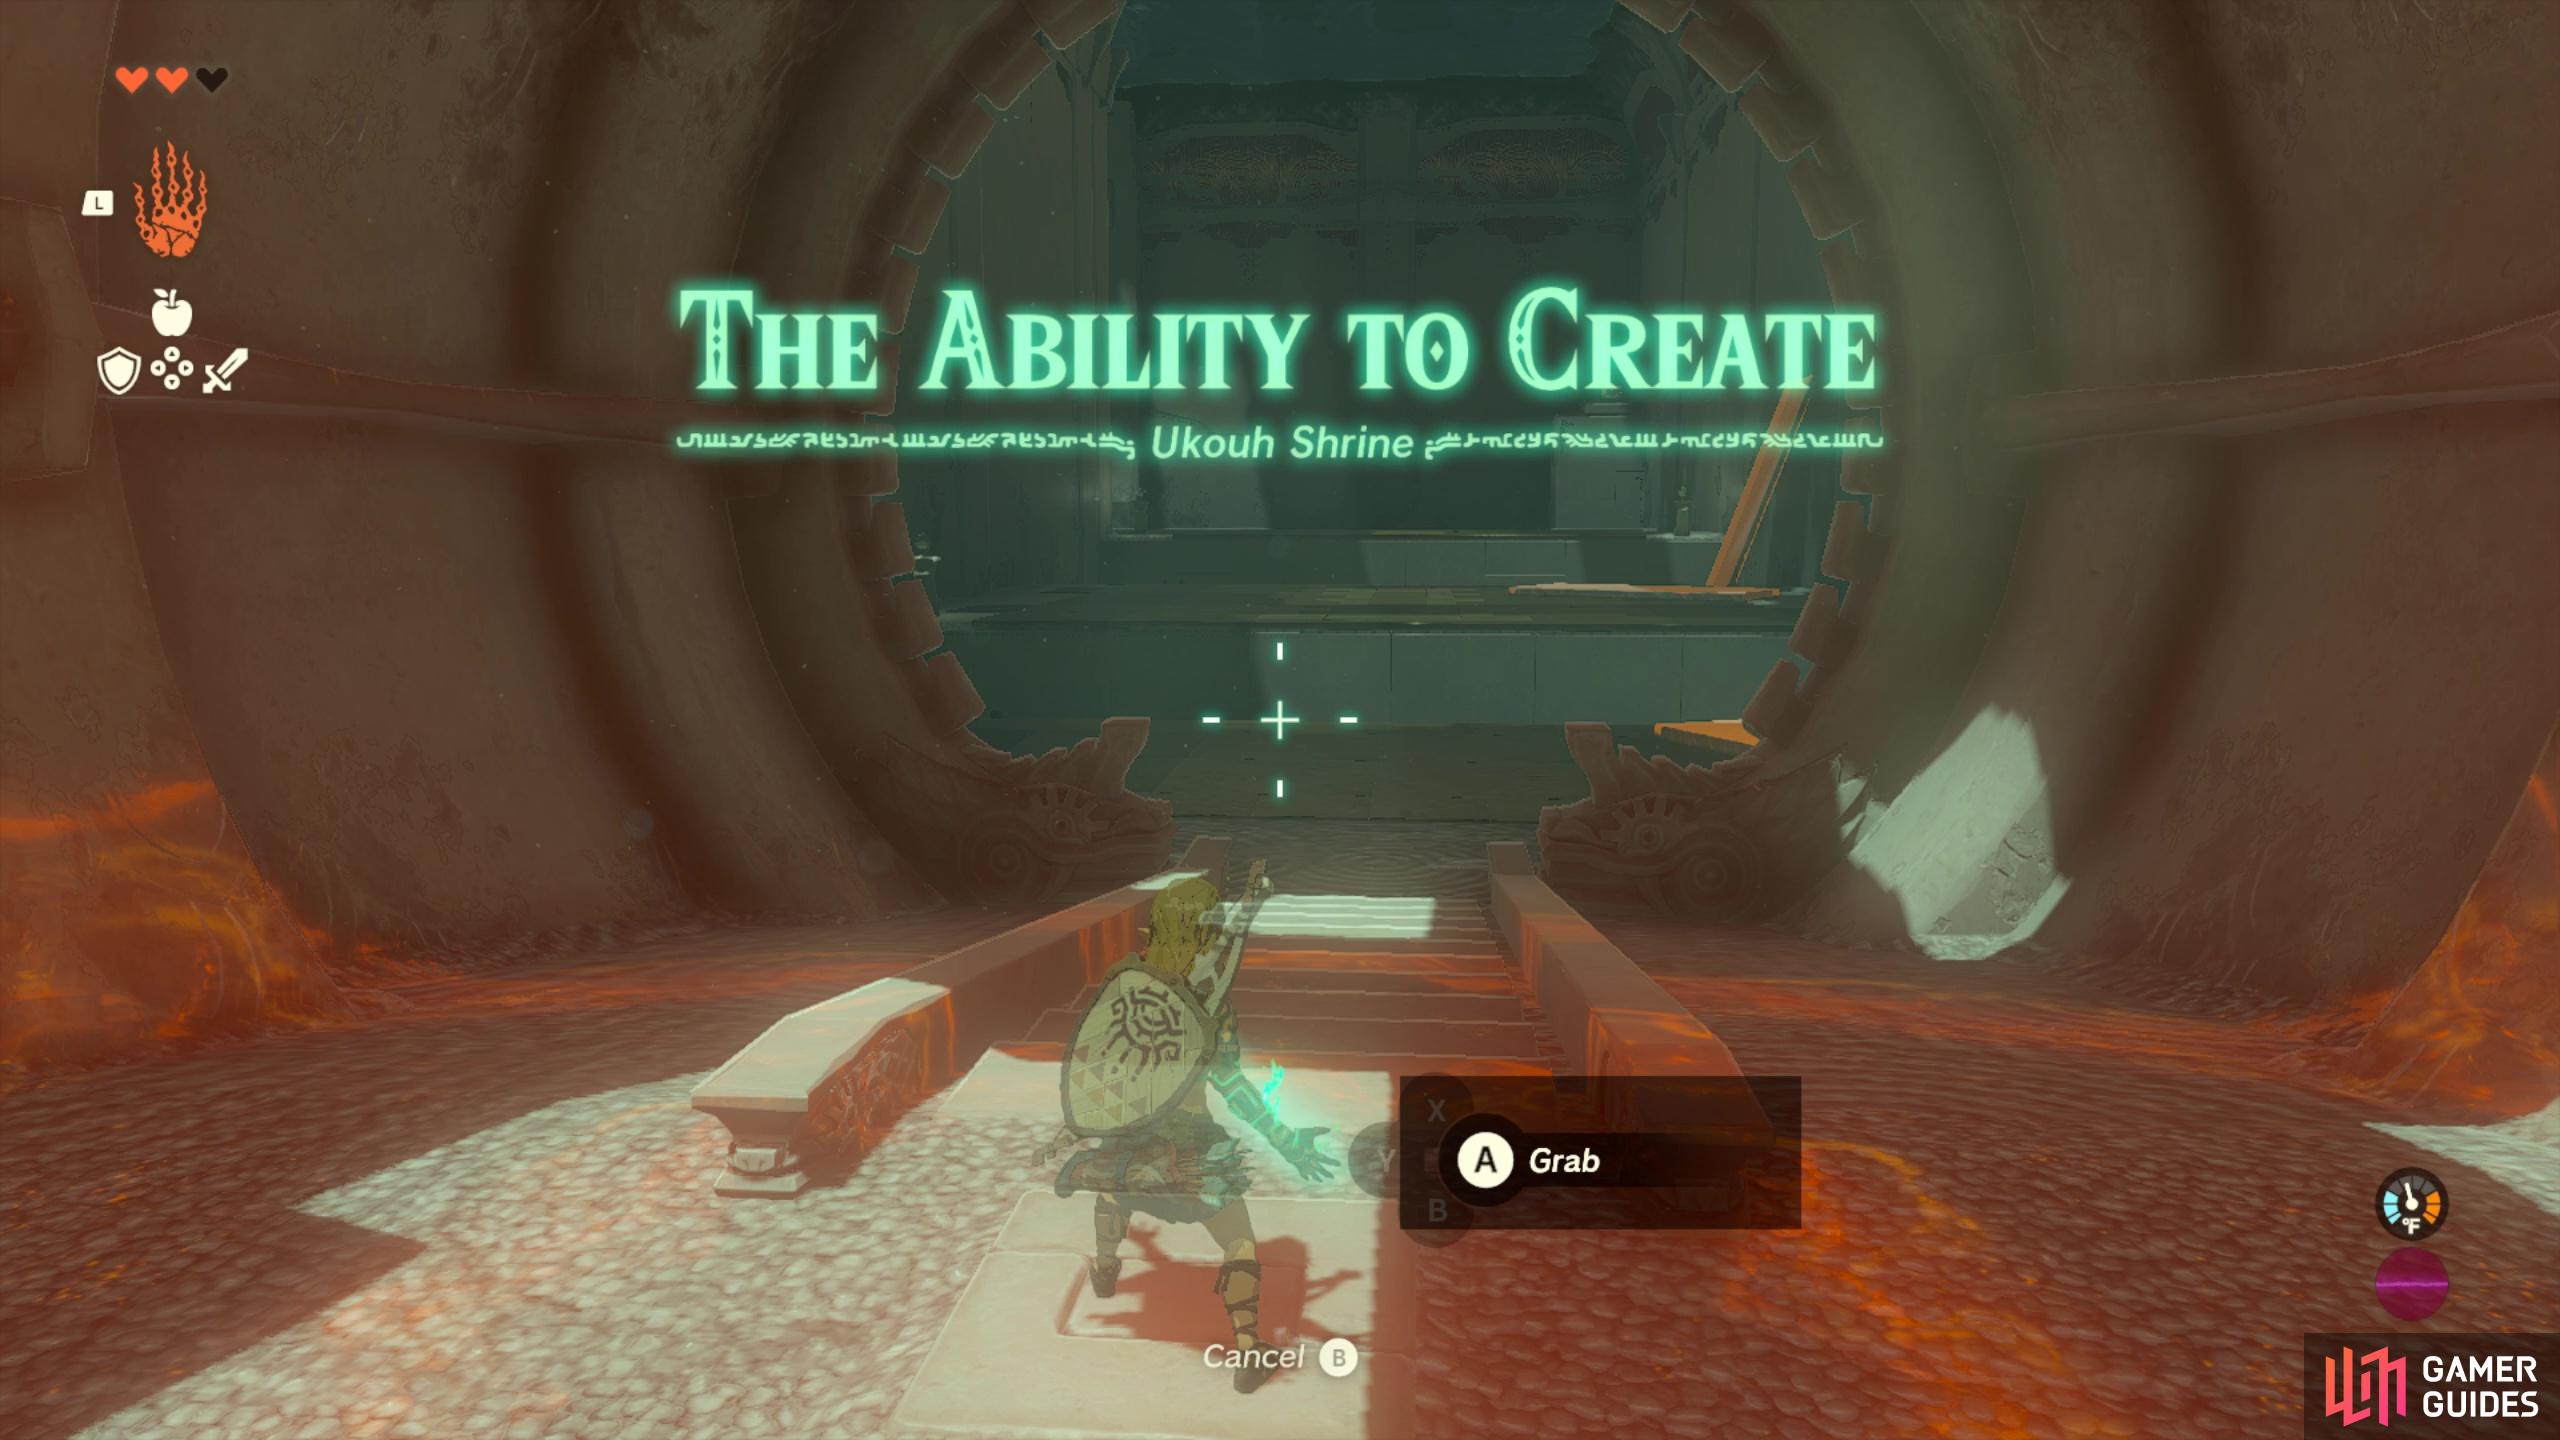
This page offers a guide on how to complete Ukouh Shrine, which is the first shrine players will encounter in The Legend of Zelda: Tears of the Kingdom (TOTK).
Welcome to the first shrine of the game!
Where to Find Ukouh Shrine
Ukouh Shrine is the first shrine that you’ll be directed to after speaking with Rauru at the Temple of Time. From the temple, head to the right and drop down carefully to the grassy area below. Continue over and cross the river to reach the base of the shrine’s rock and take the spiral stairs up to the top. The stairs are broken in a few places so you’ll need to climb across the cliff to the next bit of the steps. To climb, you just need to jump against a climbable surface and you’ll kinda stick. You can then move around as much as you like until your stamina runs out.
Once at the top, interact with the shrine to activate it.
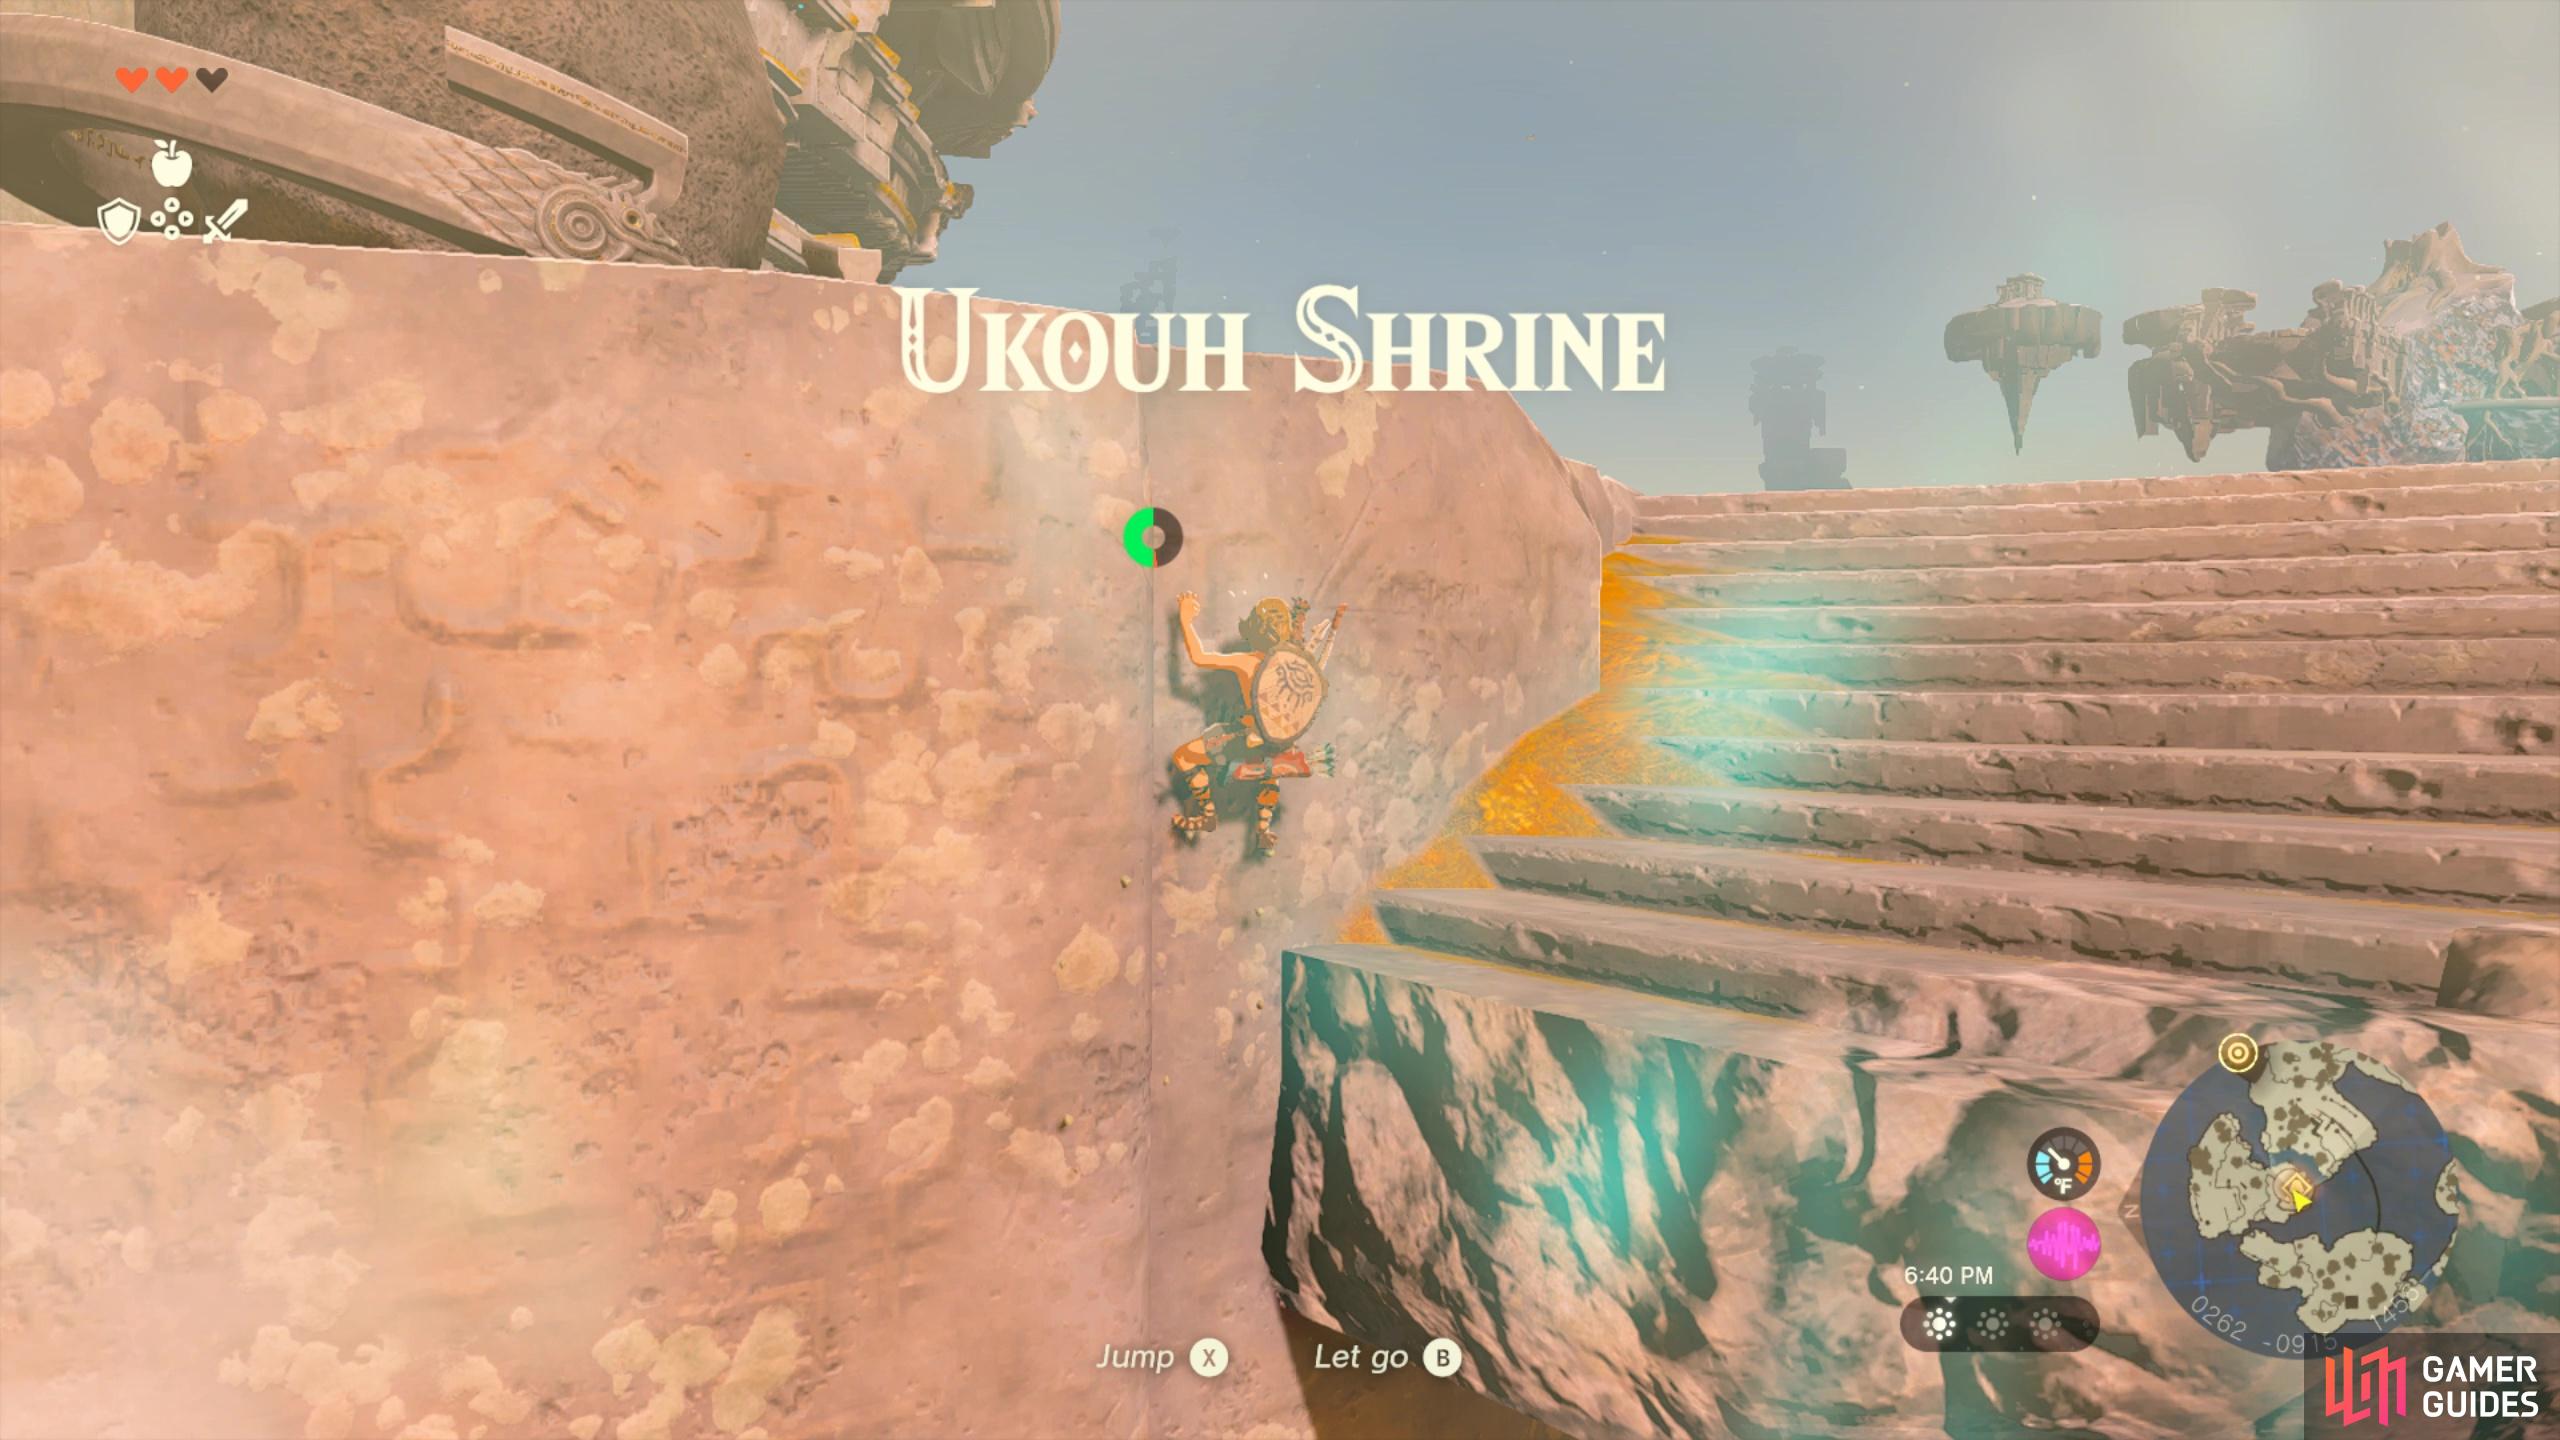
Utilise the climb mechanic to make your way past gaps in the stairs.
How to Use Ultrahand
When you first enter into this shrine Rauru will give you the Ultrahand ability. The ultrahand ability is the first ability you’ll learn. It allows you to pick up items, rotate them and even stick them together. This new mechanic is truly game-changing and will enable you to explore creative options to solving puzzles. Later in the game, you’ll be able to use ultrahand to craft fan-powered vehicles and use it to climb up to difficult spaces by creating makeshift scaffolding or more complex bridges!
Ultrahand is the first ability you’ll learn!
Ukouh Shrine: Bridge Puzzle
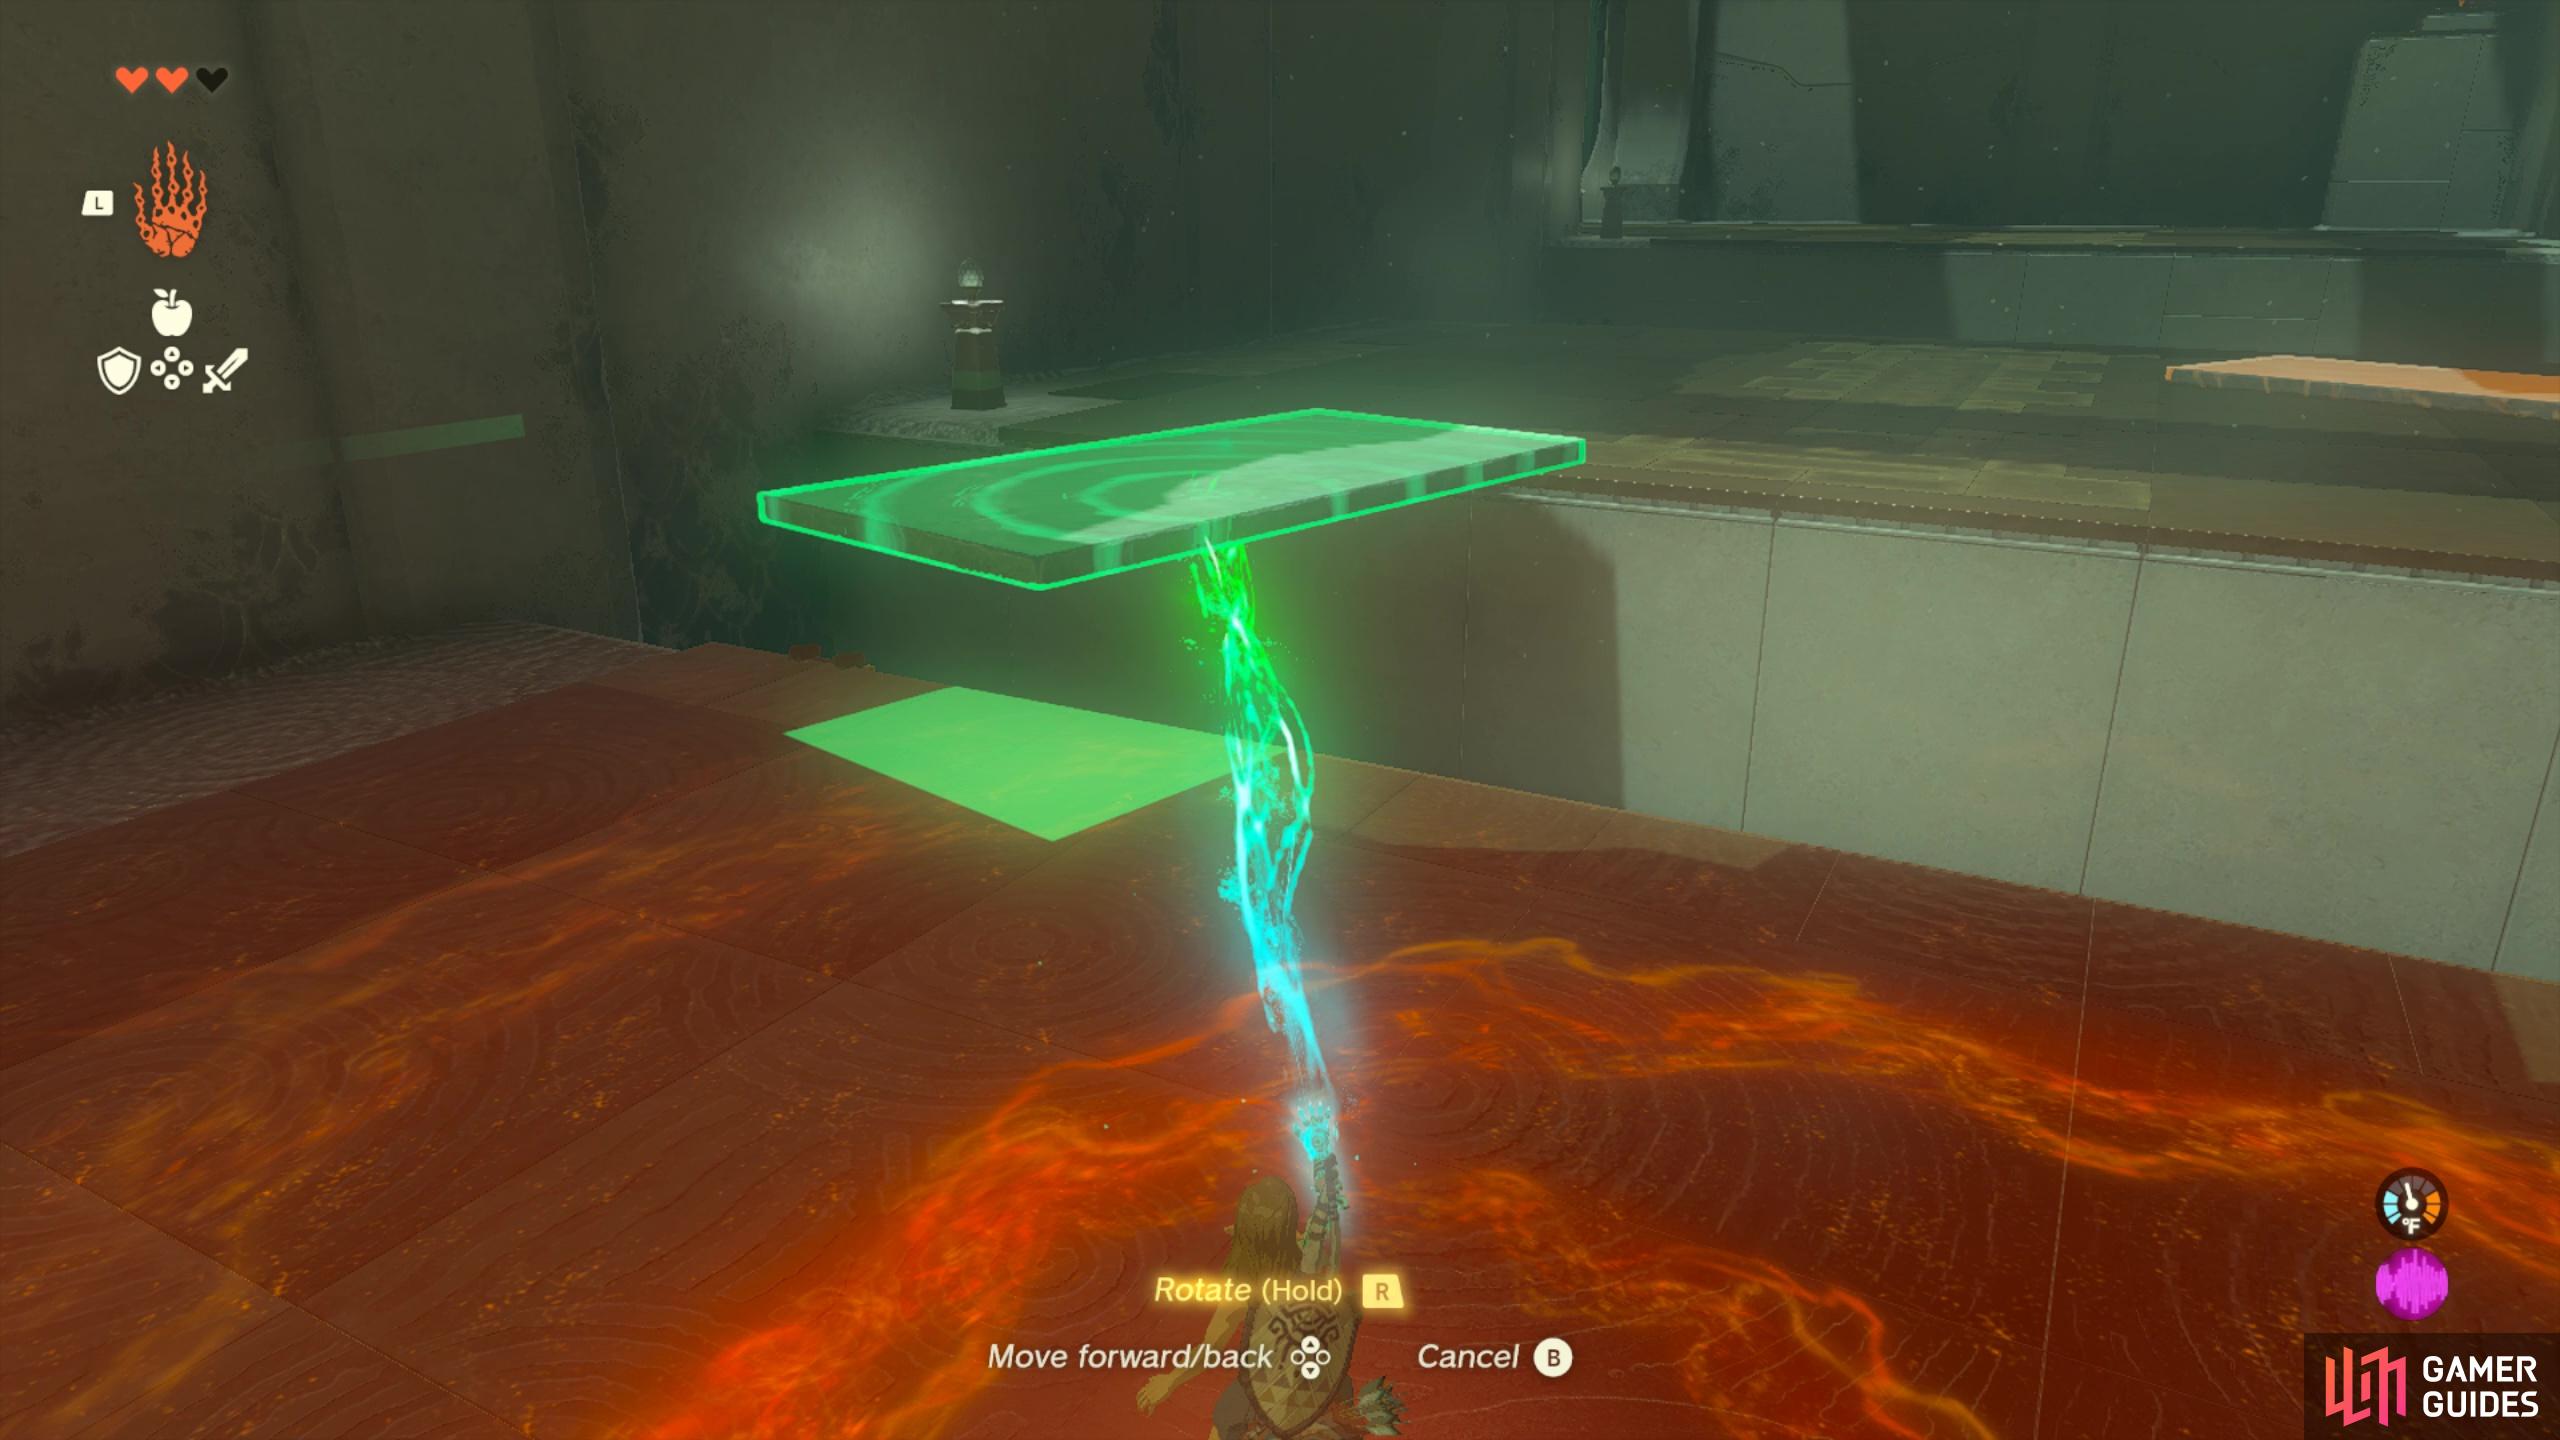
The first puzzle you’ll need to solve using Ultrahand is super simple: pick up the plank and then place it over the gap to act as a bridge. If you’d like to rotate the plank you can press  and then use the D-pad to rotate it horizontally (
 ) or vertically (
 ).
).
bridge_puzzle1.jpg
Once over the bridge, you’ll find that you need to repeat this step across a wider gap. However, none of the planks are long enough to bridge the gap on their own. This is where the attach mechanic comes in! Whilst you’ve got an item in your hand, drag it over to a nearby item - another plank in this instance - and align it with the edge. As it gets closer you’ll see different options for where to attach the two items. You’ll want to make sure to rotate the item (if needed) so that it aligns nicely with the other plank. If its not at the right orientation you might find it hard to traverse across it.
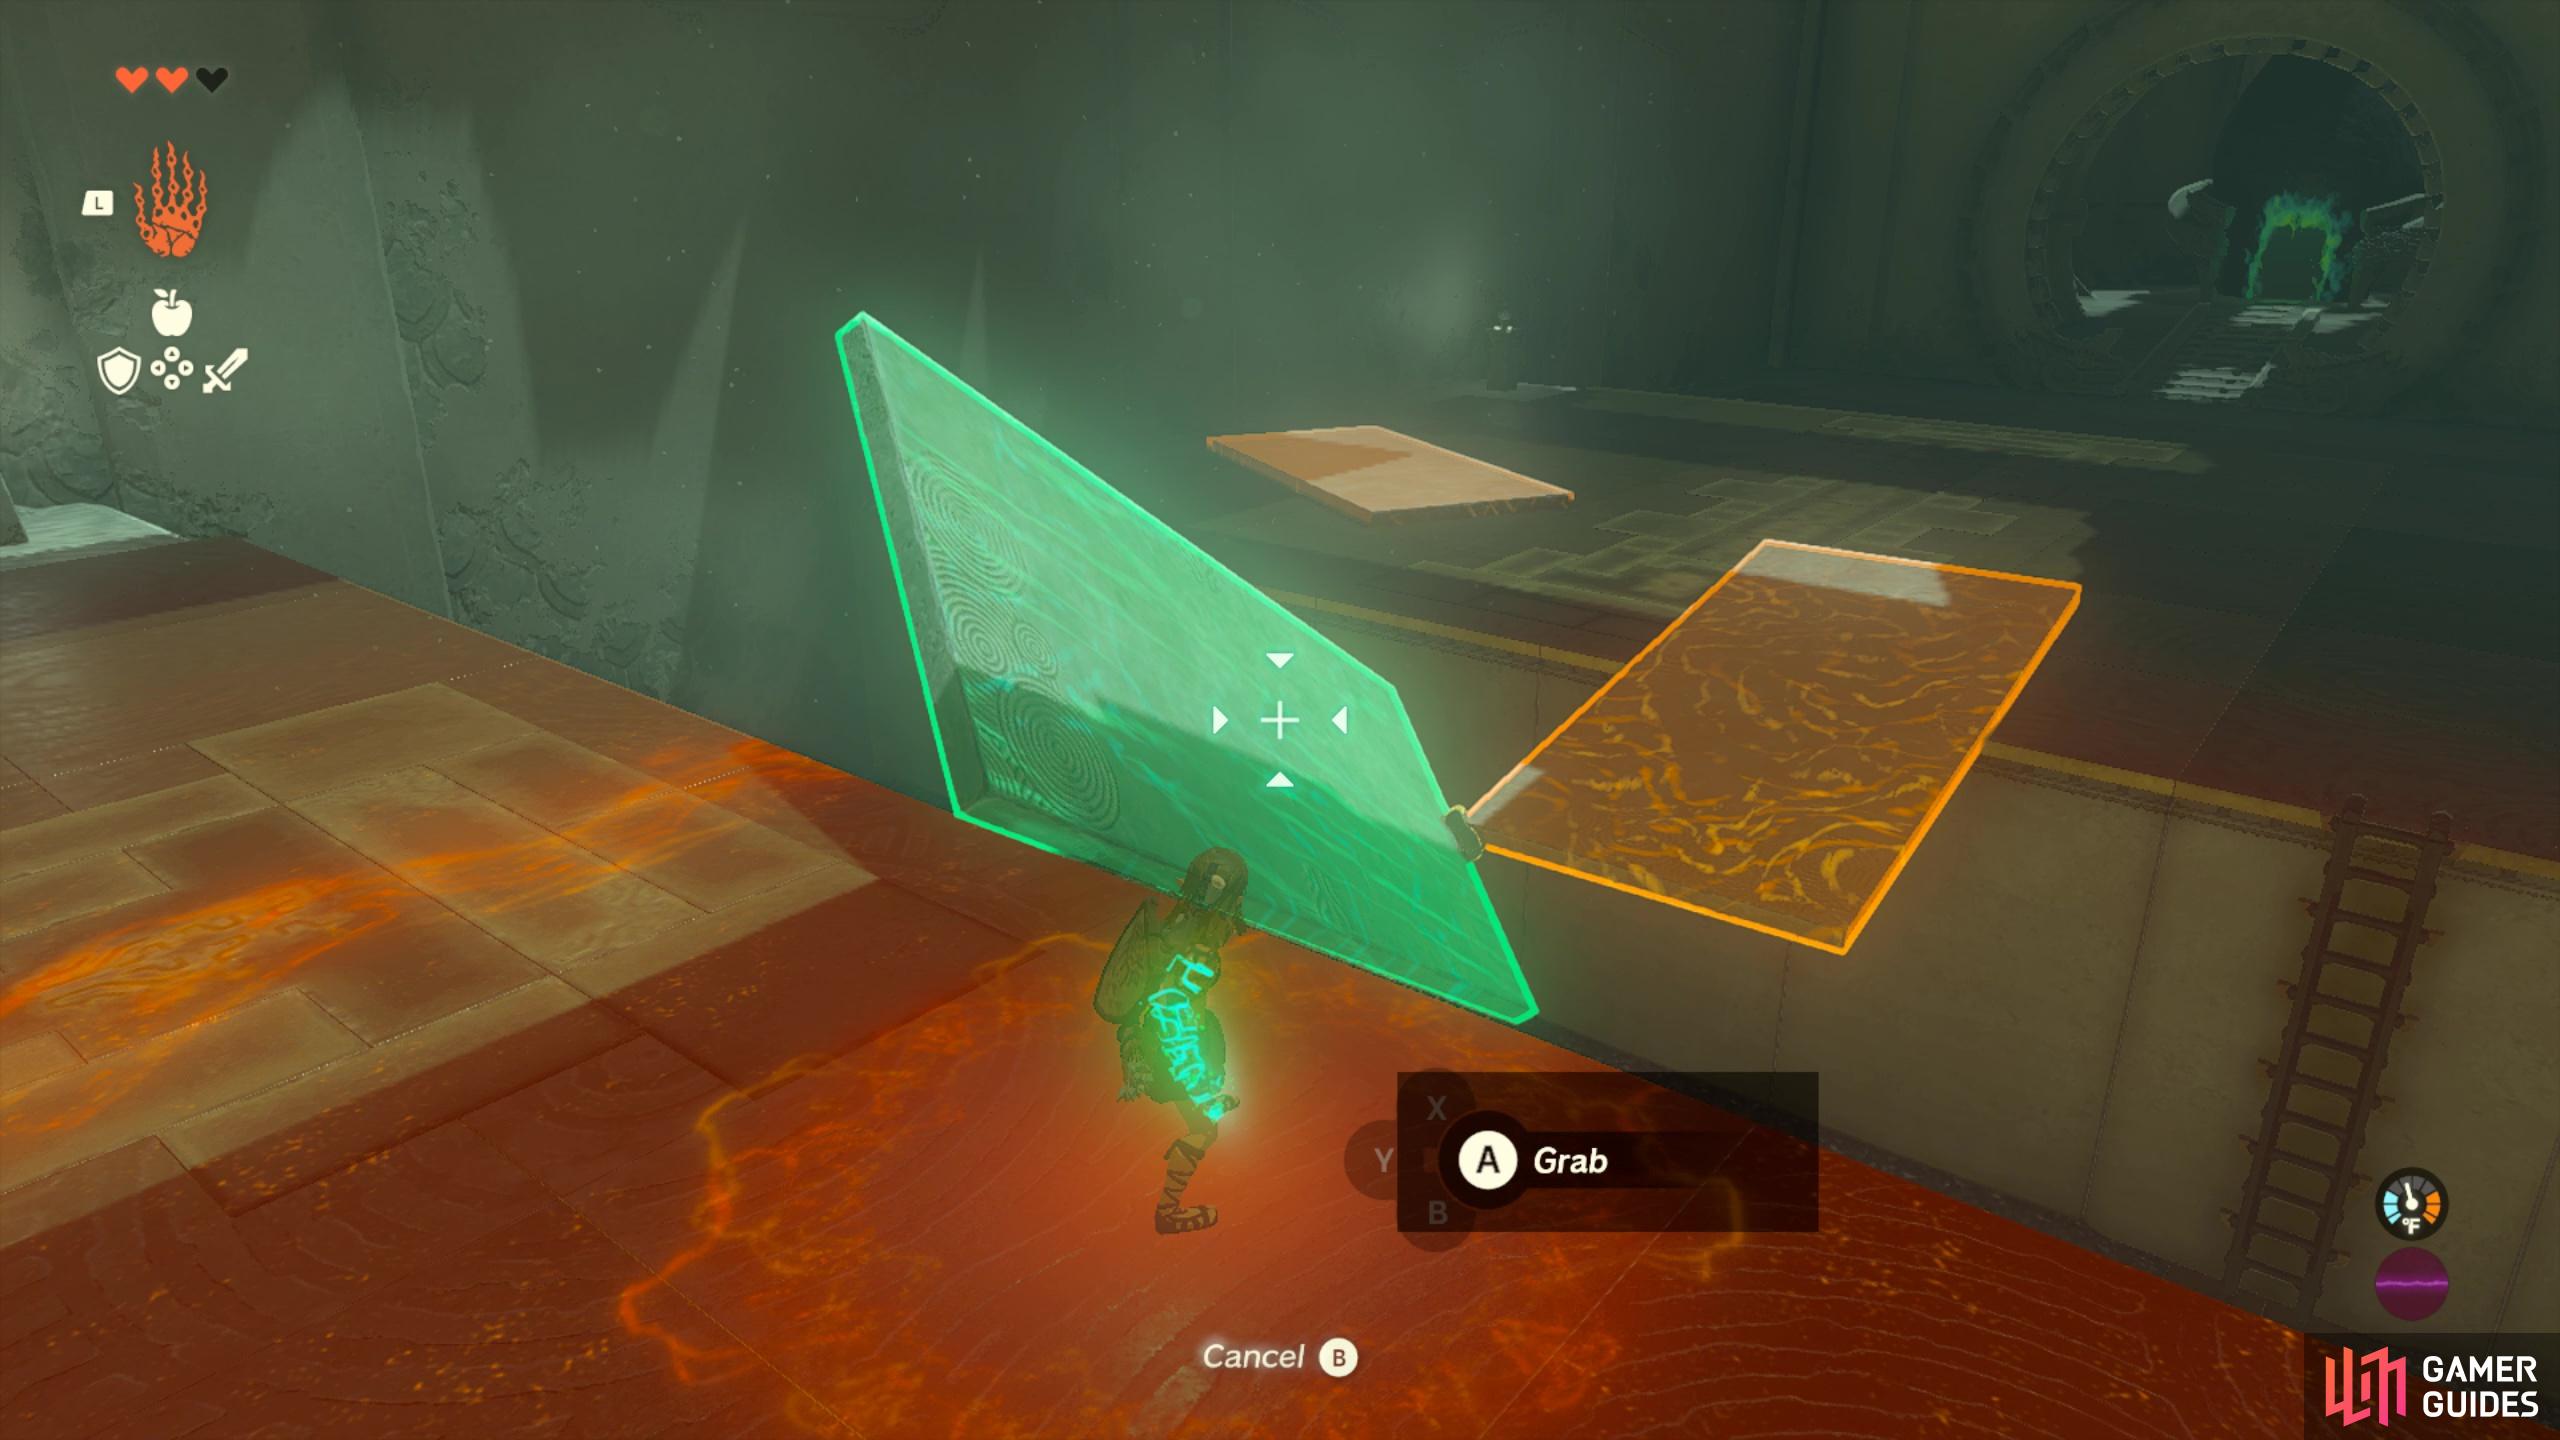
A chaotic bridge will do the trick
or you can spend some time making a nice straight bridge!
If you aren’t happy with where the sticky glue has attached to the other plank, you can wiggle your right analog stick  to separate the two items. This attaching mechanic might feel a bit tricky at first but practice most definitely makes perfect here! You’ll really get a feel for how to use the rotation mechanics effectively so that your items stick together nicely.
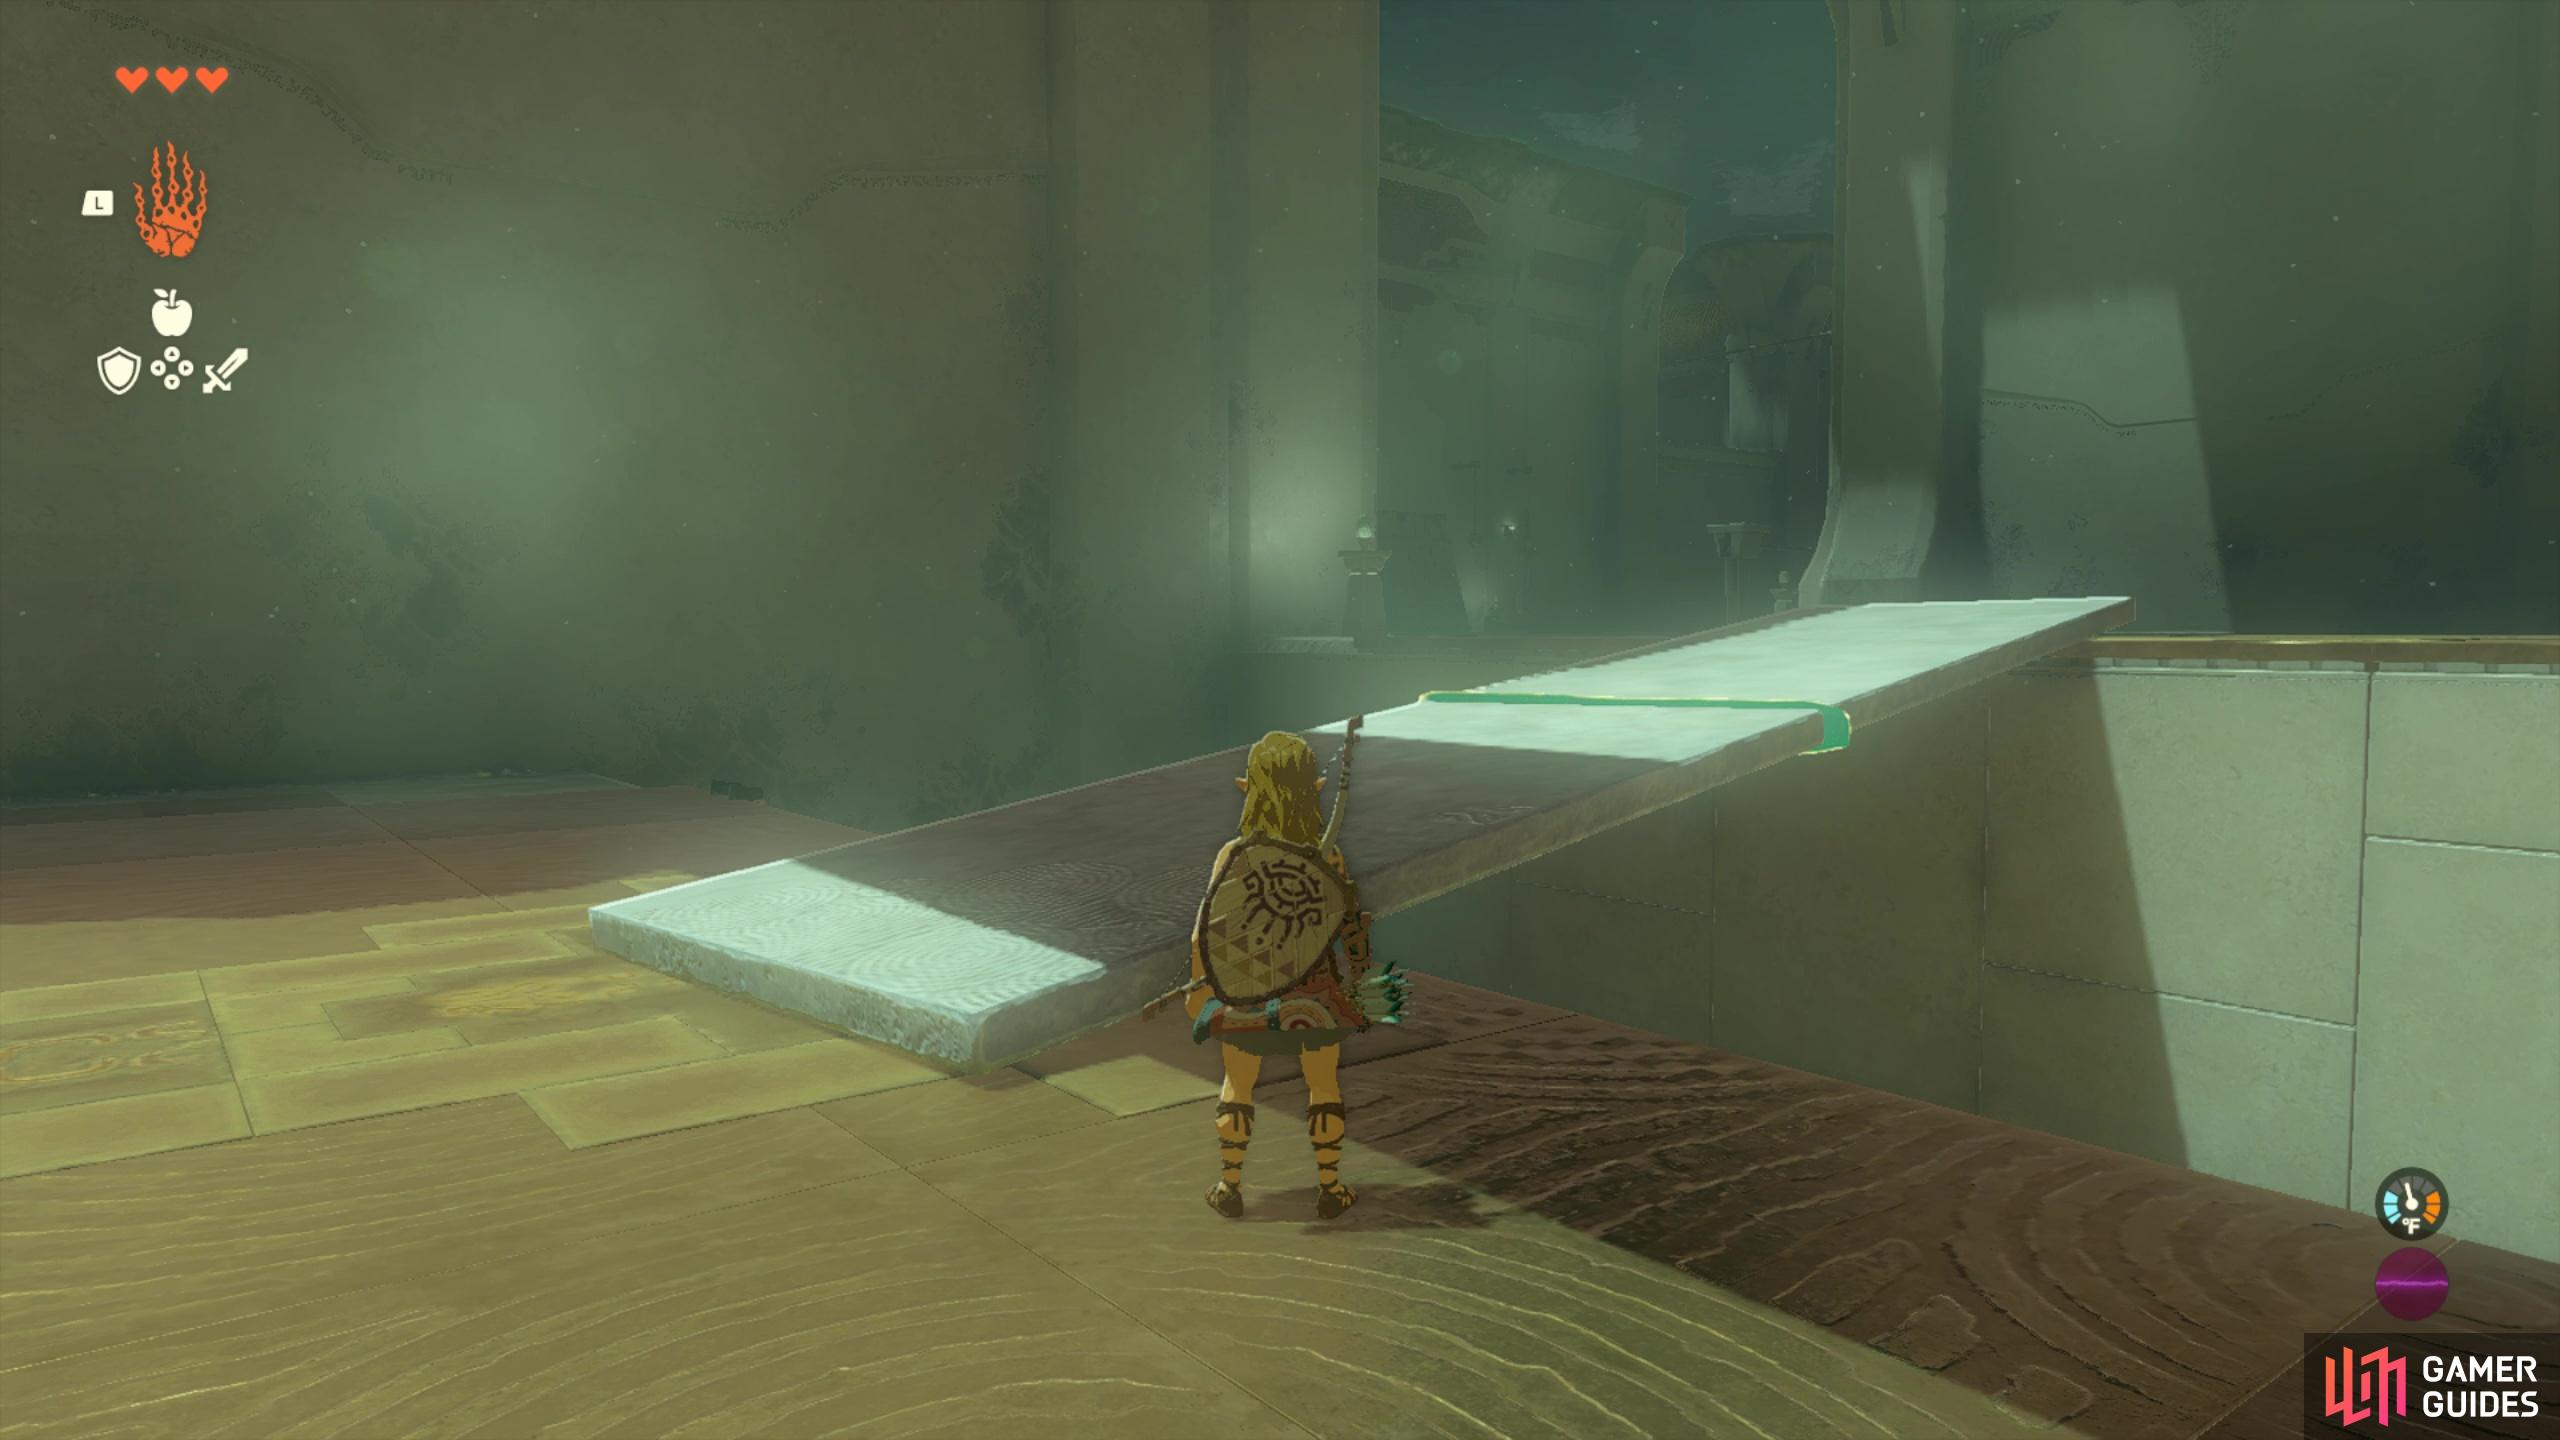
After crossing the bridge lift it up and prop it up on the podium thats against the wall in front of you - atop the podium you’ll find a chest containing some Amber.

Use the bridge you crafted to get up to the chest!
Ukouh Shrine: Hook Puzzle
After collecting the goodies from the chest, head to the left to find the next puzzle! This time you need to make a contraption that can use the zipline going down to the end of the shrine. If you look above, you’ll spot a hook and plank construction travelling across another zipline.
The contraption is meant to act as an example of what you can craft from the items to the left. Firstly, rotate the hook and stick it up right on the center of the plank. Then pick up your hook and plank construct and hook it over the zipline. Quickly jump onto it as it will probably begin moving as soon as its been hooked and ride it down to the end of the shrine where you’ll obtain your first Light of Blessing - these can be used to obtain Heart Vessels or Stamina wheel segments.
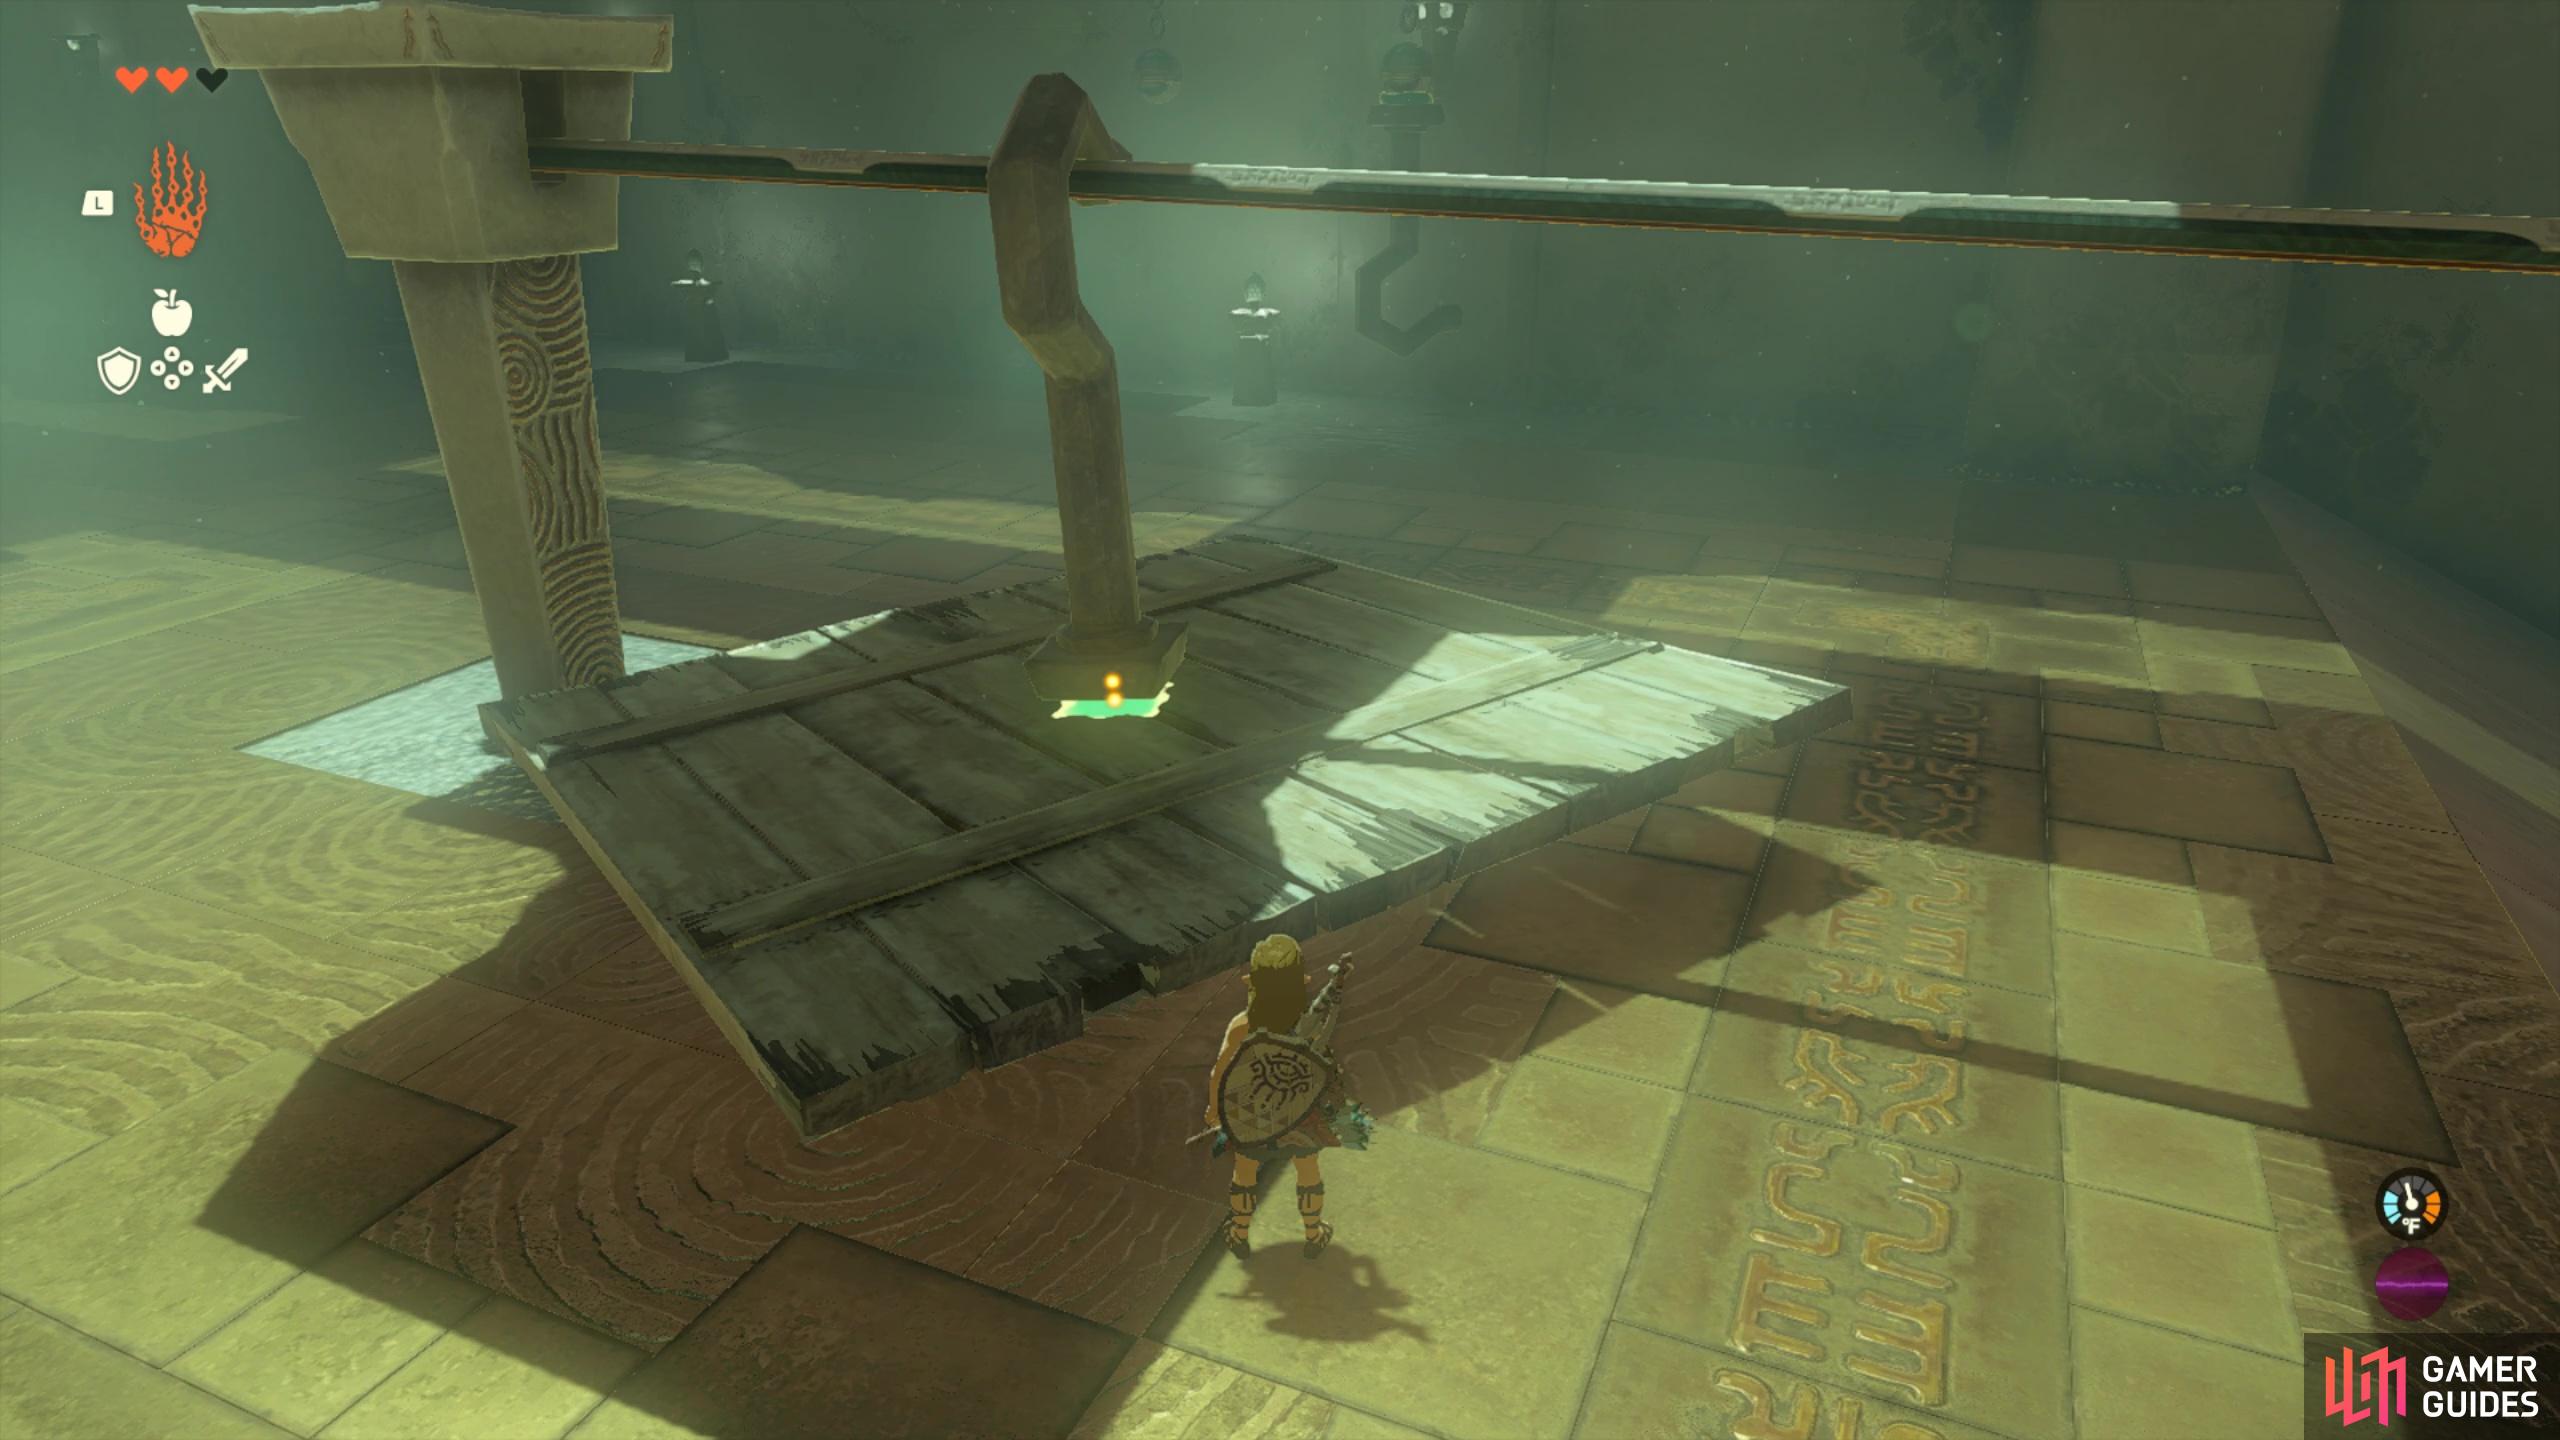
Attach the hook to the plank and place it on the zipline
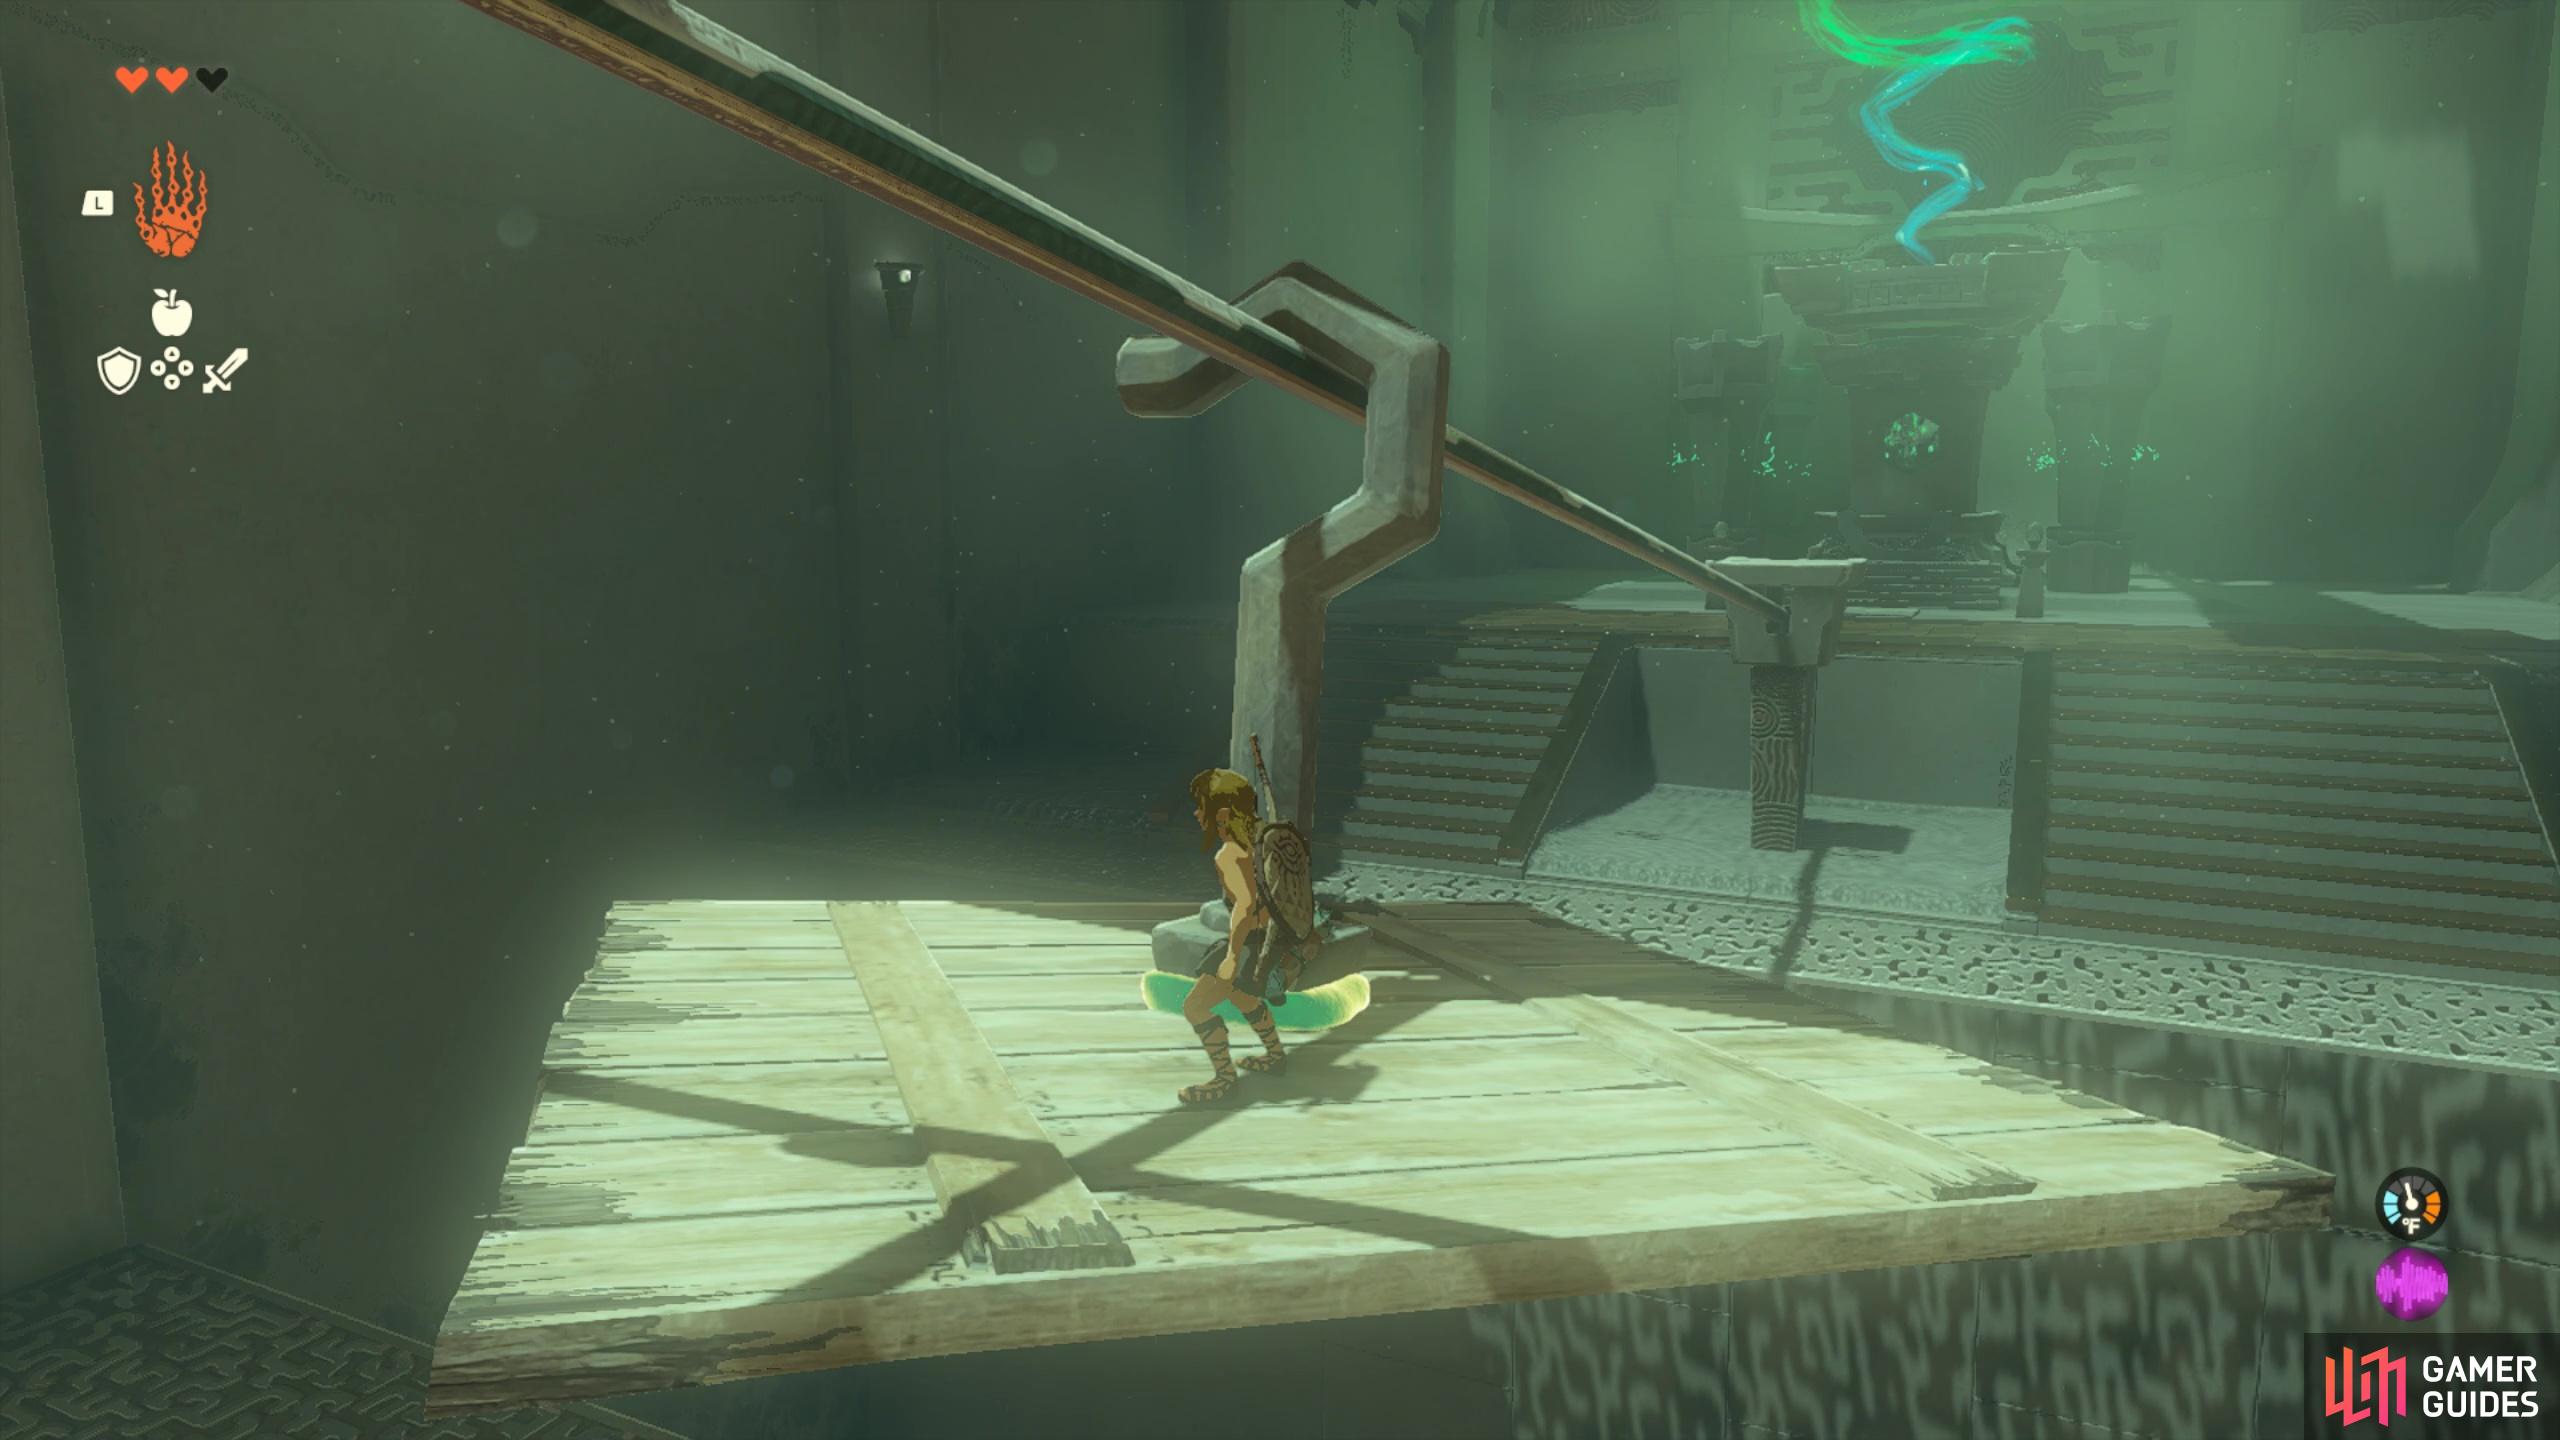
quickly hop on to ride it down to the end of the shrine!
No Comments