
The Yiga Clan are a shadowy force that return in Tears of the Kingdom. In the previous game, Link had to infiltrate their hideout to recover a stolen heirloom. This time, you can revist their hideout, but not without going through some hoops.
You will begin this side adventure when you try to enter the Yiga Clan Hideout in the Gerudo region.
Here, we’ll guide you through the ![]() Infiltrating the Yiga Clan side adventure so you can raid their hideout again (or for the first time).
Infiltrating the Yiga Clan side adventure so you can raid their hideout again (or for the first time).
Yiga Clan Hideout
First, approach the front (west) entrance of the Yiga Clan Hideout. It’s located south-east from ![]() Gerudo Highlands Skyview Tower. A wannabe Yiga Clan new recruit, Mimos, is barred from entering the clan’s hideout. Likewise, you cannot enter because you’re their mortal foe. However, Mimos offers a clue.
Gerudo Highlands Skyview Tower. A wannabe Yiga Clan new recruit, Mimos, is barred from entering the clan’s hideout. Likewise, you cannot enter because you’re their mortal foe. However, Mimos offers a clue.
Akkala Ancient Tech Lab
Head on over to the Akkala Ancient Tech Lab in the far north-east corner of Hyrule. It’s near the East Akkala Stable. When you knock on the door, you’ll be assailed by a ![]() Yiga Footsoldier and
Yiga Footsoldier and ![]() Yiga Blademaster. Focus on eliminating the Footsoldier first, since they have lower HP.
Yiga Blademaster. Focus on eliminating the Footsoldier first, since they have lower HP.
After defeating the goons, enter the lab to find ![]() Konba, a tailor who’s been held against their will. For rescuing them, you’ll receive the
Konba, a tailor who’s been held against their will. For rescuing them, you’ll receive the ![]() Yiga Armor. That’s the first step, but you need the whole uniform (three pieces).
Yiga Armor. That’s the first step, but you need the whole uniform (three pieces).
It’s always a good idea to check your surroundings for clues!
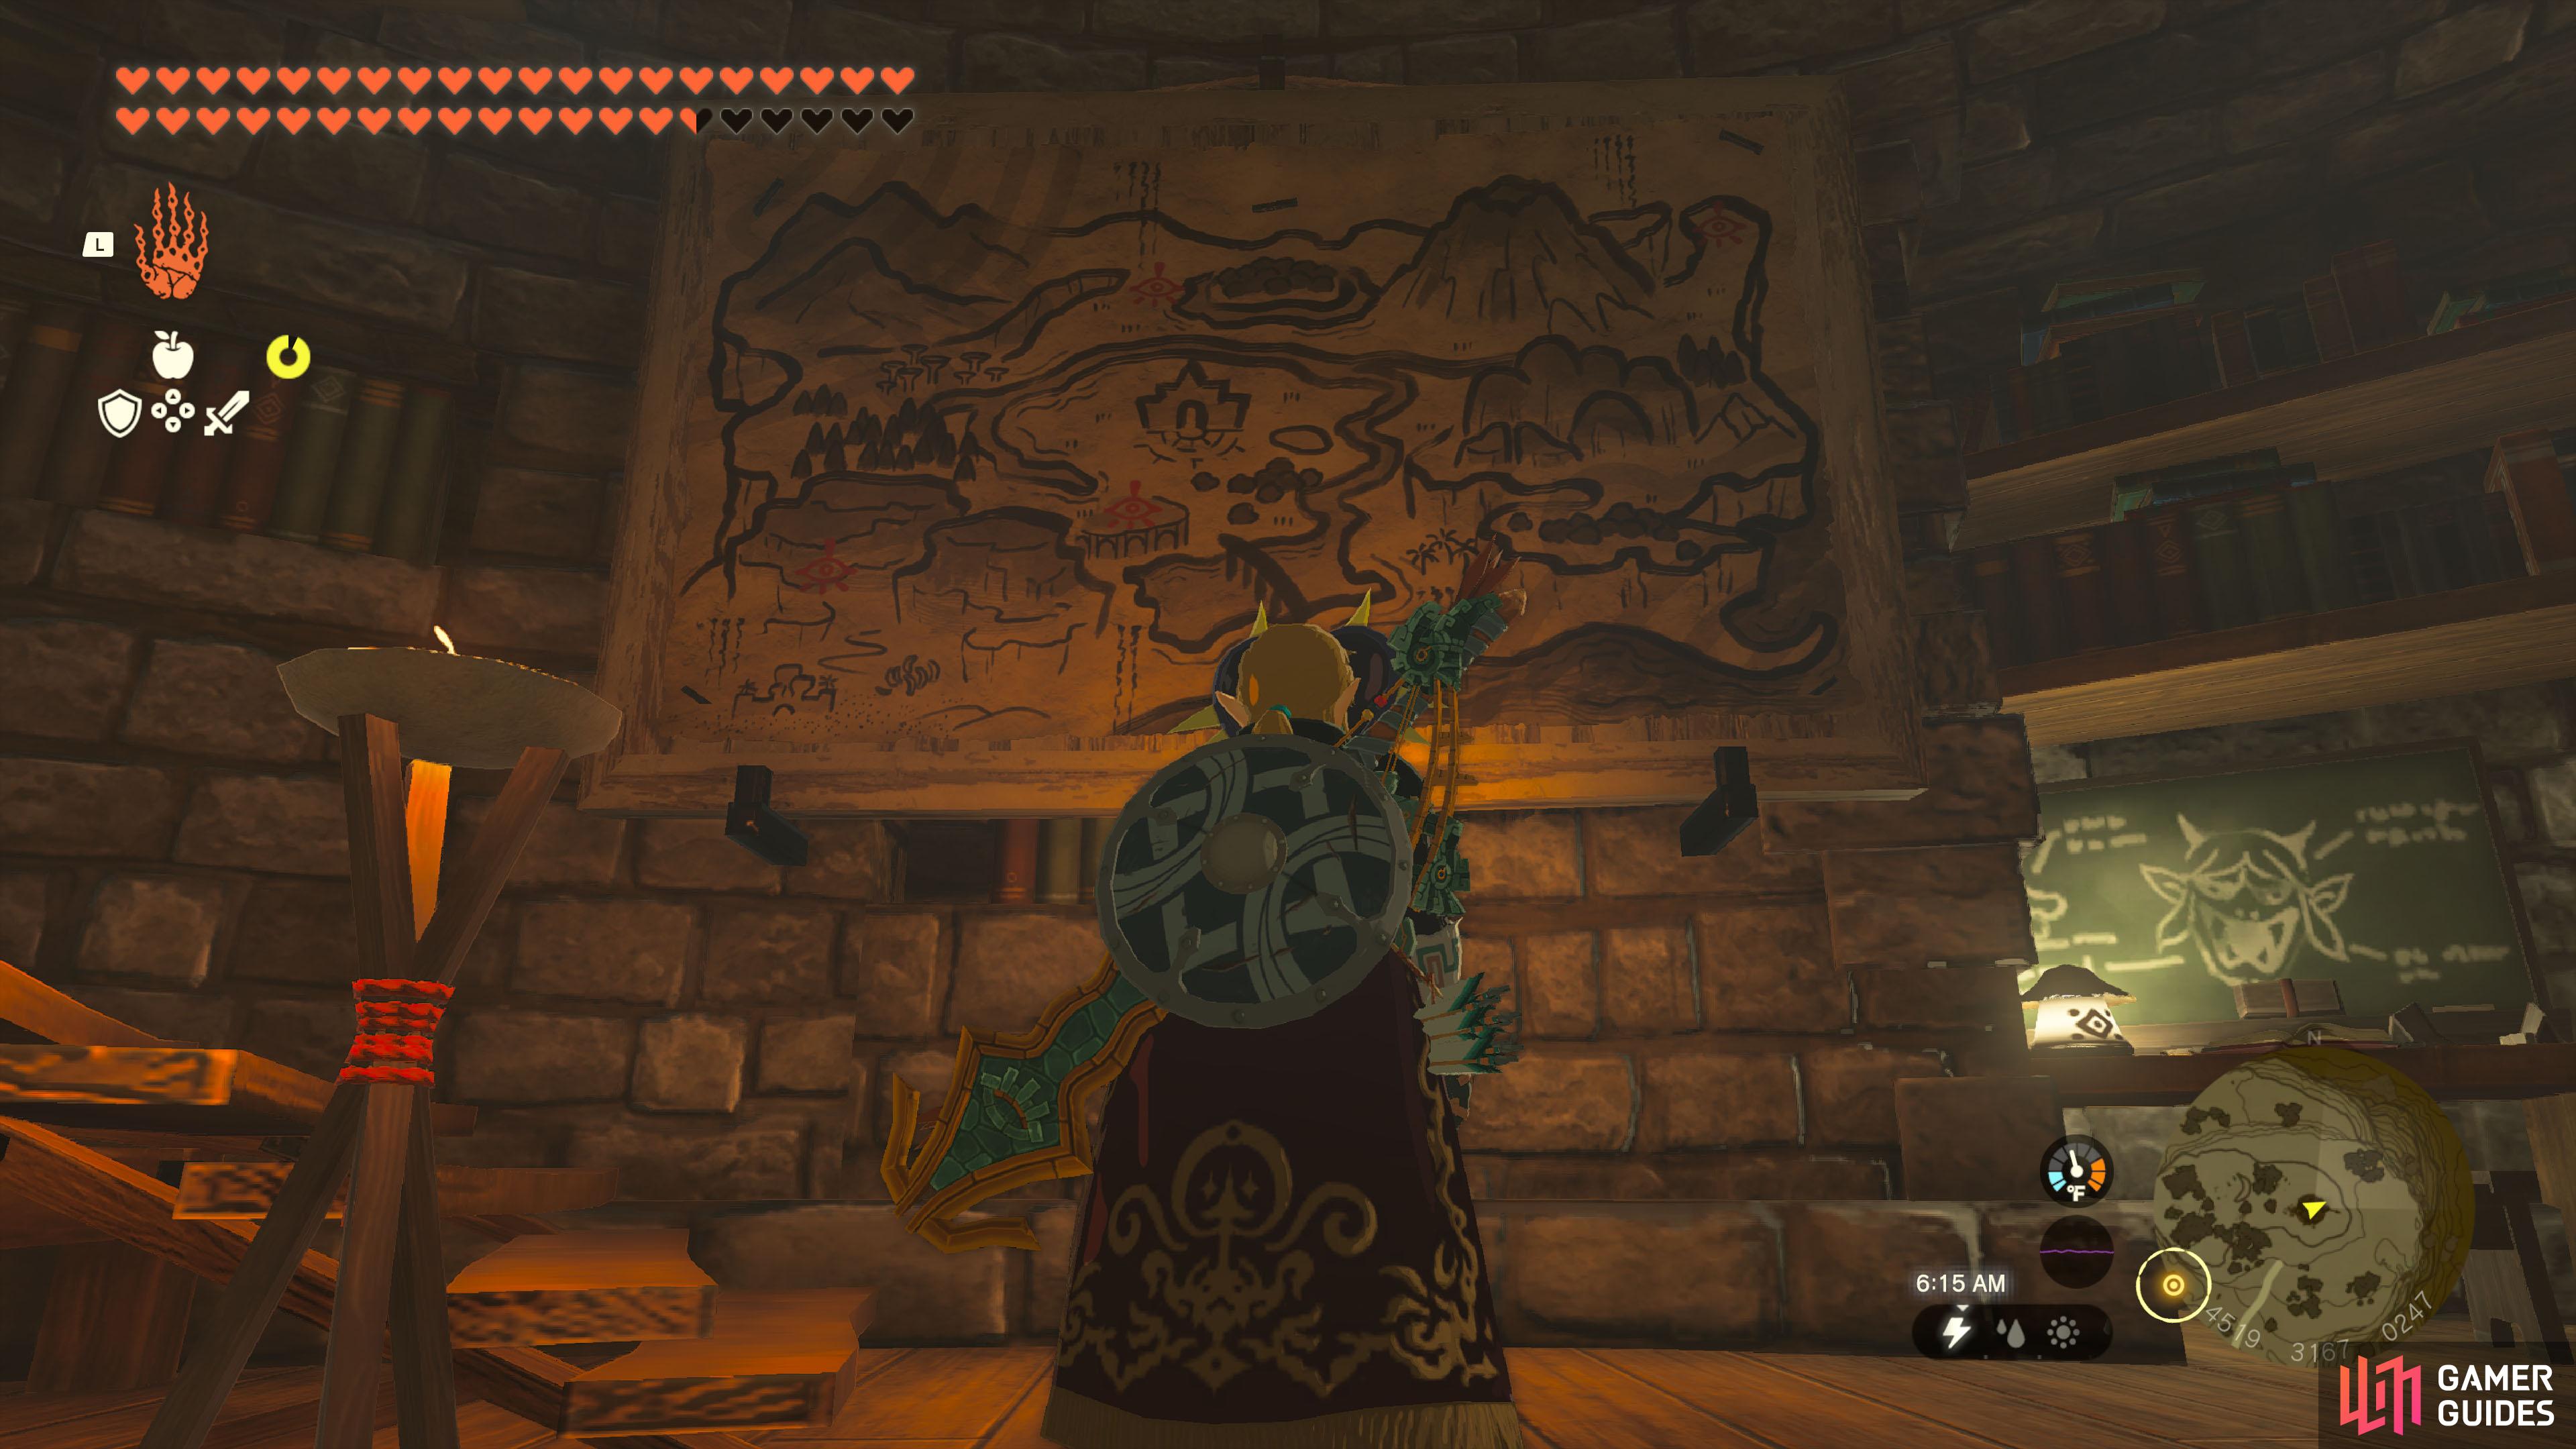
To find the other pieces, check the cloth map. There will be four locations marked, including this one. One of them is the hideout and another this lab, so that leaves two locations to try.
Yiga Clan Maritta Branch
We’ll head to the location west from Korok Forest, which is probably the trickiest to find. The place you want is the ![]() Yiga Clan Maritta Branch, which is on Aldor Foothill, east from the Kiuyoyou Shrine. Inside, beat up the Footsoldier and Blademaster who spot you. This time, it’s a bit more cramped, but you’ve defeated them once before.
Yiga Clan Maritta Branch, which is on Aldor Foothill, east from the Kiuyoyou Shrine. Inside, beat up the Footsoldier and Blademaster who spot you. This time, it’s a bit more cramped, but you’ve defeated them once before.
Once the coast’s clear, look up and inspect the ceiling. You should spot a square hole. Use ![]() Ascend near the hole to reach a secret room, where another captured tailor resides. You will receive the
Ascend near the hole to reach a secret room, where another captured tailor resides. You will receive the ![]() Yiga Tights from them.
Yiga Tights from them.
Great Plateau
The last location should be easy to recognize, especially if you played Breath of the Wild. Travel to the Great Plateau, located at the south-west corner of Hyrule Field. It’s relatively high up, but reaching it should be a cinch with all the tools you have. You could even glide down from the skies. For example, by launching from Hyrule Field Skyview Tower.
It’s time to drop in uninvited again.
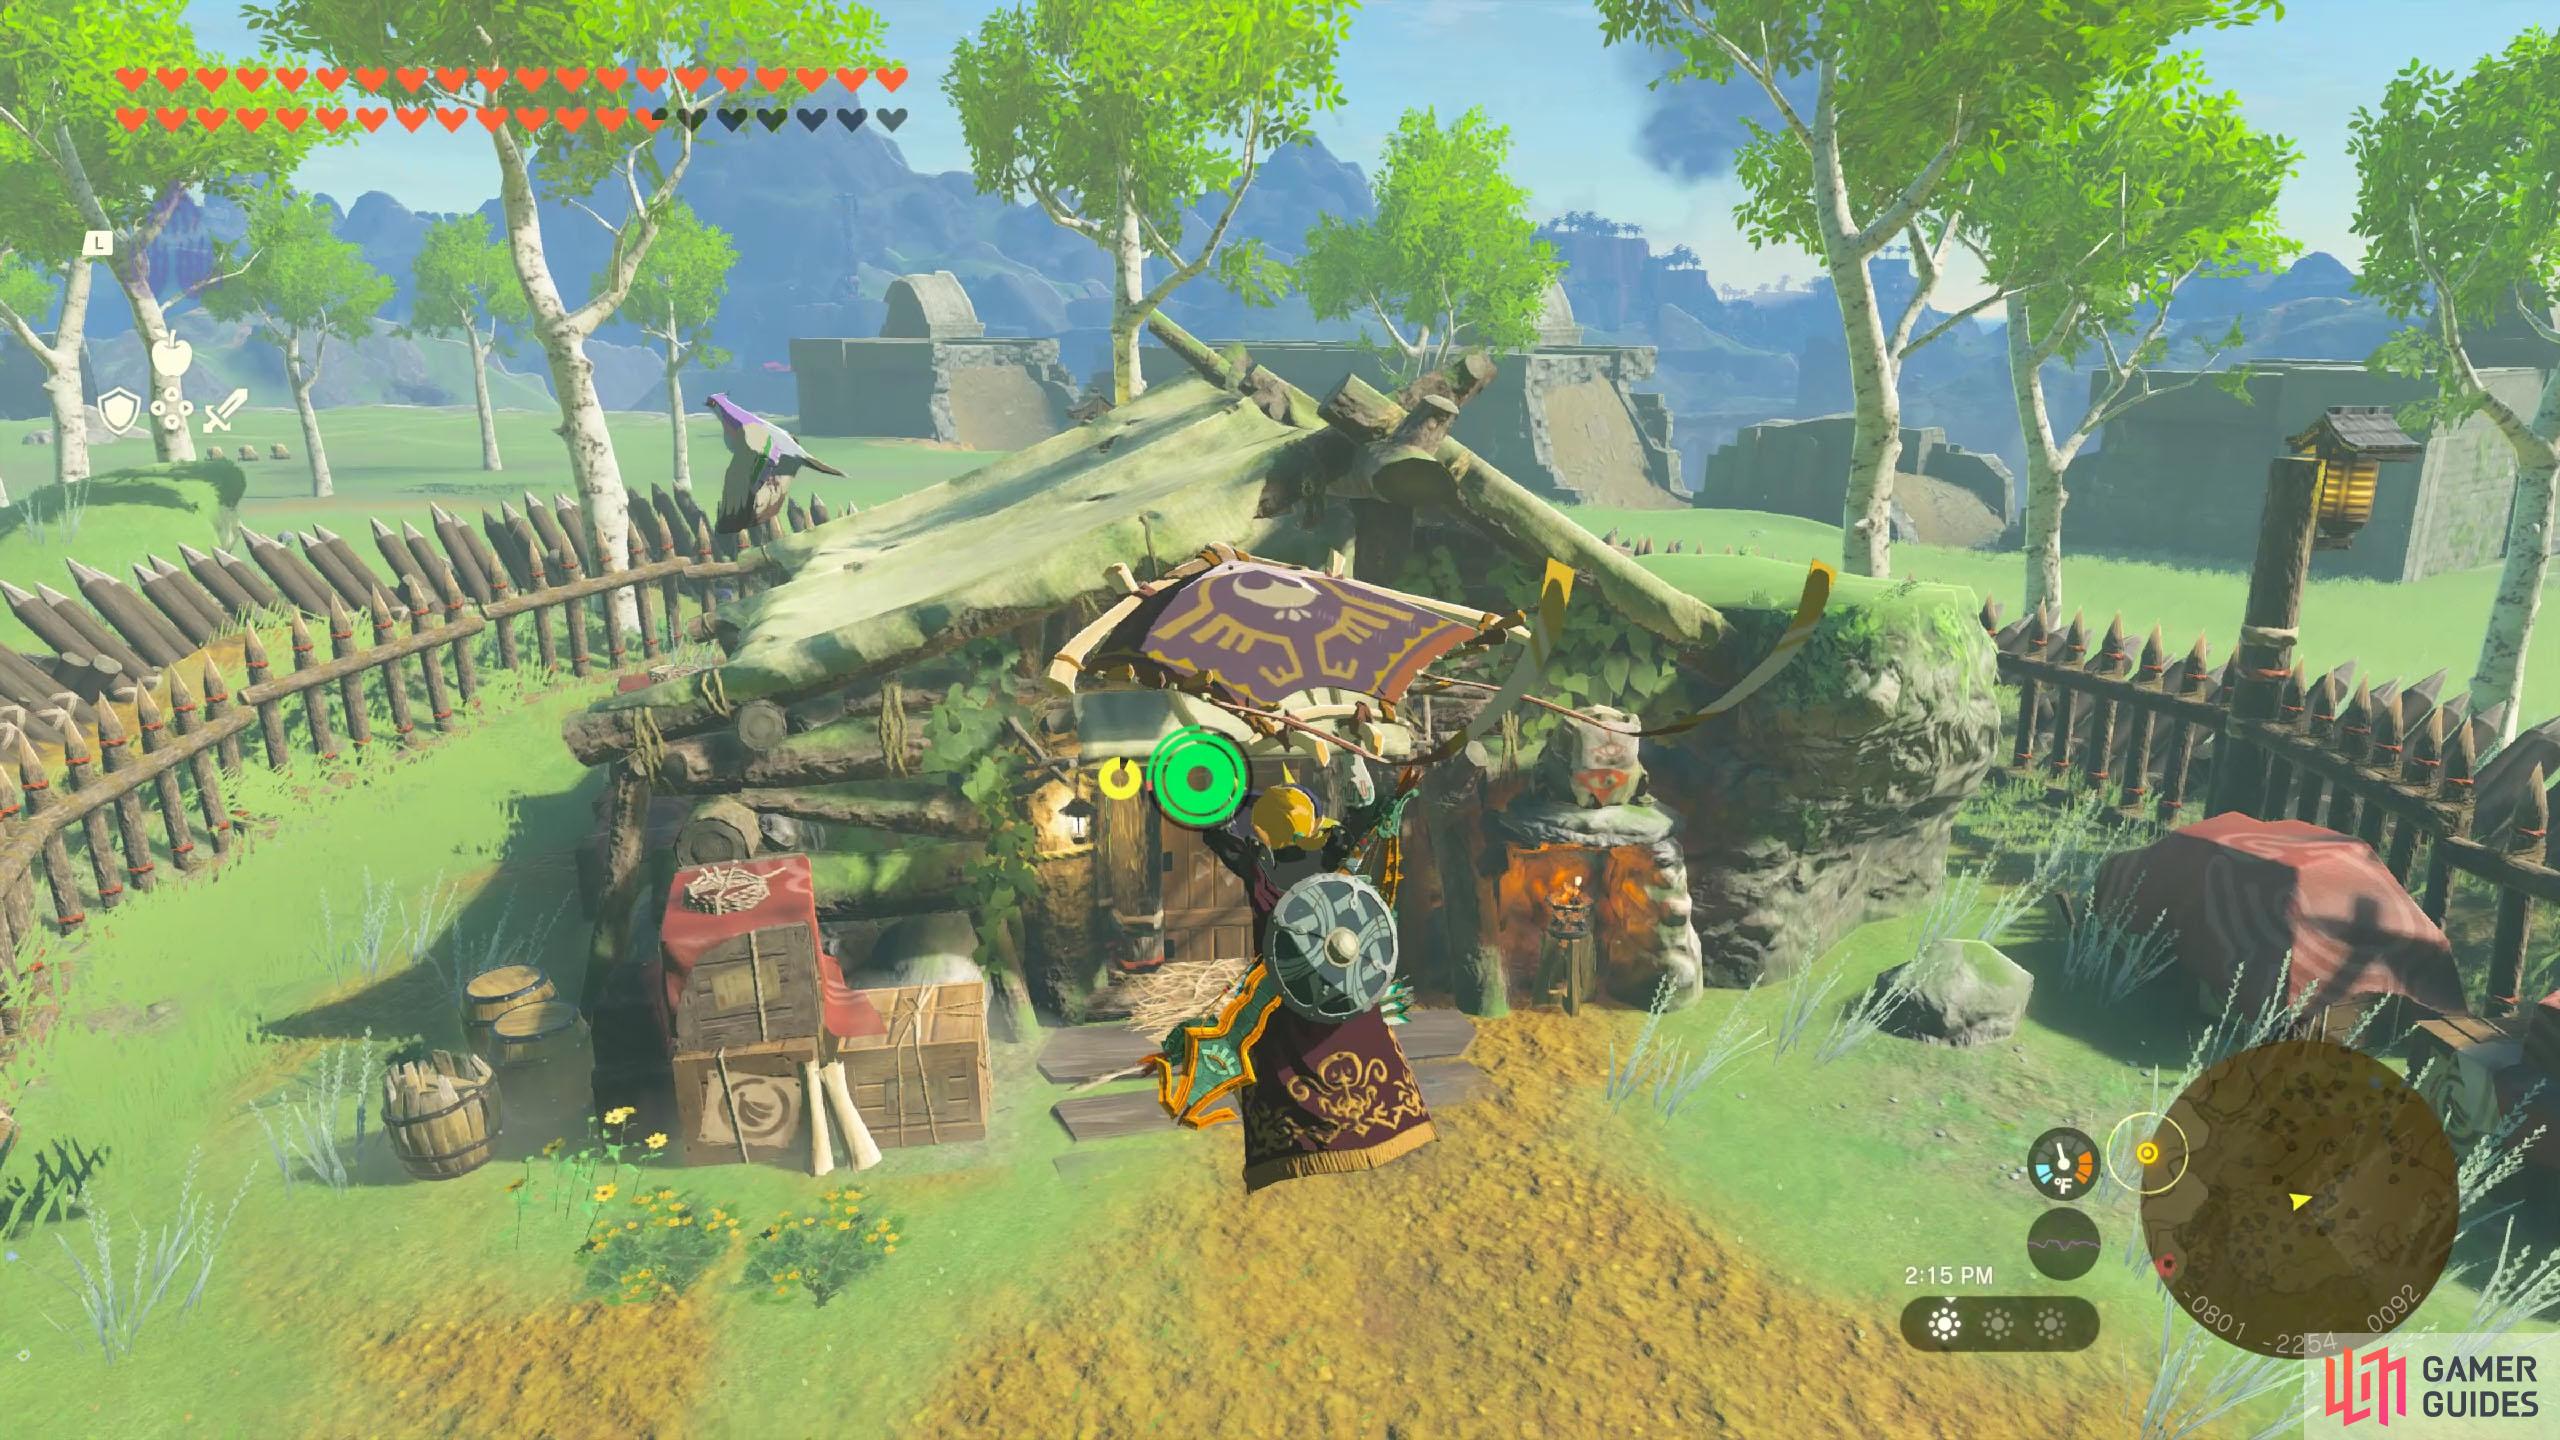
On the plateau, make your way to the south-east corner, where a hut is found. This is where the old man used to live, but now the Yiga Clan have occupied it. The hut is surrounded by a spiked barricade, but that should be no problem for you, right? You could ![]() Fuse a Rocket to a shield or glide down from higher ground, etc.
Fuse a Rocket to a shield or glide down from higher ground, etc.
When you knock on the door, you’ll be greeted by the familiar Footsoldier and Blademaster duo. This time, the space is very tight and touching the edges will hurt. Don’t hesitate to climb up the hut and glide down for slow-mo headshots.
After getting rid of the nuisance, go and rescue the third and final tailor. You’ll receive the ![]() Yiga Mask. Assuming you followed our order, you should have the entire Yiga Clan outfit now. Without further ado, equip all three pieces and fast-track it back to the Yiga Clan Hideout.
Yiga Mask. Assuming you followed our order, you should have the entire Yiga Clan outfit now. Without further ado, equip all three pieces and fast-track it back to the Yiga Clan Hideout.
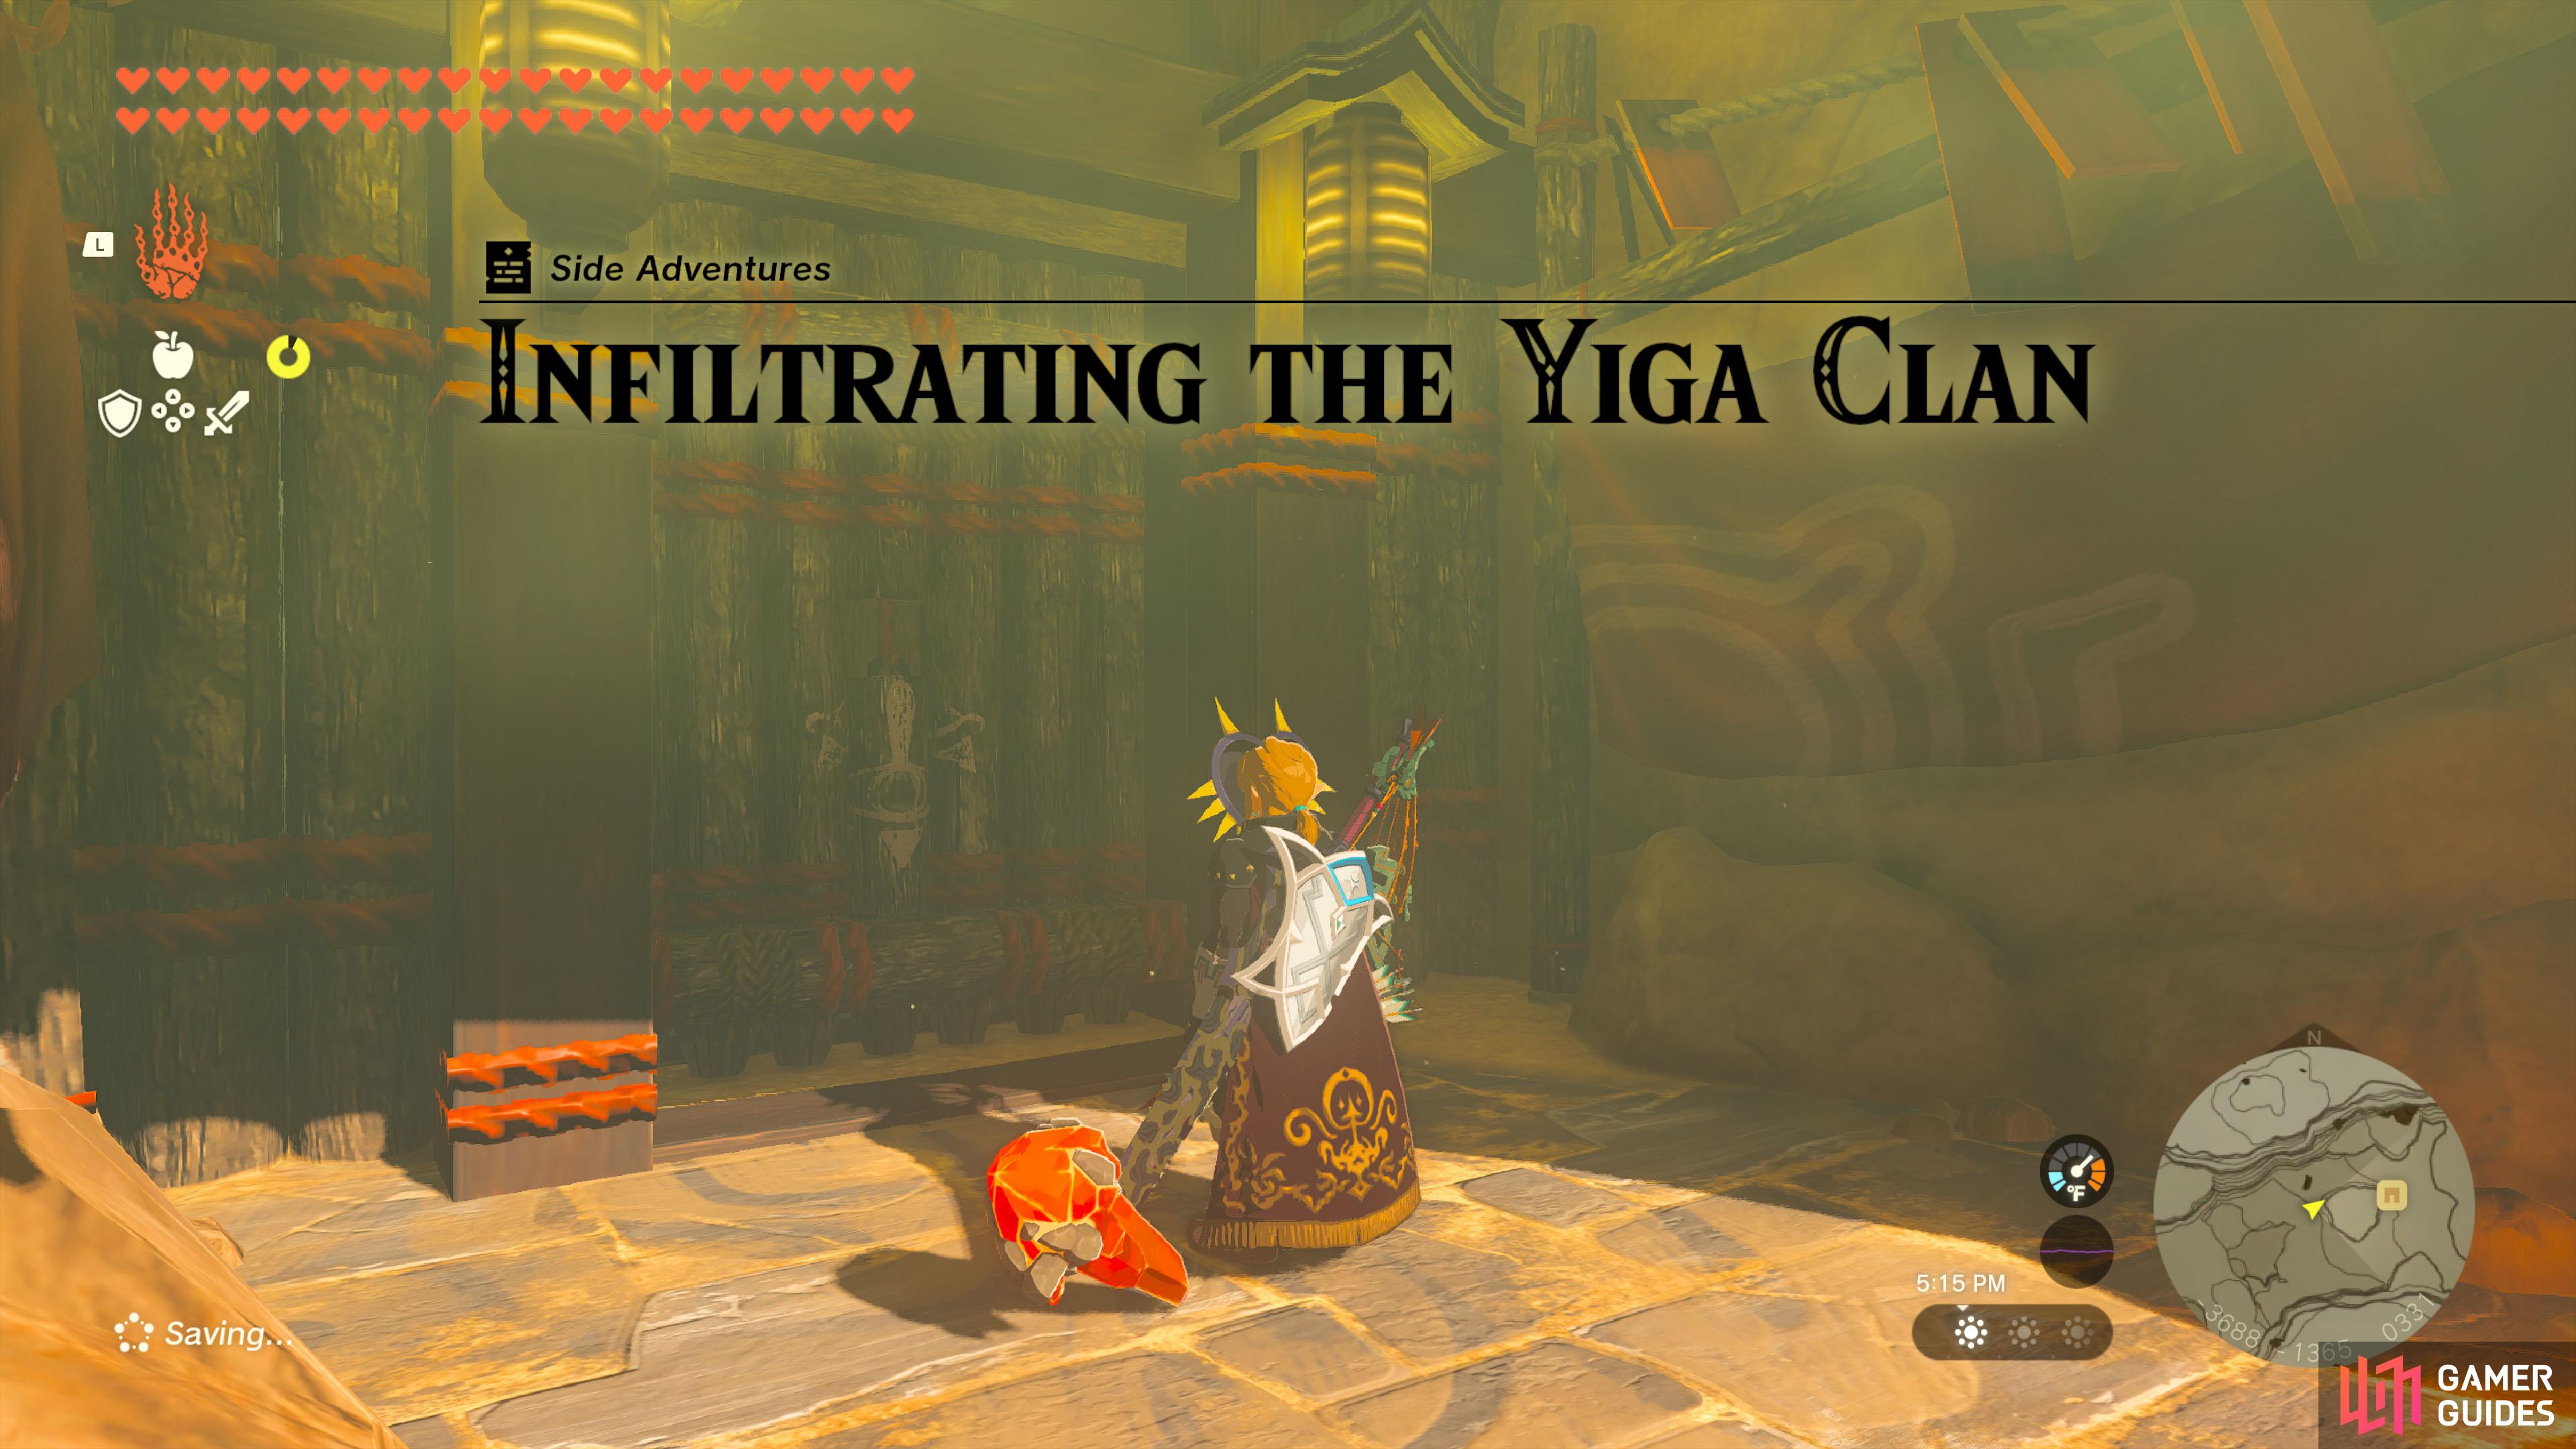
Yiga Clan Hideout, Again
Knock on the door while wearing the full Yiga Clan outfit and you’ll be allowed inside. Thus completing this side adventure. That said, there’s no sense in turning around, so let’s keep going in.
You can burn these wall scrolls to reveal hidden secrets…

…Like this Eightfold Blade.
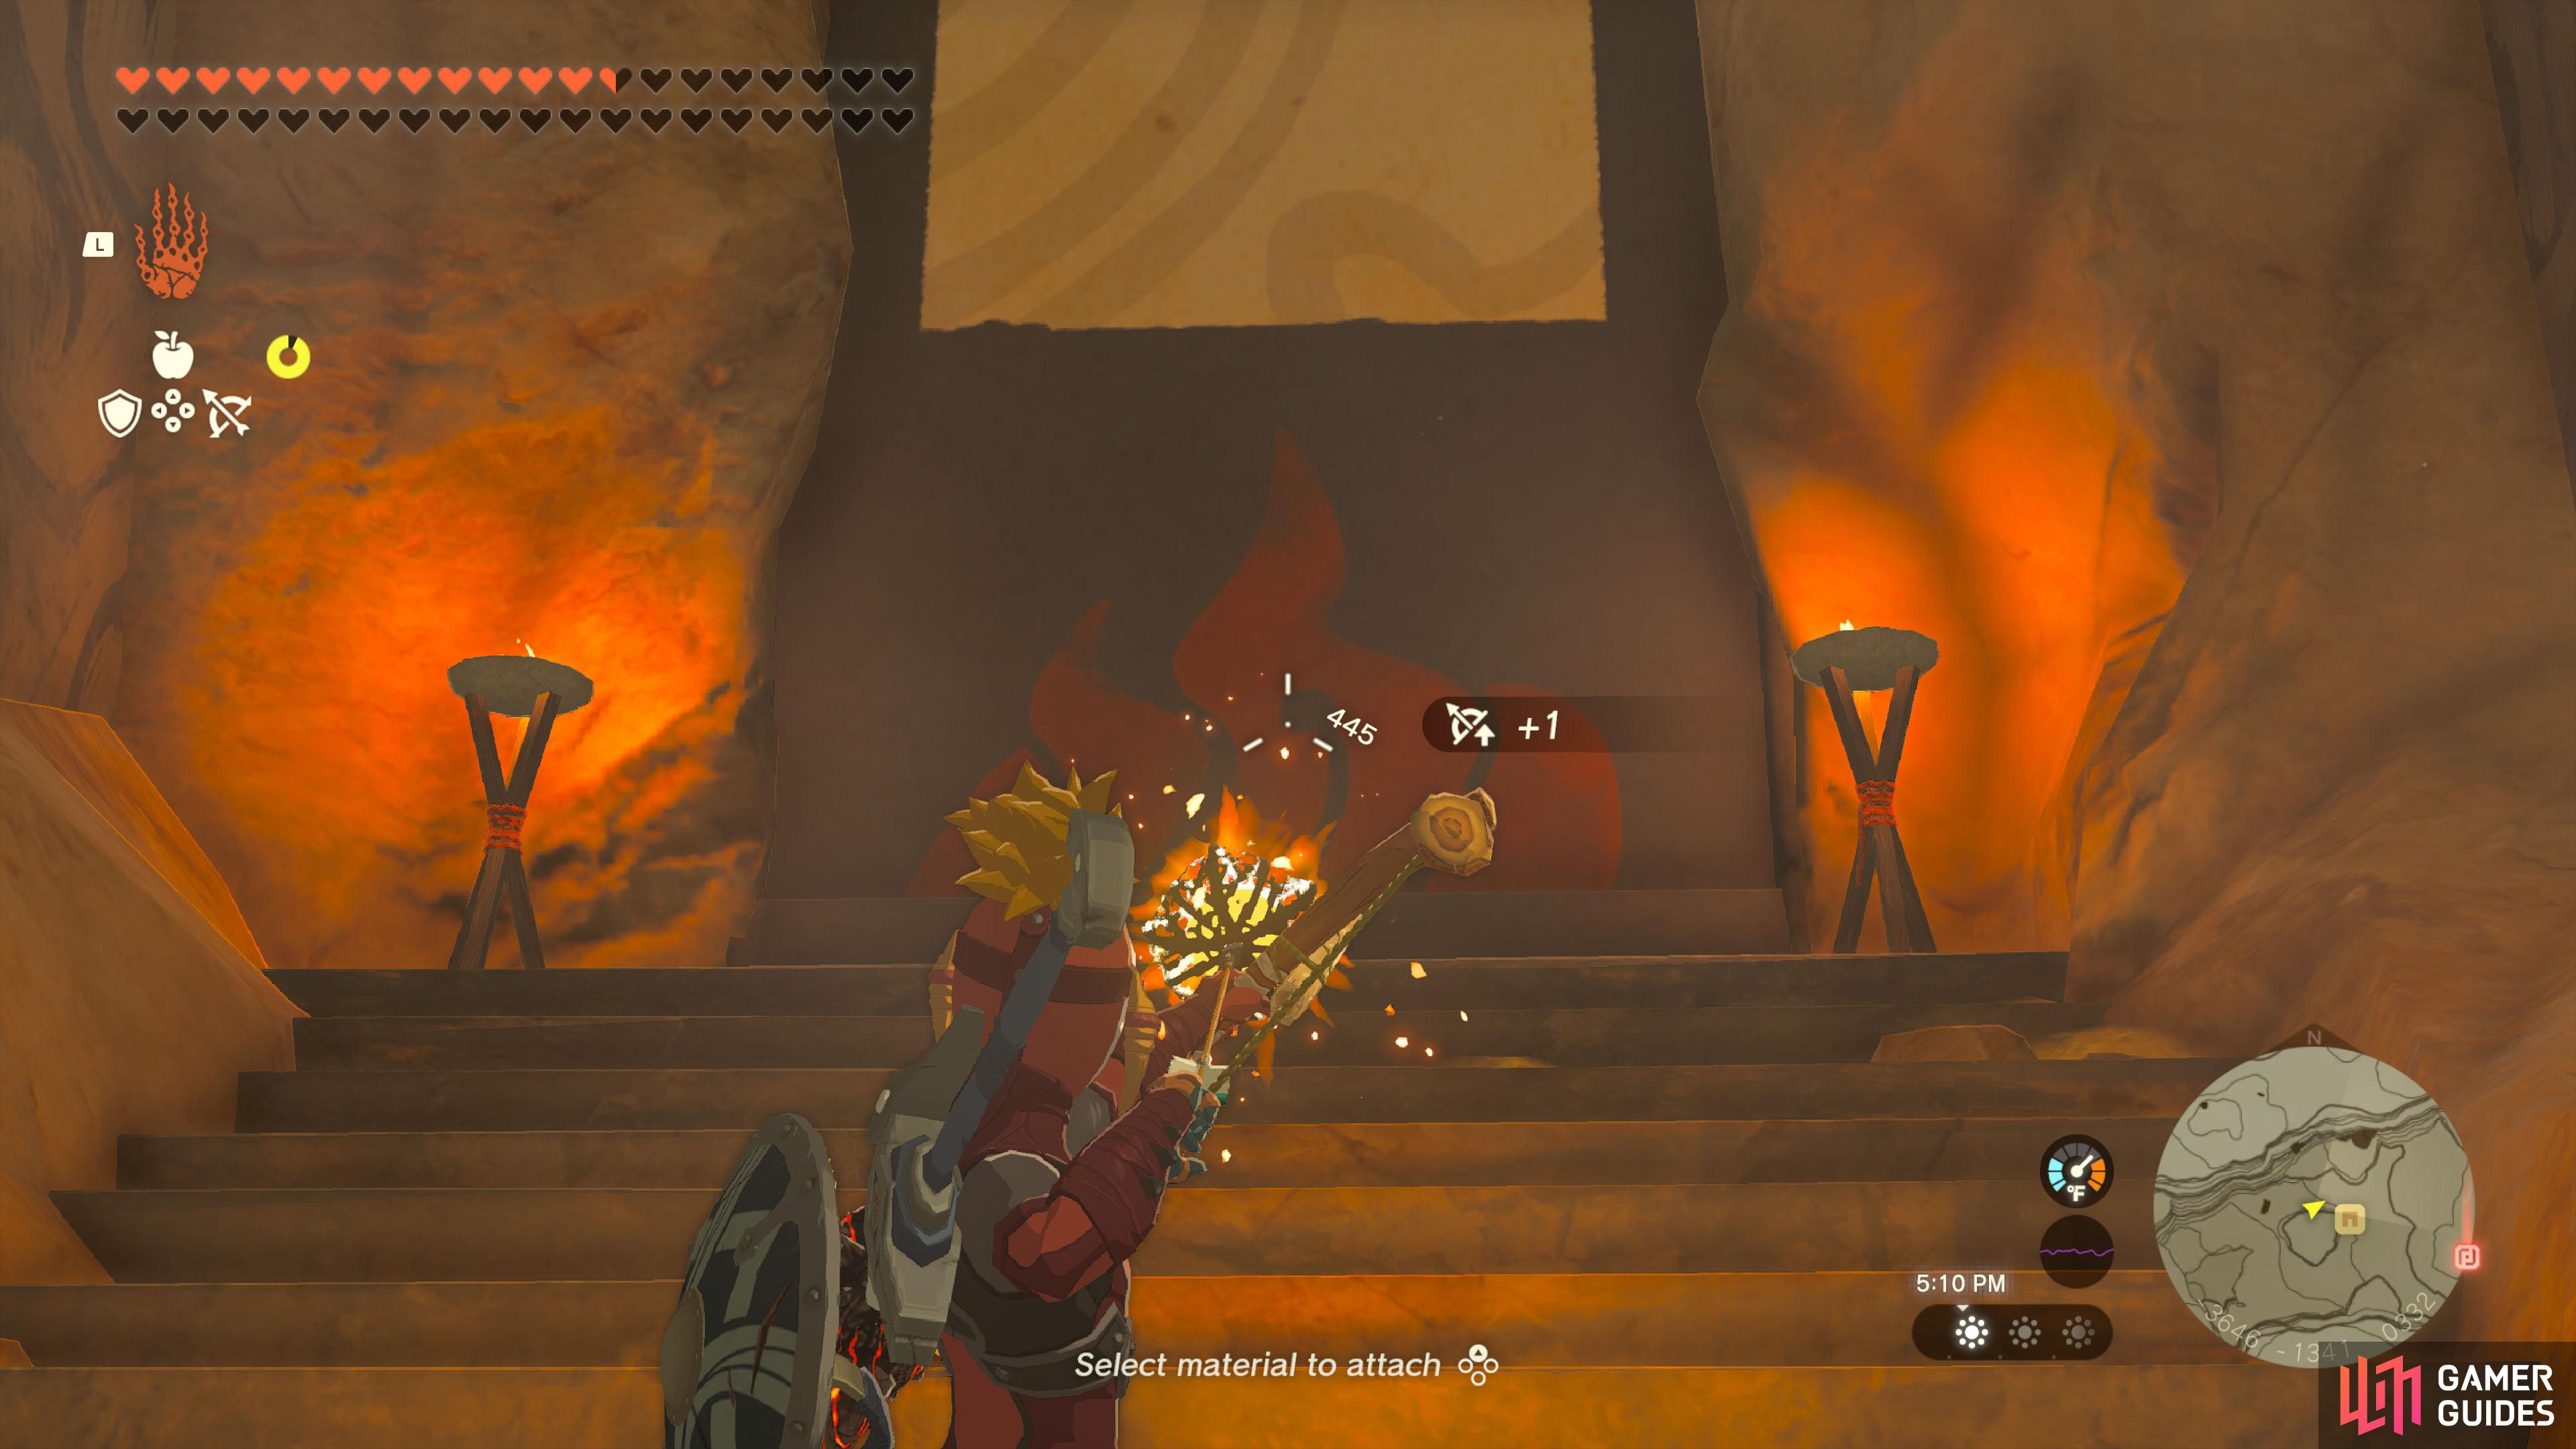
In the first area, there’s a bunch of shops, but nothing too special. Towards the east are stairs that go further in. Before heading that way, check the wall scroll towards the north-east. Burn it with ![]() Fire Fruit etc. to reveal a hidden chest, containing an
Fire Fruit etc. to reveal a hidden chest, containing an ![]() Eightfold Blade. Hope you didn’t just buy one…
Eightfold Blade. Hope you didn’t just buy one…
The next area used to be part of an annoying stealth mission. Near the start, you’ll notice a prison cell with a chest and ![]() Mighty Bananas. You can’t reach it from here, but remember this. Keep going through the vehicle area, until you’re near the exit. Look around for a cracked wall and detonate it with a
Mighty Bananas. You can’t reach it from here, but remember this. Keep going through the vehicle area, until you’re near the exit. Look around for a cracked wall and detonate it with a ![]() Bomb Flower etc.
Bomb Flower etc.
This will reveal a tunnel with multiple layers to destructible rocks. Keep digging through the rocks and you’ll eventually reach the back of that prison cell. The chest contains a ![]() Sneaky Elixir. Probably not worth the effort, but that’s something to cross off the checklist.
Sneaky Elixir. Probably not worth the effort, but that’s something to cross off the checklist.
When leaving the second area, there’s a ladder straight ahead and an entrance on the right. If you go up the ladder, there’s a diary with some lore info, including ![]() Riju’s full name! Meanwhile, on the right is the third area. Getting flashbacks of being caught by the Yiga Clan soldiers here…
Riju’s full name! Meanwhile, on the right is the third area. Getting flashbacks of being caught by the Yiga Clan soldiers here…
On the ground level, there’s a Yiga guy blocking the gate because he doesn’t like your hair. He tells you to challenge the training regimen on the upper level, which you can reach using a nearby ladder. Up here, you can pay 100 rupees (the first time is free) to beat up a certain amount of Yiga Clan soldiers in 1 minute.
Well, the first time is free, so let’s do this. You’ll fight a bunch of footsoldiers, wielding swords and bows. They’re nimble, but very predictable. You can wait for them to spawn, then just before they spawn, smack them silly and repeat.
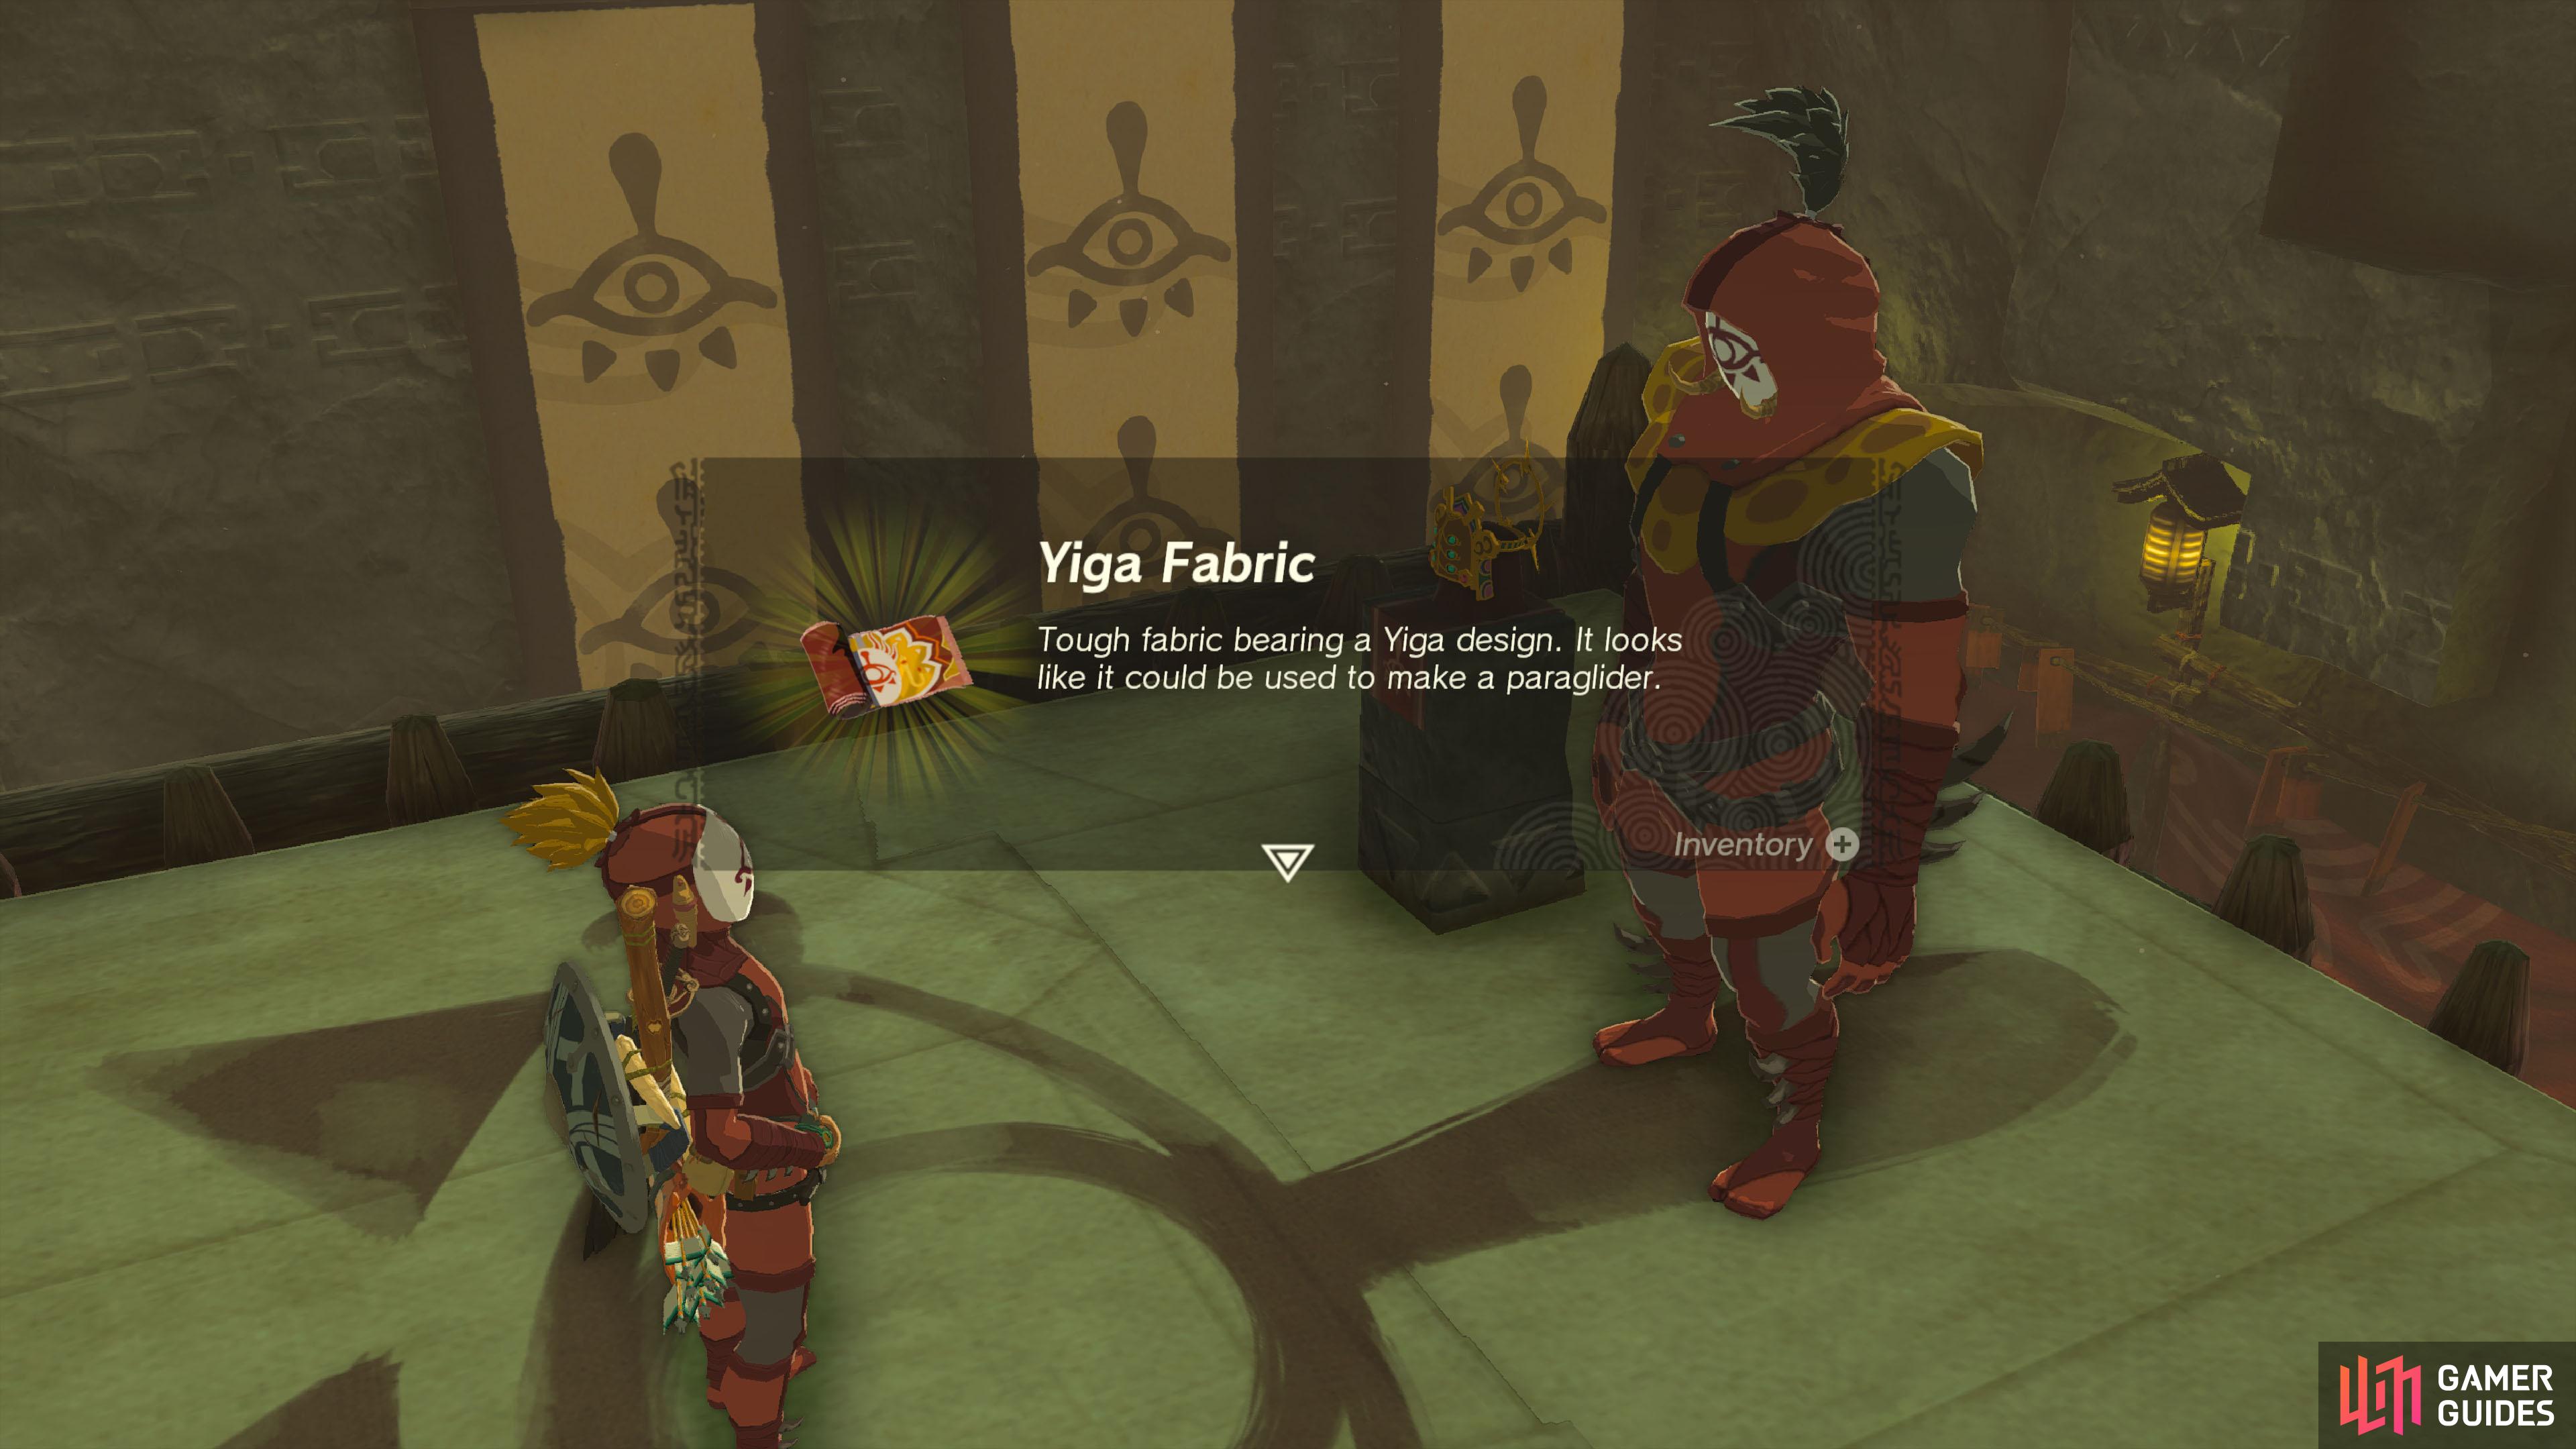
- The first reward, for beating 3 soldiers, is a
 Yiga Fabric to decorate your paraglider.
 - The second reward, for beating 6 soldiers, is the
 Earthwake Manual, a technique that you can perform while unarmed
 - The final reward, for beating 9 soldiers, is the
 Lightning Helm, which negates lightning.
Winning the first time will also open that gate. Before leaving though, check the walls for a line of fire-pattern wall scrolls. Burn one of the middle ones to reveal a hidden room, with a chest containing an ![]() Eightfold Longblade.
Eightfold Longblade.
The final area doesn’t seem to have much, but you can find the exit here, which leads to the back area with the Yiga Clan Hideout Chasm and ![]() Rotsumamu Shrine.
Rotsumamu Shrine.
No Comments