

If you’re familiar with Breath of the Wild, Tears of the Kingdom’s predecessor, you’ll know that you will be doing a bunch of climbing to get to not only hard to reach places, but also important landmarks to further your quests. While you will have the ![]() Ascend ability in this latest iteration of the formula, this can only be used when there is a surface directly above you, making climbing just as important this time around. Now, again, if you did play Breath of the Wild, one of the more important armor pieces is the
Ascend ability in this latest iteration of the formula, this can only be used when there is a surface directly above you, making climbing just as important this time around. Now, again, if you did play Breath of the Wild, one of the more important armor pieces is the ![]() Climbing Gear, and you’ll be happy to know that it makes a return.
Climbing Gear, and you’ll be happy to know that it makes a return.
Where to Find Climbing Gear in Tears of the Kingdom
In Breath of the Wild, obtaining the Climbing Gear is a pretty simple process as its within one of the many Shrines, clearly visible if you’re roaming around the lands of Hyrule. However, with Tears of the Kingdom’s Climbing Gear, you’re going to have a bit more of a hard time. This is because the Climbing Gear is hidden within one of the new areas in the game - Caves. These Caves are pretty hard to spot unless you’re directly on top of them, so you are going to have to do some serious exploration to even see them.
The Cave in question here is the ![]() North Hyrule Plain Cave and it is located on the Western side of
North Hyrule Plain Cave and it is located on the Western side of ![]() Central Hyrule. Luckily, we’ve done the heavy lifting for you and here is a direct map marker for you to take a look at.
Central Hyrule. Luckily, we’ve done the heavy lifting for you and here is a direct map marker for you to take a look at.
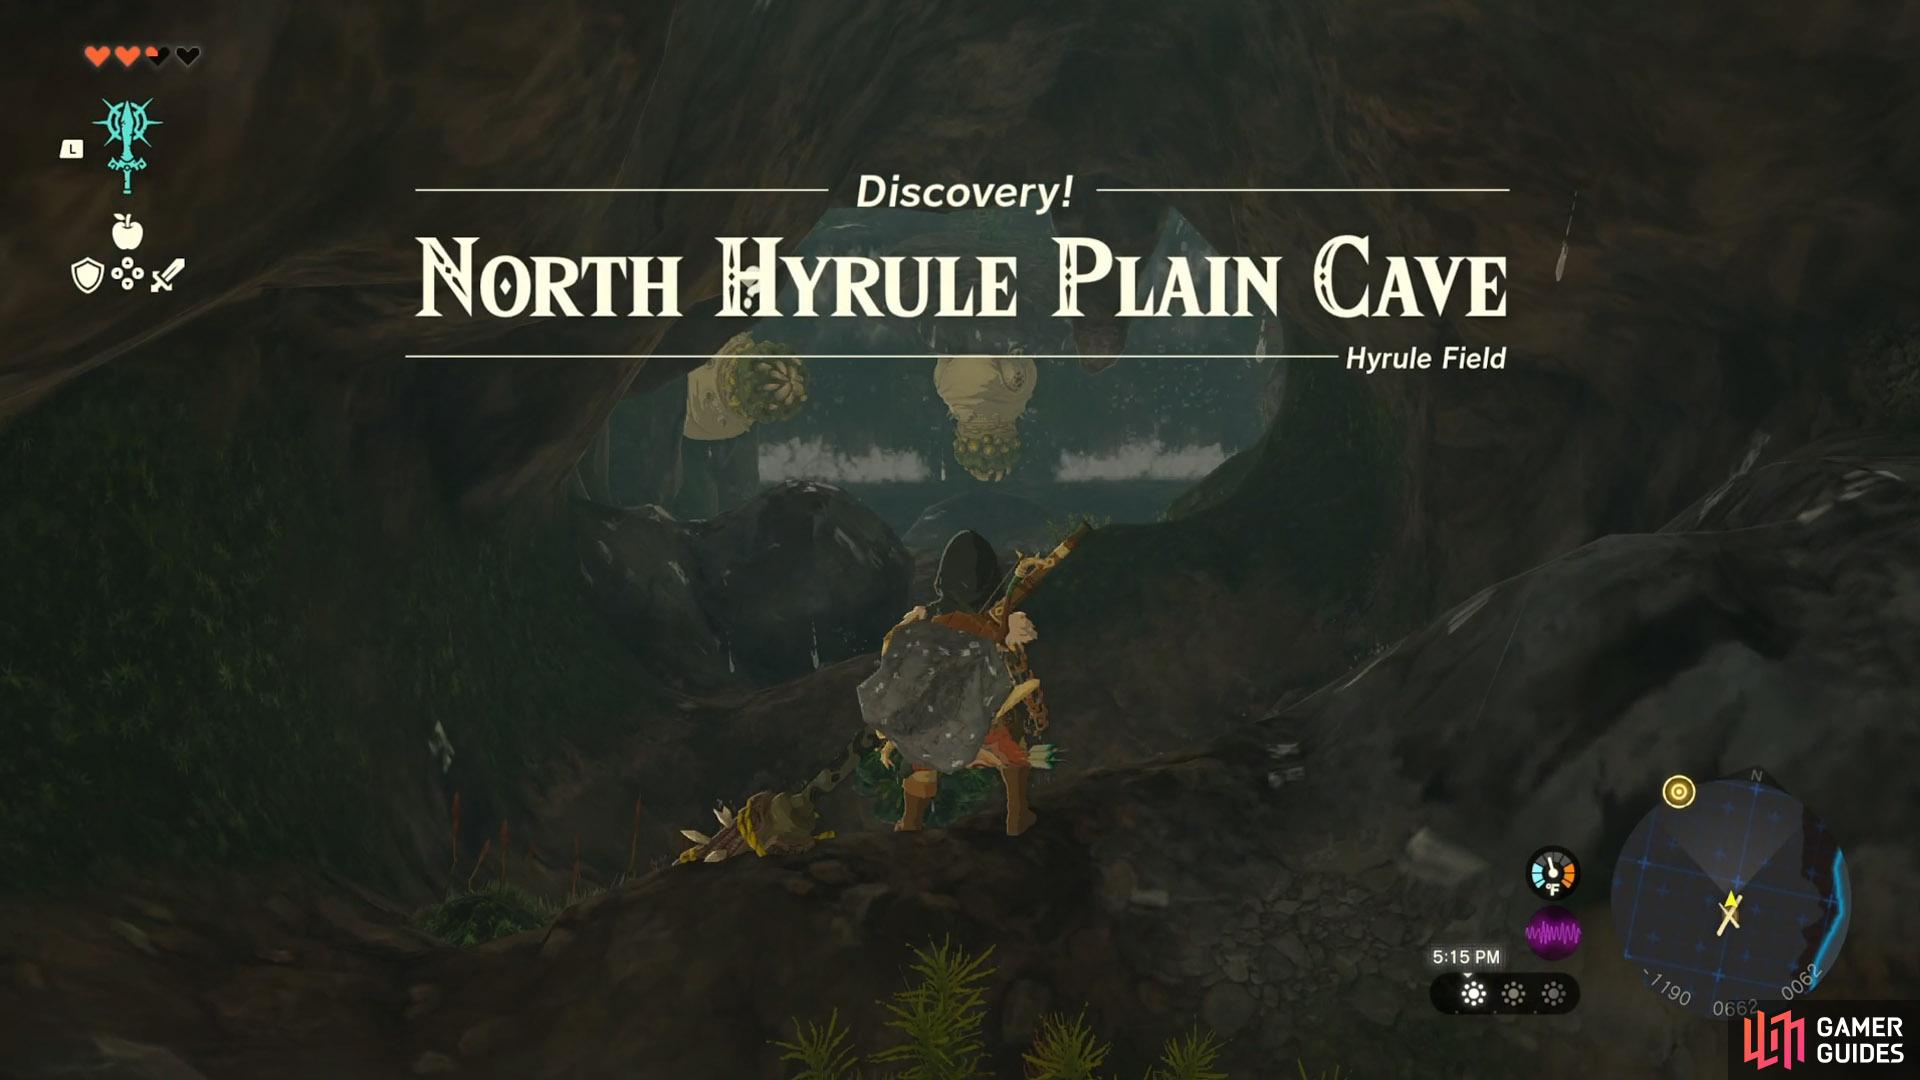
!North Hyrule Plain Cave in Tears of the Kingdom
Additionally, if you managed to speak to ![]() Meeshy she would have told you about three of Misko’s Treasures. The Climbing Gear is one of these, and you’re given a tip as to which Cave you need to head to thanks to an X marks the spot being placed on your in-game map.
Meeshy she would have told you about three of Misko’s Treasures. The Climbing Gear is one of these, and you’re given a tip as to which Cave you need to head to thanks to an X marks the spot being placed on your in-game map.
Once you reach the North Hyrule Plain Cave, it’s not as simple as stumbling over the chest as you traverse through it. Instead, it’s hidden behind a classic video game hiding place - the waterfall. If you make your way up past the first waterfall area, killing the ![]() Like Likes, and then up to the point where the Cave is leading you toward another level, you should see a small body of water and another waterfall. This is the waterfall you’re after and holds the Climbing Gear within.
Like Likes, and then up to the point where the Cave is leading you toward another level, you should see a small body of water and another waterfall. This is the waterfall you’re after and holds the Climbing Gear within.
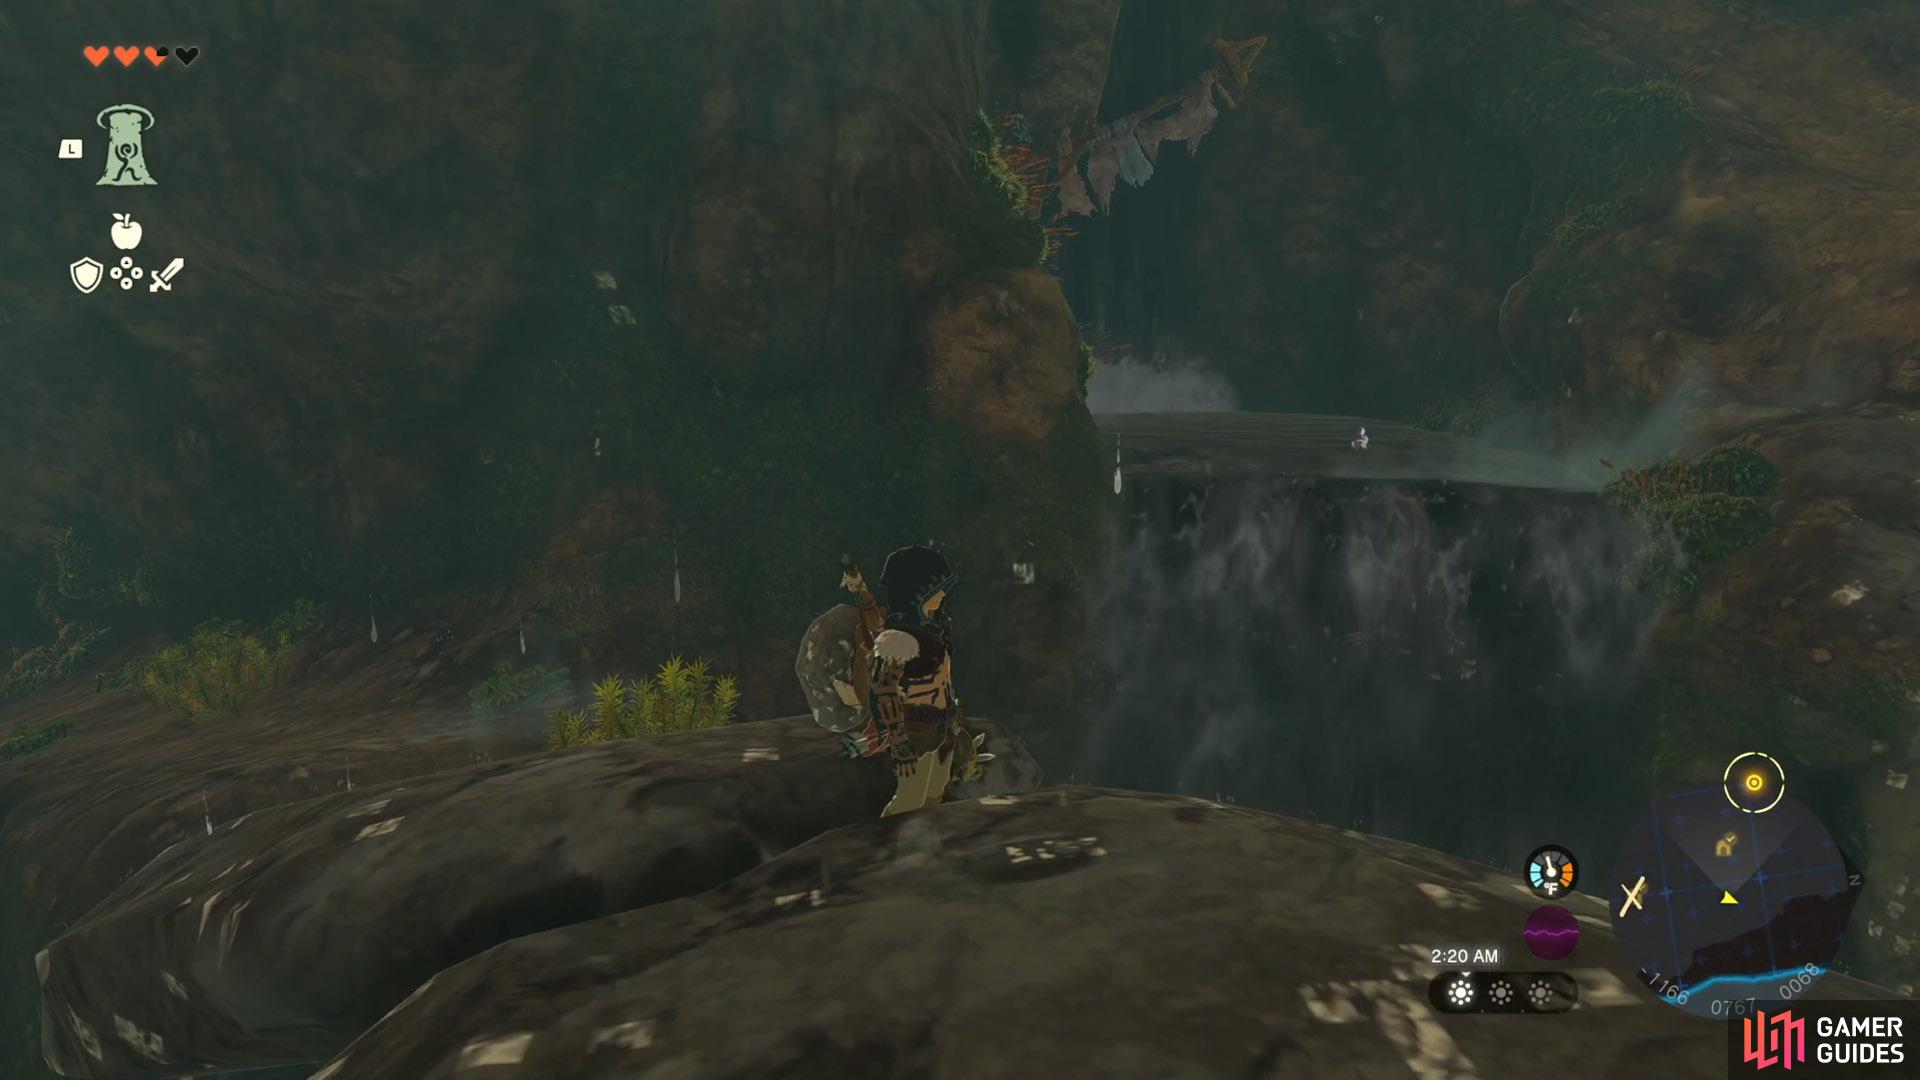
Simply swim your way toward the waterfall and once you’ve passed through, you’ll be in a ‘treasure’ room. Simply open the chest and the Climbing Gear will be inside ready for Link to don. If you’re having issues knowing which waterfall you need to be at, simply use your ![]() Ultrahand ability and because chests get highlighted when you do this, you should be able to see it through the stream of water.
Ultrahand ability and because chests get highlighted when you do this, you should be able to see it through the stream of water.
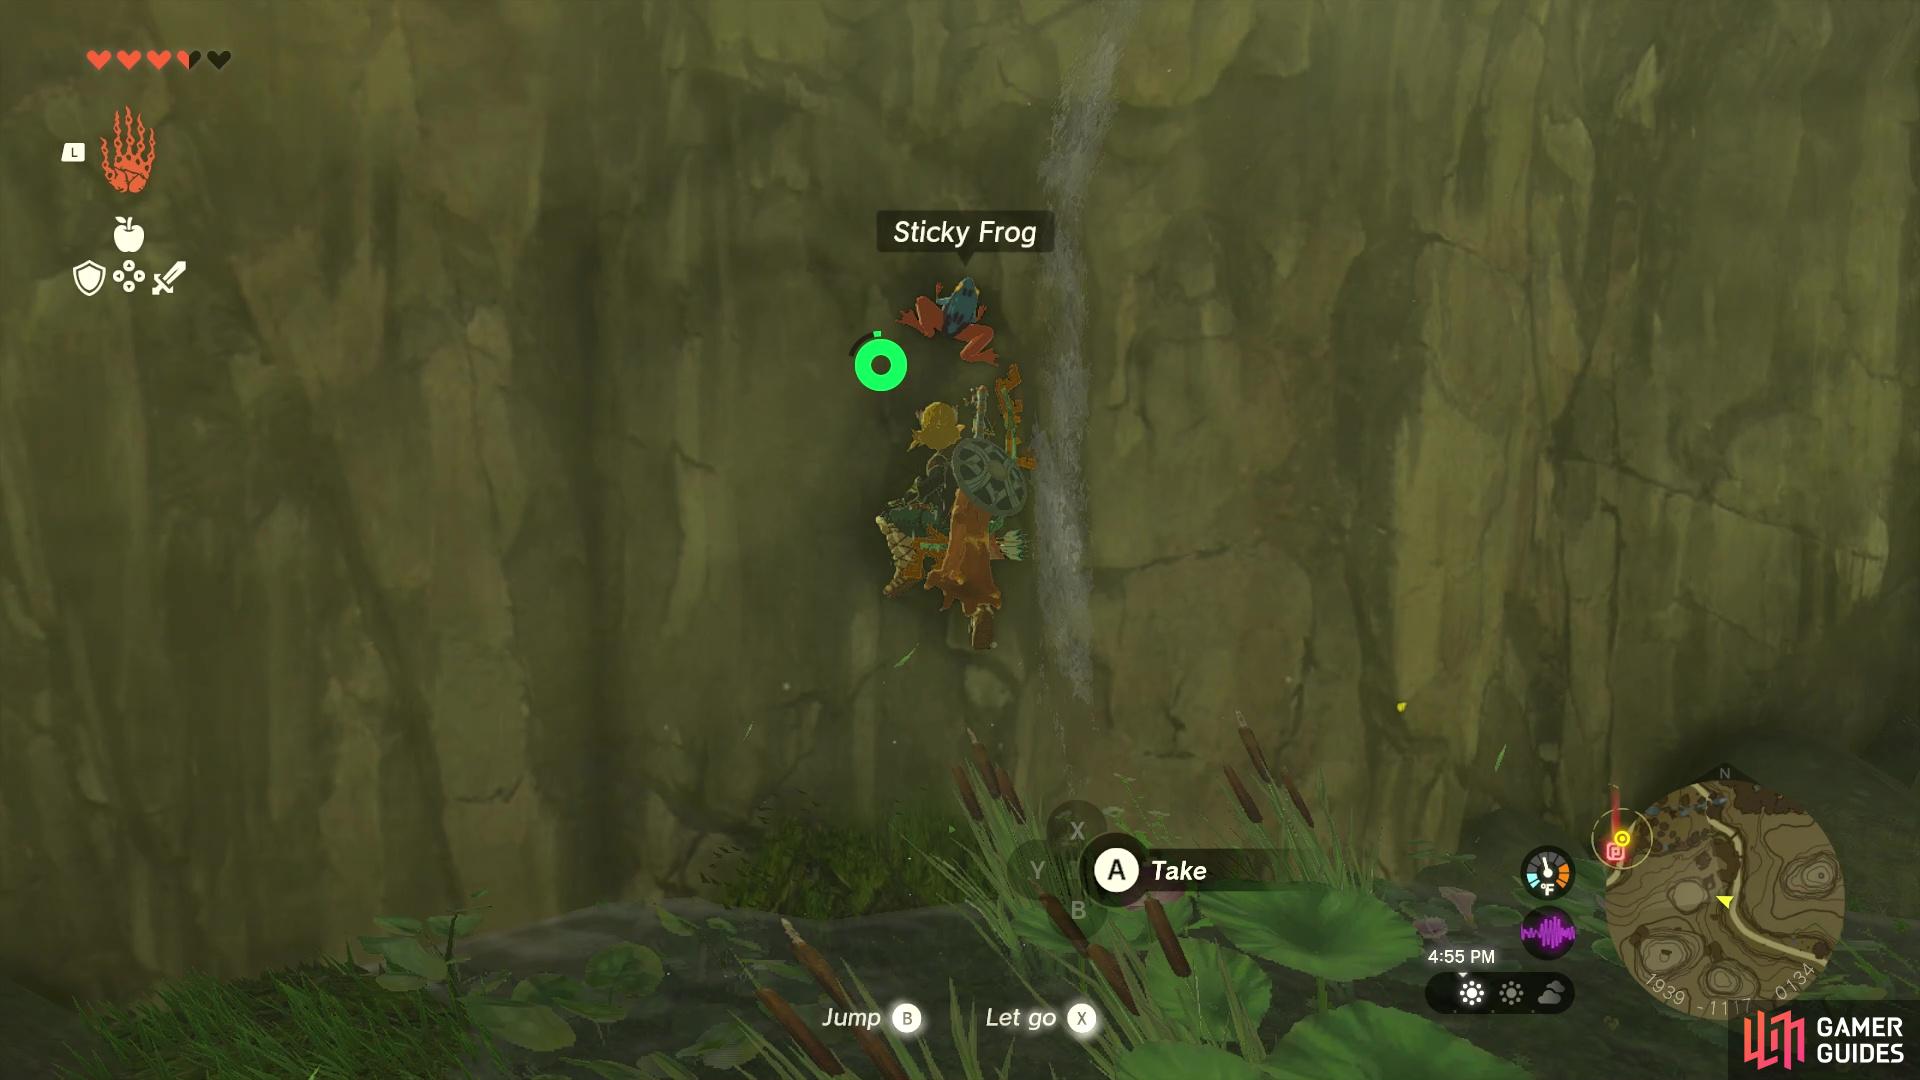
!Sticky Frogs can be found outside of caves
while !Sticky Lizards are inside of caves
Where to Find the Climbing Boots in Tears of the Kingdom
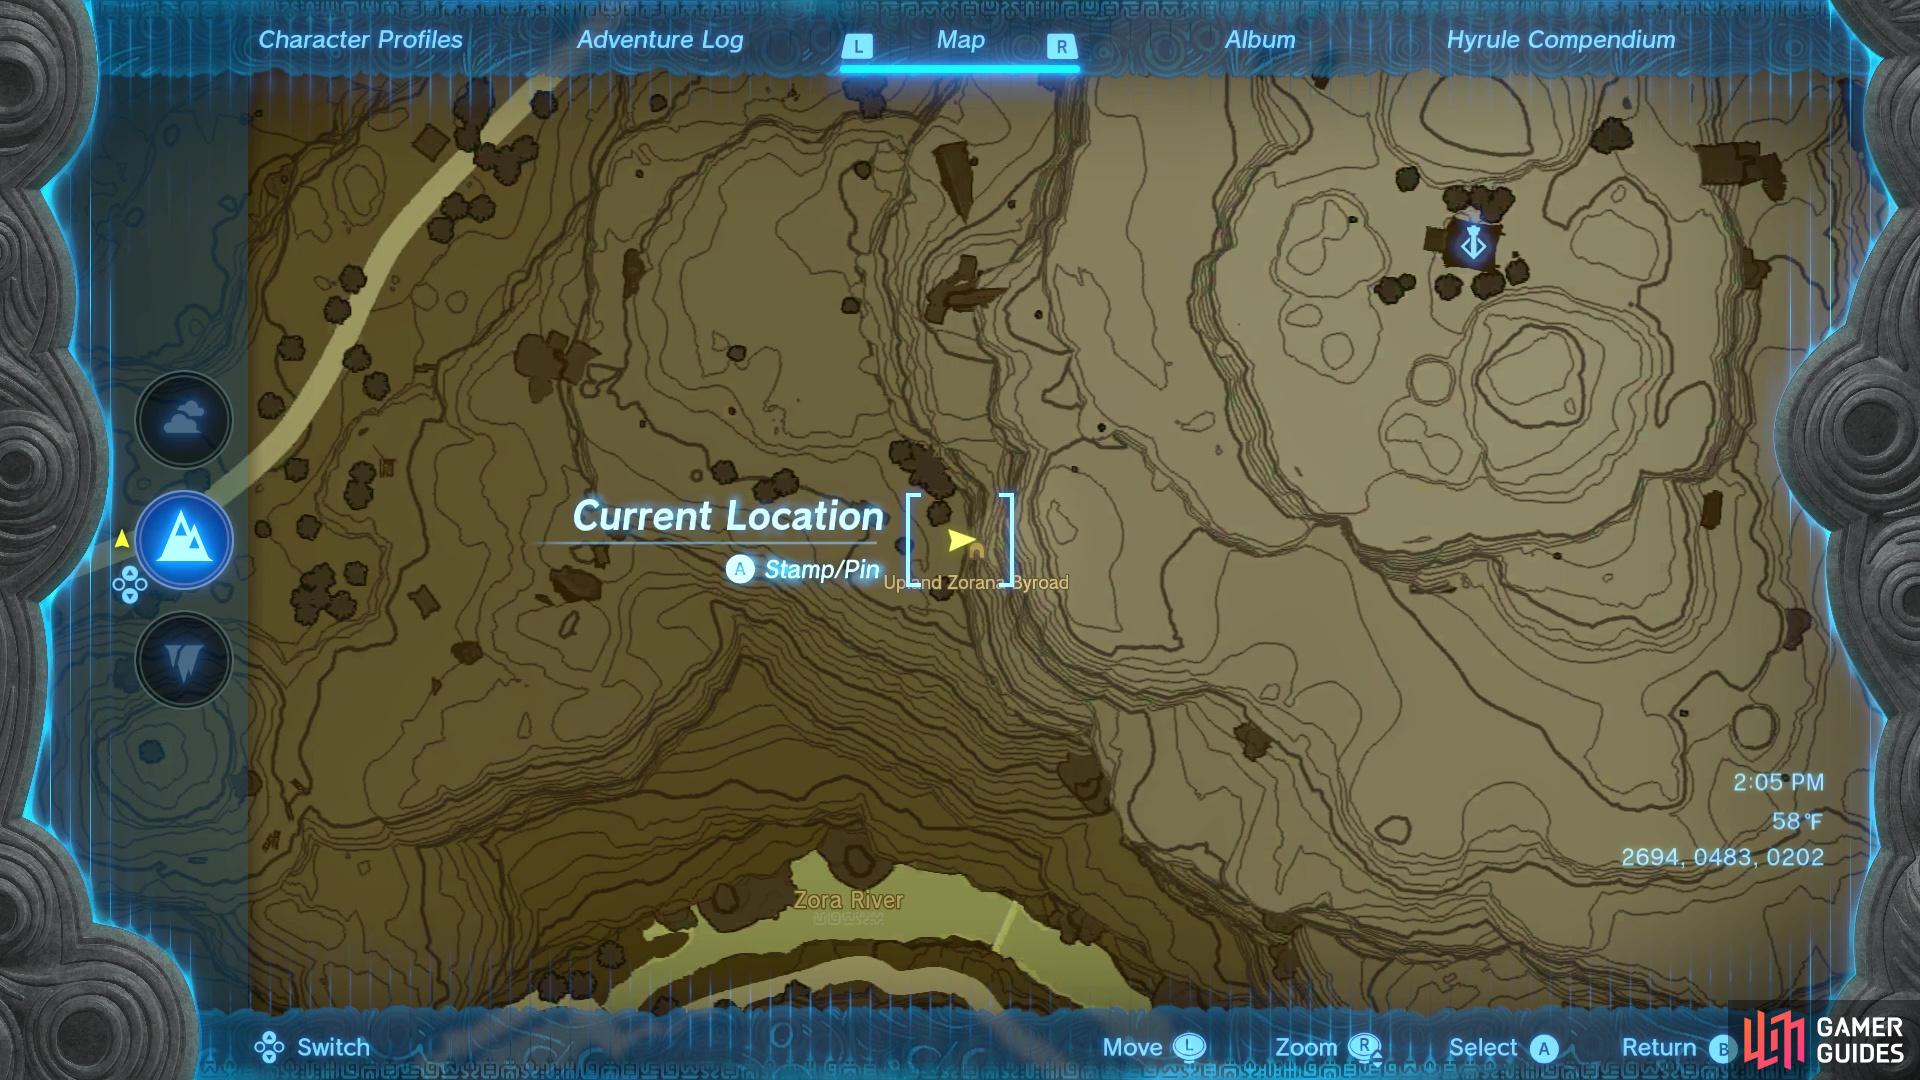
To start off, fast travel to the Upland Zorana Skyview Tower and glide to the west/southwest of it. As you moving down the mountain, you should see some Wizzrobes; ignore both of them, but pay attention to the second one you see. Just south of the second Wizzrobe, you should see a hole in the ground. Head to that hole, then look at the nearby cliff face to see a cave; this is the ![]() Upland Zorana Byroad, so go inside of it.
Upland Zorana Byroad, so go inside of it.
Cut the vines blocking the entrance, then walk inside to see that water is dripping from the ceiling. This cave, as well as the next one you will be going to, will have its walls all slick from the moisture, so climbing them will be difficult. This is where those ![]() Sticky Elixirs come in handy, so make sure you have a few on hand for this (and the next) part. Before you can pass the first little body of water, you should notice some
Sticky Elixirs come in handy, so make sure you have a few on hand for this (and the next) part. Before you can pass the first little body of water, you should notice some ![]() Horriblins make their home in this cave. Shoot them in the head while they’re on the ceiling to knock them to the ground, then finish them off with normal attacks.
Horriblins make their home in this cave. Shoot them in the head while they’re on the ceiling to knock them to the ground, then finish them off with normal attacks.
As you continue forward in the cave, there will be more vines obstructing your path, although these ones are in the middle of some water. You can attach a ![]() Bomb Flower to an arrow and blow up the vines, which will clear a path. A little further in, you will encounter a
Bomb Flower to an arrow and blow up the vines, which will clear a path. A little further in, you will encounter a ![]() Rock Like, so either break its armor with a Bomb Flower, or just ignore it. There will be a side path just beyond, with another Rock Like, and if you keep going past it, you will find a large room with some ruins. Note that it might be tricky to climb the wall leading to the side path, so pop a Sticky Elixir, if needed.
Rock Like, so either break its armor with a Bomb Flower, or just ignore it. There will be a side path just beyond, with another Rock Like, and if you keep going past it, you will find a large room with some ruins. Note that it might be tricky to climb the wall leading to the side path, so pop a Sticky Elixir, if needed.
While in the room with the ruins, use the ruins to get to the opposite side, where there will be some stairs on the side. If you use Ultrahand on this platform, you should see you can grab the gate on the wall, so lift it up to drain the water from the room. Feel free to explore the now drained room, noting that the ![]() Bubbulfrog is in a side room blocked by some vines. To get the armor piece, though, go underneath the stairs you climbed by the water gate, where there is a hidden opening that leads to the altar with the
Bubbulfrog is in a side room blocked by some vines. To get the armor piece, though, go underneath the stairs you climbed by the water gate, where there is a hidden opening that leads to the altar with the ![]() Climbing Boots.
Climbing Boots.
Where to Find the Climber’s Bandana in Tears of the Kingdom
This one is found in a cave near the Zora’s Domain, and you should start by fast travelling to the Ihen-A Shrine. Once there, head west and glide down, until you reach the second tier or so. If you see a ![]() Blupee nearby, then that is the spot you want. The
Blupee nearby, then that is the spot you want. The ![]() Ploymous Mountain Cave is the name of the cavern you want here, and it can be a little difficult to find, since there are some trees that kind of obscure the entrance. Once you do find it, though, head inside and get ready to climb. Unfortunately, the walls will be slick, so climbing is a bit challenging.
Ploymous Mountain Cave is the name of the cavern you want here, and it can be a little difficult to find, since there are some trees that kind of obscure the entrance. Once you do find it, though, head inside and get ready to climb. Unfortunately, the walls will be slick, so climbing is a bit challenging.
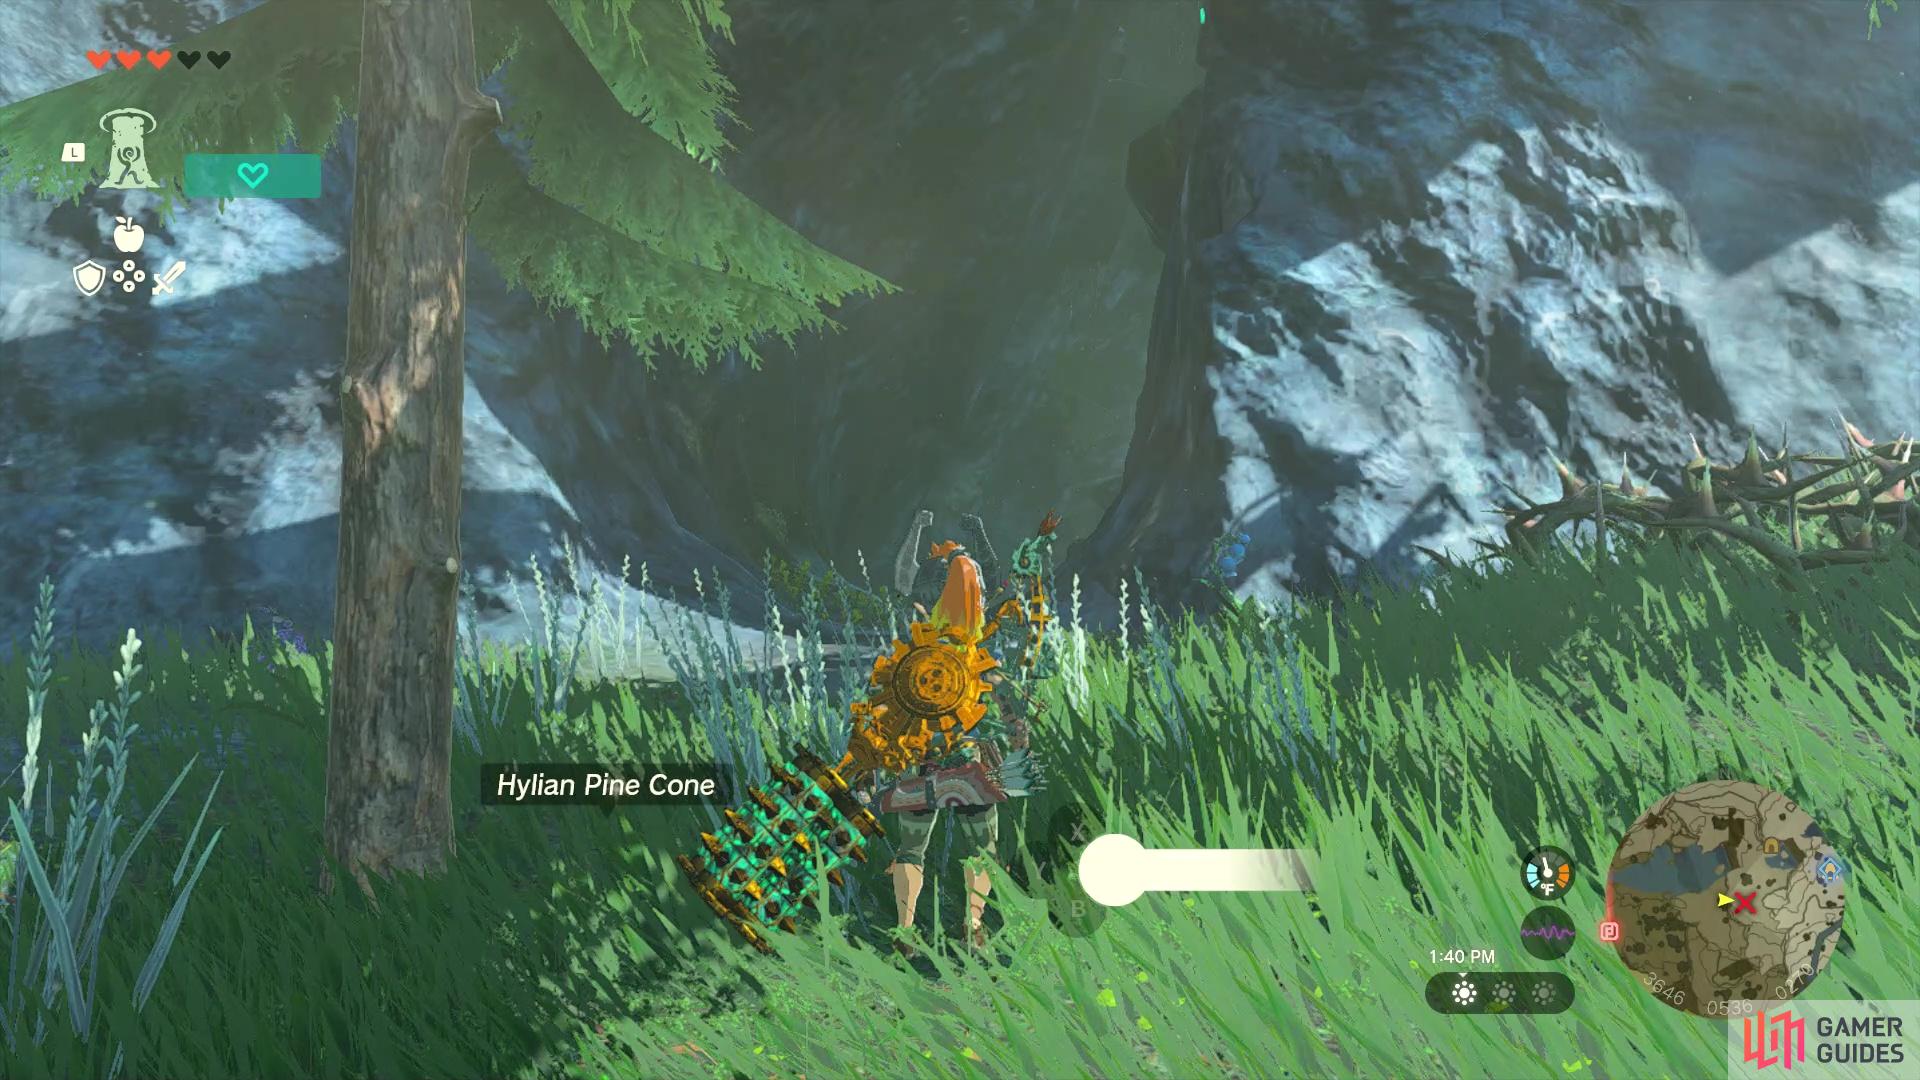
(1 of 4) The entrance to the cave is kind of hard to see, due to some trees in the way
If you heeded the warning and made some Sticky Elixirs, then those will prove useful here. You might want to save this armor piece for last, too, since the other two pieces will help in climbing. You will want to avoid jumping while climbing, as you are prone to sliding back down when doing that. There’s a number of ledges you can use as footholds to aim for, since those allow you to stand on them to replenish your stamina. One little trick you can use here is to climb normally for like 3-5 bits, then use a jump to try and reach a stable foothold.
The goal is to reach the top, where the path will lead you straight to the altar with the Climber’s Bandana. If you want the Bubbulfrog in this cave, return to the entrance and look up just inside the cave, to spot a high ledge.
No Comments