
The Great Sky Island is the very first area you’ll be able explore in The Legend of Zelda: Tears of the Kingdom. Here you’ll be taught the basics, such as crafting rafts, cooking and how to use the new devices. This page will teach you everything you need to know about crafting crafts, so you can reach the shrines with ease.
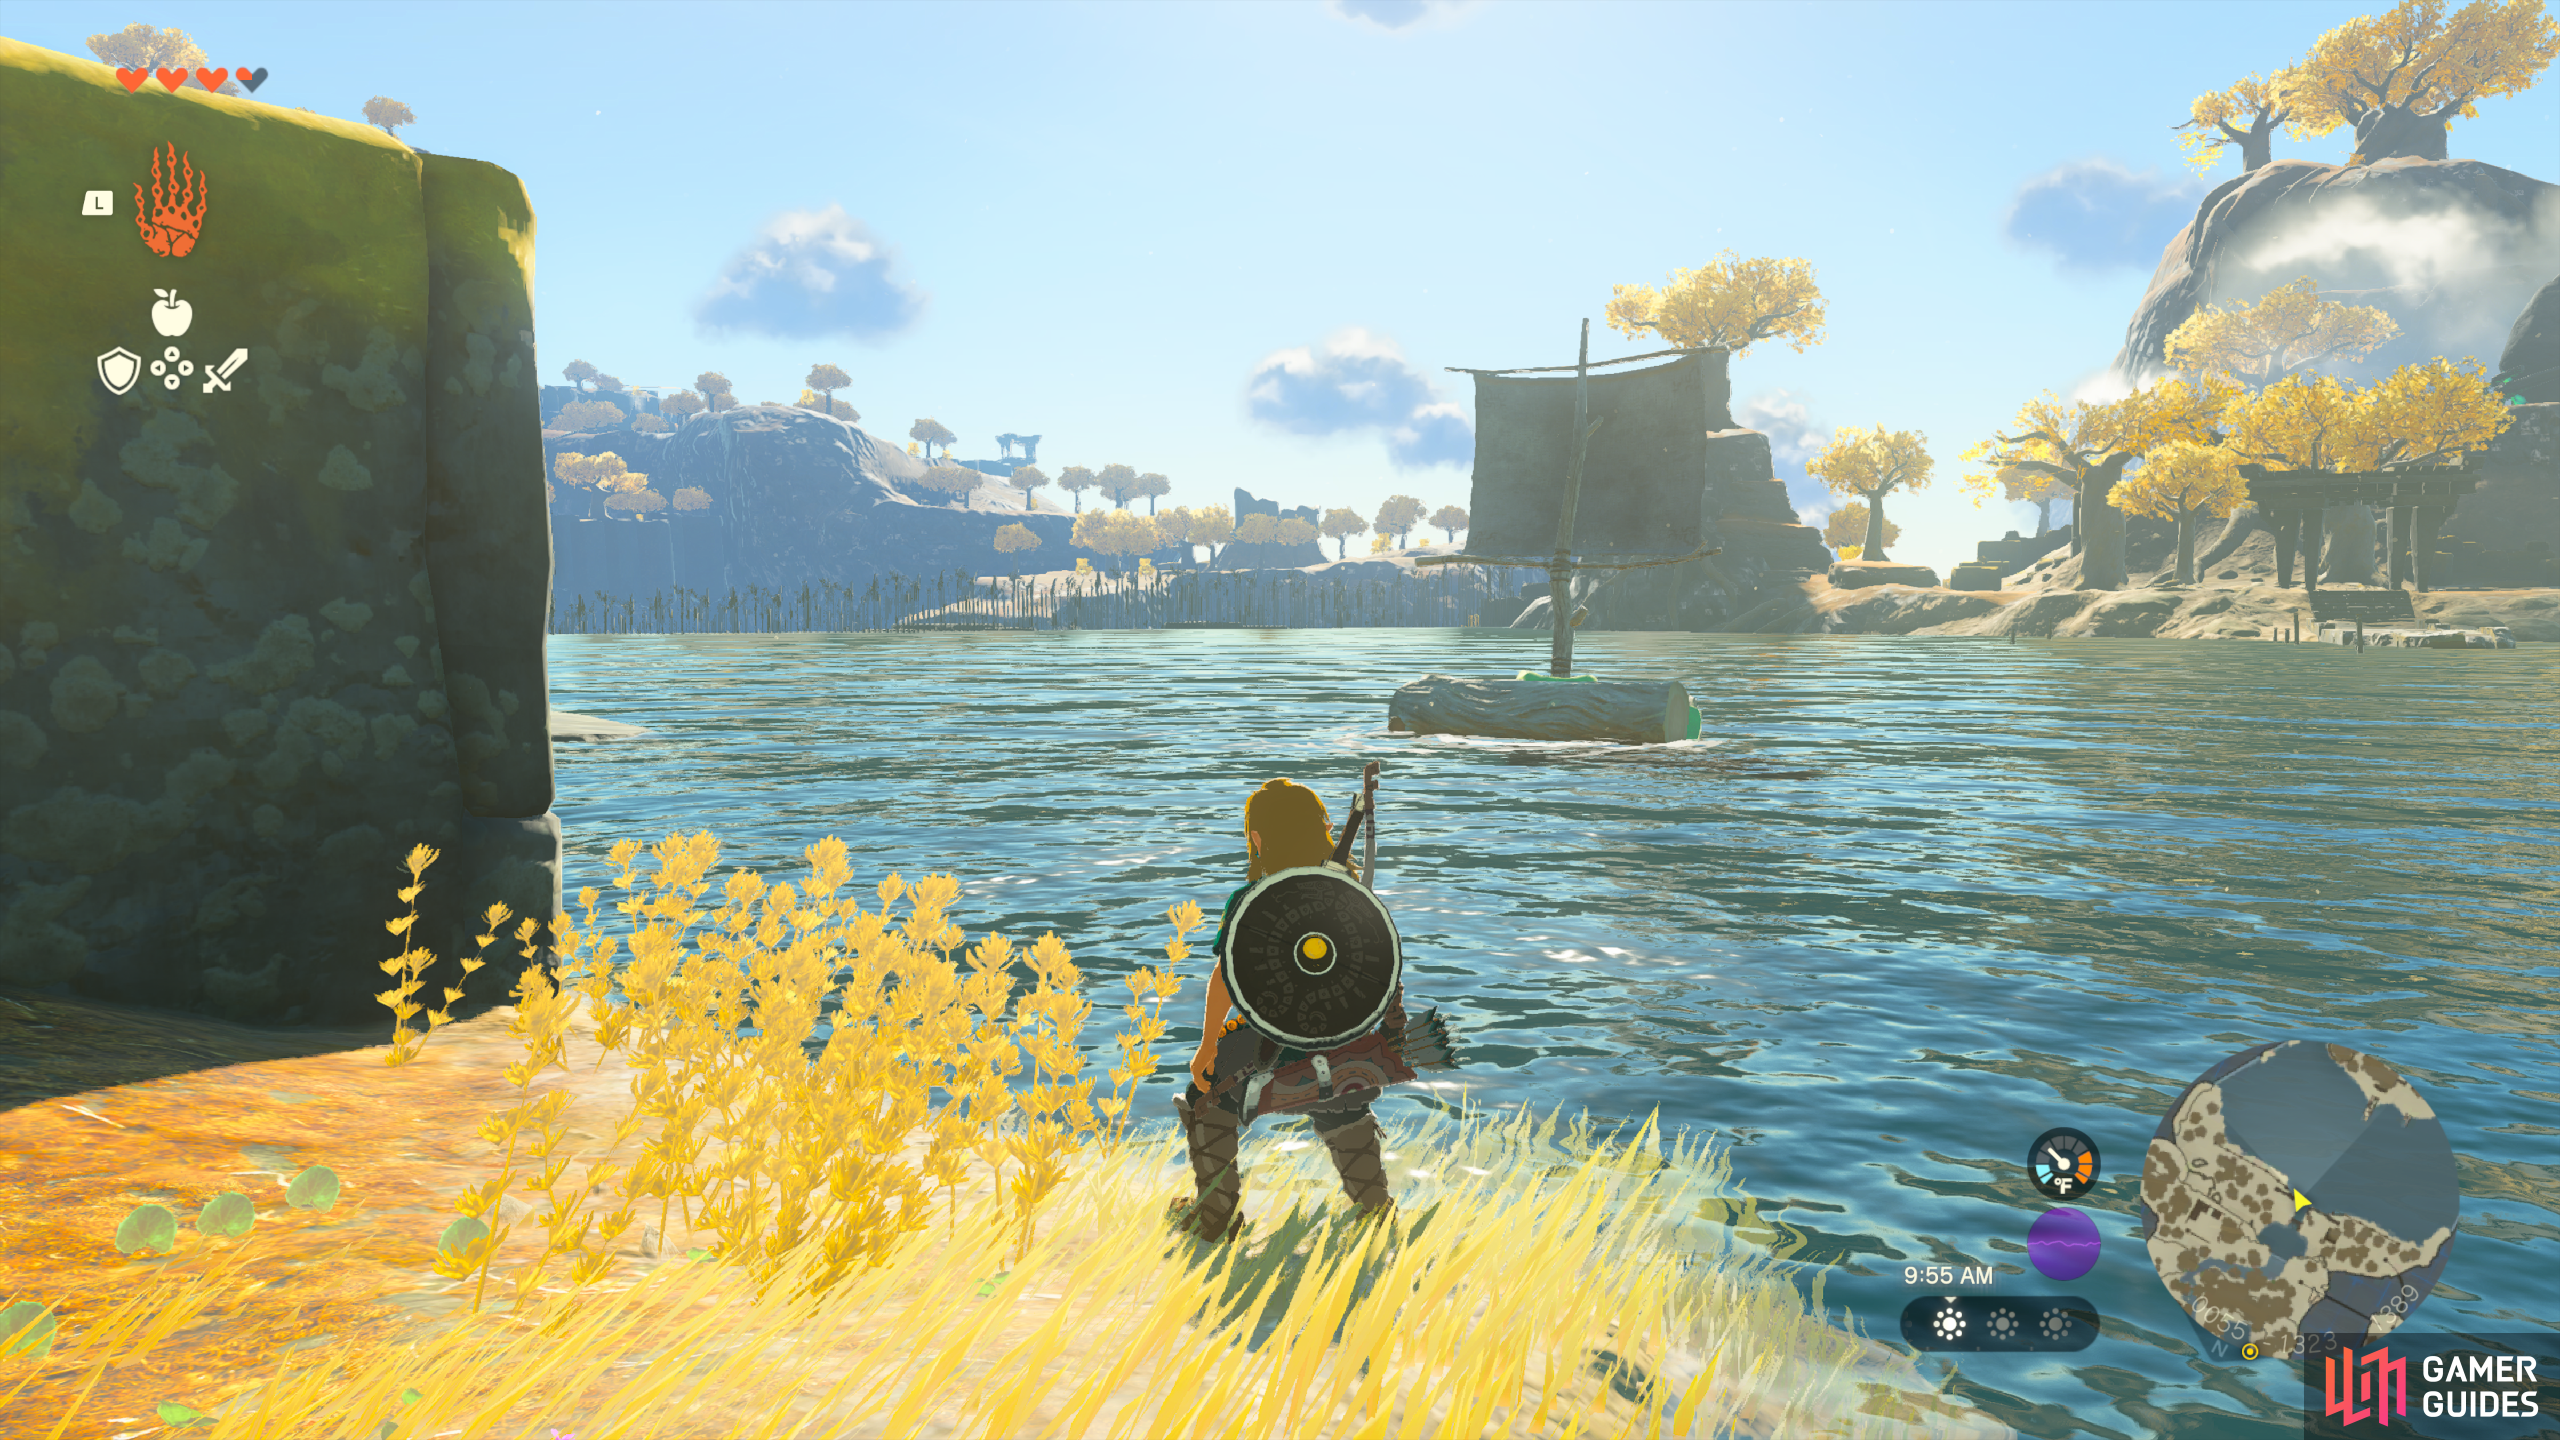
You can use Rafts to get across lakes in Zelda Tears of The Kingdom.
How To Unlock The Attach Ability
Before you can even attempt to start crafting Rafts you’ll need to unlock the Attach Ability which is obtained as a reward for completing the ![]() Ukouh Shrine. This can be found to the east of the
Ukouh Shrine. This can be found to the east of the ![]() Temple of Time. Once you’ve unlocked the ability you’ll need to make your way along to the In-Isa Shrine which can be found to the southwest of the island. However, between you and the shrine is a lake and unfortunately you’ll drown if you attempt to swim across, so you’ll need to craft yourself a Raft which can be done following these steps.
Temple of Time. Once you’ve unlocked the ability you’ll need to make your way along to the In-Isa Shrine which can be found to the southwest of the island. However, between you and the shrine is a lake and unfortunately you’ll drown if you attempt to swim across, so you’ll need to craft yourself a Raft which can be done following these steps.
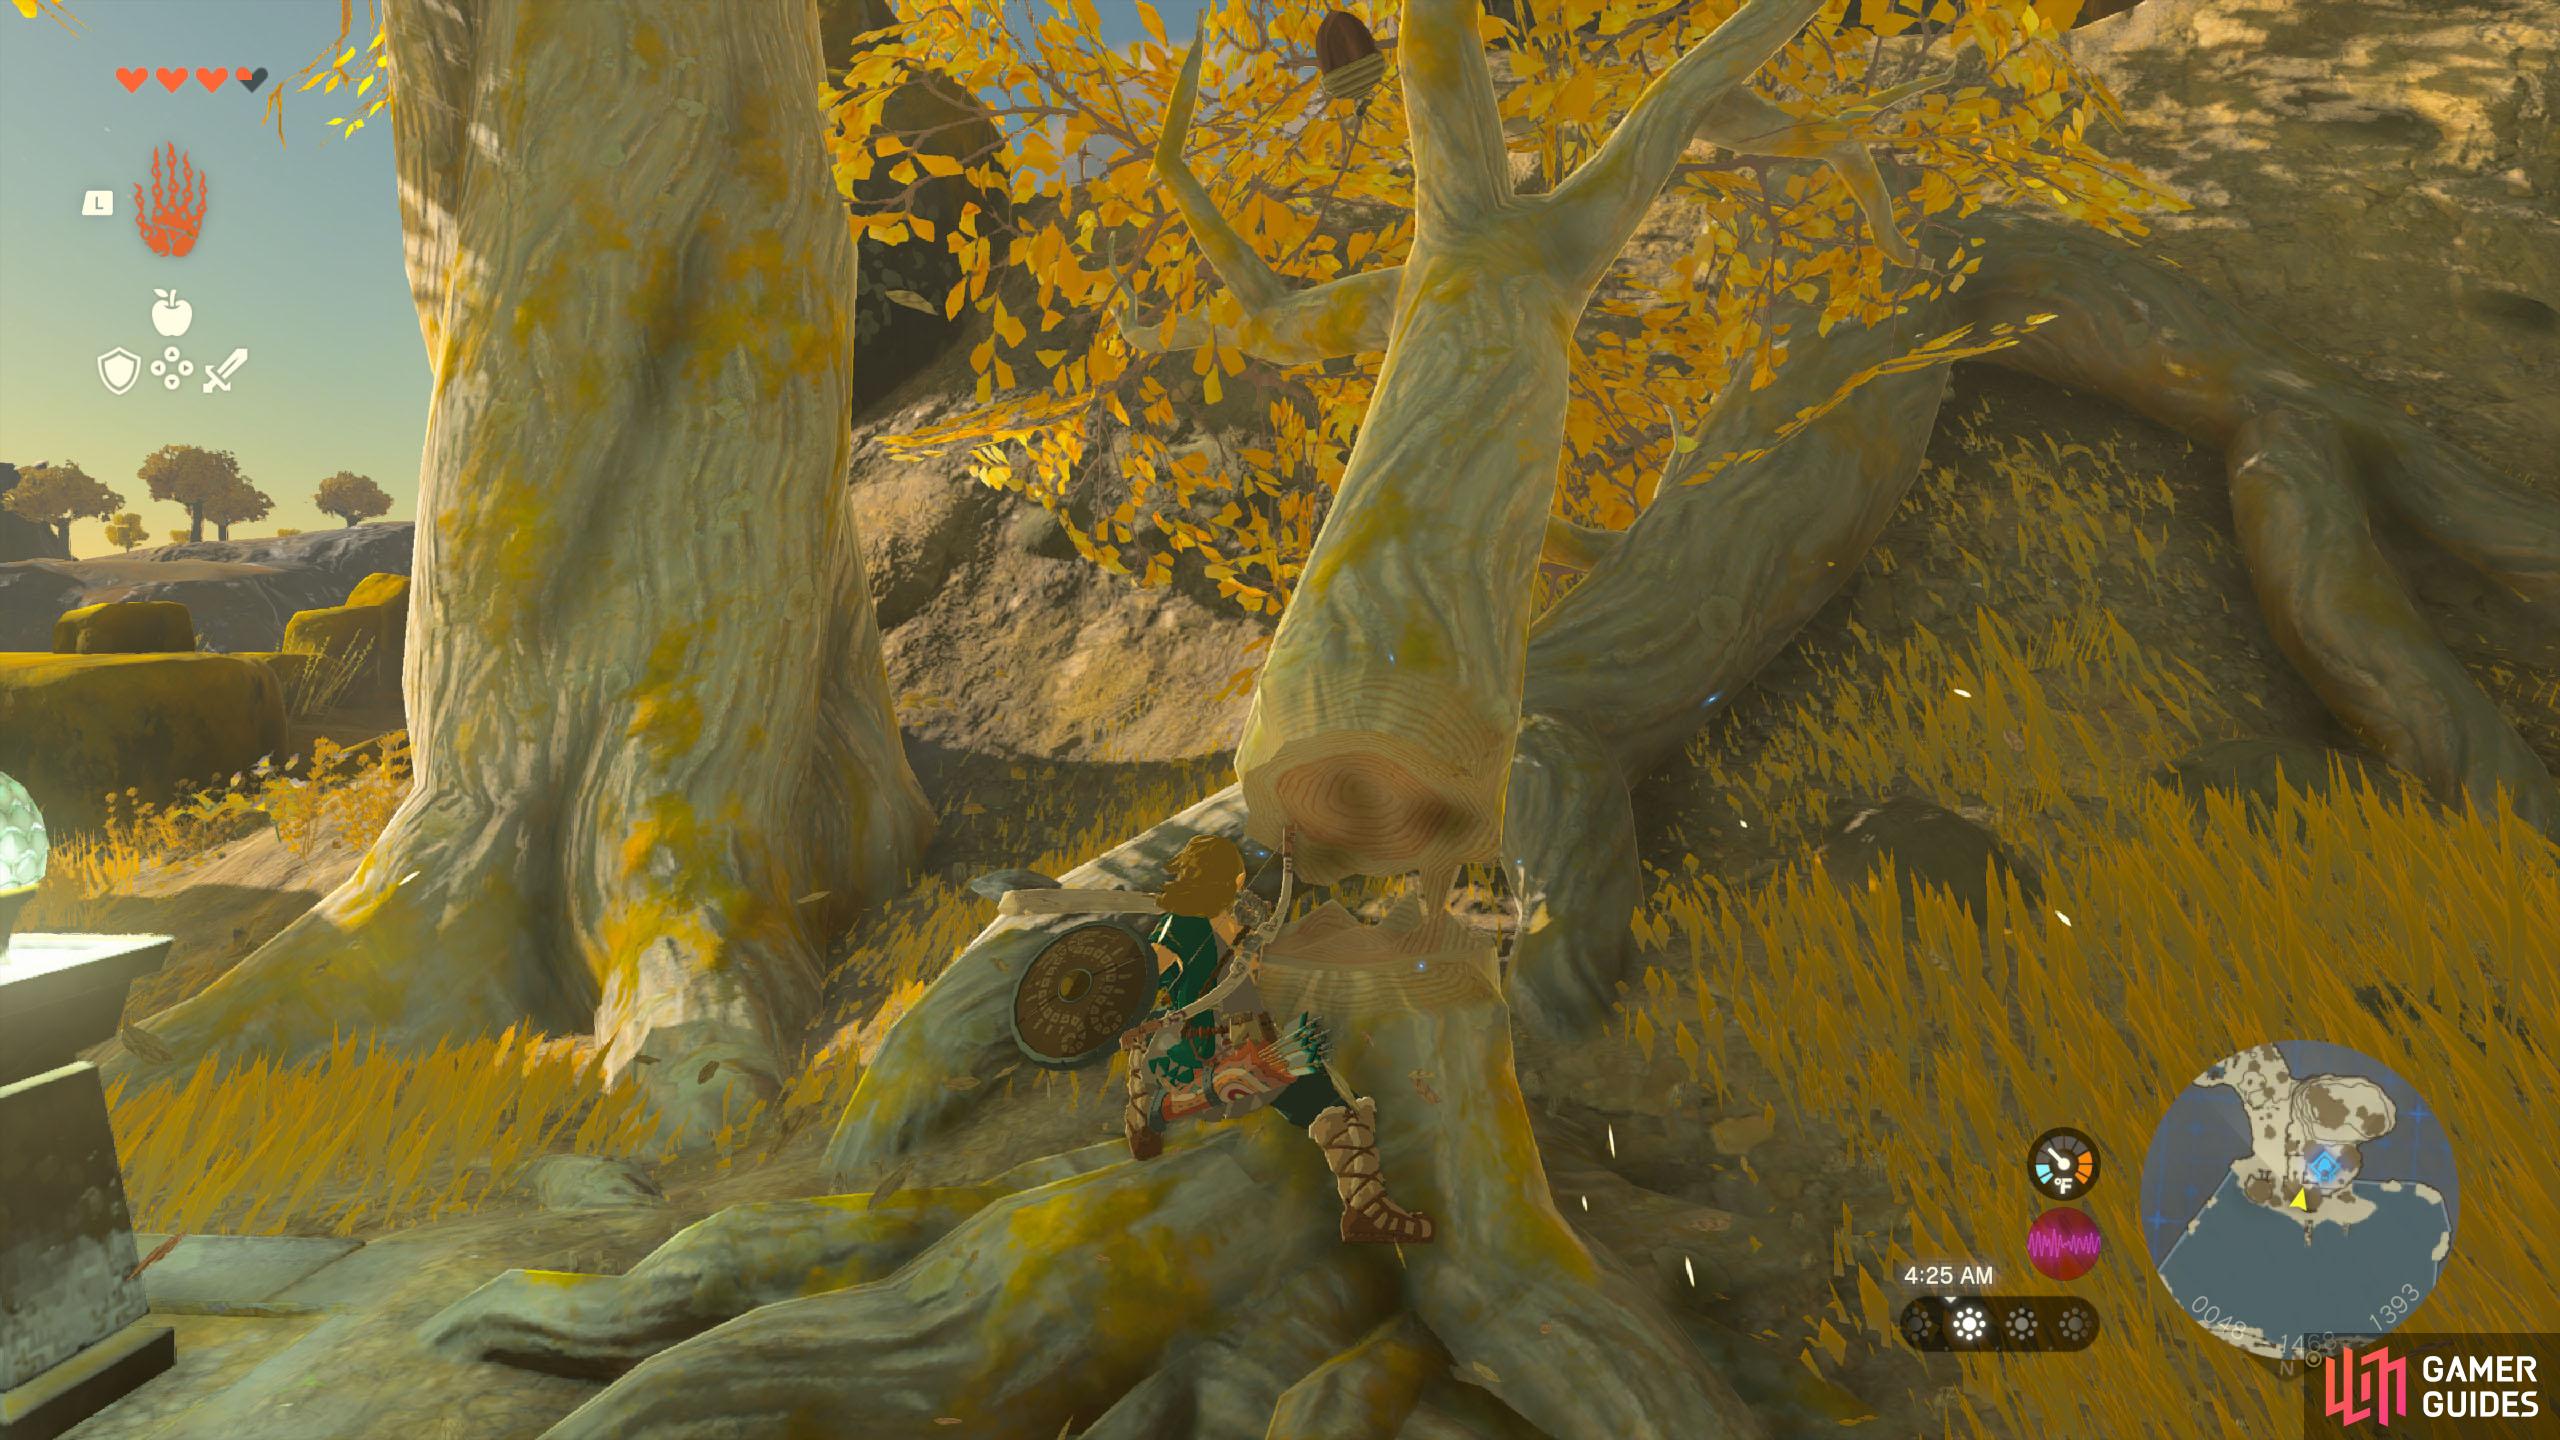
Step 1: How To Chop Wood in Tears of the Kingdom
Your first objective towards making a raft is to collect three logs which can be done by chopping down the many many trees on the island. However, this can only be done with an Axe, so be sure to always have one in your inventory and avoid using it in combat to prevent it from breaking quickly. Additionally, you’ll want to try and cut trees closer to where you want to build the raft as you’ll need to move it when it’s done.
Step 2: How To Use a Sail in Tears of the Kingdom
You’ll now need one more key item before you can begin building your raft and that’s a power source. Thankfully, there are two options: Sails and Fans. Sails are the least reliable option as you will rely heavily on the wind speed/direction, so you’ll want to choose fans where possible. There aren’t any guaranteed spawn points for these items, but you’ll typically find them near water.
Step 3: How To Use The Attach System
Now that you’ve got all the key pieces to the Raft it’s time to start attaching them. In order to do this you’ll want to select the ![]() Ultrahand Ability and hold down the
Ultrahand Ability and hold down the  button and pick up the logs, then place it beside a different log and press the
  button to attach it. Repeat this process with as many logs as you want until you’ve reached your desired size.
Next up you’ll want to pick up your Sail or Fan and attach it to the logs. If you’ve chosen the fan option, then you’ll want to place it on the back and attack it with a weapon to power it. However, it’s got a limited battery supply, so only activate it when you’re ready to go otherwise you’ll have to wait for it to recharge. If you’ve chosen to use a sail, then you’ll want to place it on top, but make sure it’s in the direction of the wind, so it can blow you forwards.
No Comments