
This page offers a guide on how to complete Mogawak Shrine, found in the Lanayru region in The Legend of Zelda: Tears of the Kingdom (TOTK). On this page, you’ll find information on where to find this shrine, how to complete all of the puzzles and how to obtain the shrine’s treasure chest.
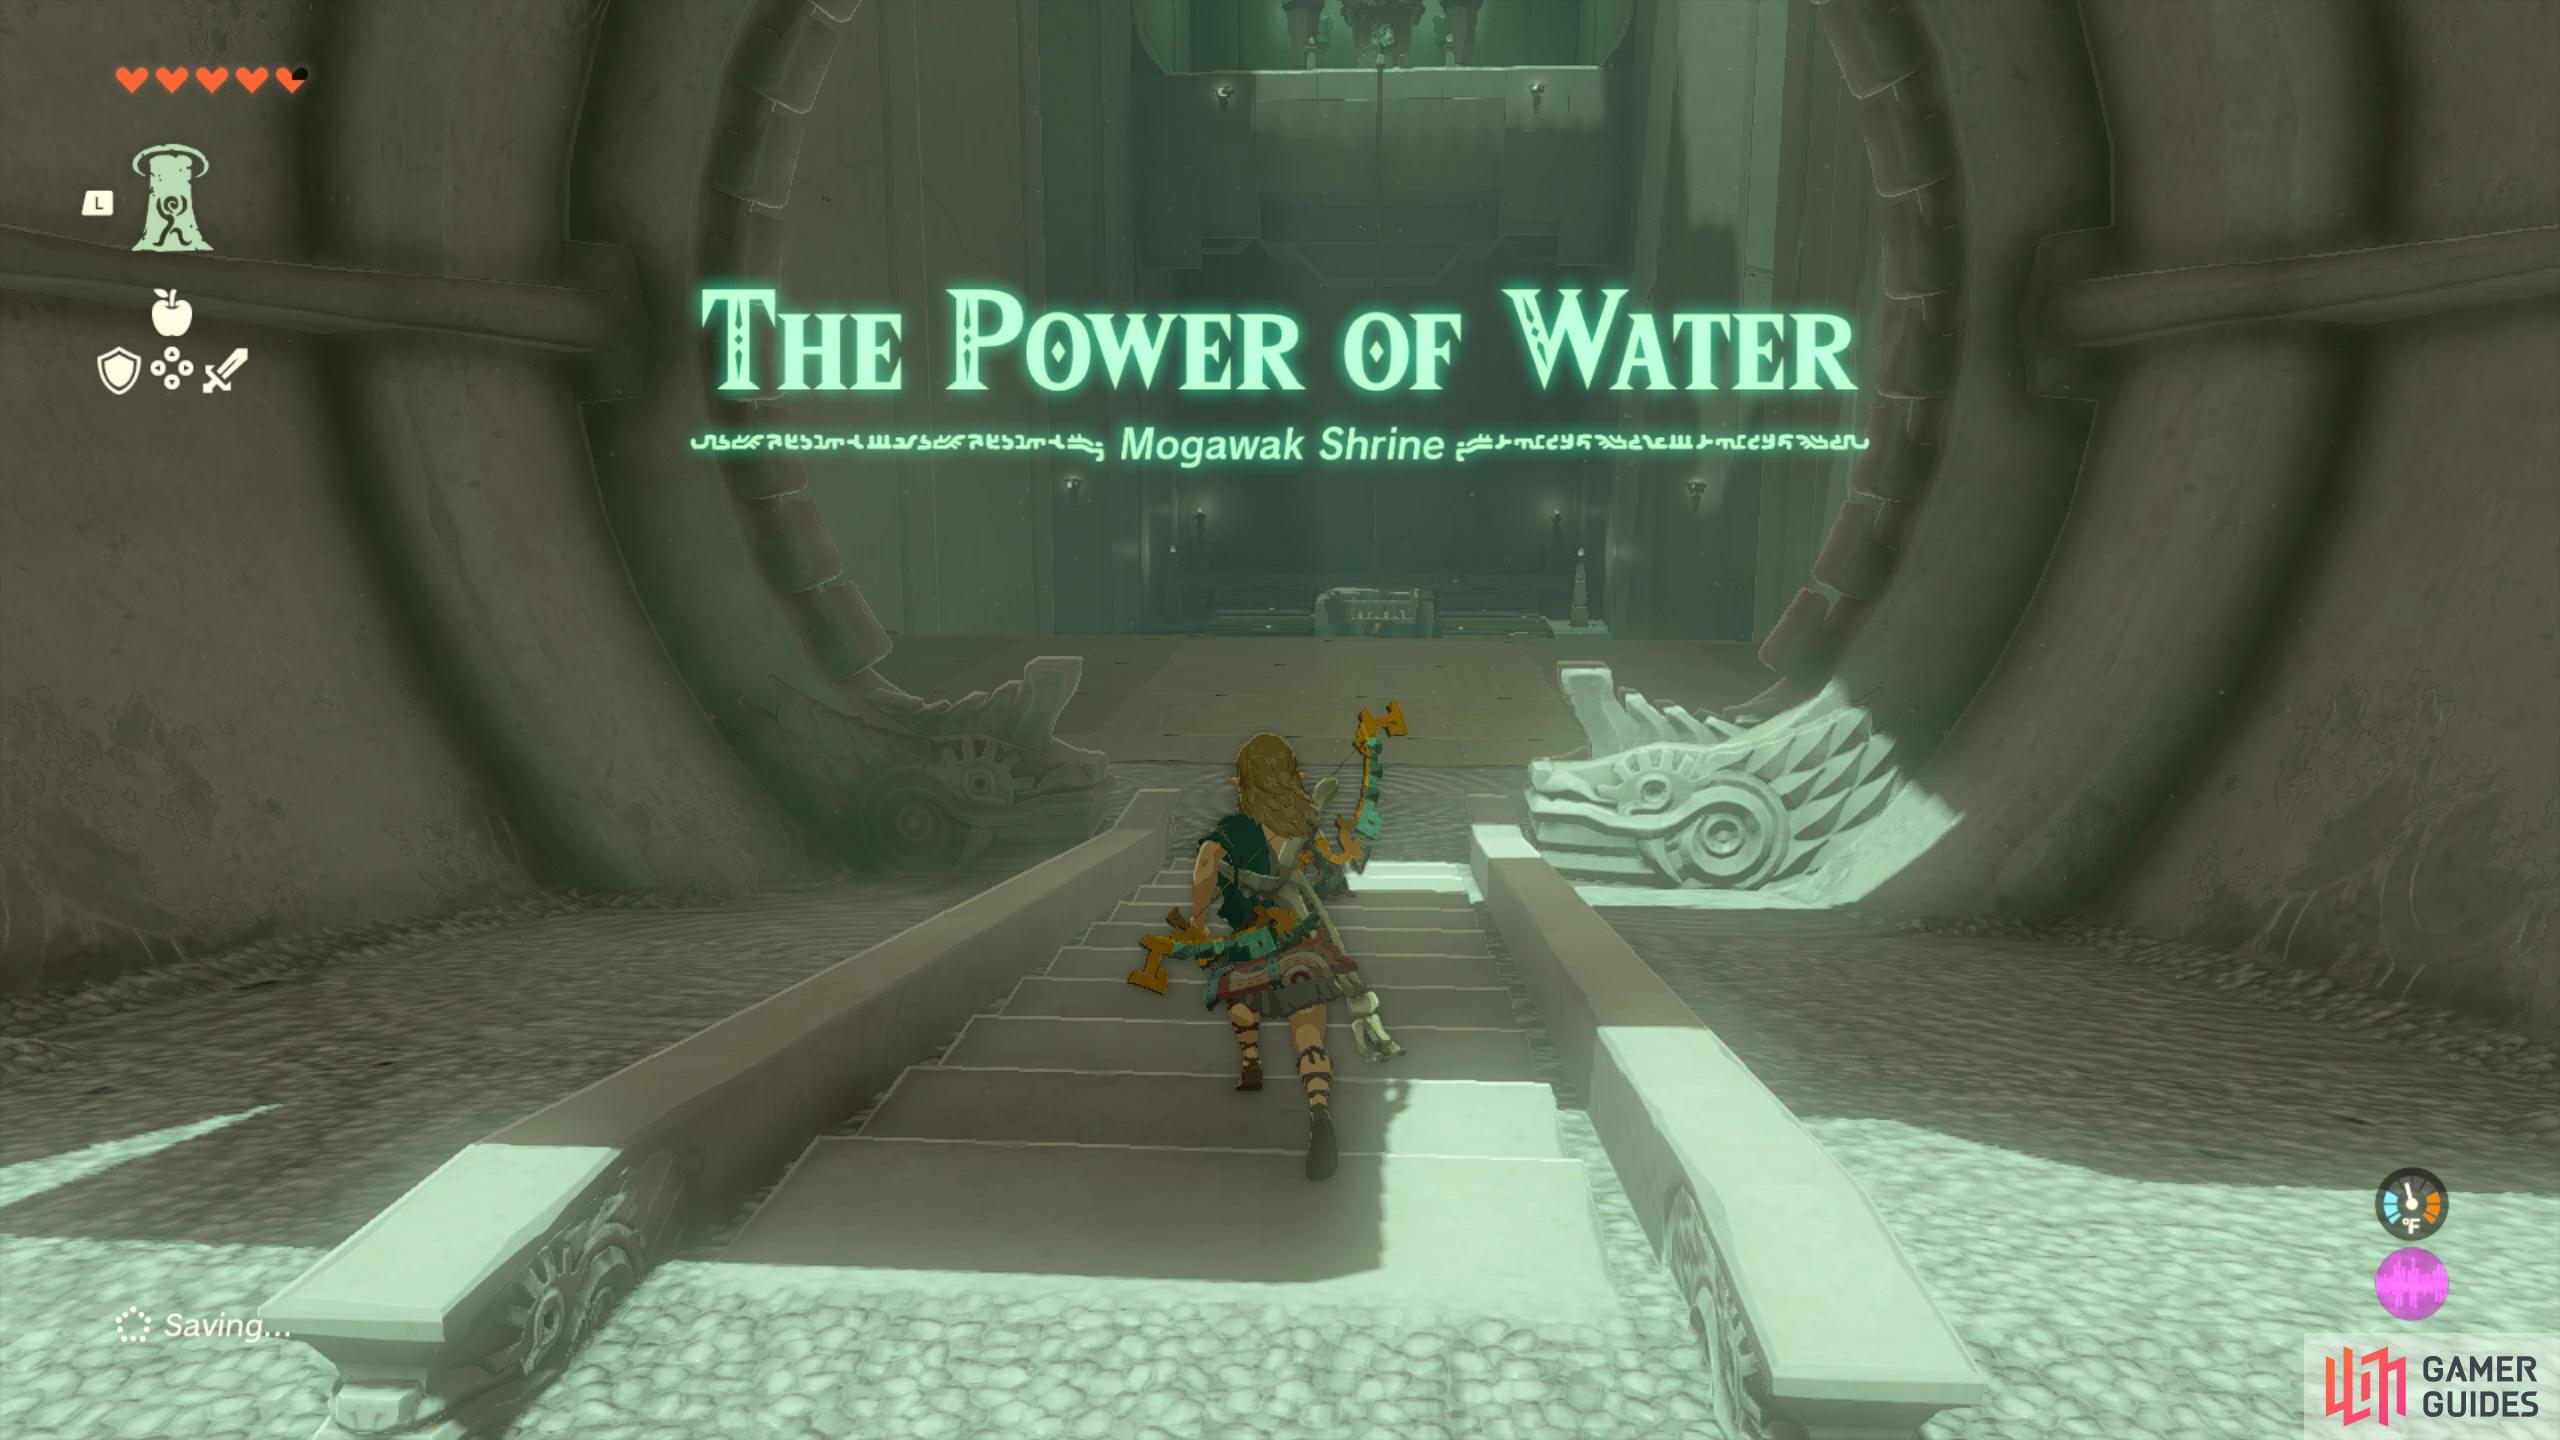
Head to !Zora’s Domain and complete !Mogawak Shrine with the help of this guide.
Where to Find Mogawak Shrine
!Mogawak Shrine is found directly beneath Zora’s Domain and can be used as a fast travel point if you ever want to visit the town (Map Marker). The first time you visit !Zora’s Domain, you’ll likely be heading there to help the Zora and complete the Water Temple dungeon. So once at !Zora’s Domain, all you’ll need to do is drop off the edge of one of the pathways to find the shallow water beneath where you can then find the shrine.
If you ever need to get back up to !Zora’s Domain from this shrine, you can ascend up, use the ladder nearby, or use the ![]() Zora Armor to swim up the waterfalls. Head over to our guide on how to get the Zora Armor chest plate for more information!
Zora Armor to swim up the waterfalls. Head over to our guide on how to get the Zora Armor chest plate for more information!
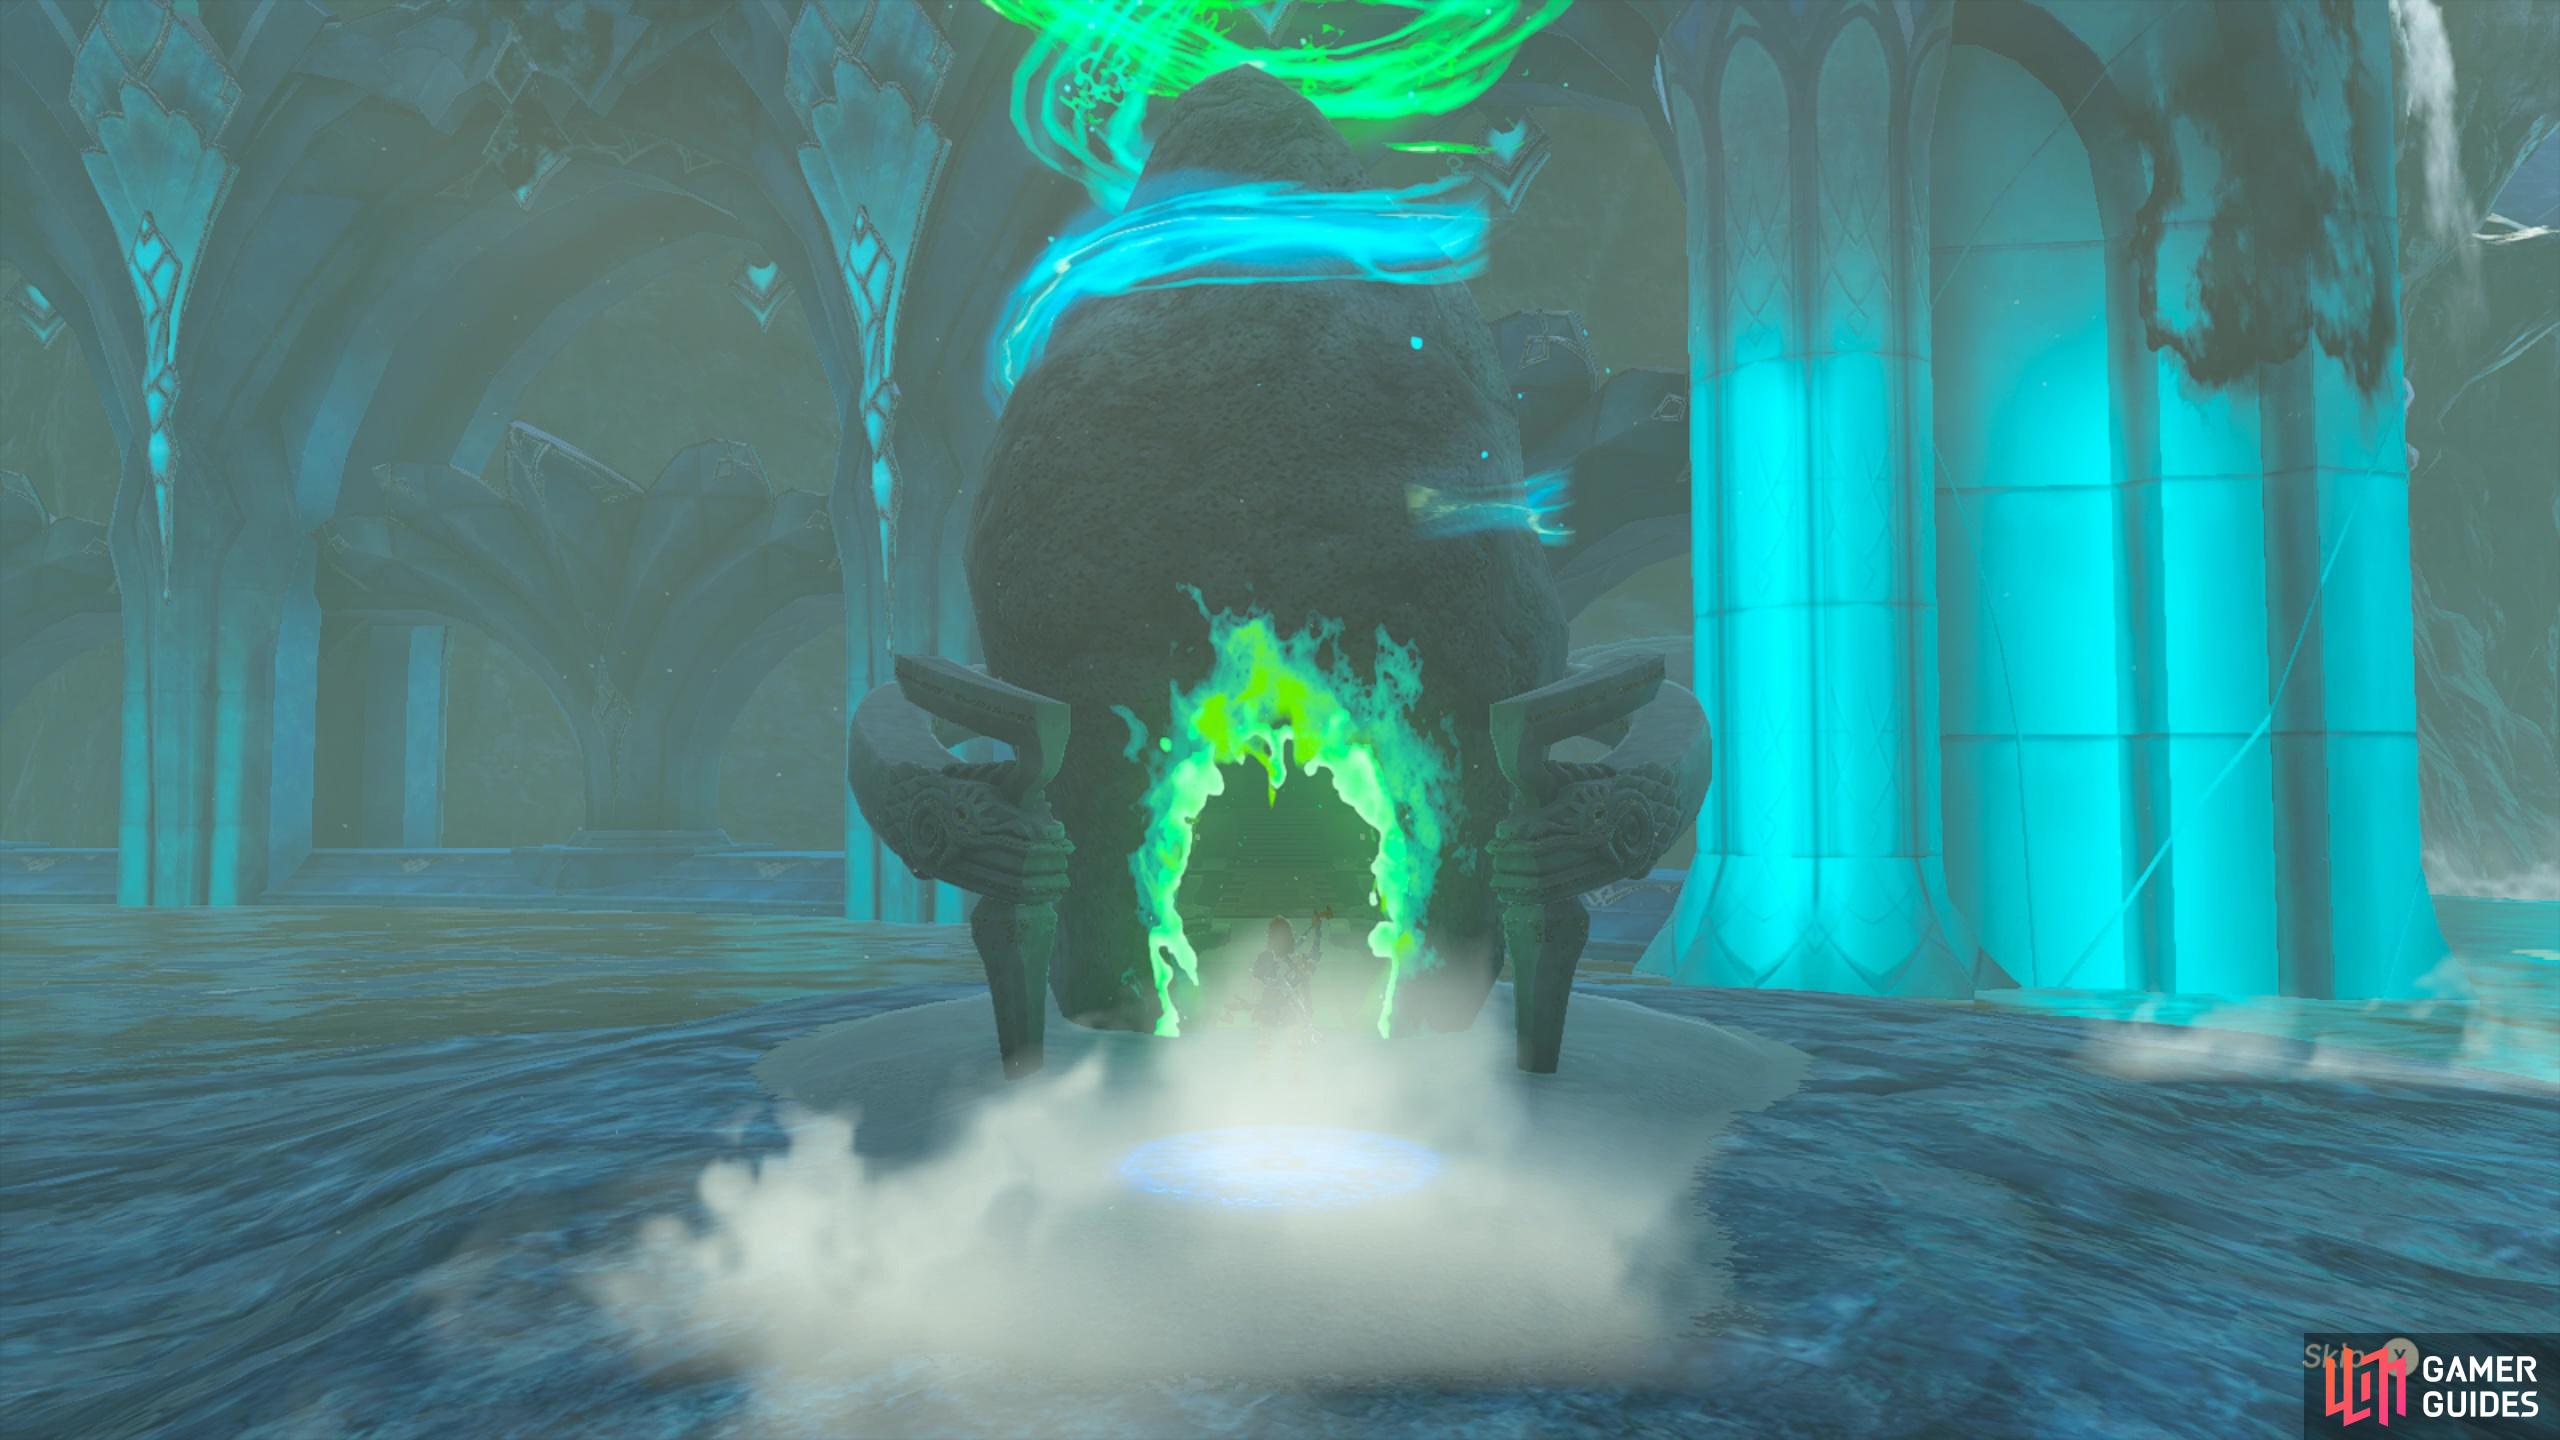
This shrine is found underneath !Zora’s Domain.
Mogawak Shrine: The Power of Water Puzzle Walkthrough
This shrine is all about using the water sources to generate electricity to power various devices! First things first, head down the slope and to the right to find the water source. To generate power using this water, you’ll first need to add another blade to the propeller next to it - make sure to place it opposite where the other blade is. Then use ultra hand to pull the propeller fans under the water and it’ll then power it! You’ll be able to see that you’re generating power because the wire coming from the propeller is now glowing yellow.
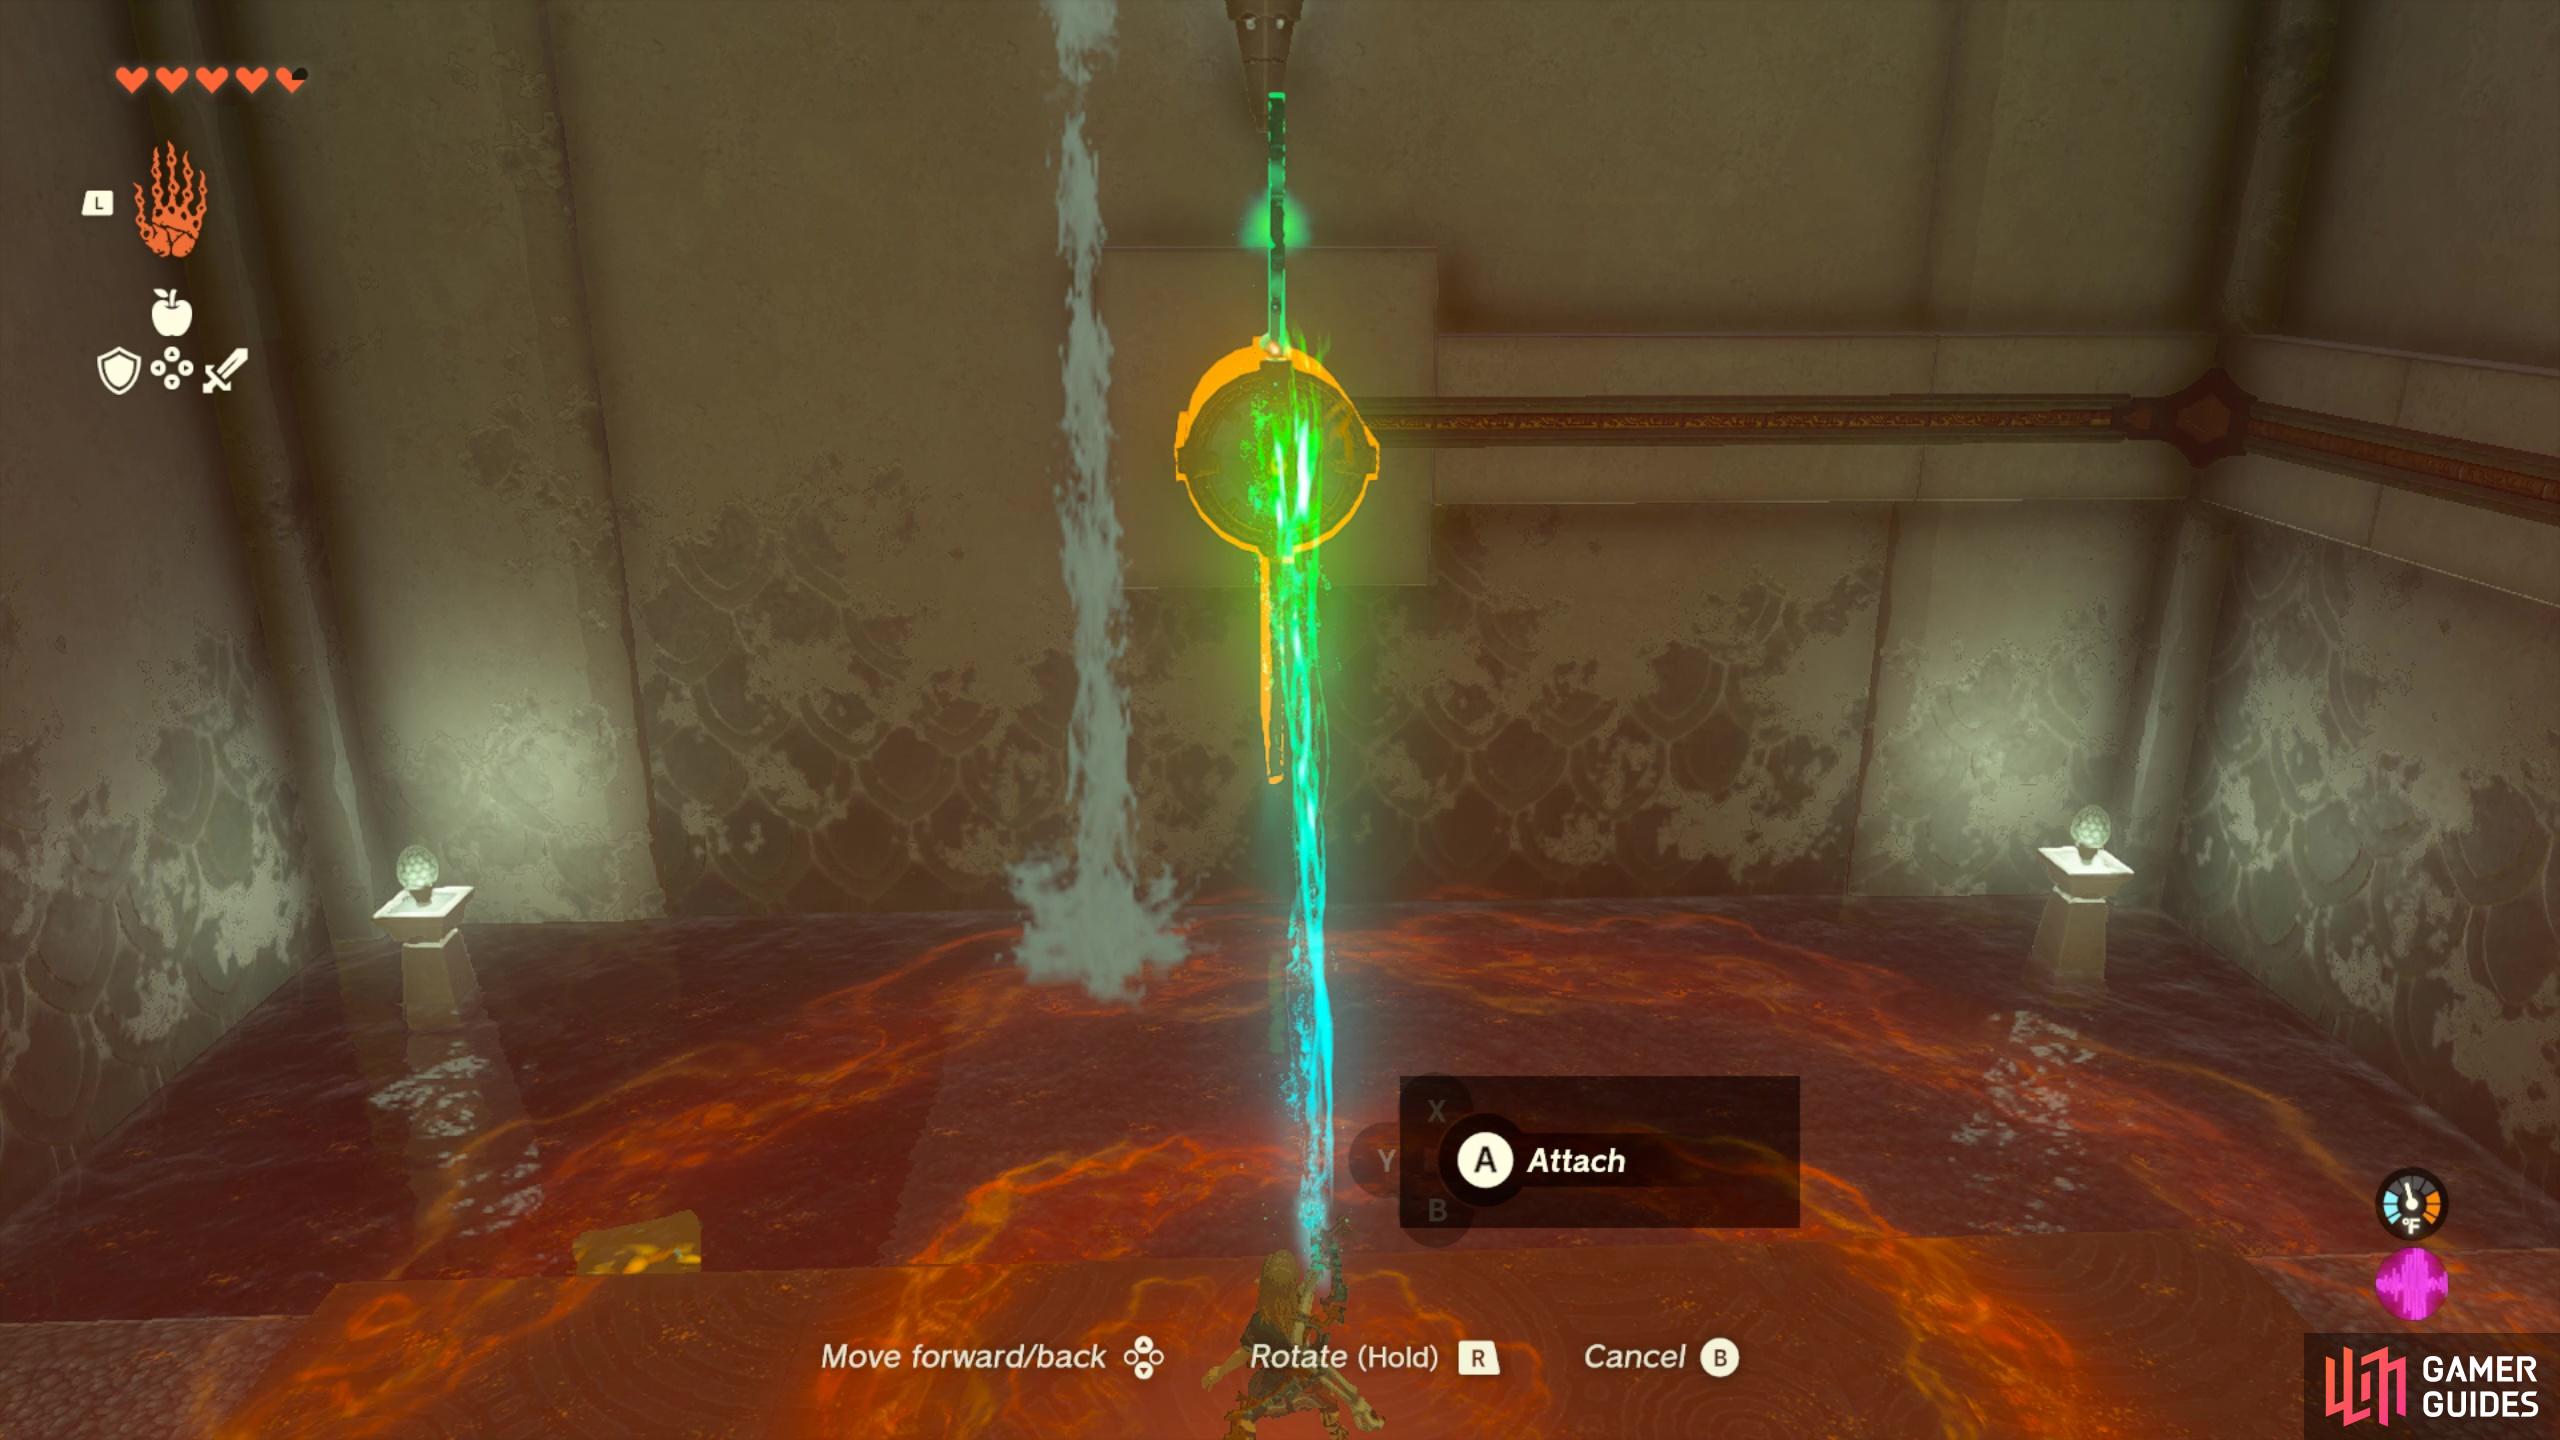
First place the other fan blade onto the propeller
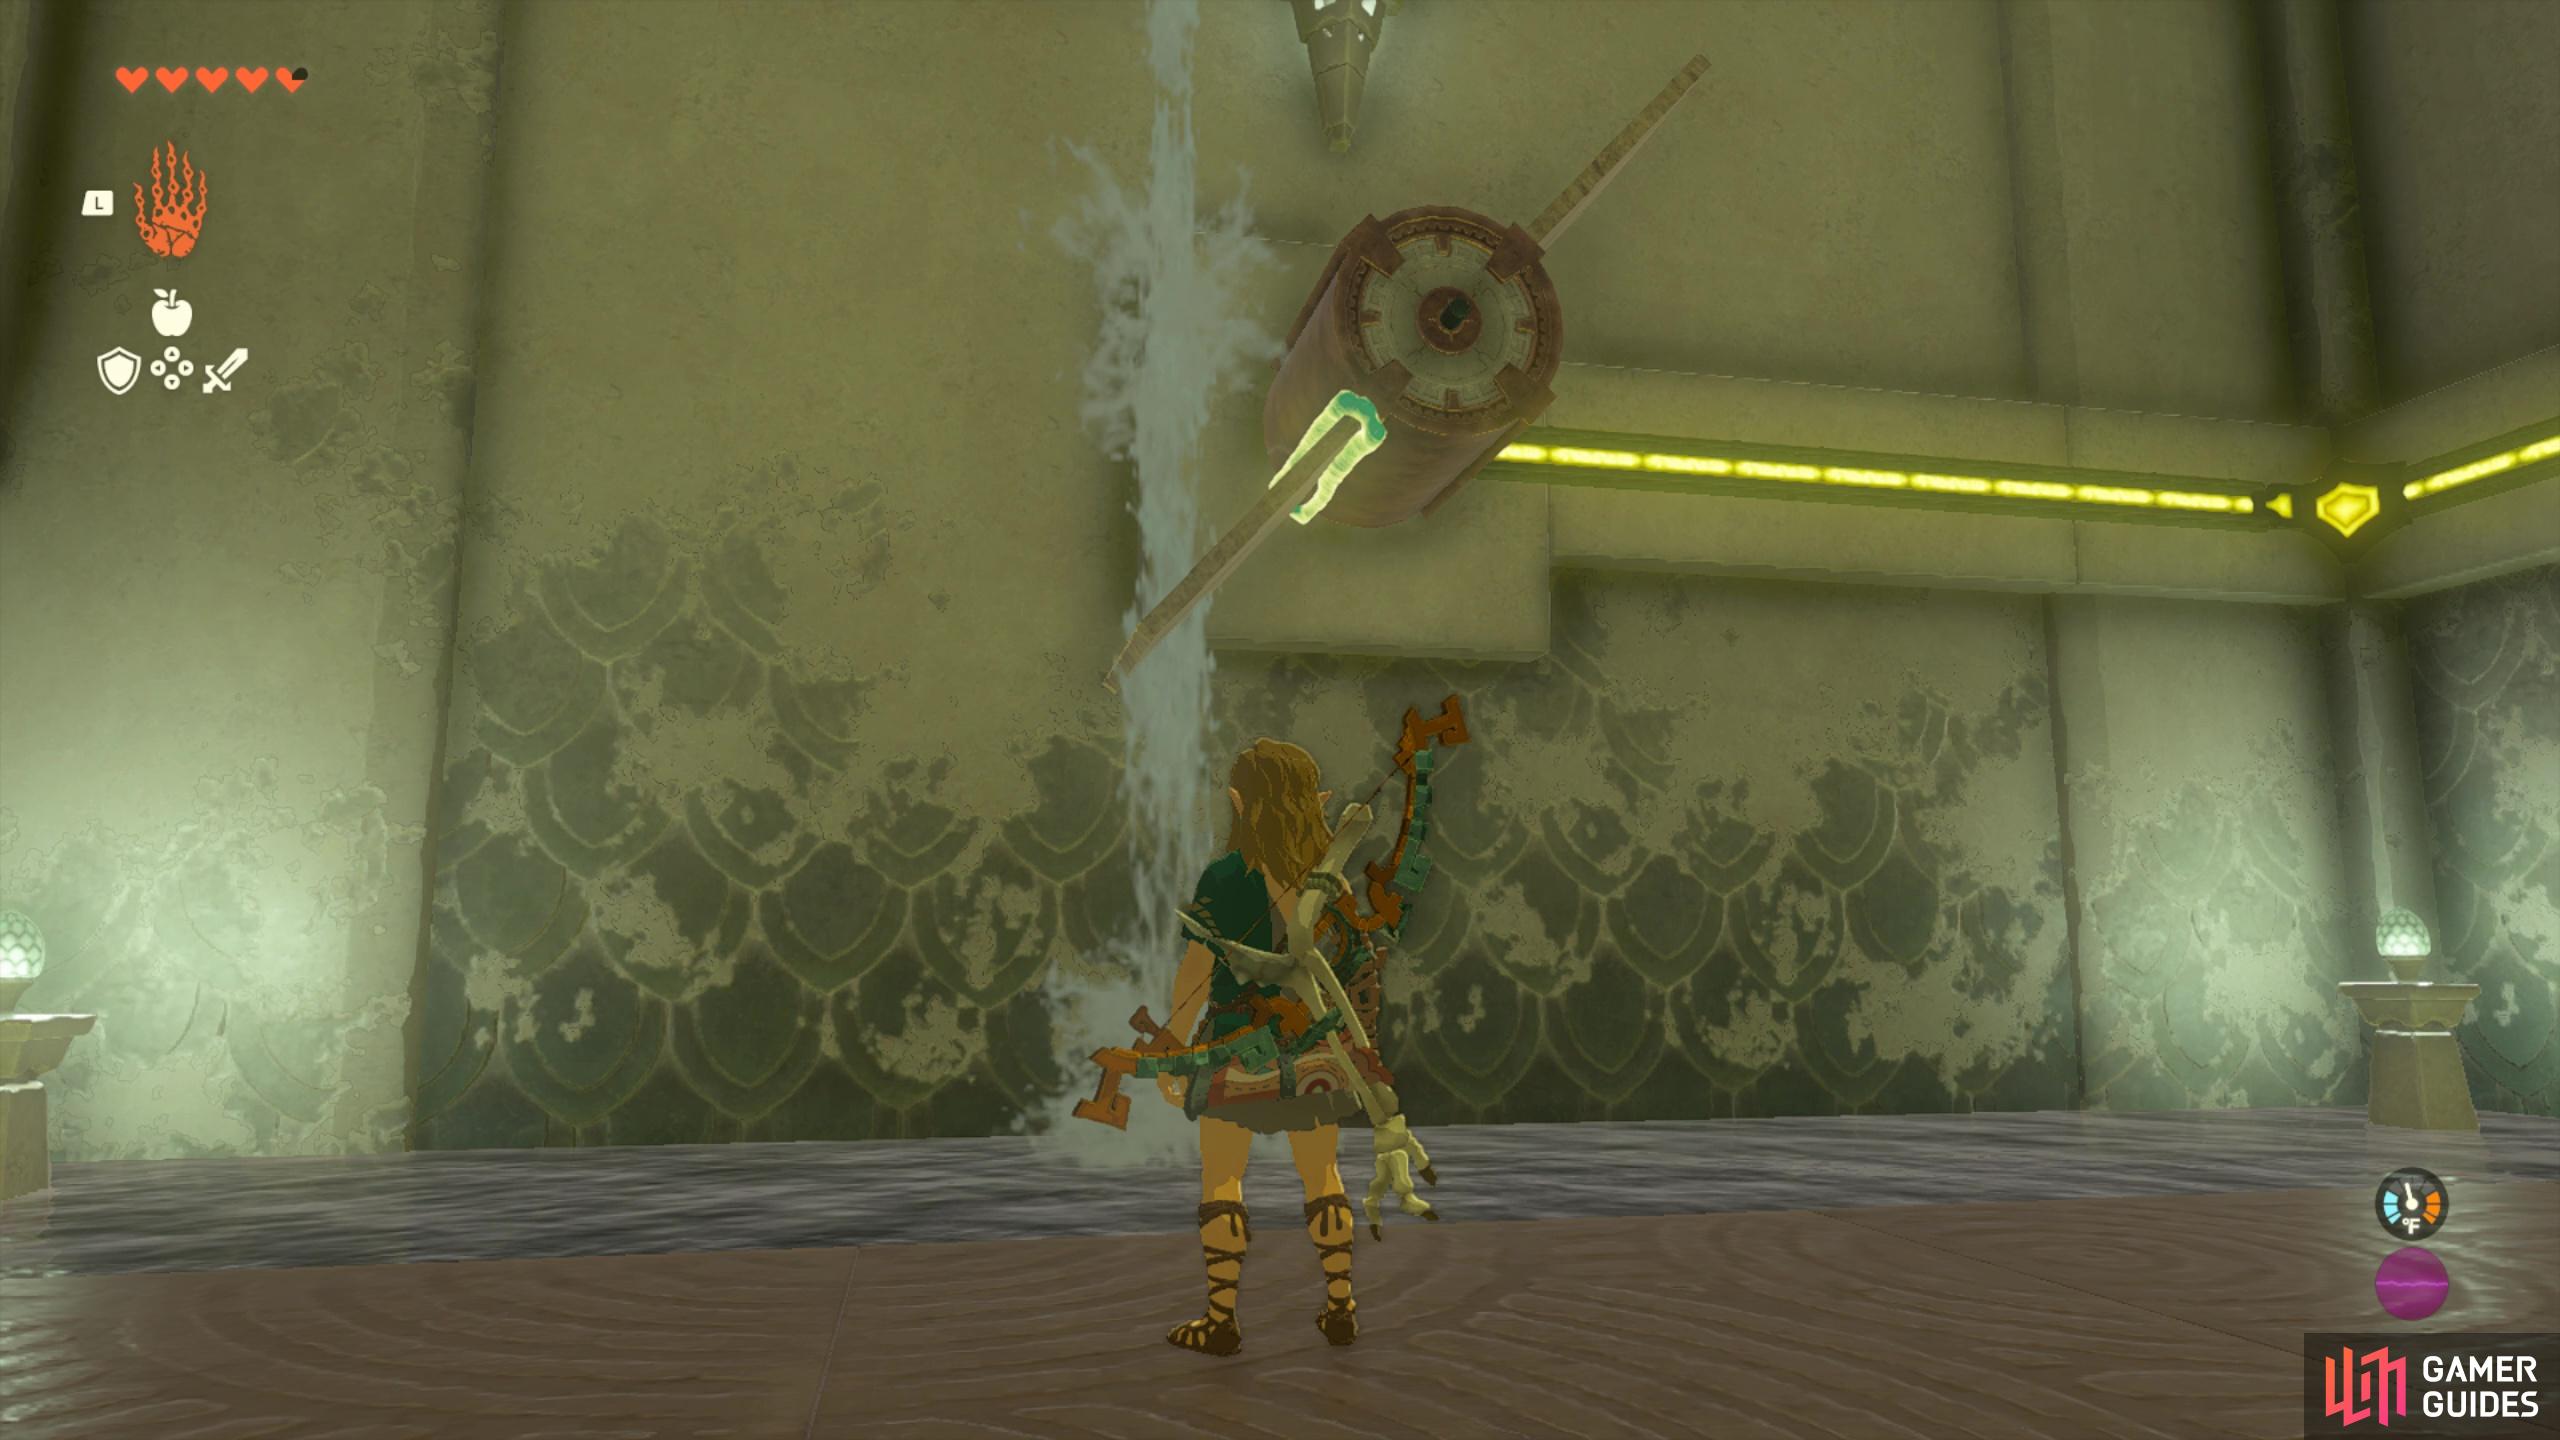
then drag the blades under the water so it starts continuously spinning and generating power.
Next, you’ll need to use the electricity for a few different devices in the shrine, but first you’ll need to store the electricity by powering up a battery. A Battery can be found in the center of the shrine and you’ll need to pick it up using ultrahand and place it on the plate at the end of the electrical wire.
After the battery is full, you can use it to power other things by placing it on a conductor plate or by attaching it to other zonai devices. Outside of shrines, if attached to another zonai device, it will use up the battery power reserve before it starts using up your personal zonai charge supply.
How to Get Mogawak Shrine Treasure Chest
Before we use the battery to get to the end of the shrine, let’s take a moment to obtain the treasure!
To get the treasure, take the fully charged battery over to the opposite side of the shrine (towards the small body of water) and place it on the conductor plate. This will power up a metal ball and chain inside the water. Use ultrahand to pull the ball into the center of the water. Then pull the other metal ball on the opposite side of the water to touch the electrical one. This will complete an electrical circuit that opens up the door across the water.
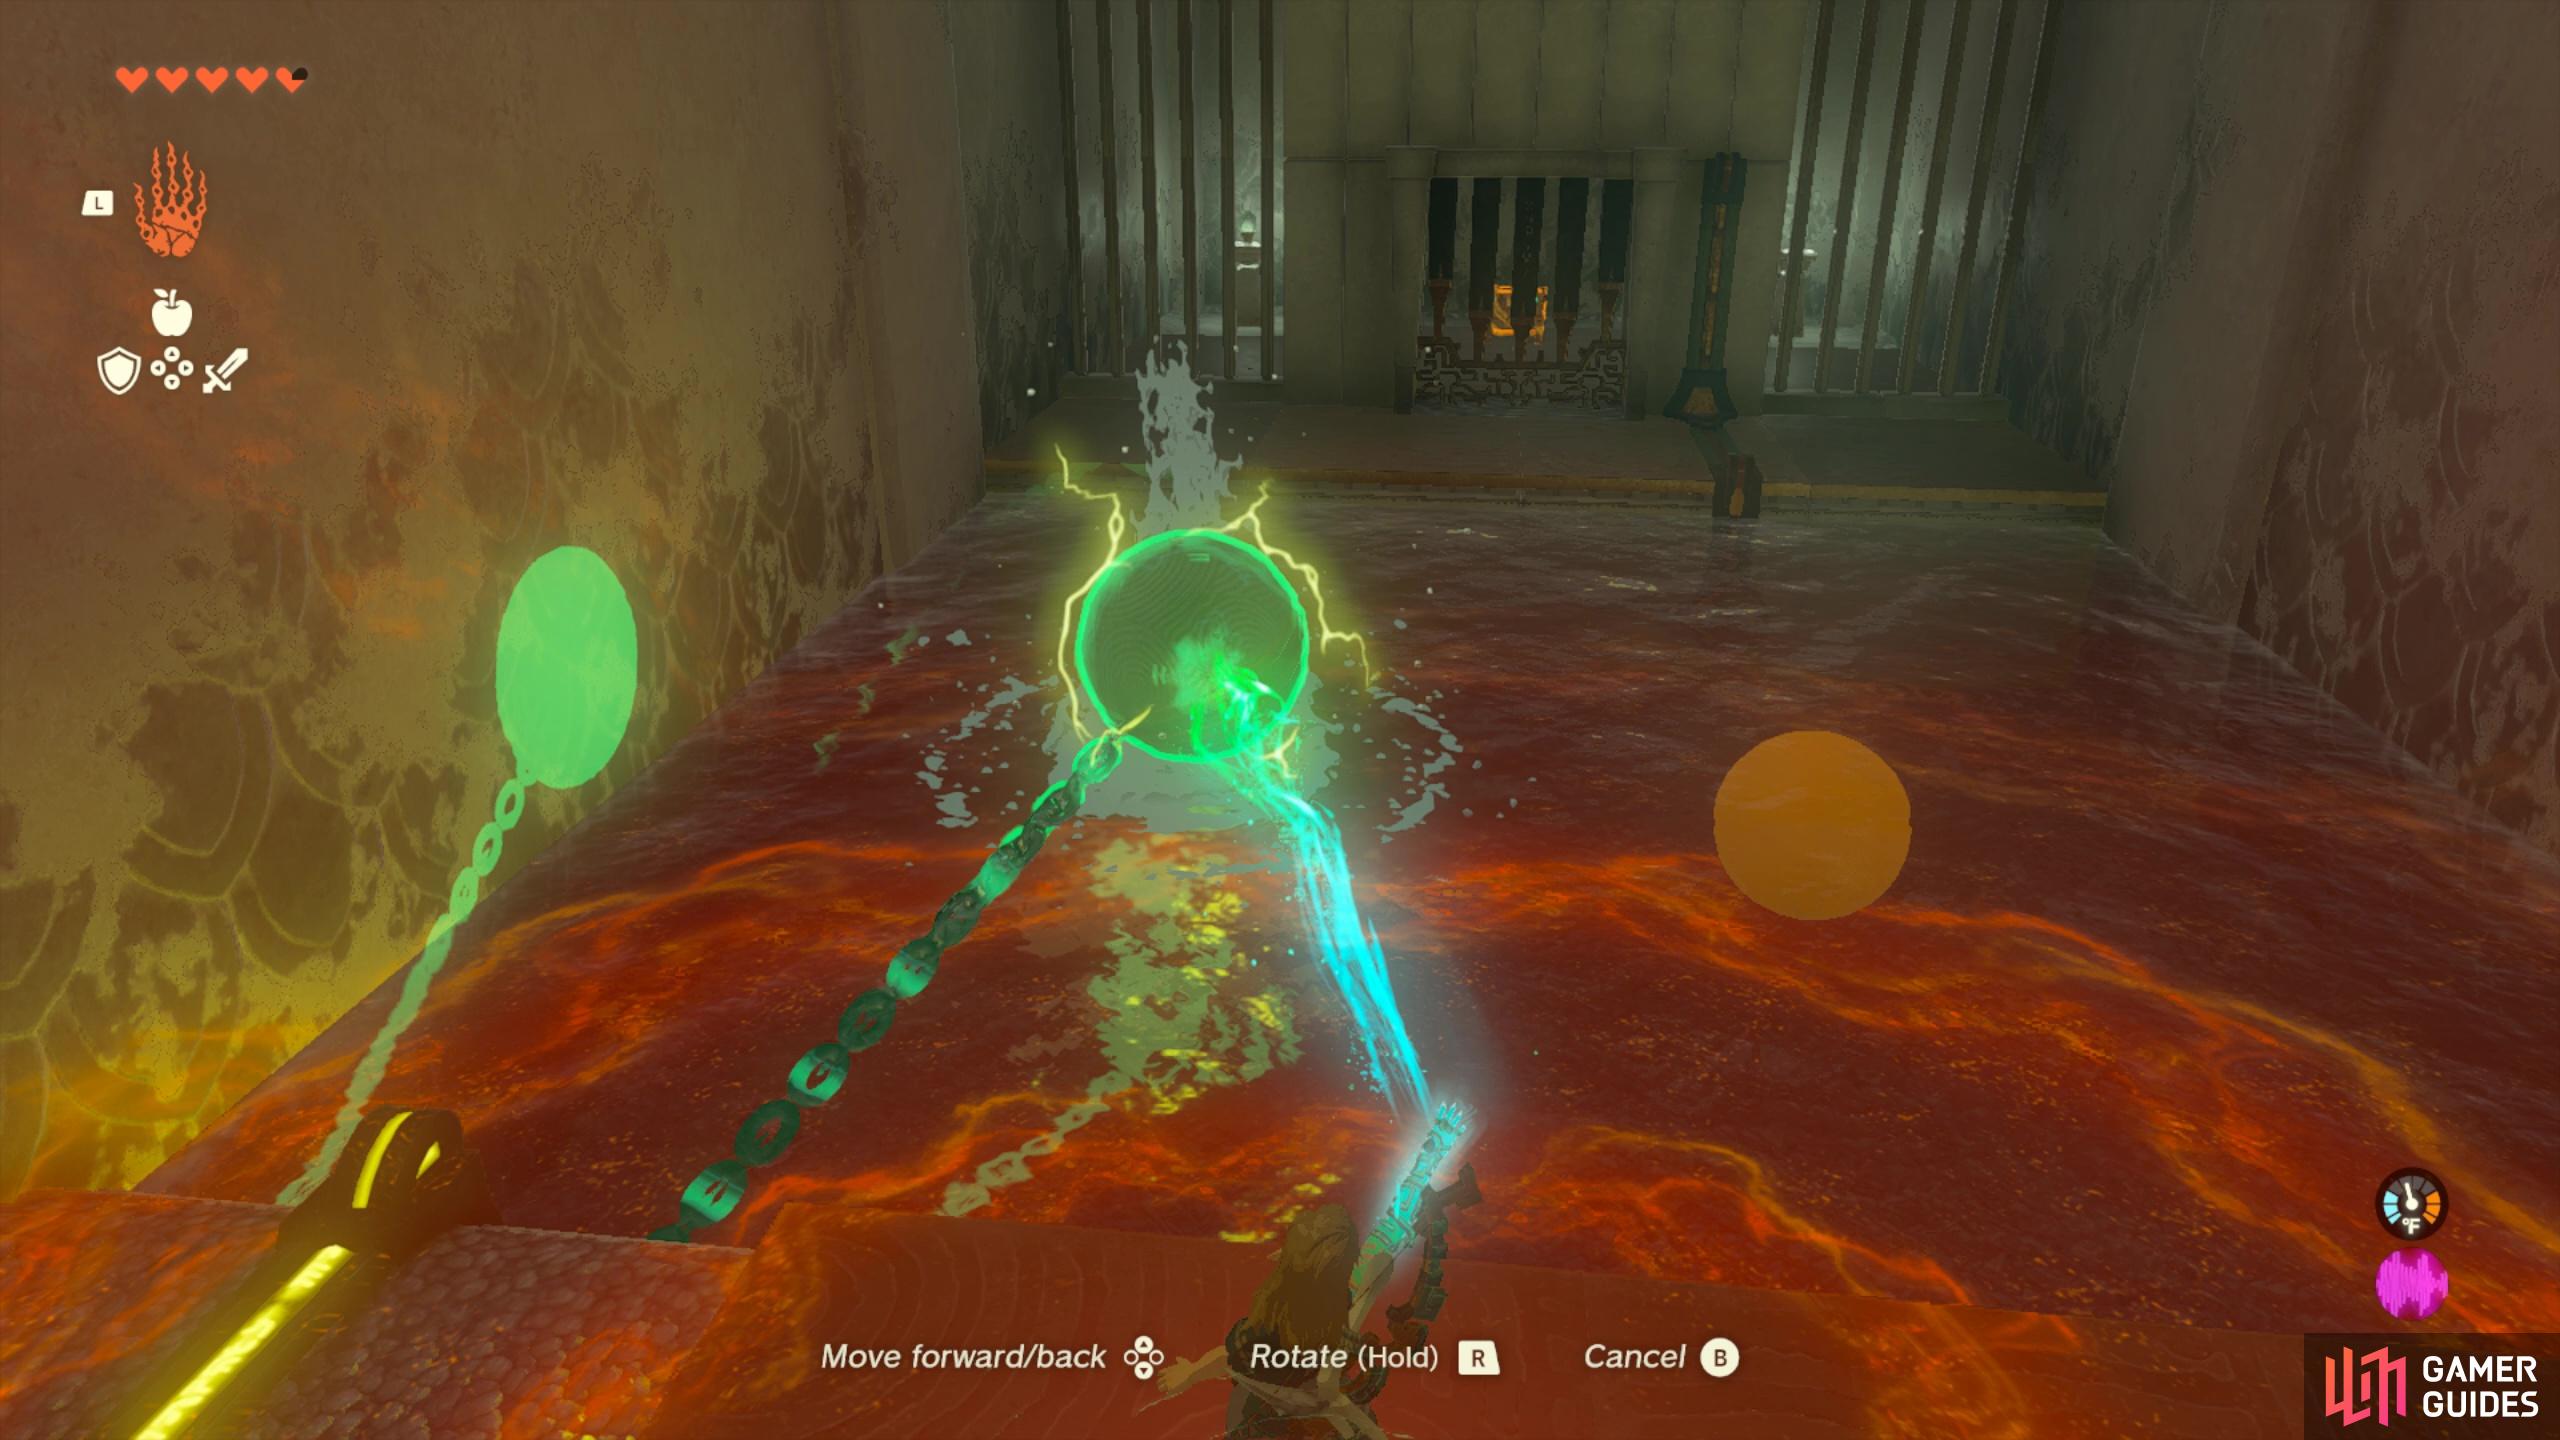
(1 of 3) Place the battery on the conductor plate then move the powered ball to the middle of the water.
As you cross the water to reach the newly opened door, make sure you don’t get too close to the electrical balls otherwise they’ll shock you - we recommend staying on the right side of the water. Inside the newly opened room you’ll find the chest containing x1 ![]() Opal.
Opal.
After claiming your treasure chest, return to the center of the room with the battery and head over to the power plate to recharge it. With the recharged battery, take it to the fan powered platform at the far end of the shrine, then hop onto the platform before placing the battery on the conductor plate.
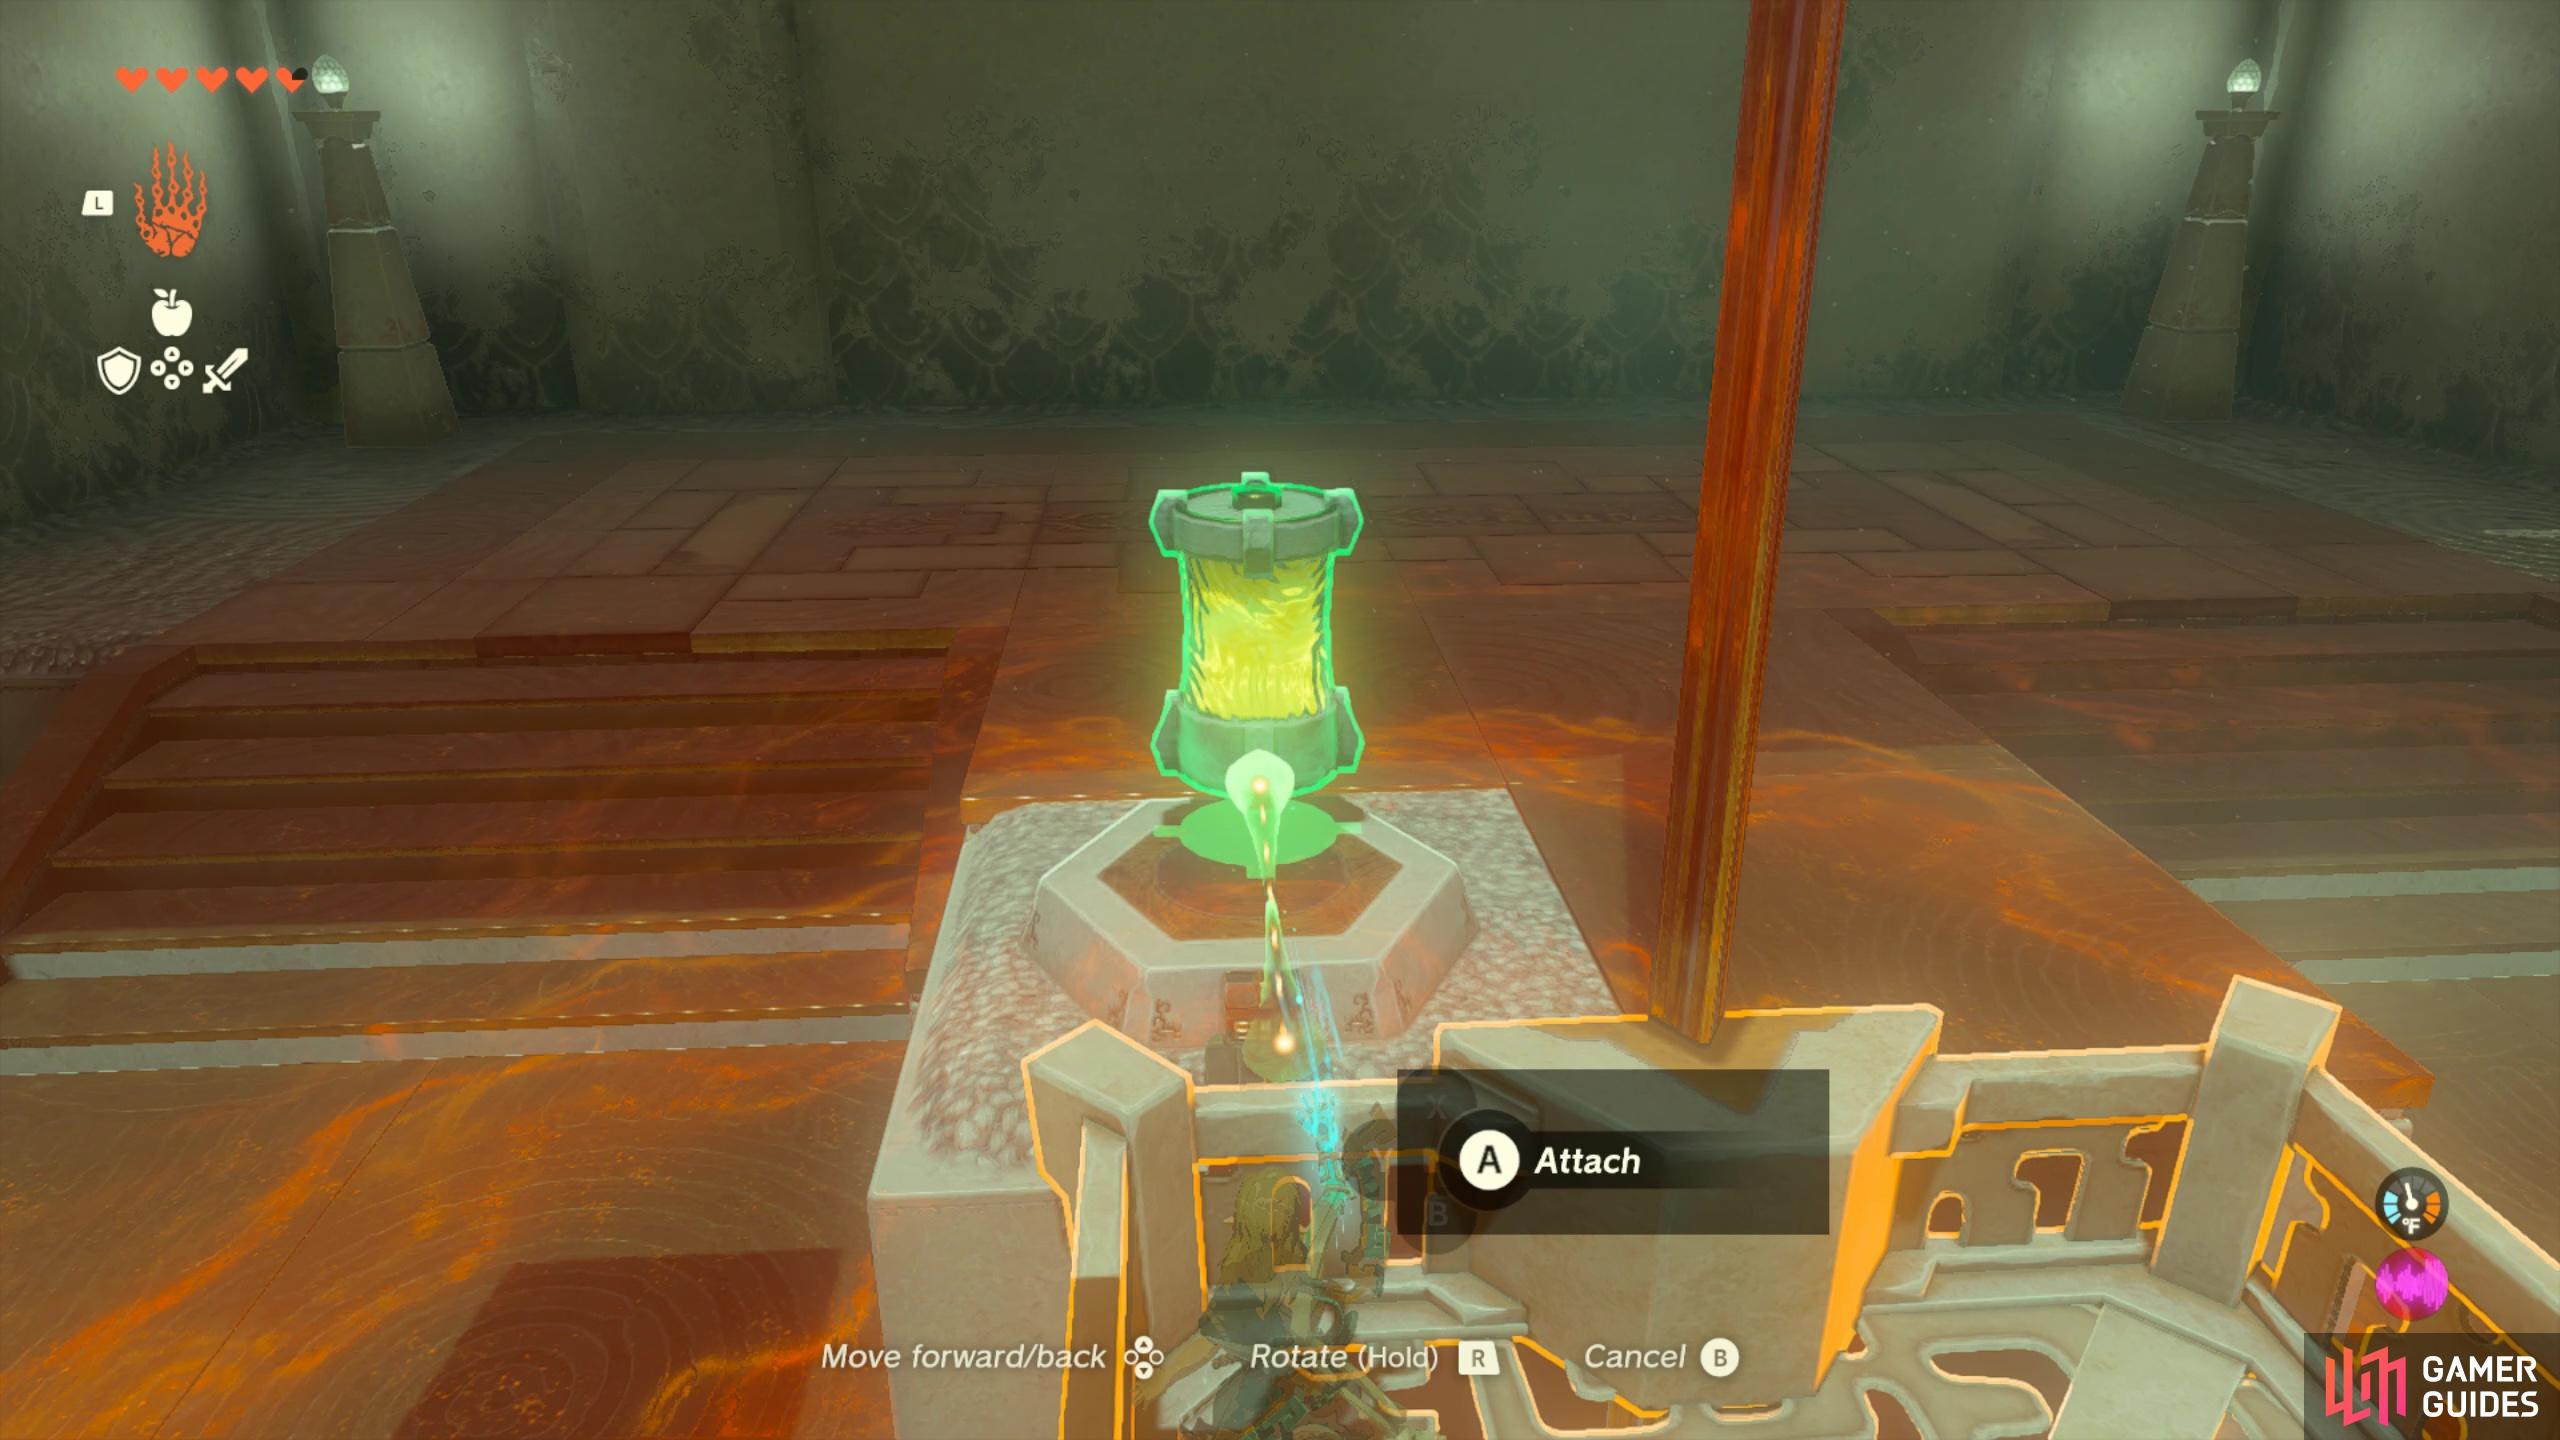
Use the recharged battery to power the platform that’ll take you to the end of the shrine.
When you’re ready, move the battery over to the plate and you’ll power the platform that will take you all the way to the end of the shrine where you can finish up and claim your ![]() Light of Blessing.
Light of Blessing.
No Comments