
This page offers a guide on how to complete ![]() Gutanbac Shrine, which is the third shrine players will encounter in The Legend of Zelda: Tears of the Kingdom (TOTK). This shrine is found on the Great Sky Island.
Gutanbac Shrine, which is the third shrine players will encounter in The Legend of Zelda: Tears of the Kingdom (TOTK). This shrine is found on the Great Sky Island.
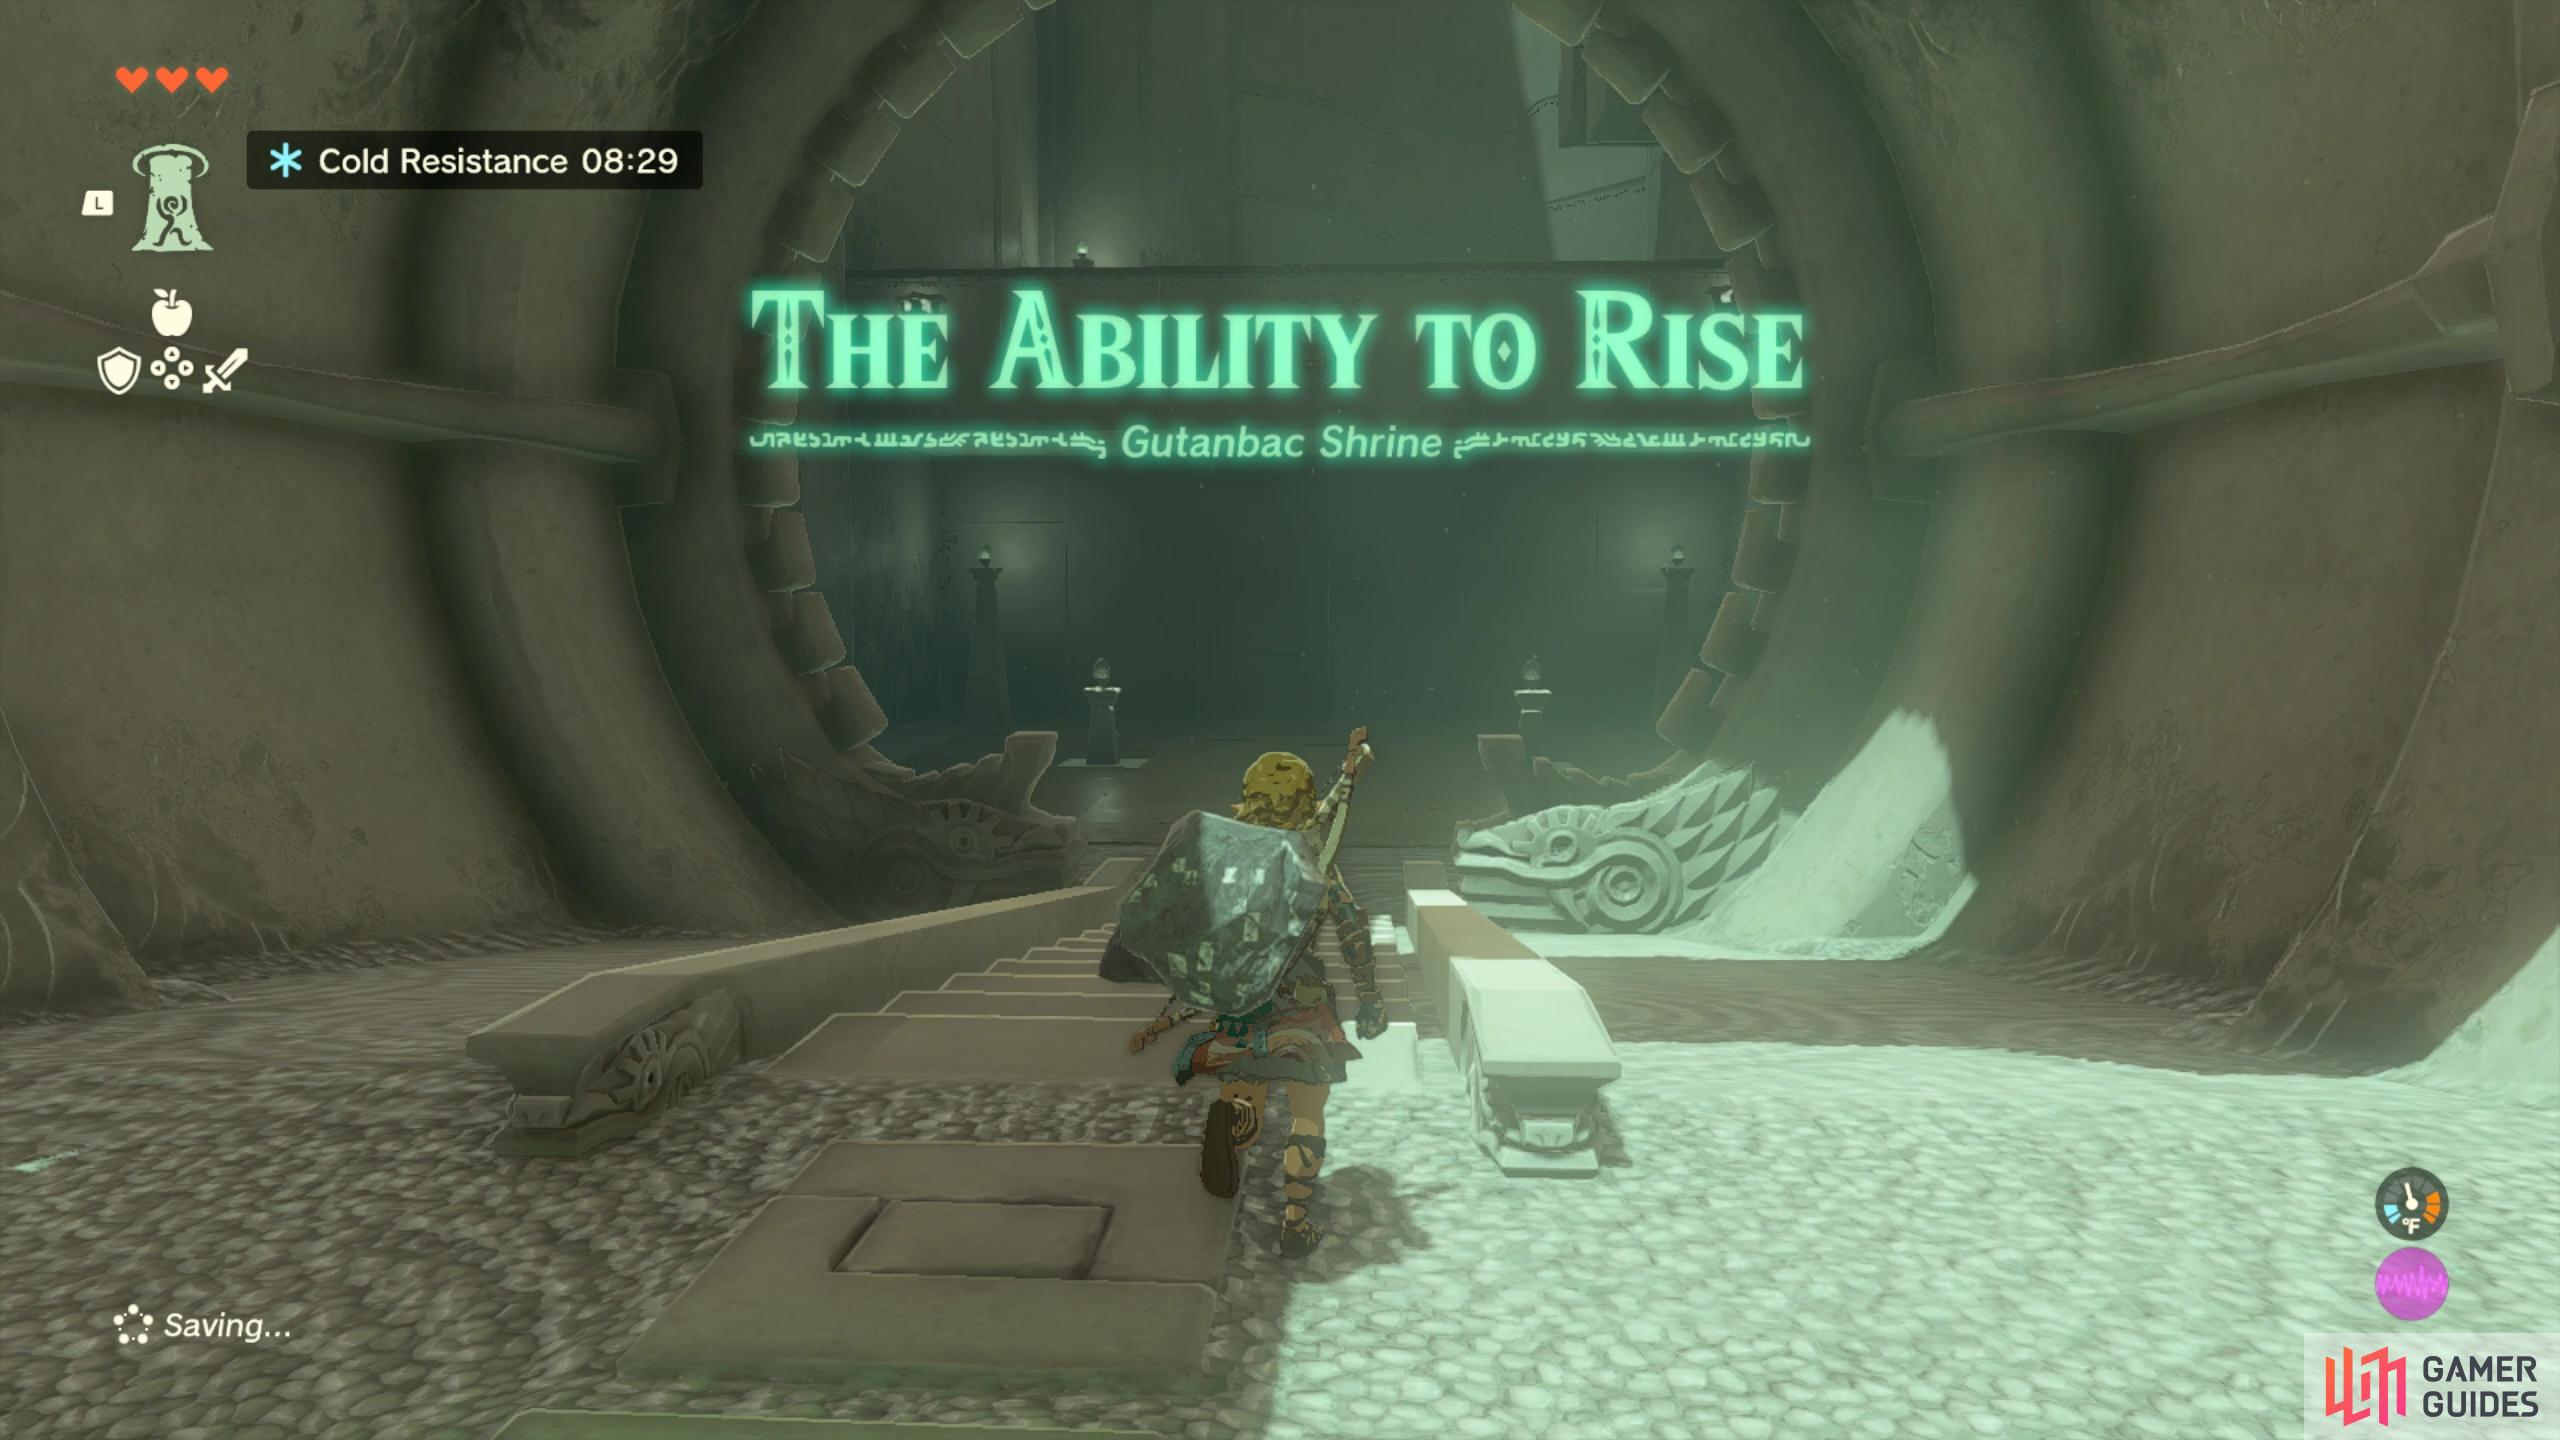
Gutanbac Shrine: The Ability to Rise.
How to Find the Third Shrine: Gutanbac Shrine
This shrine is the third recommended shrine you should go to during this tutorial bit on Great Sky Island. Gutanbac Shrine is to the east of In-isa Shrine but to get there you’ll need to head down and then back up in an anti-clockwise rotation. You can head over to our super detailed step-by-step guide on how to reach the third shrine, or you can use this quick summary of steps below:
- Head down to and through Pondside Cave.
- Once out the cave, use the fans to make another raft to cross the water up ahead.
- Make a fan-powered mine cart and head through the Mining Cart on the rail.
- Use bright bloom seeds to light your way through the Mining Cave.
- Take another cart out of the Mining Cave.
- Head east and enter
 Pit Cave - make some spicy food using the
  Spicy Peppers to give yourself Cold Resistance - you’ll need two lots for the snowy area up ahead!
 - Climb through Pit Cave until you reach the snowy area and eat one portion of spicy food and continue down the path north to
 Bottomless Cave.
 - Hit the
 Like Like worm with a bomb flower so you can pass it safely and exit the cave.
 - Once outside again, eat more Spicy Food and head down towards the waterfall - climb the rocks to the side of it to reach the top of the upper plateau where you’ll find Gutanbac Shrine!
There are loads of things to see and do along the journeys from shrine to shrine and we recommend you check out our detailed pages on how to reach the tutorial hrines for information on clearing out the caves, where to find extra loot and more!
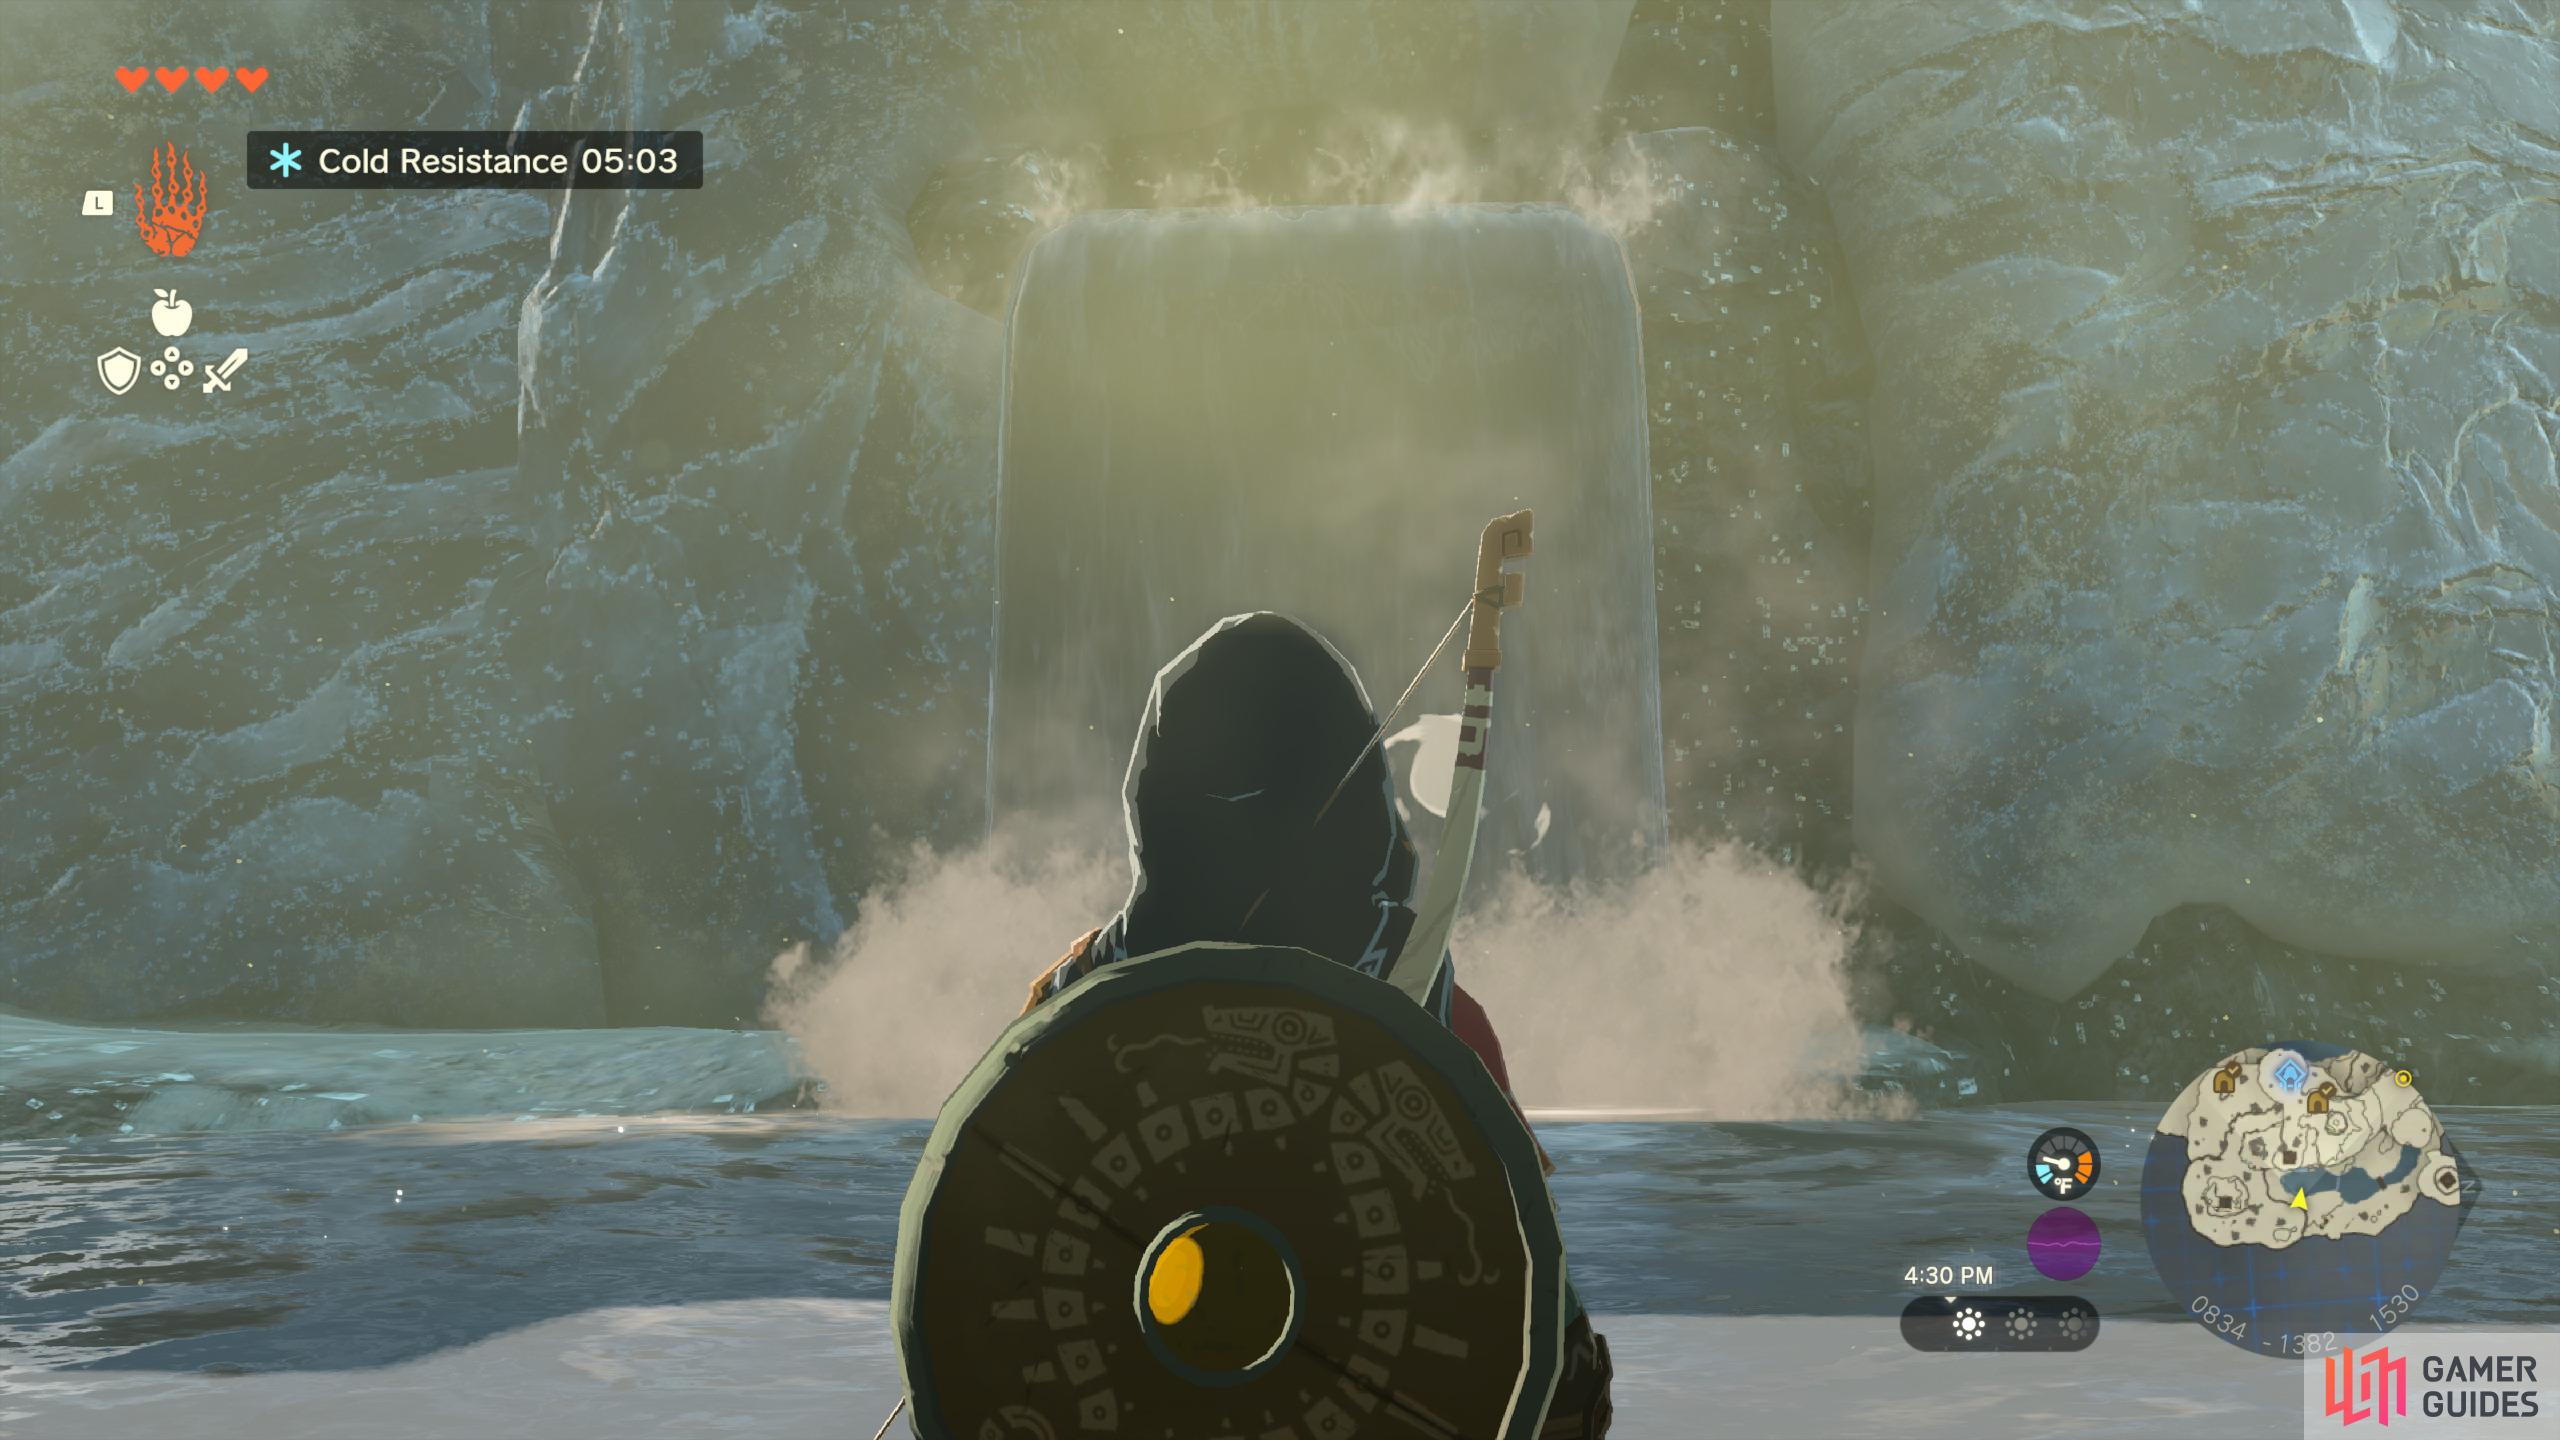
Head to the waterfall
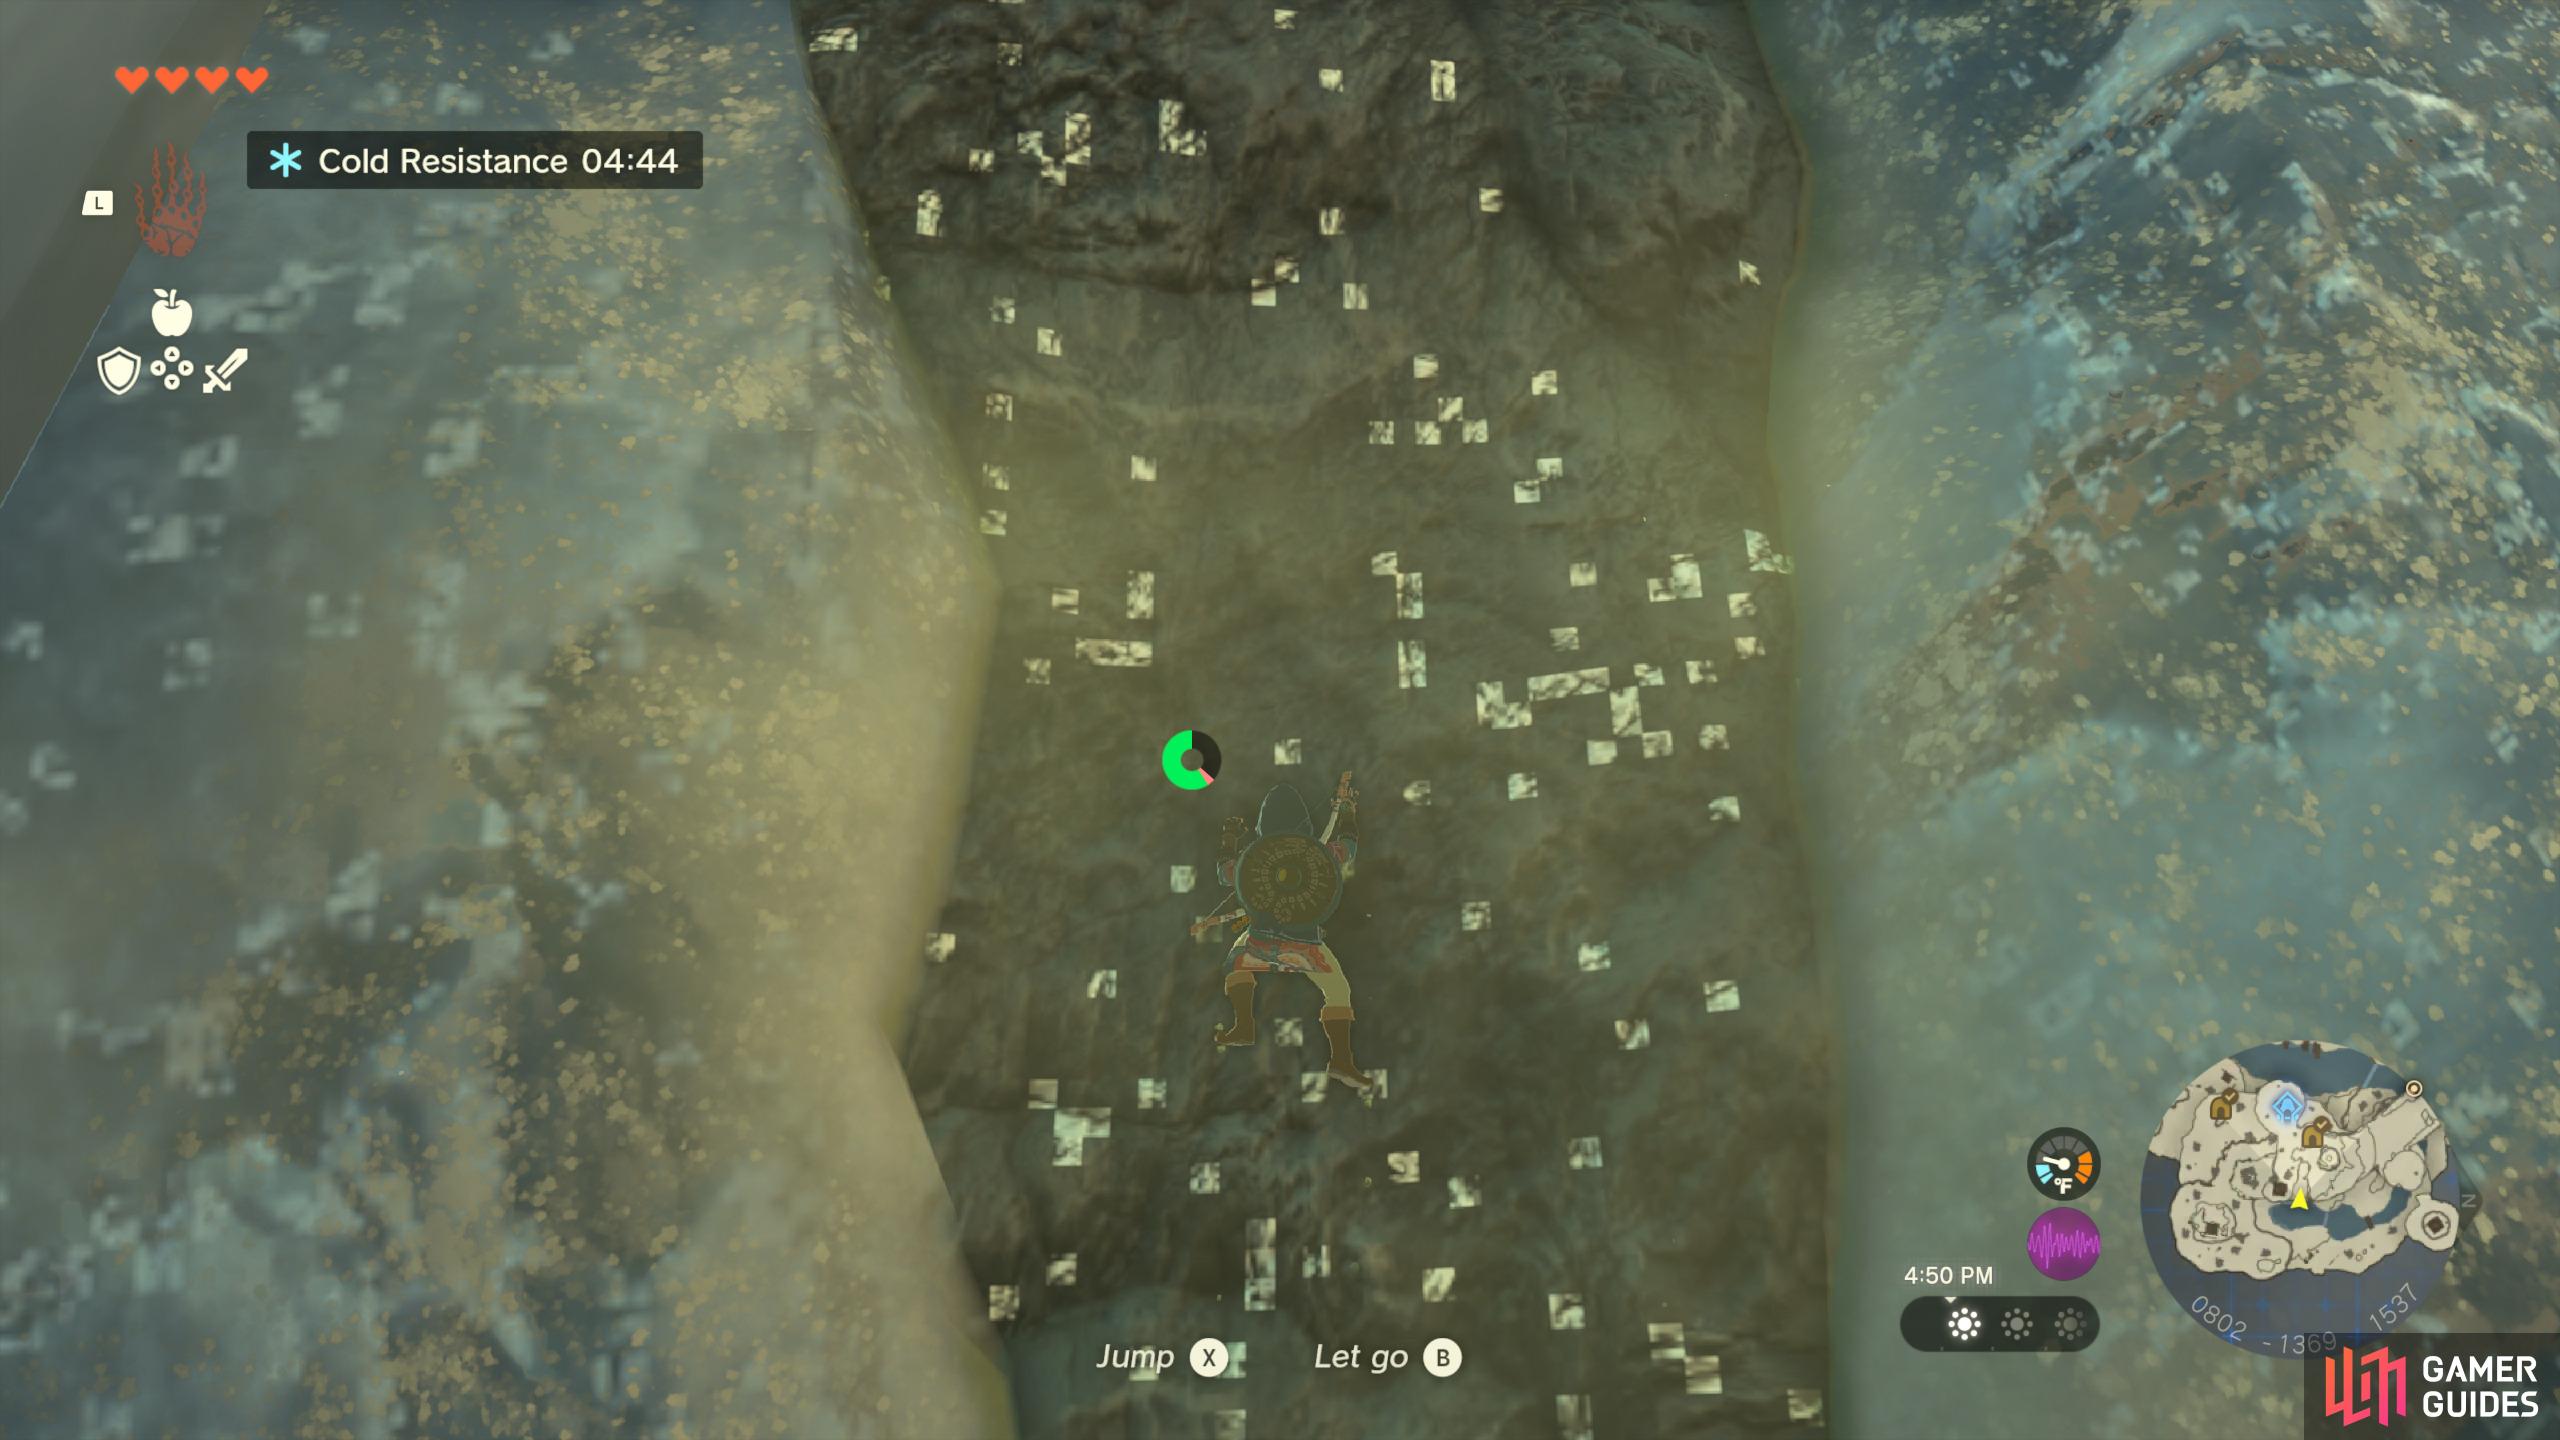
and climb up the wall on the right.
How to Use Ascend
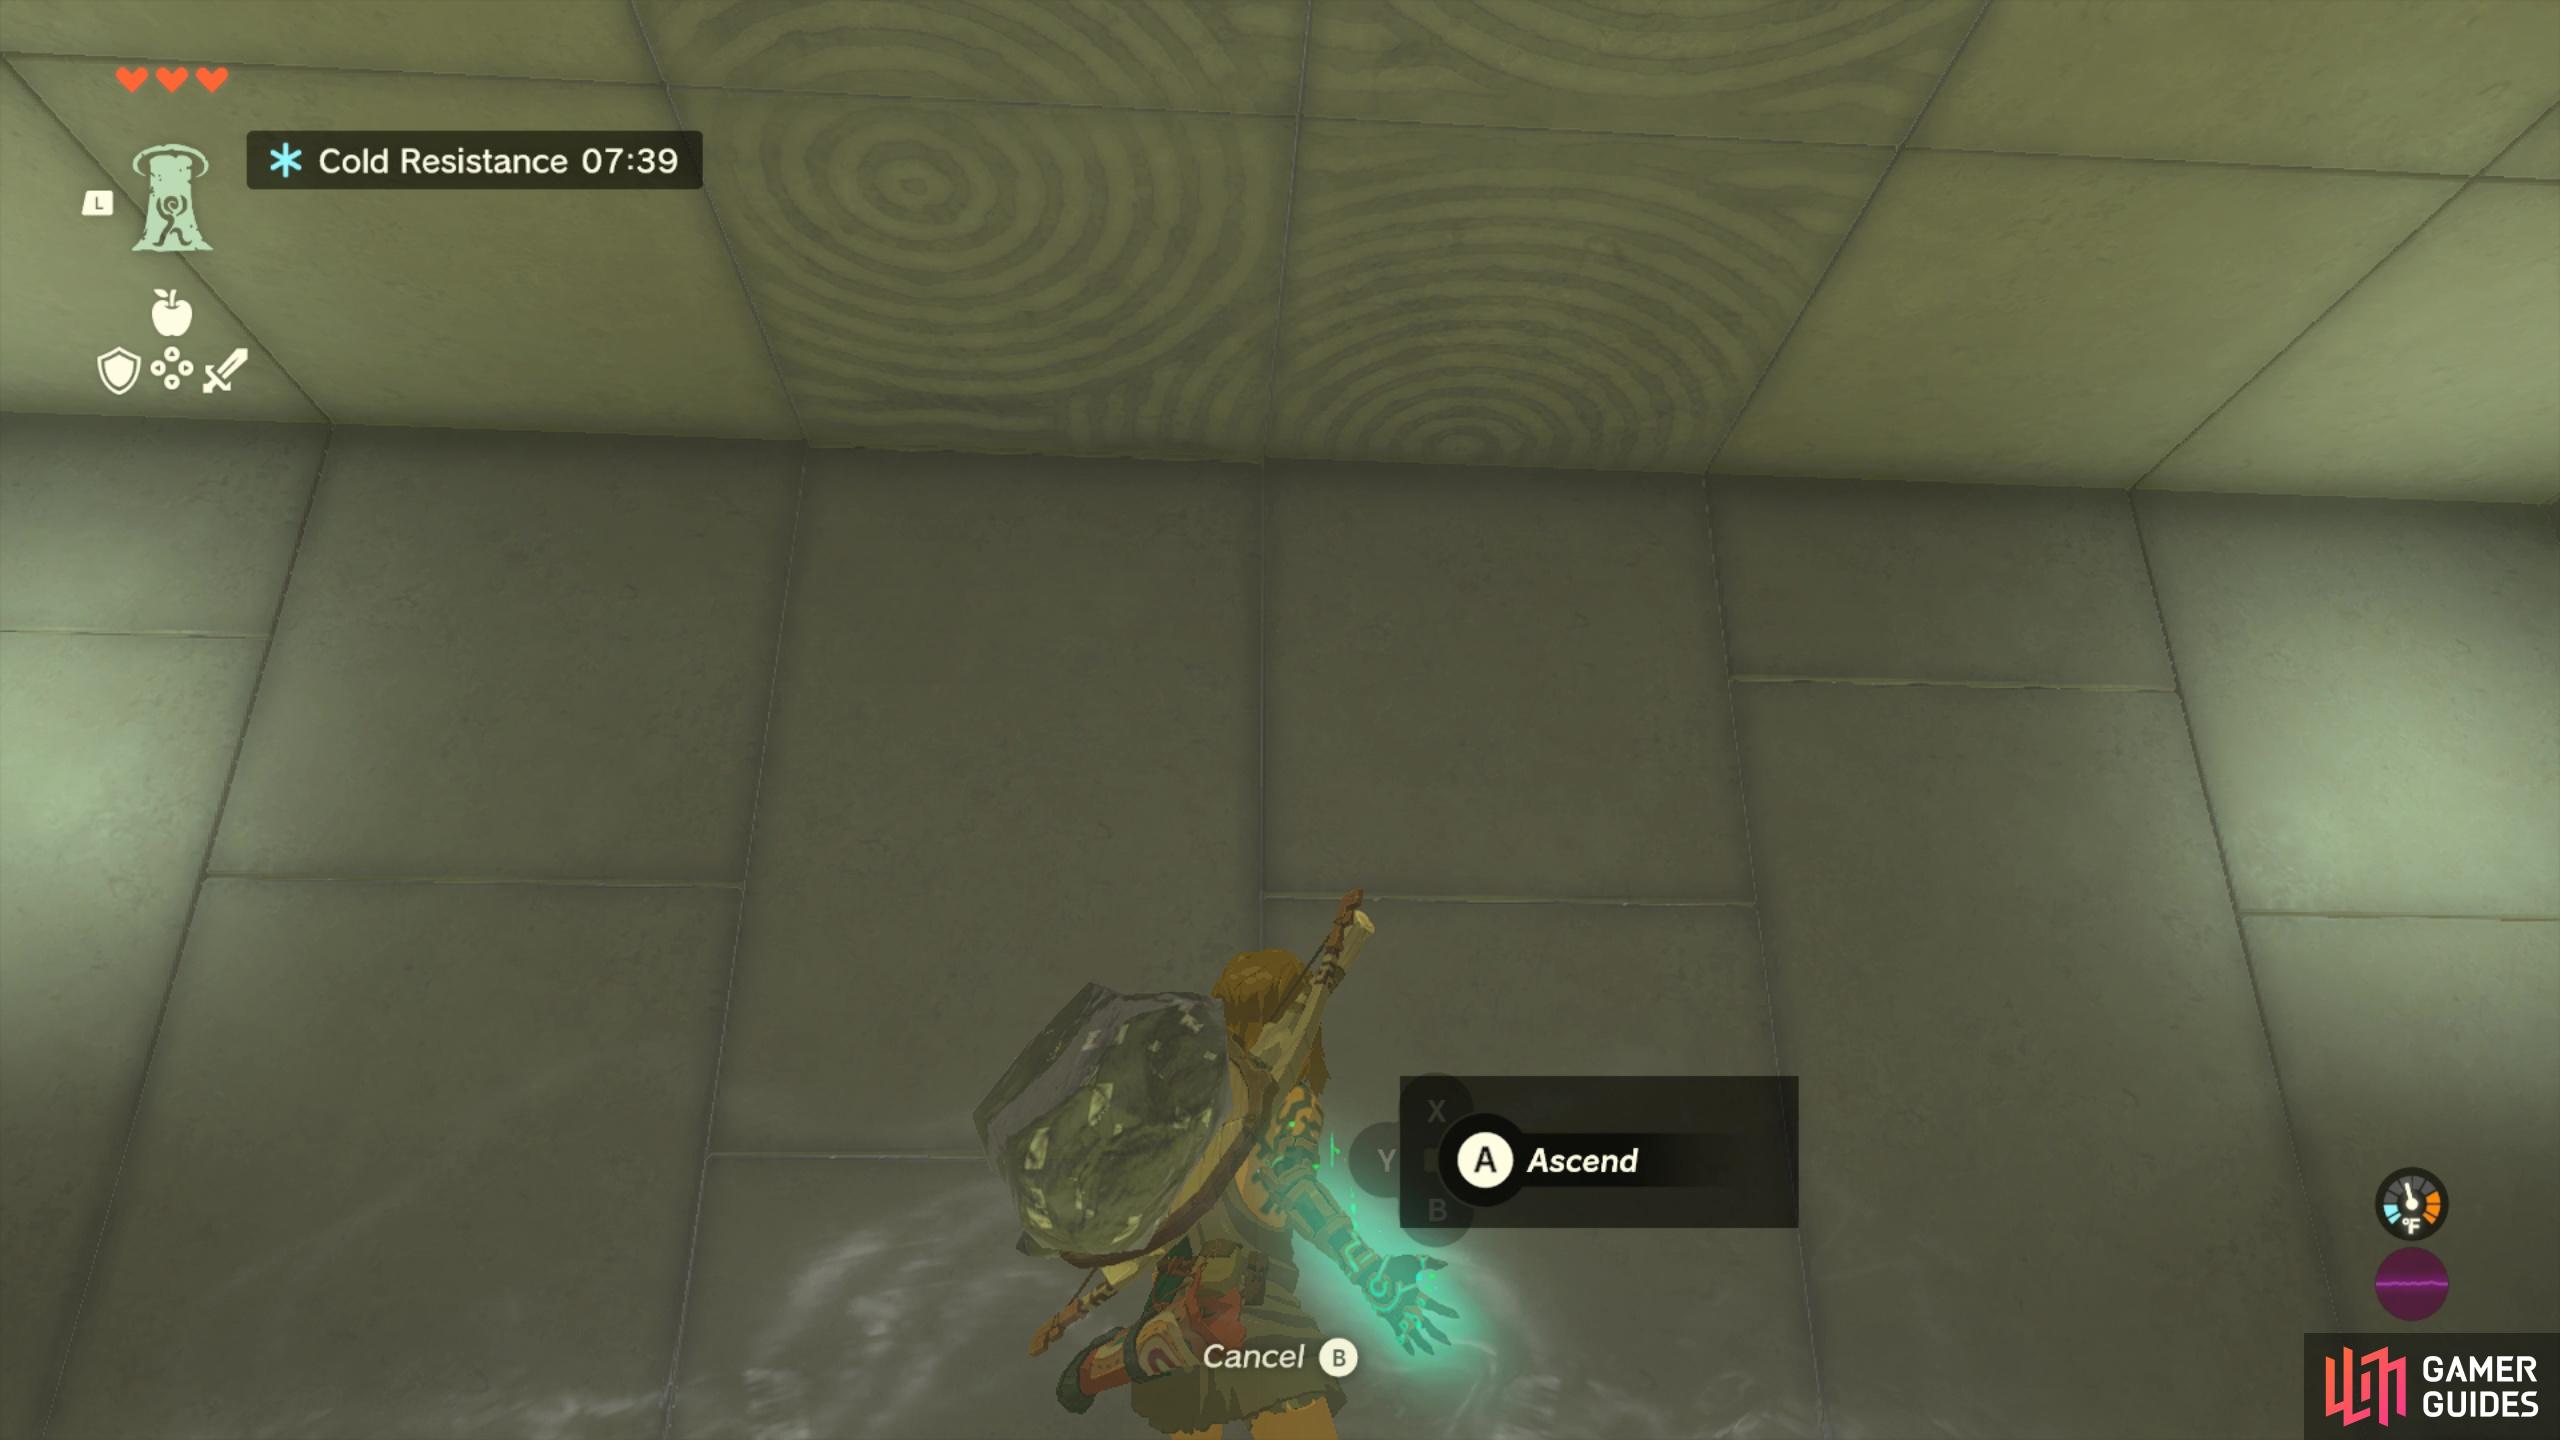
As you enter the shrine, you’ll be greeted once again by ![]() Rauru. This time he will teach you the ability
Rauru. This time he will teach you the ability ![]() Ascend. Ascend can be used to move upwards through solid material to emerge on top of it. When you do this, you’ll need to make sure that there’s something above you to ascend into and once you’re out on top you’ll need to press
Ascend. Ascend can be used to move upwards through solid material to emerge on top of it. When you do this, you’ll need to make sure that there’s something above you to ascend into and once you’re out on top you’ll need to press  to exit it.
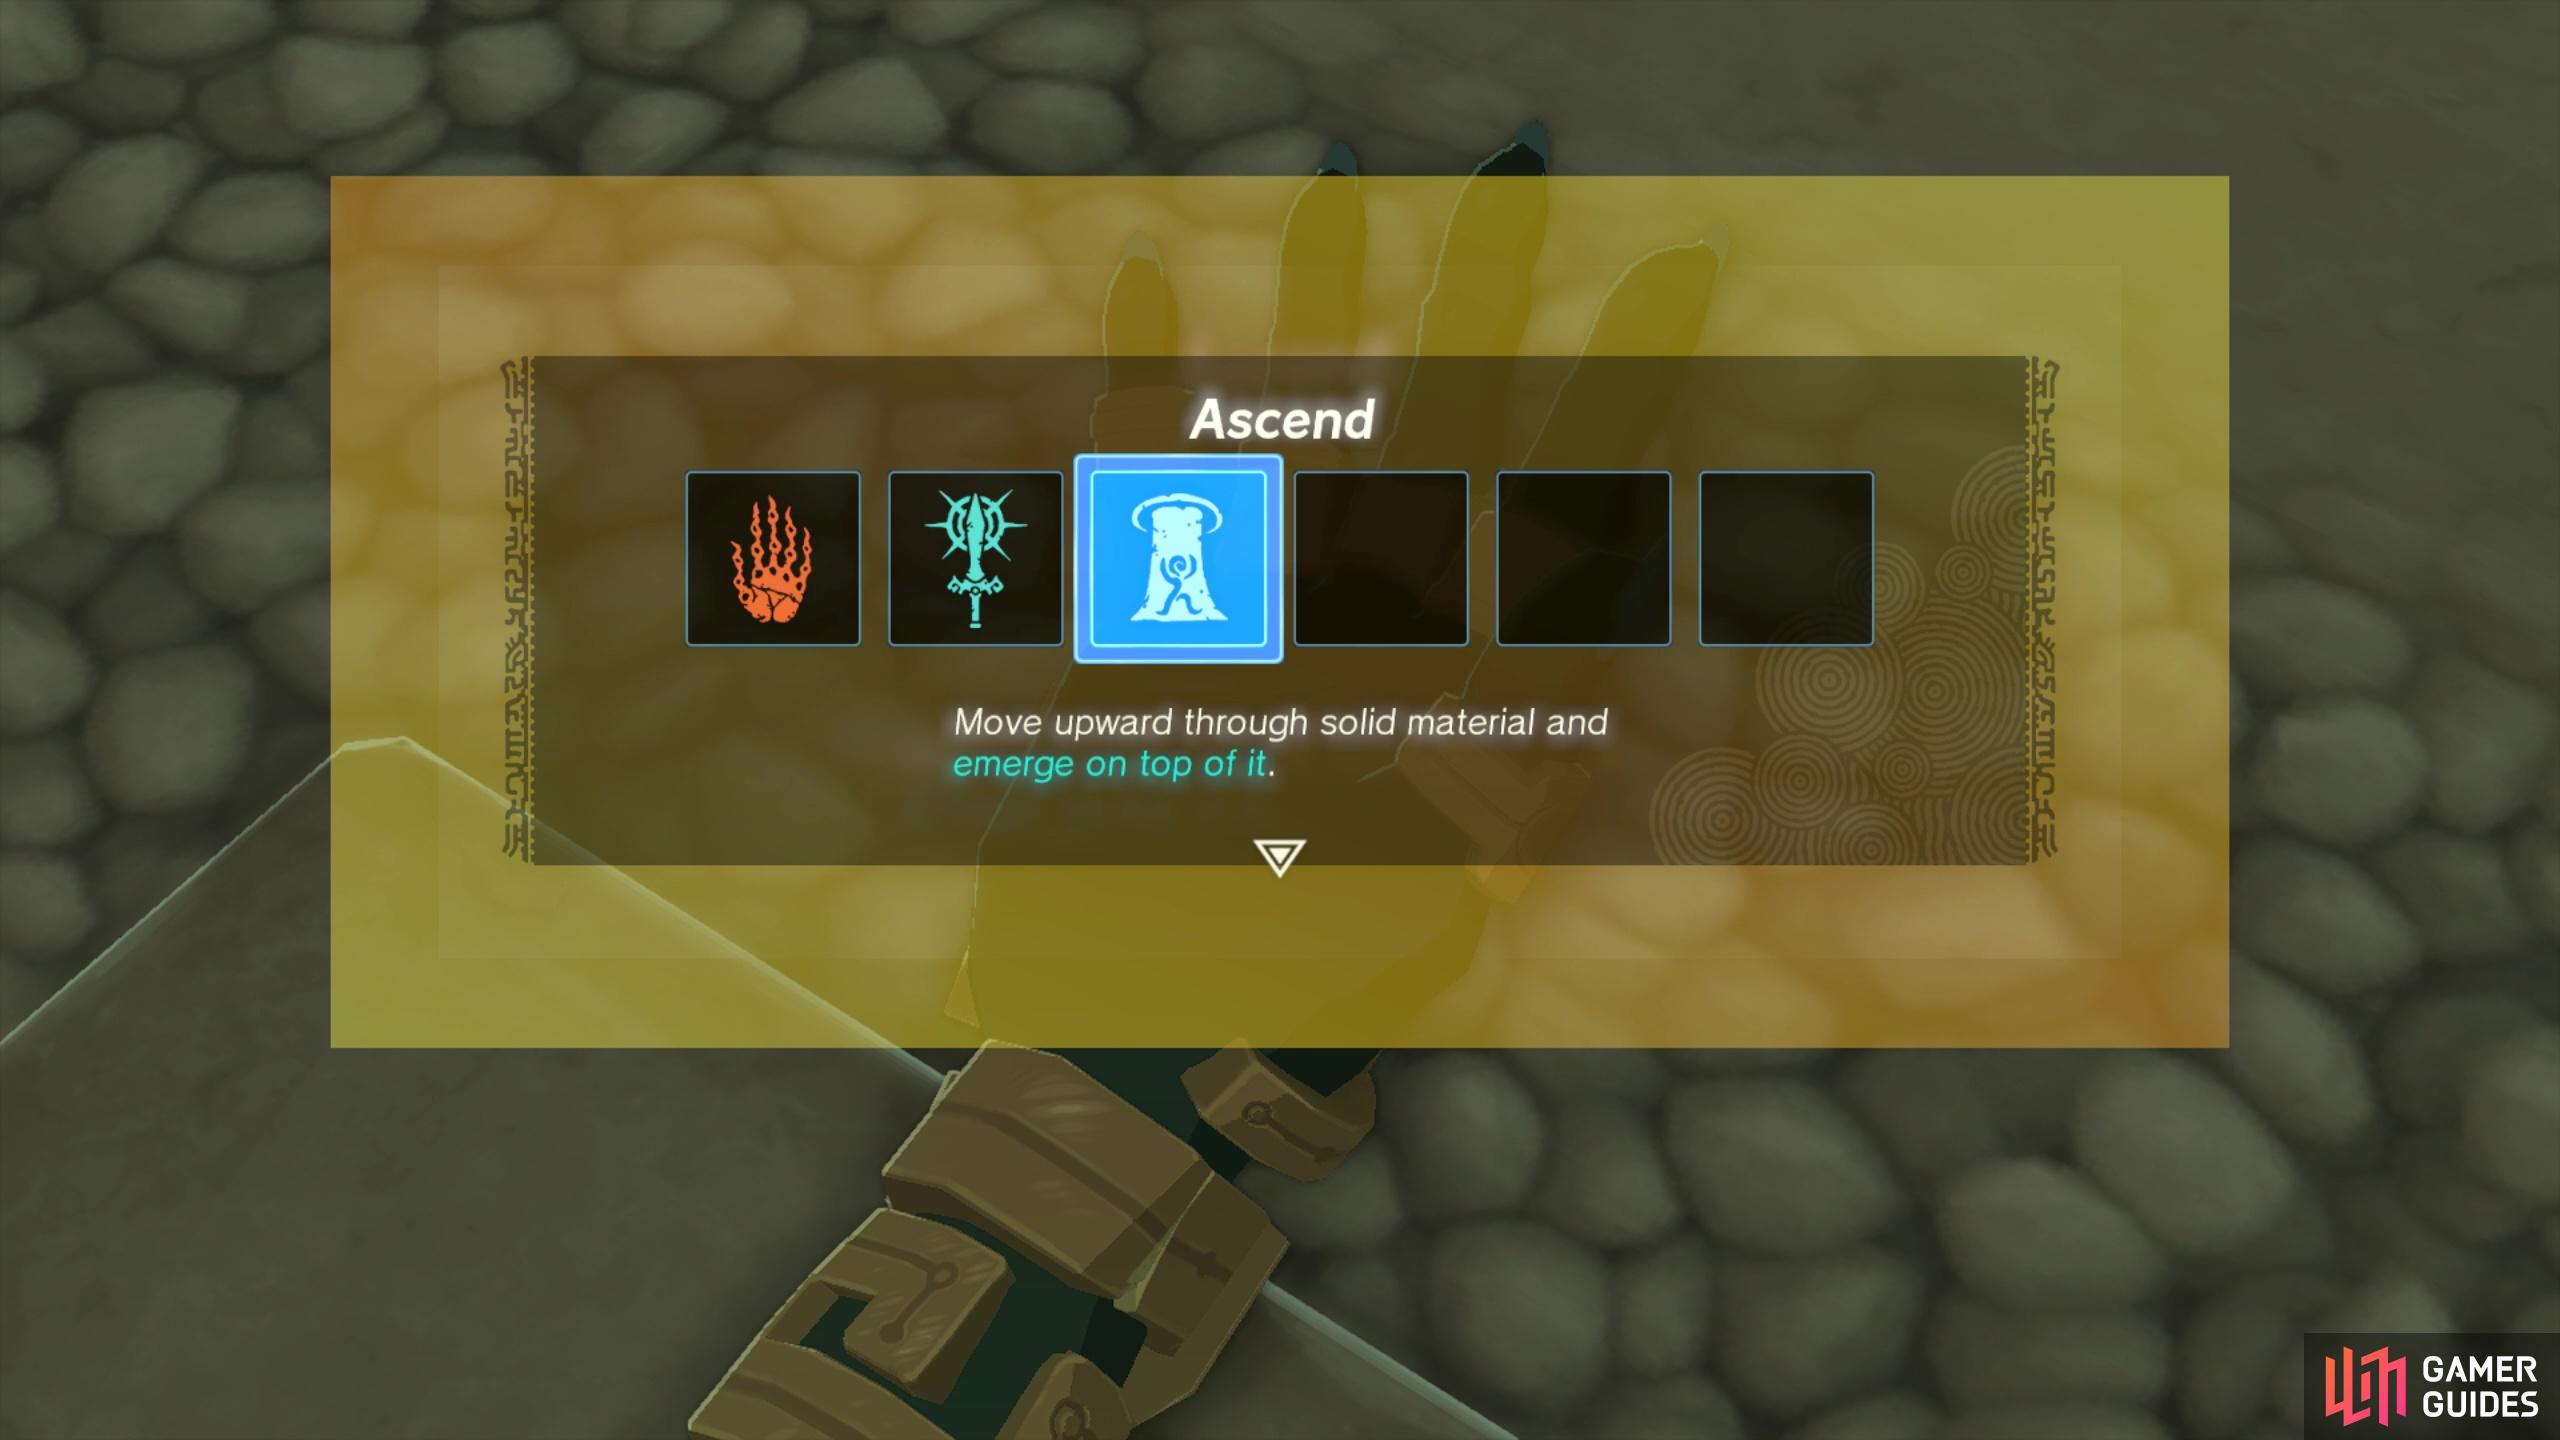
Ascend is the third ability you’ll learn.
Gutanbac Shrine: Ascend Puzzles
First things first head down further into the shrine and position yourself beneath the ledge. Activate Ascend and then look up to see that you’re properly positioned - if you can ascend there’ll be a green dot. Hit and you’ll magically ascend onto the top of the platform and press to exit.
Position yourself beneath the ledge
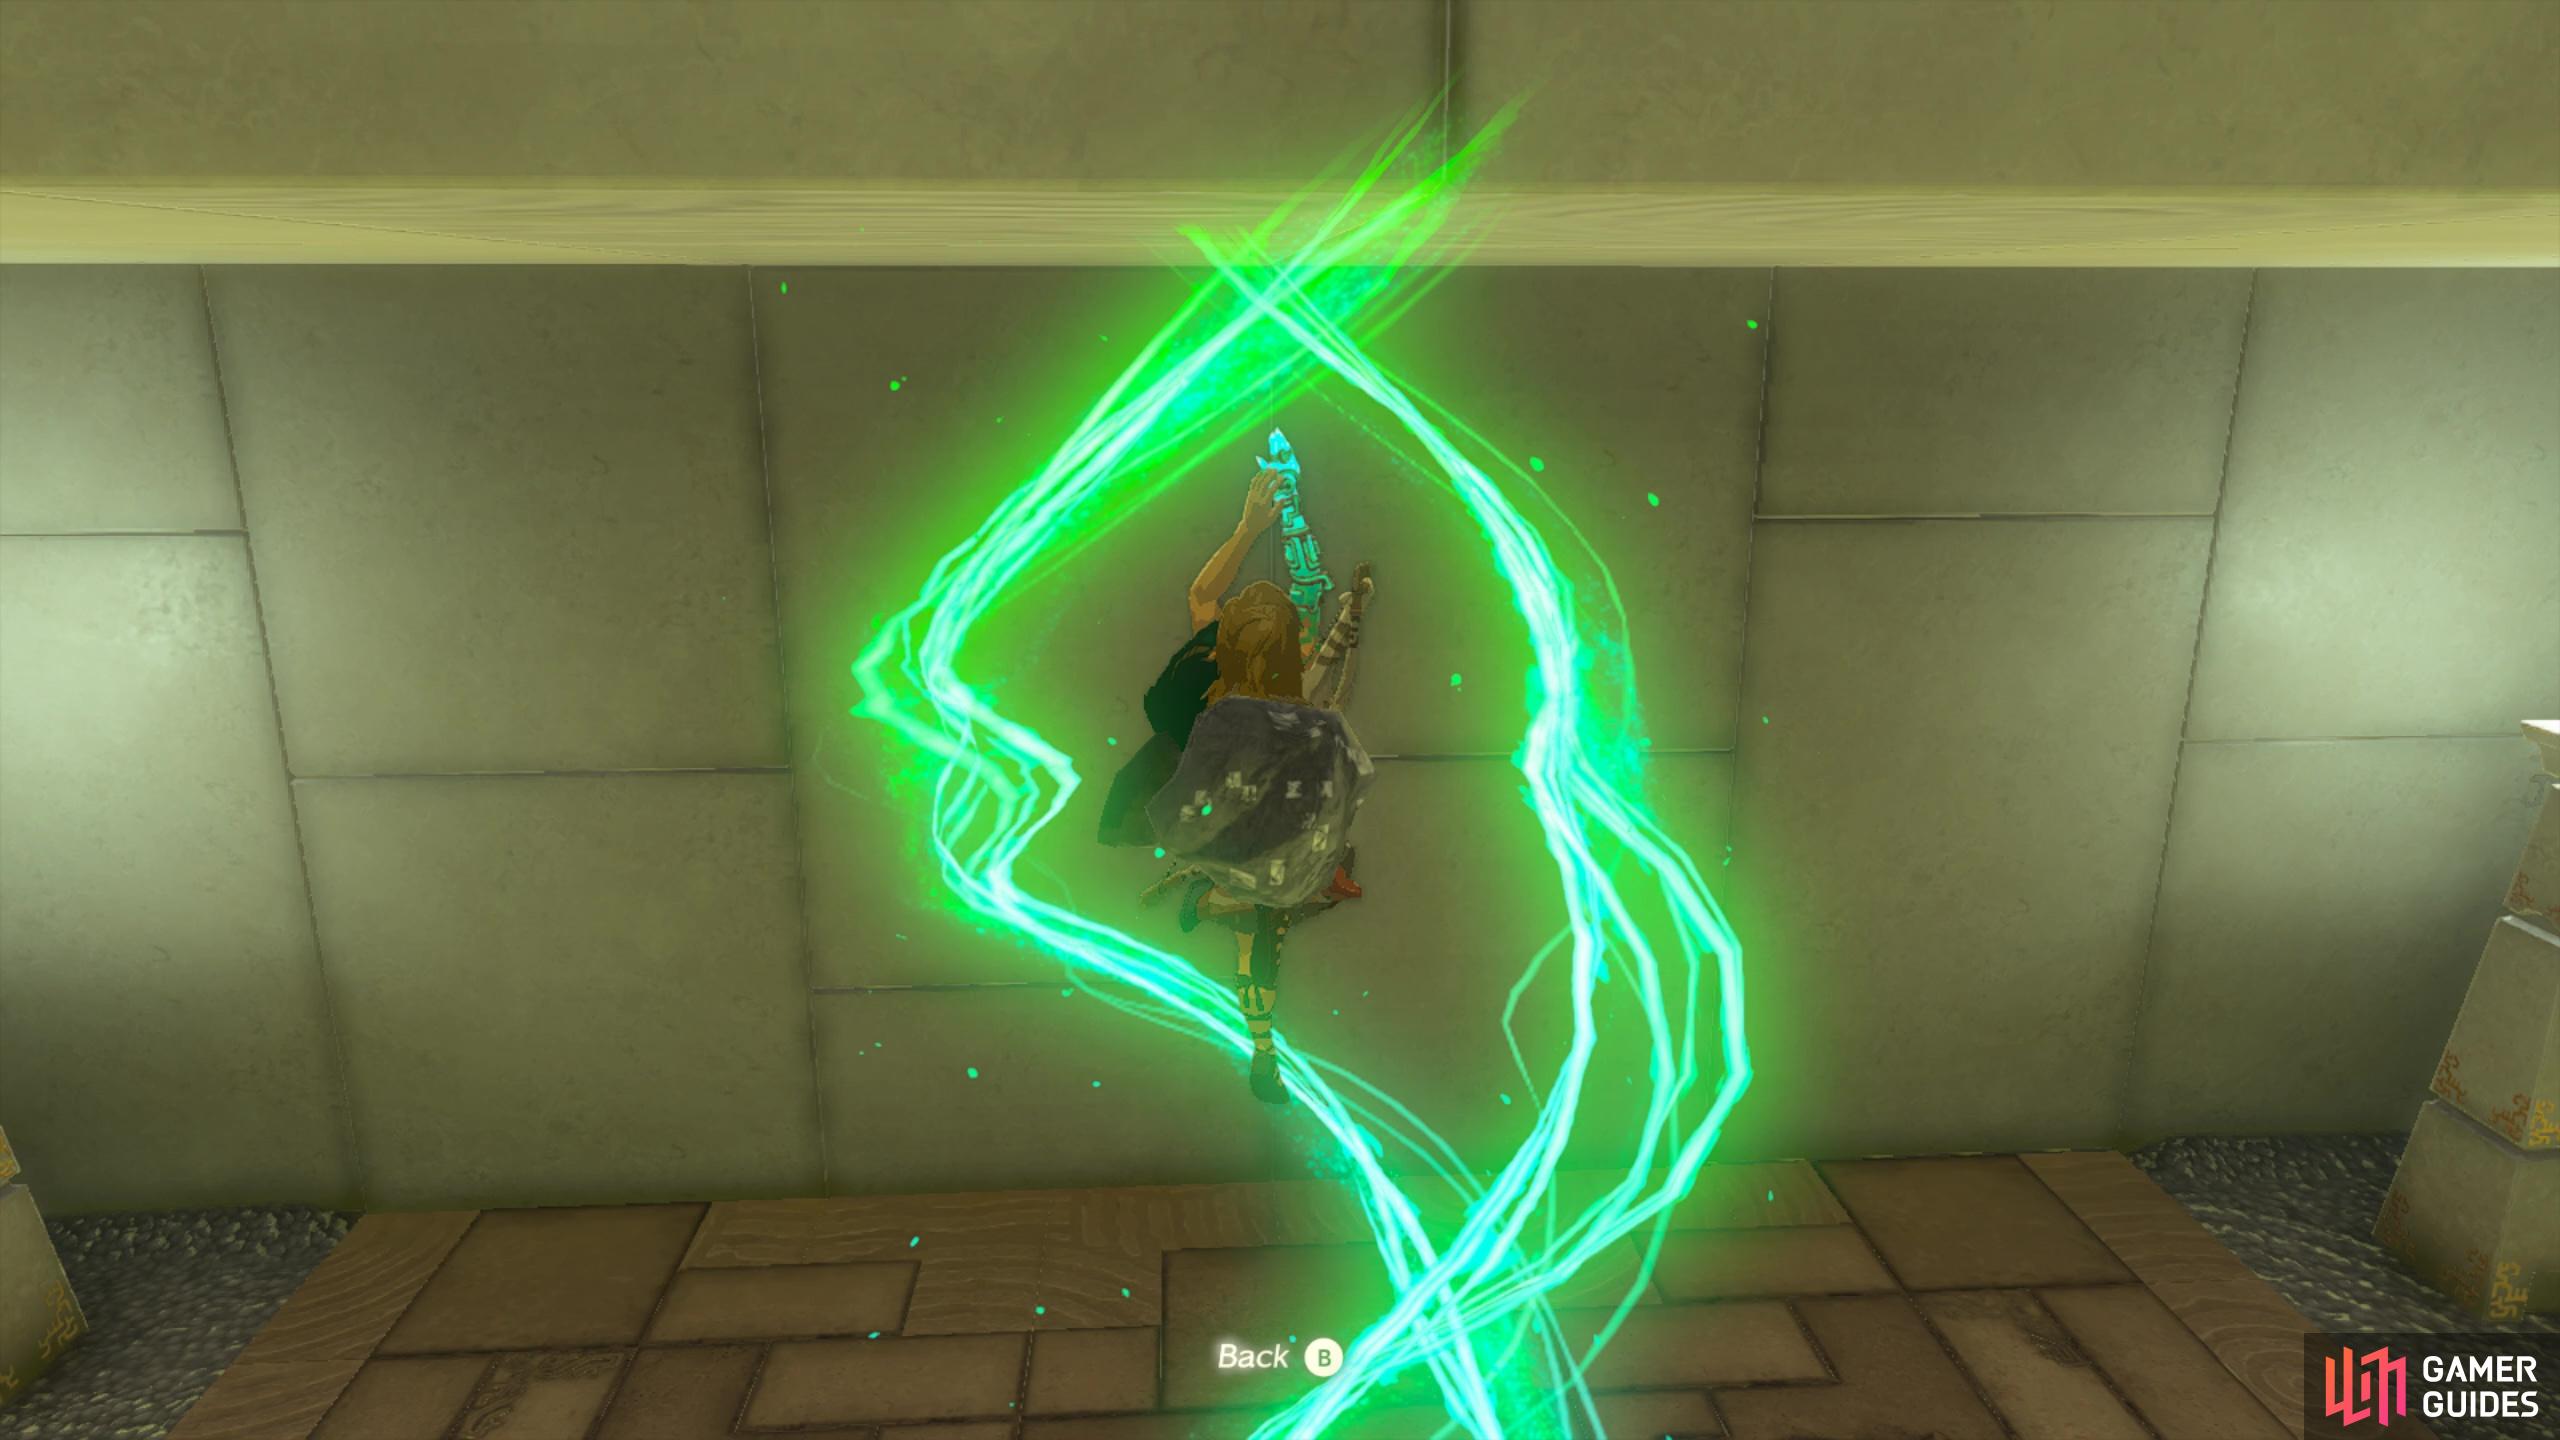
then use ascend to travel up to the top!
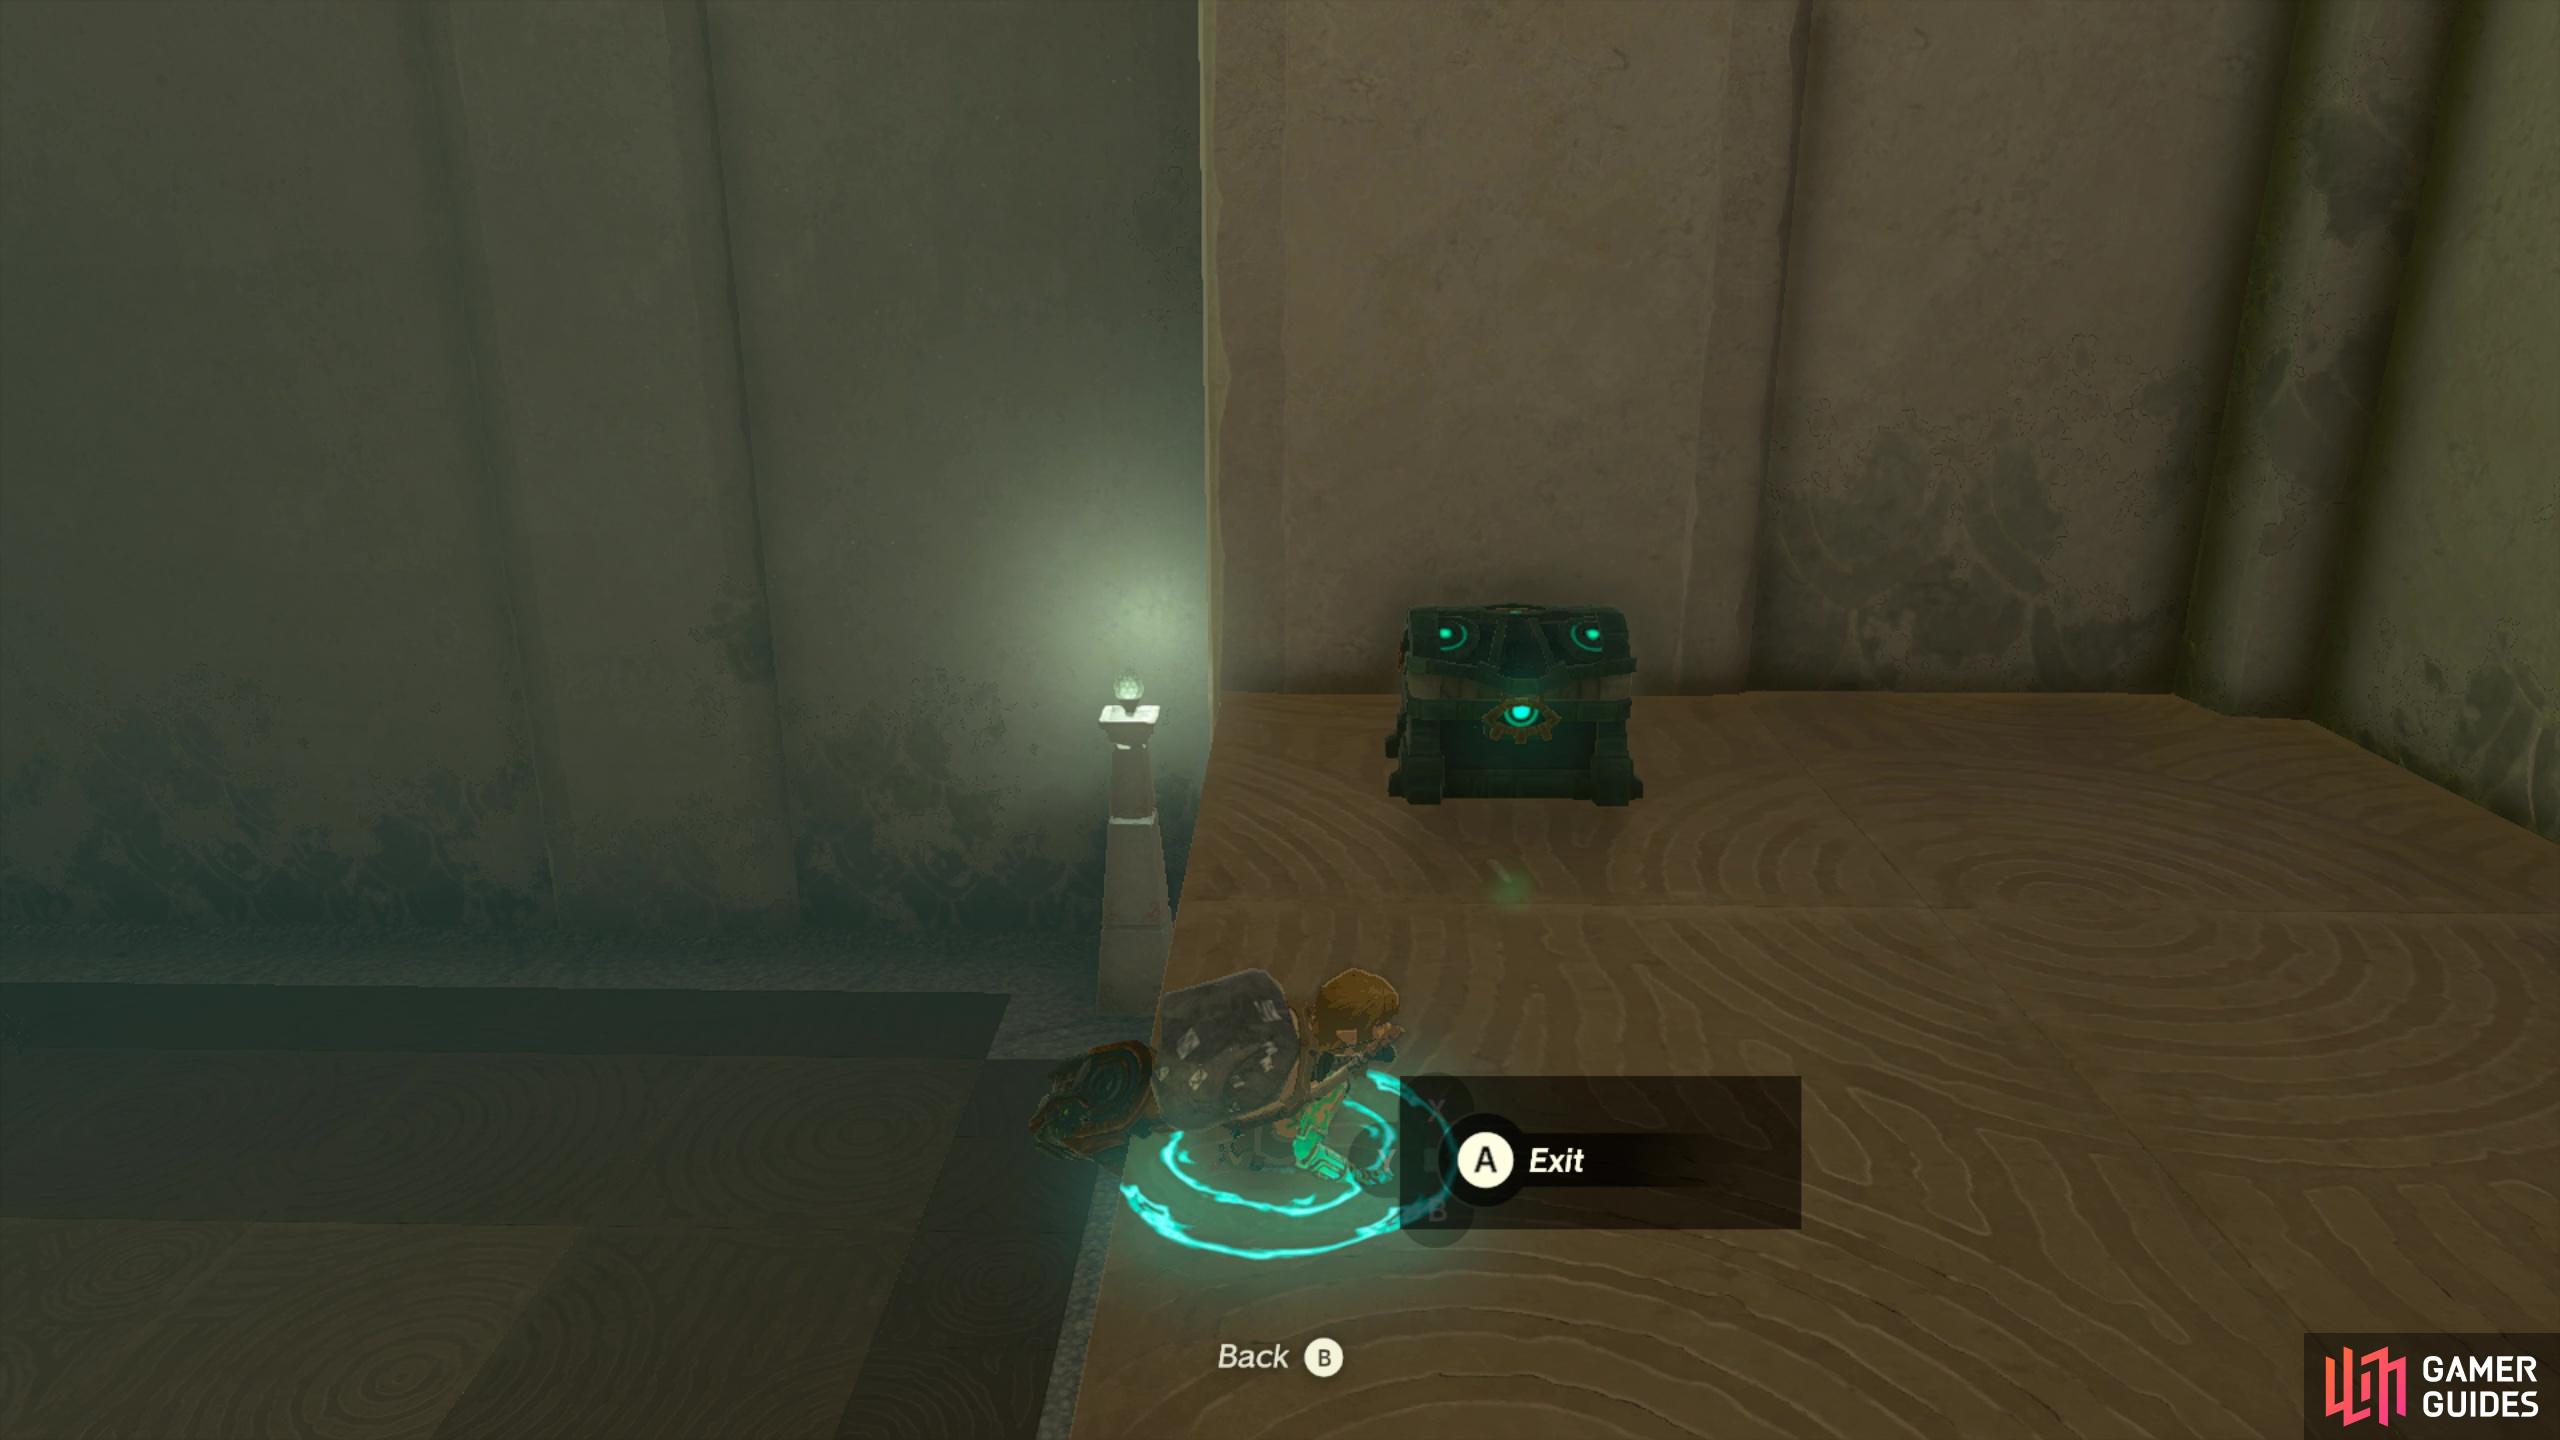
Once in the new upper area. You’ll spot on the rightmost wall two pillars that you’ll be able to walk beneath to perform ascend. You’ll first want to ascend beneath the left pillar (the one furthest away) as there’s a chest here containing a ![]() Stone Axe. After looting the chest, drop down and ascend through the second pillar.
Stone Axe. After looting the chest, drop down and ascend through the second pillar.
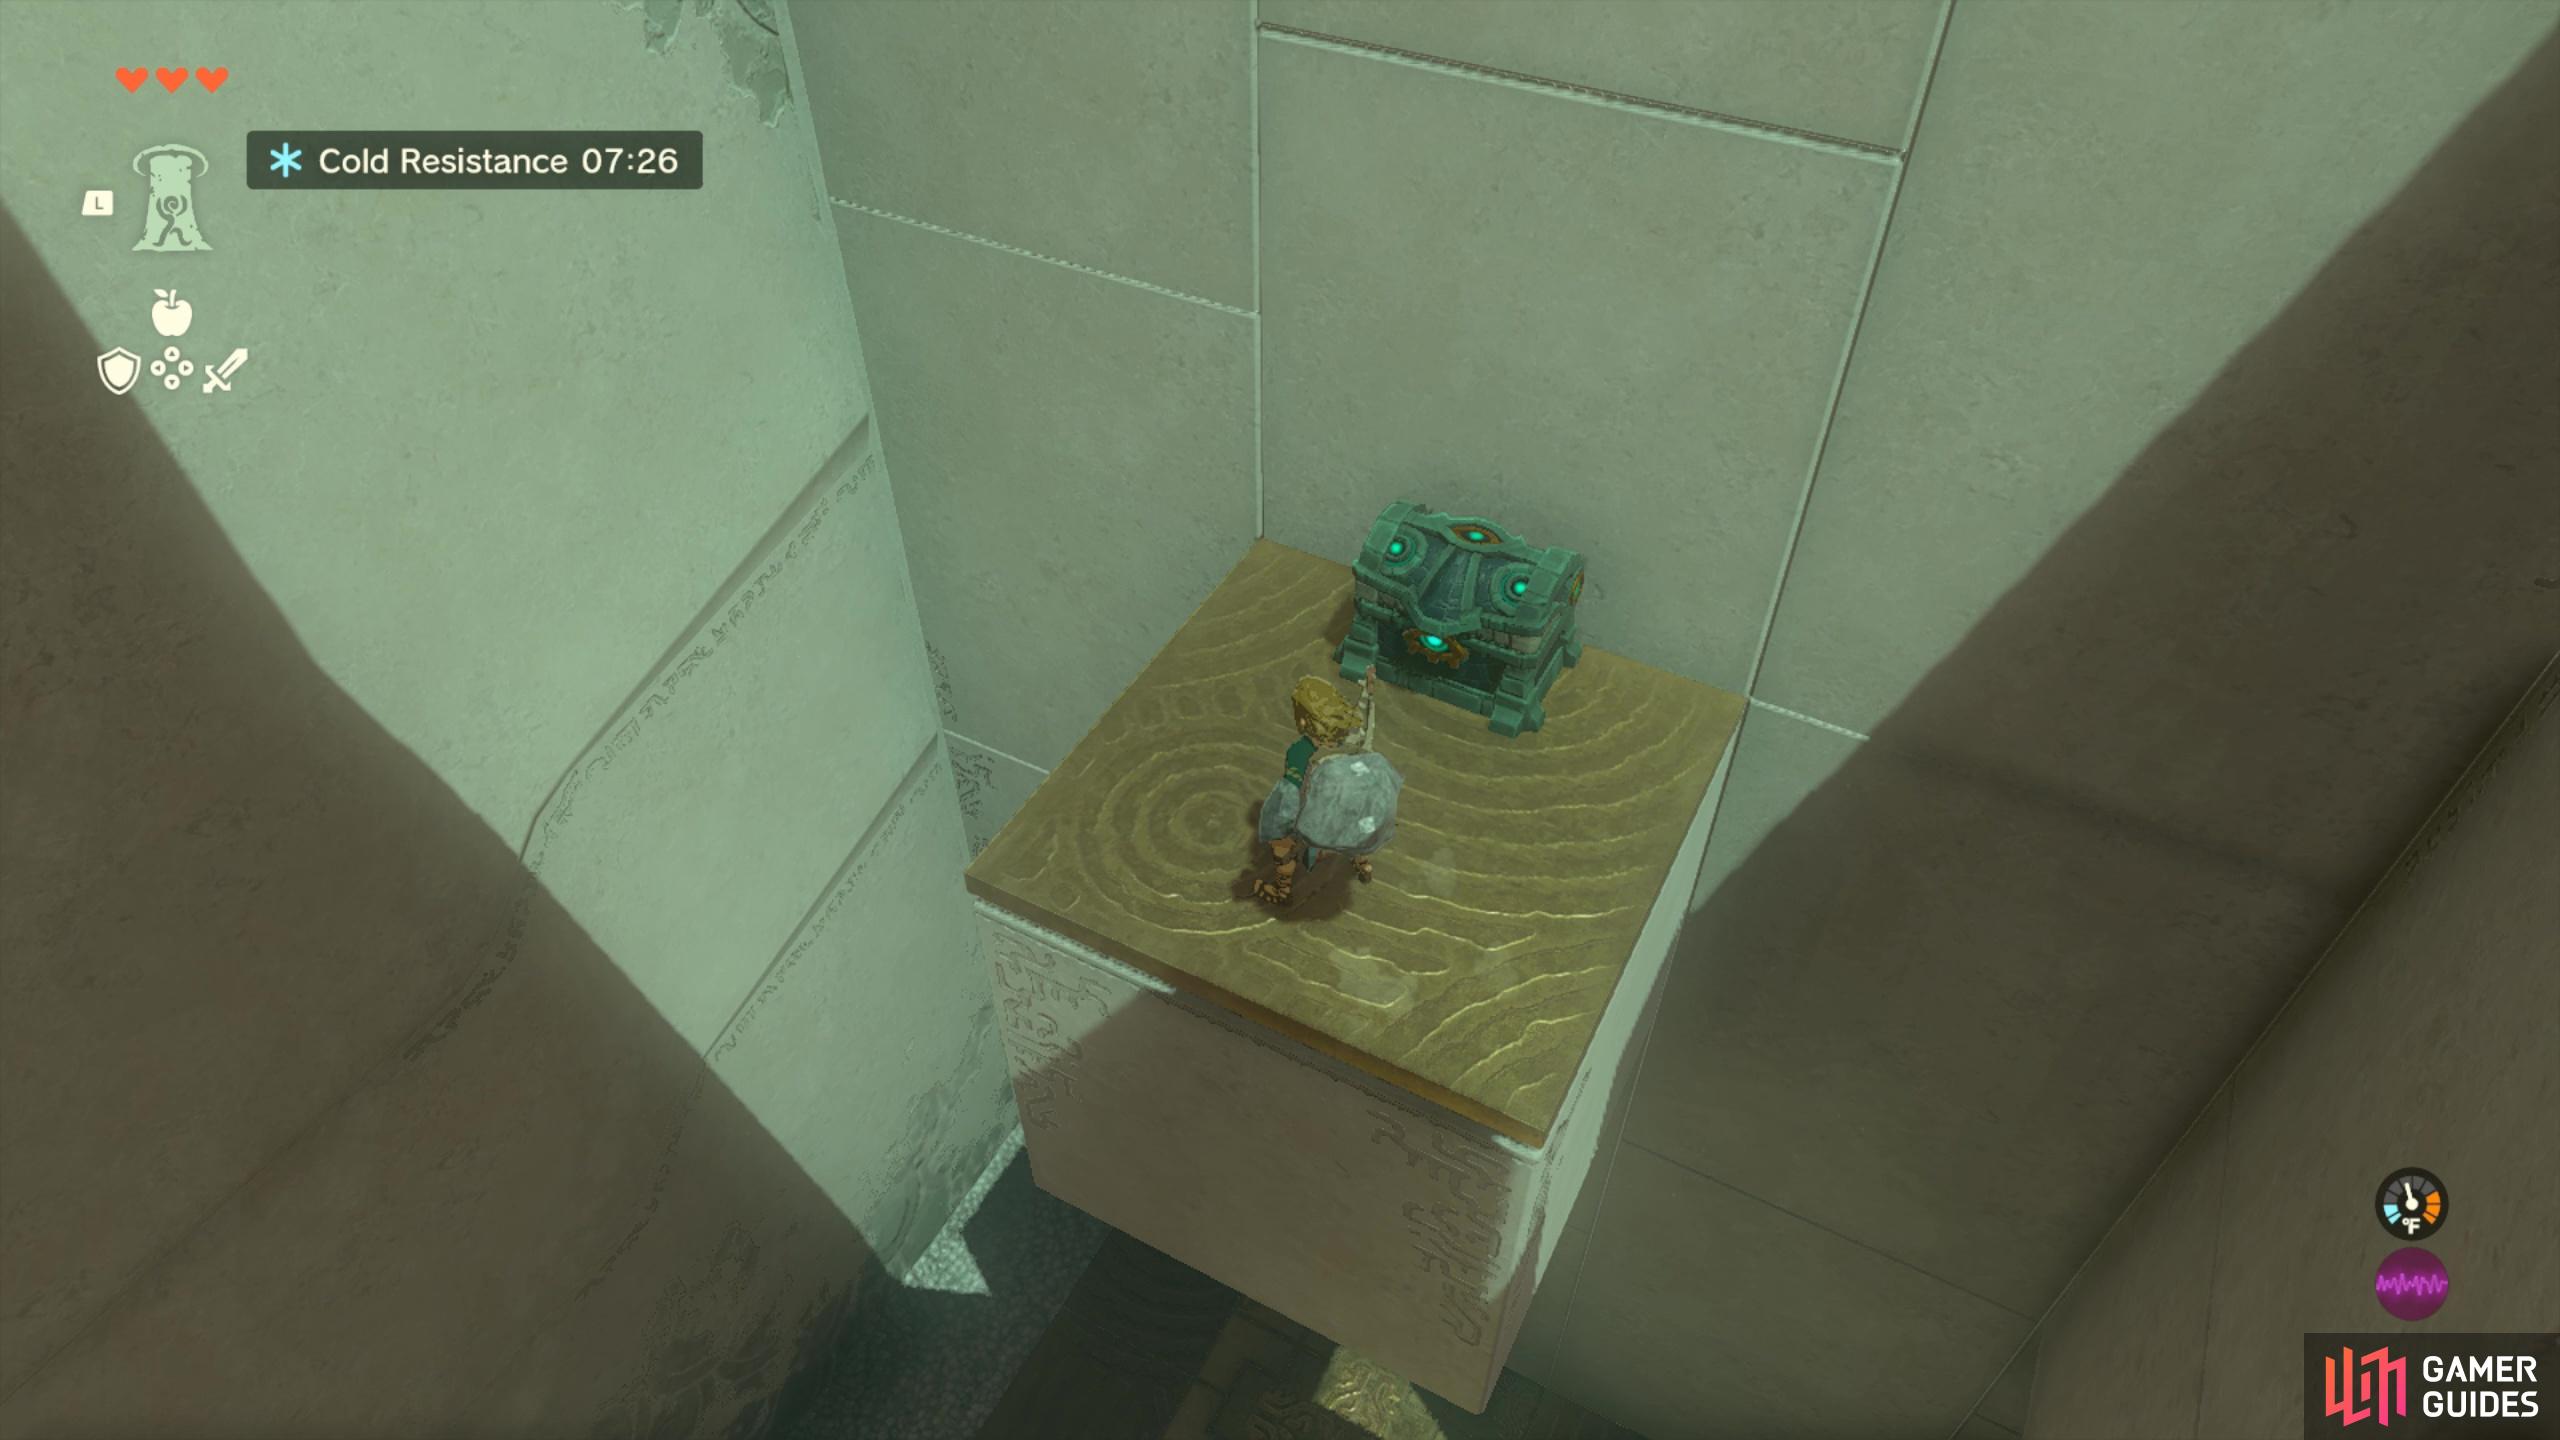
A treasure chest can be found atop one of the pillars.
As you approach this next area, you’ll see a Construct enemy up ahead. Deal with him accordingly and then head to the right. Destroy the boxes then stand in the alcove to perform Ascend. There’s a second loot chest found above and it contains a ![]() Construct Bow.
Construct Bow.
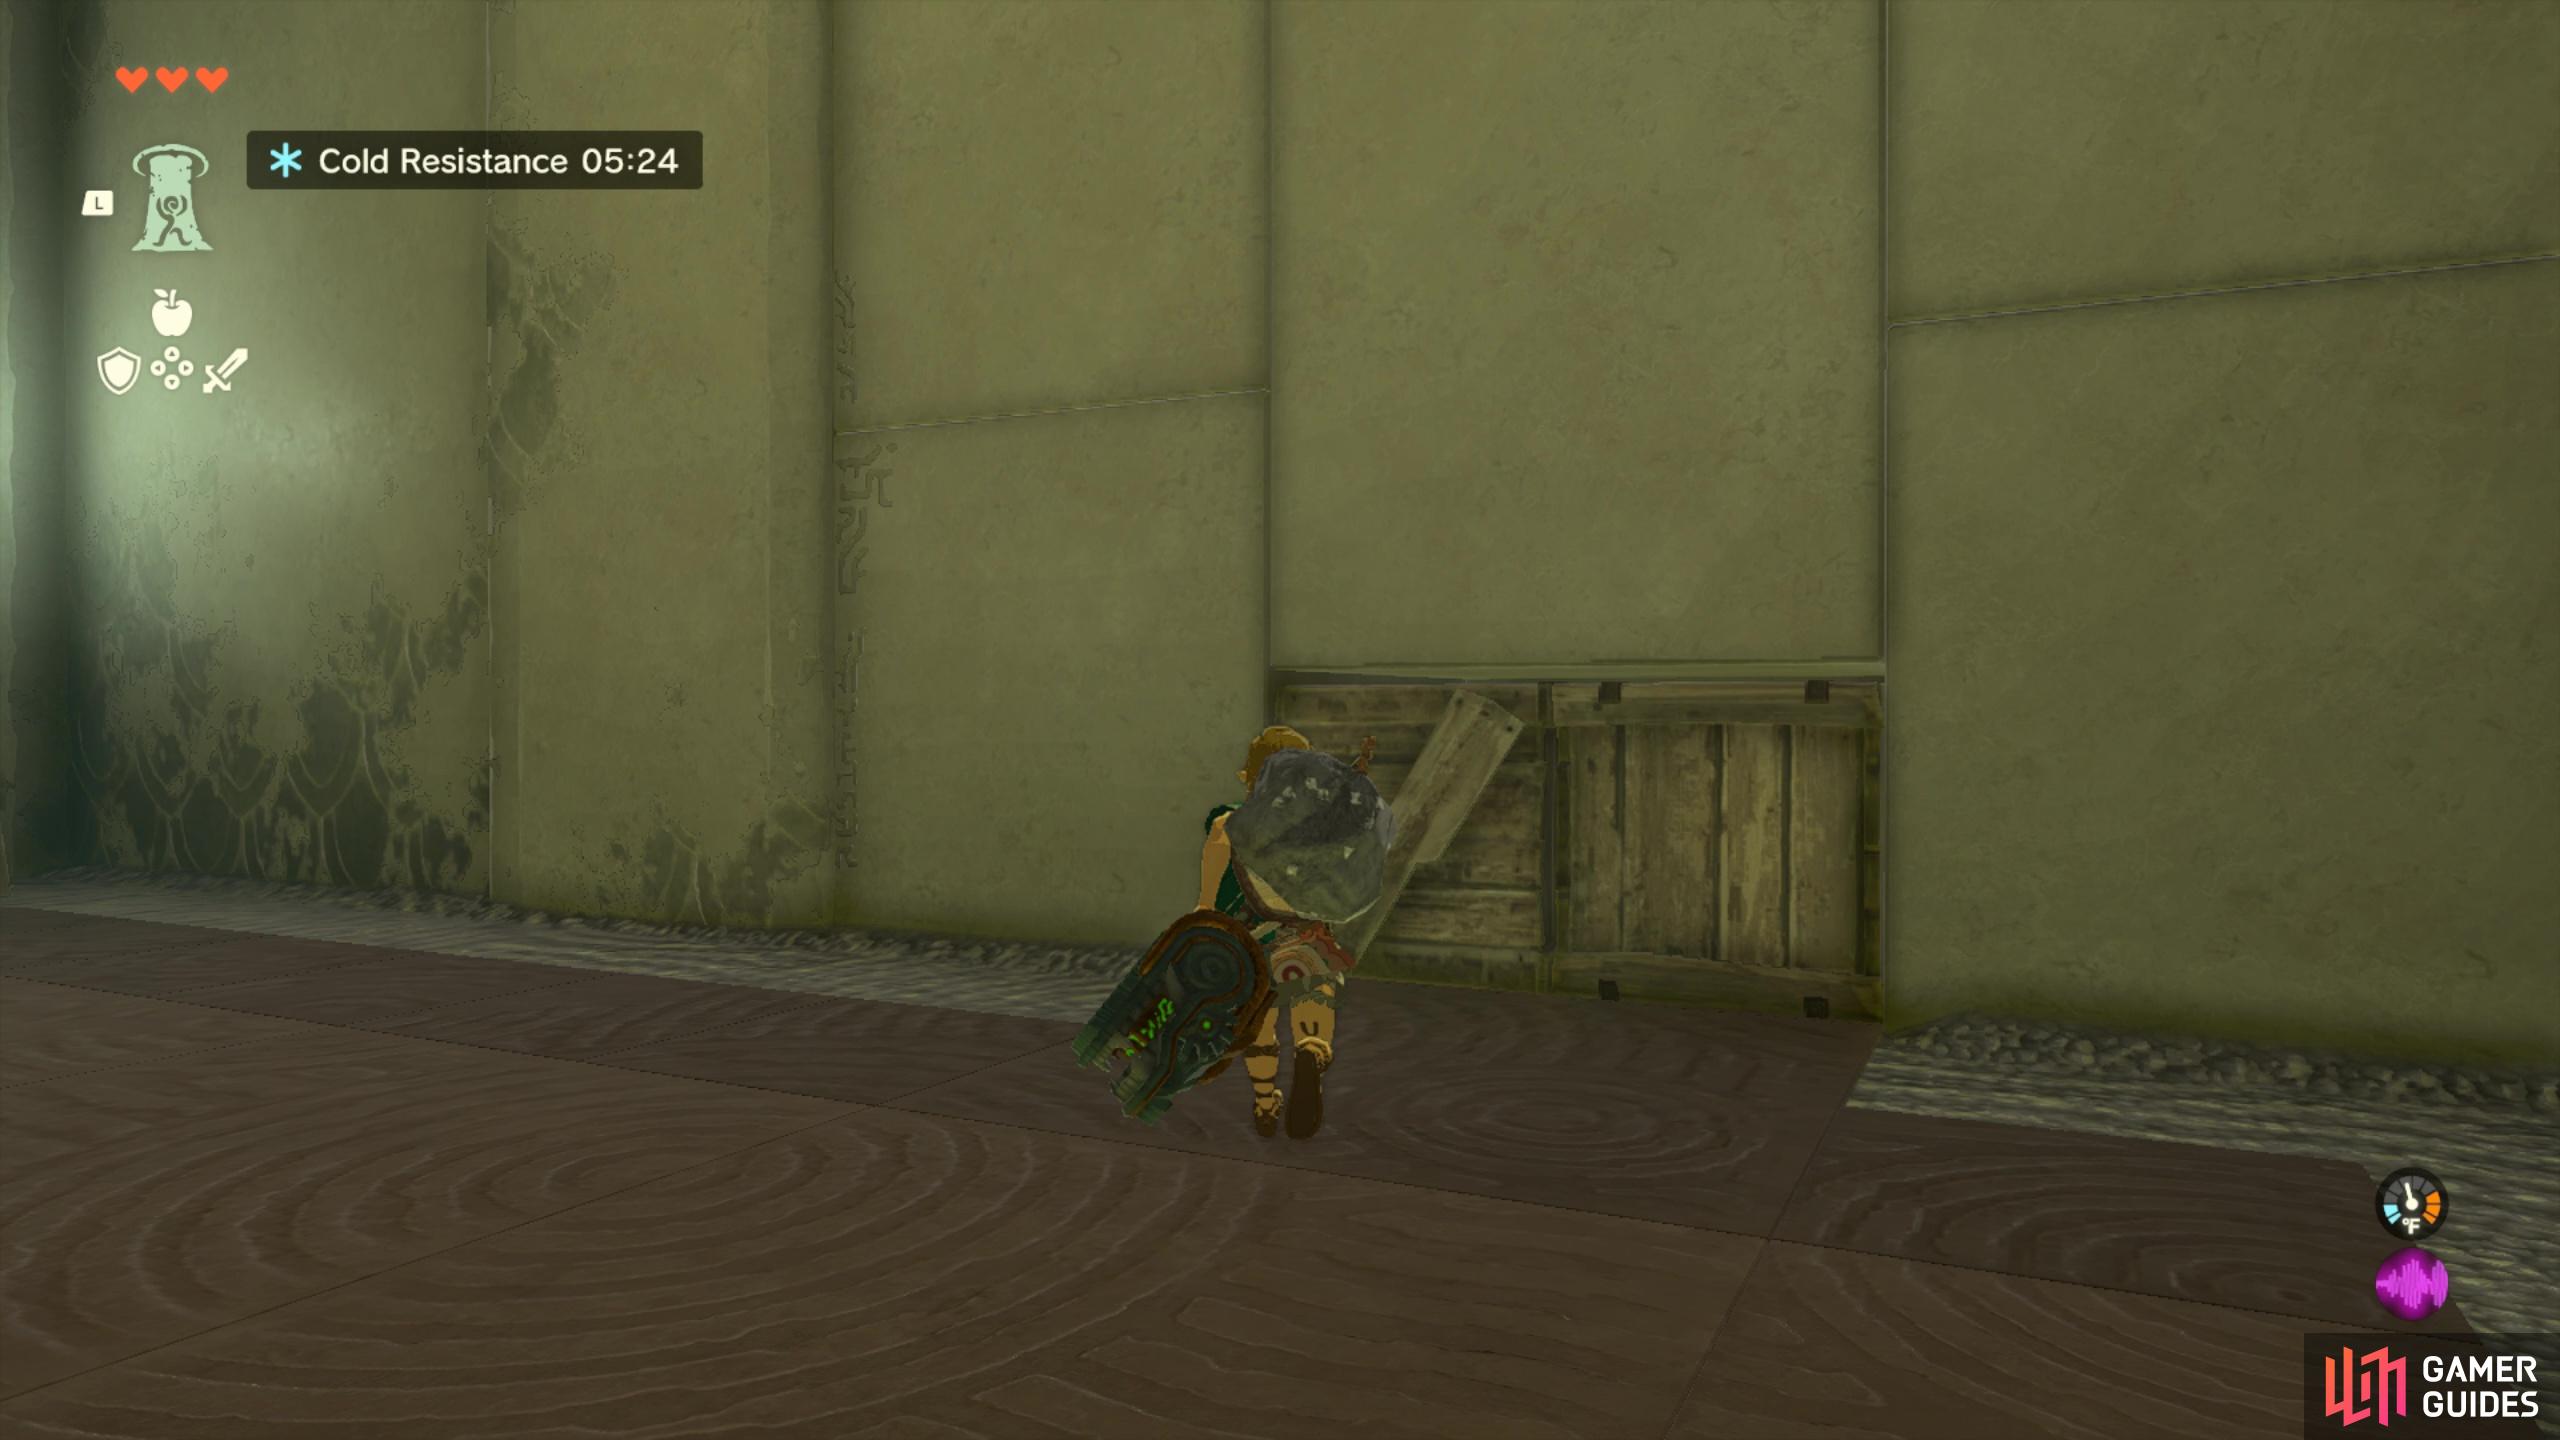
Destroy the boxes
then ascend up to grab the loot!
After doing some looting, proceed over to the ropes that are holding a bridge up. Cut the rope using either a sharp weapon and hitting the loops on the ground - fire will also do the trick. Once the bridge has fallen, head around and you’ll be able to ascend up onto the bridge.
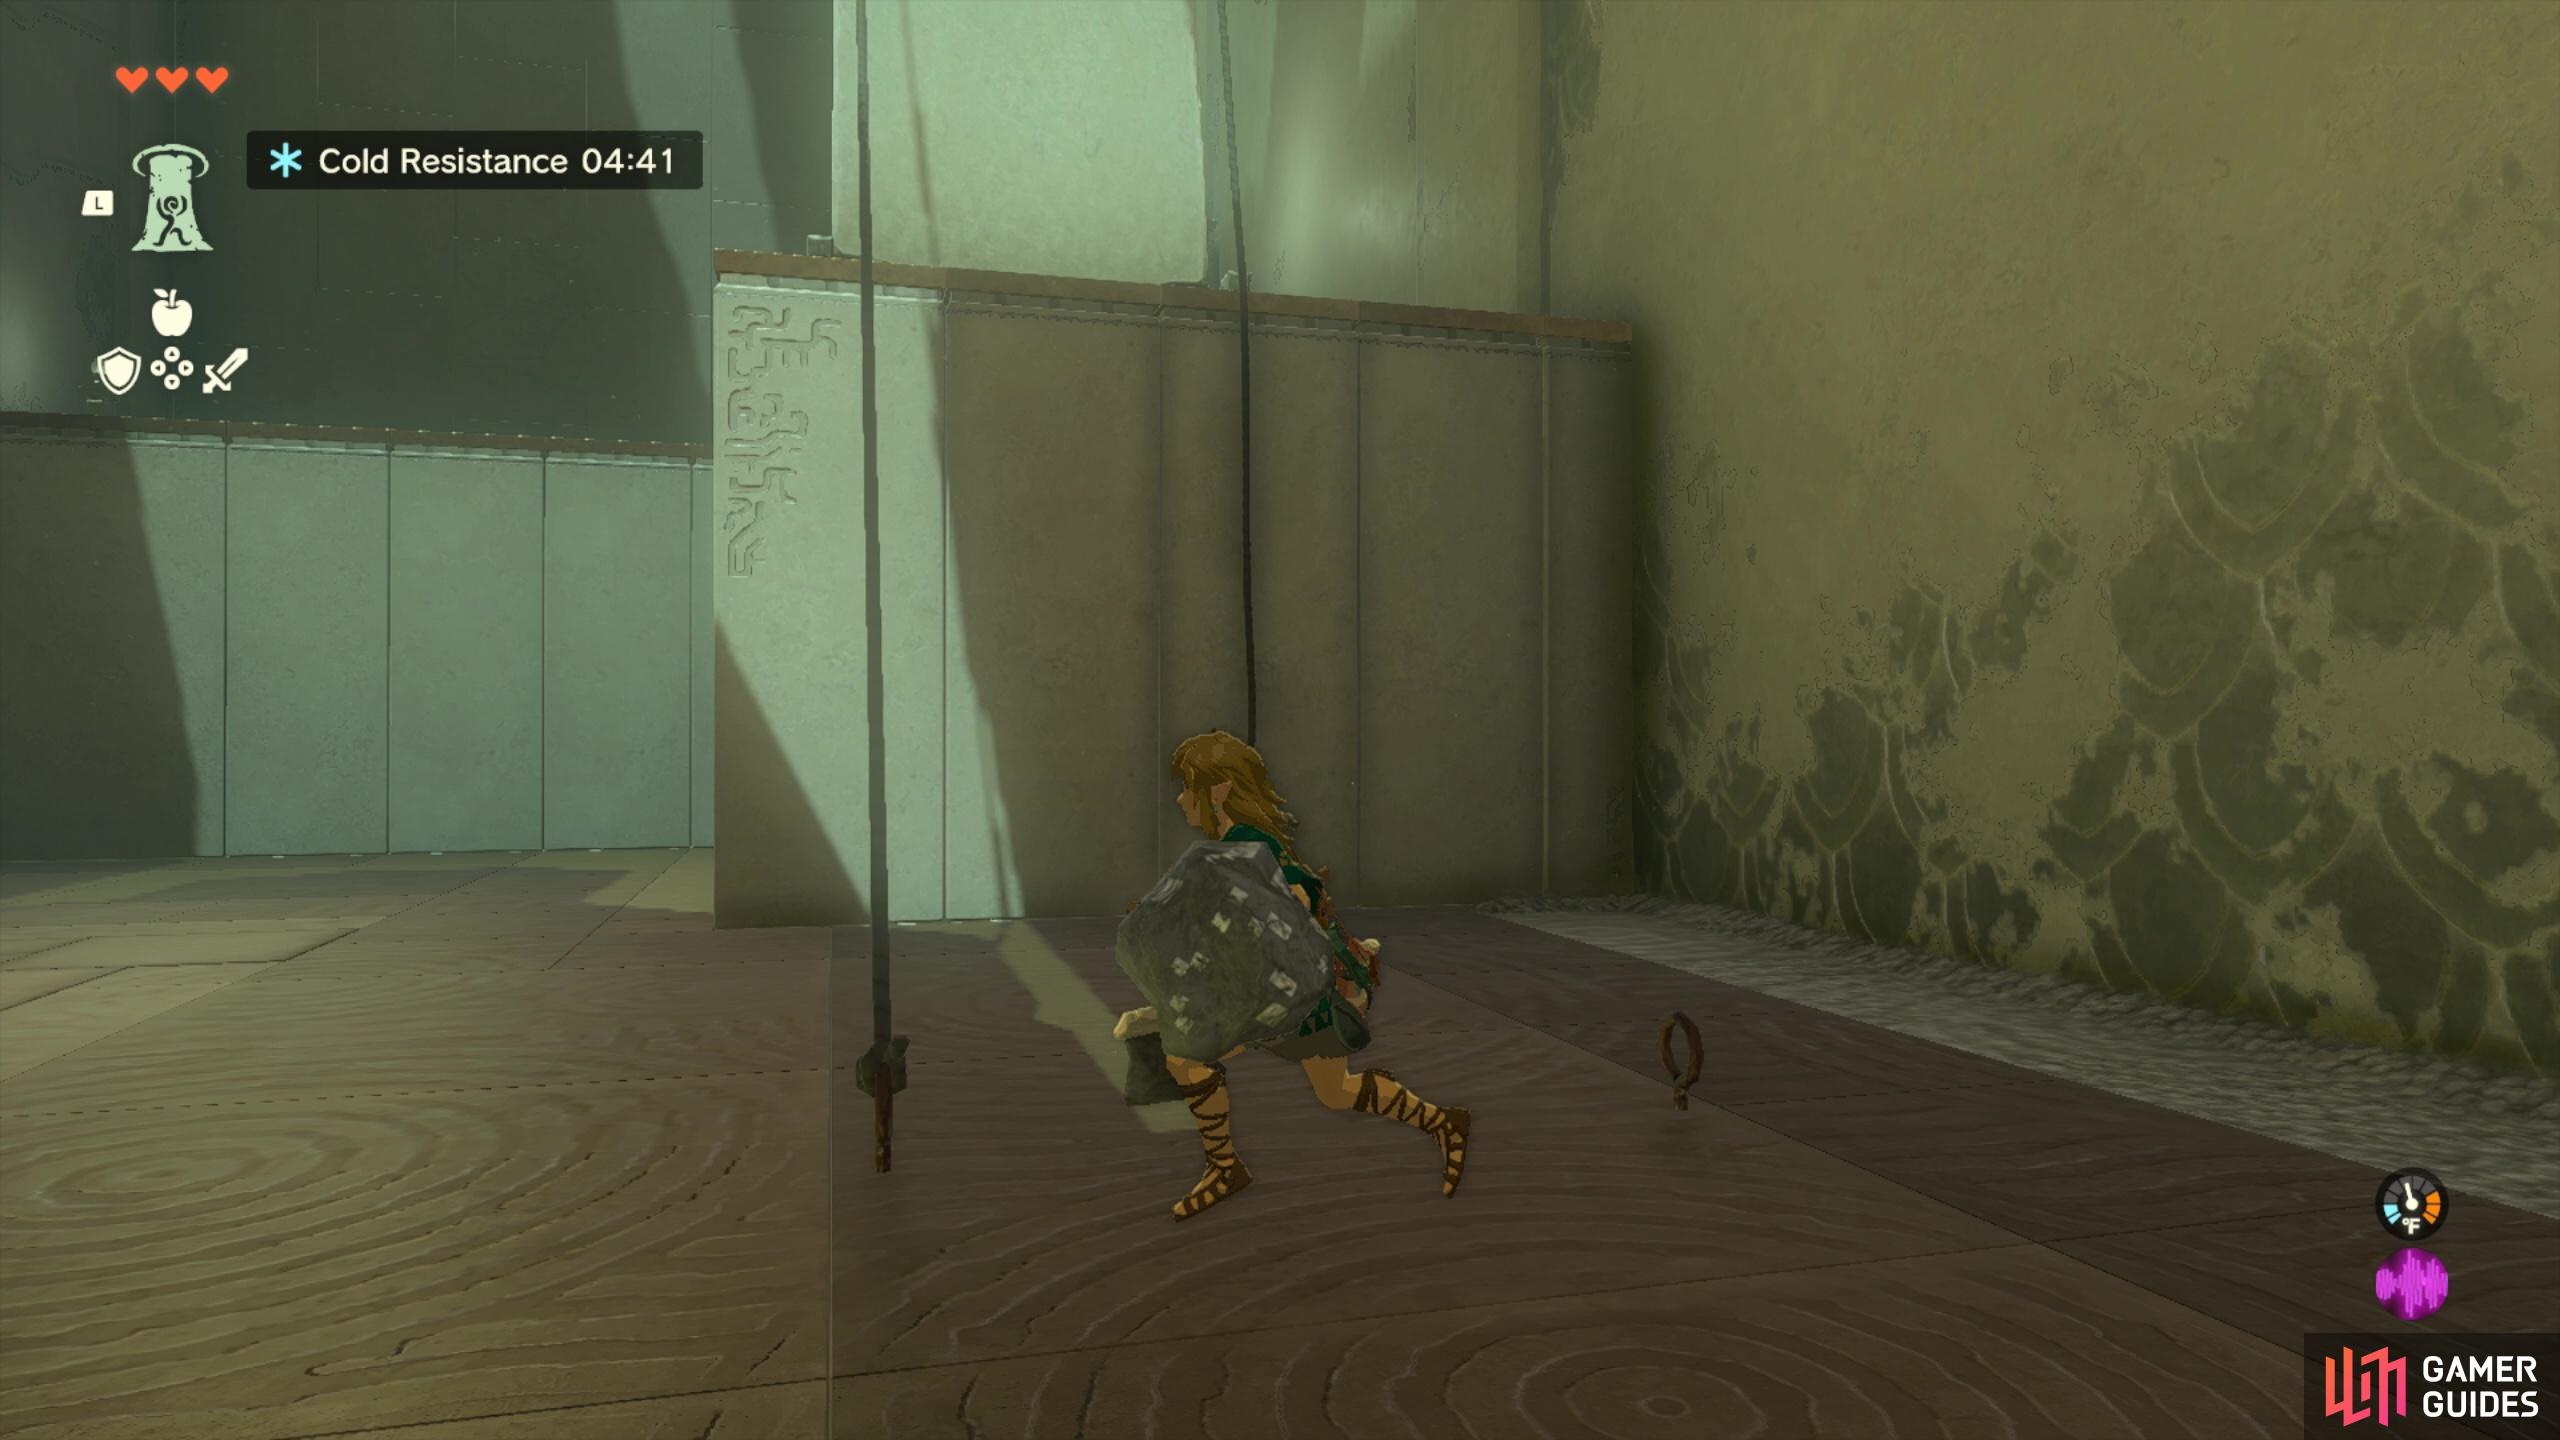
Cut the ropes to drop the bridge so you can ascend onto it.
The final puzzle is pretty simple. All you have to do is wait beneath the moving platform up ahead and wait until its right above you to ascend up onto it. Then once you’re on the platform time your ascend onto the platform above to reach the end of the shrine where you can receive your ![]() Light of Blessing.
Light of Blessing.
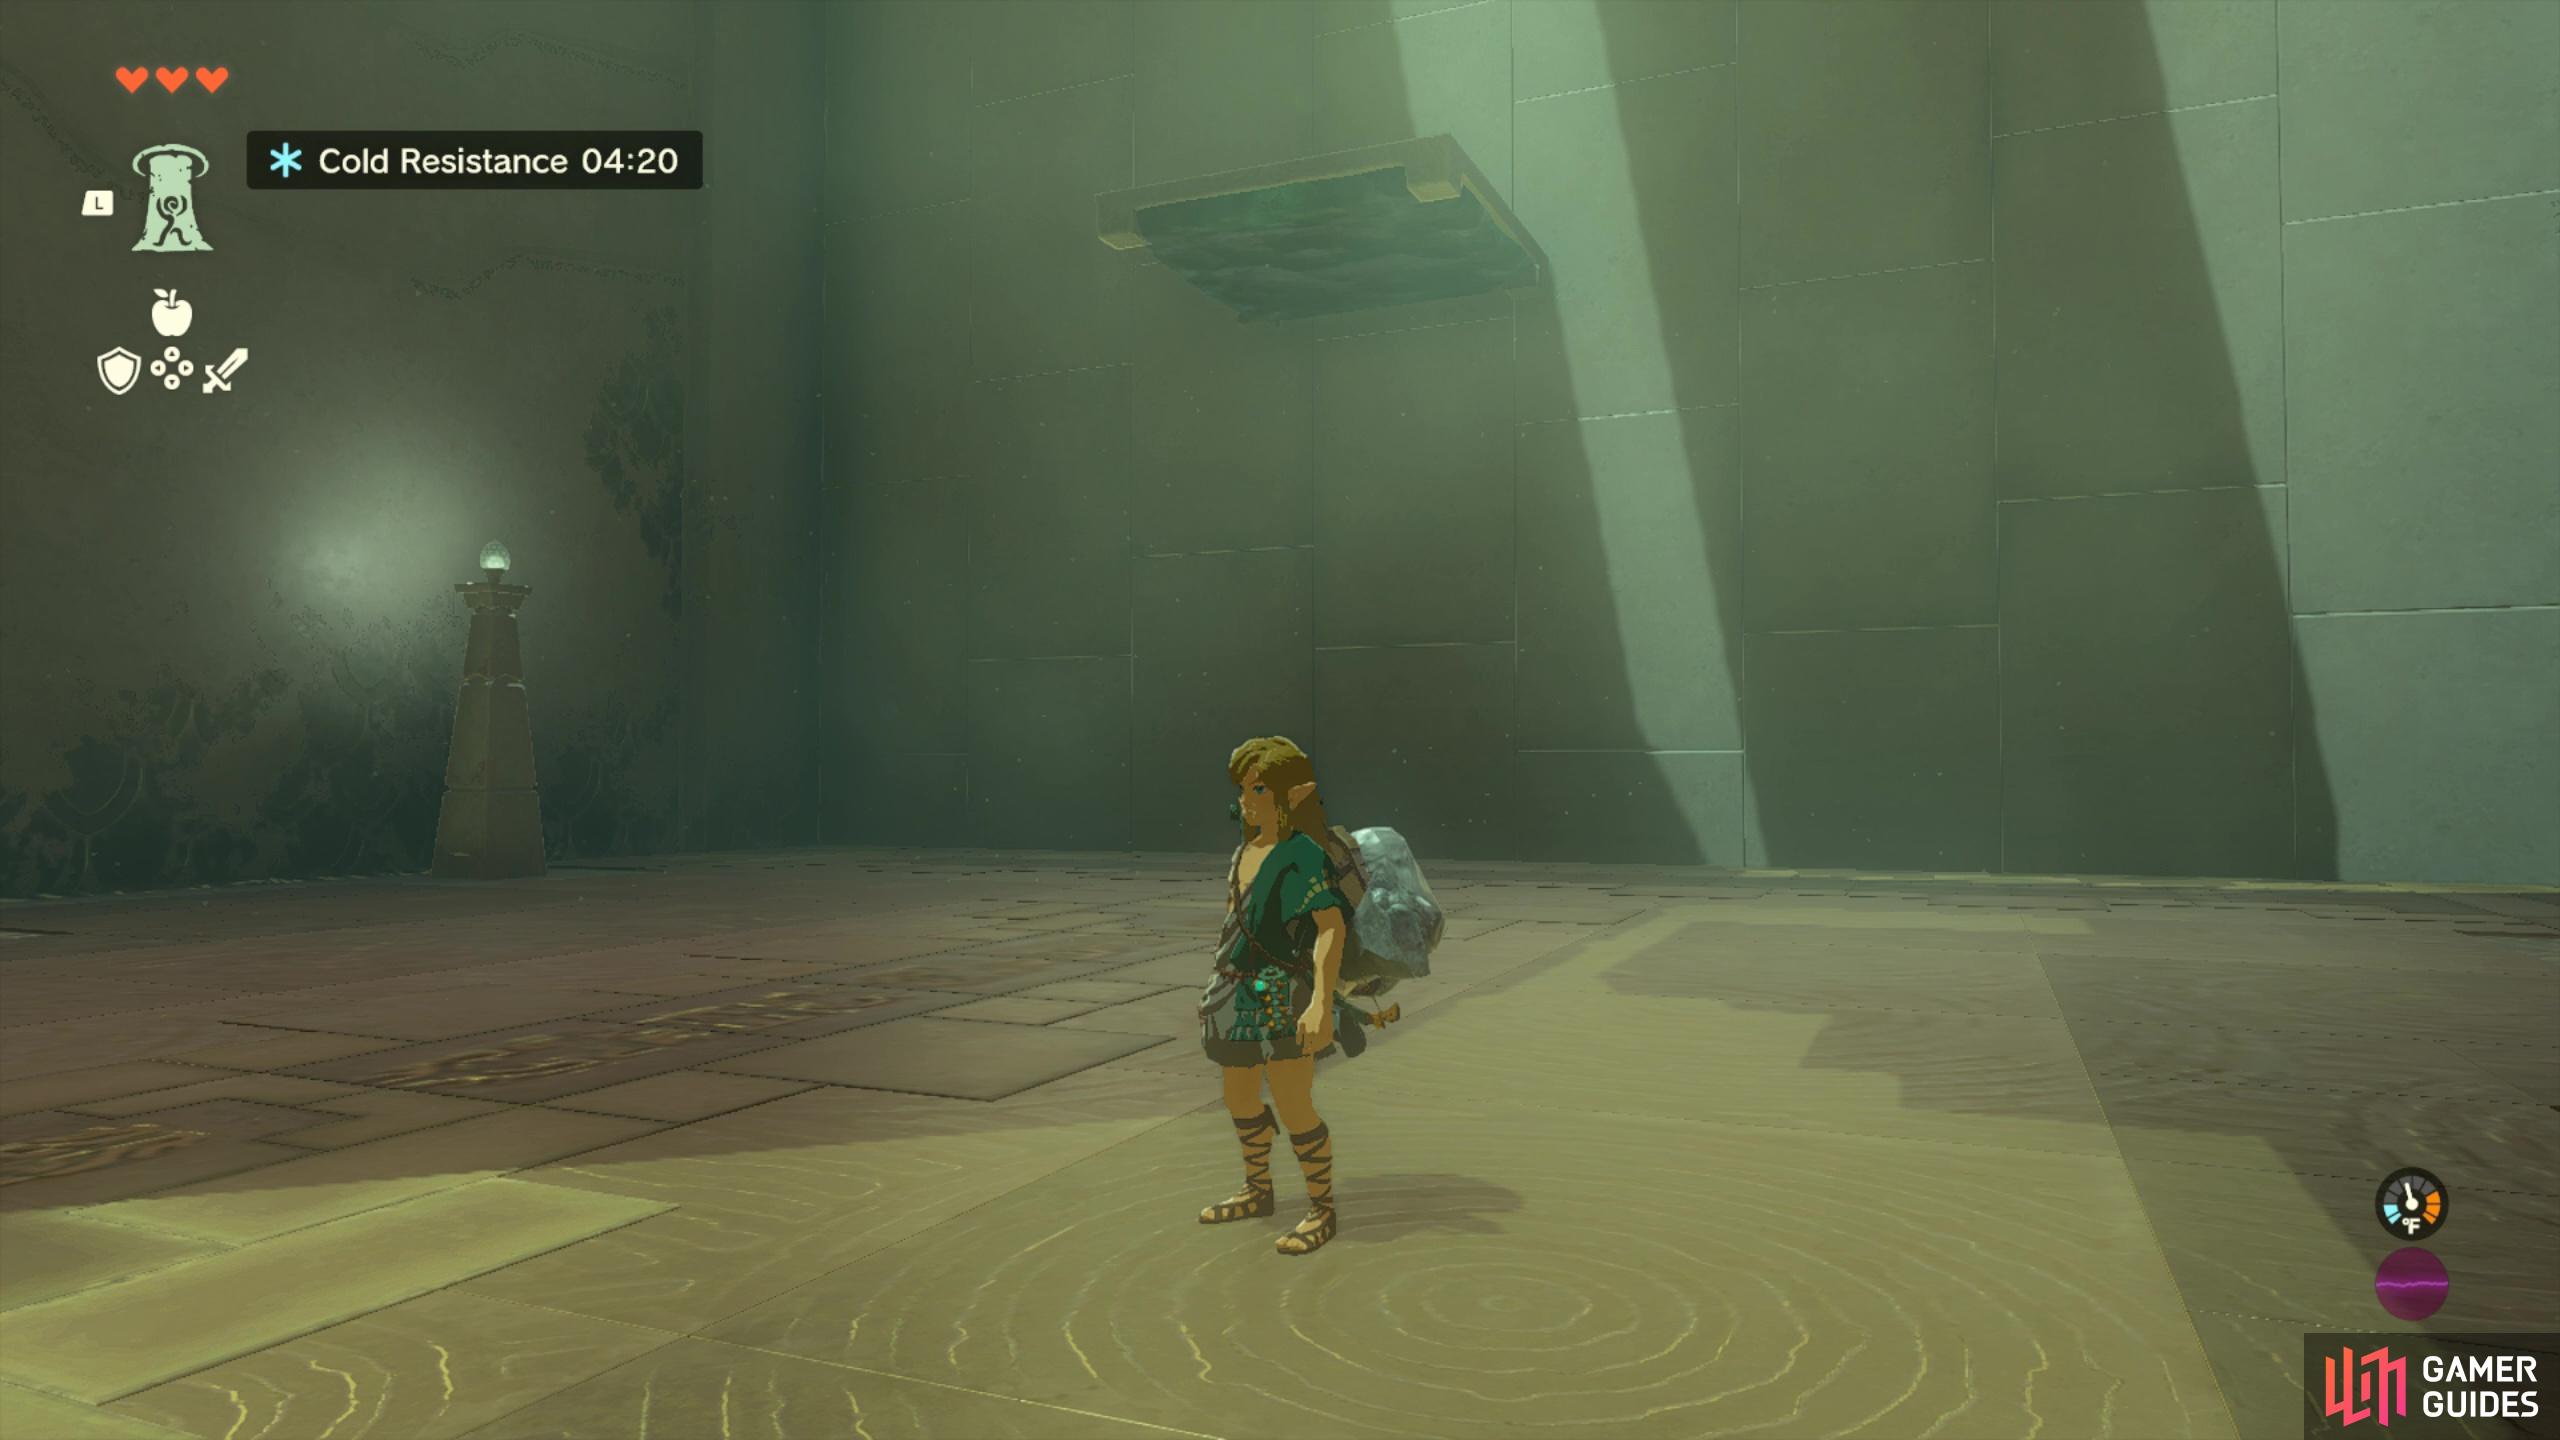
Position yourself beneath the moving platform and ascend when its right above you!
No Comments