
This page offers a guide on how to complete ![]() Makasura Shrine, which can be found in the West Necluda in The Legend of Zelda: Tears of the Kingdom (TOTK).
Makasura Shrine, which can be found in the West Necluda in The Legend of Zelda: Tears of the Kingdom (TOTK).
The Makasura Shrine is right on the outskirts of Kakariko Village
Where to Find Makasura Shrine in Tears of the Kingdom
You will find Makasura Shrine on the outskirts of Kakariko Village, on a cliff overlooking the village itself. You can try climbing the cliffs to get to it, but there is an easier way to get to the shrine. Near the western entrance to the village, right by the first arch, there will be some wooden scaffolding along the cliff’s wall. Standing underneath the first one, use ![]() Ascend to get above it, then keep doing this until you finally reach the top.
Ascend to get above it, then keep doing this until you finally reach the top.
Using !Ascend on the scaffolding by the east entrance is the easier way to get to the shrine
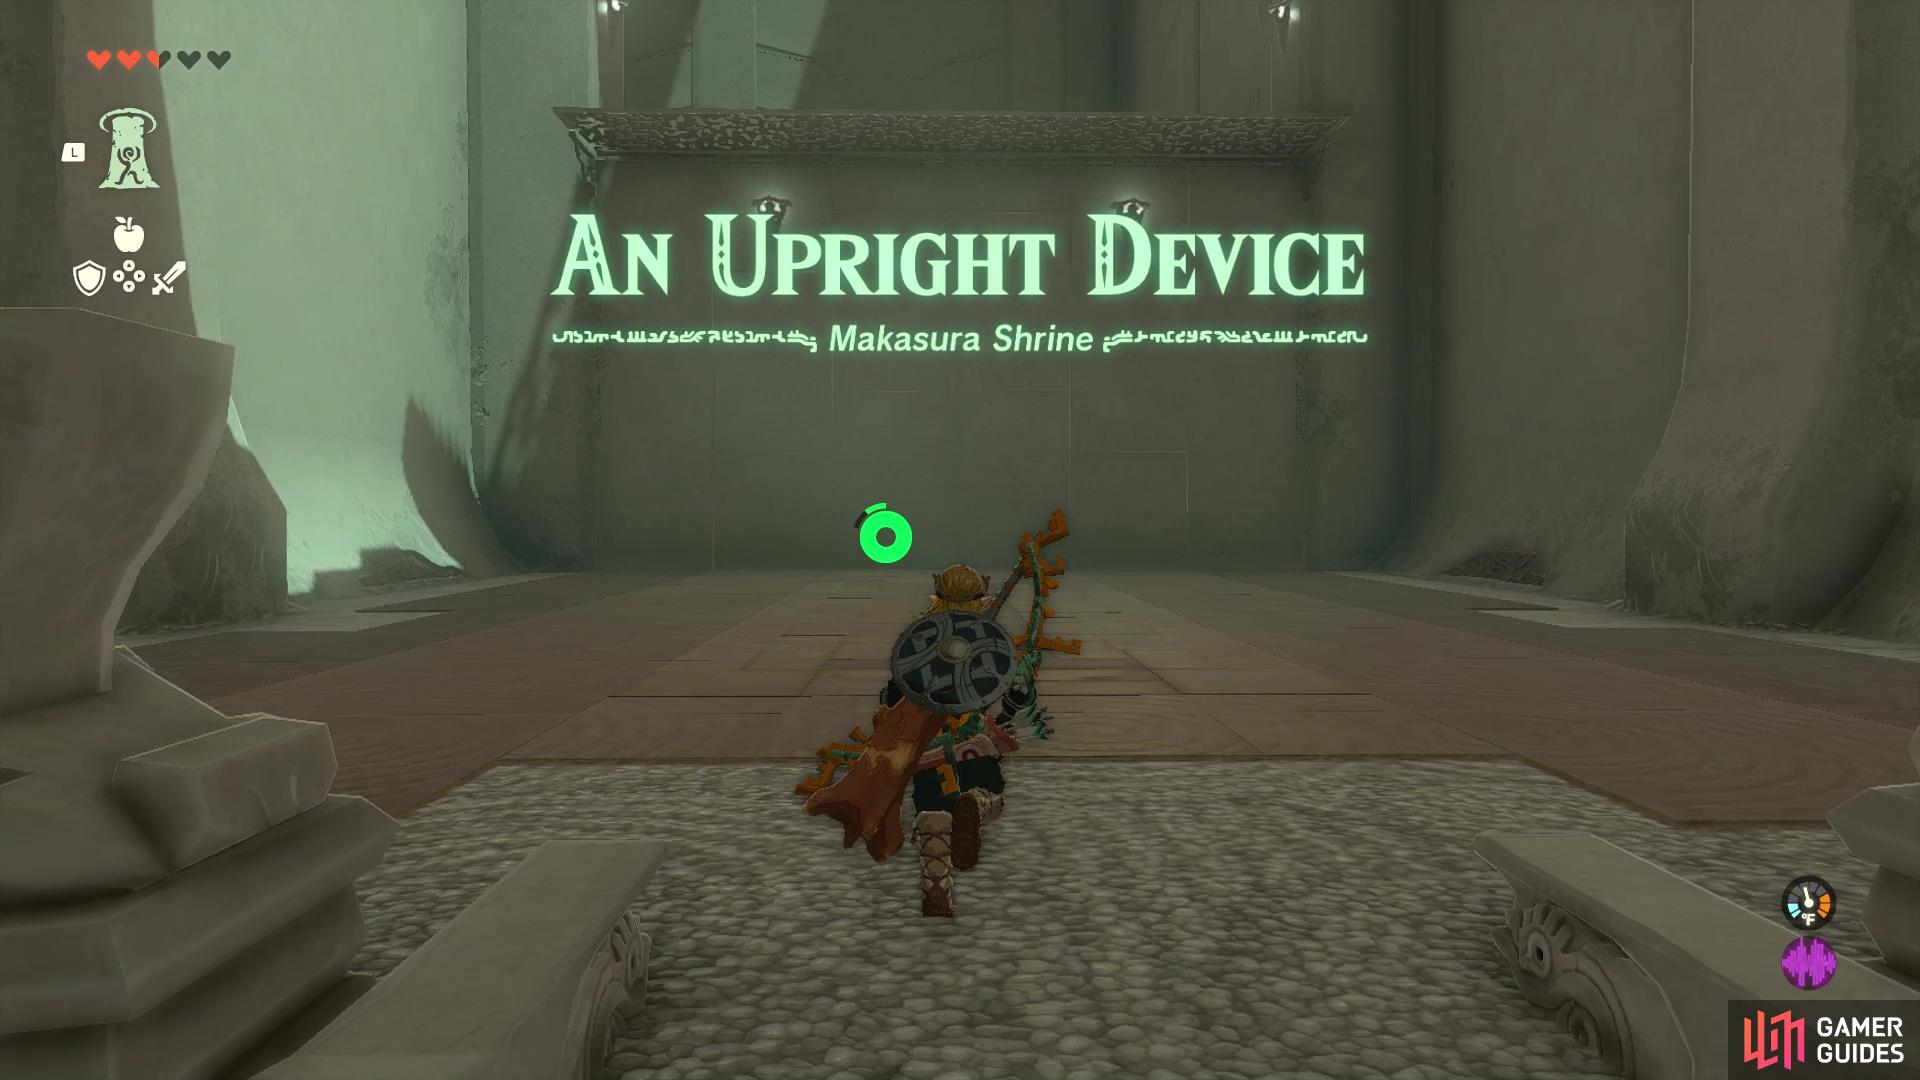
An Upright Device: Makasura Shrine
Upon entering the shrine, you will find the first room has absolutely nothing at all in it, so you might be a bit confused if you end up forgetting about the Ascend ability, like a lot of people tend to do. Go forward to the wall opposite of where you entered and use Ascend to reach the next ledge, where the proper shrine puzzling will begin. In the next part, as well as throughout the rest of the shrine, you will see the Zonai Device that will be in use, the Stabilizer. Whenever you strike this to turn it on, the device will stand upright, no matter what you do with it (unless you hit it to turn it off, of course).
You will see the !Stabilizer attached to a platform here, as well as a large gap. The !Stabilizer can help you construct some makeshift catapults, which will be used to launch yourself over the gaps and walls here. With that little bit of knowledge, you will need to rotate the first !Stabilizer platform, so the Zonai object is facing the gap. Stand on the other side of the “catapult” and hit the !Stabilizer with an arrow to launch yourself across the gap.
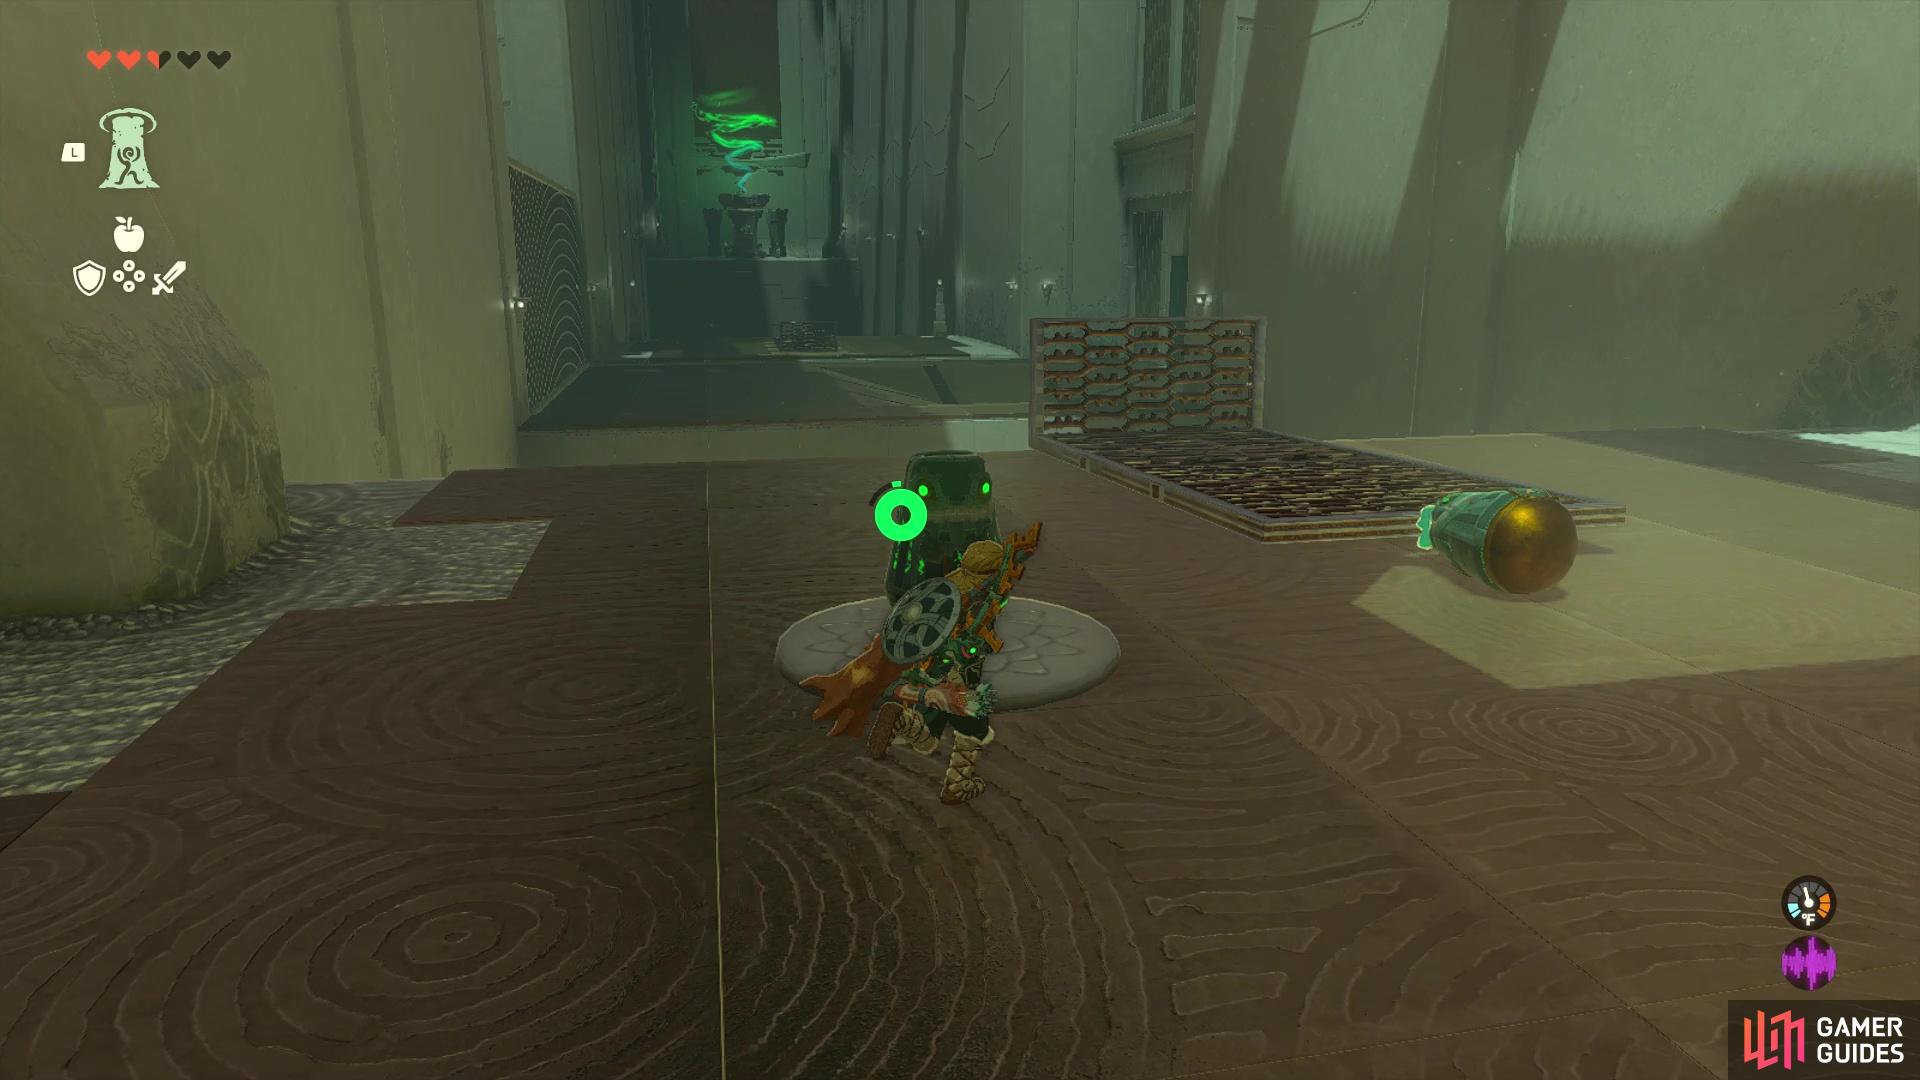
The !Stabilizer can be used to construct some catapults
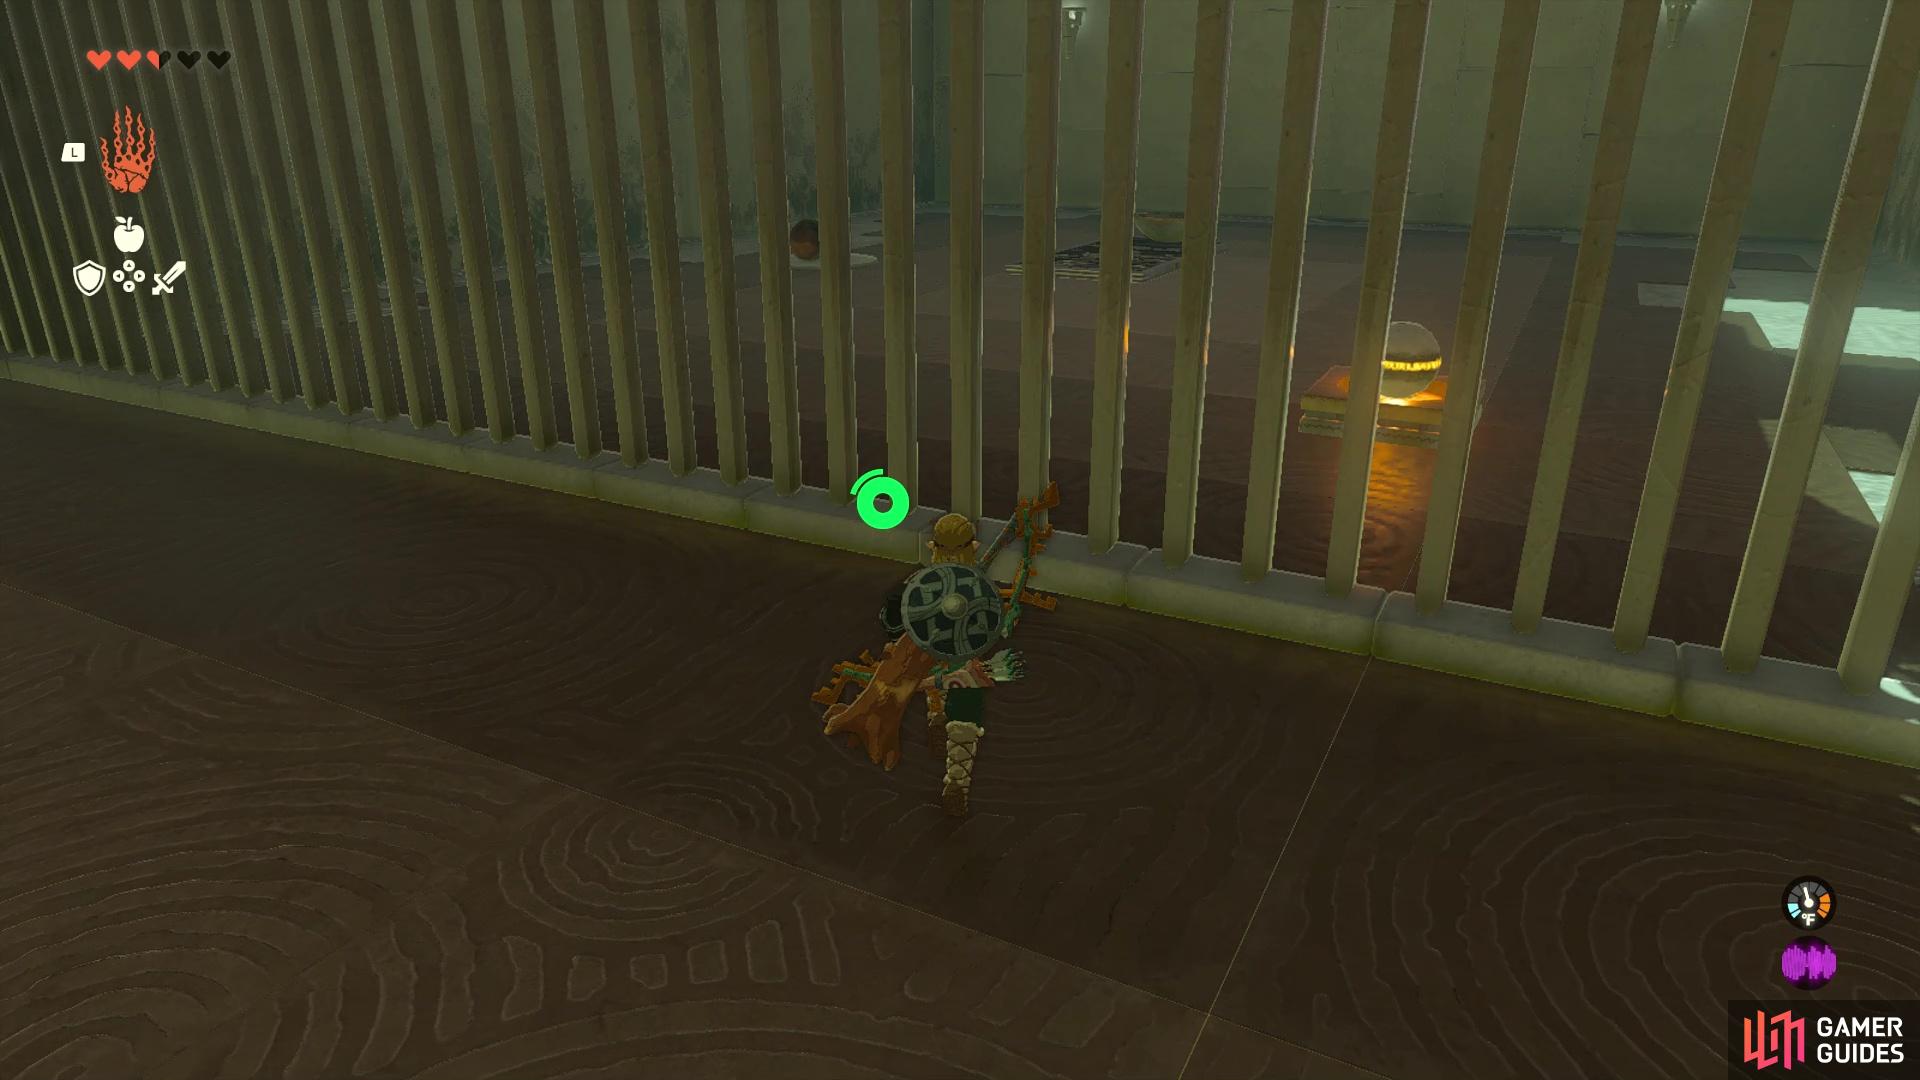
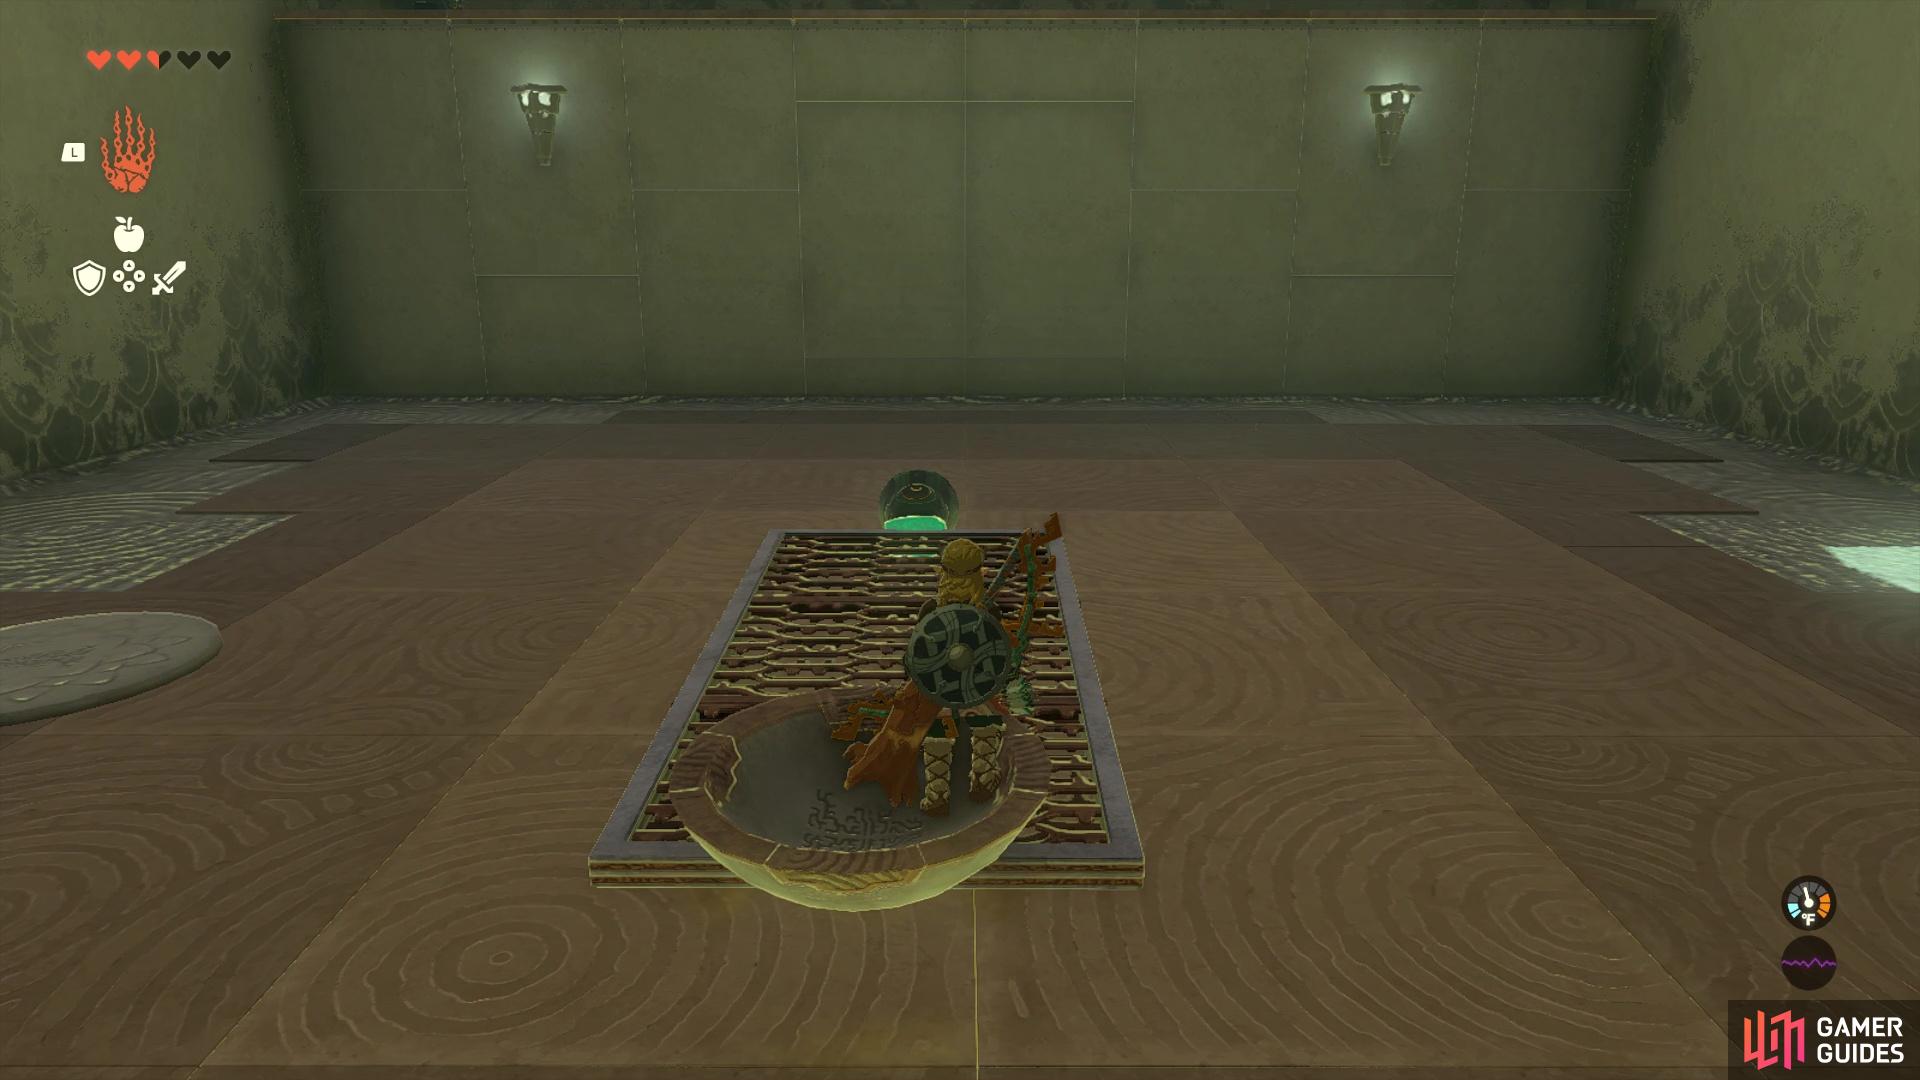
Your goal in the second area is to first get into the caged section with the ball
The next bit will have two tall walls on either side, as well as another !Stabilizer attached to a platform, and a receptacle in the ground, for a ball. First, locate the side with the ball behind it, as that is where you will be going right now. Position the catapult in the center and launch yourself over the wall, although it may take a few tries to get it just right. In this little side room, you will see the ball mentioned earlier, as well as an unfused !Stabilizer and one more platform that has a bowl attached to the end. You may already have an idea on what to do, but before doing anything, attach to the !Stabilizer to the opposite end of the bowl.
As you likely saw when you got launched over the wall, was a higher ledge on the one side. With the catapult with the bowl, aim it at the ledge and launch yourself up to it, where you’ll find a chest that contains a Fairy Tonic; this is the only chest in this shrine. Reverse the catapult and use ![]() Ultrahand to place the ball in the bowl, then sling it over the wall; do this again, but with yourself, to get back over. The ball will eventually settle into the receptacle, opening the gate on the one side.
Ultrahand to place the ball in the bowl, then sling it over the wall; do this again, but with yourself, to get back over. The ball will eventually settle into the receptacle, opening the gate on the one side.
Inside this little area will be another platform with a bowl, although there is nothing else here. Return to the central area with that platform, and attach it to the main catapult thing there, at the far end of it. Set it up so the bowl is opposite the large chasm, then use it to launch yourself over it, to the altar on the other side, where you can finish this shrine and get another ![]() Light of Blessing.
Light of Blessing.
No Comments