
This page offers a guide on how to complete Kyononis Shrine, which is found in Central Hyrule in The Legend of Zelda: Tears of the Kingdom.

Kyononis Shrine: Combat Training.
Where to Find Kyononis Shrine
Kyononis Shrine is found just north of Lookout Landing, near the outskirts of Hyrule Castle in Central Hyrule. This shrine acts like a bit of a combat tutorial, offering you controls for different attack moves and counterattacks.
Kyononis Shrine: Combat Training
During the Kyononis Shrine, you’ll learn how to side hop, backflip, parry and charge attack in combat. To complete this shrine you will need to complete each of these moves at least once!
How to Side Hop
In order to side hop, you’ll need to first target the enemy using  , then strafing (moving sideways) using the left analog stick
  and then press
  to jump.
You’ll need to time this side hop perfectly - right as you’re about to get hit by the Construct’s weapon! When you get the timing right, it’ll trigger the opportunity to perform a Flurry Rush by spamming  in the slo-mo time period. You can only continue with this trial once you’ve succesfully performed a side hop and flurry rush so don’t give up till you’ve gotten it right! It is also useful for future combat to get this nailed down.
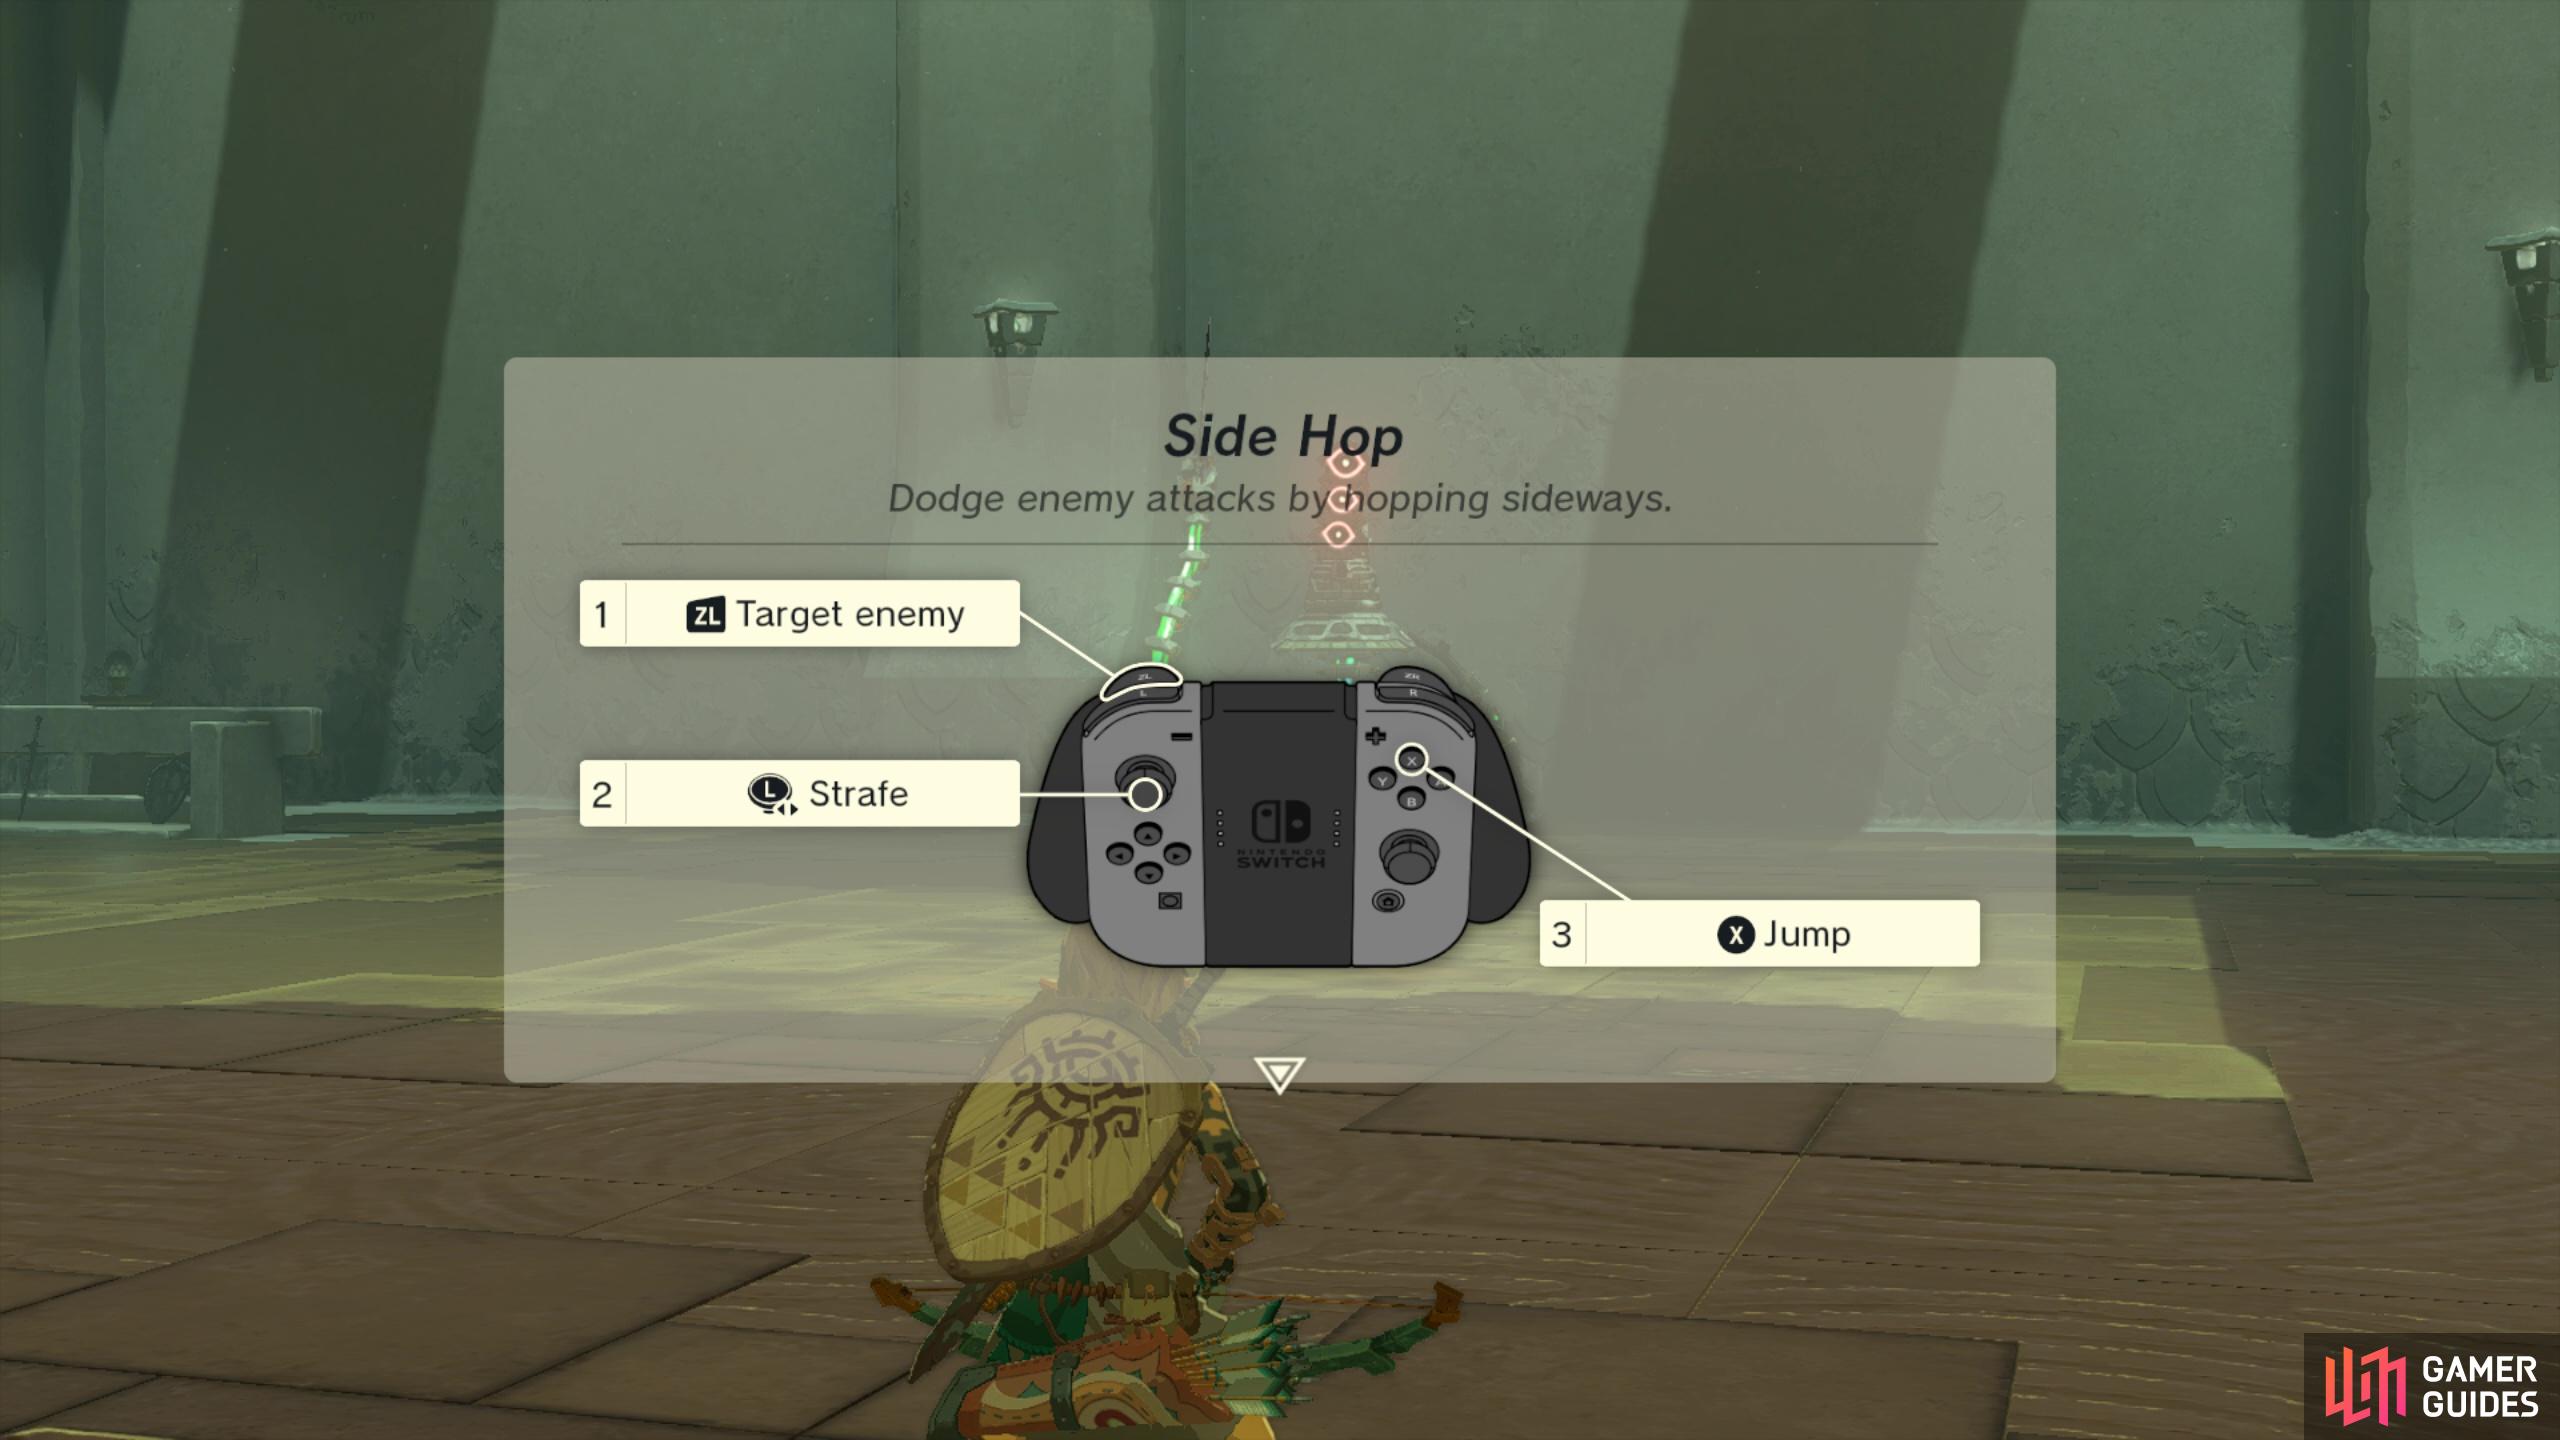
Side hop combat controls
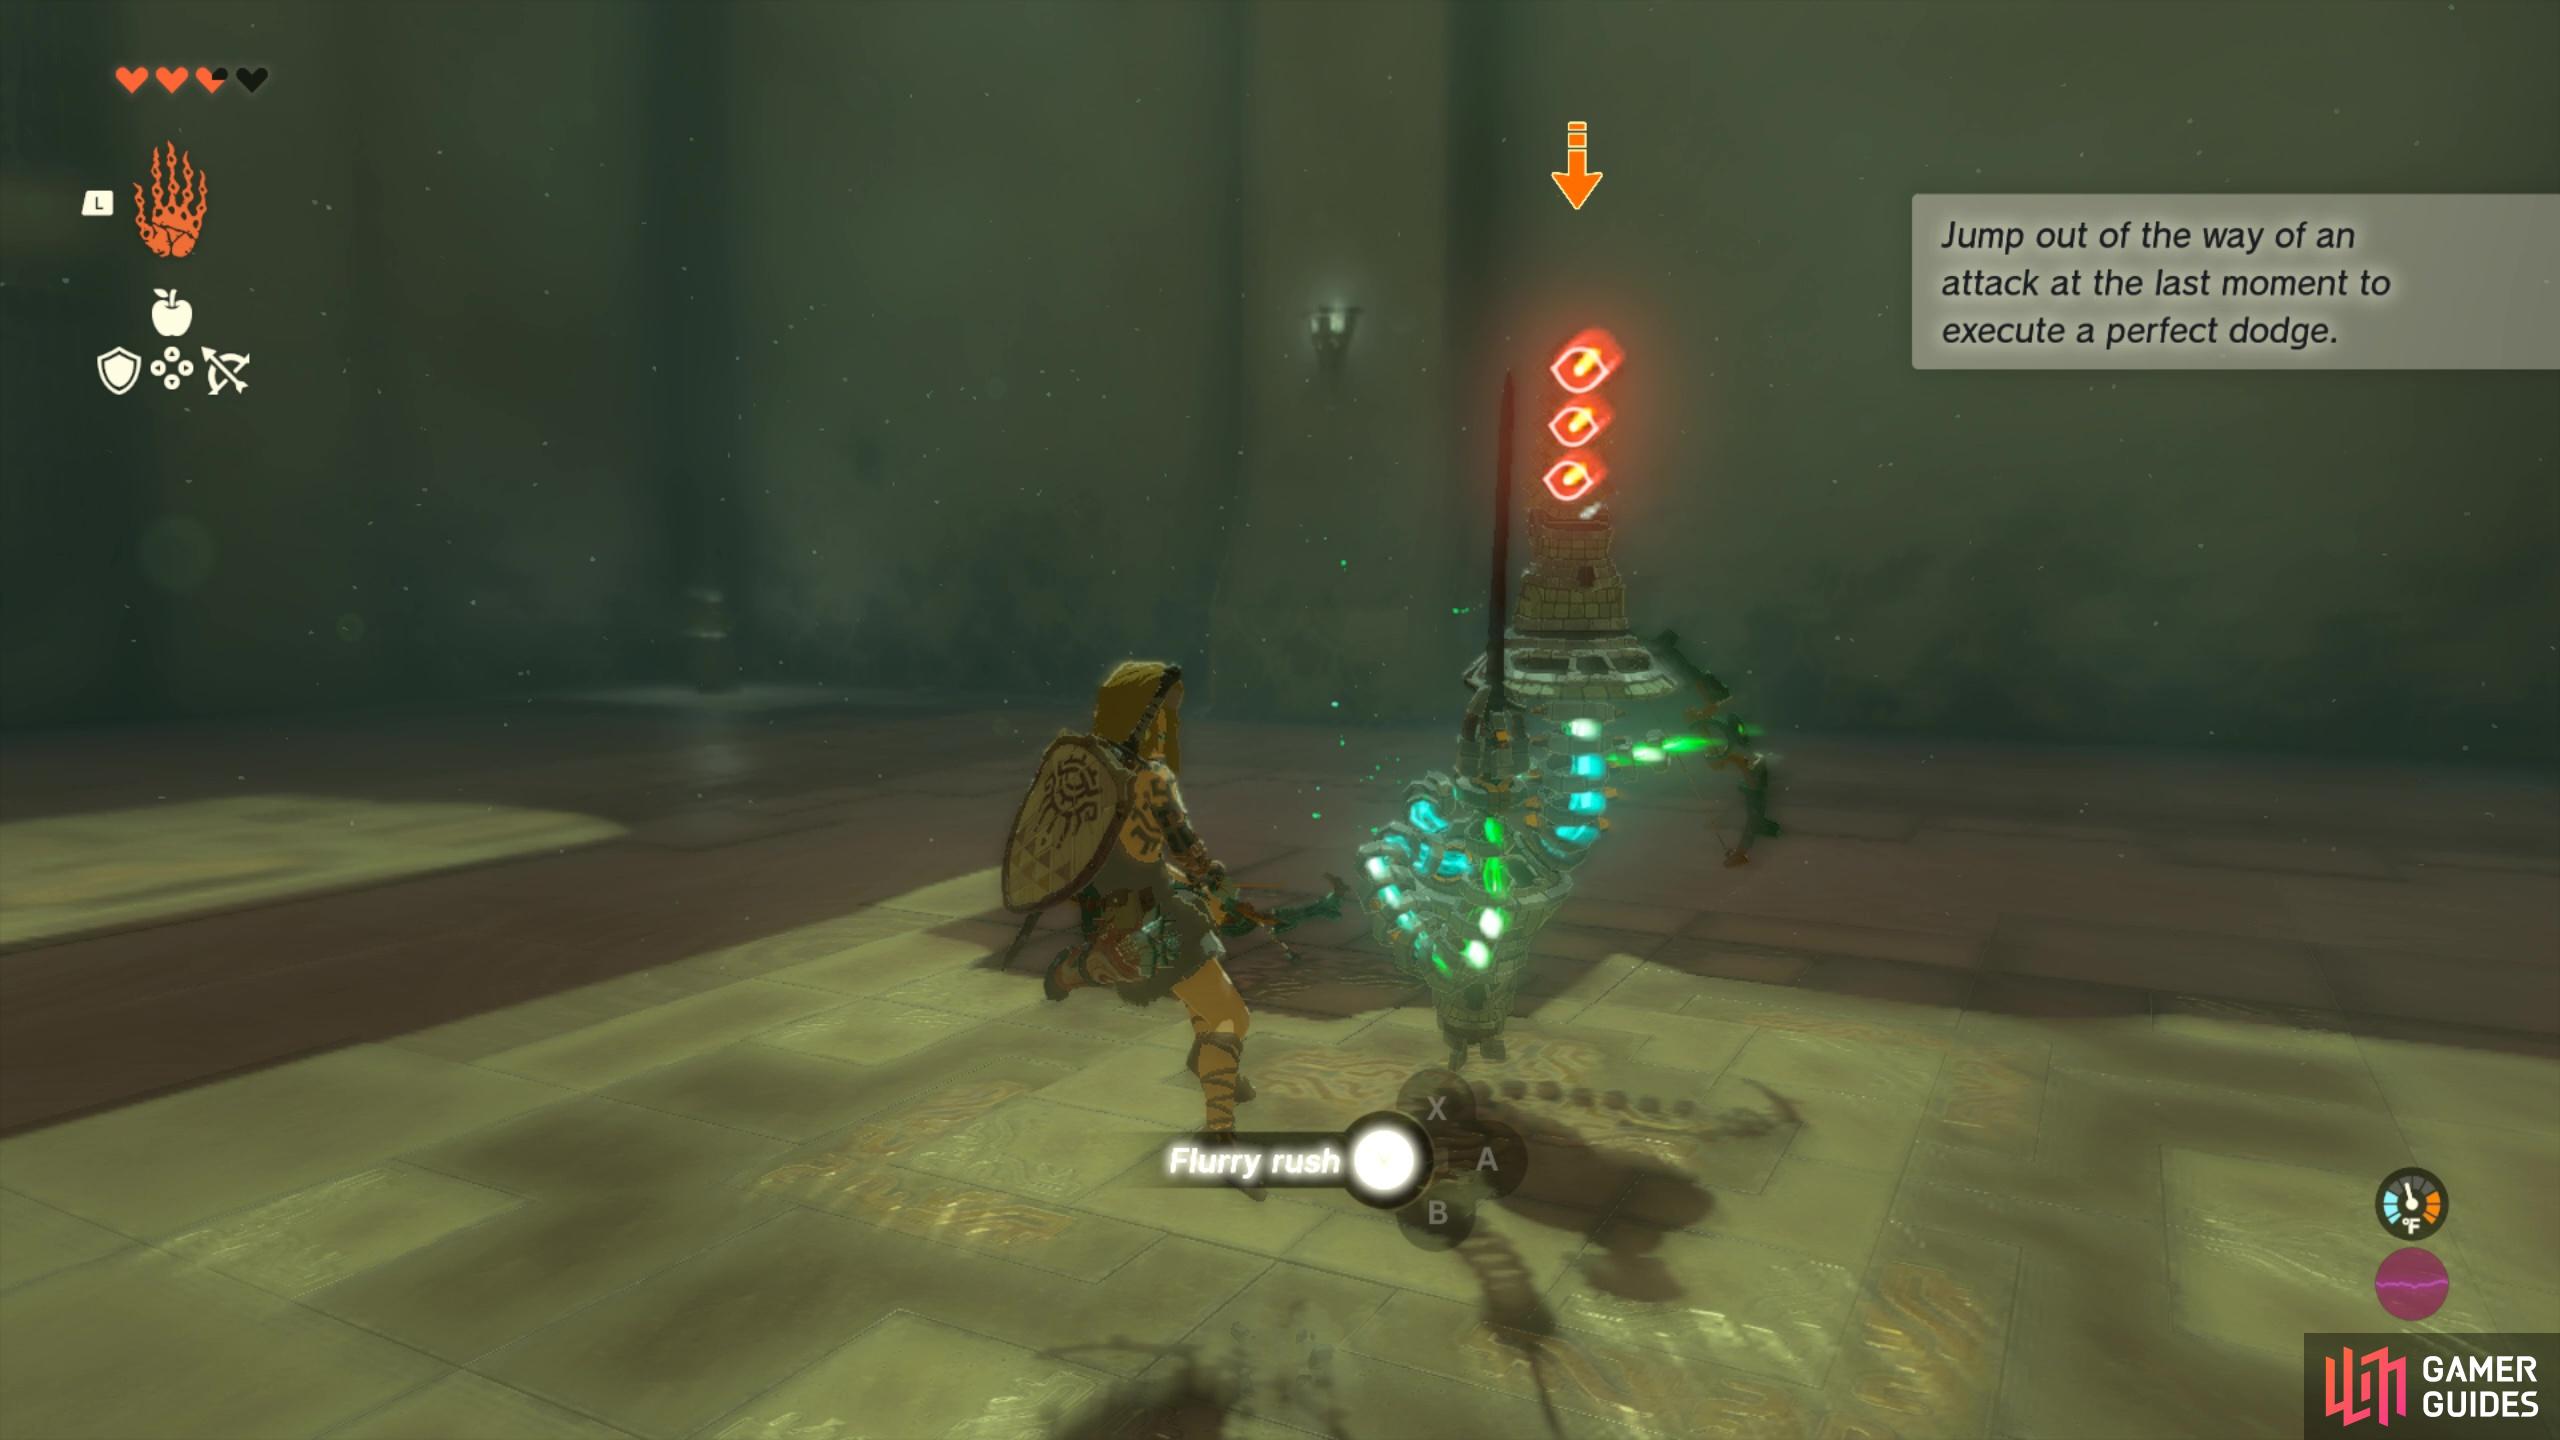
side hop to trigger a flurry rush!
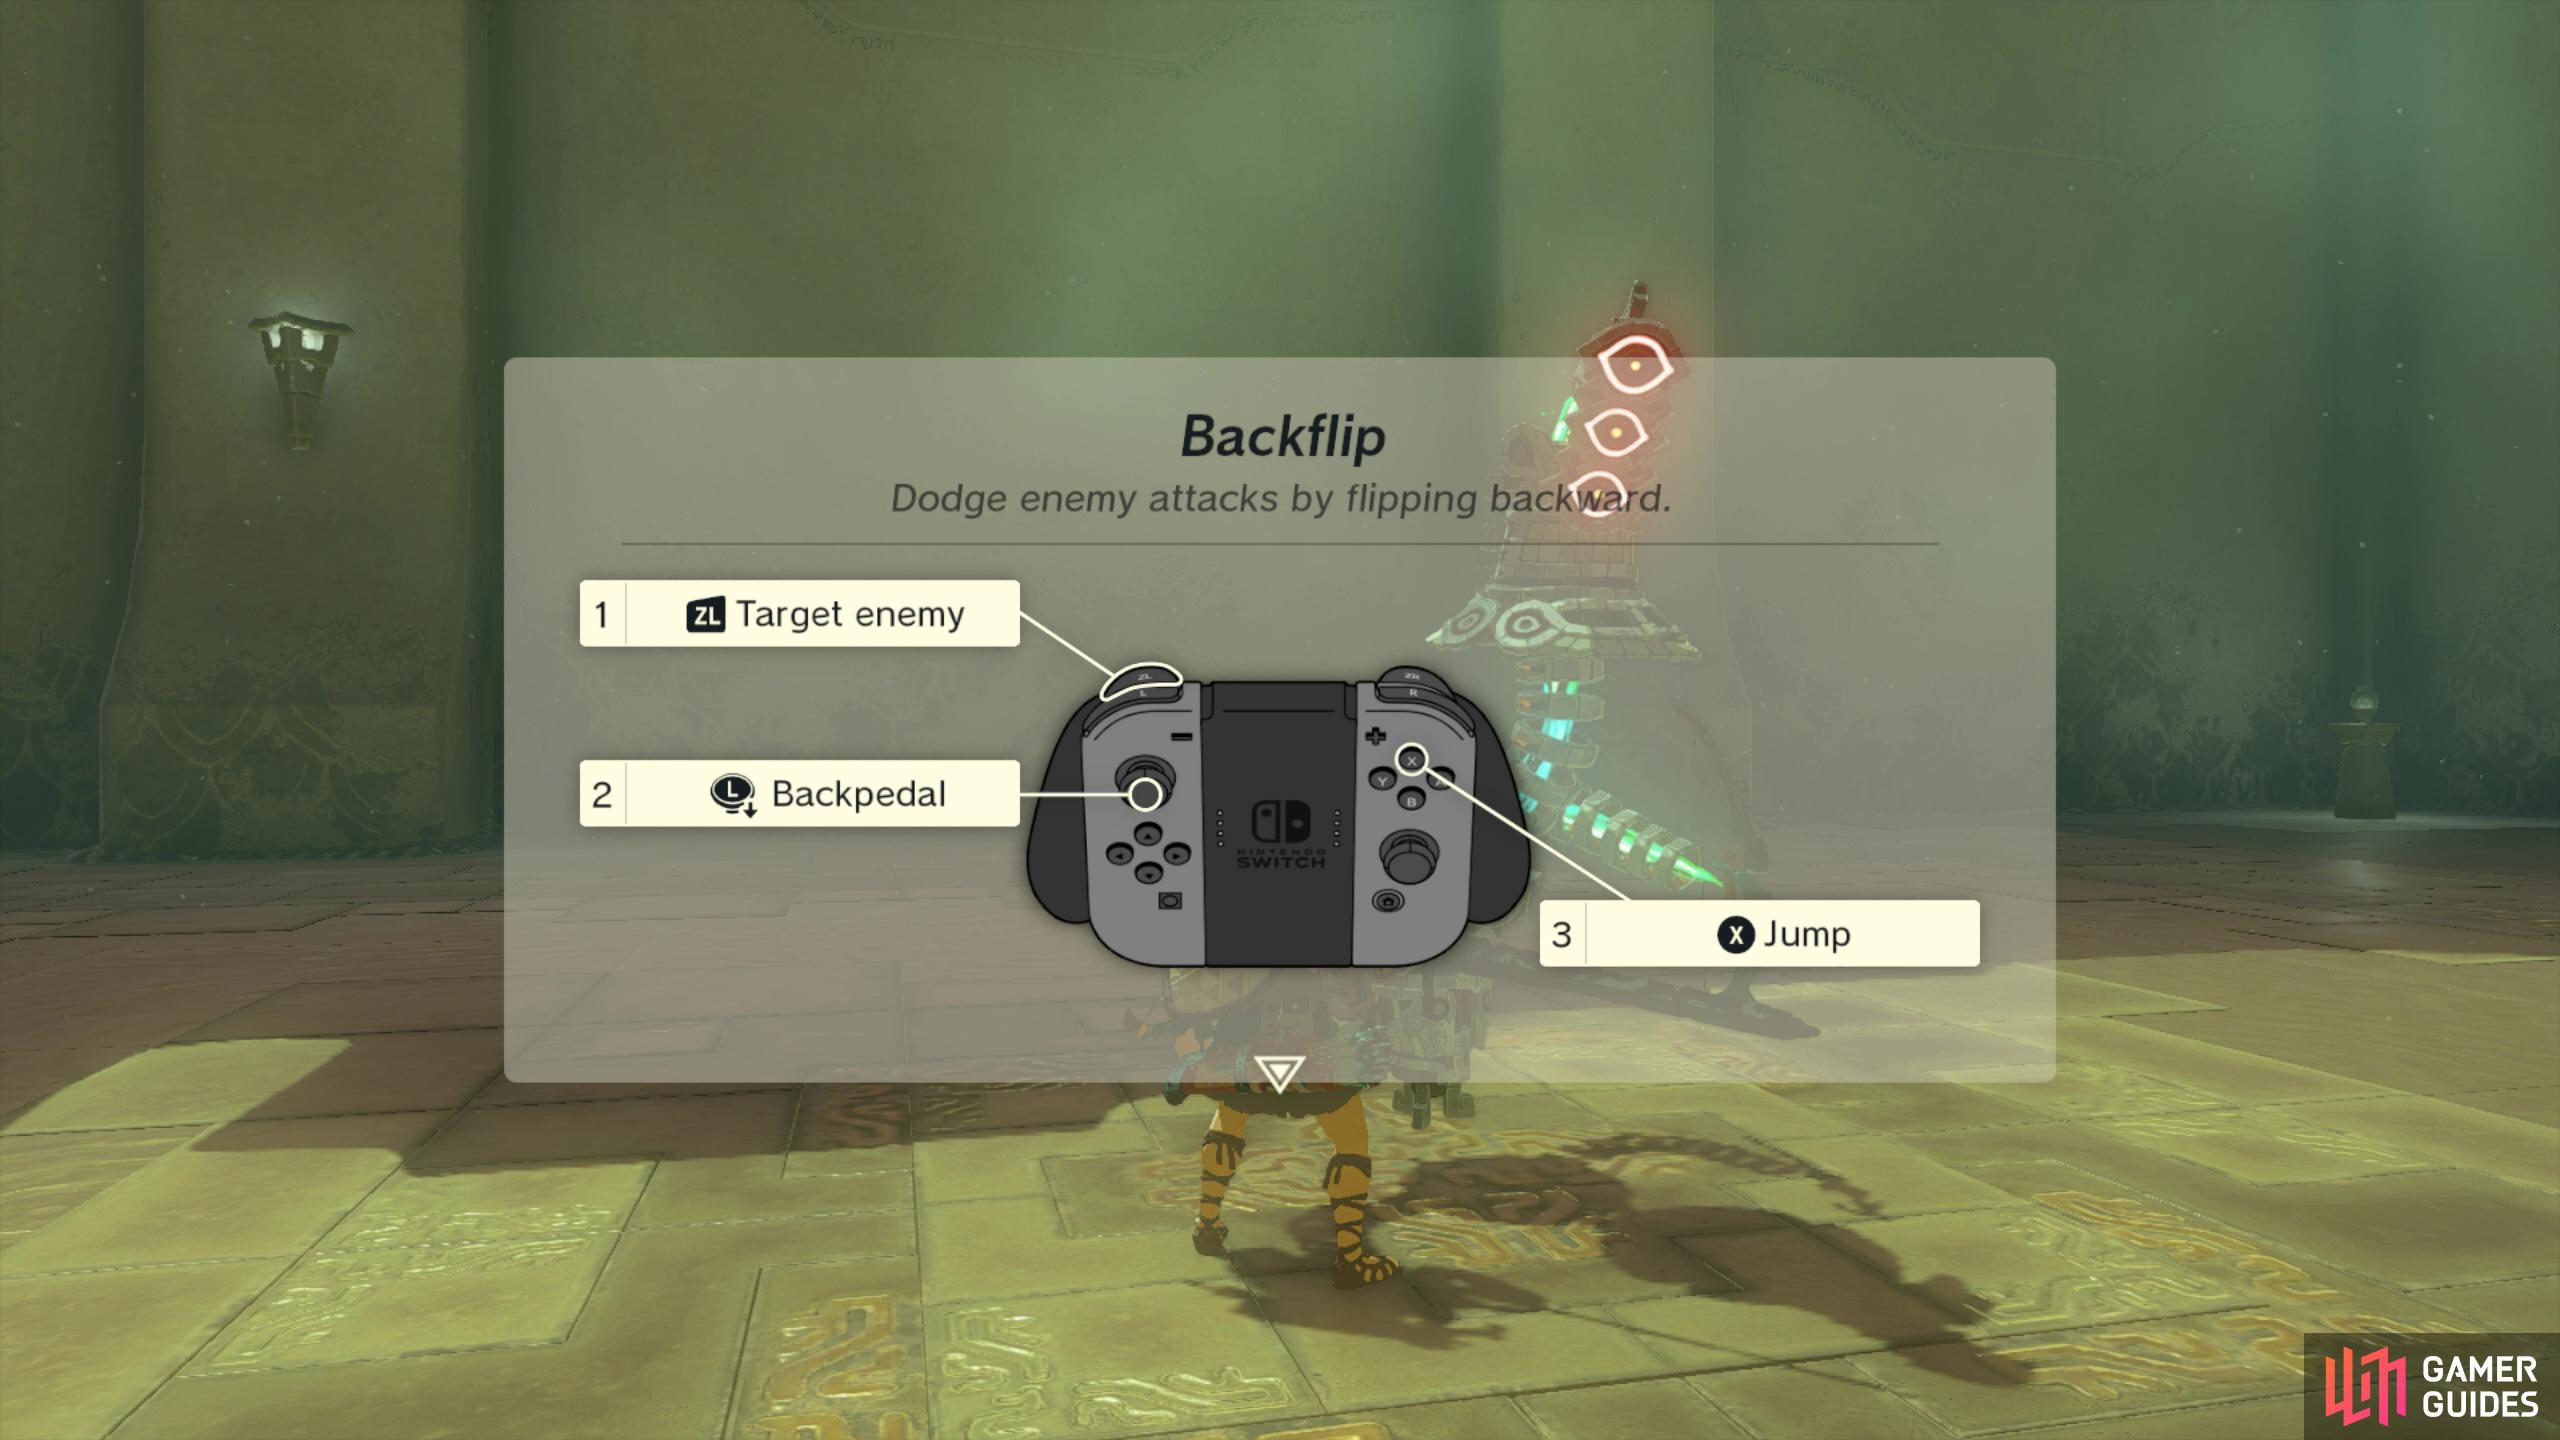
How to Backflip
In order to backflip, you’ll need to first target the enemy using , then backpedal (move backwards) using the left analog stick  and then press to jump.
When you perform this move perfectly and well timed, you’ll get to do a flurry attack again. Once again, you’ll need to perform a backflip and flurry rush to proceed onto the next move.
and can also be used to trigger flurry attacks.
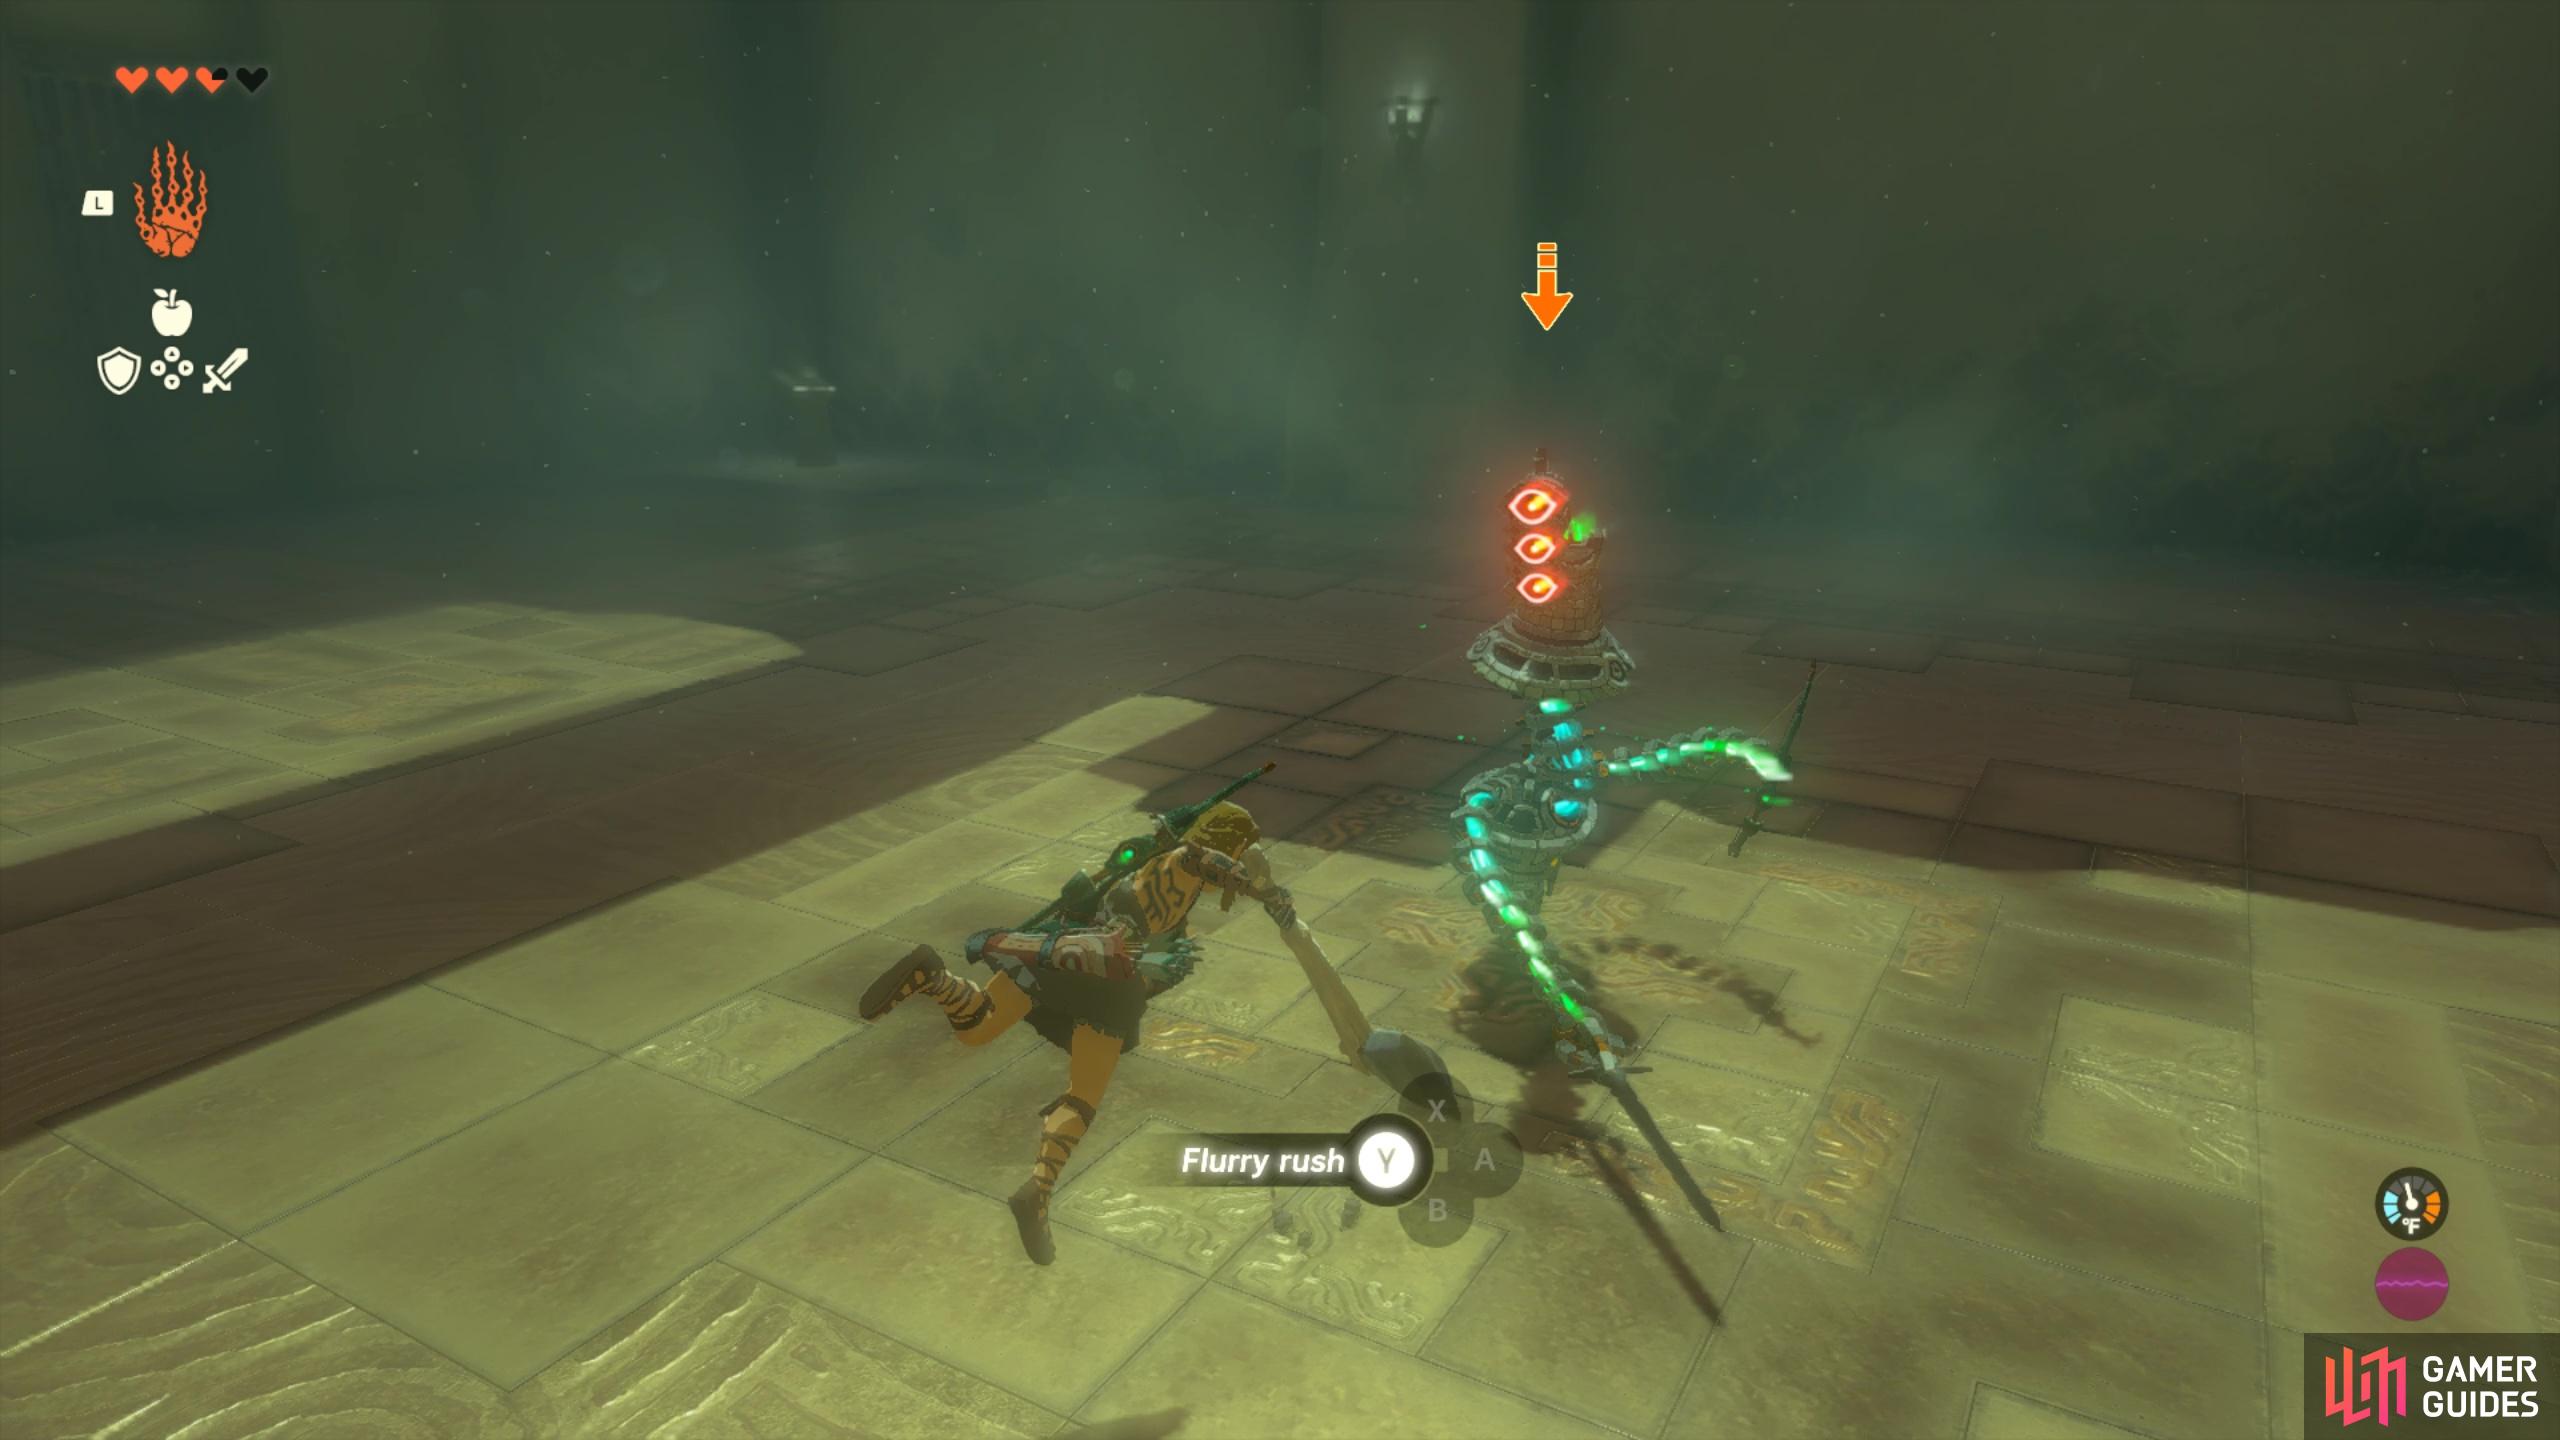
and can also be used to trigger flurry attacks.
How to Parry
To parry, you’ll need to equip a shield and ready it using and then press  to block and then parry an incoming attack. Parrying is pretty straightforward but does require you to use a shield in combat…and good timing to counterattack the enemy!
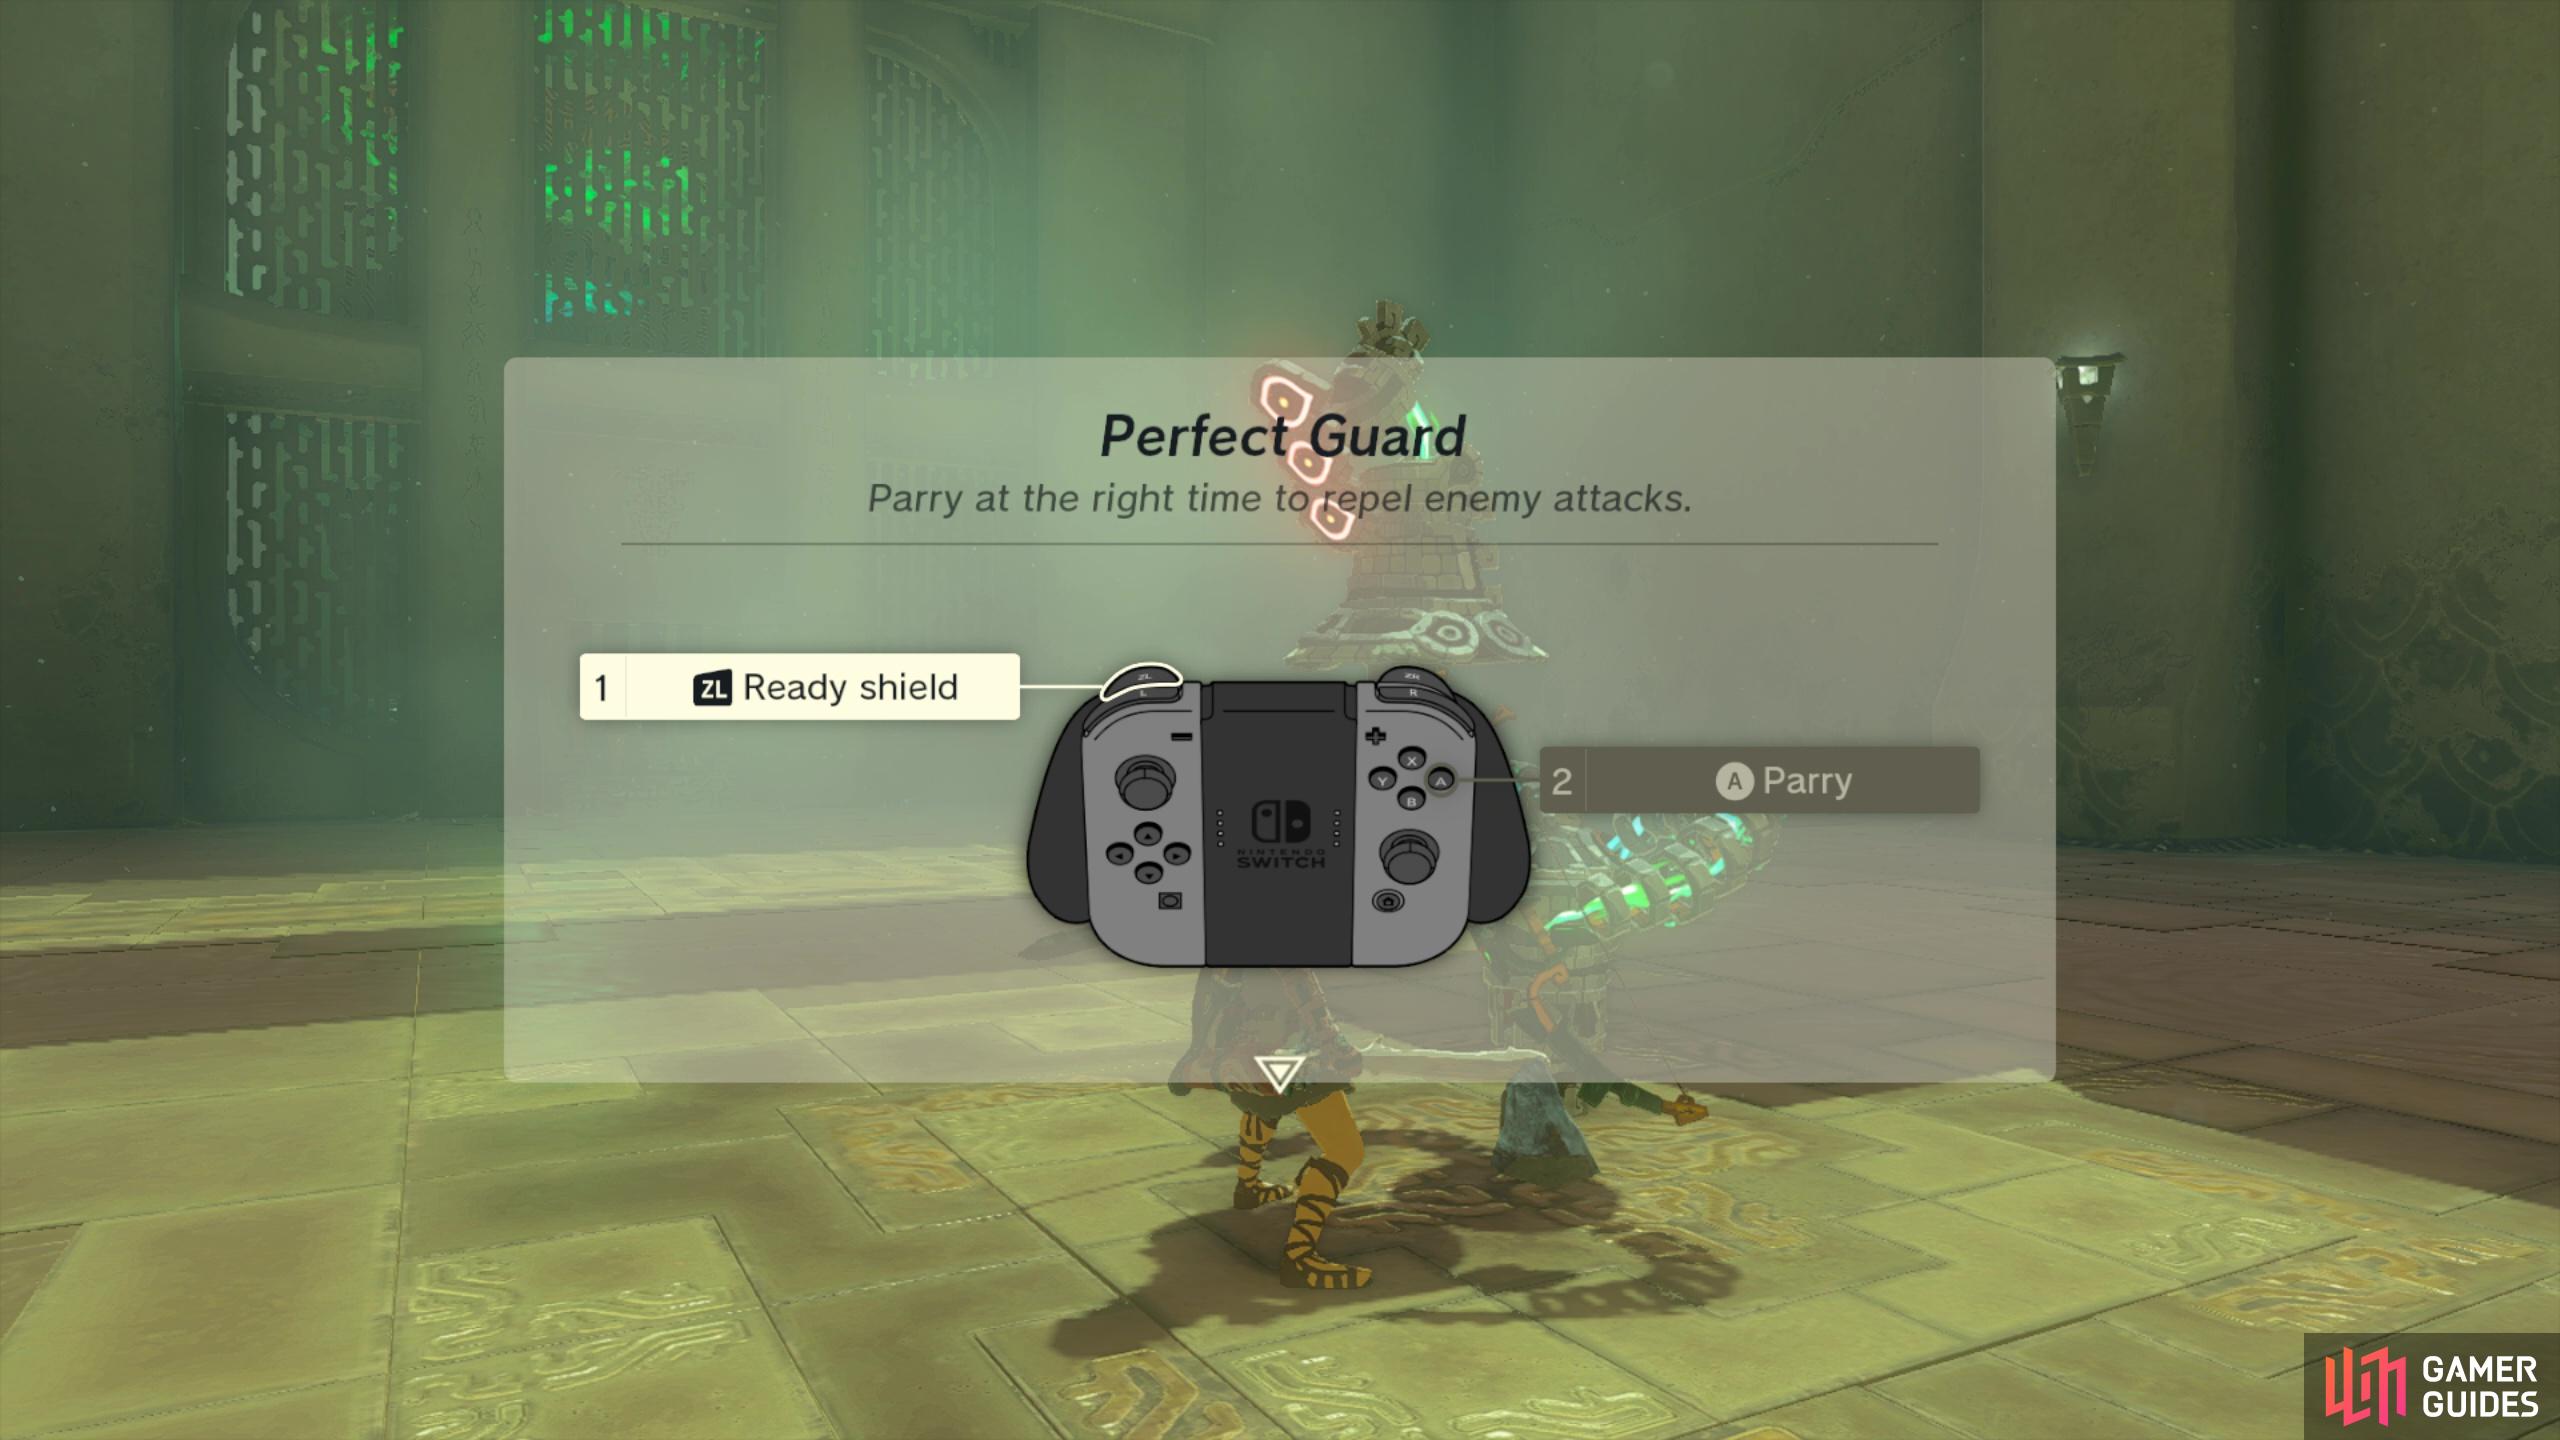
Parry by readying your shield
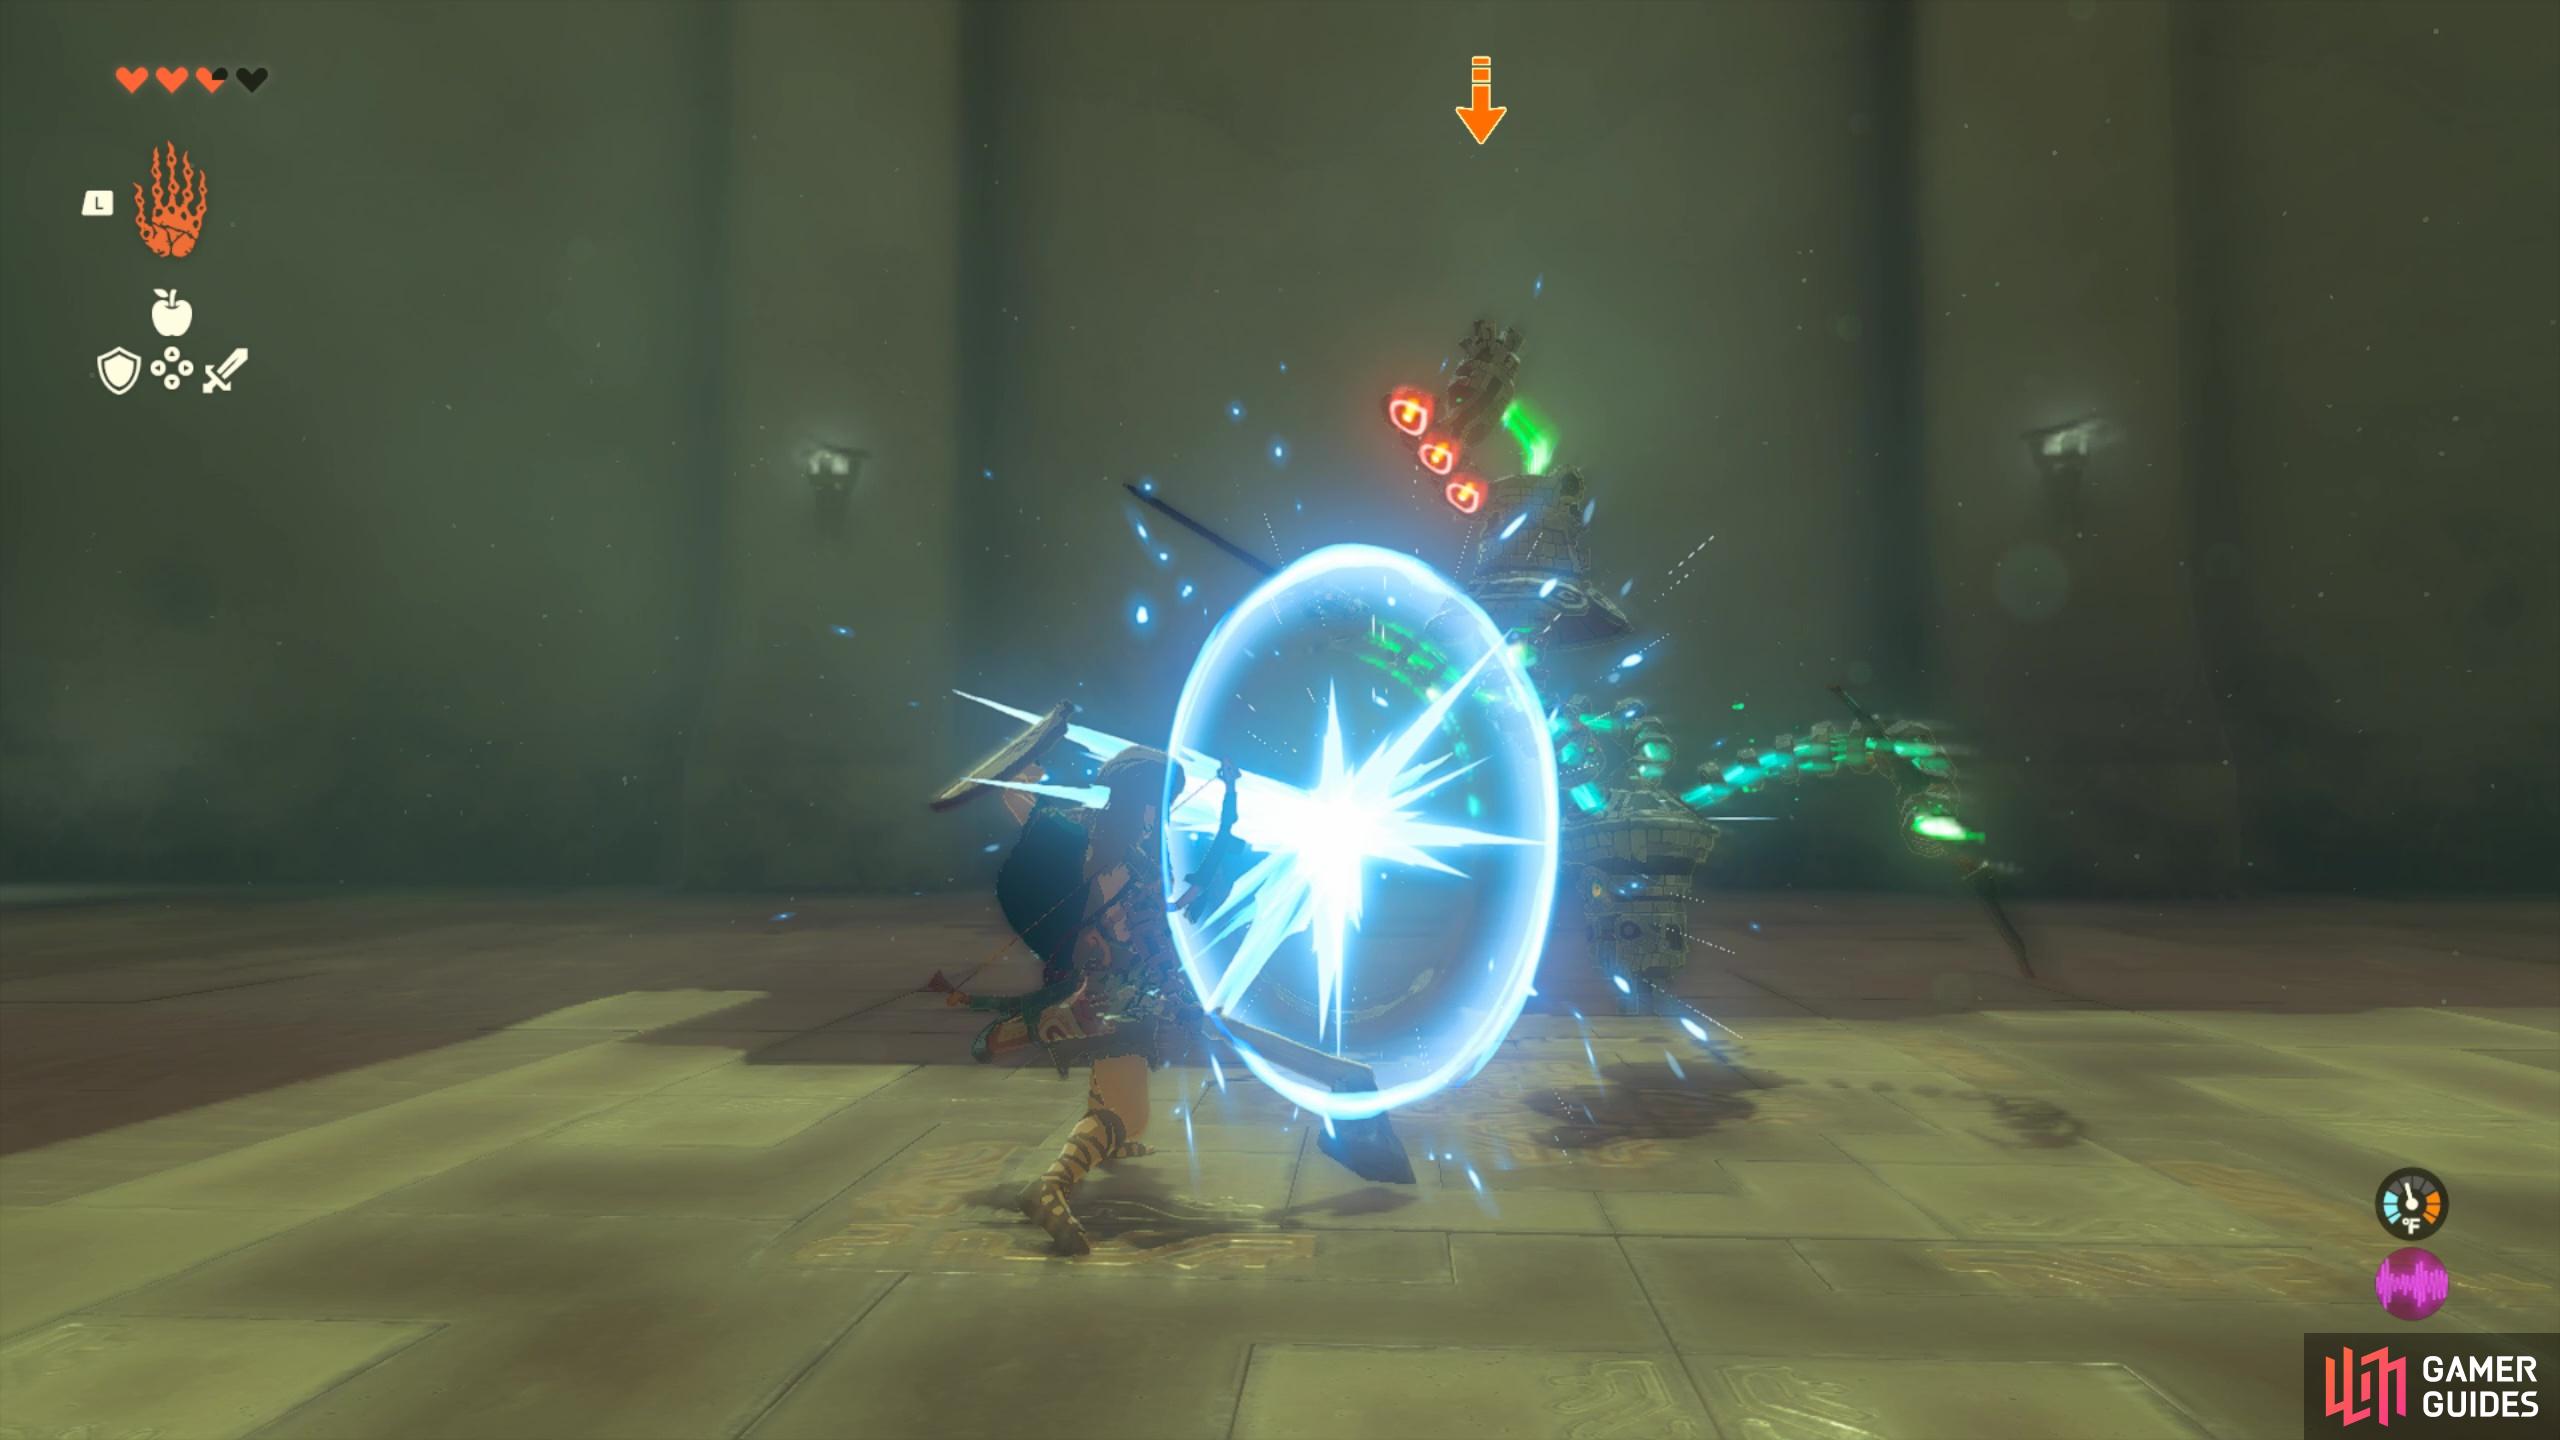
and perform a powerful counter attack.
How to Charged Attack
The final thing you’ll need to do against this Construct enemy is perform a charged attack. This one’s nice and simple and requires only one button. All you have to do is hold for a second or two and then release to perform a spinning attack. The longer you hold your charge the longer and more powerful your spin, though it does consume stamina!
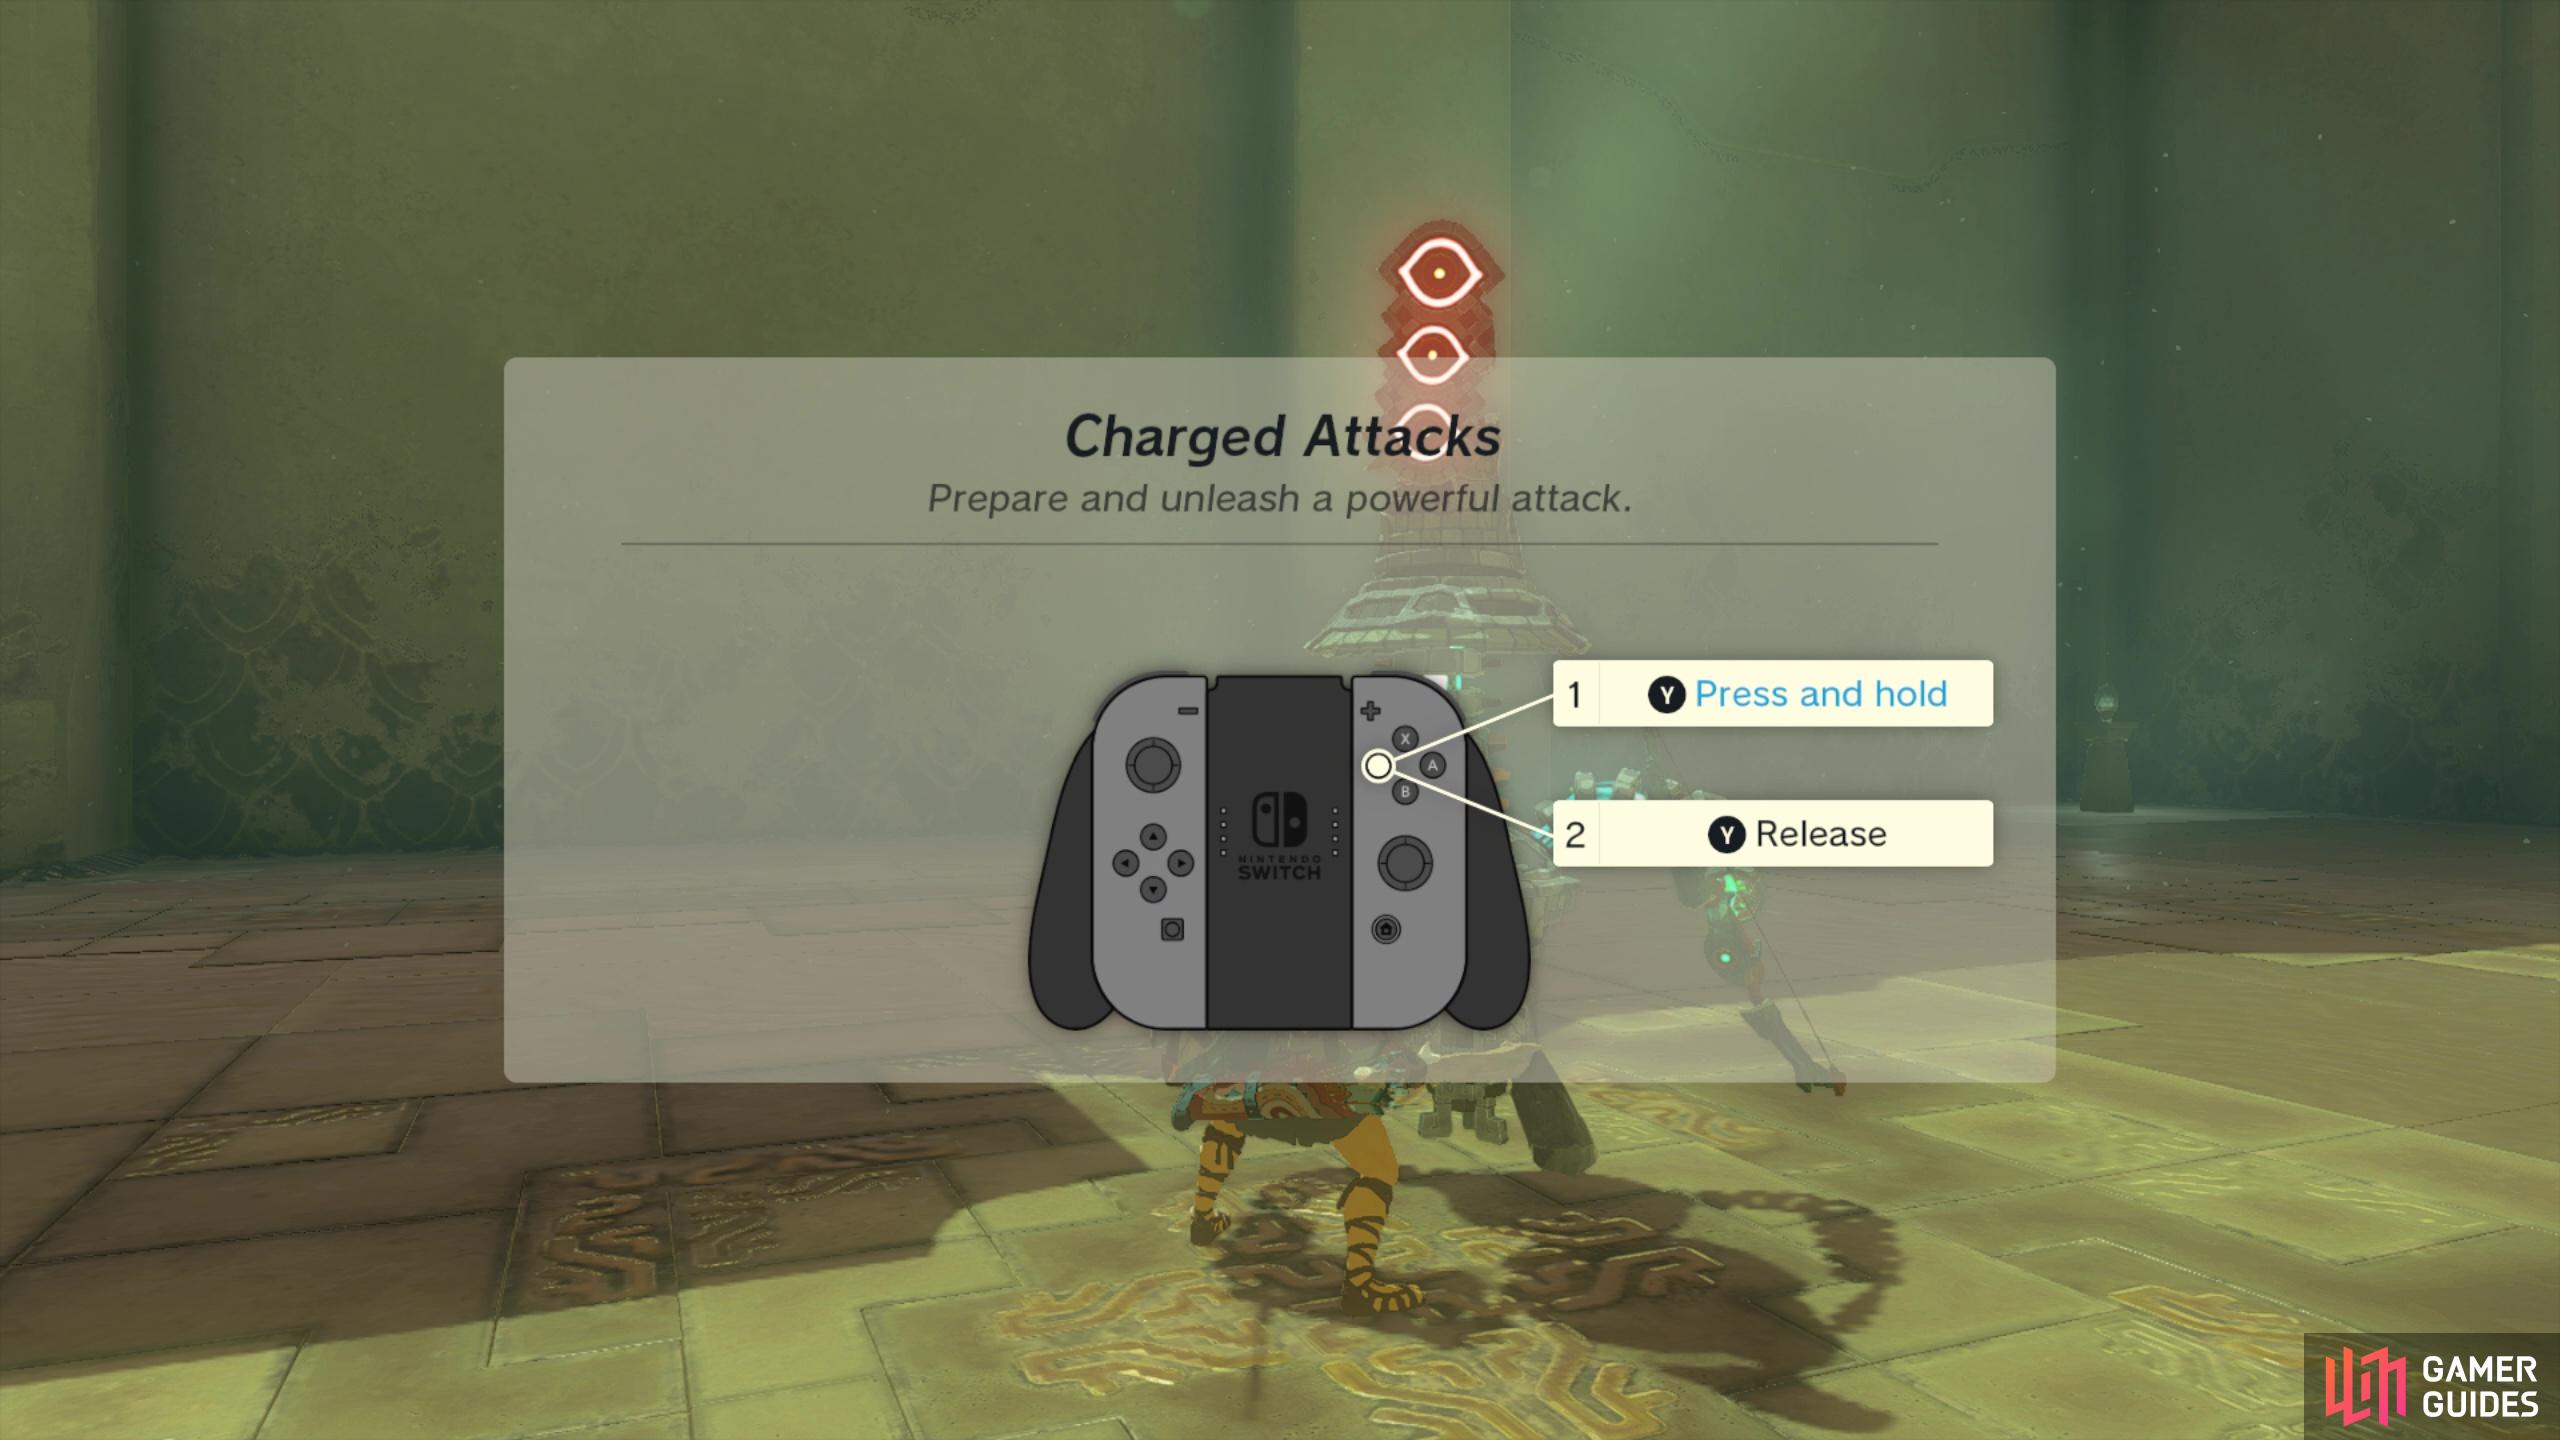
Hold the attack button to perform a charged attack
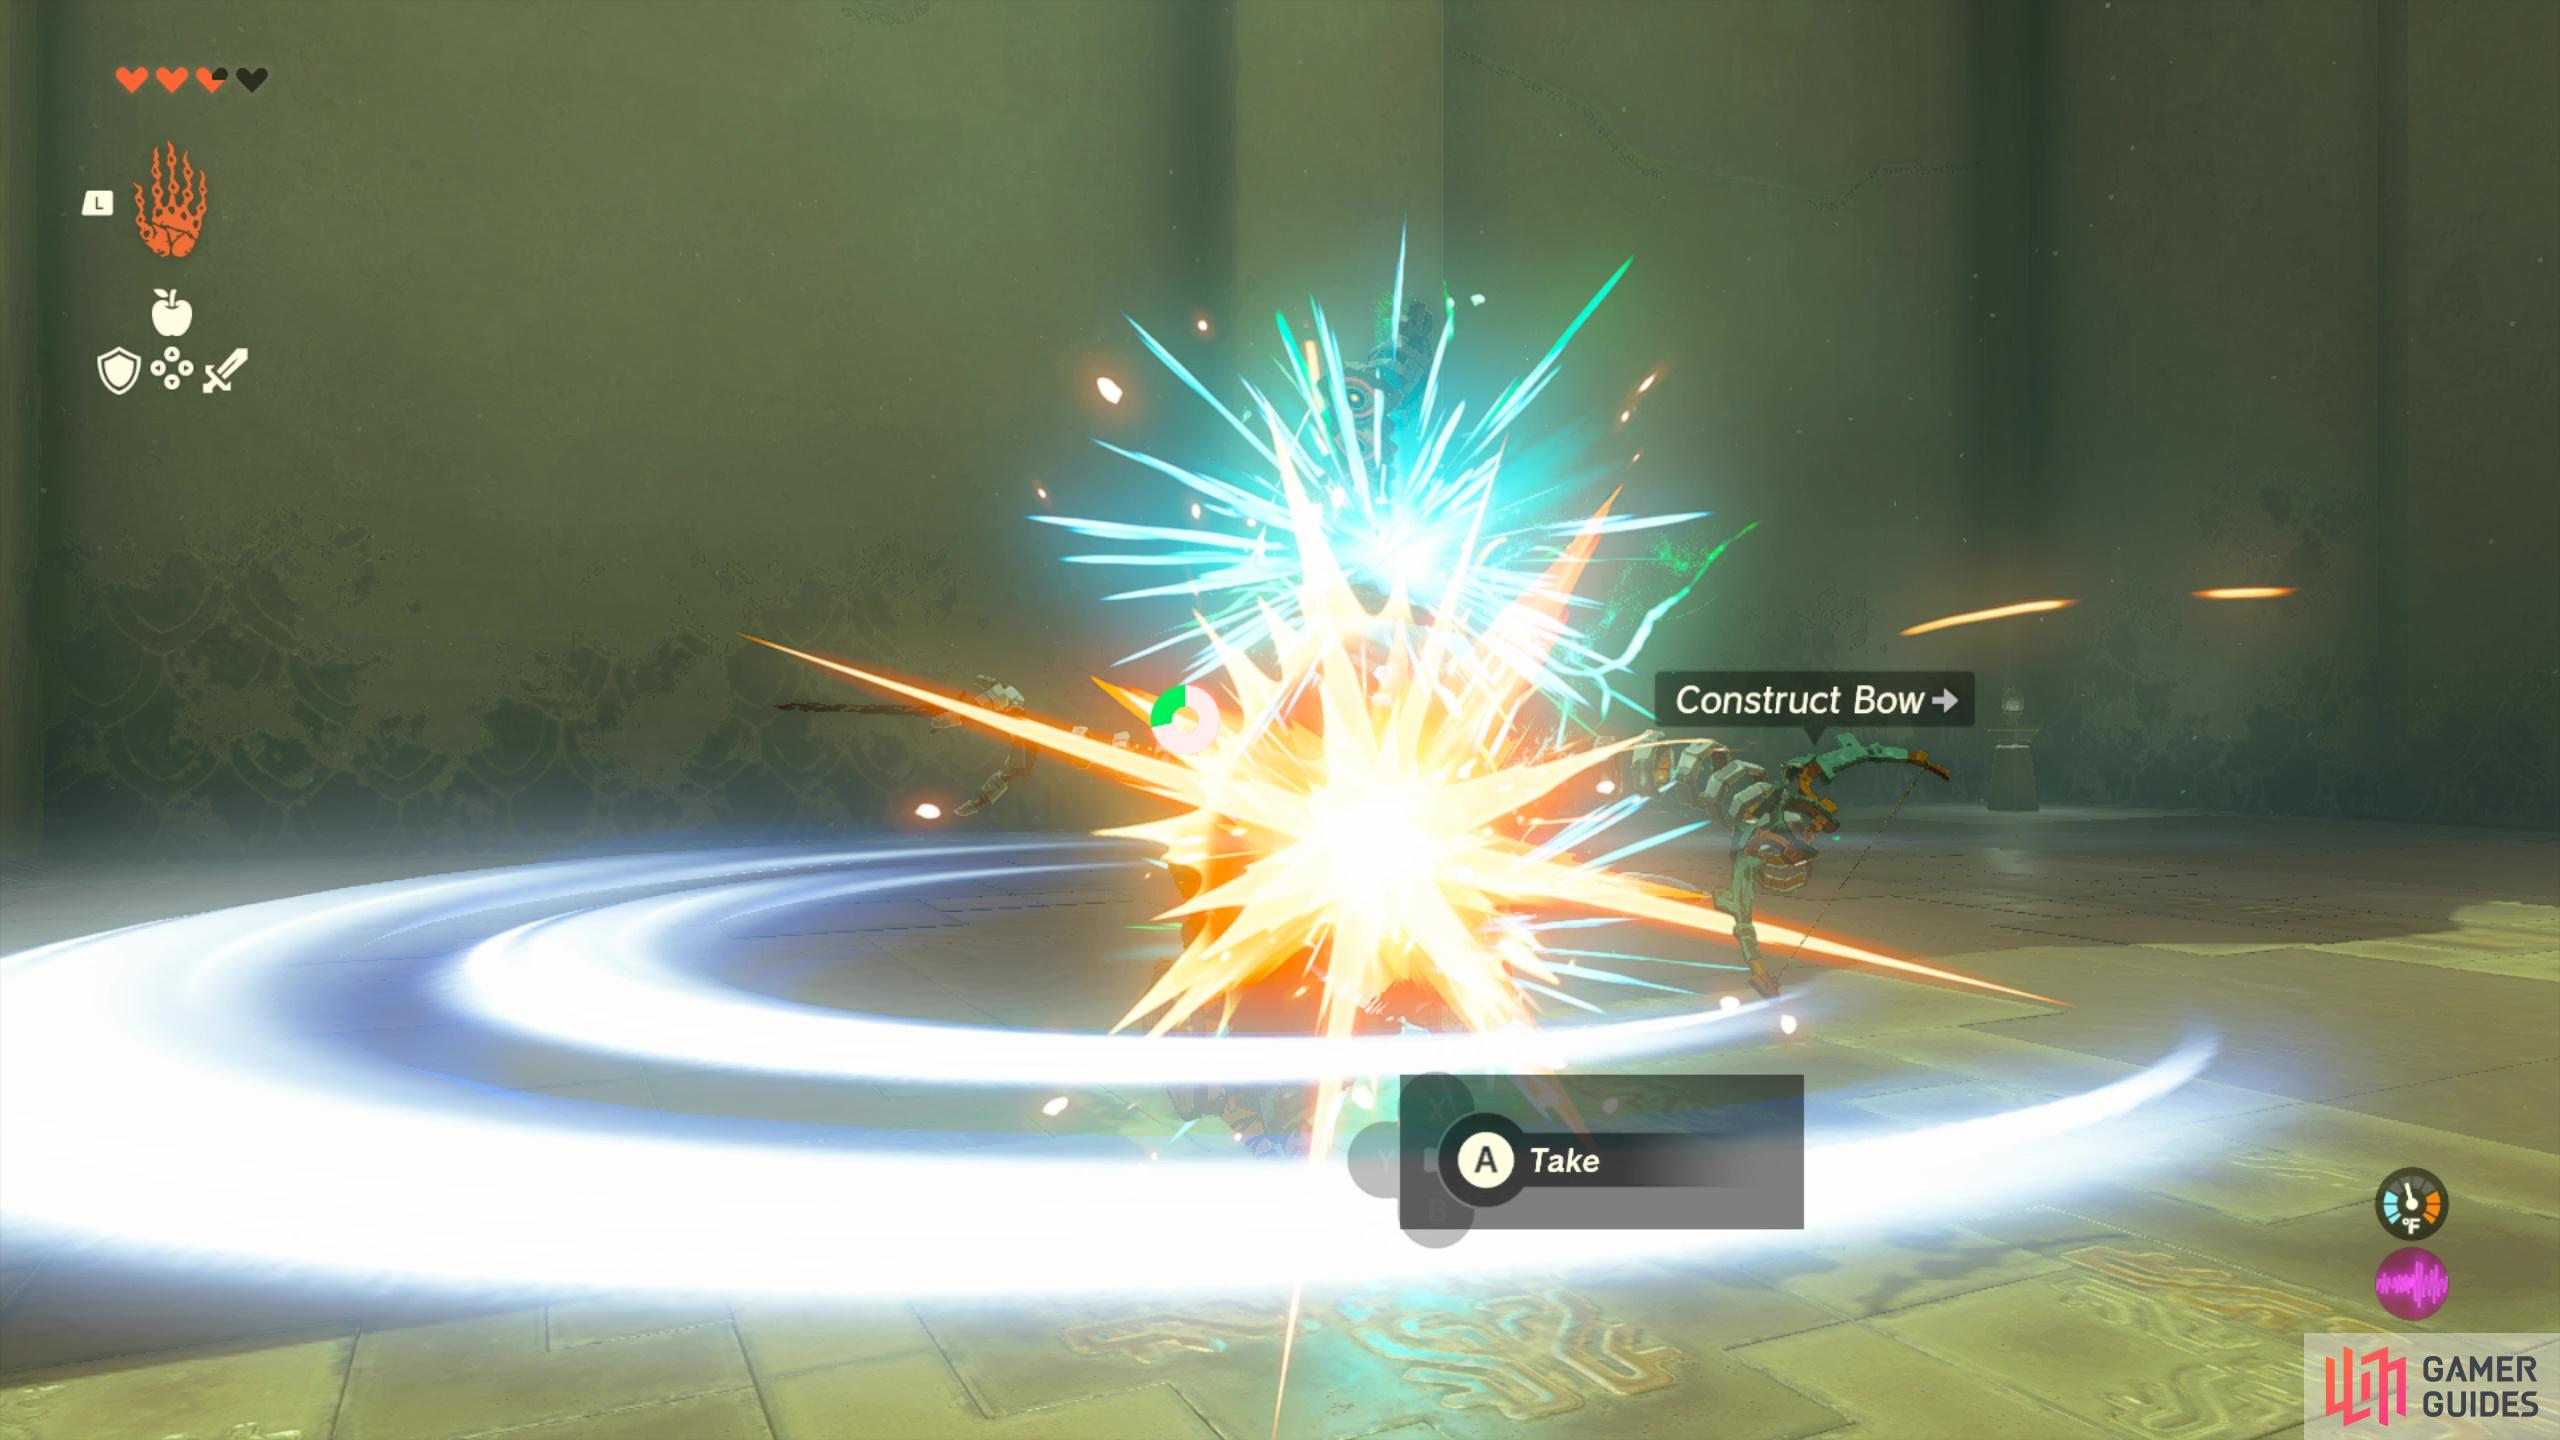
it’s powerful but uses up stamina!
Once you’ve successfully used a charged attack you’ll have completed the shrine and done all your combat training. Pass through to the end of the shrine to loot the chest for the Zonaite Sword, and claim your Light of Blessing!
No Comments