
The ![]() Purah Pad replaces your Sheikah Slate in The Legend of Zelda: Tears of the Kingdom. While the functionality is pretty much the same, there are some carry overs from the DLC in Breath of the Wild, with some being expanded upon, too. This page will look at all of the upgrades you can get for your Purah Pad in Tears of the Kingdom.
Purah Pad replaces your Sheikah Slate in The Legend of Zelda: Tears of the Kingdom. While the functionality is pretty much the same, there are some carry overs from the DLC in Breath of the Wild, with some being expanded upon, too. This page will look at all of the upgrades you can get for your Purah Pad in Tears of the Kingdom.
How to Upgrade the Purah Pad in Tears of the Kingdom
You won’t be able to upgrade the Purah Pad right away, as it is locked behind some main story content. After completing the Great Sky Island and reaching the Surface, one of the first things you should do is head to ![]() Lookout Landing. Follow the main quests here until you unlock the
Lookout Landing. Follow the main quests here until you unlock the ![]() Regional Phenomena one. This will have you going to the four main towns, which lead to a series of quests that involve the game’s temples. This is important, as you need to complete one of these temples in order to eventually unlock the ability to upgrade the pad. It doesn’t matter which one you do, but you gain a lot of benefit from the Rito Village main quests.
Regional Phenomena one. This will have you going to the four main towns, which lead to a series of quests that involve the game’s temples. This is important, as you need to complete one of these temples in order to eventually unlock the ability to upgrade the pad. It doesn’t matter which one you do, but you gain a lot of benefit from the Rito Village main quests.
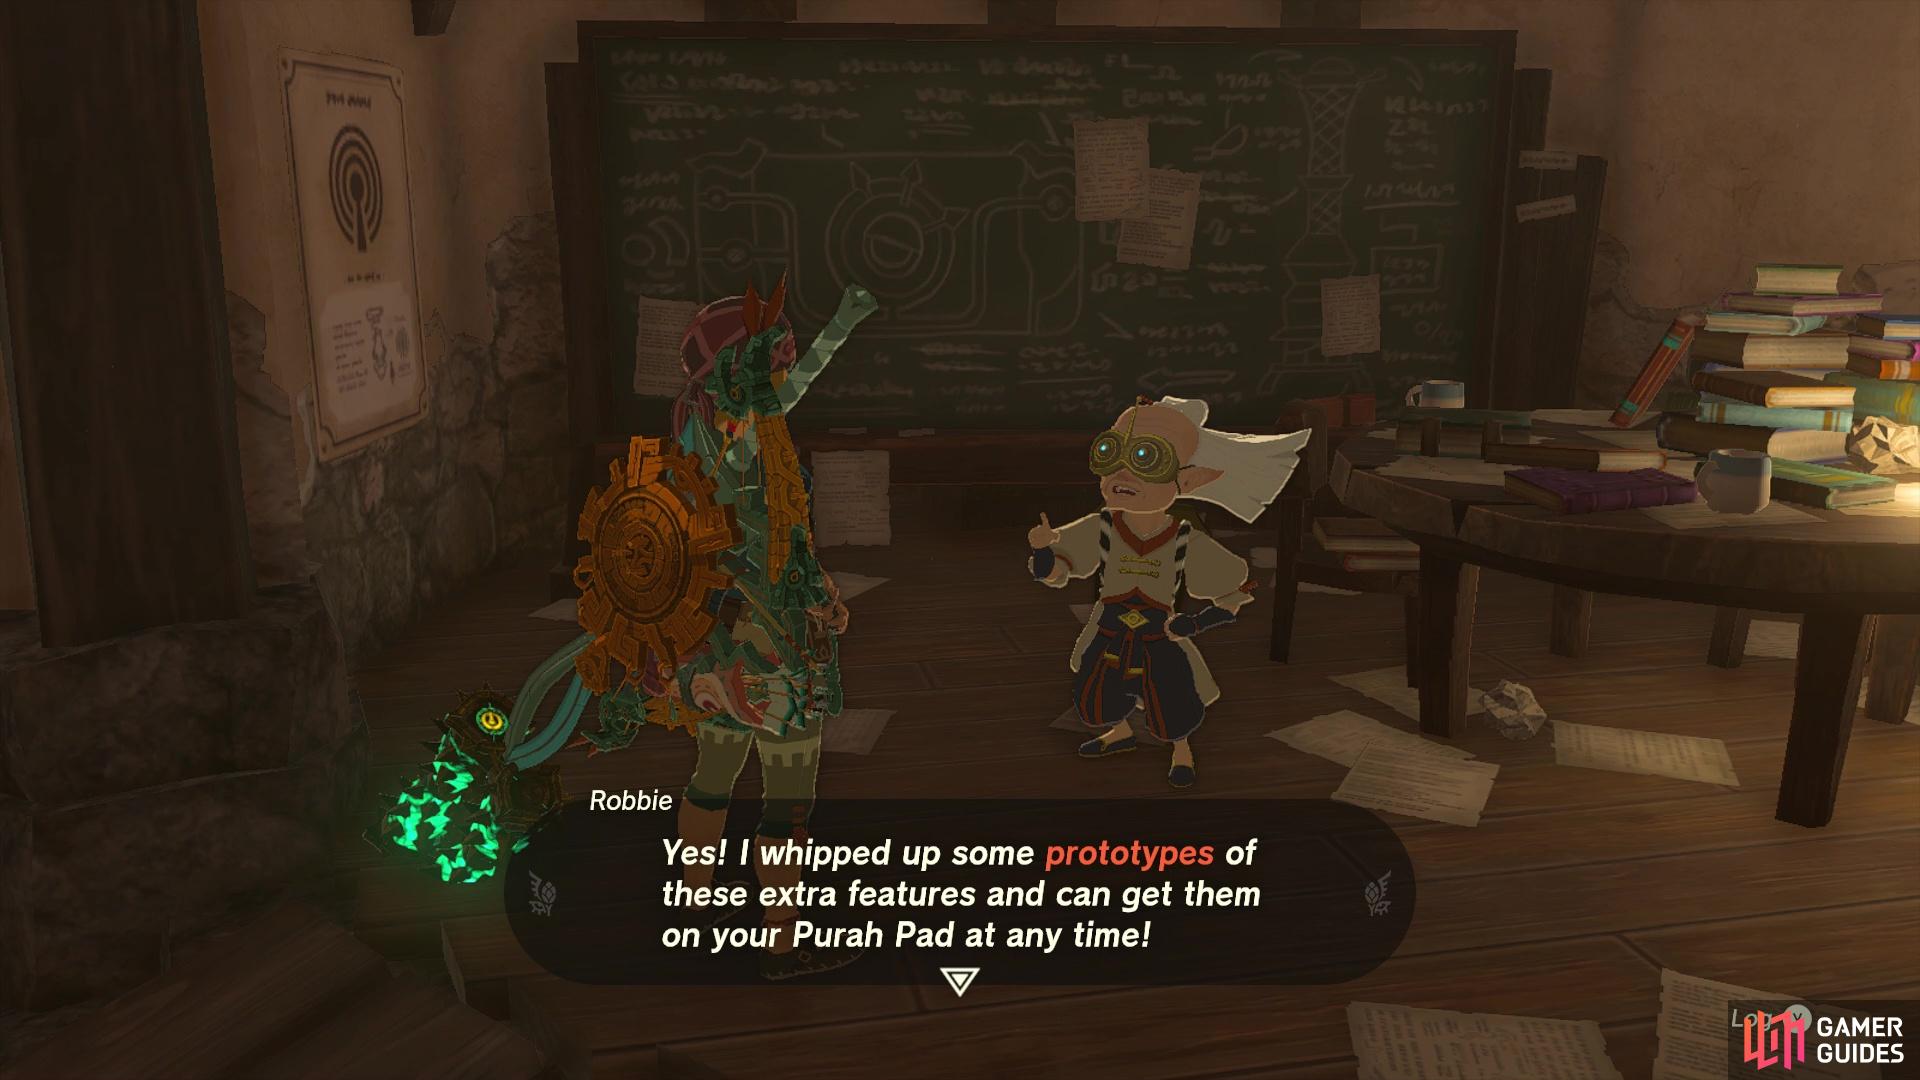
You’ll find !Robbie at the Ancient Tech Lab after doing the two main quests
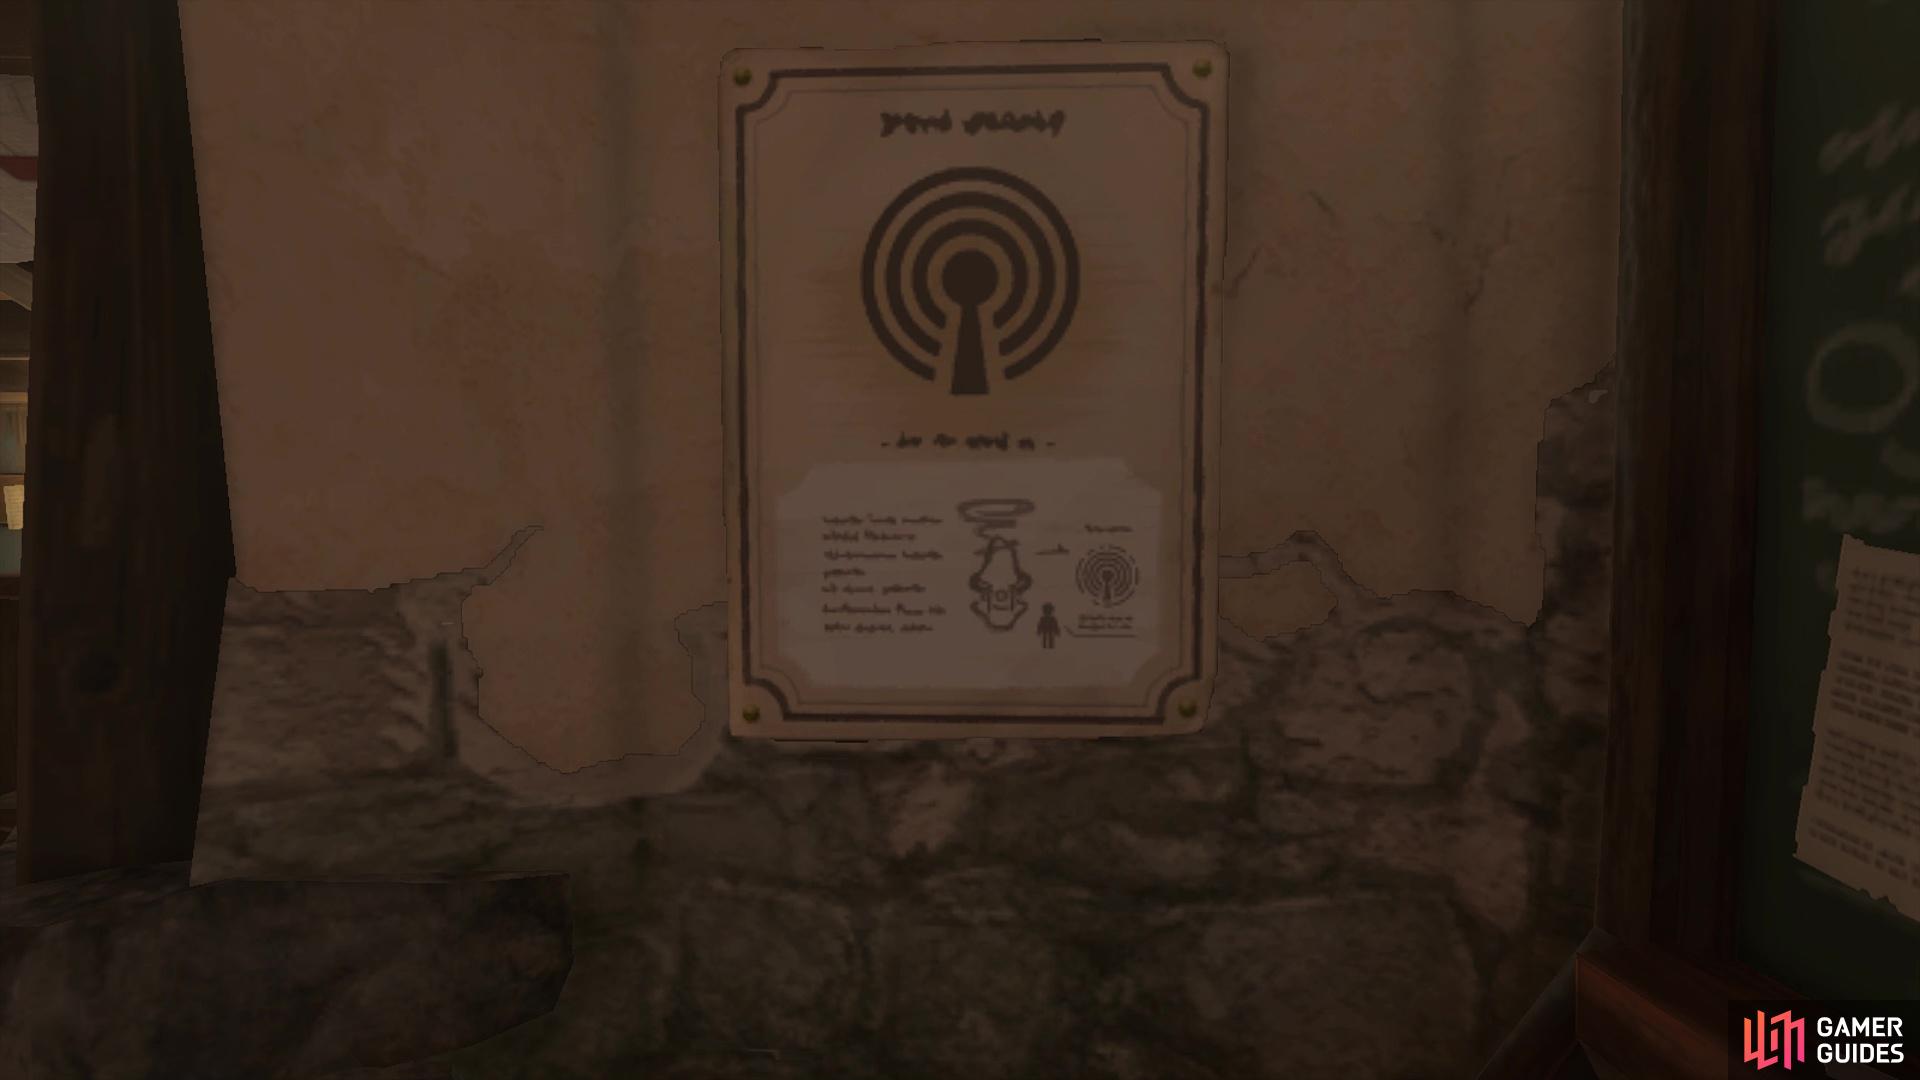
He will put posters on the wall you can use to learn more about the abilities
In addition to that, you will also need to do two other main quests, in ![]() Camera Work in the Depths and
Camera Work in the Depths and ![]() A Mystery in the Depths. The first is available before you head off to do the Regional Phenomena, while the other requires one of the temples to be done first. Once you get the
A Mystery in the Depths. The first is available before you head off to do the Regional Phenomena, while the other requires one of the temples to be done first. Once you get the ![]() Autobuild ability from the second quest mentioned, report back to Lookout Landing to finish up some loose ends that will complete the quest. This will start the
Autobuild ability from the second quest mentioned, report back to Lookout Landing to finish up some loose ends that will complete the quest. This will start the ![]() Hateno Village Research Lab side adventure, where you need to find
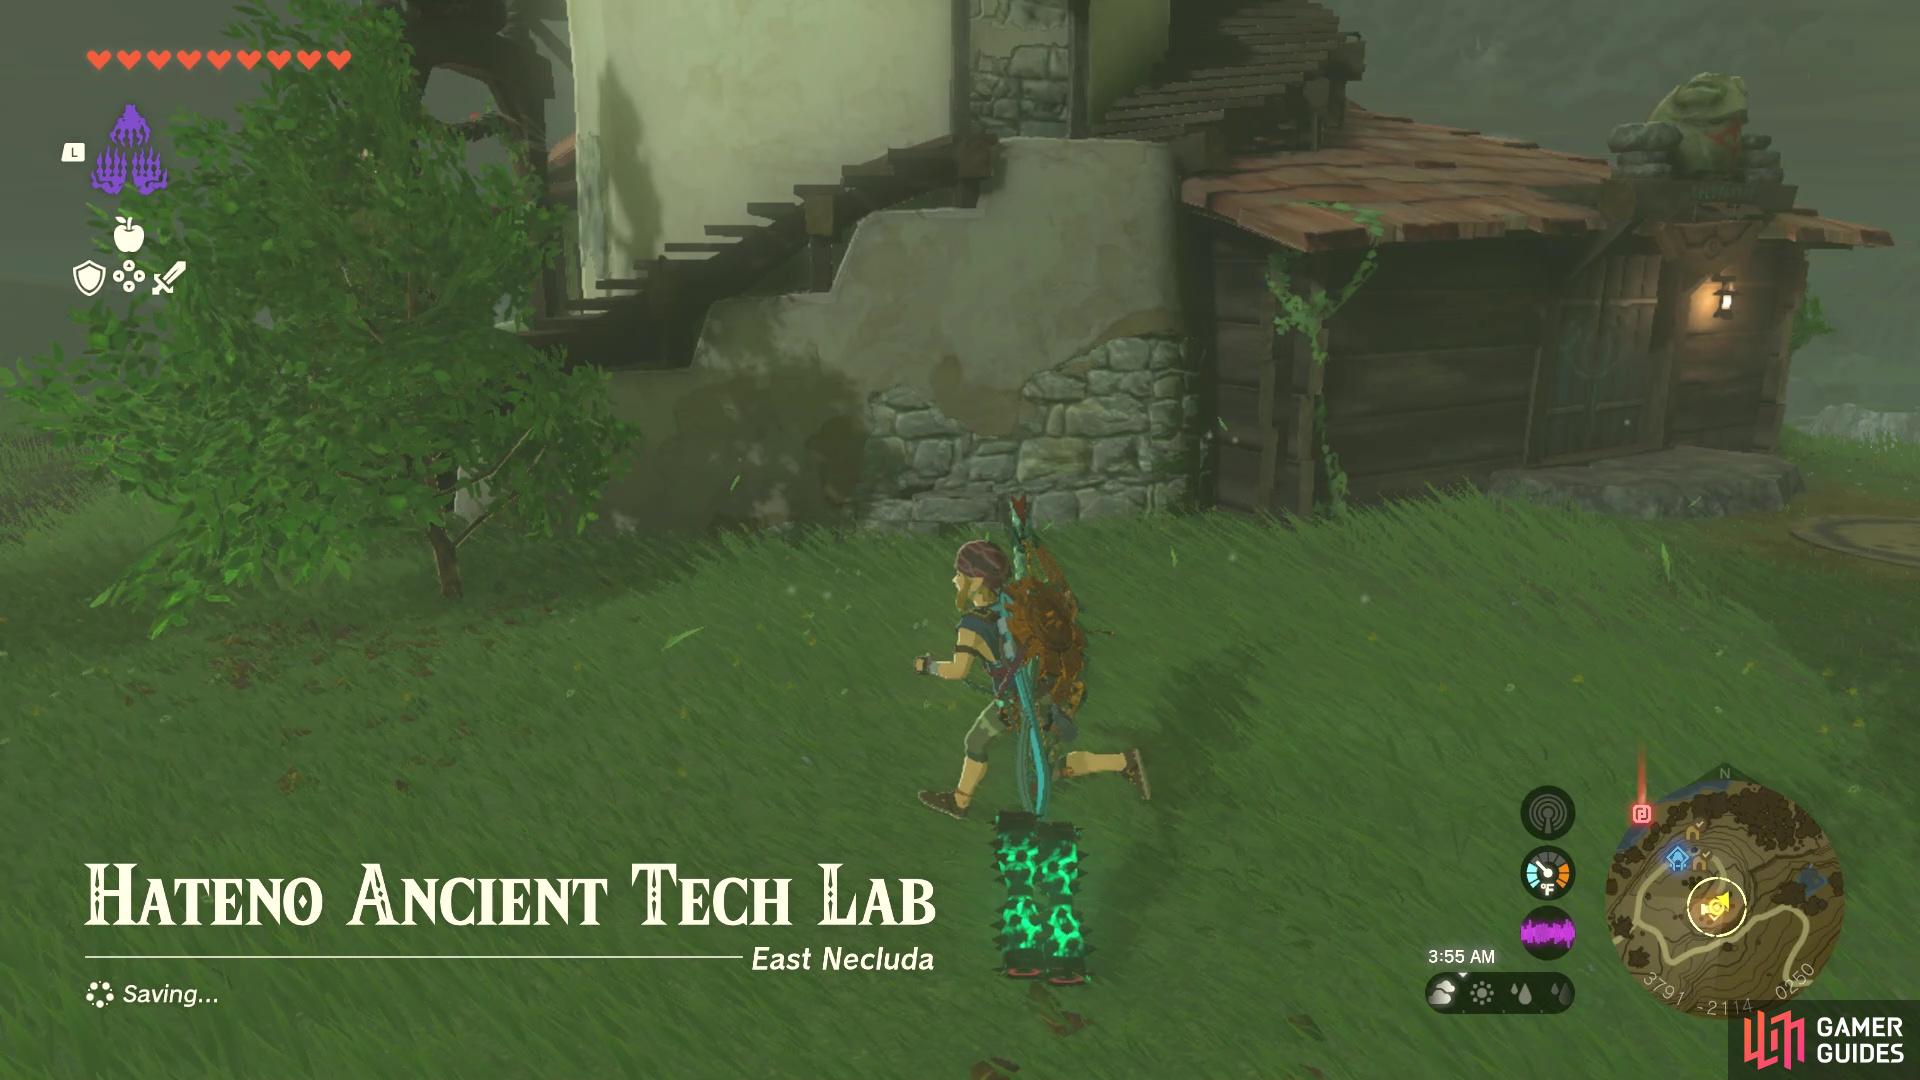
Hateno Village Research Lab side adventure, where you need to find ![]() Robbie at the Hateno Ancient Tech Lab.
Robbie at the Hateno Ancient Tech Lab.
You will find him just outside Hateno Village, on a hill above the town. If you explored the area and uncovered the ![]() Zanmik Shrine, then that’s a very close point. This short little quest will put the Sensor for Shrines on your Purah Pad. Upon doing that, speak to Robbie again and you will see that he can upgrade the pad further, with three different options.
Zanmik Shrine, then that’s a very close point. This short little quest will put the Sensor for Shrines on your Purah Pad. Upon doing that, speak to Robbie again and you will see that he can upgrade the pad further, with three different options.
Where to Find the Travel Medallion Prototype in Tears of the Kingdom
The first option is the Travel Medallion, which unlocks the ability for you to place a marker on the map. This acts like a fast travel and you can place it literally anywhere. Unfortunately, Robbie needs the ![]() Travel Medallion Prototype first, before he can install it on your pad. He left this at the Akkala Ancient Tech Lab, which is located in the northeastern corner of the map. If you have the Jochi-iu Shrine, then fast travel to that and take the road just east of it to the lab. Upon reaching it, go to the front door and try entering the building, which should prompt two enemies to appear, a
Travel Medallion Prototype first, before he can install it on your pad. He left this at the Akkala Ancient Tech Lab, which is located in the northeastern corner of the map. If you have the Jochi-iu Shrine, then fast travel to that and take the road just east of it to the lab. Upon reaching it, go to the front door and try entering the building, which should prompt two enemies to appear, a ![]() Yiga Footsoldier and a
Yiga Footsoldier and a ![]() Yiga Blademaster.
Yiga Blademaster.
If you’ve never fought them, the Footsoldier will do a lot of teleporting and you can use that to your advantage, as the one teleport will precede an attack from above. The Blademaster has two attacks, one of which is sending a shockwave whenever he swings his sword. The other is an earthquake attack, which will create a gust of wind as it comes towards you. Use the wind to avoid damage, as well as an opportunity to trigger the slow down with your bow. After defeating both of them, head inside the building to find a NPC that you can talk to, who will give you the ![]() Yiga Armor. Inside that same building is a chest, which will yield the Travel Medallion Prototype.
Yiga Armor. Inside that same building is a chest, which will yield the Travel Medallion Prototype.
Bring this back to Robbie and you will finally unlock the Travel Medallion. It goes into your Key Items, where you can simply place it down to act as a fast travel point.
How to Upgrade the Travel Medallion in Tears of the Kingdom
Thankfully, you’re not completely done with the Travel Medallion, as it can be upgraded to have two more charges. That means you can set three different fast travel spots anywhere you want. To upgrade it, you simply need to reveal more of the map, which is done by activating the Skyview Towers. To get the second Travel Medallion, you will need to activate 10 towers, while the third medallion needs all 15 towers activated. You will be doing that anyway, since you want the map uncovered, so why not get rewarded for it, too.
How to Unlock Hero’s Path Mode in Tears of the Kingdom
Another thing that carries over from the DLC of Breath of the Wild is Hero’s Path Mode. This basically allows you to see the path on your map that you took, retracing those steps. It does this for up to 256 hours of your playtime, so it’s pretty in-depth and you can see the exact path you took. Note that if your time exceeds 256 hours, then your oldest footsteps will be replaced by the newer ones. After choosing the Hero’s Path Mode option from Robbie, he will ask you to have the locations data for 15 Shrines.
If you’ve already done 15 Shrines, then you will be finished with this little objective and be able to instantly get this installed on your pad. Note that you should have four Shrines already, since you needed to do those to get off of the sky island, leaving only 11 left to find on your own. Considering the importance of Shrines, then you should easily have these by the time you reach this point in the game. Whenever you finally have Hero’s Path Mode unlock, go to your map and press the X button to start displaying it.
How to Unlock Sensor+ in Tears of the Kingdom
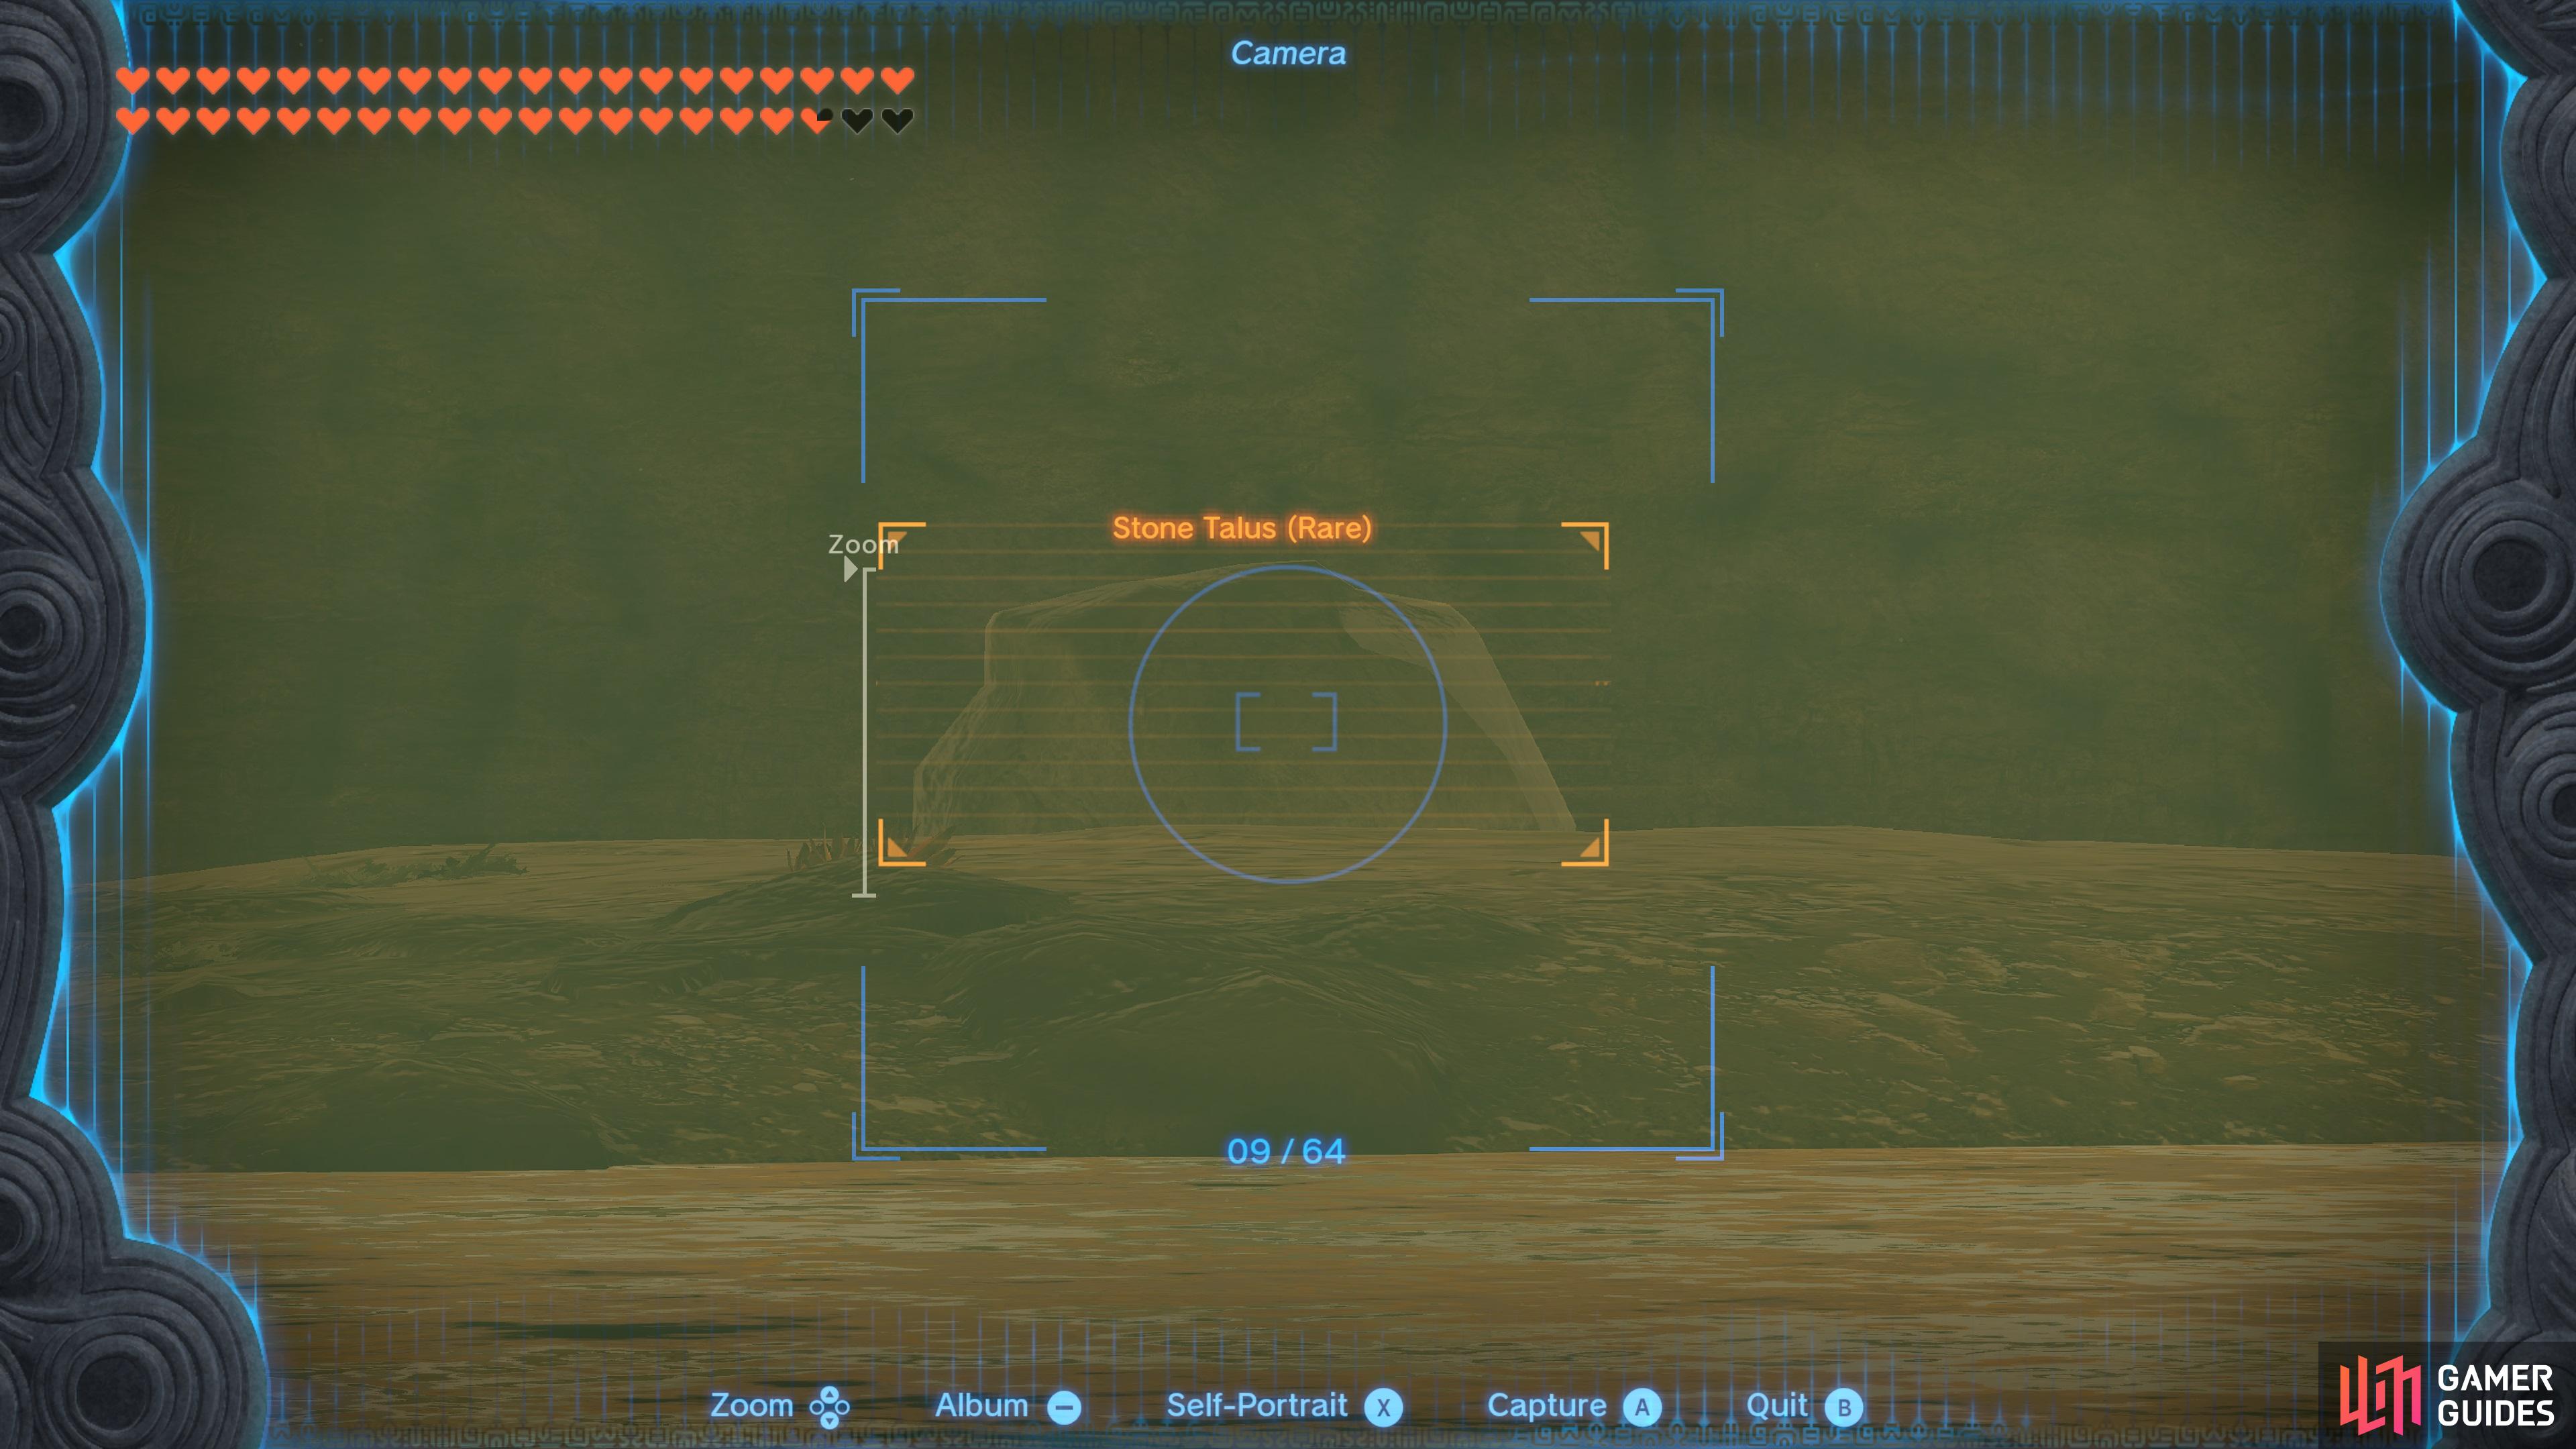
The normal Sensor allows you to know if a Shrine is close to your position, but there’s an upgrade to this that allows you to make it so you can tell whenever an item or enemy is close. The catch is that you will need to take a picture of said item/enemy first, so it’s in your Hyrule Compendium. To unlock this feature, you will need to take five pictures of enemies for Robbie. Basically, equip the ![]() Camera feature, then focus on an enemy so their name appears, which is when you can take the picture.
Camera feature, then focus on an enemy so their name appears, which is when you can take the picture.
The first time you take a picture of an enemy, their name will appear in orange, which means they aren’t in your compendium. If the name is blue, then they are already in your compendium. If you’ve been utilizing the Camera feature, though, up until now, then you likely have five pictures already. After unlocking the Sensor+ feature, you can make it so the sensor is focused on any item/enemy in your compendium. Also, Robbie will be able to sell you entries for the compendium, if you wish, for 100 Rupees each.
No Comments