
Shrines are one of the core gameplay elements in The Legend of Zelda: Tears of the Kingdom. Scattered throughout Hyrule, shrines typically require you to solve some sort of puzzle or combat trial, upon the completion of which you’ll be rewarded with a ![]() Light of Blessing and potentially equipment. Once completed, the shrine will also serve as a fast travel point. Since completing shrines will make your character stronger and provide exploration footholds, it’s essential that you conquer them whenever possible. This page will provide a walkthrough for
Light of Blessing and potentially equipment. Once completed, the shrine will also serve as a fast travel point. Since completing shrines will make your character stronger and provide exploration footholds, it’s essential that you conquer them whenever possible. This page will provide a walkthrough for ![]() Teniten Shrine.
Teniten Shrine.
Where to find Teniten Shrine in Tears of the Kingdom
Teniten Shrine is located in ![]() Central Hyrule, south and slightly east of
Central Hyrule, south and slightly east of ![]() Lookout Landing, east and slightly south from Hyrule Field Skyview Tower, just north of nearby Kamizun Shrine. There’s not a lot else in the immediate vicinity, so once you locate it (possibly by scanning for it after using the Hyrule Field Skyview Tower?) it shouldn’t be hard to reach.
Lookout Landing, east and slightly south from Hyrule Field Skyview Tower, just north of nearby Kamizun Shrine. There’s not a lot else in the immediate vicinity, so once you locate it (possibly by scanning for it after using the Hyrule Field Skyview Tower?) it shouldn’t be hard to reach.
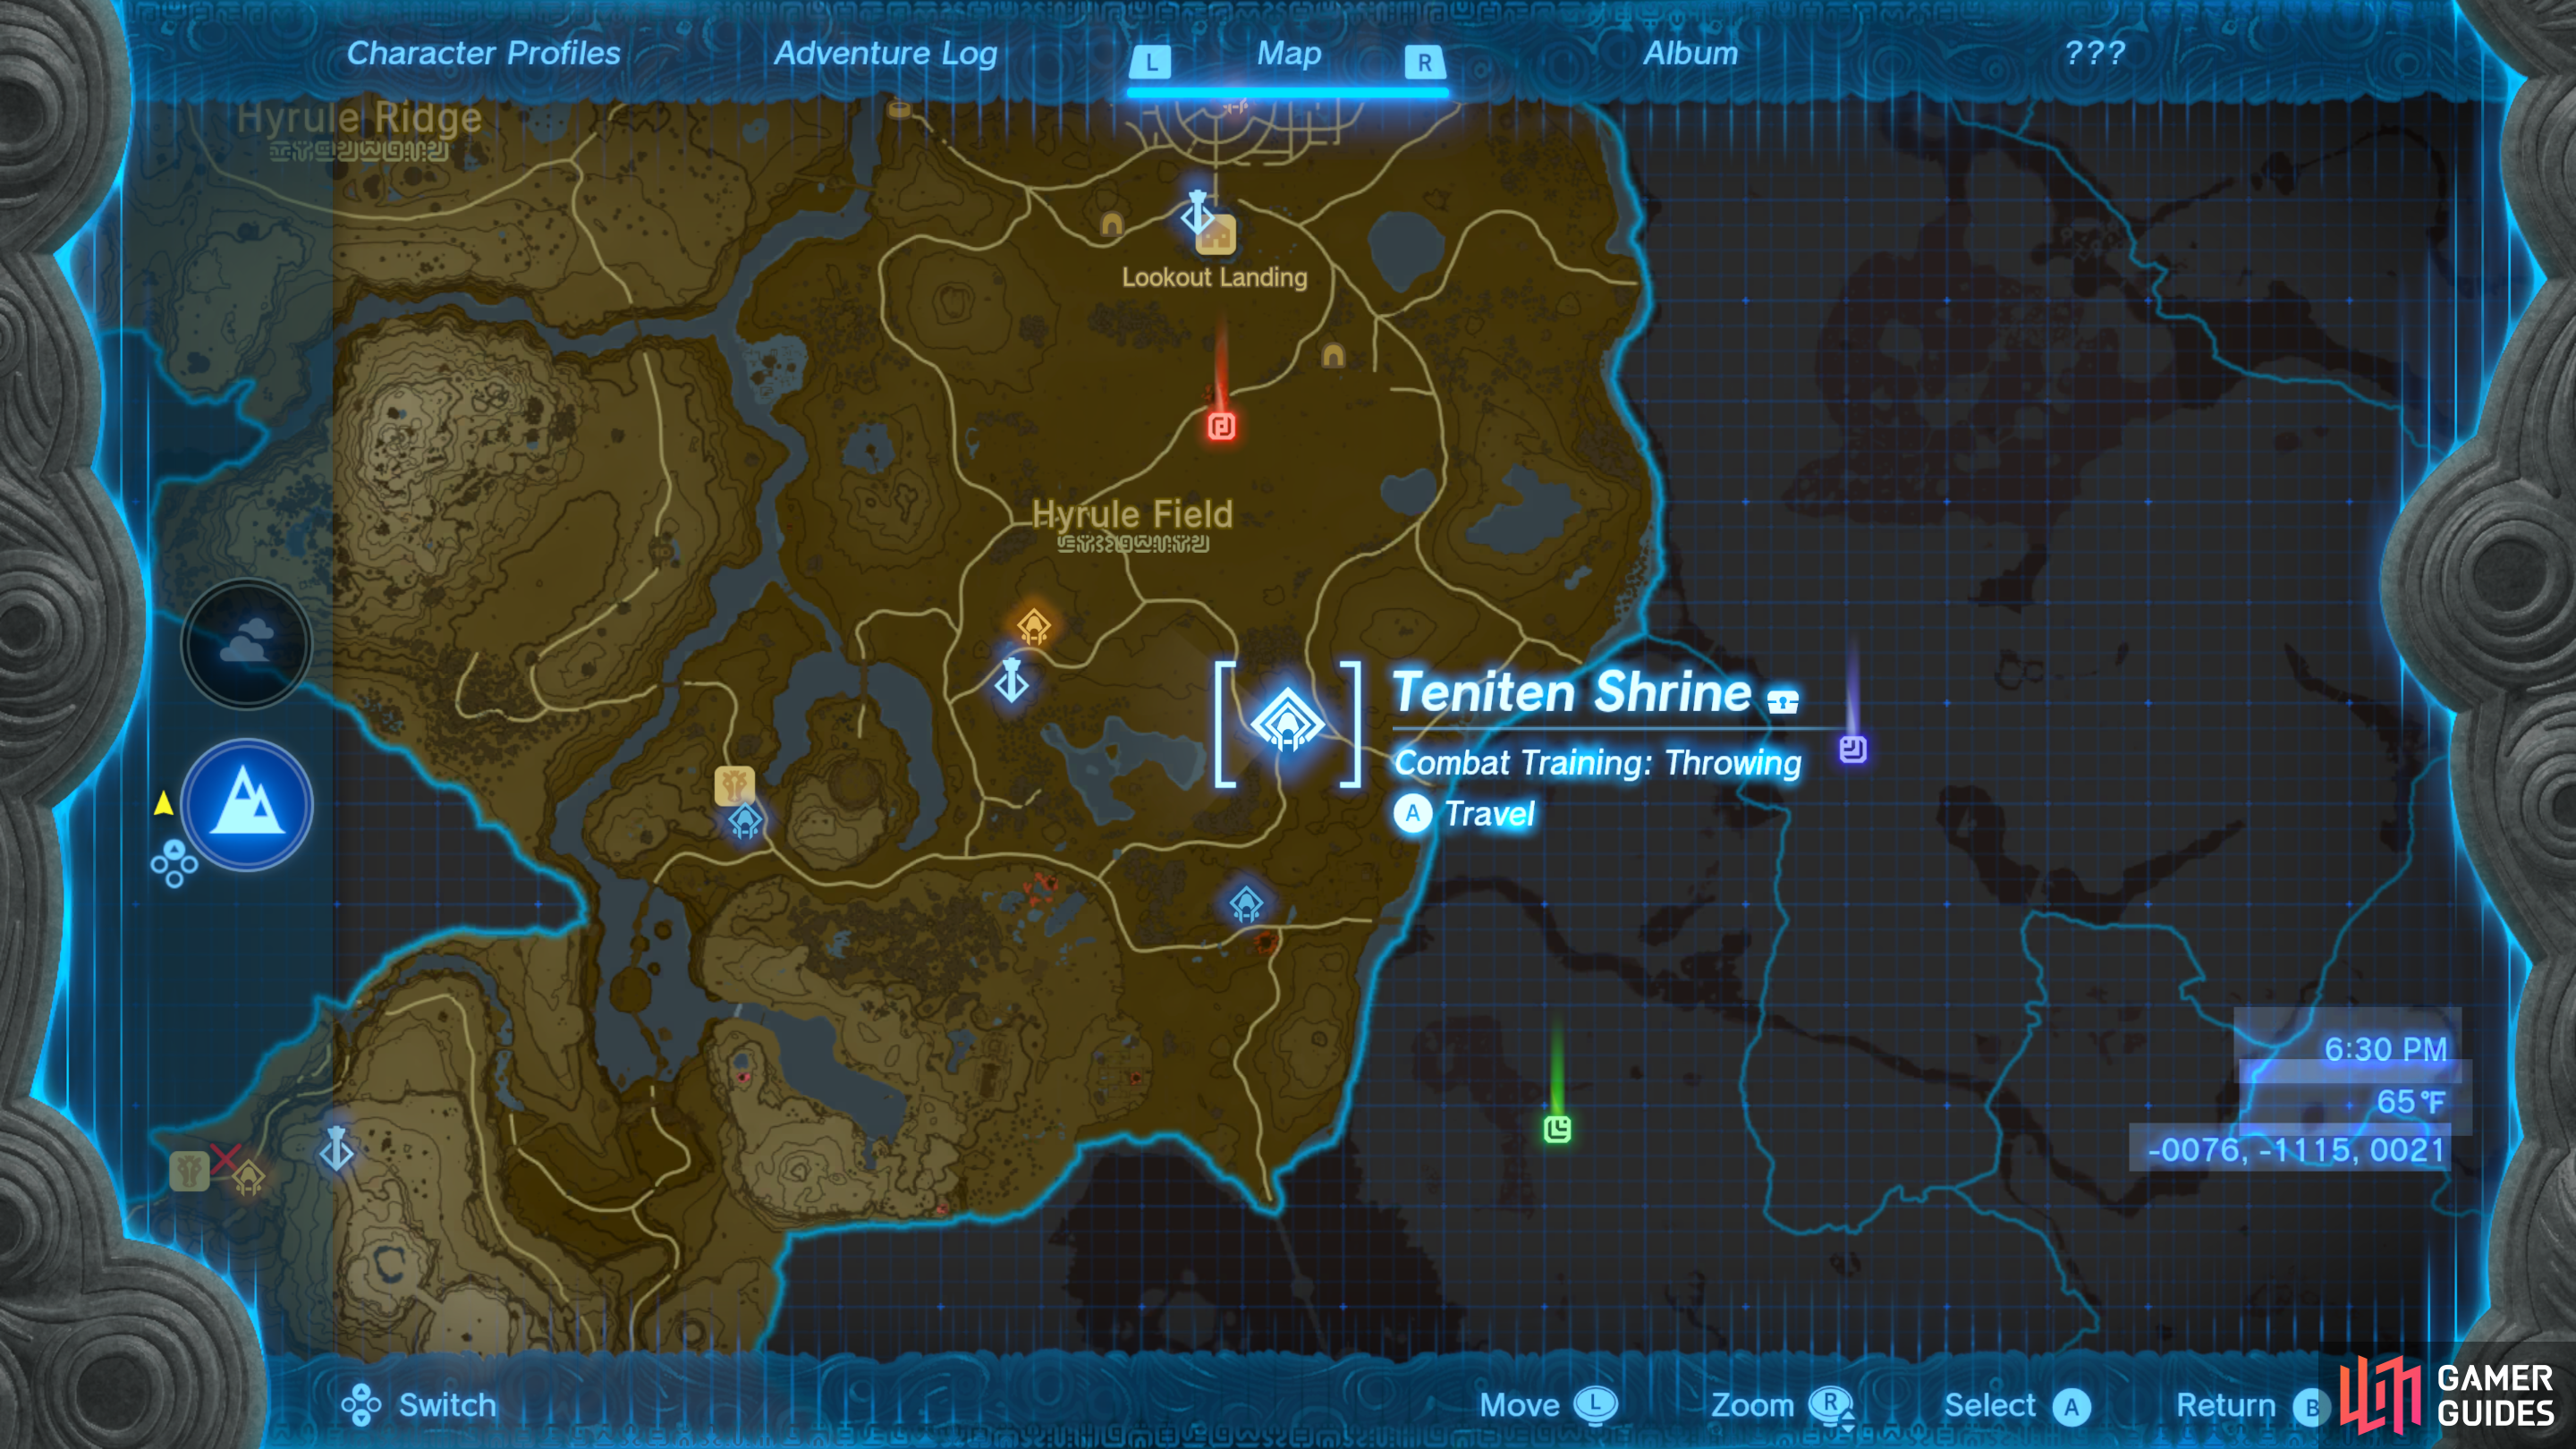
Teniten Shrine can be found east of Hyrule Field Skyview Tower.
How to Complete Teniten Shrine in Tears of the Kingdom
Enter the shrine and, surprisingly, you won’t have your gear removed. This may seem initially generous for a combat trial, but you ideally won’t need any outside resources. Enter the shrine’s main chamber and you’ll be given this shrine’s objective: ”Steady your aim, then throw the weapon at the enemy”. Your opponent is a !Construct Captain armed with a bow, which it’ll use to keep you honest - not that it matters, as you can only damage this enemy with thrown weapons.
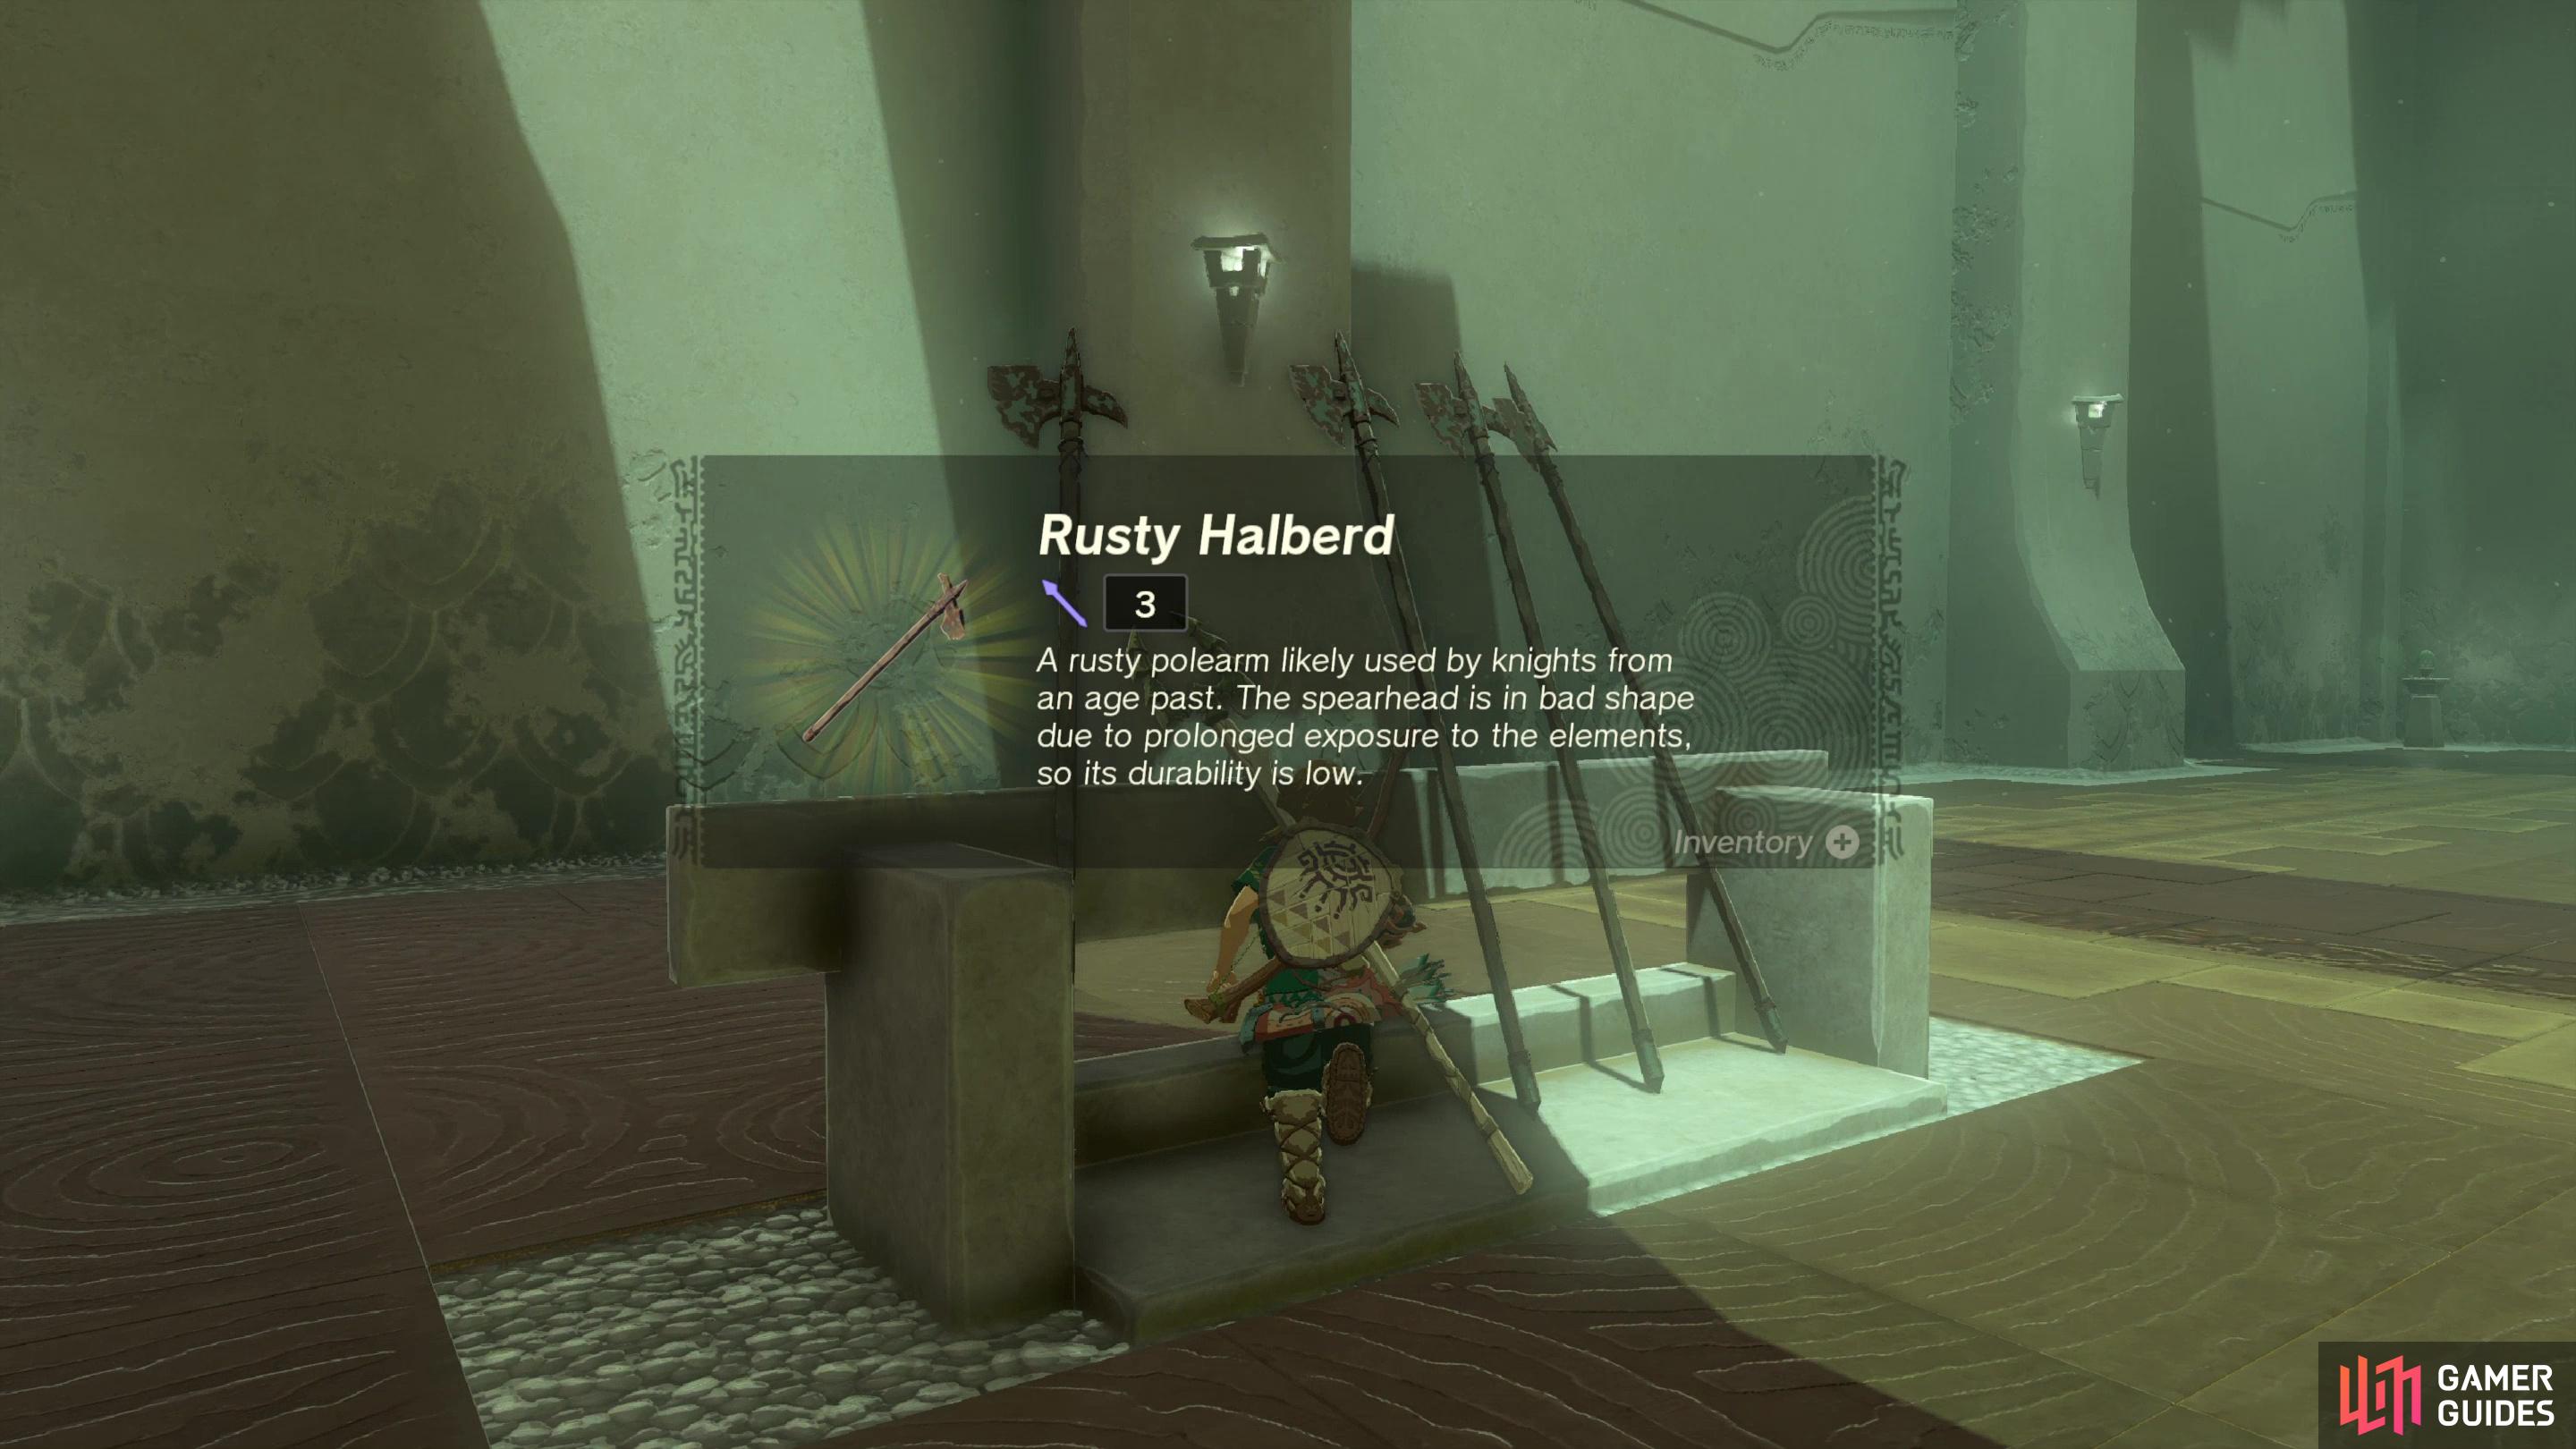
To throw a weapon, just hold the  button to bring up an aiming reticle, and release the button to throw your currently equipped weapon. There’s not much in the way of fine aim here, nor is this suited for incredibly long-range throws, so you’ll want to be fairly close to ensure your thrown weapons lands. Throwing weapons is also an excellent way to destroy said weapon, so you probably don’t want to use anything you currently have equipped. Fortunately if you turn right you’ll find a rack of weapons - five
 ![]() Rusty Halberds.
Rusty Halberds.
Grab a Rusty Halberd, get within easy throwing range of the !Construct Captain, and strafe until it fires, after which aim at the automaton and throw your Rusty Halberd at it. If you hit, you’ll move onto the next phase of this combat challenge… hitting a moving target with a throwing weapon. This isn’t fundamentally different from hitting a stationary target; the !Construct Captain will roam back and forth on its platform, but it’ll still stop at either side to take a potshot at you. Just wait for it to take position and when it aims, peg it with another Rusty Halberd.
After you hit the !Construct Captain twice, you’ll be done with the challenge. Head through the gate behind the platform the !Construct Captain was on and loot a chest to score a ![]() Zonaite Spear. Beyond this you’ll find the green disc at the end of the shrine, which you can interact with to obtain a Light of Blessing.
Zonaite Spear. Beyond this you’ll find the green disc at the end of the shrine, which you can interact with to obtain a Light of Blessing.
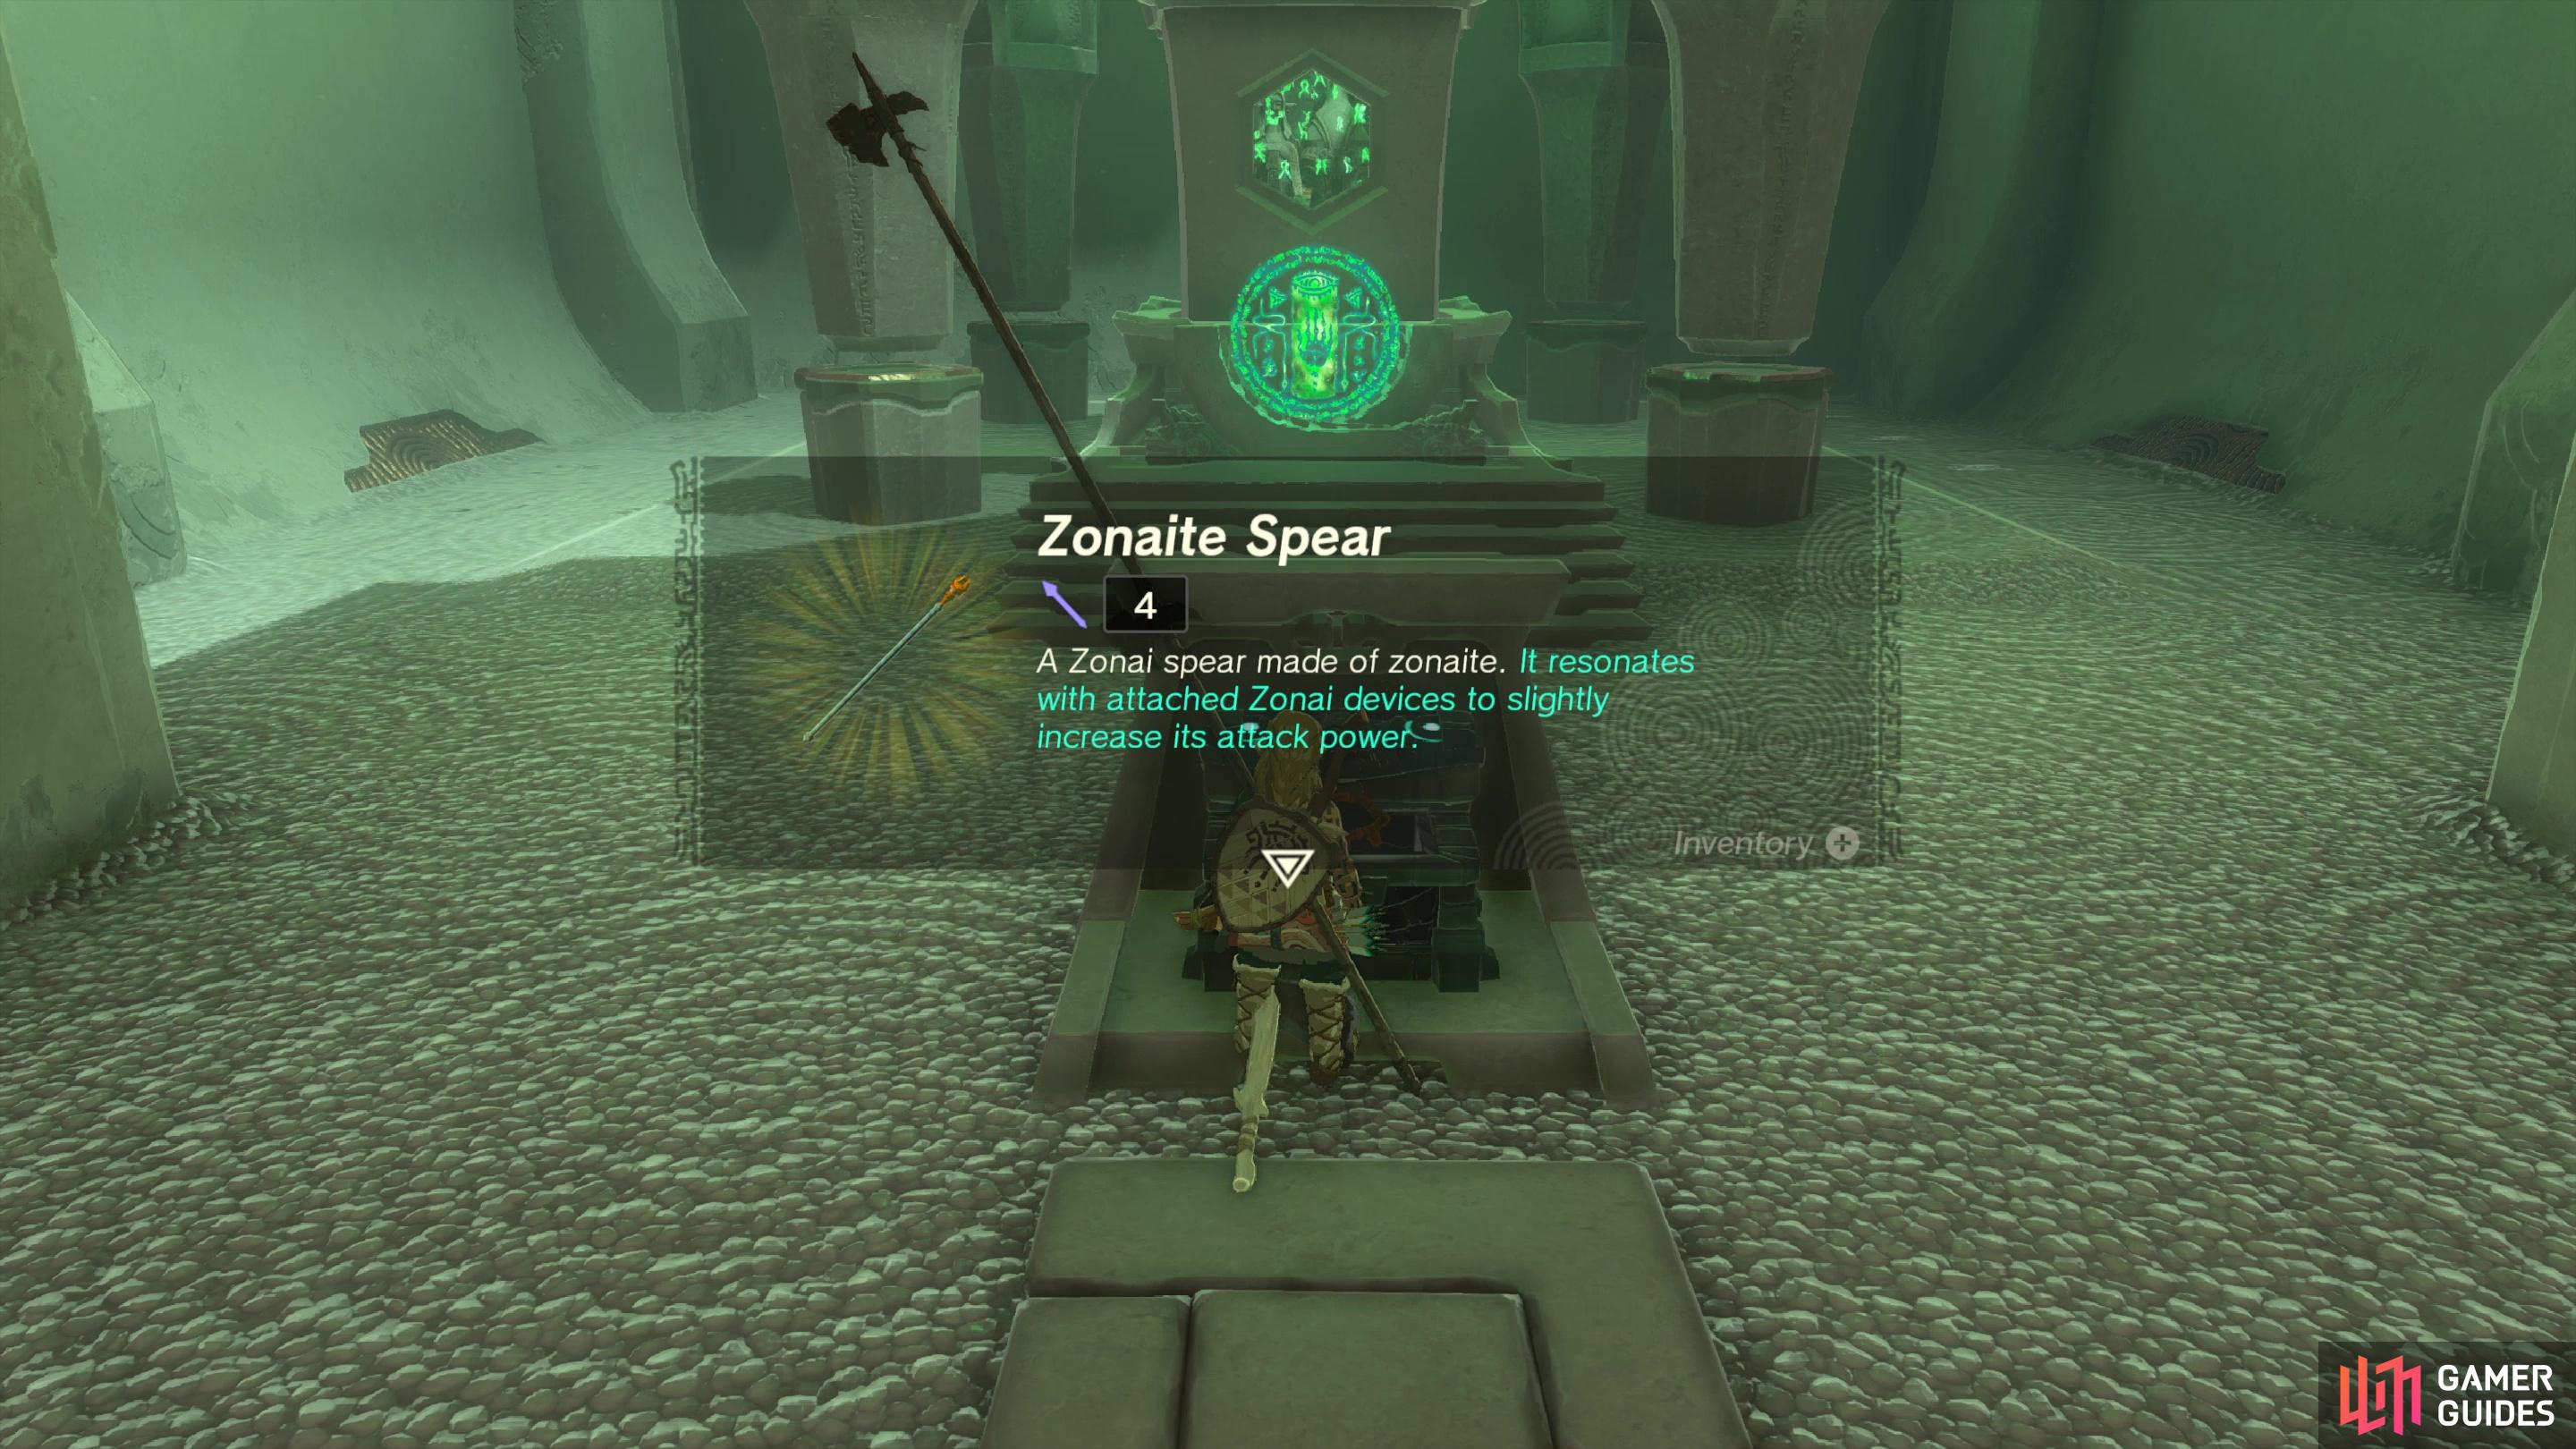
Along with the standard Light of Blessing, you’ll obtain a Zonaite Spear for completing this shrine.
No Comments