
This page offers a guide on how to find Ganondorf in the Depths in The Legend of Zelda: Tears of the Kingdom. It can be quite tricky to find Ganondorf if you don’t know where to begin, but on this page you’ll find information on where exactly to go in the Depths. The latter half of this page will also offer a walkthrough on how to beat the Demon King’s Army so you can finally fight the big baddie himself - Ganondorf!

Find out how to find Ganondorf and beat the Demon King’s Army!
Before you embark on this epic odyssey, we recommend heading to our page on how to prepare for the Ganondorf fight. There, you’ll find info on all the best armor, weapons and foods to get, as well as some other top tips to follow before embarking on the big boss fight of the game. Unless you grab yourself a Travel Medallion, you won’t be able to fast travel out of the Depths beneath Hyrule Castle and back again should you need to recoup - there are no !Light Roots this deep down!
Where is Ganondorf in the Depths?
Ganondorf is found deep in the Depths beneath !Hyrule Castle. Even though you can explore much of the depths naturally, unless you’re specifically going with the intention of finding Ganondorf, chances are you’re not going to just run across him accidentally - thankfully!
To start, head over to !Hyrule Castle. You can fast travel to ![]() Serutabomac Shrine (Map Marker) to save yourself some time. Then drop off the edge of the cliff and paraglide down and under to find the huge Hyrule Castle Chasm. Drop all the way down the chasm (it might get a little laggy as you load in!) and then face south to find another drop down into a deeper cavern.
Serutabomac Shrine (Map Marker) to save yourself some time. Then drop off the edge of the cliff and paraglide down and under to find the huge Hyrule Castle Chasm. Drop all the way down the chasm (it might get a little laggy as you load in!) and then face south to find another drop down into a deeper cavern.
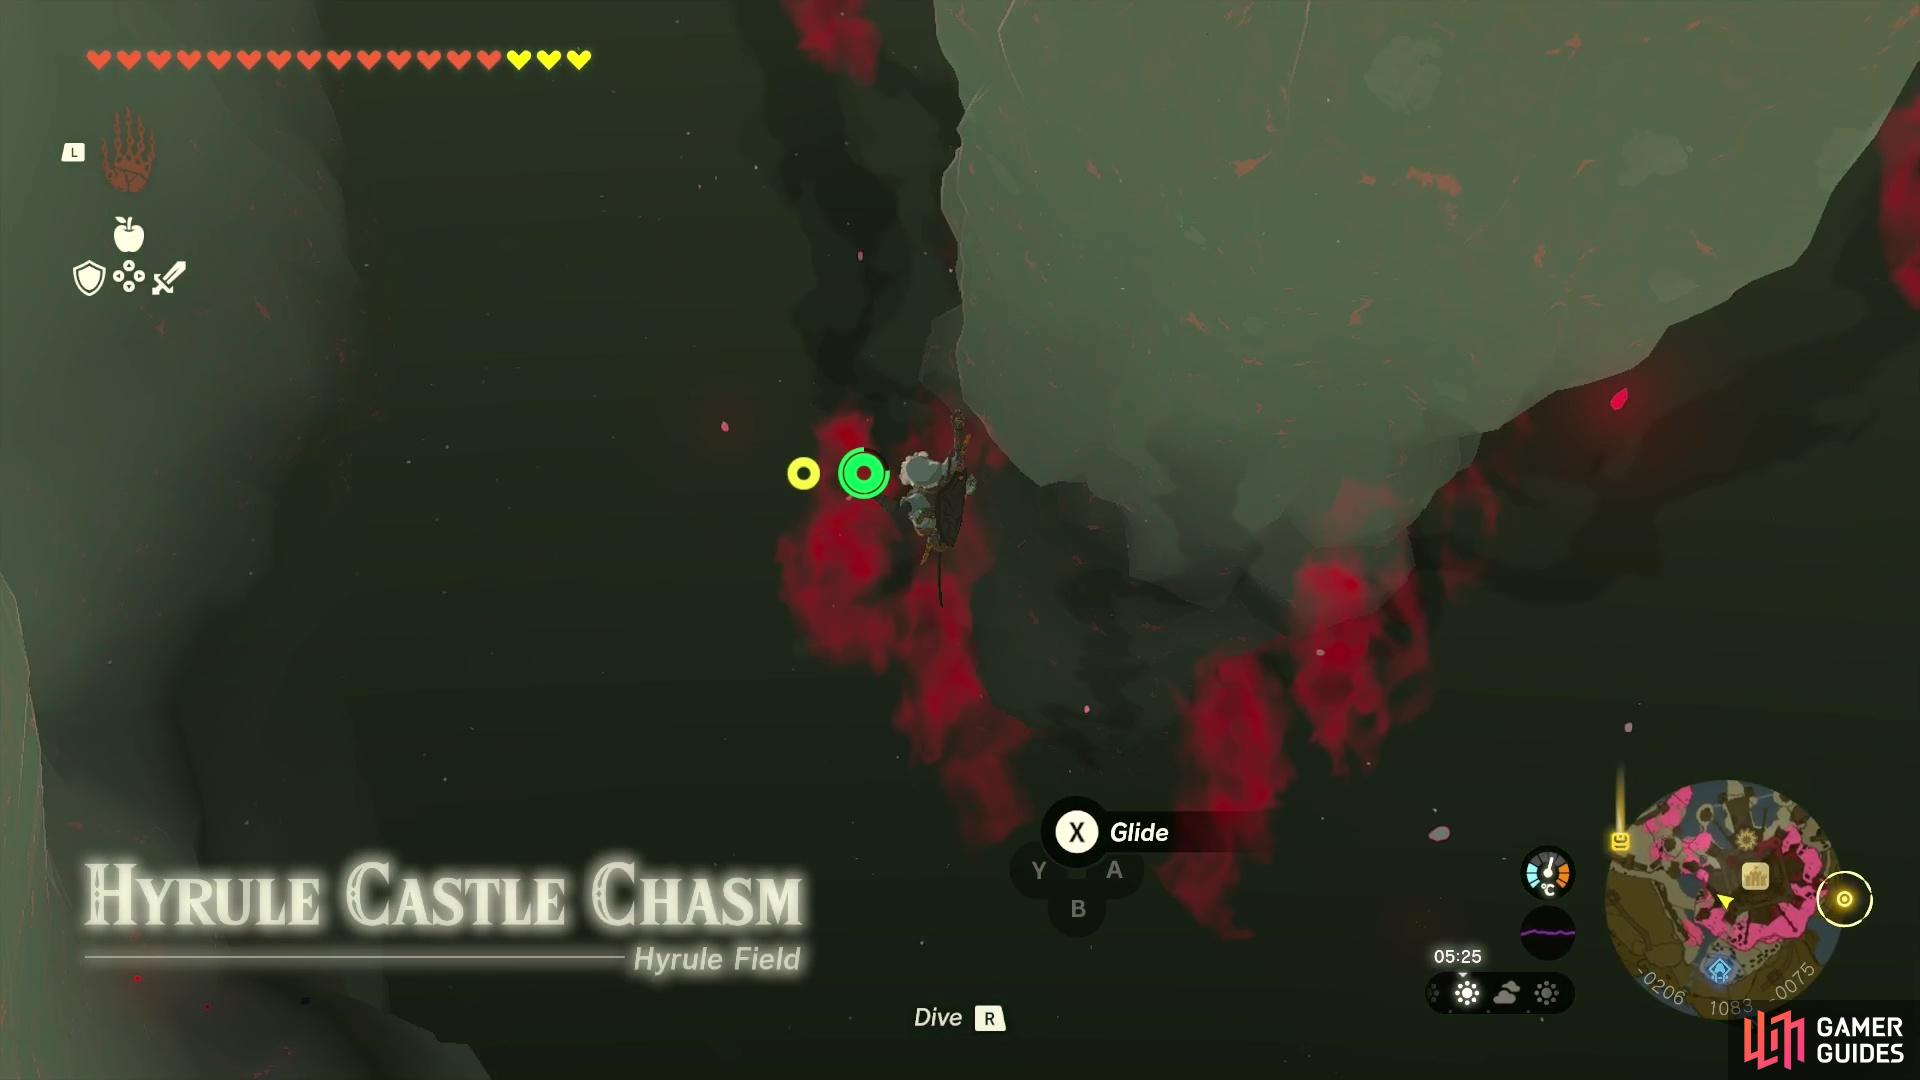
Drop down into Hyrule Castle Chasm
then pass down deeper past the Like Like enemies.
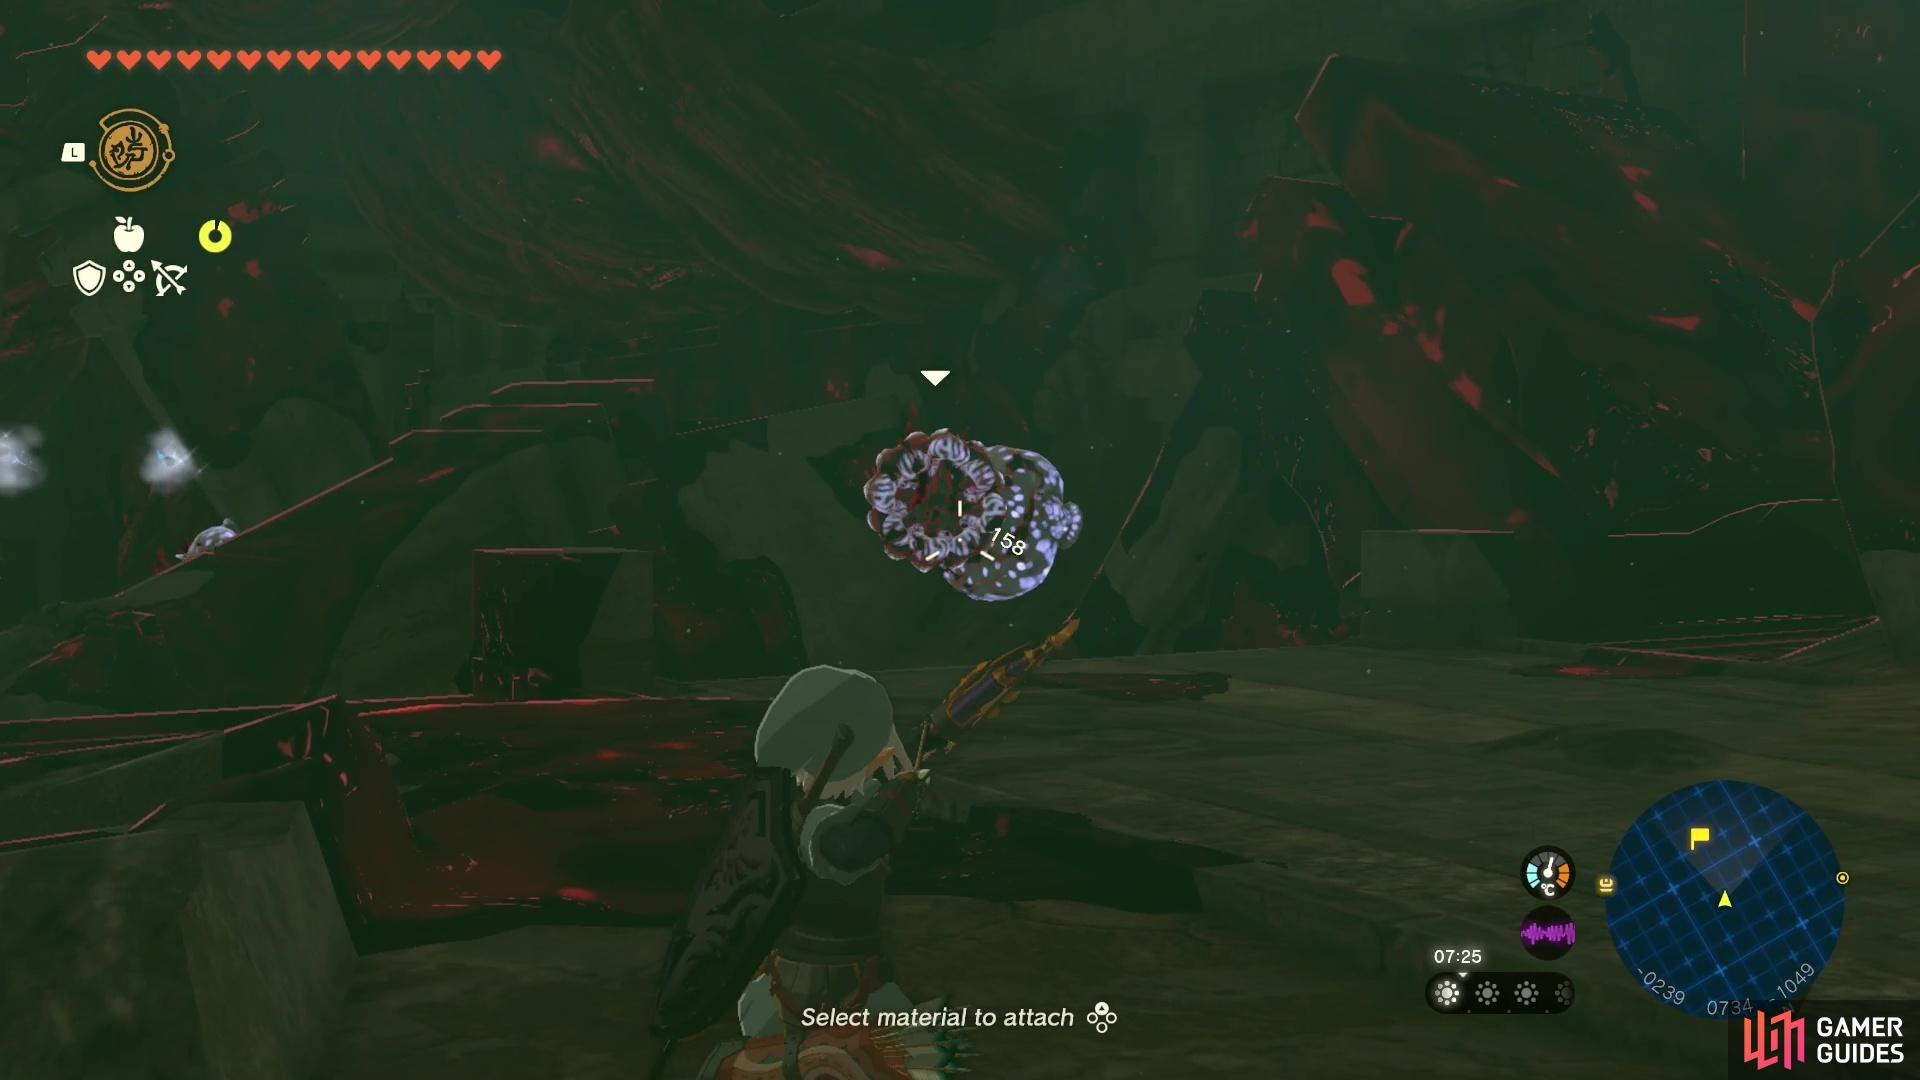
This cavern is filled with ![]() Like Likes, but fear not! You can just paraglide all the way down past them and head right past the lower Like Like to continue into a small cavern. In this cavern are a couple of nasty
Like Likes, but fear not! You can just paraglide all the way down past them and head right past the lower Like Like to continue into a small cavern. In this cavern are a couple of nasty ![]() Horriblins and you could take the time to take them out, or you can run up the cliff face to the south to get up onto a ledge over looking another cavern below. As you drop down, watch out for the
Horriblins and you could take the time to take them out, or you can run up the cliff face to the south to get up onto a ledge over looking another cavern below. As you drop down, watch out for the ![]() Electric Keese and continue a little south.
Electric Keese and continue a little south.
Up ahead, you’ll see a ![]() Silver Lynel patrolling down below. Unless you’re absolutely kitted out, we recommend avoiding this fight - but you can find a combat strategy here if you are looking to beat this guy up! If not, paraglide to the left to the small ledge.
Silver Lynel patrolling down below. Unless you’re absolutely kitted out, we recommend avoiding this fight - but you can find a combat strategy here if you are looking to beat this guy up! If not, paraglide to the left to the small ledge.
You don’t actually need to fight this Silver Lynel.
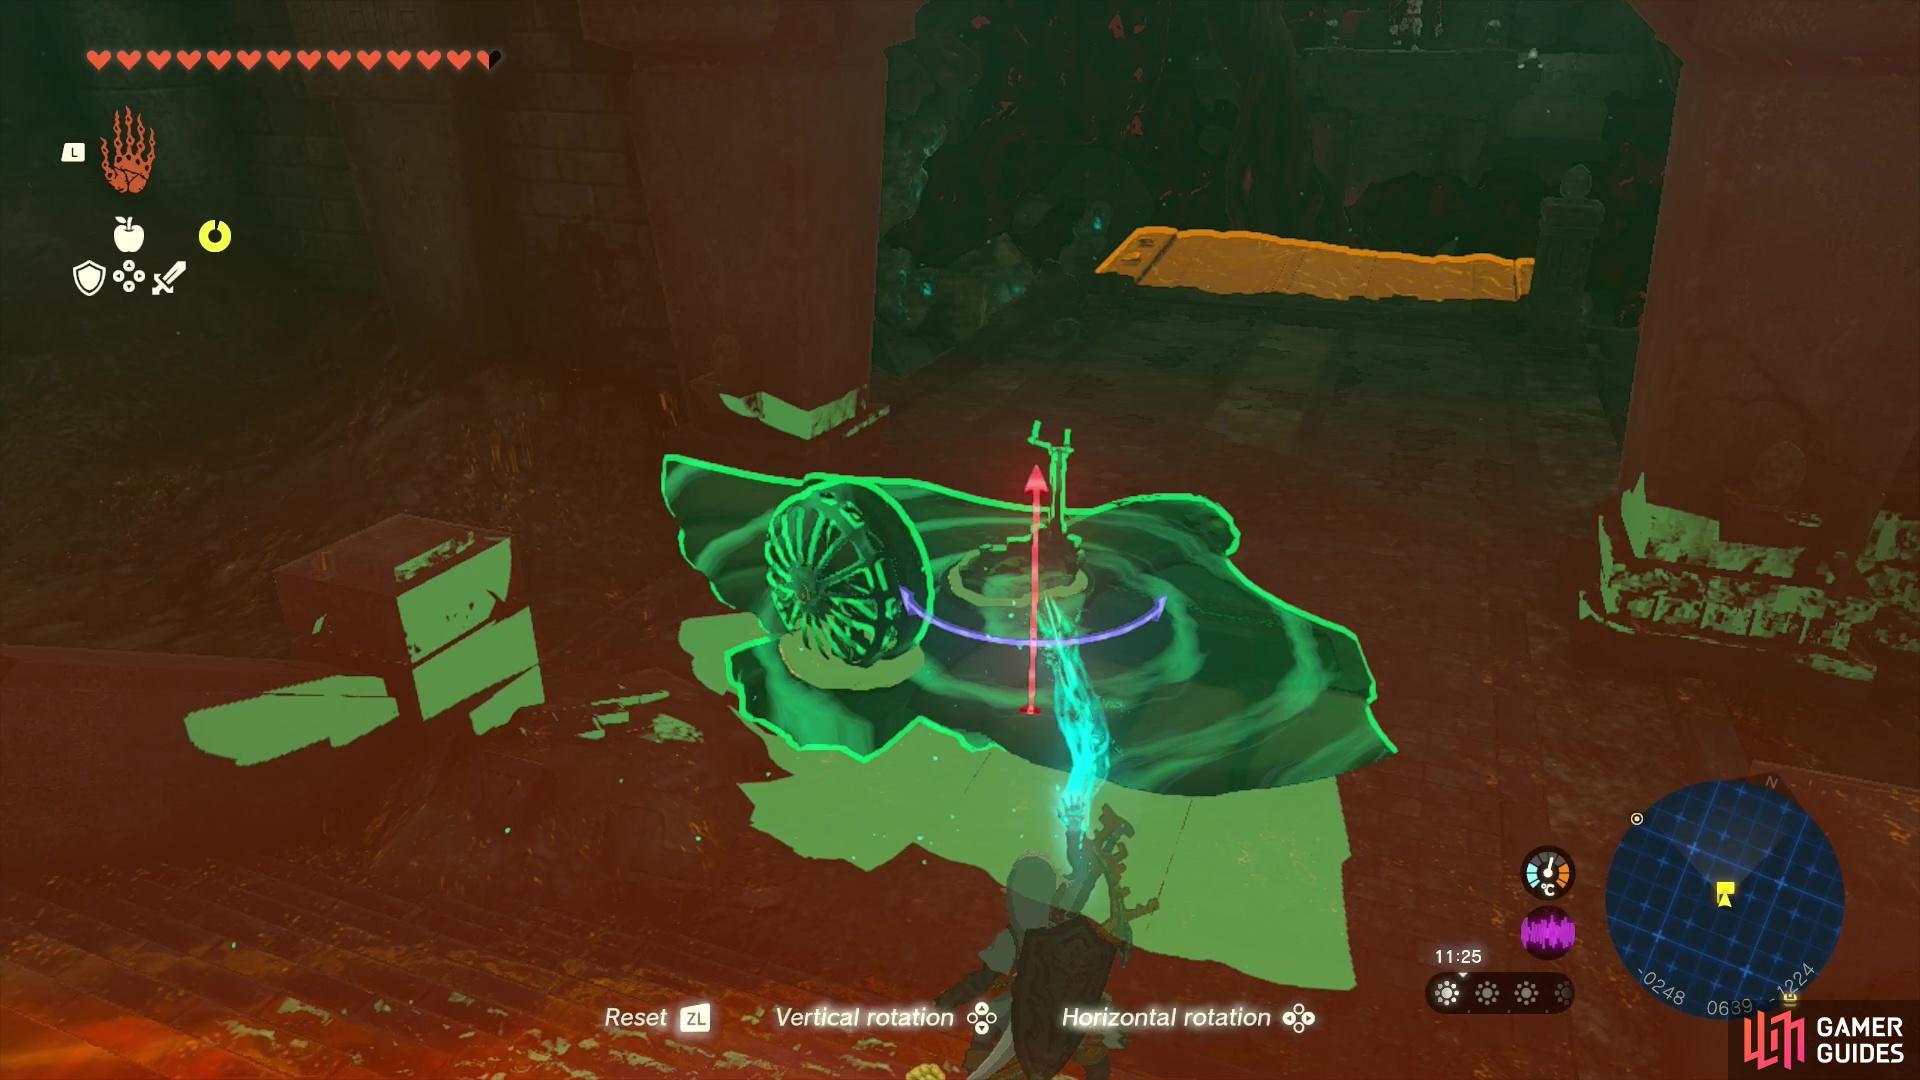
When you head into this small alcove, the floor beneath you will drop and you’ll fall into a ruinous temple-looking room. To get out, head to the opposite side of the room and locate the fallen blocks. Hop onto any of the blocks and hit recall on it so that it takes you all the way up again.
In this next area, follow the steps up and take the passage heading west. You’ll come into a larger tunnel area with some Ice Likes. We took the time to get rid of these guys as they’re quite easy to deal with and getting caught in their ice projectiles can be annoying! Some ![]() Ice Keese will also fly at you and attempt to freeze you as well - make sure to deal with those too!
Ice Keese will also fly at you and attempt to freeze you as well - make sure to deal with those too!
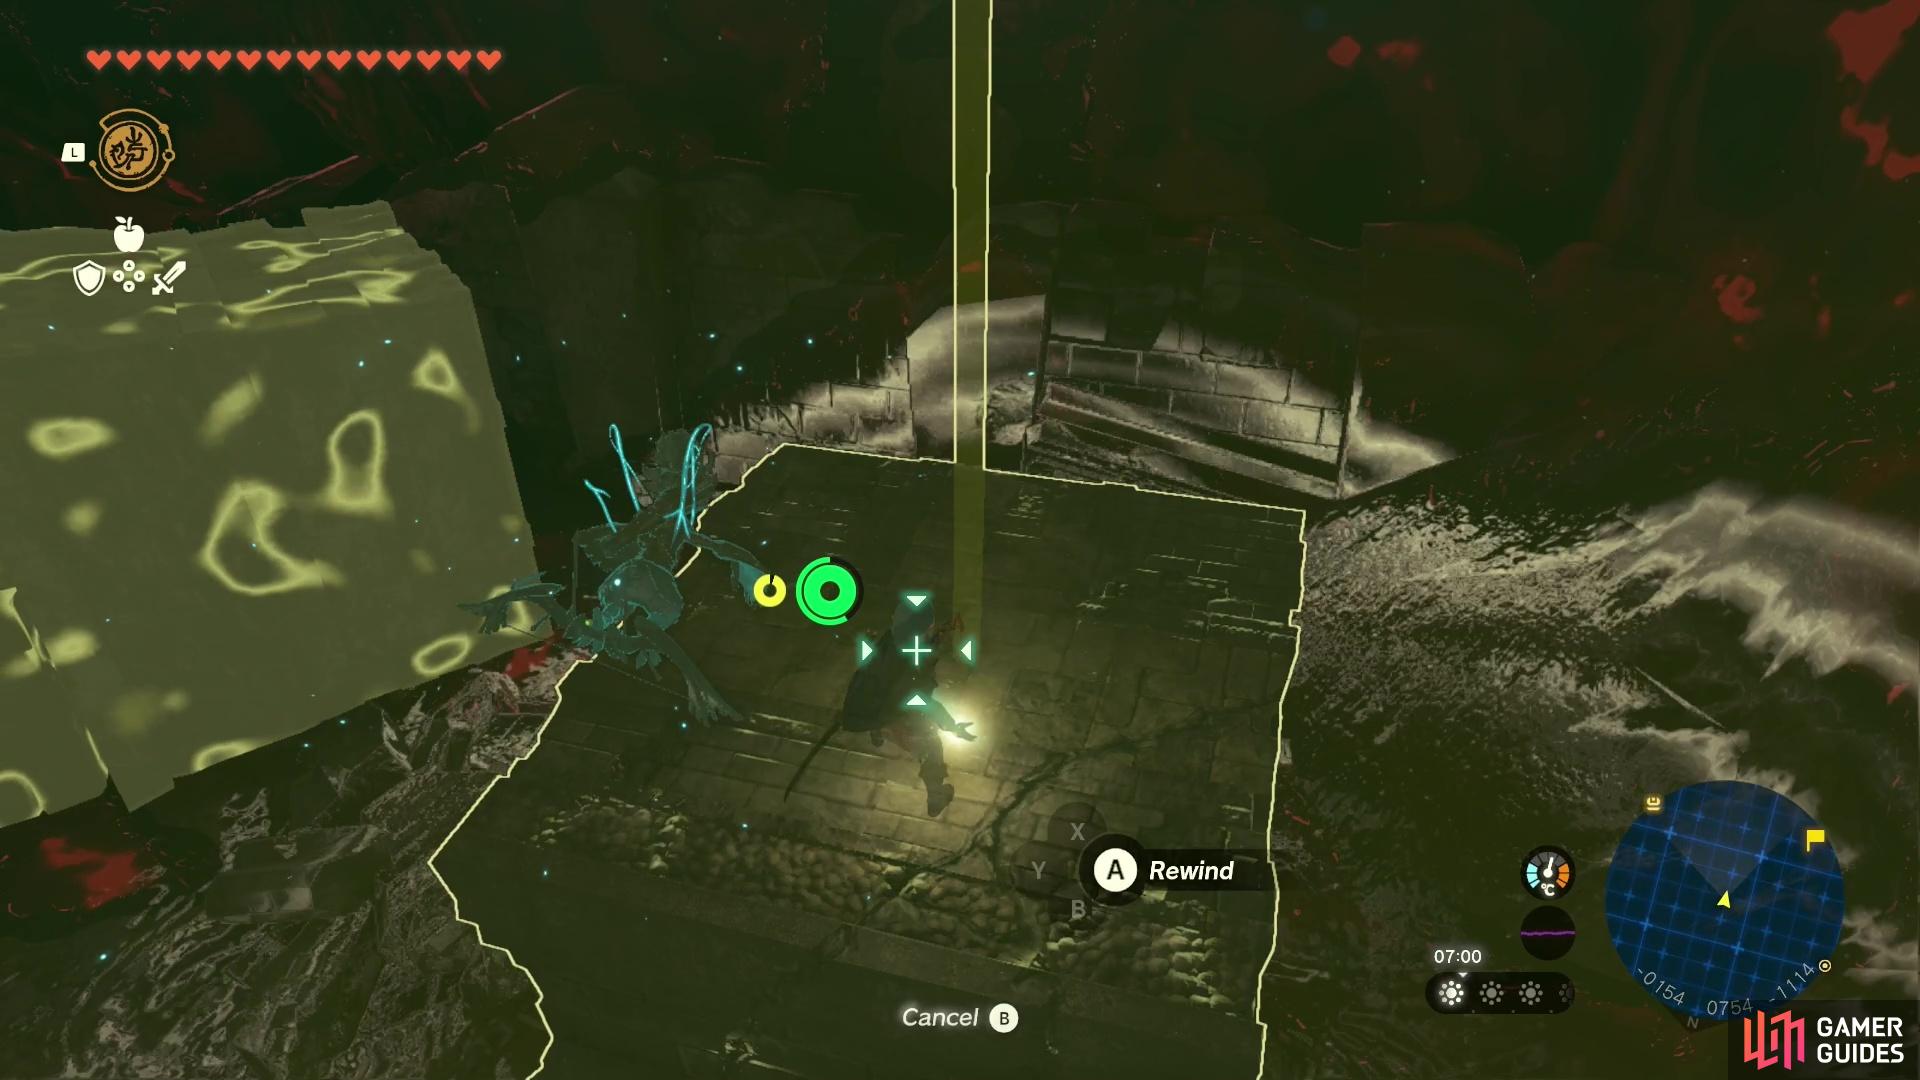
Use recall on one of the fallen blocks
then pass through into the next area with the Ice Likes.
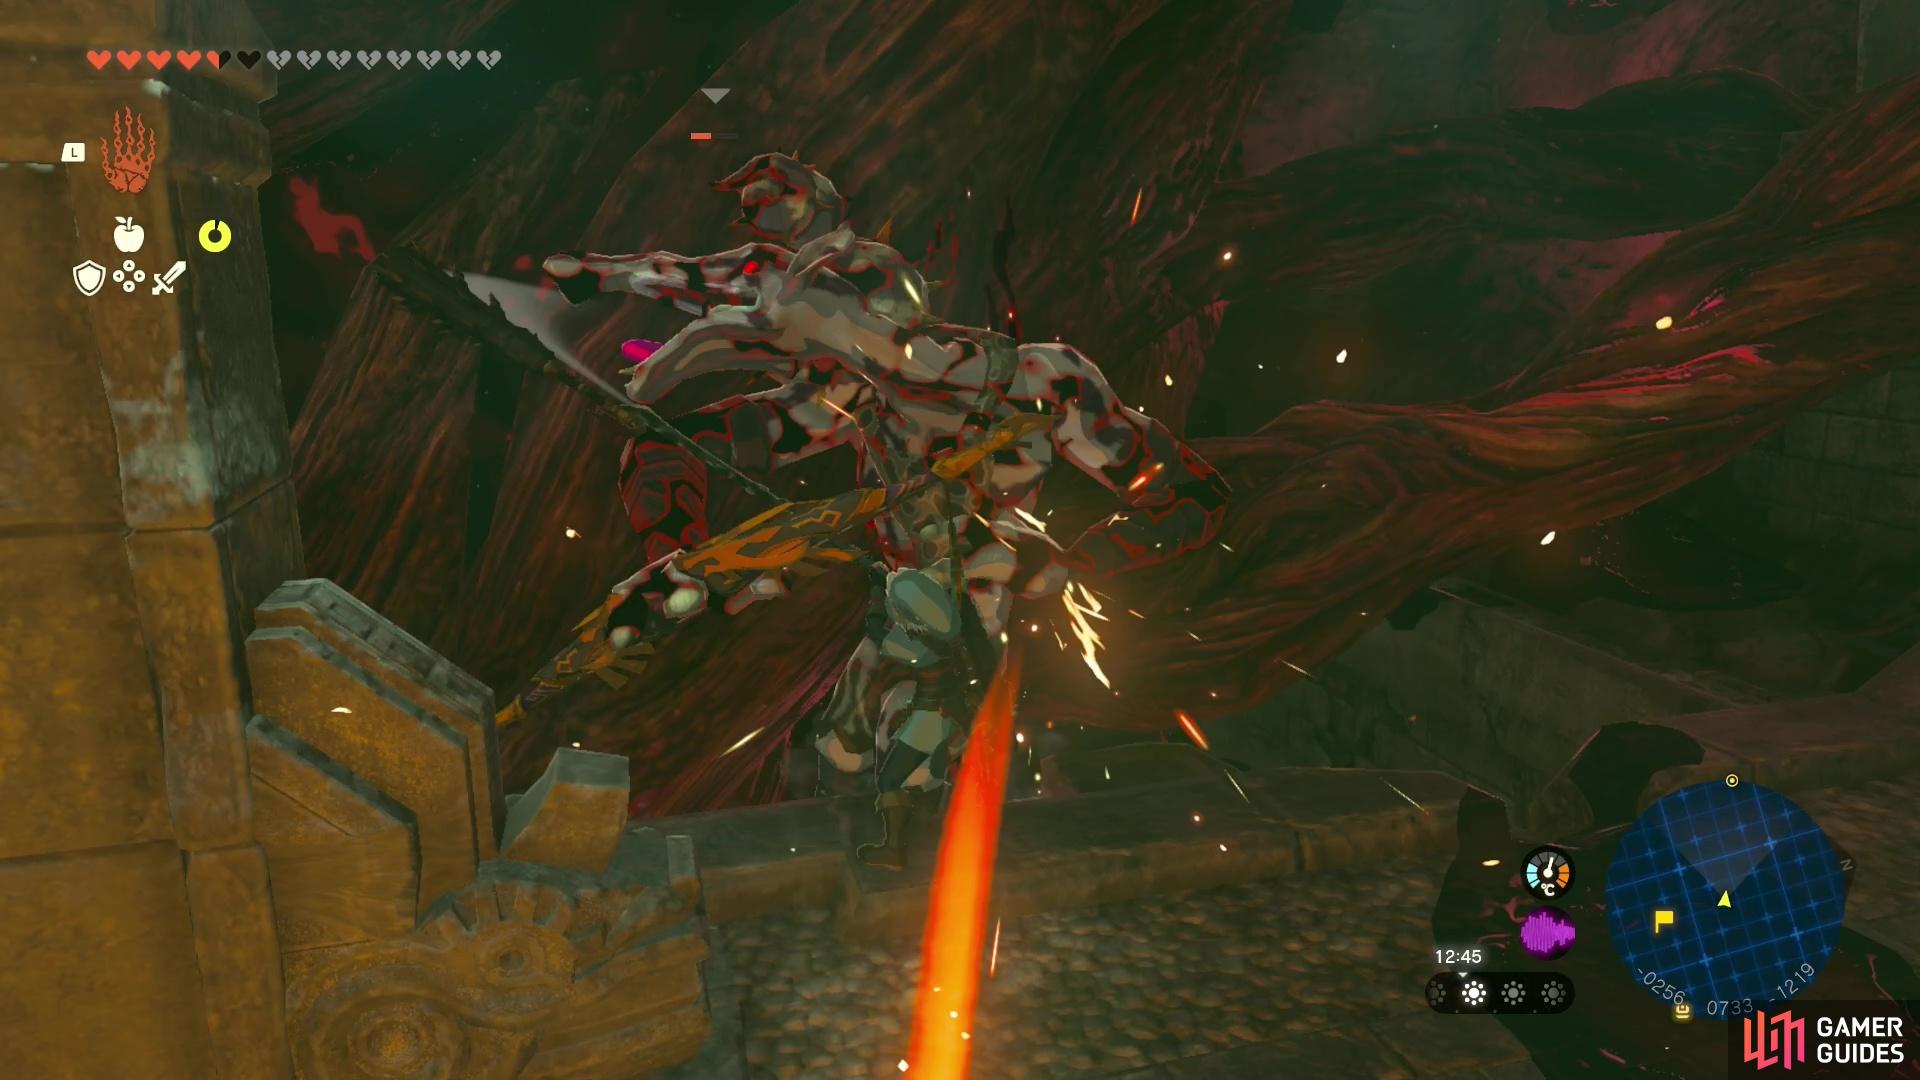
Once you’ve passed the !Ice Likes and reached the end of the tunnel, drop all the way down to the bottom of this temple area. This place is filled with ![]() Lizalfos enemies, but you can bypass most of them. Unfortunately, at the bottom of this area, you will have to deal with two Lizalfos, one of which is a strong
Lizalfos enemies, but you can bypass most of them. Unfortunately, at the bottom of this area, you will have to deal with two Lizalfos, one of which is a strong ![]() Silver Lizalfos that shoots lightning arrows that’ll do tons of damage, make you drop your weapon and do gloom damage - ouch! To deal with these guys quickly we recommend going into melee range and knocking them over before they can shoot you with their powerful bows! It’s also worth mentioning that once you reach the bottom of this area, you won’t have access to your Sages until later on.
Silver Lizalfos that shoots lightning arrows that’ll do tons of damage, make you drop your weapon and do gloom damage - ouch! To deal with these guys quickly we recommend going into melee range and knocking them over before they can shoot you with their powerful bows! It’s also worth mentioning that once you reach the bottom of this area, you won’t have access to your Sages until later on.
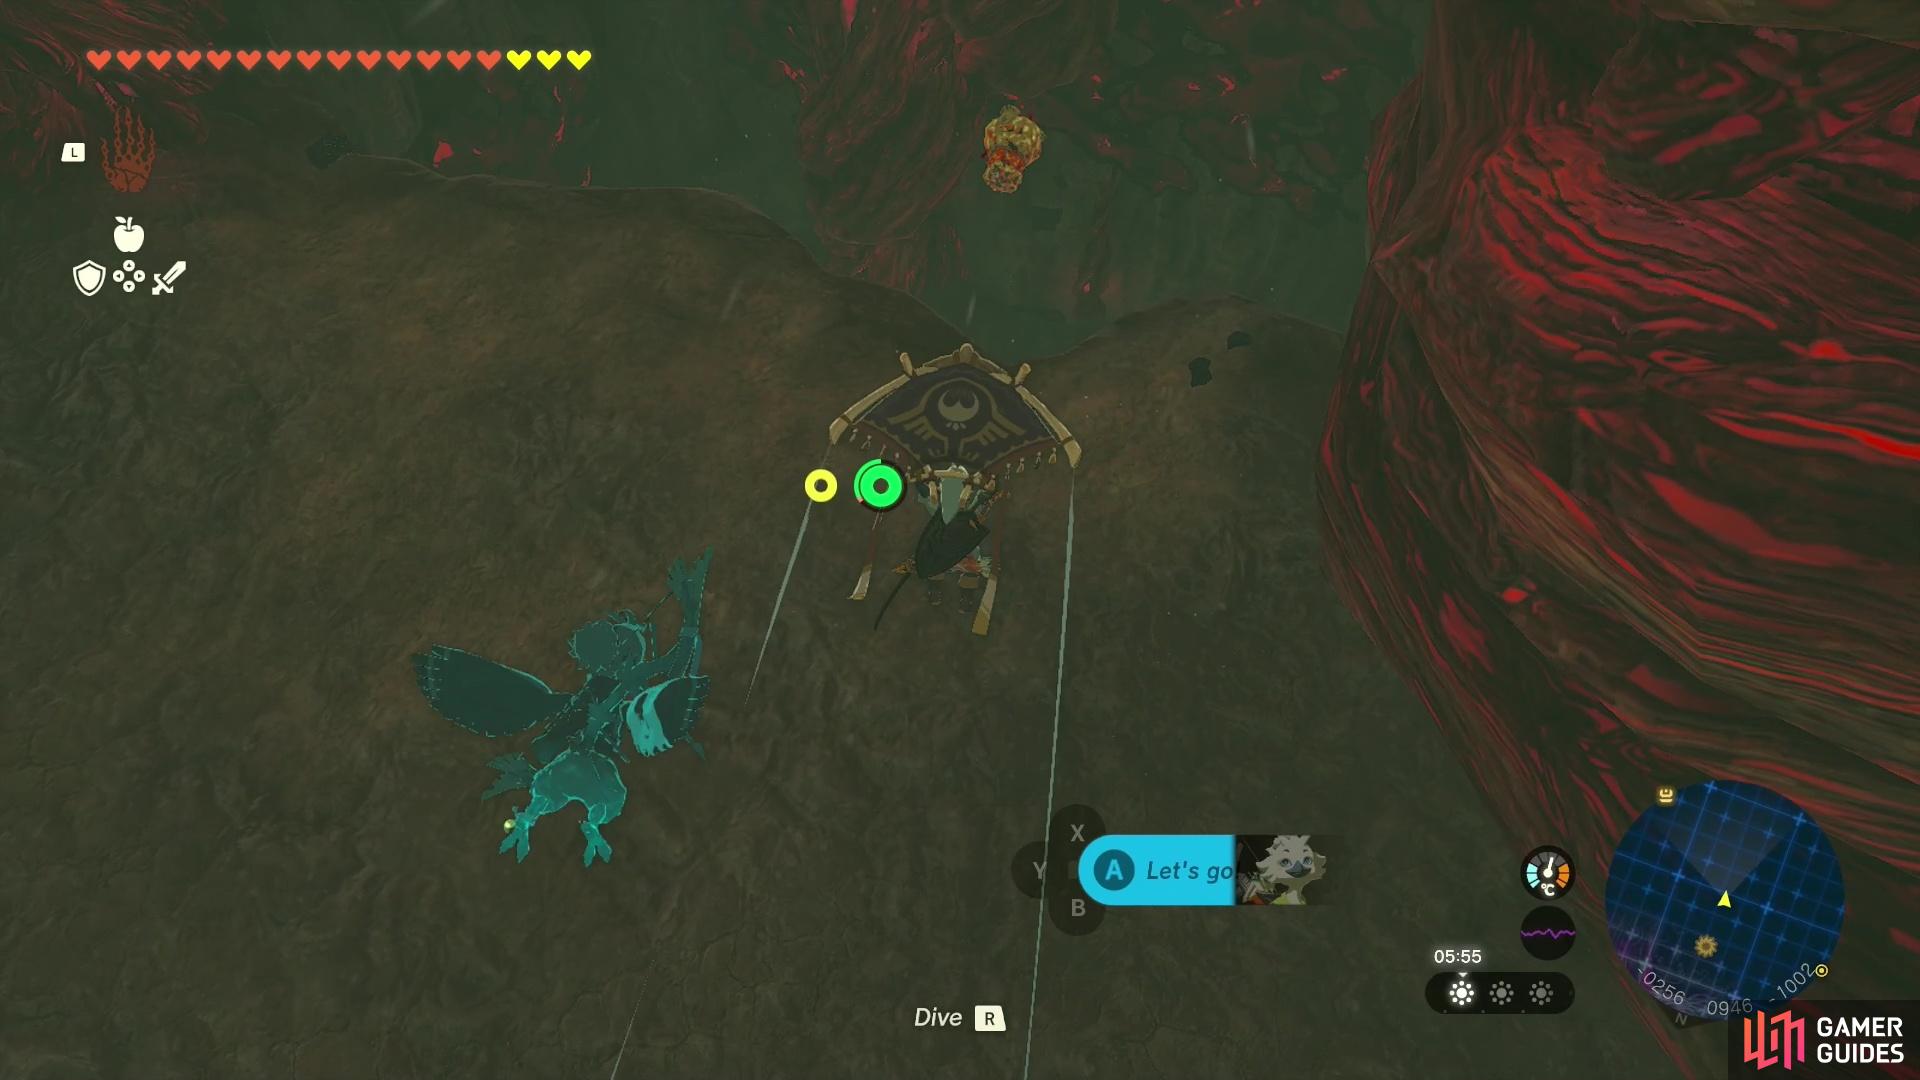
After dealing with the Lizalfos, head to the west to find some Zonai devices in a side room. Use the different devices to create a fan-powered wing device attached to a cart and has a steering stick. Take it into the main room and face northwards.
By now you will have spotted a ![]() Moblin on the other side of the cavern. Your goal is to reach him via your Wing device. You want to avoid dropping down into the cavern below as you’ll spawn in some
Moblin on the other side of the cavern. Your goal is to reach him via your Wing device. You want to avoid dropping down into the cavern below as you’ll spawn in some ![]() Gloom Hands! The
Gloom Hands! The ![]() Silver Moblin packs a punch but you can continually knock him back using a strong weapon. You could also bypass this guy if you’d like, but he does drop a Silver
Silver Moblin packs a punch but you can continually knock him back using a strong weapon. You could also bypass this guy if you’d like, but he does drop a Silver ![]() Moblin Horn, which is an awesome
Moblin Horn, which is an awesome ![]() Fuse material for weapons!
Fuse material for weapons!
Use the Zonai devices to create a flight device
then soar across the cavern to reach the Silver Moblin.
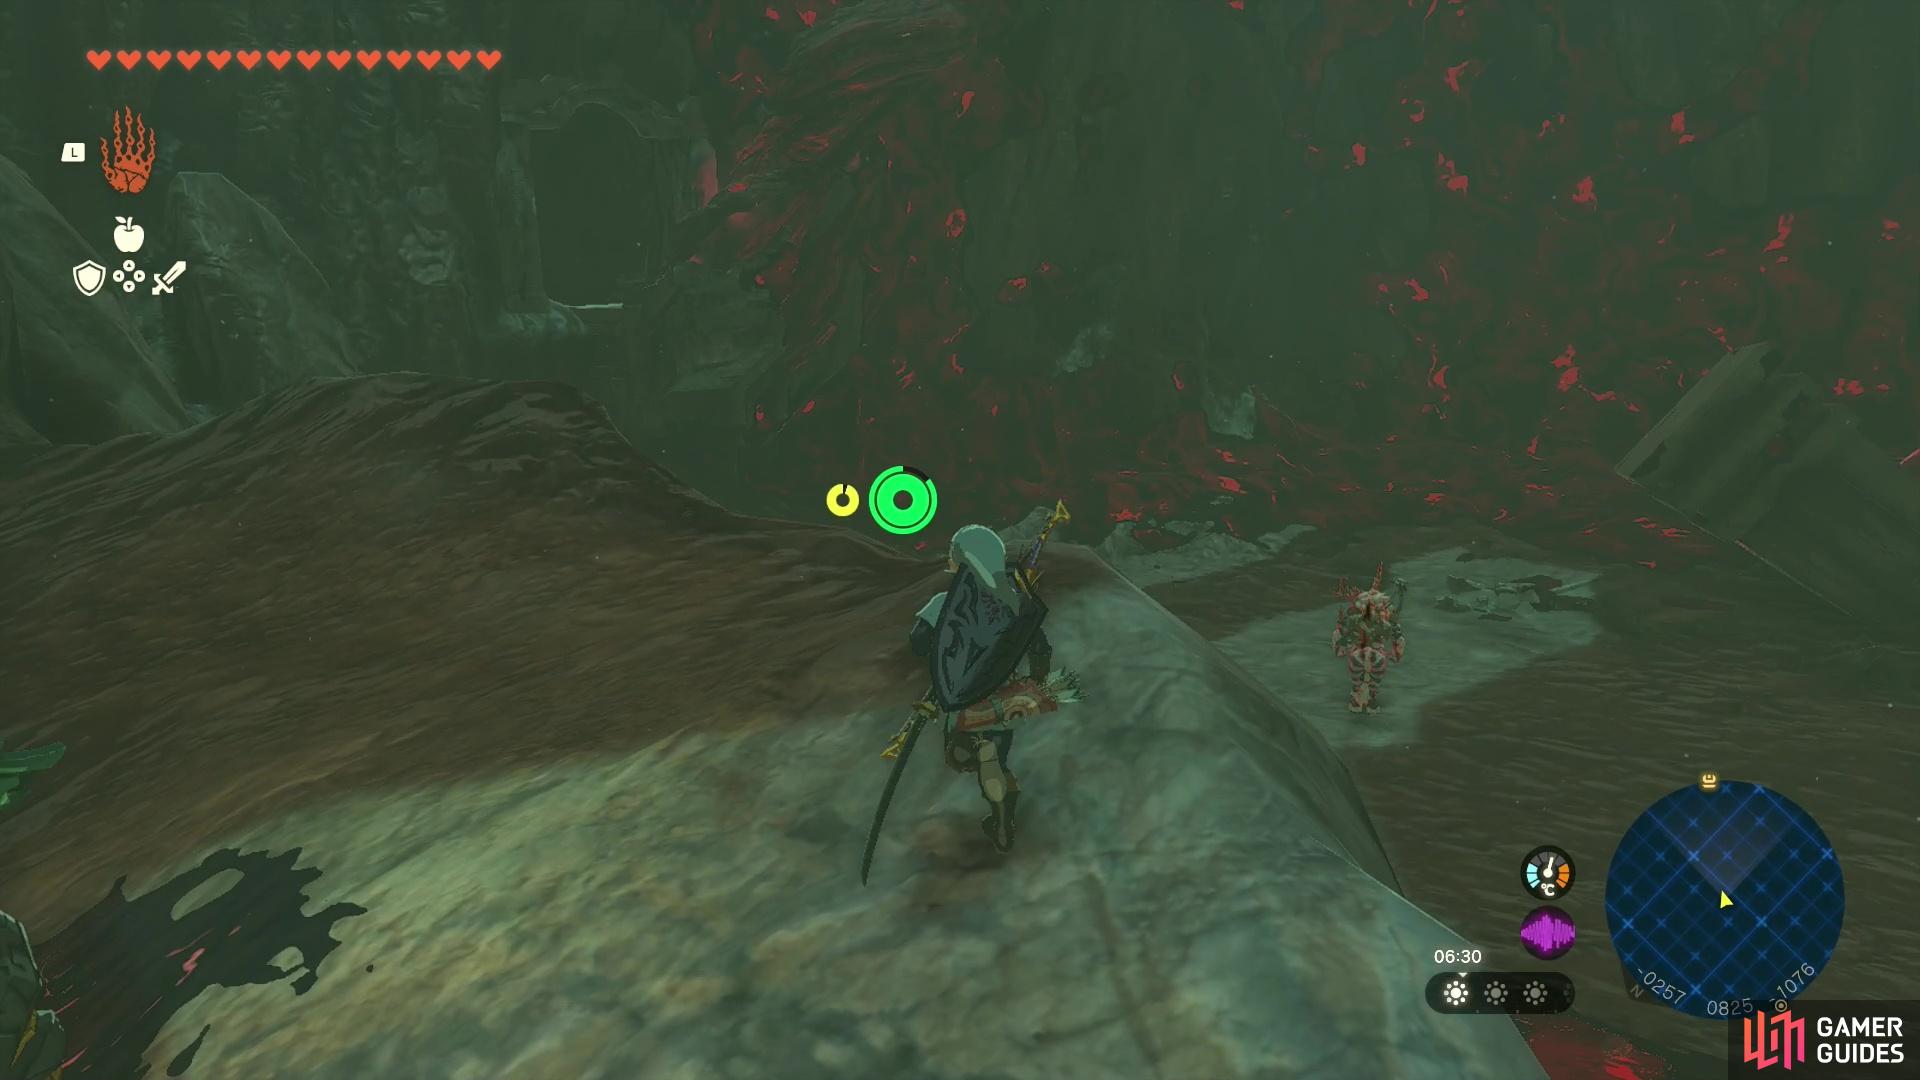
After dealing with the Moblin (or not!), proceed down the steps towards the Forgotten Foundations area and defeat the ![]() Silver Bokoblin guarding the way down. Behind the
Silver Bokoblin guarding the way down. Behind the ![]() Bokoblin you’ll have to pass into a narrow passage filled with
Bokoblin you’ll have to pass into a narrow passage filled with ![]() Gibdo. Use fire or lightning fuse materials on your arrows to get rid of them quickly. Once they’re dealt with, break the rocks blocking your path and proceed into a mural room. The head east to break more rocks blocking a small tunnel that heads further down.
Gibdo. Use fire or lightning fuse materials on your arrows to get rid of them quickly. Once they’re dealt with, break the rocks blocking your path and proceed into a mural room. The head east to break more rocks blocking a small tunnel that heads further down.
When you’re ready, jump down deep into the Gloom’s Lair. Head south and you’ll be met with another bit to jump down into. This is finally where you’ll meet the Demon King’s Army!
How to Beat The Demon King’s Army
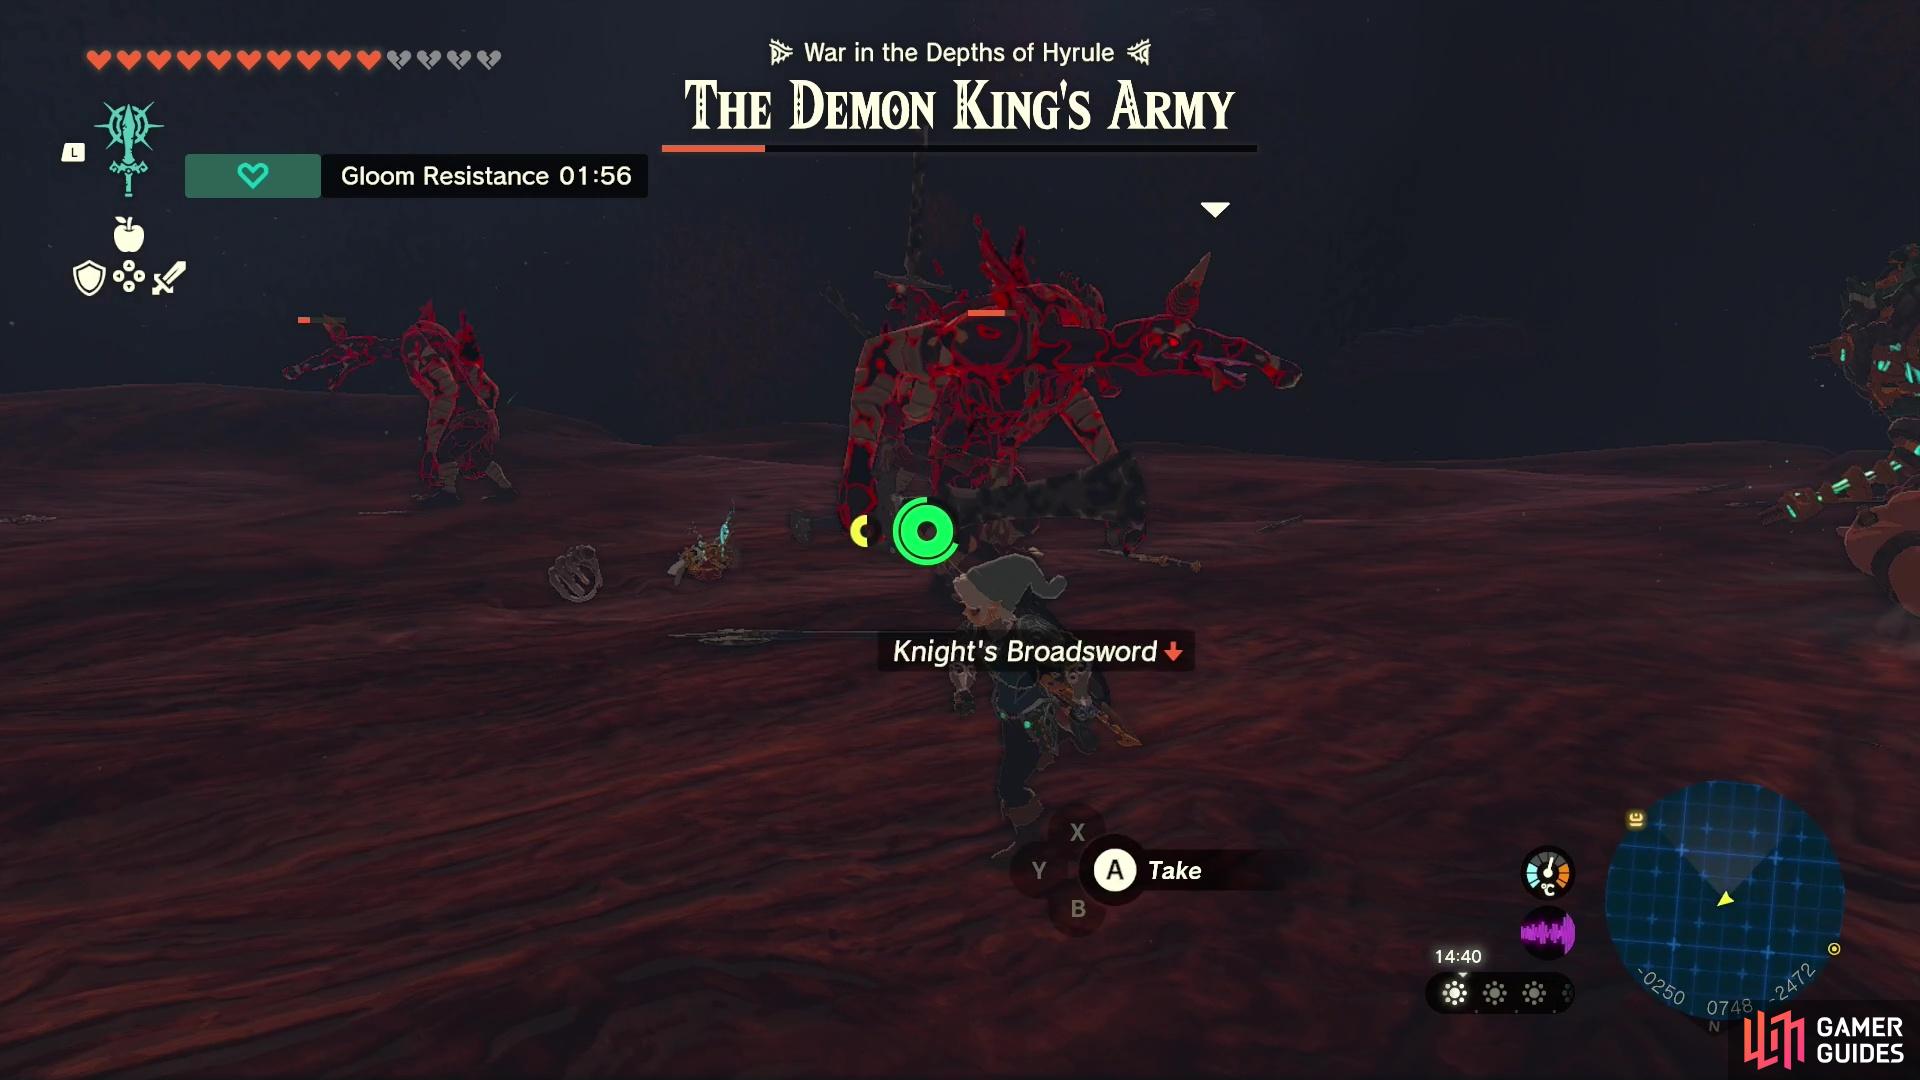
The Demon King’s Army comes in five waves of different types of enemies, with each wave naturally increasing in difficulty. You’ll need to beat all enemies to proceed to the boss fight with Ganondorf! It’s also worth mentioning that the Sages will also come help you in this fight against the Demon King’s Army so it’s not as intimidating as you might think.
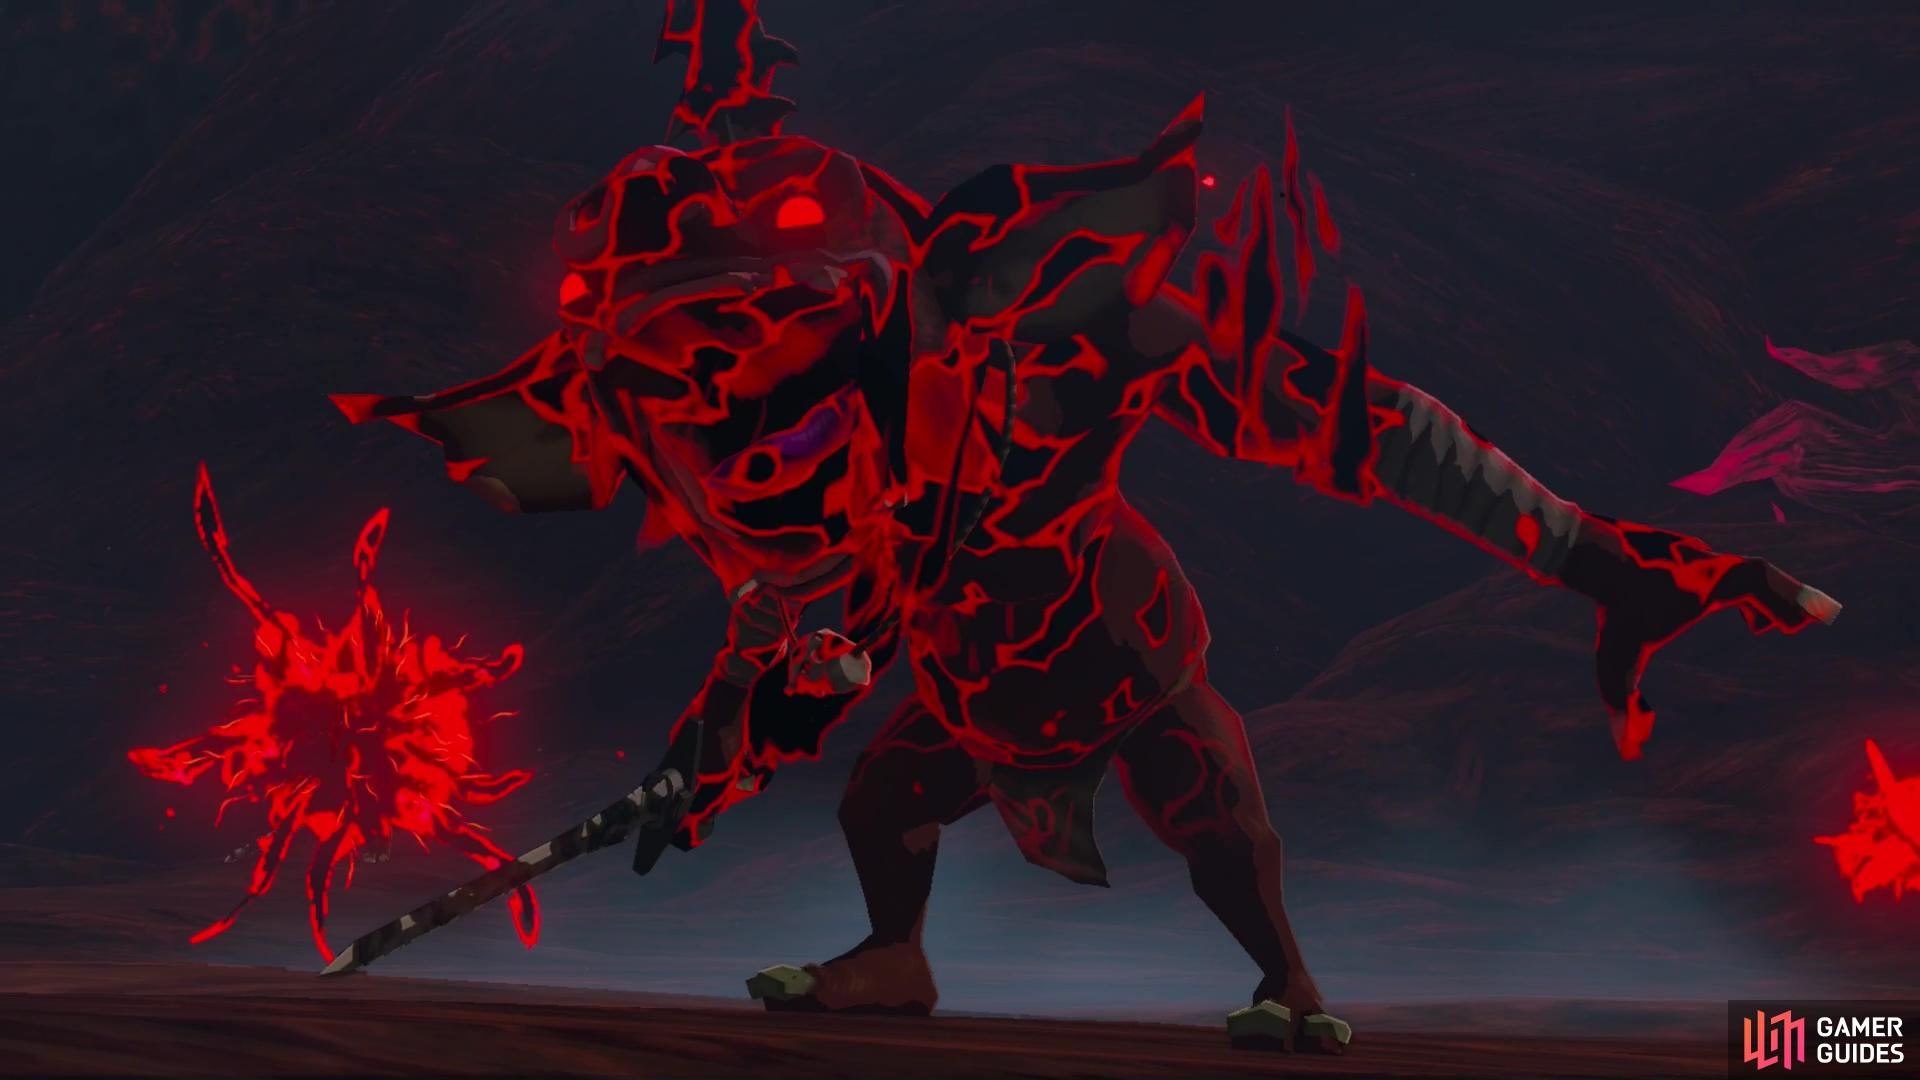
The Demon King’s Army awaits!
Bear in mind that all of these enemies will also do Gloom Damage so you want to get through this fight quickly and carefully so you don’t waste too many resources before the big boss fight!
Bokoblin Wave
The first enemies you’ll face are several Bokoblins and a ![]() Boss Bokoblin. Luckily, most of the Bokoblins are weak and can be one shot with a headshot. If you’ve got plenty of
Boss Bokoblin. Luckily, most of the Bokoblins are weak and can be one shot with a headshot. If you’ve got plenty of ![]() Bomb Flowers, you could take out multiple at once. The Boss Bokoblin will take a bit more effort to take down, but if you’ve gotten rid of all the Bokoblins, you and the Sages will make quick work of the her.
Bomb Flowers, you could take out multiple at once. The Boss Bokoblin will take a bit more effort to take down, but if you’ve gotten rid of all the Bokoblins, you and the Sages will make quick work of the her.
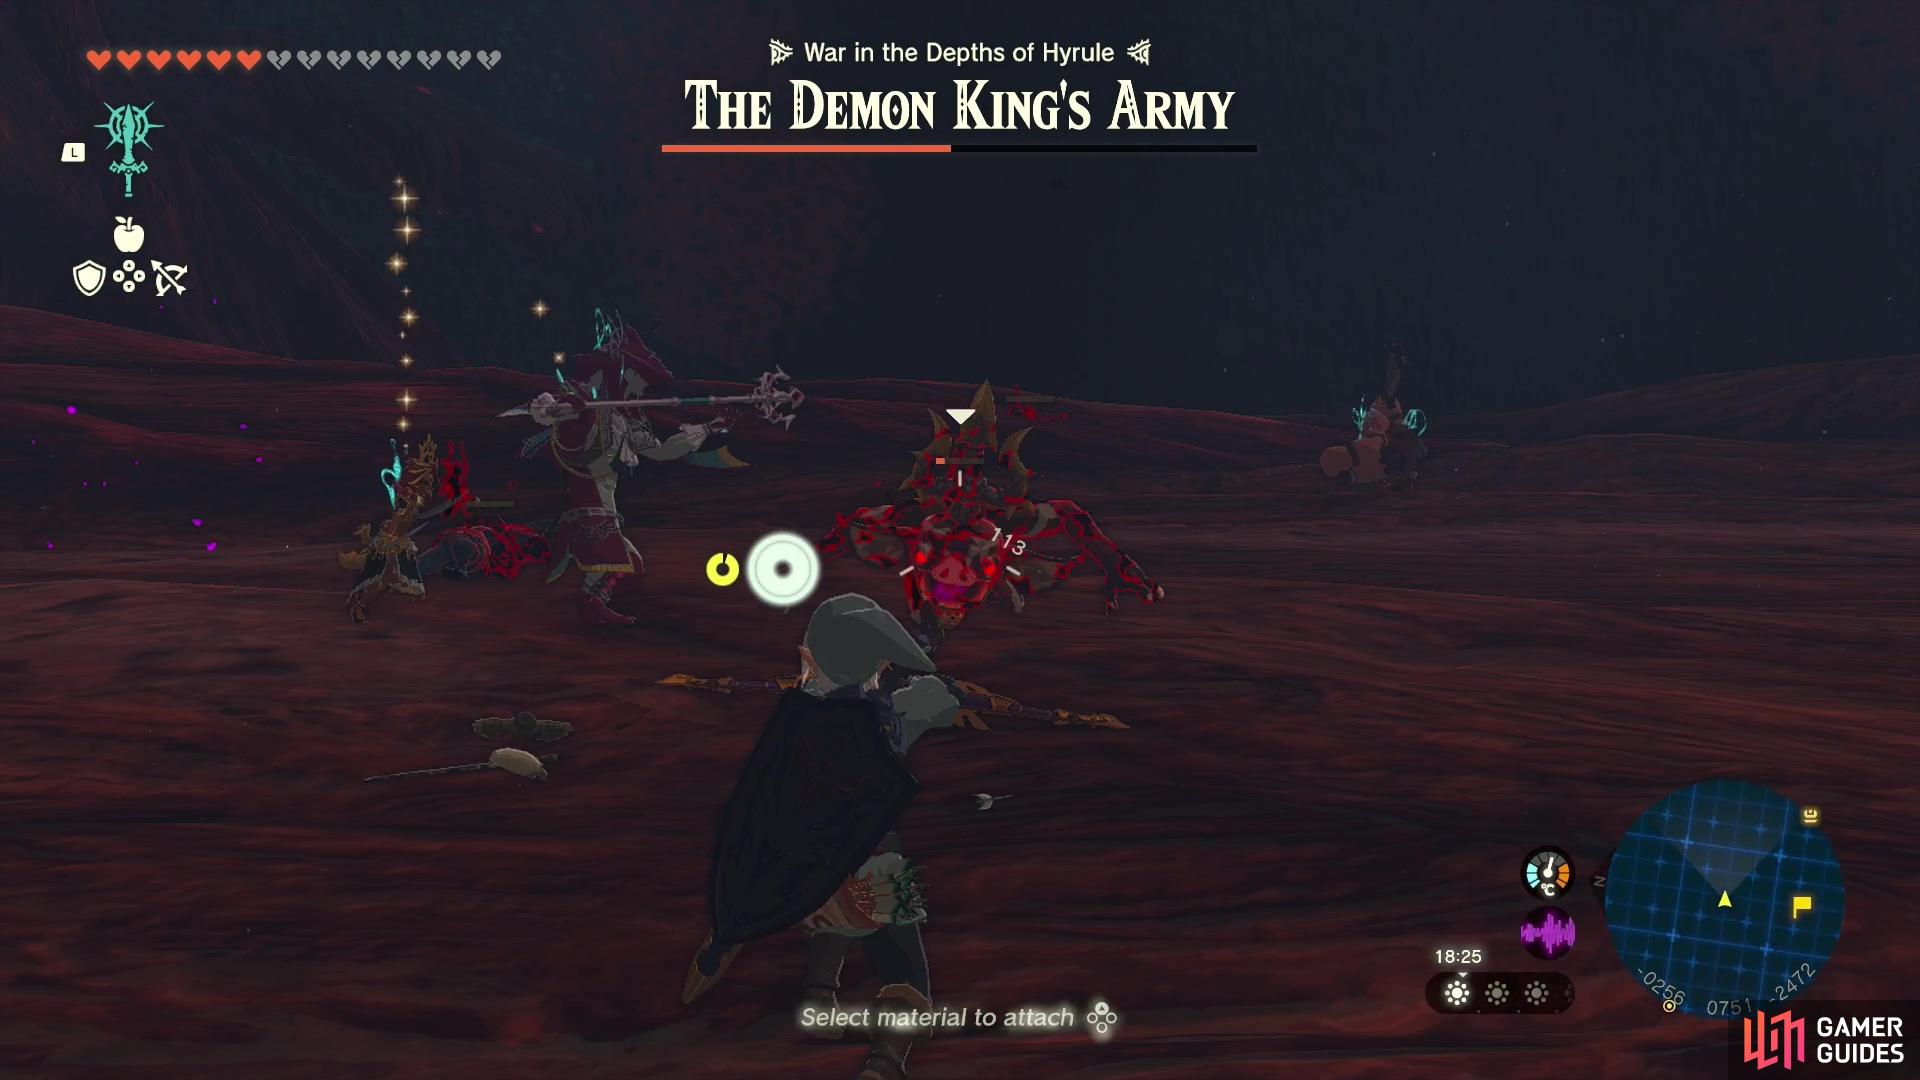
The first wave consists of several Bokoblins
and a Boss Bokoblin that’ll take a lot more to defeat!
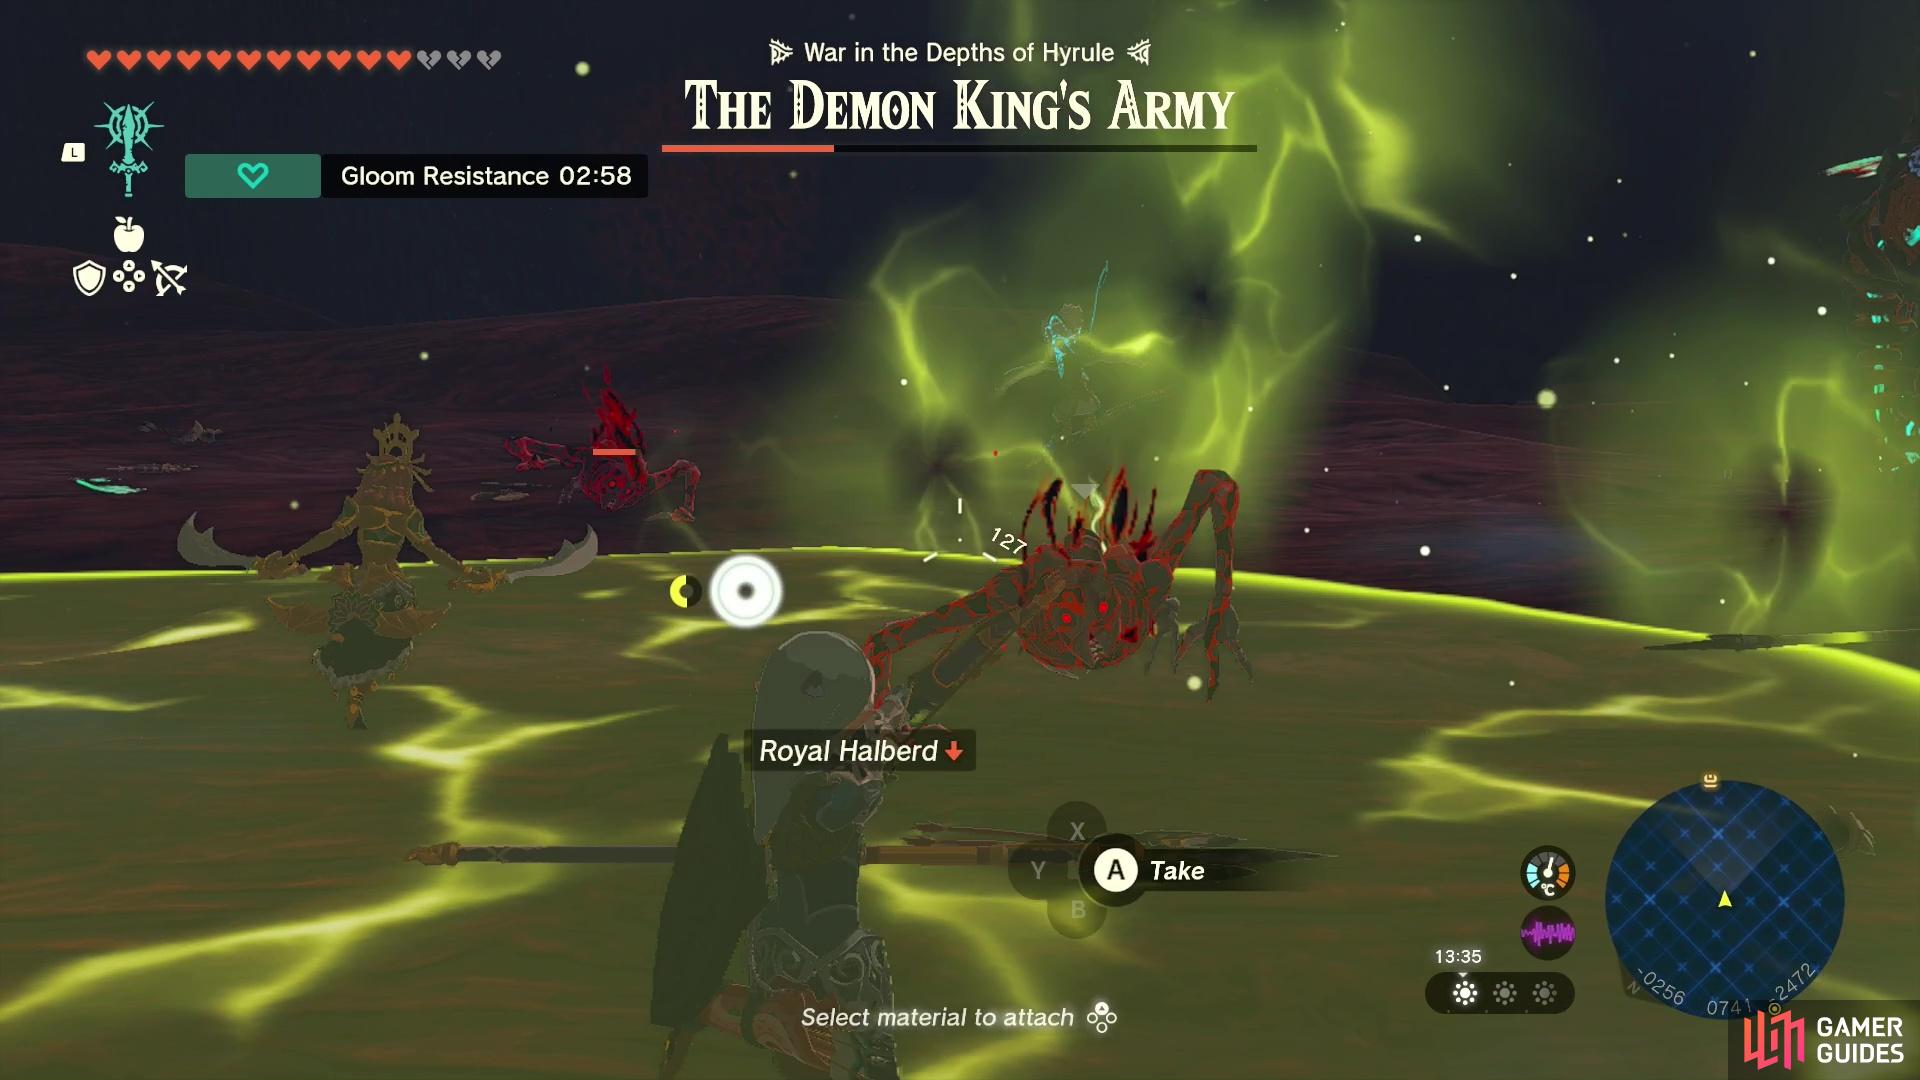
Lizalfos Wave
The Lizalfos enemies are a bit tougher to deal with as they generally have stronger weapons, make use of ranged weapons quite a bit more and are quicker. The best way to deal with these enemies is to use AoE damage, such as Bomb Flowers or by activating the Lightning Sage’s ability.

The second phase consists of Lizalfos.
Gibdo Wave
This is a trickier wave as Gibdo enemies are generally just annoying, but since you’ve dealt with these guys in large quantities before during the Lightning Temple quest, you probably know the drill by now. They’re tanky unless you shoot them with lightning or fire fuse materials! You can one shot them easily but they can run at you quite quickly which can be a little intimidating. The Winged Gibdo are also quite powerful, but again, they shouldn’t pose much of a threat so long as you have some decent fuse materials to one shot them with.
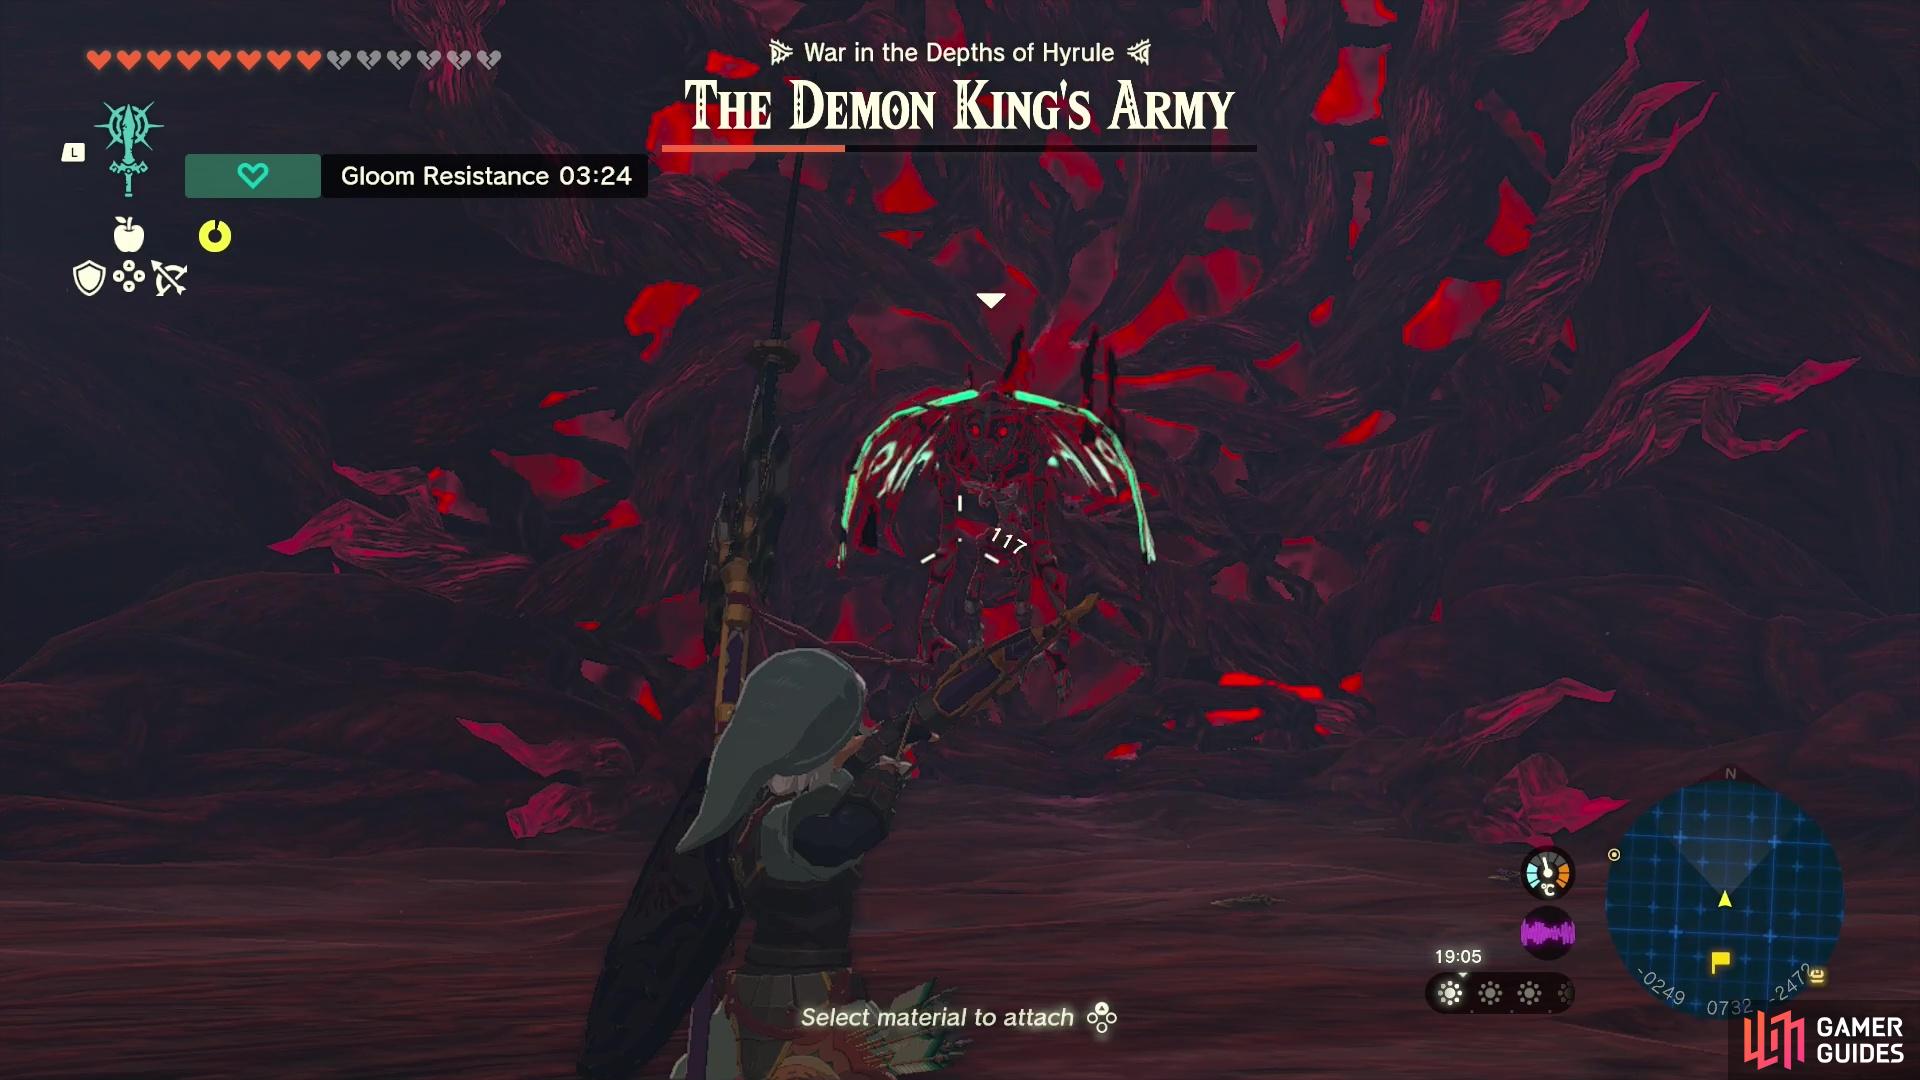
The Gibdo wave consists of Moth Gibdo and normal Gibdo too. Don’t forget to use fuse materials!
and use Riju’s lightning to do damage too!
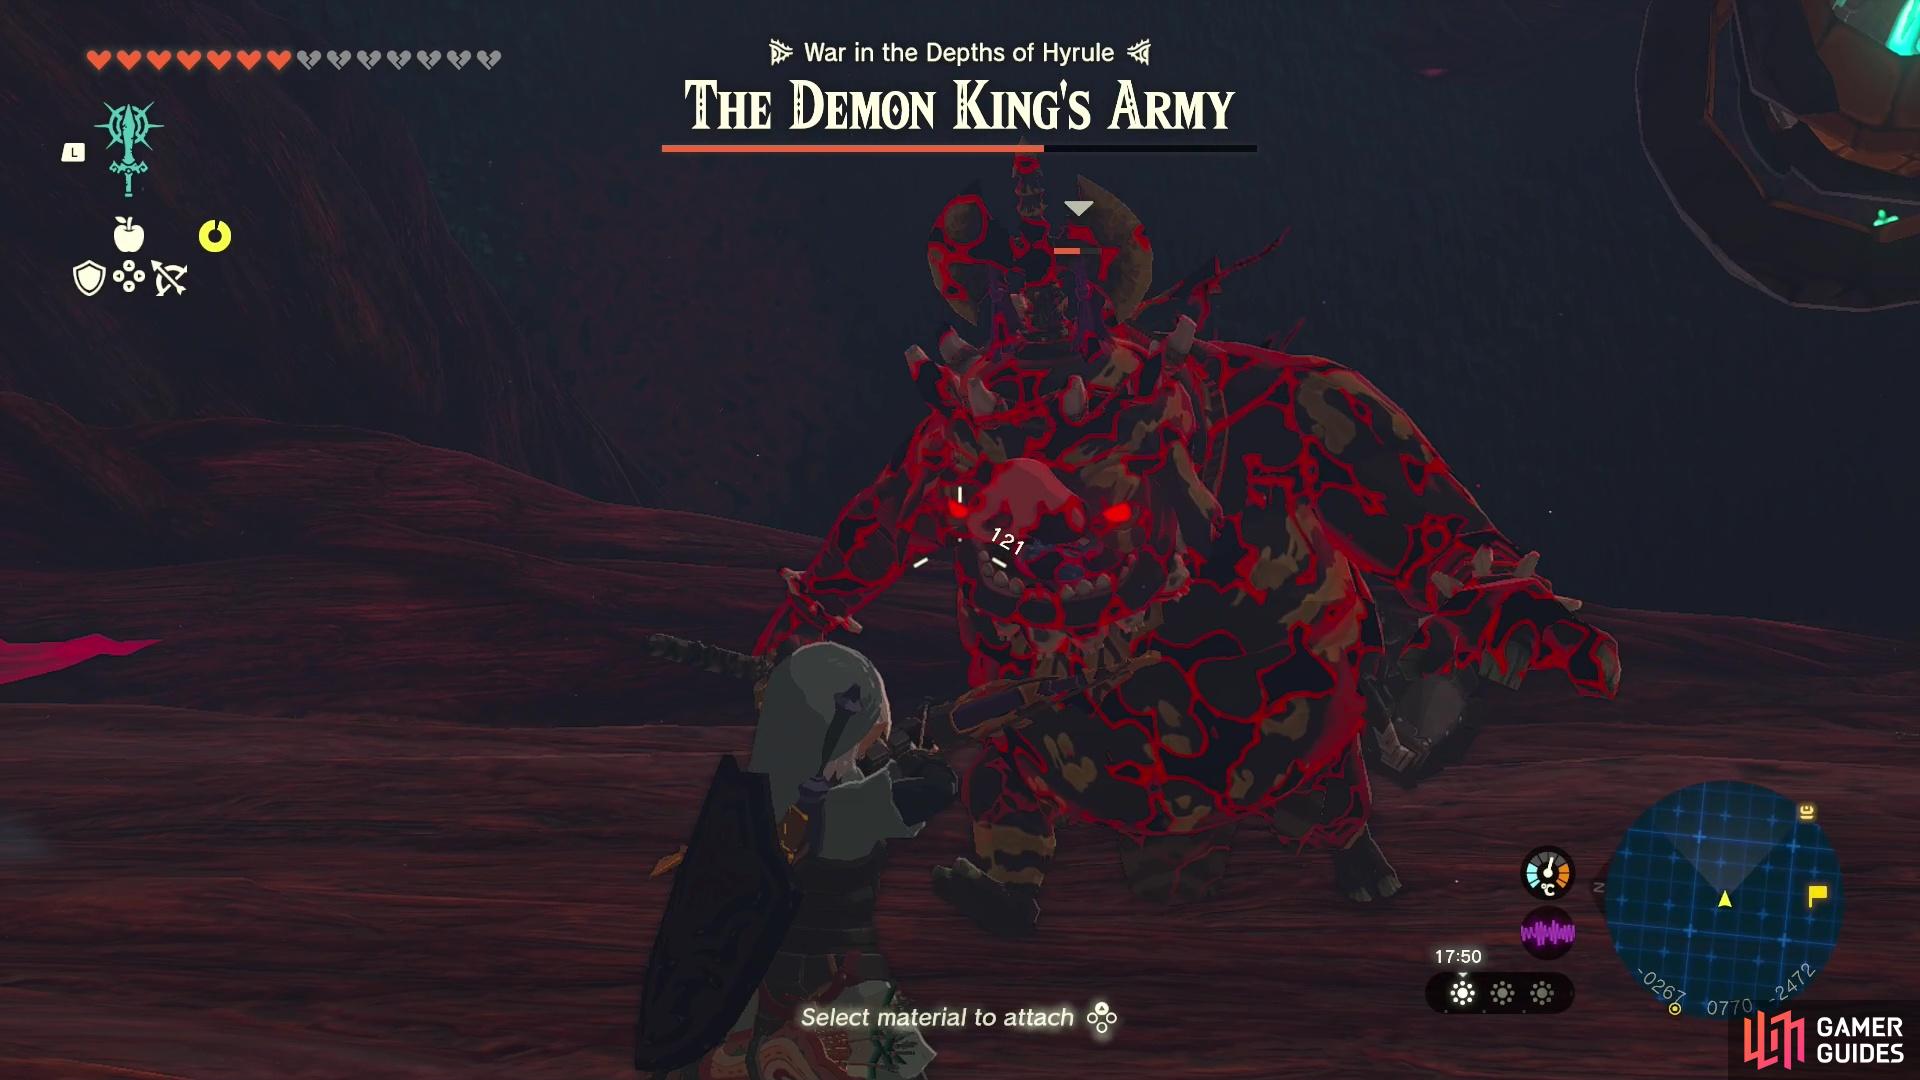
Moblin Wave
The final wave you’ll need to deal with contains several Moblin enemies. These guys are a lot tougher and pack a punch, so you’ll need to keep your wits about you and make sure you’re aware of your surroundings.
We recommend focusing your efforts on landing headshots as this knocks the moblins prone and leaves them vulnerable to uncontested attacks! As with the other enemies, AoE attacks are very useful for dealing damage to multiple enemies at once and we do recommend running after ![]() Riju at least once or twice to use her lightning power.
Riju at least once or twice to use her lightning power.
The Moblins are the final wave!
After fighting all the Demon King’s Army, your next fight will be against Ganon. Unfortunately, your Sages won’t be joining you for the first portion of the fight so prepare to go it alone! Head to our guide on how to beat Ganondorf for more information on combat strategies and all of his attack moves!
No Comments