
Master Kohga was a boss fight in Breath of the Wild and he has returned in The Legend of Zelda: Tears of the Kingdom. In fact, you will be able to fight him a total of four different times in the game, as he has been stricken to the Depths. This page will focus on how to encounter all of the boss fights with Master Kohga, as well as how to beat him at each location.
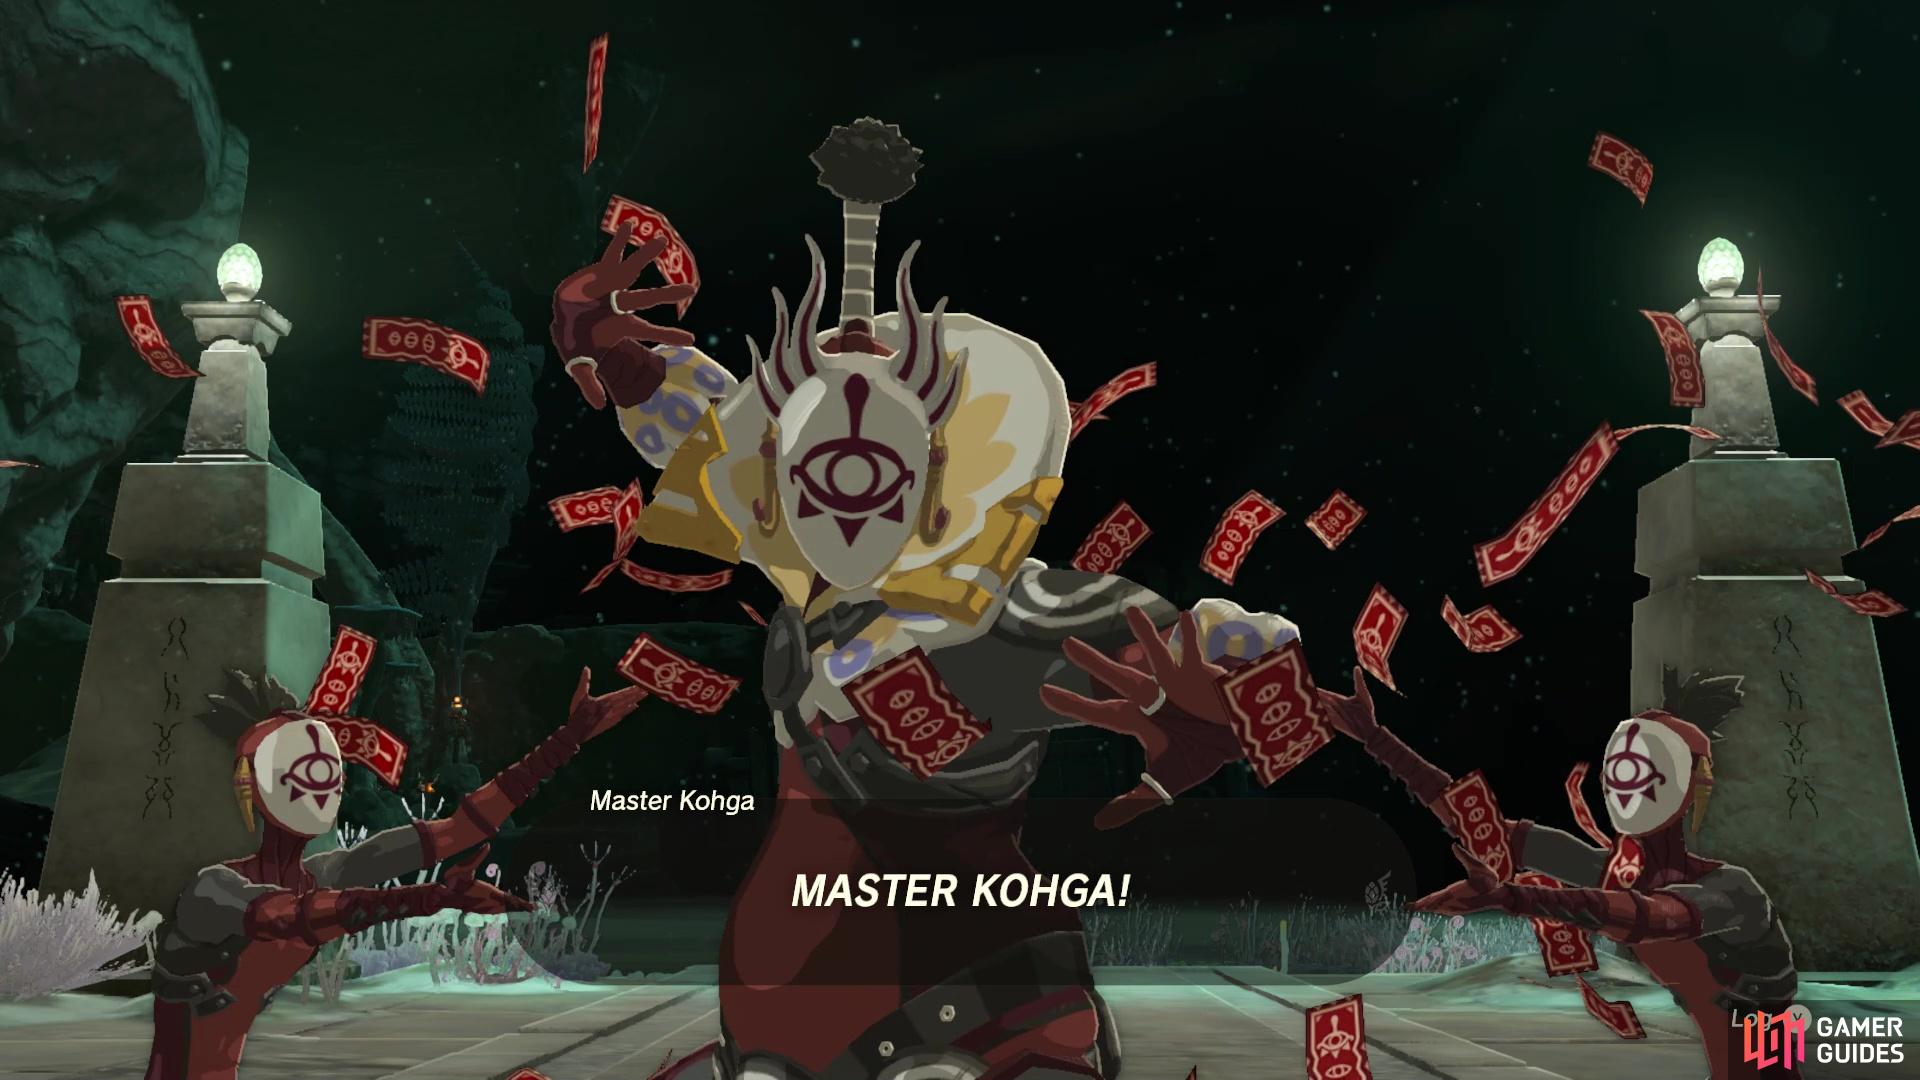
Master Kohga has returned, to be a thorn in your side!
Where to Find Master Kohga at the Great Abandoned Central Mine
The first time you encounter ![]() Master Kohga is actually during one of the main quests, where you get the optional ability,
Master Kohga is actually during one of the main quests, where you get the optional ability, ![]() Autobuild. This isn’t technically part of this side adventure, as it’s another quest that is separate. However, it’s important to remember that the
Autobuild. This isn’t technically part of this side adventure, as it’s another quest that is separate. However, it’s important to remember that the ![]() Master Kohga of the Yiga Clan side adventure will automatically begin after completing
Master Kohga of the Yiga Clan side adventure will automatically begin after completing ![]() A Mystery in the Depths. Start off from
A Mystery in the Depths. Start off from ![]() Lookout Landing and head south from it, making a beeline for the
Lookout Landing and head south from it, making a beeline for the ![]() Hyrule Field Chasm (Map Marker) just south of it.
Hyrule Field Chasm (Map Marker) just south of it.
Jump down the chasm, making sure you use your ![]() Paraglider before hitting the ground, or else you’ll go splat. Just south of where you entered the Depths is the
Paraglider before hitting the ground, or else you’ll go splat. Just south of where you entered the Depths is the ![]() Nisoij Lightroot, so activate it to shed some light in the darkness. From there, head southwest and look for giant statues, which will be pointing you in the right direction. If you follow the statues, you’ll find the Nihcayam Lightroot, and eventually, the Great Abandoned Central Mine. You’ll find some NPCs here, as well as something you can interact with, so go ahead and use that to get the Autobuild ability.
Nisoij Lightroot, so activate it to shed some light in the darkness. From there, head southwest and look for giant statues, which will be pointing you in the right direction. If you follow the statues, you’ll find the Nihcayam Lightroot, and eventually, the Great Abandoned Central Mine. You’ll find some NPCs here, as well as something you can interact with, so go ahead and use that to get the Autobuild ability.
Doing this will also trigger the NPCs to turn into Yiga members, as well as reintroduce you to Master Kohga. You will now be forced to fight him for the first time, so visit the How to Beat Master Kohga at the Great Abandoned Central Mine page for more info. Once you do defeat him, he will fly off and the Master Kohga of the Yiga Clan side adventure will start.
Where to Find the Abandoned Gerudo Mine in Tears of the Kingdom
The second location for Kohga will be at the “southwestern mine,” which is actually the Abandoned Gerudo Mine. Naturally, this is located in the Gerudo region, which is in the southwestern corner of the map. If you head to the Gerudo Canyon Skyview Tower (Map Marker), you should notice that there is a chasm to the south of it. That is the East Gerudo Chasm and will be where you’re going to drop into the Depths. Once you drop down, head south to the Amakawis Lightroot and look for the nearby statue (it will be Gerudo here).

(1 of 6) There is a chasm just north of this shrine in the Gerudo Desert that you can use.
Follow the way the statues point, stopping to get the Mihcihc Lightroot, and you will eventually arrive at the mine. It might be a good idea to activate the Gonatoyros Lightroot above the mine, which is reachable by using ![]() Ascend on the mushroom by the Yiga shack, then using it once more on top of the shroom. Once you’re done, head to the mine portion and look for Kohga, who will be messing with the Zonai seal thing. Approach him to start the second fight, and if you wish to learn more about it, visit the How to Beat Master Kohga in Abandoned Gerudo Mine page.
Ascend on the mushroom by the Yiga shack, then using it once more on top of the shroom. Once you’re done, head to the mine portion and look for Kohga, who will be messing with the Zonai seal thing. Approach him to start the second fight, and if you wish to learn more about it, visit the How to Beat Master Kohga in Abandoned Gerudo Mine page.
After defeating him, open the chest for a ![]() Huge Crystallized Charge, then speak to the other two Constructs to obtain a
Huge Crystallized Charge, then speak to the other two Constructs to obtain a ![]() Schema Stone and open the forge shop at this mine. Master Kohga will now move onto the third spot, which will be at the Abandoned Lanayru Mine.
Schema Stone and open the forge shop at this mine. Master Kohga will now move onto the third spot, which will be at the Abandoned Lanayru Mine.
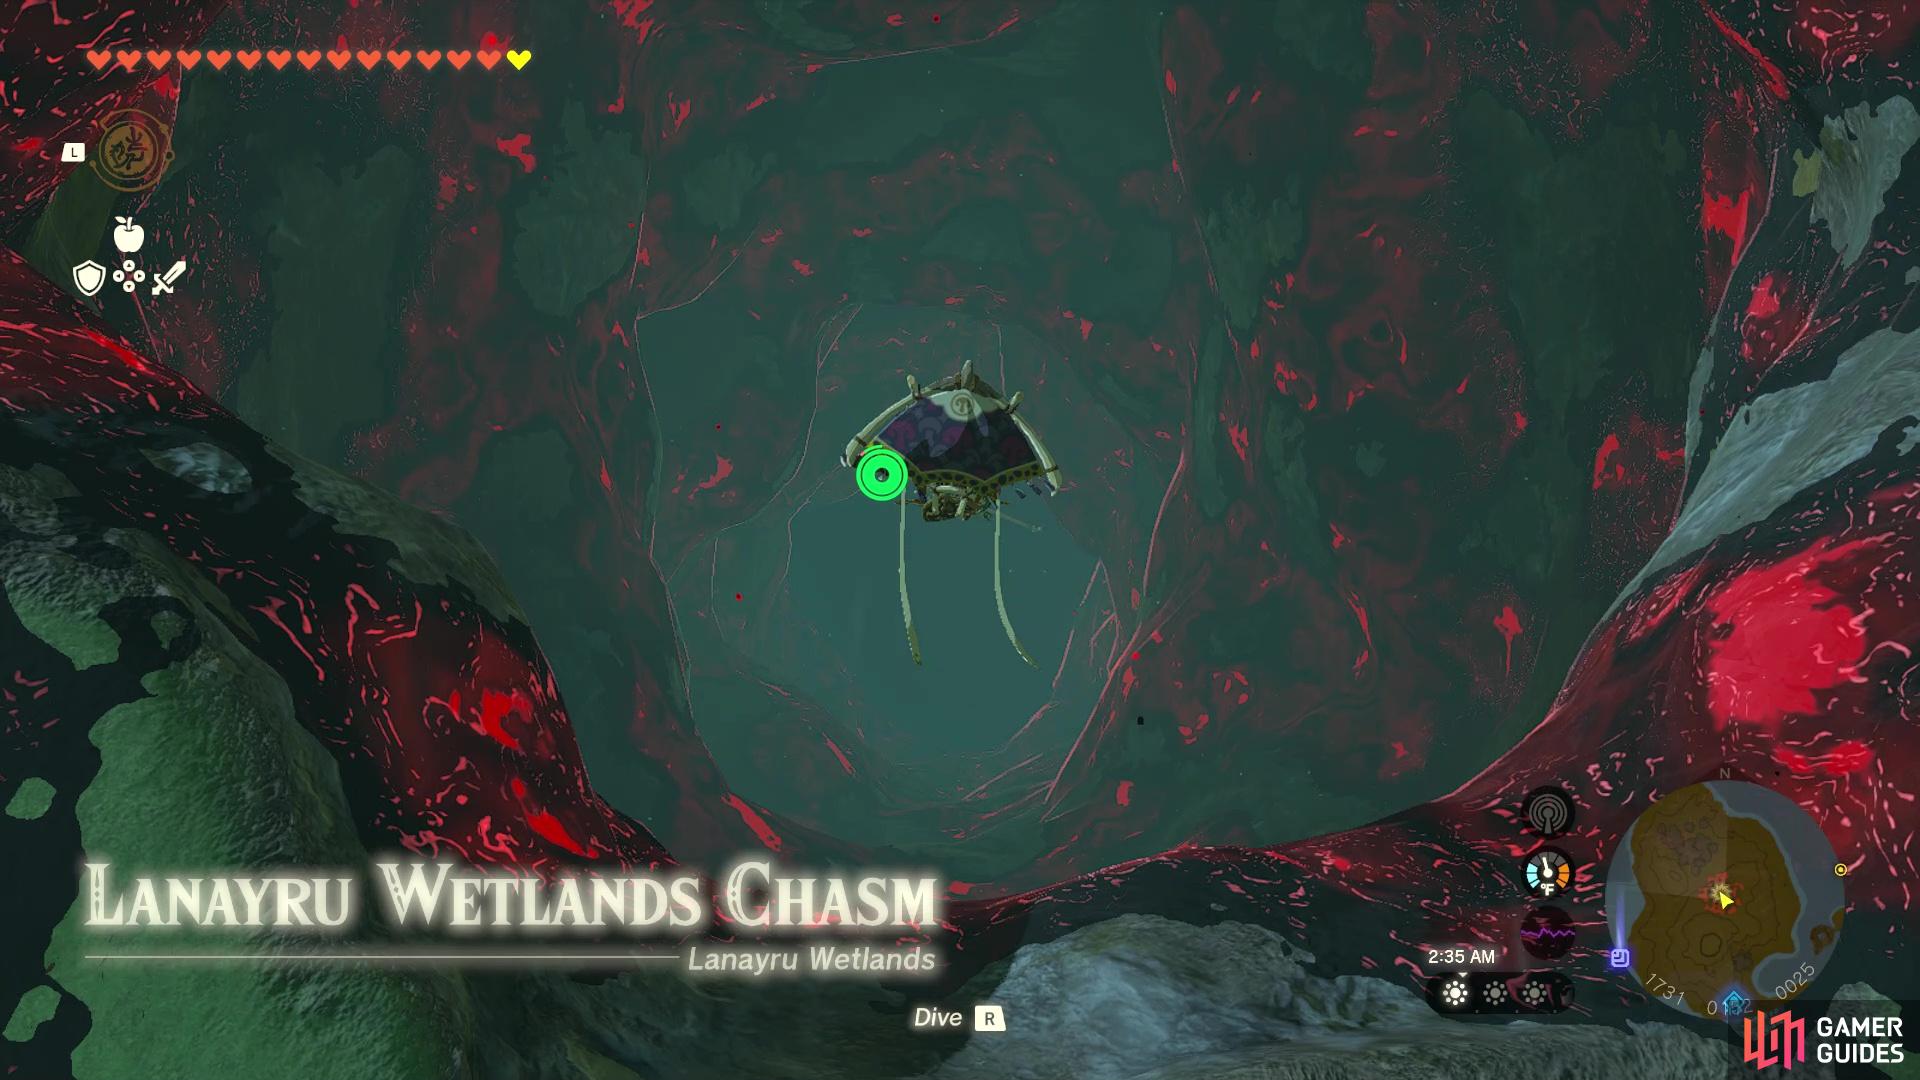
Where to Find the Abandoned Lanayru Mine in Tears of the Kingdom
As you might have guessed, the Abandoned Lanayru Mine is located in the eastern portion of the map. The game mentions the Lanayru Wetlands Chasm (Map Marker) as a point of entry, which will put you a little bit away from the mine. If you go this route, head straight south from entering the Depths to find the Uasnoj Lightroot, then begin moving eastward to find the statues that point you on your way. Not too far to the east, you will run into the Sekioam Lightroot, so make sure to activate it to uncover more of the map down here.
From that Lightroot, look for the statues to the north and follow them up the rocky terrain. This will allow you to get out of this little pocket and continue your journey east. Eventually, you will see an arena and if you’ve cleared the Water Temple, then this arena holds a rematch against ![]() Mucktorok. Defeat it here again to gain access to a chest that holds another Huge
Mucktorok. Defeat it here again to gain access to a chest that holds another Huge ![]() Crystallized Charge. Either way, the Uinoj Lightroot will be near that arena, so you will definitely want to activate it.
Crystallized Charge. Either way, the Uinoj Lightroot will be near that arena, so you will definitely want to activate it.
The statues will be to the northeast of the arena, so head in that direction to keep working your way towards the mine. The statues will bring you to a larger tunnel, which will exit to the area with the abandoned mine. Note that this is the longer route to get to this mine, and there’s actually an easier method that will take you directly here. If you have access to Zora’s Domain, you will know the long bridge that leads to the place and that you pass by a waterfall while crossing that bridge.
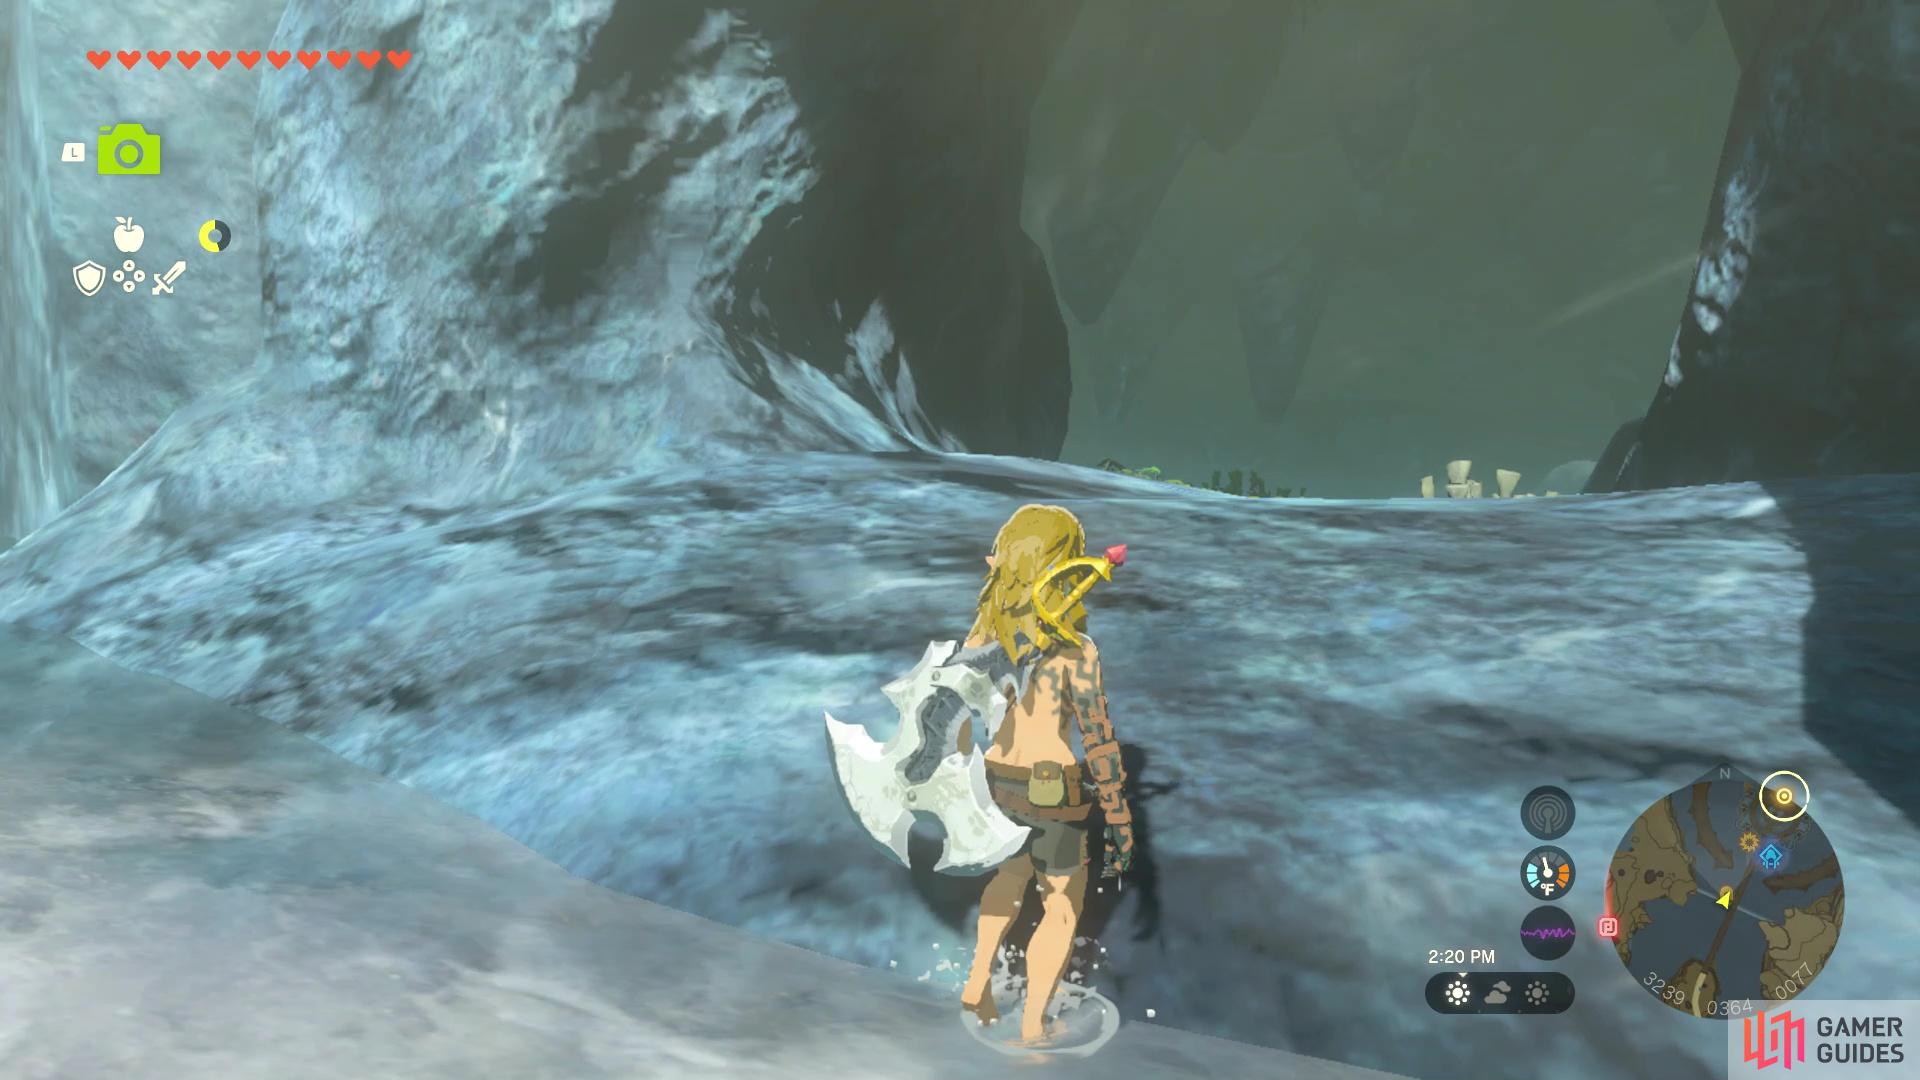
There is a hidden cave behind the main waterfall of Zora’s Domain.
The chasm found inside that secret cave will take you straight to the Lanayru Mine.
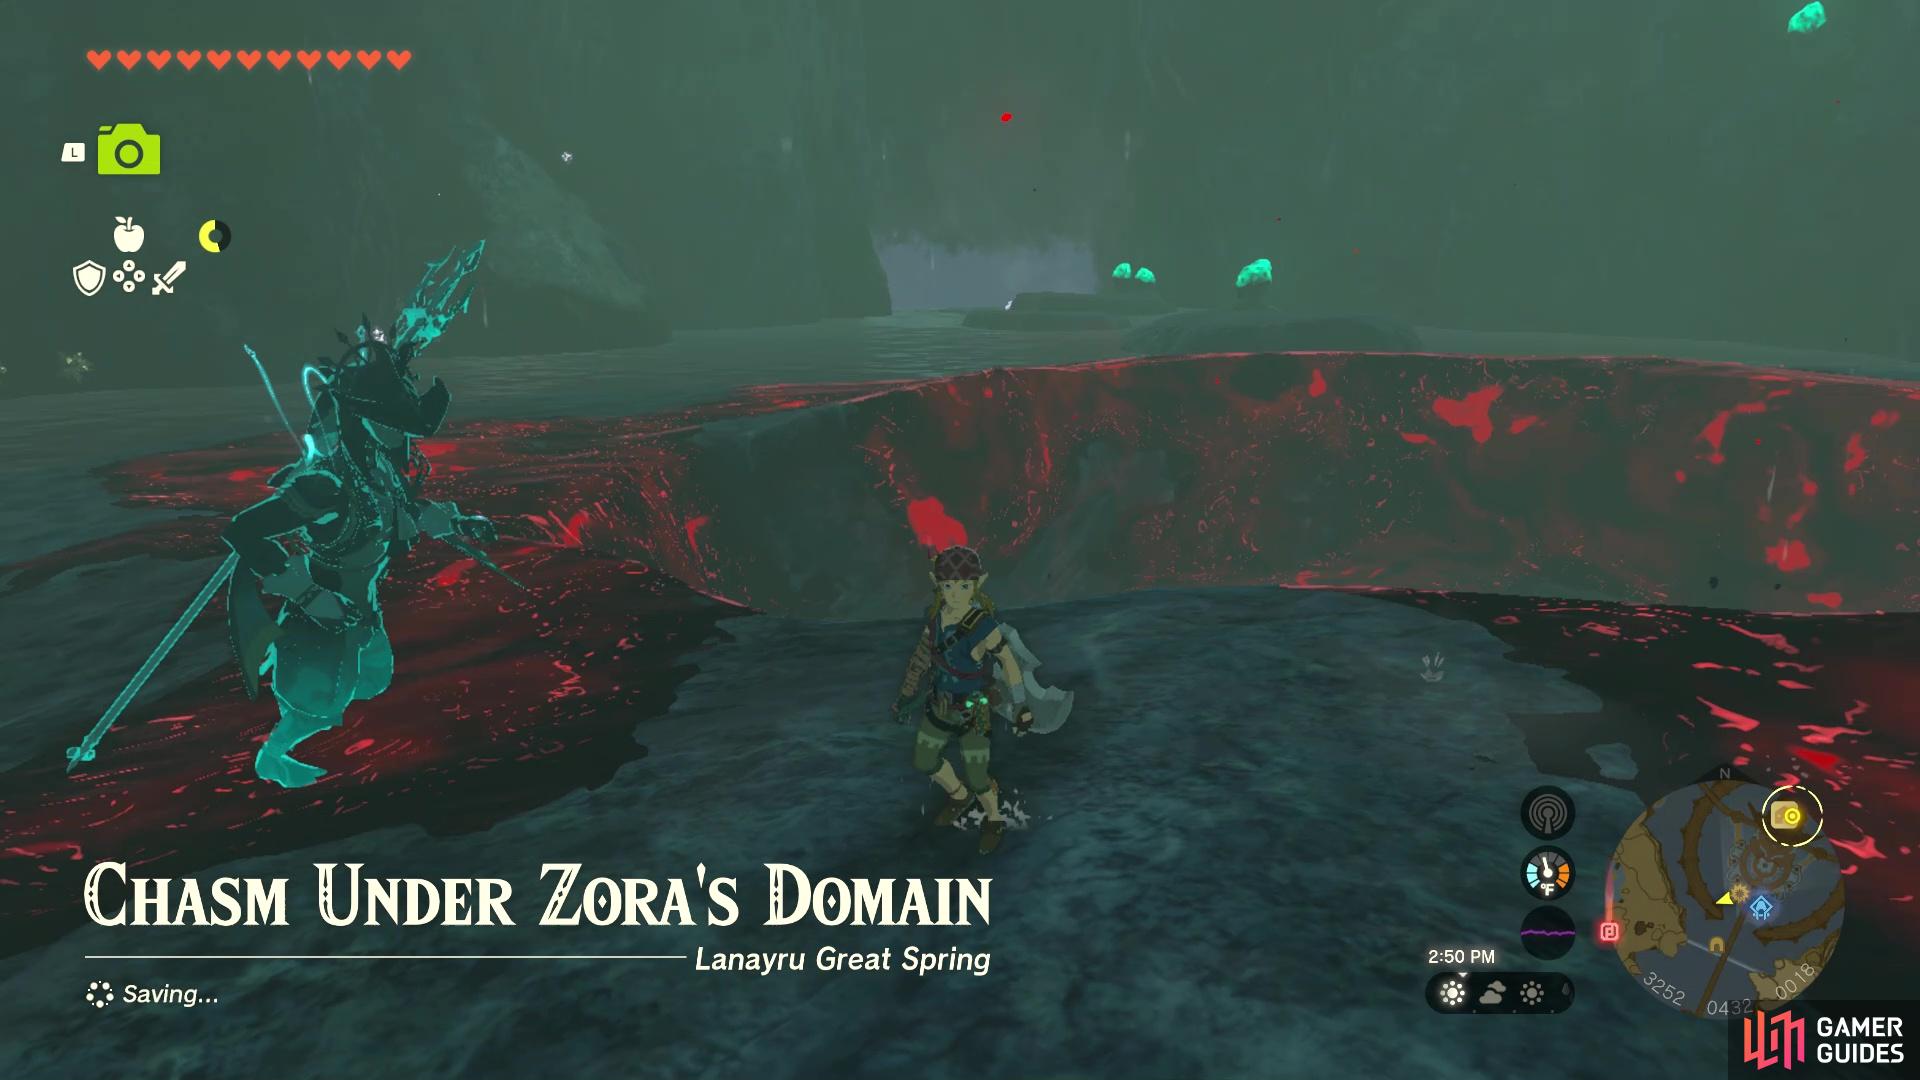
What you might not know is that there’s a cave hidden behind that waterfall, on the western side of the bridge (![]() Cave Under Zora’s Domain). Head into that cave and you will find the Chasm Under Zora’s Domain, and should you drop down this chasm, you will be right at the Abandoned Lanayru Mine. For a full guide on how to defeat Kohga here, visit the How to Beat Kohga at the Abandoned Lanayru Mine page.
Cave Under Zora’s Domain). Head into that cave and you will find the Chasm Under Zora’s Domain, and should you drop down this chasm, you will be right at the Abandoned Lanayru Mine. For a full guide on how to defeat Kohga here, visit the How to Beat Kohga at the Abandoned Lanayru Mine page.
Where to Find the Abandoned Hebra Mine in Tears of the Kingdom
The final showdown with Master Kohga will be at the Abandoned Hebra Mine, which is located in the northwestern part of the map. However, looking at the map, it appears you don’t have a close chasm to get you there. If you’ve completed The North Lomei Prophecy side quest, which involves the North Lomei Labyrinth, then you will be able to visit the Depths from there. However, this is still a fairly long trek to reach the Hebra Mine. There is a trick to drop right down to the mine, too, similar to the Lanayru Mine listed above.
For that, you will need to head to Rito Village and if you’ve never visited it before, you can toss a ![]() Hylian Pine Cone onto a fire to create a big updraft. This will allow you to glide across the broken bridge and let you get to the village. On the southeastern portion of the island with the village, there is a lower ledge that you can drop down to, which is where you want to go. You will find a NPC there, named
Hylian Pine Cone onto a fire to create a big updraft. This will allow you to glide across the broken bridge and let you get to the village. On the southeastern portion of the island with the village, there is a lower ledge that you can drop down to, which is where you want to go. You will find a NPC there, named ![]() Ponnick, and speaking to him will reveal the location of the chasm.
Ponnick, and speaking to him will reveal the location of the chasm.
You will need to glide over the ledge near him, into the hole in the side of the cliff, which is where you’ll the chasm. Drop down it and into the Depths, then headwest for the ![]() Sikatag Lightroot. Now, head to the arena and approach Kohga there to get started on the final battle with him. Defeat Master Kohga at the Abandoned Hebra Mine and you will be done with this side adventure. Don’t forget to grab the two chests that spawn after his defeat, as well as speak with the Constructs for a Schema Stone and to open the forge shop.
Sikatag Lightroot. Now, head to the arena and approach Kohga there to get started on the final battle with him. Defeat Master Kohga at the Abandoned Hebra Mine and you will be done with this side adventure. Don’t forget to grab the two chests that spawn after his defeat, as well as speak with the Constructs for a Schema Stone and to open the forge shop.
No Comments