
Tears of the Kingdom, like Breath of the Wild, is full of different weather and status effects. One of these is lightning, which can reign down on you at any given point, potentially catching you off guard, making Link a little crispy. Additionally, there are some electrically charged enemies in the game, so limiting the amount of damage they can do is crucial.
Luckily, there are some specific armor sets in the game that can come to your aid. The one bit of armor we’ll be discussing here is the Rubber Armour, which will negate any electric damage by providing you some shock resistance.
If you want to get this ![]() Rubber Armor for yourself, read on for all the steps you’ll need to follow.
Rubber Armor for yourself, read on for all the steps you’ll need to follow.
Where to Find Rubber Armour in Tears of the Kingdom
So, to get your hands on some shock resistant Rubber Armor in Tears of the Kingdom, you’re going to be going through a similar process to that of the ![]() Climbing Gear and Barbarian Armour. This is because the Rubber Armor is once again hidden with a Cave.
Climbing Gear and Barbarian Armour. This is because the Rubber Armor is once again hidden with a Cave.
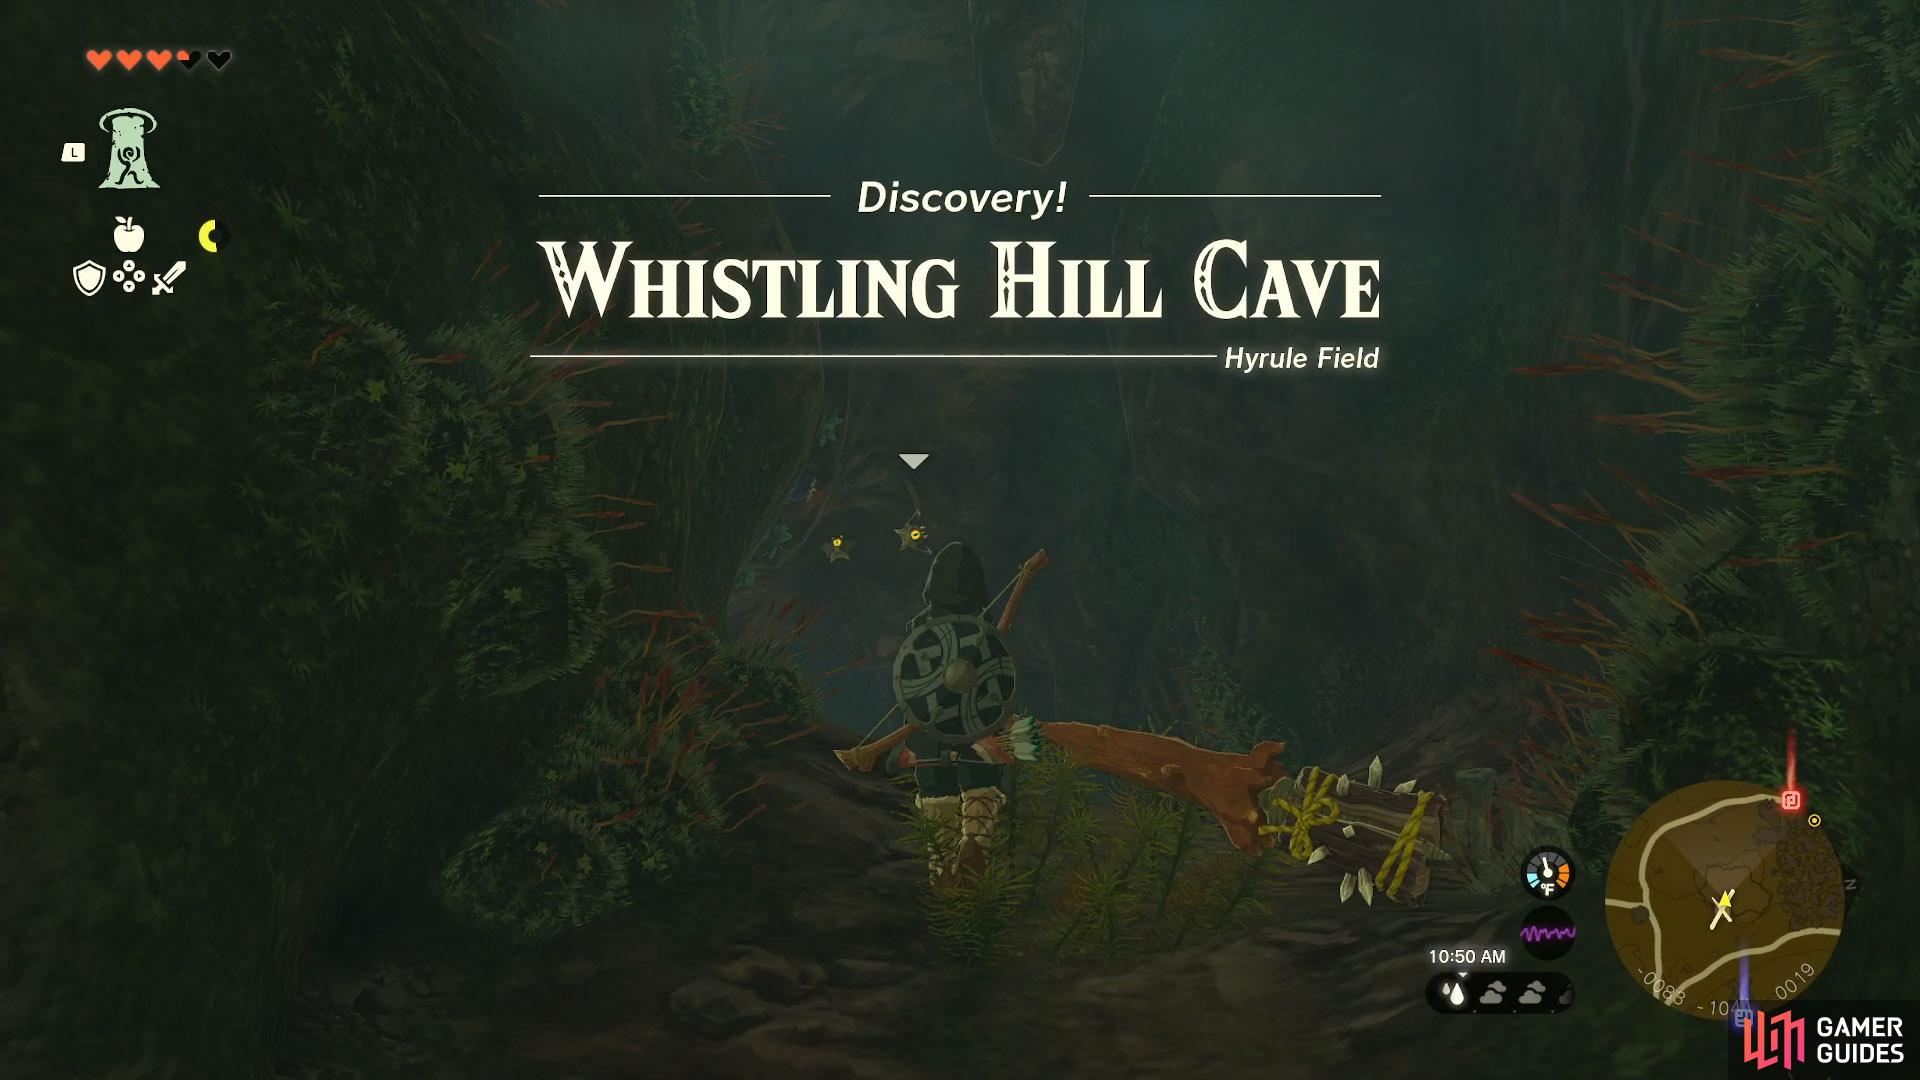
The Cave you’re looking for here is the ![]() Whistling Hill Cave which can be found pretty much directly south of
Whistling Hill Cave which can be found pretty much directly south of ![]() Lookout Landing, close to the
Lookout Landing, close to the ![]() Teniten Shrine. It is hidden behind breakable rocks, so can be missable if you don’t know where to look. If you’re having issues locating it, here is a precise map marker to make things easier.
Teniten Shrine. It is hidden behind breakable rocks, so can be missable if you don’t know where to look. If you’re having issues locating it, here is a precise map marker to make things easier.
Discovering Whistling Hill Cave
Once you’re in the cave, the hunt begins for the Rubber Armor. Head down past the couple of ![]() Keese that are waiting for you, and cut through the roots to open up another passage.
Keese that are waiting for you, and cut through the roots to open up another passage.
Jump down and run past the ![]() Stalkoblins that begin to animate as you lower yourself down. Once through, take an immediate left and use
Stalkoblins that begin to animate as you lower yourself down. Once through, take an immediate left and use ![]() Ascend on the overhanging ledge to make it to another tunnel.
Ascend on the overhanging ledge to make it to another tunnel.
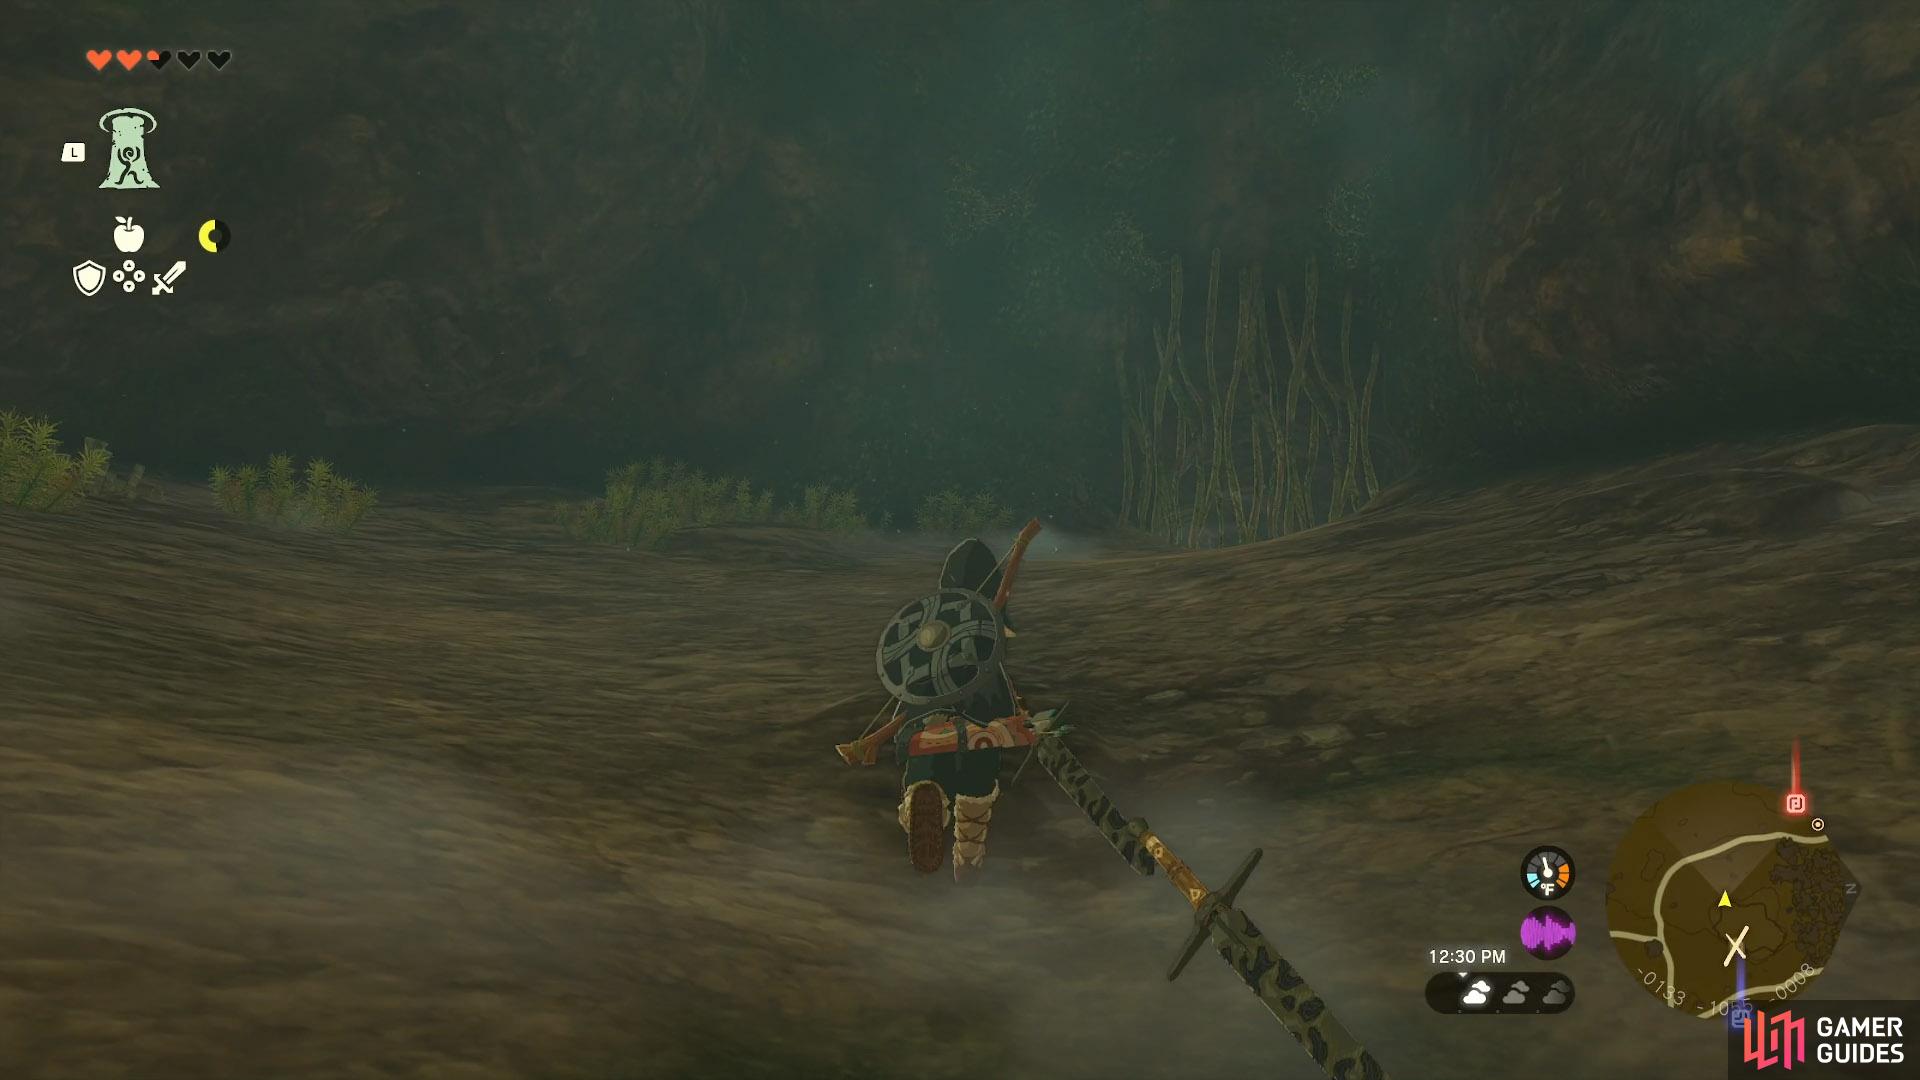
The path you need to follow to advance
The !Stalkoblins lieing in wait
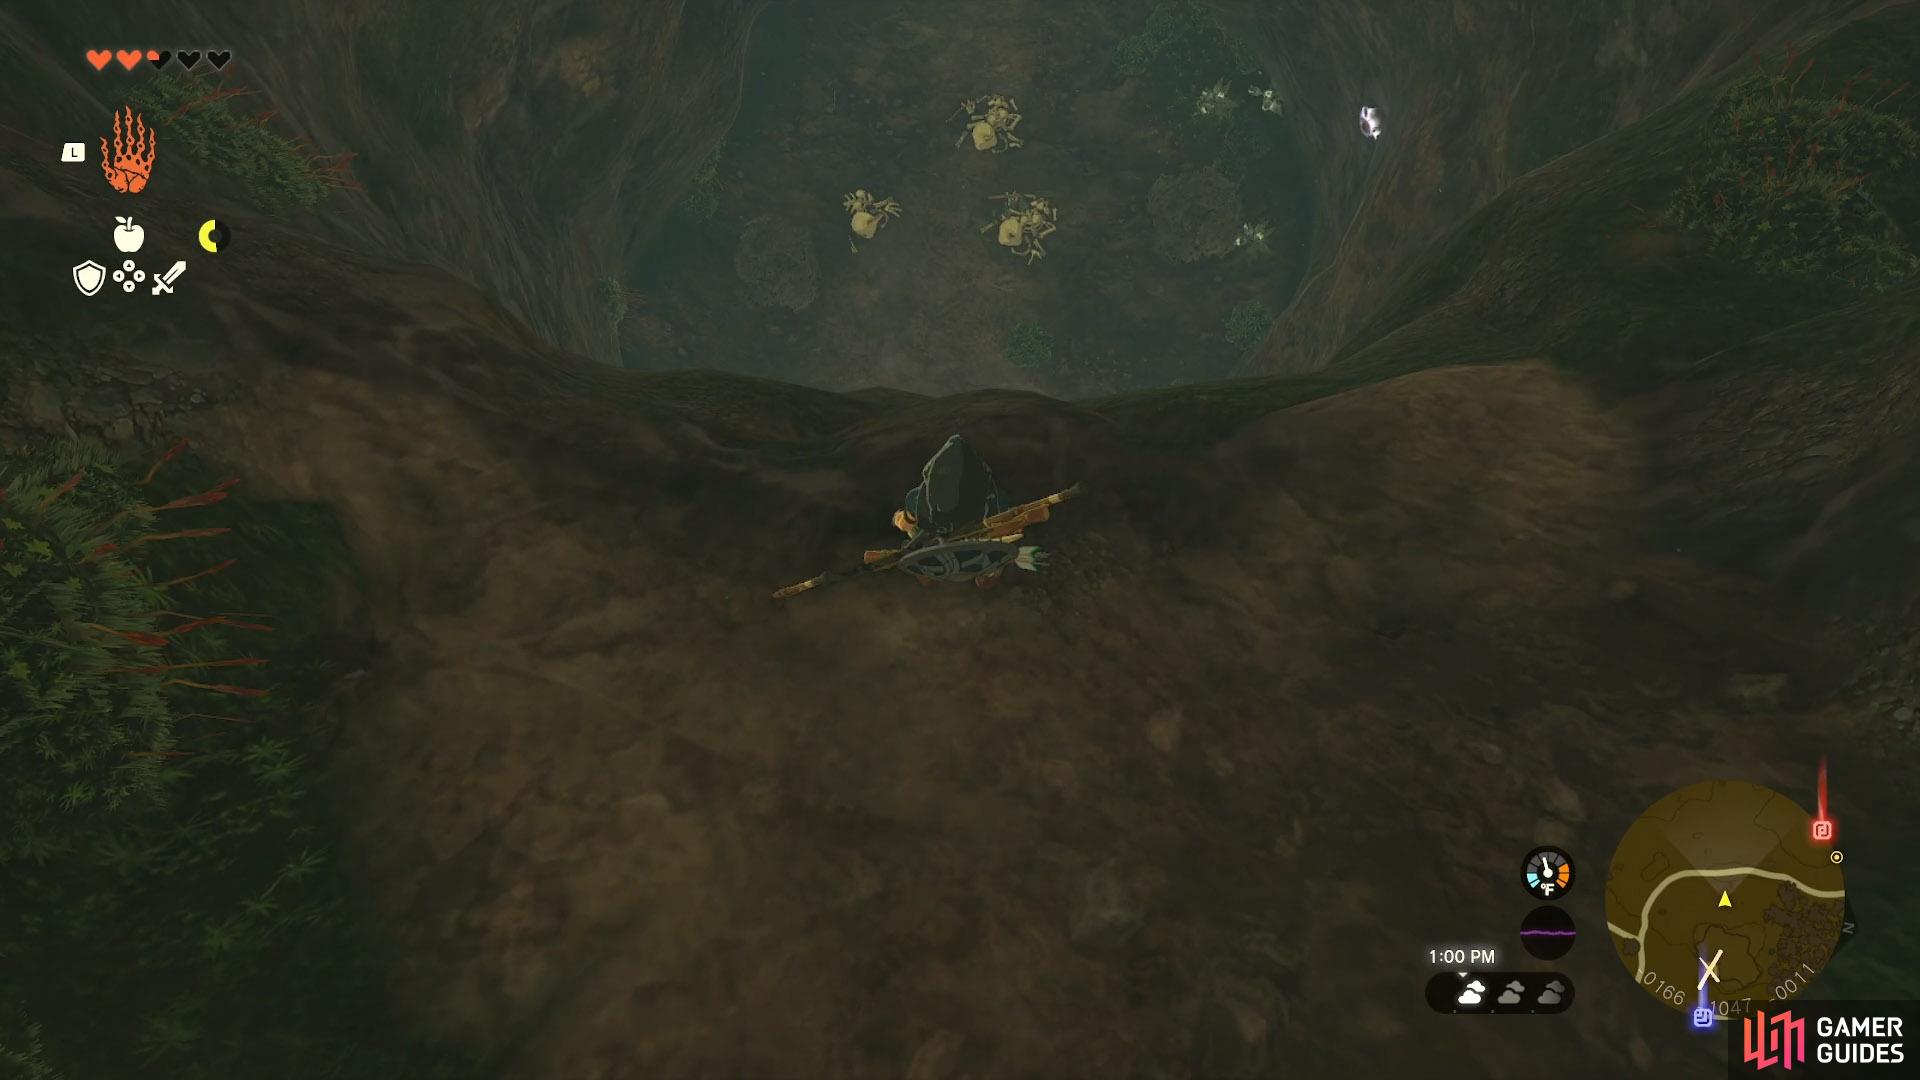
Here, a ![]() Rock Like will be wanting to thwart your efforts by throwing rocks. To get past it, either kill it, or do enough to stun it, providing you a window to run past. Follow the path round to the left and break the rocks to once again open up a new area.
Rock Like will be wanting to thwart your efforts by throwing rocks. To get past it, either kill it, or do enough to stun it, providing you a window to run past. Follow the path round to the left and break the rocks to once again open up a new area.
The !Rock Like in your path
Unfortunately, you have an even more powerful ![]() Shock Like waiting for you that has electric properties, and you will have to kill it to progress. So, do enough to get it’s weak spot to show and finish it off with any powerful weapons you have at your disposal.
Shock Like waiting for you that has electric properties, and you will have to kill it to progress. So, do enough to get it’s weak spot to show and finish it off with any powerful weapons you have at your disposal.
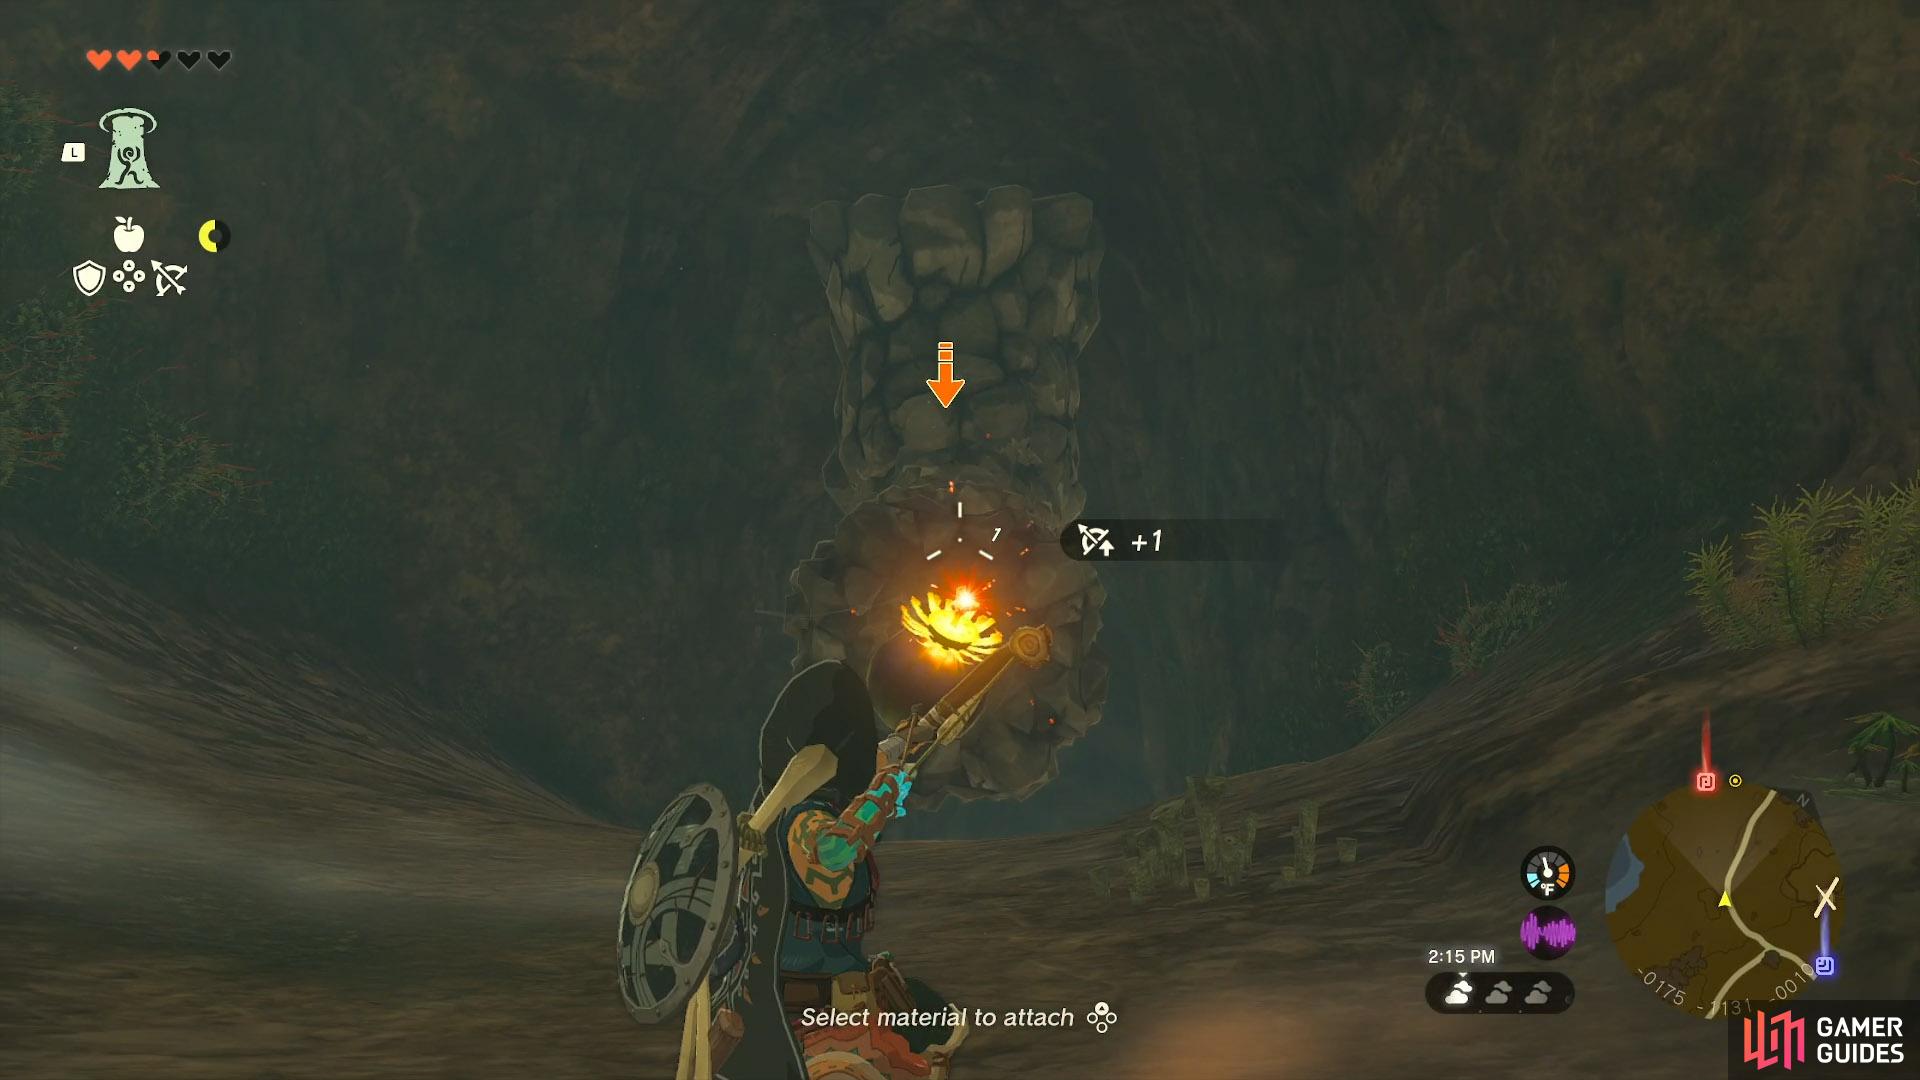
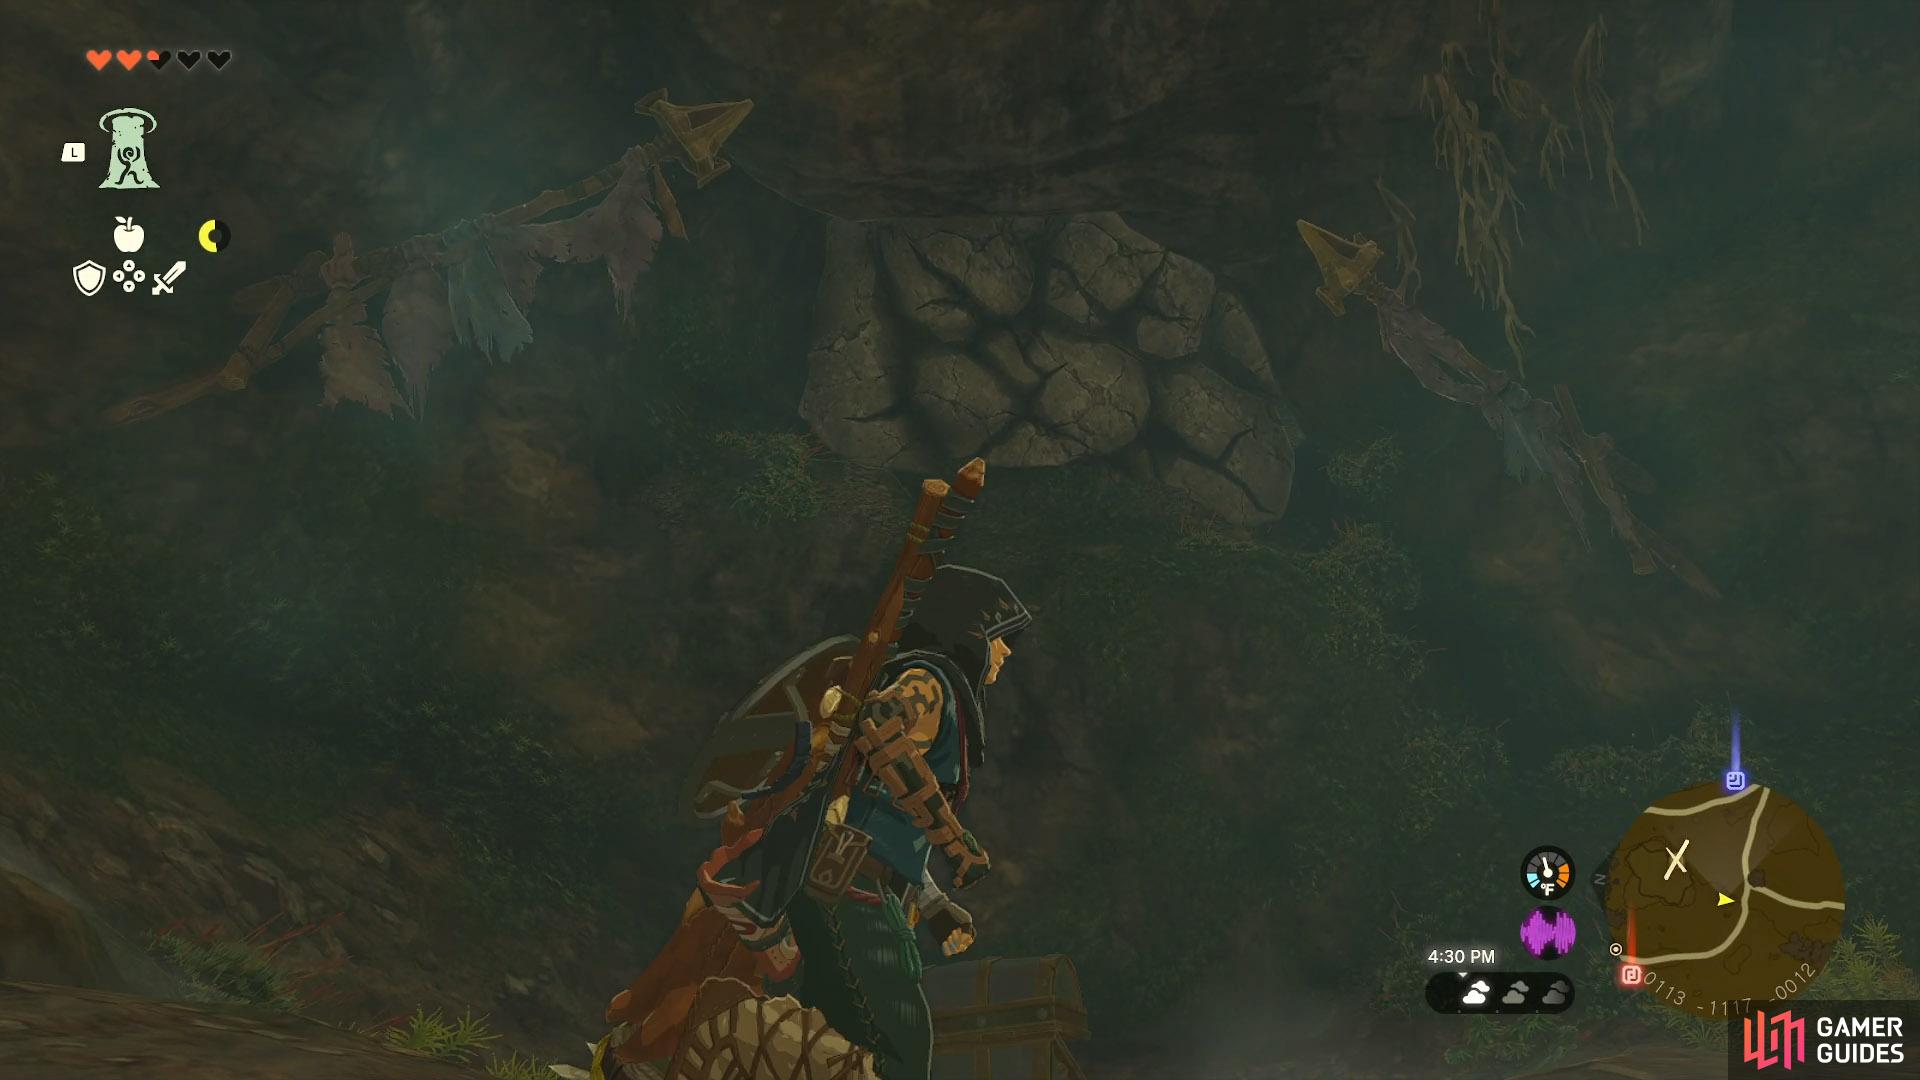
With the ![]() Like Like taken care of, break the rocks above with something like a
Like Like taken care of, break the rocks above with something like a ![]() Bomb Flower, and you’ll finally be on your way to scooping up the Rubber Armor.
Bomb Flower, and you’ll finally be on your way to scooping up the Rubber Armor.
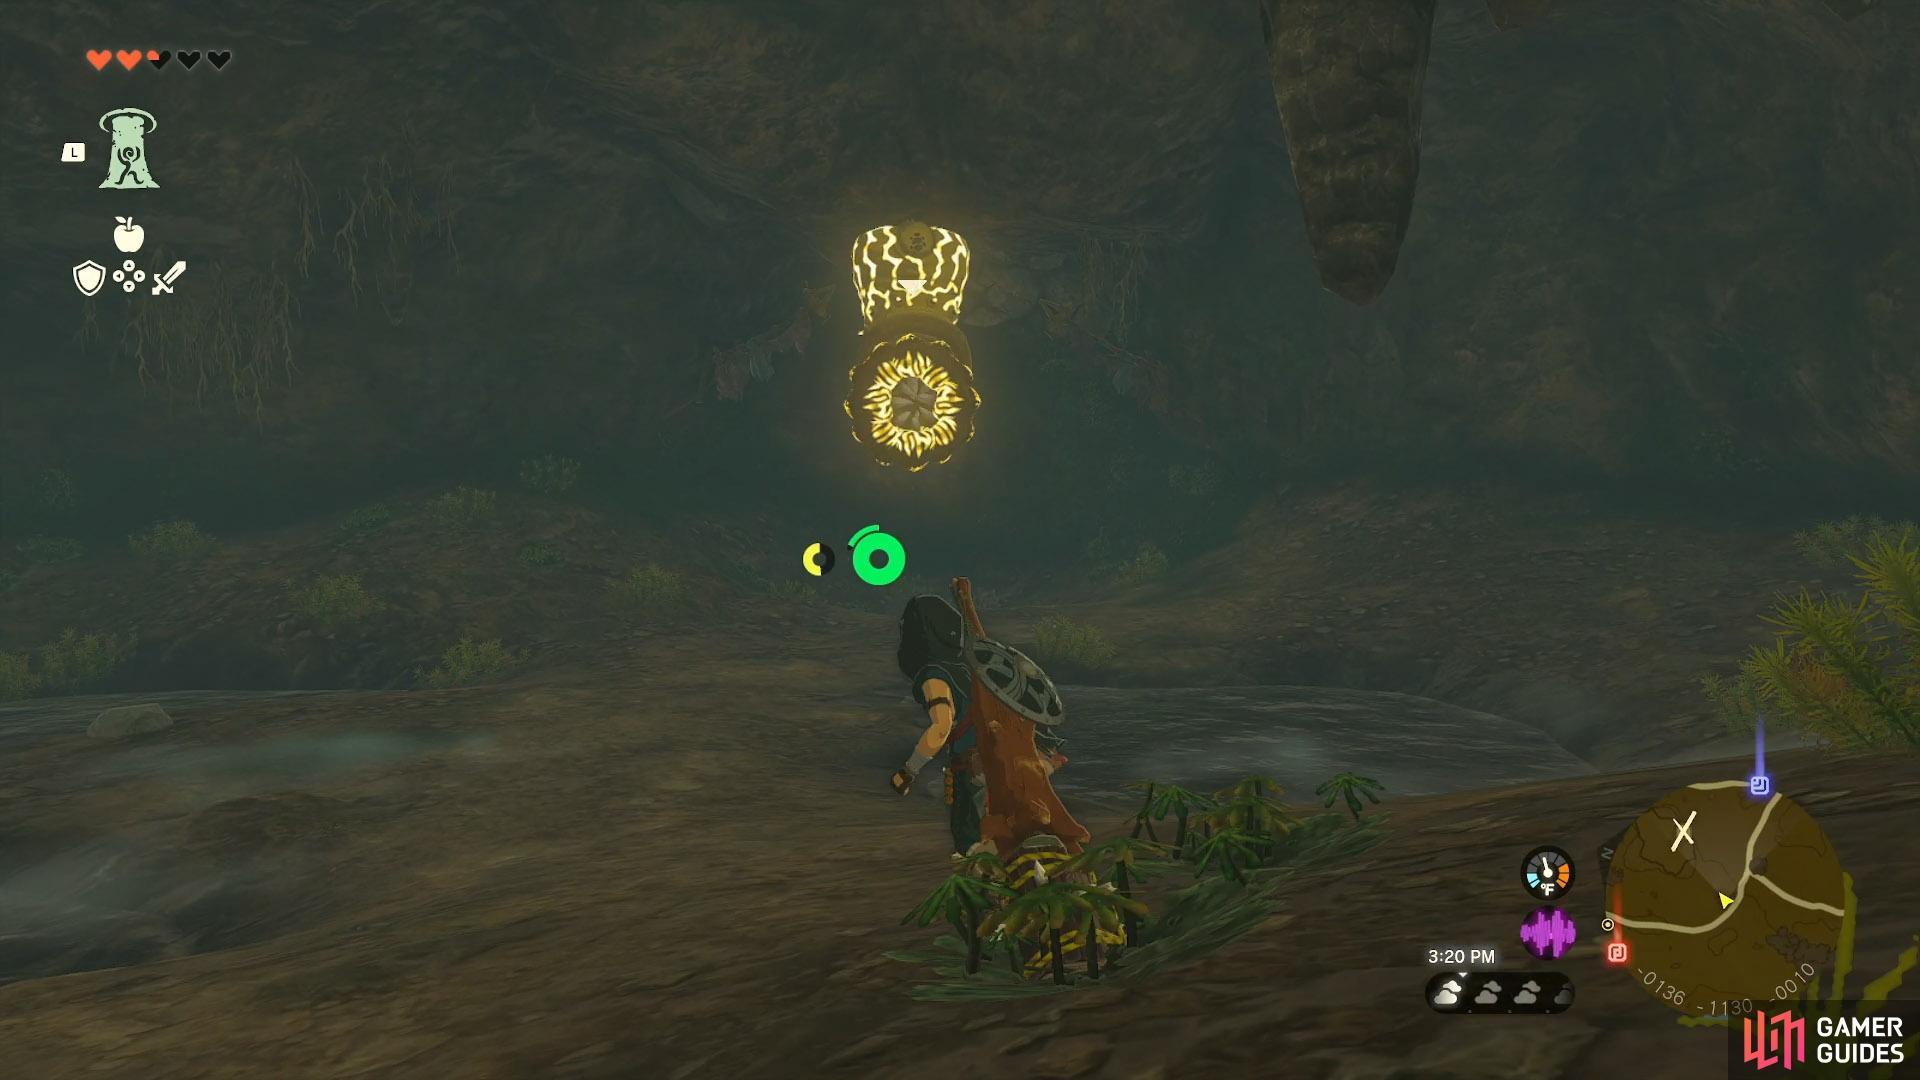
The !Shock Like waiting for you
The hidden entrance behind the !Shock Like
Climb up and into the new opening and follow it to the end where you will find a treasure room. Open up the chest here and the journey to finding the Rubber Armor will be over. Get it equipped, and you’ll be shock resistant in no time.
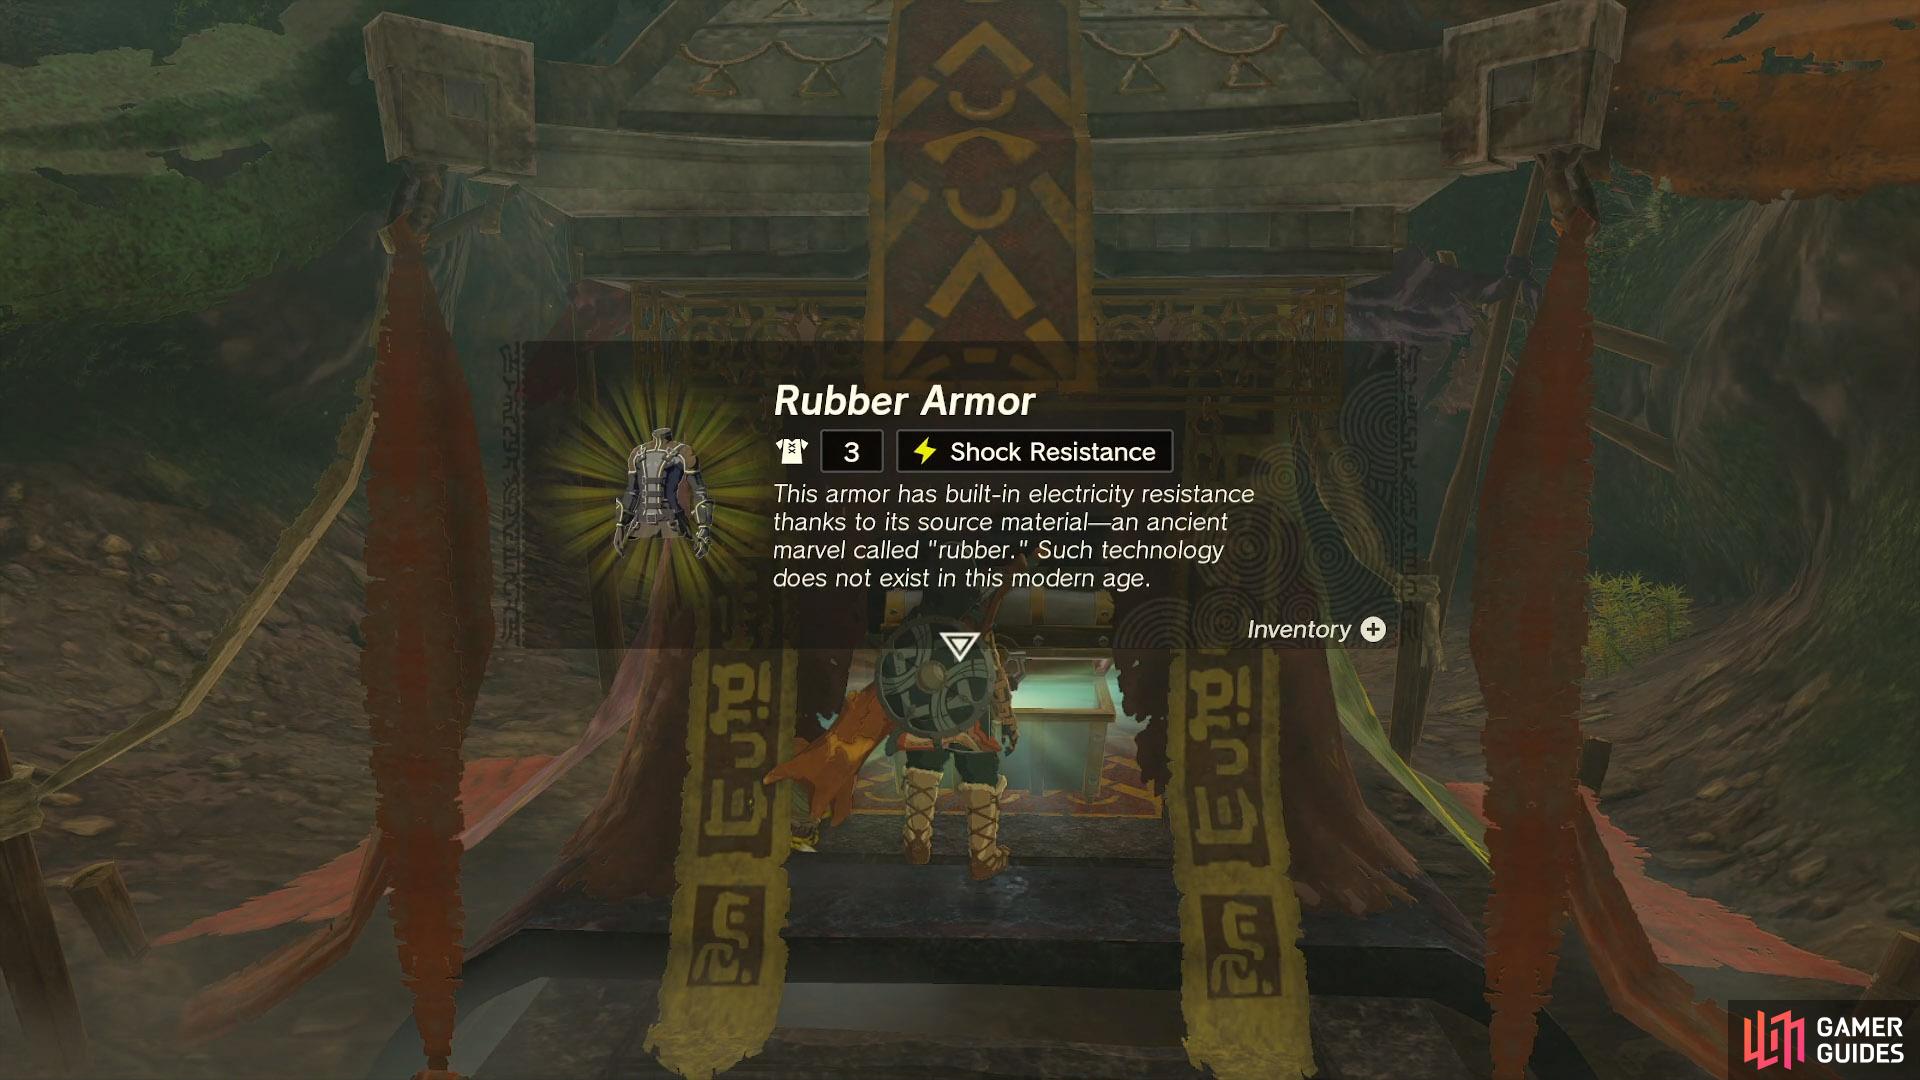
Getting the Rubber Armor from the chest
How to Upgrade The Rubber Armor
To upgrade the Rubber Armor, you will need to visit a Great ![]() Fairy. There are four scattered around Hyrule. The armor has a base defense of three, and when upgraded, it will get the Lighting Proof ability. This makes Link immune to shock damage. The chart below goes over what you need to upgrade the armor. Keep in mind that you will need to do each slot three times, one for each piece of the Rubber Armor.
Fairy. There are four scattered around Hyrule. The armor has a base defense of three, and when upgraded, it will get the Lighting Proof ability. This makes Link immune to shock damage. The chart below goes over what you need to upgrade the armor. Keep in mind that you will need to do each slot three times, one for each piece of the Rubber Armor.
| Defense Level | Items Needed | Rupees Needed |
|---|---|---|
| 5 | x1 |
10 Rupees |
| 8 | x5 |
50 Rupees |
| 12 | x5 |
200 Rupees |
| 20 | x5 |
500 Rupees |
Keep in mind that you will need to unlock all four Great Fairies to upgrade your gear to 20 in Tears of The Kingdom.
No Comments