
The Legend of Zelda: Tears of the Kingdom offers a wealth of content across its three massive maps, and you’ll come across many people in need of assistance during Link’s adventure. The A Bottled Cry for Help Side Quest can be undertaken at any point during your quest and this page will give you all the knowledge you need to locate the writer of this mysterious message.
A Bottled Cry for Help can be started at Hateno Bay in East Necluda.
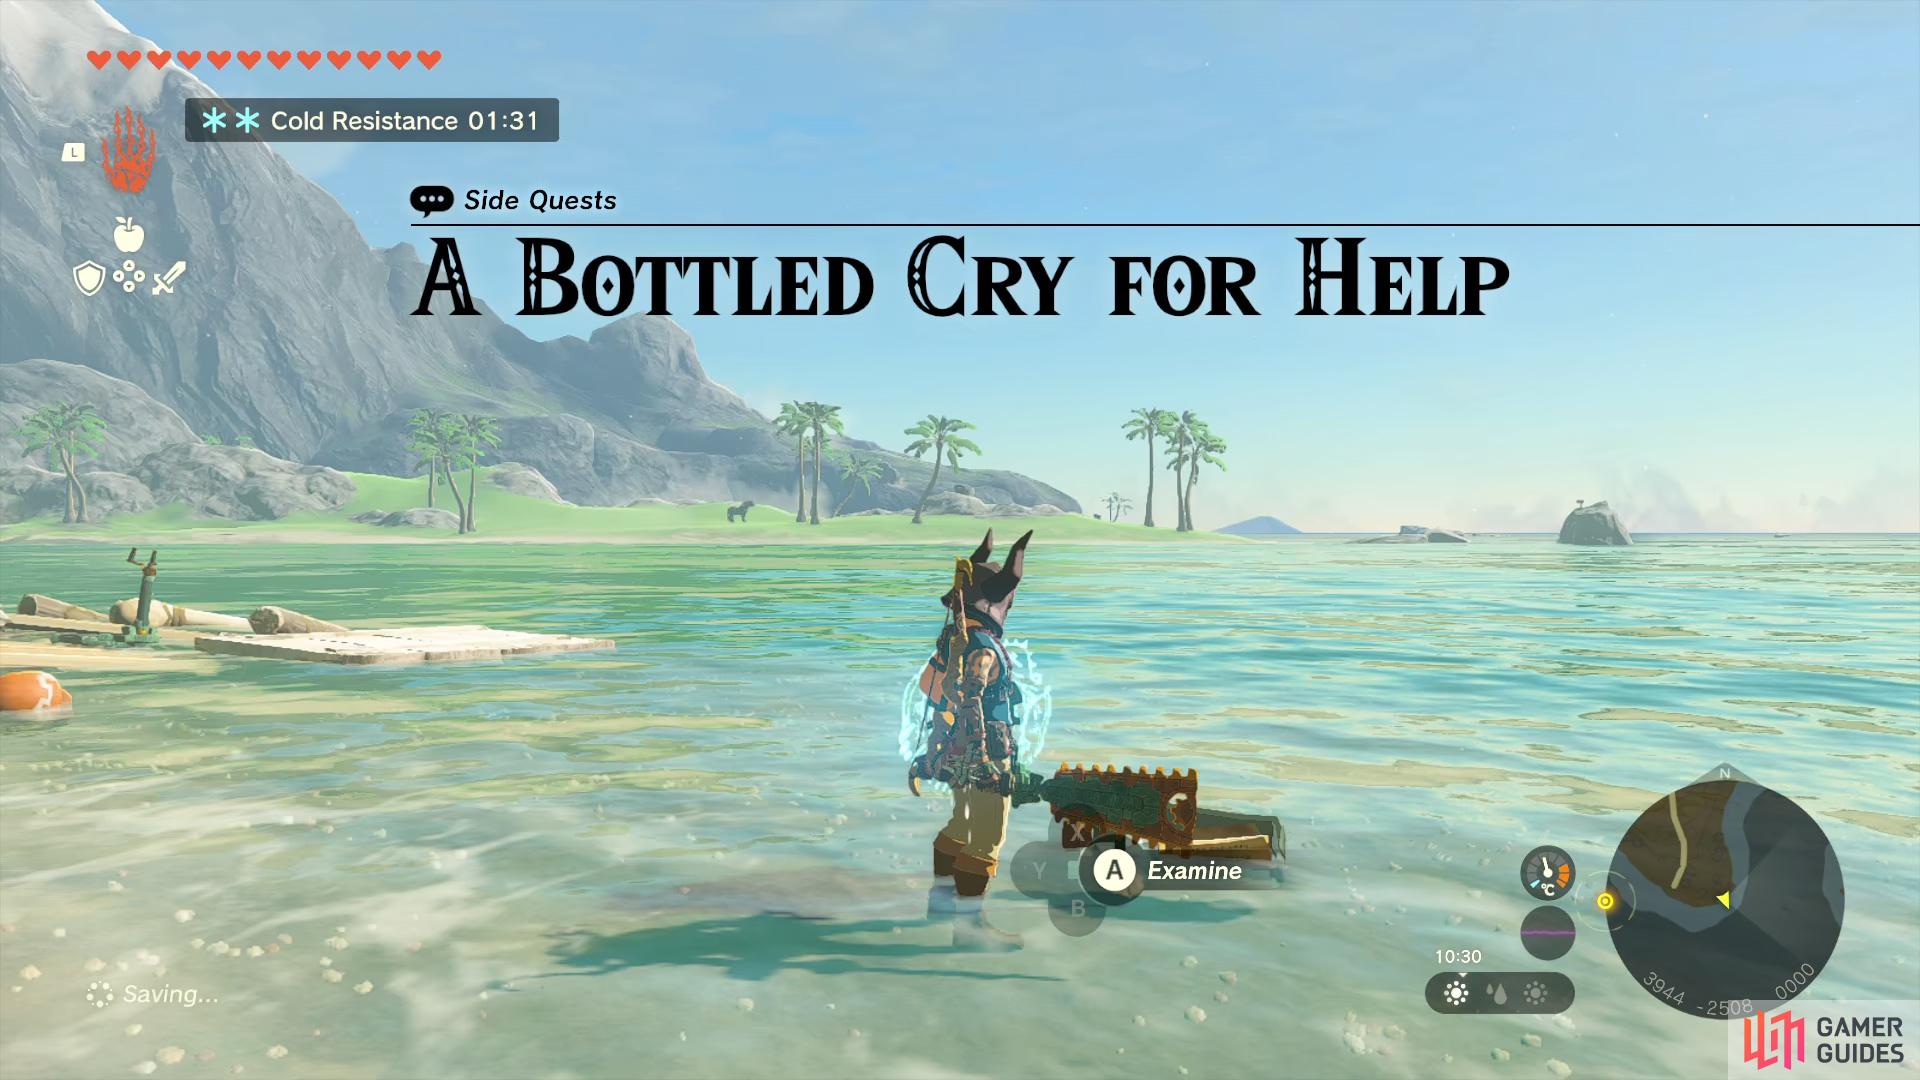
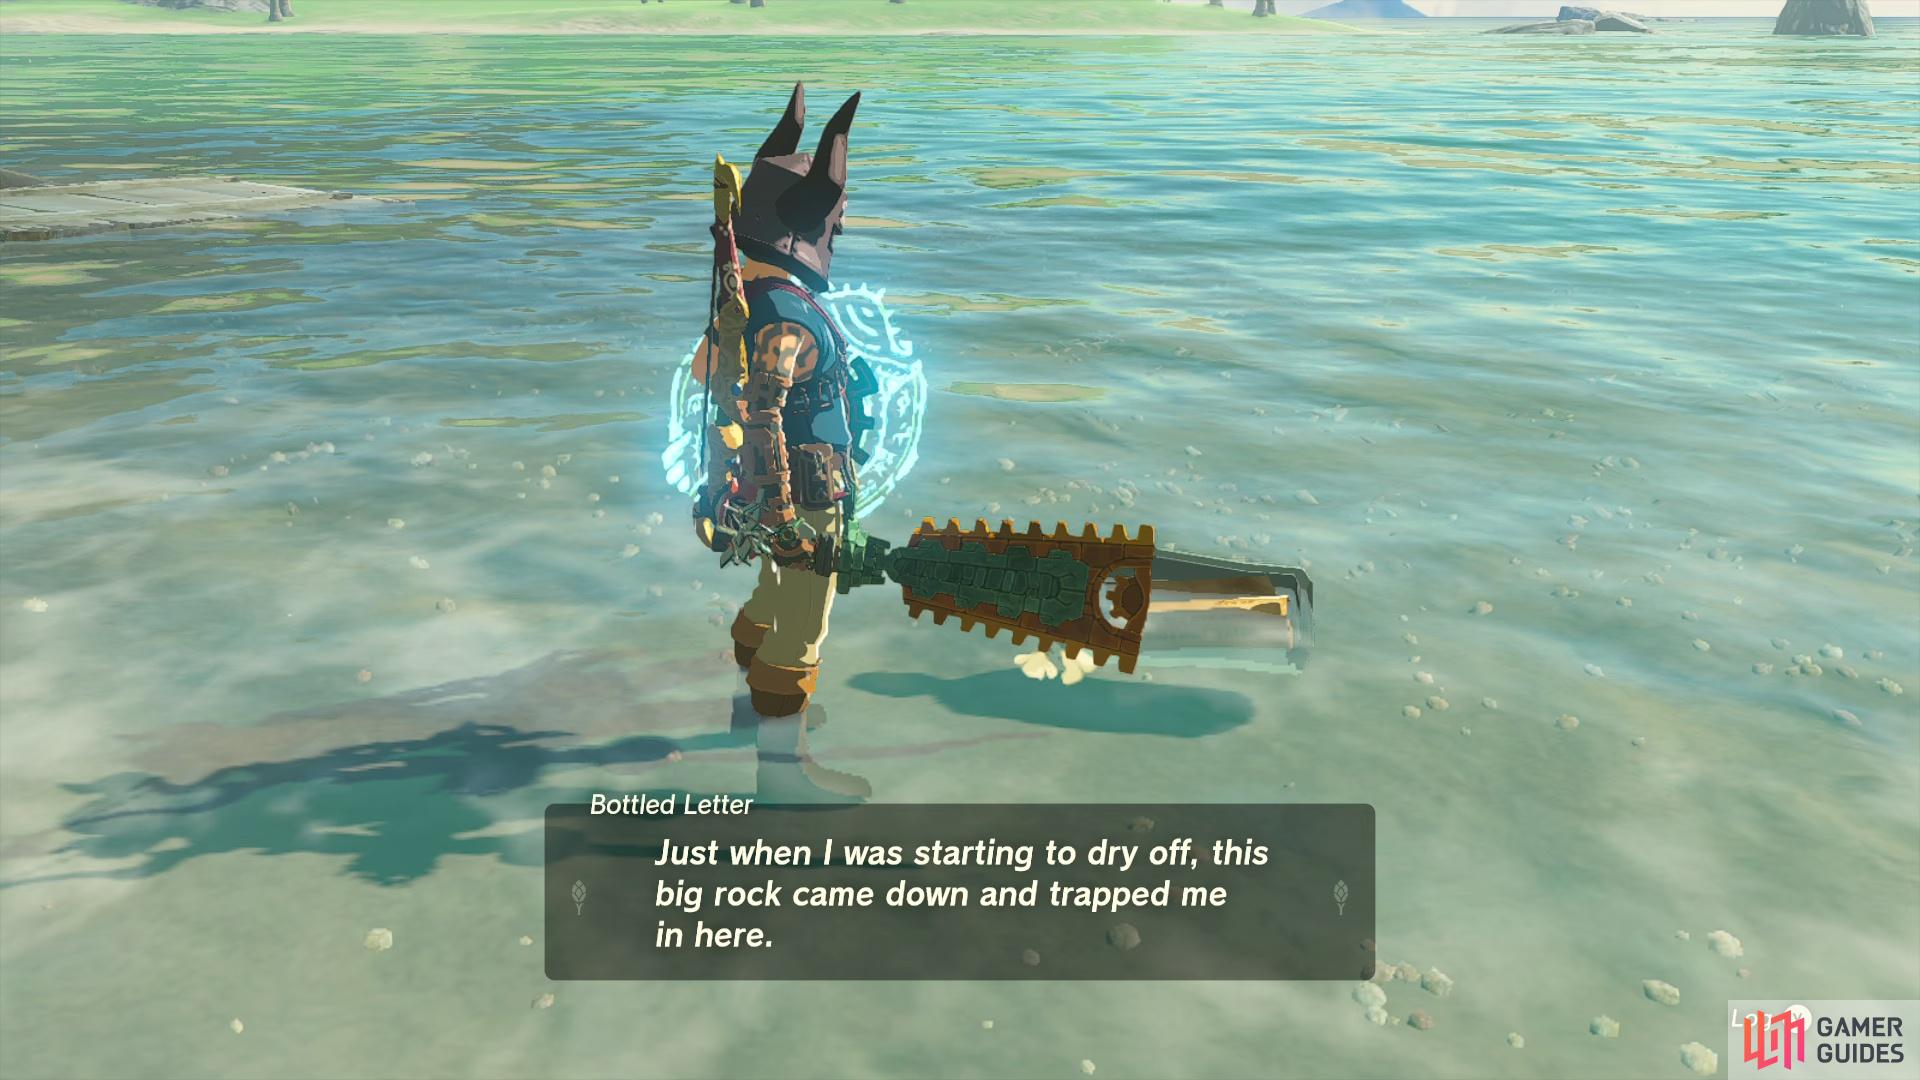
You found a letter inside a bottle that had floated its way to Hateno Bay. It seems its writer is trapped inside a cave and needs your help.
Fortunately, they’ve left a trail of brightbloom seeds and flowers floating in the sea to guide you to the cave.
How to Begin A Bottled Cry for Help in TOTK
One of the toughest parts of this Side Quest is finding the bottle in question to begin the Side Quest. Unless you know where to look for, you could be looking for a while across Hyrule and not come across it. Thankfully, once you know where to look, it’s simple to locate the bottle and get the Side Quest underway.
If you take a look at the map and head to the Mount Lanayru Skyview Tower, you’ll see Hateno Bay to the south of it, in the east of Necluda, look for a horseshoe shape to locate it. Once you’ve found Hateno Bay, use the Skyview Tower to glide over there easily and then head to the southwest of the bay (or east of the path you can see on the map). When you look closely here, you’ll spot a shipwreck and the bottle that begins this Side Quest.
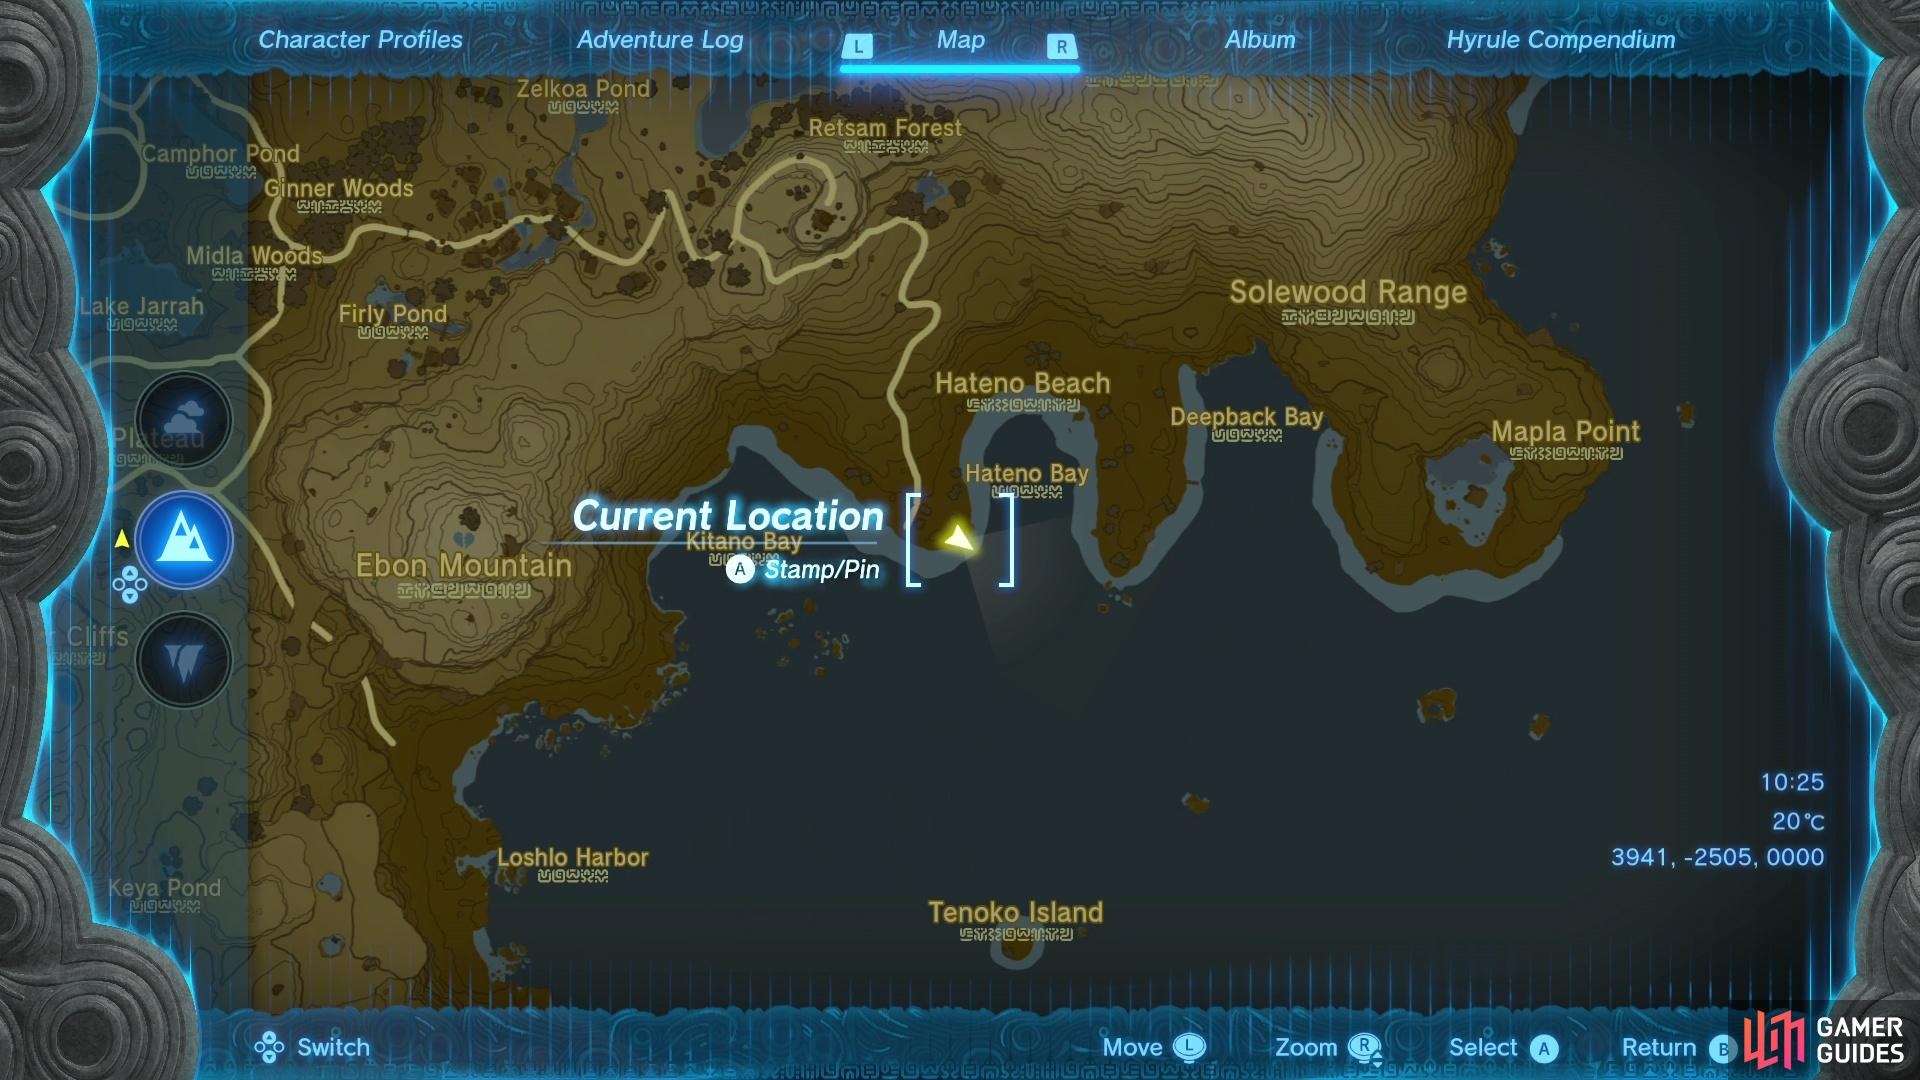
Head to the southwest of Hateno Bay
you’ll find a bottle with a message, starting the side quest.
How to Find Mapla Point Cave
After reading the contents of the letter, you’ll learn that the writer finds himself trapped in a cave and has left a trail of ![]() Brightbloom Seeds (and other wreckage) that should hopefully lead you to the cave’s location. The Cave you’re looking for is the
Brightbloom Seeds (and other wreckage) that should hopefully lead you to the cave’s location. The Cave you’re looking for is the ![]() Mapla Point Cave, and you’ll find it by heading east to the end of the landmass and then north a little, needless to say, you’re going to need a boat.
Mapla Point Cave, and you’ll find it by heading east to the end of the landmass and then north a little, needless to say, you’re going to need a boat.
Fortunately, you’ll find the necessary components to create a boat at the very same beach you’re at. Use some of the wooden boards and the Steering Stick, then attach a Fan with the nearby Battery on top to power the whole thing. Once you’re happy with it (and the weight is balanced appropriately), drop it into the water and get ready for the voyage. If your Zonai ![]() Energy Cell hasn’t been upgraded much, consider using some
Energy Cell hasn’t been upgraded much, consider using some ![]() Zonai Charges to temporarily increase it, otherwise you’ll need to make pit stops during your journey to recharge the battery and considering you’ll need to deal with enemies swimming in the sea, it’s easier if you can avoid that step.
Zonai Charges to temporarily increase it, otherwise you’ll need to make pit stops during your journey to recharge the battery and considering you’ll need to deal with enemies swimming in the sea, it’s easier if you can avoid that step.
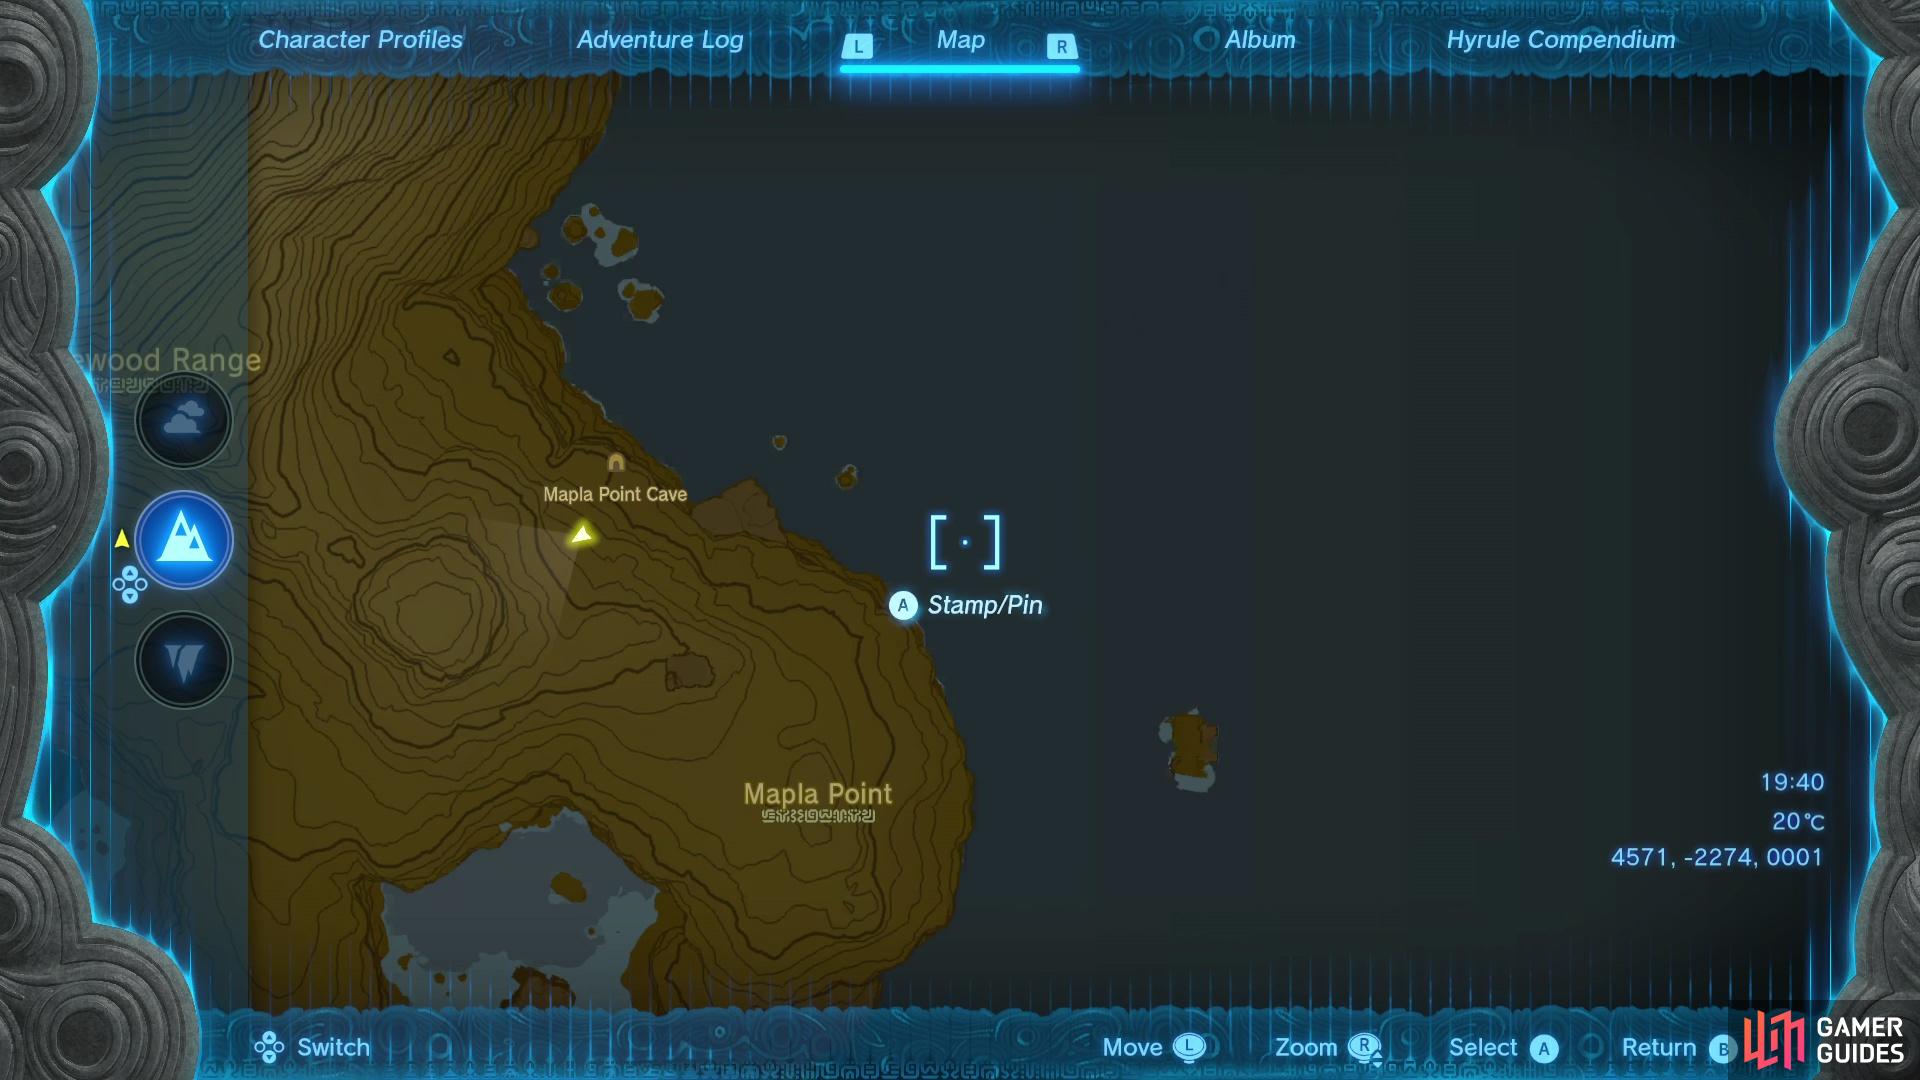
Once you set off, plot a course due east, avoiding the various ![]() Lizalfos and Octoroks that can be found in the sea, if you keep at full pace, you should only take minimal damage. Once you head to the end of the landmass to the east, start heading north and keep an eye on the western cliffside, you’ll soon come across a cave opening, this is Mapla Point Cave (Alternatively, check out our Interactive Map to see where this cave is).
Lizalfos and Octoroks that can be found in the sea, if you keep at full pace, you should only take minimal damage. Once you head to the end of the landmass to the east, start heading north and keep an eye on the western cliffside, you’ll soon come across a cave opening, this is Mapla Point Cave (Alternatively, check out our Interactive Map to see where this cave is).
How to Help Chumin in Mapla Point Cave
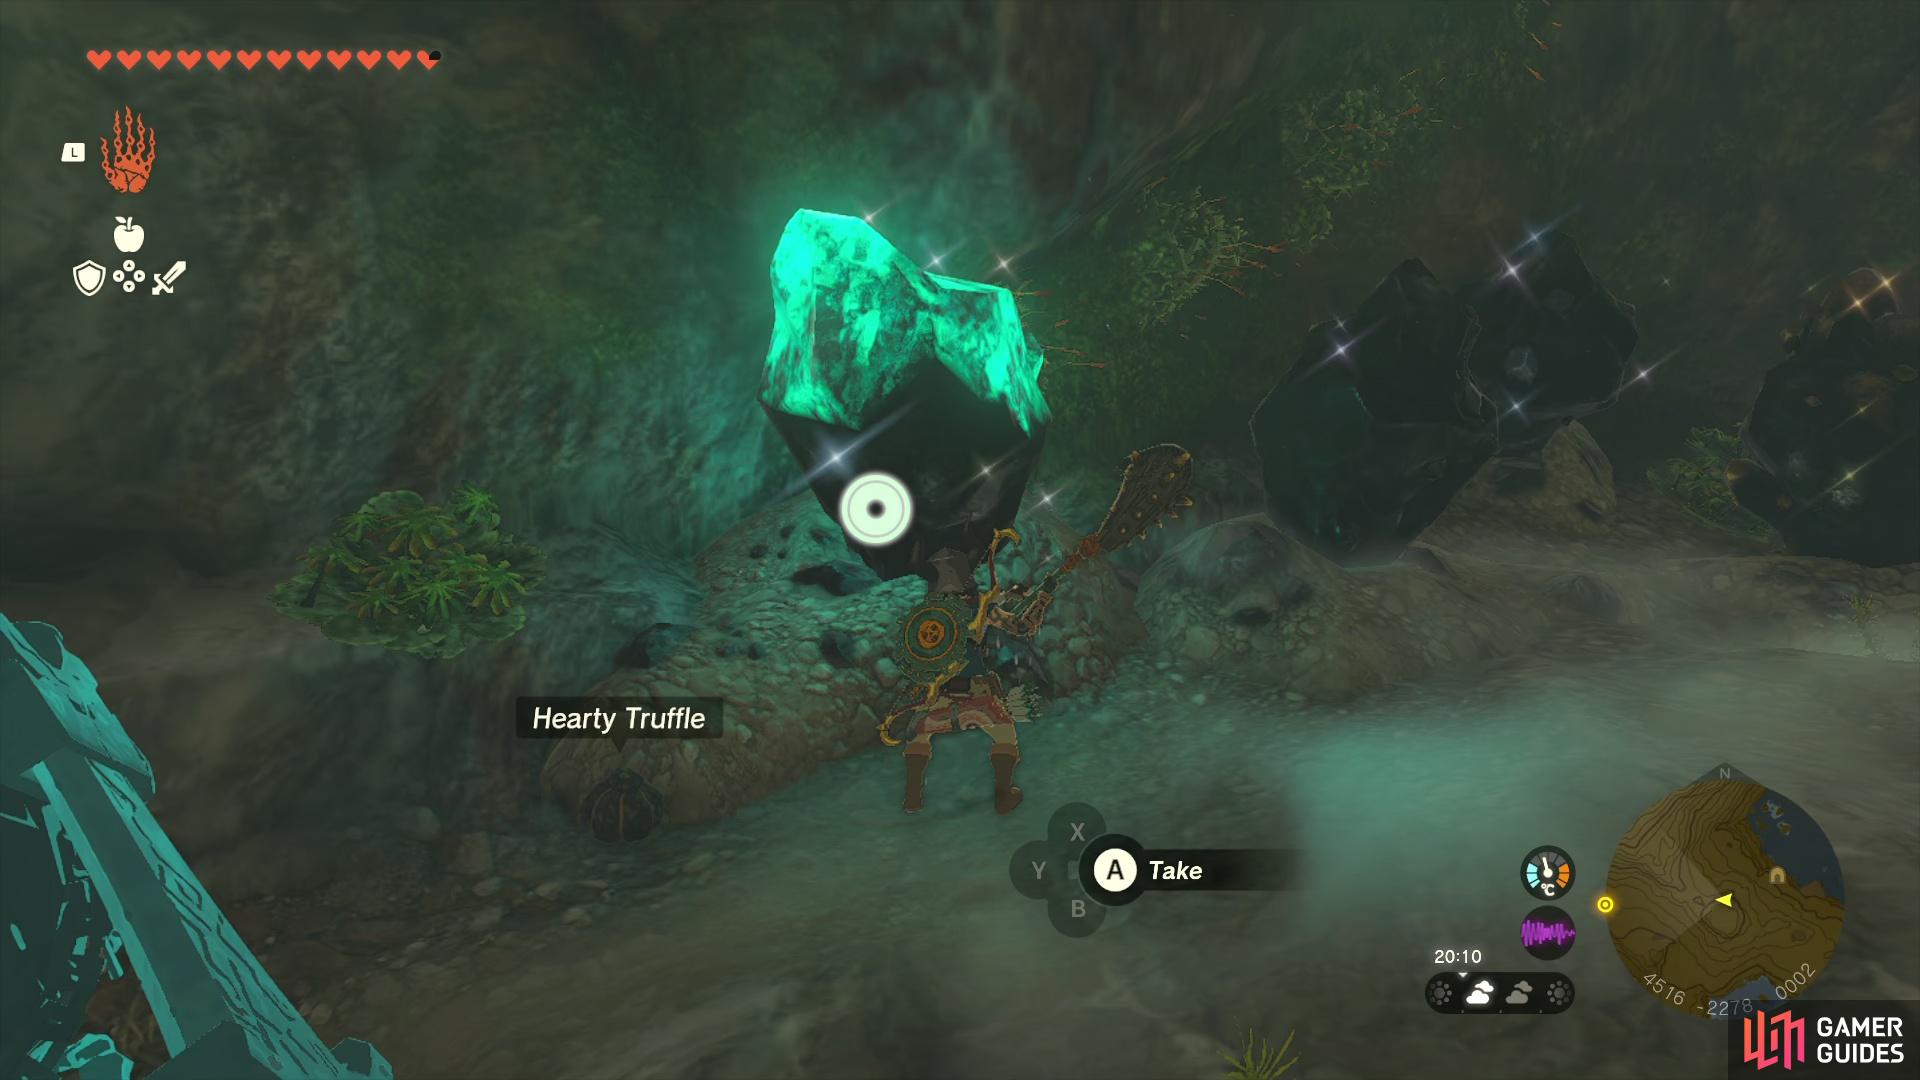
Leave your boat at the edge of the water here and take time to fully explore Mapla Point Cave, you’ll discover that there are plenty of Ore Nodes scattered around here, all with great loot you can take (this is a large part of your reward), you’ll also find useful materials such as ![]() Hearty Truffles.
Hearty Truffles.
Once you’ve had your fill of the various riches to be had here, look to the west to see a passage blocked by a boulder. Use ![]() Ultrahand to lift this out of the way and proceed to the back where you’ll find the stricken writer of the bottled message,
Ultrahand to lift this out of the way and proceed to the back where you’ll find the stricken writer of the bottled message, ![]() Chumin. Speak with him to learn more about how he got himself in this situation and he’ll reward you with a Diamond Rupee (100) as thanks, completing the Side Quest in the process.
Chumin. Speak with him to learn more about how he got himself in this situation and he’ll reward you with a Diamond Rupee (100) as thanks, completing the Side Quest in the process.
Before you leave, however, be sure to use ![]() Ascend in the first area of this cave, you’ll find another Ore Node and the
Ascend in the first area of this cave, you’ll find another Ore Node and the ![]() Bubbulfrog who will drop a
Bubbulfrog who will drop a ![]() Bubbul Gem upon its defeat!
Bubbul Gem upon its defeat!
More Zelda: Tears of the Kingdom Guides
There is so much to see and do in Tears of the Kingdom, and if you’re looking for help on more Side Quests, check out the pages below:
No Comments