
There are a number of Side Quests to be found in The Legend of Zelda: Tears of the Kingdom. Some of the longer side quests involve the three labyrinths in the game, which are tied to the Evil Spirit armor set. This page will focus on The North Lomei Labyrinth Prophecy side quest.
Where to Find the North Lomei Labyrinth in Tears of the Kingdom
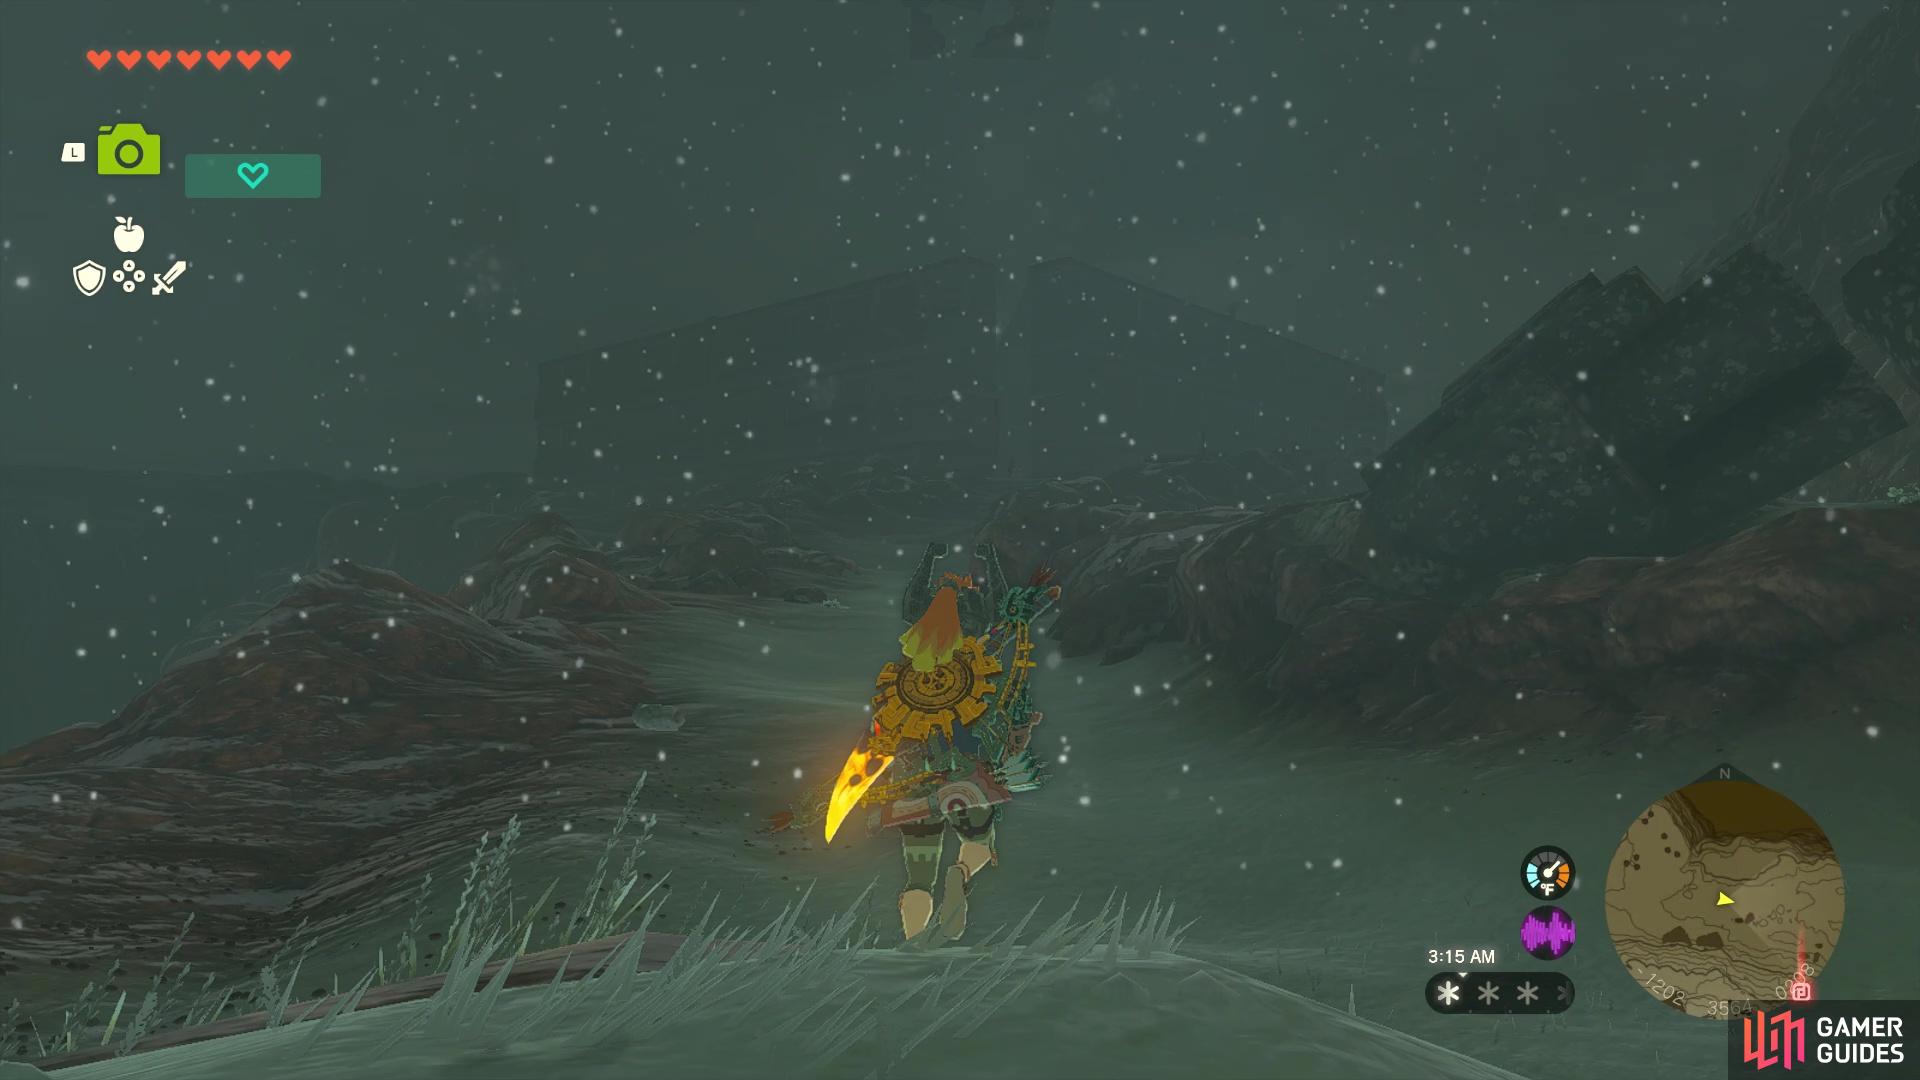
The path to the !North Lomei Labyrinth is pretty easy
The North Lomei Labyrinth is located in the Tabatha Tundra region, on the northern end of the map. As the name implies, you are going to be entering a cold area, so you will need protection from that. If you head west, to the Hebra Mountains region, you will find the Rito Village, where you can purchase the Snowquill pieces of armor that give you cold resistance. Otherwise, you might need to procure a weapon that has fire on it, which can protect you from freezing (you just need to have it equipped on your back for it to take effect).
You could also make food with cold resistance, but considering how long you will be in the area, you’d likely need a lot of it. Thankfully, getting to the labyrinth is pretty easy, as there is a path that leads straight to it. There is nothing in the way, either, so it’s just a manner of looking for the path in the snowstorm and head to the front entrance.
How to Complete the North Lomei Labyrinth in Tears of the Kingdom
If you haven’t done either of the other two labyrinths yet, then you will find plenty of gloom throughout this one. This makes things a little more difficult in traversal, but if you have some ![]() Wood,
Wood, ![]() Flint and some
Flint and some ![]() Hylian Pine Cones, then you will be able to make some updrafts at these spots to allow yourself to glide over them. In fact, you won’t have to wait very long, as the first opportunity to do this is right past the first journal entry. At the first fork, you have the option to either go north or south; the correct choice is going to be south (follow the pine cones).
Hylian Pine Cones, then you will be able to make some updrafts at these spots to allow yourself to glide over them. In fact, you won’t have to wait very long, as the first opportunity to do this is right past the first journal entry. At the first fork, you have the option to either go north or south; the correct choice is going to be south (follow the pine cones).
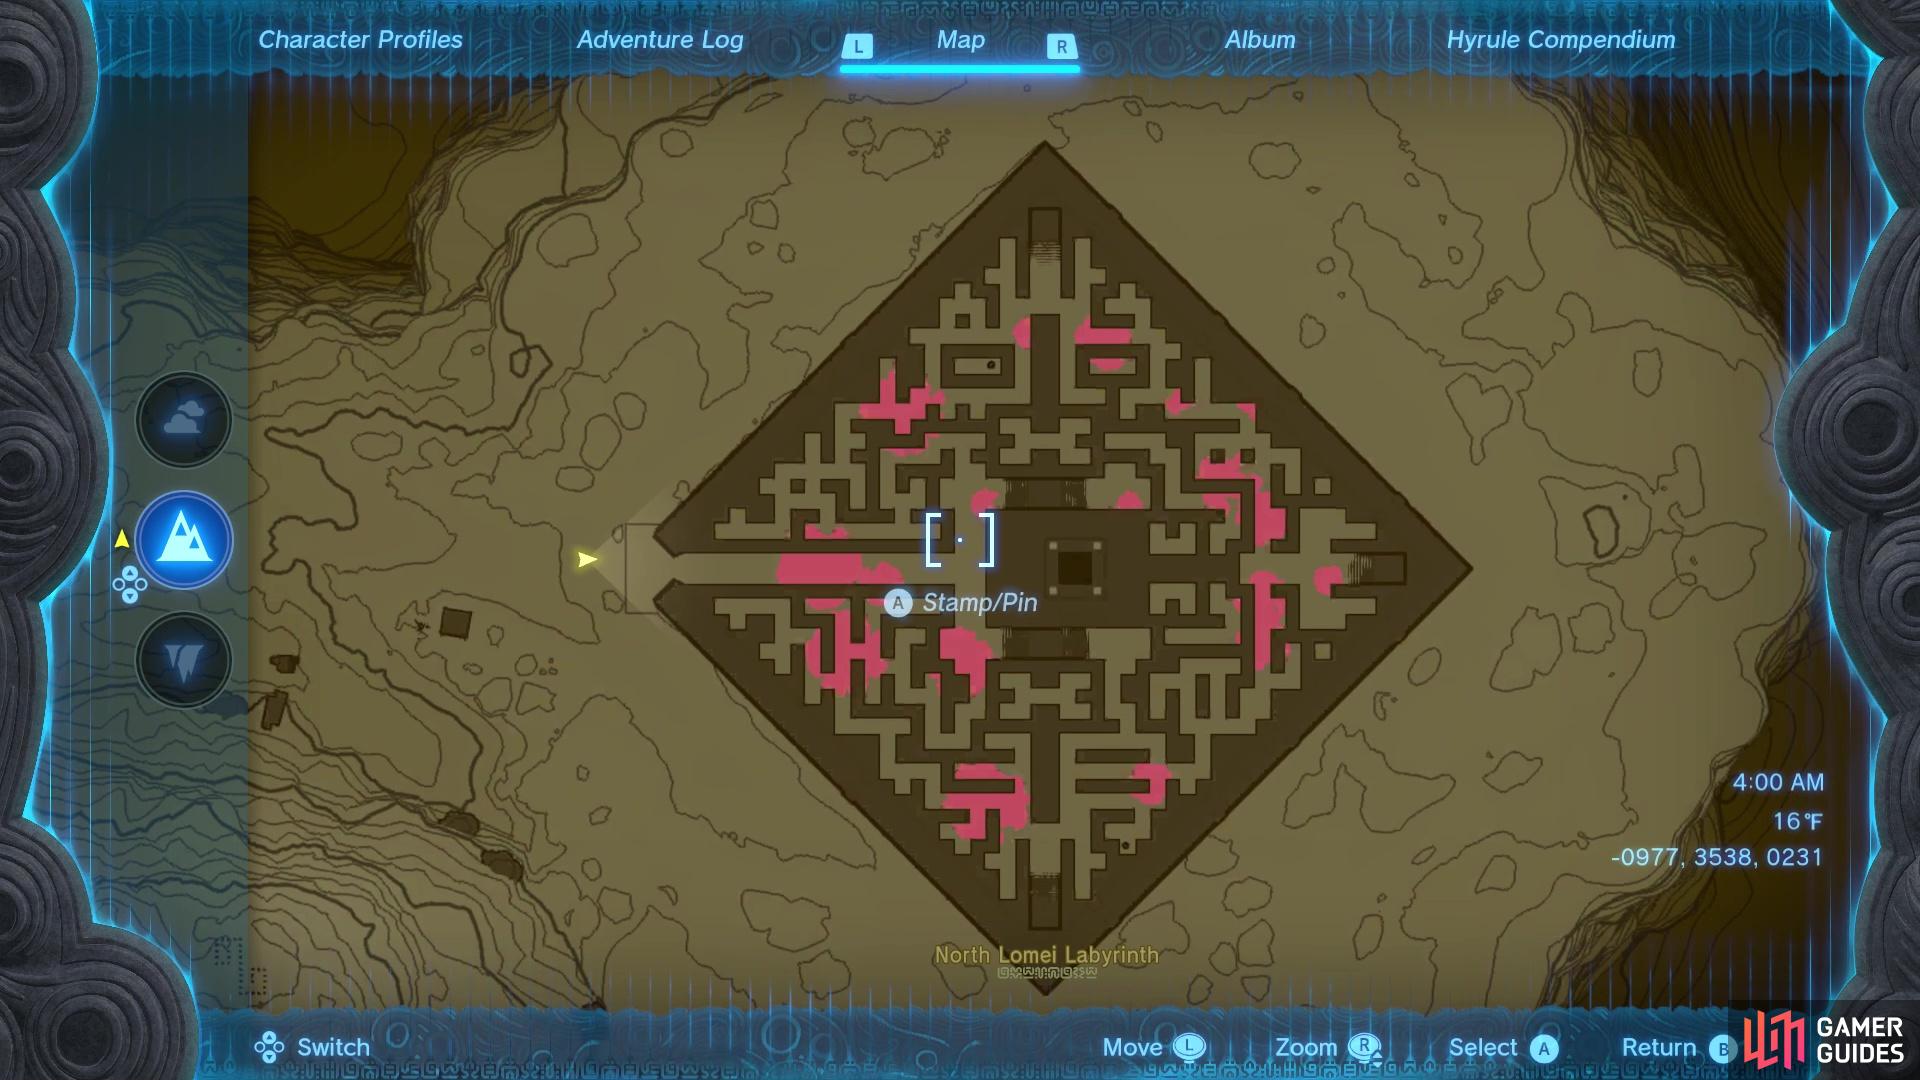
Eventually, you will find another campfire right before some gloom, so grab a pine cone (if you don’t have any) and do another updraft here to get over it. If you see some ice blocking some boulders, feel free to melt them, then climb over the boulders to find a chest (![]() Zonaite Bow). Other than doing the updraft thing some more, the rest of the maze is fairly uneventful, and as long as you follow the trail, you shouldn’t really get lost, either. Eventually, you’ll reach a ladder that will set you on the path to the end of the labyrinth, where you’ll find the Mayaotaki Shrine.
Zonaite Bow). Other than doing the updraft thing some more, the rest of the maze is fairly uneventful, and as long as you follow the trail, you shouldn’t really get lost, either. Eventually, you’ll reach a ladder that will set you on the path to the end of the labyrinth, where you’ll find the Mayaotaki Shrine.
Melt the ice in front of its entrance, then activate it to make a fast travel spot. Feel free to go inside for the ![]() Light of Blessing, but to move forward, you need to interact with the dragon ring to open up the sky version of the labyrinth.
Light of Blessing, but to move forward, you need to interact with the dragon ring to open up the sky version of the labyrinth.
How to Reach North Lomei Castle Top Floor in Tears of the Kingdom
To begin, fast travel to the Pikida Stonegrove Skyview Tower and launch yourself from it. There will be an island just east/slightly northeast once you regain control. Go north, upon landing, and seek out the large floating platforms, but be careful, as there are Constructs on them that fire rocket arrows at you. Hop onto the first one you see and attach the Rockets to the platform (or fuse them to your shields). Continue east, using your rocket shields, or just gliding along the platforms and little landmasses.
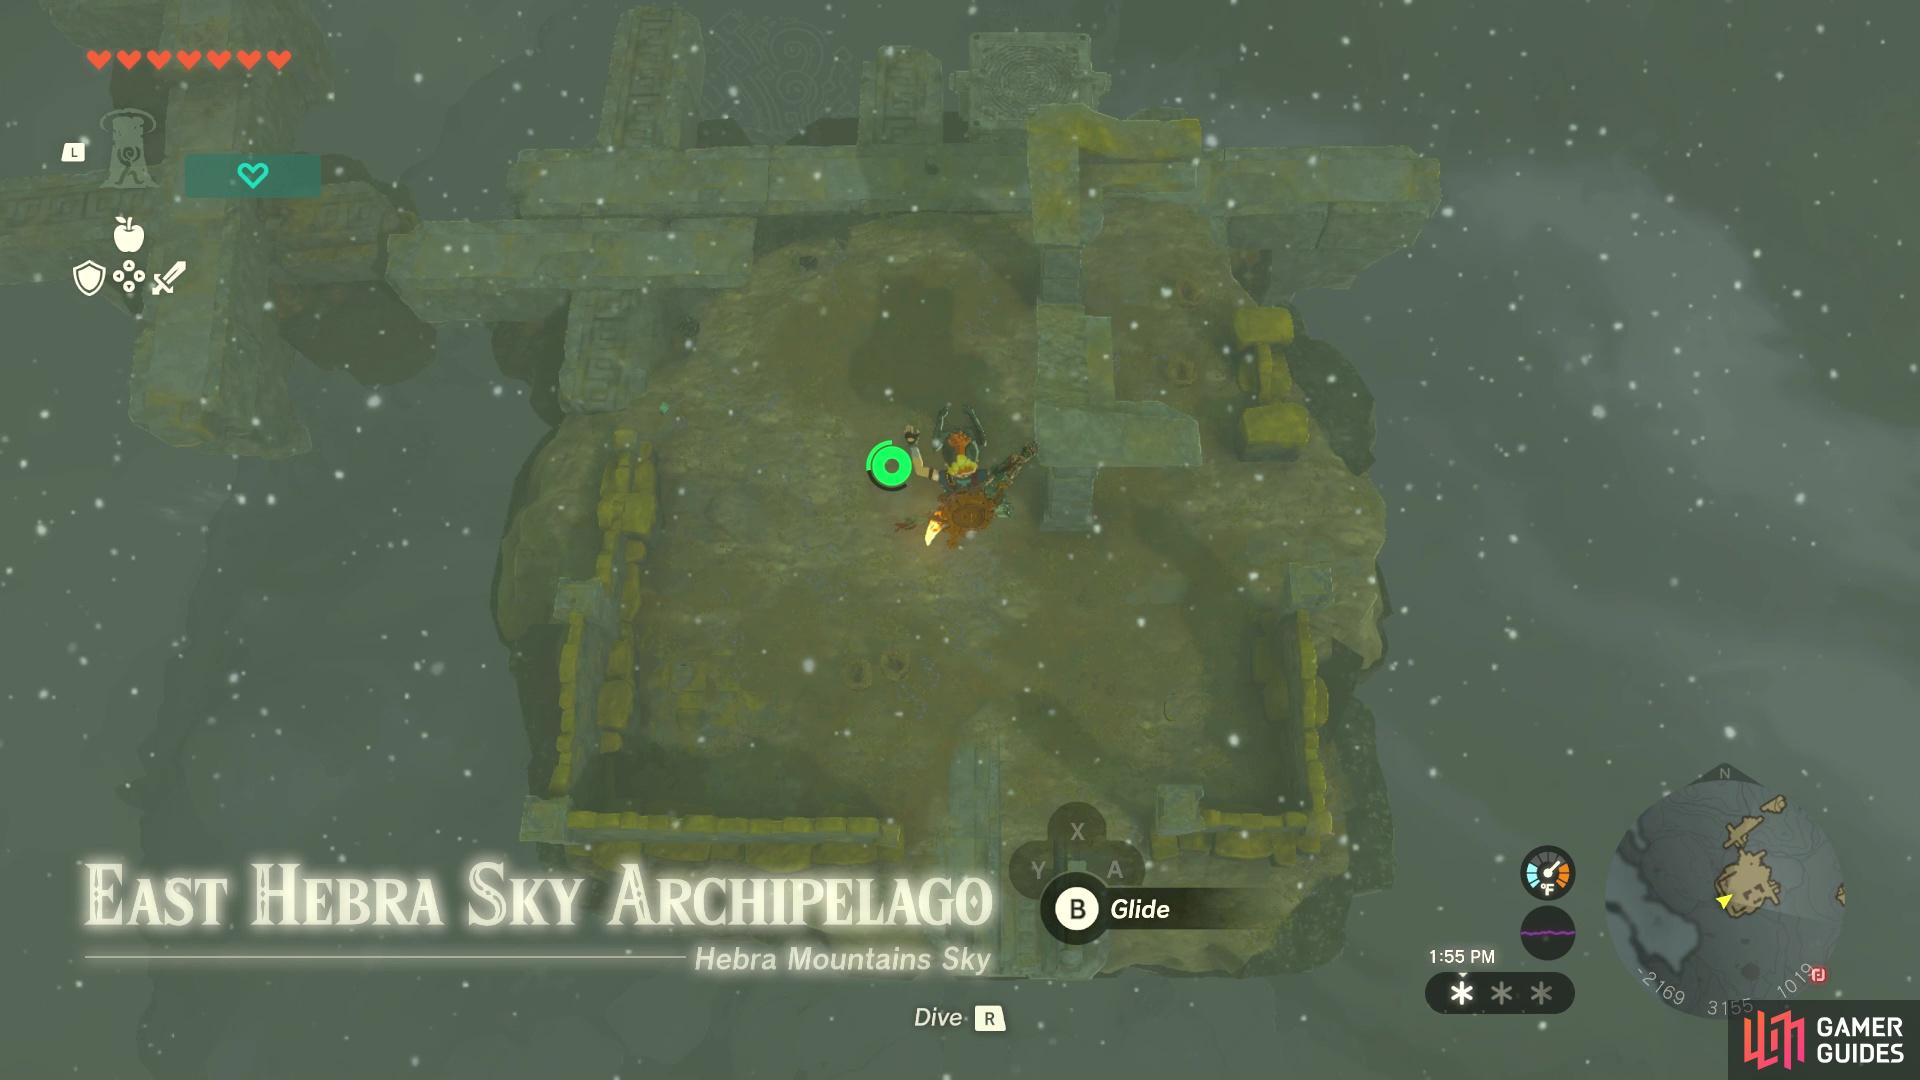
Your goal will be to get to the larger island with the Taninoud Shrine on it (activate it for the fast travel). There is another island at a slightly higher elevation next to this one, so use the single Fan and floating platform to reach it, then climb/![]() Ascend to the top. There is another solo fan/floating platform combo up here, so place is at the back of the platform, then go into your inventory to get two more !Fans. If you have Rockets, those will also be great, as distance can be a little bit of a problem here with just the fans alone.
Ascend to the top. There is another solo fan/floating platform combo up here, so place is at the back of the platform, then go into your inventory to get two more !Fans. If you have Rockets, those will also be great, as distance can be a little bit of a problem here with just the fans alone.
You should be able to see the shrine on the labyrinth ahead, but the floating platform might disappear before you can reach it. Worry not, though, as there is a floating piece of rubble just below the shrine, so if you can get to that (gliding or not), then you can use Ascend to reach the labyrinth. Upon reaching the main entrance, activate the shrine for the fast travel, then interact with the dragon ring to start the trial.
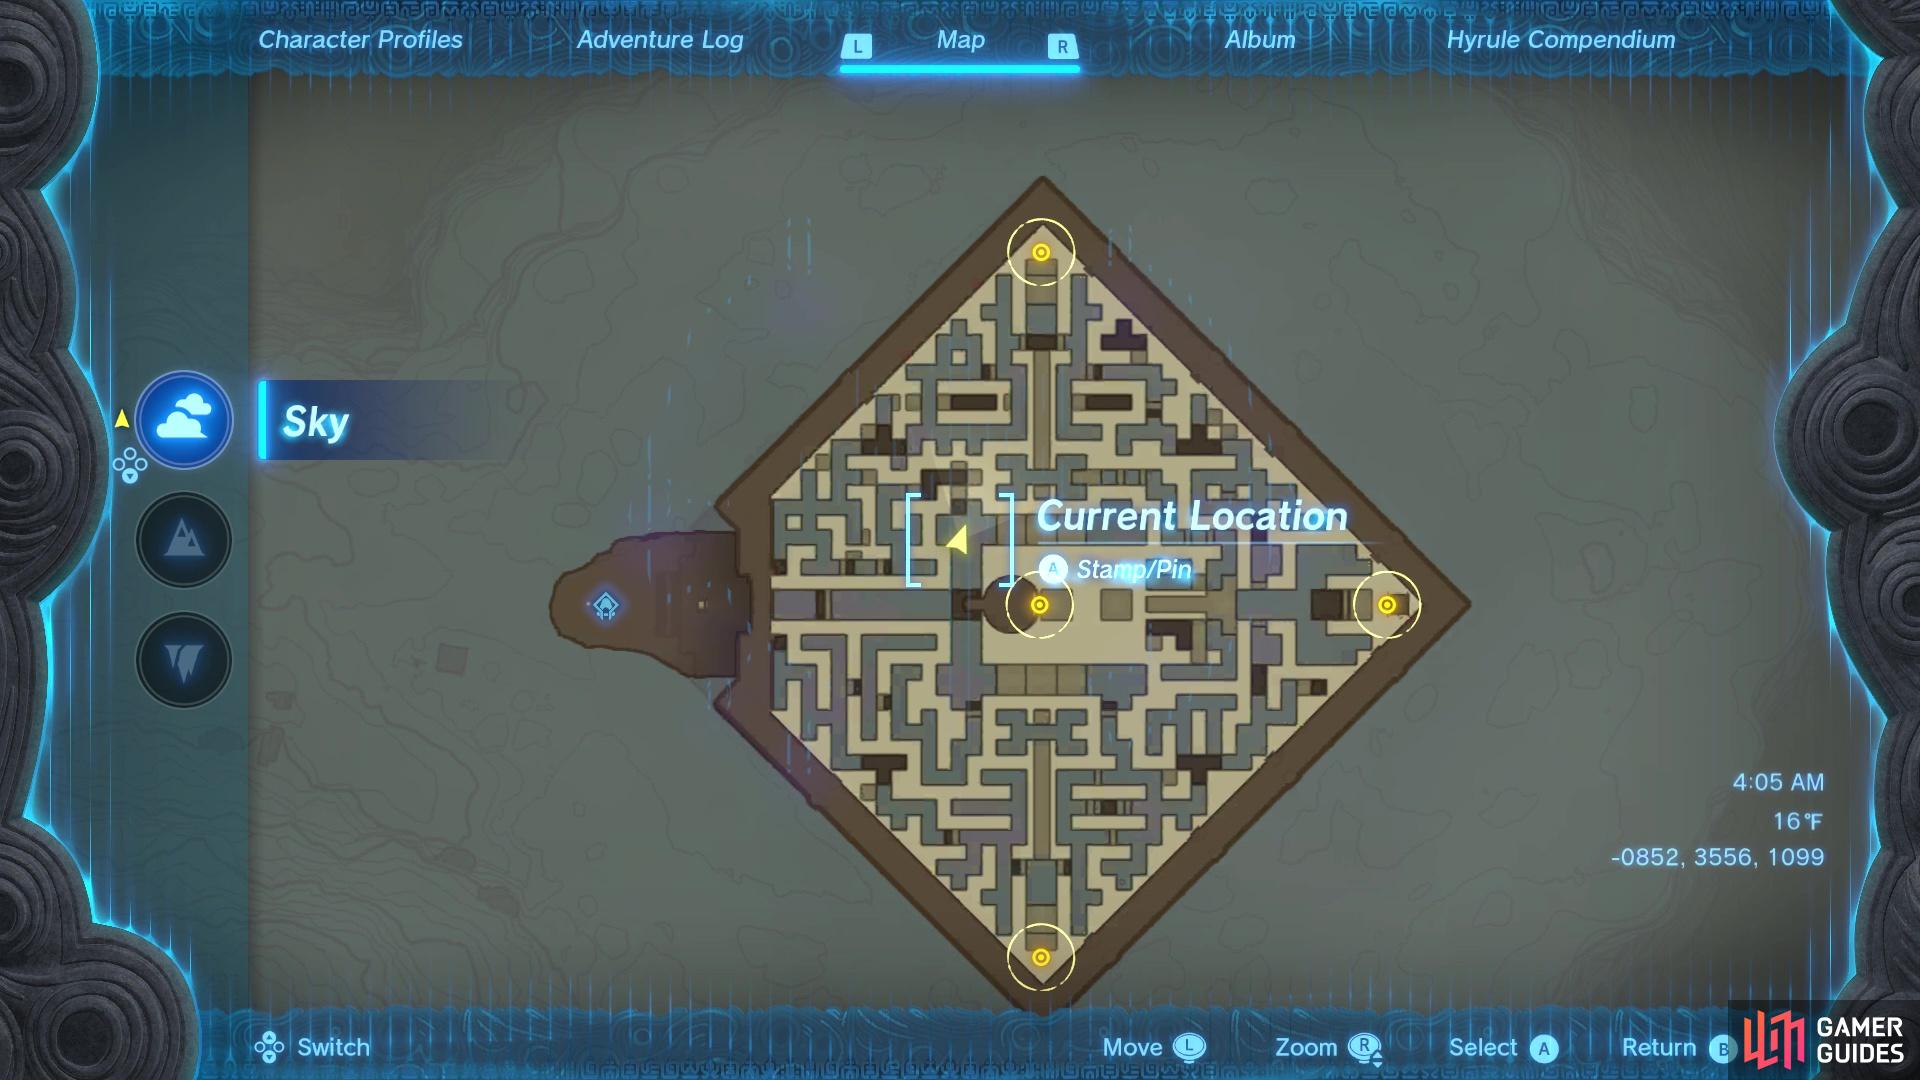
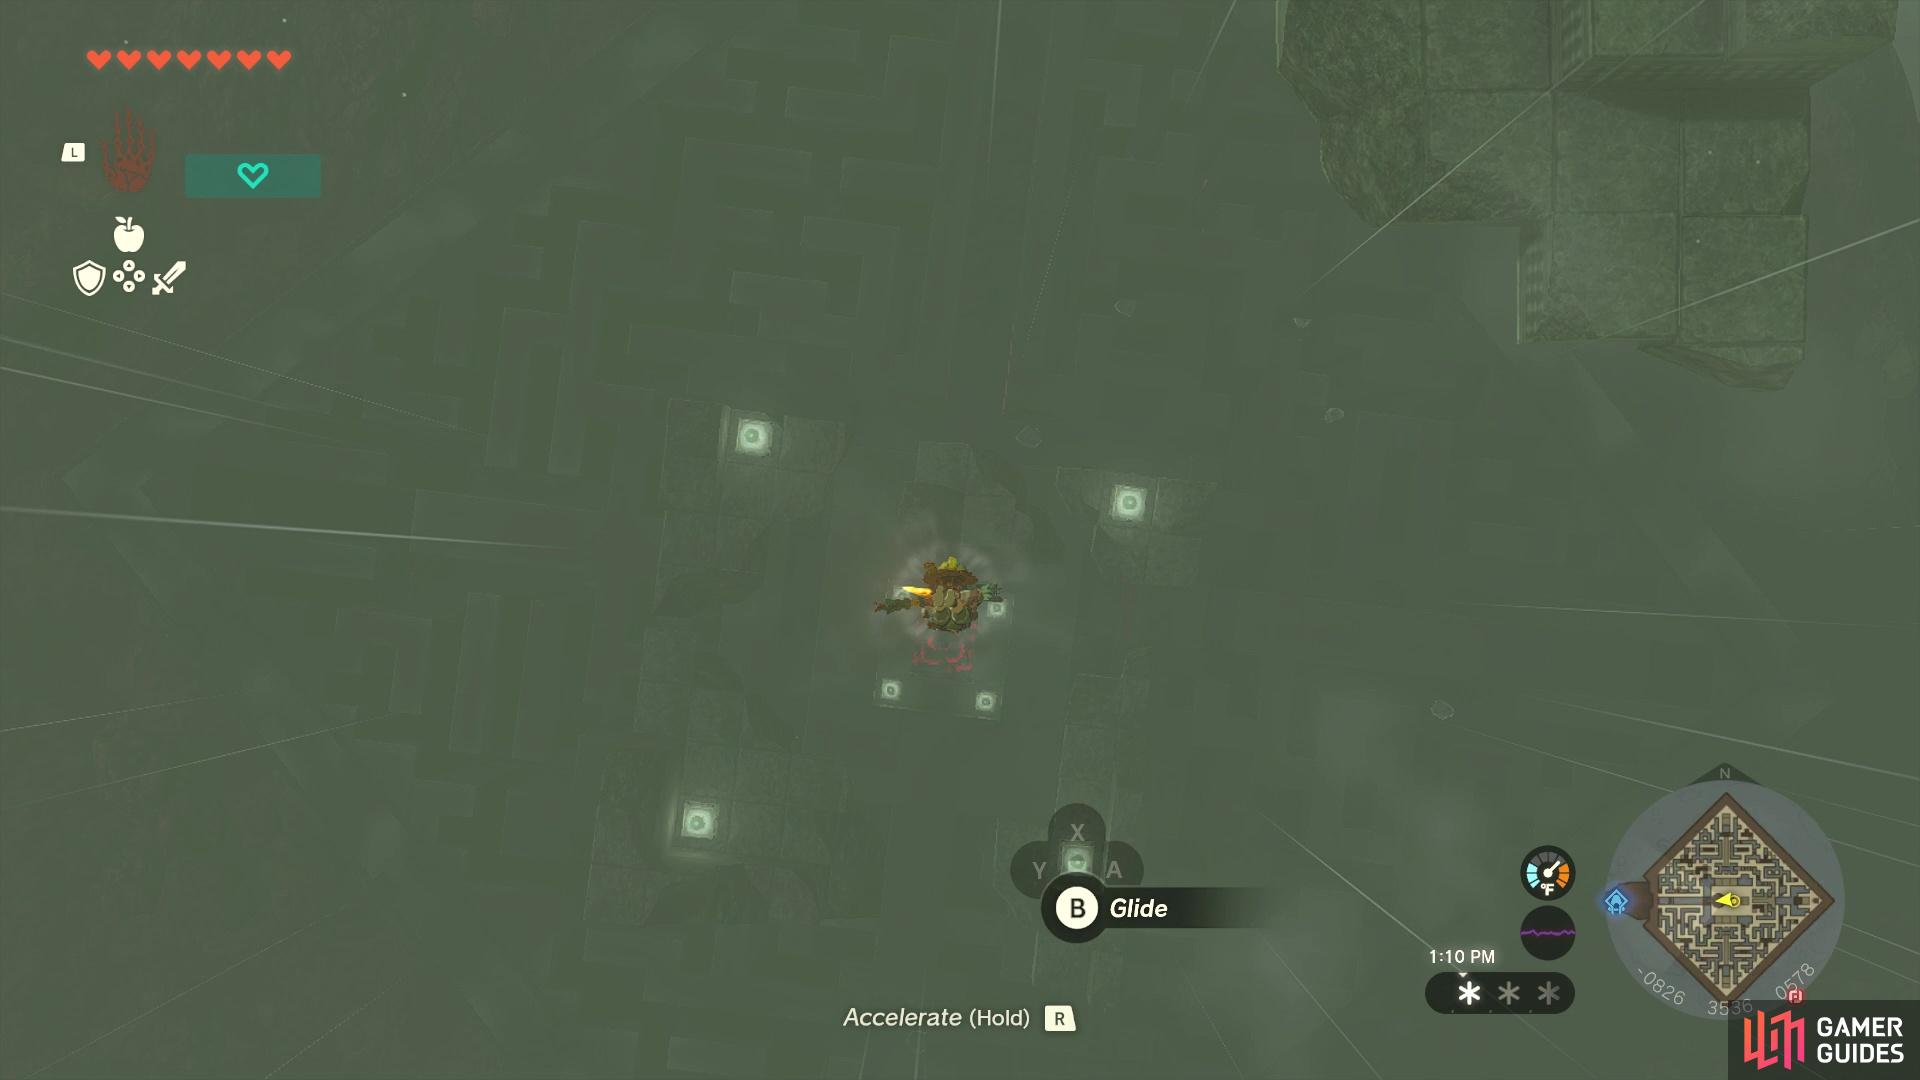
The map of the labyrinth in the sky, with the terminals marked
Don’t forget to look for chests while up there, since you can get some nice equipment
If you’ve done the previous ones, then you know what to expect here. There will be four terminals in the maze and wind will be constantly blowing up from the bottom of the labyrinth. As long as you have stamina and your ![]() Paraglider out, you will never fall out the bottom of the maze. Your goal is to activate all four of the terminals, after which, a fifth one will appear at the top of the labyrinth. You can then ride the new gust of wind to the top and activate that one, which will open up the way to the Depths portion.
Paraglider out, you will never fall out the bottom of the maze. Your goal is to activate all four of the terminals, after which, a fifth one will appear at the top of the labyrinth. You can then ride the new gust of wind to the top and activate that one, which will open up the way to the Depths portion.
How to Find the Ikatoayam Lightroot in Tears of the Kingdom
Upon reaching the Depths, throw down some ![]() Brightbloom Seeds, then look for a place to Ascend, as you want to get on the roof of the labyrinth here. The reason for that is to light the Ikatoayam Lightroot, which will brighten up the area and allow you to see what’s going on here. Once you’re done with that, teleport back to the shrine in the surface maze, then drop back down the chasm. Find the room with the boss in it and get ready for a battle.
Brightbloom Seeds, then look for a place to Ascend, as you want to get on the roof of the labyrinth here. The reason for that is to light the Ikatoayam Lightroot, which will brighten up the area and allow you to see what’s going on here. Once you’re done with that, teleport back to the shrine in the surface maze, then drop back down the chasm. Find the room with the boss in it and get ready for a battle.
You might have to adjust a little bit when you jump from the top of the sky labyrinth to reach the chasm
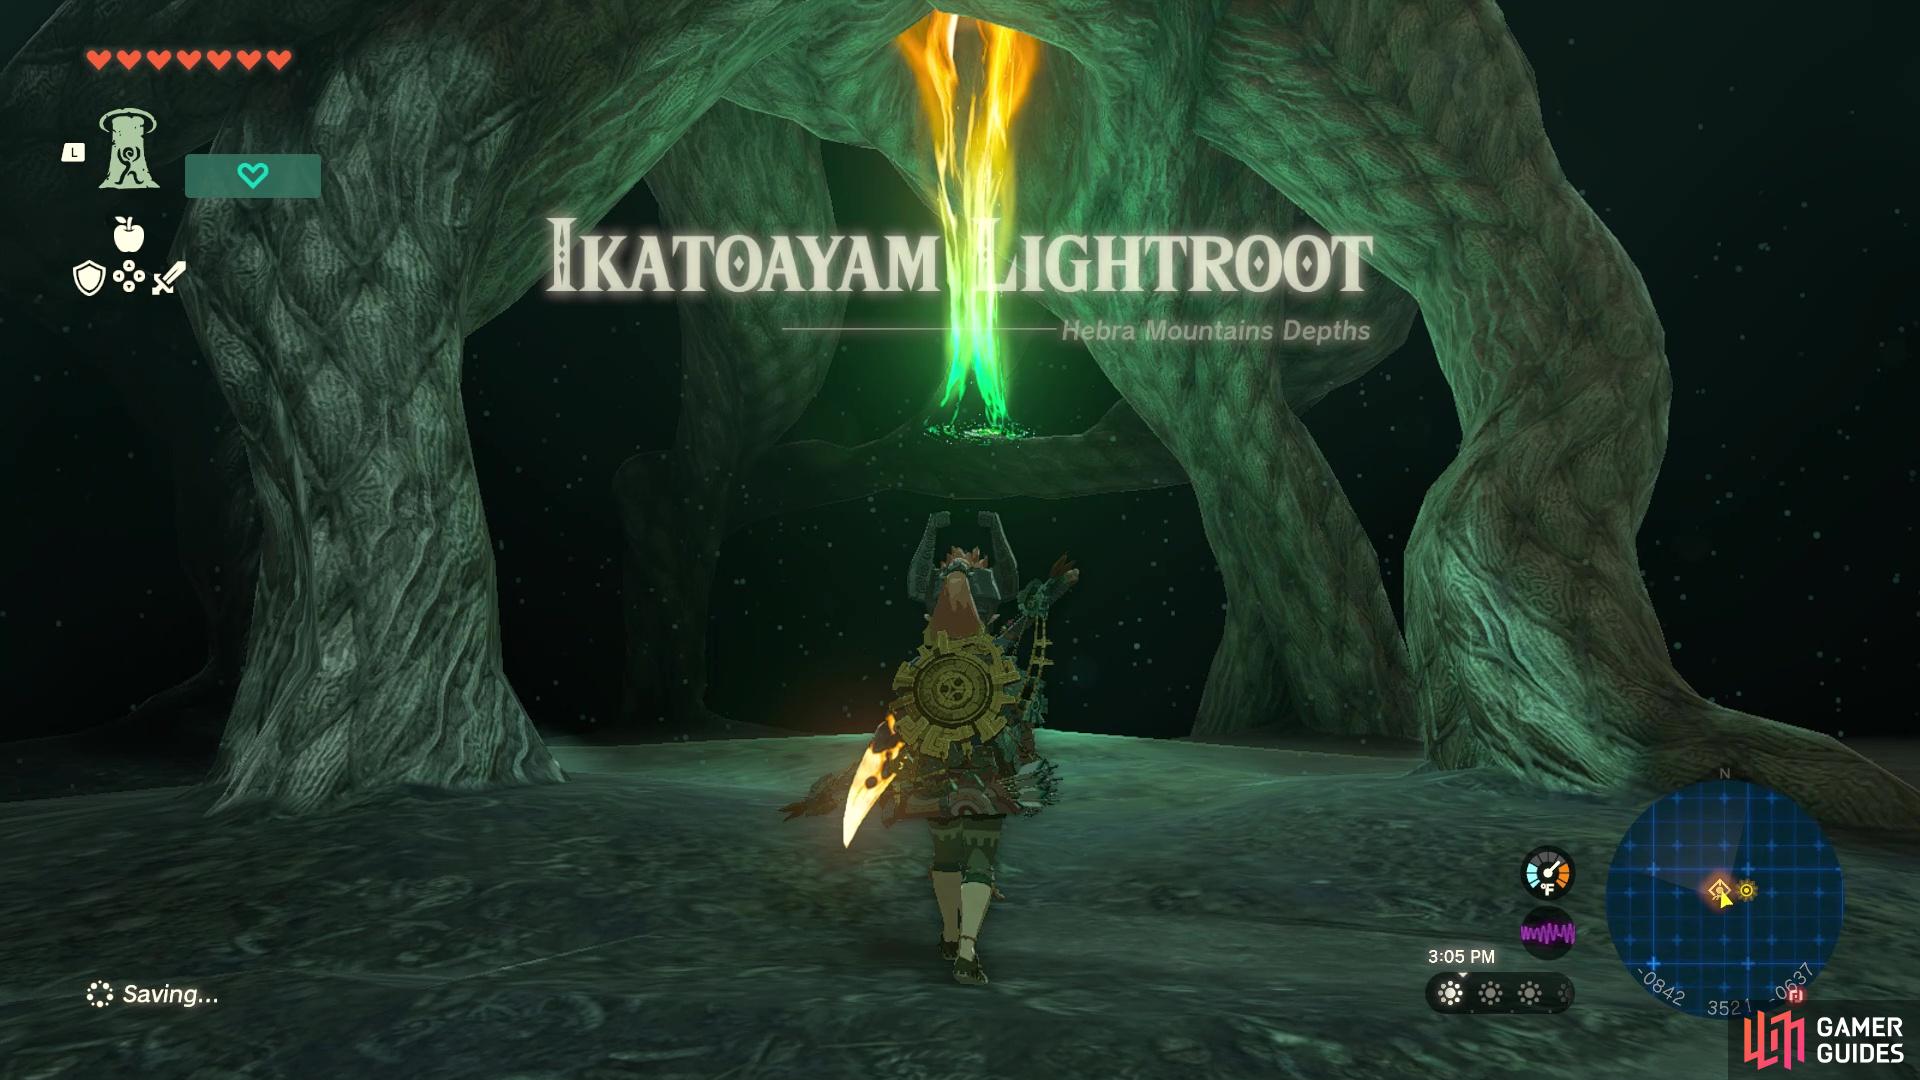
Use !Ascend to get on top of the labyrinth to find the Lightroot
If you’ve done the other ones, then you will be fighting a ![]() Flux Construct III again here. It’s a pretty simple battle that isn’t too complicated, as this boss only has a single weak spot, with it changing the location every few seconds. Use
Flux Construct III again here. It’s a pretty simple battle that isn’t too complicated, as this boss only has a single weak spot, with it changing the location every few seconds. Use ![]() Ultrahand to grab the weak block and keep hold of it until the construct disassembles. This will allow you to get free hits on it while it’s “stunned.” Keep this up and you will eventually fell the boss, triggering the nearby dragon ring. Interact with it to finish the quest, causing a chest with the
Ultrahand to grab the weak block and keep hold of it until the construct disassembles. This will allow you to get free hits on it while it’s “stunned.” Keep this up and you will eventually fell the boss, triggering the nearby dragon ring. Interact with it to finish the quest, causing a chest with the ![]() Evil Spirit Greaves to appear.
Evil Spirit Greaves to appear.
No Comments