
This page offers a guide on how to complete the Lightning Temple in Gerudo, including where to find all four battery devices in The Legend of Zelda: Tears of the Kingdom. You’ll find details on how to solve all the puzzles and where to find extra weapons and treasure.
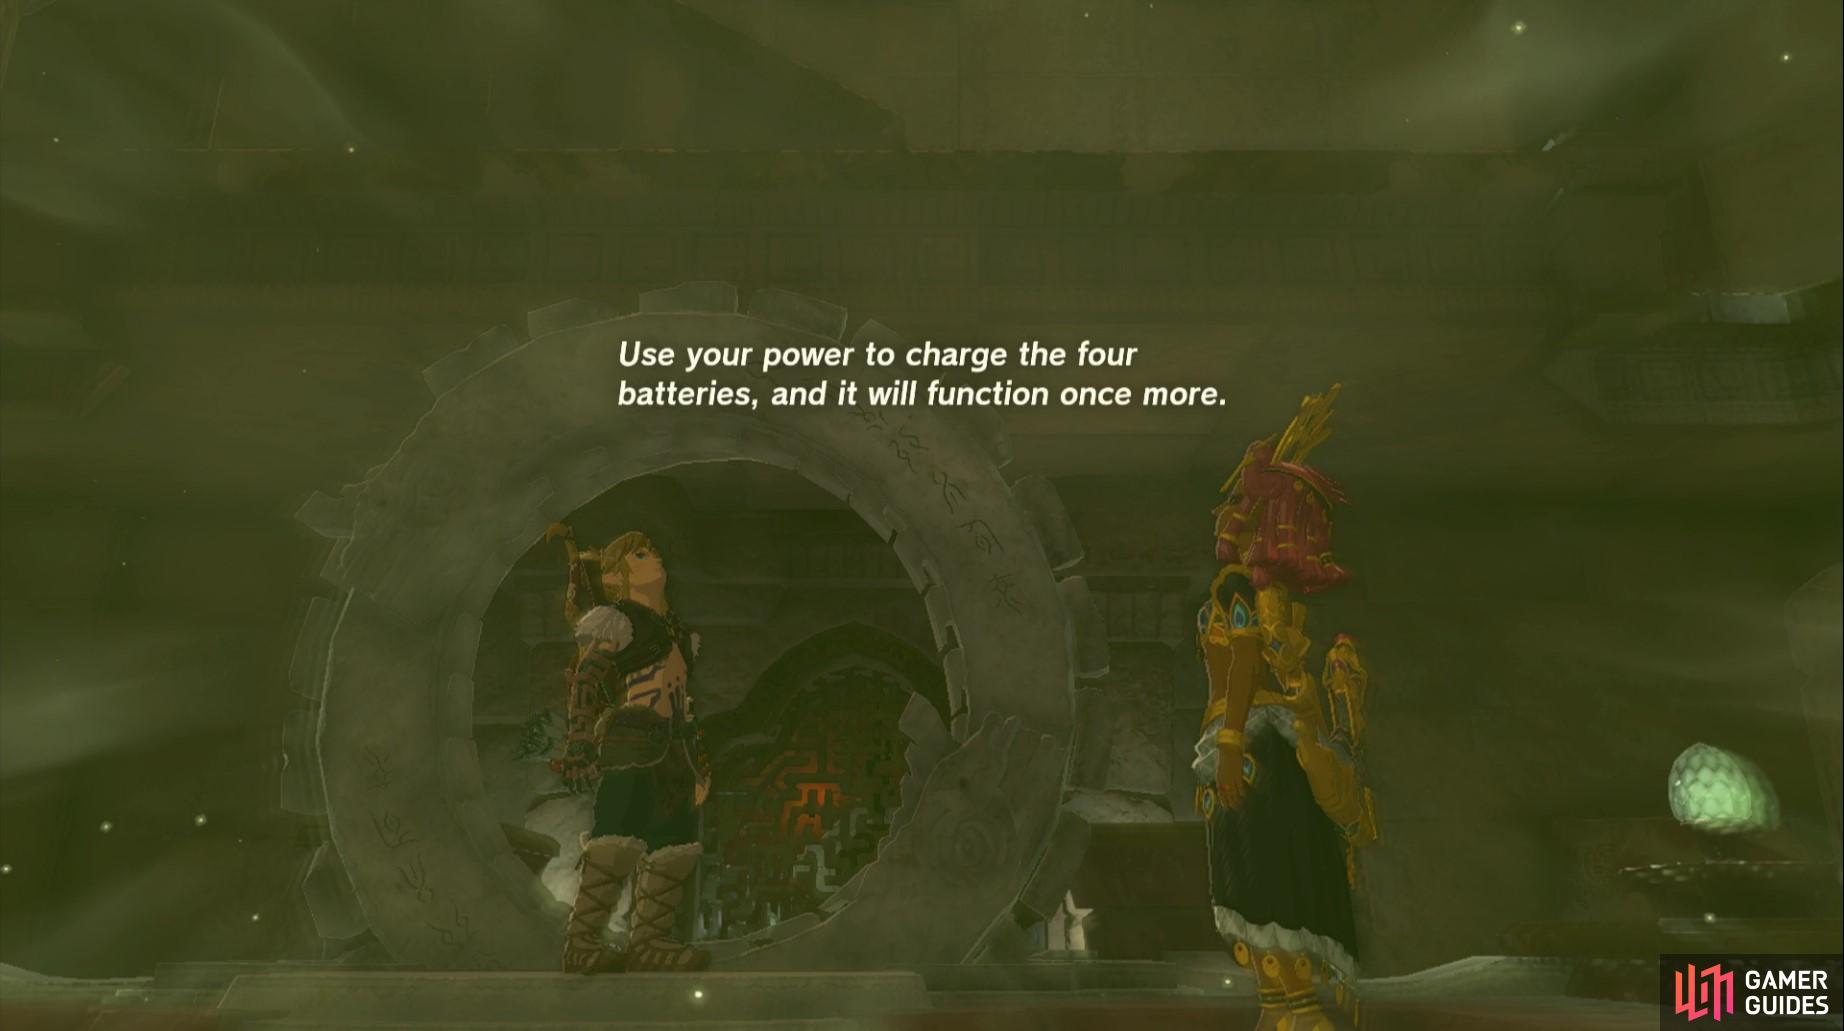
Once at the center of the Lightning Temple, you’ll be required to charge the four batteries to bring power to the elevator platform.
If you’re looking for information on how to find the Lightning Temple, head over to our guide, which includes information on how to solve the mural riddle and how to enter Lightning Temple!
Lightning Temple Walkthrough
If you’re looking for specific puzzle solutions use our links below to jump to specific parts of the temple walkthrough:
- How to Open the Gate
- Fiery hallway puzzle
- Fiery ball puzzle
- How to open the door using the light beam
- Battery device #1
- Battery device #2
- Battery device #3
- Battery device #4
How to Complete the Lightning Temple
After fighting Queen ![]() Gibdo outside the temple and then defeating the lesser Gibdo, pass through the temple doors to find a hallway covered in sand. The first thing you’ll want to do is pick up one of the
Gibdo outside the temple and then defeating the lesser Gibdo, pass through the temple doors to find a hallway covered in sand. The first thing you’ll want to do is pick up one of the ![]() Korok-Frond Guster on the wall to the right. Use it to fan at the sand piles - the one near where you got the leaf contains a chest (you could also have used ultrahand to pull it out) which has a Flame Emitter inside it. The sand pile closest to the exit of the temple has x5 arrows beneath it. Next, fan away the sand pile in front of the door to reveal a pressure plate. When you stand on it it’ll open up the gate to continue into the temple.
Korok-Frond Guster on the wall to the right. Use it to fan at the sand piles - the one near where you got the leaf contains a chest (you could also have used ultrahand to pull it out) which has a Flame Emitter inside it. The sand pile closest to the exit of the temple has x5 arrows beneath it. Next, fan away the sand pile in front of the door to reveal a pressure plate. When you stand on it it’ll open up the gate to continue into the temple.
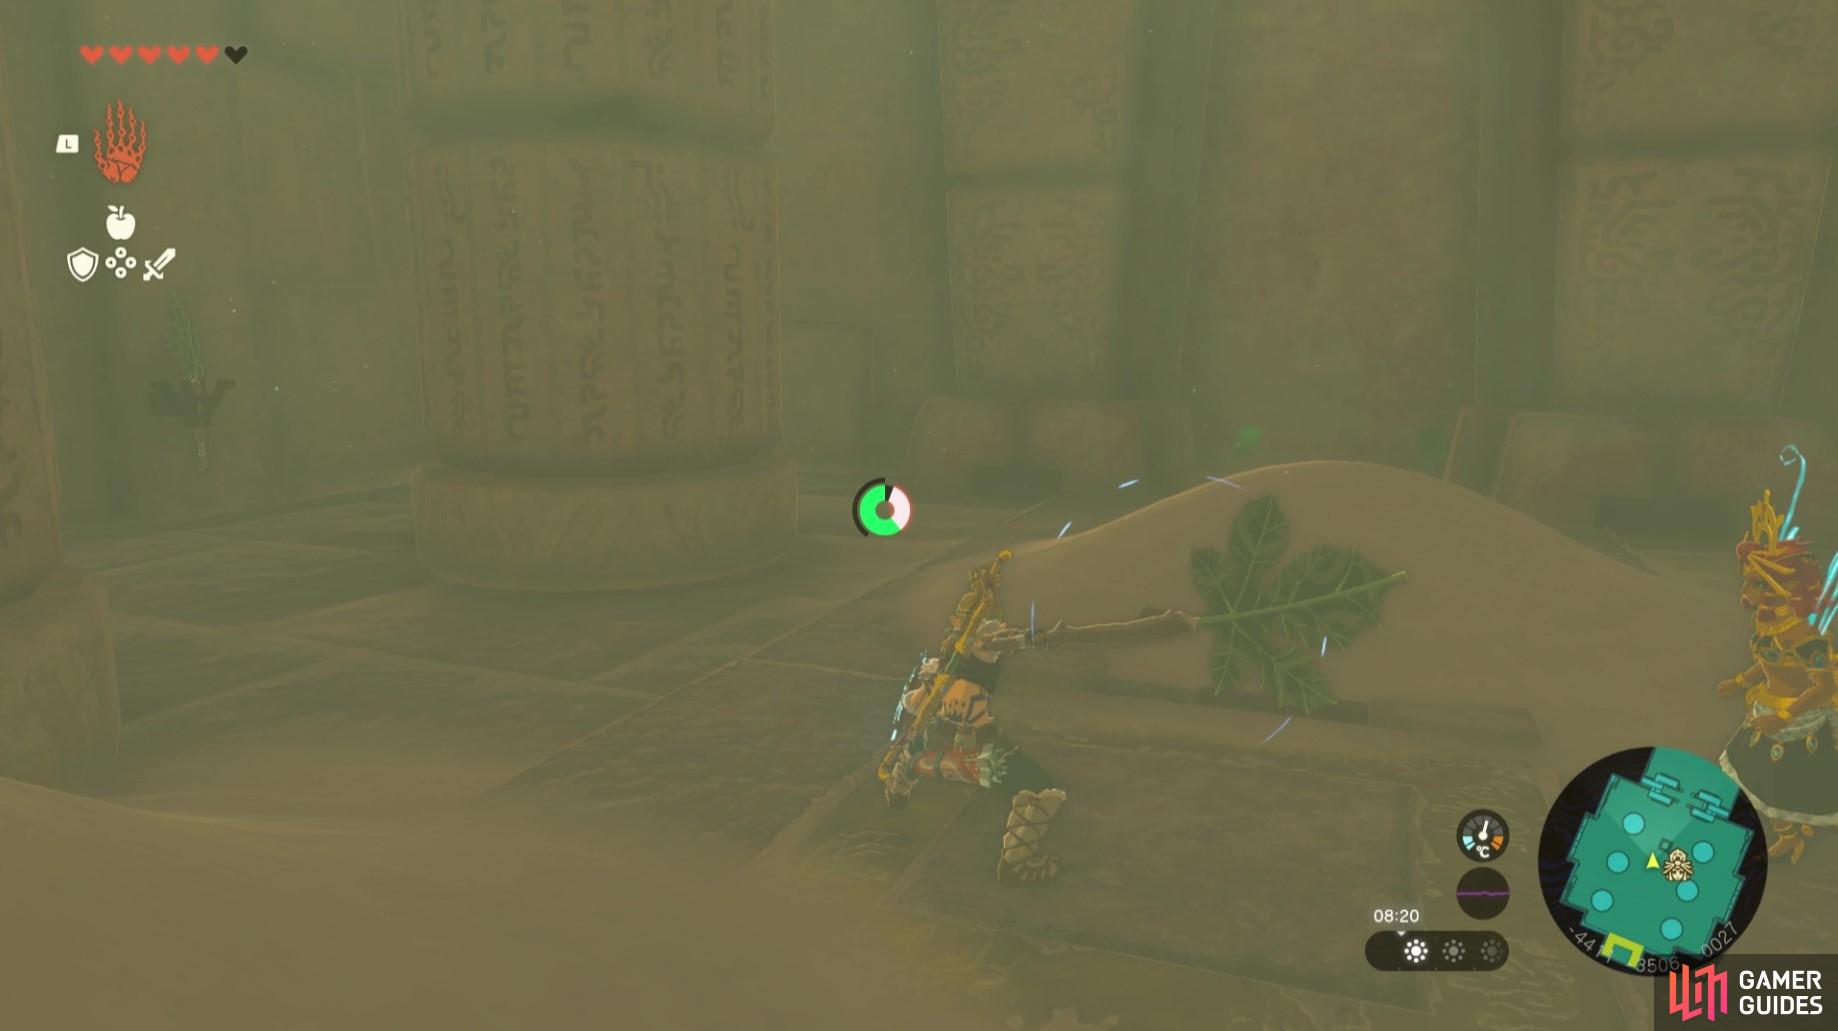
Fan away the sand pile
to reveal a pressure plate that opens up the door to the rest of the temple!
Before you follow the path downwards, you may want to grab the torch on the wall to the left of the doorway and light it on the brazier - the path ahead is dimly lit. The path ahead is quite linear for a short while until you come into a corner room. Before heading to the right, pass through the gap in the wall, past the boulder. In this secret room you’ll find a chest and another Gibdo enemy. Take out the Gibdo enemy accordingly (a fire fruit arrow will do the trick!) and loot the chest for a Topaz. Before you exit, however, use ultra hand to pull off the lid of the left tomb and inside you’ll find a ![]() Gerudo Claymore!
Gerudo Claymore!
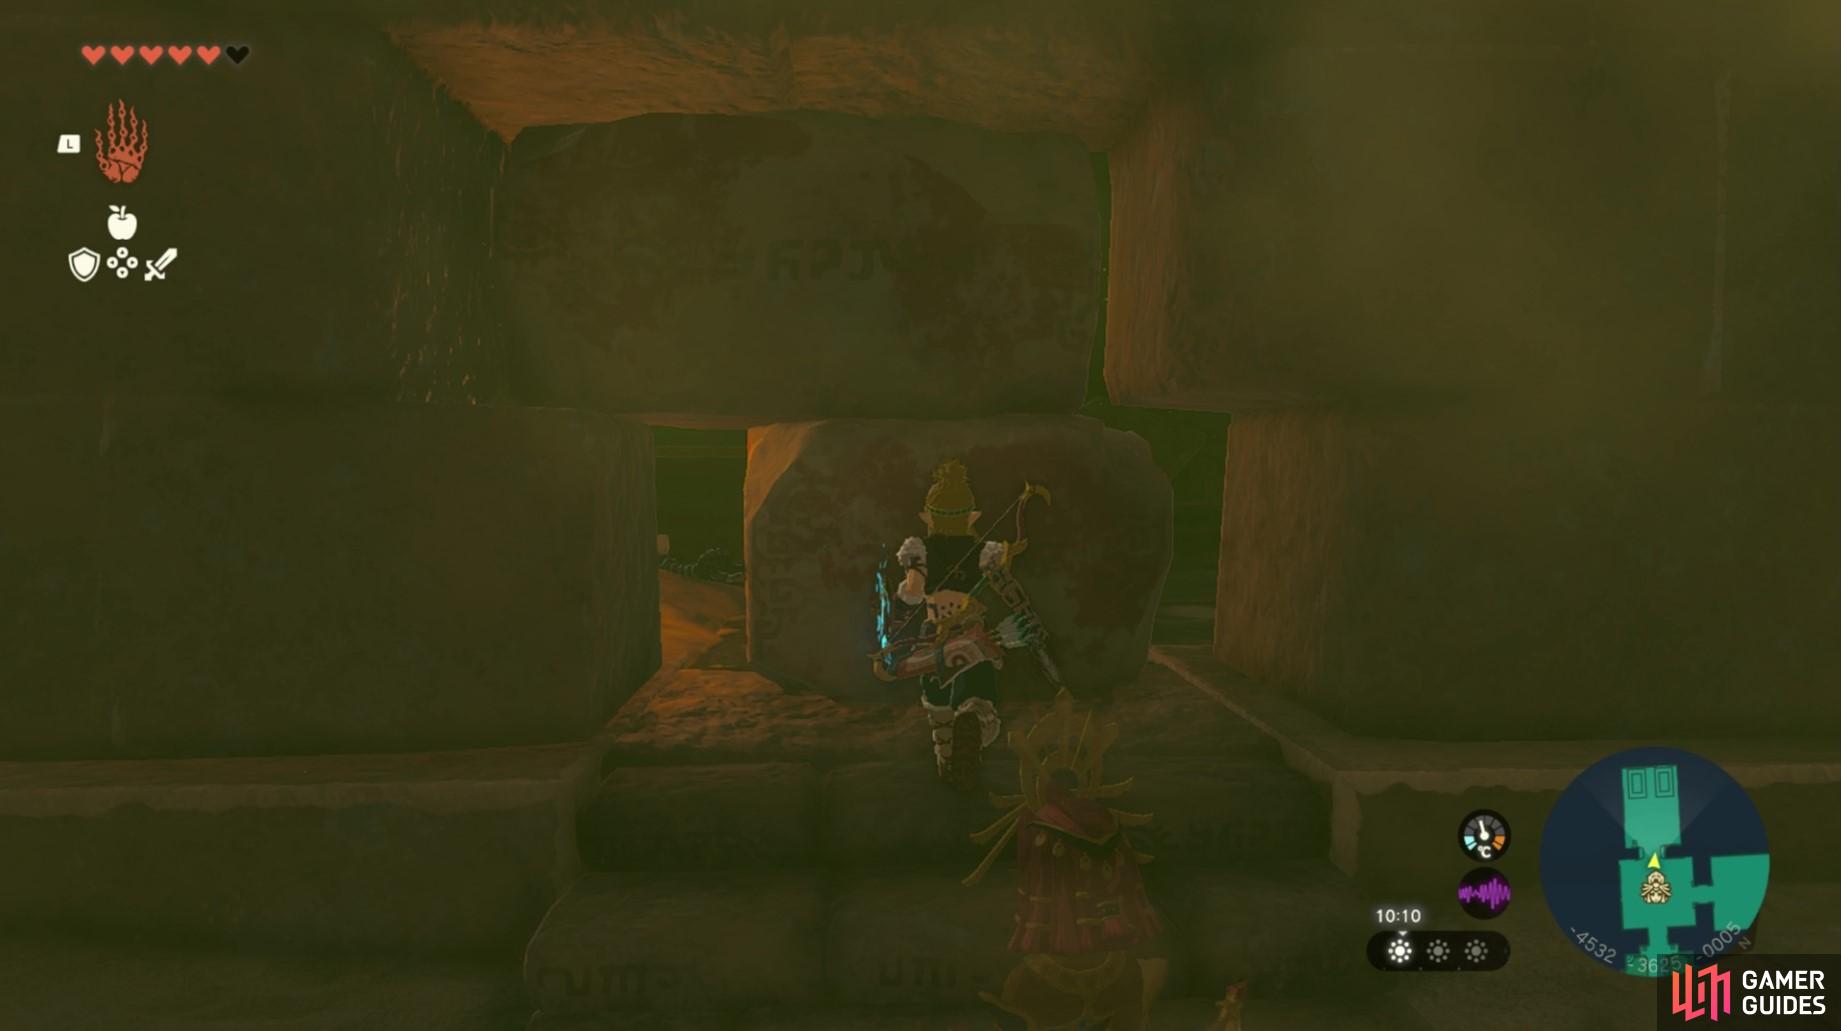
Head past this boulder in the gap in the wall
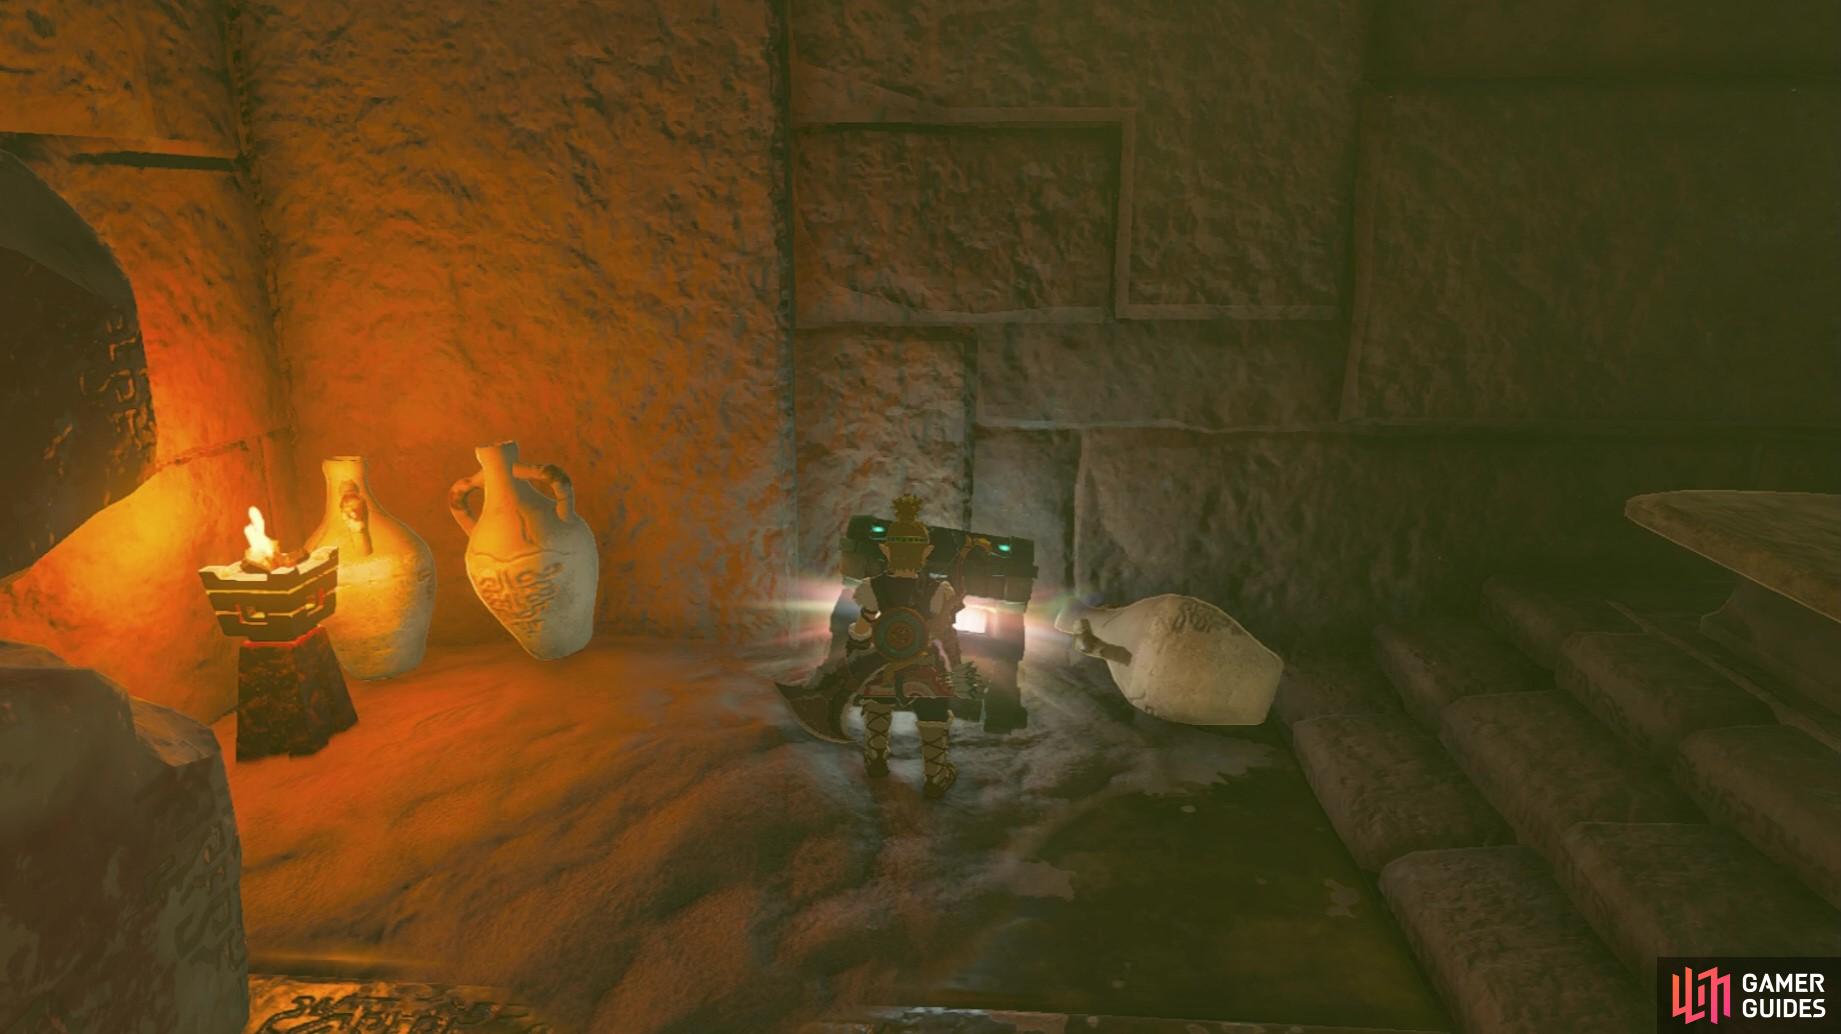
to loot the chest and the tomb for some treasure!
How to Solve the Fiery Hallway Puzzle
Head back out and into the next room. Watch out - the center of this room will fall out beneath you so keep to the edges of the room as you make your way to the fiery hallway ahead. Get rid of the Gibdos first and then pass through the flames. They go off periodically and you’ll be able to pass between the sets of flames to get to the other side without being harmed. Once at the other end, stand on the pressure plate to turn off the flames so ![]() Riju can follow you.
Riju can follow you.
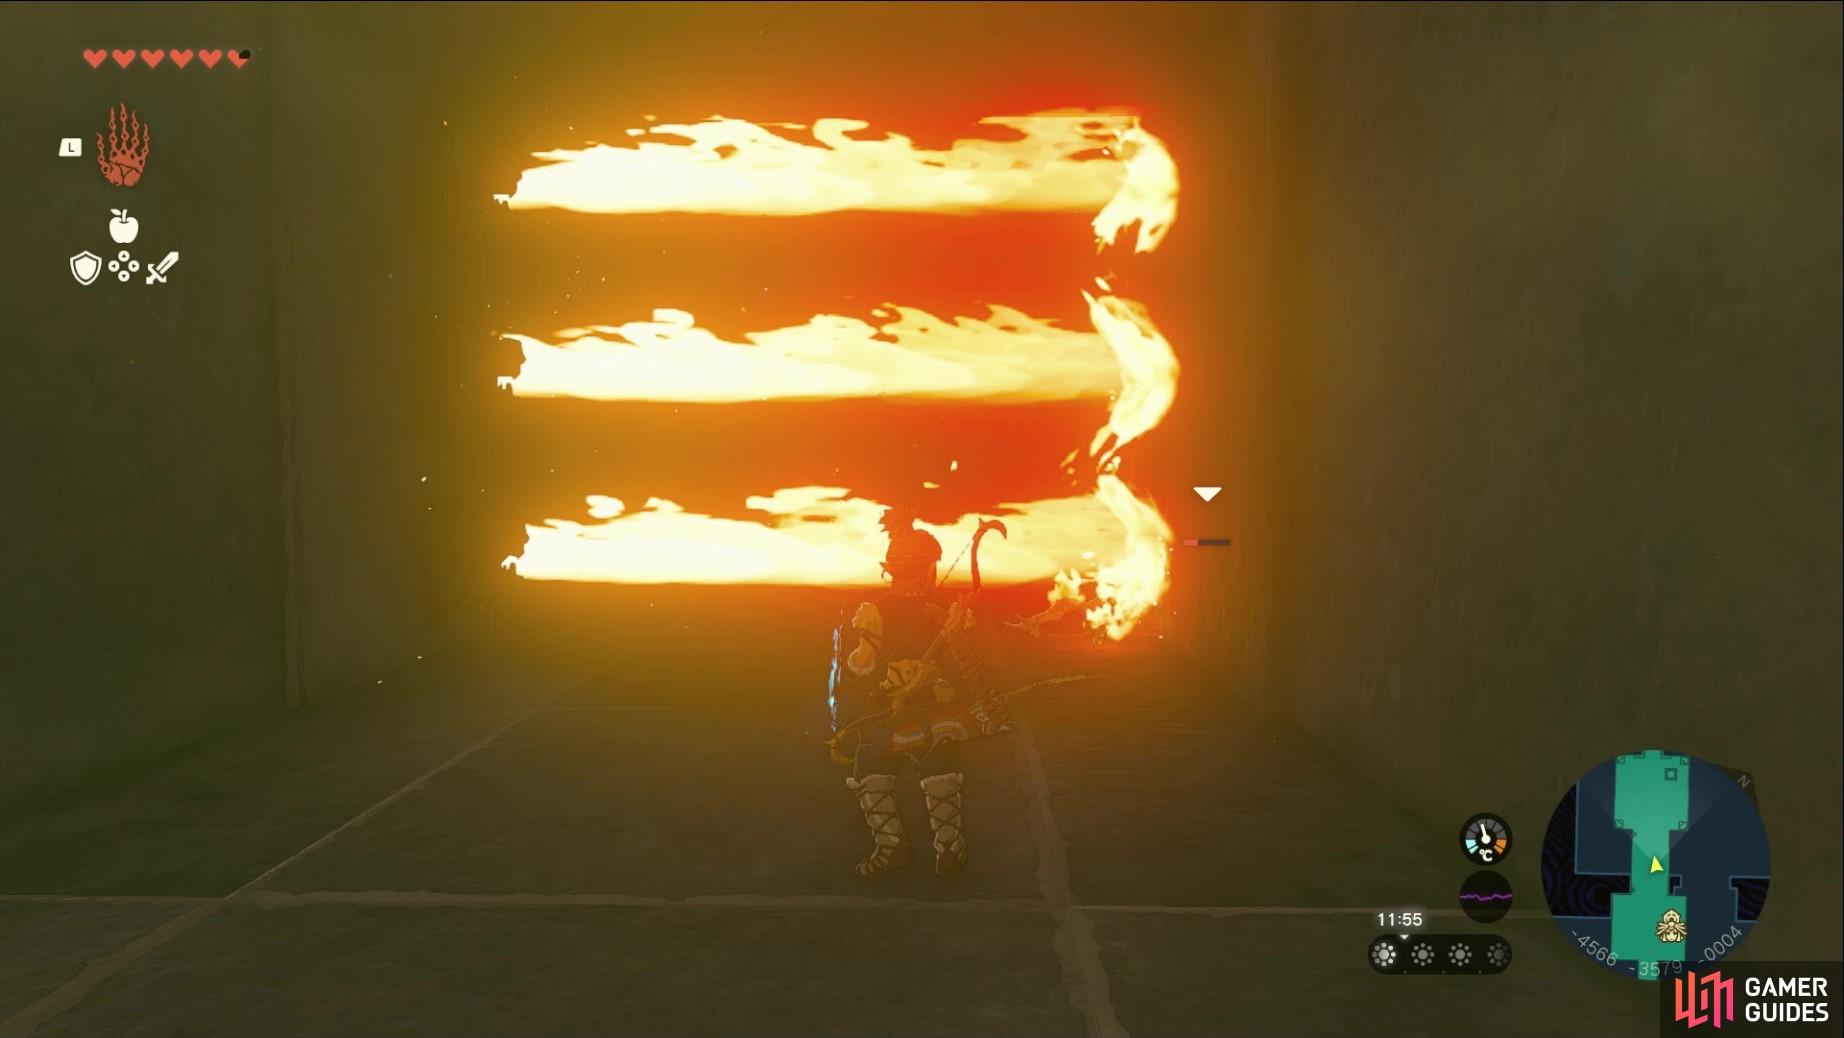
Pass through the fiery hallway by waiting for the flames to stop for a few seconds
then stand on the pressure plate on the other side to let Riju pass too.
How to Solve the Fiery Ball Puzzle
When you pass through into the next room, you’ll find that a giant flaming ball is blocking your path! To get past it, you’ll want to wait till it comes out the tunnel, then recall it. Follow it back into the tunnel then head to the right once it’s gone up far enough. There’s another pressure plate that you can stand on to stop the flaming balls, allowing Riju to continue further into the temple.
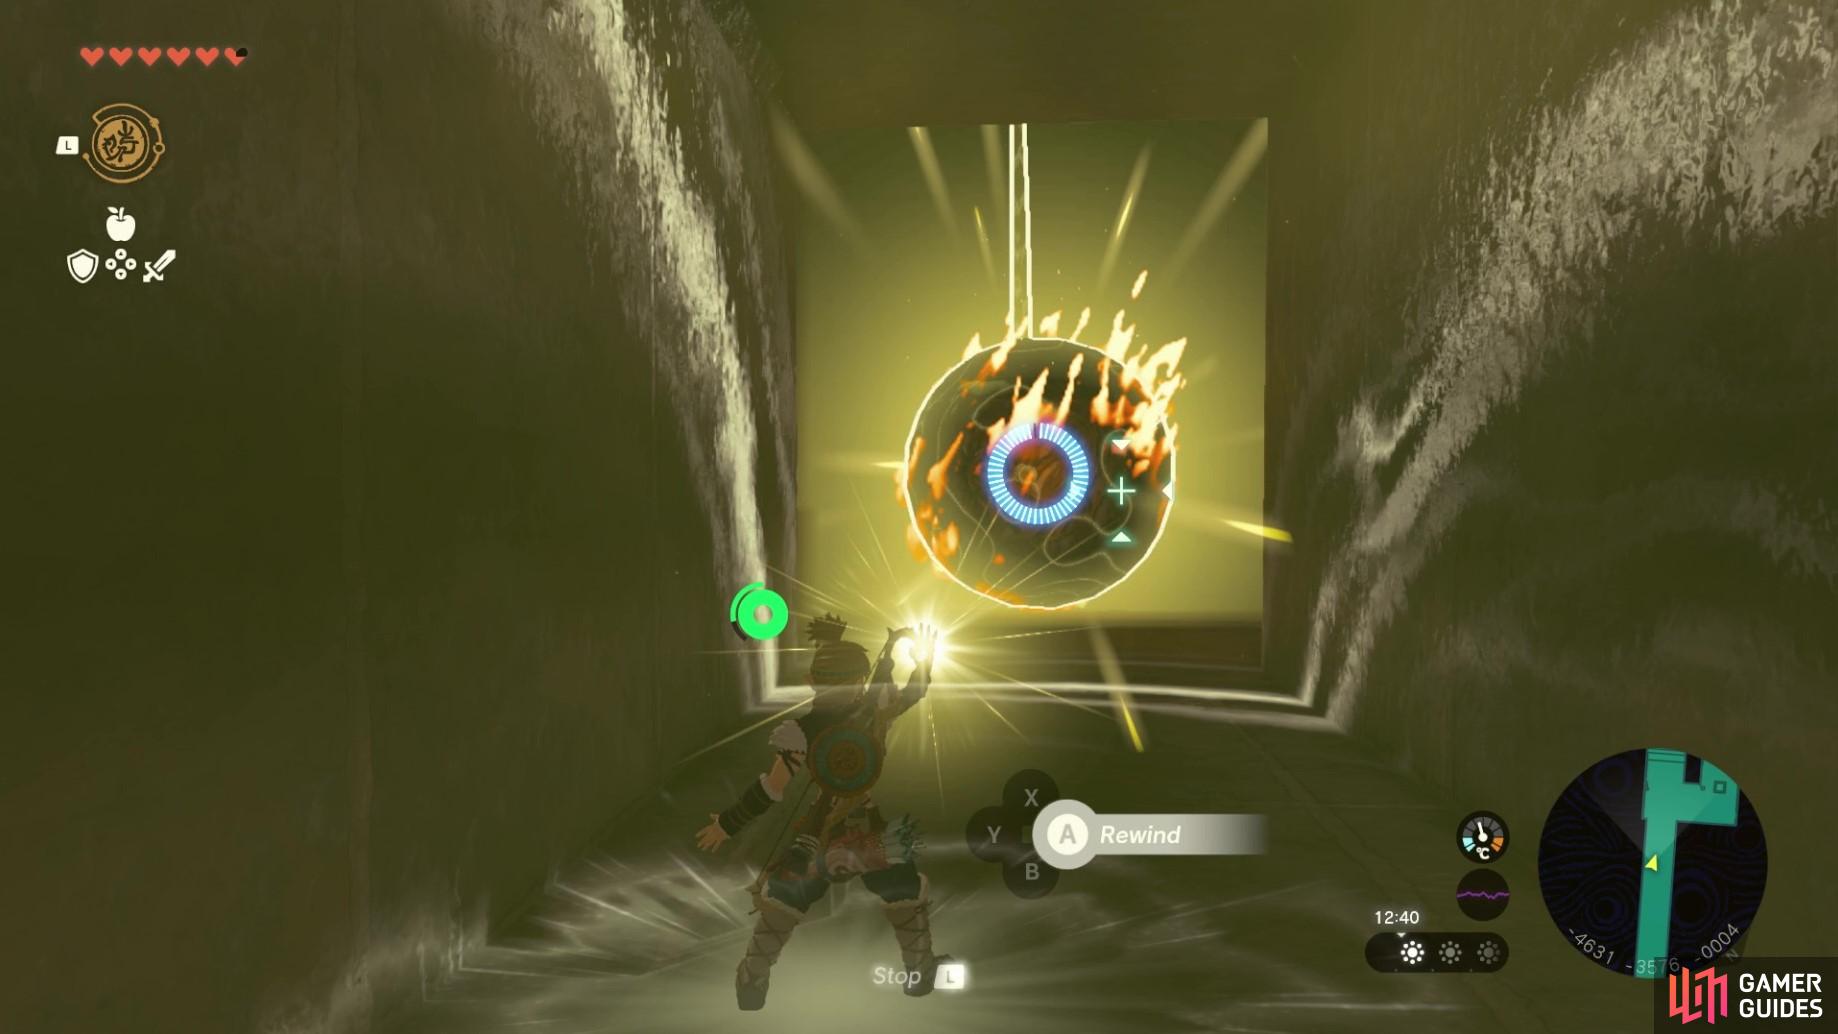
Use recall to stop the fiery ball from hitting you!
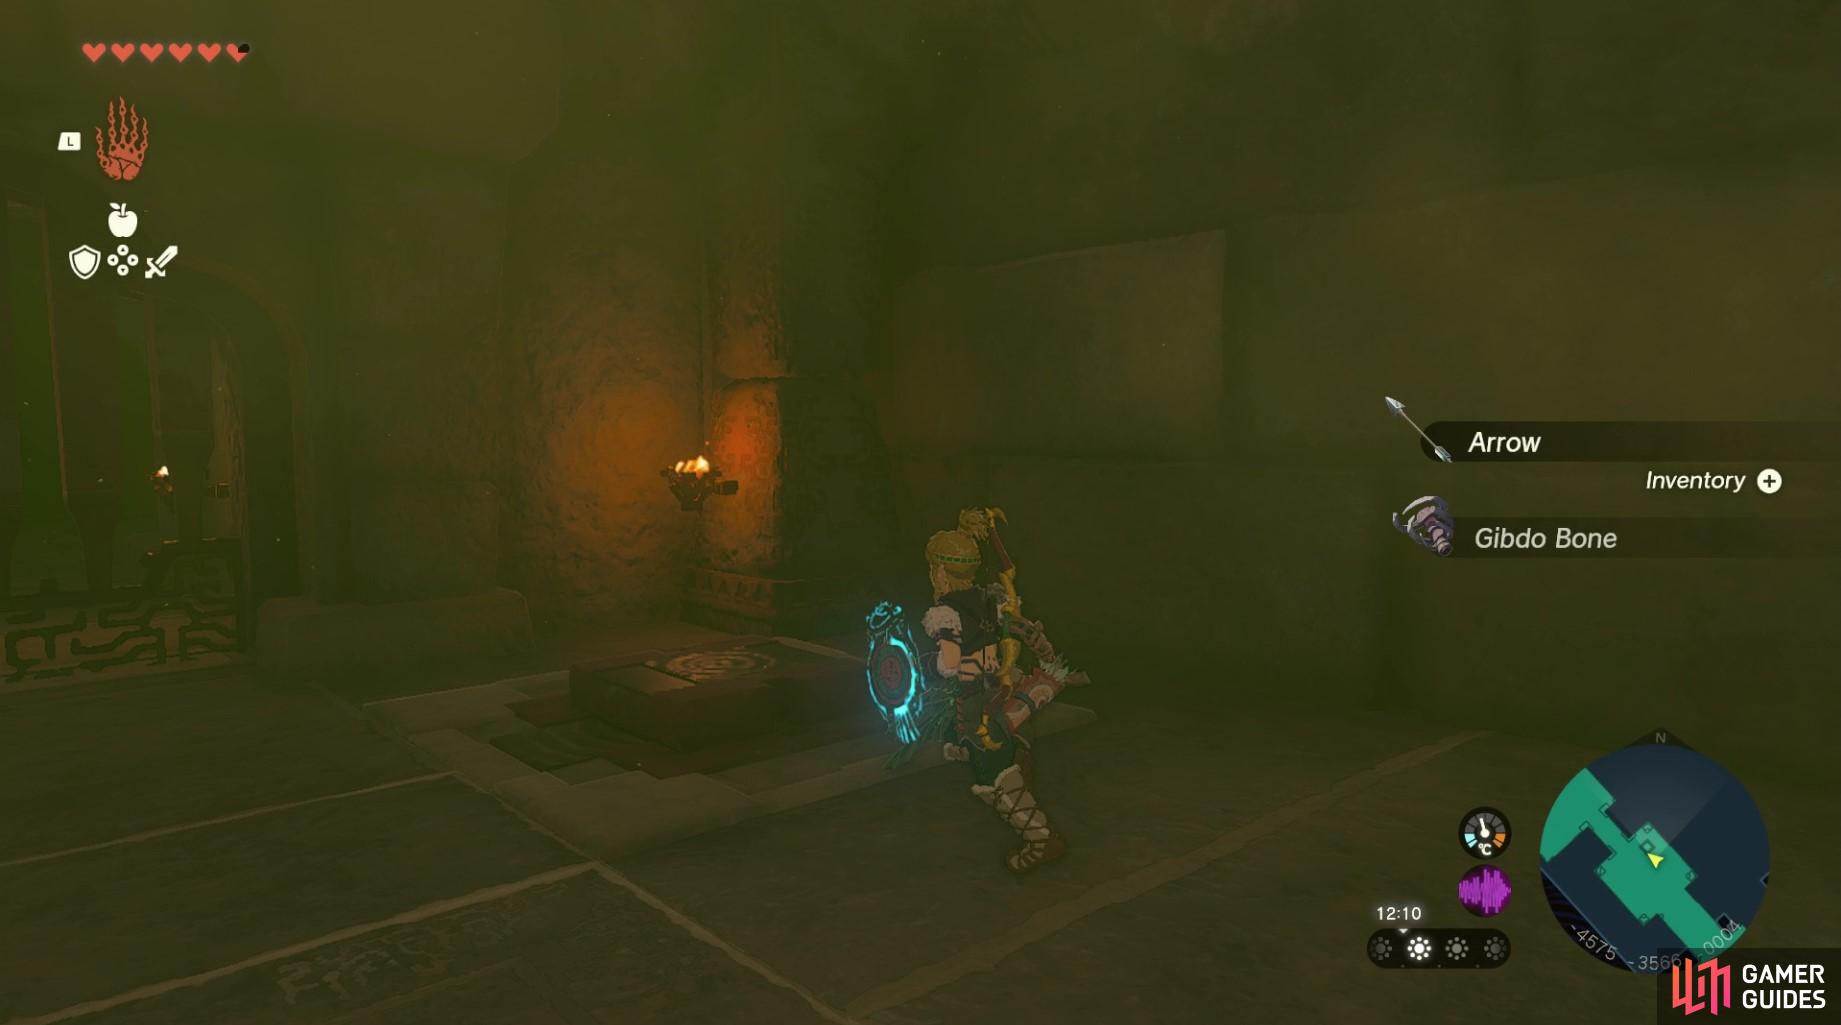
Pass through the hallway and in the next room you’ll find a lower area that you can drop down into. Here you can lift the lid of a tomb using ultrahand to pick out a ![]() Gerudo Bow. If you do this, however, a few Gibdo enemies will appear and you’ll have to deal with those and also shoot the glowing pink part of the mushroom above. Don’t forget to also bash the pots for some arrows!
Gerudo Bow. If you do this, however, a few Gibdo enemies will appear and you’ll have to deal with those and also shoot the glowing pink part of the mushroom above. Don’t forget to also bash the pots for some arrows!
How to Open the Gate Using the Light
After doing your looting, head back up the steps and through to the next hallway that heads upwards. In this room, you’ll find a large beam of light. Before you can do anything with the light though you’ll have to deal with the Construct enemy in this room. You can use Riju’s lightning field to do extra damage to the enemy.
Next, pass over the red painted rocks at the back of the room to find another secret room. The floor beneath the chest will fall down slightly but it won’t fall away completely. You can loot the chest for a ![]() Mighty Construct Bow. Before you hop out of this hole, use ultra hand and pick up the chest. Place the chest atop two of the three flame emitters. This will allow you to hop over the flames to find a hidden
Mighty Construct Bow. Before you hop out of this hole, use ultra hand and pick up the chest. Place the chest atop two of the three flame emitters. This will allow you to hop over the flames to find a hidden ![]() Gerudo Spear! Climb back up out of the hole and head back out into the main room.
Gerudo Spear! Climb back up out of the hole and head back out into the main room.
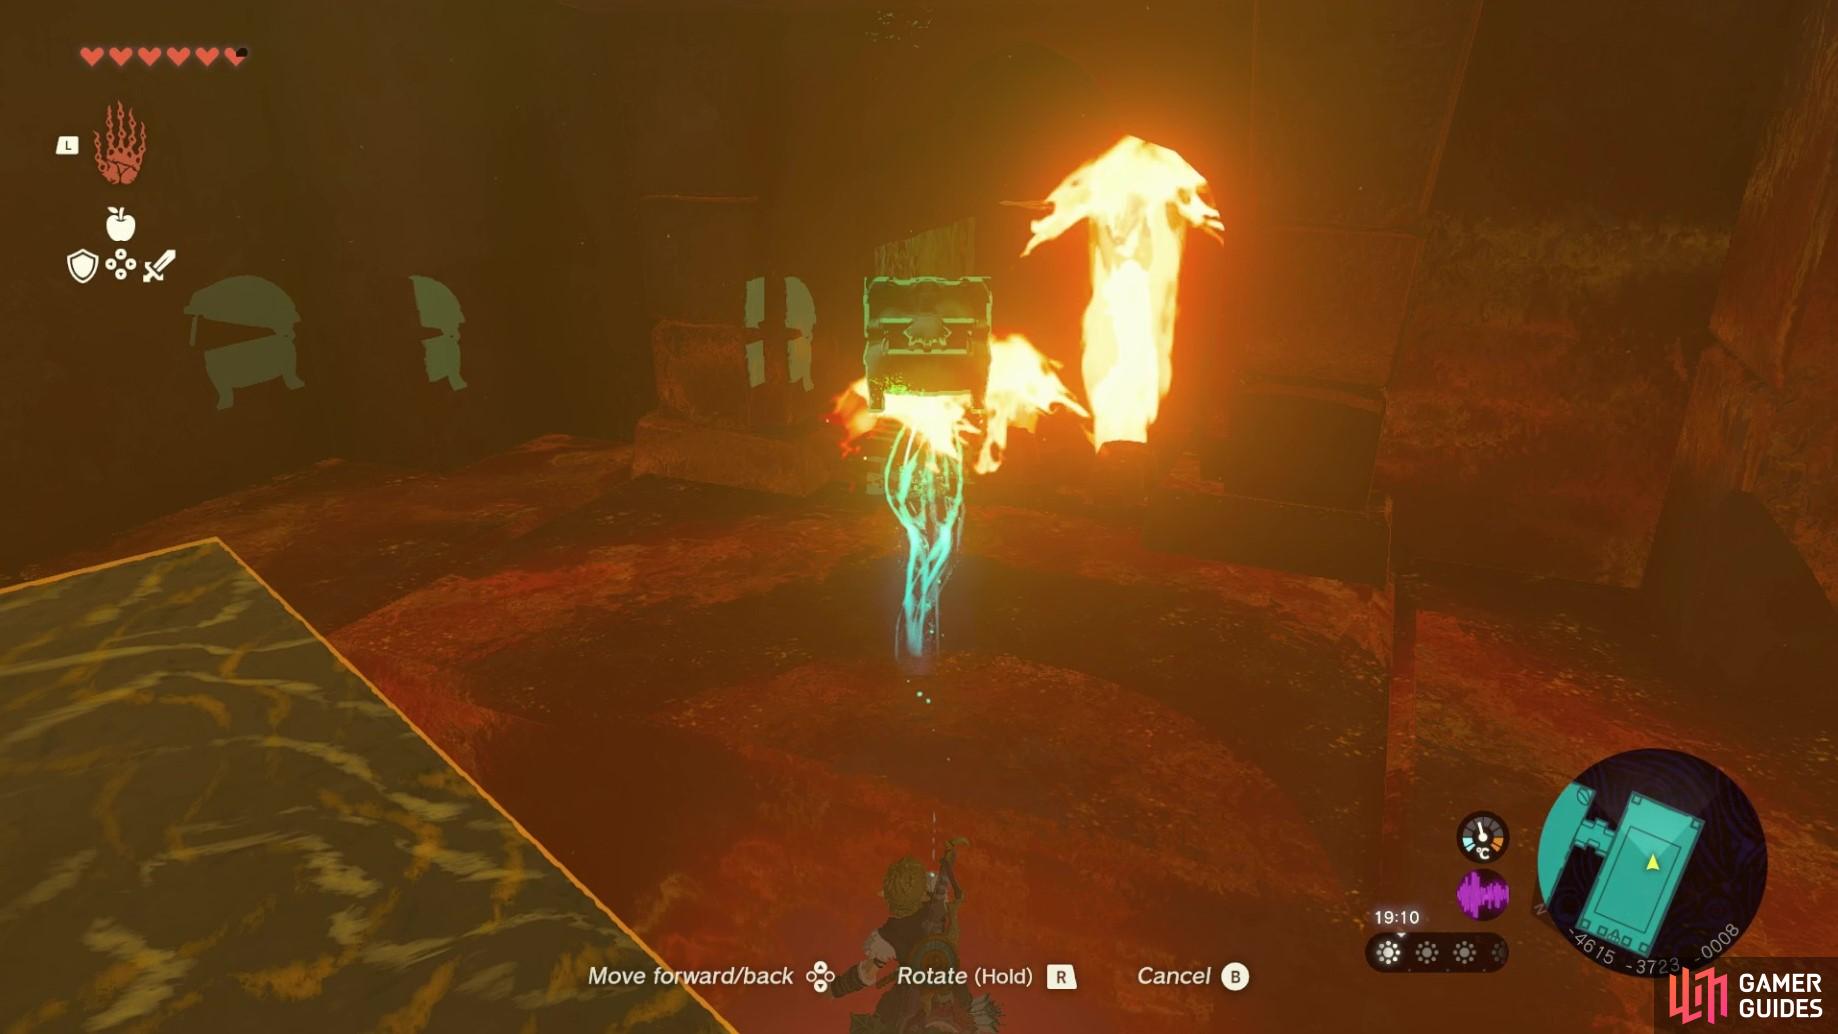
Place the chest above the fire emitters
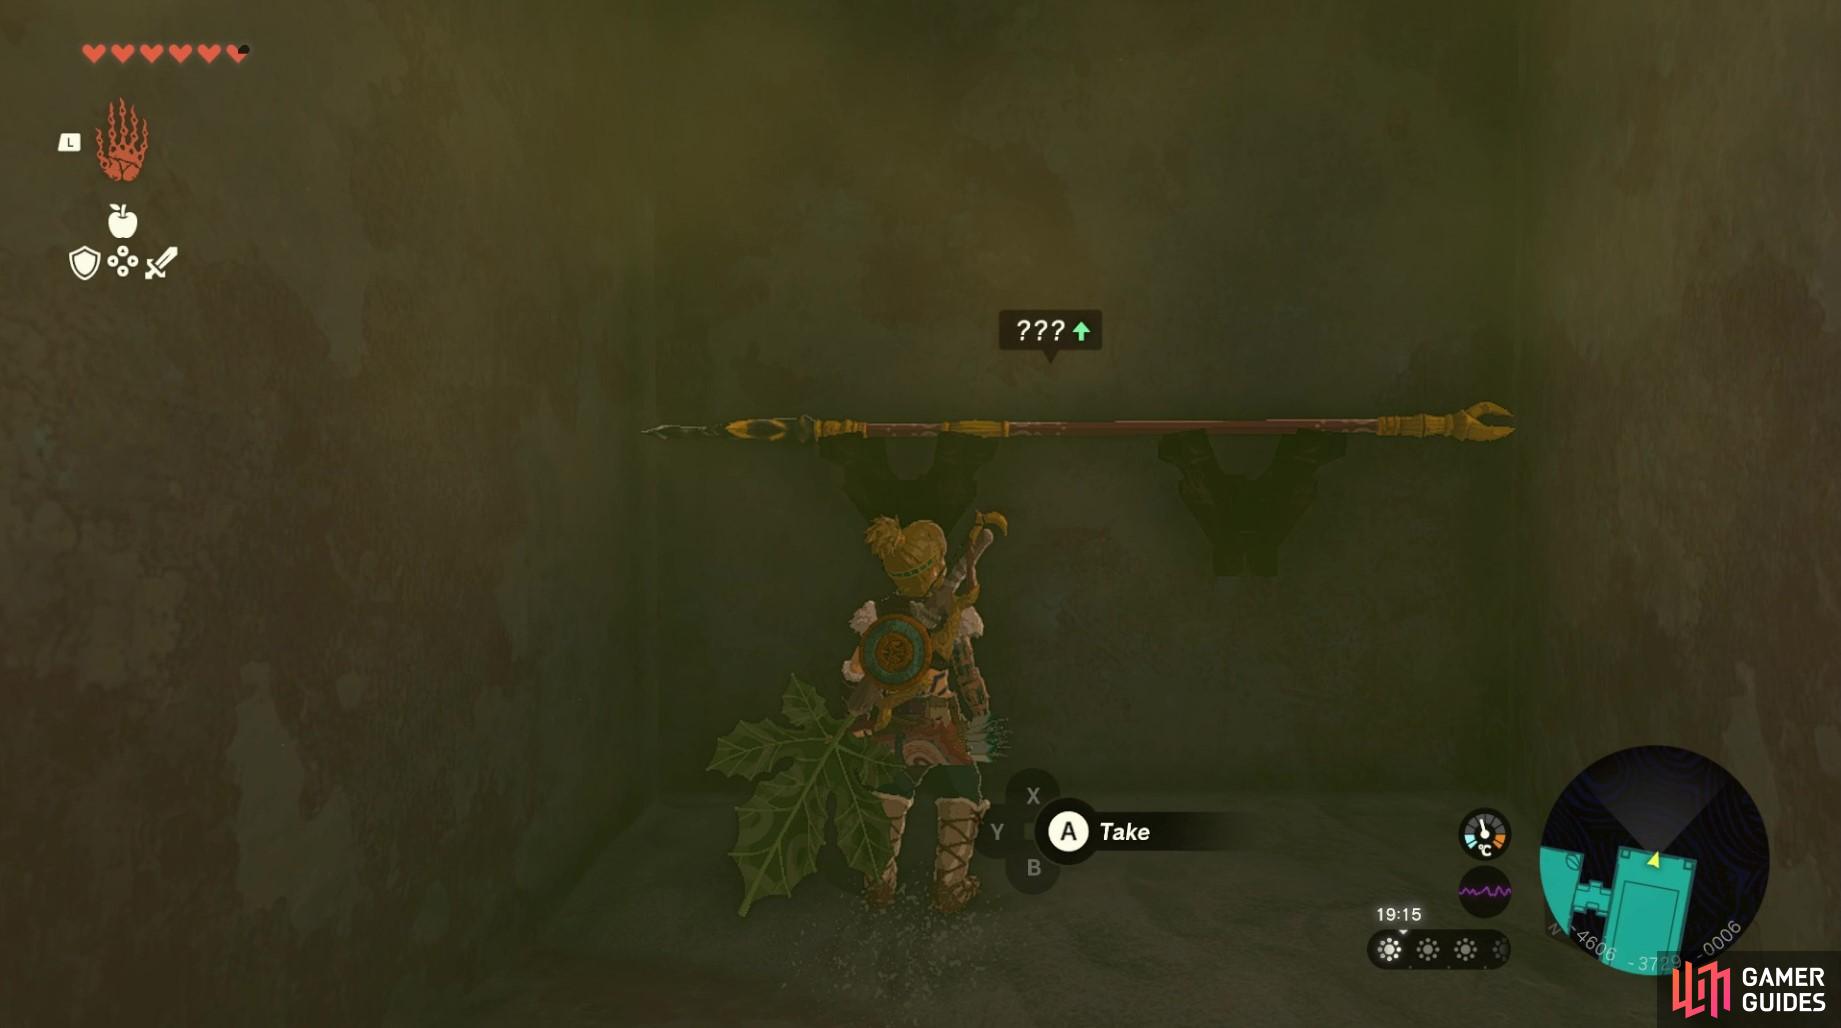
so you can pass behind into a secret room with a spear!
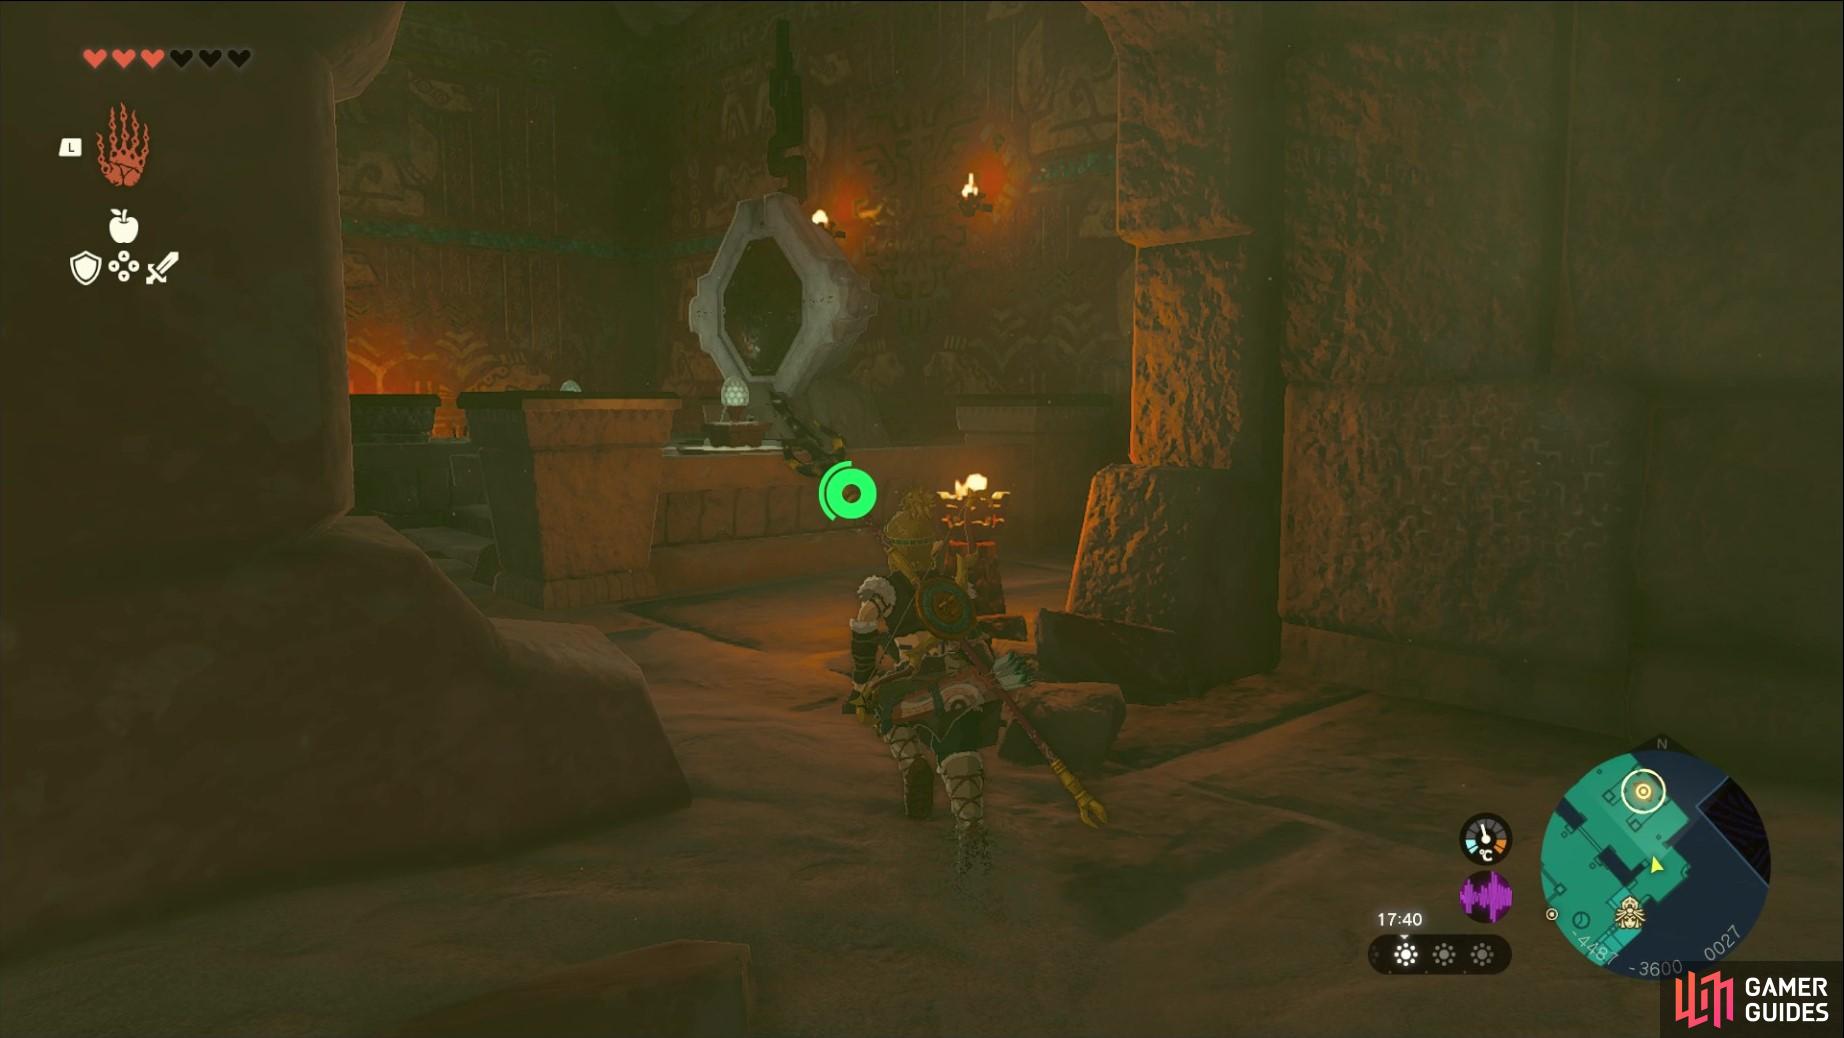
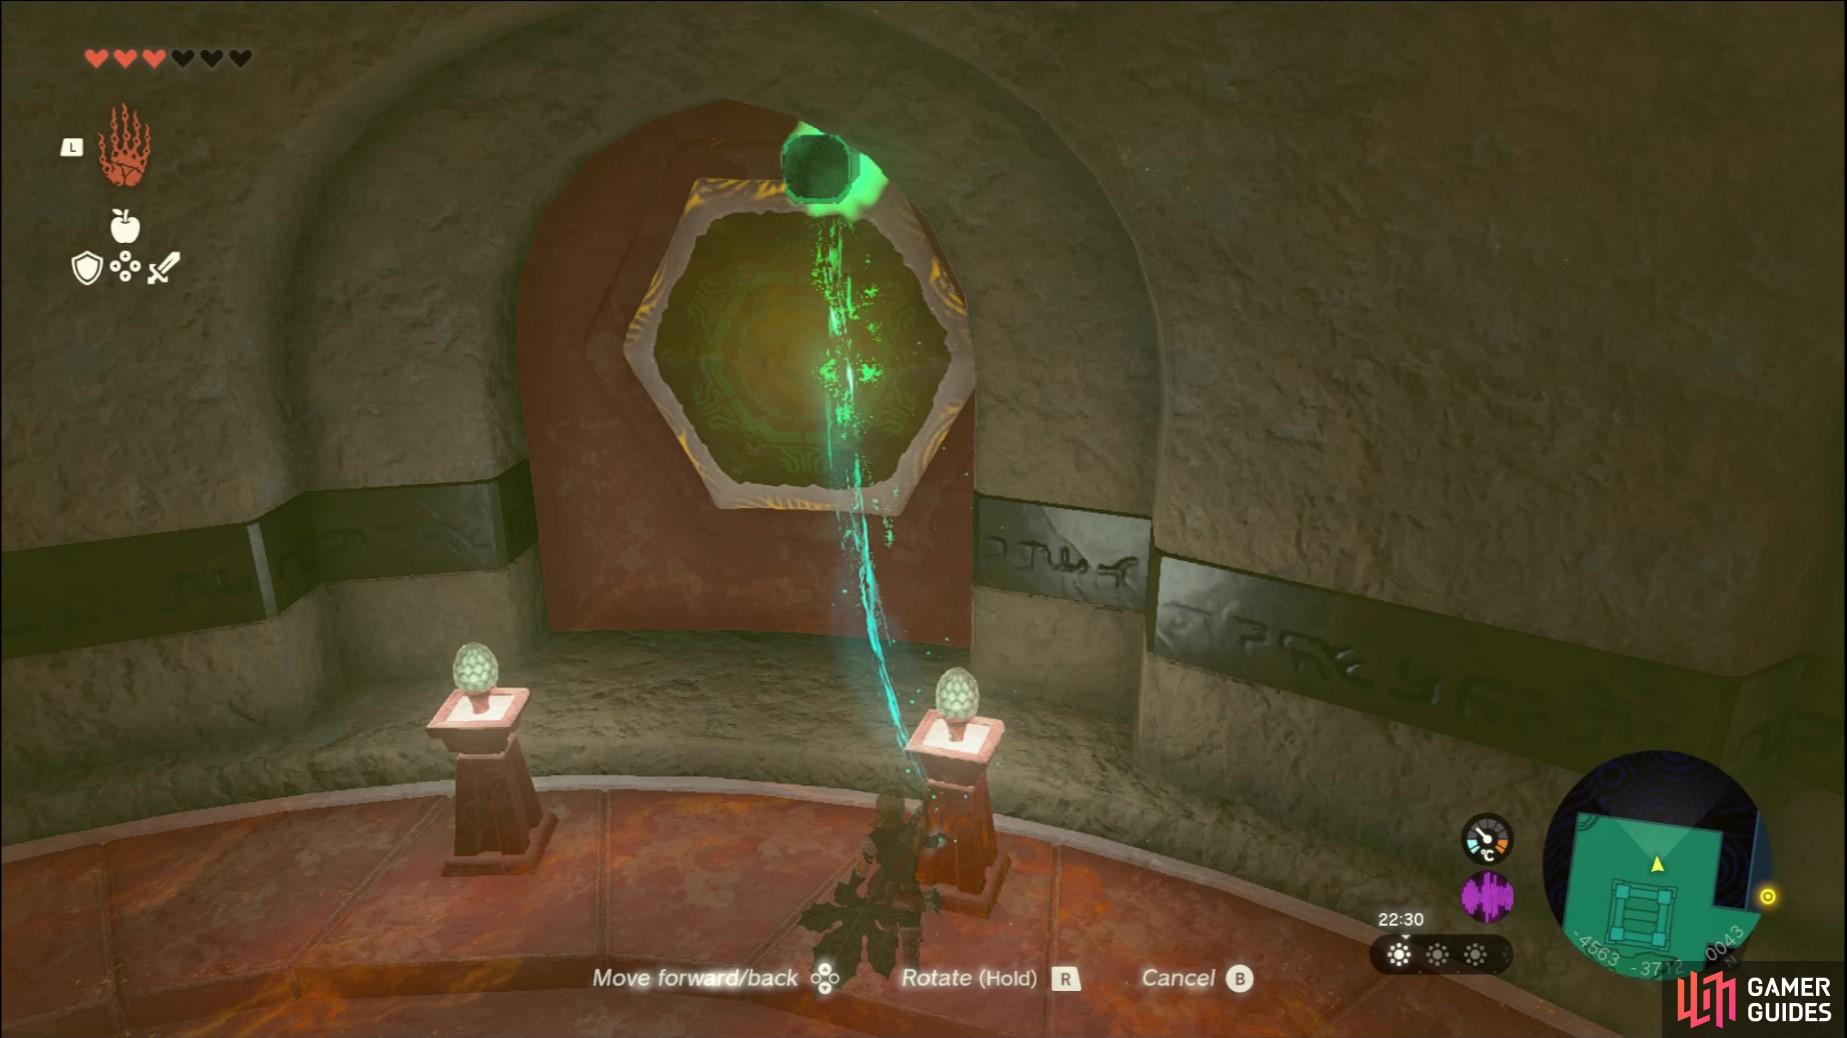
Pick up the mirror device using ultrahand and rotate it so that the mirror part is facing the door. Lift it higher and position it in the light so that the light beams onto the light switch above the door. Wait for it to turn green and it’ll open up the door where you can find the Room of Ascension.
Now that you’ve finally found the center of the temple, you’ll need to interact with the light switch in the middle of the room, which will trigger a cut scene and Riju will inform you that you need to find four battery devices to charge up the platform so you can progress through the temple!
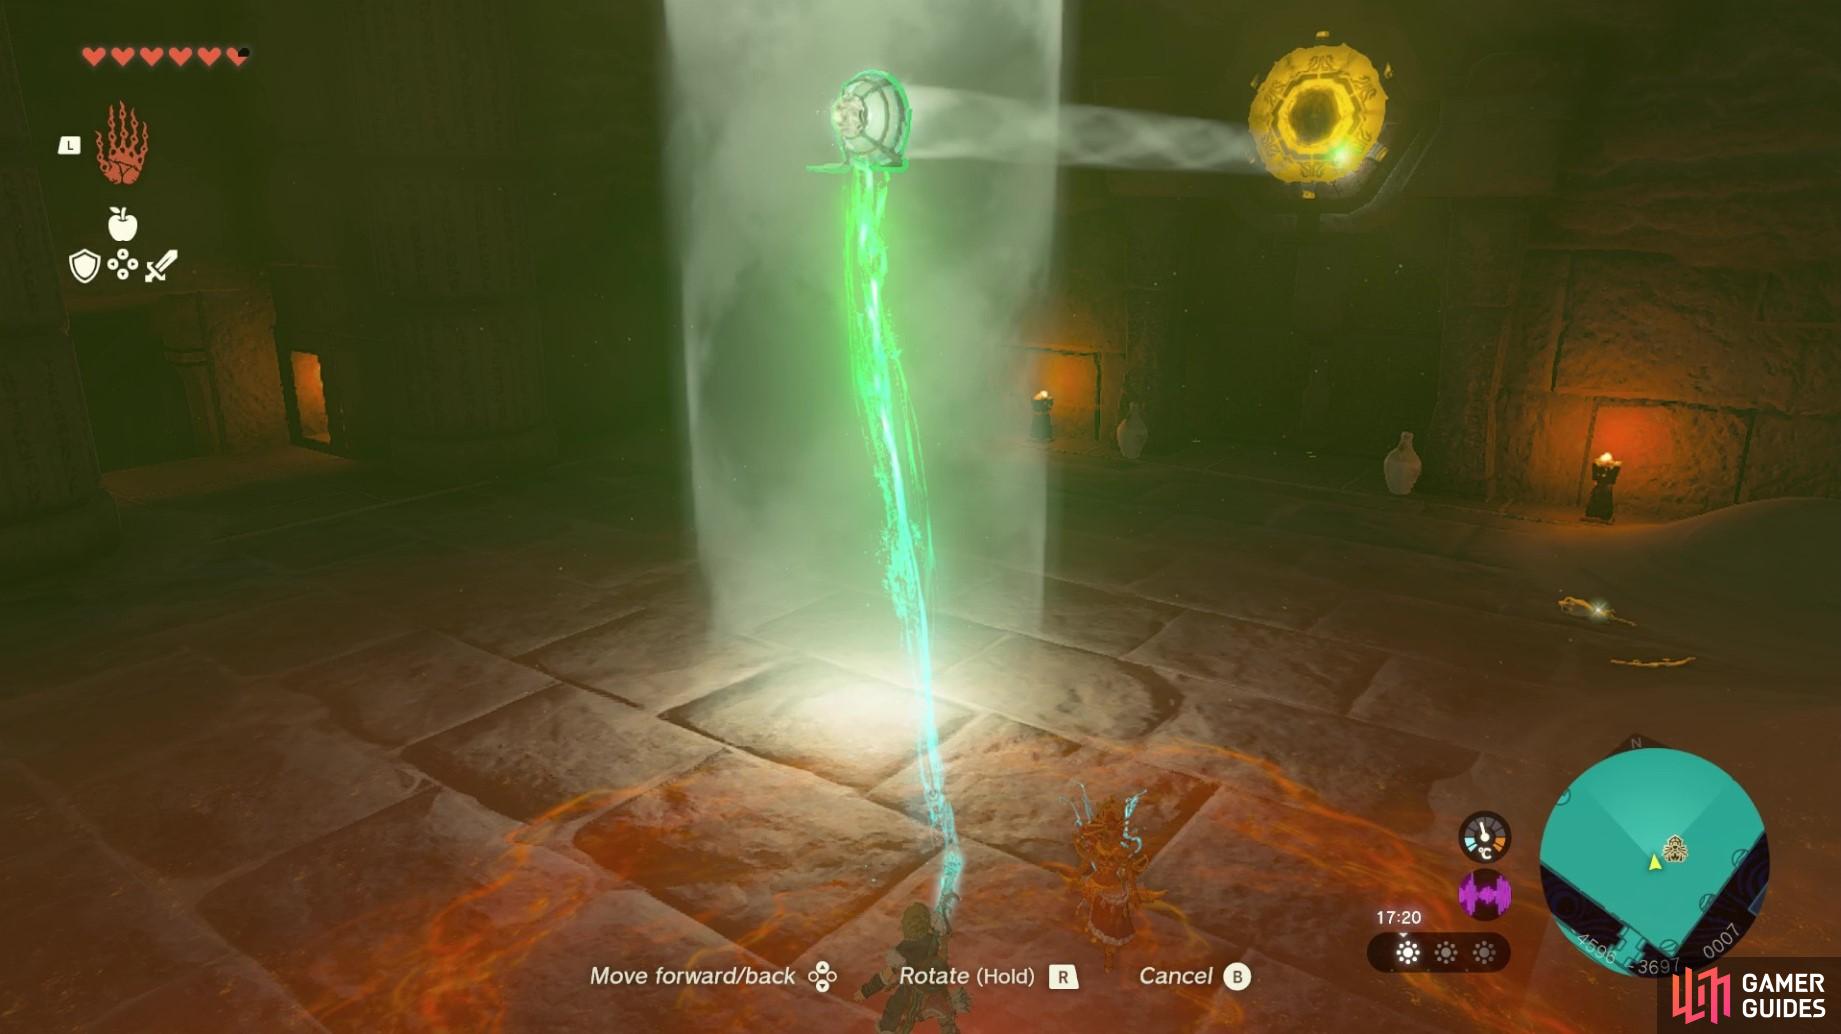
Use the mirror to reflect the light at the light switch above the door.
The batteries that you need to charge up are found on the following floors:
| Battery | Location | Map Marker |
|---|---|---|
| !Battery #1 | Room of Ascension - Lightning Temple 1F | Map Marker |
| !Battery #2 | Room of !Light and Shade - Lightning Temple 4F | Map Marker |
| !Battery #3 | Room of !Light and Flame - Lightning Temple 2F | Map Marker |
| !Battery #4 | Room of Offered !Light - Lightning Temple 3F | Map Marker |
How to Find Battery Device #1 - Room of Ascension (1F)
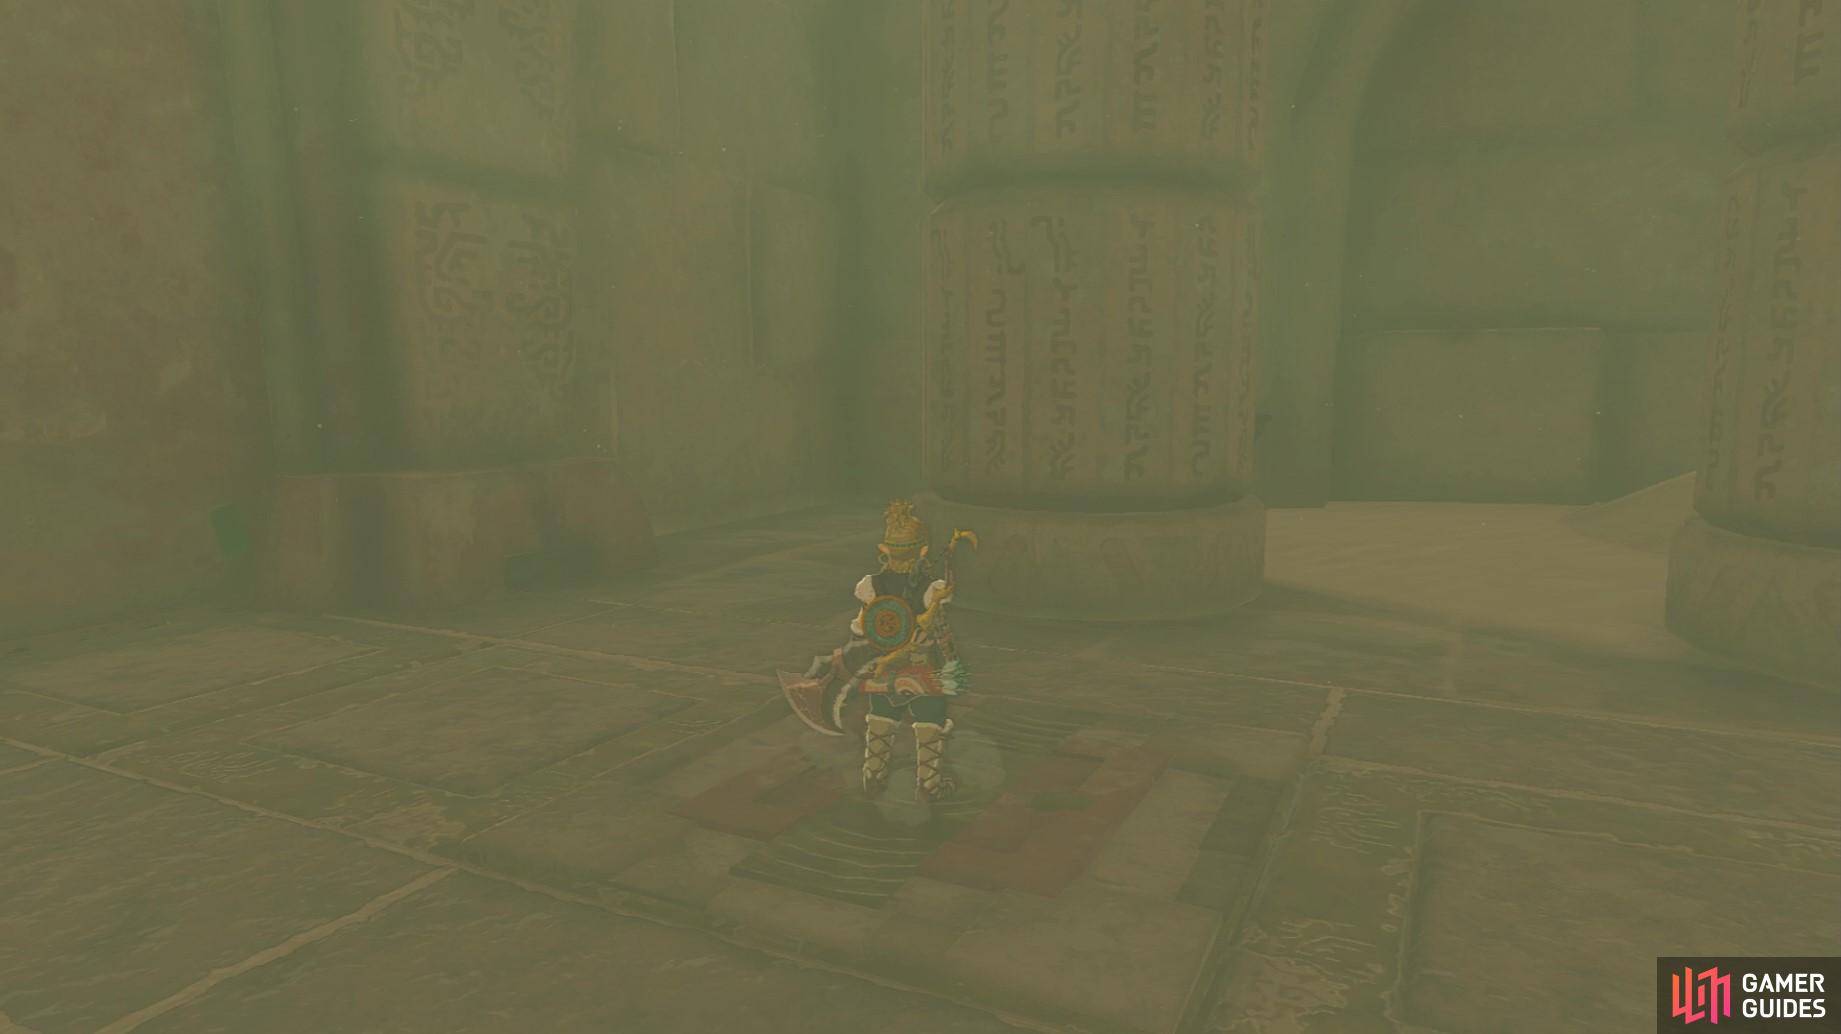
The first battery is quite straightforward: you’ll notice that one of the batteries is right in front of the platform, in the Room of Ascension (Lightning Temple 1F). Locate the two large red bricks behind vases to the right. Smash the vases then use ultrahand to drag out the two bricks from the wall, allowing you passage into the room with the first battery device. Wait for Riju to enter then activate her lightning field and shoot the battery to charge it up.
Move the red bricks out of the way
to find the first battery!
How to Find Battery Device #2 - Room of Light and Shade (4F)
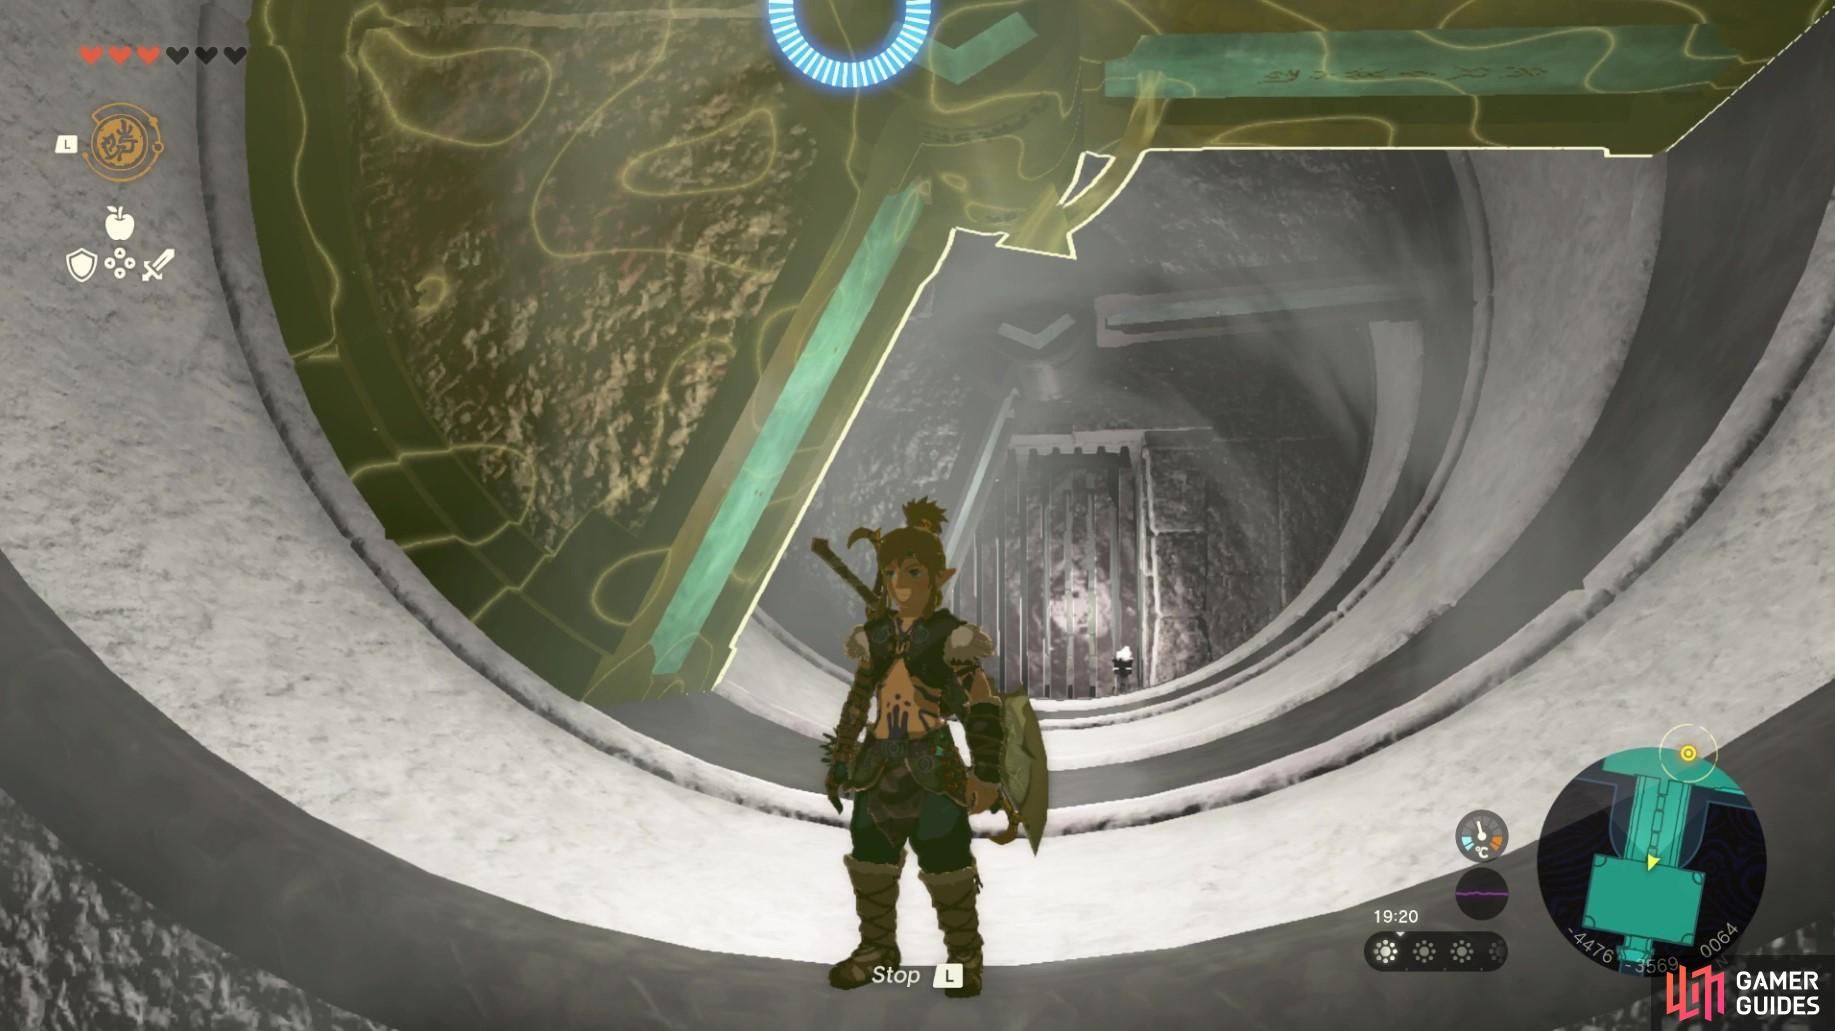
After charging up the battery exit back into the Room of Ascension (Lightning Temple 1F). Before you can head to this second battery, you’ll need to first locate the weak gust of wind blowing from the floor in the Room of Ascension (Lightning Temple 1F). Use ultrahand to remove the stone slabs away from the gust of wind. This will make the wind much stronger and you can use it to get to the high up parts of the temple.
Firstly, you’ll want to use it to get to Lightning Temple 4F. Take the gust of wind up and look for the opening marked by an orange light - it’s right above the set of stairs on the other side of the temple.
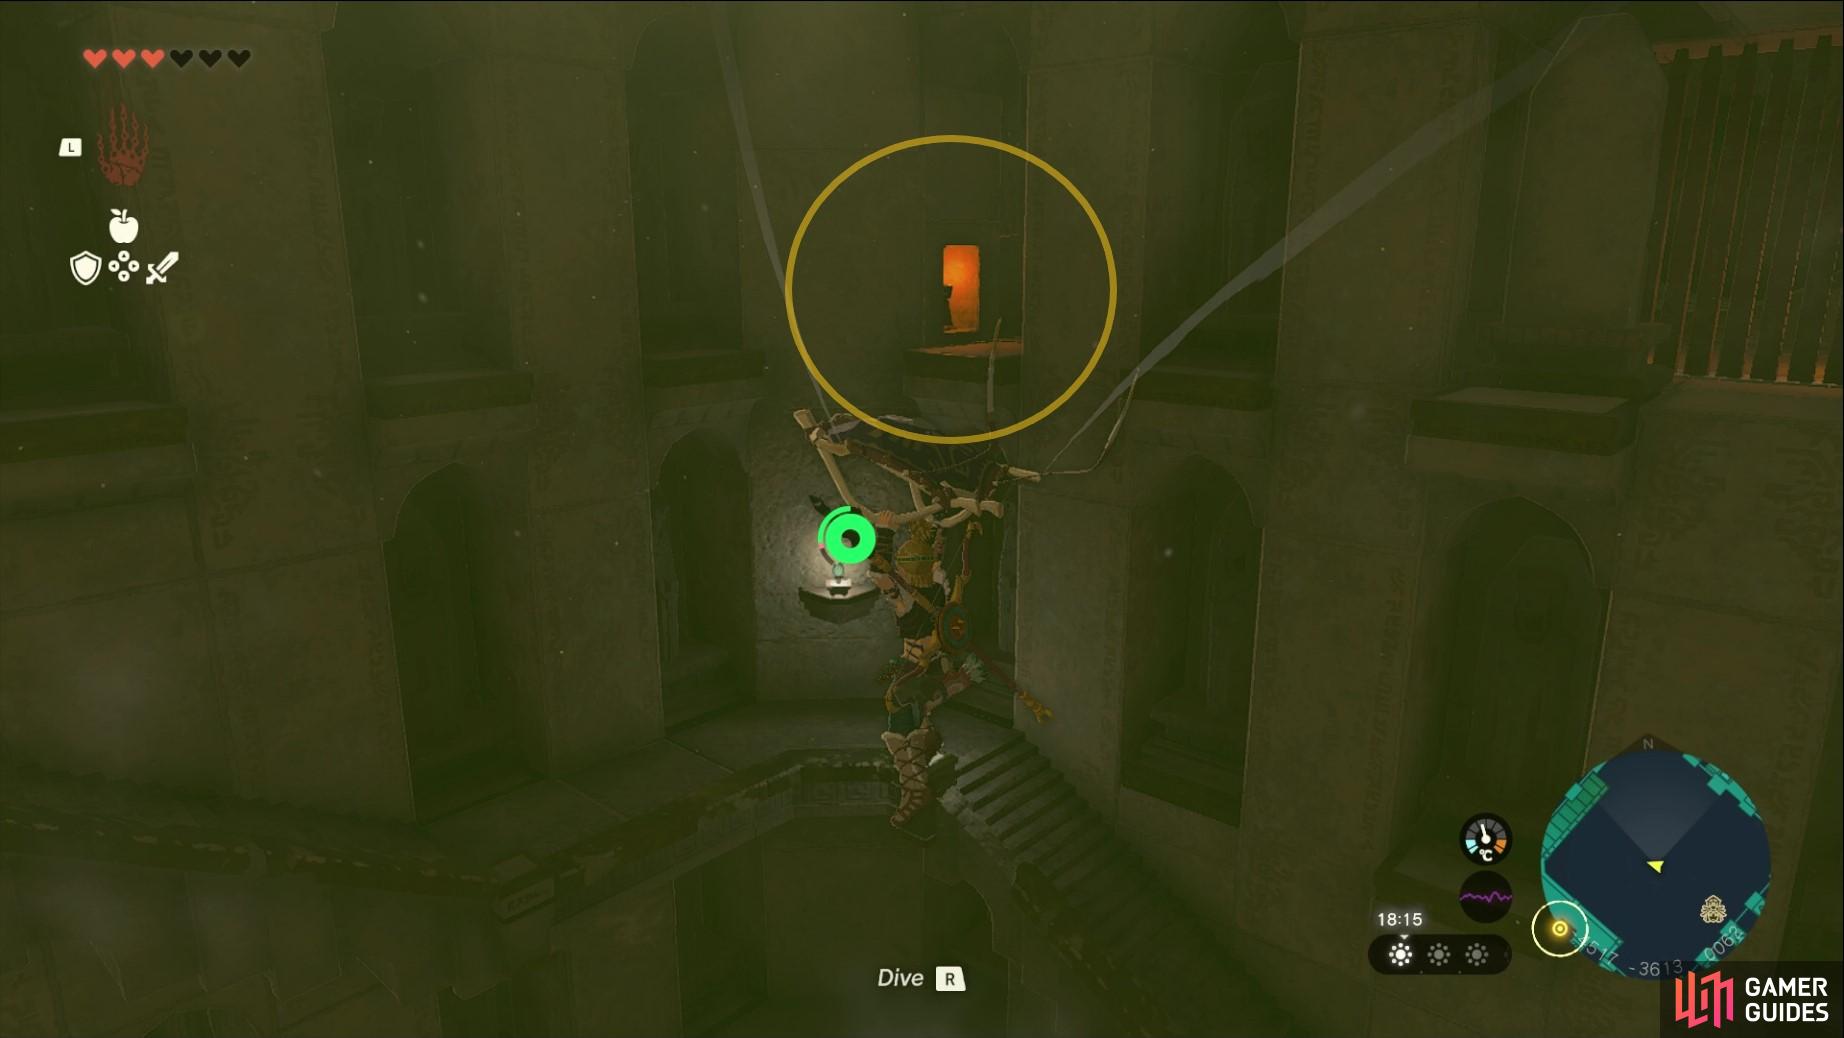
Head to this entry on 4F of the Lightning Temple.
Pass through into this room and first deal with the Construct enemy - Riju can’t accompany you here so you’ll have to deal with it yourself! Afterwards, pass through the gaps in the moving circles up ahead to pop out on the other side. Use ultrahand to remove the two bricks in the wall to release a horizontal beam of light. Now, use recall on one of the circles so that the gap in the circles start moving together - this is so that the light can travel through the circles to reach the other side. The light will hit a light switch on the other side of the temple which will then turn green.
Recall one of the circles so that it lines up with the other circle
the light will hit the light switch on the other side of the temple and open up a secret room.
Paraglide over to the green light switch and step on the pressure plate in front of it. Pass down into the secret room below to find spikey walls slamming into each other up ahead. Use ultrahand to pick up the stone slab to the right and wedge it between the walls. You can now pass through and step on the pressure plate to allow Riju to also pass through. In the next part of the room, you’ll need to use the stone slab to wedge the spikey wall slamming downwards this time. You’ll want to rotate the slab so that it stands vertically and gives you enough space to pass under the spikey wall. Watch out for the construct enemy up ahead and defeat him before you do anything else in this room.
Drop down into the room beneath to locate a beam of light and a rotating wall. Your task is to get the beam of light to hit the light switch on the wall but even when using a mirror you won’t be able to hit the light switch for long enough without stopping the rotating wall. To stop the wall, you’ll need to use one of the Stake zonai devices near by and use it as a wedge. You’ll want to time it right and make sure that one of the gaps in the wall is directly over the light switch. When that’s done use ultrahand to lift up and angle the mirror over the light to hit the light switch until it turns green. This will open up the floor above the light beam, allowing it to shine up into the room above. Head back up to the upper room area using ascend then use another mirror on the ground to direct the light beam towards the light switch in the other room. This will open up the gate in the other room, allowing you and Riju to charge up the second battery!
How to Find Battery Device #3 - Room of Light and Flame (2F)
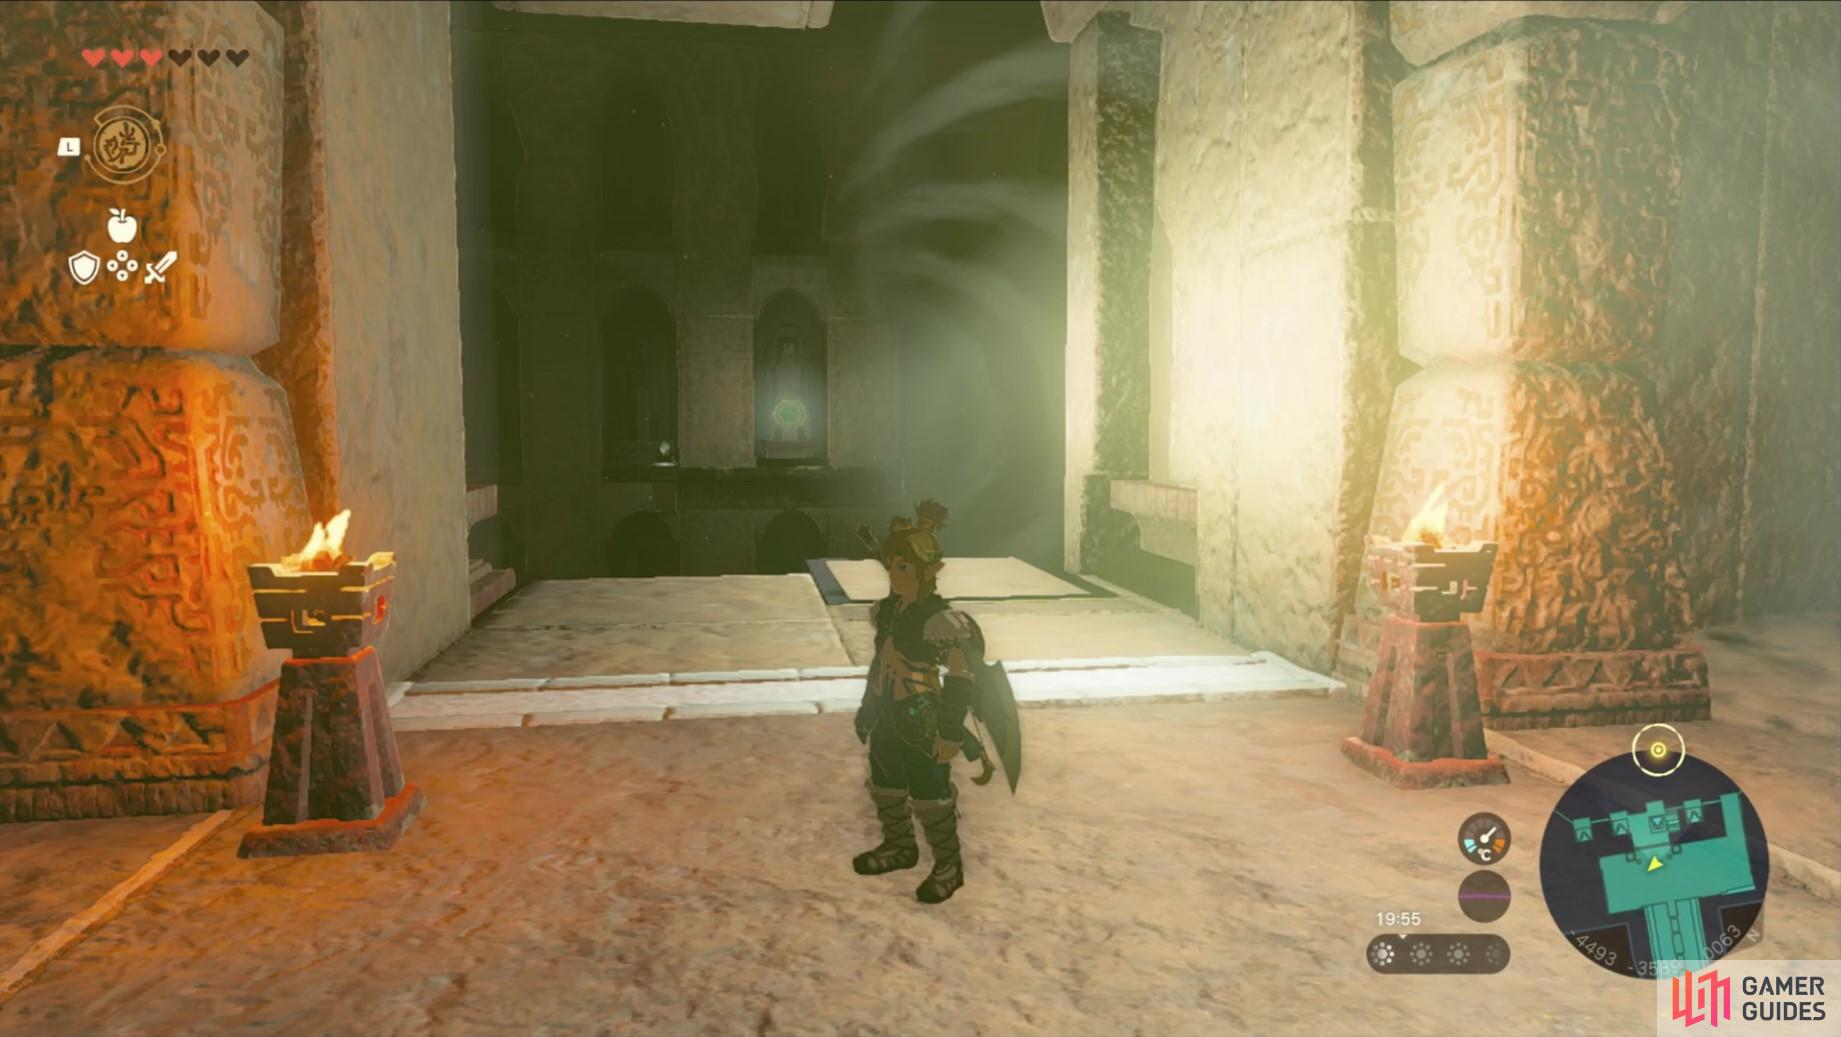
After charging up the second batter, you’ll need to return to the Room of Ascension. The next battery is found on Lightning Temple 2F, but you’re going to need to go to Lightning Temple 5F, which you can reach by paragliding up the gust of wind. Once on this floor, deal with the Construct enemies and locate the gap in the wall between and above the two braziers. Here you’ll find the Room of Natural !Light. First off, grab the boulder using ultrahand and rotate it vertically. Then, place a mirror on top of it, making sure the mirror is reflecting the light through the gap in the wall.
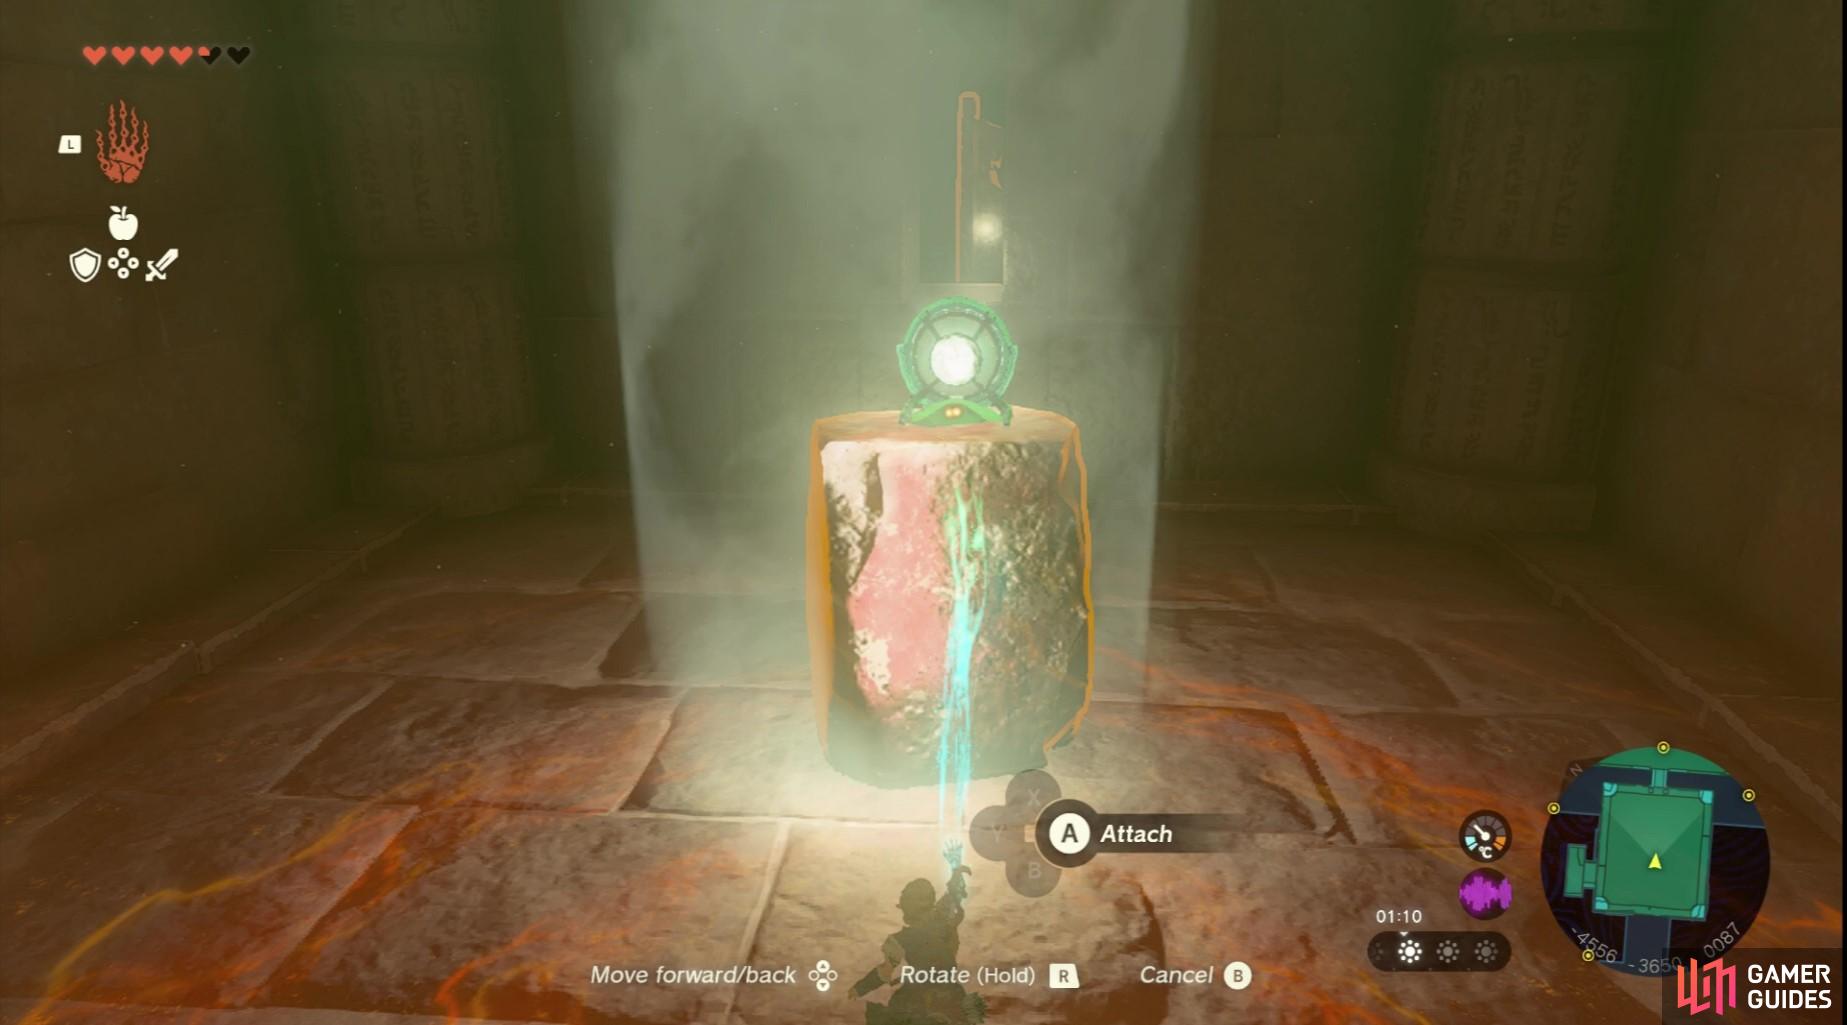
Use the brick as a platform for the mirror and make the light bounce out into the main temple area

you want the light beam to bounce up towards the light switch like this.
Head back out onto the ledges around Lightning Temple 5F to locate the mirrors that are fixed onto moving pillars. The light is reflecting onto the opposite wall so head over there and you’ll want to move the mirror so that it reflects the light. The light will then bounce to the side, and here you can pull another mirror into the light - this mirror is angled upwards and will reflect light at a light switch which will turn green when the light hits it.
To get up to the pressure plate next to the light switch, use the gust of wind to get into the alcove directly beneath the pressure plate. Then, use ascend to pass to the top. When you stand on the pressure plate it’ll open up a room. Pass through the hallway to find a fiery drop beneath you. Here you’ll need to paraglide down, avoiding the flame emitters. We found that hugging the left side wall was a good way to go!
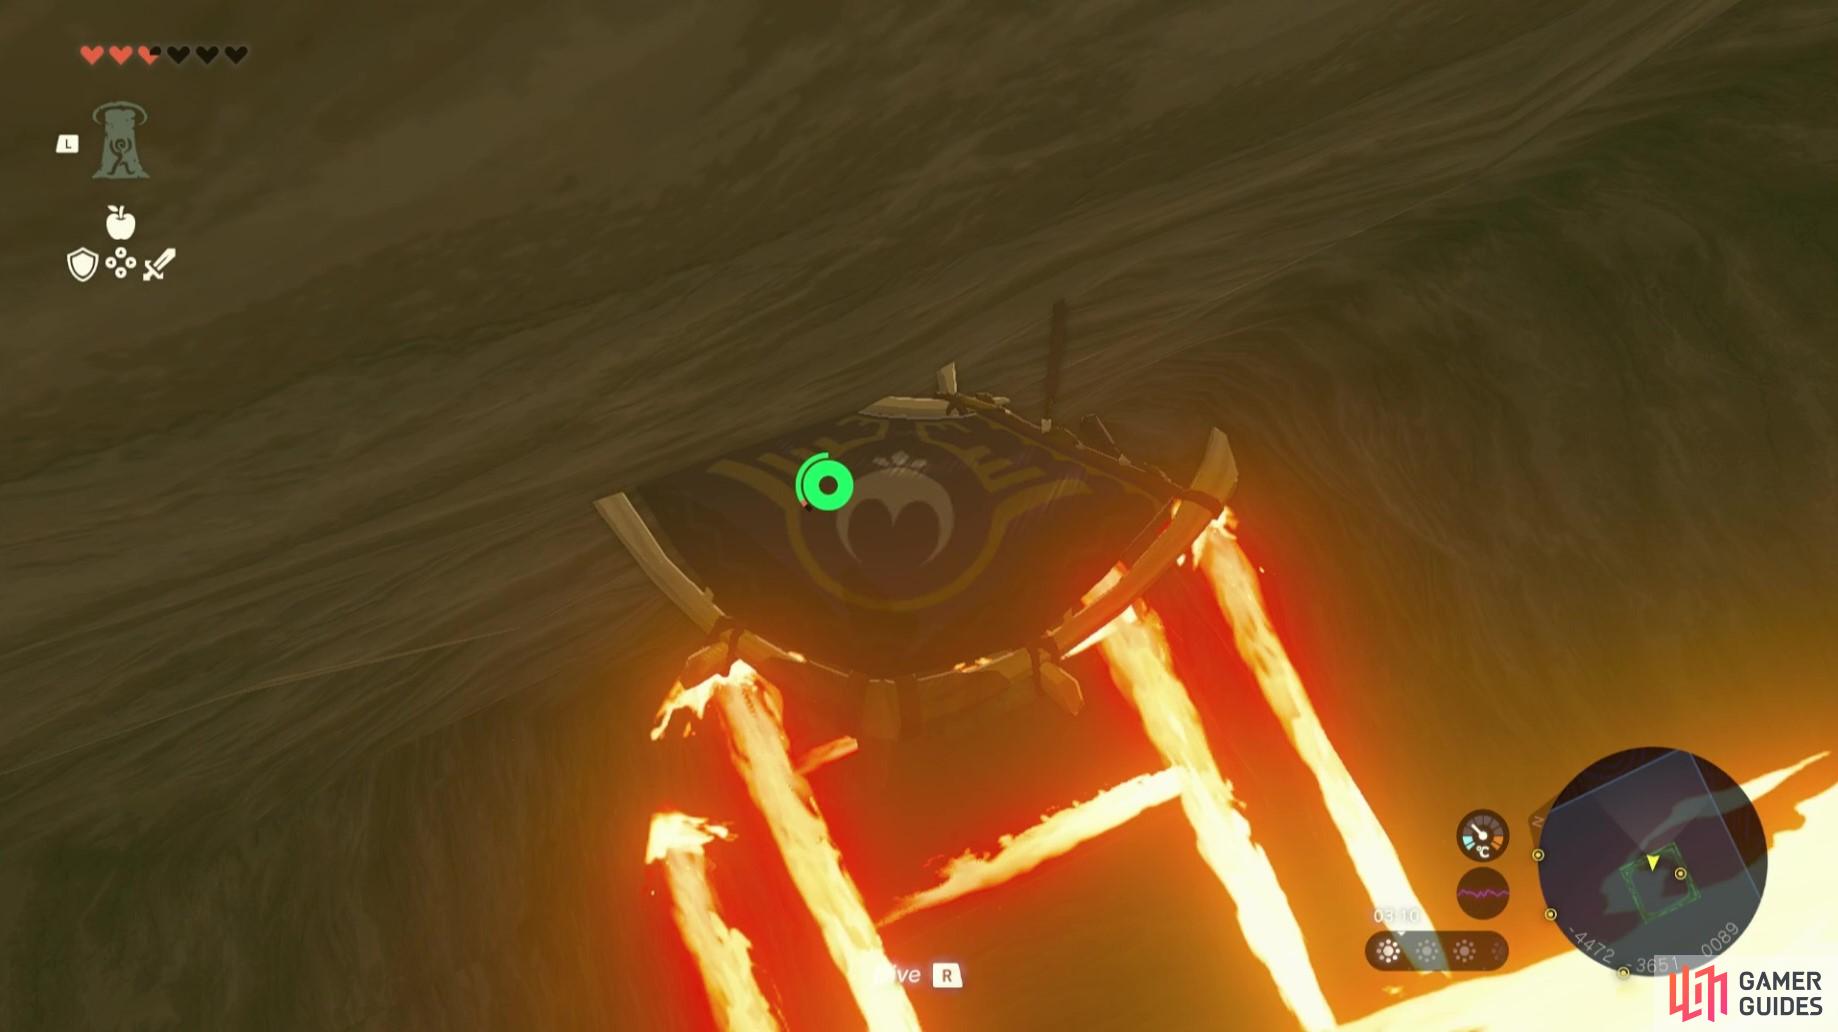
Drop down through the flames and try to avoid getting hit!
When you drop into this room, you’ll want to stand on the pressure plate to open up the gate. There are some enemies just outside so you’ll want to take care of those whilst you wait for Riju to come around. After dealing with the Construct enemies, activate Riju’s power of lightning and hit the battery to charge it up!
How to Find Battery Device #4 - Room of Offered Light (3F)
Whew - Only one more battery to go! Firstly, you’re going to want to return to the Room of Ascension and then make your way to Lightning Temple 5F again to do some more shenanigans with the light beam mirrors. Locate the mirror closest to where the light beam is coming from and move it into the light. This will reflect the light to the side, where you can pull a second mirror into its path. This mirror reflects downwards and will hit another light switch below.

angle_the_light_down.jpg
this will open up the Room of Offered Light which is filled with enemies!
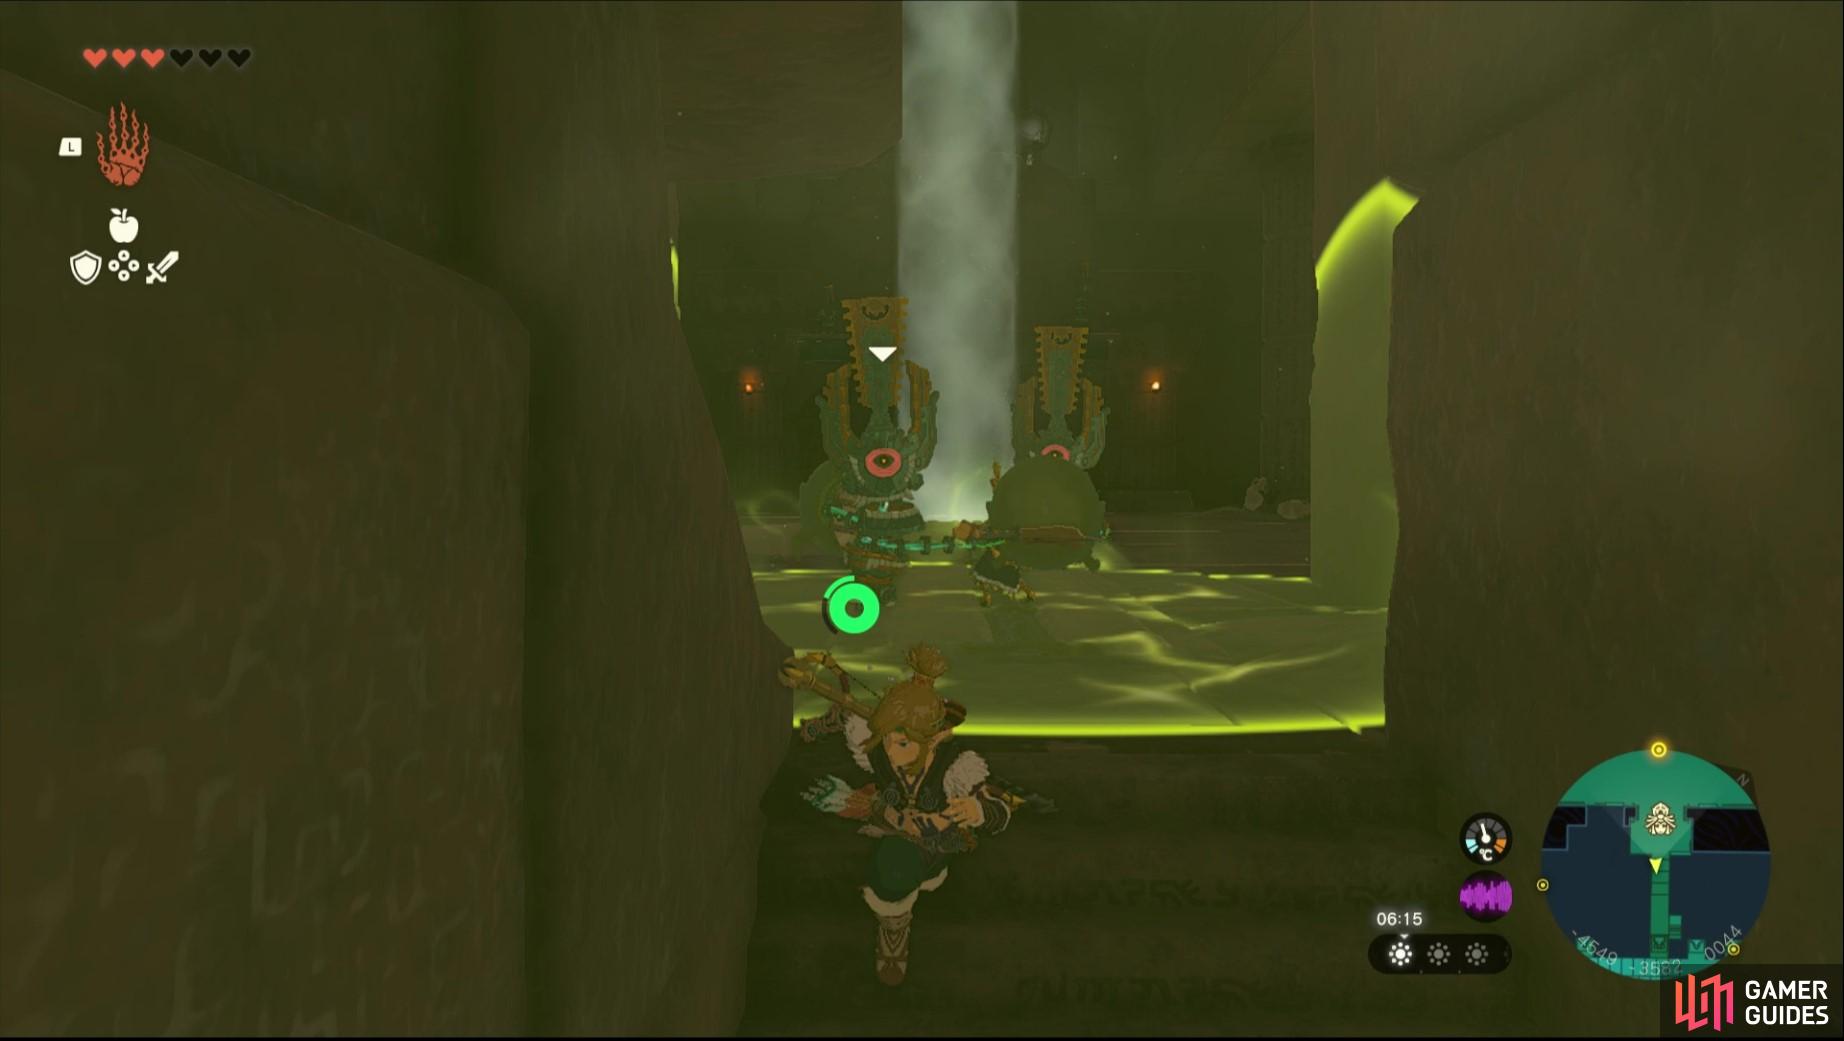
Drop down and stand on the pressure plate by the green light switch to make your way into the Room of Offered !Light (Lightning 3F). Before you can solve the puzzles you’ll be required to deal with the numerous enemies in this room. If you stand back a few seconds you’ll find that the Construct enemies will actually fight the Gibdo, so you can wait for them to whittle down the numbers before you charge in! You will want to deal with the mushroom up ahead though, by shooting the glowing pink part with a lightning charged arrow. There are also some Construct Archers on some platforms up above that you’ll want to deal with.
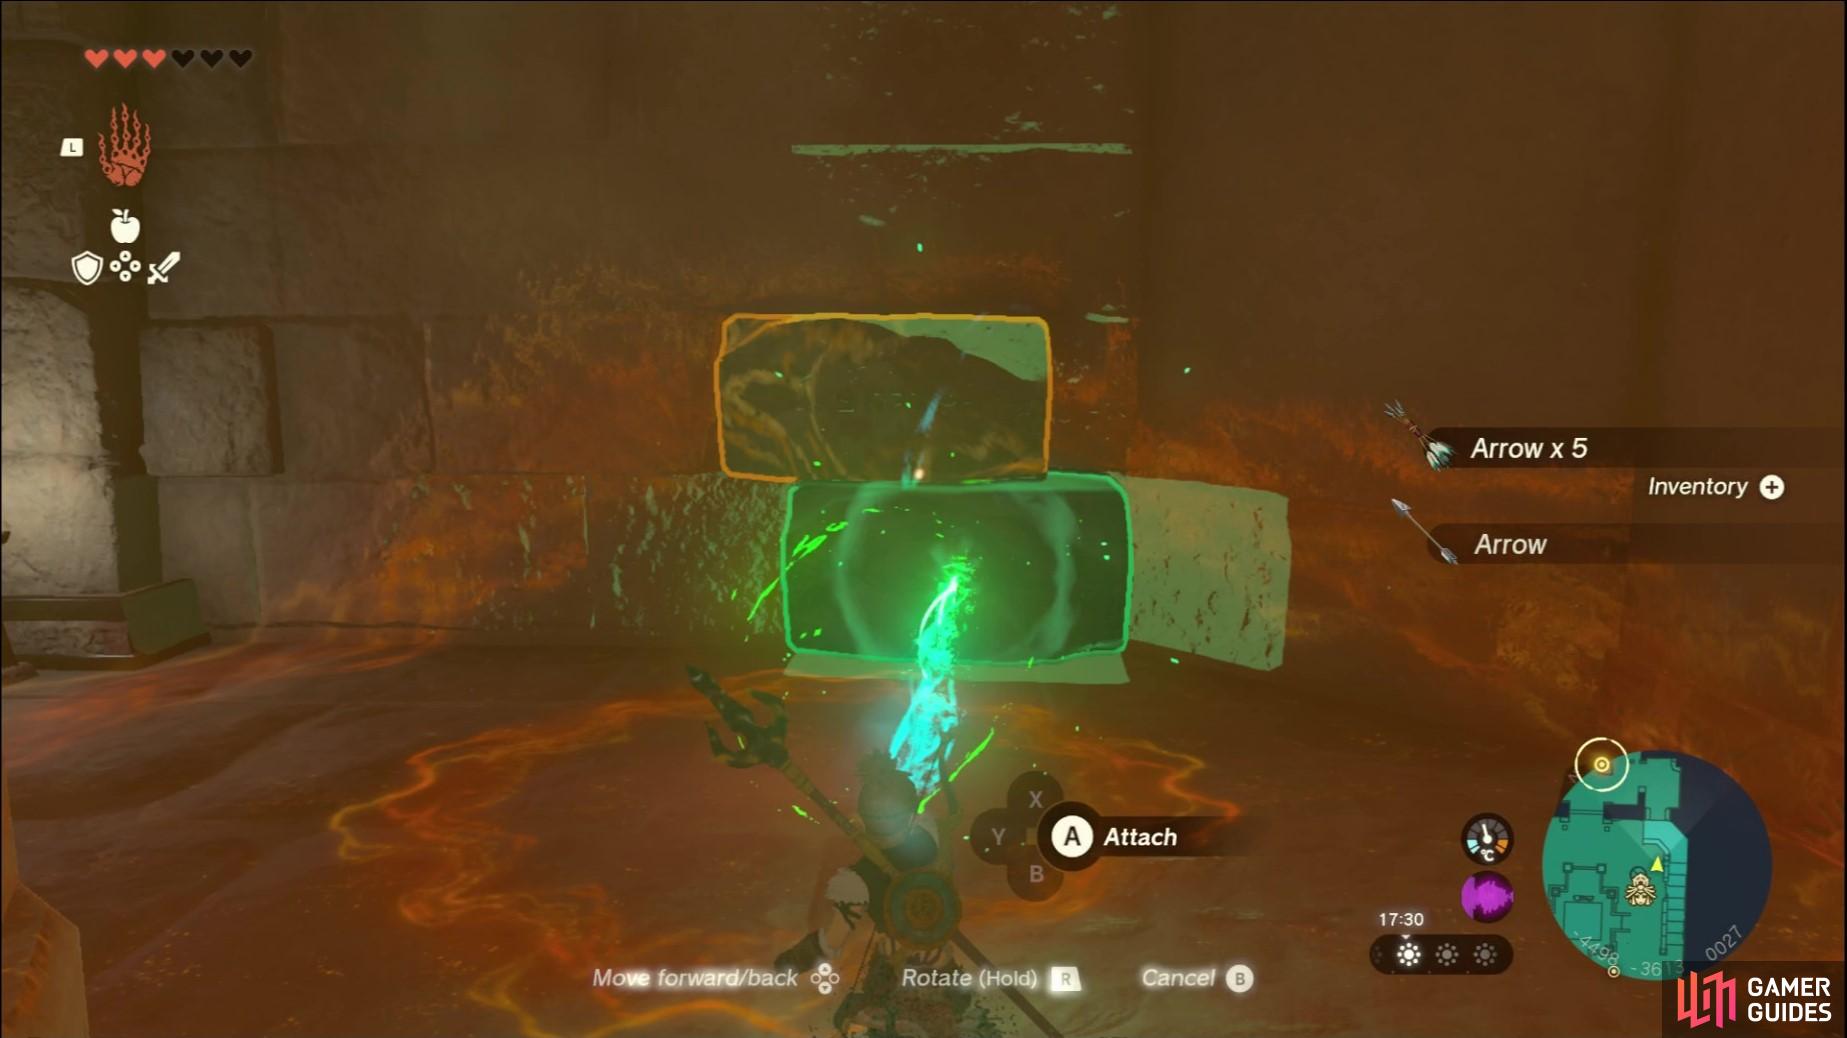
Once all the enemies have been cleared, proceed into the room and locate the mirror in the pile of sand to the right. Next, find a metal platform and attach one of the Balloon devices to it. Place the mirror on the platform as well making sure that the mirror part is facing towards the locked gate then find yourself a torch on one of the pillars. Ensure that the platform is at the center of the light beam and then light the torch on a nearby brazier and stand on the platform. The heat from your torch will make the platform rise. At the top of this room is another light switch that will turn green when a light is reflected on it, this will open up the gate below.
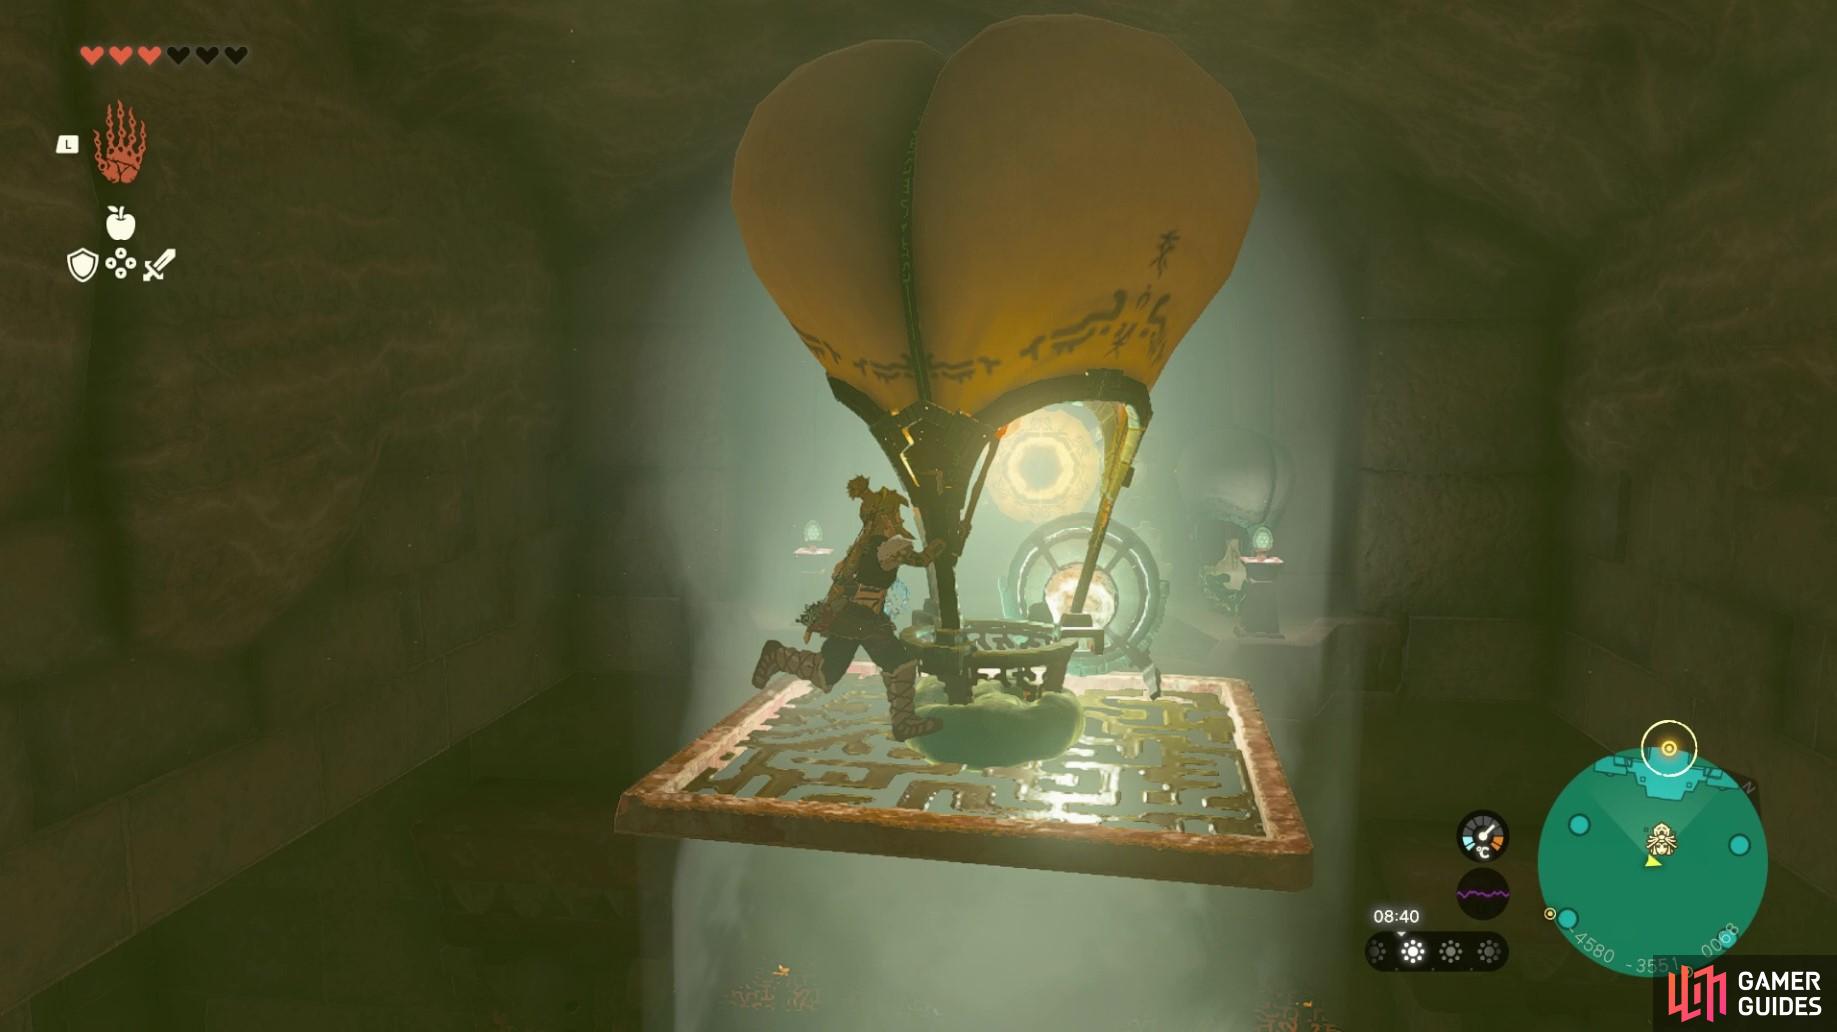
Use the balloon, platform and mirror to get the light beam to reflect on the light switch up ahead.
Drop down and use Riju’s lightning attack to charge up the final battery! When this is done, return to the Room of Ascension and interact with the platform to head up to Lightning Temple 7F where you’ll have a face down with Queen Gibdo once again. Head over to our guide on how to beat Queen Gibdo for more information on battle strategies!
No Comments