
Shrines are one of the core gameplay elements in The Legend of Zelda: Tears of the Kingdom. Scattered throughout Hyrule, shrines typically require you to solve some sort of puzzle or combat trial, upon the completion of which you’ll be rewarded with a ![]() Light of Blessing and potentially equipment. Shrines can also serve as fast travel points - all you have to do is interact with them. Since completing shrines will make your character stronger and provide exploration footholds, it’s essential that you conquer them whenever possible. This page will provide a walkthrough for Domizuin Shrine.
Light of Blessing and potentially equipment. Shrines can also serve as fast travel points - all you have to do is interact with them. Since completing shrines will make your character stronger and provide exploration footholds, it’s essential that you conquer them whenever possible. This page will provide a walkthrough for Domizuin Shrine.
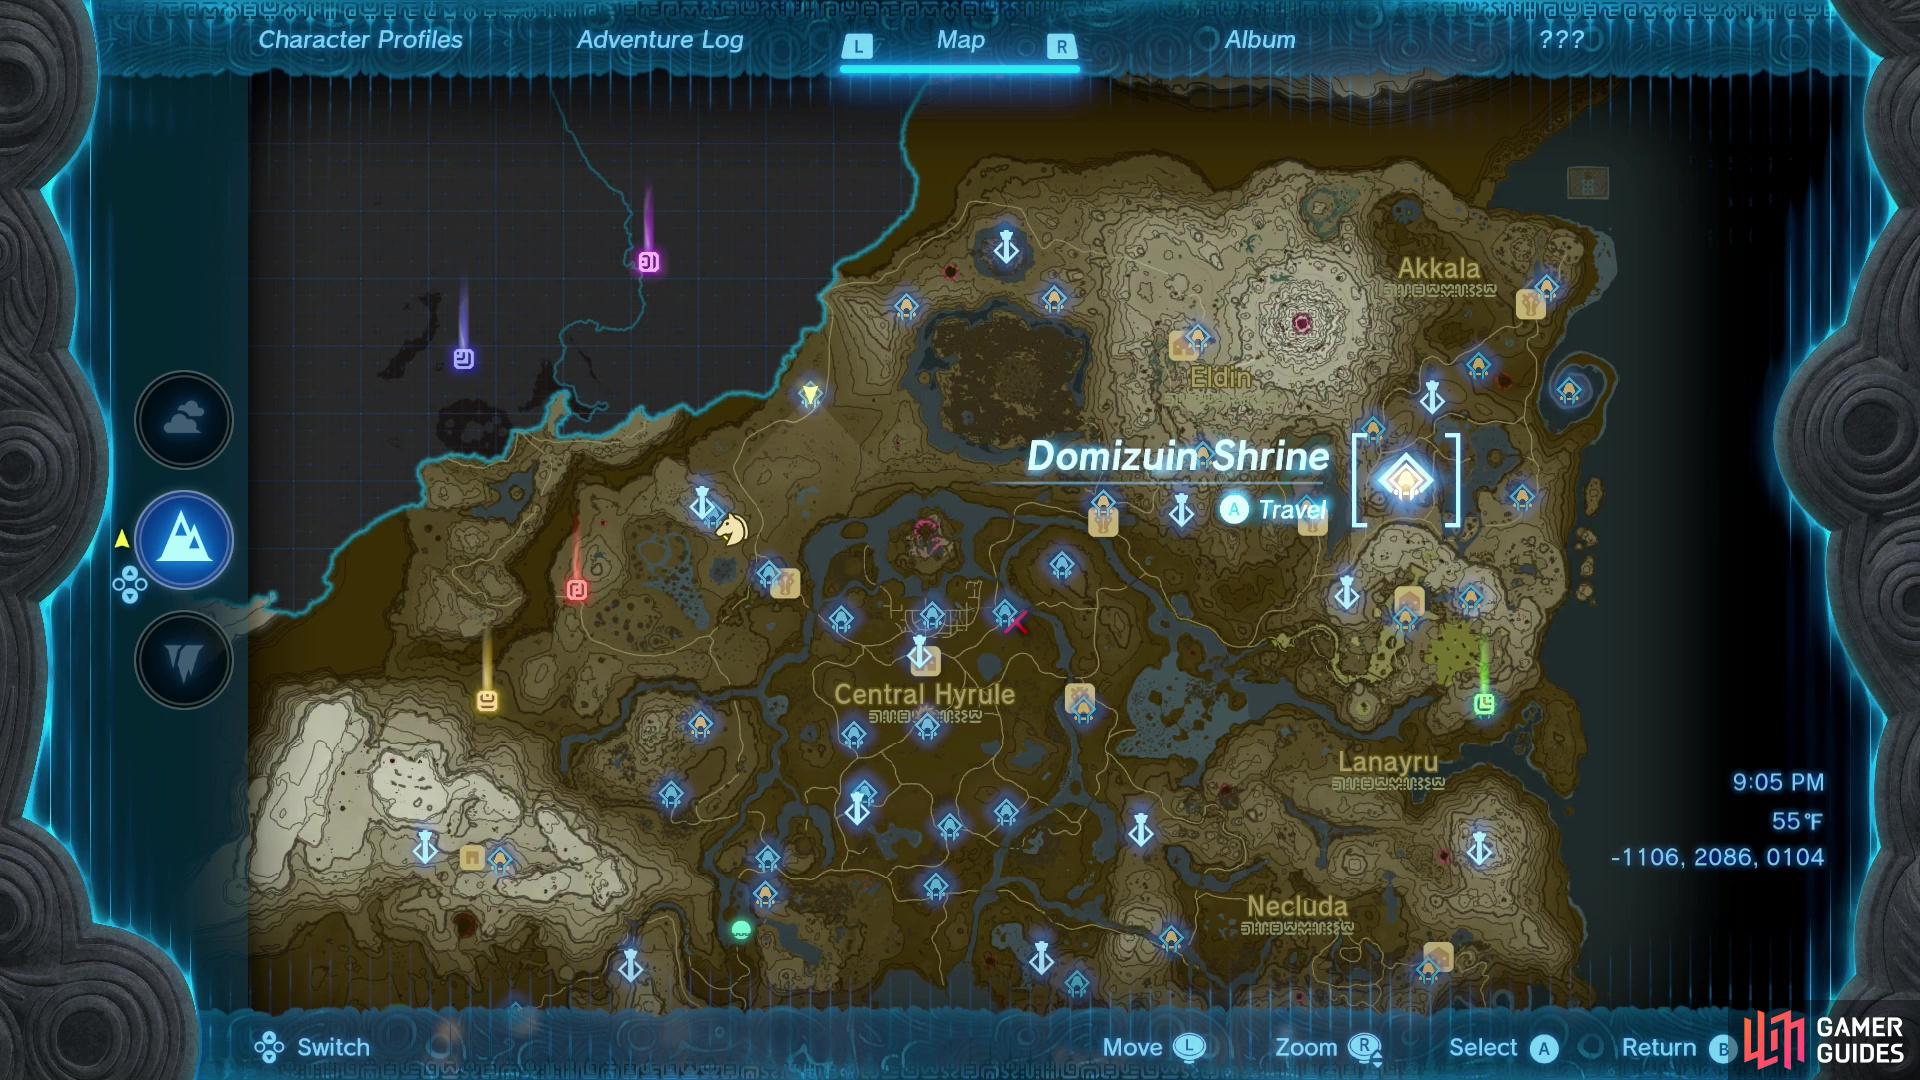
Domizuin Shrine can be found in southern Akkala.
Where to find Domizuin Shrine in Tears of the Kingdom
Found along the southern end of the Akkala region, in the South Akkala Plains subregion (just south of the Akkala Citadel Ruins), this shrine is located on high ground between the Upland Zorana Skyview Tower (to the southwest) and the Ulri Mountain Skyview Tower (to the northeast). Gliding will get you close, but you’ll probably need to pick your way up some cliffs to reach your destination. If you end up going through the ruins north of this shrine, be wary of ![]() Gloom Hands, while below and southeast of this shrine is a Thunder Geelok. Neither are enemies you really want to encounter after a long climb.
Gloom Hands, while below and southeast of this shrine is a Thunder Geelok. Neither are enemies you really want to encounter after a long climb.
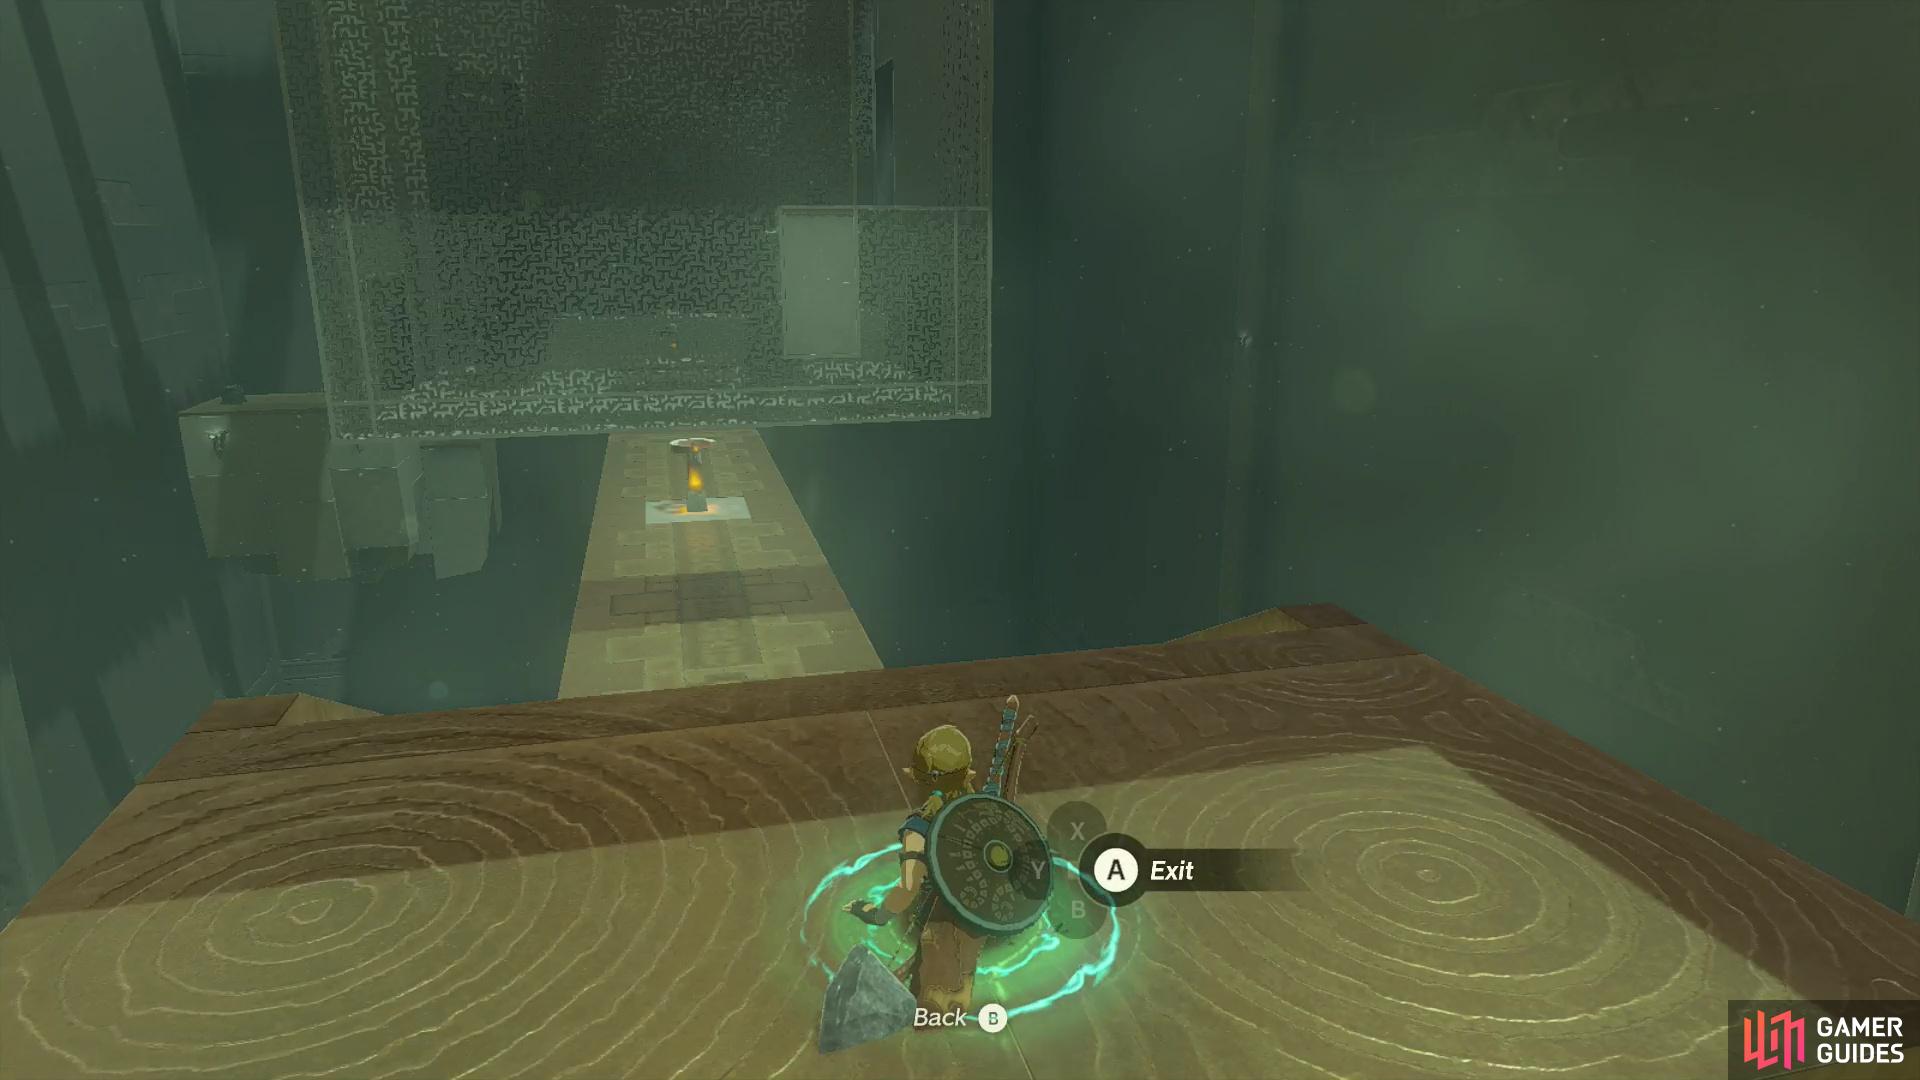
Ascend through a pillar,
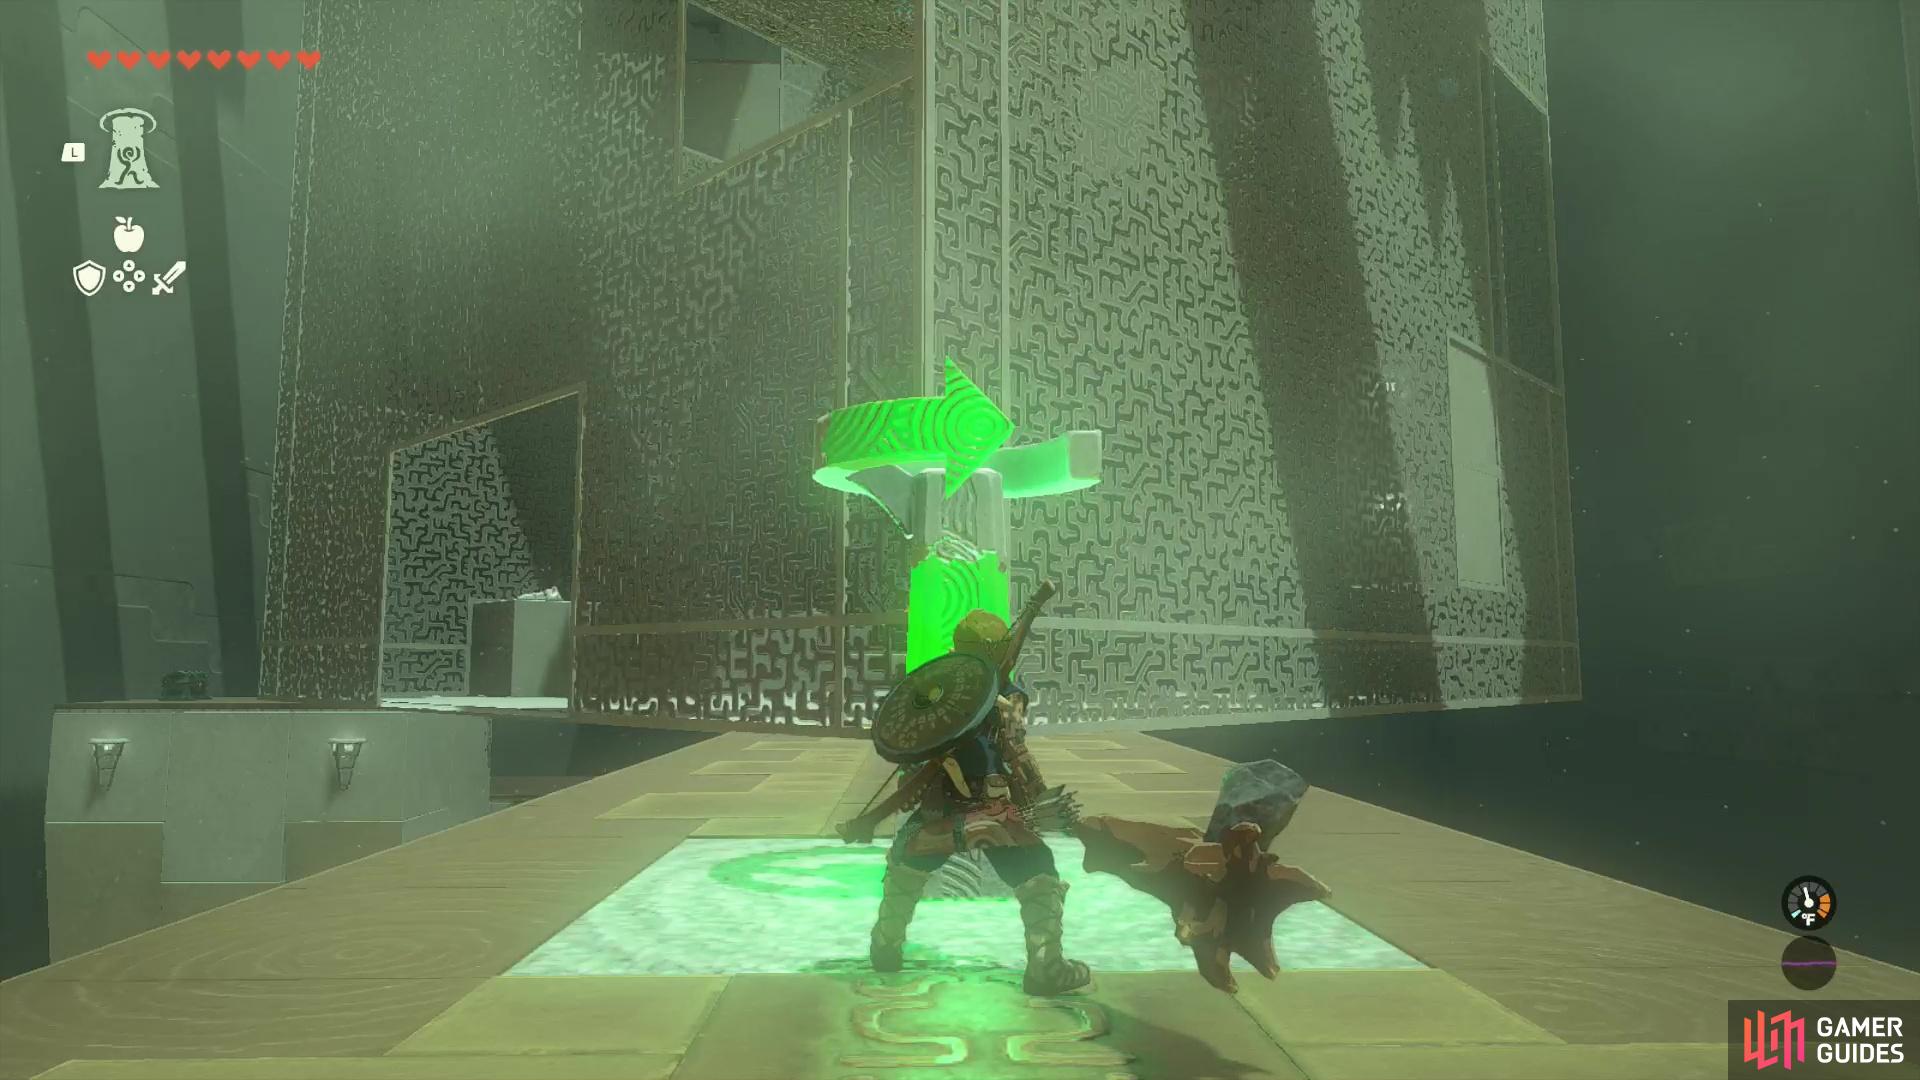
then strike a crystal to rotate a cage to reveal an opening.
How to Complete Domizuin Shrine in Tears of the Kingdom
This shrine is actually quite a puzzle, but you’ll only really need to do three things to solve it: ![]() Ascend through platforms, strike crystals that rotate a cage (each crystal rotates the cage along a different axis), and a bit of gliding. Just follow the steps below to claim all the treasure and complete the shrine:
Ascend through platforms, strike crystals that rotate a cage (each crystal rotates the cage along a different axis), and a bit of gliding. Just follow the steps below to claim all the treasure and complete the shrine:
-
From the entrance, head downstairs, head to the end of a walkway and Ascend through a pillar.
-
After tunneling through the pillar and reaching the top, continue forward and strike a crystal. This will rotate the cage to the left, allowing you to enter via an opening at the bottom of this side of the cage.
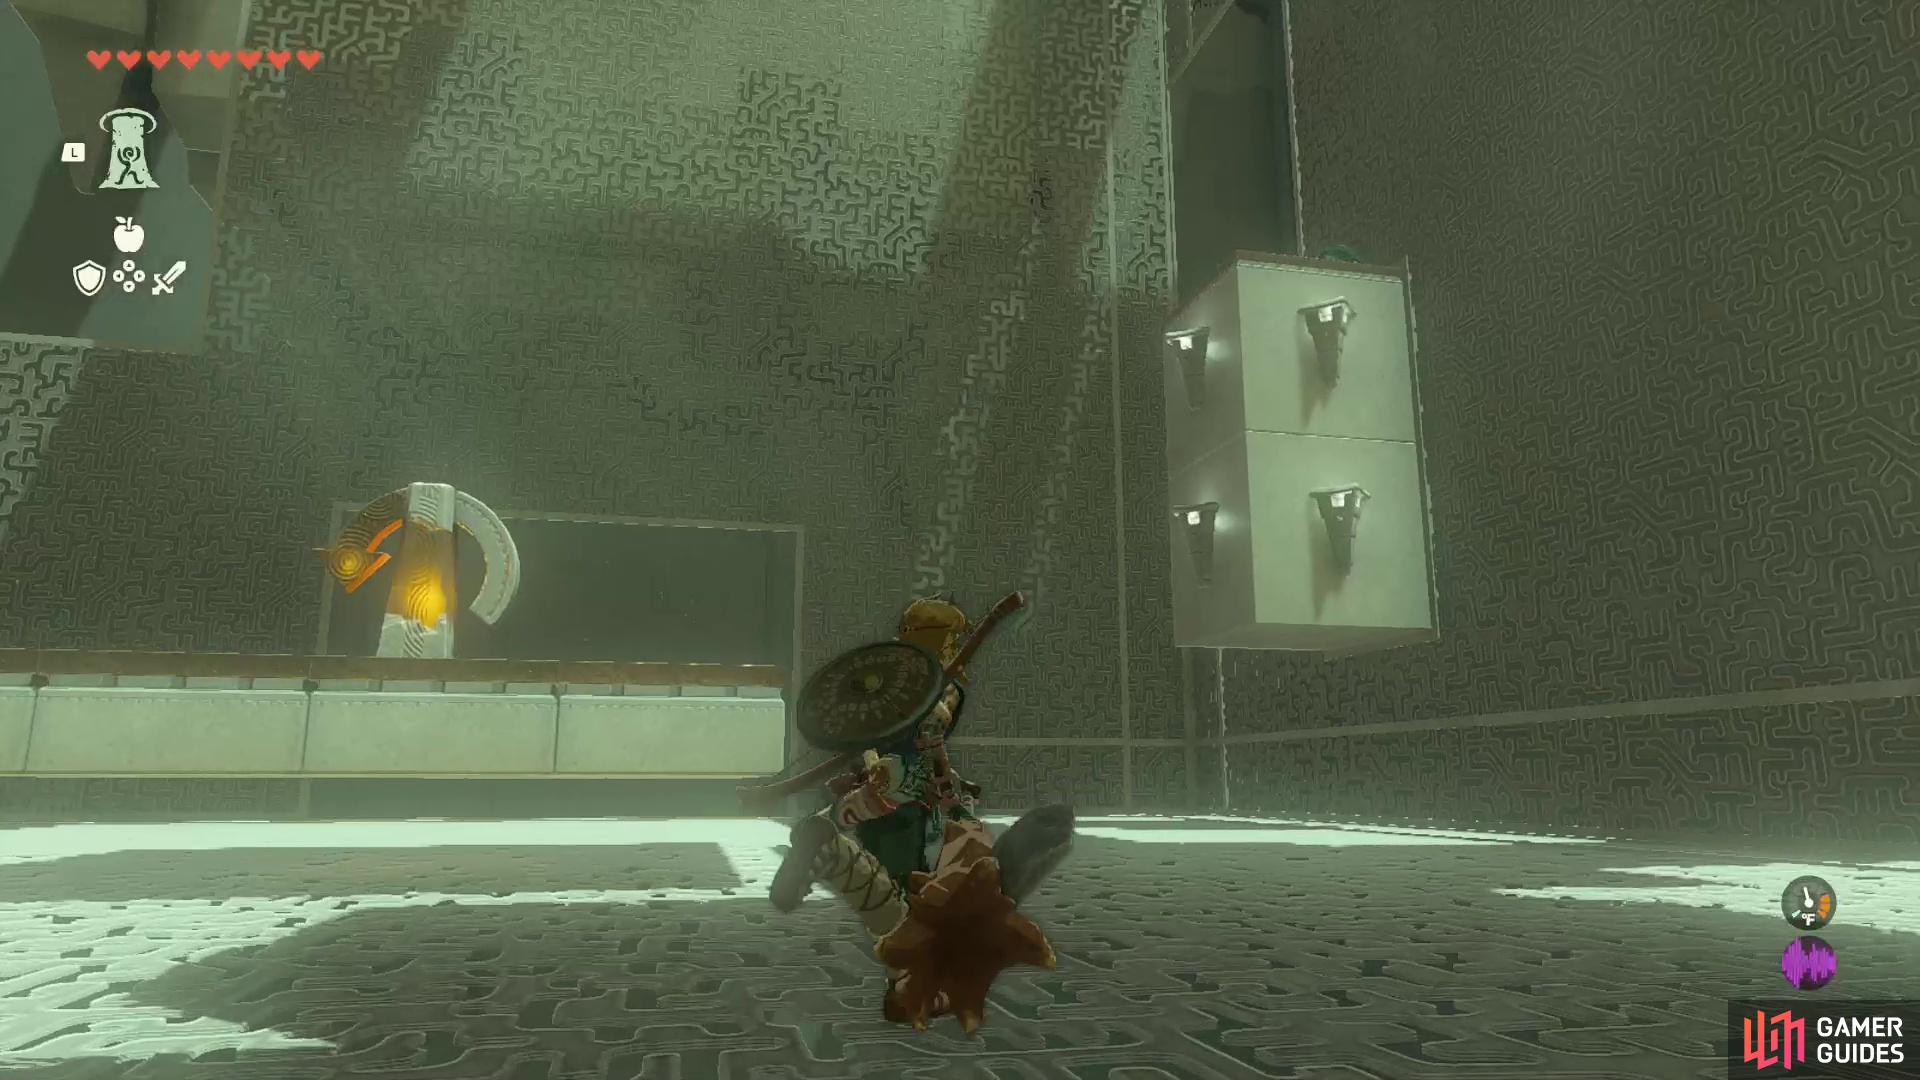
Ascend through a pillar to the right of a crystal inside the cage,
to reach a chest containing 10x Arrows.
-
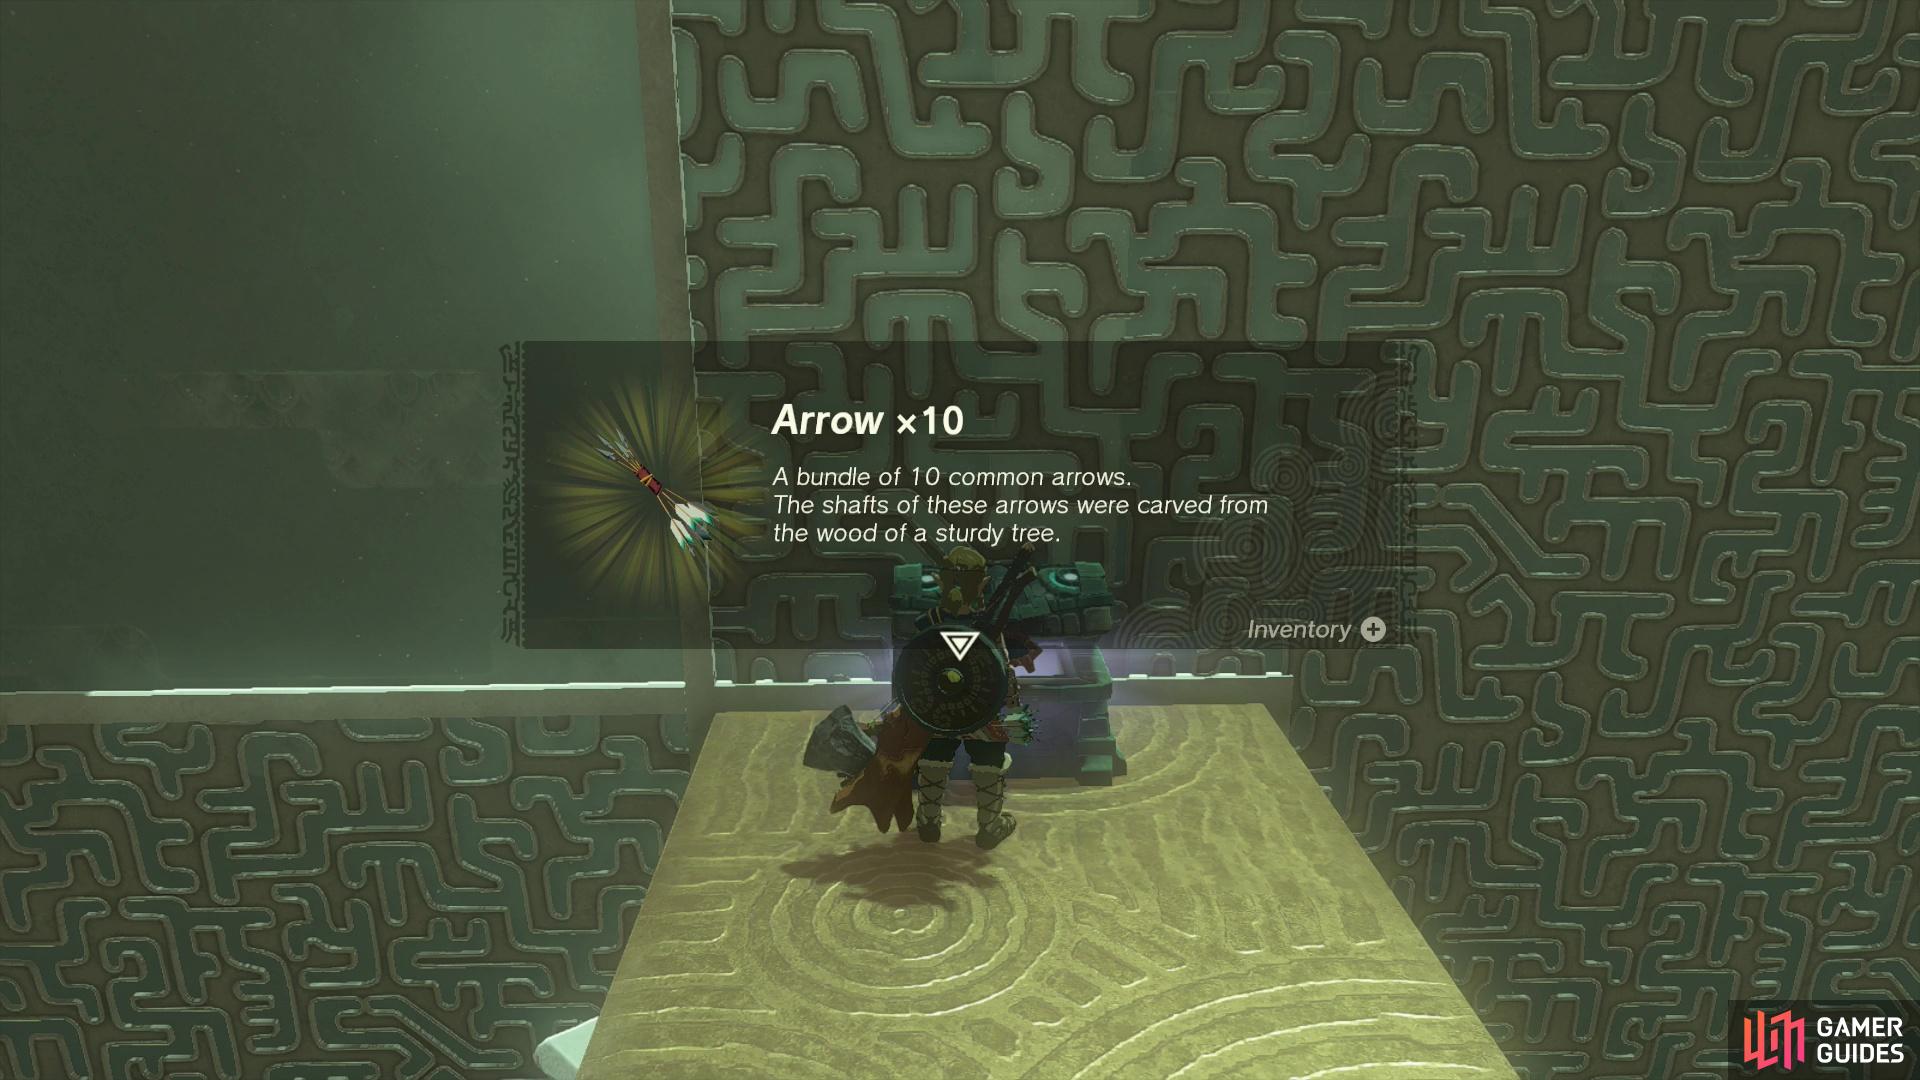
Enter the cage and you’ll spot a platform ahead of you housing another crystal. This crystal will rotate the cage cube counter-clockwise around you. Ignore this crystal for now and instead head to another pillar to the right. Ascend through it to reach a chest on top, wherein you’ll find 10x
 Arrows.
 -
Jump down to the cage floor, head to the crystal platform in the center of the cage, and get the crystal a smack to rotate it.
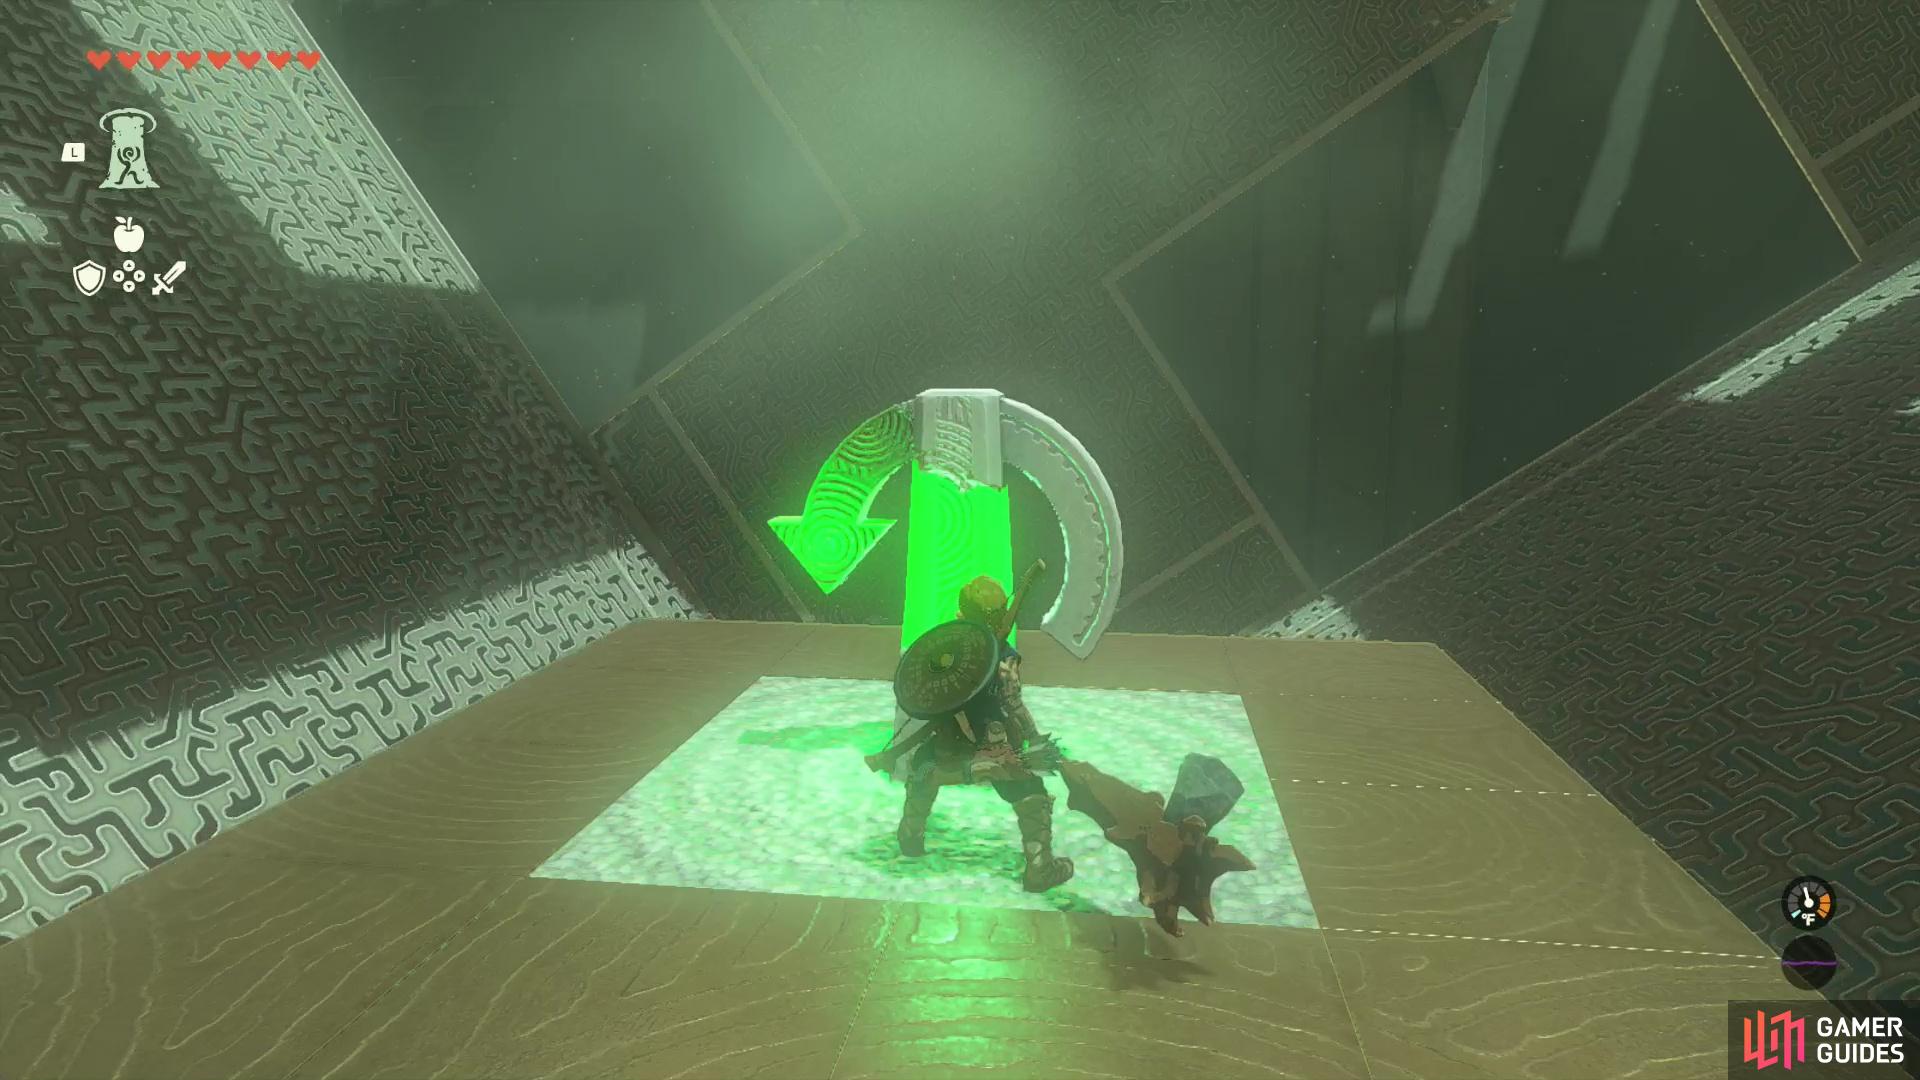
-
Look left and you should spot a hole in the floor. Head over to it and look down and to the right to find a platform outside the cage you can glide over to. Do so, climb a ladder, then loot a chest to score a
 Zonai Charge.
 -
Climb back down the ladder, Ascend through the floor of the cage, return to the crystal platform in the center of the cage and strike the crystal one more time.
(1 of 3) Ascend back up through the floor of the cage, head to the crystal platform inside the cage, then look to the back right corner to find another platform with a chest on top.
-
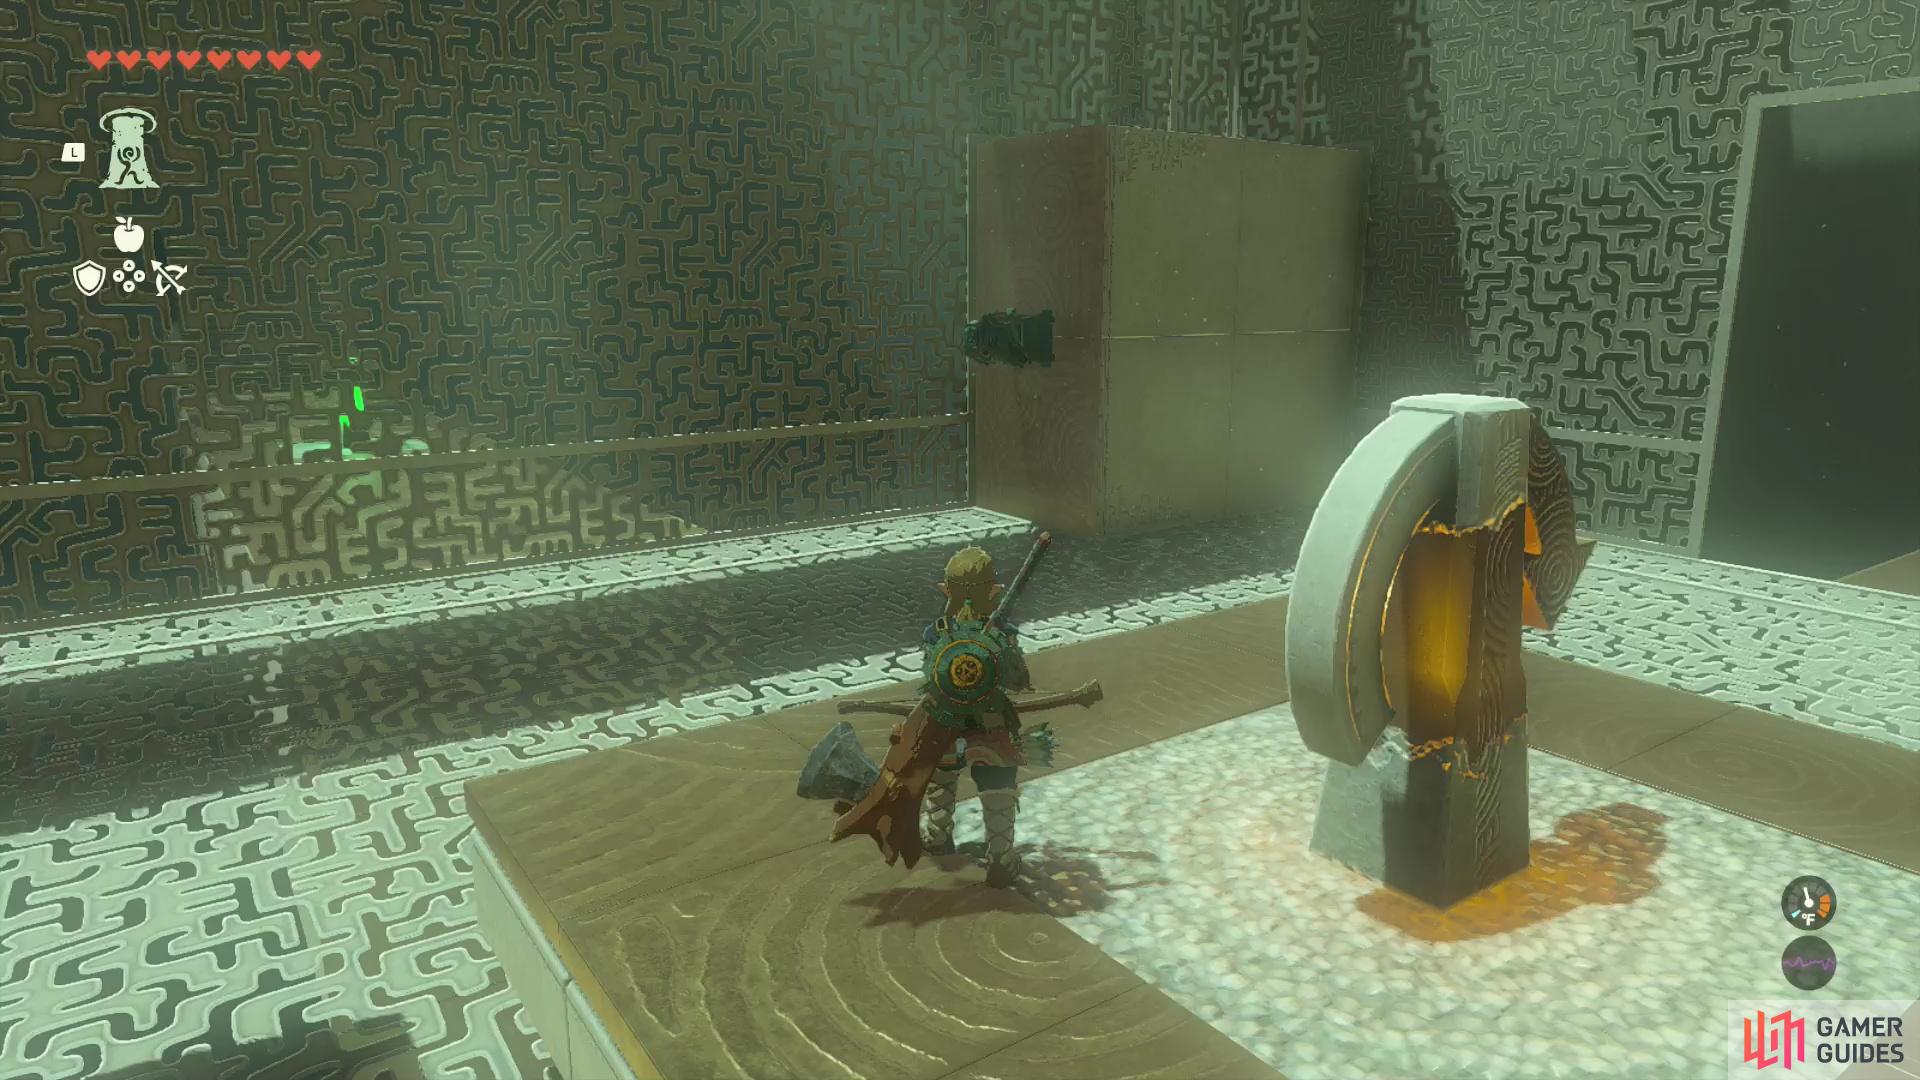
Turn around (face the crystal outside the cage, which is currently obscured by the cage), then look at the right corner of the cage to spot a platform with a chest on it. Head over to the top of this platform, stand near the chest, then turn and shoot the crystal in the center of the cage. The cage will rotate, just make sure you end up on the platform with the chest when it’s done. Loot the chest for a
 Strong Zonaite Shield.
 -
Drop back down to the floor of the cage, turn around and look out towards the crystal outside. After the last rotation, you should now have a clear view of the first crystal thanks to an opening in the cage. Shoot the first crystal to rotate the cage.
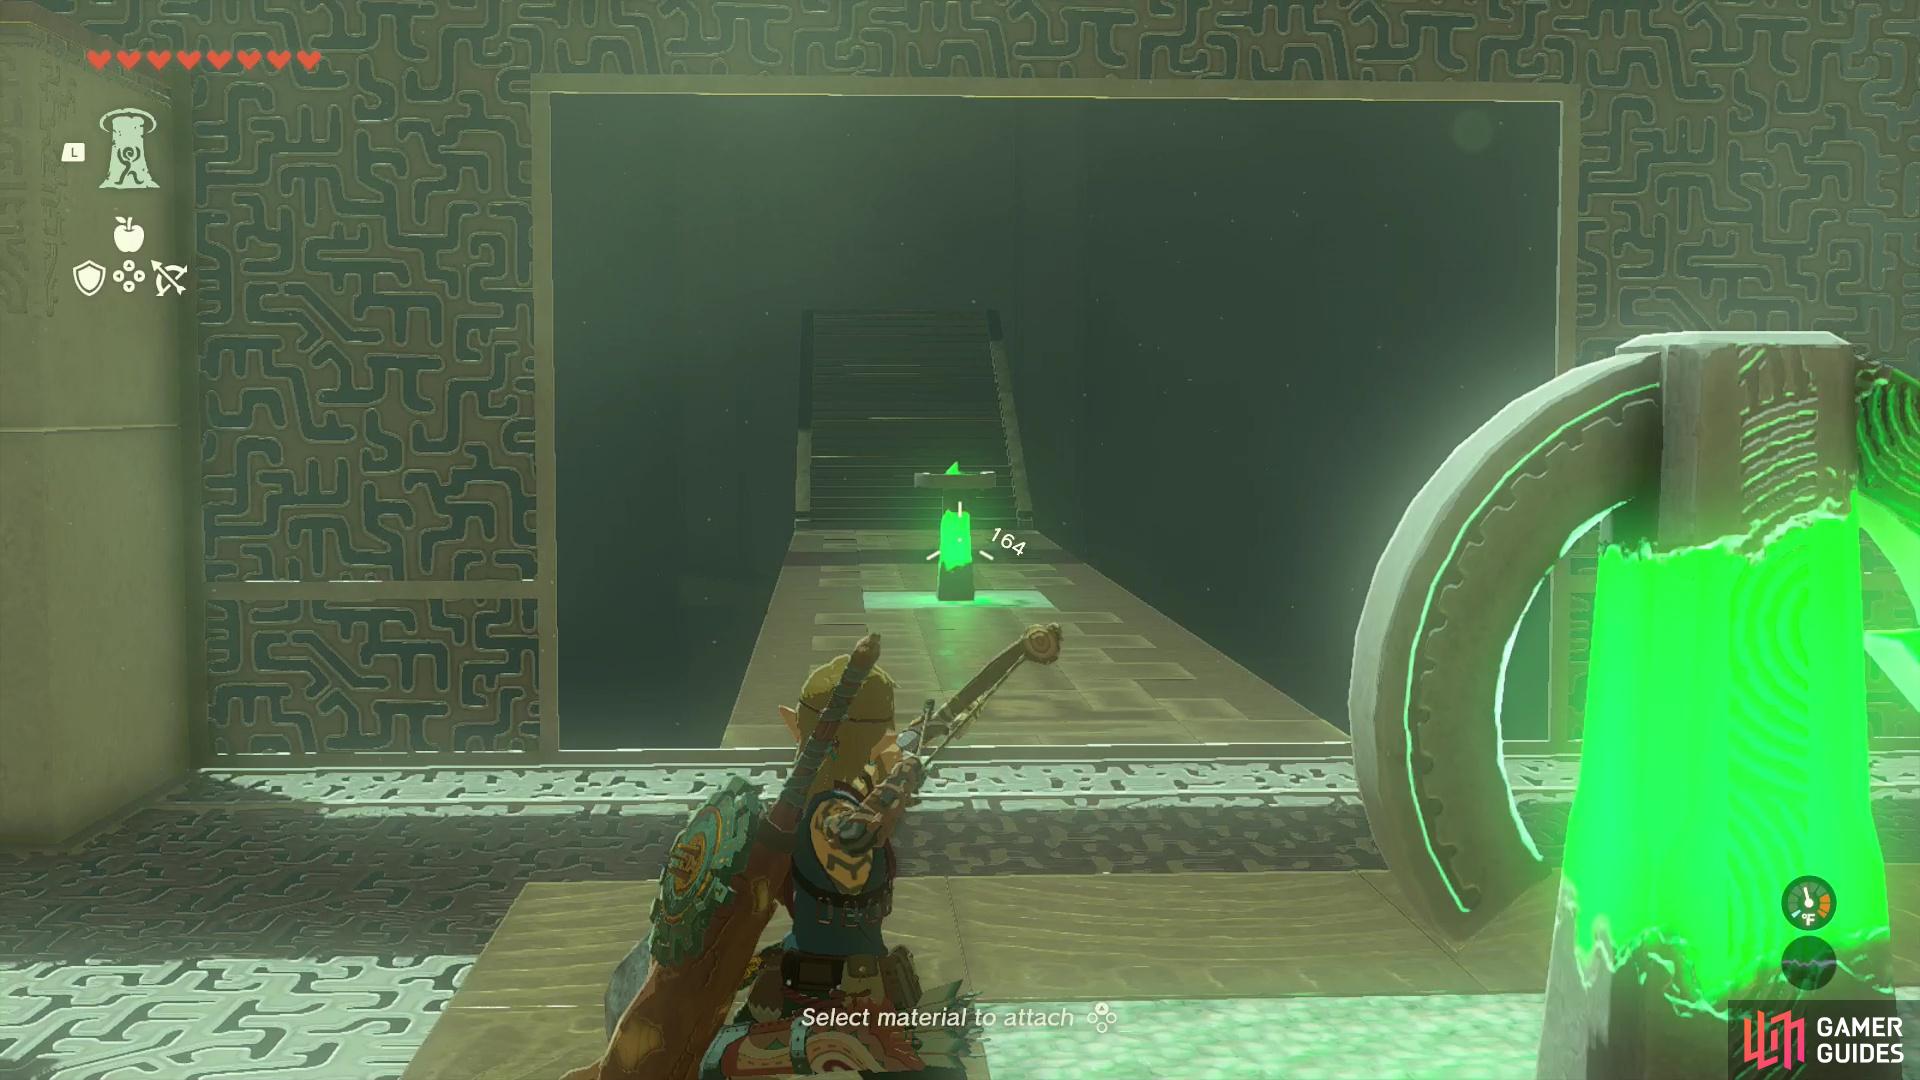
(1 of 4) After scoring the Strong Zonaite Shield, return back to the platform housing the crystal inside the cage, and shoot the crystal outside the cage to rotate it.
-
Now strike the crystal in the center of the cage three times. Once done, look back towards the first crystal (once again obscured by the cage, then look at the left corner of the cage. You should spot a long pillar running the length of the cage. Ascend through it to reach the top of the cage.
-
Turn around and you’ll see some stairs leading to the shrine exit. There’s a pit in the floor in front of the stairs, and you can either shoot the first crystal (now below you) or jump and glide over the hole in the cage in front of the stairs. Jump diagonally near the stairs and you should make it. If you fall down the hole, just glide to avoid taking damage and ascend through the pillar again - not really much of a loss if you fail.
As usual, you’ll gain the typical Light of Blessing for completing this shrine.
No Comments