
There is a large number of Shrines in The Legend of Zelda: Tears of the Kingdom, some of which offer nothing more than a combat tutorial for you. Shrines are important to complete, as they give you an item you can turn in, which increases your overall health and stamina. This page will focus on the !Makurukis Shrine, pinpointing its location and giving a walkthrough on how to complete it.
The Makurukis Shrine is right outside of the Tabantha Bridge Stable.
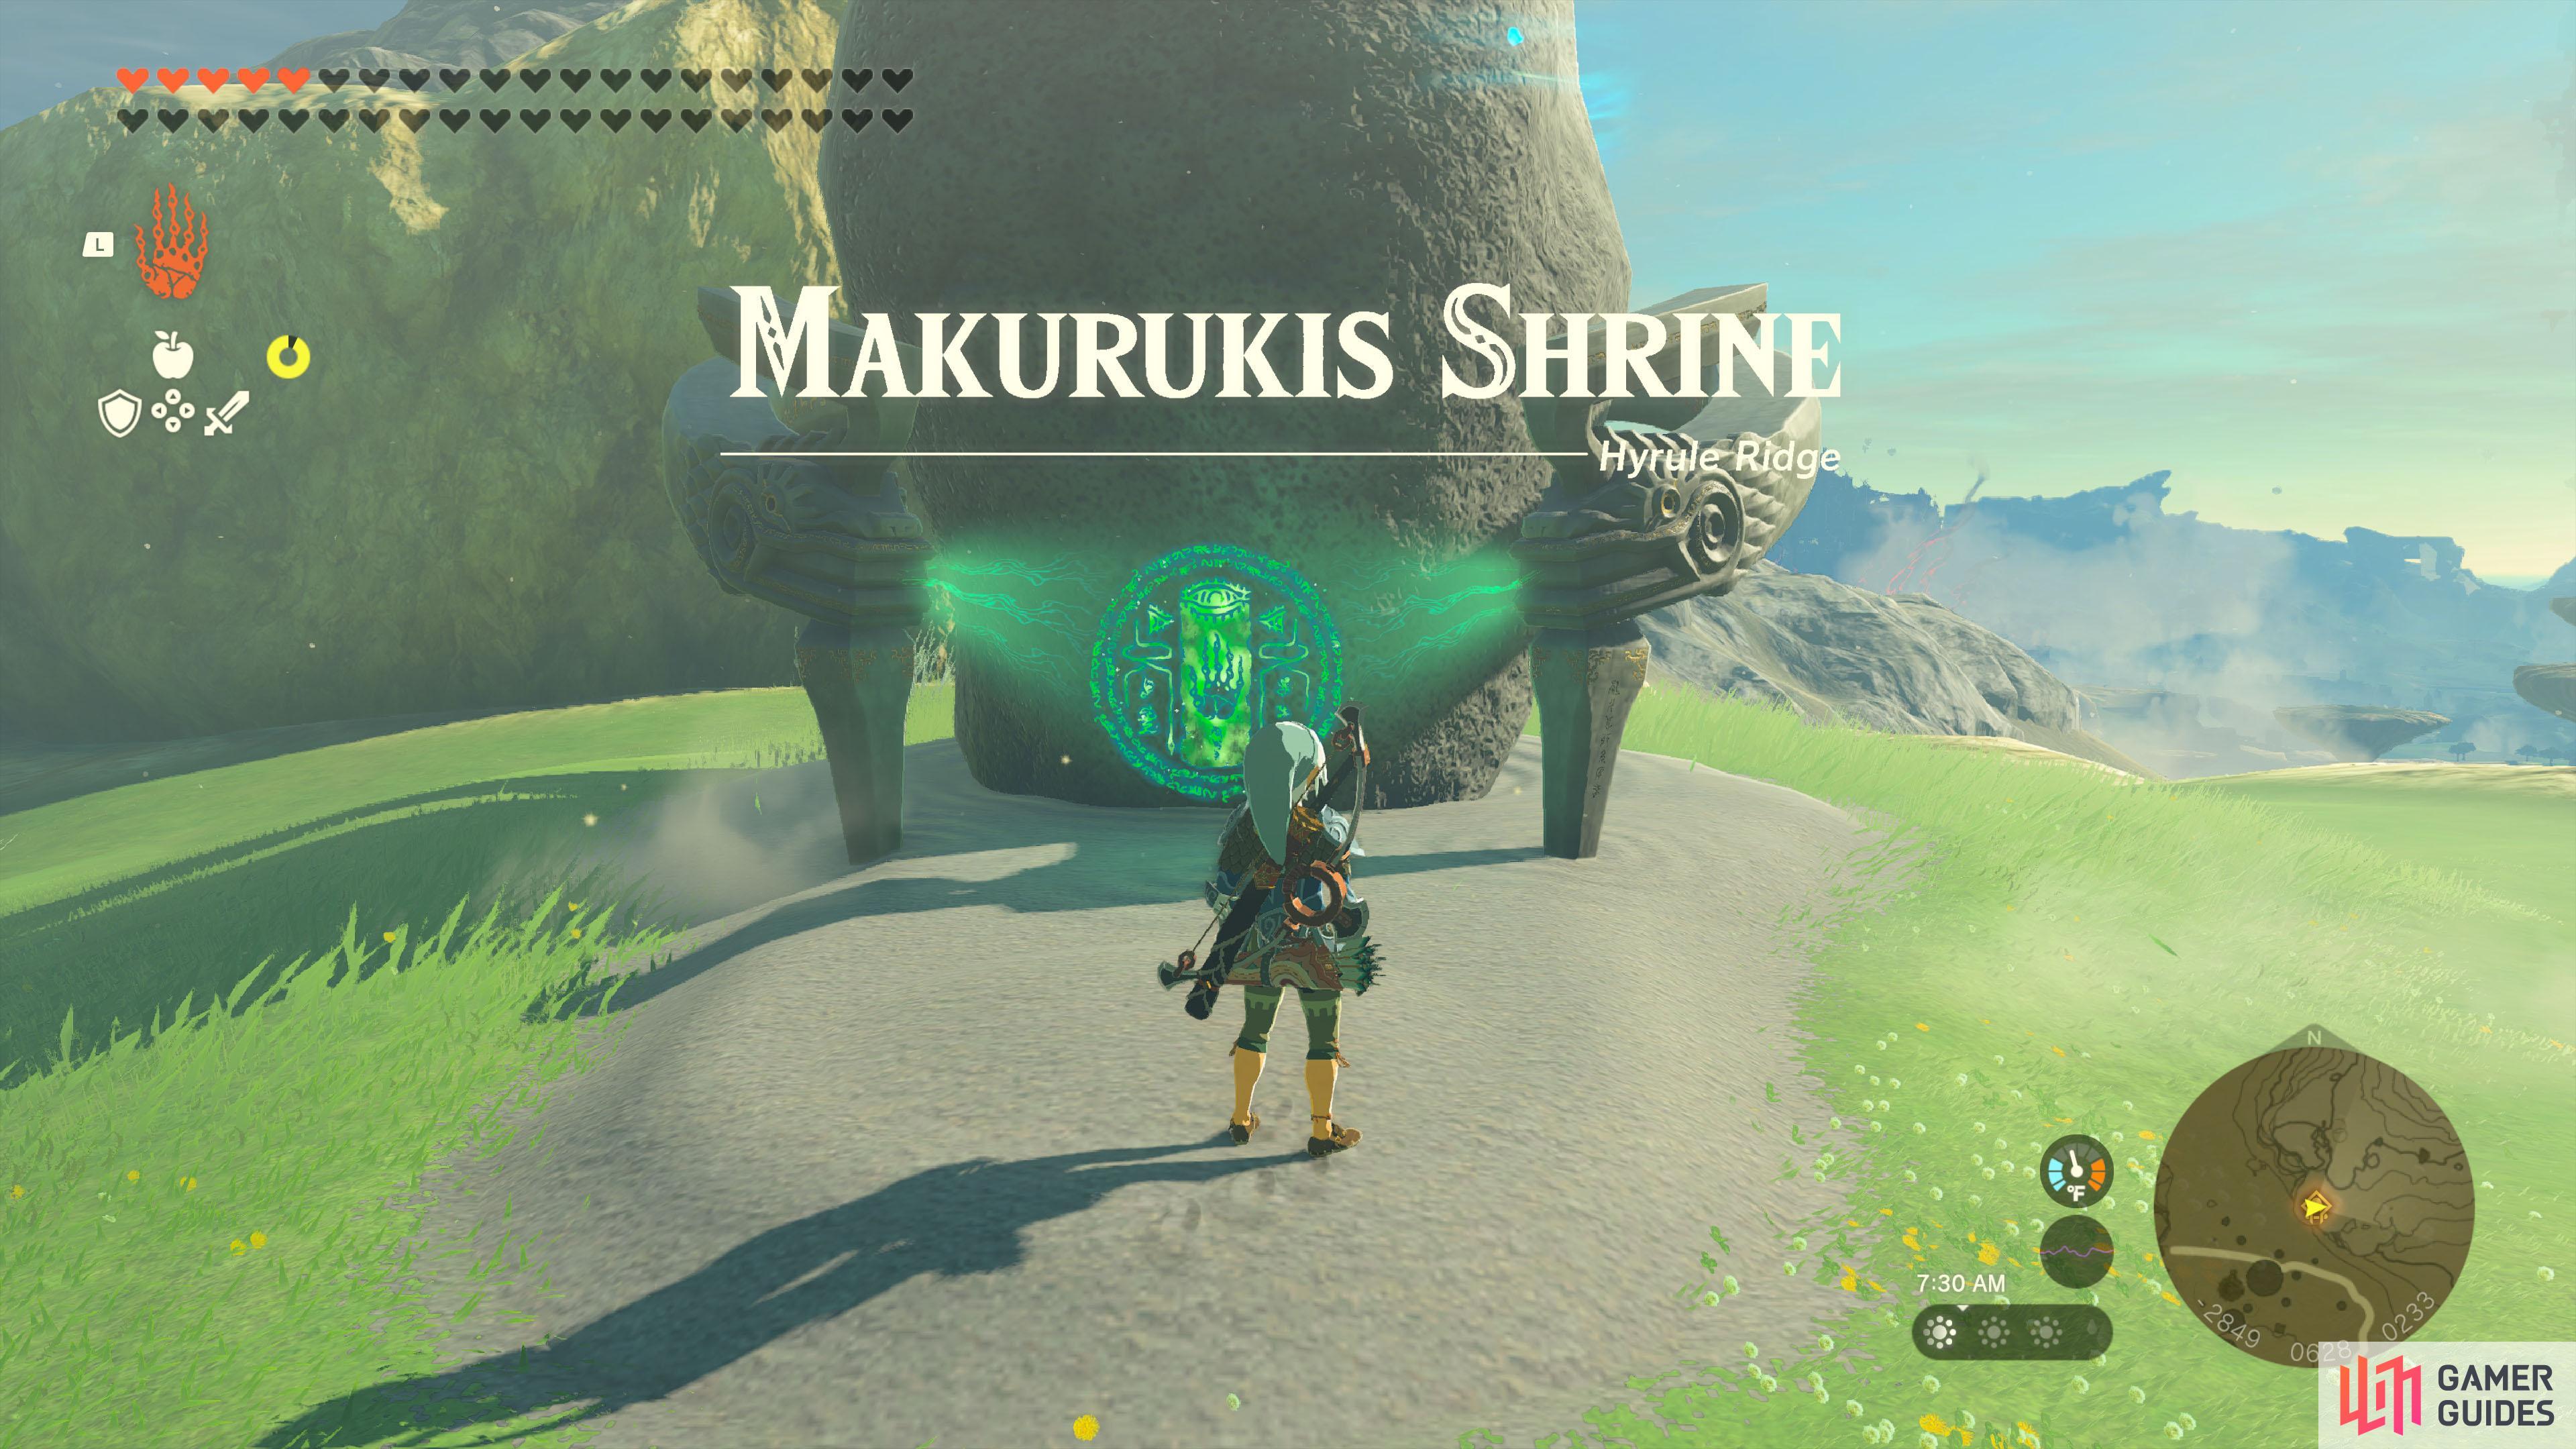
Where to Find the Makurukis Shrine in Tears of the Kingdom
Makurukis Shrine is located right outside of the Tabantha Bridge Stable, in the Hyrule Ridge area of the map. If you have the Lindor’s Brow Skyview Tower unlocked, then it will be southwest of there. You will find a large canyon that almost cuts off the northwestern corner of the map, called Tanagar Canyon, and towards the southern side of that canyon, there will be a large bridge. That is the Tabantha Great Bridge and the stable will be just on the eastern side. You will find the shrine on the cliff above the stable.
Combat Training: Archery - Makurukis Shrine Walkthrough
Thankfully, you don’t have to do a puzzle or have a more involved combat trial waiting for you in this shrine. The goal of the Shrine will be to aim at your enemy’s head and shoot them there with your bow. In the instance of this shrine and the Constructs, this is a weak point and hitting them there will cause a critical hit (more damage than normal). Also, for these combat training trials, all other attacks will be ineffective, so you will need to actually perform the maneuver asked of you here.
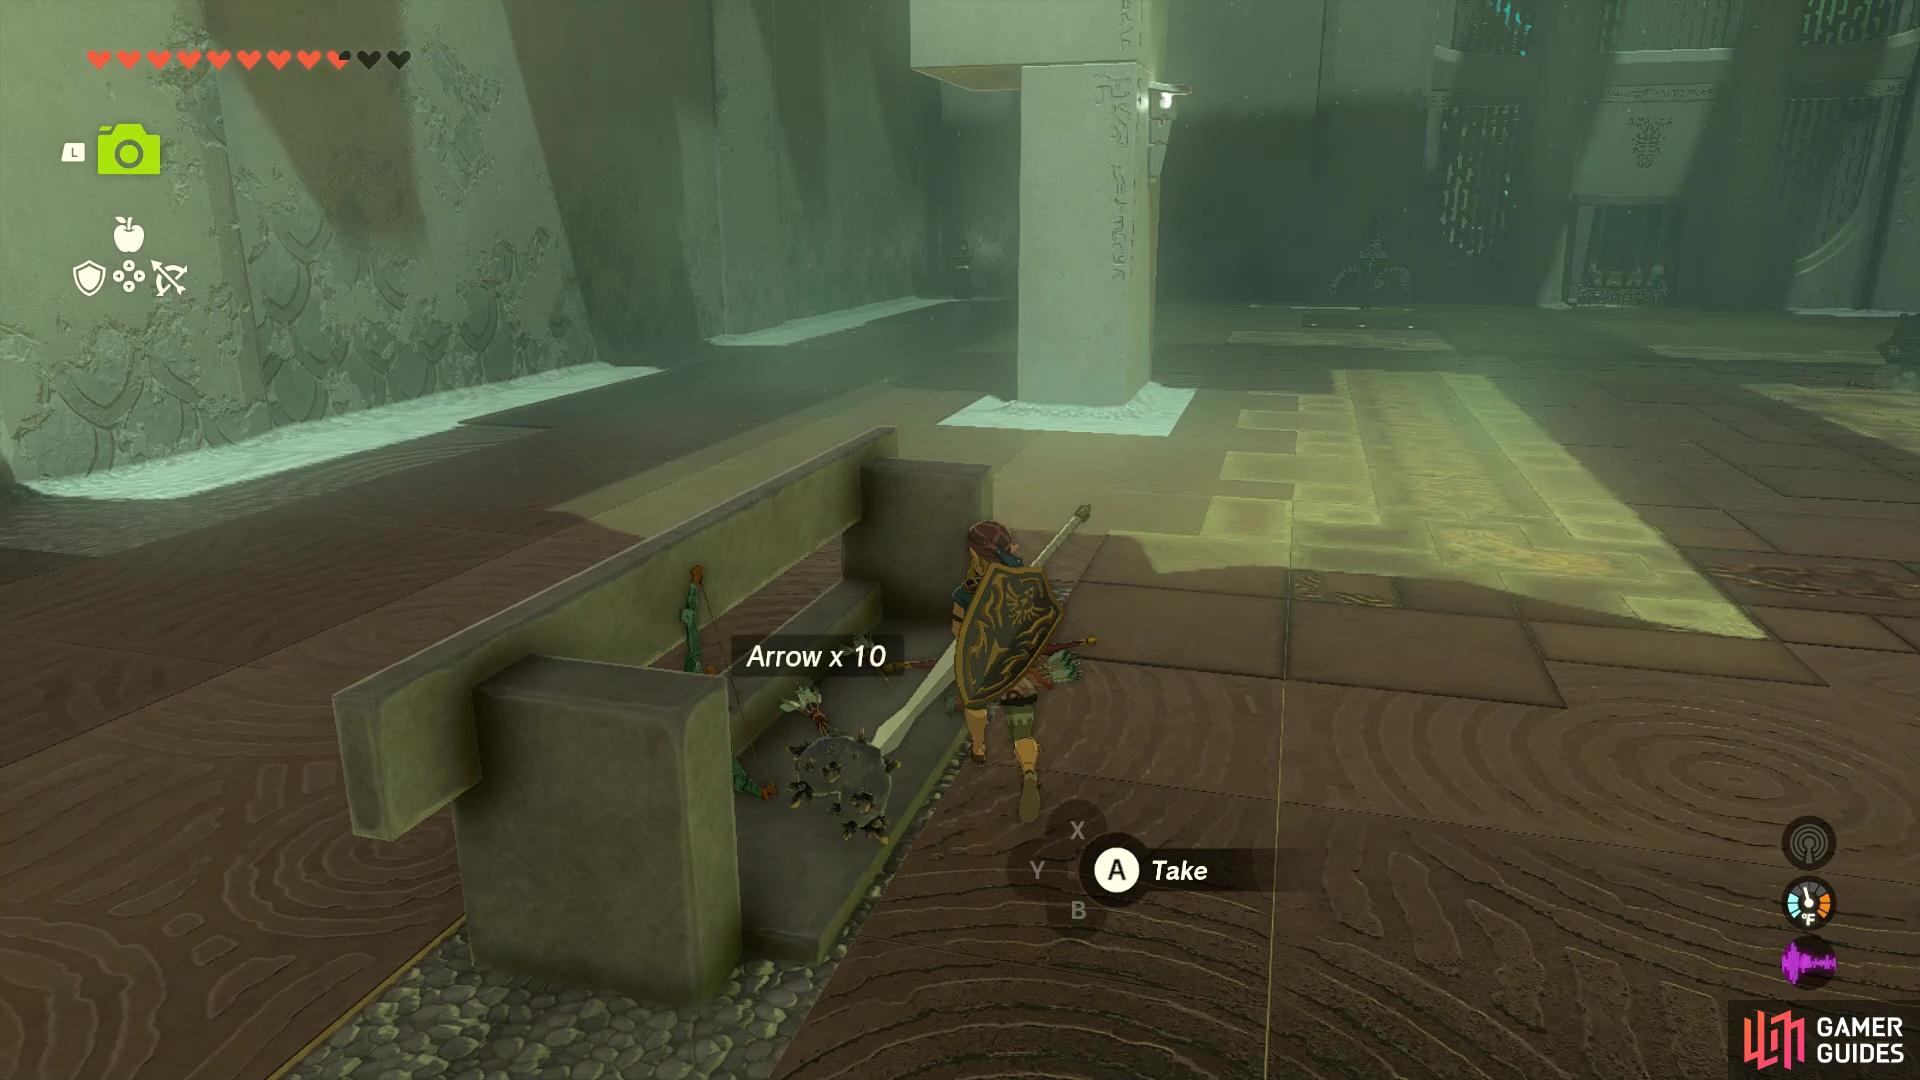
(1 of 3) There is a bow and some arrows to the side, in case you don’t have any on you.
These Constructs will also be armed with bows, and should you be running low on arrows or not have a bow yourself, there will be one off to the side, completed with two ![]() Arrow x10s on the ground. After you hit the first Construct with a headshot, two additional ones will appear and your final bit will involve defeating all of them, with more headshots, of course. Note that these Constructs will only fire a single arrow at you before they ditch the bow and chase after you with melee strikes.
Arrow x10s on the ground. After you hit the first Construct with a headshot, two additional ones will appear and your final bit will involve defeating all of them, with more headshots, of course. Note that these Constructs will only fire a single arrow at you before they ditch the bow and chase after you with melee strikes.
So, if you happen to miss your first shot at the Constructs, then you might need to run away for a little bit, allowing yourself some room to get another shot on them. After defeating all three Constructs, the door to the exit will open, where you can find the shrine’s chest, which contains a ![]() Mighty Construct Bow (seems to have the Durability Up buff on it, too). Head to the altar after that and grab the
Mighty Construct Bow (seems to have the Durability Up buff on it, too). Head to the altar after that and grab the ![]() Light of Blessing to be finished with this shrine for good.
Light of Blessing to be finished with this shrine for good.
No Comments