
Shrines are one of the core gameplay elements in The Legend of Zelda: Tears of the Kingdom. Scattered throughout Hyrule, shrines typically require you to solve some sort of puzzle or combat trial, upon the completion of which you’ll be rewarded with a ![]() Light of Blessing and potentially equipment. Shrines can also serve as fast travel points - all you have to do is interact with them. Since completing shrines will make your character stronger and provide exploration footholds, it’s essential that you conquer them whenever possible. This page will provide a walkthrough for Ren-iz Shrine.
Light of Blessing and potentially equipment. Shrines can also serve as fast travel points - all you have to do is interact with them. Since completing shrines will make your character stronger and provide exploration footholds, it’s essential that you conquer them whenever possible. This page will provide a walkthrough for Ren-iz Shrine.
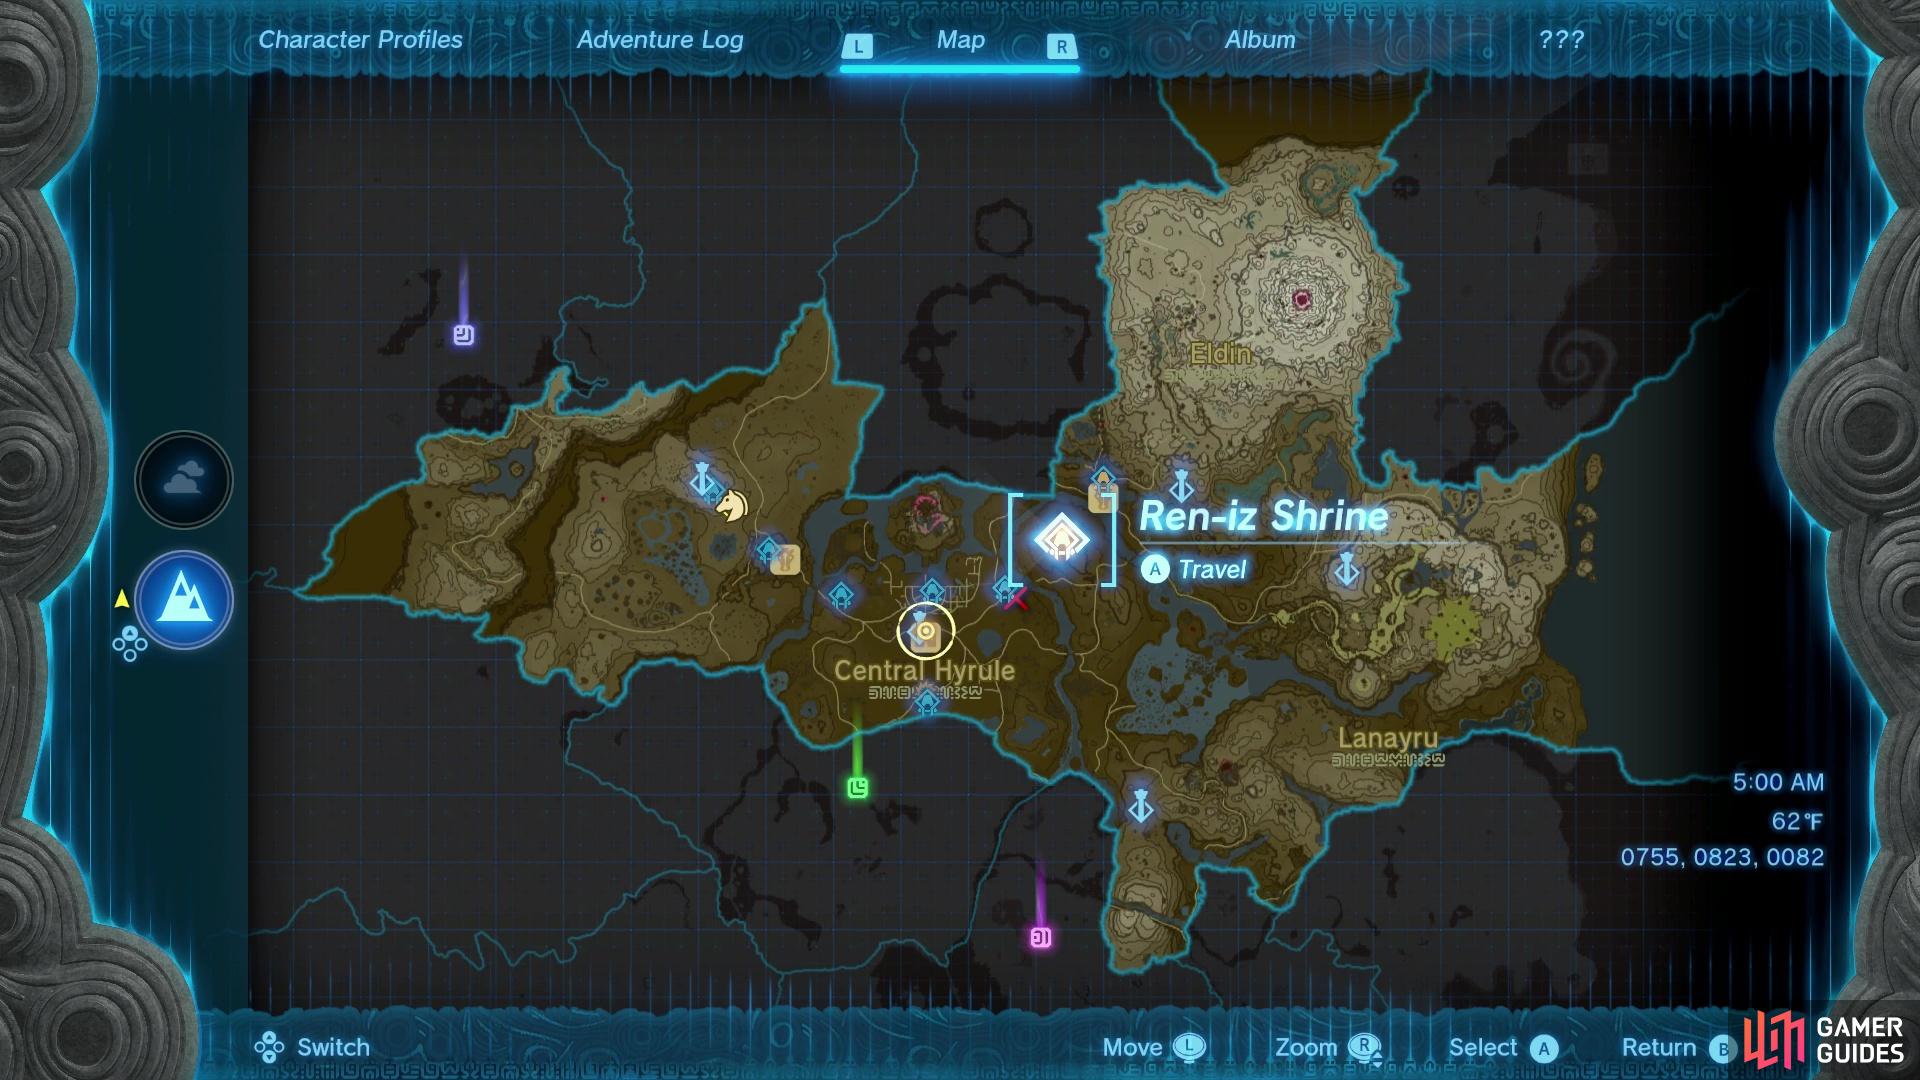
Ren-iz Shrine can be found northeast of Lookout Landing, hidden in a massive tree stump atop Crenel Hills.
Where to find Ren-iz Shrine in Tears of the Kingdom
Ren-ia Shrine isn’t all that far away from ![]() Lookout Landing, just head northeast to reach Yamiyo Shrine, then continue northeast across a river to find an odd, rocky highlands punctuated by the remains of massive tree stumps (this is marked as Crenel Hills on the map). There are Aerocluda flying around in the sky, and many of these tree stumps now house
Lookout Landing, just head northeast to reach Yamiyo Shrine, then continue northeast across a river to find an odd, rocky highlands punctuated by the remains of massive tree stumps (this is marked as Crenel Hills on the map). There are Aerocluda flying around in the sky, and many of these tree stumps now house ![]() Bokoblins. The particular stump you’re looking for is the northeasternmost of the stumps - you’ll find Ren-iz Shrine inside.
Bokoblins. The particular stump you’re looking for is the northeasternmost of the stumps - you’ll find Ren-iz Shrine inside.
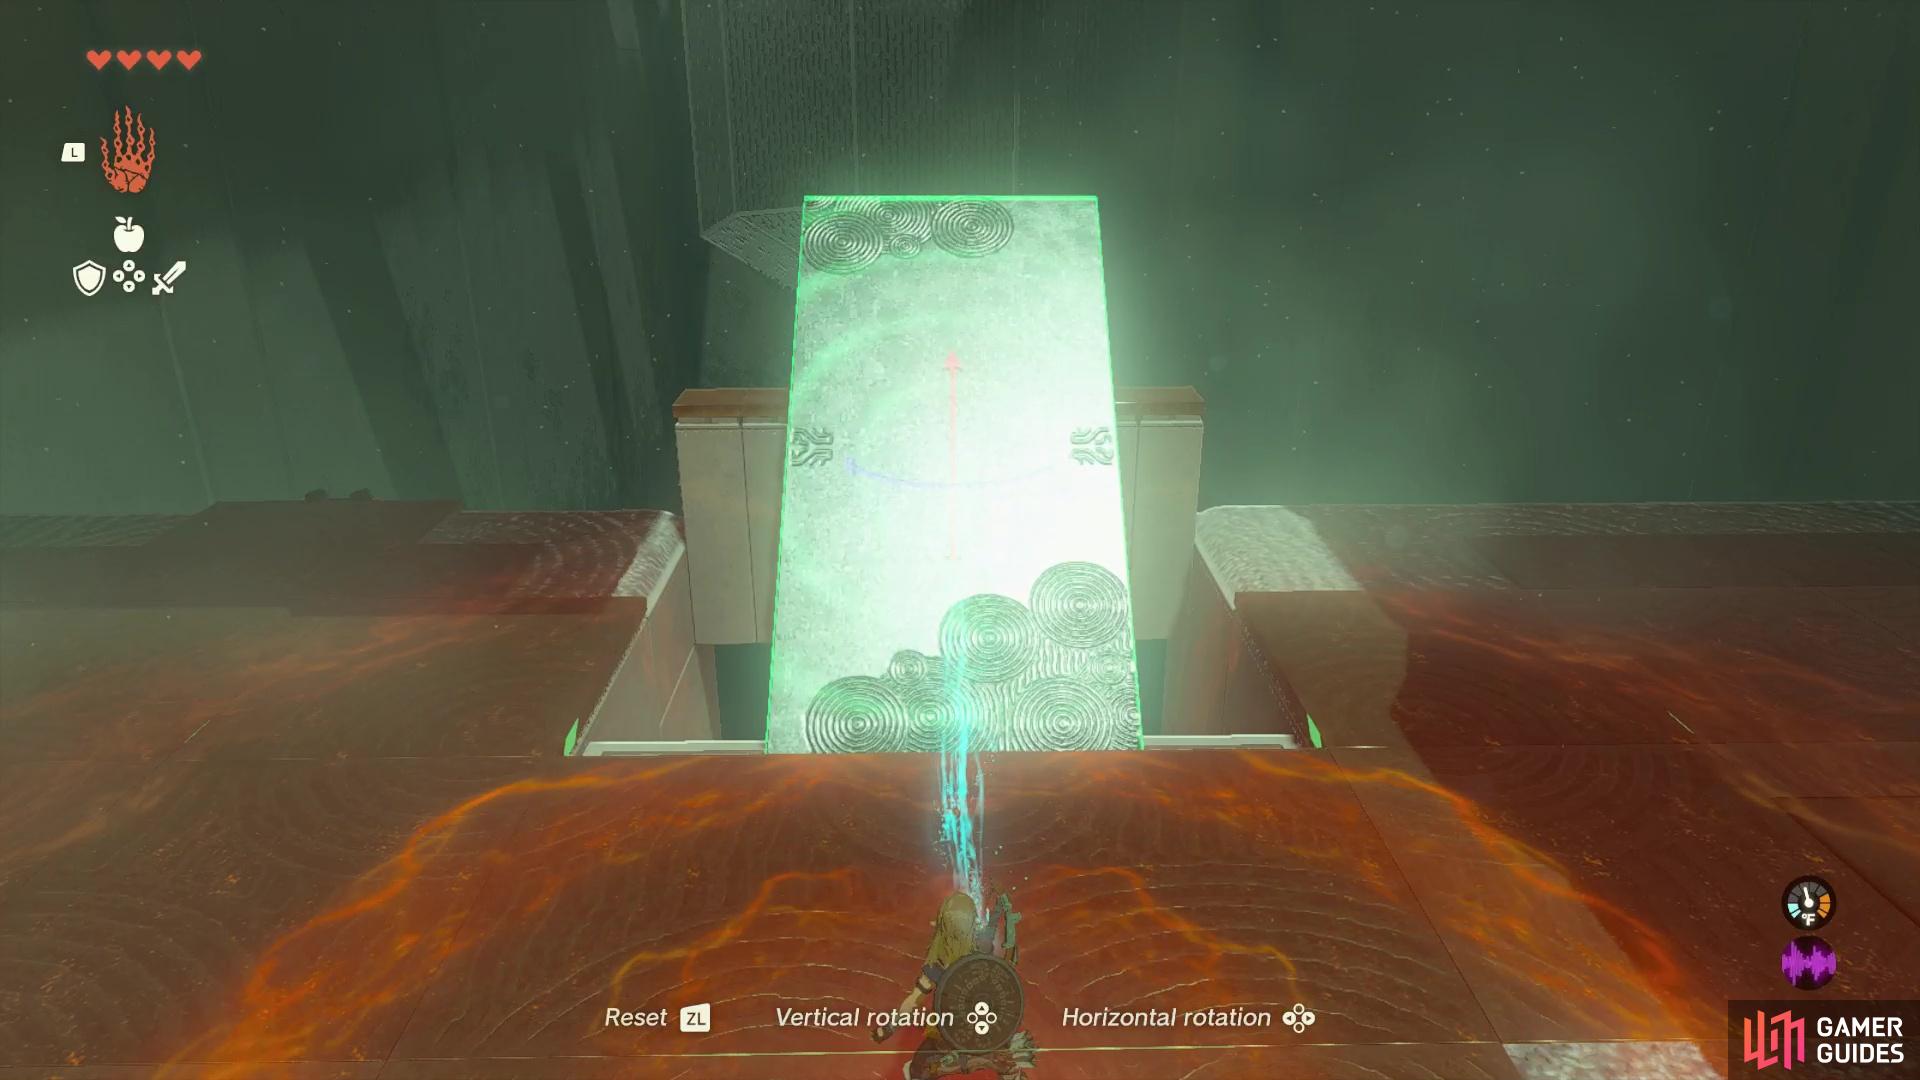
Fashion a makeshift ramp out of a rectangular platform,
and launch the ball into the goal.
How to Complete Ren-iz Shrine in Tears of the Kingdom
Enter the Ren-iz Shrine and you’ll find that it’s subtitled ”Jump the Gaps”, and if you’re worried that this means platforming… don’t be. Aside from the shrine’s obligatory optional treasure, you won’t be jumping anything.
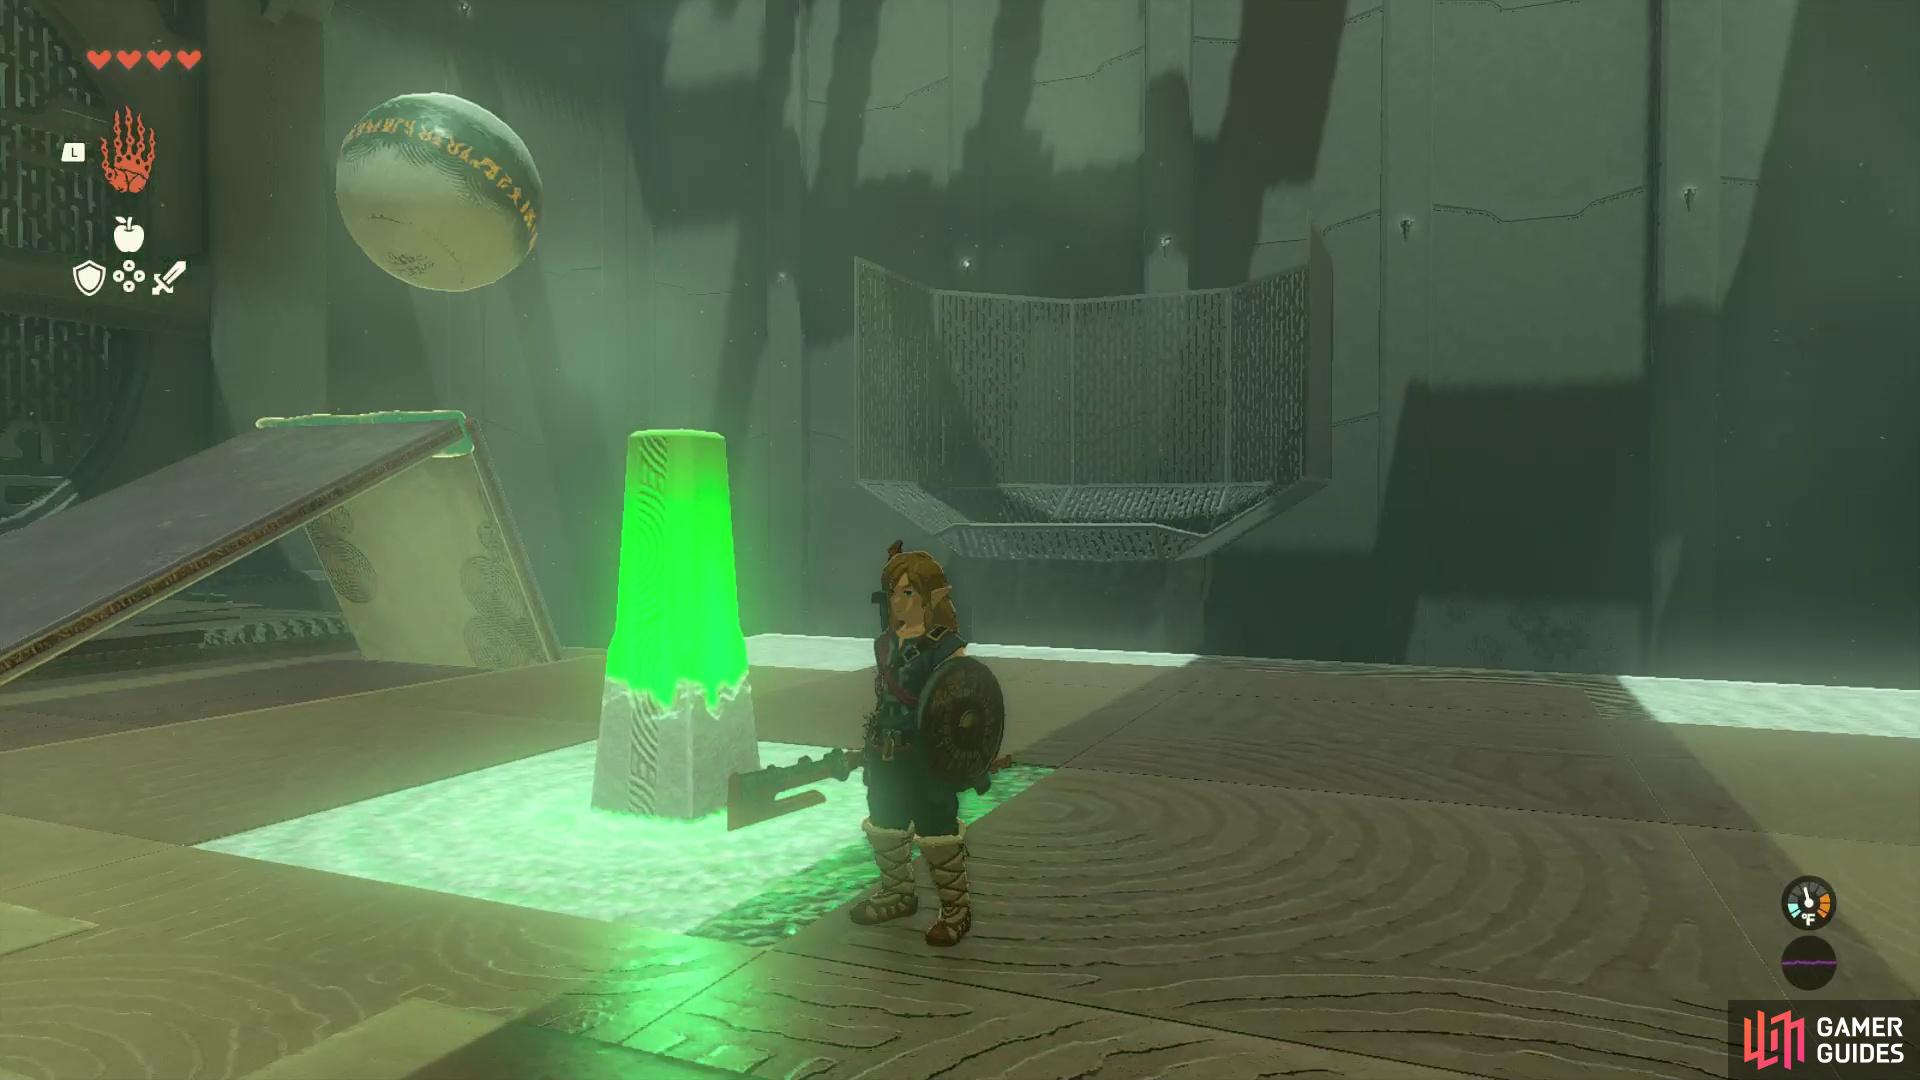
Head downstairs and ahead of you you’ll spot a crystal, to the left is a ramp and a chute, and to the right is a pit, a misaligned wall, and beyond that, a “goal” of sorts. If you visited Mayachin Shrine or Tsutsu-um Shrine previously you’ll have an idea of how some of these features work:
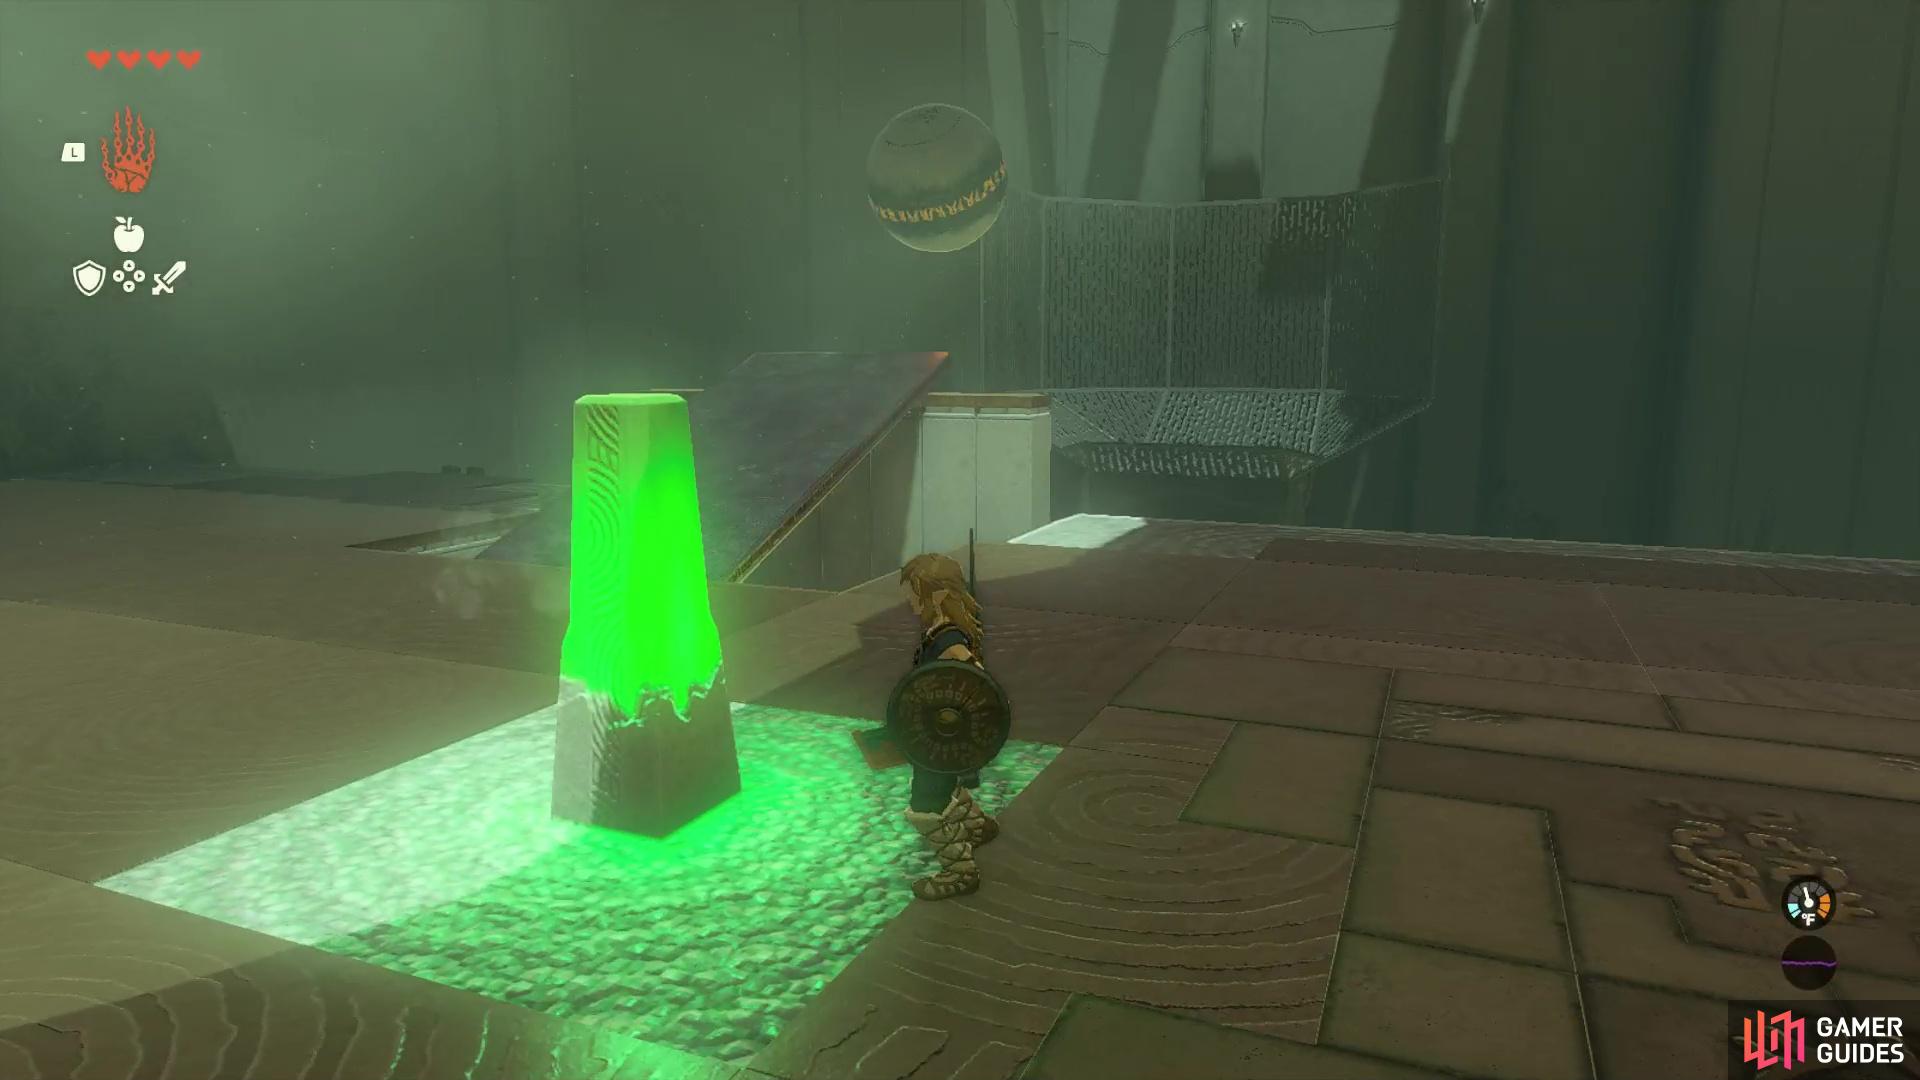
- Crystal: Hit it with a weapon and it’ll turn green - toggles some puzzle element (in this case, spawns a ball).
- Chute and Ramp: Spawns and guides a large ball, respectively.
- Goal: Get the ball in the goal and puzzle-solvey things will happen.
The first puzzle here should be pretty obvious, as aside from the ball-spawning crystal you really only have one object you can interact with. Beyond the crystal you’ll find a rectangular platform on the ground. Grab it with ![]() Ultrahand and place it diagonally over the pit, opposite the ramp. Once done, hit the crystal and, if you’ve lined things up properly, the ball should fall out of the chute, roll down the ramp, cross the floor, hit your platform and fly off into the goal. Once it settles into a socket at the bottom of the goal, the door leading to the second puzzle will open. Not much can go wrong here, just don’t stand in front of the ball while it’s rolling and place the platform correctly.
Ultrahand and place it diagonally over the pit, opposite the ramp. Once done, hit the crystal and, if you’ve lined things up properly, the ball should fall out of the chute, roll down the ramp, cross the floor, hit your platform and fly off into the goal. Once it settles into a socket at the bottom of the goal, the door leading to the second puzzle will open. Not much can go wrong here, just don’t stand in front of the ball while it’s rolling and place the platform correctly.
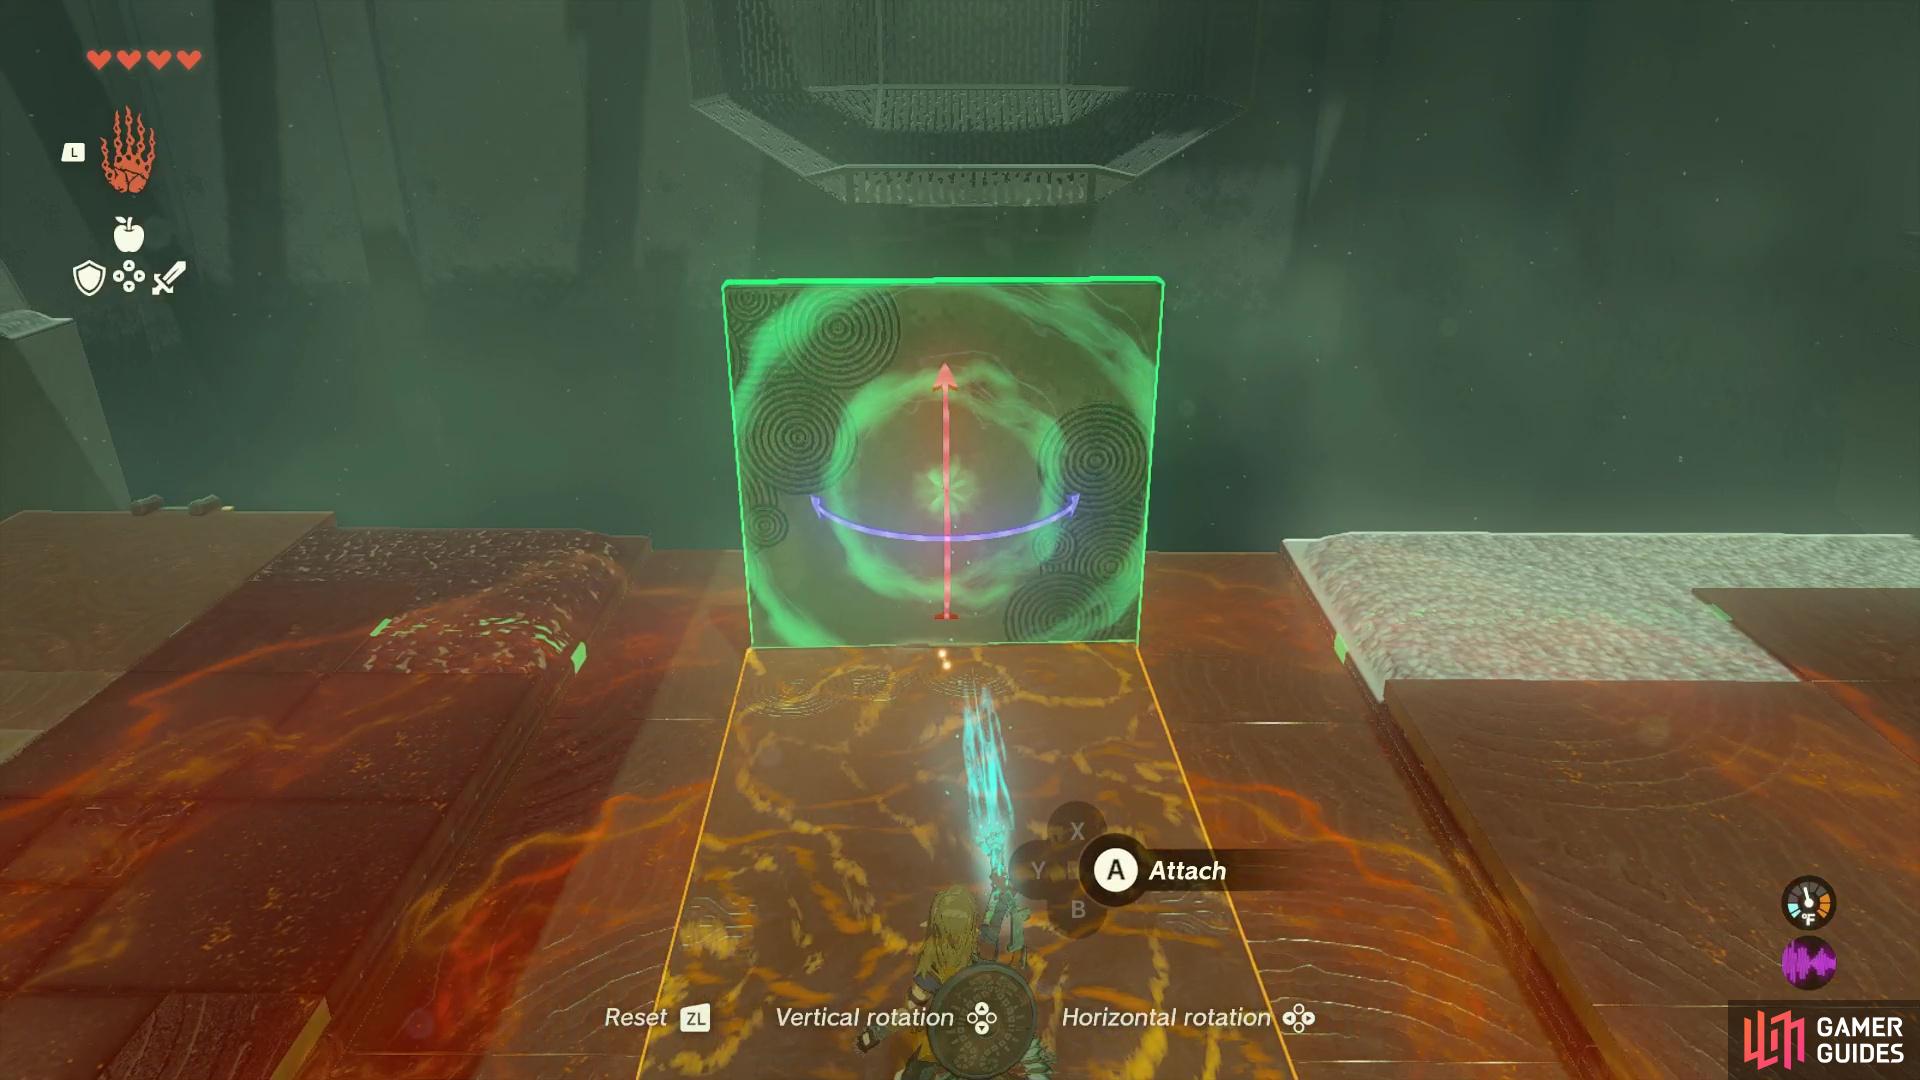
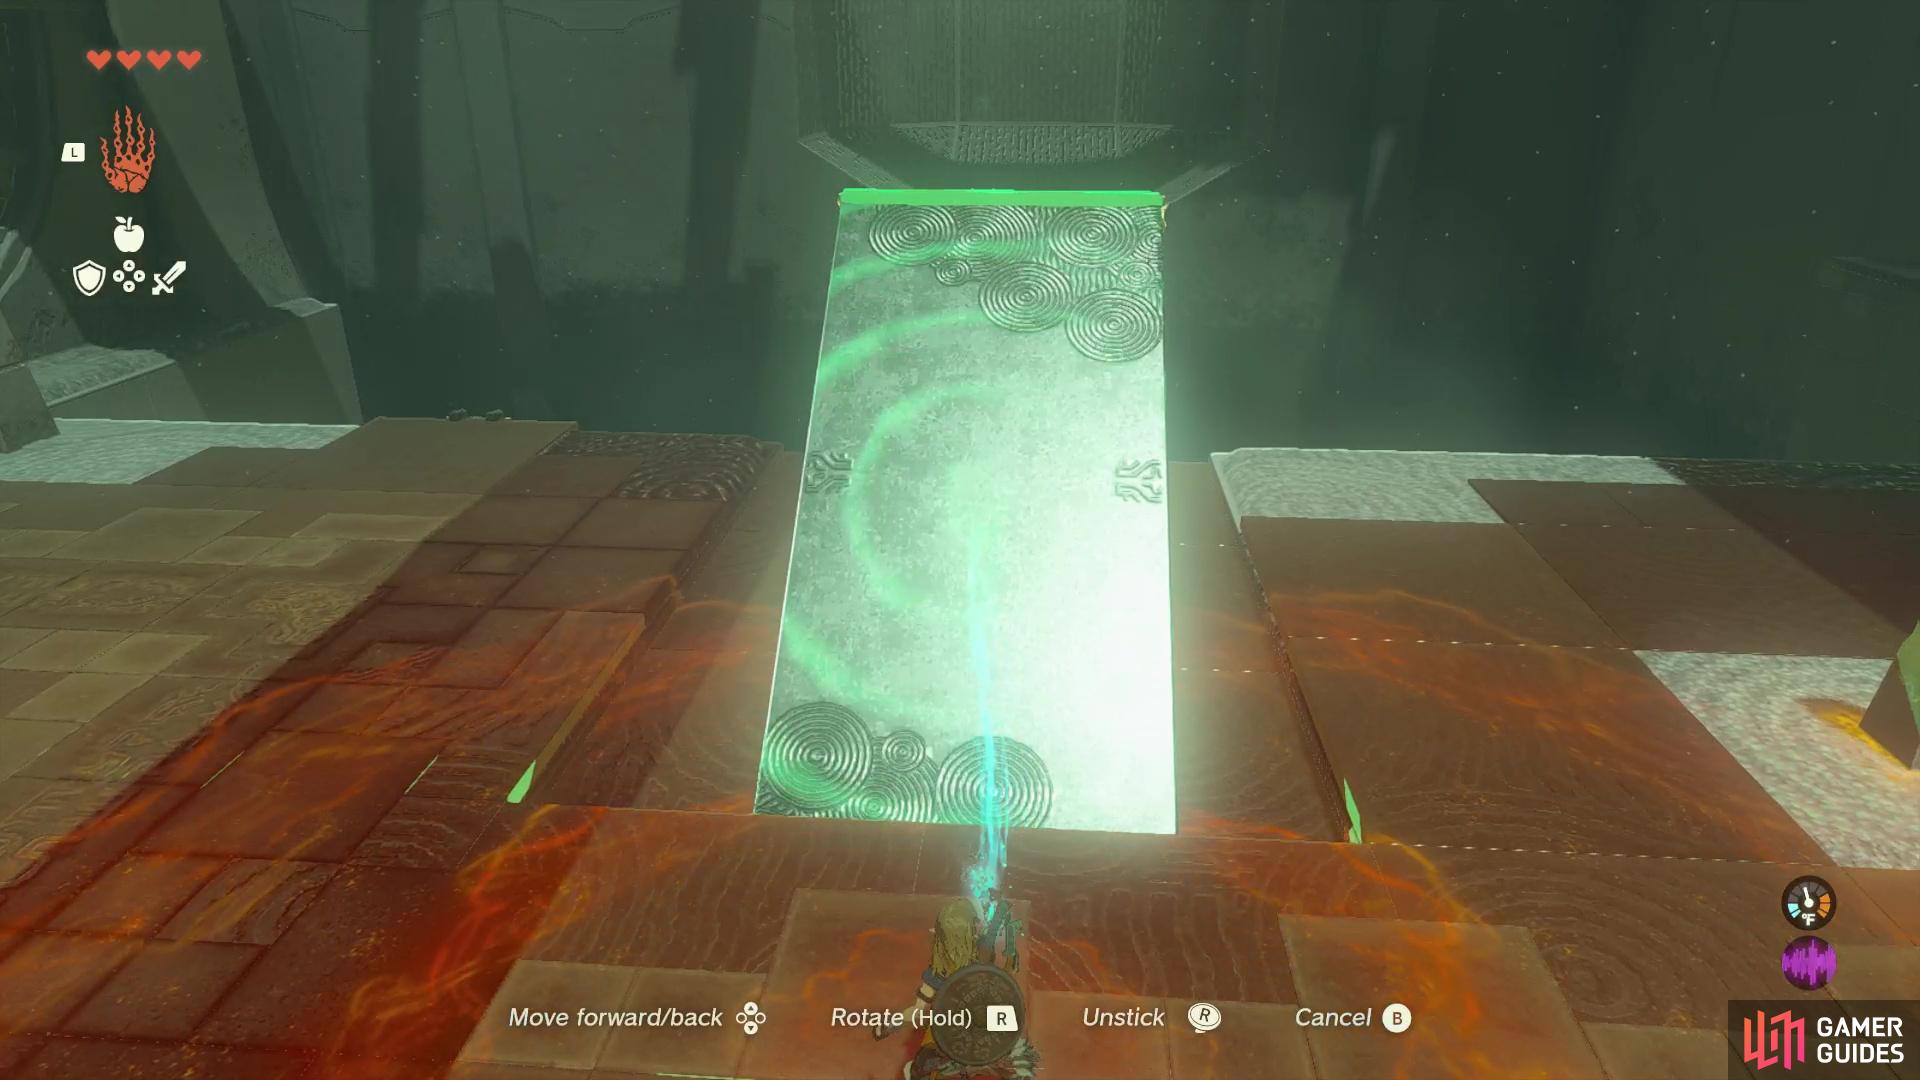
For the second puzzle, build an L-shaped platform,
and use it to guide a second ball into a goal.
The second puzzle is a touch more complicated, if only because it’s difficult to be any simpler than the previous one. Same general setup, chute, ramp, ball, goal. This time, however, you have two platforms (a large rectangular one and a small square one) and you do not have an elevated section of wall to brace your makeshift ramp against. The solution is simple - just attach the square platform to the edge of the rectangular one at a right angle (form a capital “L”), then place it opposite the ramp. Hit the crystal and if you lined things up, the ball should fly across the gap and into the goal, opening the door to the exit.
Move your ramp opposite an island bearing a chest,
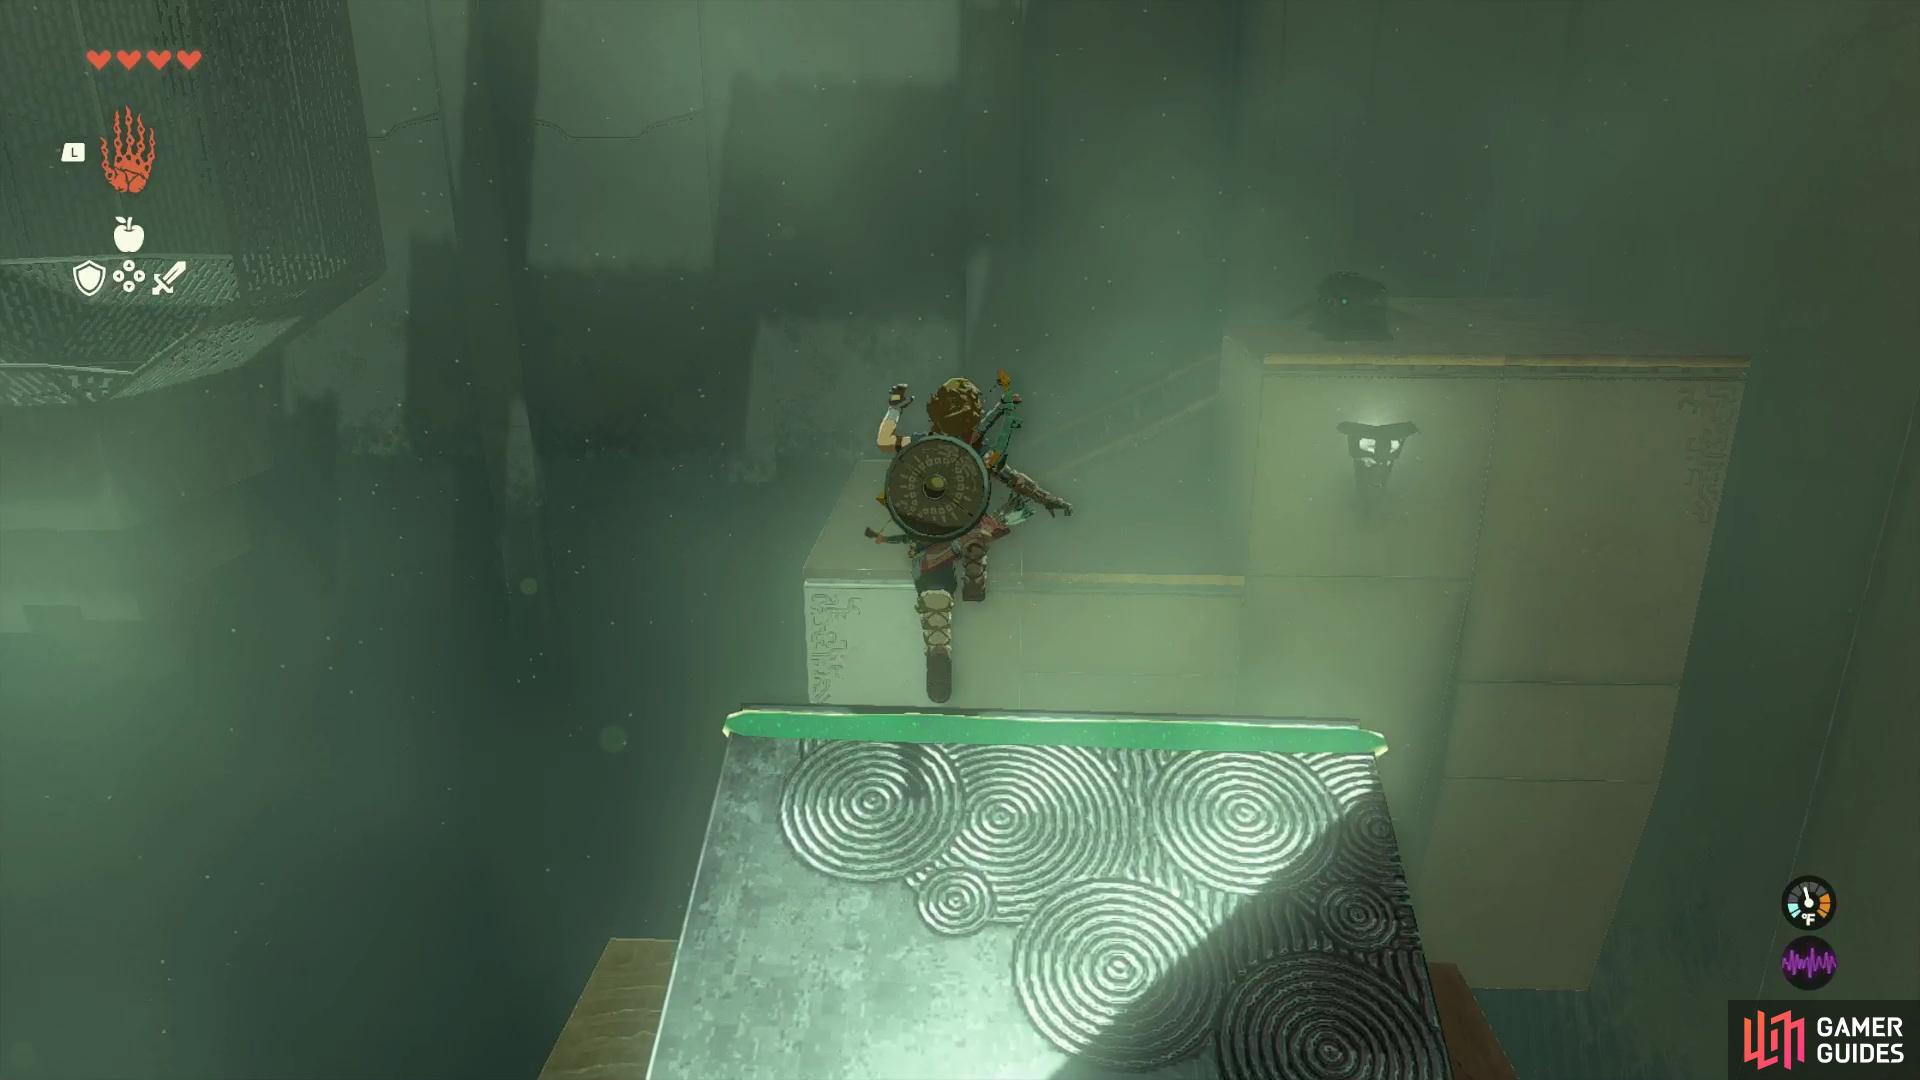
then run up and glide off the ramp to reach the chest, wherein you’ll find a Strong Zonaite Shield.
Before you go, however, you might as well get the treasure chest in this shrine - you already constructed the tool you need. Take the L-shaped platforms and head to the opposite end of the chamber from the exit to find an island just off the main walkway (same side of the chamber as the goal). Put your makeshift ramp down so you can run up it, then leap into the abyss and glide over to this island. ![]() Ascend a ramp and loot a chest to score a
Ascend a ramp and loot a chest to score a ![]() Strong Zonaite Shield.
Strong Zonaite Shield.
Once that treasure is yours, glide back over to the main walkway and exit the shrine, snagging another Light of Blessing on your way out.
No Comments