
Completing all of the Shrines in Tears of the Kingdom is no mean feat, and you’re going to have to tackle various challenges and puzzles if you want to do so. The Joku-usin Shrine is a particularly awkward Shrine to take on as there is one specific element involved that is extremely powerful.
Below, we’ll run you through how to complete the !Joku-usin Shrine as well as its location so you can cross this one off the list nice and easily, allowing you to move onto the various others scattered around Hyrule.
Joku-usin Shrine Location in Tears of the Kingdom
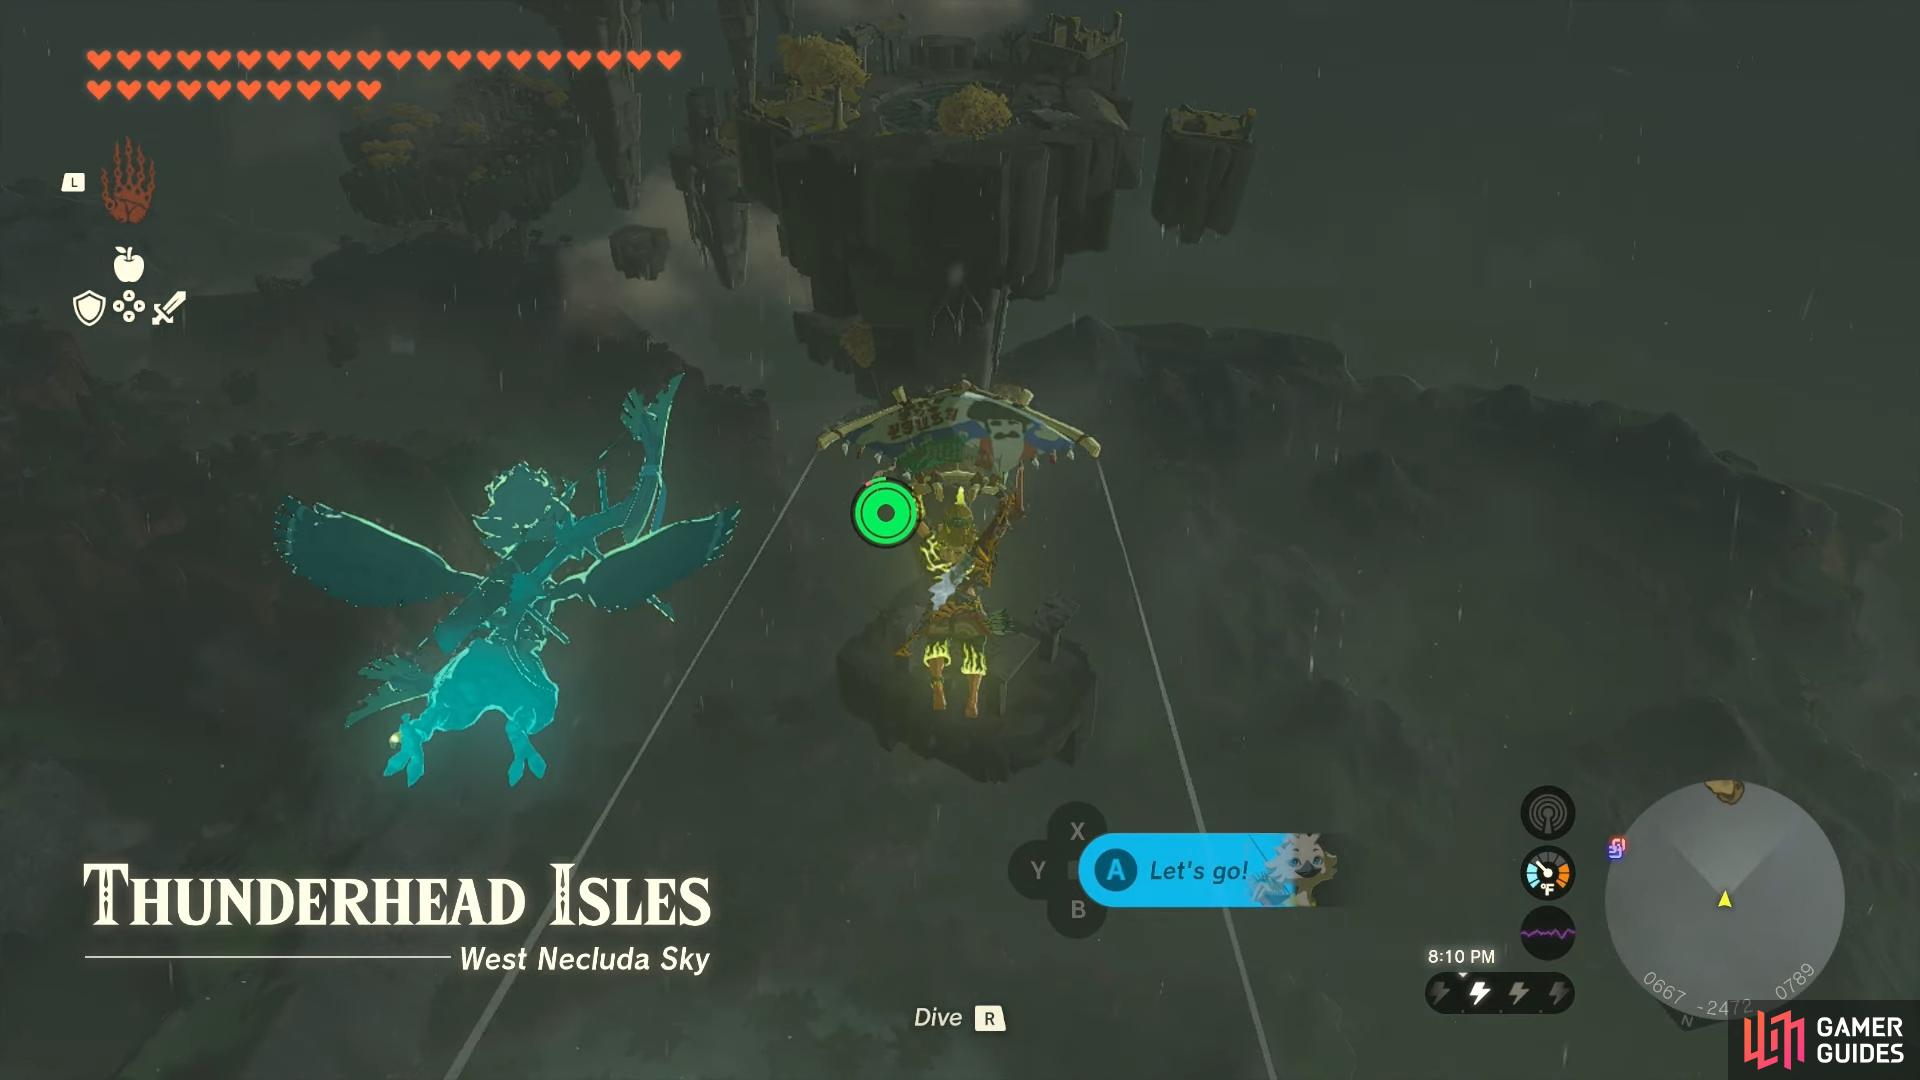
The !Joku-usin Shrine is situated in the ![]() Thunderhead Isles, above the
Thunderhead Isles, above the ![]() Faron region (Map Marker). However, you can’t immediately access this area, as it is enveloped by a cloud that obstructs vision and impedes progress. The game uses this as a safeguard to ensure you can’t skip ahead, preserving the flow of the main storyline as much as it can.
Faron region (Map Marker). However, you can’t immediately access this area, as it is enveloped by a cloud that obstructs vision and impedes progress. The game uses this as a safeguard to ensure you can’t skip ahead, preserving the flow of the main storyline as much as it can.
To gain access to the Thunderhead Isles, you must first complete the main story quest called ![]() Regional Phenomena. This quest requires you to travel across the four major regions of the game, resolving their unique problems through the completion of their ‘temples’. Upon finishing, report back to
Regional Phenomena. This quest requires you to travel across the four major regions of the game, resolving their unique problems through the completion of their ‘temples’. Upon finishing, report back to ![]() Lookout Landing, from where you’ll be dispatched on another key location mission.
Lookout Landing, from where you’ll be dispatched on another key location mission.
Once that quest is completed, you’ll head to Lurelin Village and will then be directed to the Faron region. Here, you will undertake several investigations, including one in Kakariko Village. Completing these missions will dissipate the obstruction over Thunderhead Isles, also granting access to the !Joku-usin Shrine.
Bear in mind that Thunderhead Isles is a challenging area of the game, especially if you’ve already gathered many hearts. This is because the enemies you encounter here scale in difficulty and can inflict substantial damage so prepare yourself adequately before setting off to this region.
Once you’re all prepared, the best way in reaching this shrine is to start at the Popla Foothills Skyview Tower. Here, you can launch yourself directly into the air and simply glide down to the Thunderhead Isles.

The !Popla Foothills Skyview Tower
Gliding to !Thunderhead Isles
Once you land, you’ll be heading in a southward direction, and you’ll be utilising your ![]() Ascend ability quite a bit here to morph through a lot of the island parts sticking out from below.
Ascend ability quite a bit here to morph through a lot of the island parts sticking out from below.
The only real tricky part in navigating this area is when the mine cart tracks are involved. You’ll need to create a wooden cart replacement so you can avoid getting hit by lightning and a fan to propel you across. See the image below for how to do this.
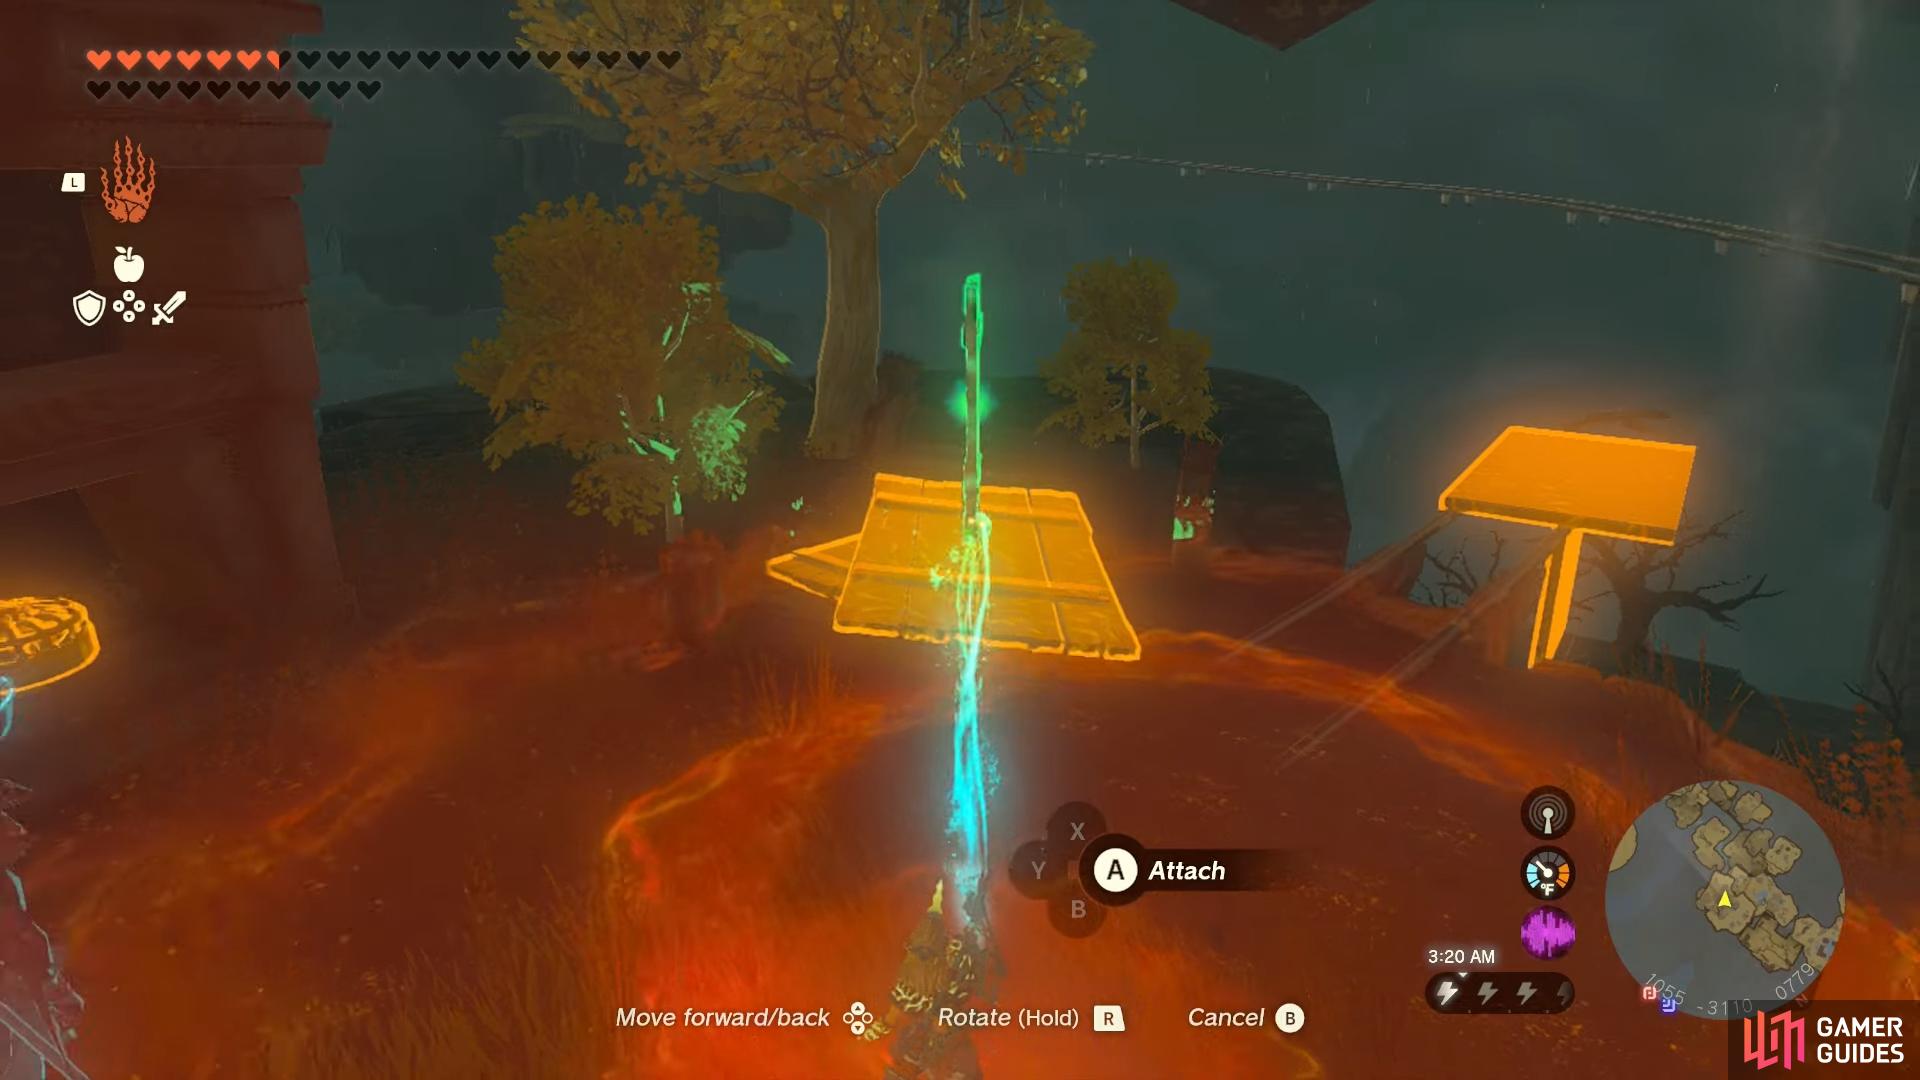
How to make the makeshift mine cart
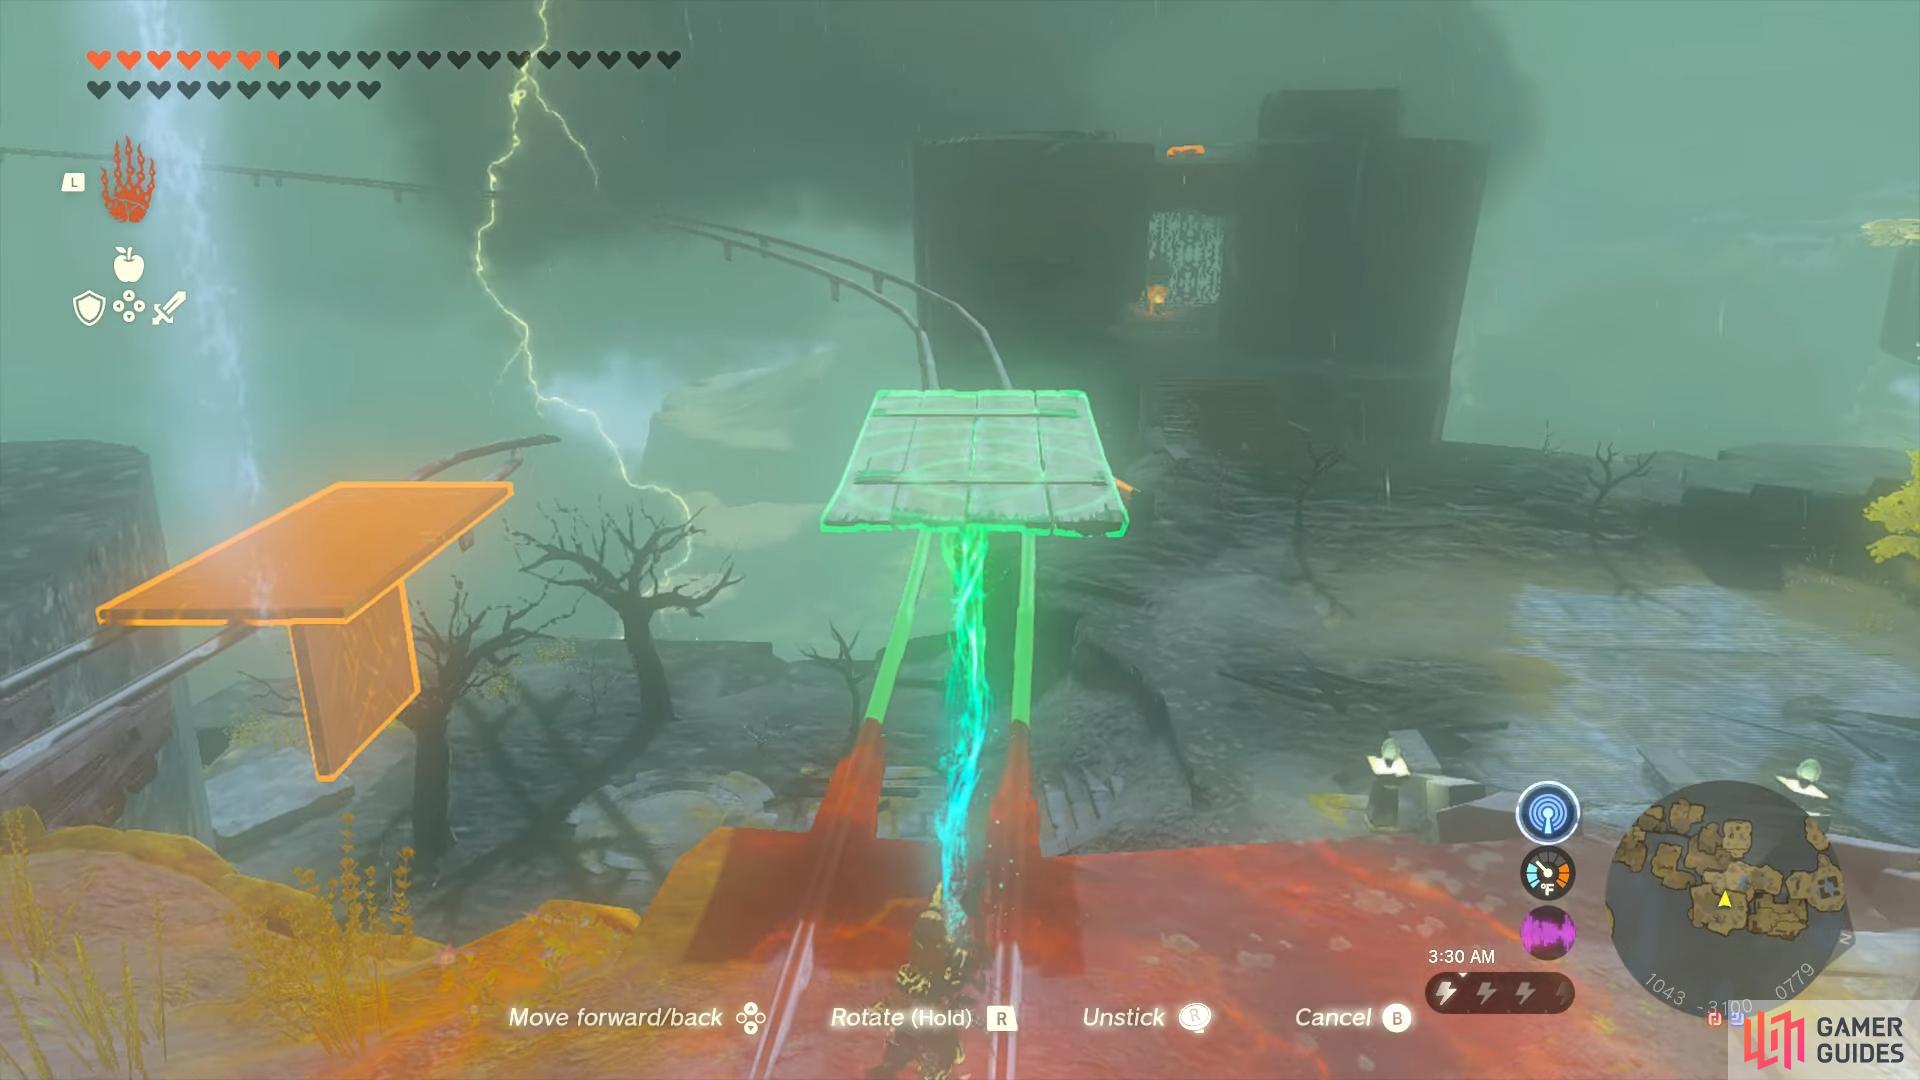
Placing the makeshift mine cart on the rails.
Once you reach the second set of mine cart tracks, you’ll need to use your ascend ability mid way through to make it to the shrine so keep an eye on your map and potentially place a marker down before you get to this point using the aforementioned point on our interactive map.
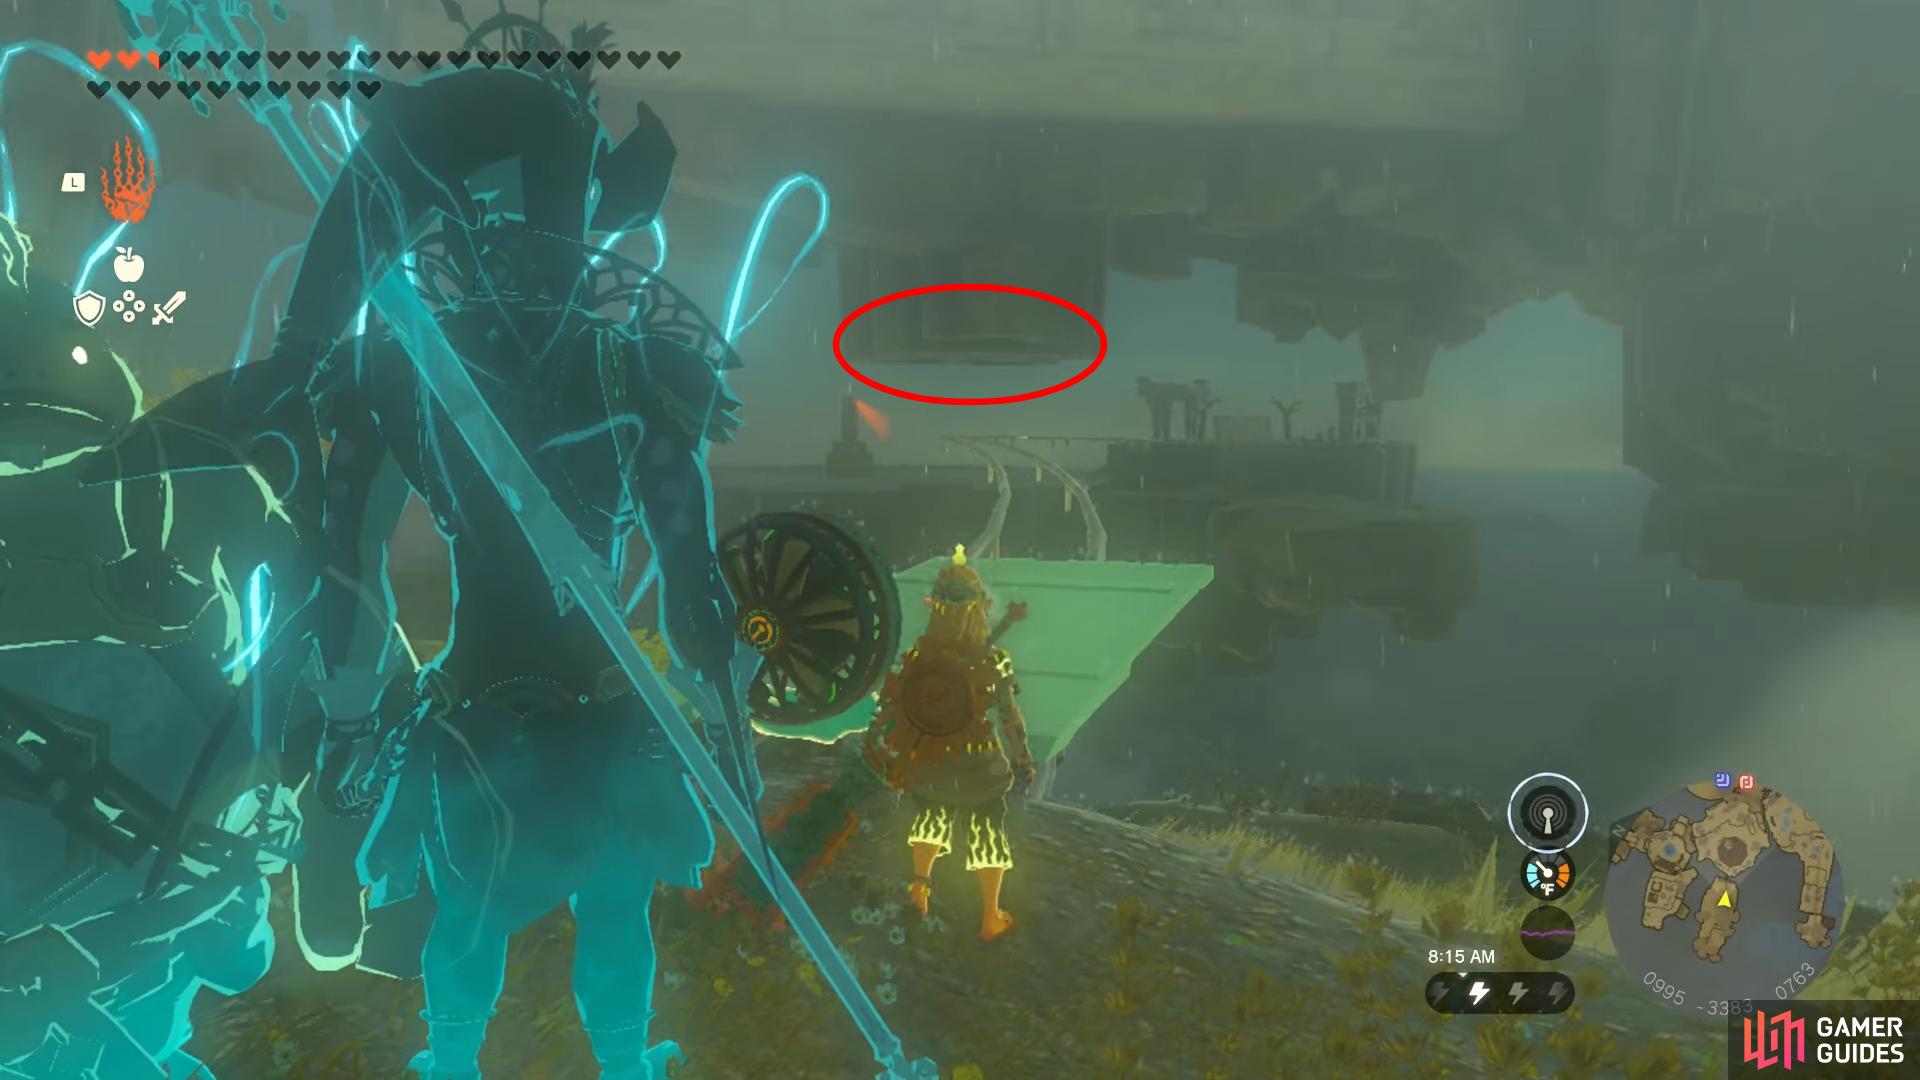
The !Joku-usin Shrine ascend point.
Joku-usin Shrine - Proving Grounds: Short Circuit Challenge Walkthrough
The !Joku-usin Shrine, containing the Proving Grounds: Short Circuit challenge, strips you of your gear and provides you with next to nothing to use. Your primary objective in this shrine involves combating Constructs, with a focus on utilizing elemental advantages, specifically electricity.
After entering the shrine you should pick up one of the weapons available to you as there’s literally no possibility of completing this challenge otherwise since the main goal is taking down enemies.
Moving forward from the starting area, you’ll see an archer Construct patrolling the area which you can try and sneak up on to gain a bit of an advantage.
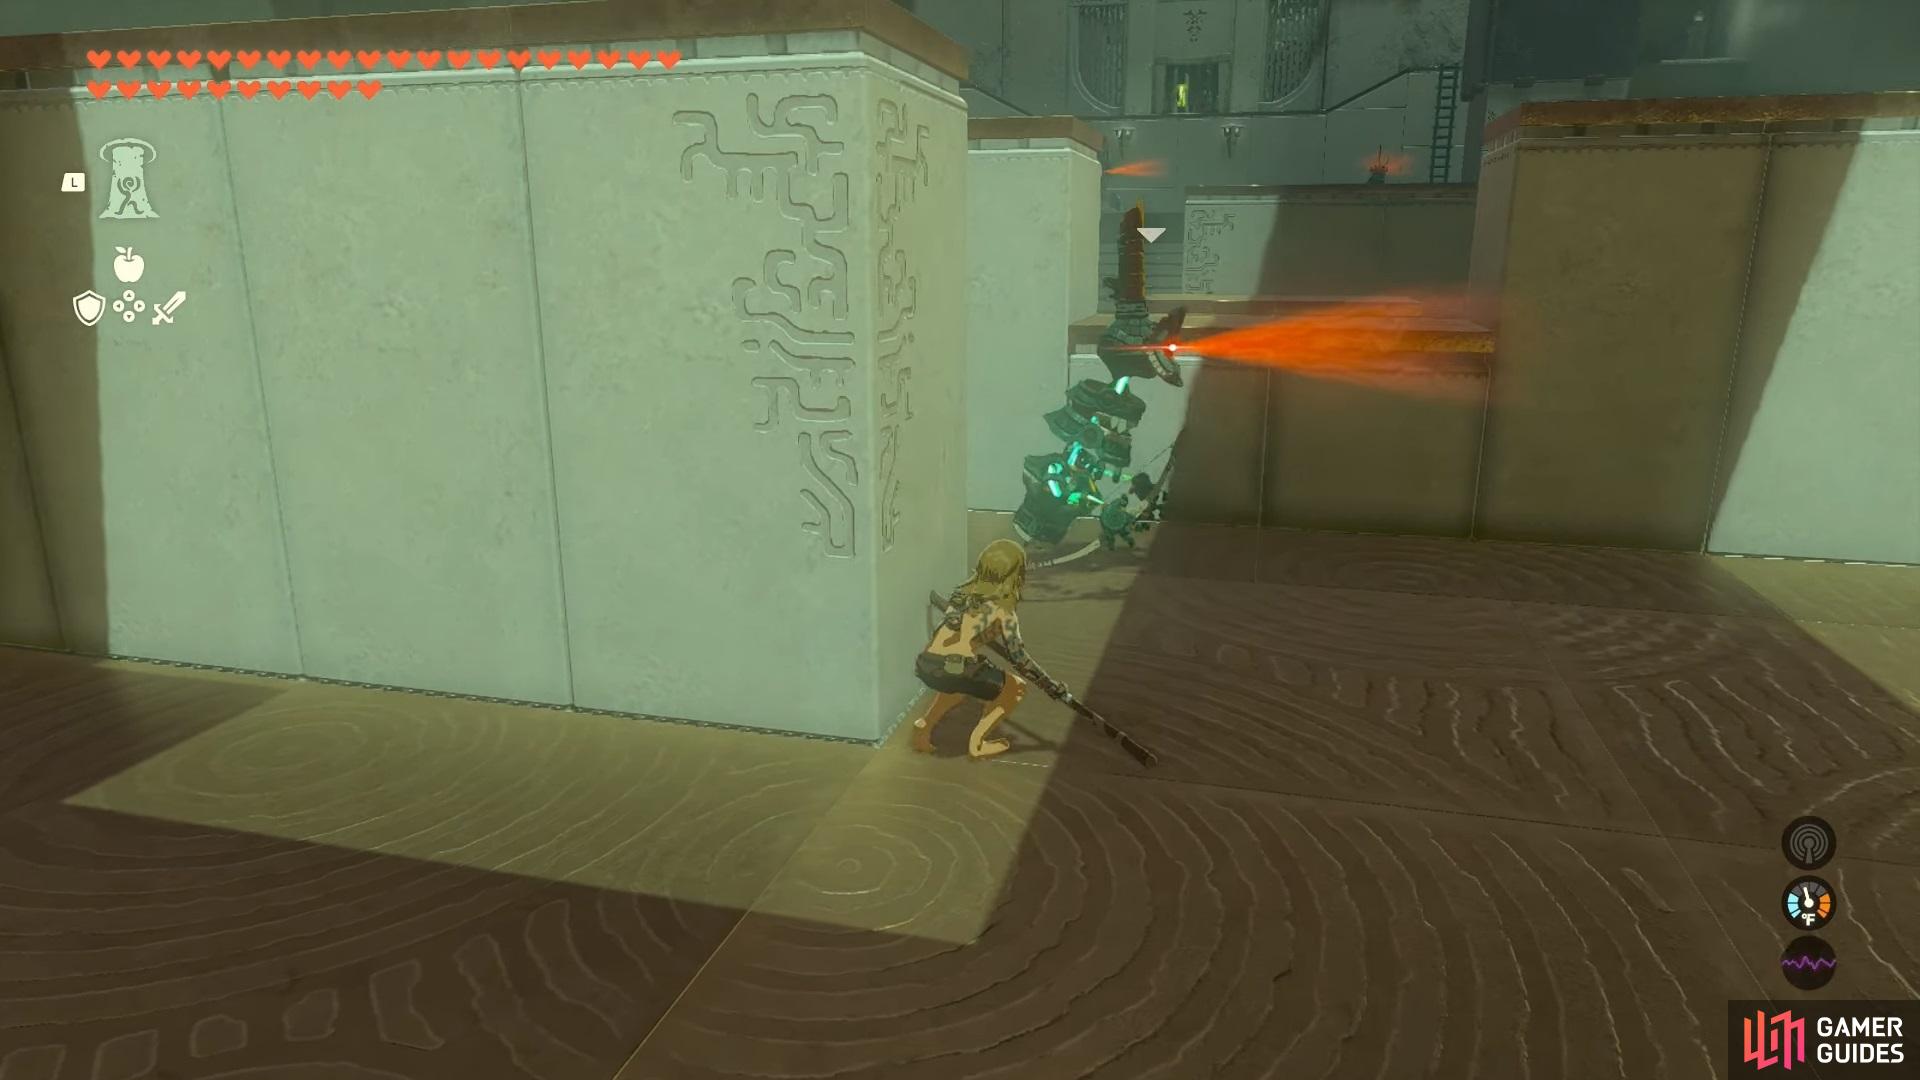
A patroling Construct in the shrine
Regardless as to whether you get a sneak strike off or not, you’ll need to defeat it before continuing because both fusing its horn and getting its bow is absolutely key to dispatching the upcoming enemies thanks to the increased damage, as well as taking down the elevated Constructs.
After taking down the first Construct, there should be another doing its rounds. Dispatch this one using your physical weapon as you’re going to be wanting to save the bow for the next set of foes.
Once the patrolling Constructs are neutralized, you need to leverage the ![]() Shock Fruit growing on the shrubs in the shrine. This is because the Shock Fruit is absolutely key in taking down the Constructs that are on platforms above.
Shock Fruit growing on the shrubs in the shrine. This is because the Shock Fruit is absolutely key in taking down the Constructs that are on platforms above.
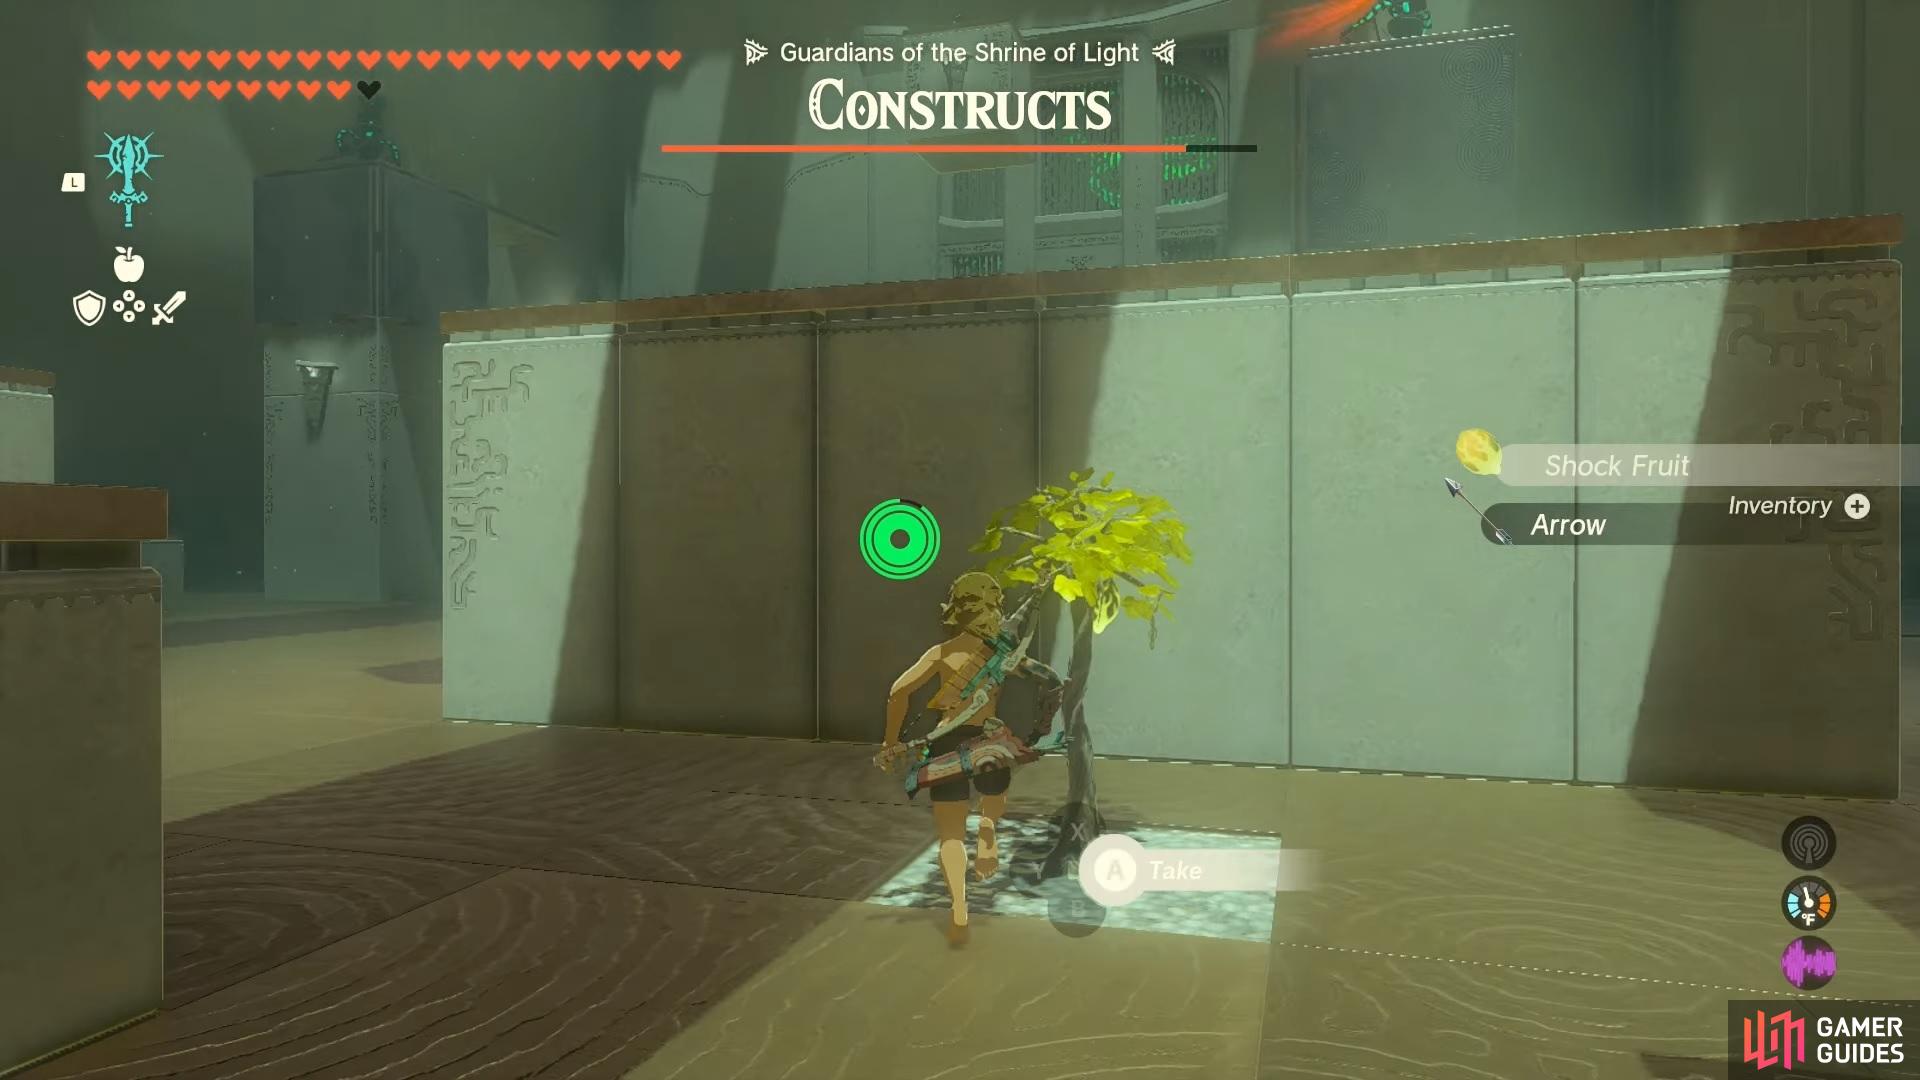
Gathering the shcok fruit
Fusing and shotting the fused arrow to shock the higher up Constructs
Once acquired, we recommend you fuse the Shock Fruit with an arrow and shooting the metal platforms on which the snipers above stand to electrocute them, hopefully taking them down in one hit.
With these out of the way, head toward the left platform and up the ladder where you can glide towards another ladder in the distance. Here, you’ll find a Shock Emitter, which you can fuse with your weapon.
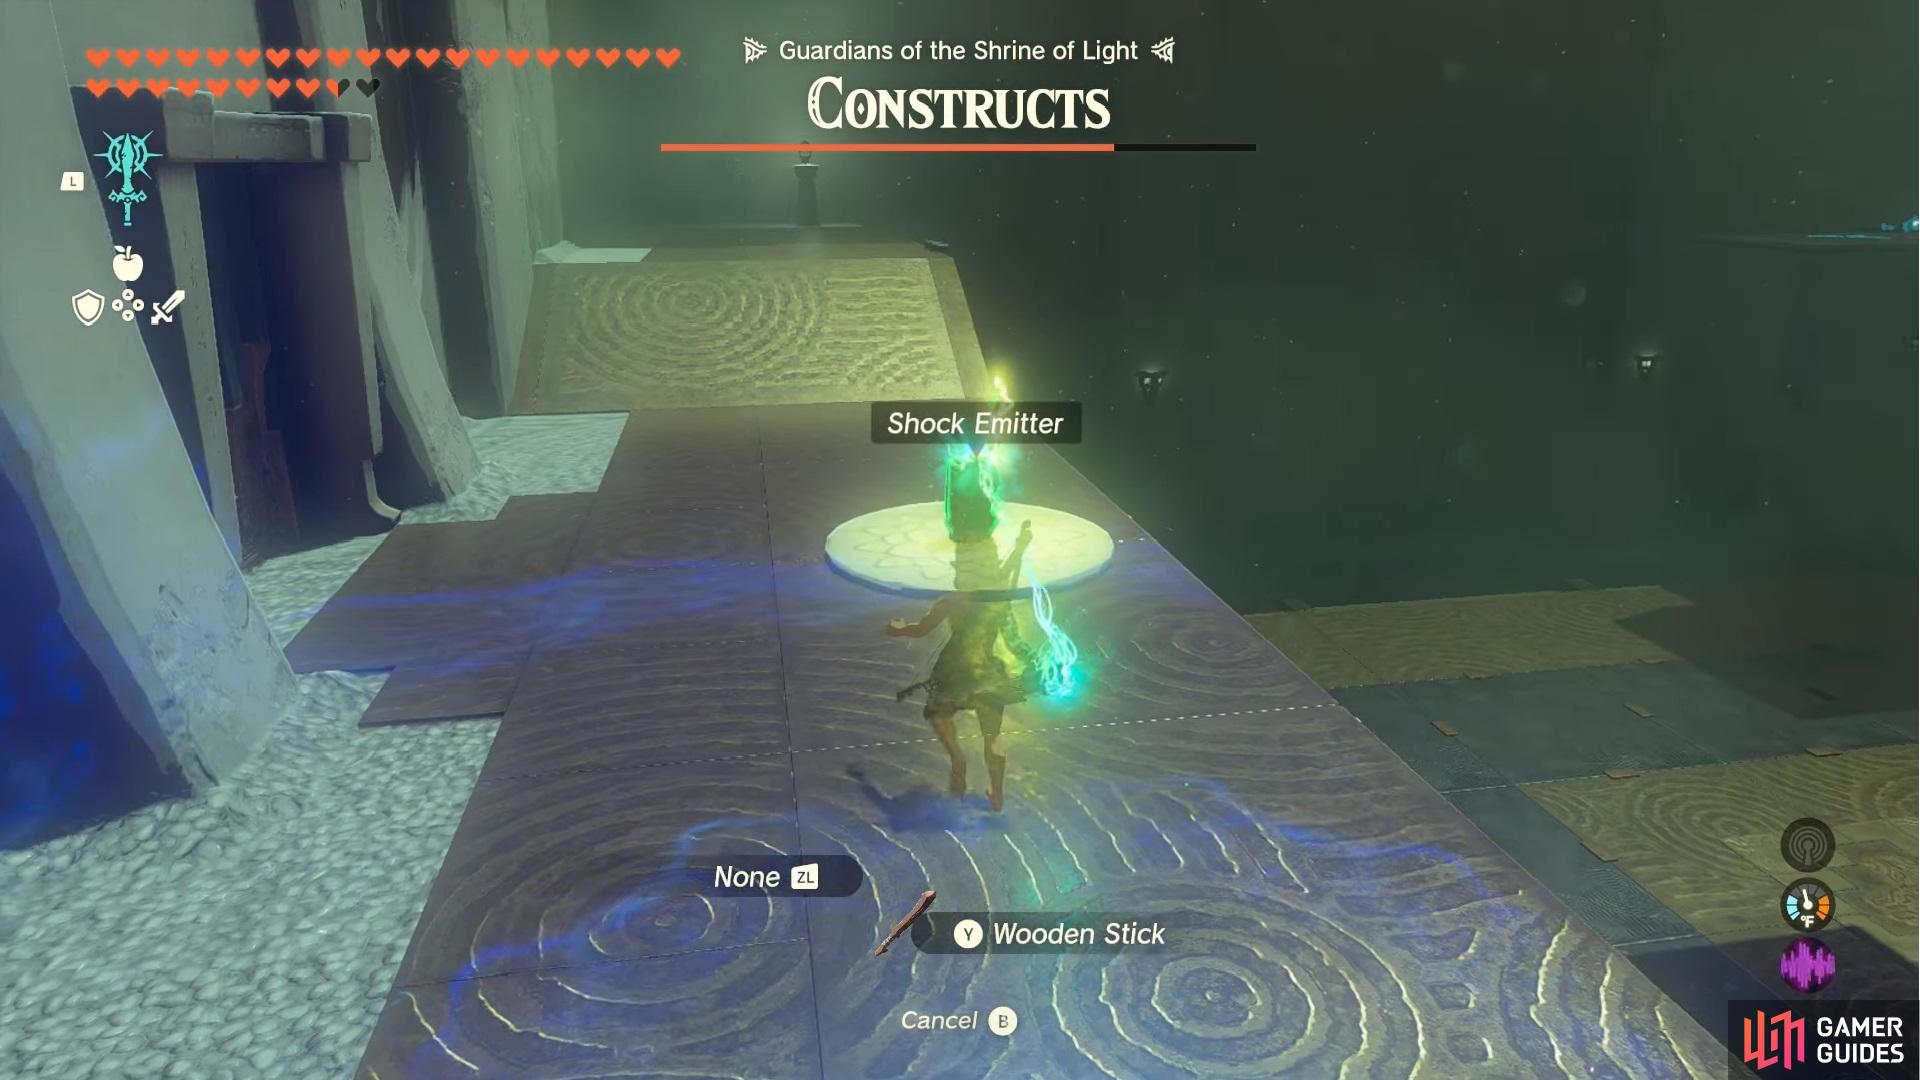
The !Shock Emitter that is used to defeat the next Constructs
At this point, it’s time for some sneaking. Crouch in a corner and allow the aggro of the enemies to reset. Afterward, your best bet is to strike the Construct close to the metal platform with the !Shock Emitter fused weapon as this will trigger a chain reaction of electricity across the metal platforms, electrocuting the remaining constructs.
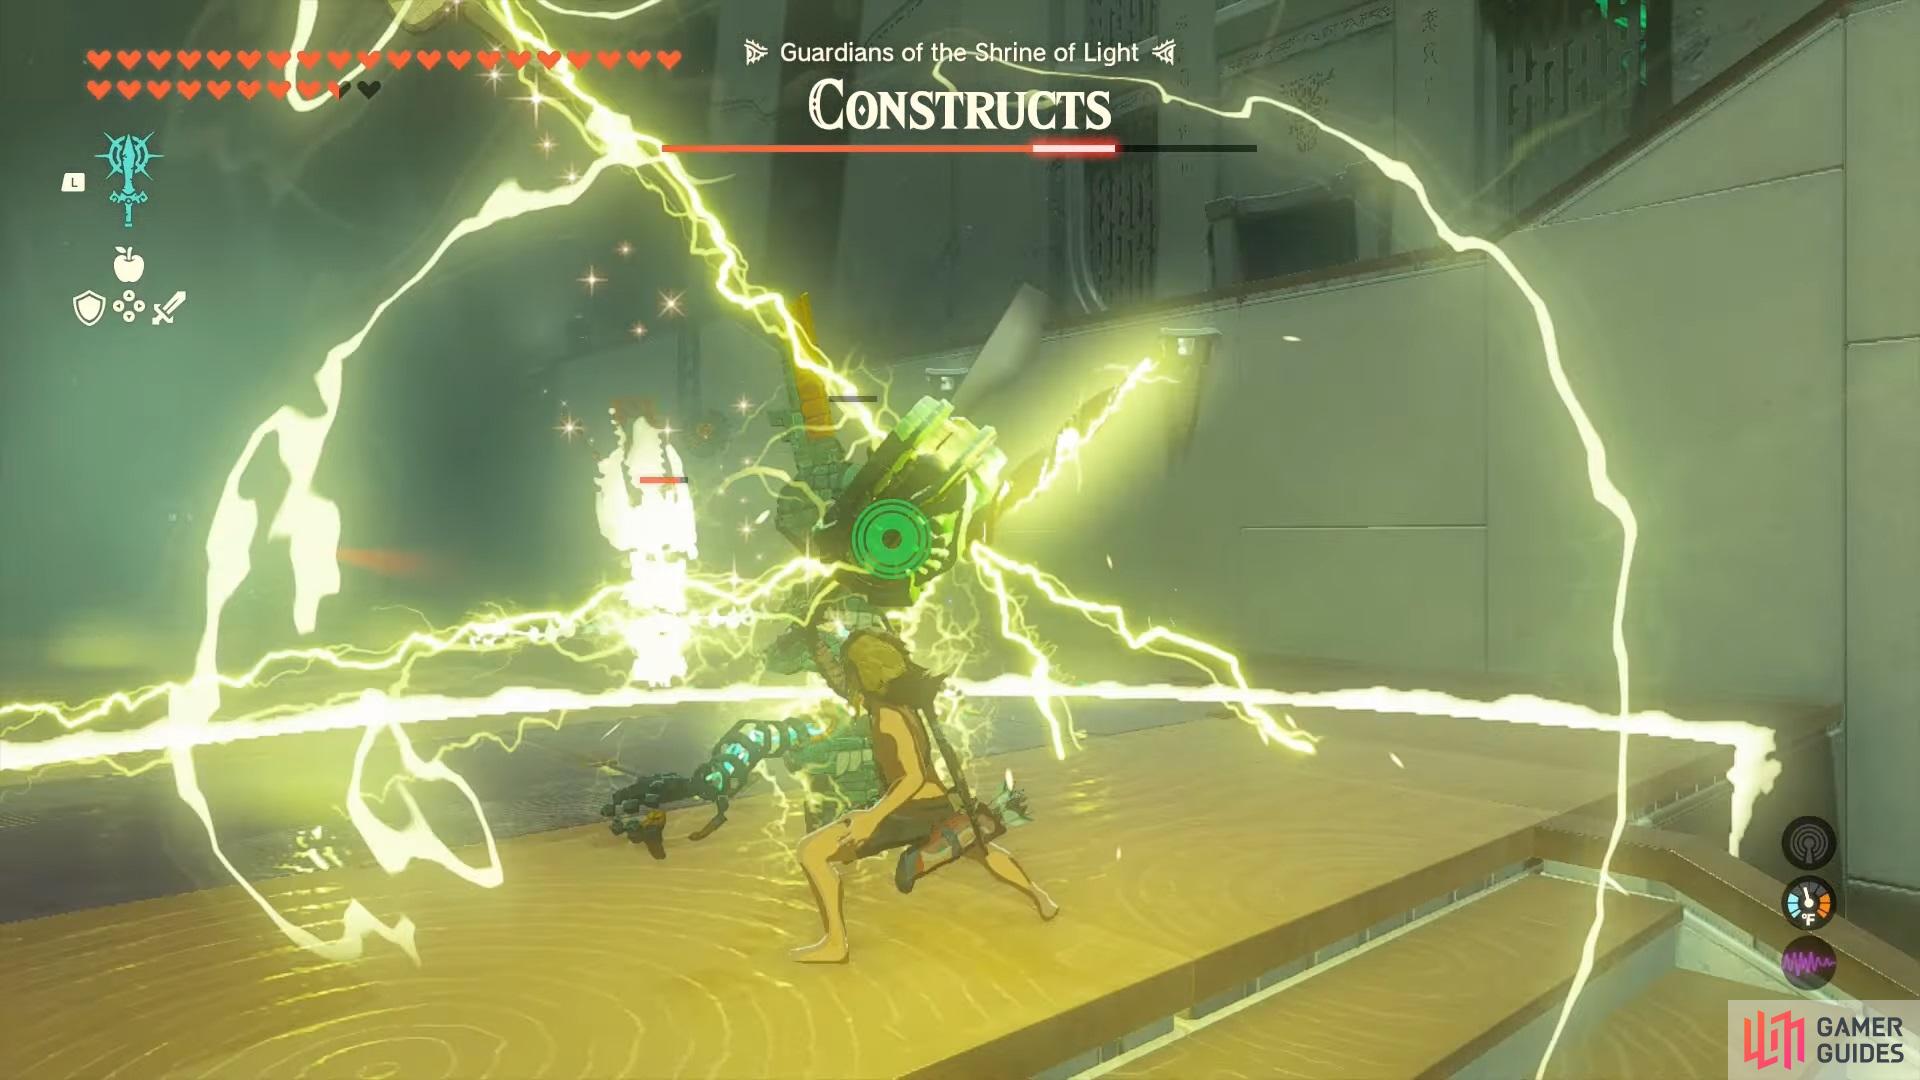
Using the fused !Shock Emitter weapon to electrocute the remaining enemies
You won’t be harmed by your own electric current on the platform but if an enemy creates an electric current or if a shock fruit you throw lands on something metal, it can probably take you down in an instant, so be as quick as you can.
Once all Constructs are defeated, the Proving Grounds: Short Circuit challenge is completed and you will have conquered the !Joku-usin Shrine.
Your equipment being returned after successfully completing the shrine
No Comments