
This page offers a guide on how to complete ![]() Jiosin Shrine in The Legend of Zelda: Tears of the Kingdom (TOTK). This shrine can be found in the
Jiosin Shrine in The Legend of Zelda: Tears of the Kingdom (TOTK). This shrine can be found in the ![]() Central Hyrule region.
Central Hyrule region.
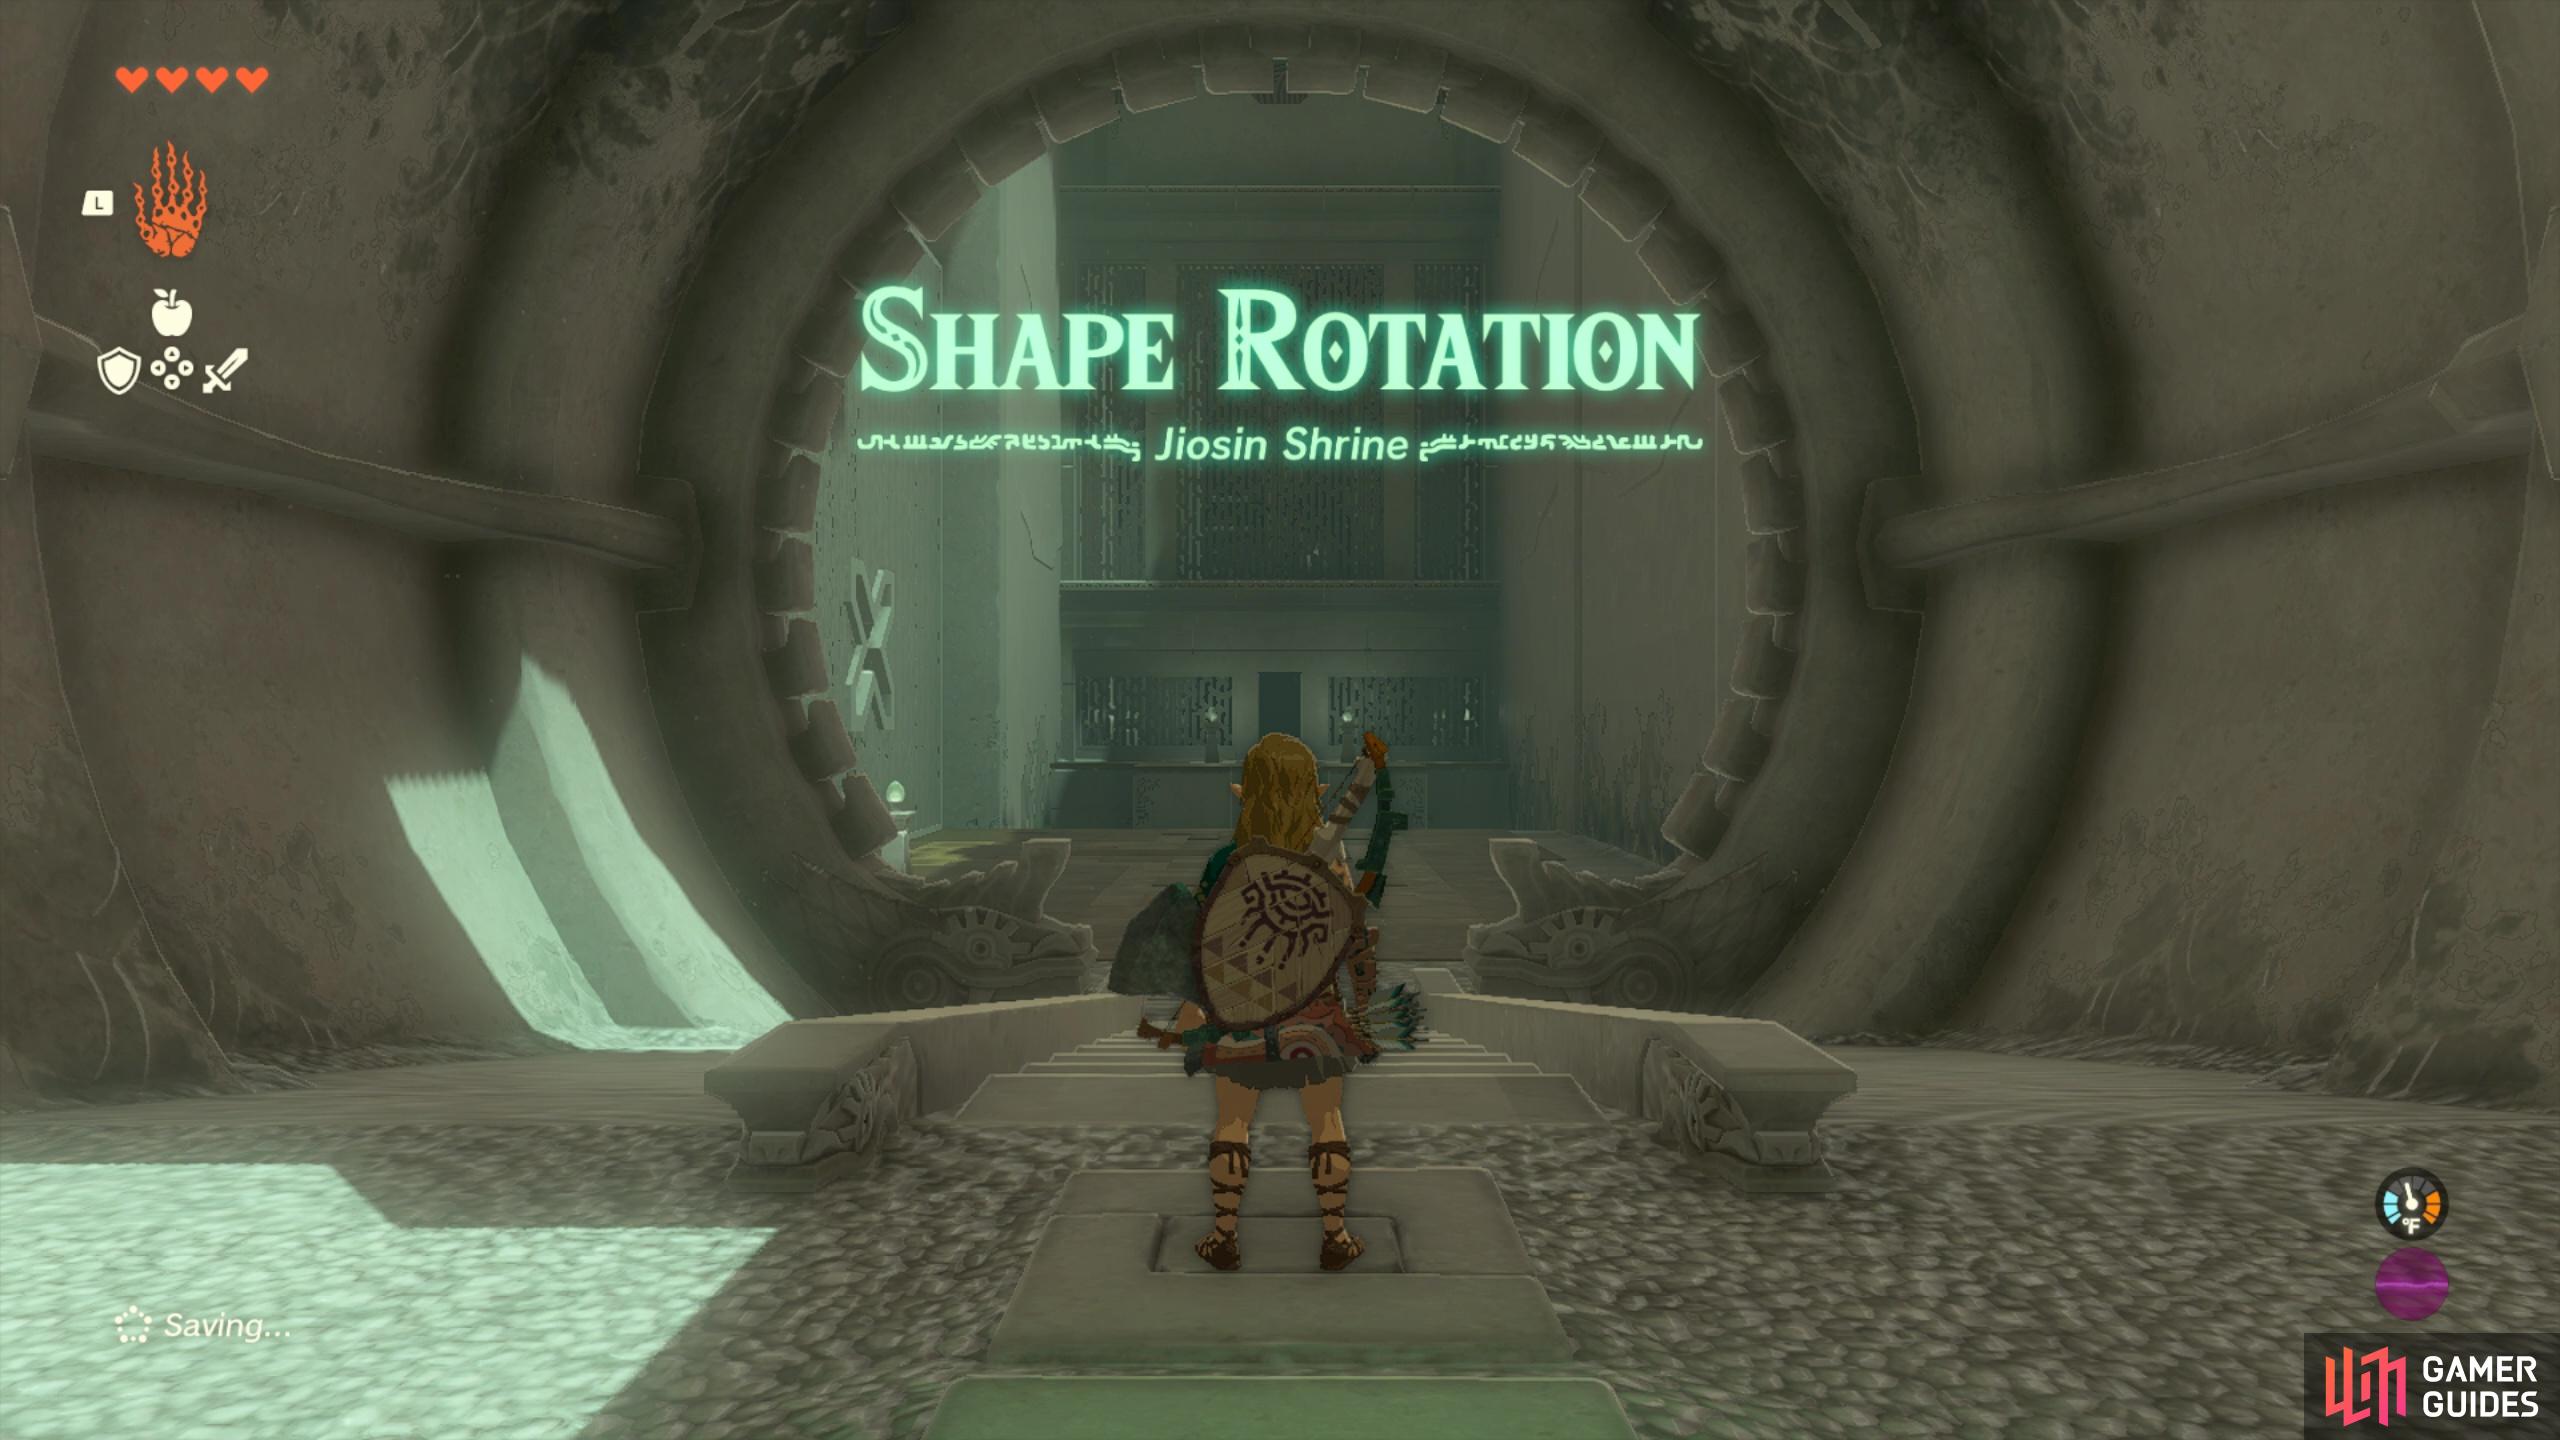
Jiosin Shrine: Shape Rotation.
Where to Find Jiosin Shrine
This shrine can be found in Hyrule Field, in the Central Hyrule region (map marker). It’s found directly south of the ![]() Hyrule Field Chasm in the southern region of Central Hyrule. Watch out for the Gloom that’s found around this area - if you stand in it long enough you’ll temporarily lose hearts!
Hyrule Field Chasm in the southern region of Central Hyrule. Watch out for the Gloom that’s found around this area - if you stand in it long enough you’ll temporarily lose hearts!
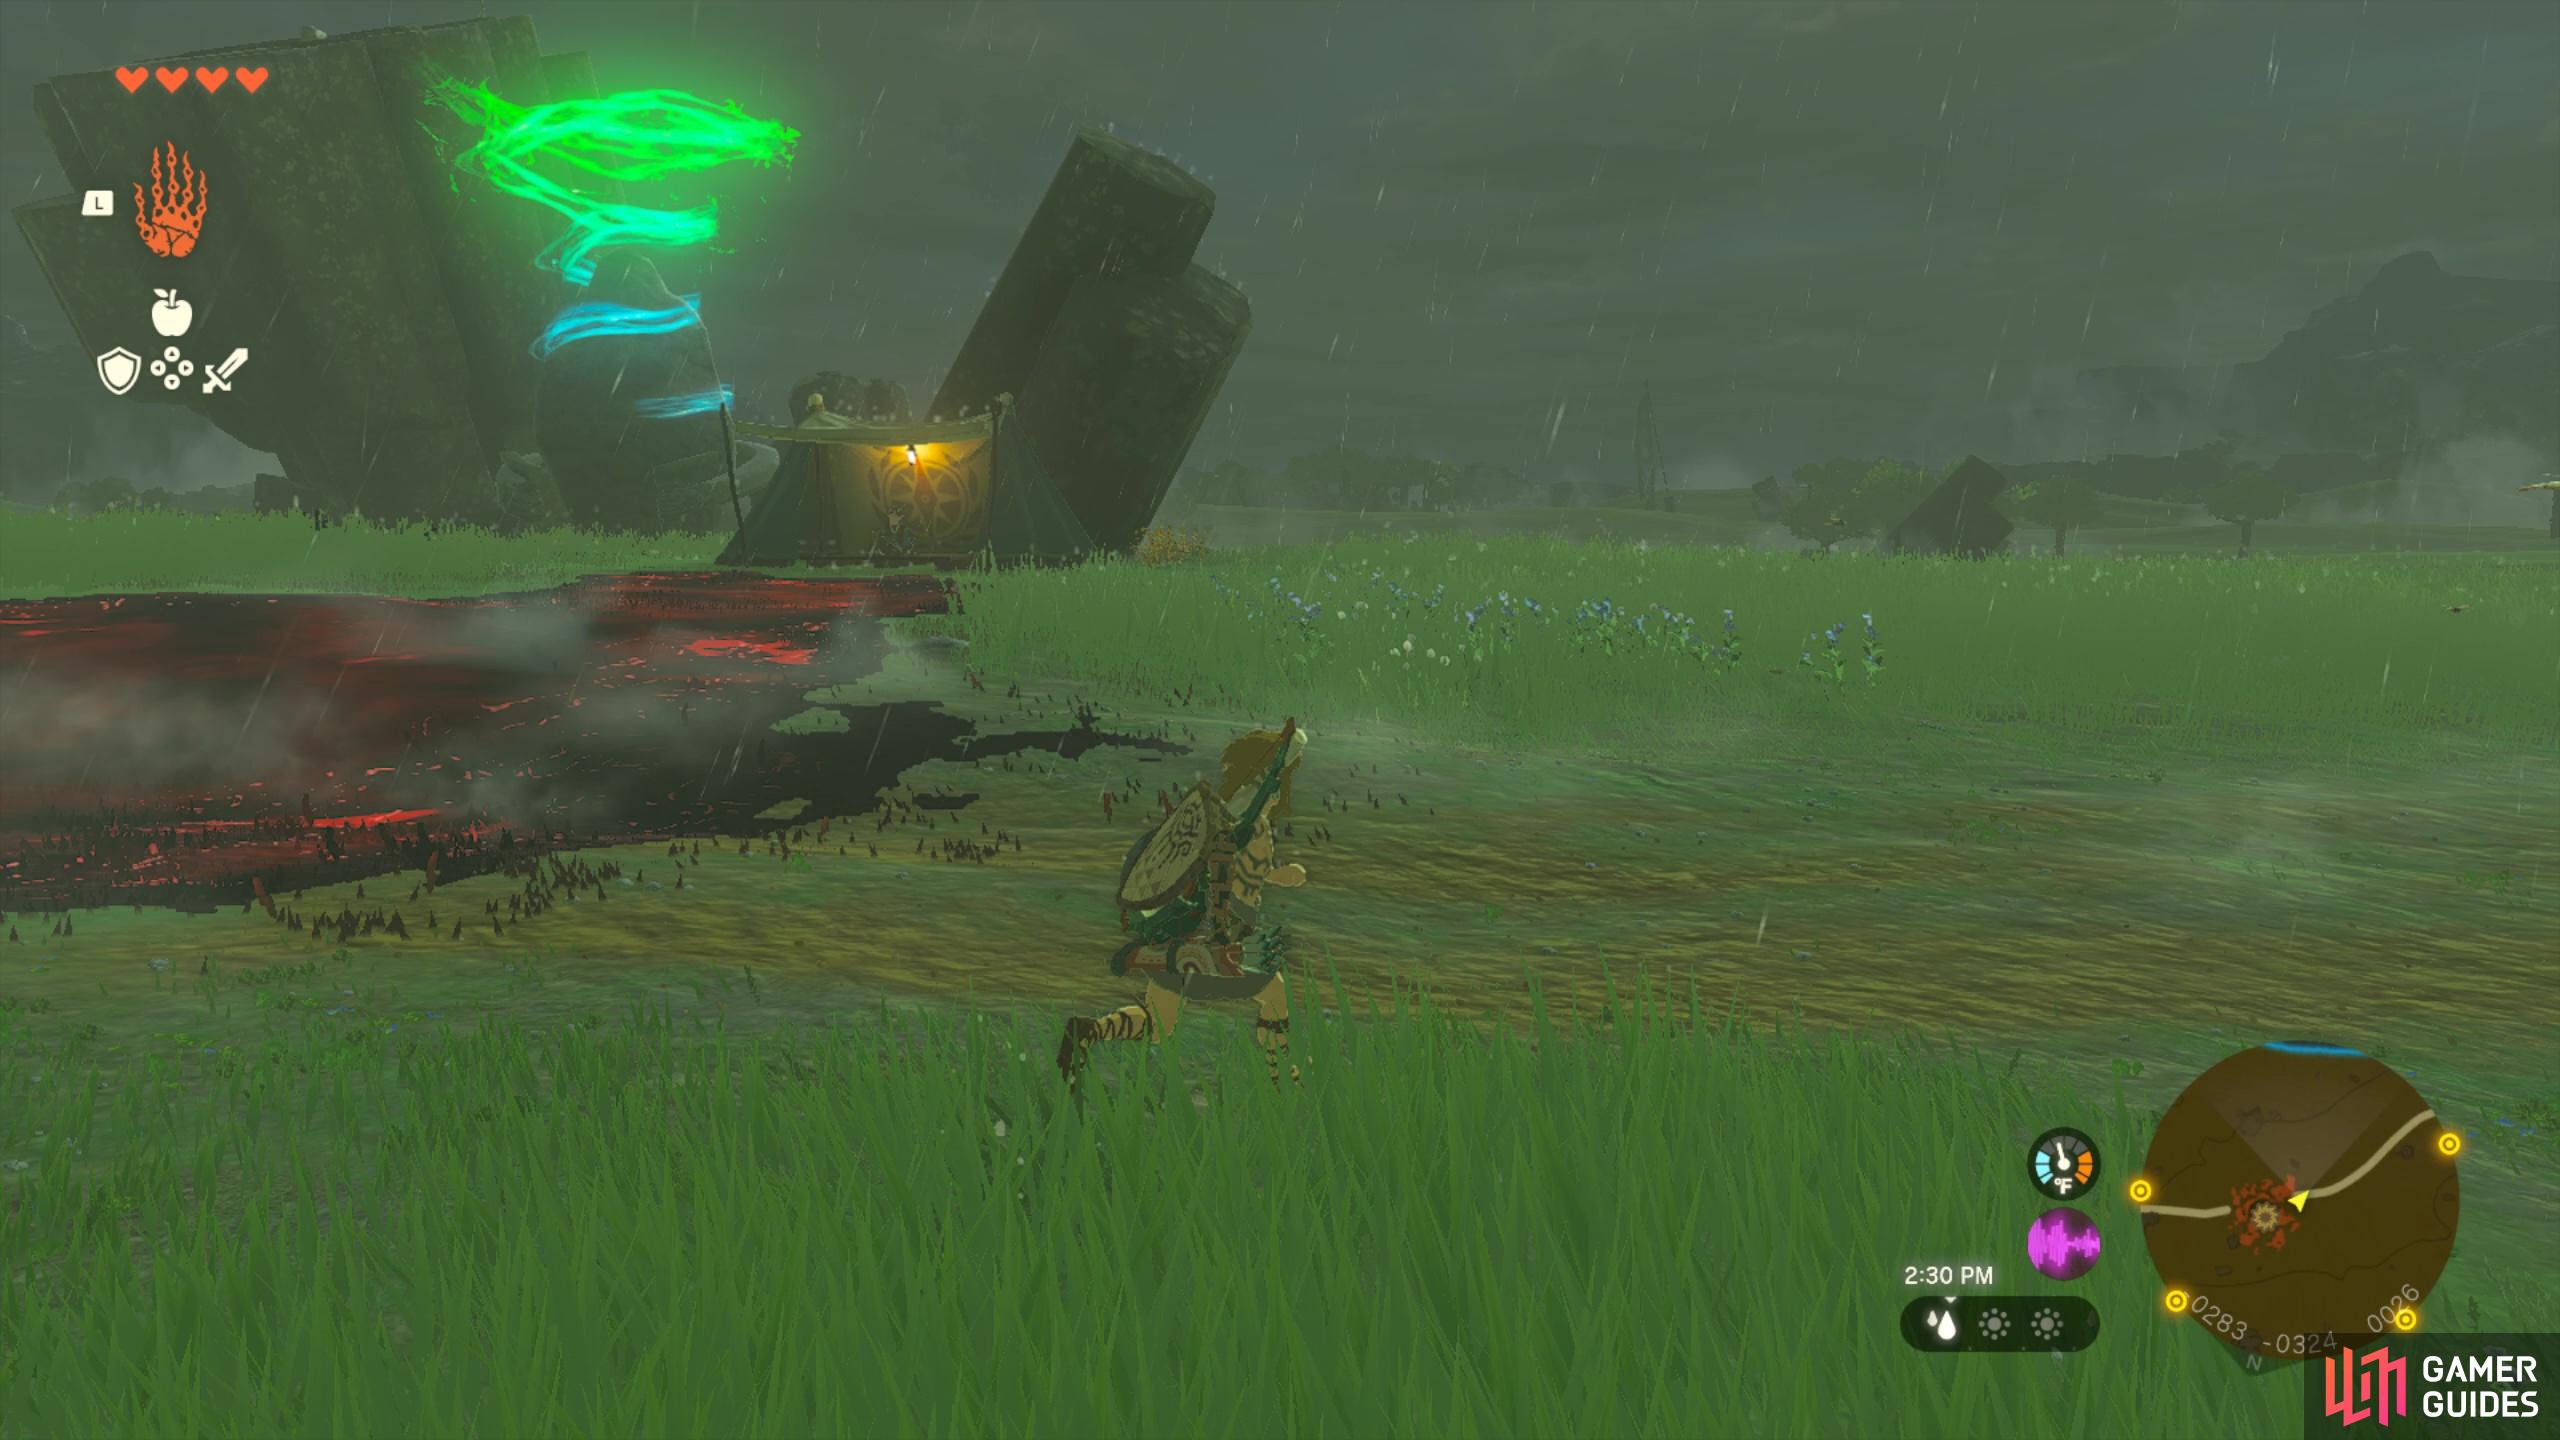
Make sure to skirt around the gloom when you approach Jiosin Shrine!
Jiosin Shrine: Shape Rotation Puzzles
This shrine is all about rotating funny shaped objects to fit through funny shaped holes by using ultrahand. The first object is found in a room to the left. The object in question is long and consists of three squares at a diagonal. The hole it needs to fit through is a cross. To get it through the hole, you’ll need to position it length ways and then have squares aligned with the cross (See picture below for reference).
When you’ve successfully passed the shape through the hole, head out the other side and place it over the gap in the floor to create a bridge.
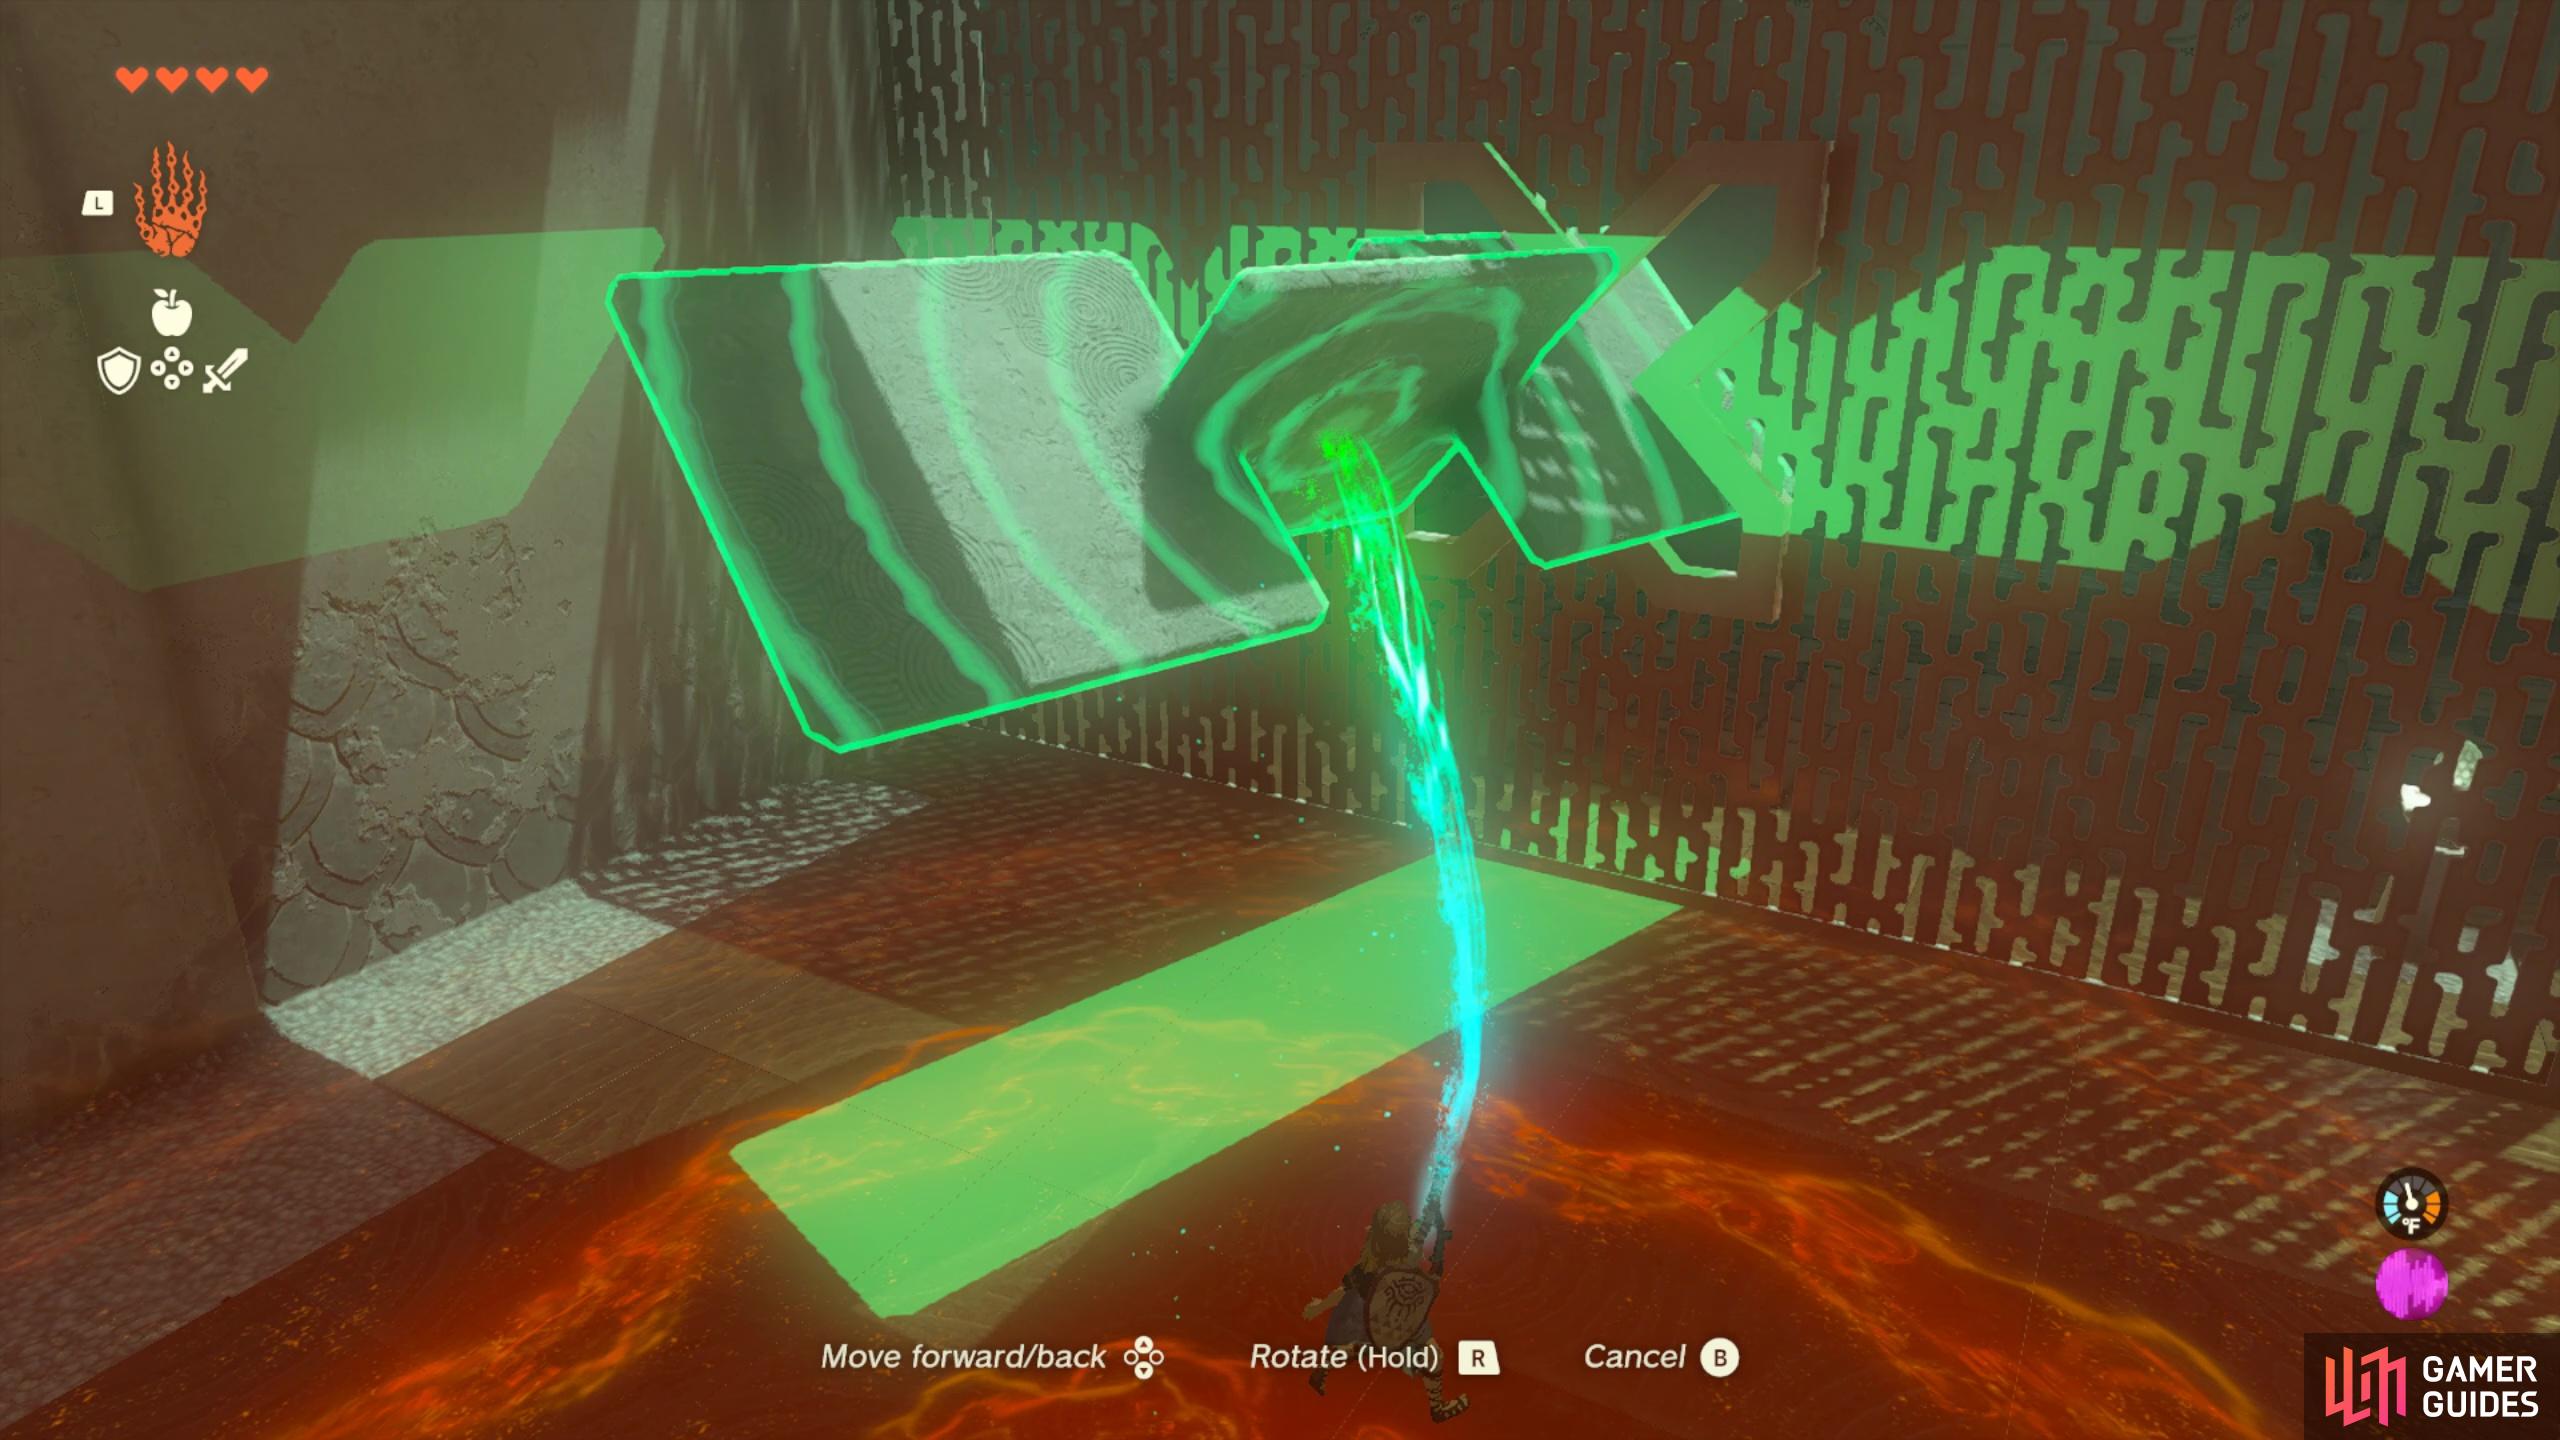
Rotate your three-square shape like this to pass it through the cross hole
use the object to make a bridge.
In this next room, you’ll need to head over to the right and find the two cube object. You’ll need to rotate the object so that the cubes are horizontal and can pass through the shape (see picture below for reference). You can then place this cube object in the concave in the floor to the left. You can use the blocks to climb up to the treasure chest hidden up above. The chest contains a ![]() Hasty Elixir, which will grant the drinker a midlevel haste effect aka a speed up effect for 4 minutes and 10 seconds!
Hasty Elixir, which will grant the drinker a midlevel haste effect aka a speed up effect for 4 minutes and 10 seconds!
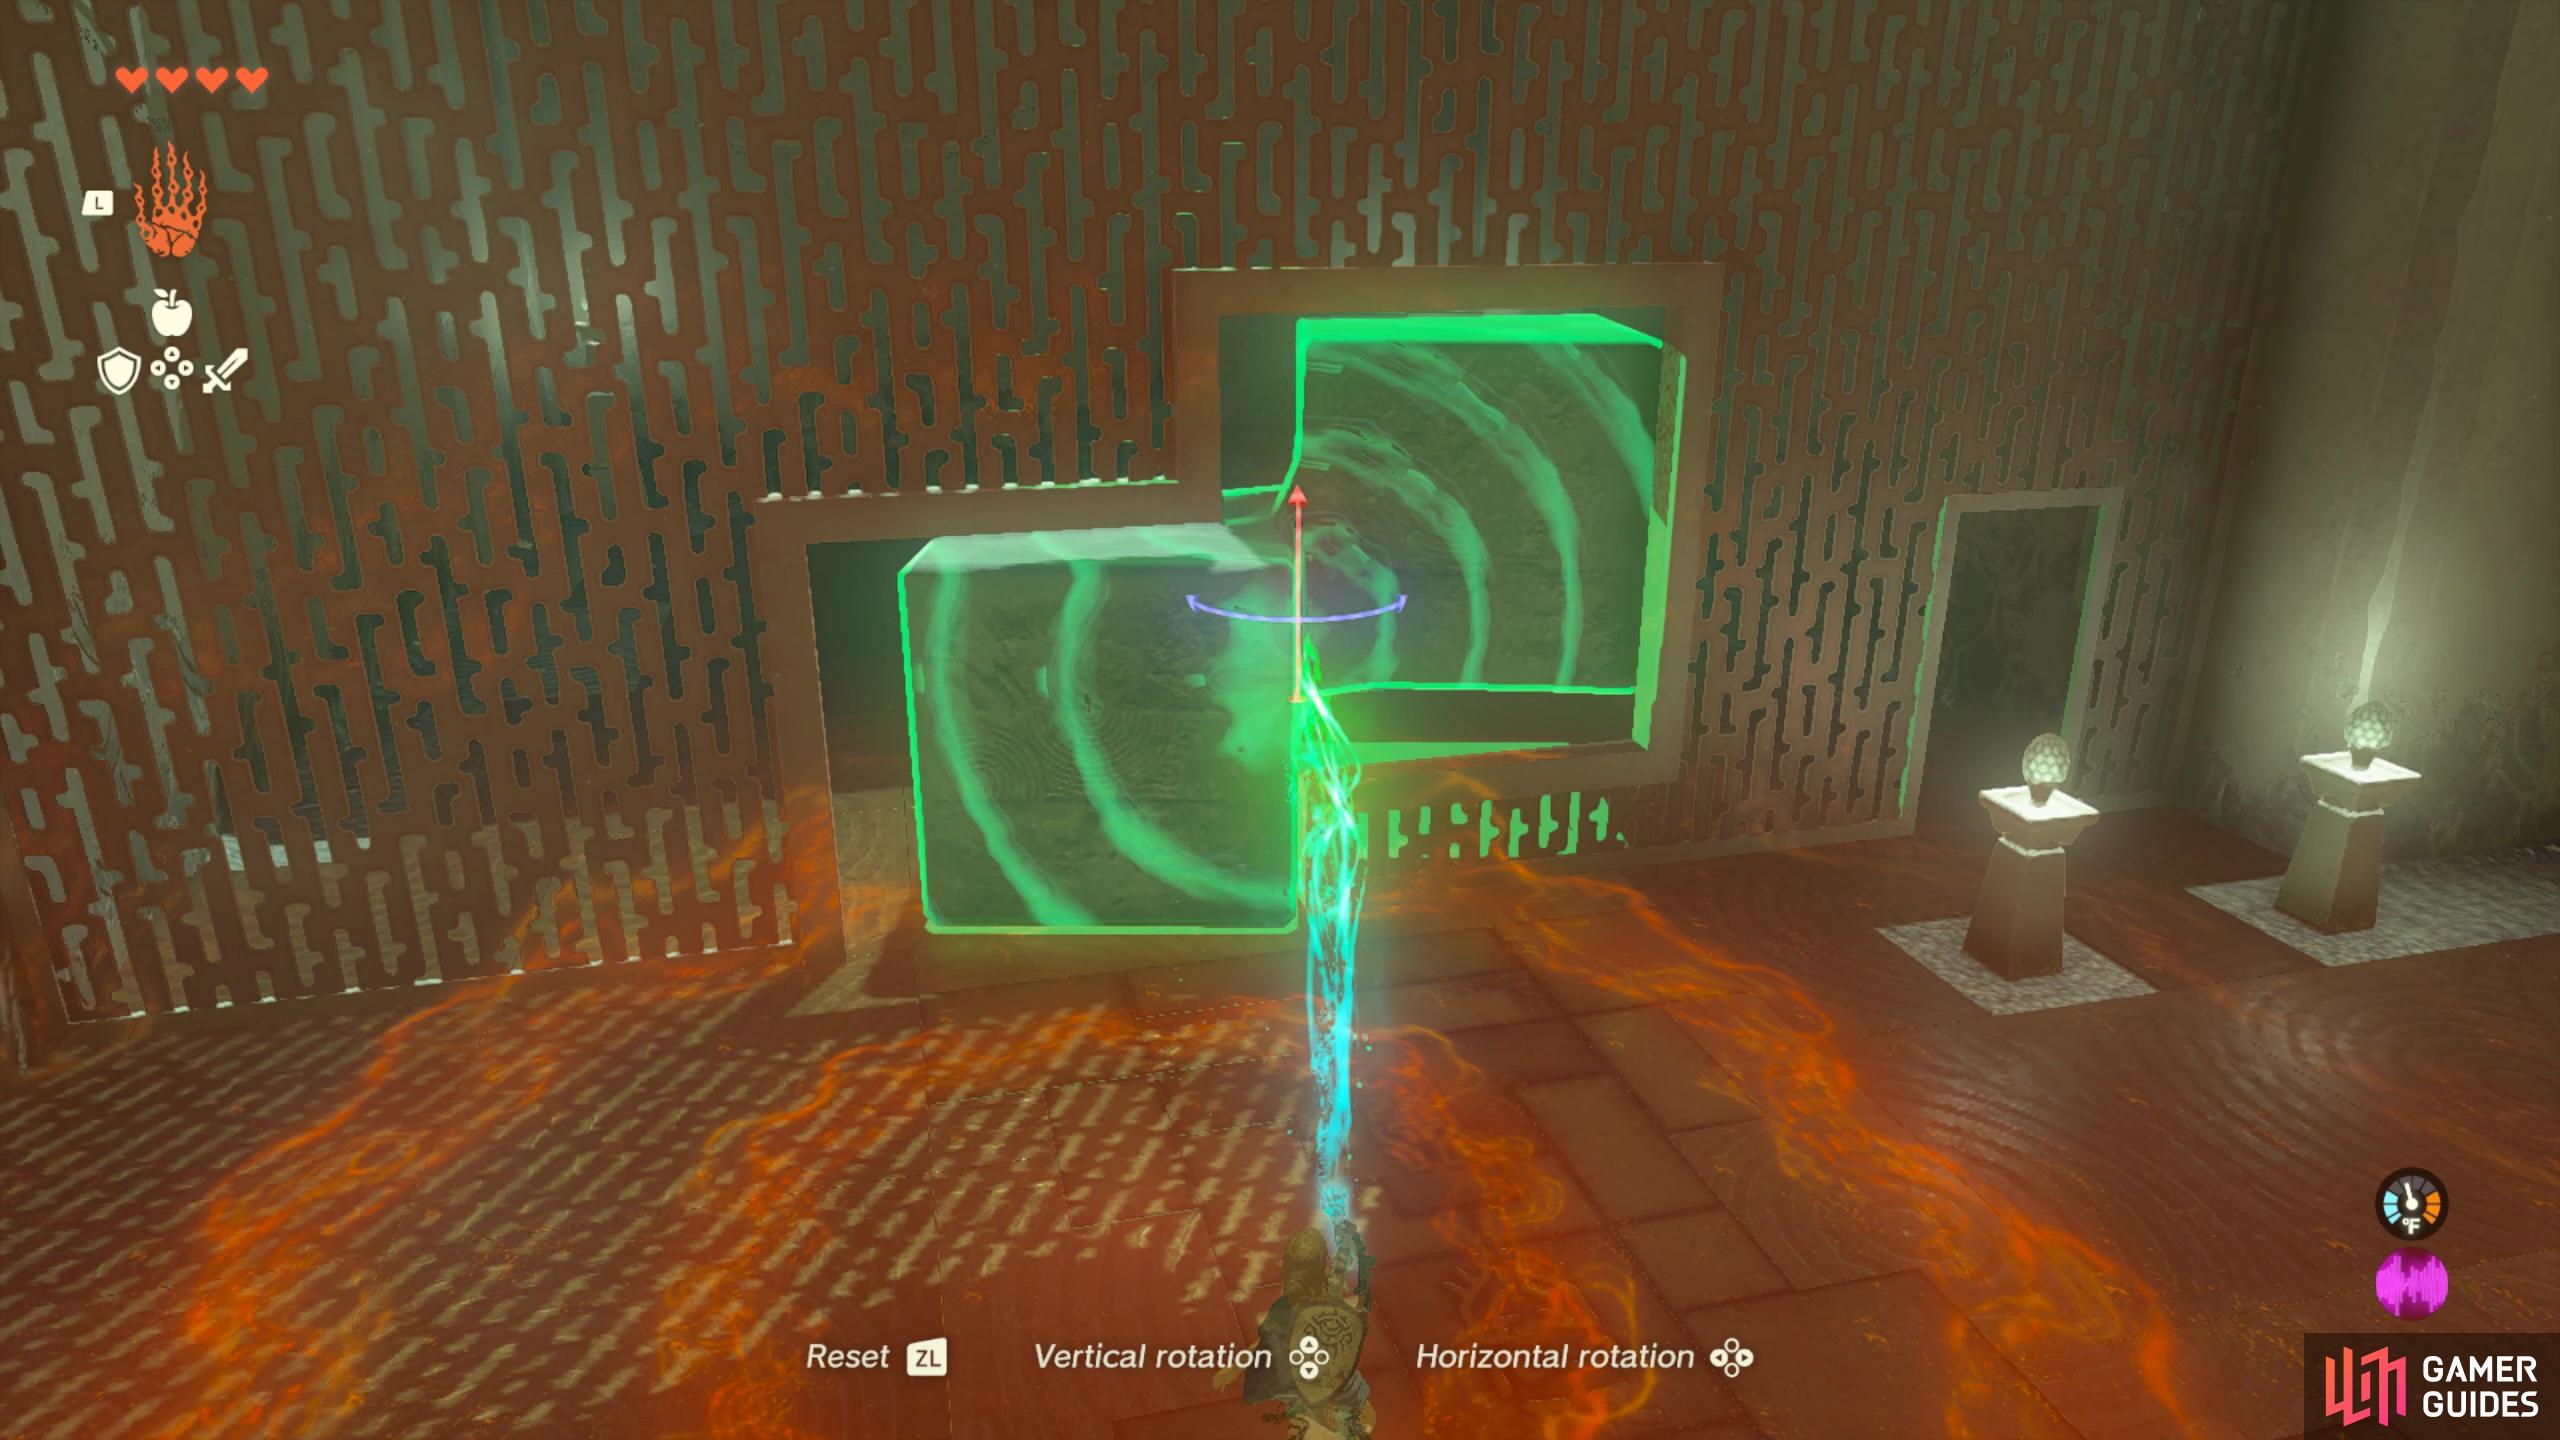
Rotate the two-cube shape like this in order to pass it through the hole
place the cubes in the concave in the floor to use it to reach the chest.
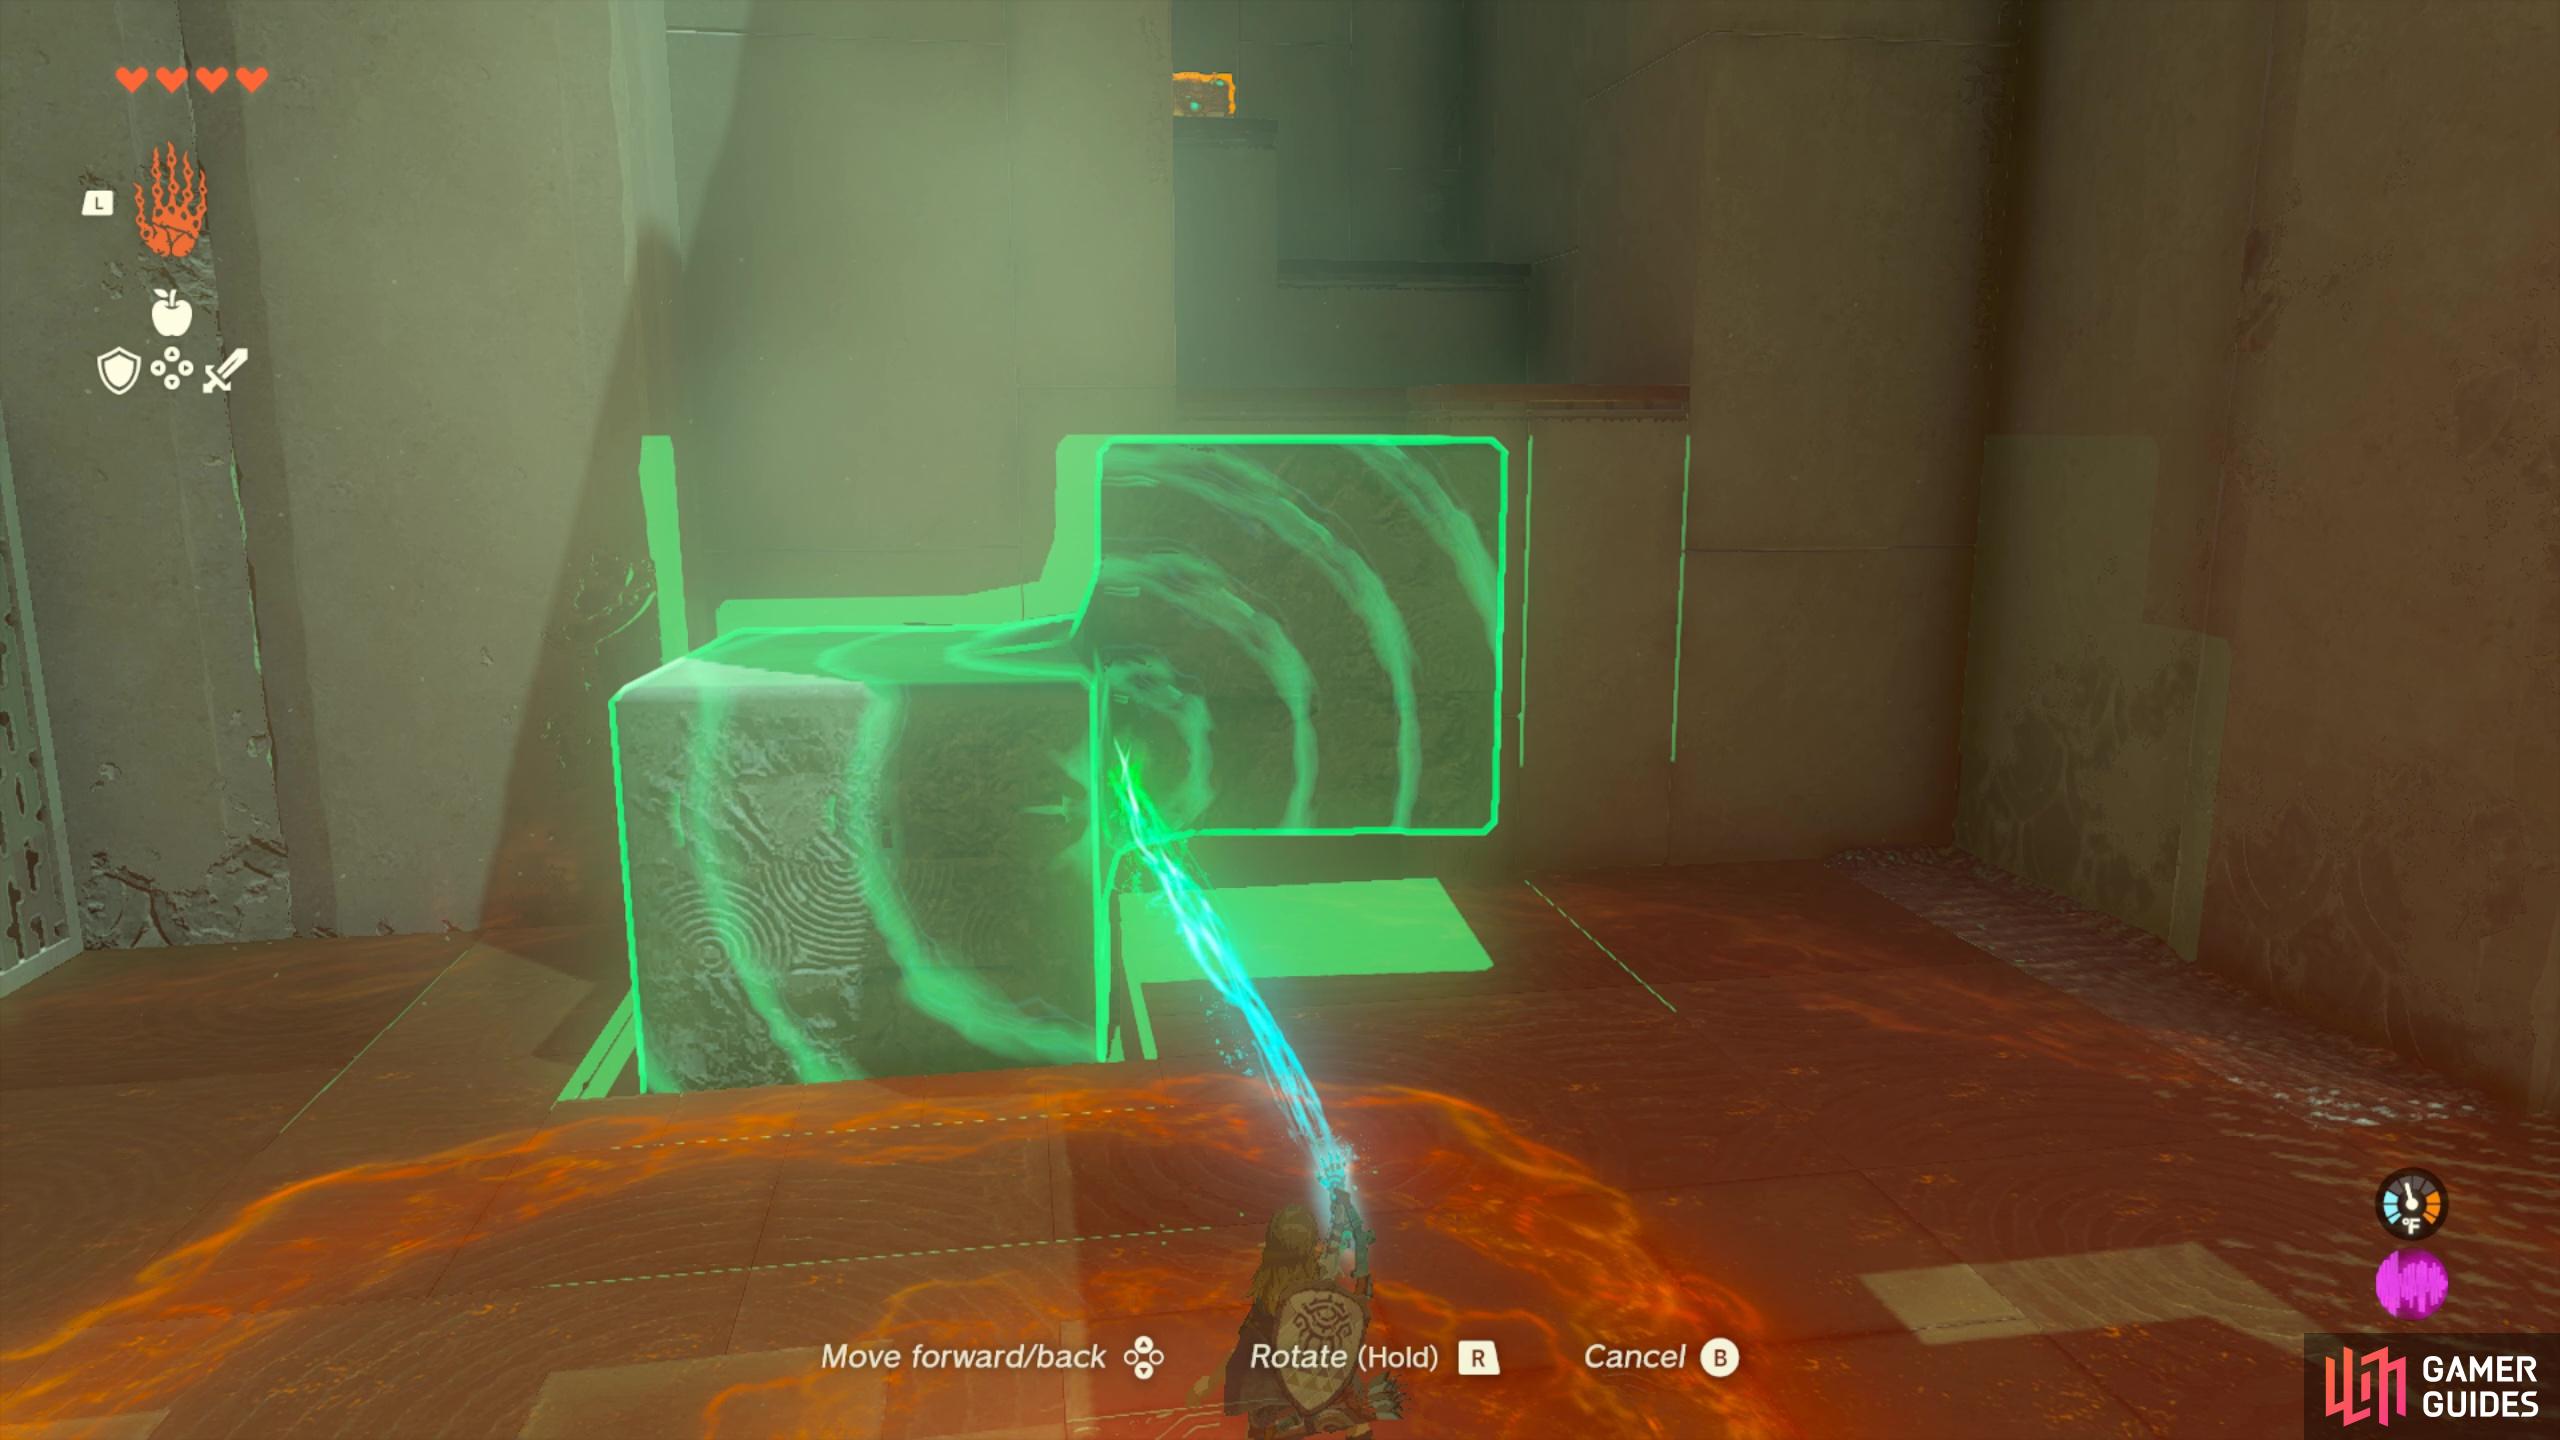
After grabbing your loot, head back down and rotate the object so that it can fit through the double diamond shape in the wall to the left. You’ll want to rotate it so that the two top surfaces of the cubes are facing forward to pass through the hole (see picture below for reference). You can then take this object over and align it with the blocks on the side of the wall so you can climb up them like steps.
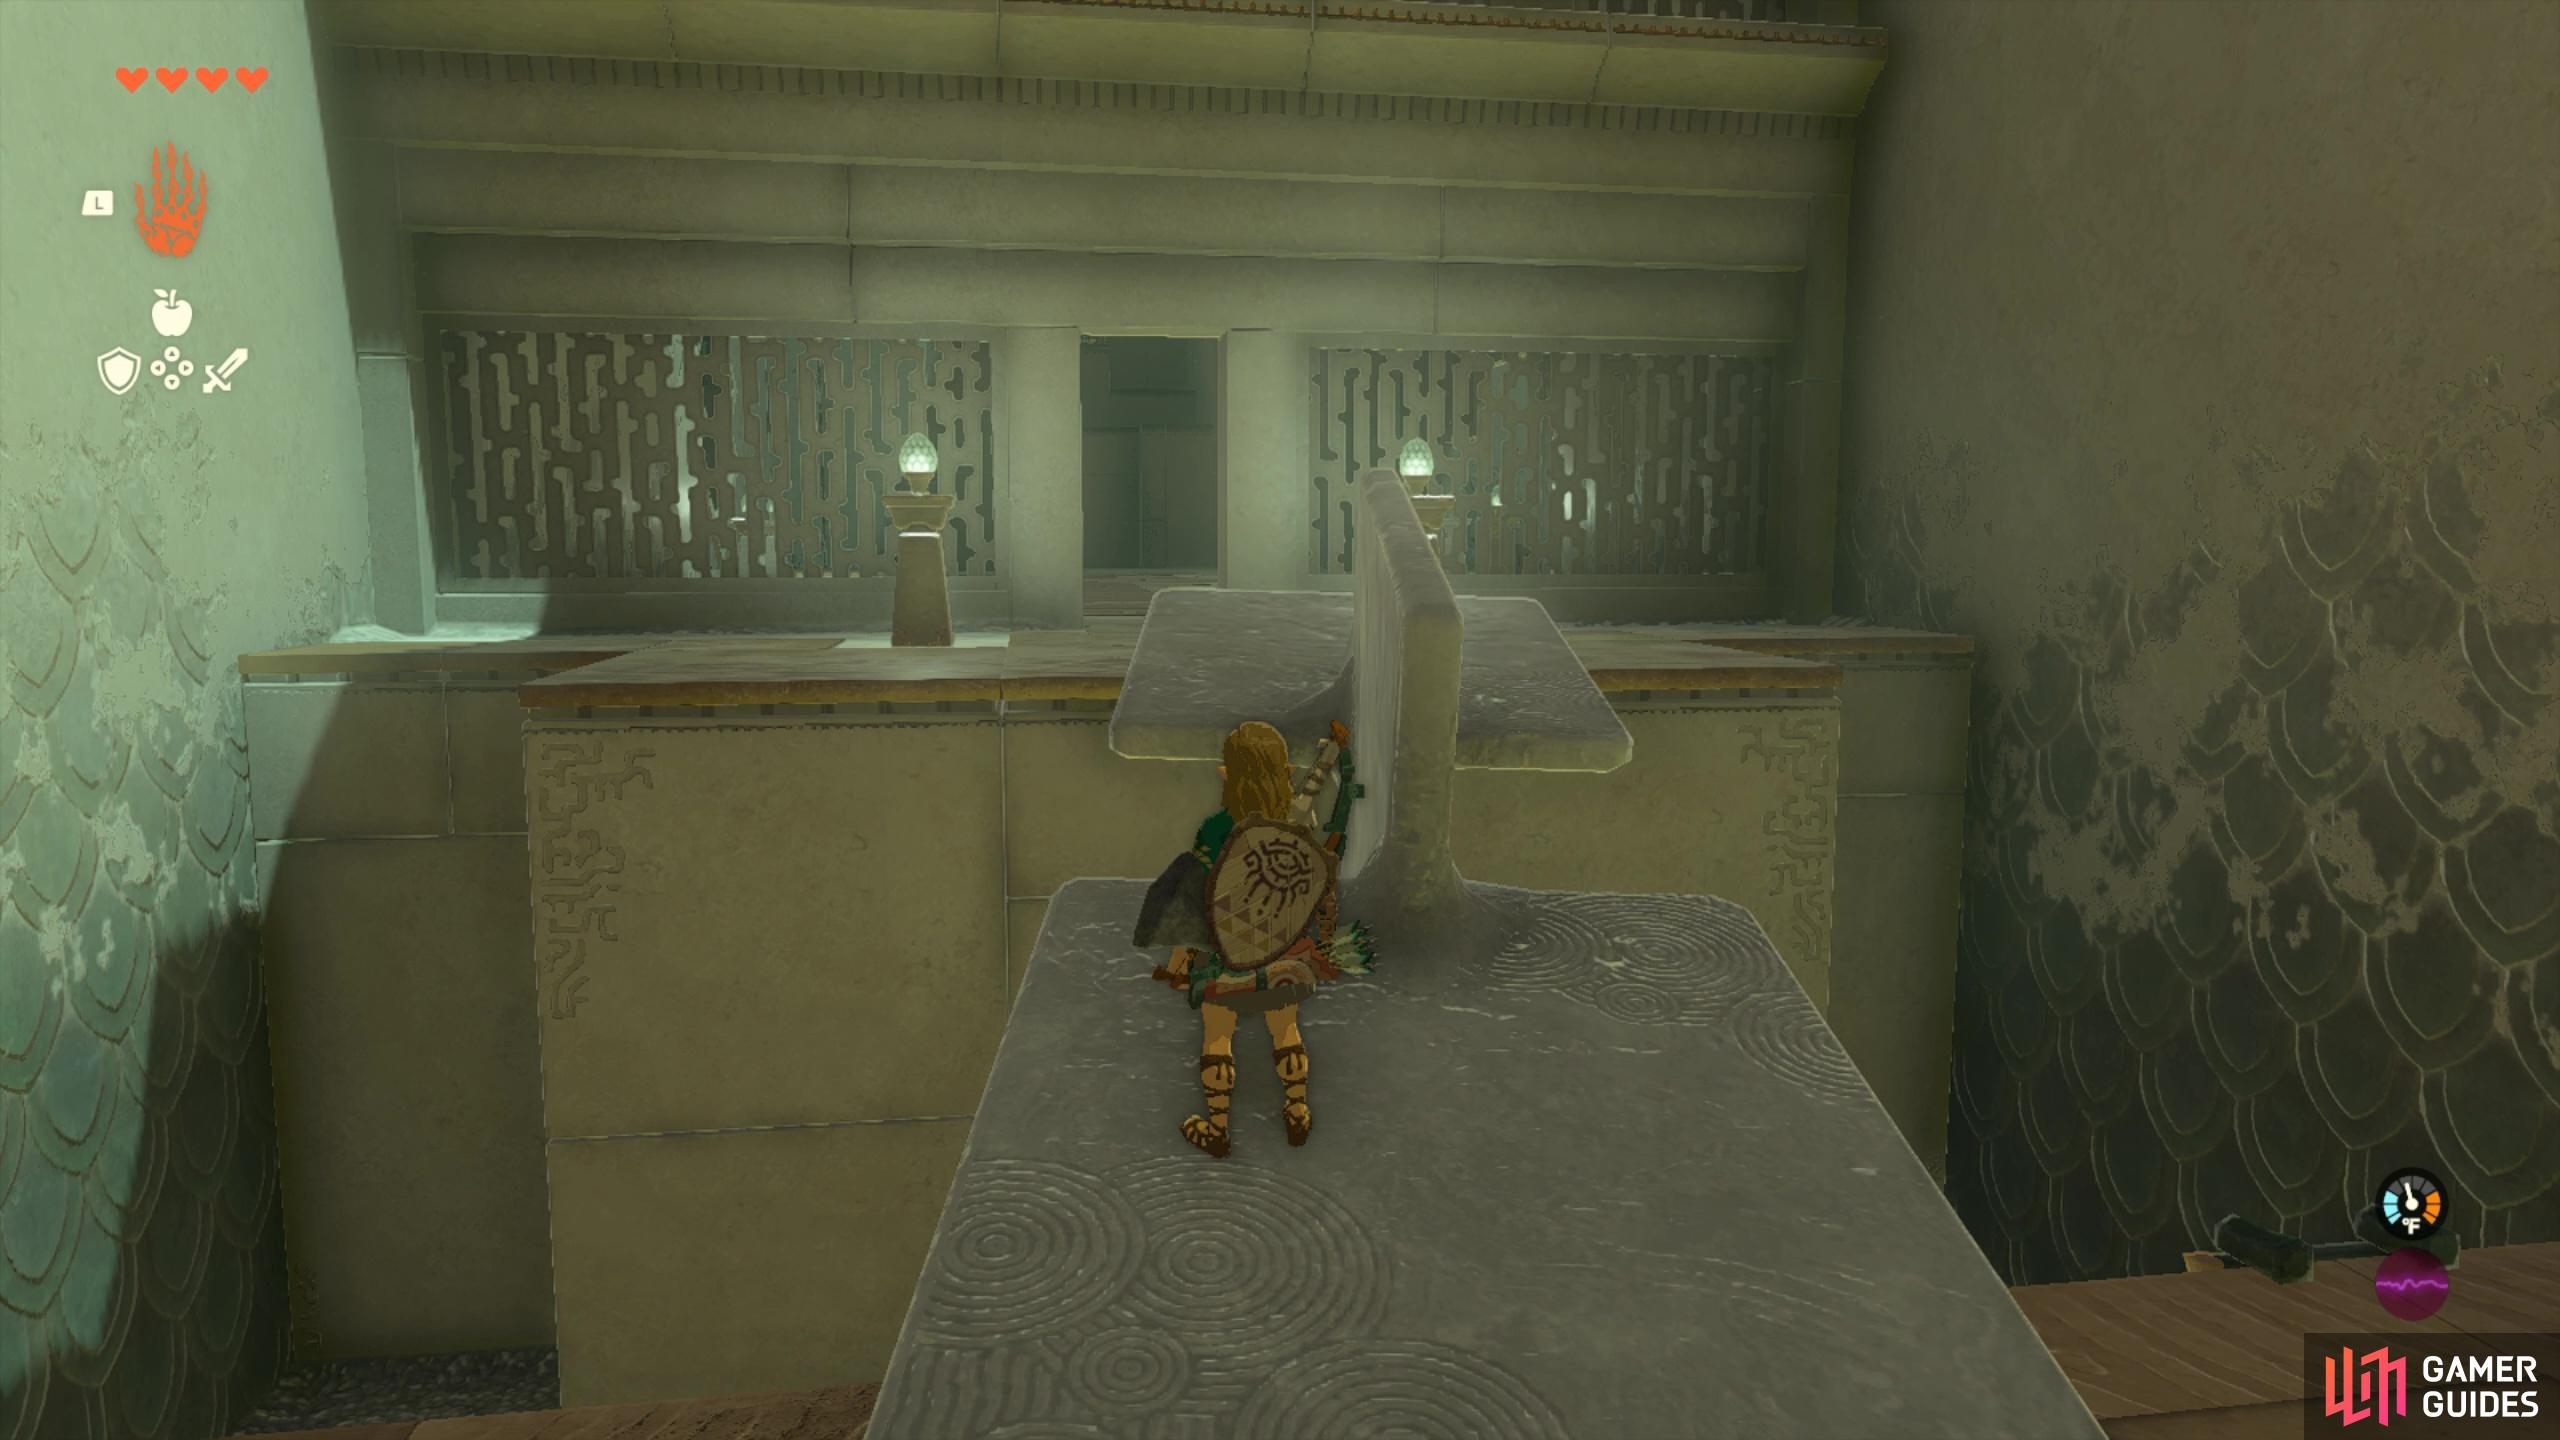
At the top of these blocks you’ll find the end of the shrine, where you can obtain another ![]() Light of Blessing!
Light of Blessing!

Position the block like this, so the top surfaces of the cubes are passing through the hole first
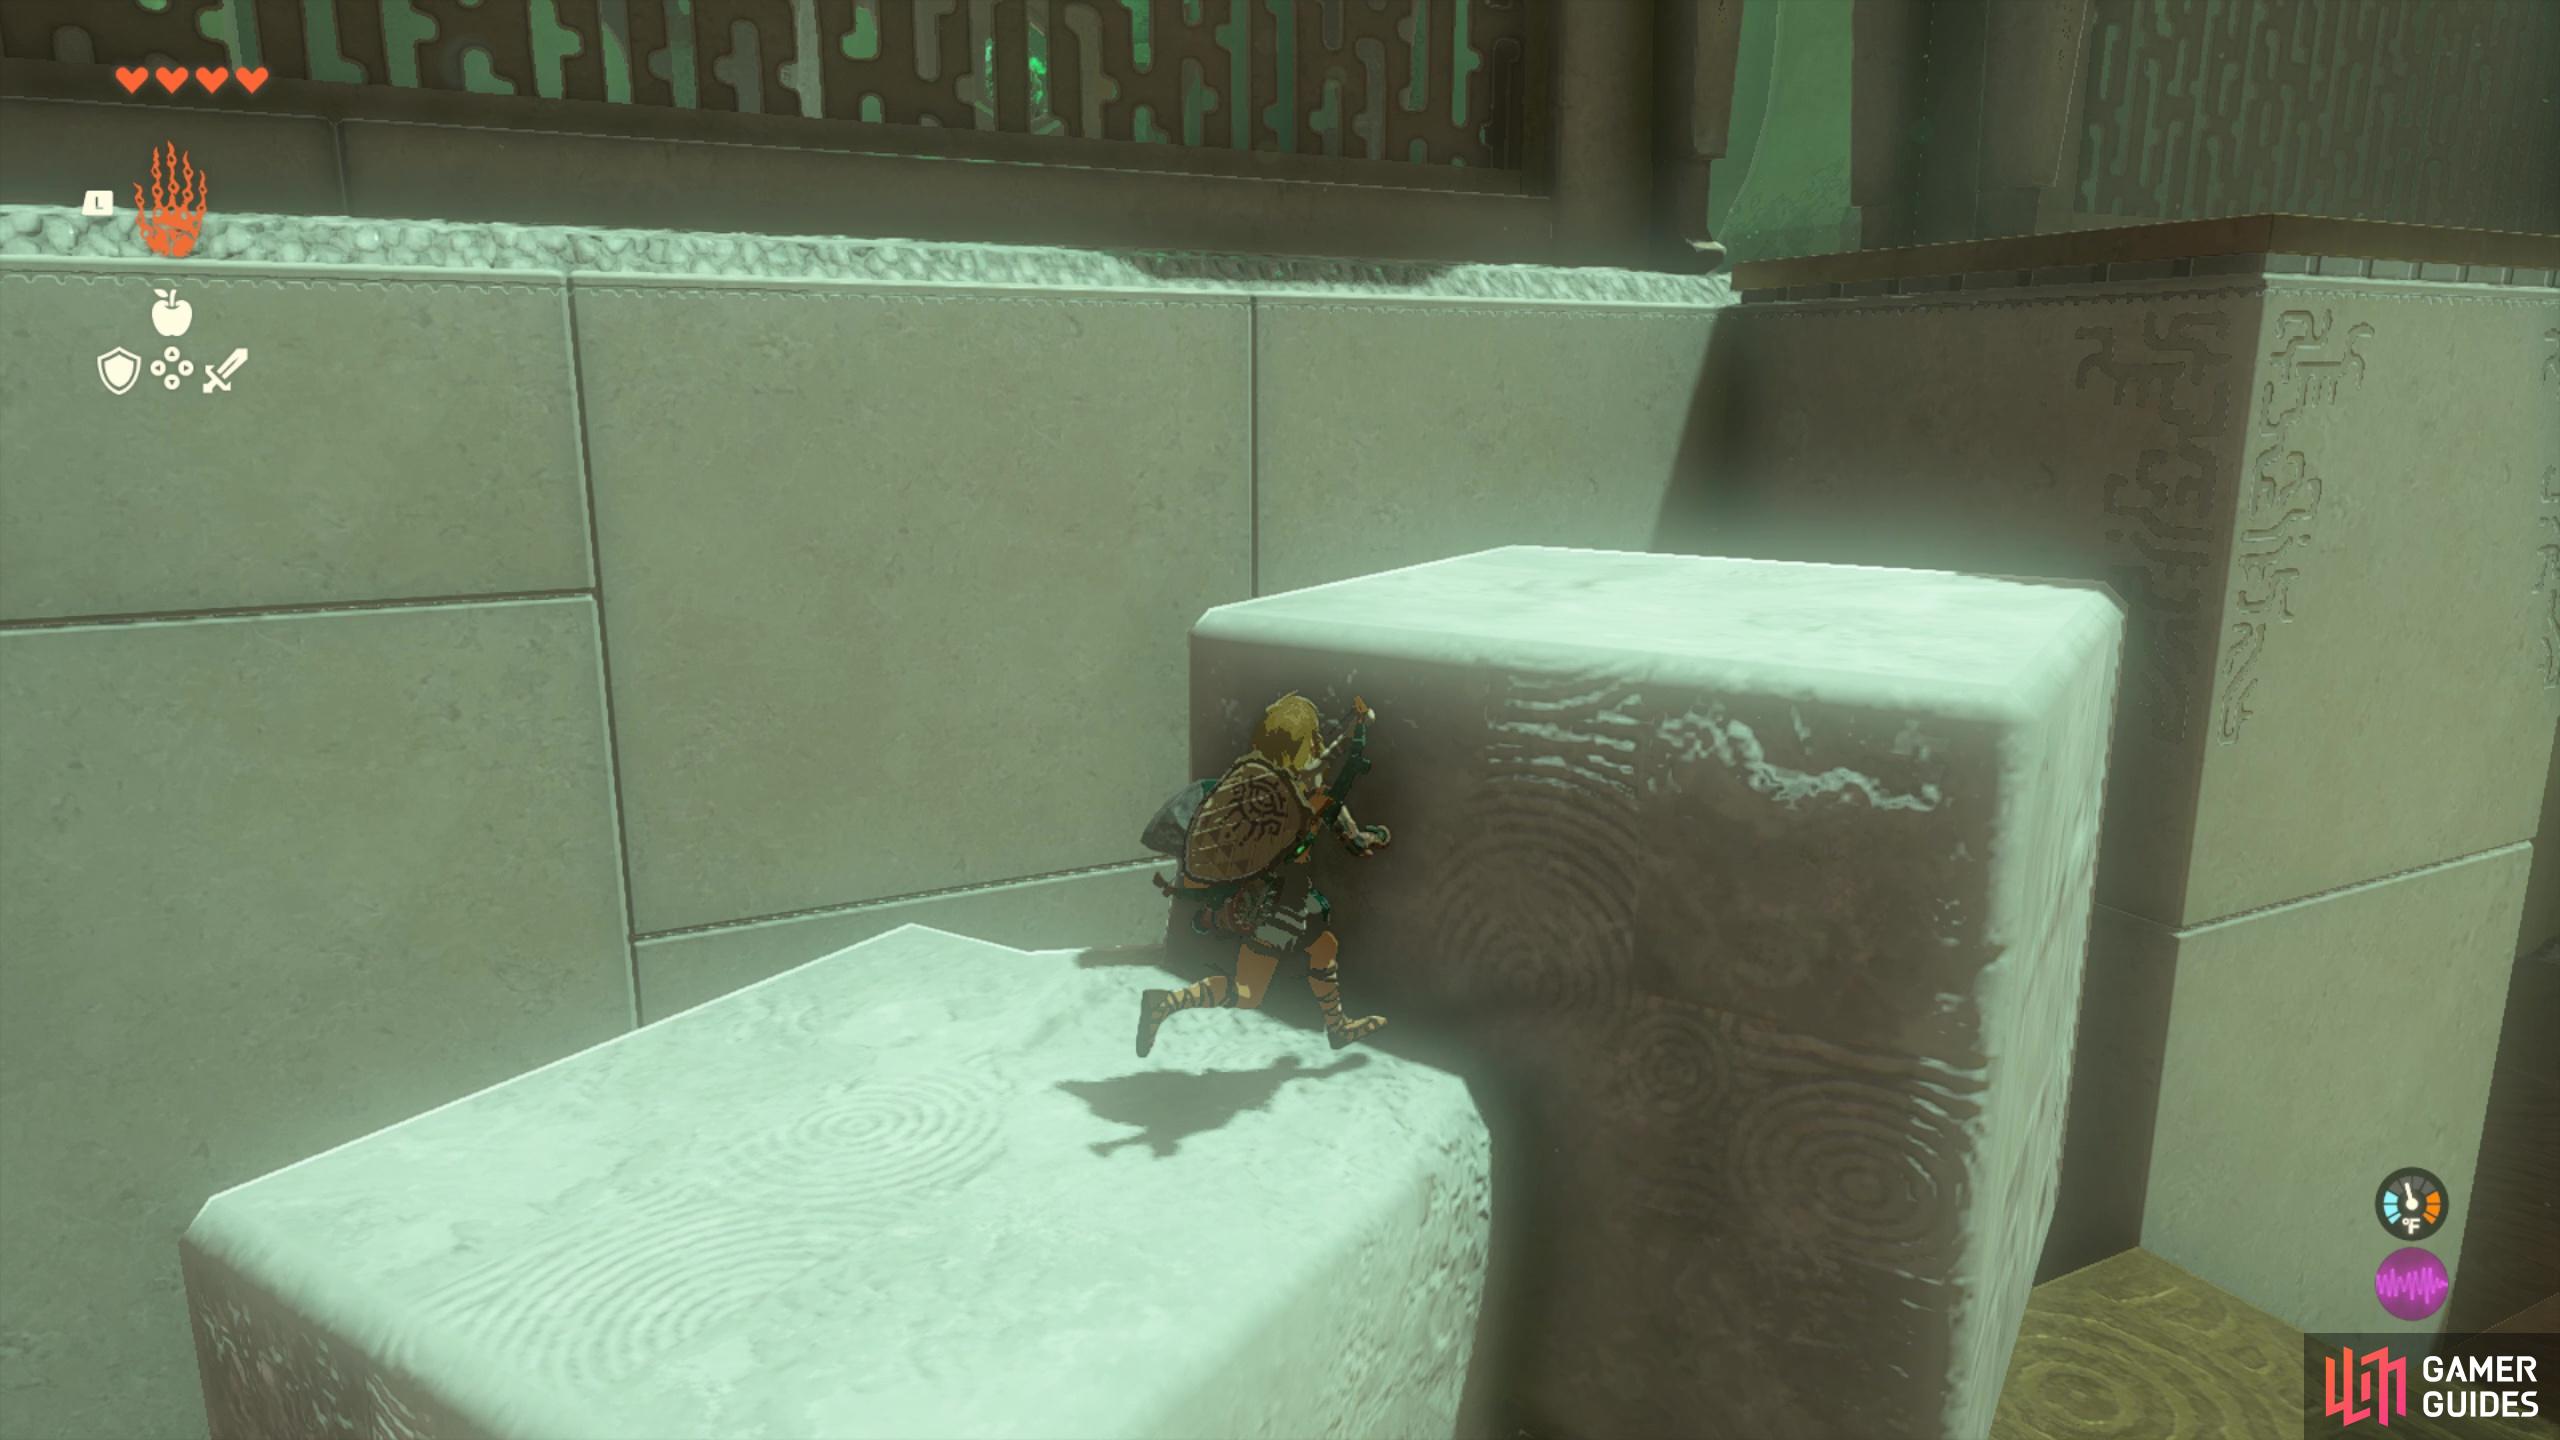
then use the cubes to climb up to the end of the shrine.
No Comments