
This page offers a guide on how to beat Ganondorf in the final boss fight of The Legend of Zelda: Tears of the Kingdom. On this page, you’ll find detailed information on all of Ganondorf’s phases and strategies for how to beat each stage.
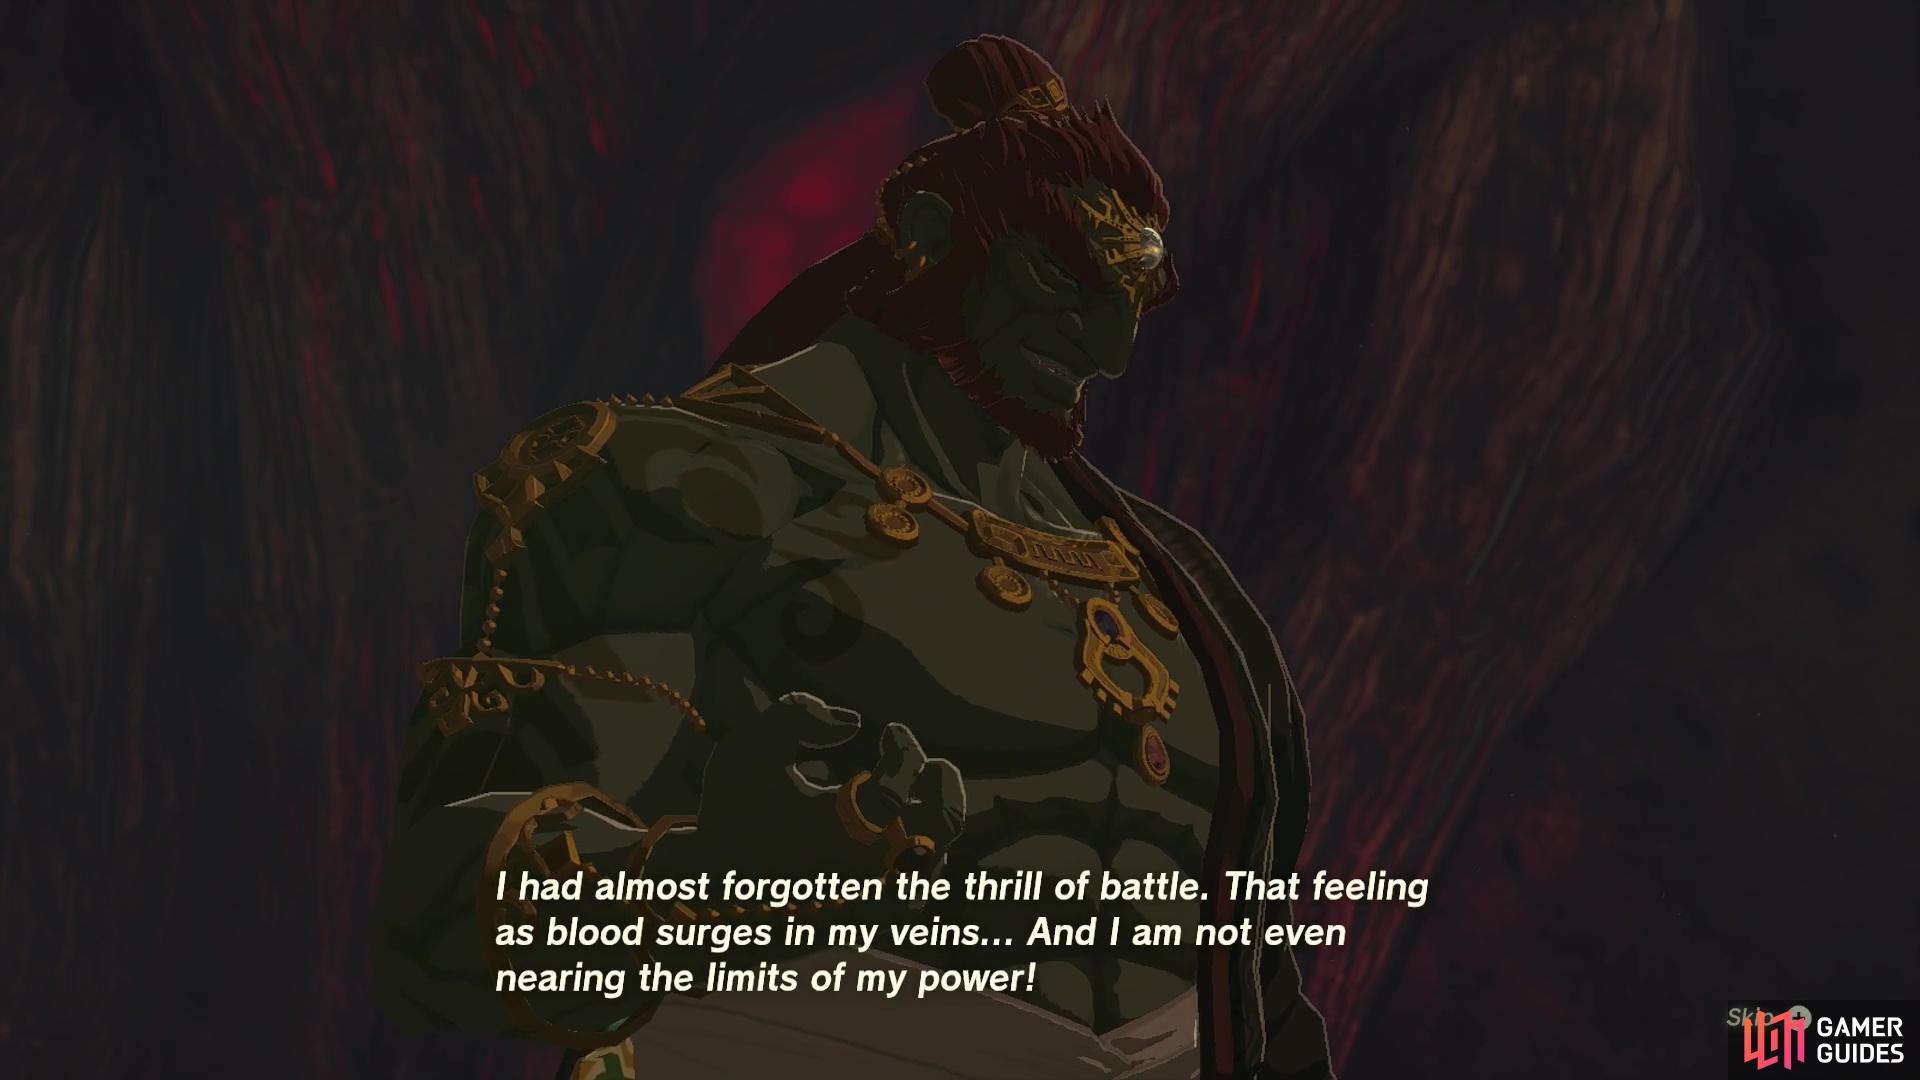
It’s time to face off with the big baddie of Tears of the Kingdom…and we’re gonna give you the low down on how to beat him!
If you haven’t seen it already, we’ve written a handy prep guide with loads of advice on what armor to bring, what foods to make and the best weapons for your showdown with Ganondorf. Head over to How to Prepare for the Ganondorf Boss Fight for more information!
Ganondorf Fight: Phase 1
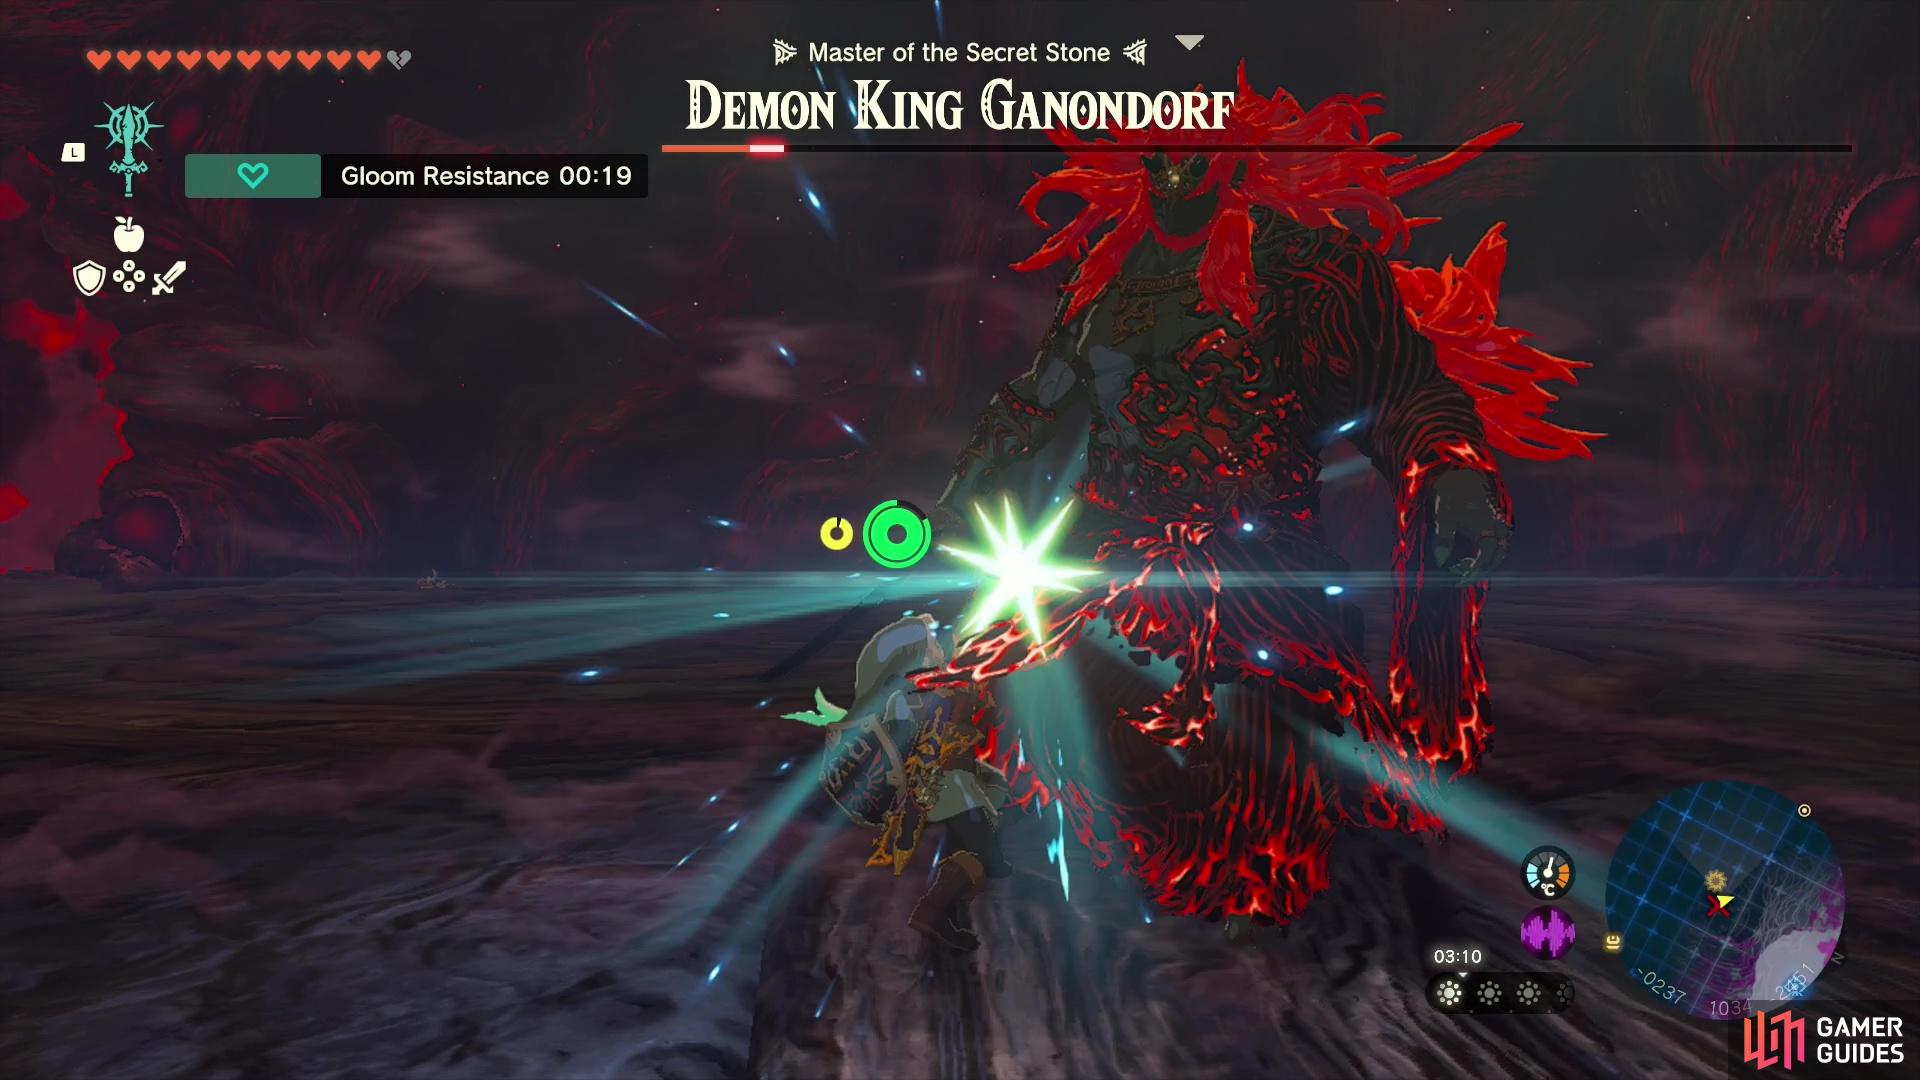
During this initial phase, Ganondorf will use four types of weapons: a sword (he starts with this), a spear, a club and his bow (though this is quite rare in the first phase). Below we’ll outline all of the ways to deal with Ganondorf and his variety of weapons. Ultimately, you want to use your own intuition to gauge when to go in for attacks and when to back off and heal up.
All of these attacks apply Gloom damage and quite a lot of it! If you don’t have any Gloom Resistance he’ll wither around 5 of your hearts in one hit. We highly recommend popping some Warding foods made with ![]() Dark Clump or wearing the Depths armor to help keep the Gloom damage at a minimum. Foods that offer additional hearts (i.e food made with
Dark Clump or wearing the Depths armor to help keep the Gloom damage at a minimum. Foods that offer additional hearts (i.e food made with ![]() Hearty Salmon) can also be useful in giving you some temporary hearts to take the fall for the heavy blows.
Hearty Salmon) can also be useful in giving you some temporary hearts to take the fall for the heavy blows.
Ganondorf’s Sword Attacks
This is his go-to weapon and he wields this very similarly to how Phantom Ganon does (except he does more damage, of course). It’s a long katana-like sword so he’ll use it with speed and agility and dodging it by backing off can be quite tricky. We recommend learning how to parry, or at the very least learn how to put up your sword to block incoming attacks! Naturally the ![]() Hylian Shield is a great option in this fight. And, if you need a quick refresher on all the combat controls, head over to our comprehensive guide!
Hylian Shield is a great option in this fight. And, if you need a quick refresher on all the combat controls, head over to our comprehensive guide!
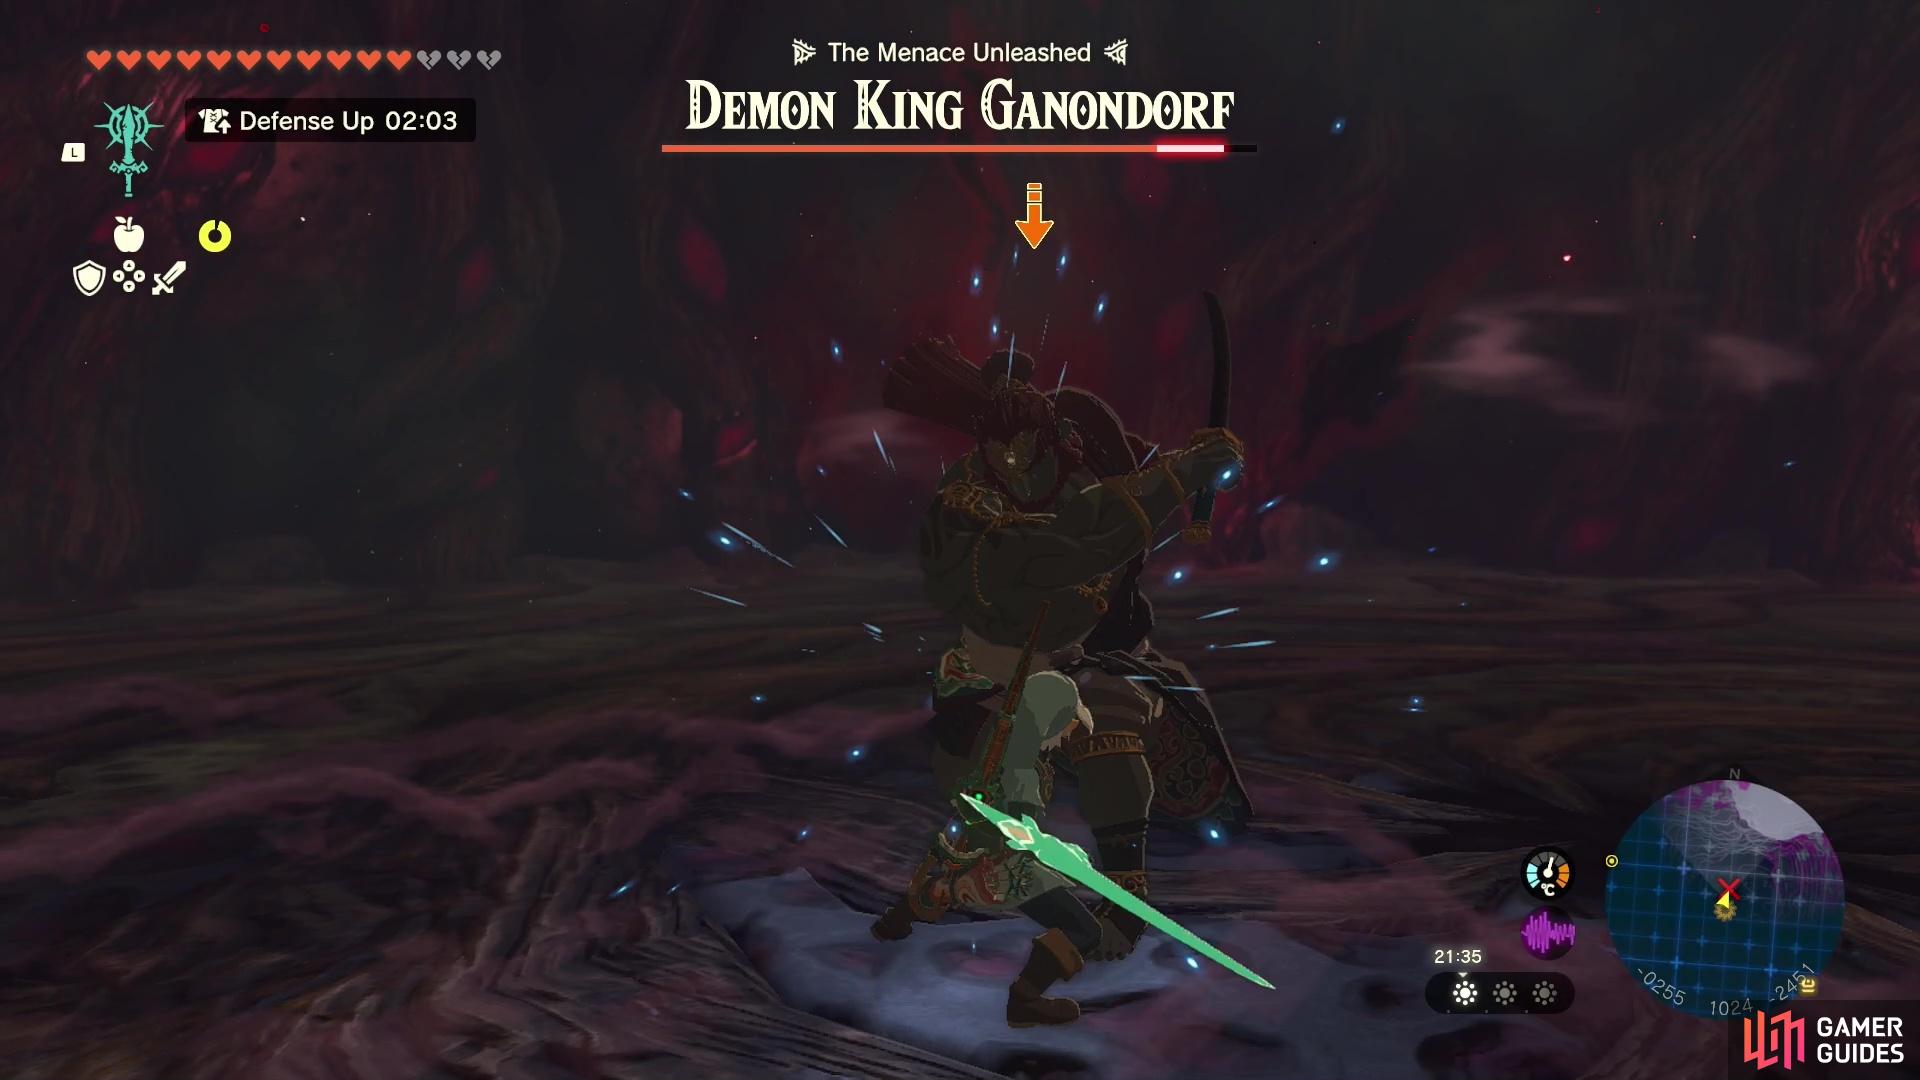
When he has his sword, you can engage in some close combat parrying and dodging.
In addition to doing some classic close combat sword attacks, Ganondorf can also perform a powerful charge attack using this weapon. From across the arena, he’ll run at you and effortlessly swipe for a huge amount of damage that’ll also knock you prone. It can be hard to time a parry for this attack, so we recommend running away!
Ganondorf’s Spear Attacks
In our opinion, the spear feels like the toughest weapon to deal with, mainly because of his attack patterns and the weapon’s length. Whilst you definitely can parry and dodge these attacks to trigger Flurry Rushes, we found that the easiest way to deal with this weapon was to run around Ganondorf and wait for an opportunity to attack.
If you’ve made some distance between you and Ganondorf, he’ll charge at you with your spear. This can feel hard to dodge, but we recommend running forward and then behind him as he will swing his spear around in a large semi-circle and if you’ve initially dodged to the side you’ll still get caught in the swing.
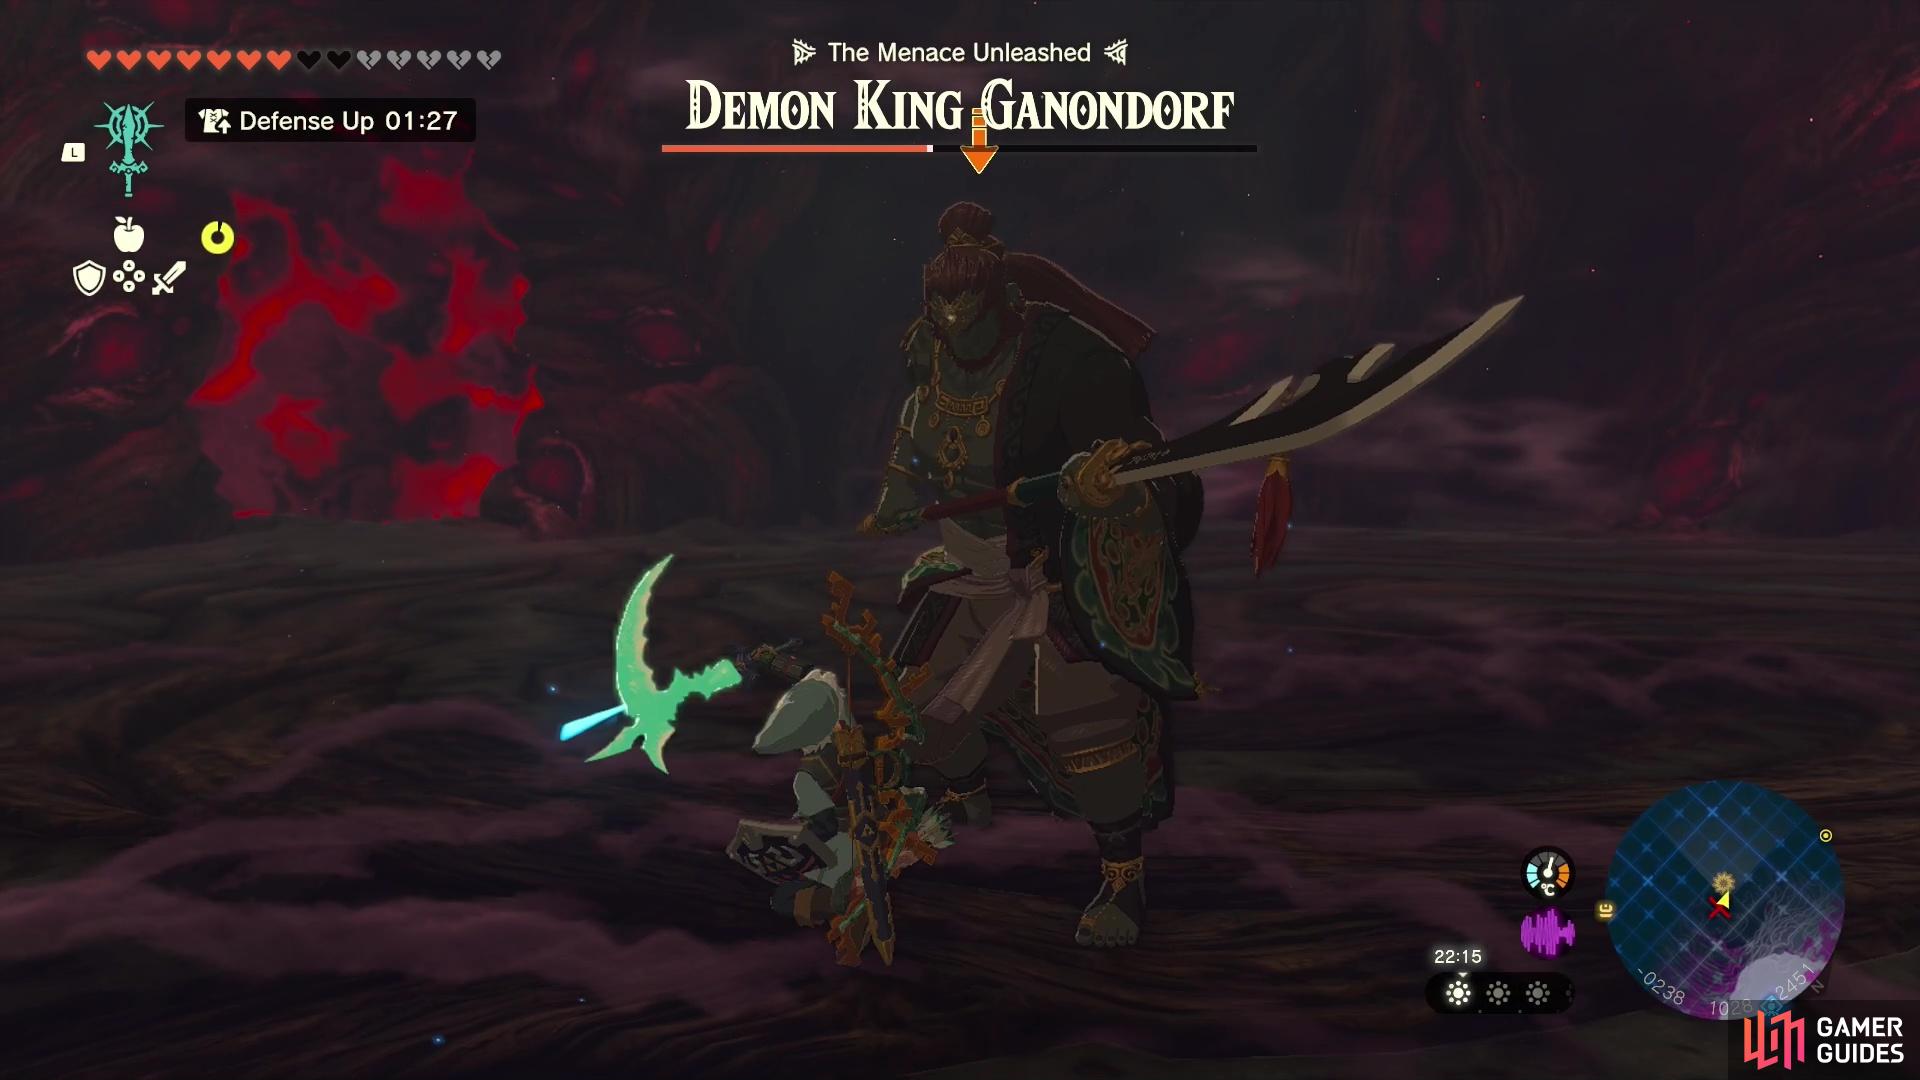
His spear has a long range and can be hard to dodge.
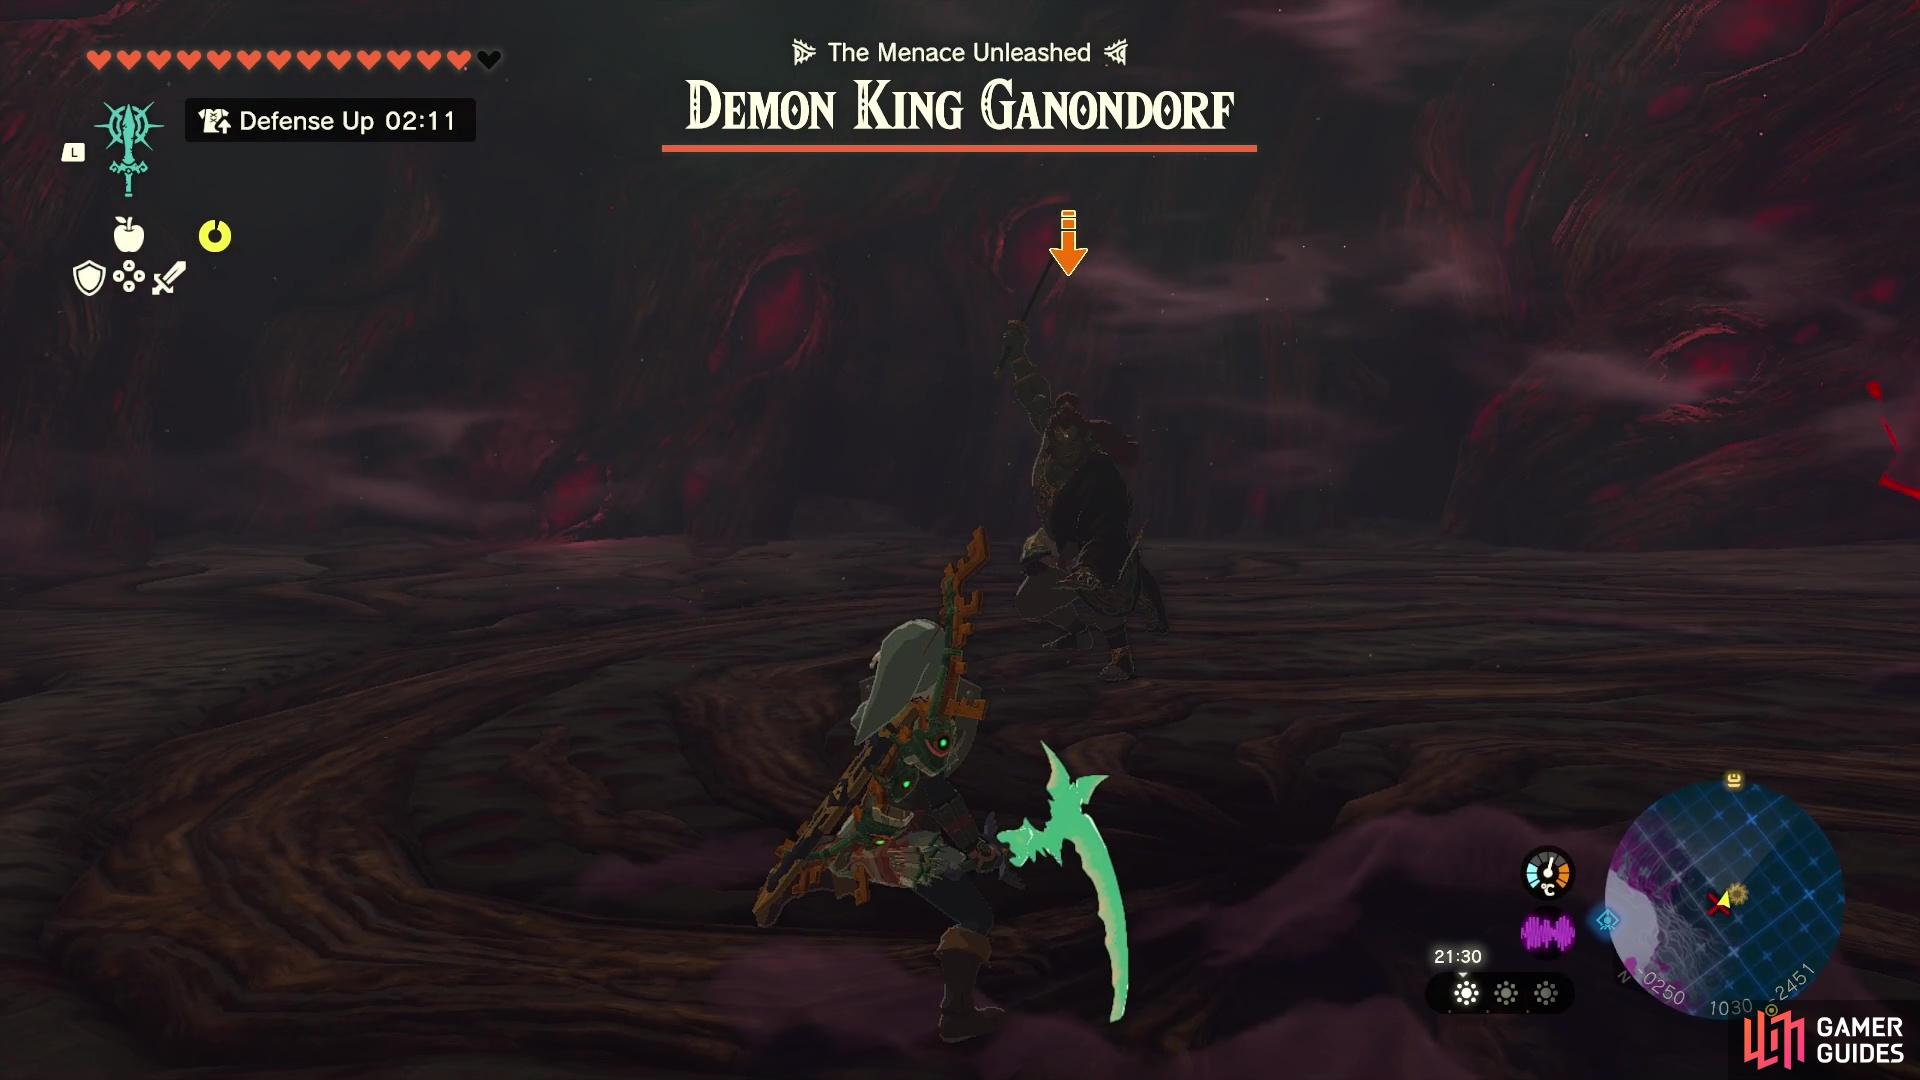
Ganondorf’s Club Attacks
The club has some of the most powerful attacks but they’re also quite slow and clunky, so they’re easy to dodge. In fact, we found that we were able to get in the most attacks with the ![]() Master Sword during this weapon of choice as he has a couple different attacks that leave him temporarily incapacitated.
Master Sword during this weapon of choice as he has a couple different attacks that leave him temporarily incapacitated.
The first of which is his huge jumping slam down attack. This has a huge area of damage but as long as you disengage and run from him, you shouldn’t get caught in it! And once he’s performed this attack, you can run back and swing at him from behind as he leaves himself a bit vulnerable to attacks! Sometimes this attack will leave gloom goop on the ground, but we wouldn’t worry too much about avoiding the goop as you’re gonna be popping sunny foods 24/7 anyways.
The club attacks are powerful

but quite easy to dodge as they’re slower than his other weapons of choice.
Ganondorf’s Bow Attacks
He very rarely brings the bow out in the first phase, and this is probably because you’re more likely to stay in close combat to deal as much damage with your Master Sword as possible and so you can perform parries and flurry rushes. But if he does bring out the bow he’ll shoot out three Gloom arrows at once. They’re easy to dodge thankfully! But if you do get caught by the orbs, you’ll lose hearts permanently until the end of the fight.
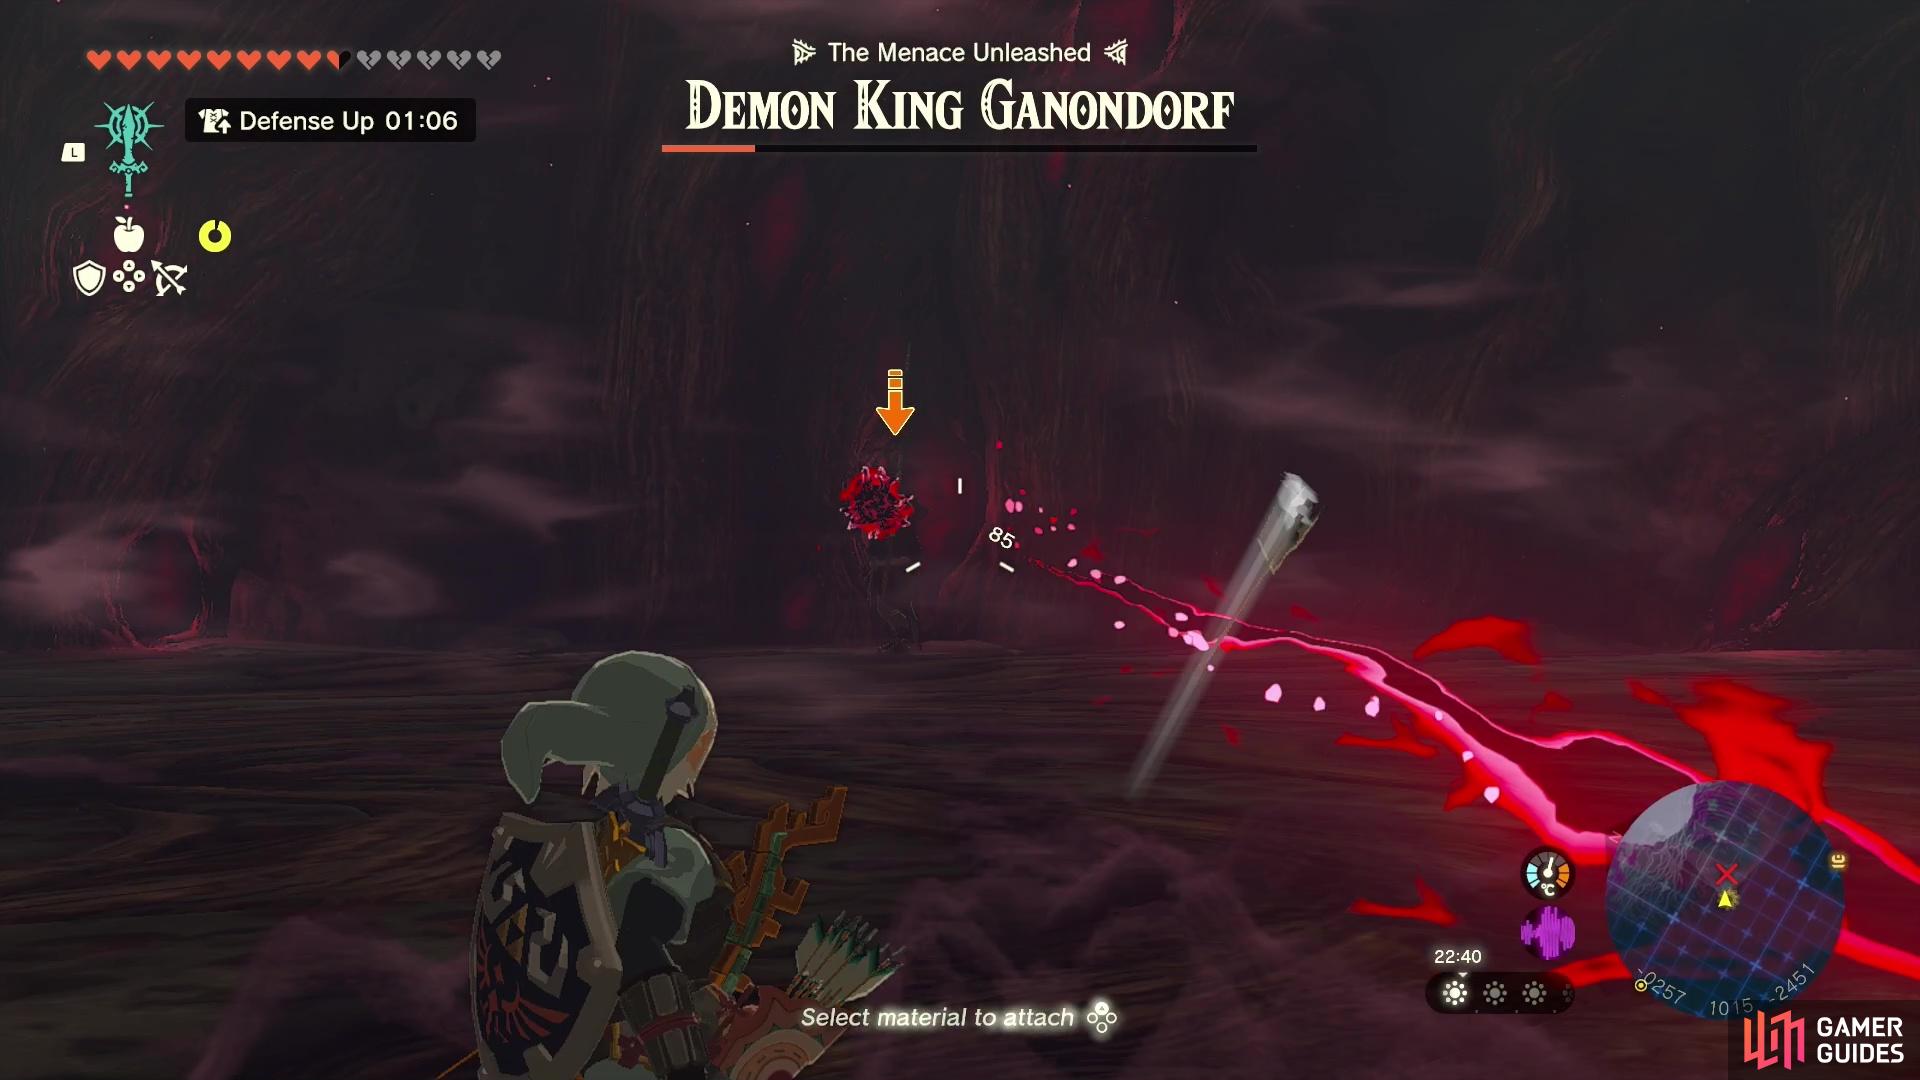
Ganondorf’s bow attacks will permanently remove your hearts for the duration of the fight…icky!
Ganondorf Phase 1 Strategy
The way we’d go about this phase is to whittle him down as quickly as possible and to shield incoming attacks. This strategy may seem obvious to some but sometimes it feels more natural to take it slow and avoid attacks as much as possible. But in this case, given there are four phases, it’s definitely better to get this phase out of the way asap, by staying close and getting in as many attacks as possible. In later phases, he becomes more agile and able to dodge more of your attacks, so those will feel harder and longer. But for now, you can make the most of being able to get in attacks after blocking his incoming hits.
Keep your shield up to block incoming attacks
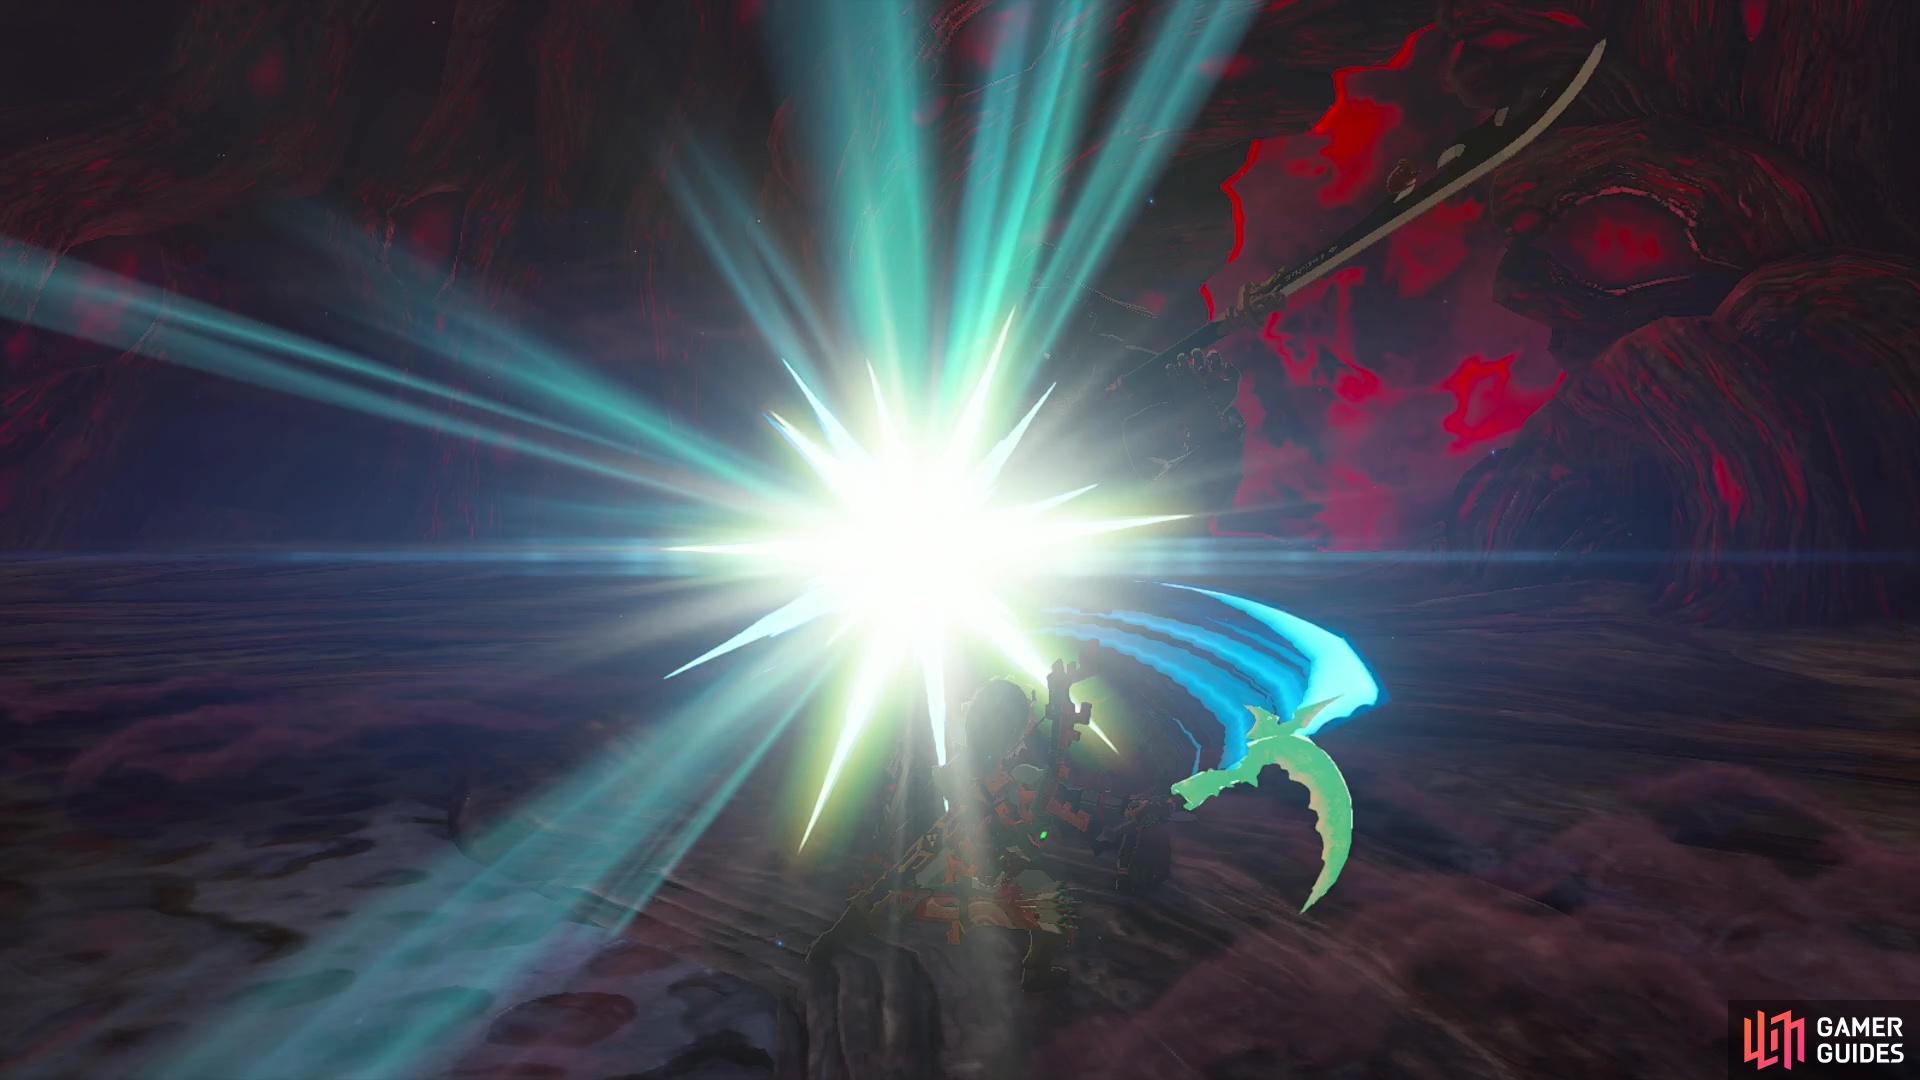
then get ready to attack using your Master Sword!
Try not to use up too many of your Sunny Foods in this phase either, as chances are the second and third phase will feel more punishing. If you feel like you’re having a tough time landing those flurry rushes, just focus on shielding his attacks and then using good old fashioned basic attacks to do the damage instead. The Master Sword with a good fuse will do tons of damage regardless of if you do a flurry rush or a basic attack! In this phase, you will need to damage his full health bar to continue the fight.
Ganondorf Fight: Phase 2
Once you’ve damaged him for all of his health in the first phase, you’ll trigger a cut scene and then he appears with 5 other ![]() Phantom Ganons. All is not doomed, however, as (provided you’ve actually completed the 5 sage quests) the five sages will come in to help!
Phantom Ganons. All is not doomed, however, as (provided you’ve actually completed the 5 sage quests) the five sages will come in to help!
Ganondorf Phase 2 Strategy
During this phase, Ganondorf will have a huge health bar that weirdly almost goes off the screen. Don’t worry though, to get through this phase all you’ll need to do is hit him to half his health, which will be around the same amount as the previous phase.
Ganondorf summons up a bunch of Ganons to help in the fight…but we’ve got our Sage buddies too!
Ganondorf will use the same weapons as the previous fight, except now you have to deal with 5 other Phantom Ganons too. However, the key to this fight is not to bother with the Phantom Ganons (as best as you can) and to just focus on Ganondorf as once you’ve hit him for 50% health, the other Ganons will go away.
The toughest part of this phase is trying to manage your positioning, avoid the Phantom Ganons and focus your efforts on Ganondorf the Demon King. It can get especially tough when they all cluster together and you can’t even see Ganondorf amongst the Phantom Ganons. ![]() Bomb Flowers are useful here for doing big AoE damage to a number of the Ganons. He won’t stay hidden for long either, as chances are he’s prepping for a big ol’ charge attack. It can also be hard to get off those all-important flurry rushes here when there are so many Phantom Ganons potentially targeting you in this fight.
Bomb Flowers are useful here for doing big AoE damage to a number of the Ganons. He won’t stay hidden for long either, as chances are he’s prepping for a big ol’ charge attack. It can also be hard to get off those all-important flurry rushes here when there are so many Phantom Ganons potentially targeting you in this fight.
Ganondorf Fight: Phase 3
After damaging him for half of his big health bar, Ganondorf will absorb the Phantom Ganons, become extra gloomy, and your Sages will also tap out of the fight, leaving you and Ganondorf to battle it out 1v1 again.
We didn’t think it was possible, but Ganondorf becomes even more evil and gloomy in his third phase!
Ganondorf Phase 3 Strategy
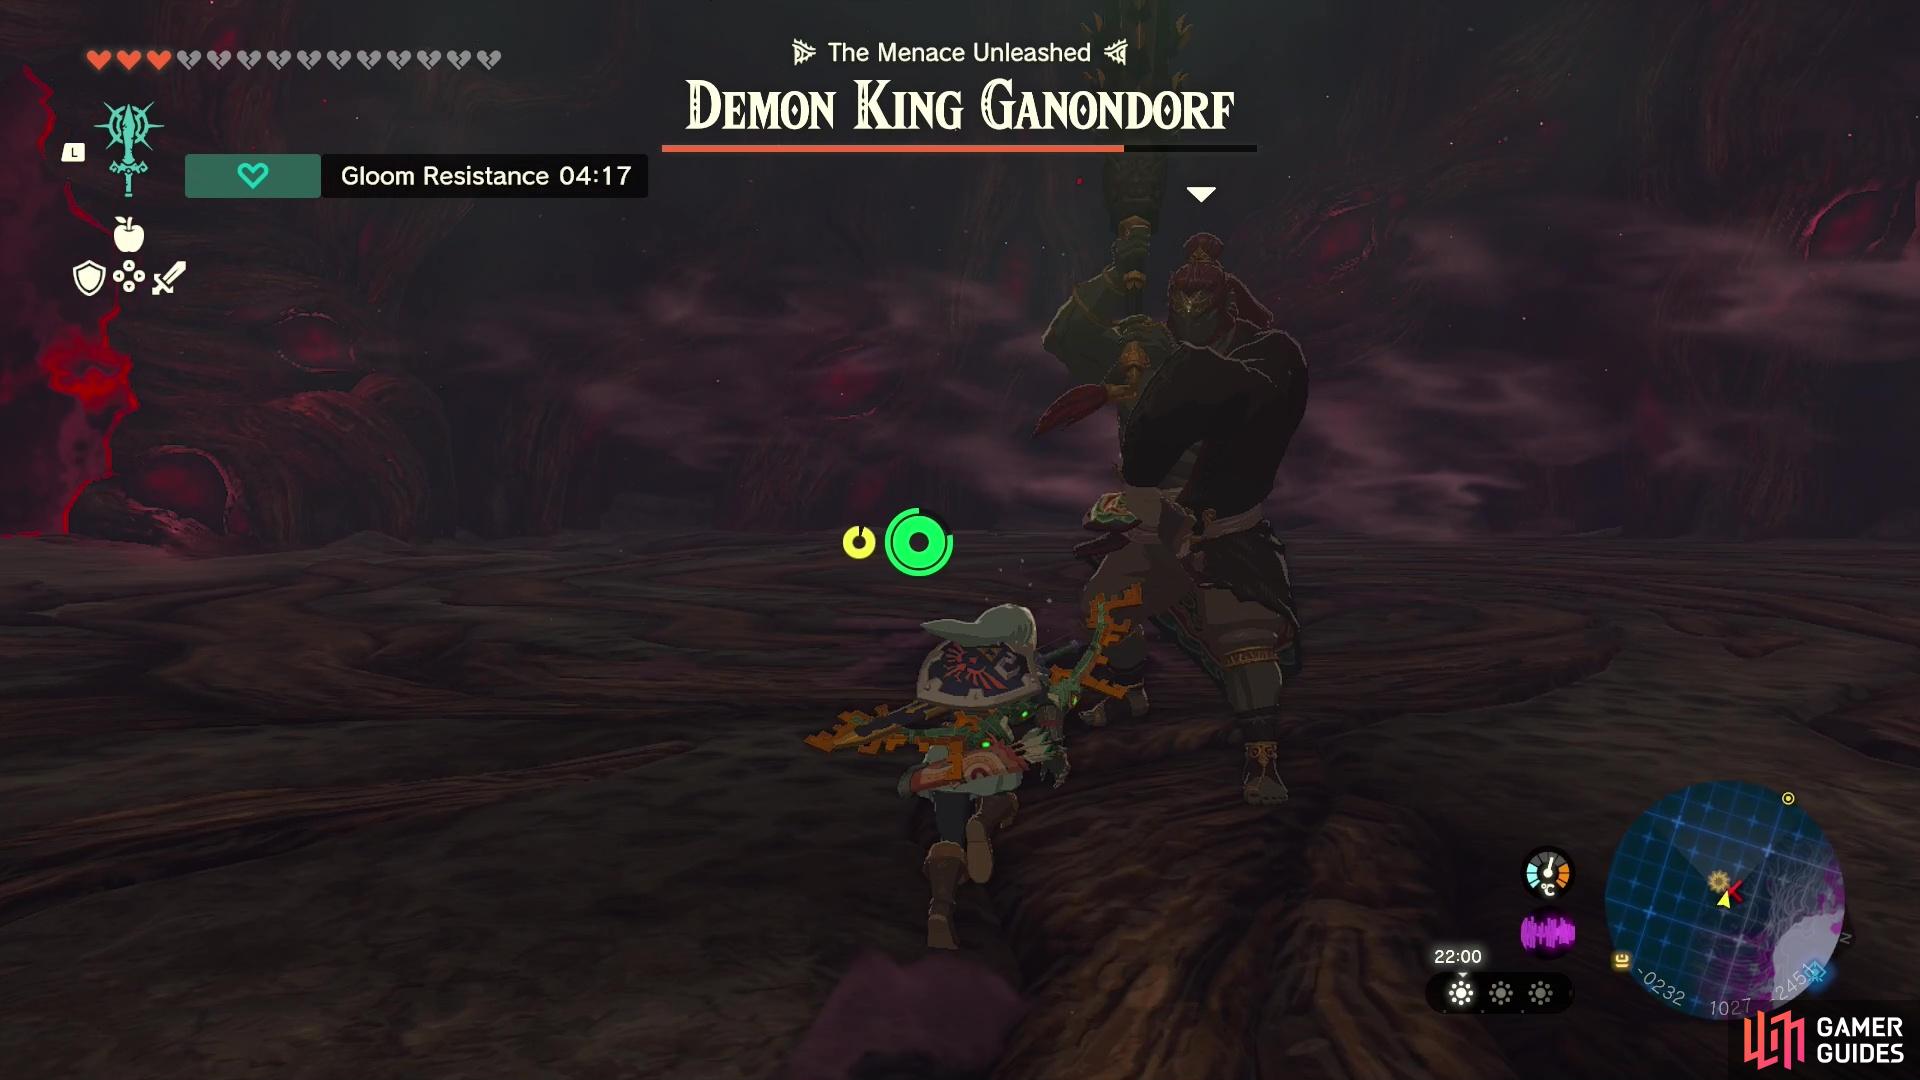
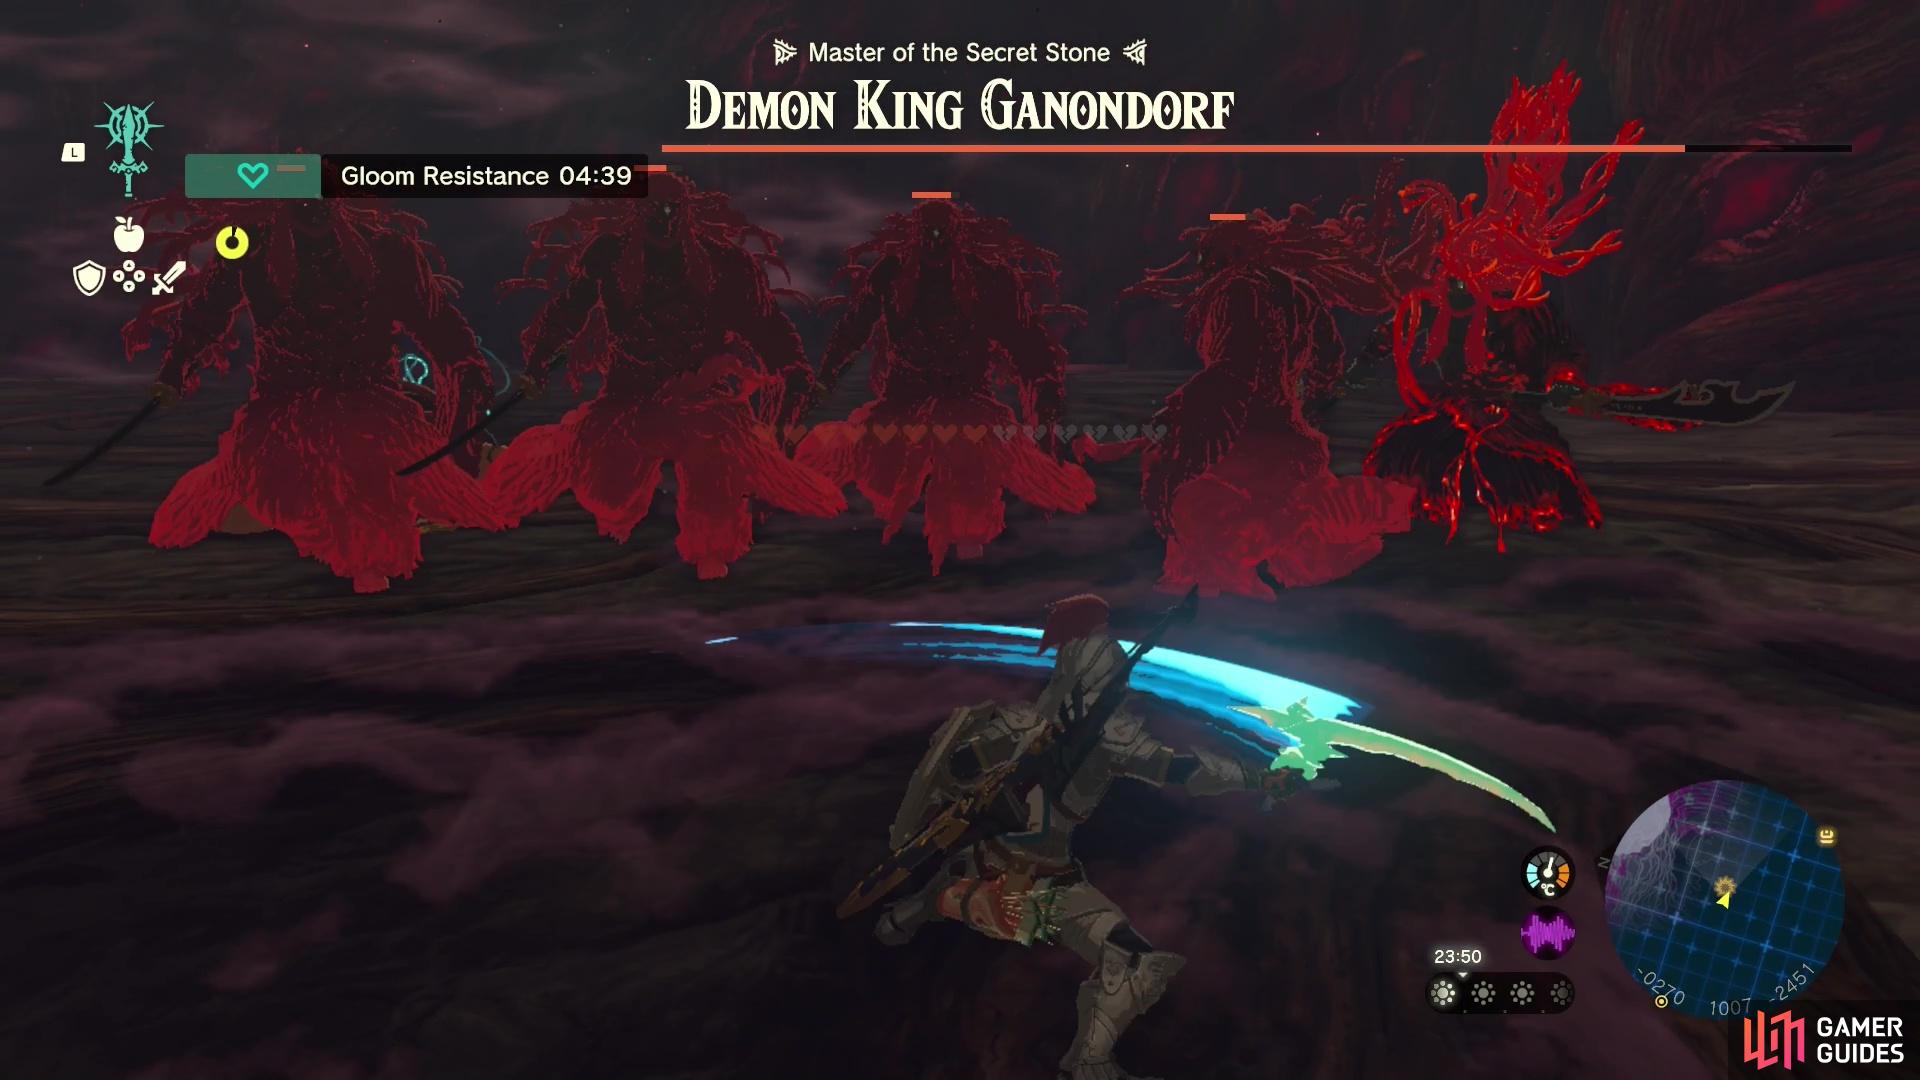
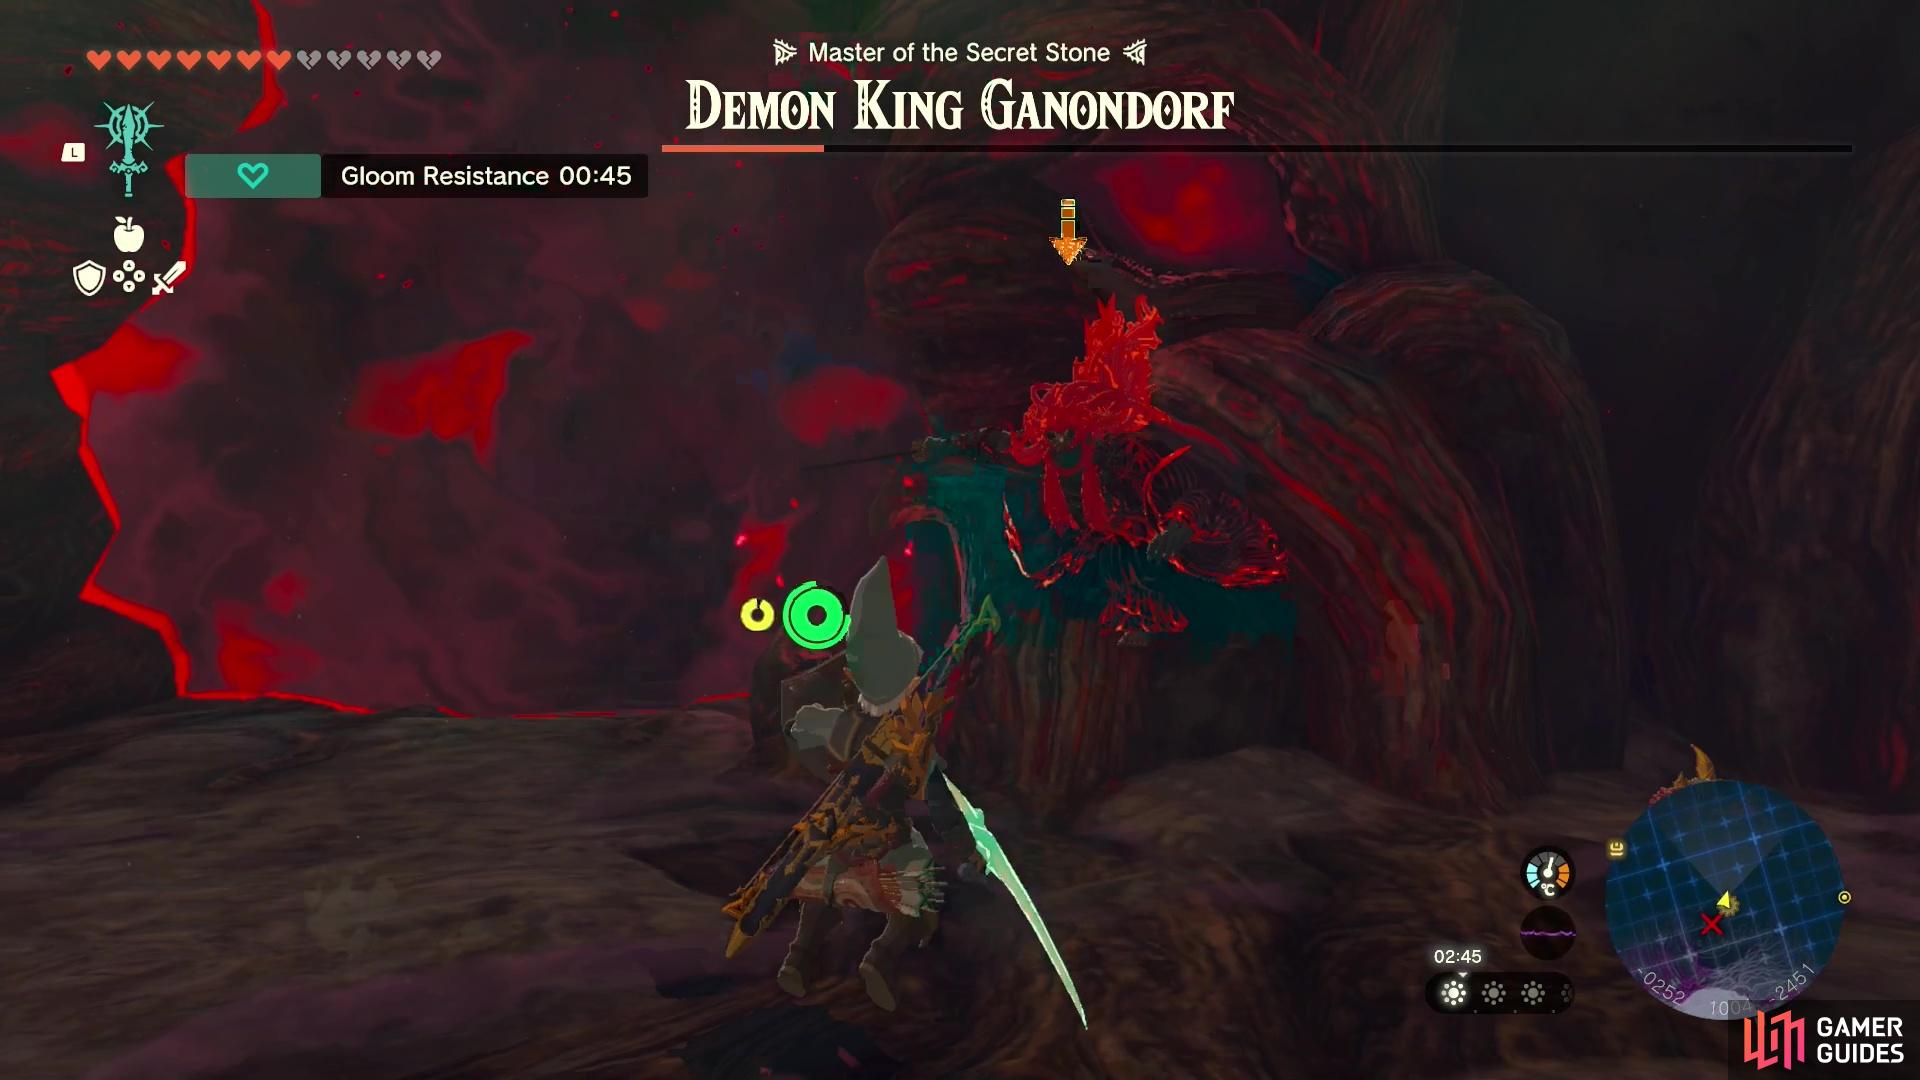
This phase is similar in many ways to the first but he is quicker, hits harder and has a couple of extra tricks up his sleeve (annoyingly). He will use the same weapon choices, but this his weapons can also create ominous purple orbs that, when you’re hit by them, cause you to permanently lose hearts (for the duration of the fight, at least). Yep, that’s right, the third phase of the Demon King fight is a bullet hell!

Dodge the ominous gloom orbs or face permanent health deterioration!
When he uses his club attack from far away, he’ll send out a wave of these ominous orbs, and the best way to avoid them is to back away until they spread out enough that you can pass through them unharmed.
When he’s at a distance, his spear and sword attacks will send out homing orbs that chase you around for a brief period of time. As long as you run in a bit of a circle, you should be able to dodge them successfully. However, careful not to focus too intently on the orbs as chances are he’ll also try to catch you out by charging at you whilst you’re running from the orbs. This charge attack does loads of Gloom Damage and will knock you prone.
He will also randomly spawn in some of these orbs on the ground and you’ll have to dodge and weave between them whilst he tries to attack you at the same time - how fun!
Another tricky addition to this fight is his constant dodging of attacks by performing backflip dodges. It can make it incredibly difficult to get in basic hits, and instead you’ll have to consistently try to hit flurry rushes and find opportune moments to get one or two swipes in. This fight is still doable if you’re not adept at flurry rushes, but you will find it frustrating when he backflips away almost every single time you go in! Essentially, we don’t recommend running in and trying to chunk him quickly like you did in the first phase, as this will probably land you in hot water.
Hey that’s not fair! Only Link can backflip dodge! >:(
The most success we had with getting in hits is when he backflips away from an attack then goes in for his own counter attack, which you can then block/parry and get in a couple of basic attacks! In this phase we also found it useful to use our bow with some damaging fuses like bomb flowers, ![]() Gibdo Ribs and
Gibdo Ribs and ![]() Chuchu Jellies to chip away at his health when he’s at a distance.
Chuchu Jellies to chip away at his health when he’s at a distance.
Ganondorf - Demon Dragon: Phase 4 (Final)
Thank goodness that we can safely say that this is the easiest phase of them all. It definitely serves a more atmospheric type of final battle. The Demon King will transform into a Dragon and you’ll have to battle him outside Hyrule Castle on the back of the ![]() Light Dragon. Being outside means that Gloom Damaged hearts will replenish quickly and you don’t need to worry about stuffing Link’s face with Sunny Foods every two seconds!
Light Dragon. Being outside means that Gloom Damaged hearts will replenish quickly and you don’t need to worry about stuffing Link’s face with Sunny Foods every two seconds!
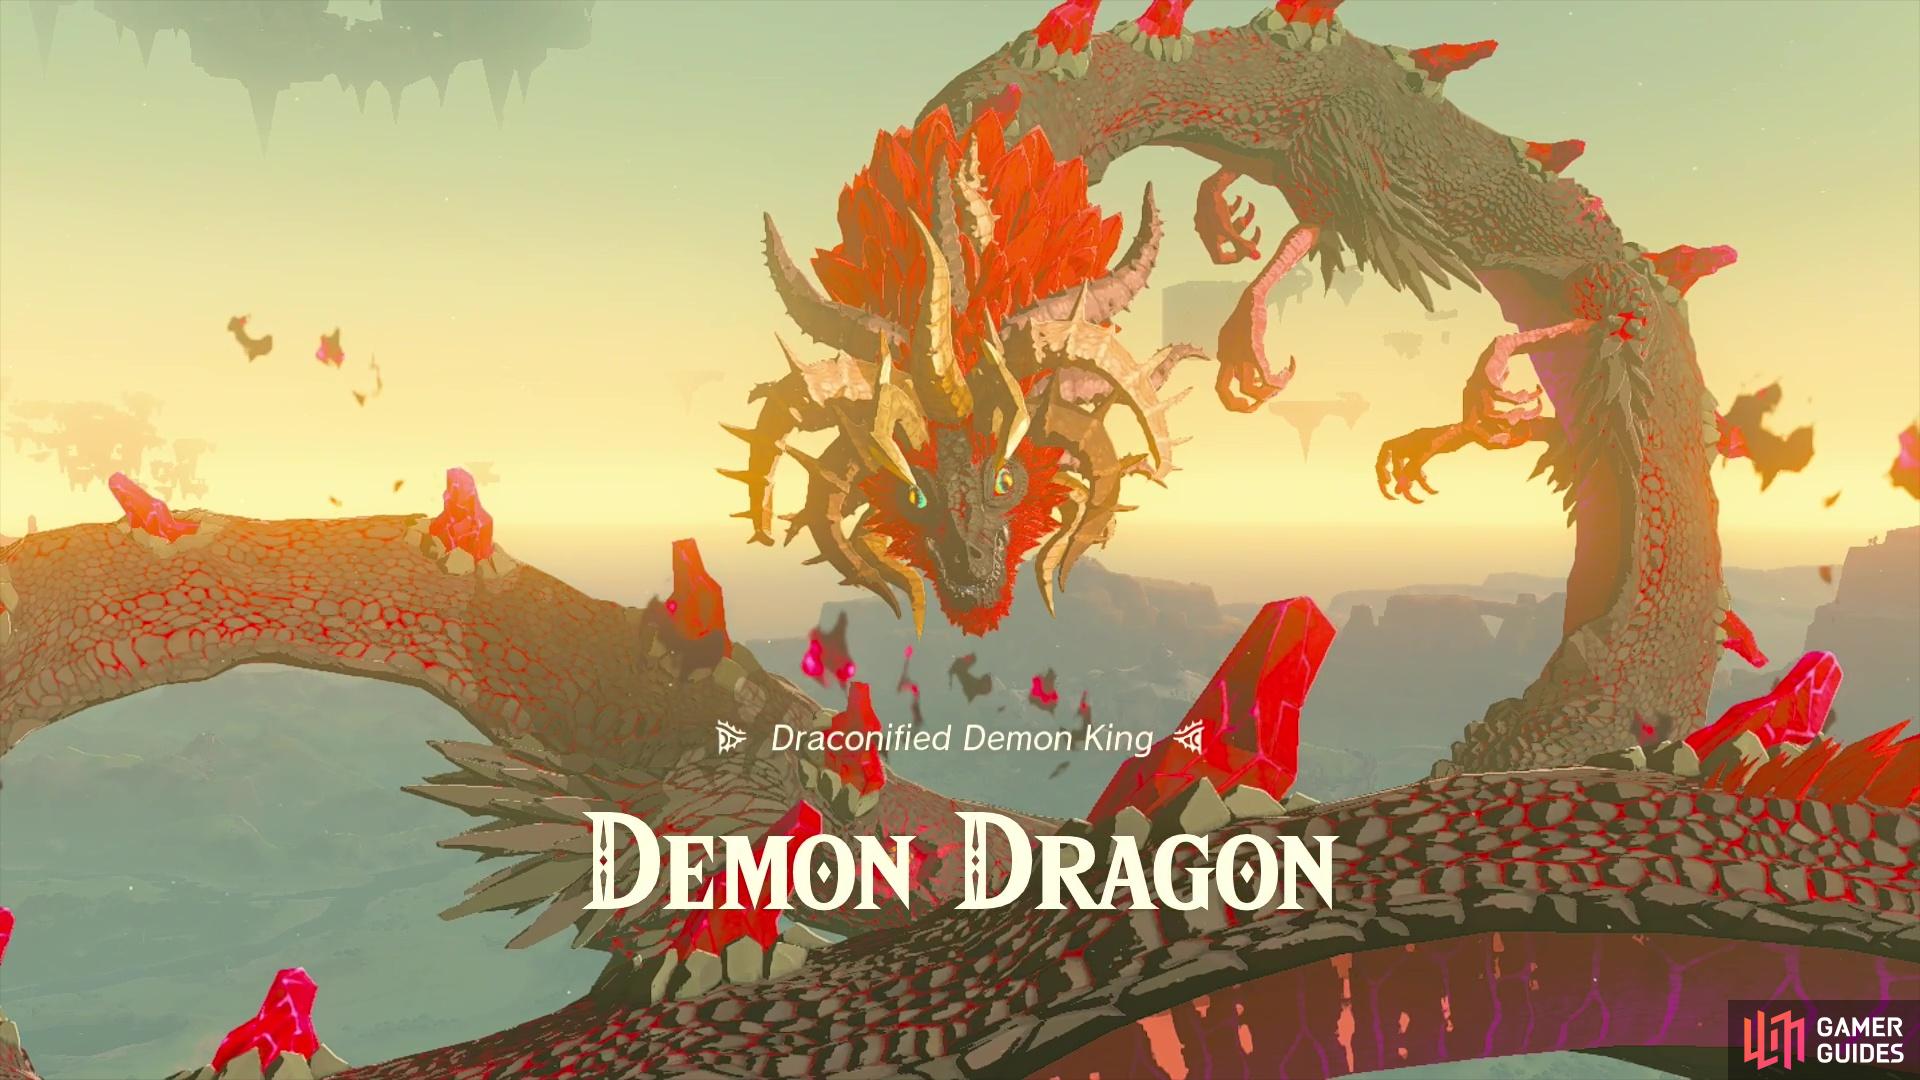
The Demon Dragon is Ganondorf’s final form!
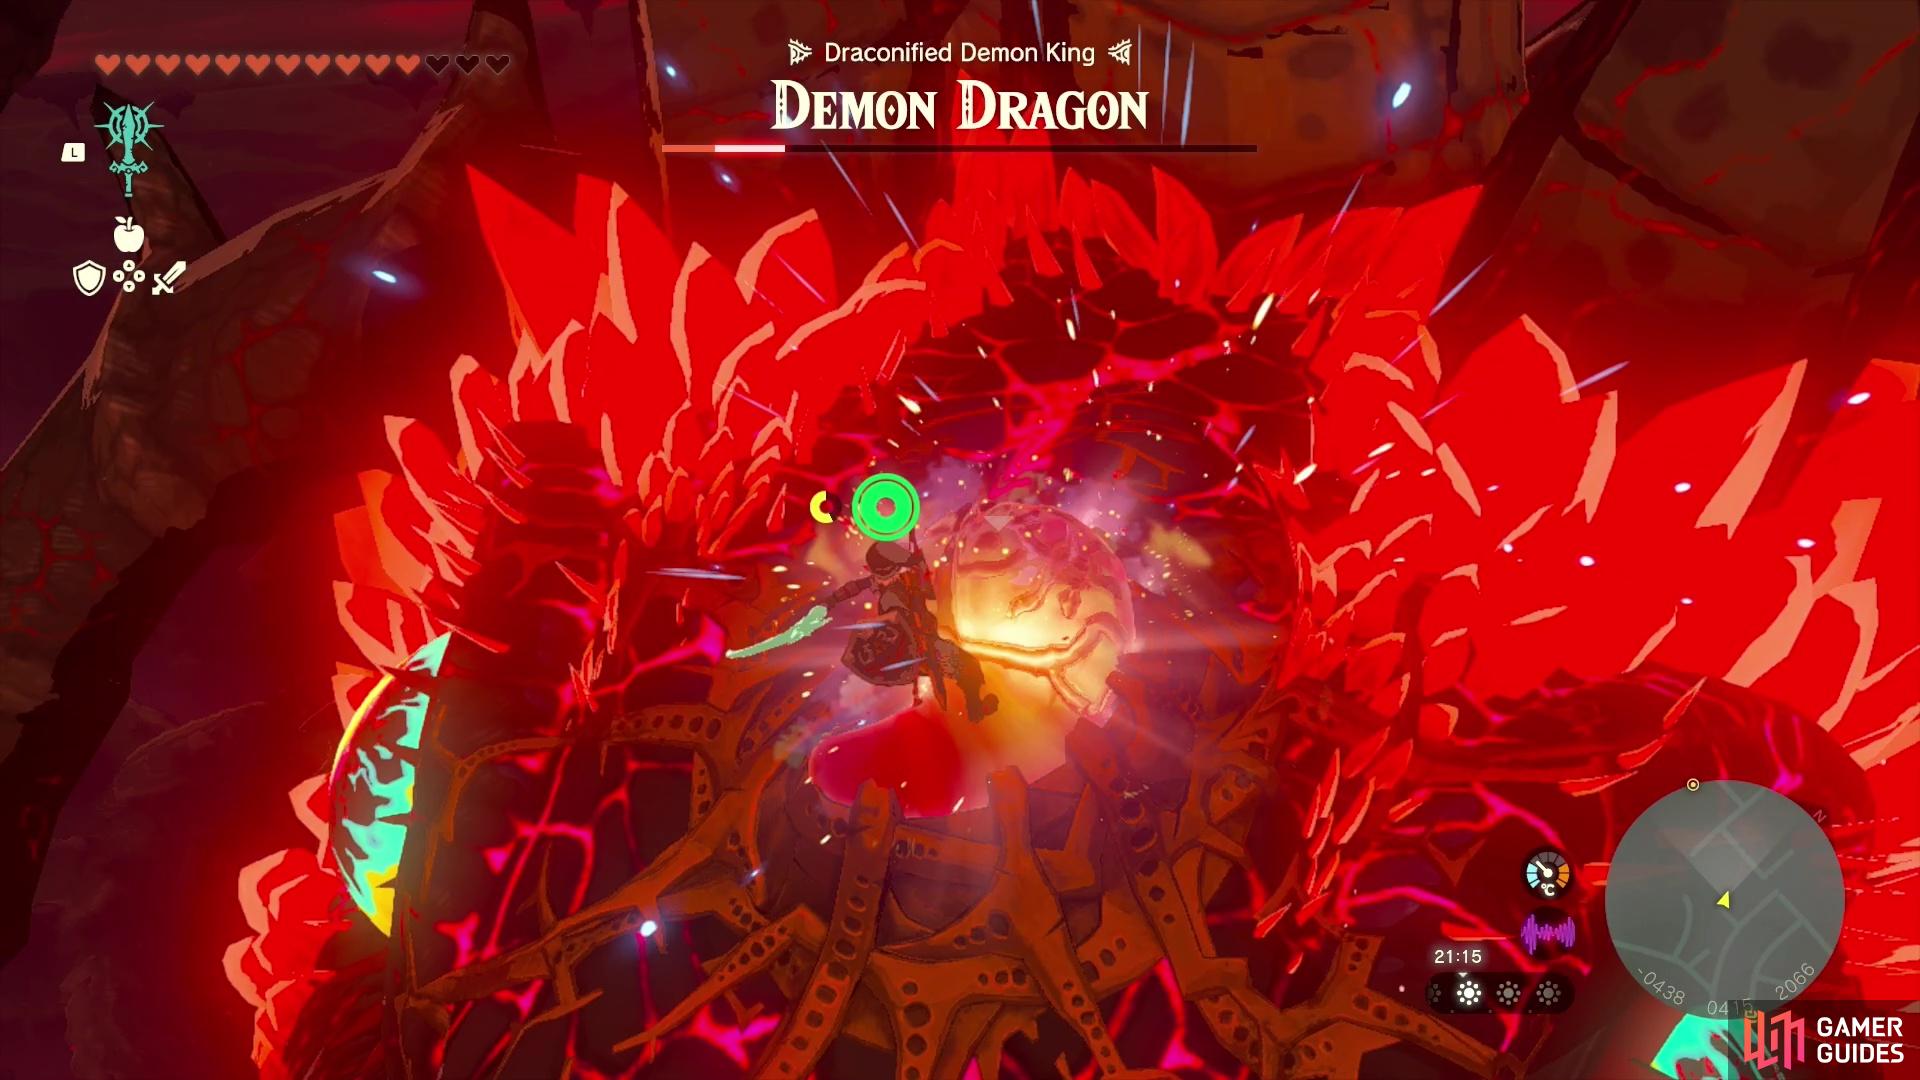
The aim of this phase is straightforward enough: hit the 4 sets of eye clusters on his back and then land a killing blow on the sage crystal on his head. Whilst you’re doing this, the Demon Dragon will also shoot out Gloomy orbs out his head, but they’re quite easy to dodge and shouldn’t pose any real threat.
Demon Dragon Strategy
In order to hit the eye clusters, you’ll first have to jump off the light dragon and soar down to either land on the dragon’s back or get close enough to shoot the eye cluster using your bow and arrow. We recommend the first strategy as it can be a bit awkward to shoot at the eyes effectively. Landing on the Demon Dragon’s back will do Gloom Damage but you’ll replenish your hearts quickly given you’re outside.
After hitting an eye cluster, you’ll be forced off the dragon and you’ll need to soar around for a bit until the Light Dragon picks you up again. And don’t worry about falling either, the Light Dragon will always catch you. You’ll need to repeat this process three more times on each of the eye clusters along his back.
Once you’ve destroyed all four light clusters, you’ll be required to land on the Demon Dragon’s head and hit the glowing sage crystal on his head. It can be a little tricky to dodge all the fiery orbs coming out of his head, but it feels quite satisfying to dodge and weave around them to land on the dragon’s head. After destroying the crystal, perform a final Master Sword slam down to finish the fight.
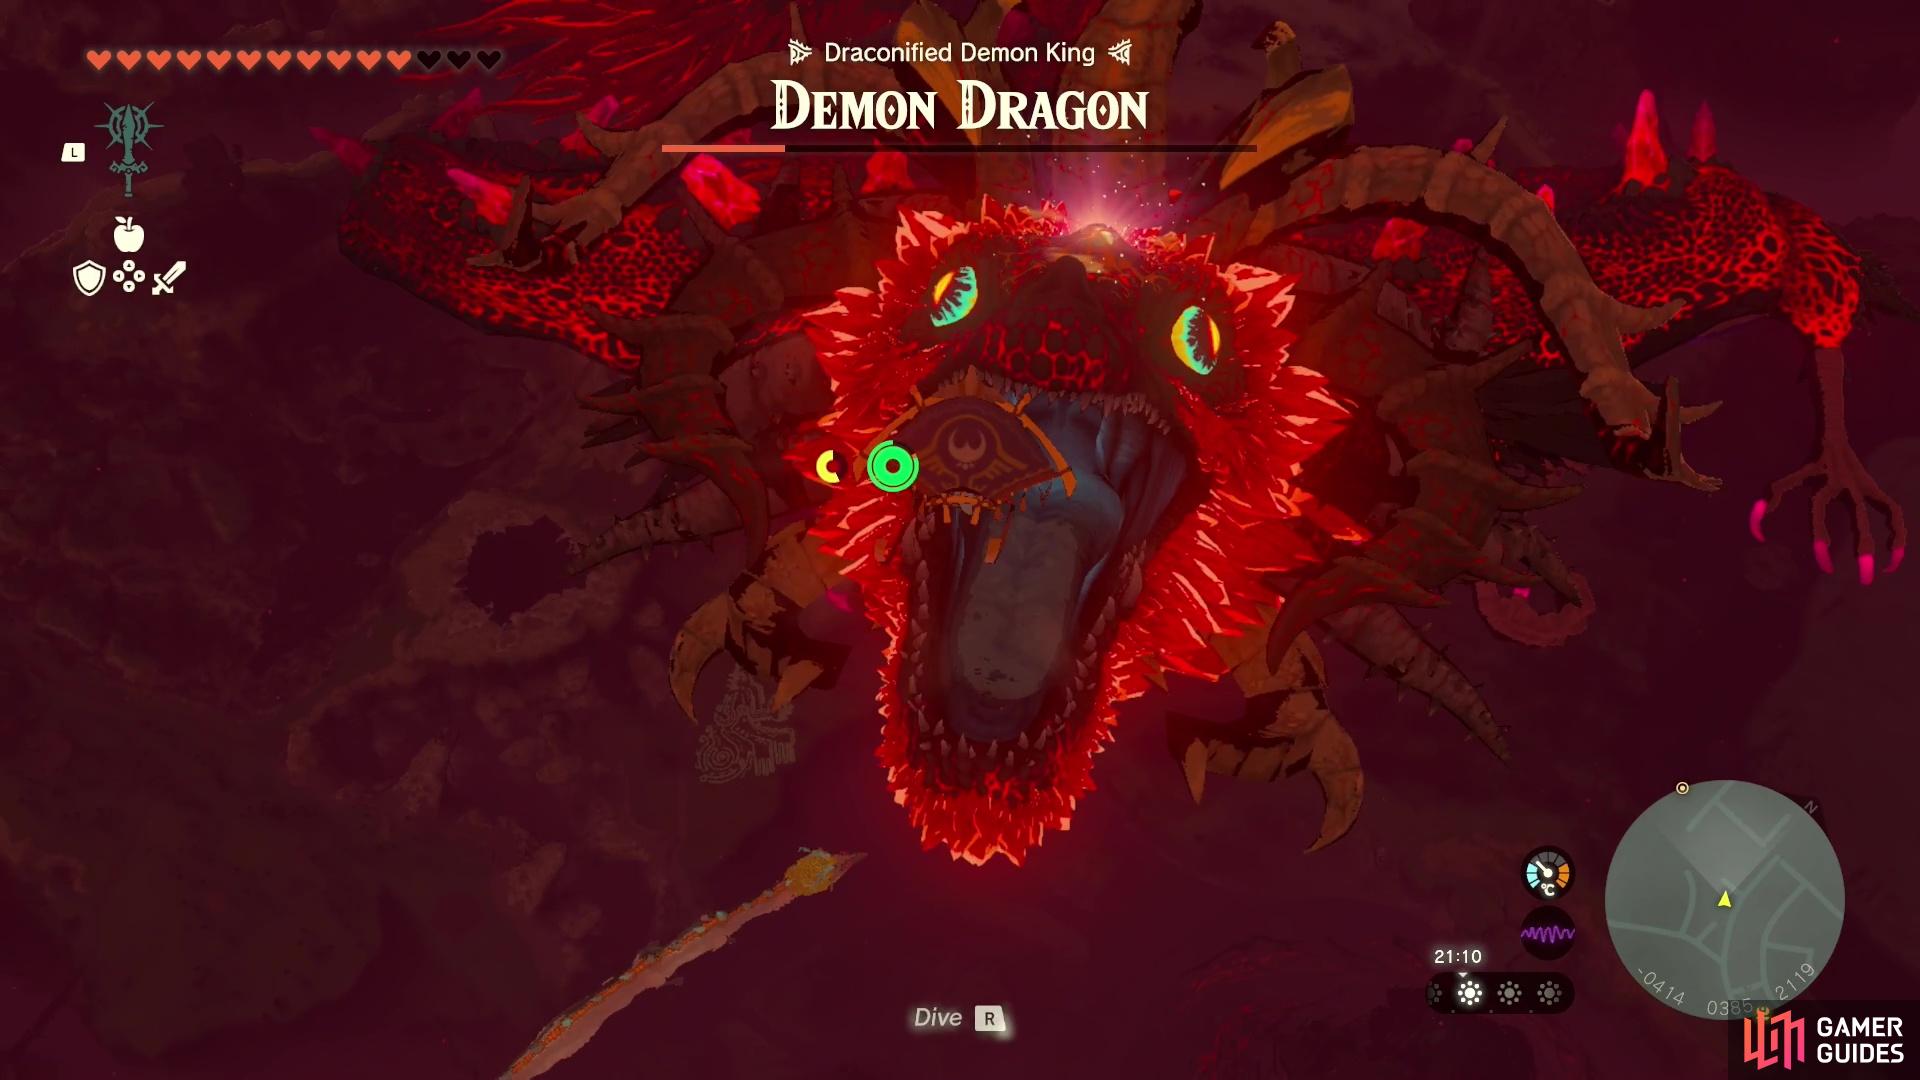
Fly down to his head
then hit the sage crystal to complete the fight!
And there you have it! You’ve beaten the final boss fight of Tears of the Kingdom. Unfortunately, you never get to experience Hyrule post-Ganondorf, and upon completing the boss fight and watching a lengthy cutscene you’ll actually be taken back to the main screen and your last save will take you back to before the fight. Your only indication that you’ve completed it is that your save now has a little star next to it. Guess you could fight him again if you want to…right?
No Comments