
There are a number of Side Quests to be found in The Legend of Zelda: Tears of the Kingdom. Some of the longer side quests involve the three labyrinths in the game, which are tied to the Evil Spirit armor set. This page will focus on the Lomei Labyrinth Island Prophecy side quest.
Where to Find the Lomei Labyrinth Island in Tears of the Kingdom
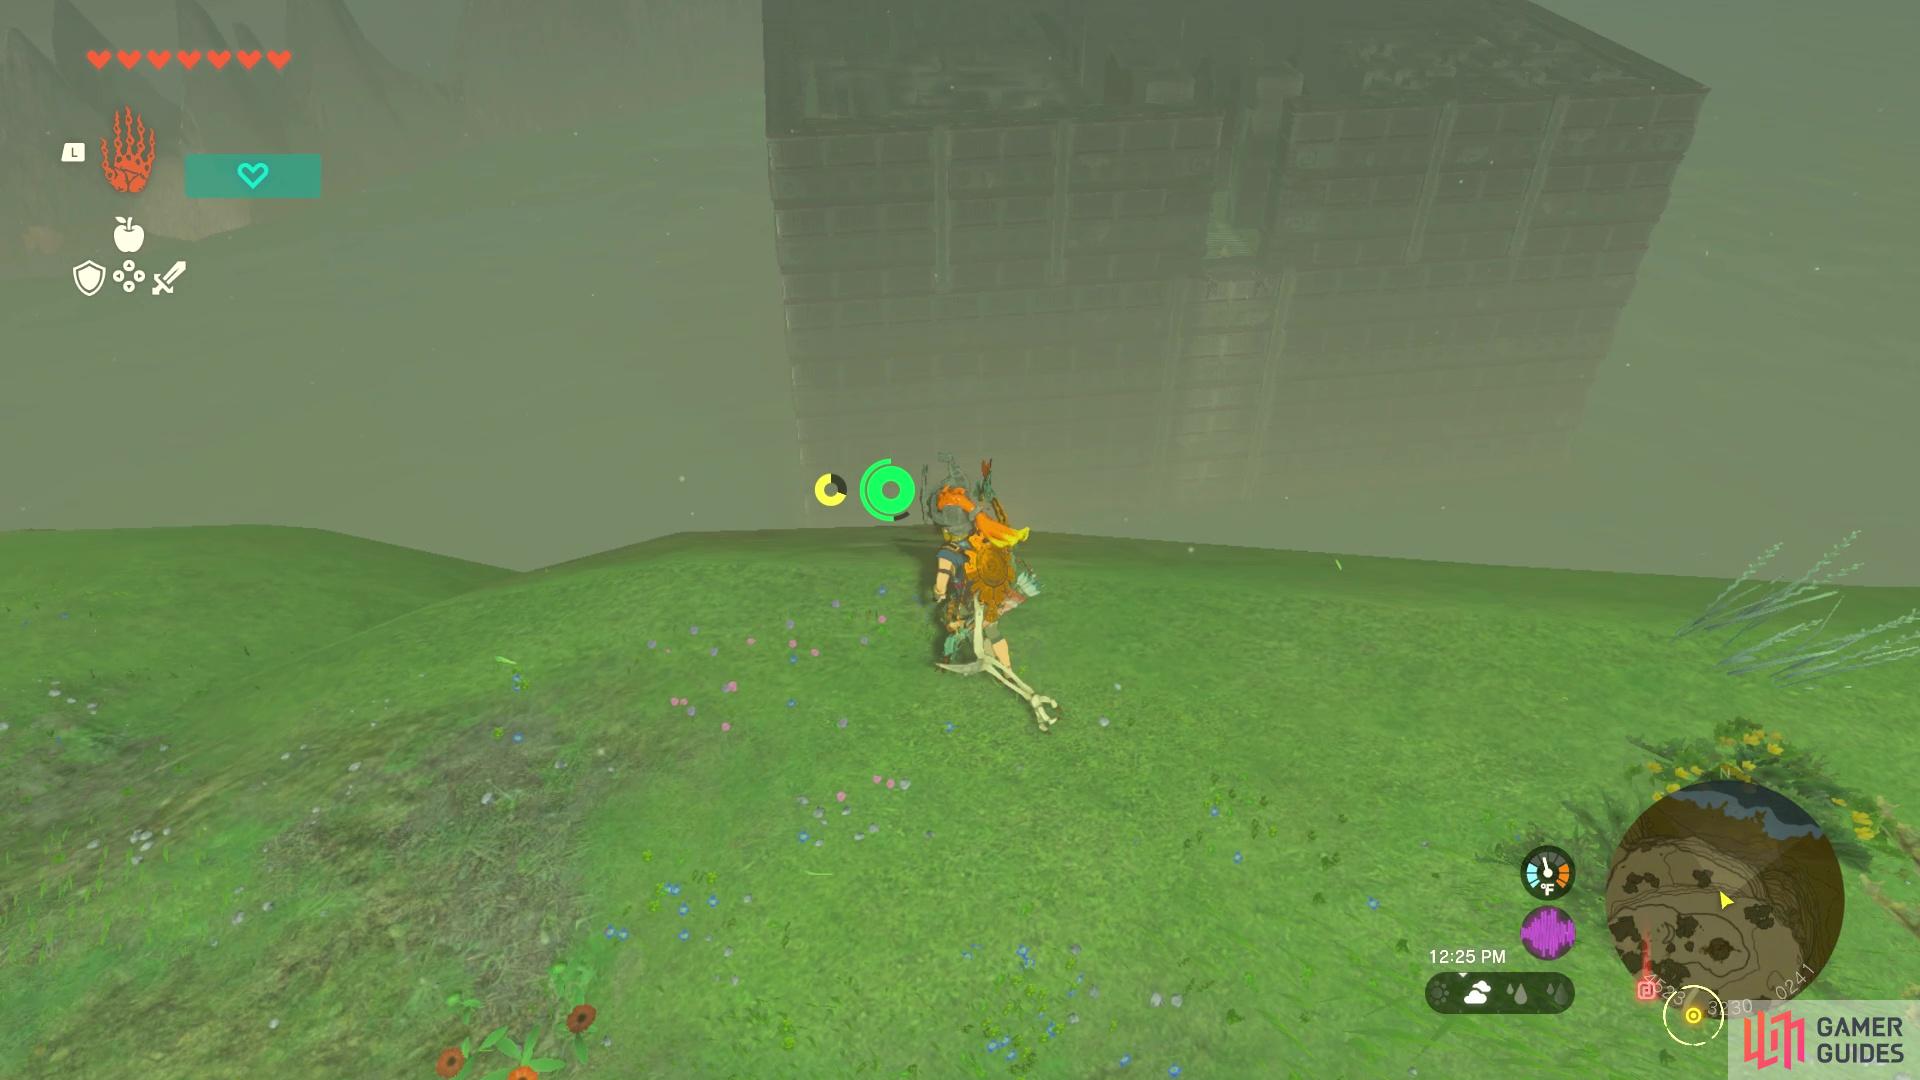
You should be able to glide over to the entrance from this cliffside
You will find this labyrinth in the Akkala region of the surface, which is in the northeastern corner of the map. In fact, the labyrinth is located in the northeastern corner, right off the coast there. The maze is surrounded by water and the entrance isn’t at ground level, so you will need to glide there, or build some kind of flying structure to get to the entrance. If you happened to have some extra stamina over your initial bit, then gliding there can be quite easy.
When you go to the northern cliff of the area, look for a broken down windmill there. You’ll know you’re in the correct spot, when you see a bunch of Yiga clan stuff in front of the windmill. Don’t worry, though, as you won’t really encounter any enemies here, so you are free to mill around and line up your shot. Use the cliff just north of the windmill and glide all the way to the entrance, consuming food to replenish stamina, if needed.
How to Complete the Lomei Labyrinth Island in Tears of the Kingdom
If you’ve done any of the labyrinths on the surface, then you should know how to do this one. If not, then read the book by the slab at the entrance to gain an understanding. Basically, the researching in that journal left some items on the ground to help mark where he’s been in the maze. While you could stock up on items here, it’s best to ignore them and let them guide you on the correct path. For the Lomei Labyrinth Island, you will have some water on the ground, which makes this one of the easier surface labyrinths, as you won’t have to really deal with gloom at all.
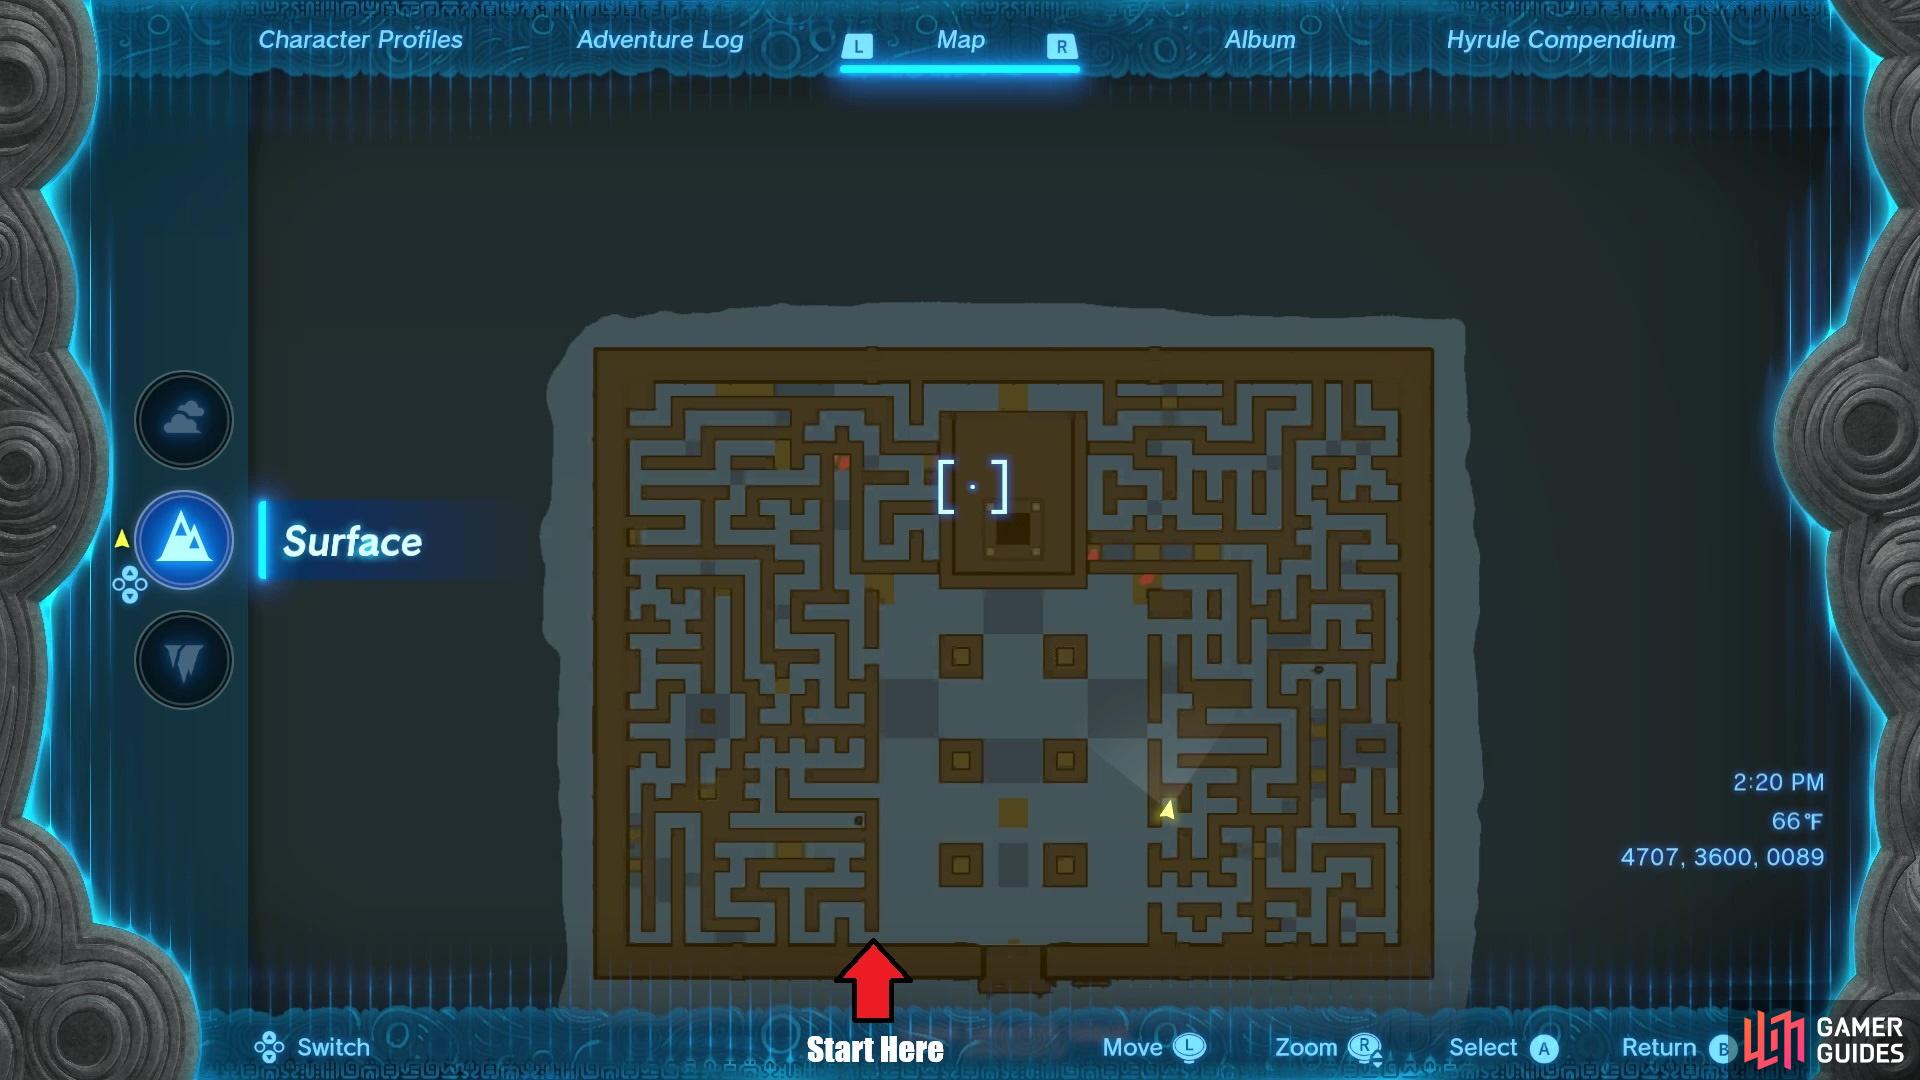
The initial area is fairly open and if you look at your map, you will see some entrances to the side paths. The darker blues on the map are little pools of water that you can swim in, so you don’t have to really worry about any pits or anything. To begin the actual traversal through the maze, go to the southwestern corner of it to find an ![]() Acorn that begins the journey. The labyrinth isn’t really all too bad, especially if you always keep an eye out for the items on the ground.
Acorn that begins the journey. The labyrinth isn’t really all too bad, especially if you always keep an eye out for the items on the ground.
When you reach the northwestern corner area, you will find a metal block in your way that you can move. Do that and continue past, then keep going until you eventually reach a ladder. Climb the ladder and follow the path to the end of the maze, where you’ll find the ![]() Igashuk Shrine, and the dragon gate that unlocks the labyrinth in the sky.
Igashuk Shrine, and the dragon gate that unlocks the labyrinth in the sky.
How to Reach the Lomei Sky Labyrinth in Tears of the Kingdom
To start, you will probably want to procure some good Zonai items that you can use. Specifically, things like Fans, Steering Sticks, and maybe Wings and Rockets. The biggest problems with trying to reach the labyrinth in the sky will come from your ![]() Energy Cell and the fact that most flying components will likely break before you can reach it. To start, head to the
Energy Cell and the fact that most flying components will likely break before you can reach it. To start, head to the ![]() Ulri Mountain Skyview Tower and launch yourself into the air from it. There will be a large platform to your east, where there is a pre-built flying machine. There are also some more Batteries on the ground, so it’s a good idea to attach them all to the machine.
Ulri Mountain Skyview Tower and launch yourself into the air from it. There will be a large platform to your east, where there is a pre-built flying machine. There are also some more Batteries on the ground, so it’s a good idea to attach them all to the machine.
This island with the machine is south/southwest of the labyrinth, and quite a ways away, so you likely won’t be able to make it with just that. There is a small island just southwest of the labyrint, though, and you should have enough juice to get to it via the machine or from gliding the rest of the way. Landing on this island will show you another flying machine here, similar to the first one. Now, the labyrinth is still higher than that island, so things might get a little iffy with the platform possibly disappearing before you reach the maze. If you have more Batteries in your inventory (or even a Big Battery), place it on there and maybe adjust the one diagonal fan to be straight up and down.
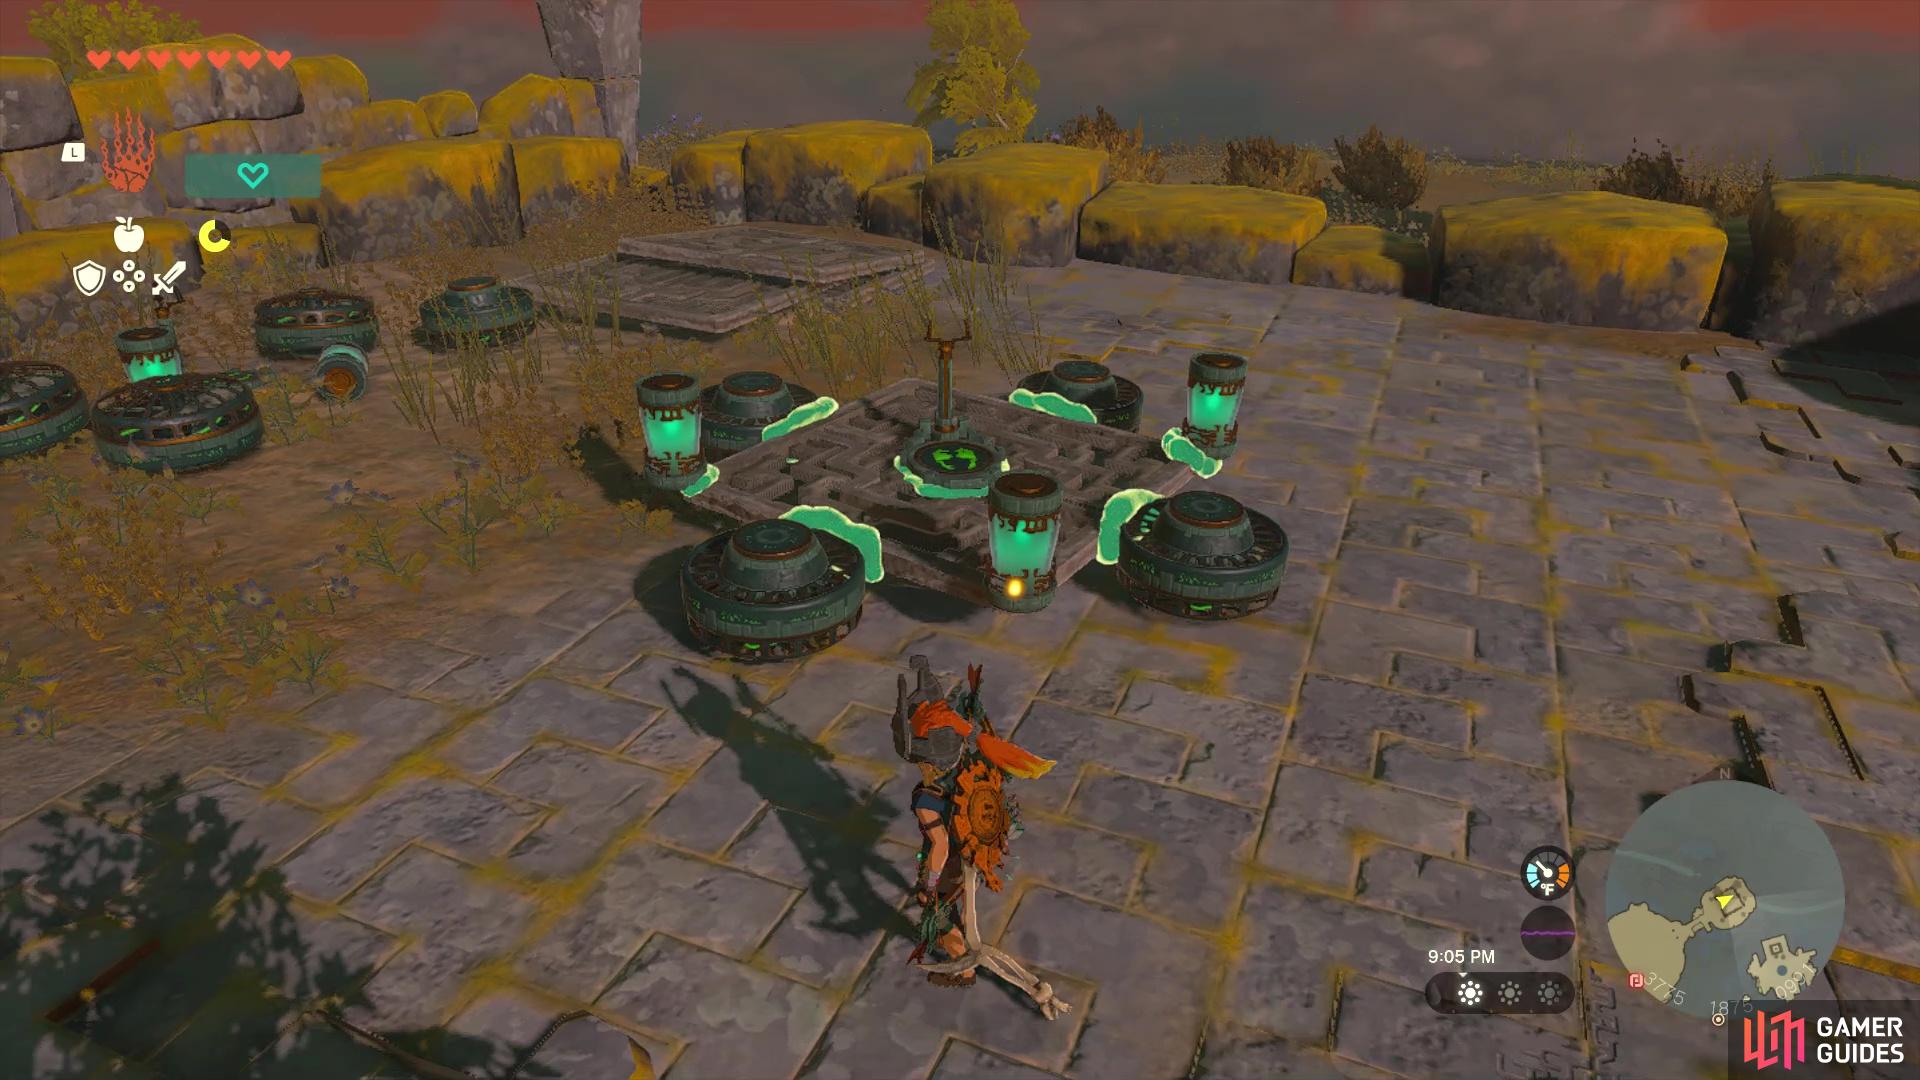
Upon finally reaching the entrance to the maze, activate the shrine to get a fast travel point, then interact with the dragon gate to initiate the trial. All of the sky labyrinths are the same, in terms of what you have to do, although their layouts are different. There will be four terminals inside the labyrinth you need to activate, and there will be a strong wind blowing at all times from down below, so you can never fall below the labyrint, as long as you’re inside and you have your ![]() Paraglider equipped (and stamina).
Paraglider equipped (and stamina).
There are numerous platforms you can use to rest and replenish your stamina. If you need extra height, fall down without the glider and activate it at a lower point, making sure not to go too far down, or else you’ll have to start over again. Head to each of the terminals, activate all four, and another dragon gate will appear at the very top of the maze. The wind gusts will now carry you to the top, so just don the glider to get on top of the maze, then work your way over to the gate. Interact with it to be done with the sky portion and open up the way to the Depths.
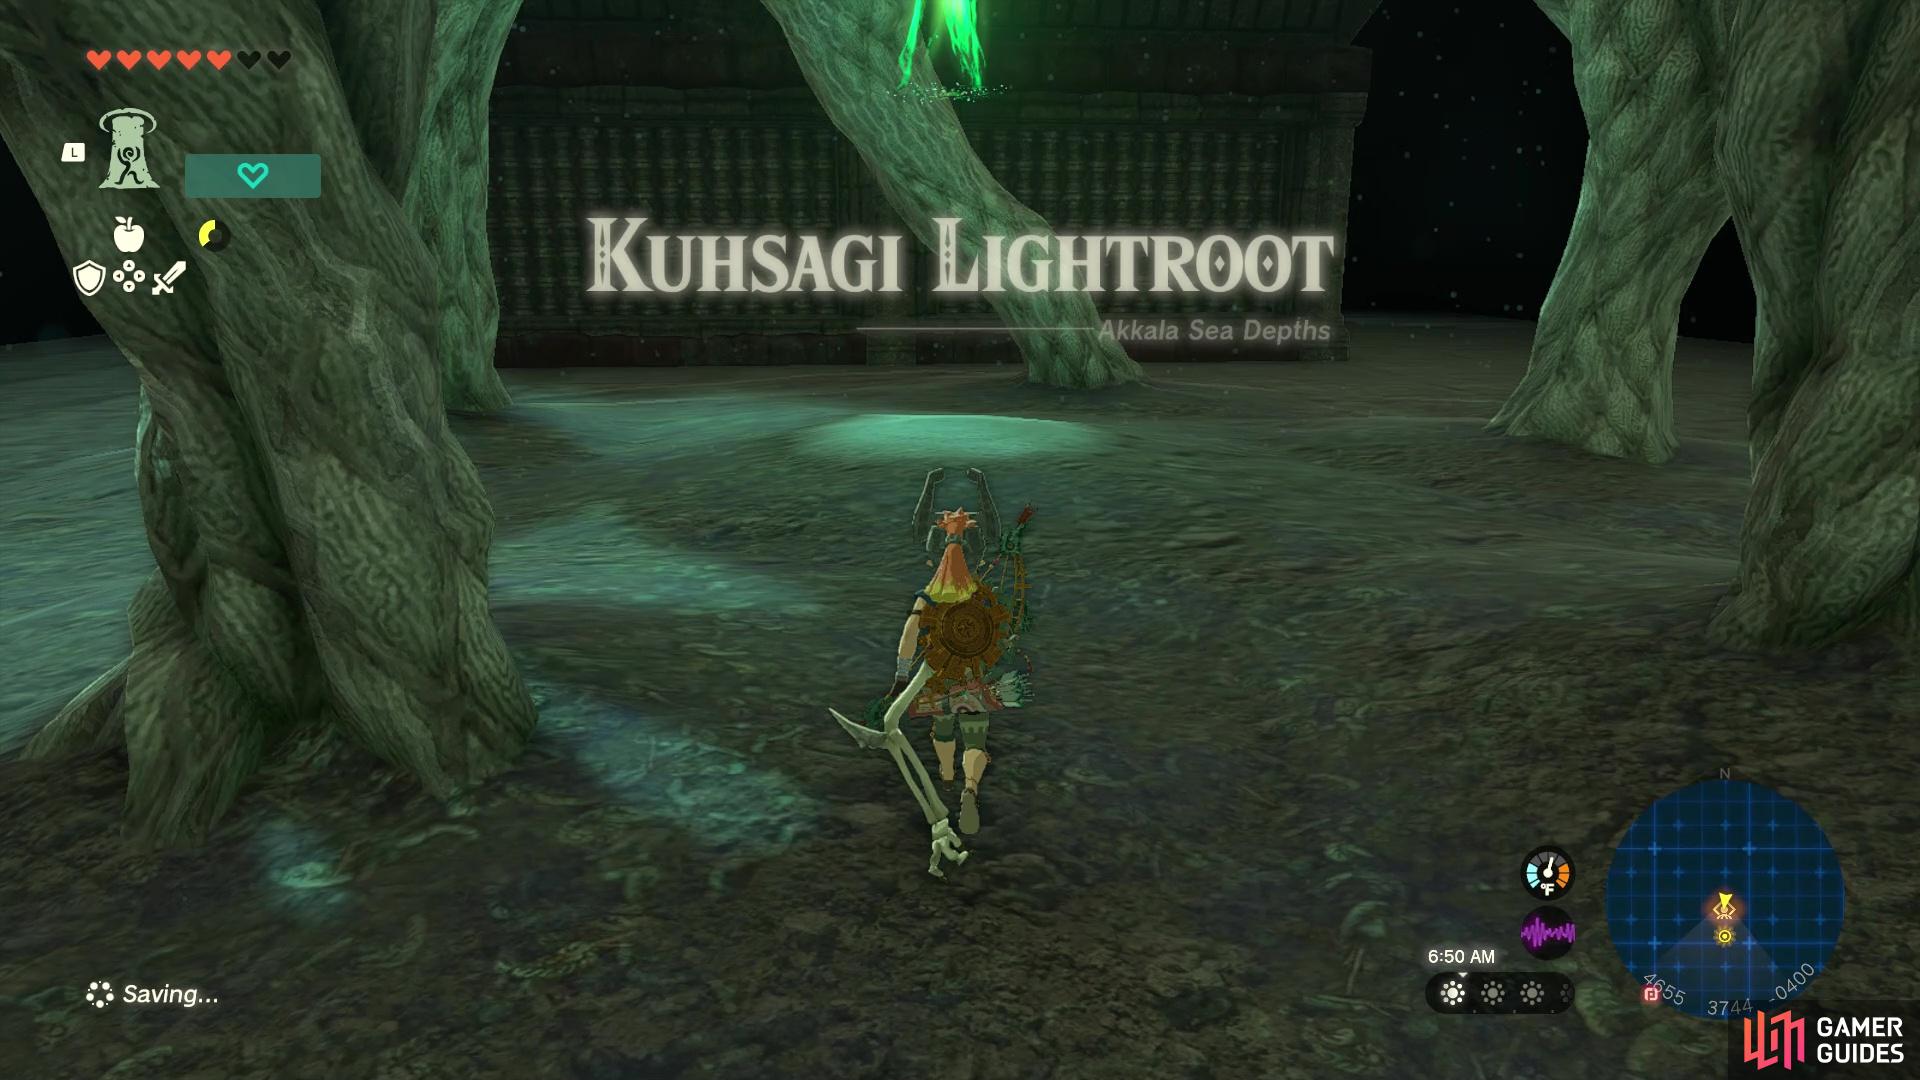
How to Find the Kuhsagi Lightroot in Tears of the Kingdom
With the way to the Depths now open, you can jump off the platform at the top of the labyrinth in the sky to fall all the way down the chasm. You might need to adjust your position a little bit, or else you might go splat. Once you’re in the Depths, use a ![]() Brightbloom Seed to create some light, then equip the
Brightbloom Seed to create some light, then equip the ![]() Ascend skill. You will want to go through the roof here to get on top of the labyrinth, where you will find the
Ascend skill. You will want to go through the roof here to get on top of the labyrinth, where you will find the ![]() Kuhsagi Lightroot. Go ahead and light it to reveal the surrounding area, then fast travel back to the surface and hop down the same chasm once more.
Kuhsagi Lightroot. Go ahead and light it to reveal the surrounding area, then fast travel back to the surface and hop down the same chasm once more.
The labyrinth in the Depths is less a maze and just more of a means to getting to the central chamber, where you will find a ![]() Flux Construct III waiting for you. You will need to defeat this boss enemy here, which is no different than any other of its kind. The easiest way to defeat this creature is to use
Flux Construct III waiting for you. You will need to defeat this boss enemy here, which is no different than any other of its kind. The easiest way to defeat this creature is to use ![]() Ultrahand to grab its weak point, then keep pulling until it falls apart, allowing you to freely hit that weak spot for a brief period of time. Upon defeating it, interact with the dragon gate to complete the quest and cause a chest to appear in the arena. Open this chest to receive the
Ultrahand to grab its weak point, then keep pulling until it falls apart, allowing you to freely hit that weak spot for a brief period of time. Upon defeating it, interact with the dragon gate to complete the quest and cause a chest to appear in the arena. Open this chest to receive the ![]() Evil Spirit Armor.
Evil Spirit Armor.
No Comments