
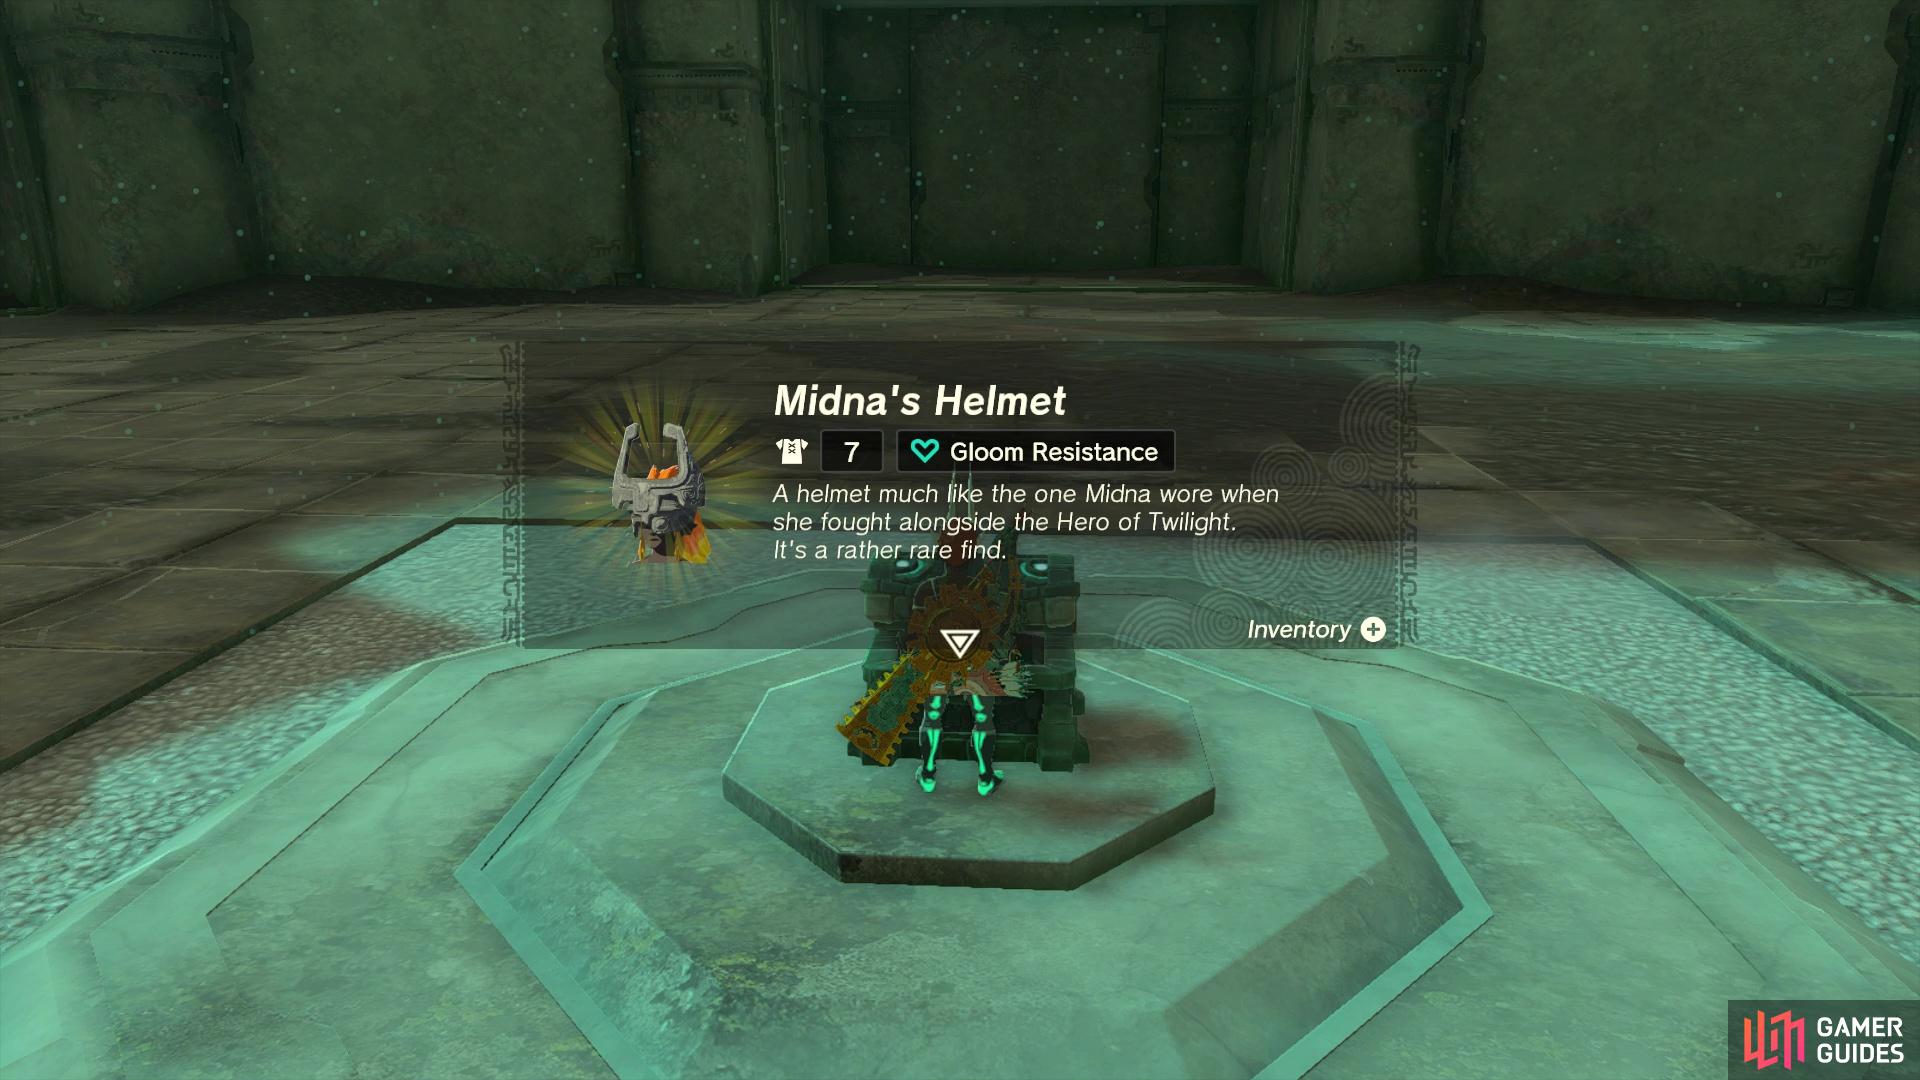
There are a lot of homages to other Zelda games in The Legend of Zelda: Tears of the Kingdom, usually through the various equipments you can find. One such nod to a previous game is for Twilight Princess, in the form of ![]() Midna’s Helmet.
Midna’s Helmet.
You’ll have to do a little bit of fighting to get Midna’s Helmet
Where to Find Midna’s Helmet in Tears of the Kingdom
Midna’s Helmet is a nice piece of equipment, as it offers you some resistance to Gloom, one of the biggest ailments in the game. You will find this helmet in the Depths, but it’s in an area that’s secluded from the main portion. It is found underneath Eventide Island, one of the more notorious challenges found in Breath of the Wild. However, Eventide isn’t the same as in the previous game, as you get to keep all of your items upon setting foot on it.
How to Get to Eventide Island in Tears of the Kingdom
You will find Eventide in the southeast corner of the map, with the Rabella Wetlands Skyview Tower unveiling it on the map. If you head to Cape Cresia in the southeastern corner of the mainland, you should find some materials there to help you make a boat. All you really need is a plank of wood, two Fans in the back corners, and a Steering Stick. If you’ve been exploring, then you should have capsules from the dispensaries. Basically, just build a basic boat as described above, then sail off from the Cape Cresia area.

If you are doing this early enough without having upgraded your ![]() Energy Cell, then you might need to take some breaks to let it recharge. Thankfully, the boat should be light that you won’t sink, so you will be fine just sitting on the water for like a minute. Once you’ve finally arrive on !Eventide Island, then you will want to head to the northern side of it, where there will be the
Energy Cell, then you might need to take some breaks to let it recharge. Thankfully, the boat should be light that you won’t sink, so you will be fine just sitting on the water for like a minute. Once you’ve finally arrive on !Eventide Island, then you will want to head to the northern side of it, where there will be the ![]() Eventide Island Chasm that brings you to the Depths.
Eventide Island Chasm that brings you to the Depths.
How to Find the Ni-Iraram Lightroot
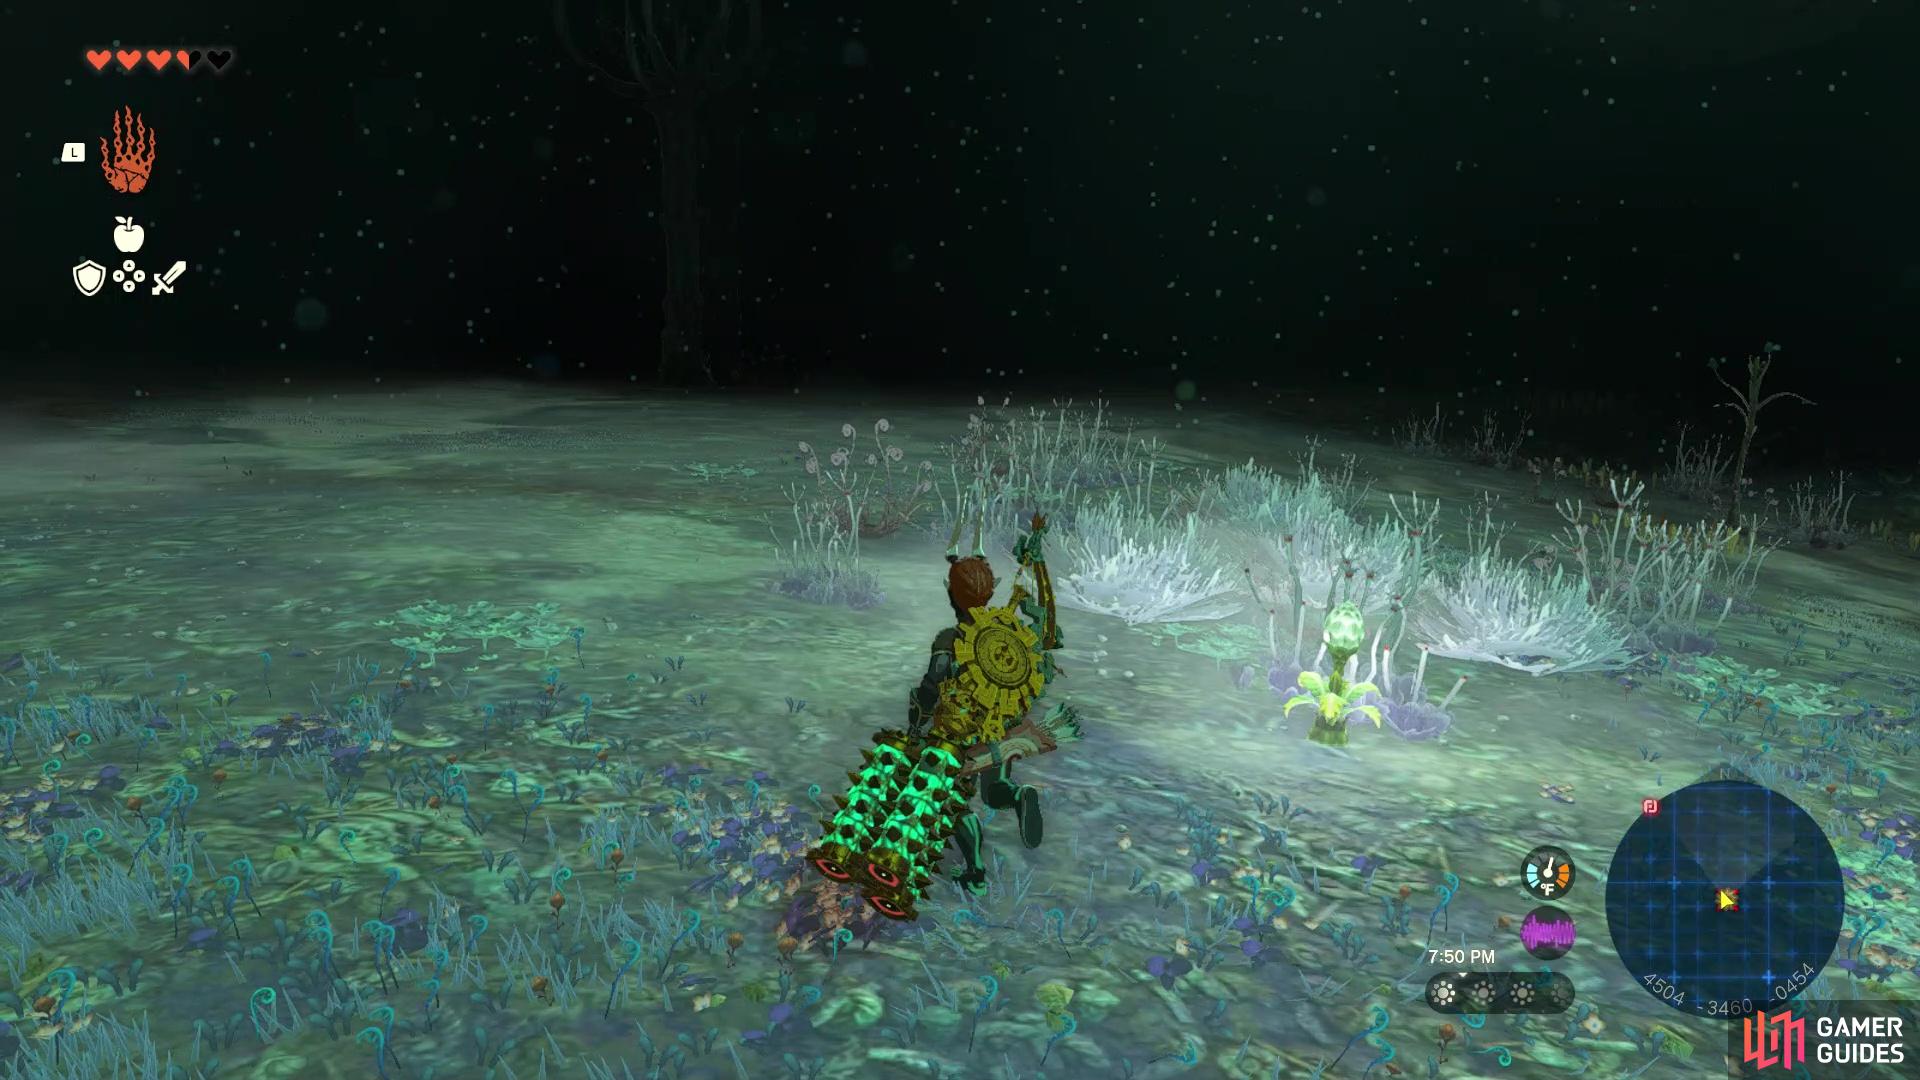
Whenever you feel like you’re ready, jump into the chasm and carefully make your way to solid land. If you’ve been to the Depths already, you know it is dark, so put down some ![]() Brightbloom Seeds to shed some light. Before heading off to the area with the helmet, you will want to take a small detour to the Lightroot, since that will make things easier on you. Just south of your initial position is the Lone Island Coliseum, your destination, but head around it on the eastern side. Continue south and you should see the Lightroot, so go ahead and light it to reveal the area on your map (and light up the whole area).
Brightbloom Seeds to shed some light. Before heading off to the area with the helmet, you will want to take a small detour to the Lightroot, since that will make things easier on you. Just south of your initial position is the Lone Island Coliseum, your destination, but head around it on the eastern side. Continue south and you should see the Lightroot, so go ahead and light it to reveal the area on your map (and light up the whole area).
How to Complete the Lone Island Coliseum in Tears of the Kingdom
With that little diversion out of the way, it’s time to head to the coliseum, with its entrance being found on the northern side. It should be noted that the enemies you will be facing are the variants of the ![]() Bokoblins, and they are all afflicted with Gloom. That means should they land attacks, then you will be afflicted with Gloom, too. This will make it impossible to recover your health, since Gloom seals off your hearts, unless you have food that made with
Bokoblins, and they are all afflicted with Gloom. That means should they land attacks, then you will be afflicted with Gloom, too. This will make it impossible to recover your health, since Gloom seals off your hearts, unless you have food that made with ![]() Sundelions that can heal your gloom. You should see a chest in the middle of the coliseum and when you approach it, a gate blocks the entrance and the battle starts.
Sundelions that can heal your gloom. You should see a chest in the middle of the coliseum and when you approach it, a gate blocks the entrance and the battle starts.
Wave 1 of Lone Island Coliseum
The first wave of enemies here will be some regular Bokoblins. Two of them will be equipped with melee weapons, while the third will try and pick you off with fire arrows. Your best bet is to go straight after the archer one, then concentrate on the other two after that. If you are lacking in strong equipment, you can try and use your bow to pick off some headshots.
Getting hit will automatically inflict the gloom debuff
Always take out the archers first
Wave 2 of Lone Island Coliseum
The second wave will upgrade your enemies to ![]() Blue Bokoblins (three of them), so they will have a bit more health over the first wave. All of the enemies here will be equipped with melee weapons, so they will just continually chase after you to try and attack. There isn’t really much else to say about this, other than take your time and concentrate on each one until they are downed.
Blue Bokoblins (three of them), so they will have a bit more health over the first wave. All of the enemies here will be equipped with melee weapons, so they will just continually chase after you to try and attack. There isn’t really much else to say about this, other than take your time and concentrate on each one until they are downed.
Wave 3 of Lone Island Coliseum
You will only have to fight two enemies in this wave, but they will be ![]() Black Bokoblins now, which are stronger than the blue ones. You can start deploying a strategy here, if you want, but it requires a way to inflict shock damage. Putting something that inflicts shock on your arrows, shoot the enemies to make them drop their weapons, which you can then pick up, if you need them. It also makes them a lot less dangerous, plus you can try to time your dodges to trigger Flurry Rushes.
Black Bokoblins now, which are stronger than the blue ones. You can start deploying a strategy here, if you want, but it requires a way to inflict shock damage. Putting something that inflicts shock on your arrows, shoot the enemies to make them drop their weapons, which you can then pick up, if you need them. It also makes them a lot less dangerous, plus you can try to time your dodges to trigger Flurry Rushes.
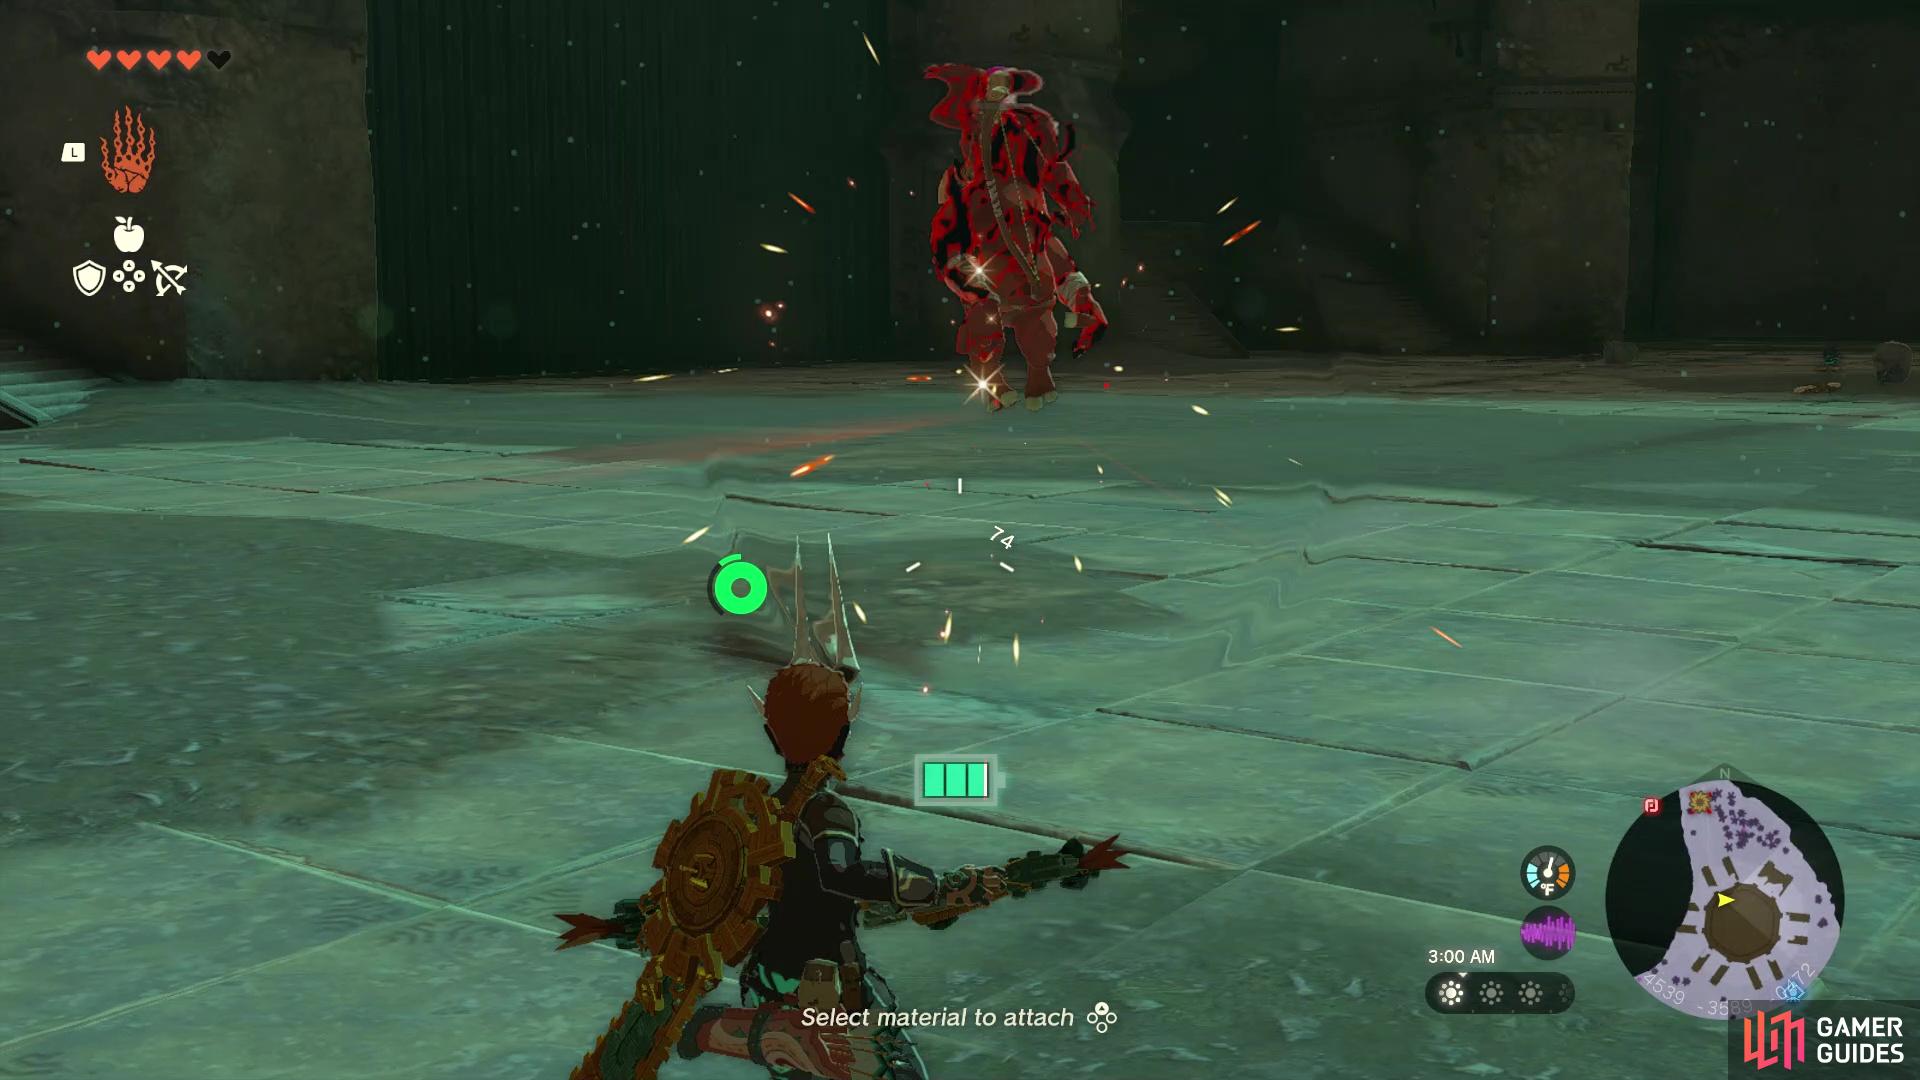
Wave 4 of Lone Island Coliseum
There is only one single enemy for this wave, but it is a ![]() Silver Bokoblin, the toughest of the bunch. This thing has a lot more health than the others, so it will take a while to whittle down its health. In addition to using the shock tactic described above, you can also deploy another strategy here, which is freezing the enemy. If you have anything to attach to arrows, do that to freeze the enemy in place, which gives you a free hit on it.
Silver Bokoblin, the toughest of the bunch. This thing has a lot more health than the others, so it will take a while to whittle down its health. In addition to using the shock tactic described above, you can also deploy another strategy here, which is freezing the enemy. If you have anything to attach to arrows, do that to freeze the enemy in place, which gives you a free hit on it.
Shock will make the enemies drop their weapons, which you can then steal

Bomb Flowers work wonderfully in the final wave
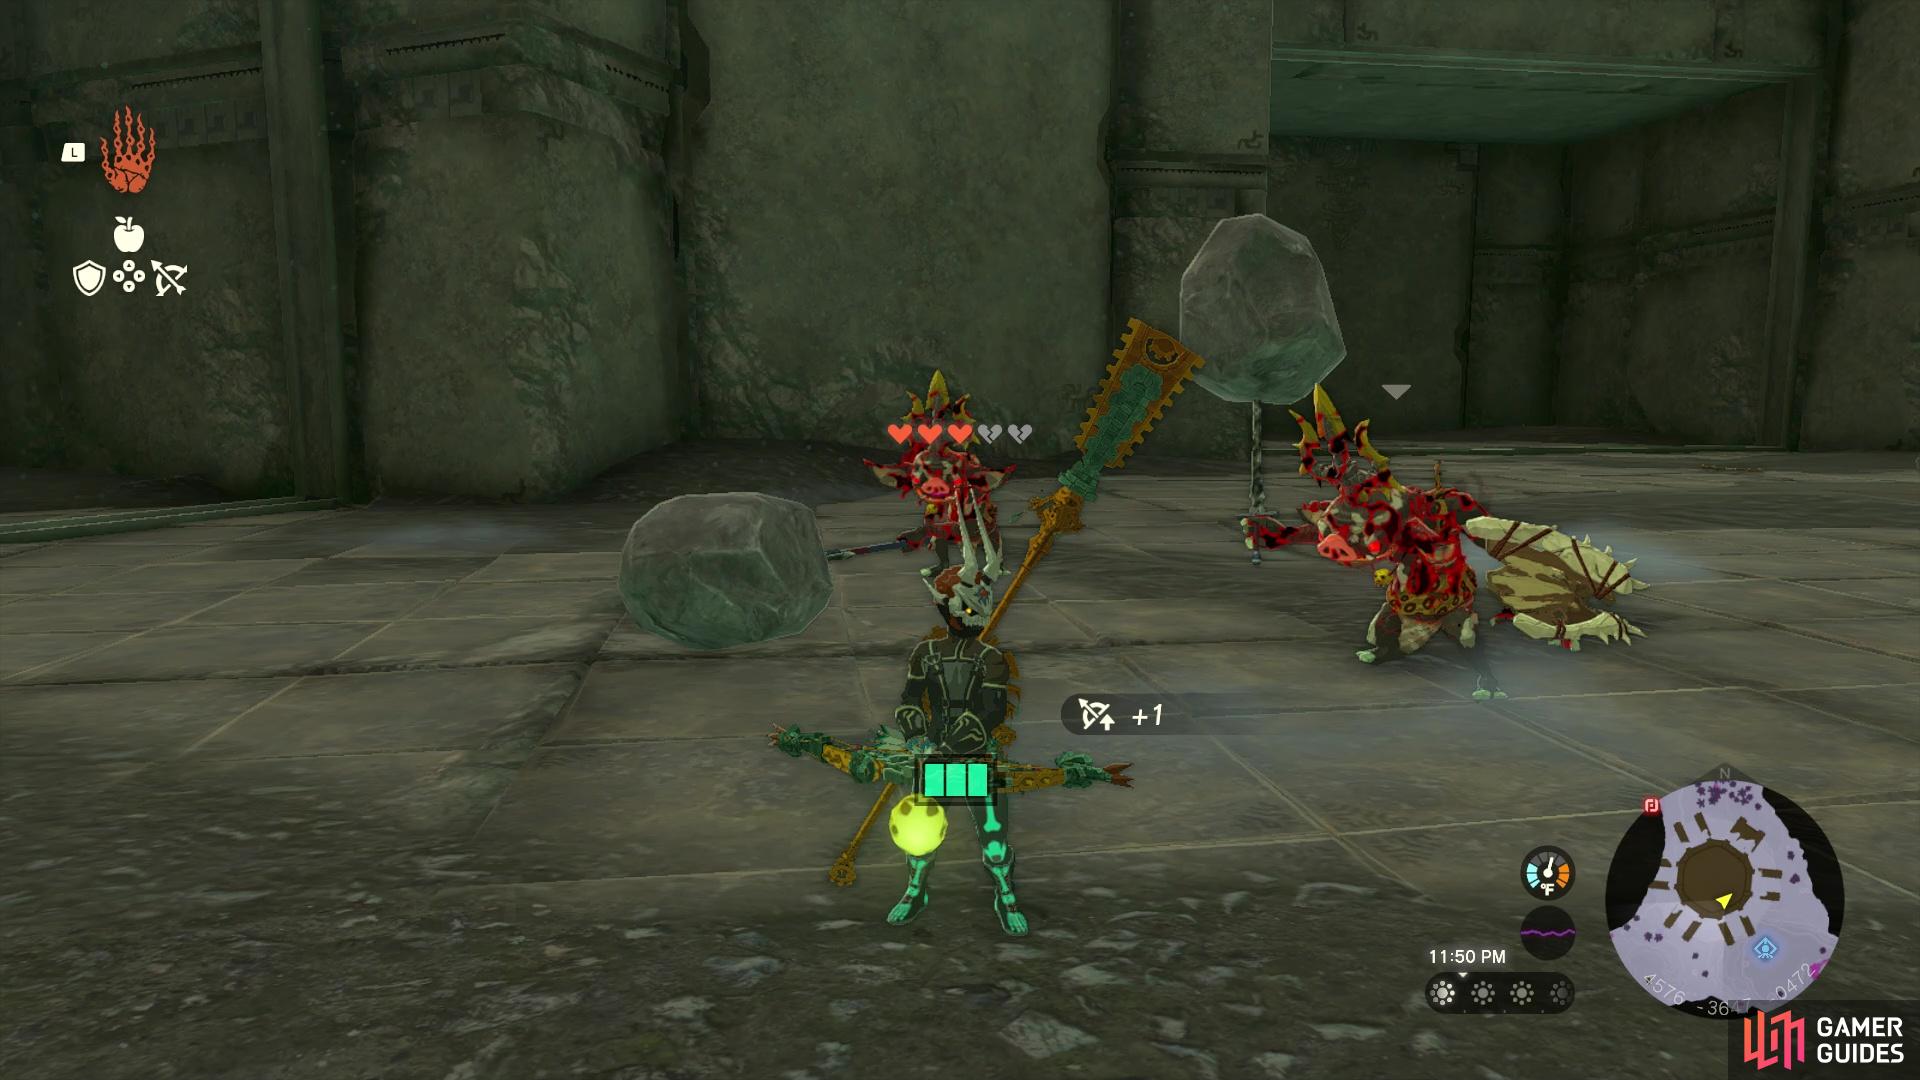
Wave 5 of Lone Island Coliseum
This is the final wave and definitely the most challenging, as you will face one of each type of Bokoblin here. The normal one is an archer, so you want to defeat that one first. The remaining ones are all melee and will continually chase after you. This is a good way to start using ![]() Bomb Flowers here, since you can try to get them all together before attaching one to an arrow to strike them. Additionally, the shock/frost methods described above will also help. It’s probably best to save the Silver Bokoblin for last, since it has the most health, or you could try to get that one first (after the archer).
Bomb Flowers here, since you can try to get them all together before attaching one to an arrow to strike them. Additionally, the shock/frost methods described above will also help. It’s probably best to save the Silver Bokoblin for last, since it has the most health, or you could try to get that one first (after the archer).
Once you’ve defeat all five waves of enemies, the gloom on the chest in the center of the arena will dissipate and you can open it for Midna’s Helmet
Can You Upgrade Midna’s Helmet?
Sadly, you can’t upgrade Midna’s Helmet, as is the case with many of the class Zelda armor pieces. The helmet is made more for decoration, and if you go to a Great ![]() Fairy, it will tell you that the piece isn’t able to be upgraded. If you are looking for stronger armor, look for full armor sets that don’t have anything to do with the classic Zelda games.
Fairy, it will tell you that the piece isn’t able to be upgraded. If you are looking for stronger armor, look for full armor sets that don’t have anything to do with the classic Zelda games.
No Comments